How to quickly and cheaply build a shed with your own hands - step by step instructions, drawings, photo ideas
On a suburban area more often first built a farm building for storing tools, equipment, and later built a house. Build a shed on their own can be for a short period of time, not having a construction specialty.
Choosing a place for the construction of a farm building on various criteria
Construction of a farm building is carried out taking into account the rules (SNIP). This regulates the issues:
- avoiding a situation of increased fire danger;
- regulation of legal relations with neighbors;
- control over the environmental cleanliness of the personal plot.
The documents stipulate:
- the shed to be built at a distance of 1 meter from the fence;
- from the barn to the neighbor's house - at least 6 meters;
- a one-block shed built for the maintenance of animals to be built from their own house at a distance of 15 meters, eight-block - 25 meters;
- from the well - 20 meters;
- outbuildings are located no closer than 5 meters to the roadway.
The wishes of the owners are taken into account:
- often the barn is built closer to the house and the working tools will always be at hand;
- hidden structure in a corner, does not attract attention. The aesthetic appearance of the garden plot is preserved.
Tips from the experts:
- The shed is not an architectural structure, but it is necessary to adhere to the general ensemble of the site when constructing it;
- The area for the construction of used shady;
- In the lowlands there is a threat of flooding. It is not recommended to build there.
Fast construction options for outbuildings
The most common are built frame outbuildings or made of blocks.

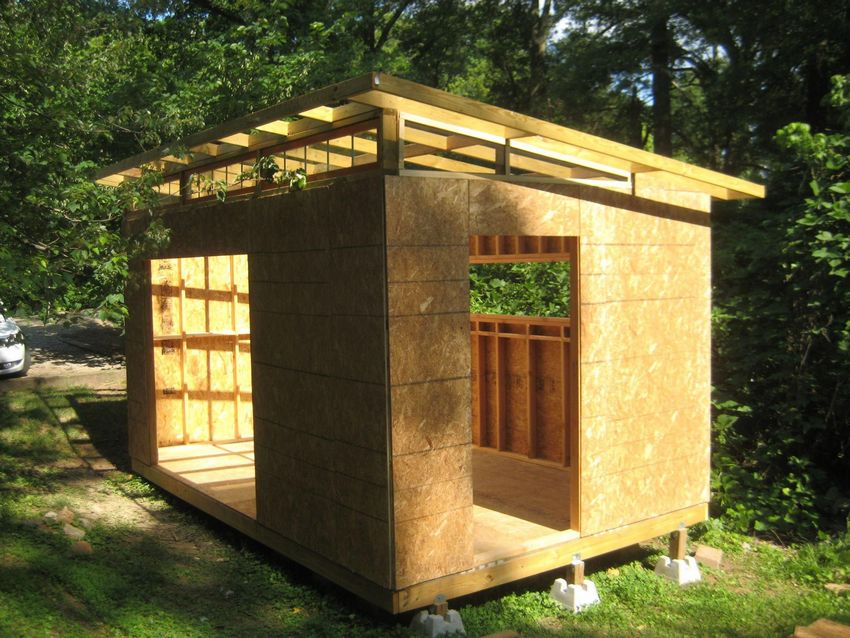
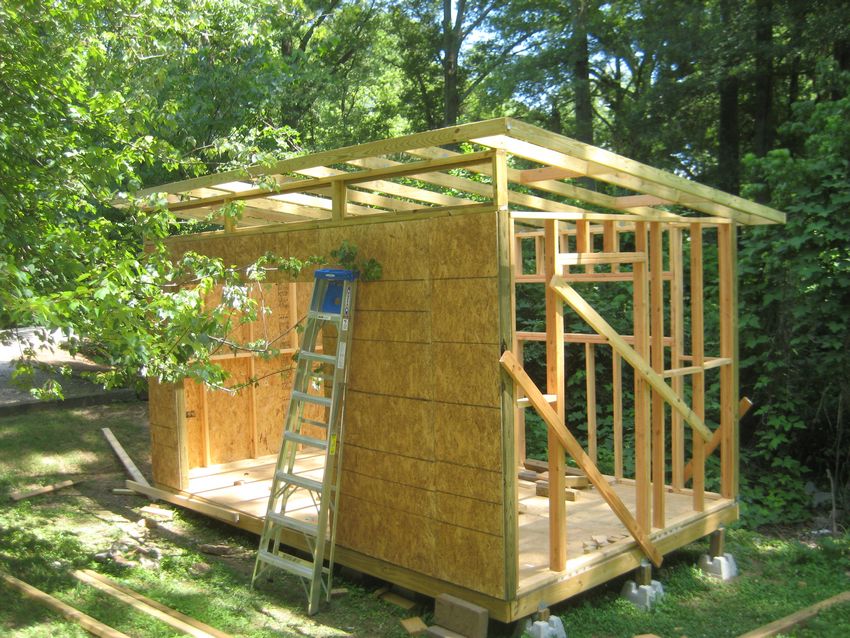
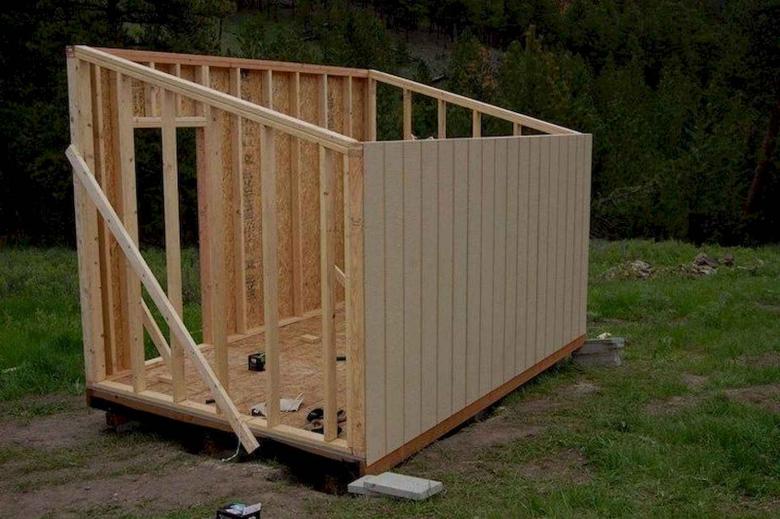
Budget constructions
Build a frame barn with their own hands is cheap and fast, and very simple for a week, building skills are not needed.
A frame made of wood is installed on the base. It is filled with insulation and clad with decorating material.
Pros:
- The frame is lightweight, which does not require a strong foundation;
- the design is quickly erected, does not depend on the fixing of the mortar;
- finishing material is used as desired by the owners;
- retains heat inside, if the joints are respected.
Minus:
- There is a fire hazard. Treatment with flame retardants, non-combustible insulation reduces the risk.

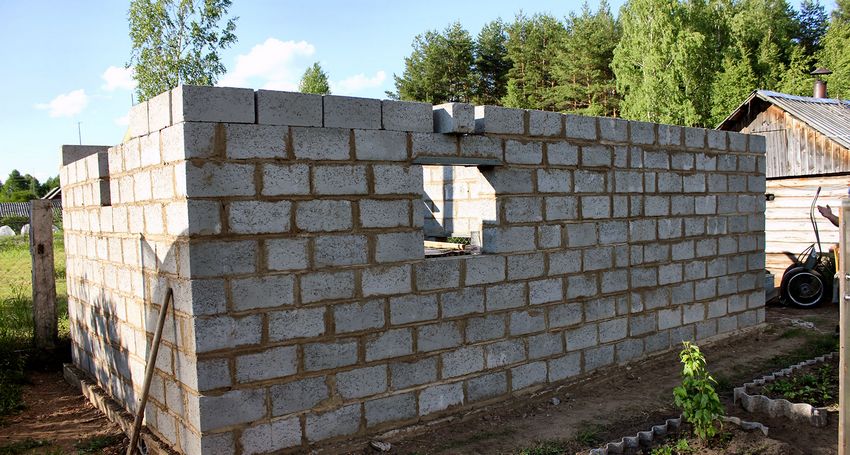
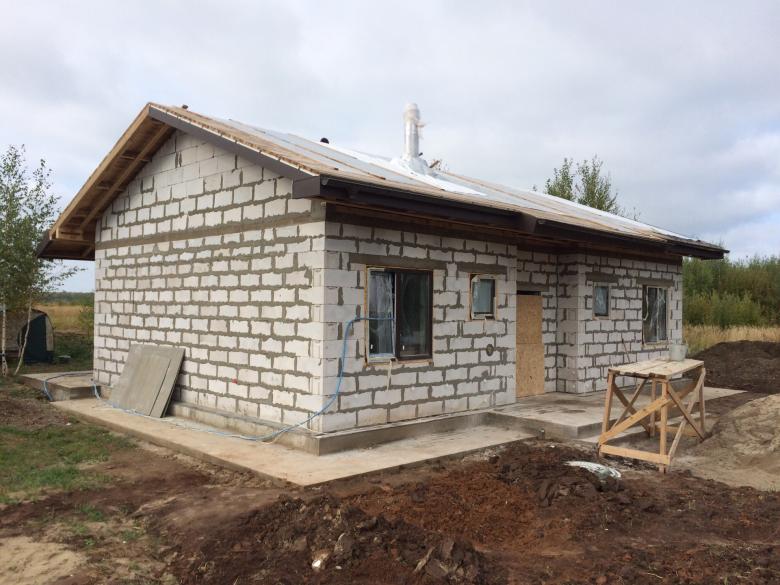
A shed made of blocks
Erect a shed for dacha with their own hands from expanded clay blocks, foam blocks, cinder blocks, if it will be used in winter.
Prepare a strip shallow foundation. An element of its strengthening is reinforcement. The walls are masoned with the binding of the joints.

Tip: To increase the frost resistance of the structure, reducing the absorption of moisture by the blocks, exterior finish is necessary.
Step by step instructions to quickly build a barn
The beginning of construction is the preparation of the territory. So before you build a barn with your own hands, debris, roots are removed. With the marking of the foundation the work begins.

Algorithm of the foundation device
On poles or piles, a frame household building is erected. On the foundation of the tape shallow - a block shed.

Tip:
- cannot be the basis for the installation of a pole foundation in heaving clay soil;
- On peat bogs or on weak soils, piles are a priority.

Performing the work of laying a strip foundation:
- The trench is dug deep - 0,5 m, width - 0,4 m.
- Pour a crushed stone-sandy cushion of 0.2 m high.
- The formwork is installed.
- Laying of waterproofing.
- The frame is mounted out of the armature.
- Concrete is poured.
- The foundation is protected with a film against drying out.
1.5 weeks is enough for the concrete to gain strength.
The order of execution of the foundation of freestanding pillars:
- Shallow pits of 0,30-0,45 m are prepared.
- At the bottom of the hole with a height of 0,2 m sand is rammed.
- Section 40x40 cm, height 50-60 cm. These are the parameters of the formed columns.
- The mortar should harden, so that the columns can begin to coat with waterproofing material.
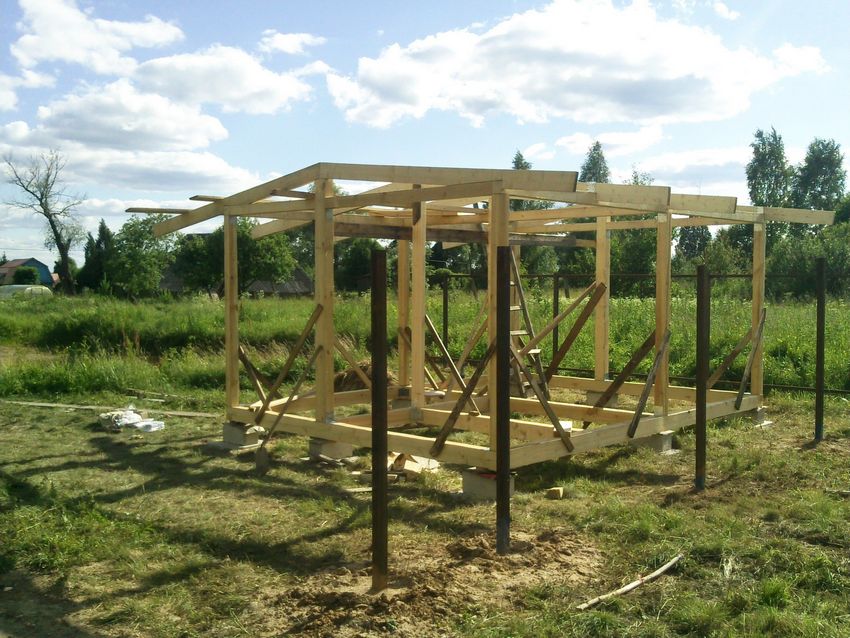
The posts are installed:
- at the corners of the structure;
- on the perimeter line in 120-150 cm;
- under each partition.

Temporary outbuildings with an area not exceeding 20 m.2Height - up to 2.5 meters will stand without foundation. Assembled box made of wood on a frame, turned and mounted for use. Antiseptic treatment will prolong the "life" of the temporary structure.
Algorithm of installation of a barn without a foundation:
- A flat prepared area is sprinkled with crushed stone with the addition of sand.
- At 0.6-0.7 m the posts in the corners are deepened.
- It is used treated with antiseptic timber (50x100 mm) to mount the frame.
- As the external finish is used any decor. Board is not excluded.
- Metallic profiled sheeting is ideal for roofing.
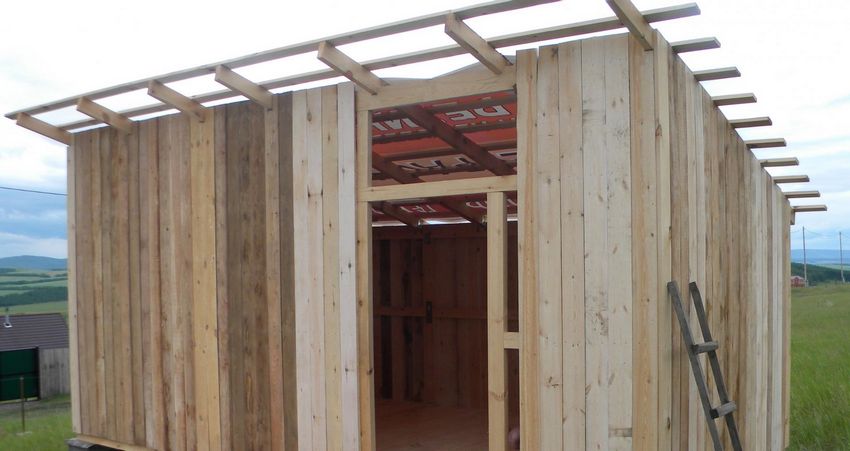
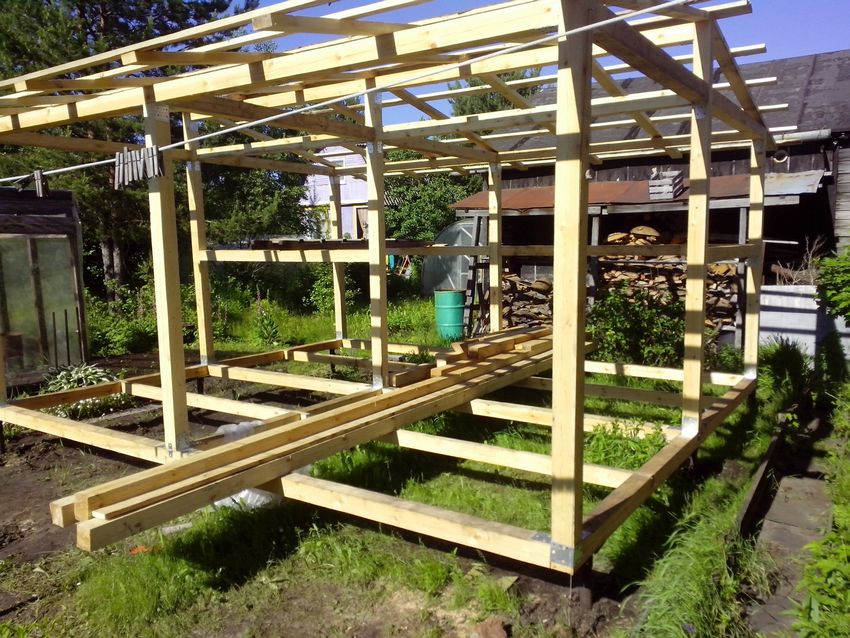
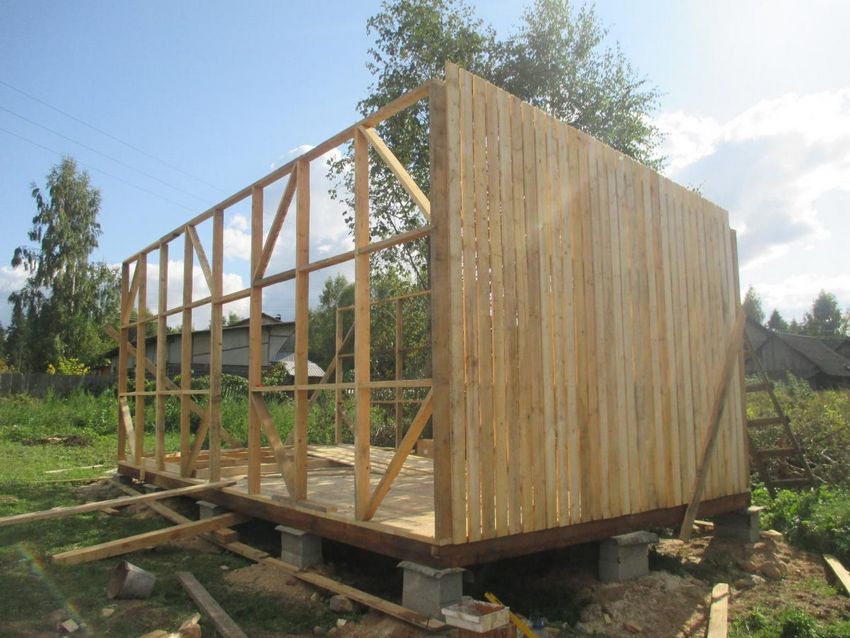
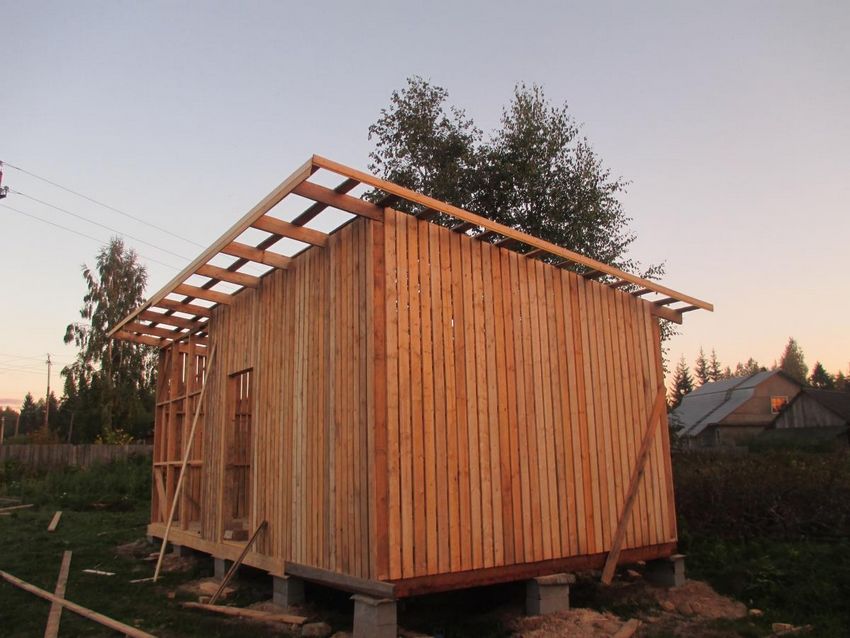
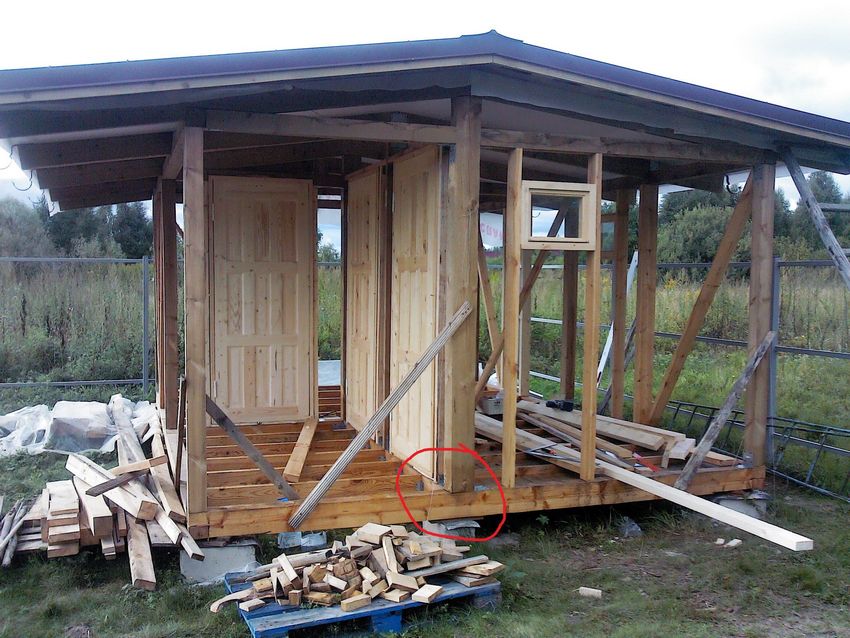
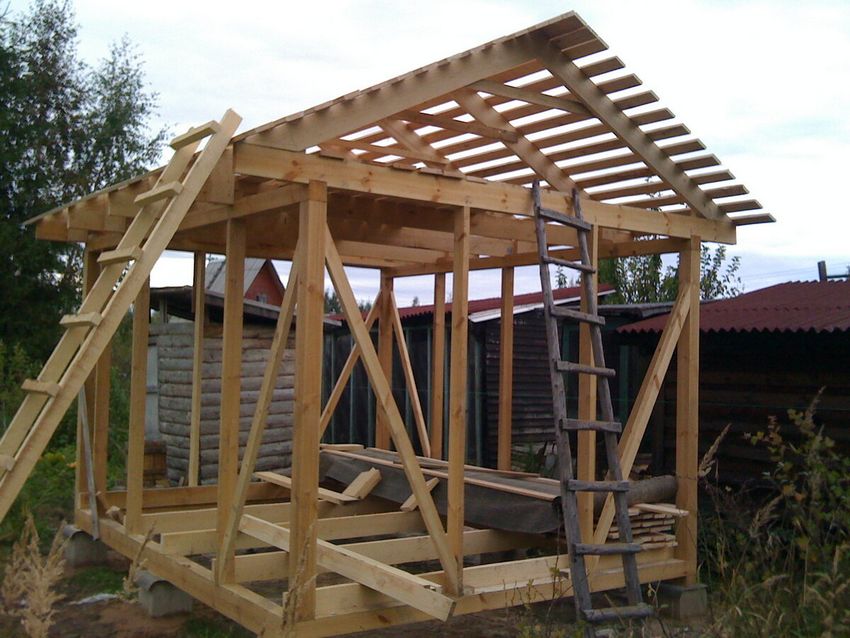
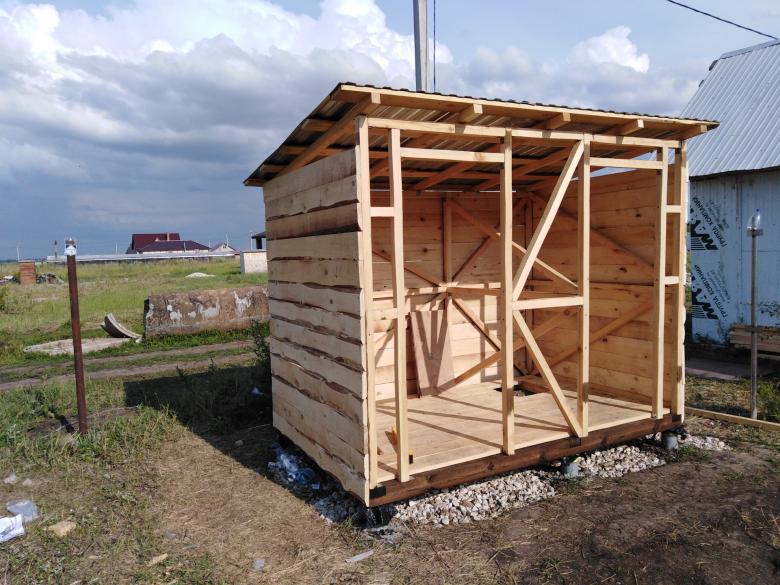
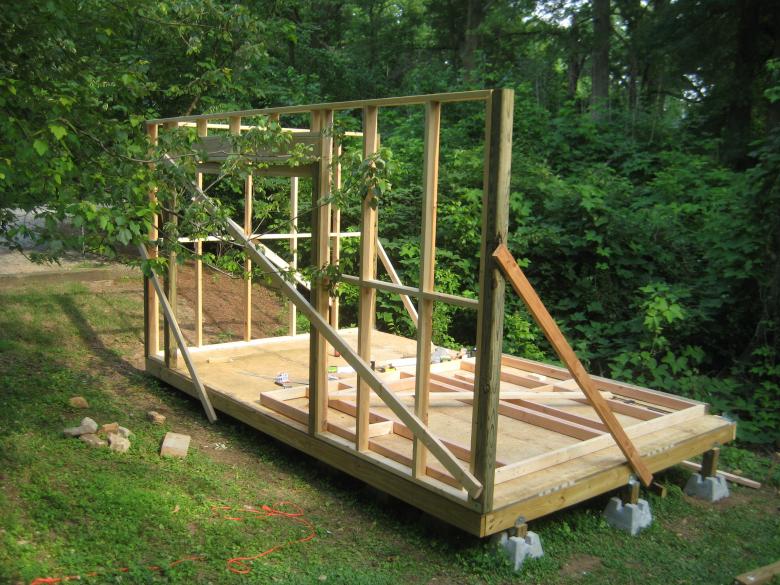
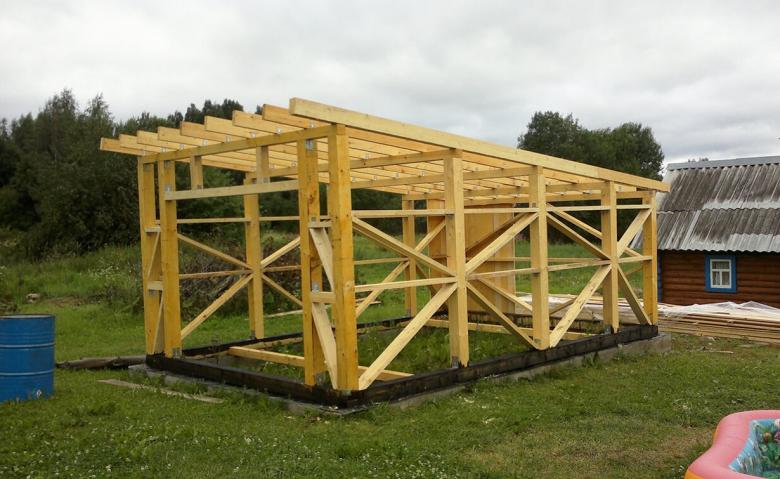
The frame of the outbuilding
For the installation of the frame you need poles, treated bar (upper and lower strapping), wooden crosspieces;inclined struts.

Prepare:
- bars (150x100 mm is recommended);
- board, checked for dryness (150x50 m);
- Antiseptic, fire retardant for wood treatment;
- Fasteners.
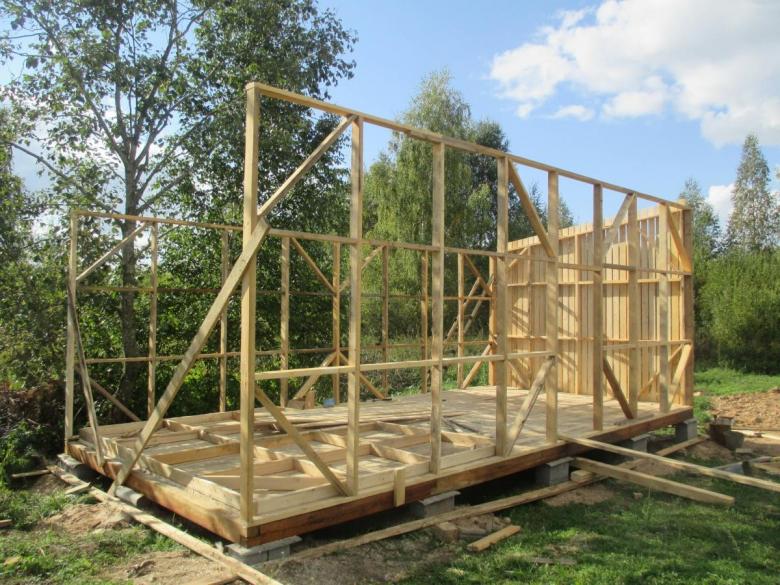
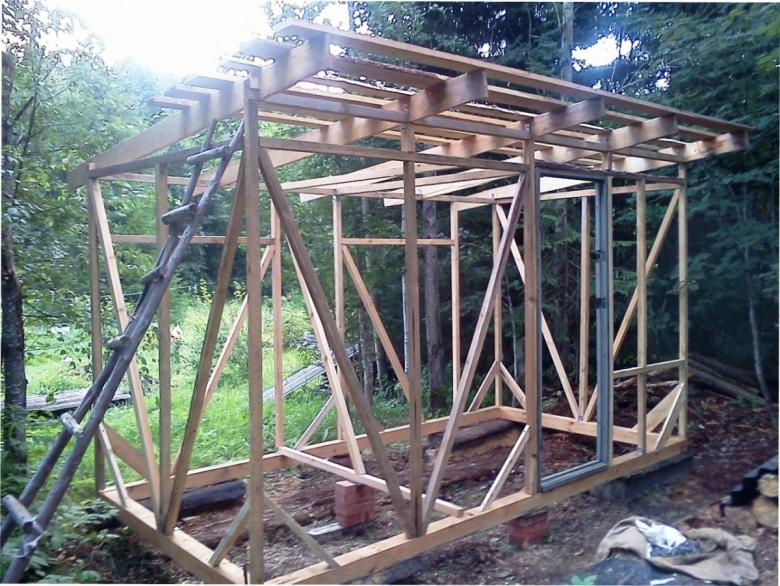
Algorithm of assembling a frame barn:
- The foundation treated with waterproofing is ready for laying the bottom strapping bar.
- Anchors, studs, bolts are prepared to secure the elements.
- The floor joists are mounted.
- From the corner of the structure with the step of 0,6 m props are installed. They are fastened at the top. Binding bar is used.
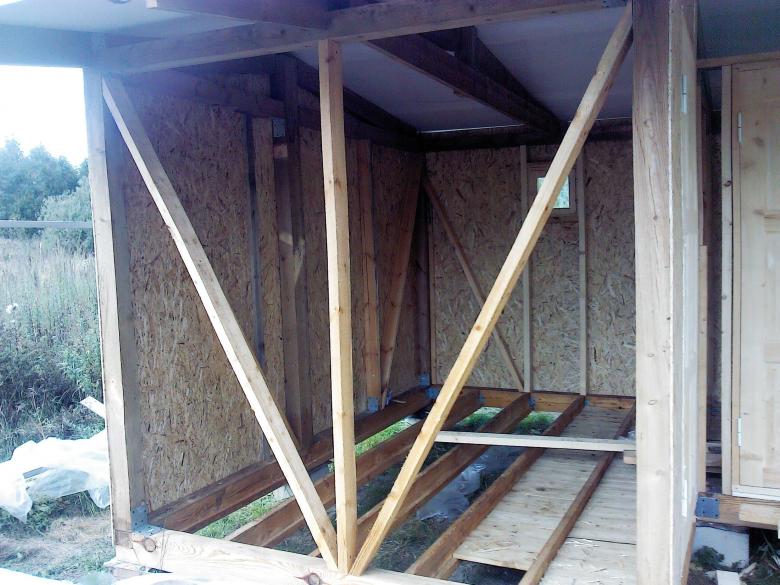
- To strengthen the openings, boards are used. They are laid on the rib.
- A perforated strip of steel is cut into the beam horizontally at the top and bottom. This is how the frame is reinforced.
- Windows and doors are installed.
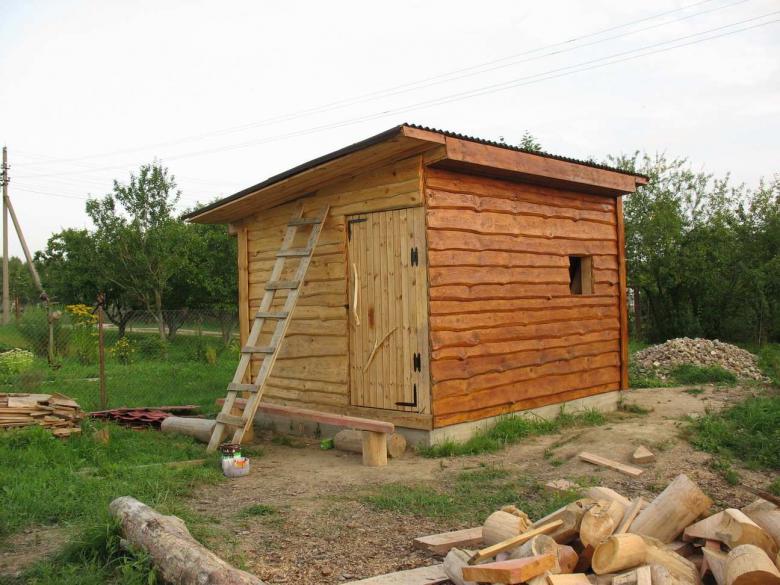
- The barn is clad with finishing materials.
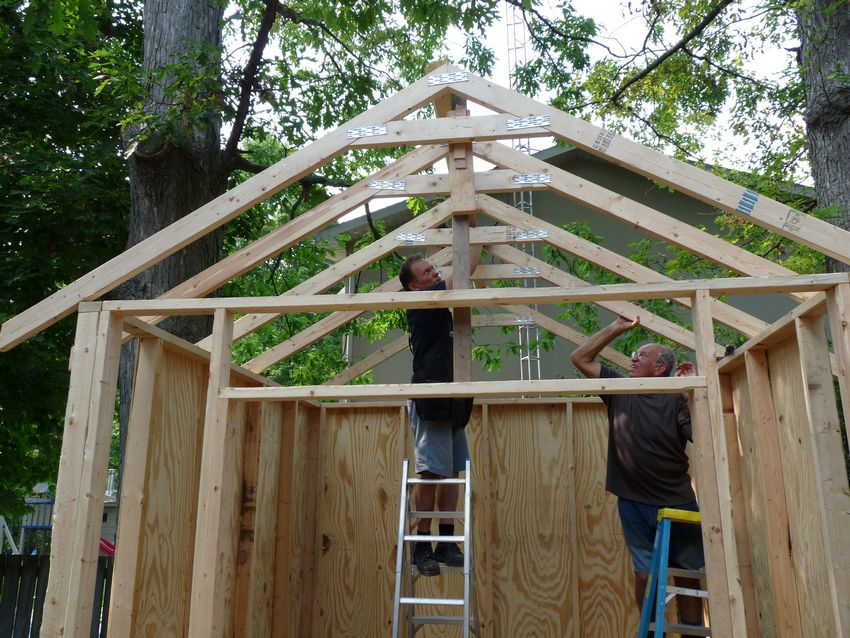
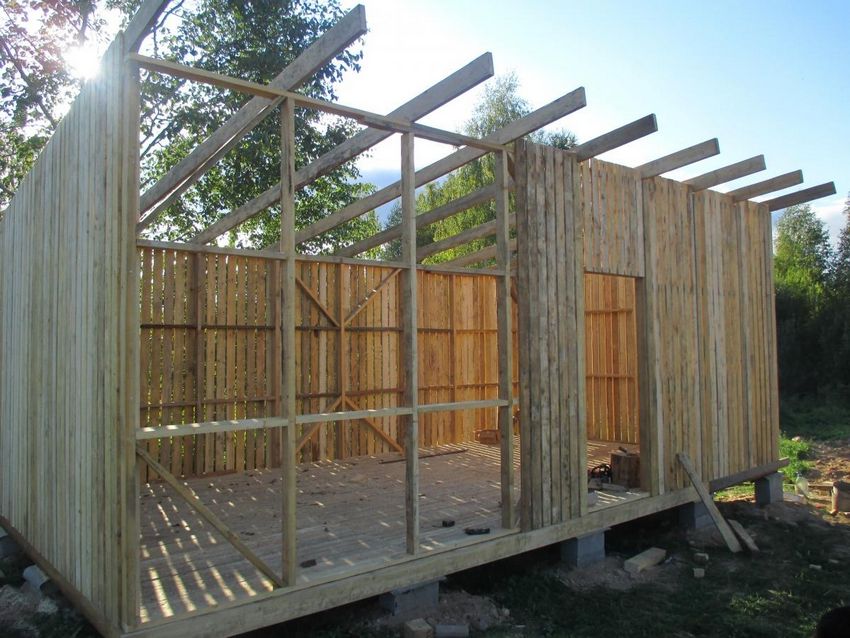
The arrangement of the roof
For the rafter system, wood is prepared as for the frame. Inch boards are added. They go on the crate.

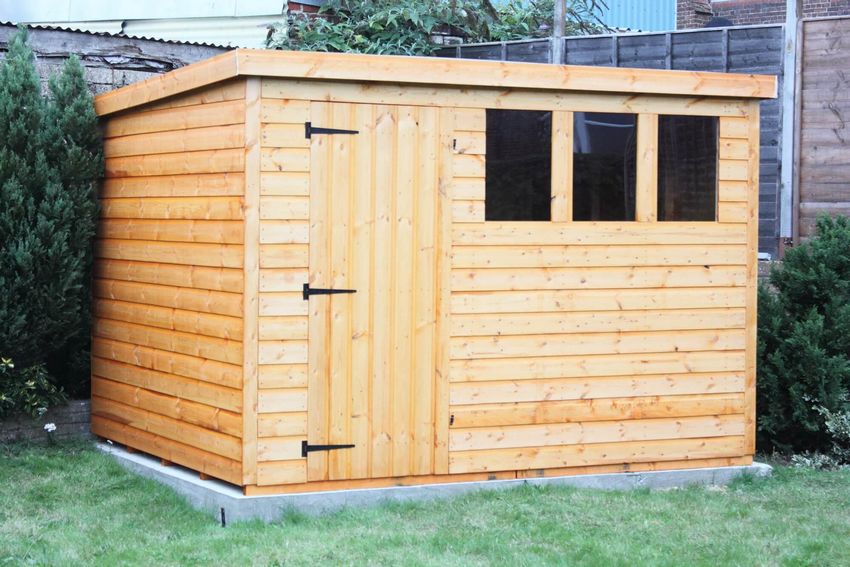
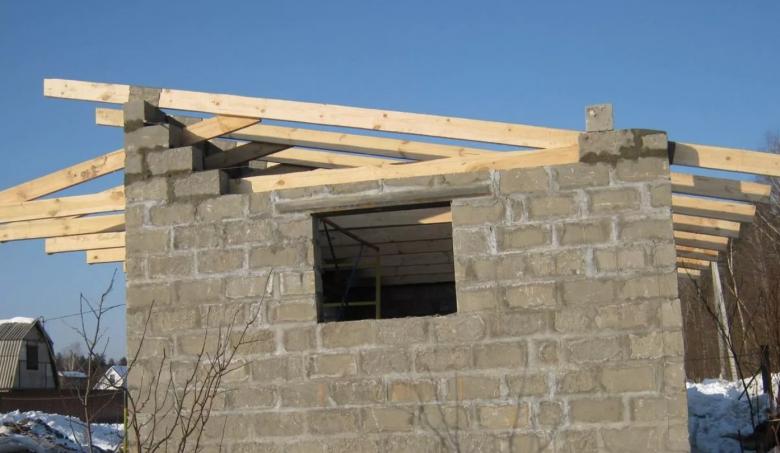
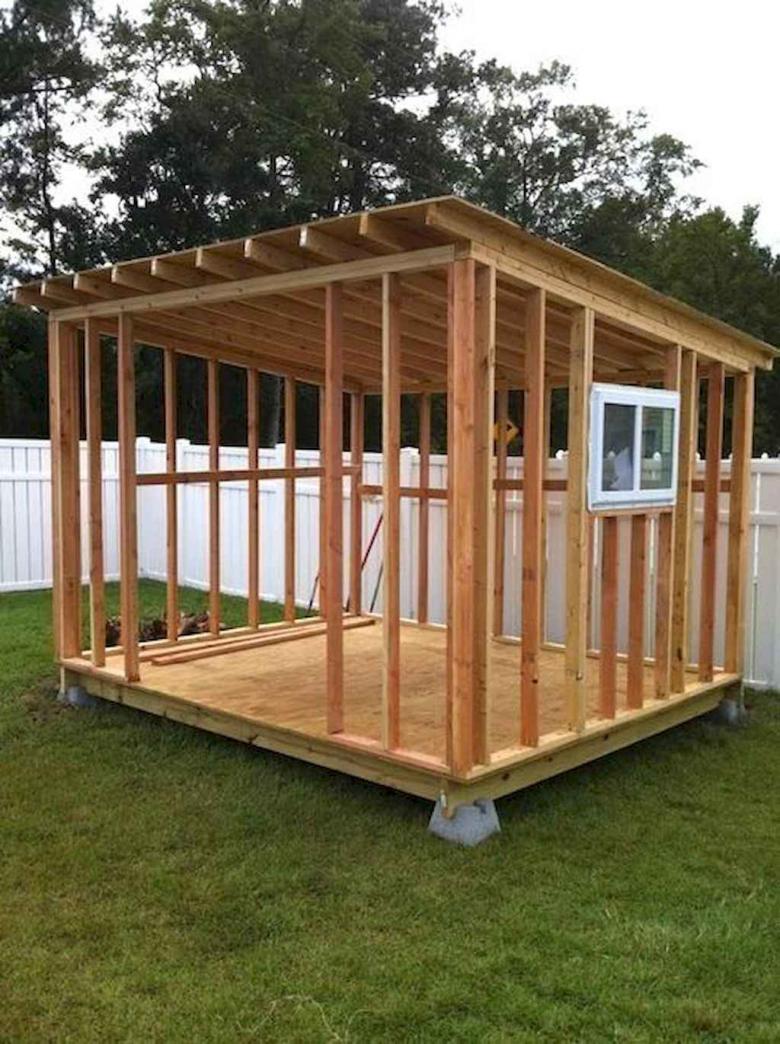
Single-pitch roof design
For outbuildings recommended single-slope roofing, if up to 6 meters span. Opposite walls of the shed are different in height. On them rests the slope.
Roofing material dictates the slope angle:
- under 20-350 - slate is laid;
- under 50 - soft roofing material is covered;
- under 8 0 - corrugated sheeting is laid;
- under 250 -work with metal shingles.

On the opposite walls of the block house on the supporting bar are based on the rafters. In a frame barn, they rest against the beam of the upper strapping.
- Laying of rafter boards is recommended on the rib. Start with the opposite walls.
- The cross-section of the board and its length affect the pitch.
- The elements are connected in pairs. This increases their load-bearing capacity.
- The rafters are fixed to the support bar with metal overlays and mortise rafters.
- Trusses of board-inch is placed along the rafters at 0.3-0.5 m interval. It is secured with nails or self-tapping screws.
In the top wave of slate is fixed with nails, and self-tapping roofing screws fixed metal in the bottom wave.
- Sealing the joints is entrusted to the gaskets of EPDM.
- Overlap sheets longitudinally or transversely.
- For a thin roofing sheets are allowed minimum overhang - 100 mm for slate - 50 mm.

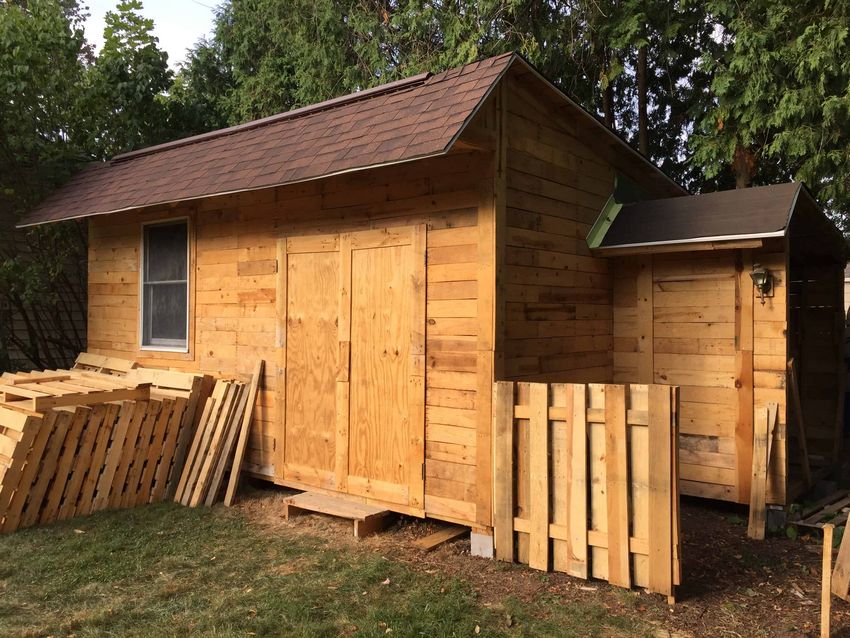
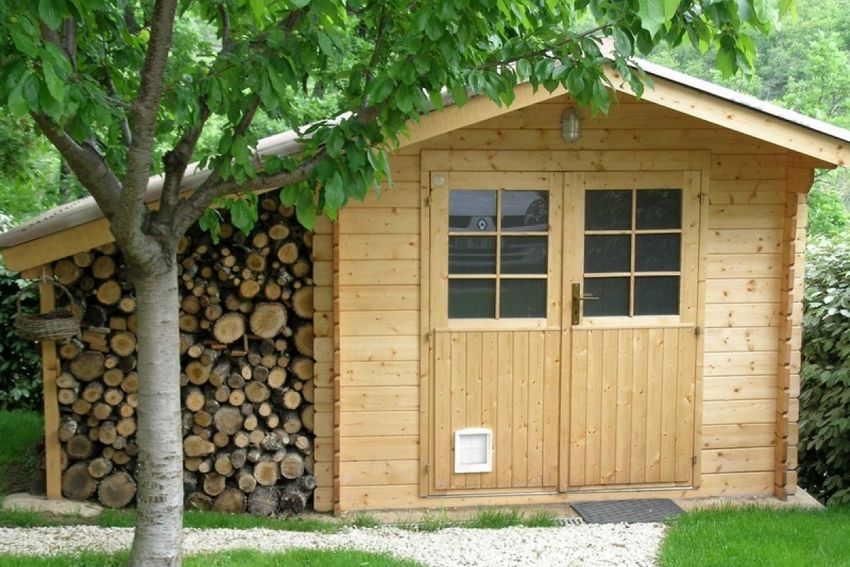
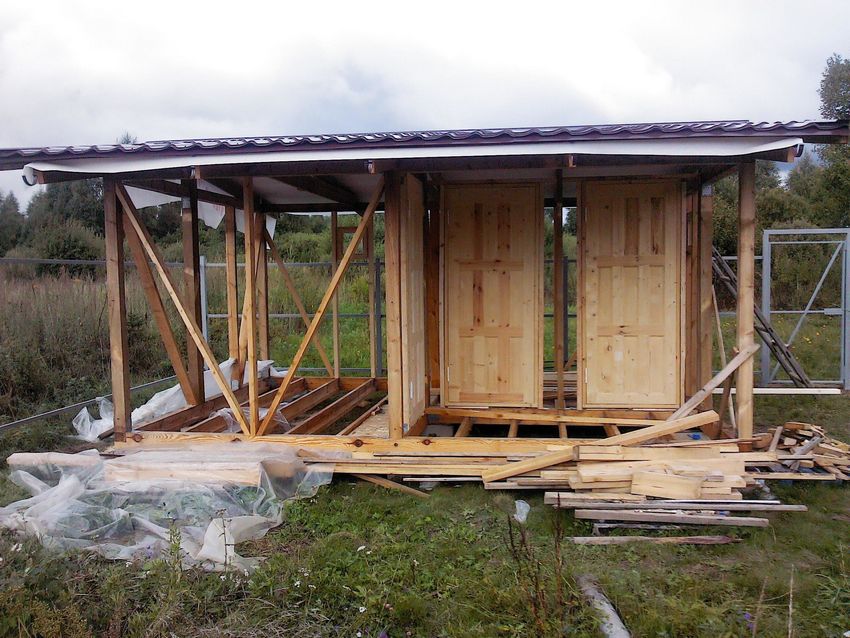
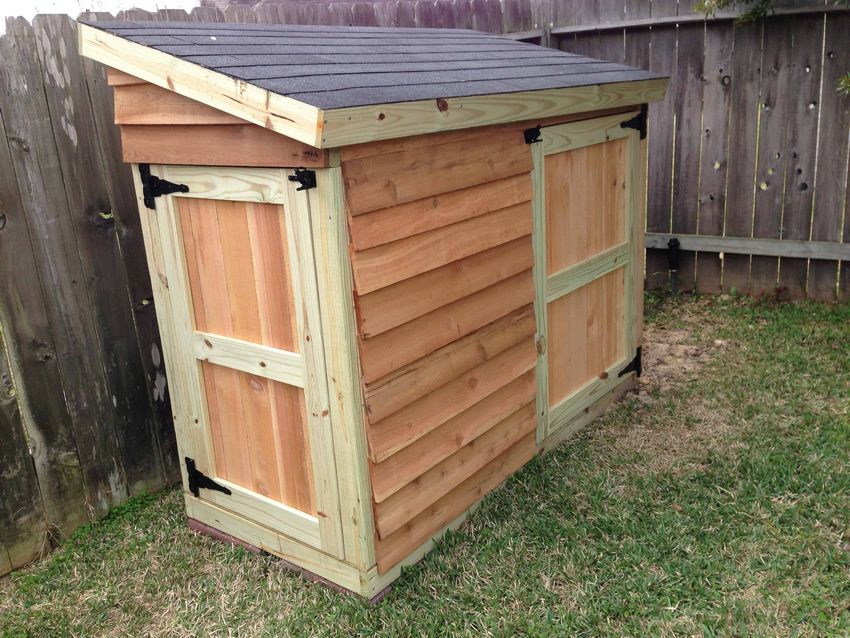
If the outbuilding is combined with a firebox, it is lined with gaps that facilitate ventilation of firewood. The design of the roof and base in this case does not change. For growing poultry, the barn is used fully or partially.
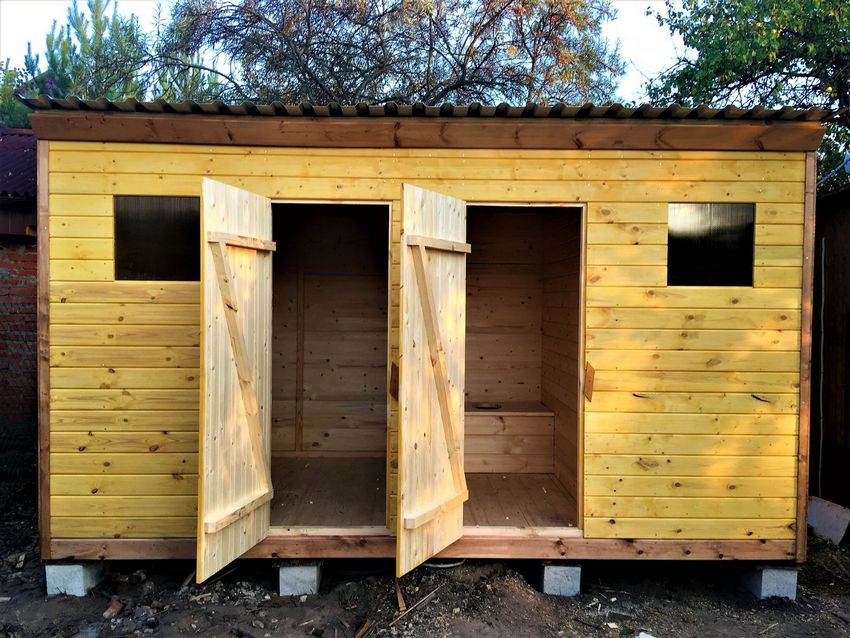
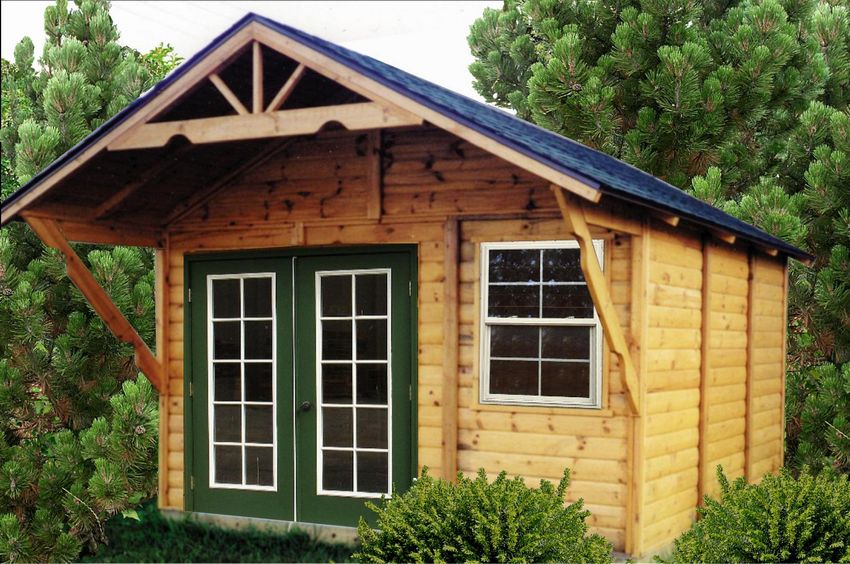
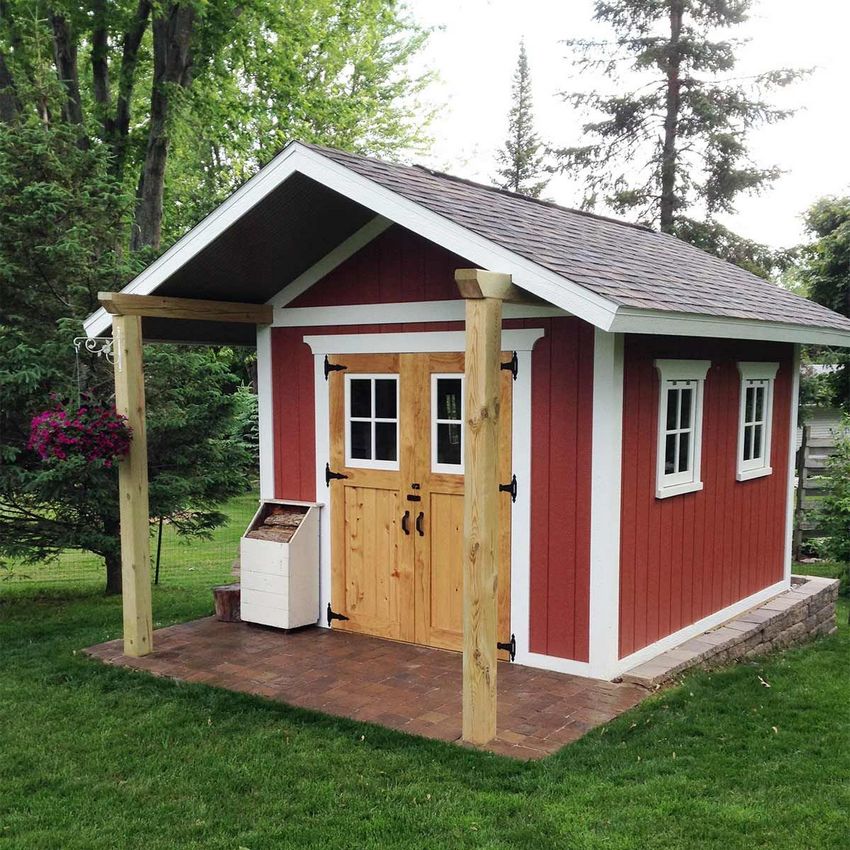
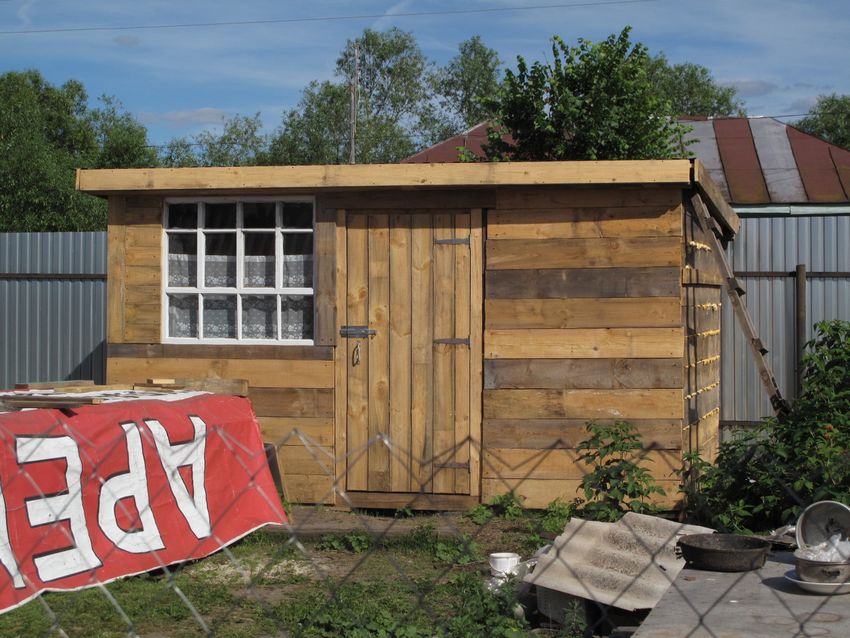
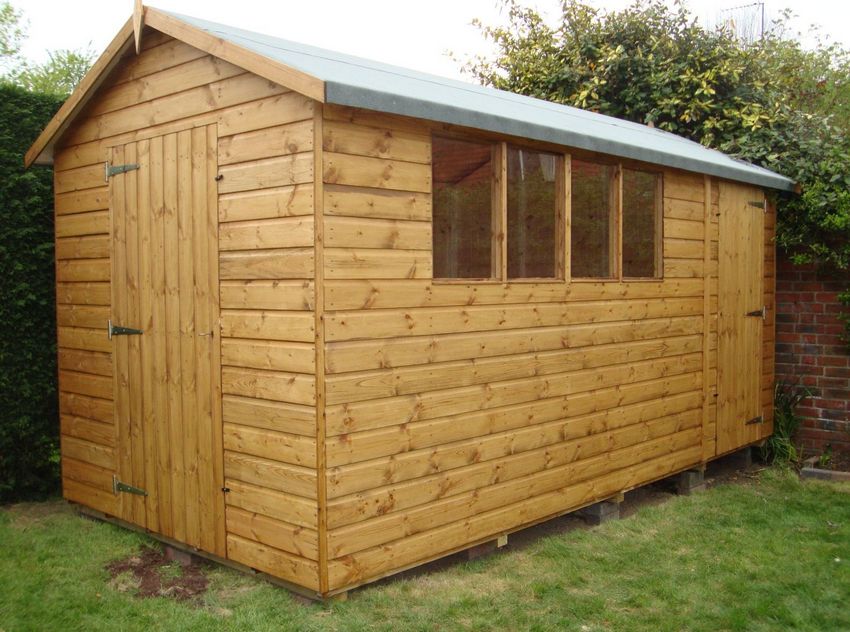
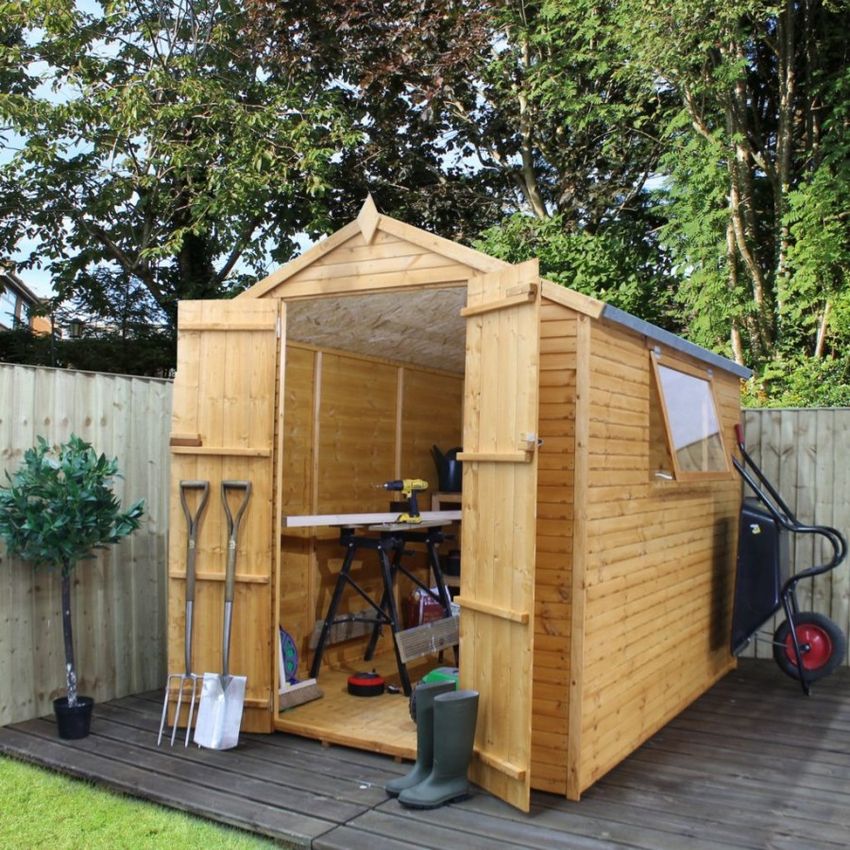
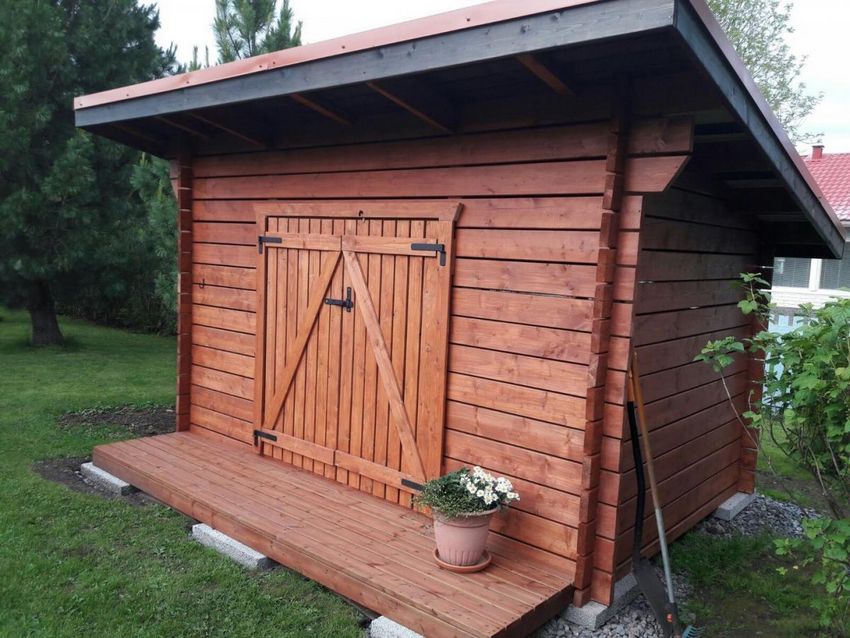
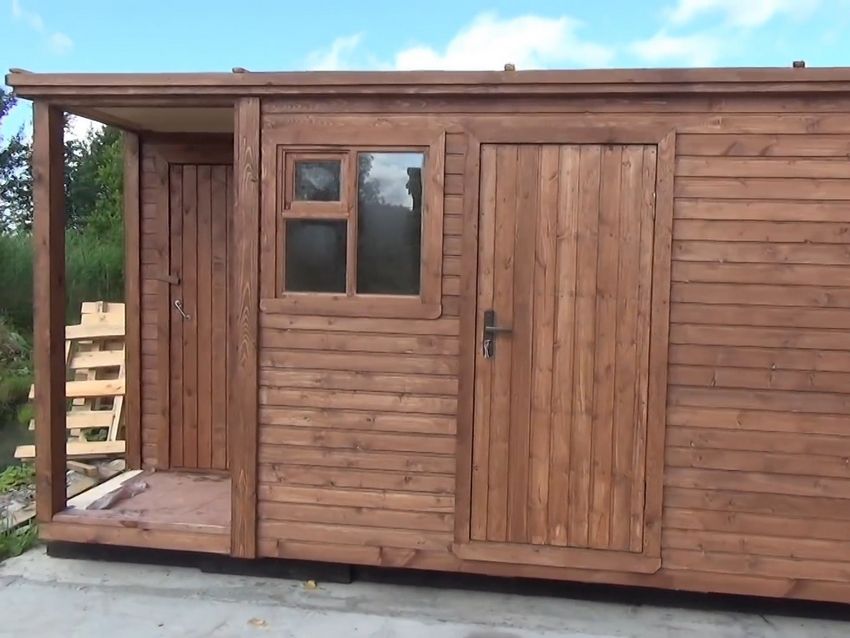
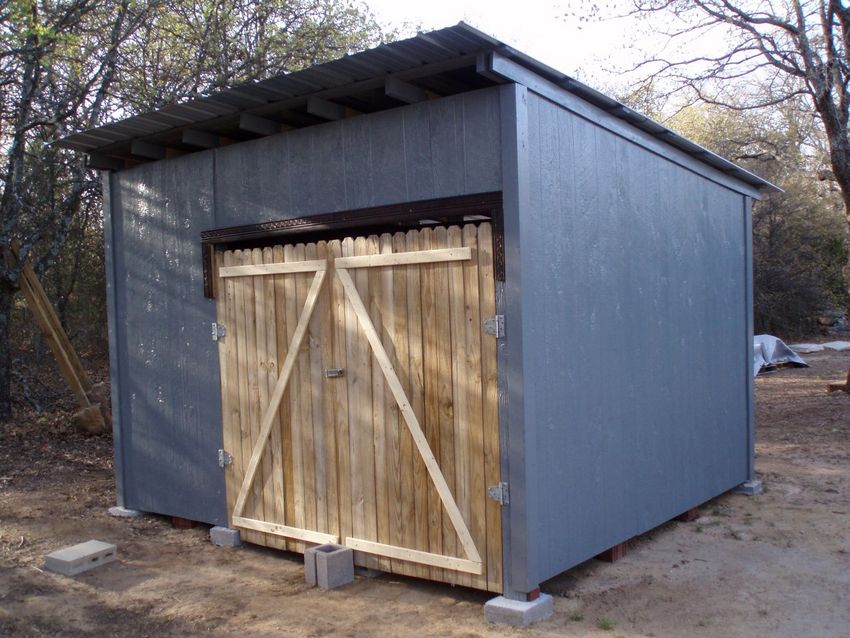
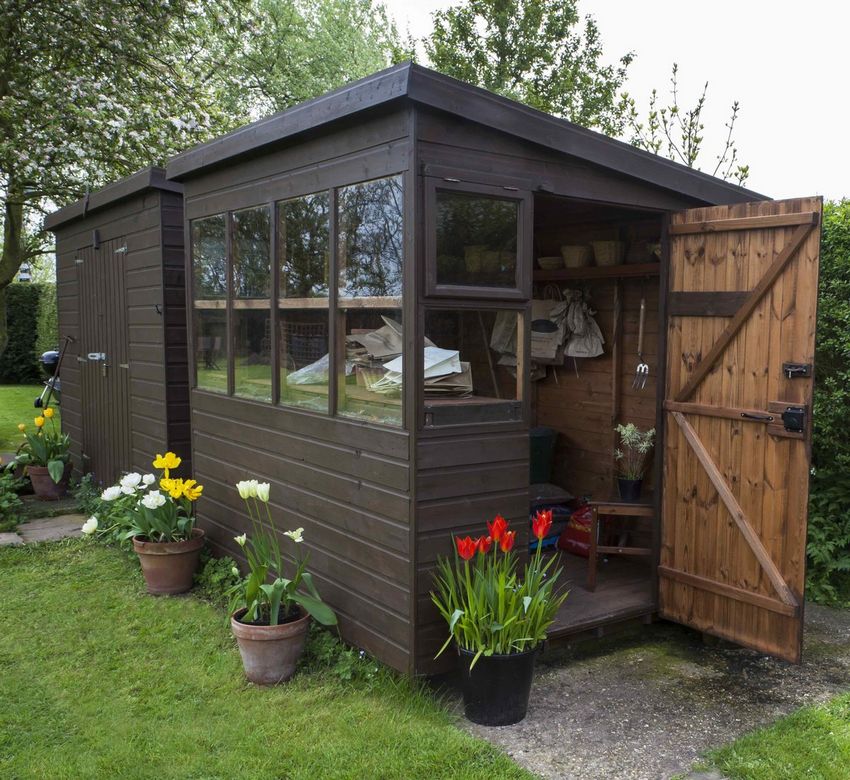
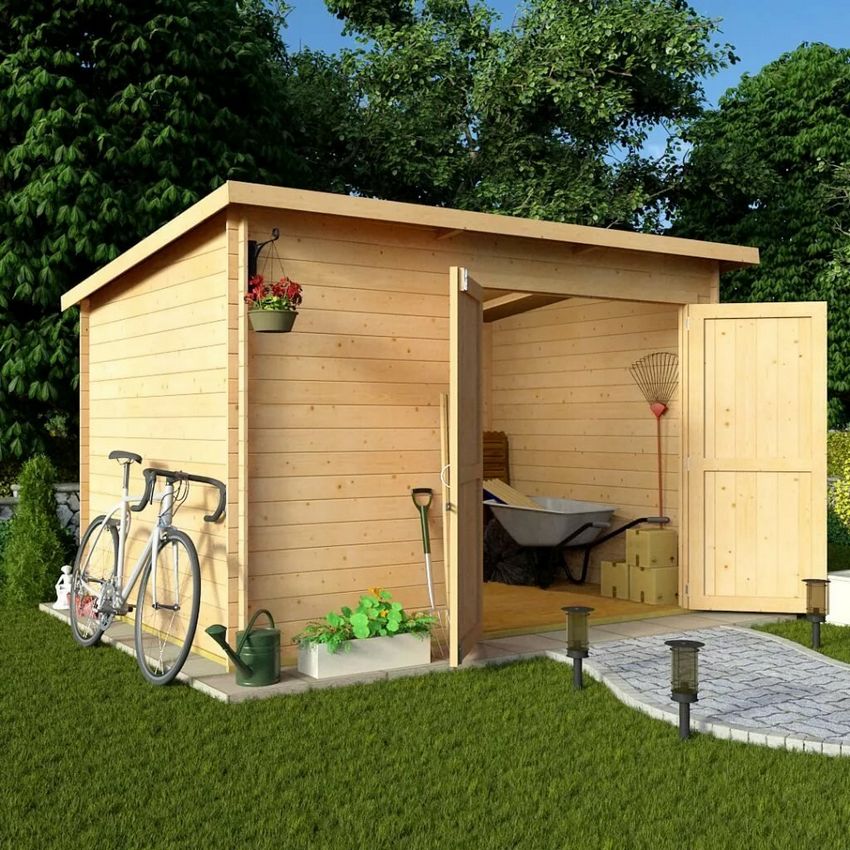
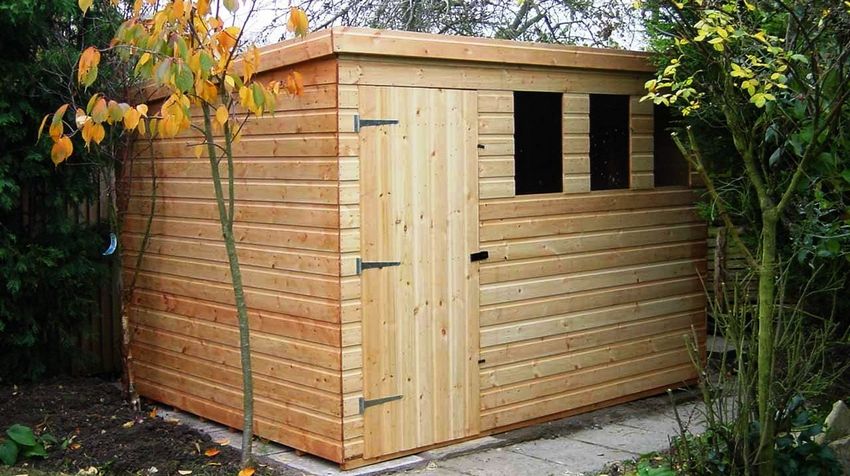
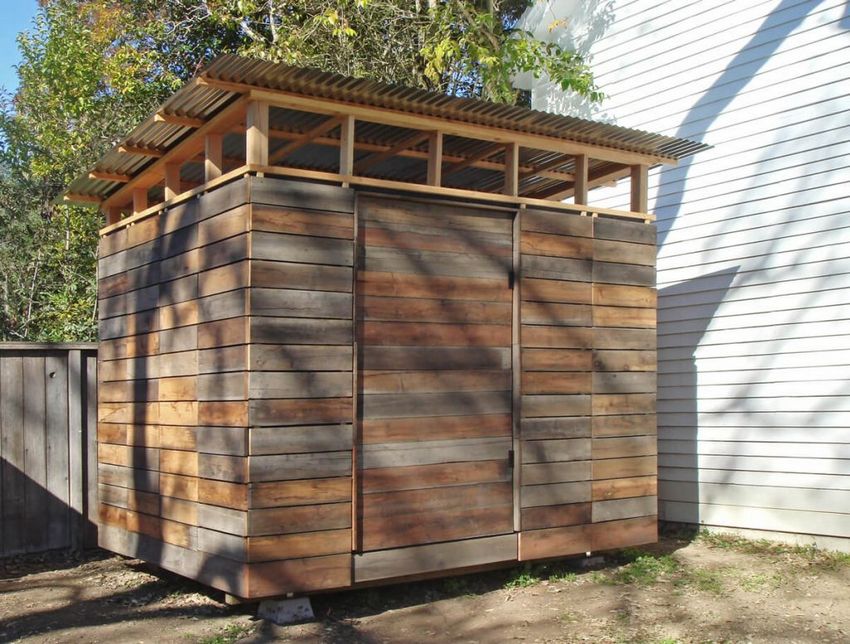
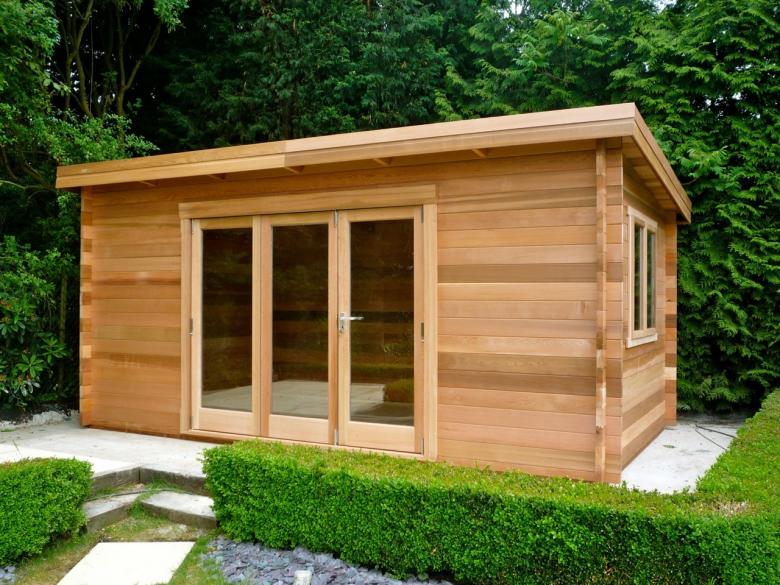
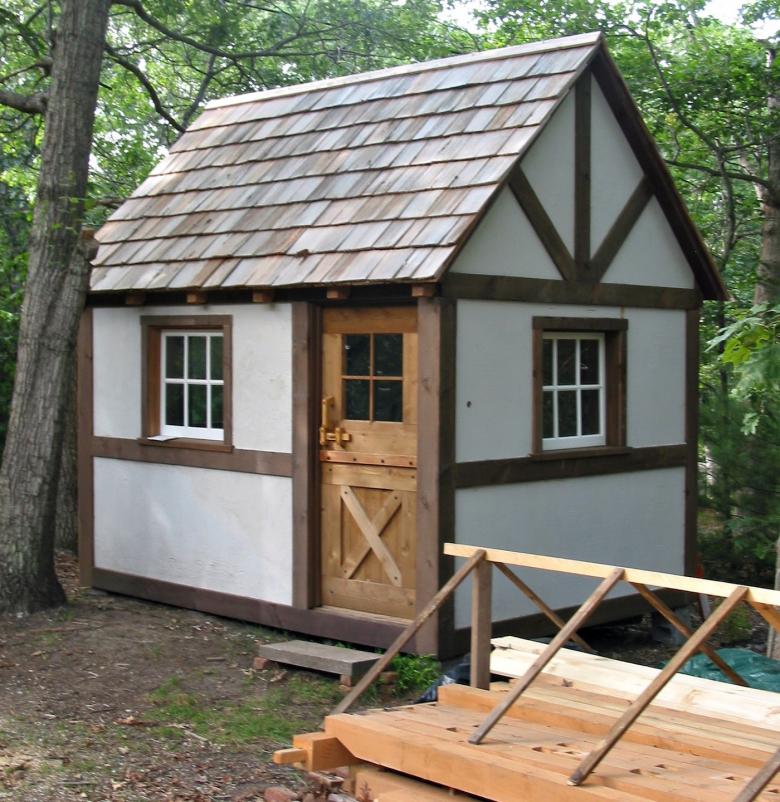
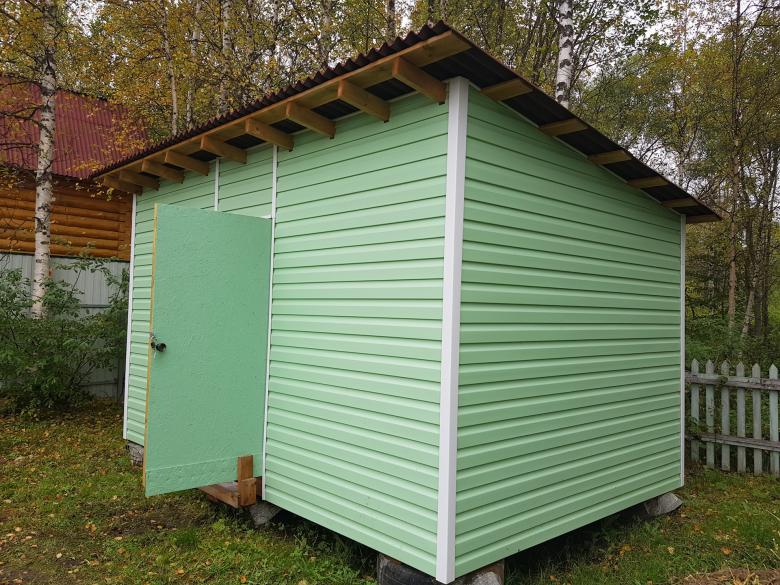
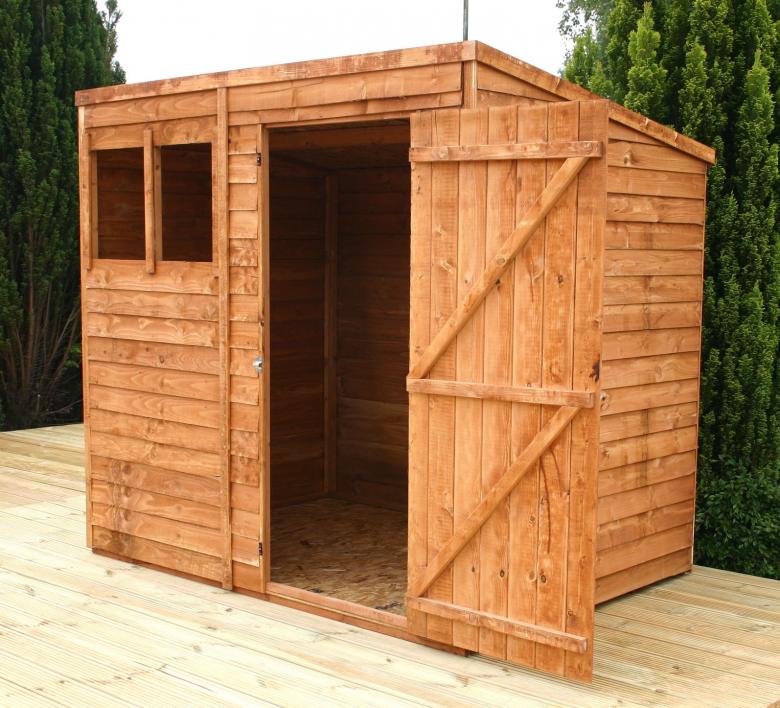
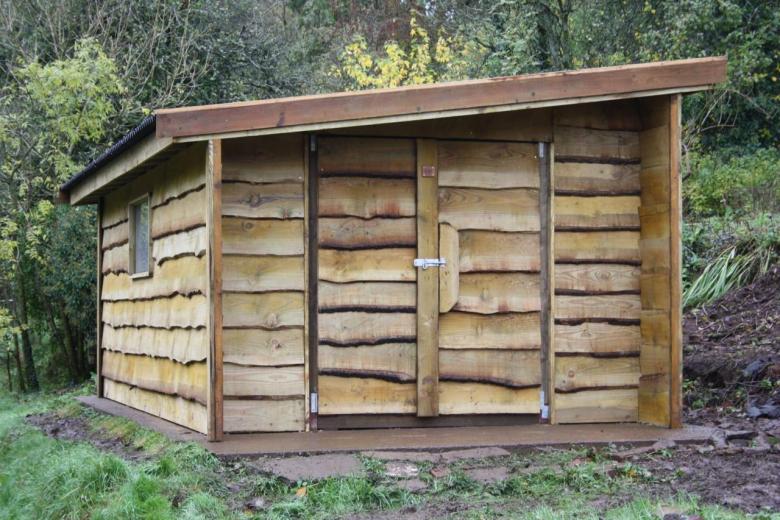
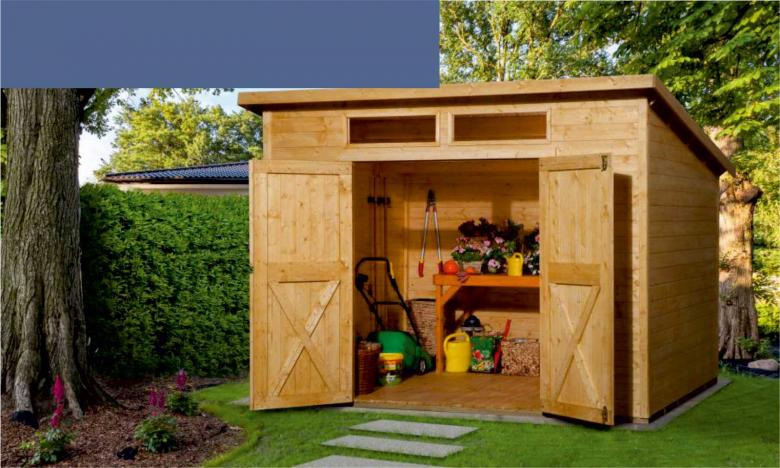
Photo examples of design of homemade barns