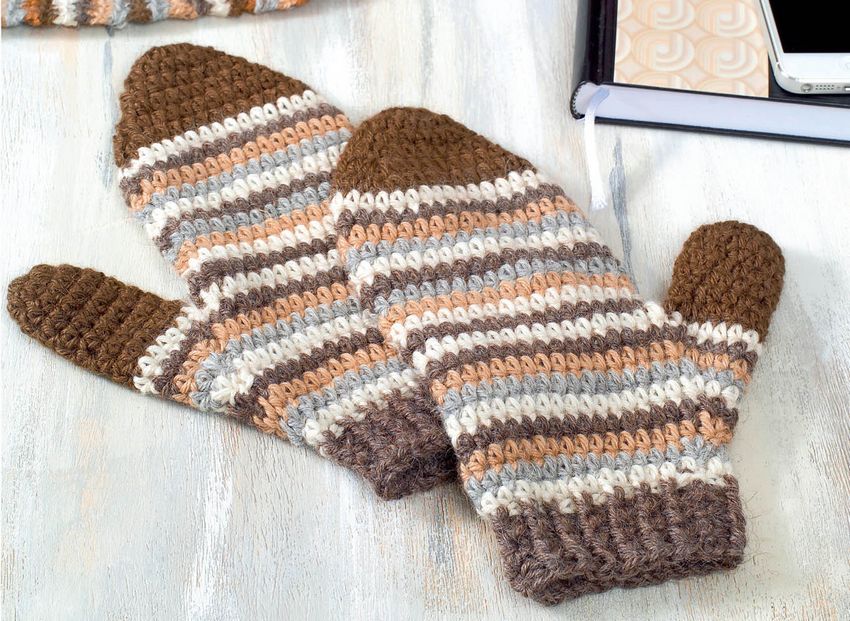
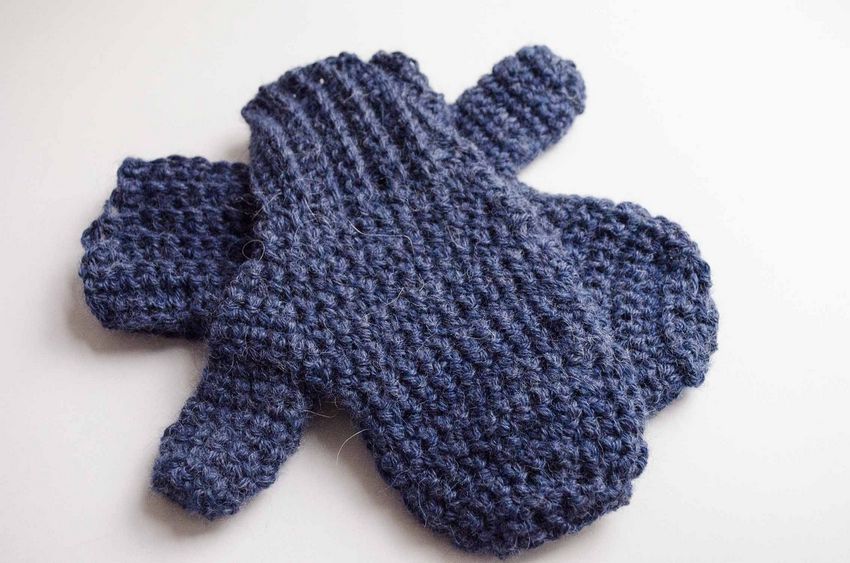
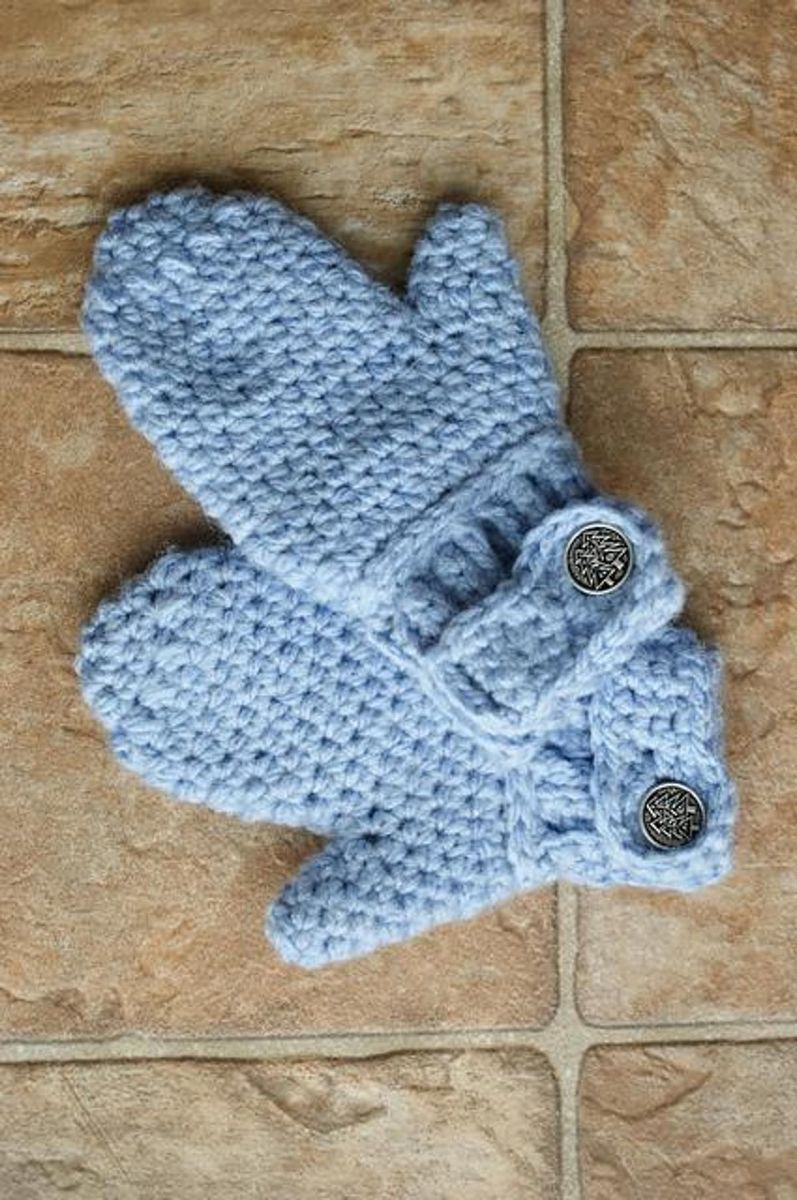
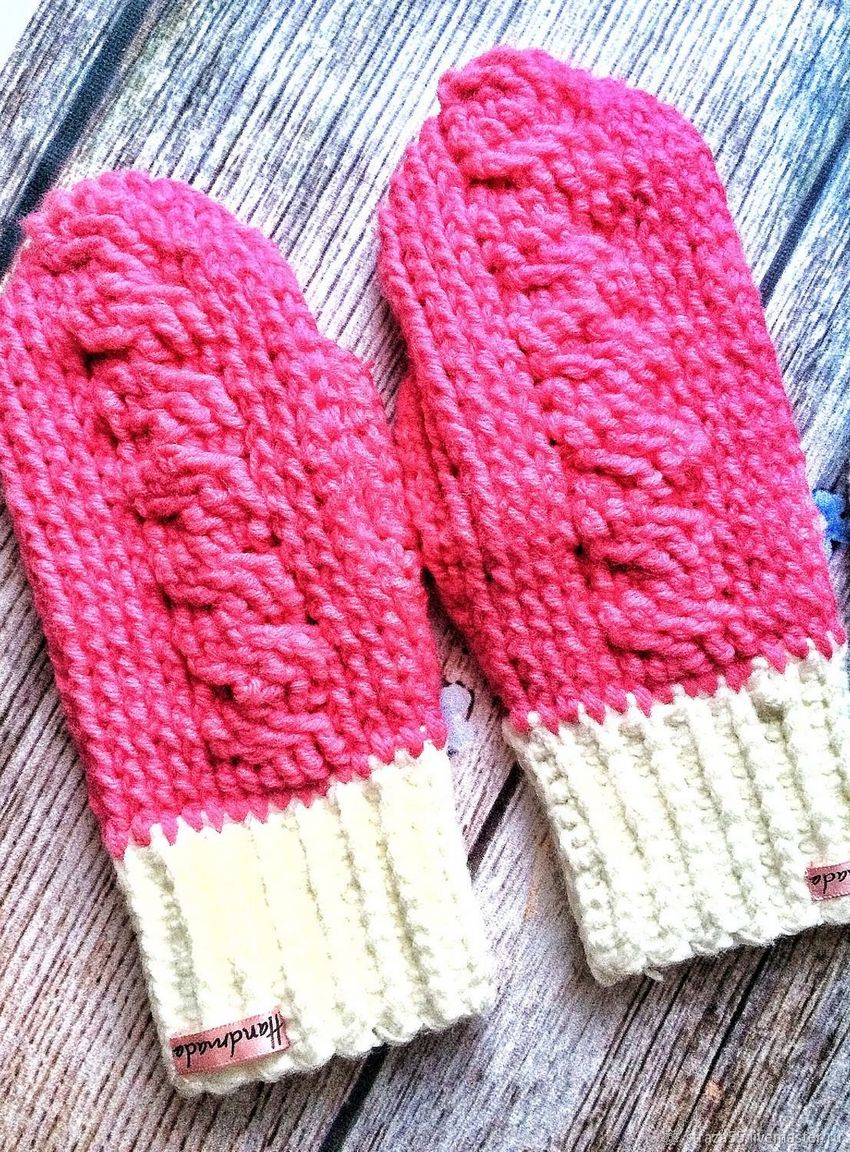
Crochet mittens for beginners: how to knit warm mittens, gloves and mittens
Mittens to insulate the hands are useful for children and adults in the winter time. They love their appearance and comfort. But, how to create this accessory with their own hands? Few people think about this until the moment when the child asked.

You can buy in a store, but this thing is created by an automatic machine, it does not take into account the individuality of the baby. He will be happy to use a soft piece of clothing perfectly fitting to his hands, which is made for him by the efforts of a parent.

But mittens by crochet or needlepoint are not necessarily created for children, because any adult can appreciate such a gift. Such a product looks stylish and will reliably protect your hands from the cold.

Preparing
To create mittens by crochet, you need to decide on the style of knitting, choose a suitable size of crochet. It all depends on the thickness of the yarn, if the yarn does not match the size of the notch on the hook, then you need a larger hook to ensure a comfortable process of creating a product.
Important: If crochet mittens will be created with too large a tool, then large gaps will form on the product, which will let the wind and cold, which will make the operation not comfortable for the owner. If the tool is too small, then the thread will delaminate, and this will lead to rapid deterioration of the product.
It is very important to find schemes and descriptions of mittens crochet, so we will try to shed light on this issue. Next, let's look at a few broad examples. It will take a long time to implement.

Equally important is the material from which the tool is made, because aluminum ones can react chemically with some synthetic fibers. Therefore, the products turn out not very attractive or not at all suitable for use.

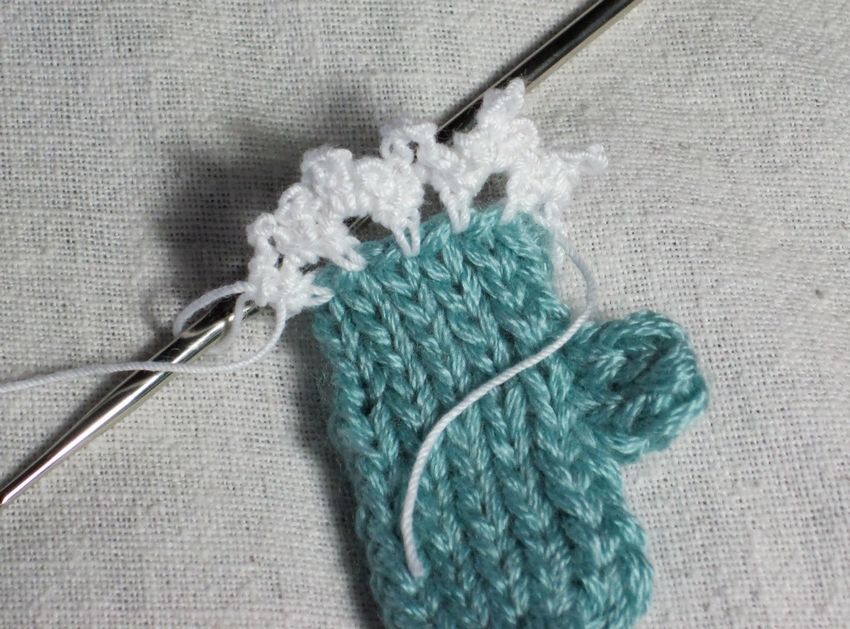
The beginning of knitting
Everything starts with an elastic band. It should not be too narrow or wide, to be convenient to use. In the first case, the product will not stay on the hand, but in the second case, it will fall off the wrist, which will cause irritation to the owner. Therefore, it is recommended to try it on the future owner. After that, you can continue working.
They can be monochrome or in several colors. If you do not have your own idea of how to do it, then masters are looking for patterns and descriptions of mittens crochet in specialized magazines or on the Internet, because the latter source is more versatile information with video examples.

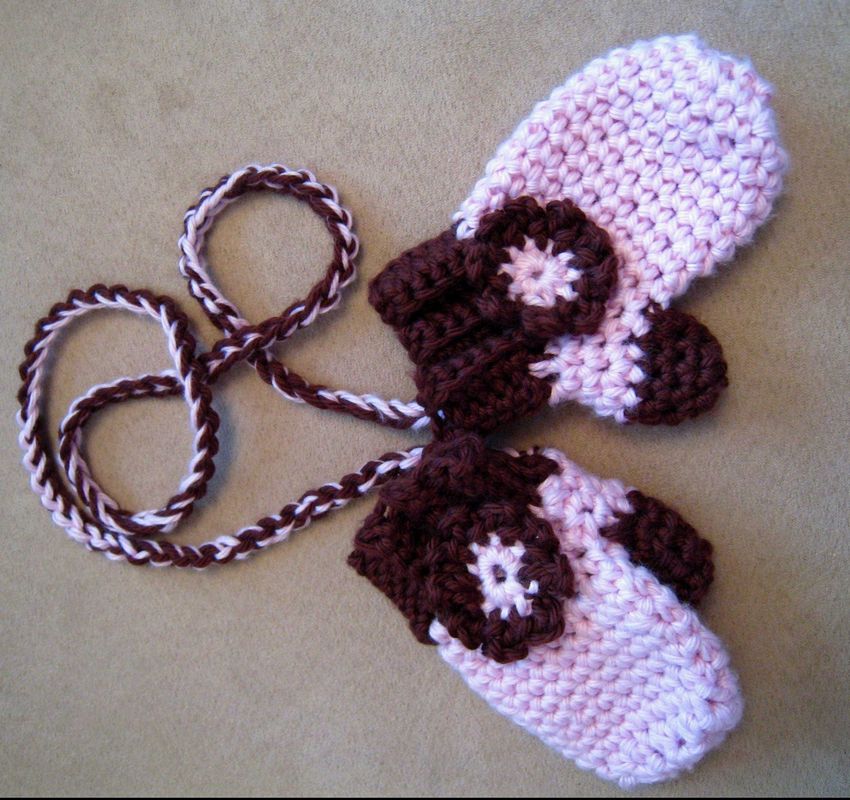
Mittens transformers
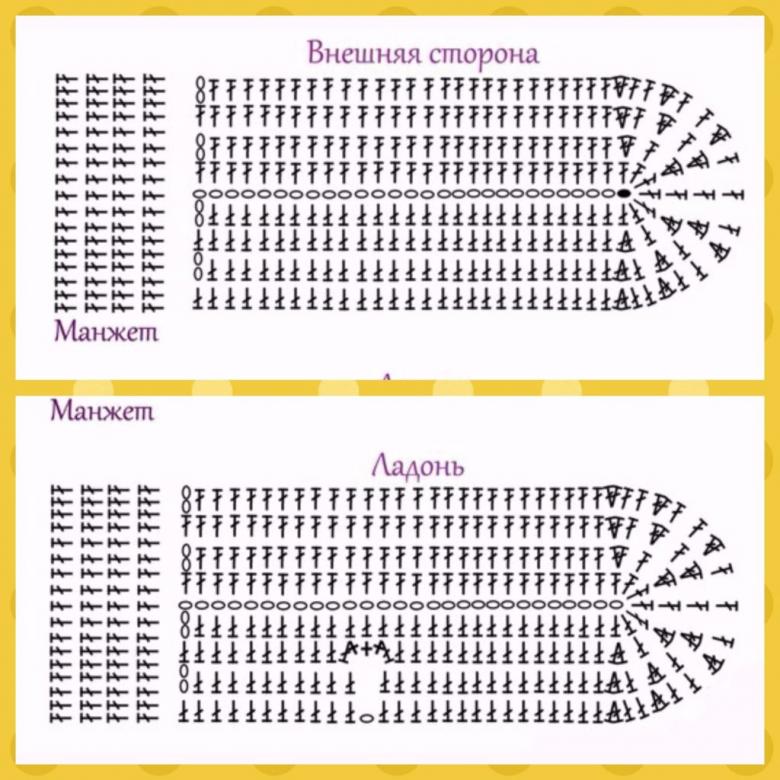
Quality mittens transformer crochet created in four stages. This will require 4-5 hours of free time. We study the example of the size of 18 cm. This model is offered in combination with a finger, therefore warmer than gloves.
But, if you need something tightly grasped by hand, then you will have to remove the helpers. Perhaps this is the only inconvenience. But the cap version solves this problem. If the moment has come to use all fingers a special "house" is opened.

To make it you will need:
- Camel and crimson colored thread on a base of suitable density;
- Two buttons;
- Separate threads for stitching the buttons;
- Tool number 4;
- Appropriate needle;
- Comfort Scissors.
Stages of knitting:
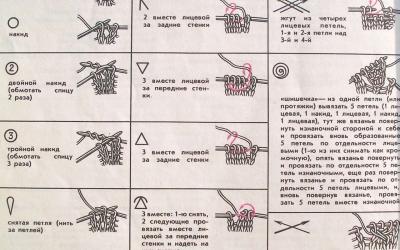
1. 33 air loops are picked up in order to close them in a ring. To do this, the first and last stitches are joined together thanks to the technique of connecting element in the form of a column.
At the start of the row, 1 air loop is created to lift without a stitch, but to replace the st. After the knitting b / n to complete the strip, but the st. is sent behind the back wall. This allows you to form a scalloped band.
Each strip is closed on the basis of the connecting st. through the first buttonhole. An air loop is always created before starting a new strip. This is important to ensure a quality and durable product.
This method is followed for 18 rows. Now it's time to create a finger hole on the left hand. It is necessary to focus on the "seam" created in the area of the starting buttonholes. This "seam" is on the back of the palm.
To form the finger hole, 8 posts and c/o are created. Performed in an identical technique as before. A comfortable place for the finger should be formed.
2. Knit 9 more b/n columns. This is necessary to form a "cap". Used camel thread on the basis of the seam and 2 rows below the final connecting st. "Cap" covers the model by overlapping.
To create the free edge of the "cap" will require 16 sts. Skip 16 loops of the base and knit b/n columns, but in the other 16 loops of the base, so that the first strip is completely finished. It is very important to stick to the identical technique used up to this point.

3. 8 rd. sts. are set and the making of the cap toe begins. The scheme of work requires a separate explanation:
- The 1st row is formed in/n by the lifting technique, 2 columns of b/n and gradual reduction is used. This method is repeated 6-8 times.
- The 2nd is knit in/n, b/n until the band is complete.
- 3rd in/n, 2 columns, b/n, and a knitting down. Repeat no more than 6 times.
- The 4th is formed by an air loop with a lift and a b/n column all the way to the end of the strip.
- The 5th c/o, 1 column, b/o is required and the technology of the ducking. Repeat no more than 6 times.
- 6th v/n with a lift and 6 downturns until the end of the row.
To create the buttonhole, 8 vp's are used. They are closed in a ring based on the connecting column through the first loop.
It is necessary to cut the yarn, and close the hole of the cap toe. A needle is used for this purpose.

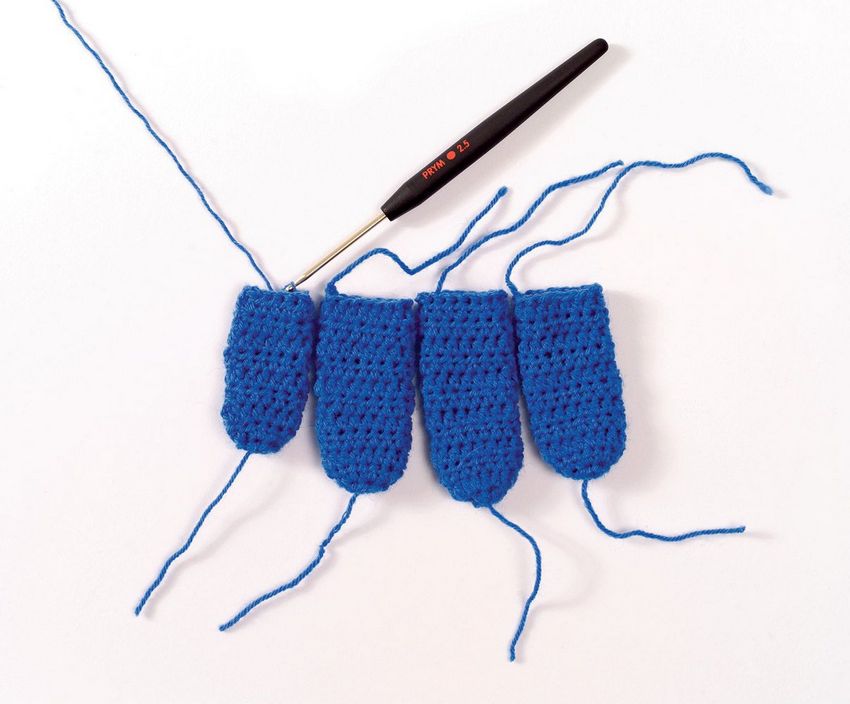
4. The thumb is created. A crimson-colored thread is needed. It is tied around the edge of the b/n hole.
The 1st row is created by connecting the thread to the beginning of the hole. On the vertical side is tied in/n with a lift and 2 columns. They are knit in a union. Then 8 columns are created based on the base loops at the bottom of the hole and from the second vertical. 2 sts. are used, which are created together. The 8 sts. based on the base loops at the top of the hole. A total of 18-20 columns.
- The 2nd is formed by the v. p. with lifting. The column b/n up to the completion of 18-20 sts.
- 3rd v. p., 4 st. and method of ducking, repeated 3 to 15 times.
- The 4th-5th uses the v. p., columns b / n until the formation of 15 columns.
- 6th v. p., 3 sts. and the method of ducking. Repeats 3-12 times.
- 7th-9th sts, knit columns until 12 columns are complete.
- The 10th v. p. of the lift and 6 deletions until the row is complete.
The thread is cut and the hole is closed thanks to the needle. The second transformer style is created symmetrically. The ends of the threads are hidden in the fabric with the wrong side. Buttons are used to secure the cap.

Mitten mitten created by crochet on the basis of elongated loops
The washcloth created by the mitten crochet is able to provide a comfortable wash based on foam. When it comes to the version with extended loops, excellent skin massaging is provided. After the excess foam is quickly washed away with a jet of water.

However, the scheme with the stretched loops of the mitten crochet mittens is created with considerable difficulty. But after studying the master class, even an inexperienced craftsman will be able to make this product.
What will be needed:
- A skein of yarn of the polypropylene kind is needed;
- Tool with the number 2.5 or 3.

Stages of creating a washcloth:
- At the start of knitting focused on a chain of loops equal to twice the length of the corresponding width of the palm. It is closed in a ring. It is tied 2-3 rd. column b / n;
- In the area of the index finger formed an elongated loop. The thread is grabbed and two loops are tied. The long one can now be removed from the place of the index finger. Knitting st. long loop is performed. All manipulations are repeated;
- From the wrist to the main finger long buttonholes are not needed, but the b/n method is used;
- A chain of 10-12 rd. air loops b/n is created to create the thumb. It closes in an arch through 10-12 pillars;
- Along the arch you need to tie 10-12 columns. To do this, the product is turned the other way around;
- Again the work is turned. Along the arch knitting is carried out by long loops. There is a smooth transition to the main part of the product;
- After reaching the tip of the pinky, the technique of slackening is applied;
- After narrowing the hole to 6-8 loops, the thread is cut, the ends are pulled together to get rid of the hole and fix the thread;

It remains to create the thumb. We rely on circular knitting. Once the nail is reached, the method of ducking is applied. The hole is tightened with yarn. If everything is done correctly, you should get a great product.
These are the different ways you can create mittens crocheted for different uses. They look aesthetic and are very useful for human life.
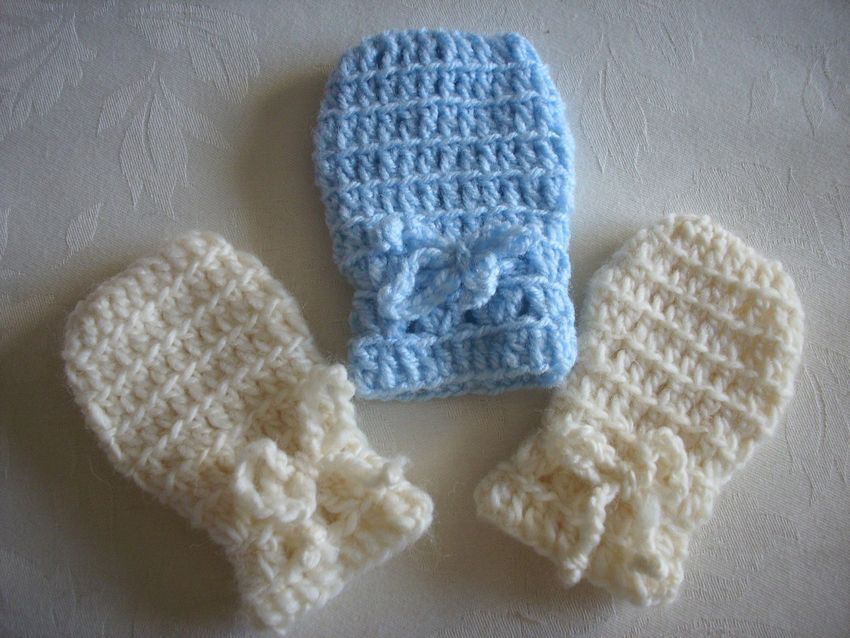
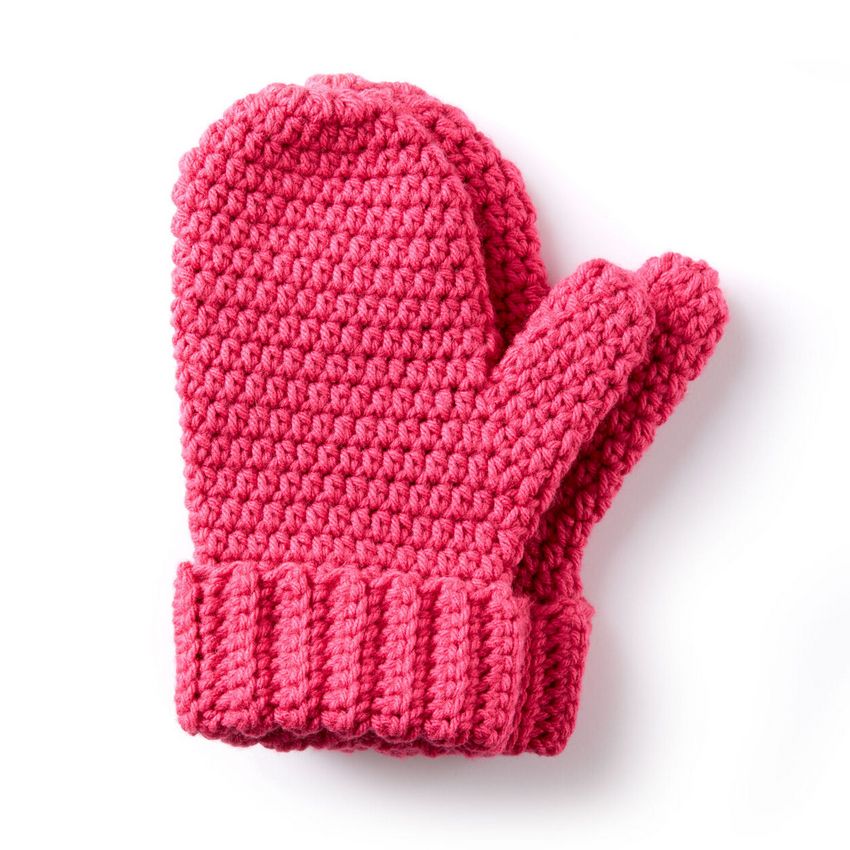
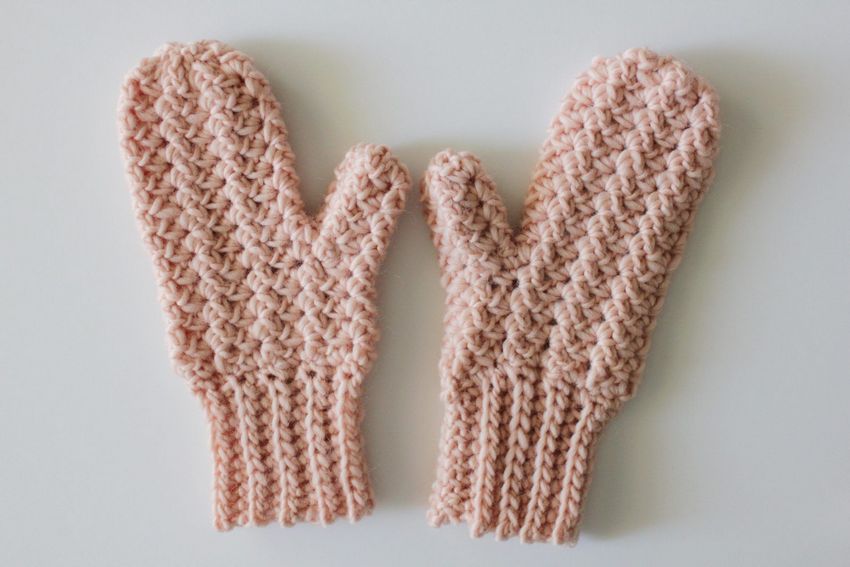
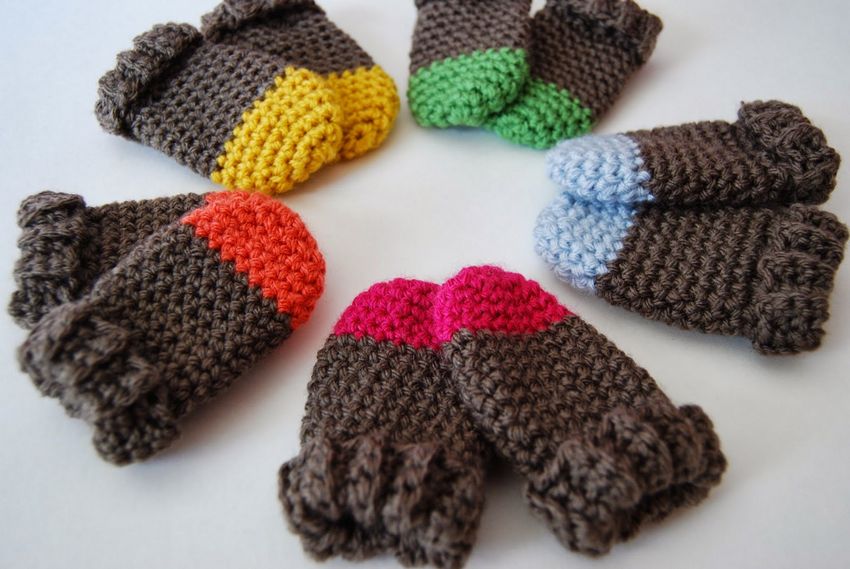
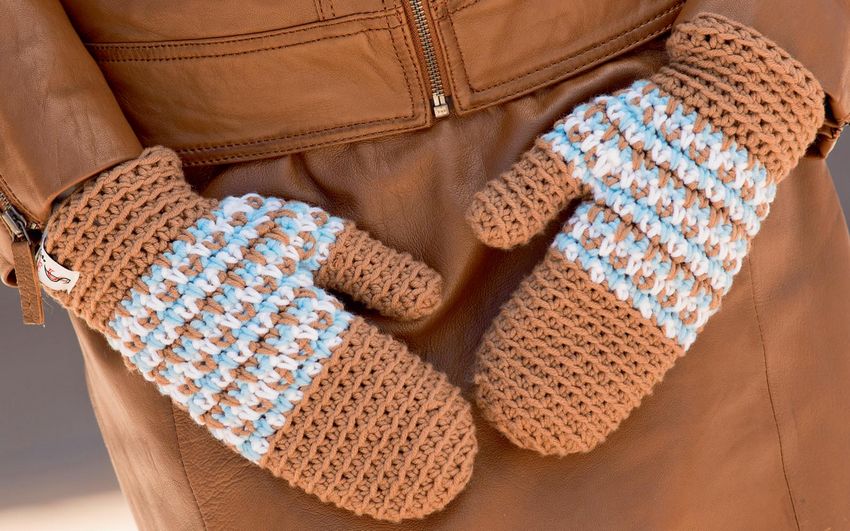
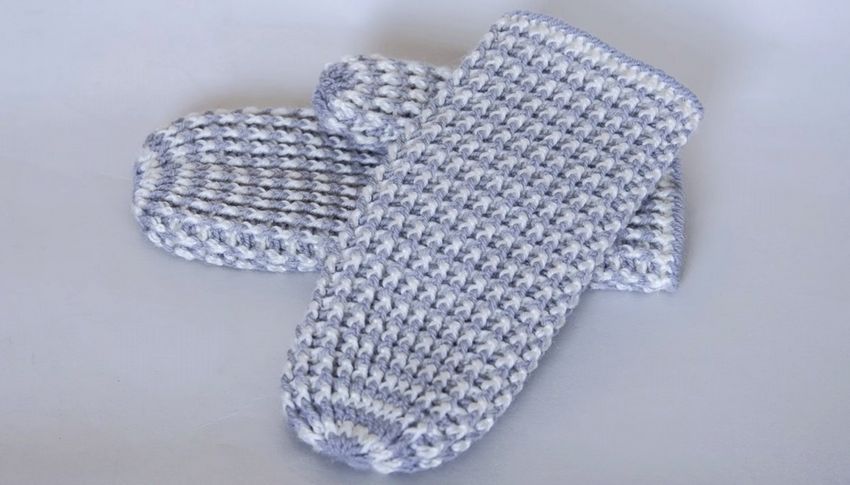
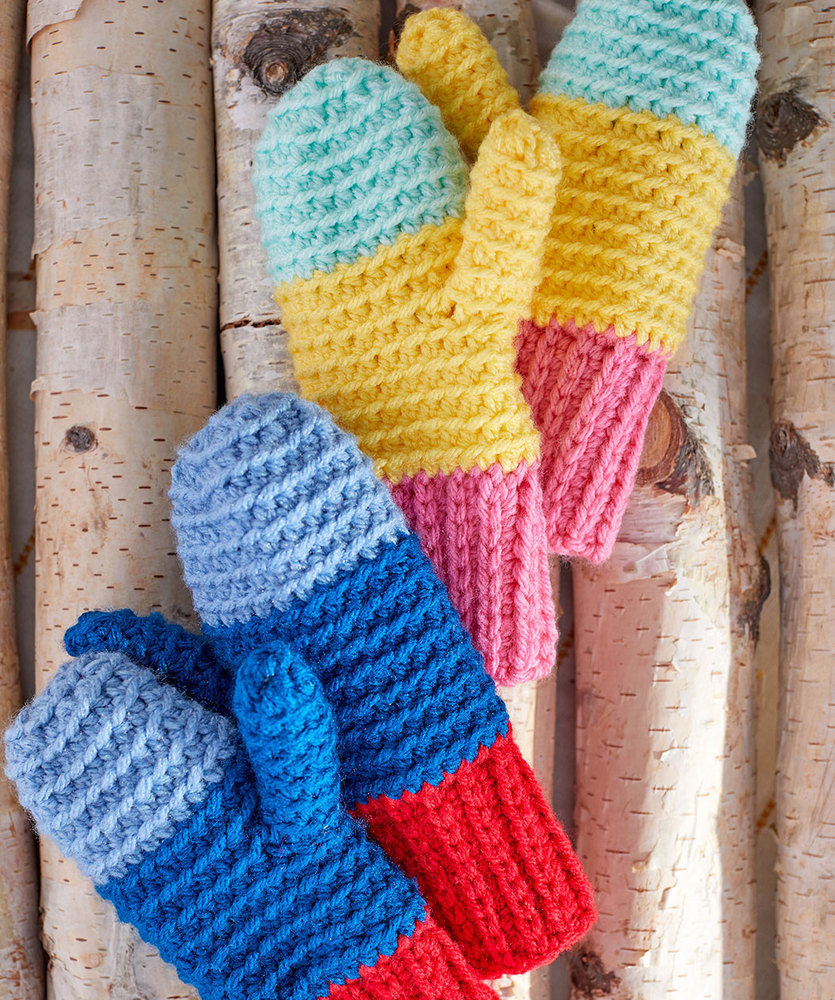
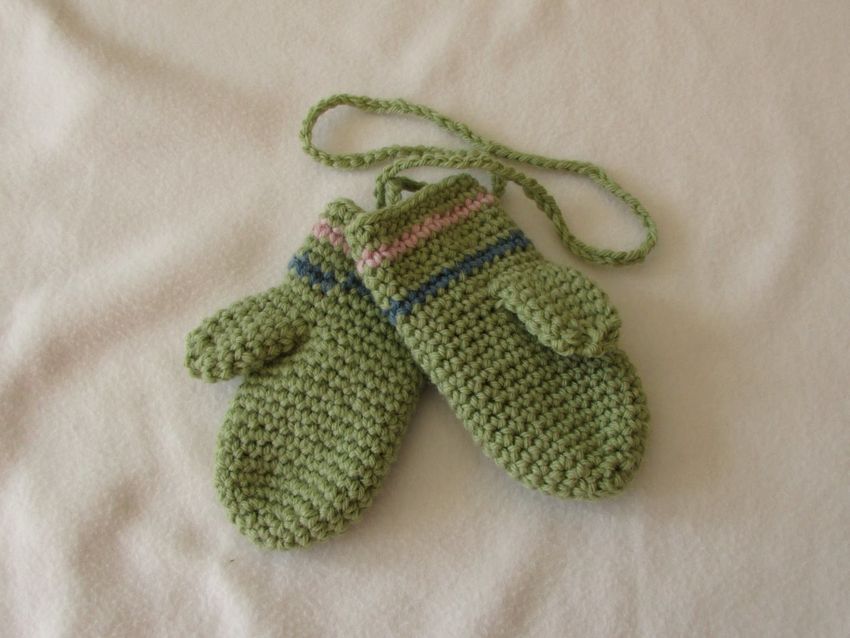
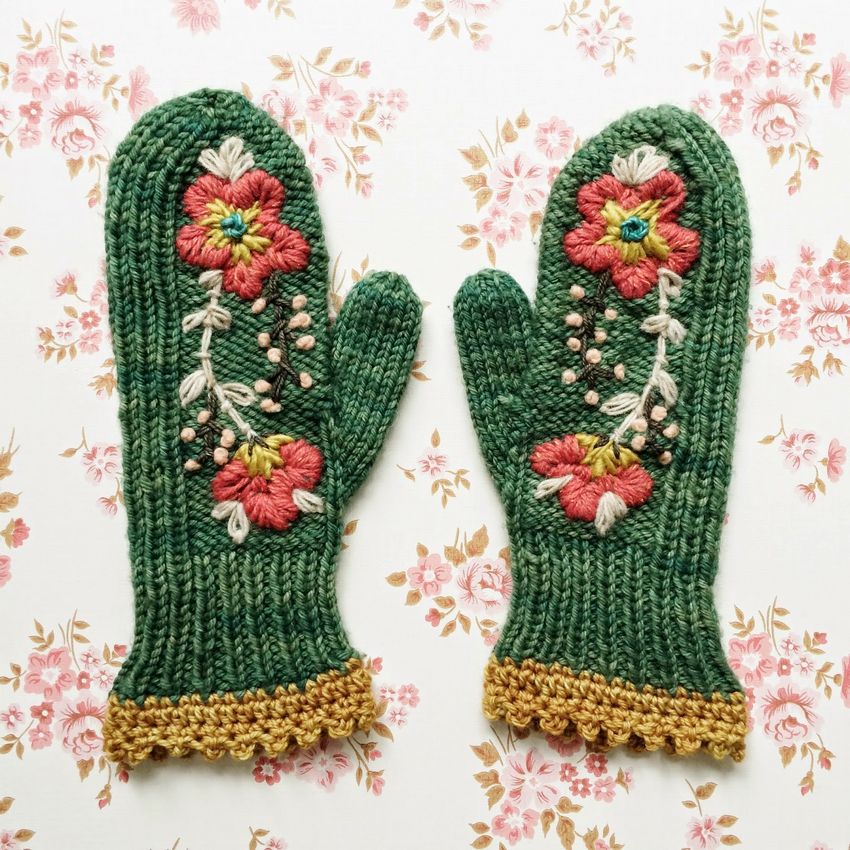
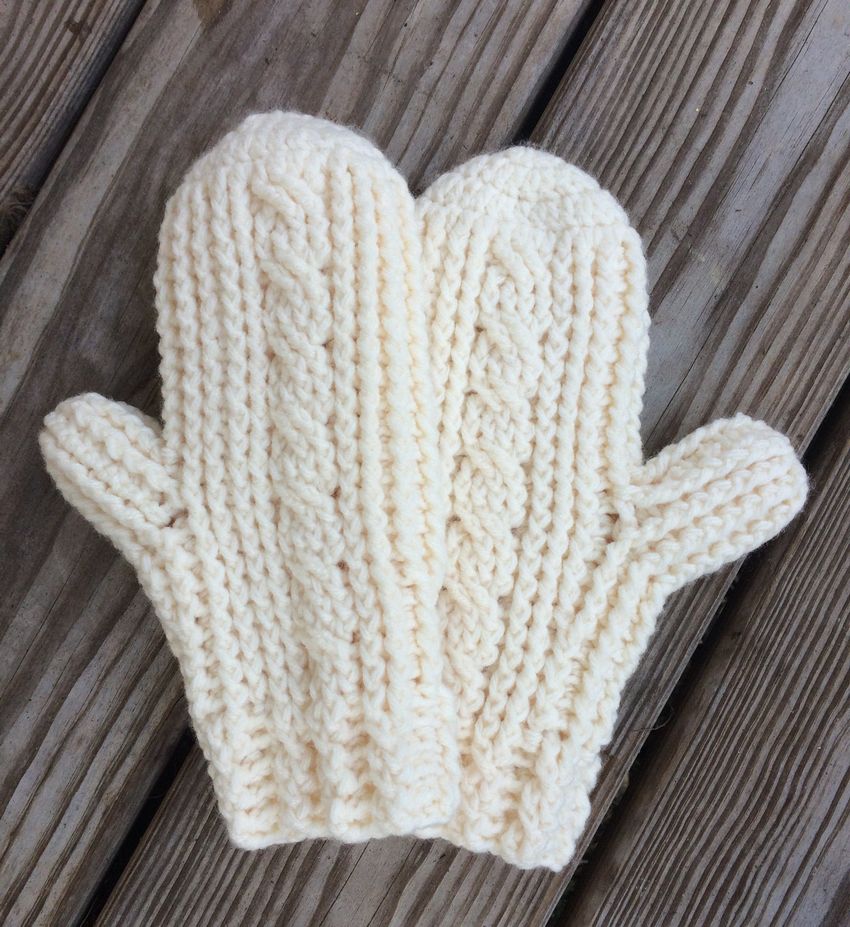
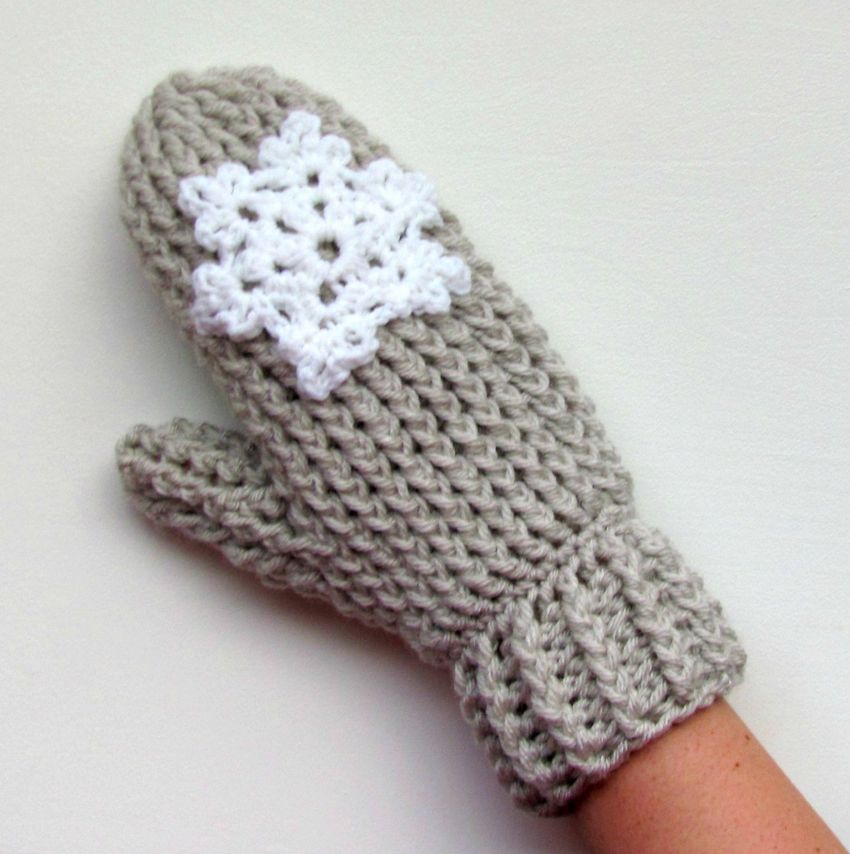
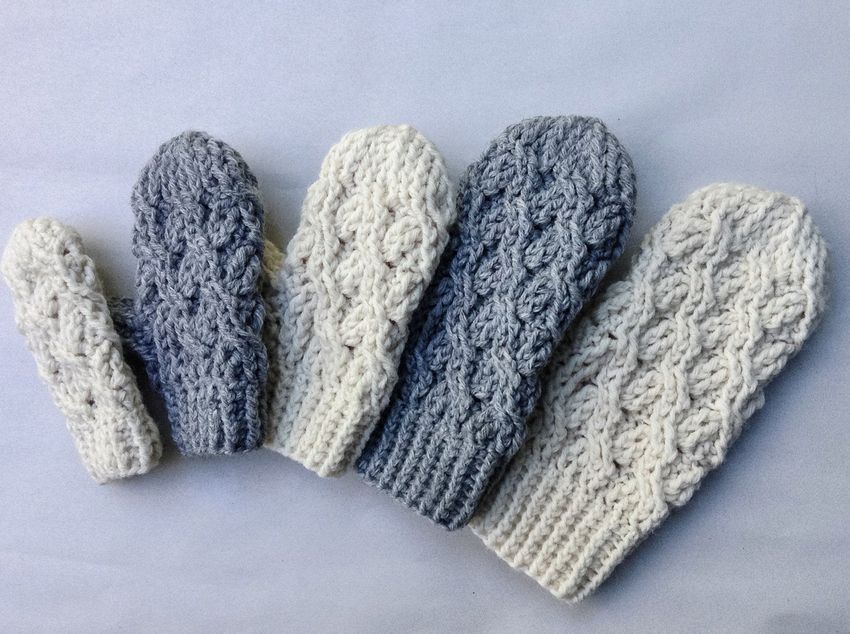
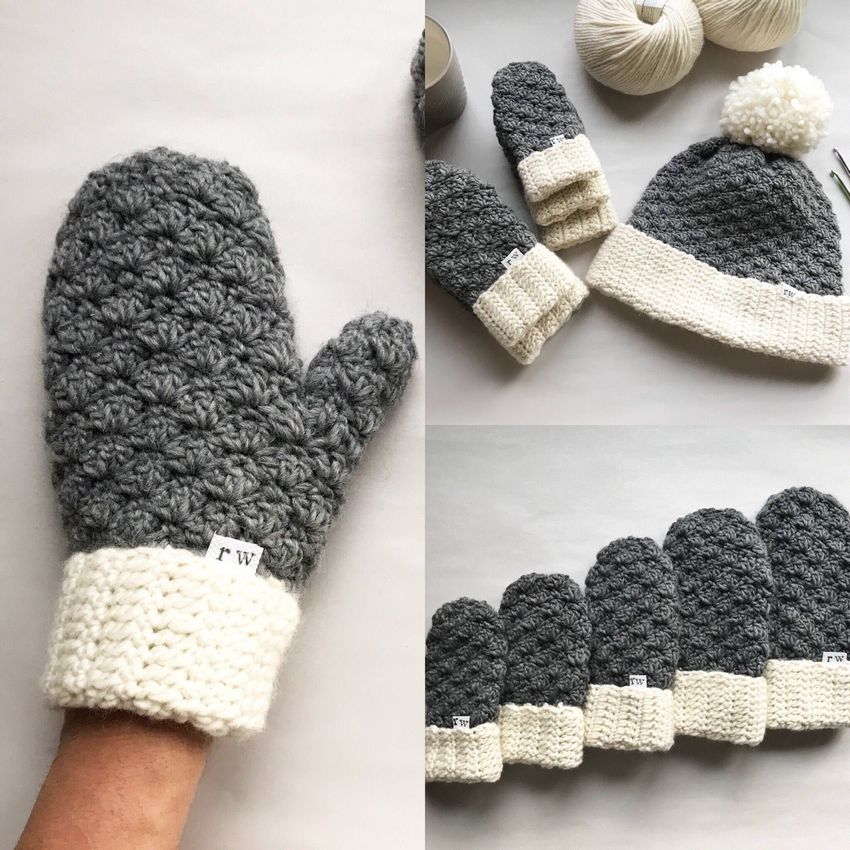
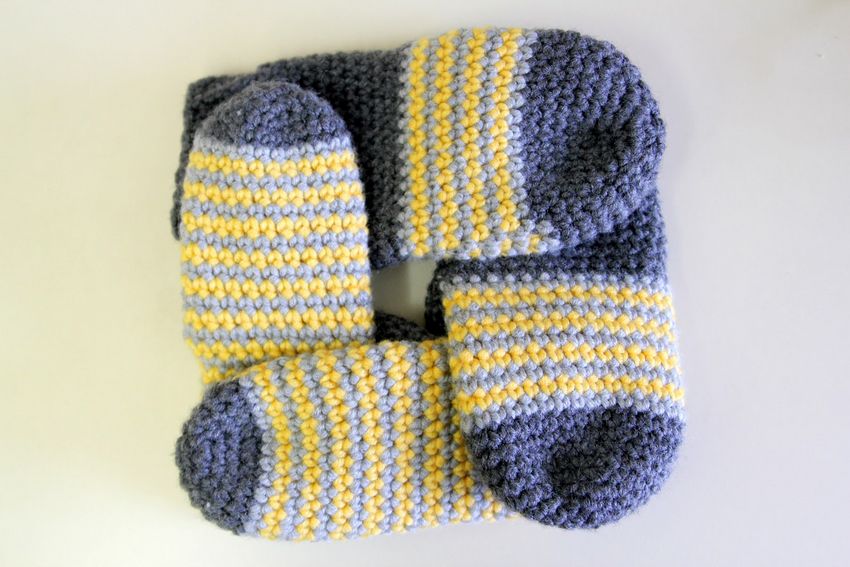
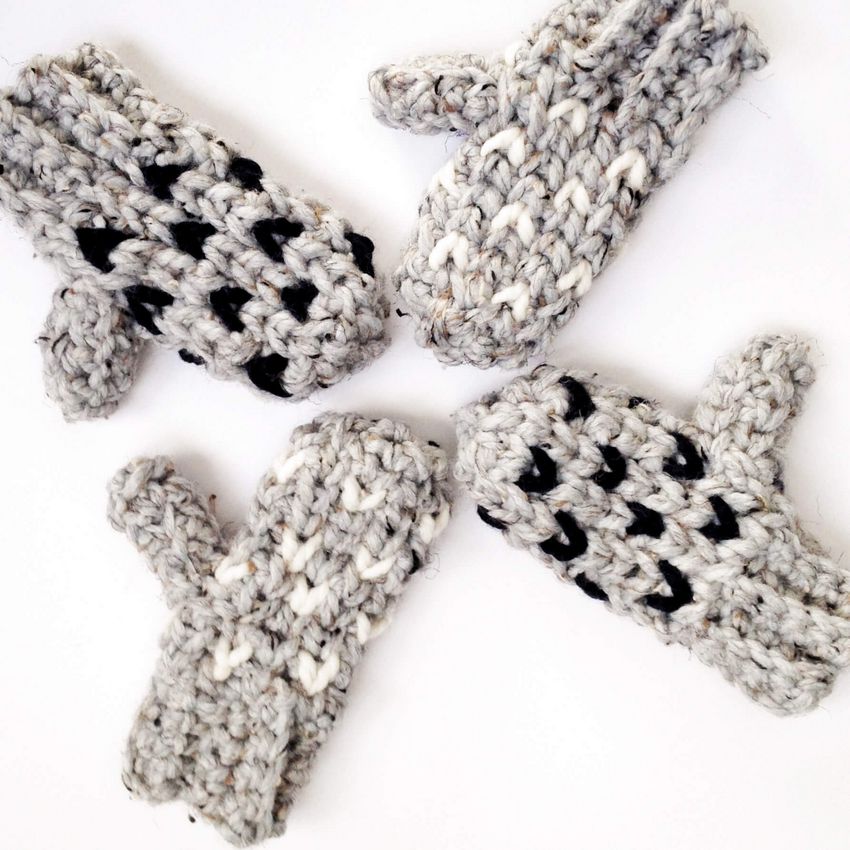
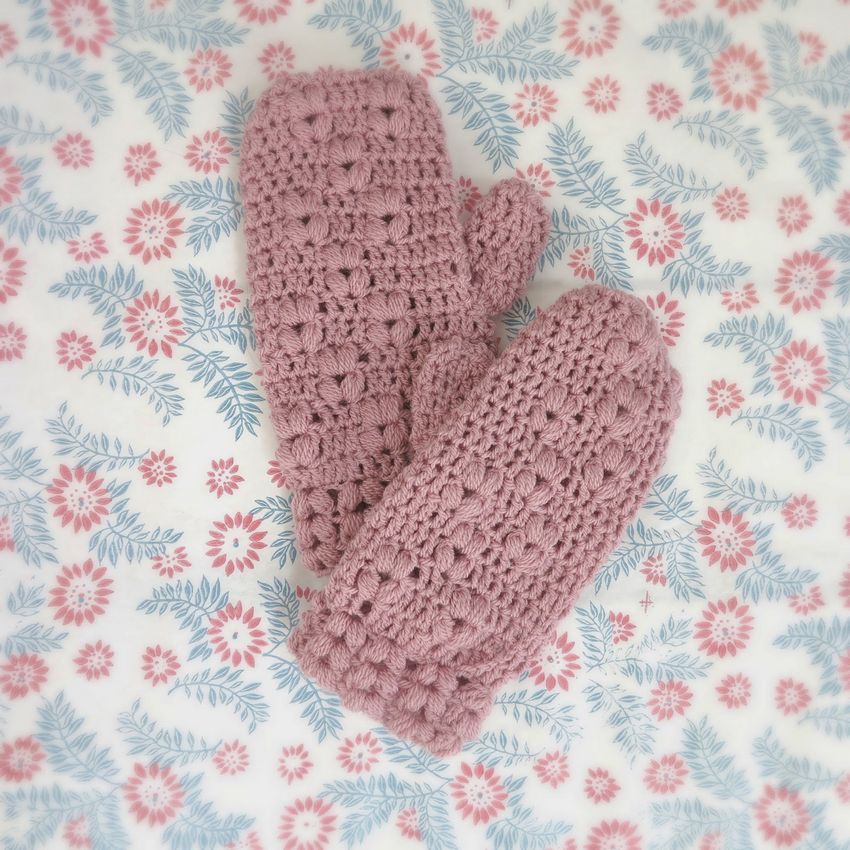
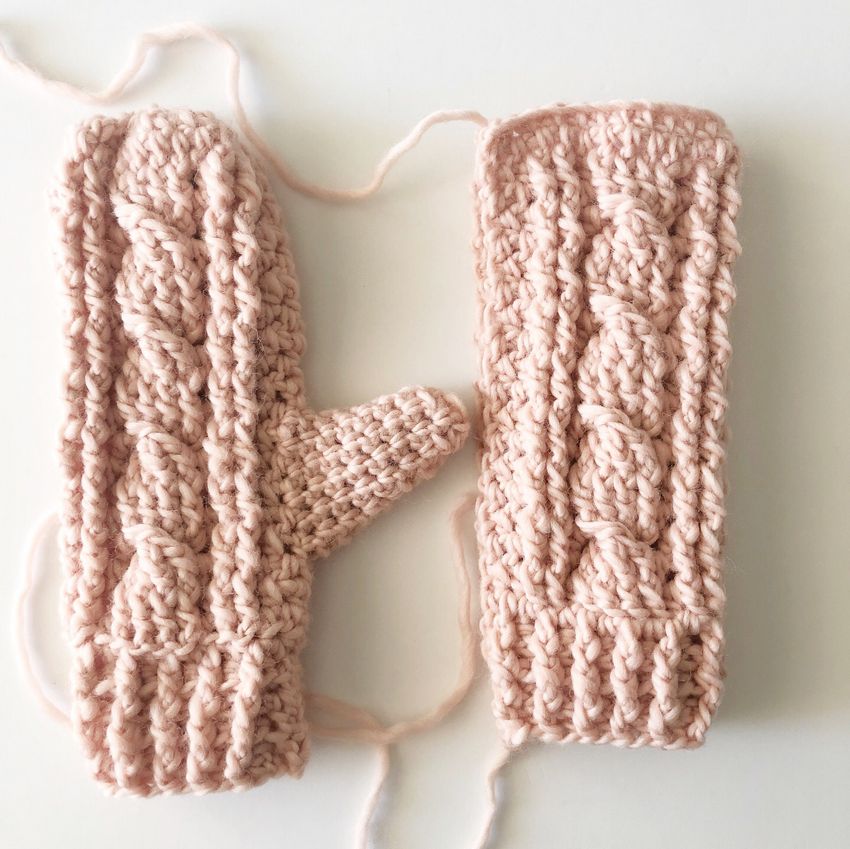
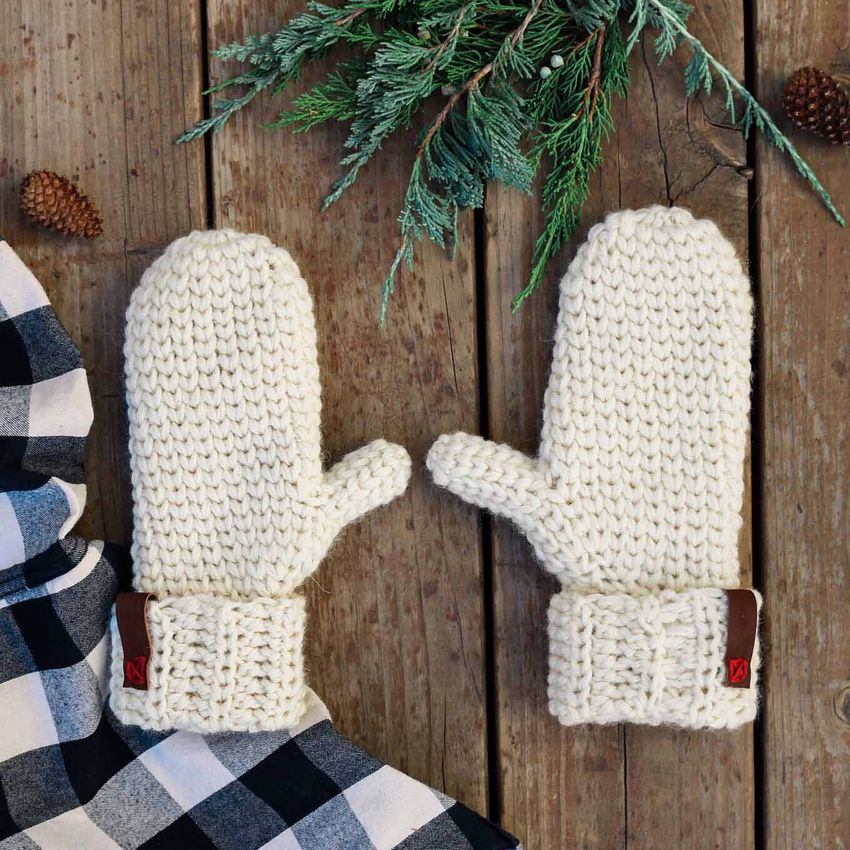
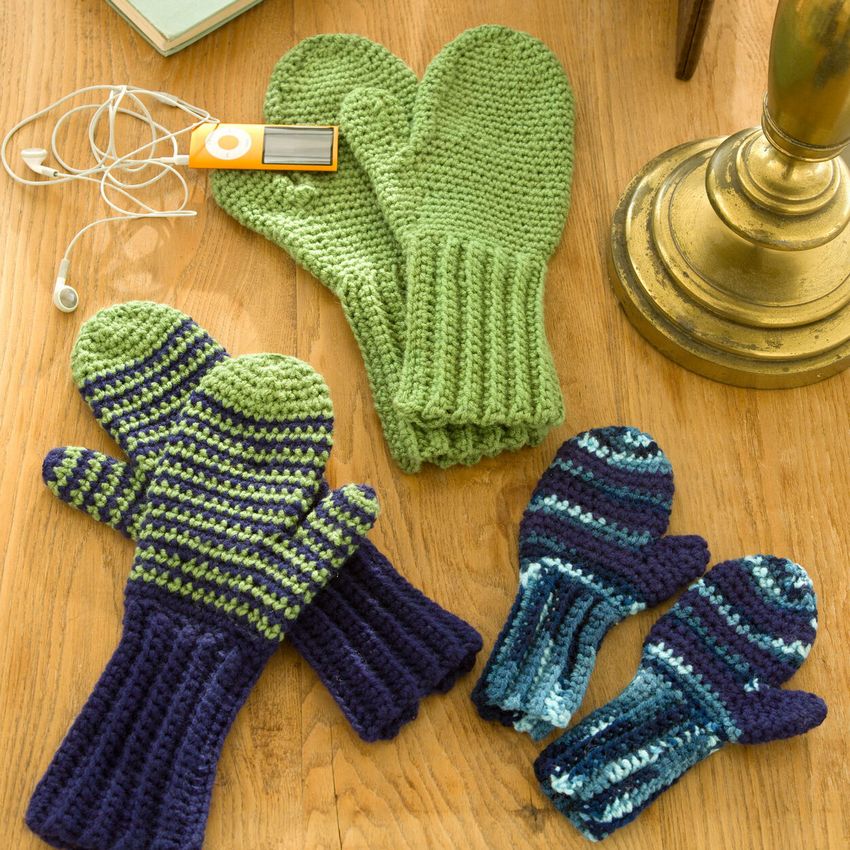
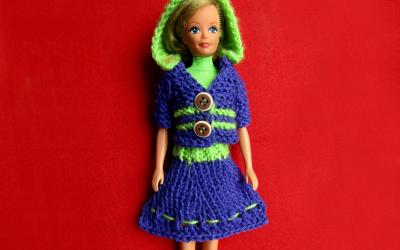
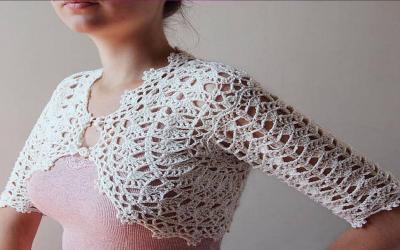
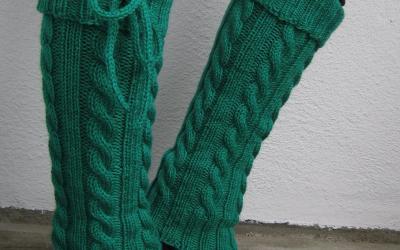
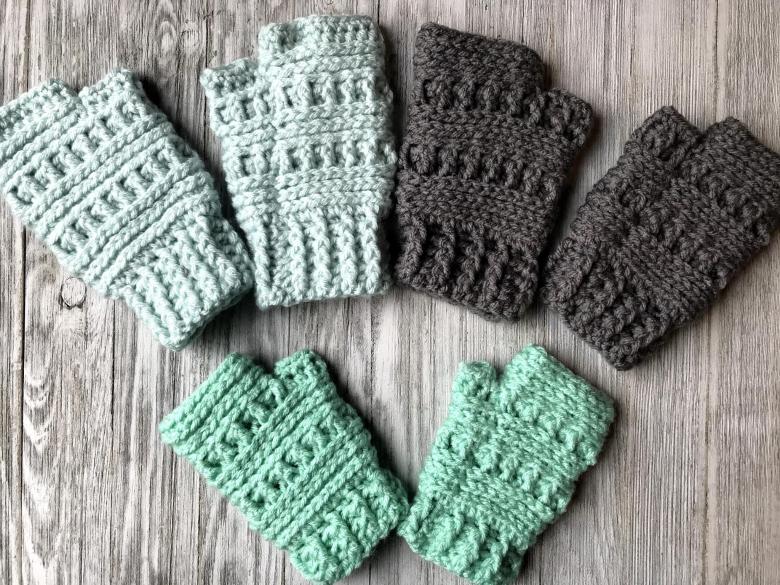
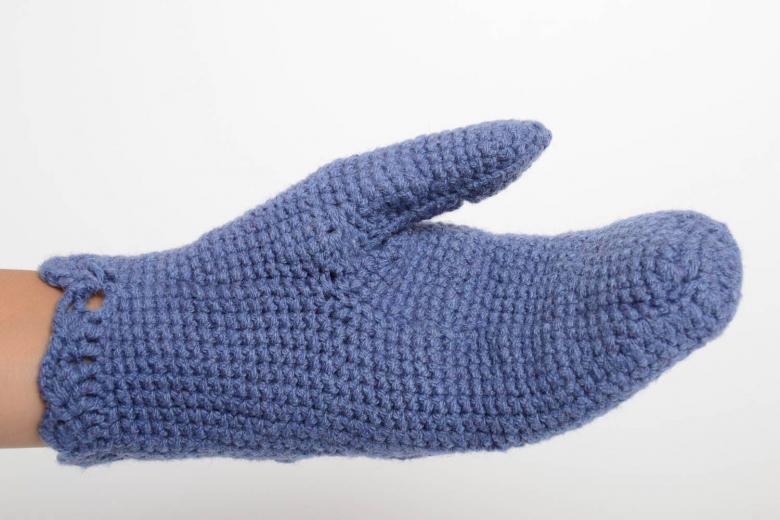
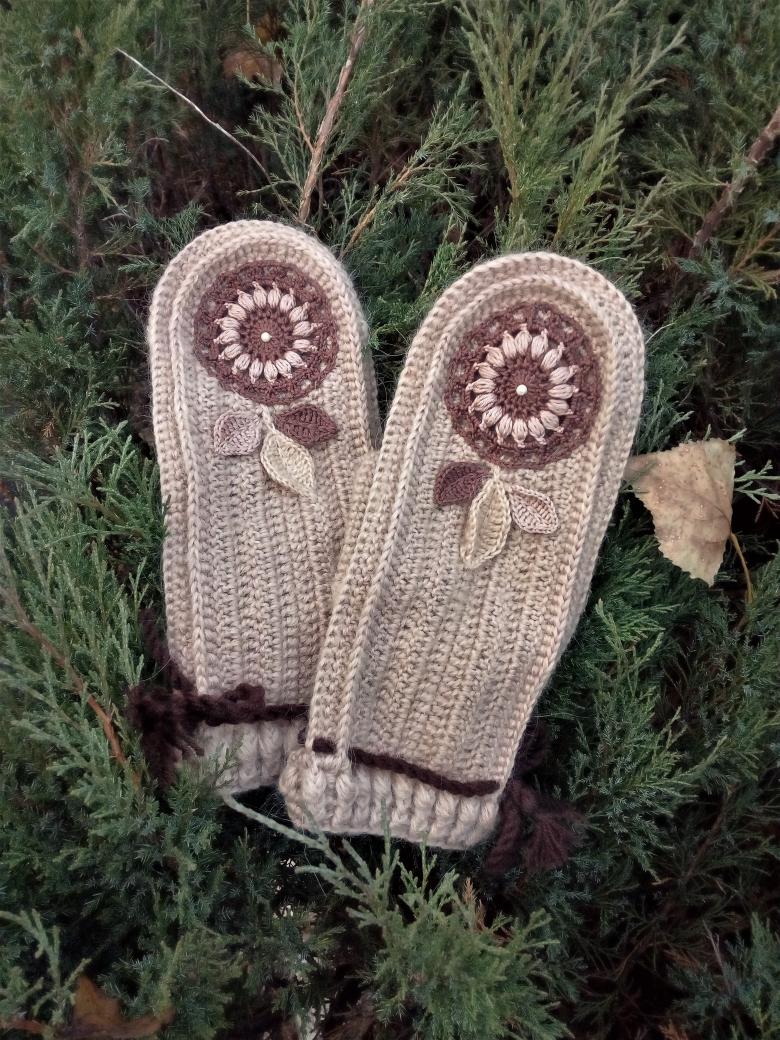
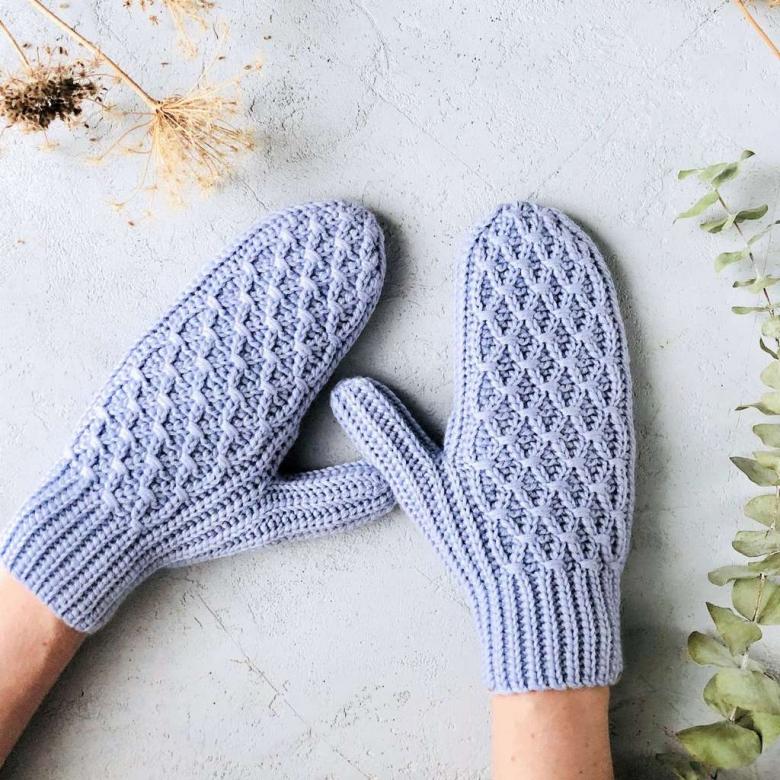
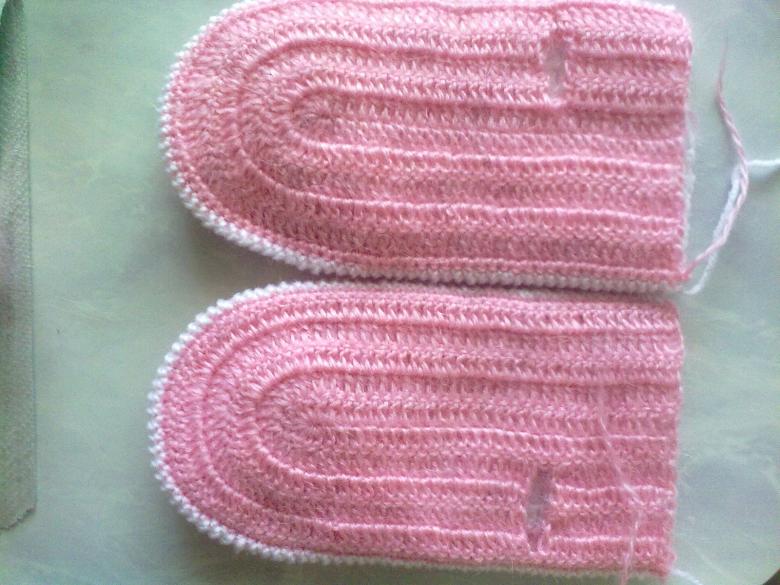
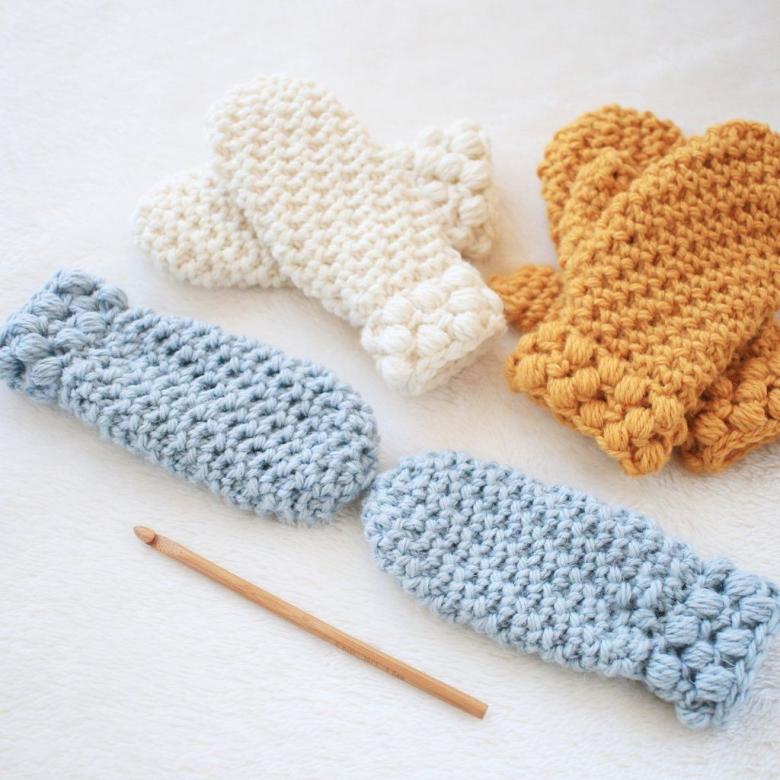
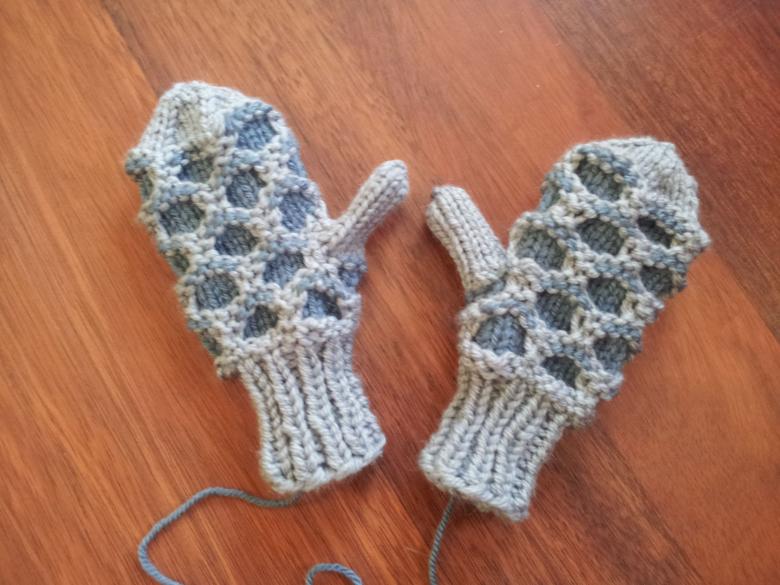
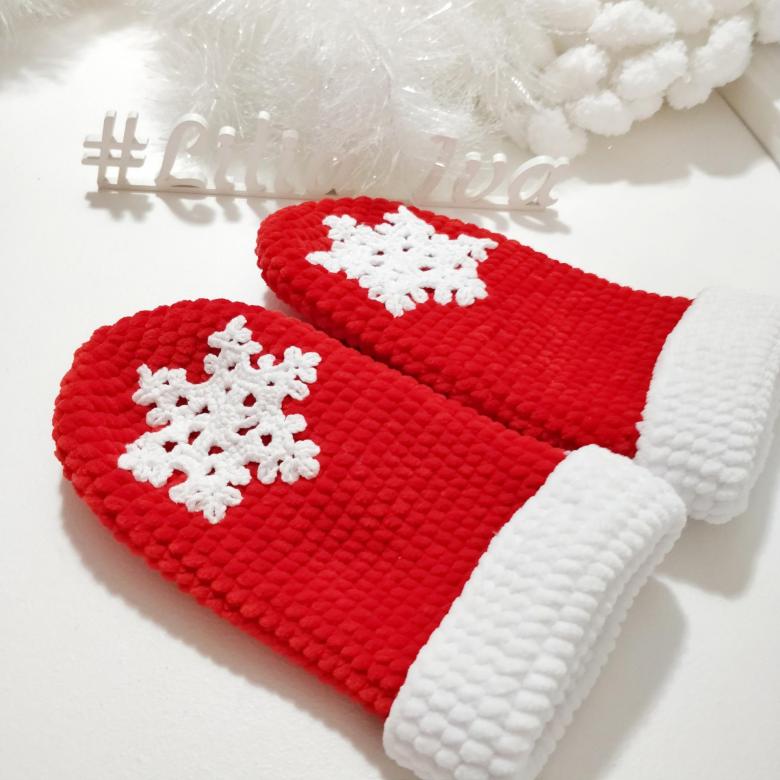
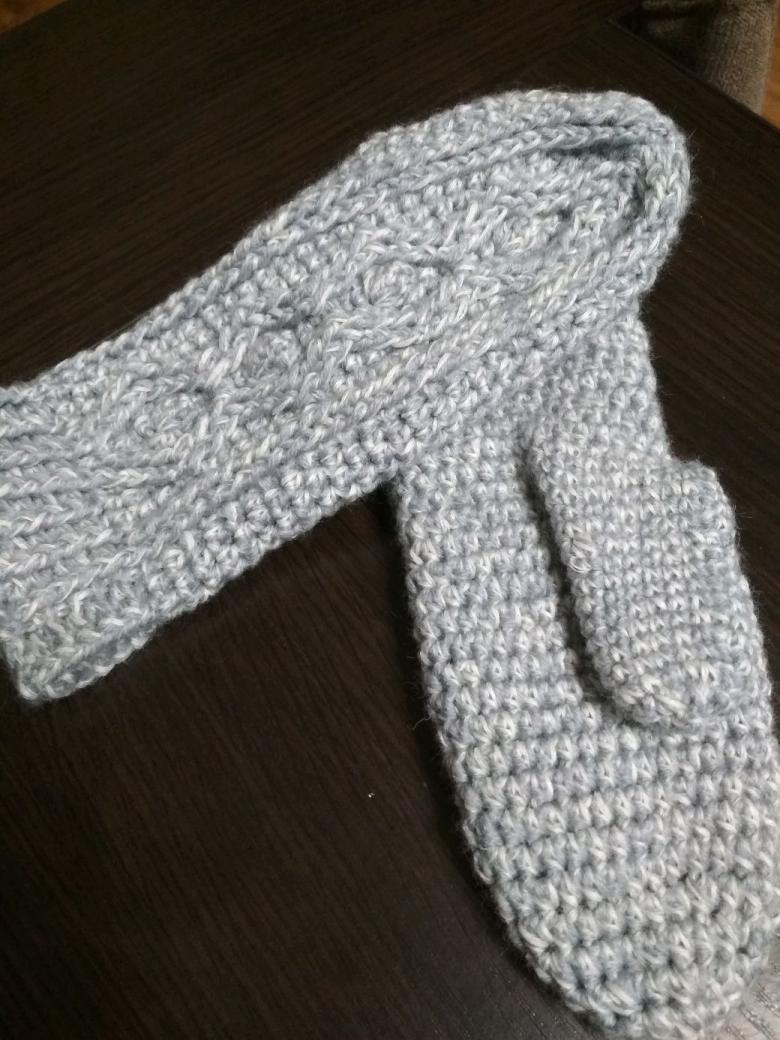
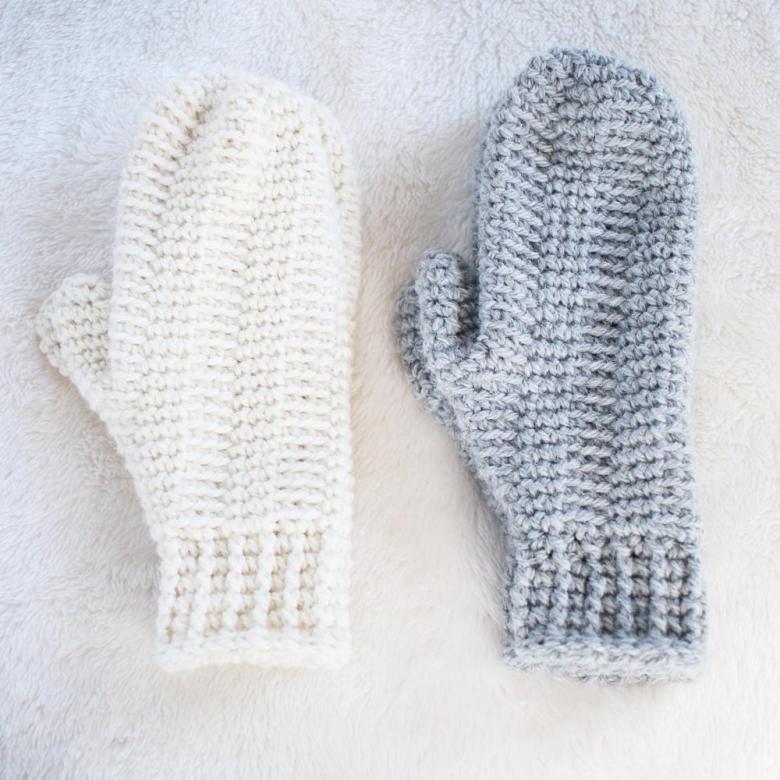
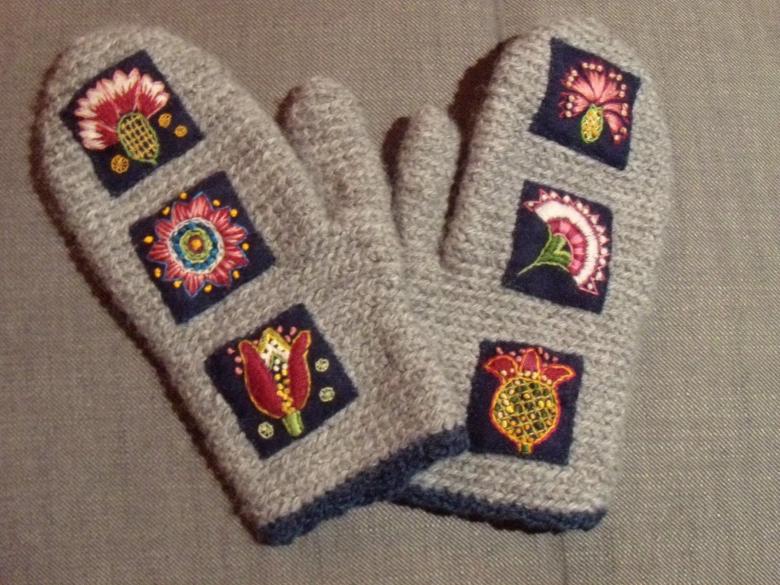
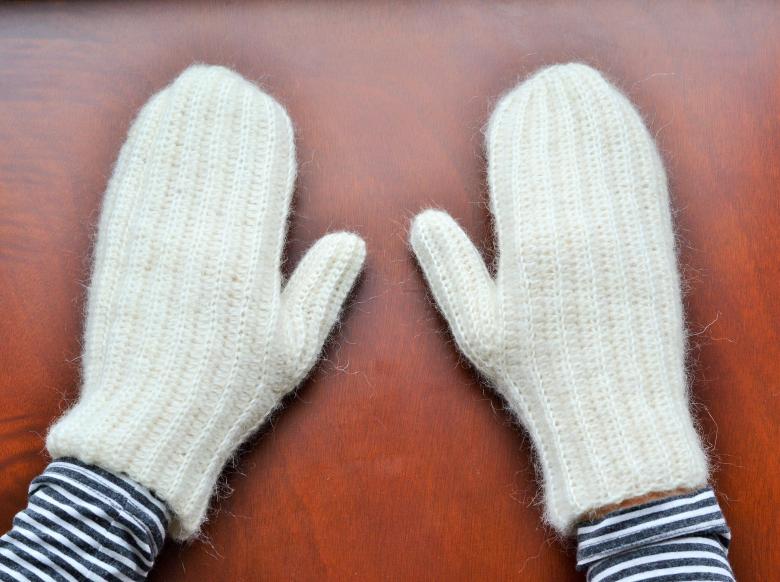
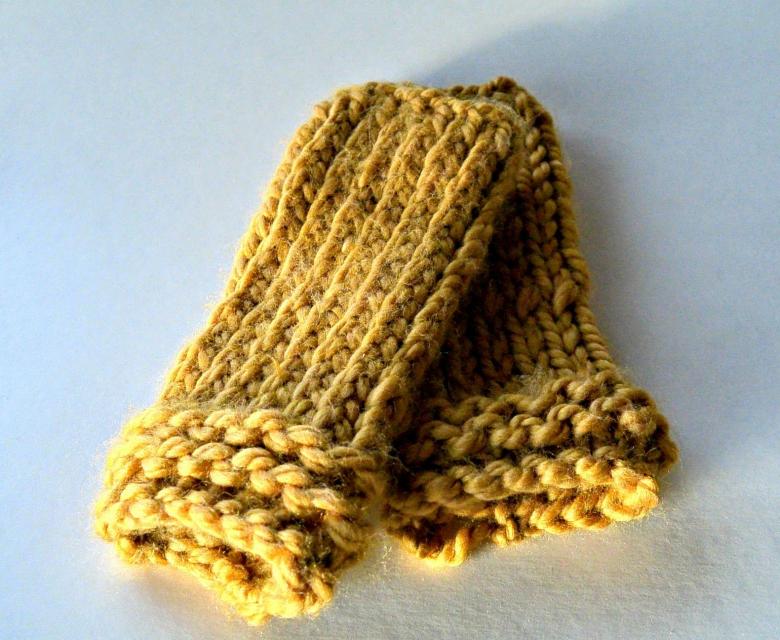
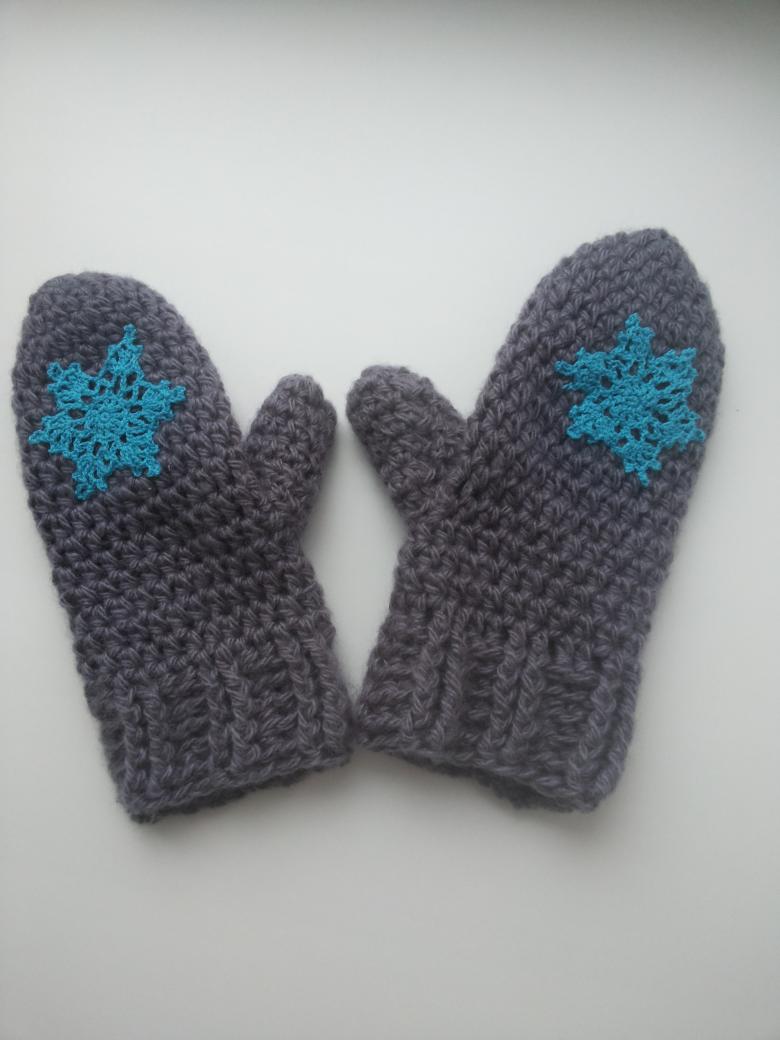
Photo of crochet ideas