Knitted turban by Scrolls and Crochet - ideas, schemes and description of modern models for beginners
Creating crocheted things is not only original and unique, but also a way to get the thing perfectly adjusted to your own size and the opportunity to realize it in any color. Recently, knitted hats have become firmly in fashion. Moreover, they can have the most different shapes and styles.

To please yourself with an interesting model, we bring to your attention several options for a turban, knitted by crochet and spit.

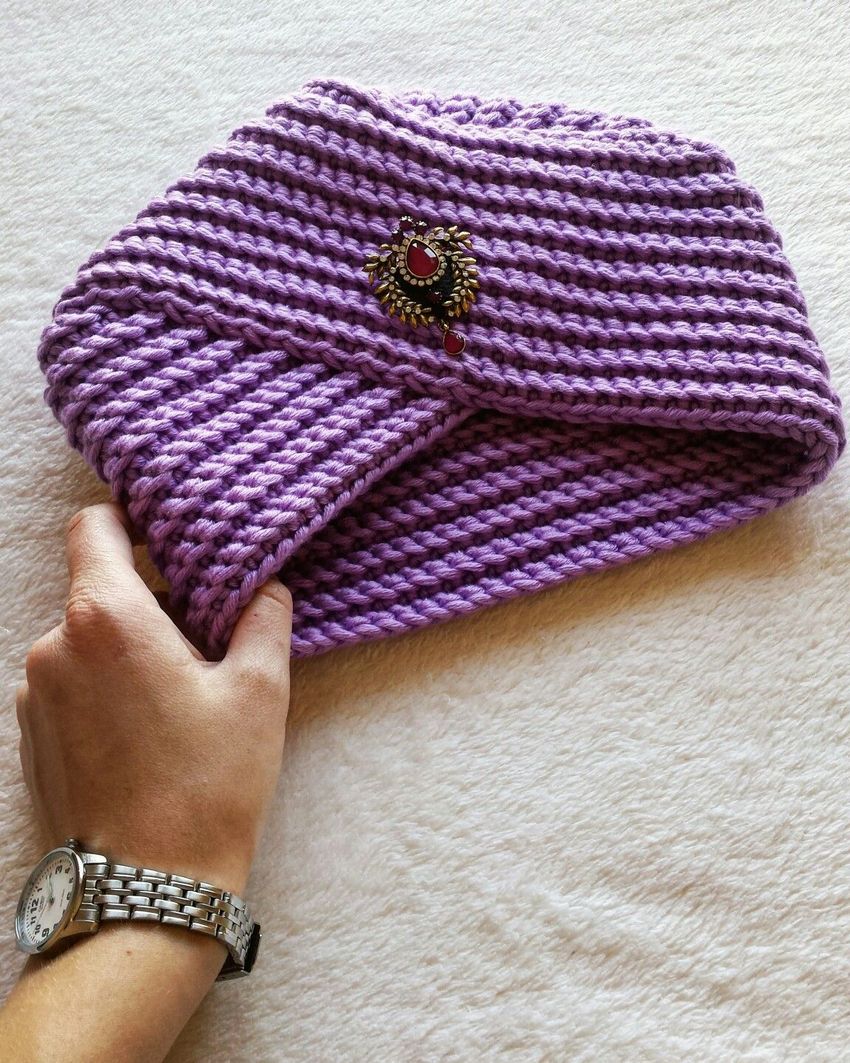
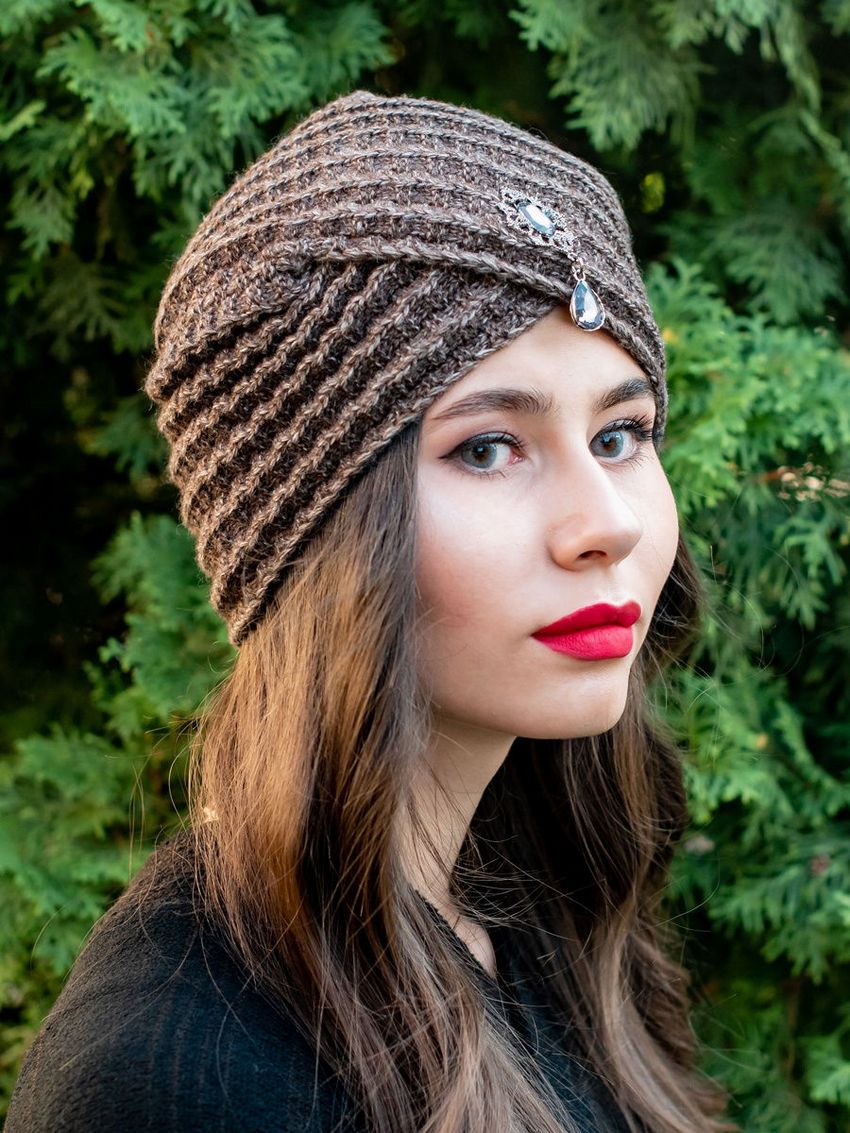
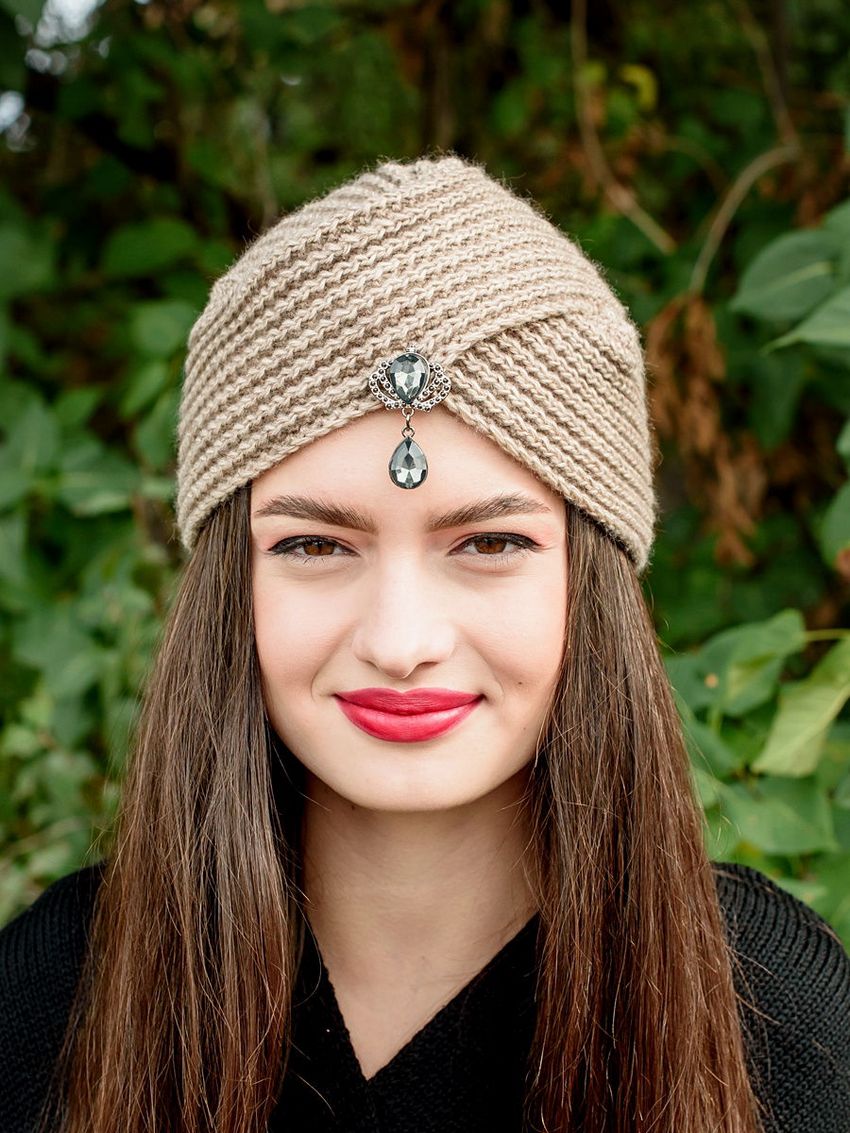
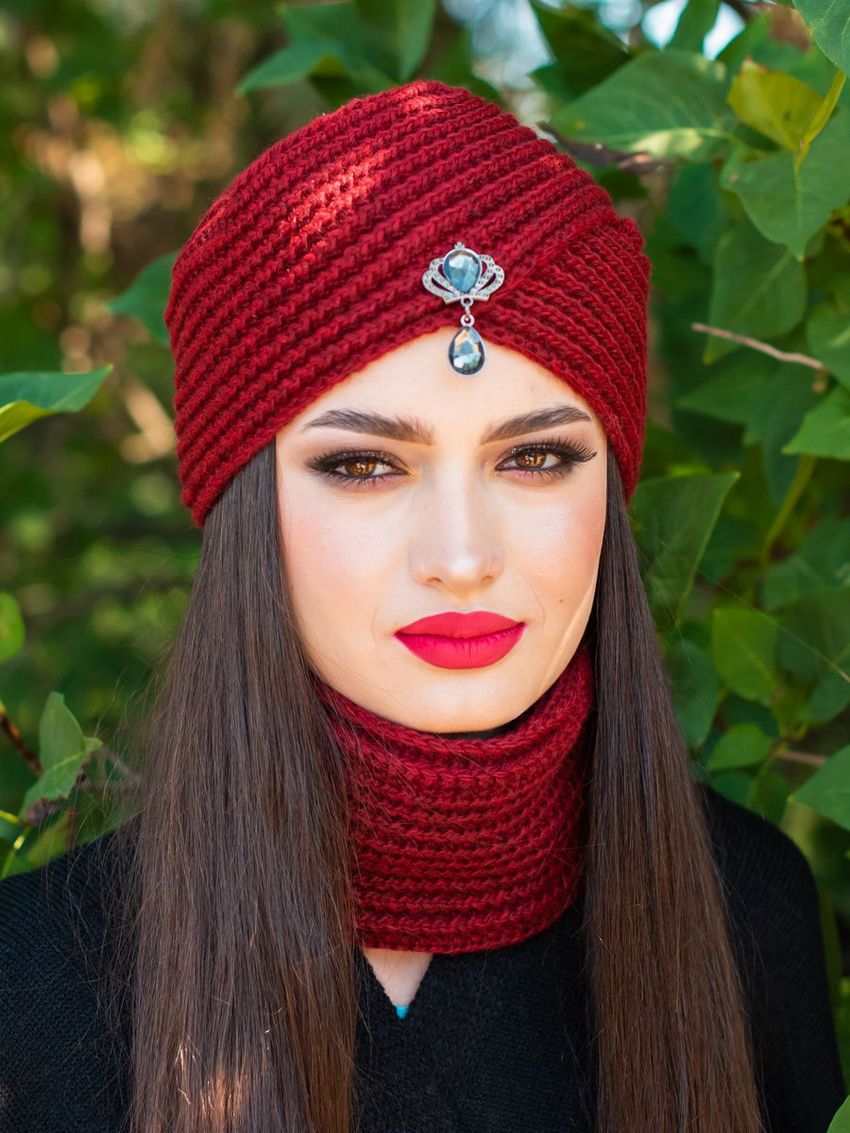
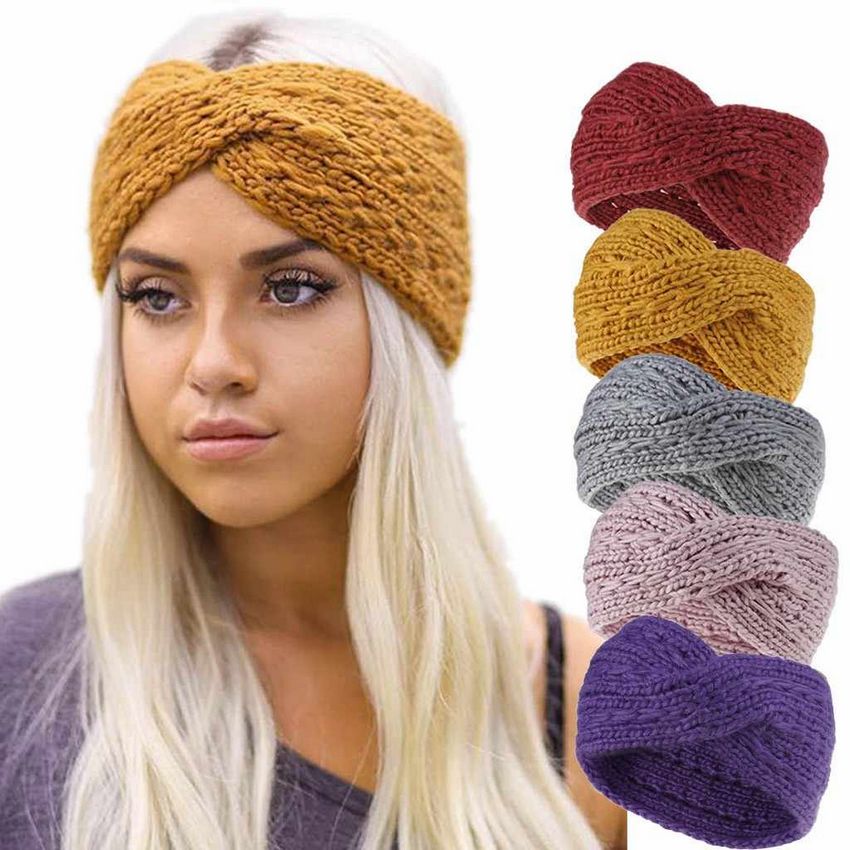
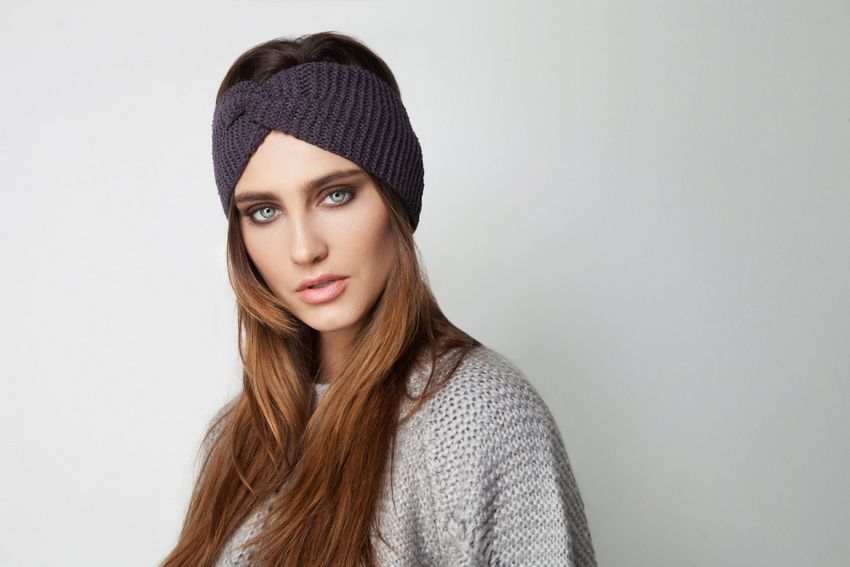
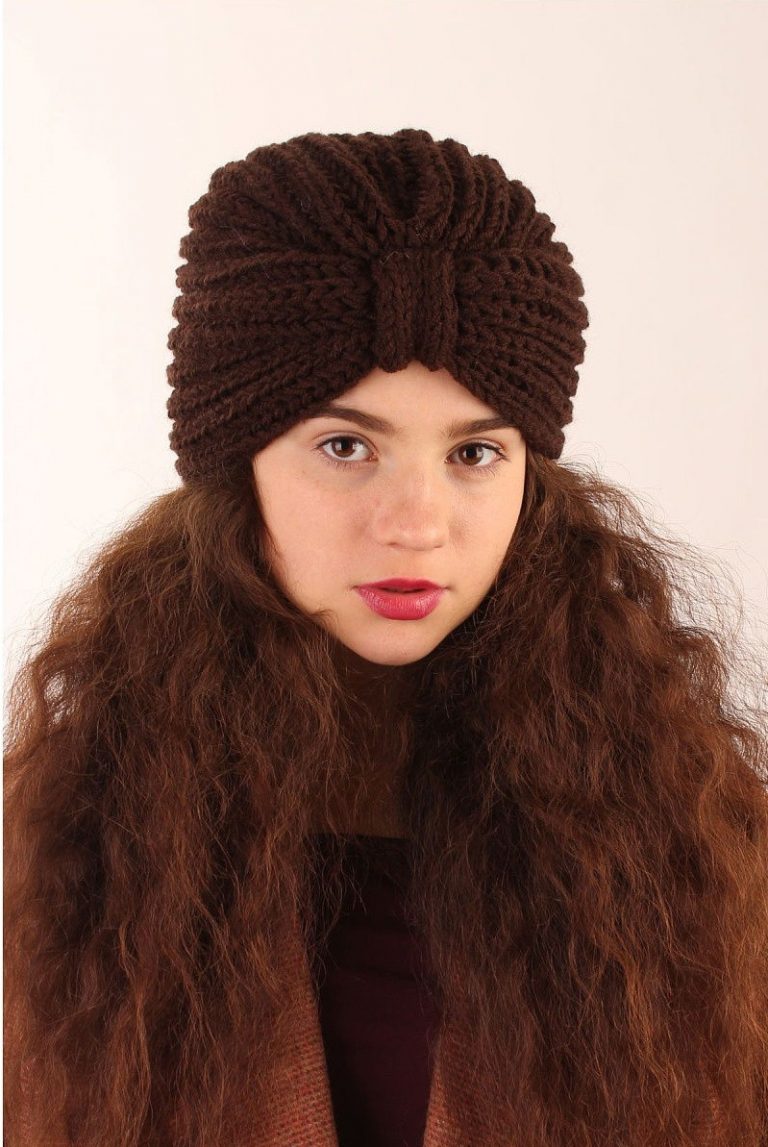
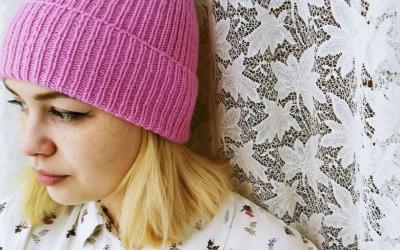
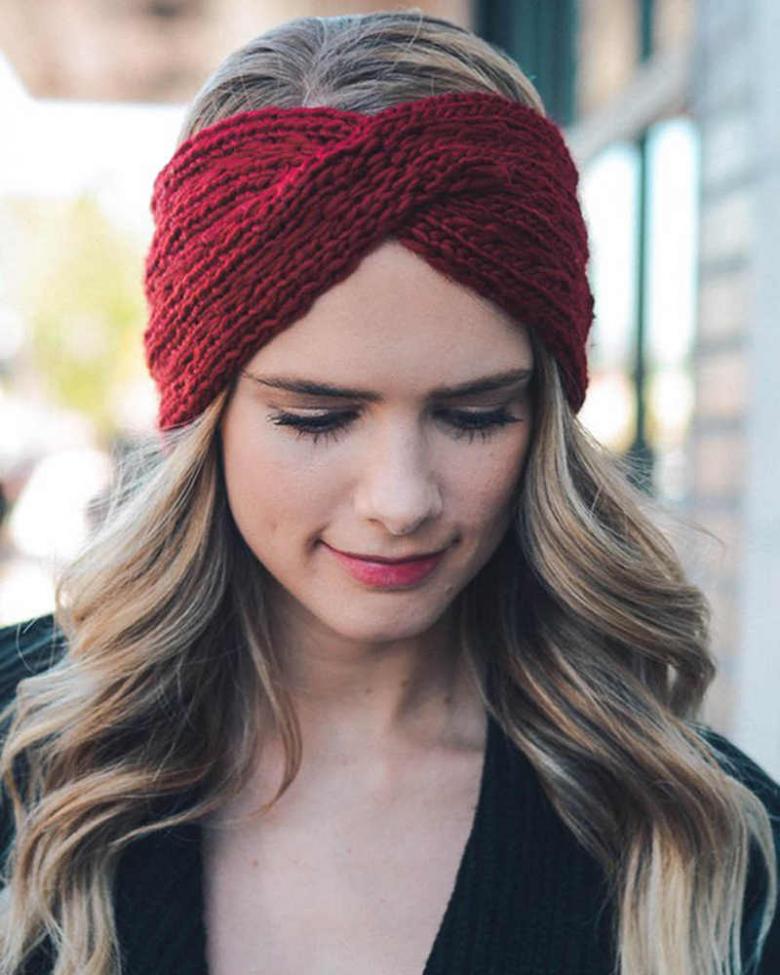
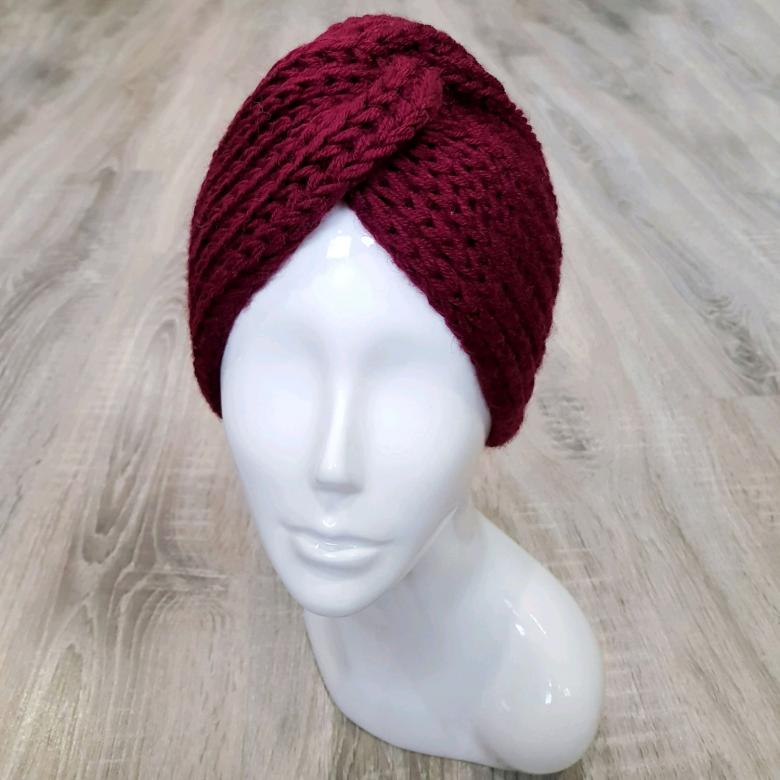
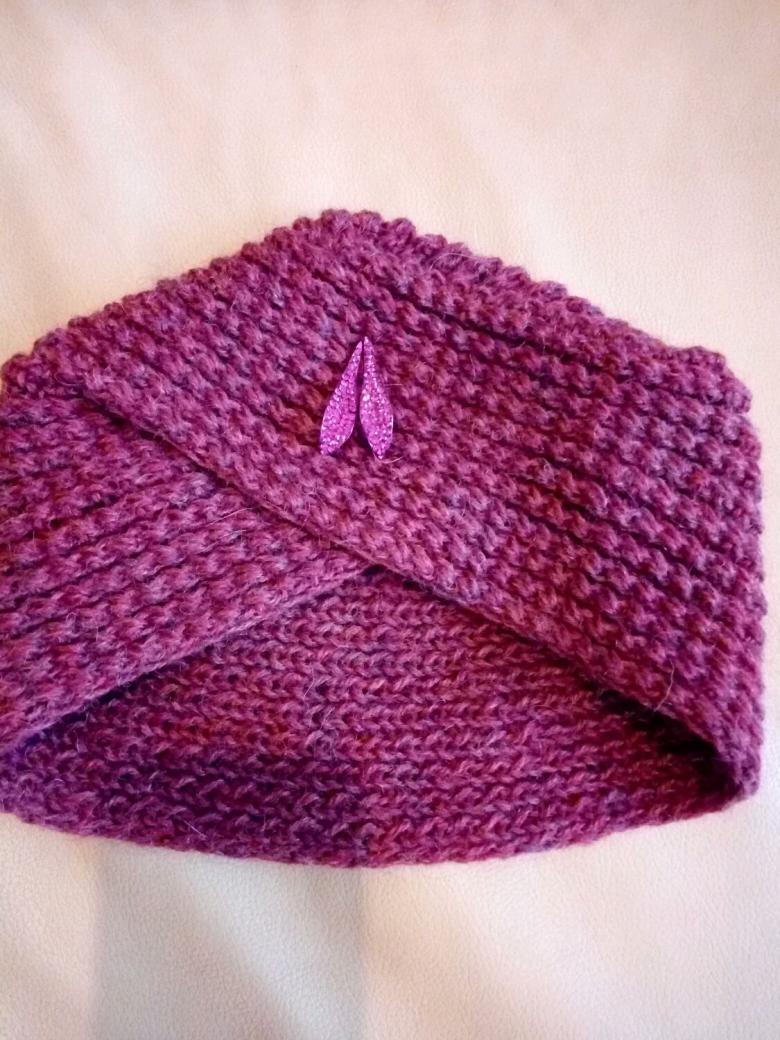
Turban in the form of a bandage
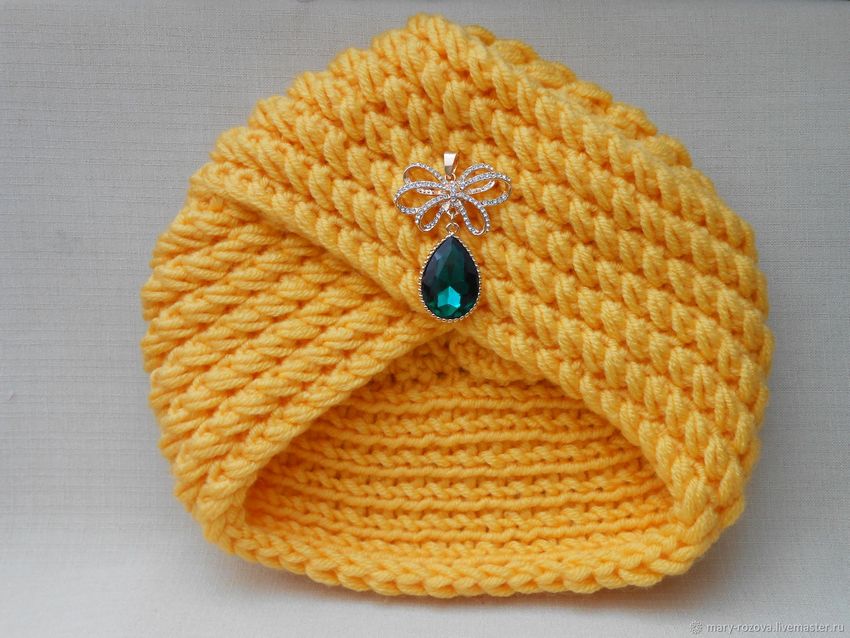
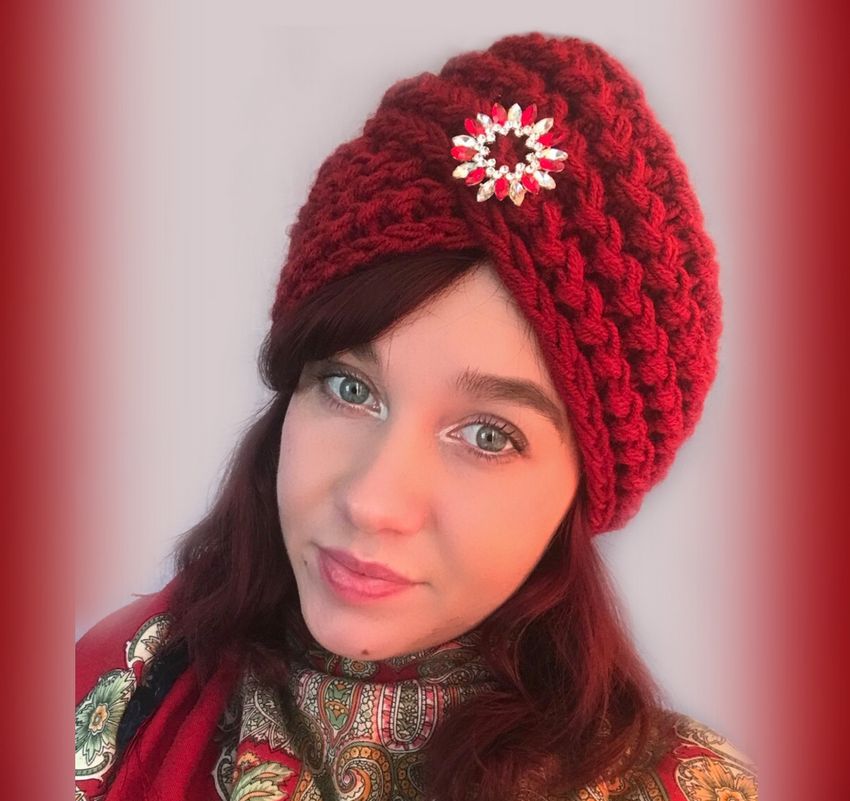
The easiest option, which is suitable for inexperienced knitters, is a turban, which is a wide knitted head band, decorated in the front with a decorative element, which at the same time prihobbies it to create a specific knot effect.
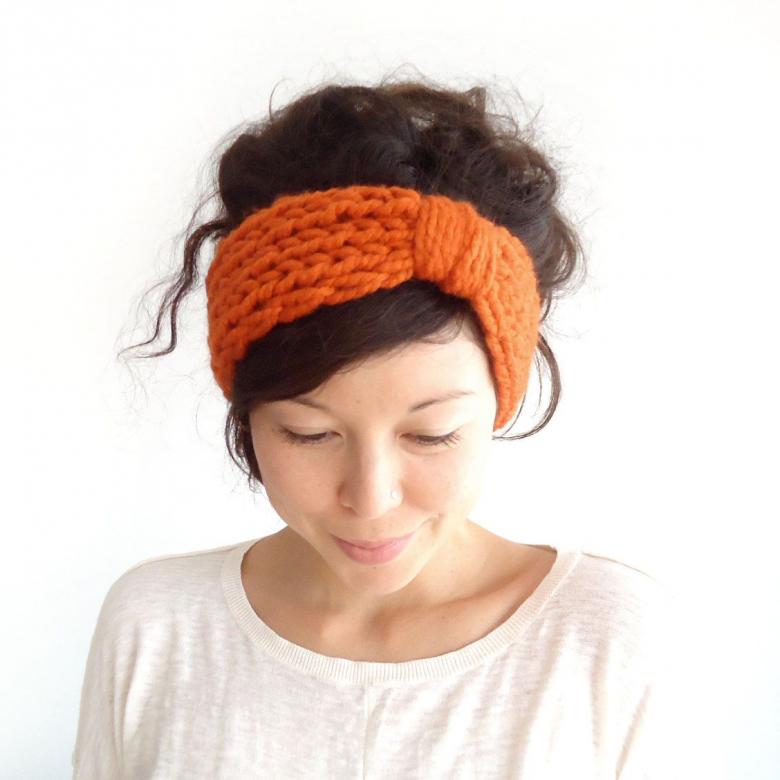
To create a model fit any trash, but most often use a regular or patent elastic band 1x1 or 2x2. The turban will look the most advantageous in this case.

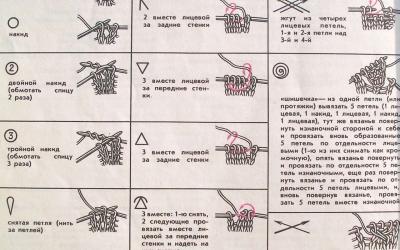
To realize a turban hat, you should use the following scheme of knitting with needles:
- Buy a half-wool of any thickness and pick up the appropriate needles to it. Pay attention to the recommendations on the label.
- Then measure the width of the headband to be obtained. Dial the appropriate number of loops. If there are doubts about what width will turn out, knit a sample, wash it, dry it in straightened form, then measure with a ruler and make a recalculation of the number of loops.
- Dial in the desired number of stitches, taking into account the 2 edges. Knit alternately 1 right - 1 wrong or 2 right - 2 wrong, depending on which type of rubber band is chosen.
- It is important to remember that, both left and right, the left and right rows begin and end with the edge stitches - they are not included in the calculation of the pattern.
- Remember that while knitting, you should periodically try on the knitting by throwing it over your head. This is necessary so as not to miscalculate the length of the product.
When the desired section will be knitted, you need to sew the edges on the inside.
- This will be a back seam.
- Opposite him to mark a point. At this point, lightly attach the embellishment, pulling on the product a little, forming a draping effect.
- Try on and make sure the turban fits.

Before fixing the front decoration completely, wash the headband. After rinsing, gently wrap it in a towel to soak up any excess moisture. Dry on a dry towel when unfolded. Do not hang it up in any way, so that the product does not become deformed.
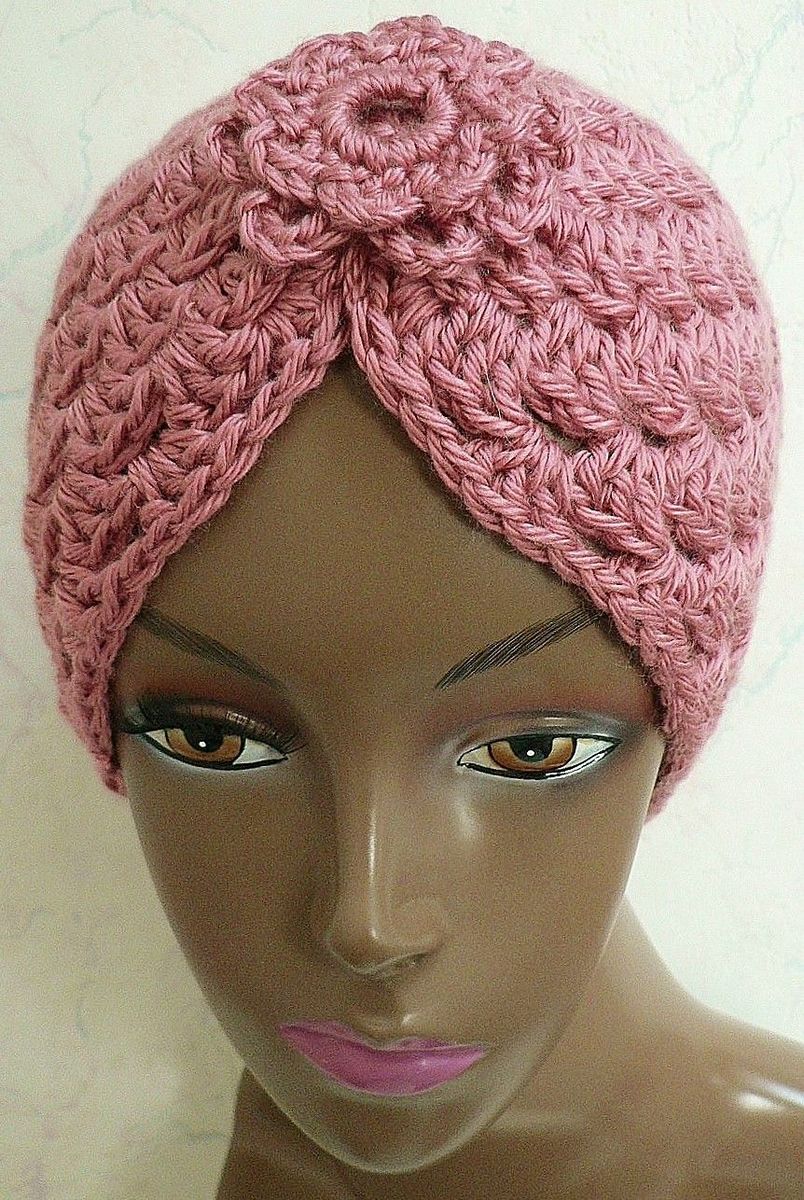
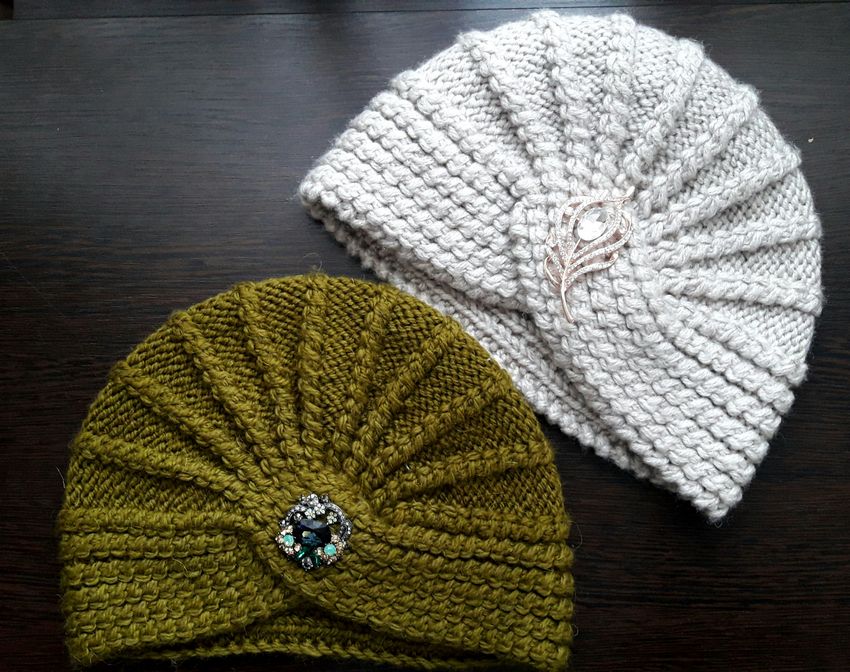
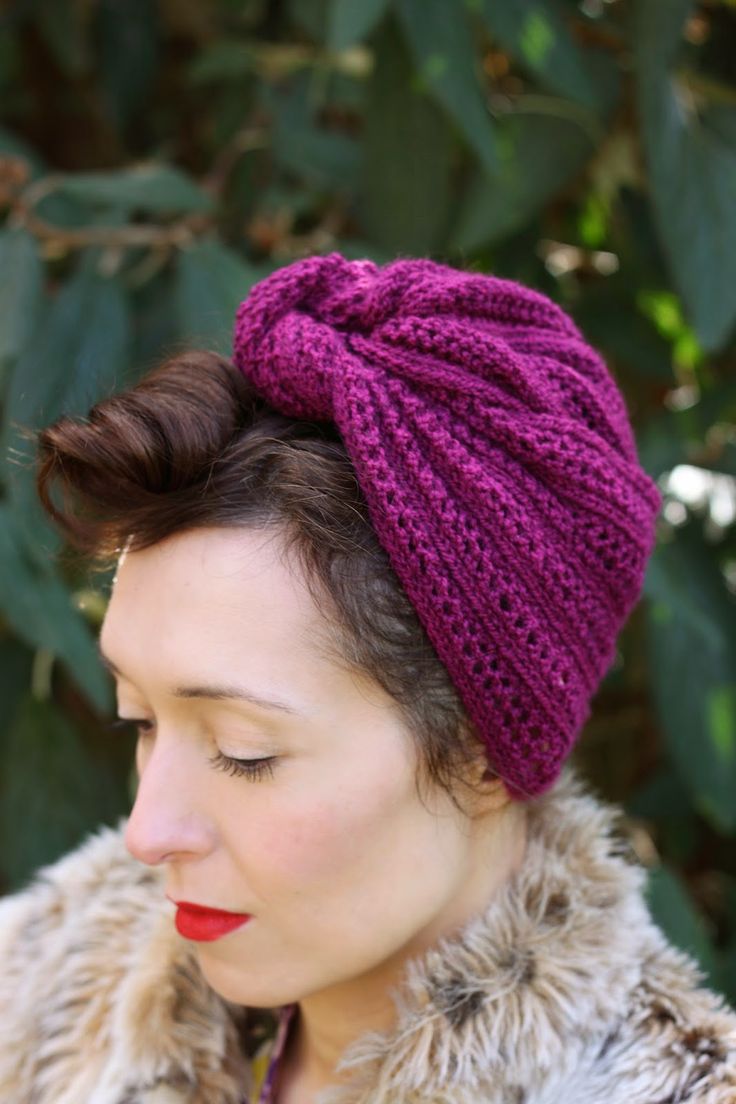
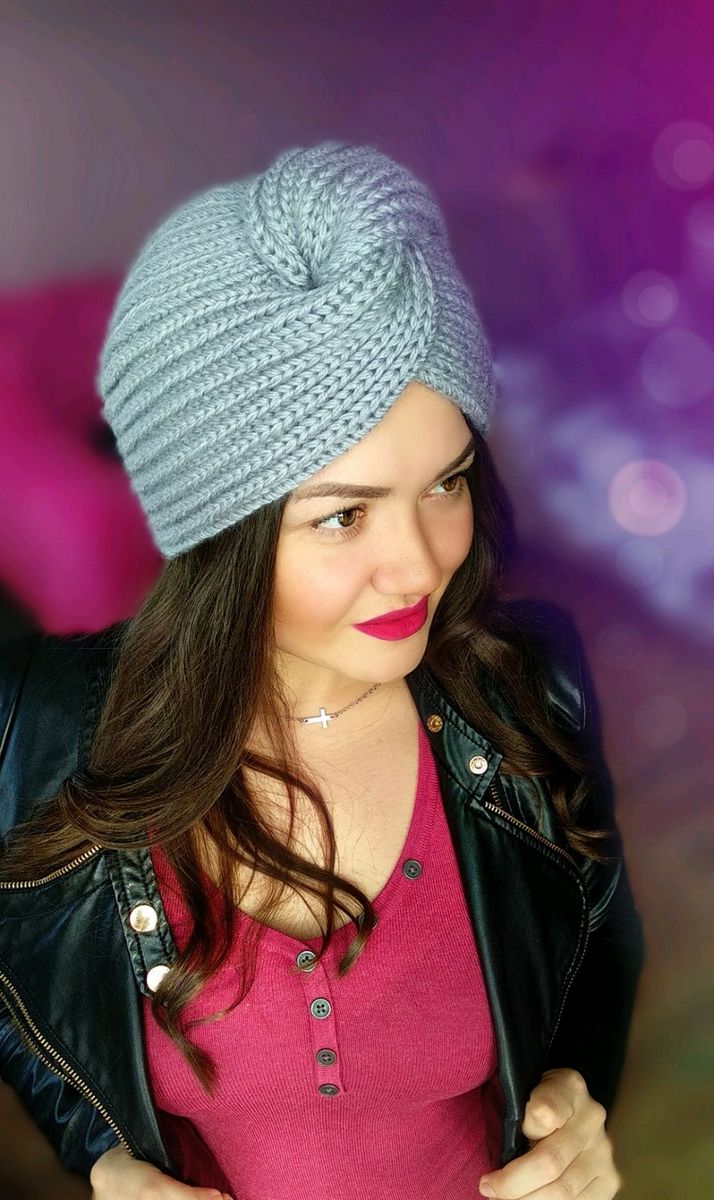
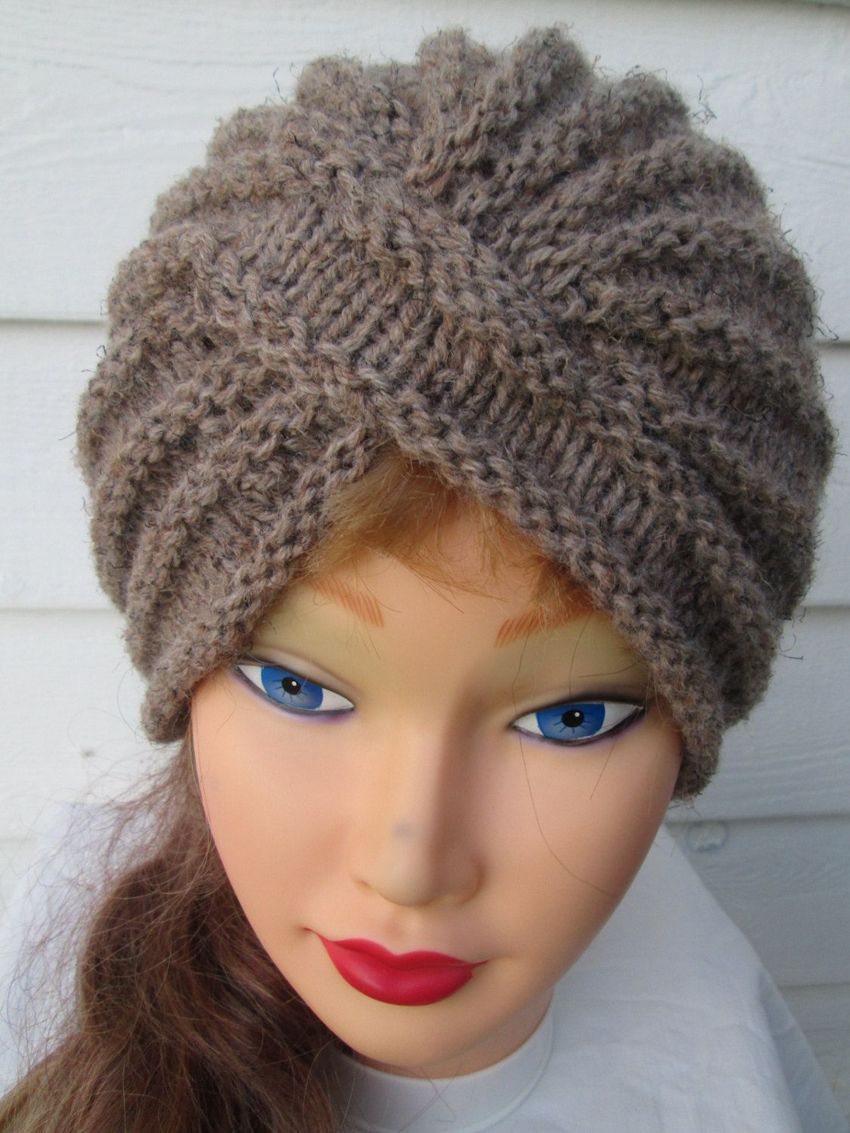
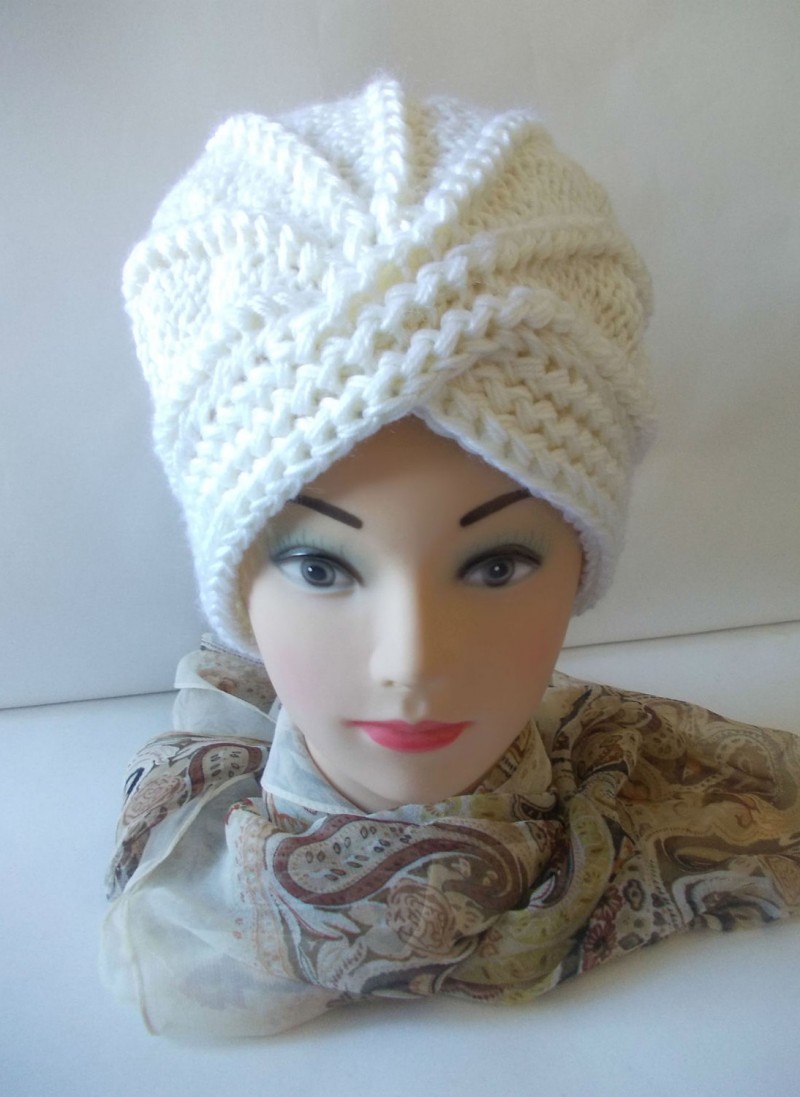
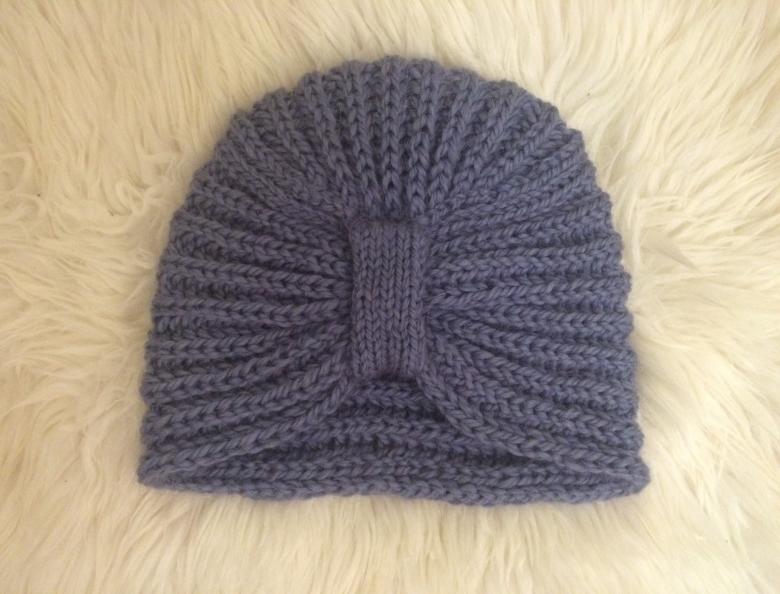
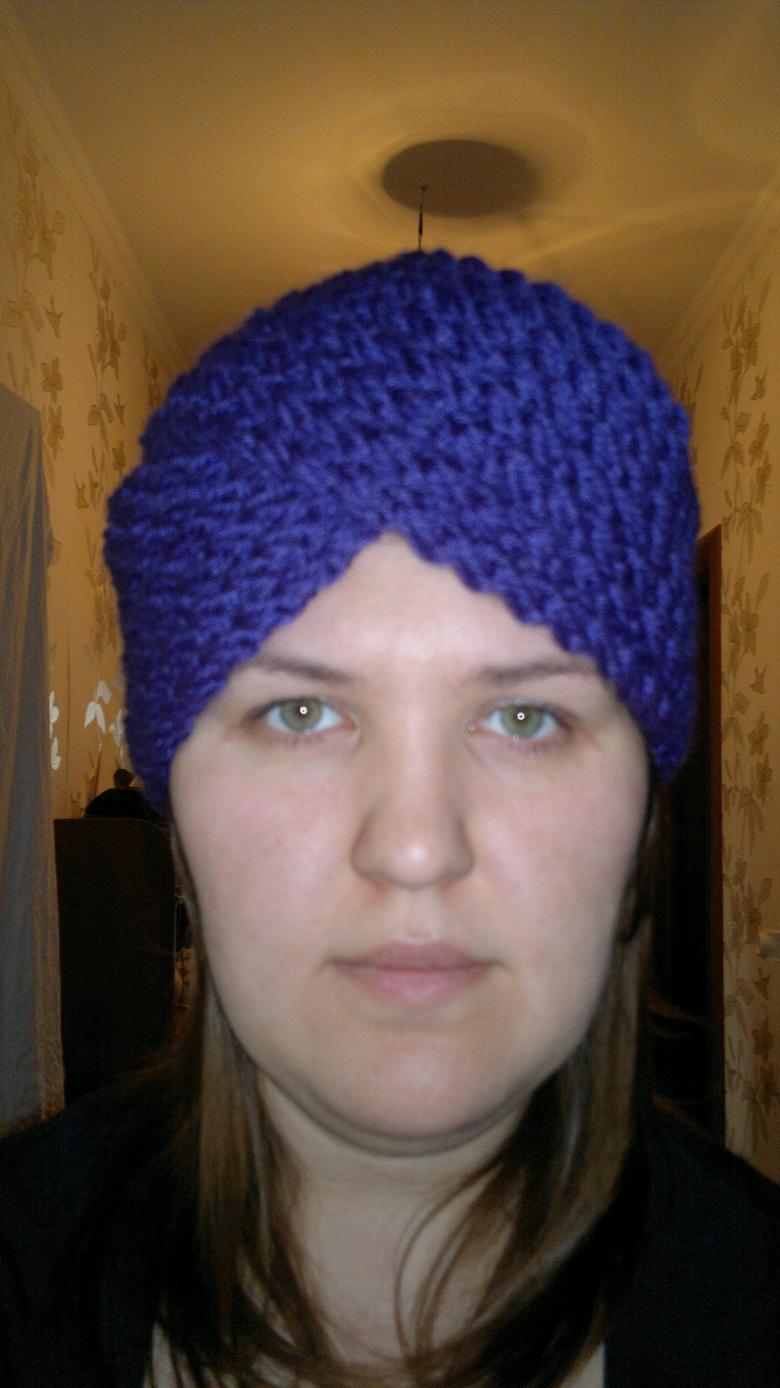
The hat-chalma knitted on circular needles
This model is suitable for young people. Despite the fact that it may seem that such a product is somewhat old-fashioned, in fact, thought-out elements make the image very stylish.
For knitting you will need:
- Yarn, which includes equal proportions of wool and polyamide fiber - a total weight of 100 g. In 100 g length should be 180-190 m.
- Circular needles - number 4 or 5, depending on the desired density of knitting.
- Needle for wool to sew the seam.
Sequence of operations:
- Dial 90 loops on circular needles and close the circle.
- Knit 4 front rows in a circular motion.
- Repeat the 4 wrong rows.
- Repeat the pattern 2 times.
- After that you need to close all the loops on the top row. But you need to twist the ribbon so that it forms a twisted element in the front.
- When the stitches are closed and the thread is cut, you must leave a small section of loose thread to gently close the gap in the circular row.
- It is necessary to mark the middle of the product, that is, the point that is located on the opposite side from the performed union of loops, when closing them in a circular row.
- After that, you need to take the resulting ring so that the front row was on top. At the same time the wrong row will be at the bottom.
- On the front side, with the twisted part facing you, insert the marker at the central point.
- Then, on the opposite side, where the tail will be located, begin to dial in with stocking needles on the front row. So spend 90 loops.
- It is important to place them evenly, so they do not pull the fabric from the back to the crossed element in the front.
- Where the marker is placed, you need to lift two stitches at the same time through the spare fabric to secure the turn. Then you need to place the marker again and close everything in a circular row.
- Attach the remaining 90 stitches to the second part. Next you need to knit in circular rows to a height of about 4.5 cm.
- Then you will need to form the top of the hat. To do this, I remove 18 loops evenly in the circular row. To get it right, we knit 3 loops by right, 2 of them we slit together.
- Perform 4 circular rows with the right stitches.
- In the next row remove up to 54 loops. 2 stitches are left and then 2 stitches are right side by side. Also do 4 rounds with the right side.
- We remove up to 36 loops - 1 front, and 2 front stitches together. Knit 2 circular rows with the right side together.
- Remove up to 18 loops - 2 obverse together each time. After that, we do 1 row with the front stitches.
- When 9 loops are left, cut the thread and leave a tail of about 15 cm to tighten the hole and fix the thread.

Such a hat turban is made quite simply, especially if you use the crochet patterns and descriptions.
Turban by crochet
Such a model is knitted quite easily. First you need to measure the circumference of the head and calculate the exact number of columns. It will depend on the thickness of the selected yarn. It is important to remember that products connected by crochet, do not stretch as intensively as those made by spokes.
The simplest version of the turban-bandage knit as follows:
- It is necessary to dial in the appropriate number of columns in order to be enough for the width of the turban band.
- Then, after making 2 air loops of lift, begin to knit with stitches with a stitch. Do this in every stitch.
- When you have tied exactly half of it, you need to divide the product into 2 parts and at the same time add 1 column with a stitch.
- Then, cross the loops and continue knitting the piece.
- This is how the curve in the front is formed.
- Tie the other half of the headband and close the last loop with the tail of thread.
- Carefully, using a needle, sew the product into a circle.

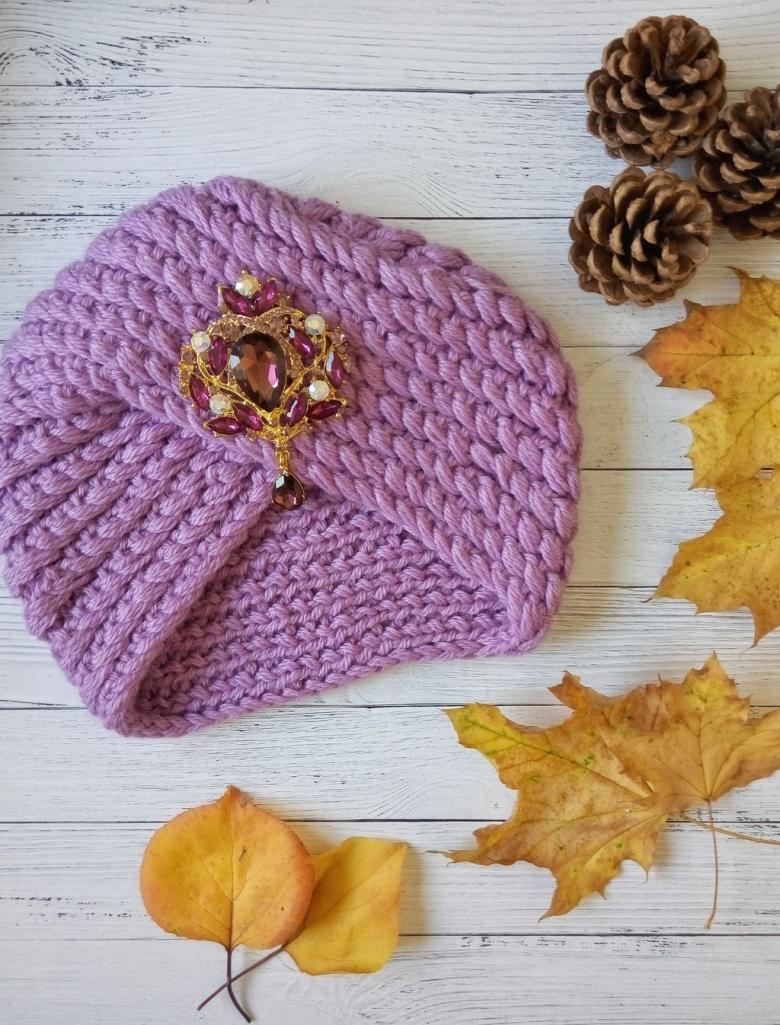
Wash the turban headband and dry it carefully in a horizontal position when unfolded. Sew on top of an ornament of your choice.
Tips for making patterns
Performing a turban, you should adhere to the basic recommendations for the performance of such models:
- If the turban is crocheted, try to make it, denser, because it will not gather back after stretching. In this case it is better to choose a half-woolen yarn, as pure wool will quickly pile up.
- But hats, knitted with needles, on the contrary, should be knitted quite loosely. In this case the product will be long enough to keep an attractive appearance.

Taking into account these recommendations and schemes, you can knit just one or two evenings an original turban, which will become a favorite thing in your winter closet. If it is not clear to the end, how to make a hat turban, knitted with needles, then help video, which provides a detailed master class.
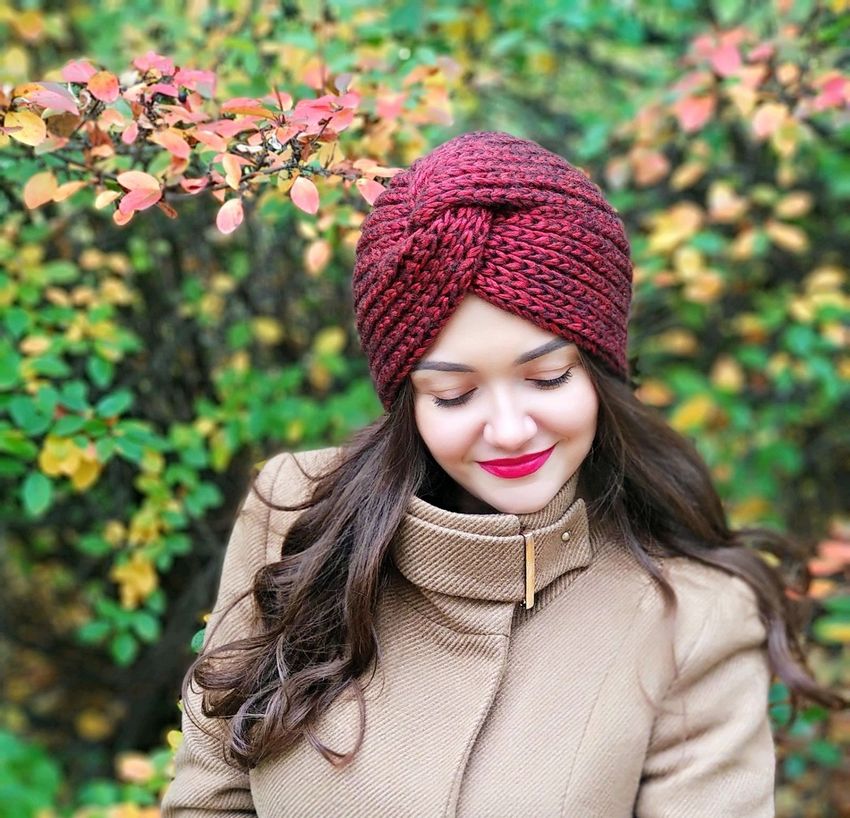
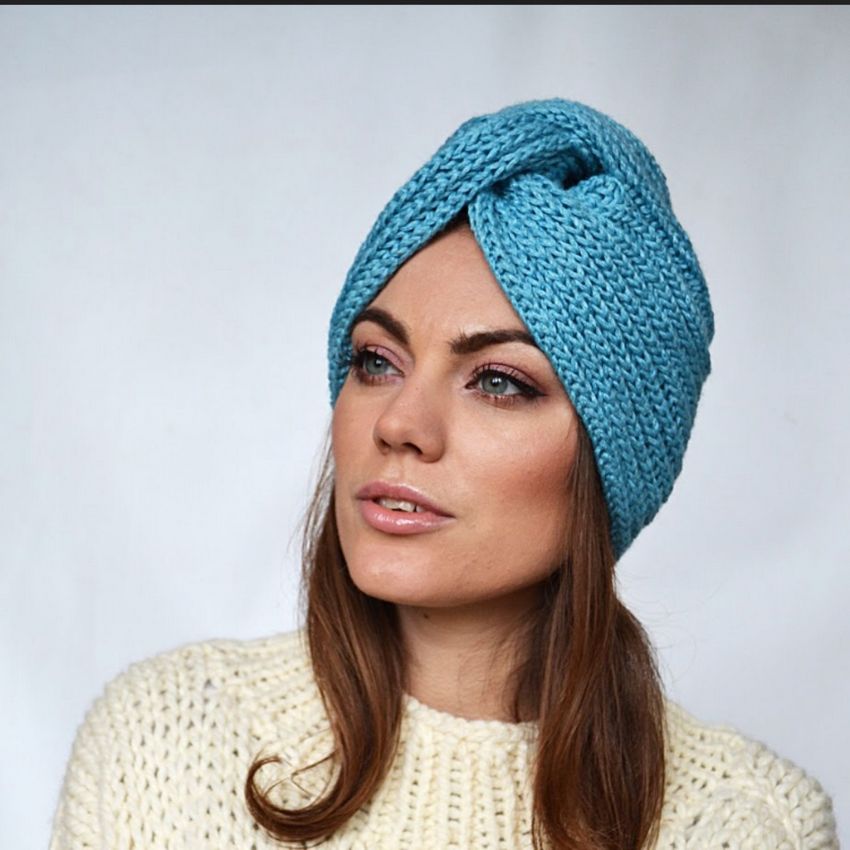
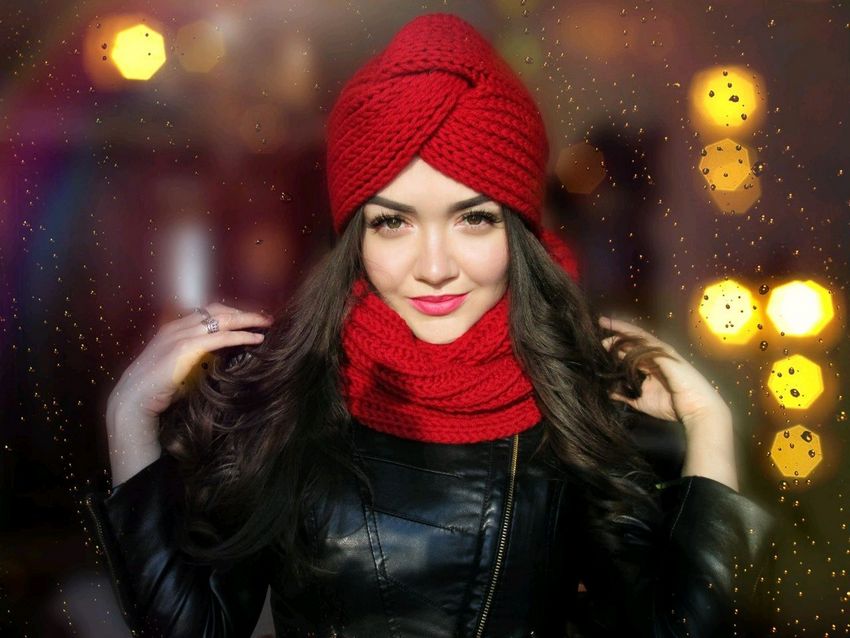
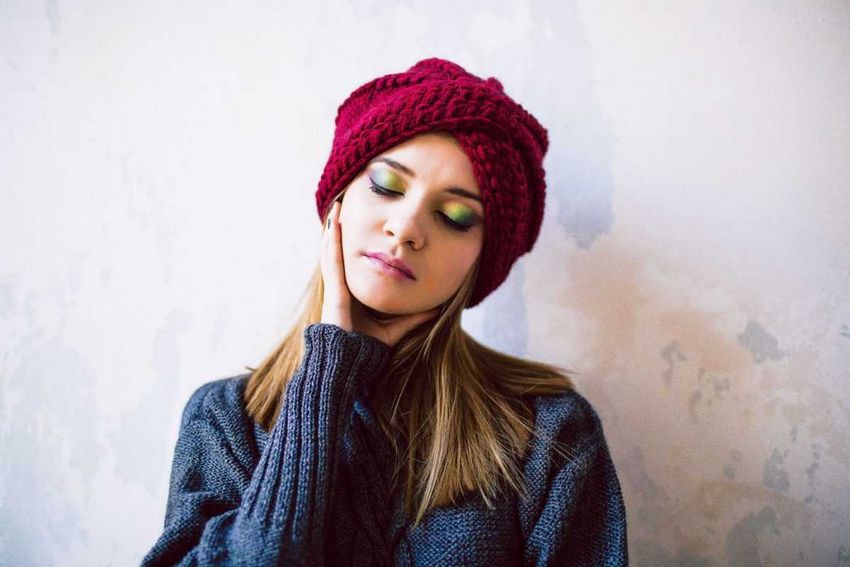
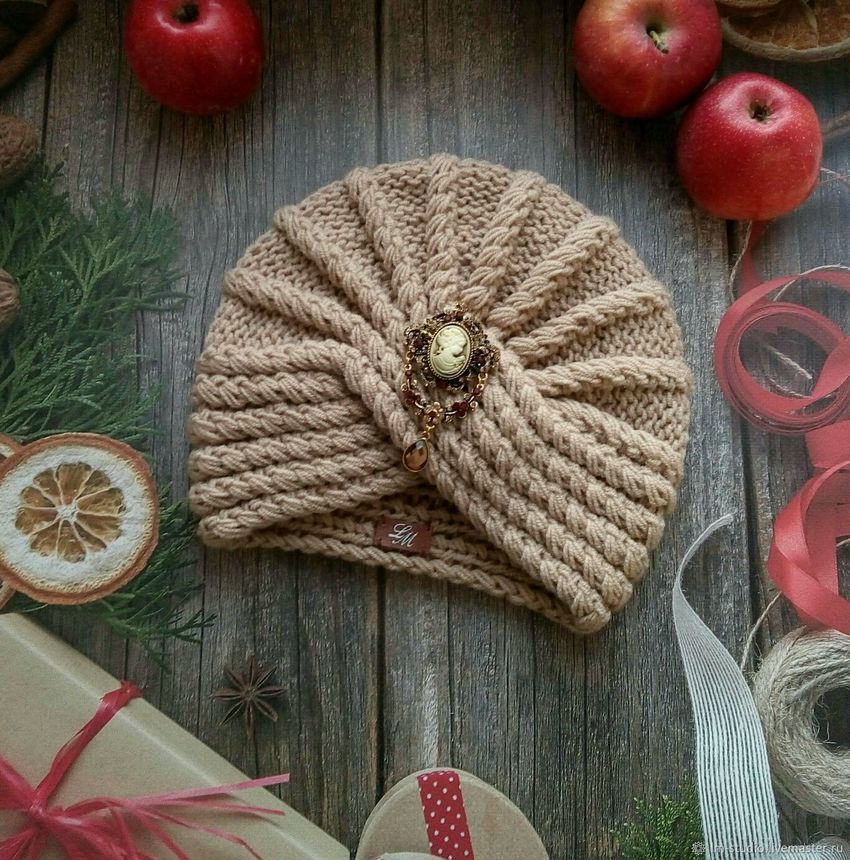
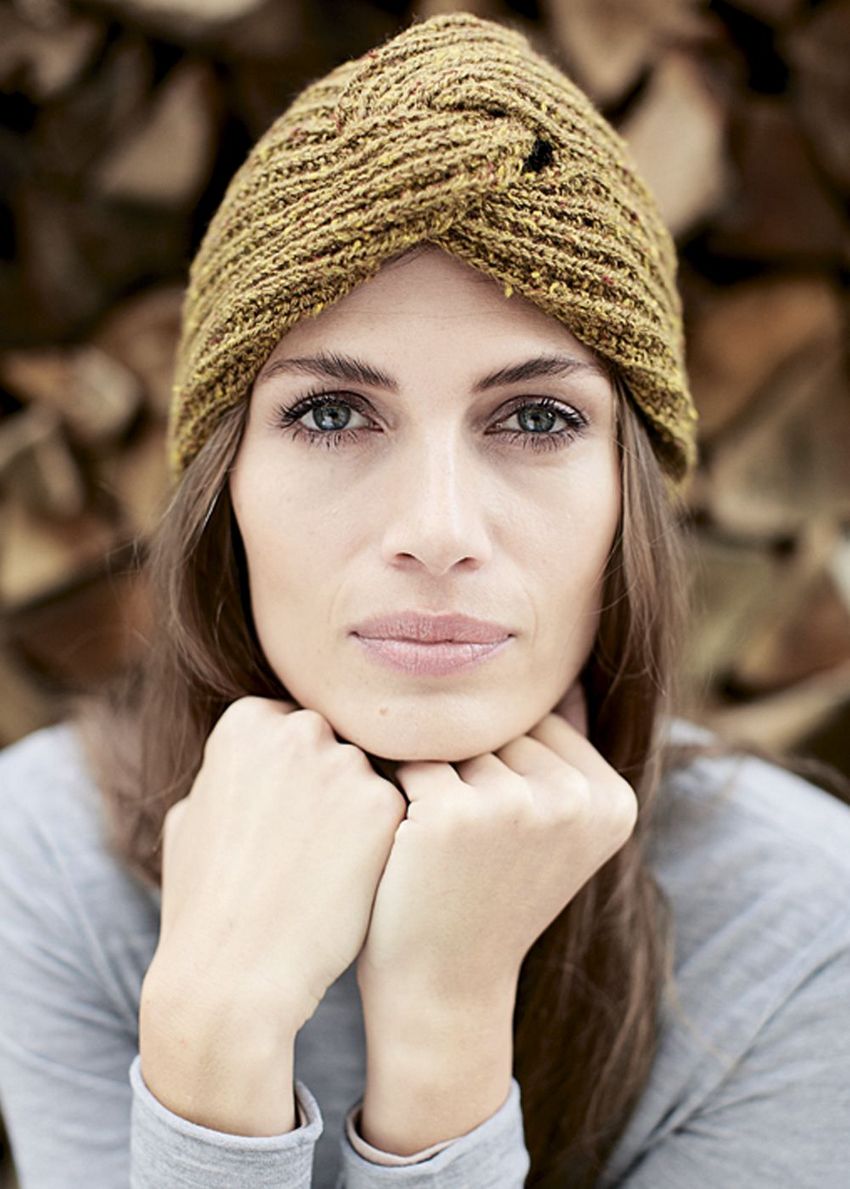
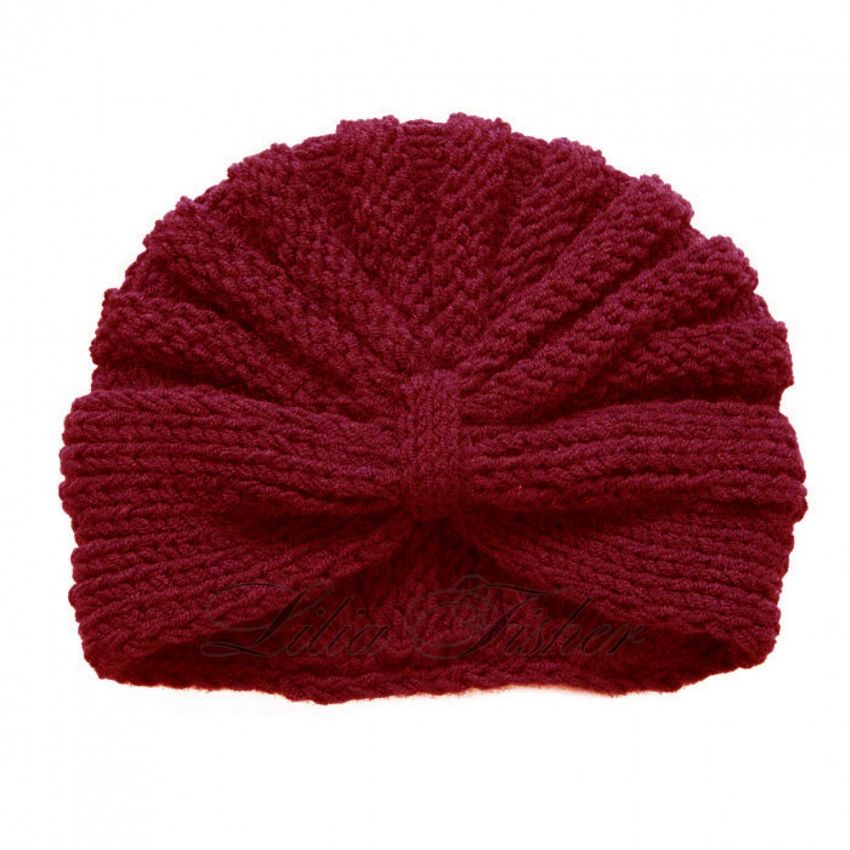
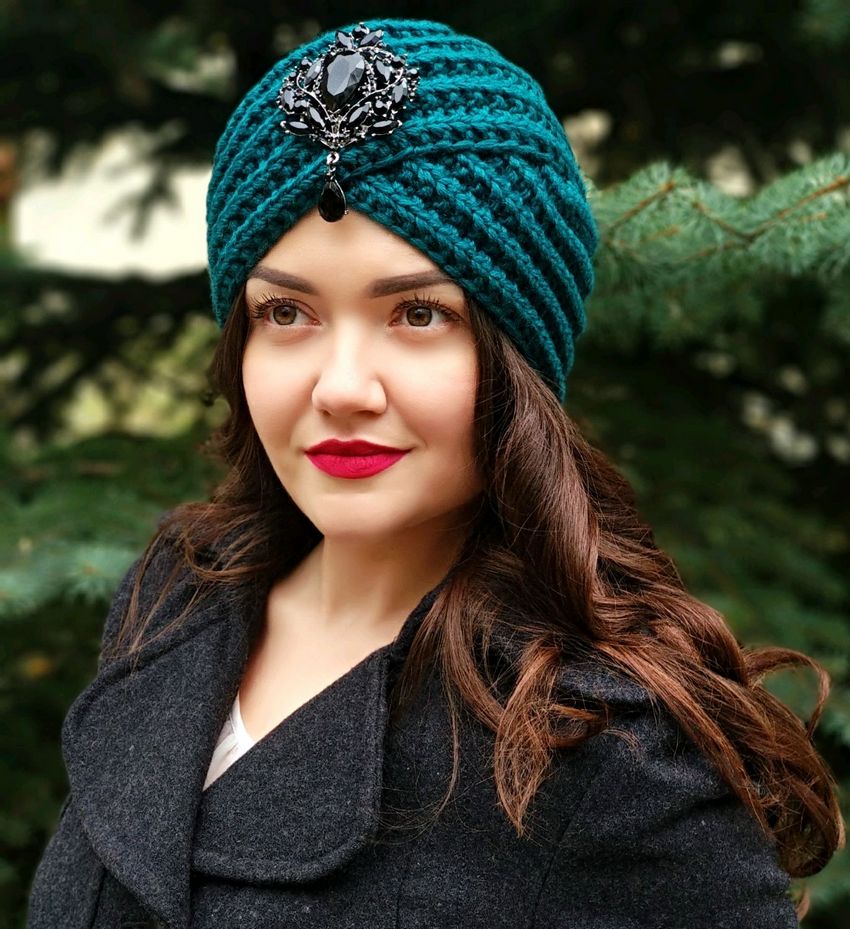
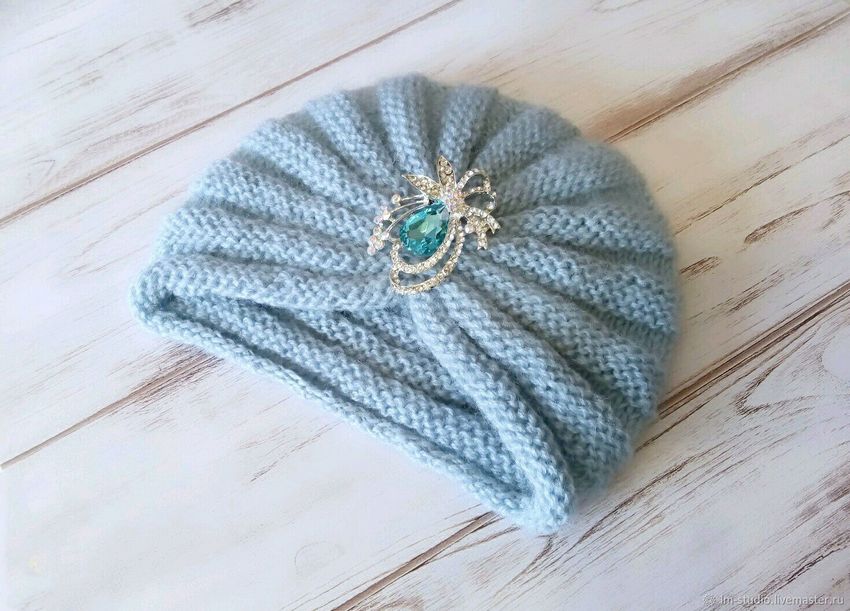
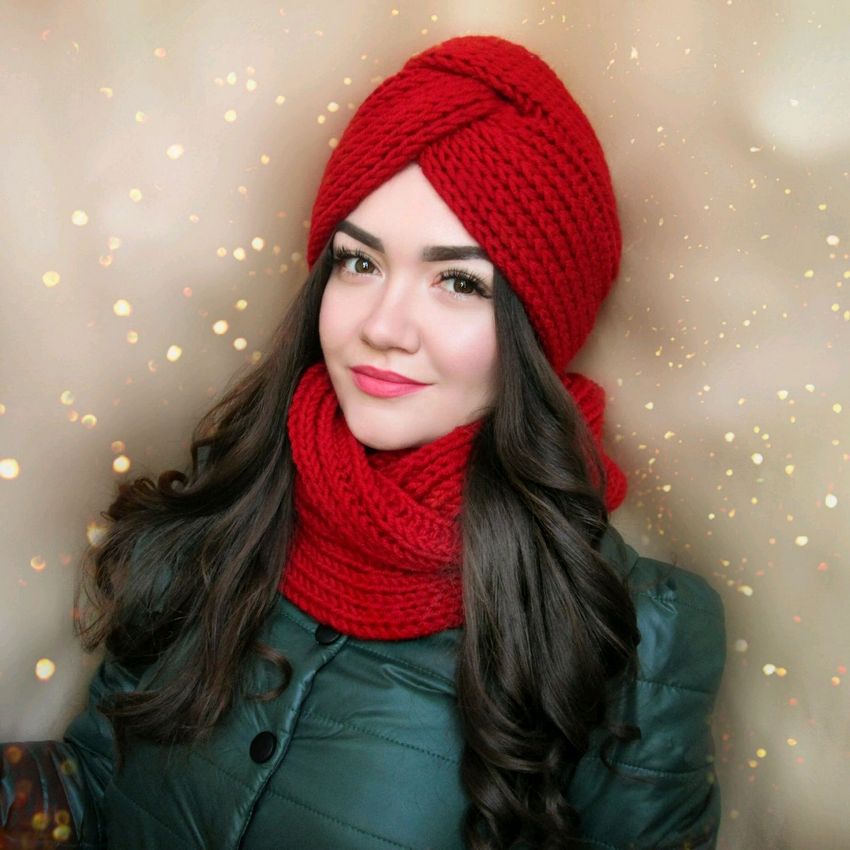
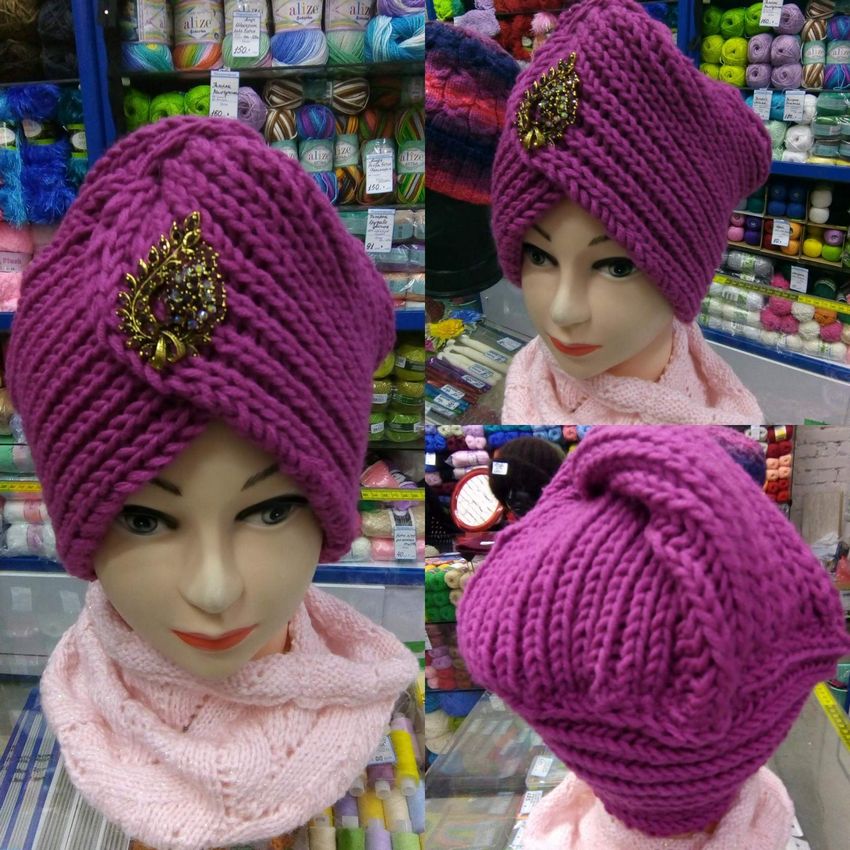
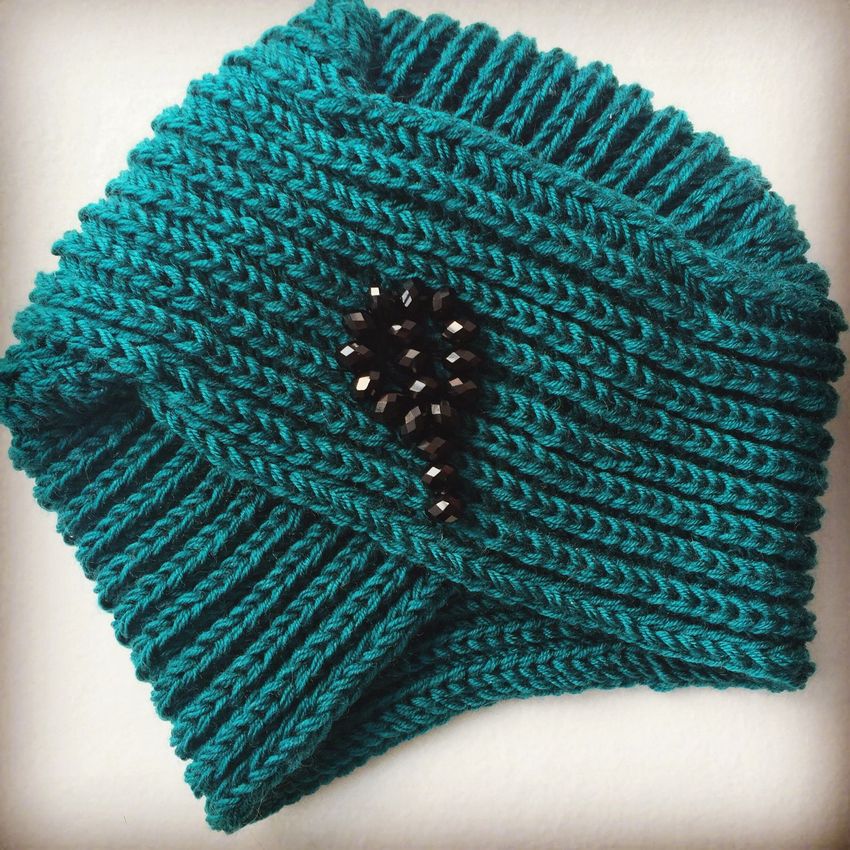
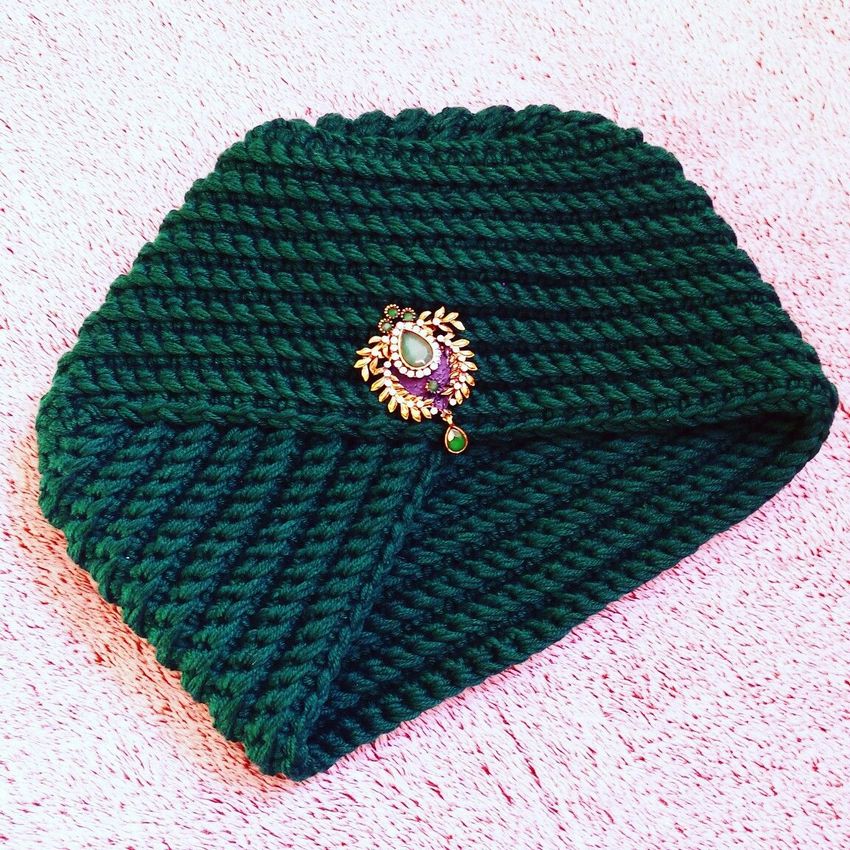
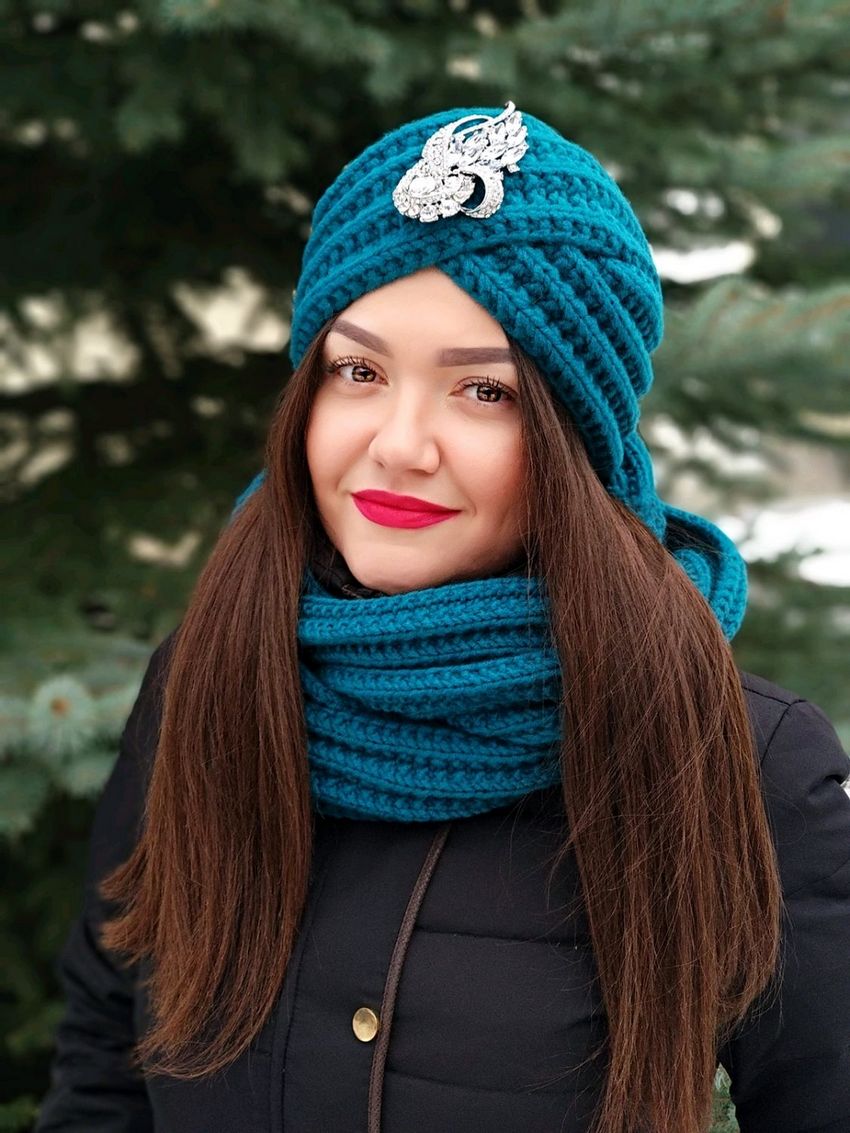
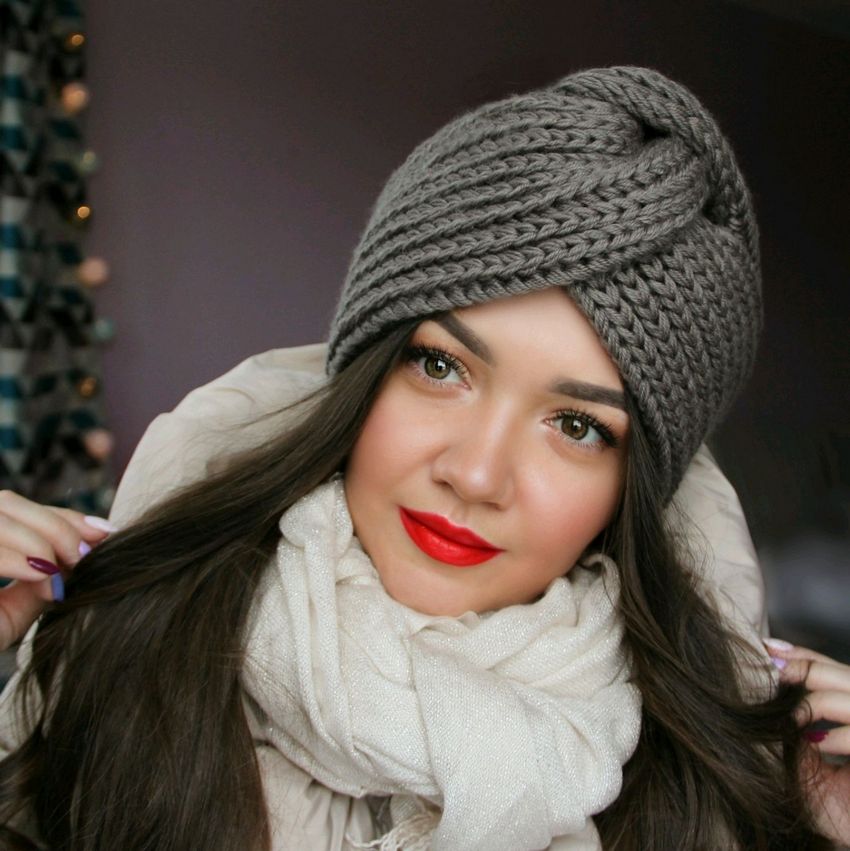
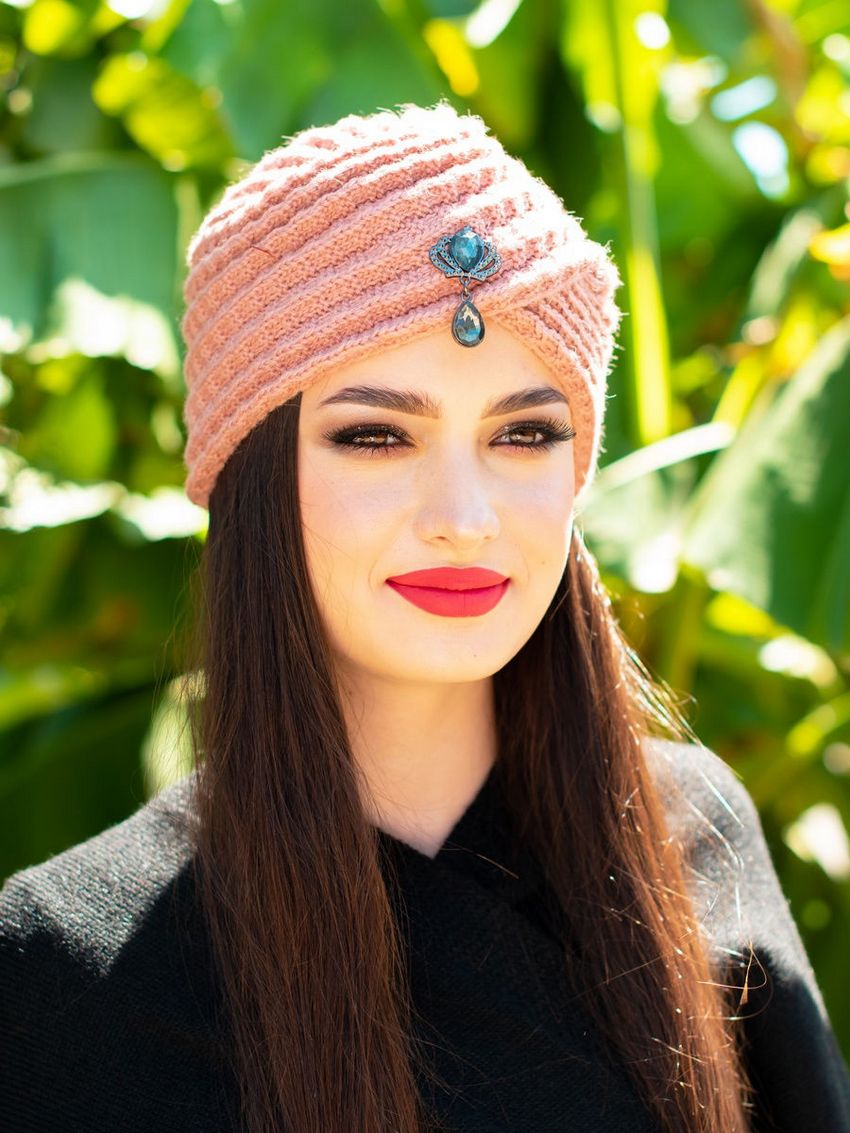
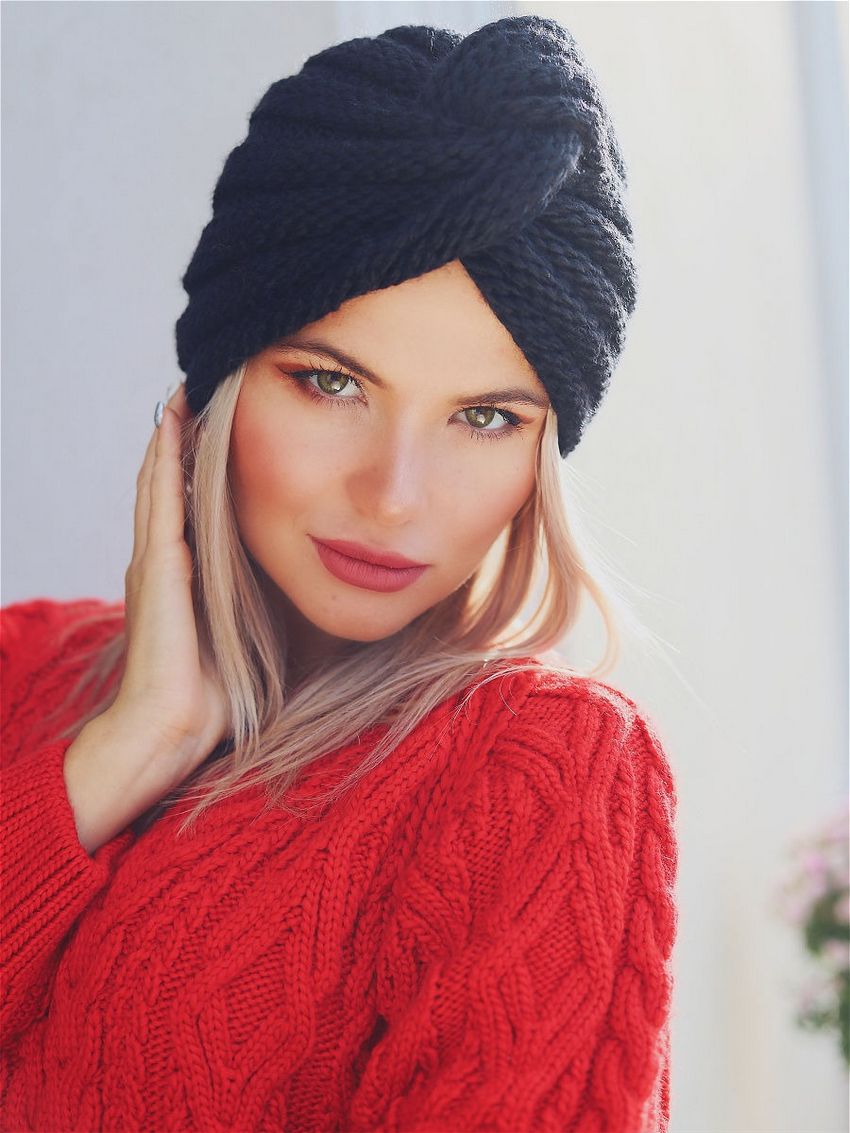
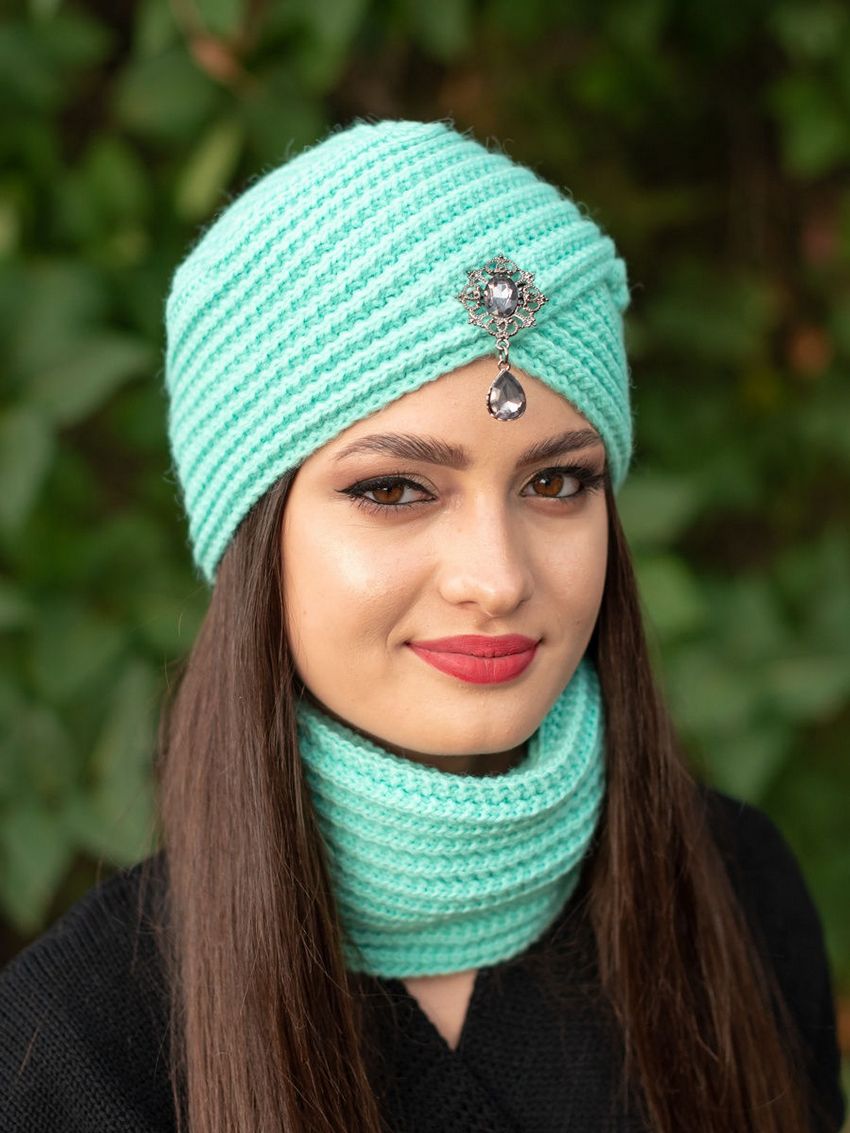
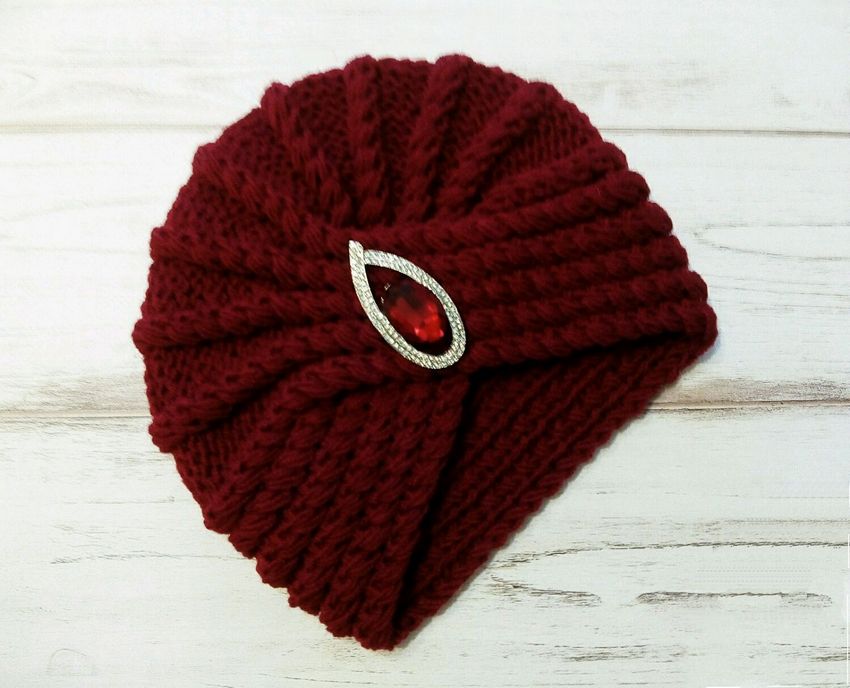
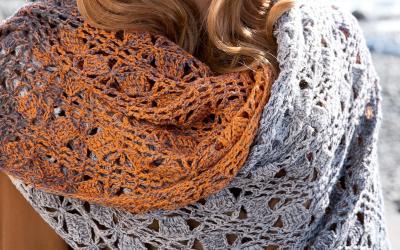
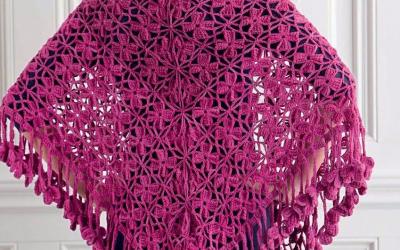
Photo ideas for knitting a turban