Decoupage on wood: step by step master class for beginners, photo ideas and practical tips
The technique of decoupage is considered one of the most popular in decorating. It will not cause serious difficulties even for someone who has never done it before. The same way decorate the surfaces of various products from plastic, metal or wood. This material will talk about woodwork.
From the Middle Ages to the present day
The first mention of decoupage as a separate kind of art belongs to the end of the XV century. In China they decided to decorate tableware with cut-out pictures. In Europe it gained popularity in the seventeenth century: in this way furniture was decorated with various inlays in the oriental style.
This decoration still offers different styles and effects that can be combined to create a unique solution. If you complement it with techniques such as craquelure or brushing, the result surpasses even the most daring expectations.
All kinds of patterns, drawings, landscapes can act as applications. Beginners are recommended to start with the easiest options for execution. Later it will be possible to perform more complex work.
Below are recommendations and useful tips on How to do decoupage on a tree from beautiful decorative napkins. It is this technique is the most understandable and available for implementation.

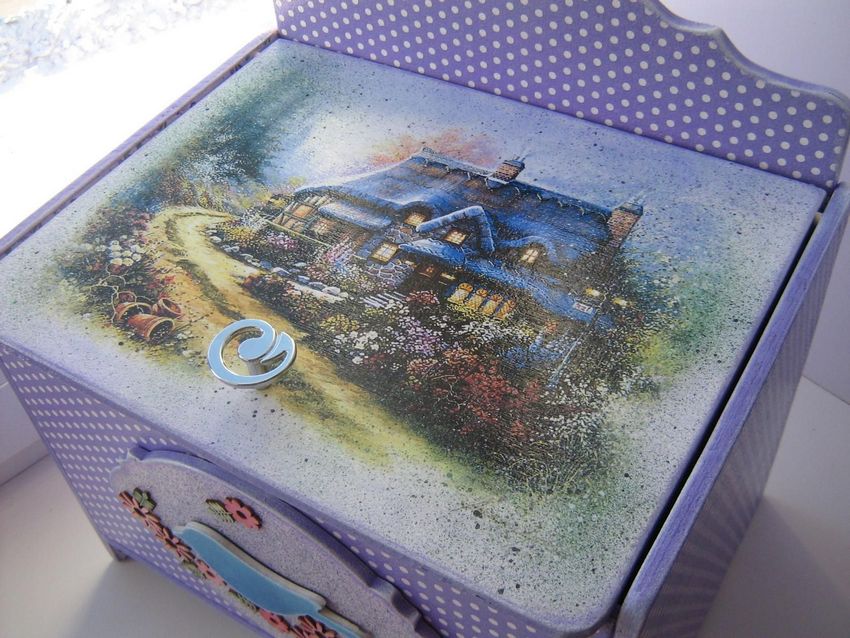
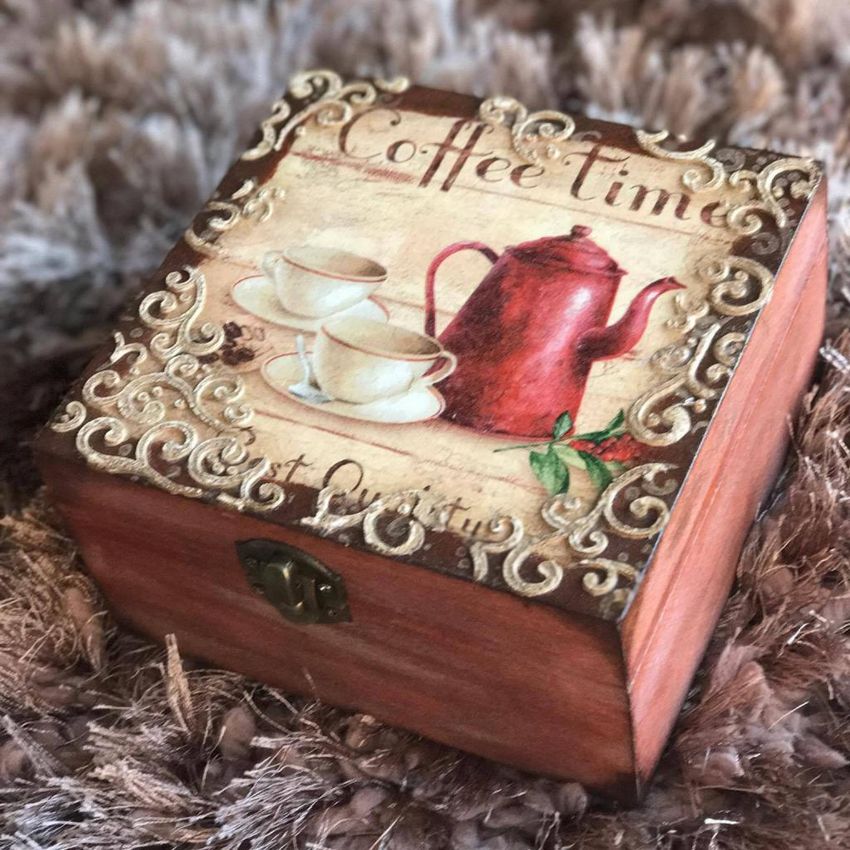
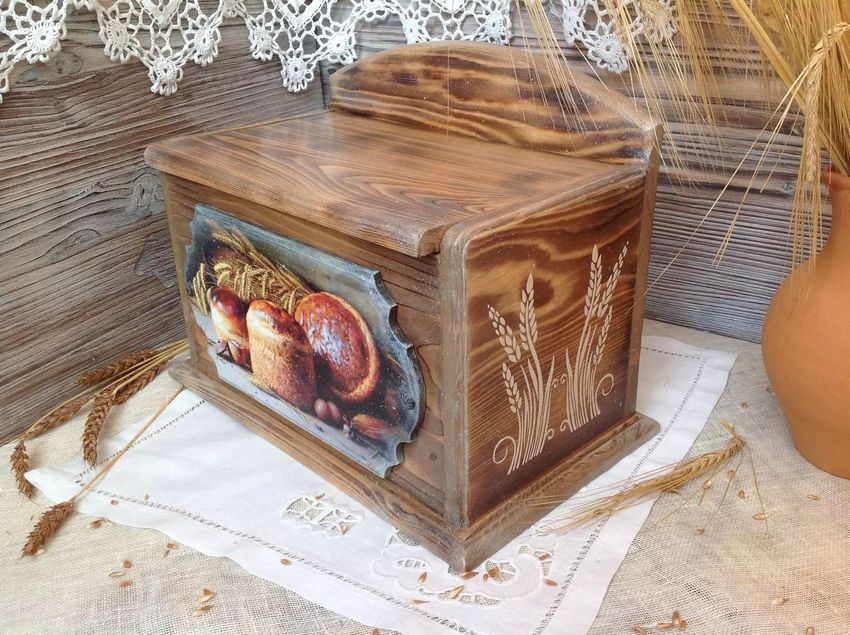
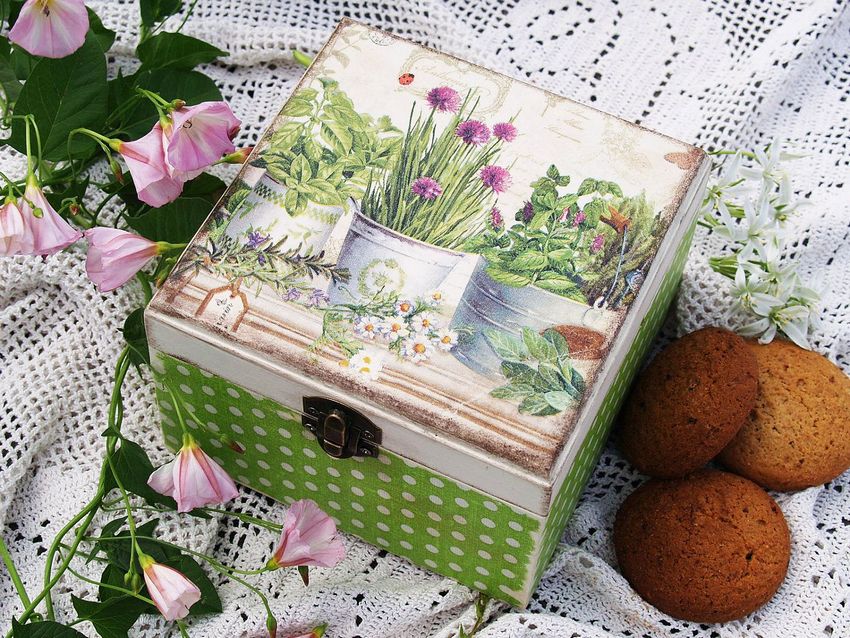
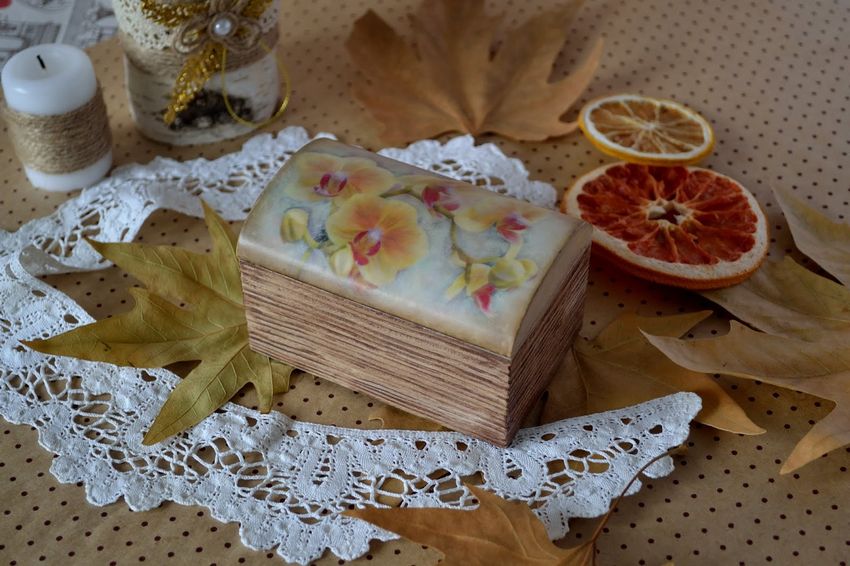
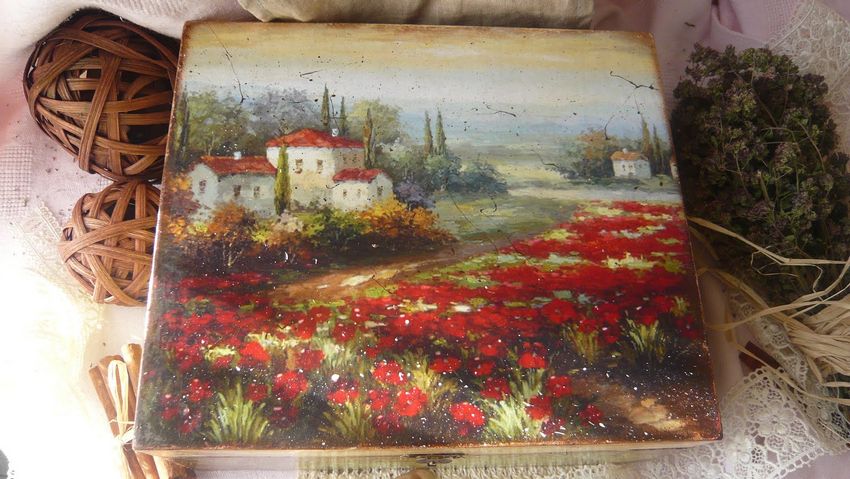
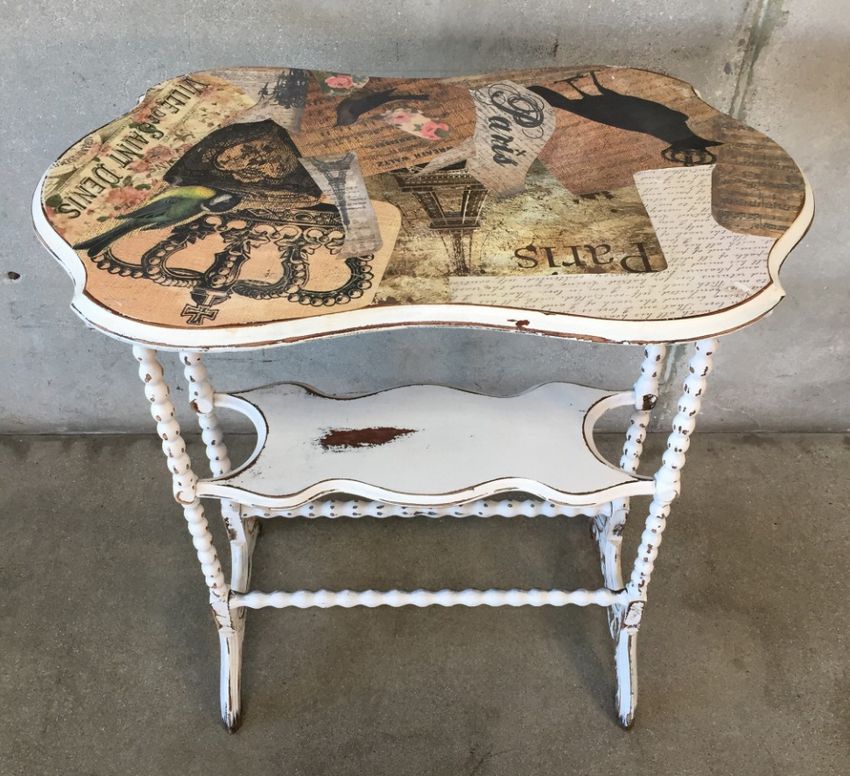
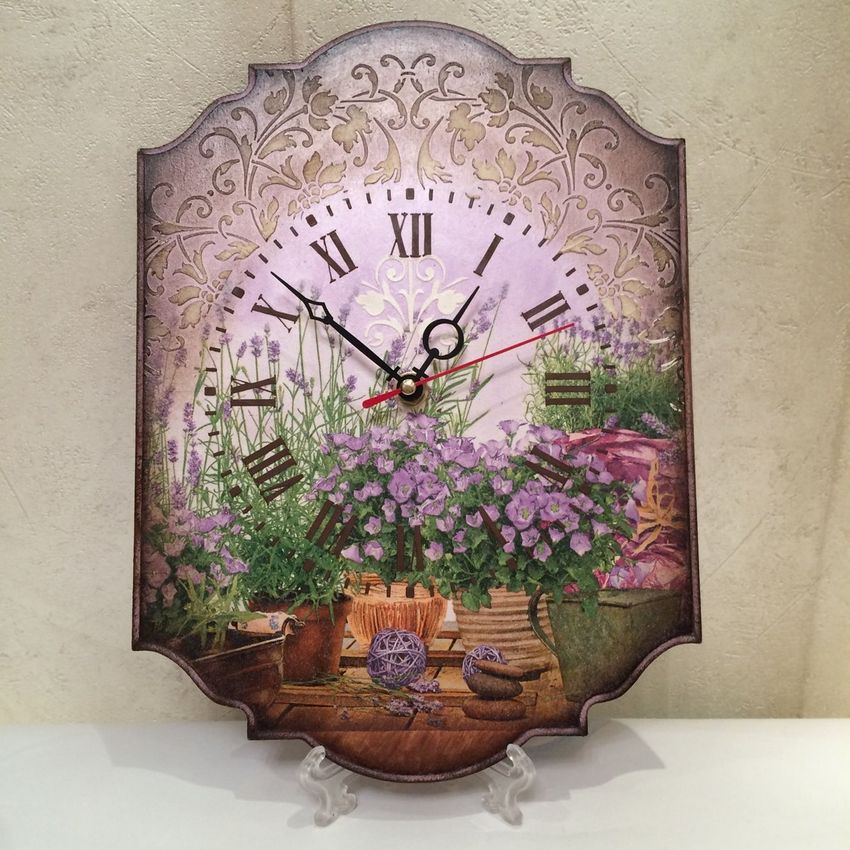
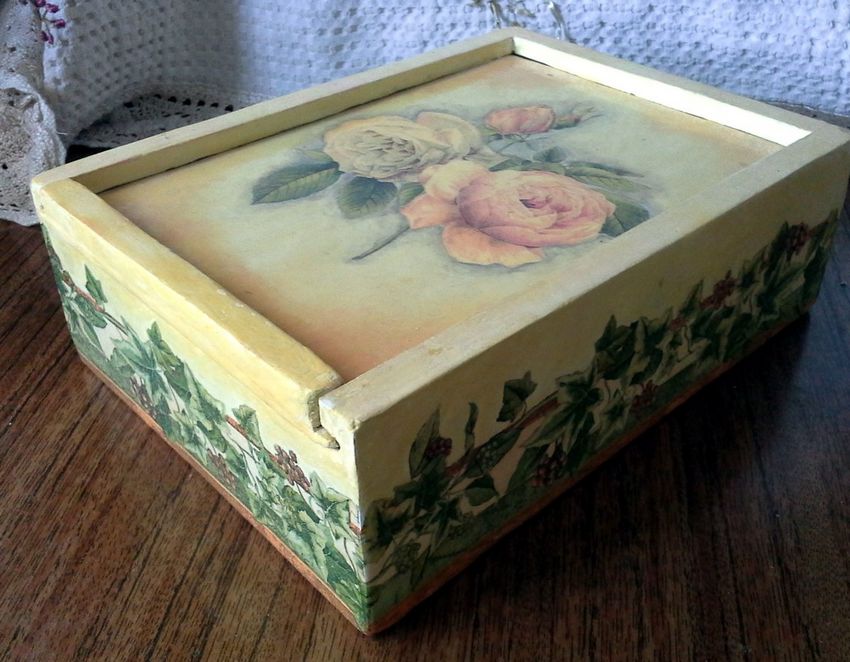
Thus you can not only show your creativity in different interior objects, but also to restore old furniture that has lost its appearance. Chests and cabinets, chests and boxes, tables and chairs, and other items will find a second life and continue to delight their owners.
Necessary materials and tools
For beginners To master the technique of cloth decoupage on wood you will need the following materials and tools:
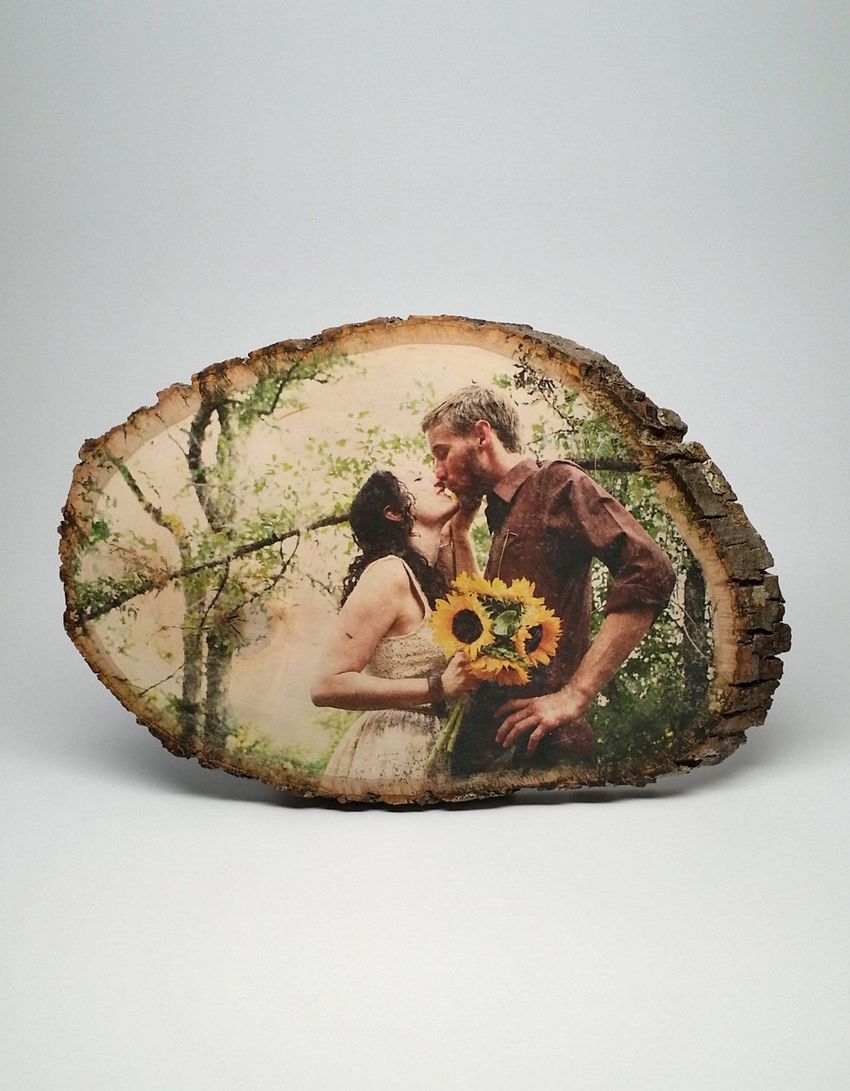
- high-quality napkins with bright and clear drawings, photo paper, wallpaper (in addition to the usual floral prints, you can find very unusual);
- files;
- glue (preferably PVA);
- varnish;
- paint;
- primer;
- putty, plaster;
- Small scissors with short and sharp blades;
- scalpel or a special knife with a rotating blade (useful for processing dense wood);
- brushes of different thicknesses;
- a roller or other device for leveling and smoothing the surface
- sandpaper
- sponges, rags, containers of different sizes.
Order of actions
The technique of decoupage requires extreme accuracy and patience. Each of the stages is important. The slightest carelessness or excessive haste will not be the best result. The following recommendations will facilitate and speed up the decorating process. The sequence of steps is as follows:
The first thing necessary is to thoroughly prepare the wooden surface of the product. Processing is carried out with sandpaper or a special grinder along the fibers of the wood. It is necessary to completely remove the previous coating. This also applies to the glossy surface when working with laminated wood. There is no point in trying to apply an image over the lacquer. There must not be any splinters, debris or contamination left. Chips and deep cracks are recommended to be covered with putty. A couple of coats of water-based primer is applied to the cleaned and even surface. It will fill the pores so that the paint and varnish can spread evenly over the surface. Only after complete drying (as a rule, the time is specified on the package) you can move on to the next step.
Using a brush or roller (depending on the area), a decorative coating is applied to the prepared base. Acrylic paint or decorative wood glaze is used. This will ensure better adhesion of the application to the surface, as well as better adhesion during further lacquering. For color saturation, two coats are allowed.
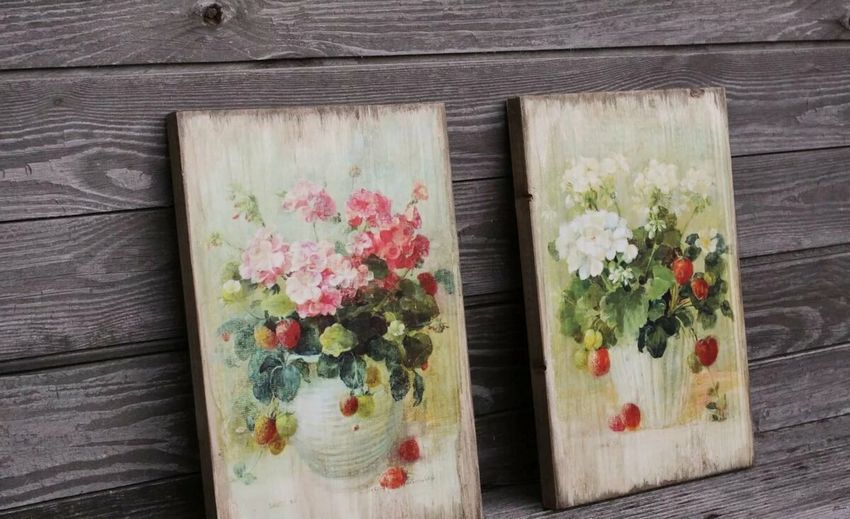
Now a contrasting paint is applied, such as a white decorative and protective impregnation. The surface should be blotted immediately with a sponge, so that the darker shade of the undercoat can appear. If you do this with a slightly damp sponge, the bottom color will be more visible.
Now you will need the selected decorative cloths. They are laid out on the prepared and painted interior object in such a way that an interesting and aesthetic composition is obtained. Decorators with experience advise to take three-layer napkins. In this case, it is necessary to slowly and carefully detach the two white unnecessary layers.
The napkin should be placed on the object to be decorated and the file as a layer with the pattern down. Next, you need to lightly wet the entire area of the pattern and use a brush to carefully level the surface so that the print properly adheres to the substrate. There should not be any kinks. The excess water should be blotted out, and then you can make appliqués in the selected areas. As soon as the pattern has set on the wood, the file can be removed.
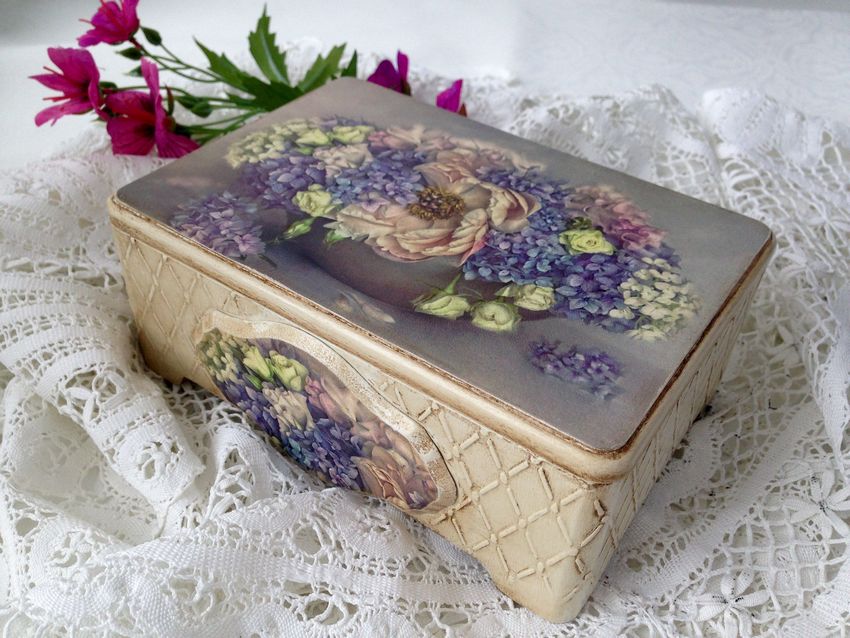
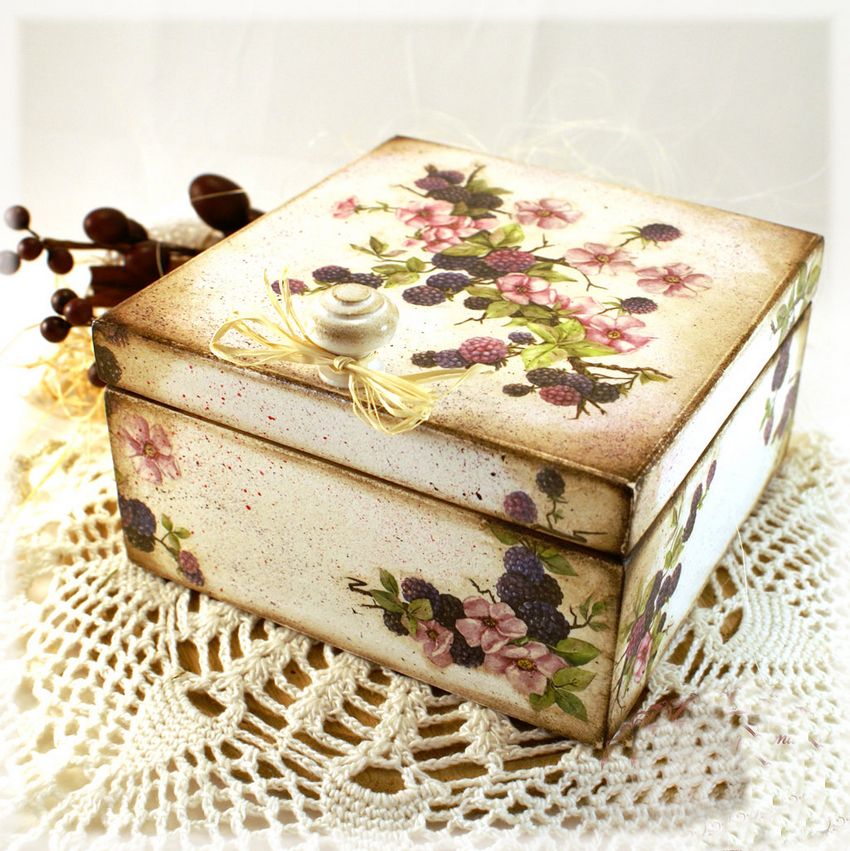
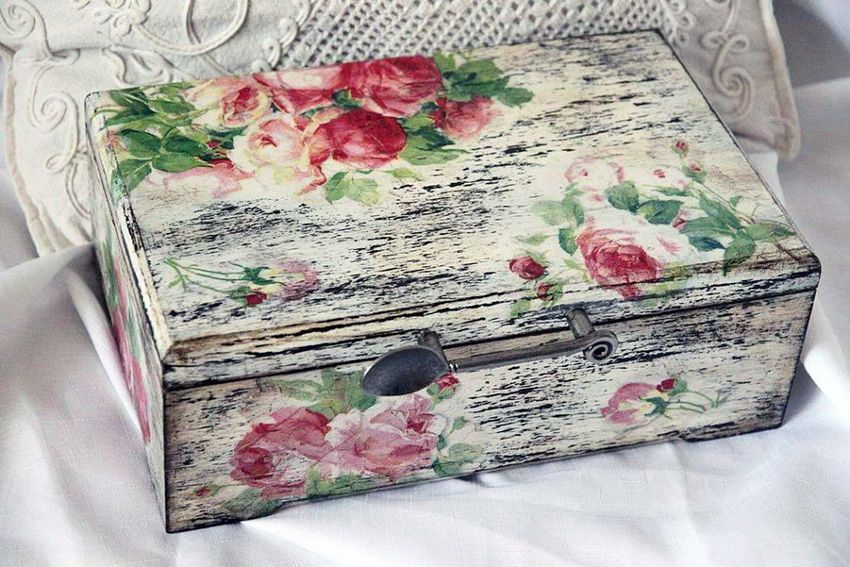
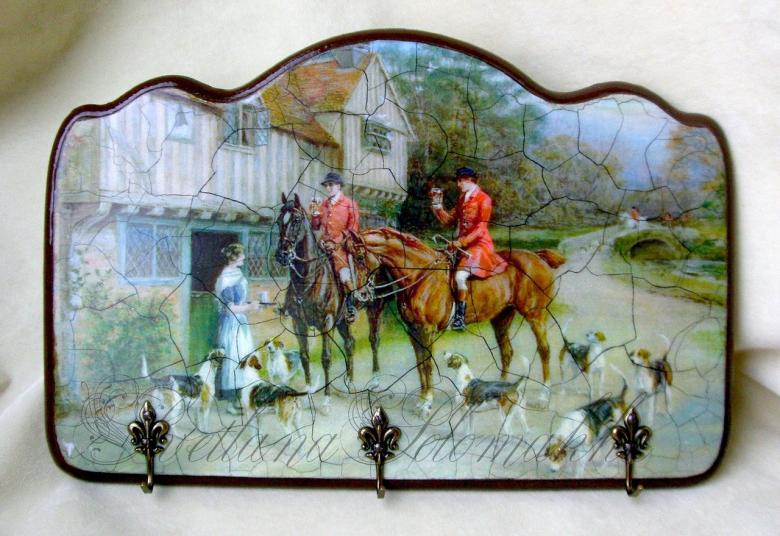
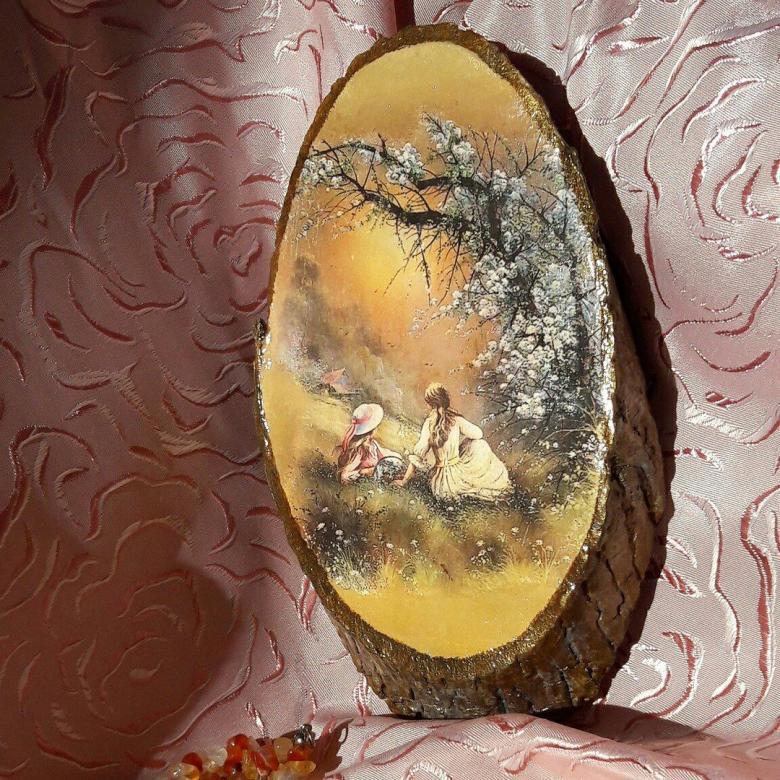
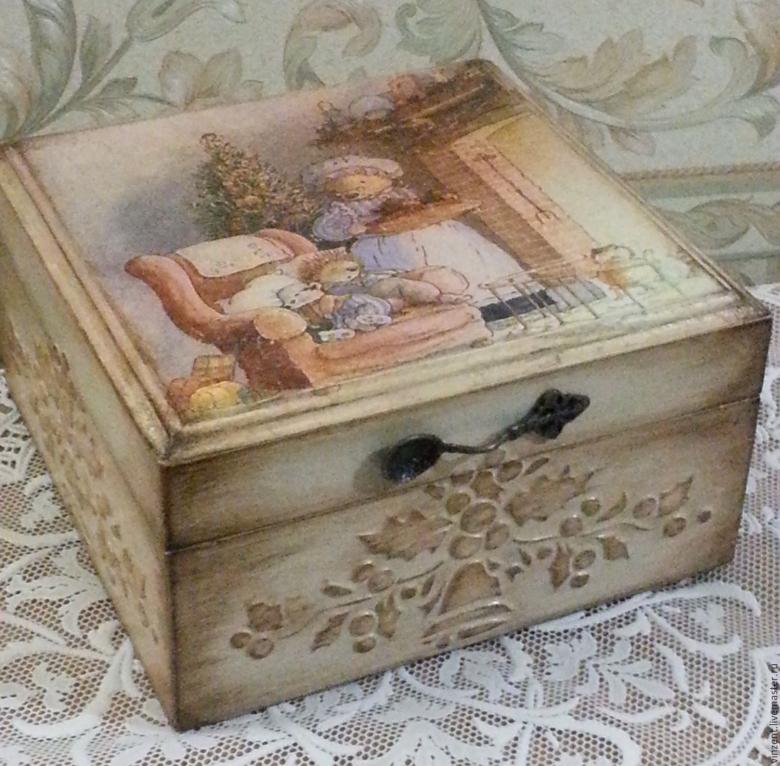
After complete drying (you can speed up the process with a hair dryer) it is necessary to cover the wooden object with a couple of coats of varnish to securely fix and protect it from damage. To give the piece a noble antique effect, you can use a goldish varnish, which will give the wood an interesting platinum-colored glow.
Instead of using a file, you can simply glue the pattern to the base. To do this, you need to prepare a glue solution by mixing 1:1 PVA glue with water. There are also special glue compositions for decoupage on sale. It is advisable to use a soft brush when applying.
Applying paint, varnish, glue, it is important to make sure that there are no leaks and other defects that will spoil the attractiveness of things and negate all efforts. After drying, you can make, if necessary, sanding.
Obviously, everyone can master this skill. Special skills are not required here, nor are professional, expensive materials. What you need is patience and a sense of taste.
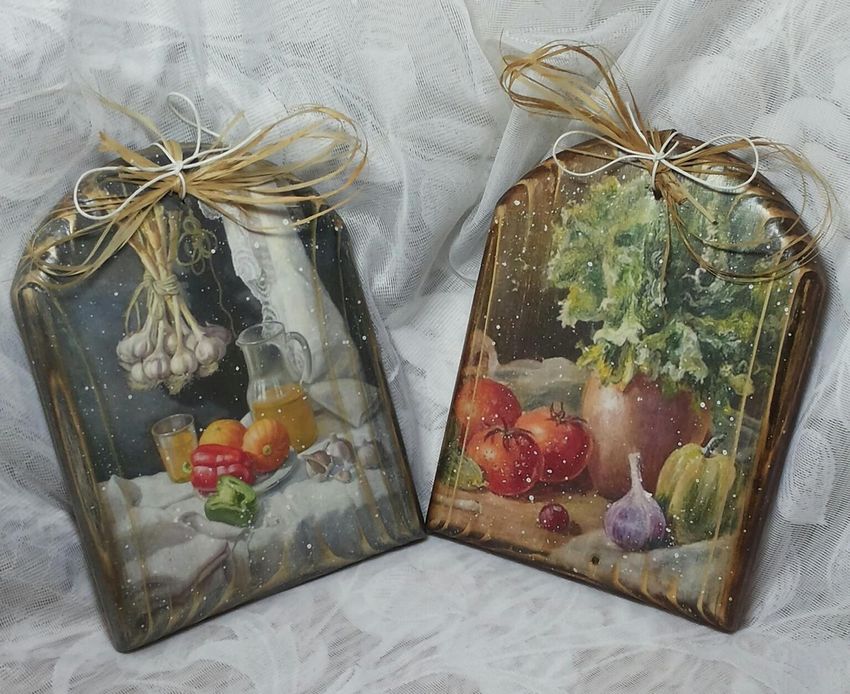
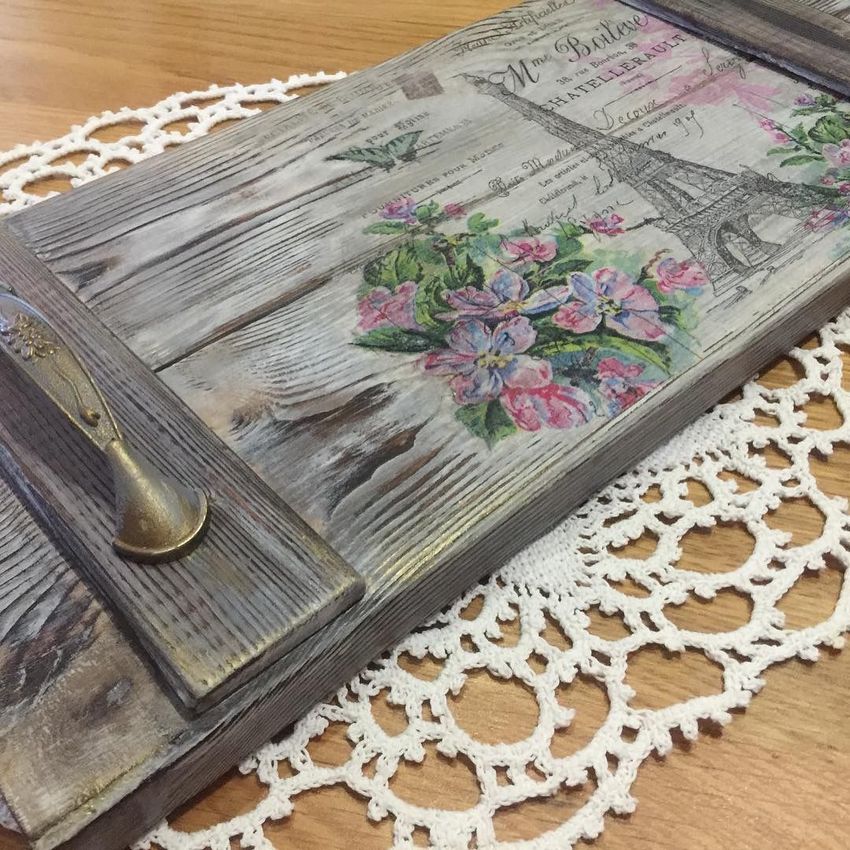
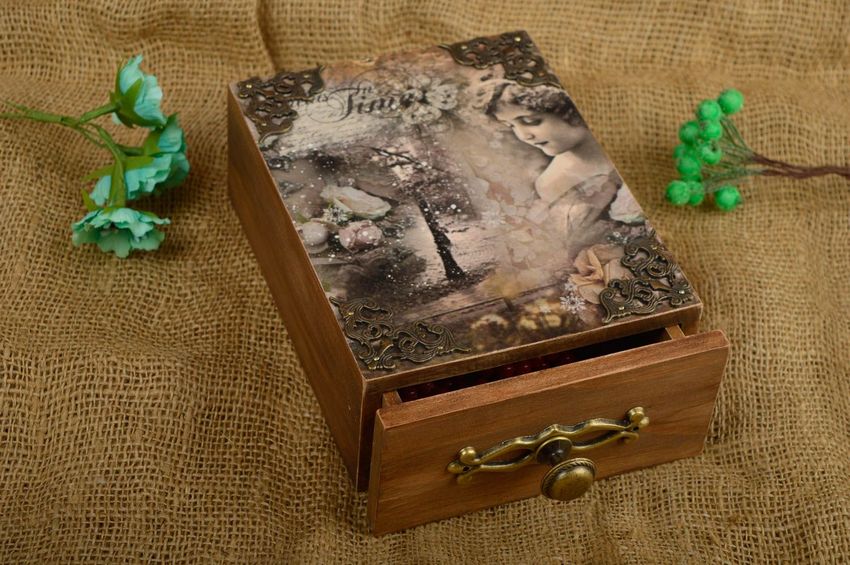
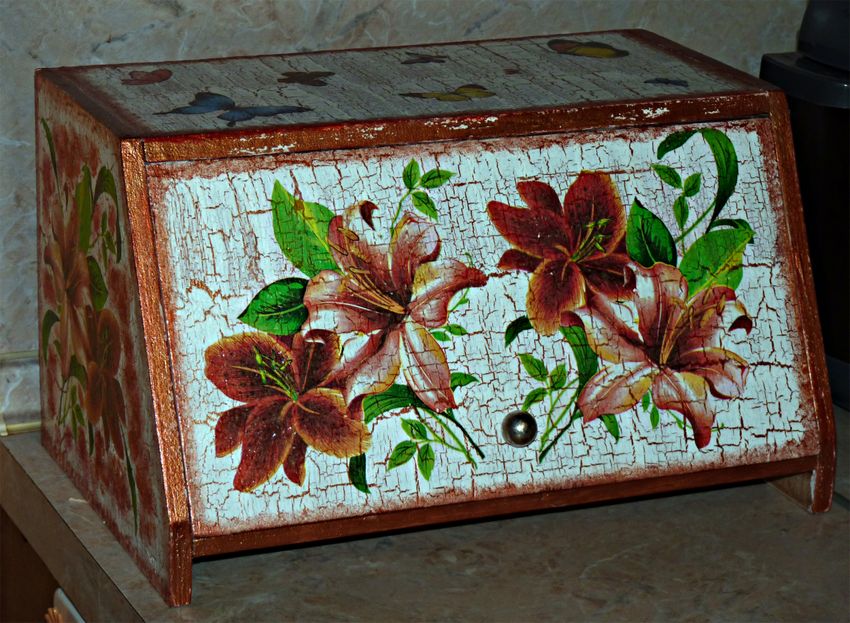
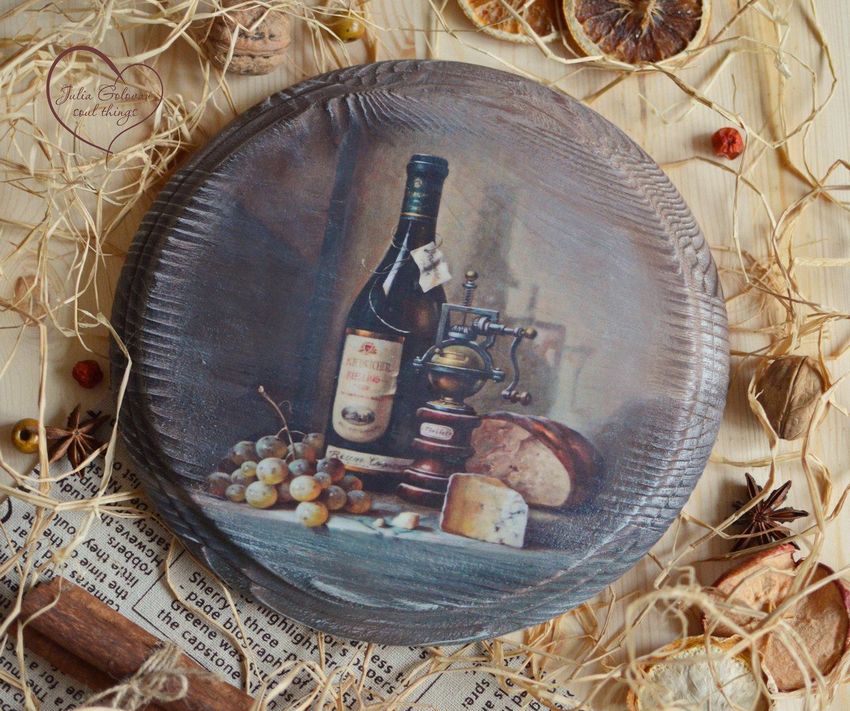
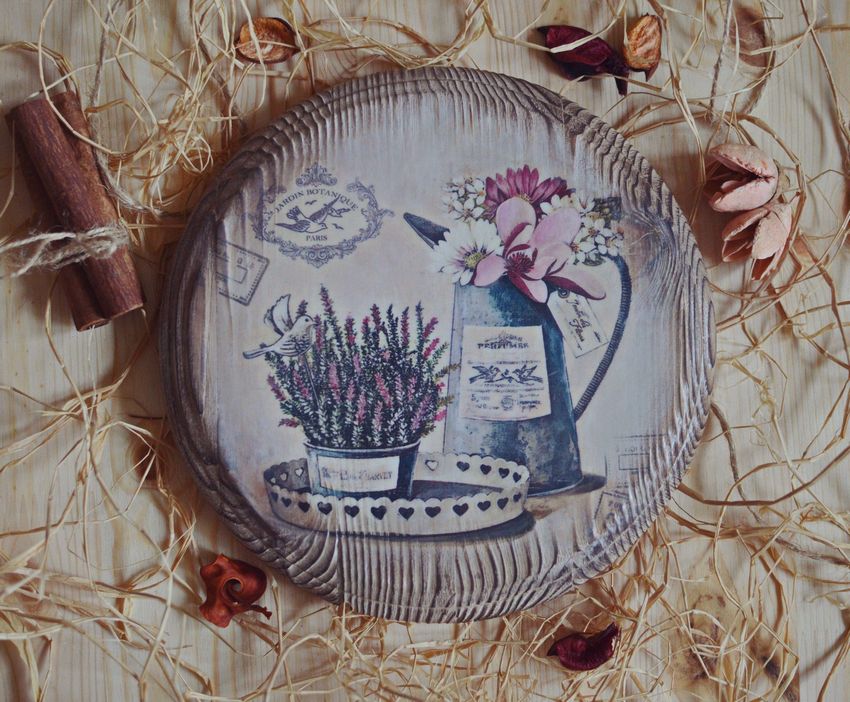
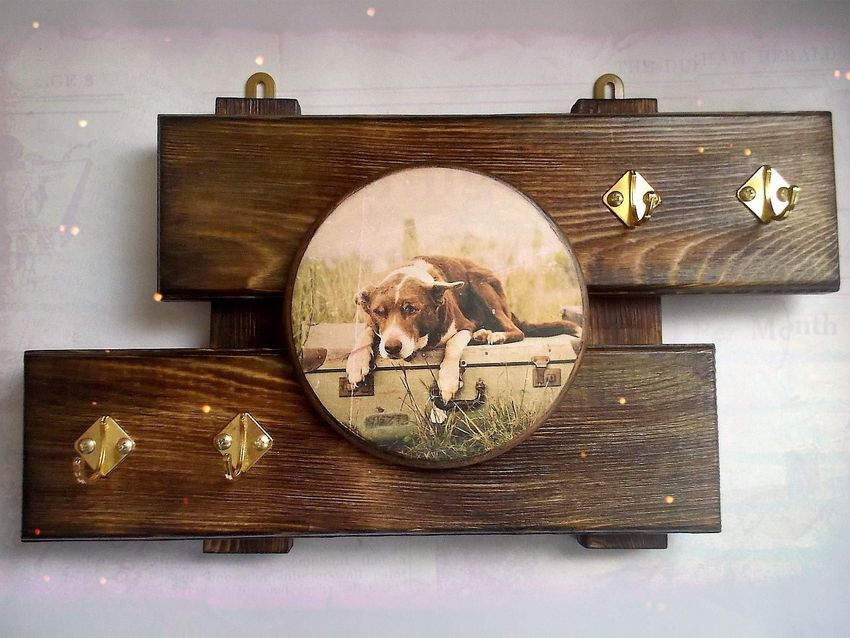
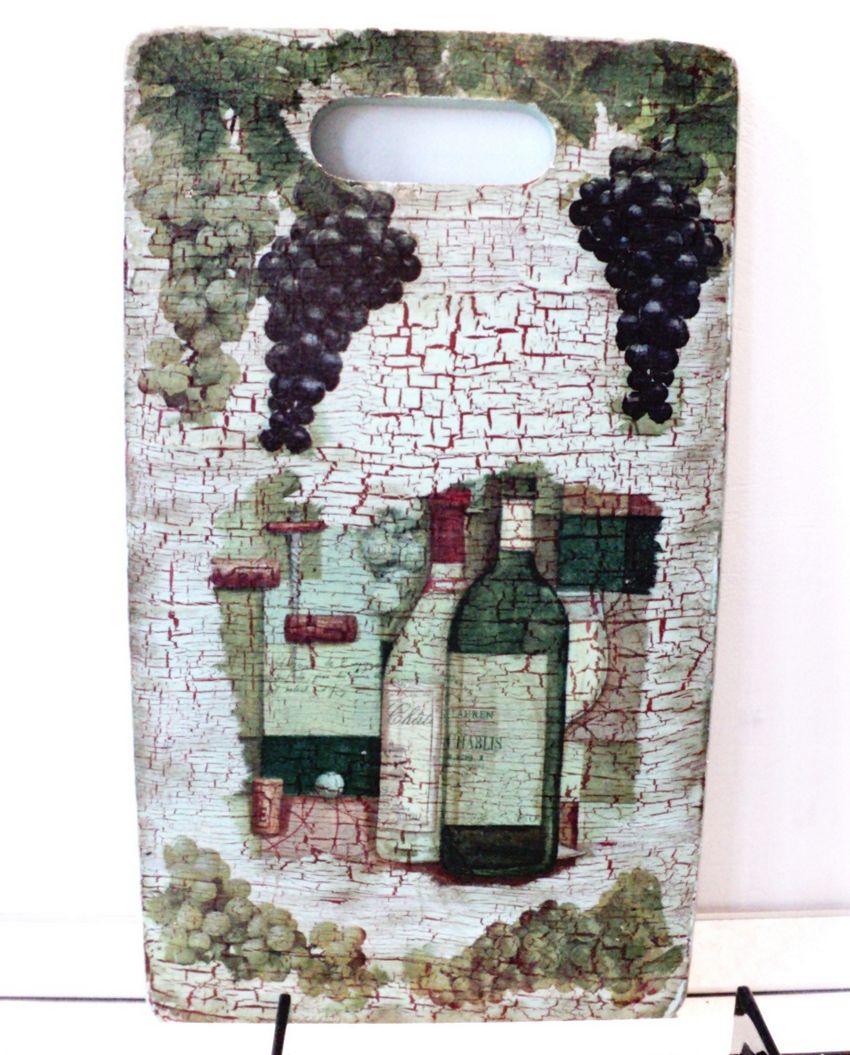
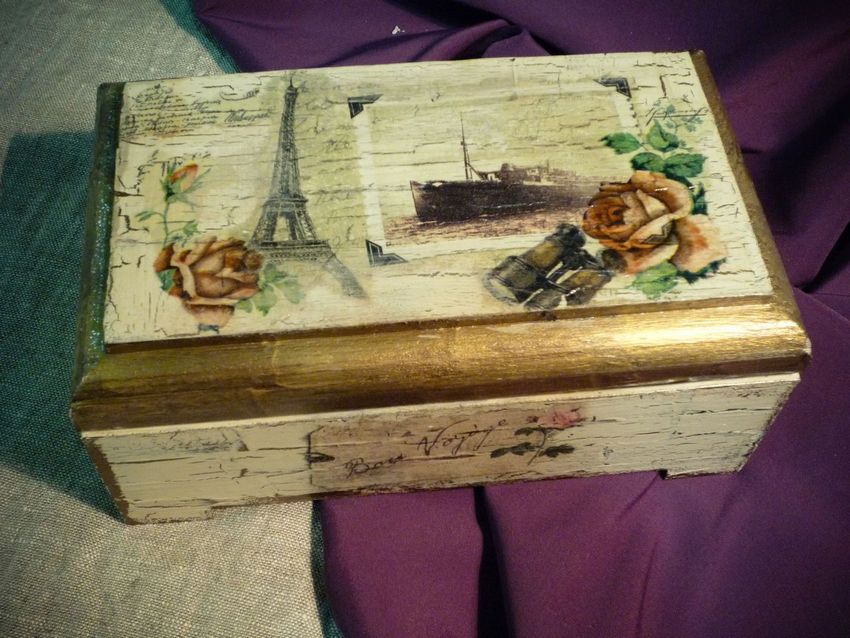
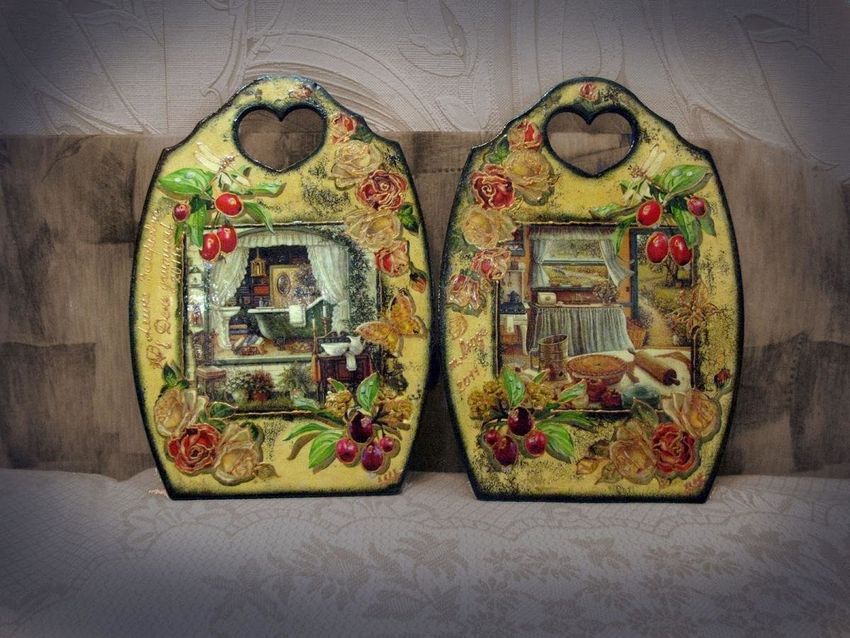
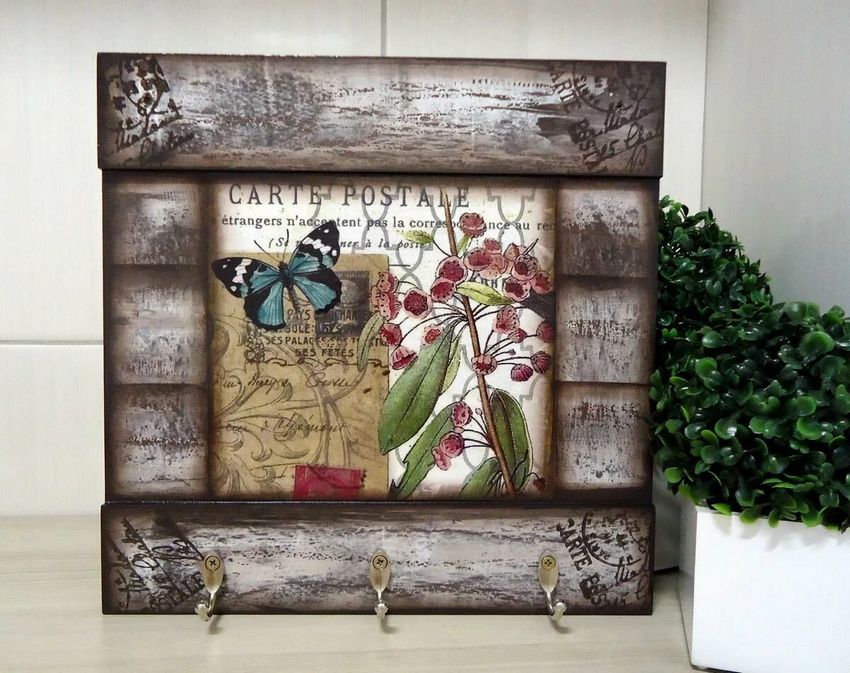
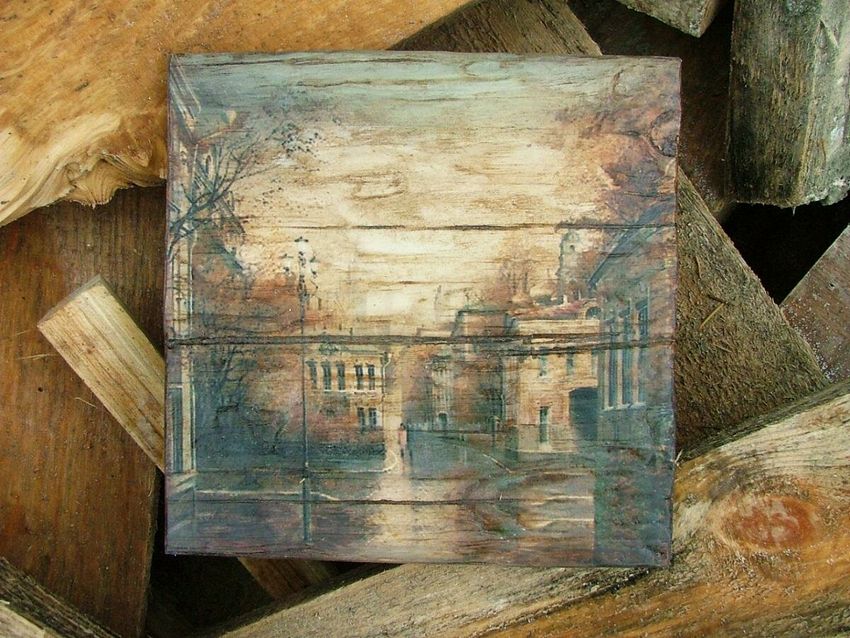
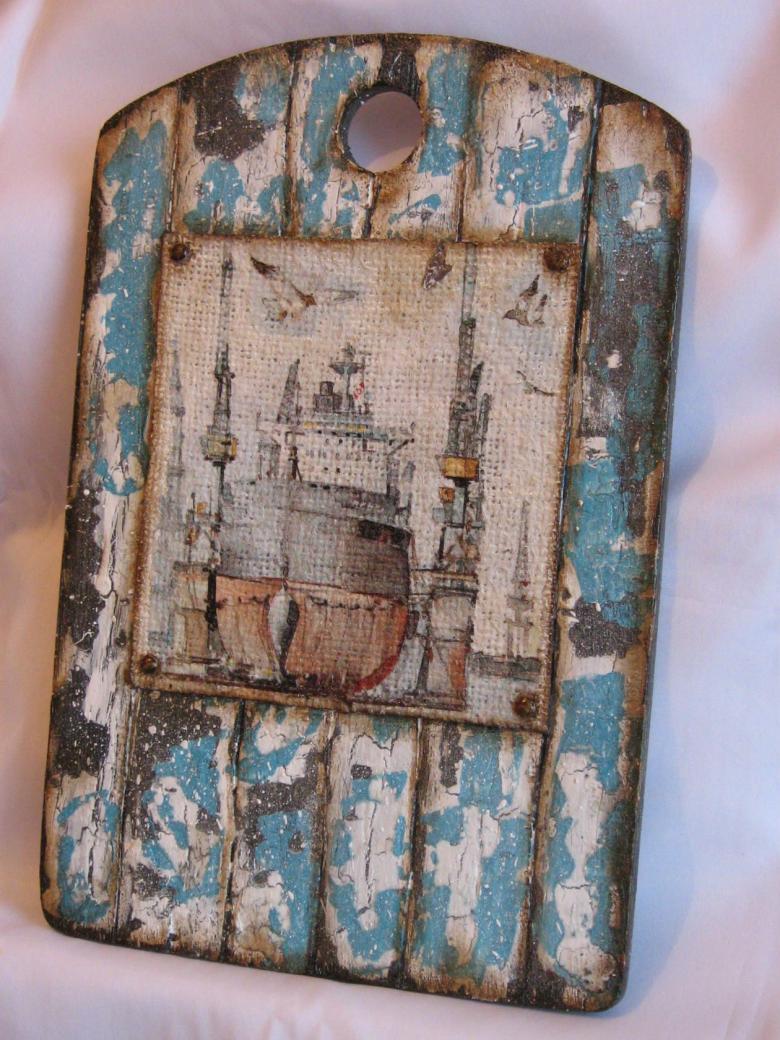
There are many variants of decoration in the technique of decoupage, from the most simple and minimalistic to the most unusual. The alternative to various prints and drawings can be black and white photos or newspaper clippings that will give the thing a special meaning and uniqueness. Retro style is generally popular in this technique.
Use your imagination, but do not forget that everything in the interior must be in harmony. Even a small thing can both decorate the environment and introduce dissonance. With your own hands you can create a small masterpiece, which will bring variety to the familiar interior or become an original gift to a loved one.
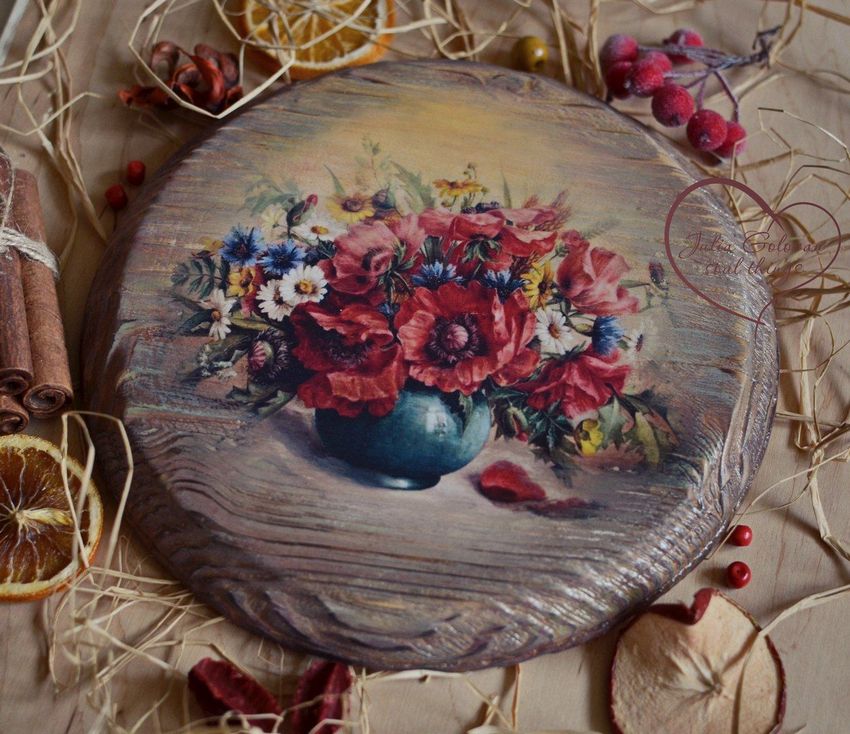
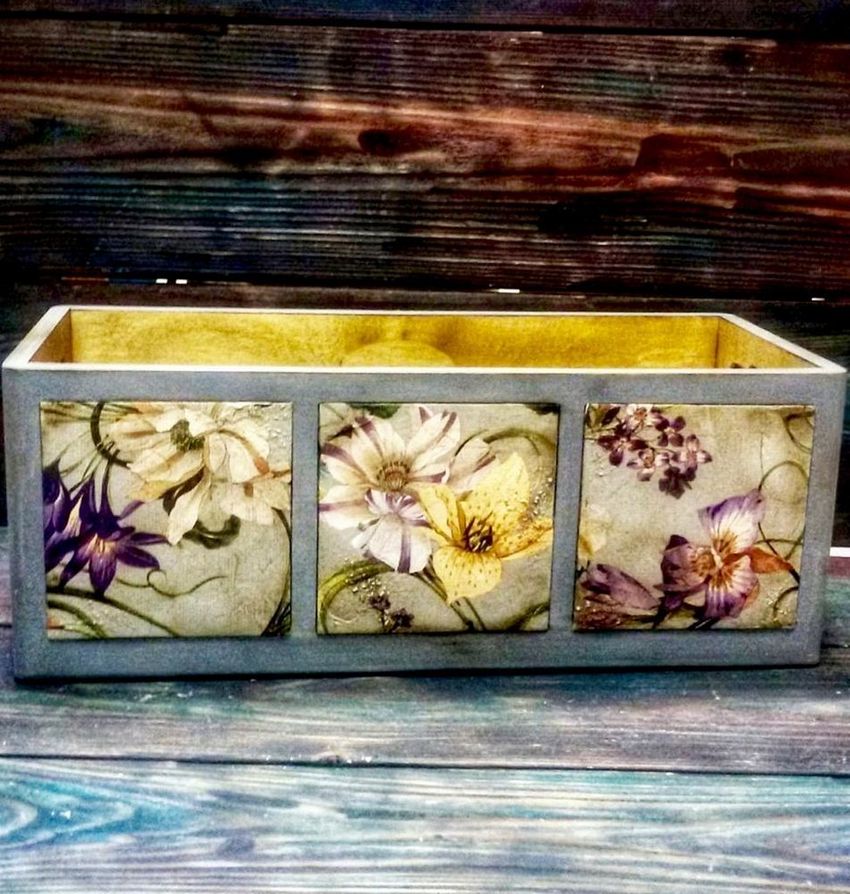
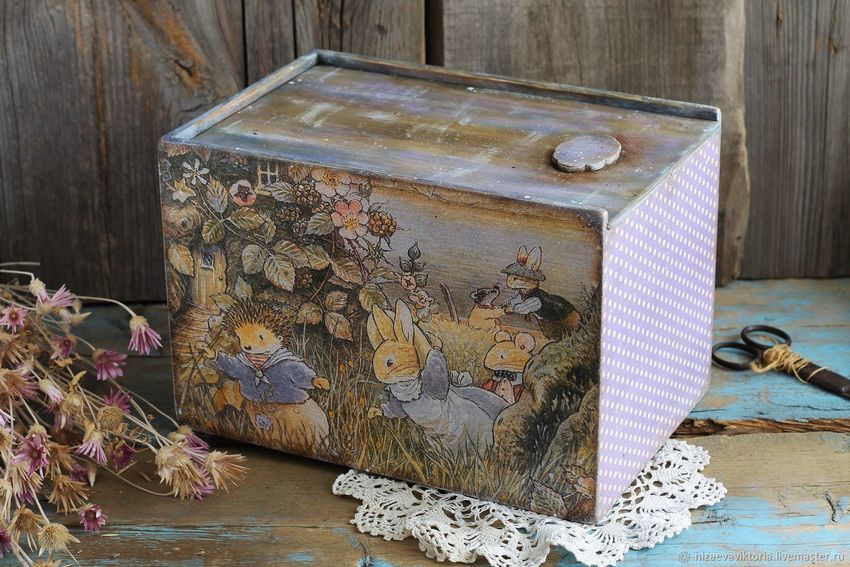
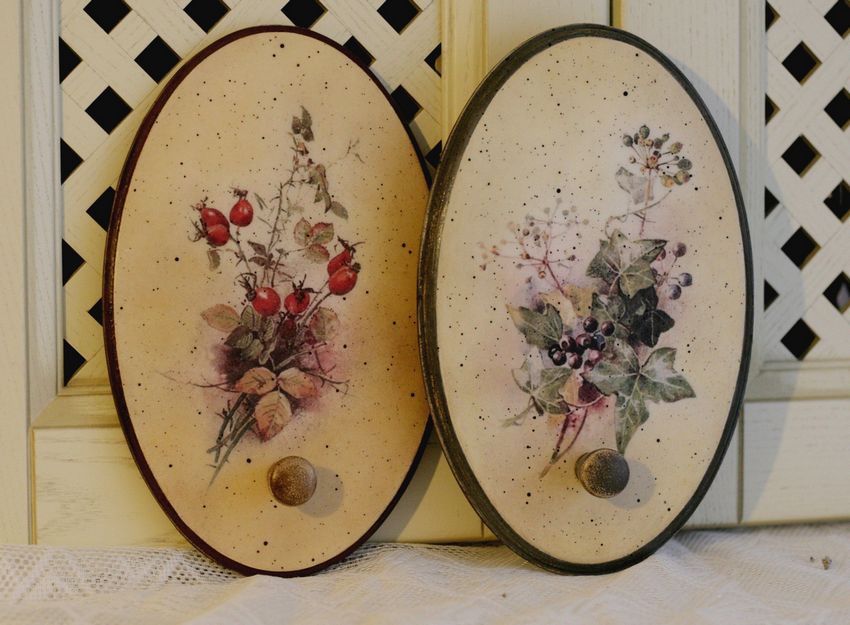
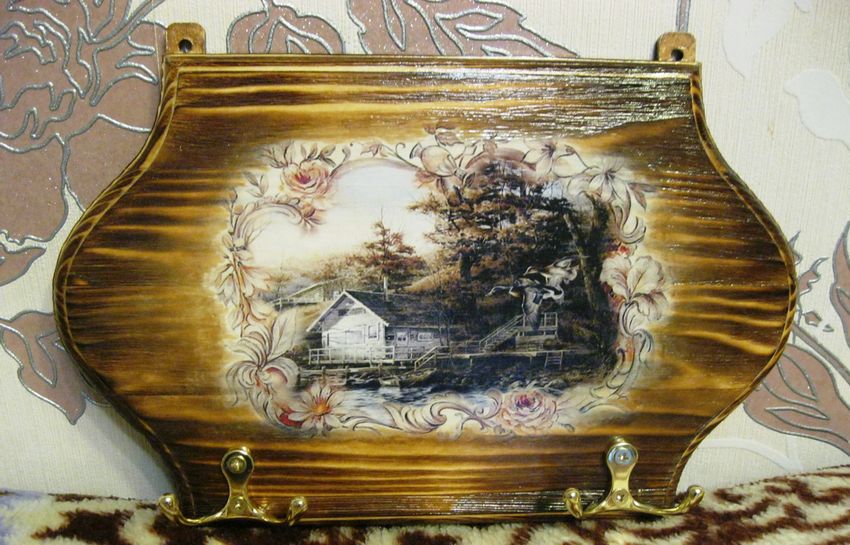
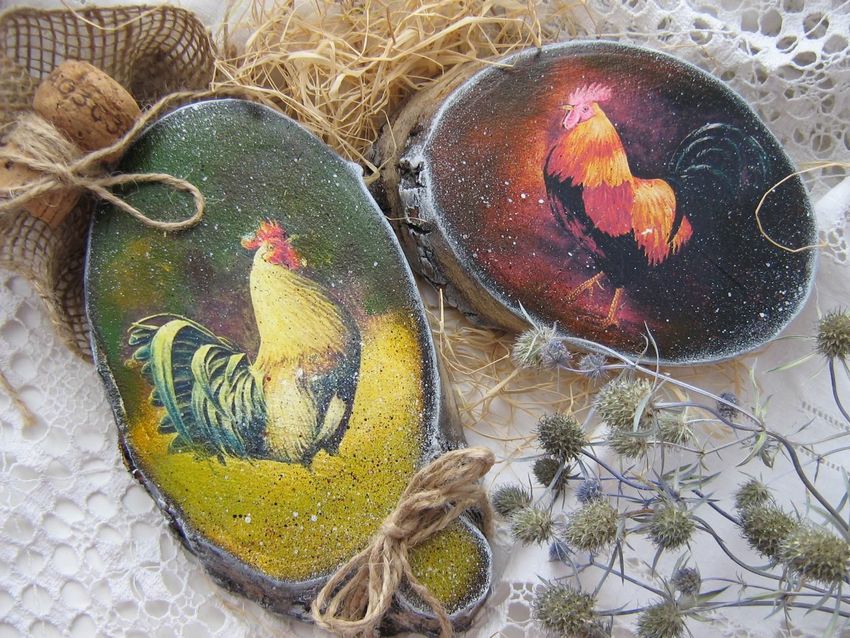
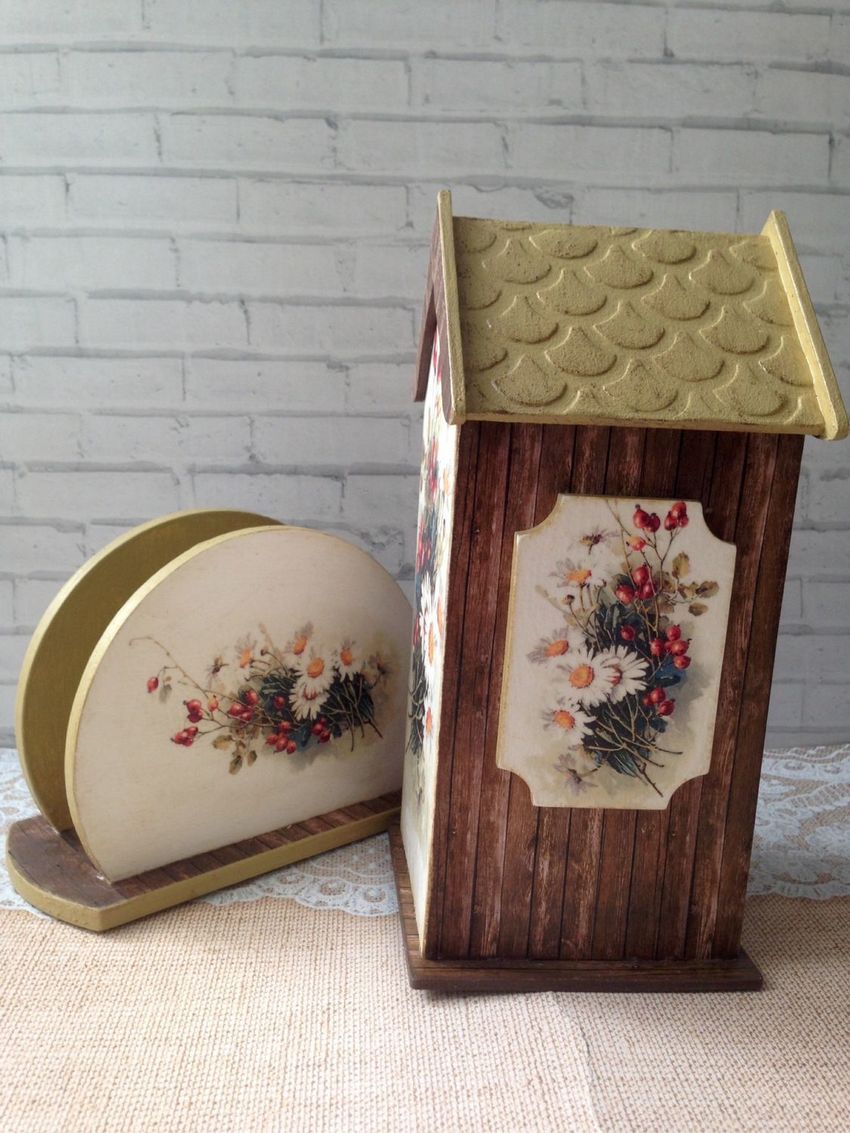
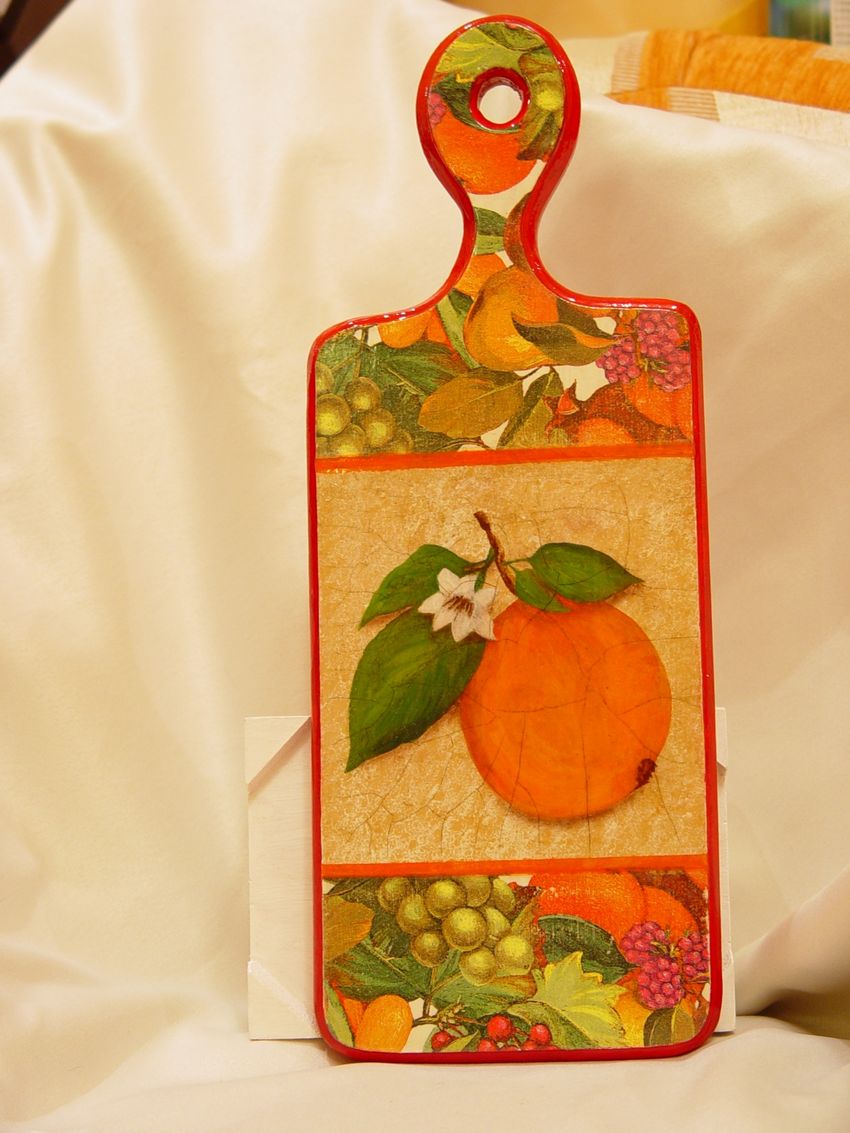
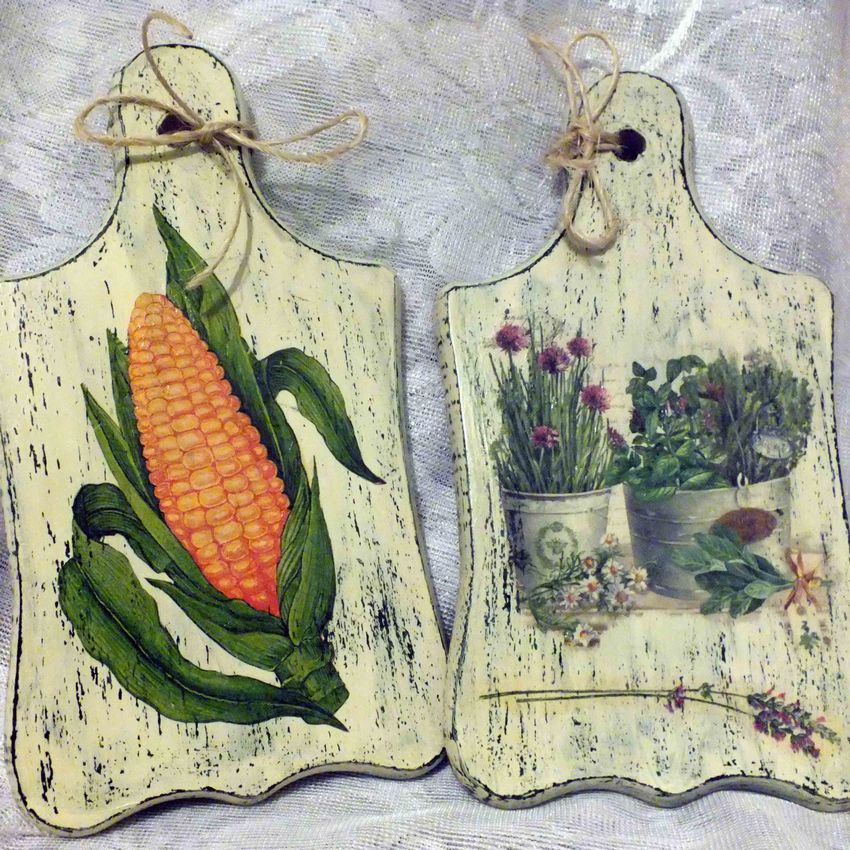
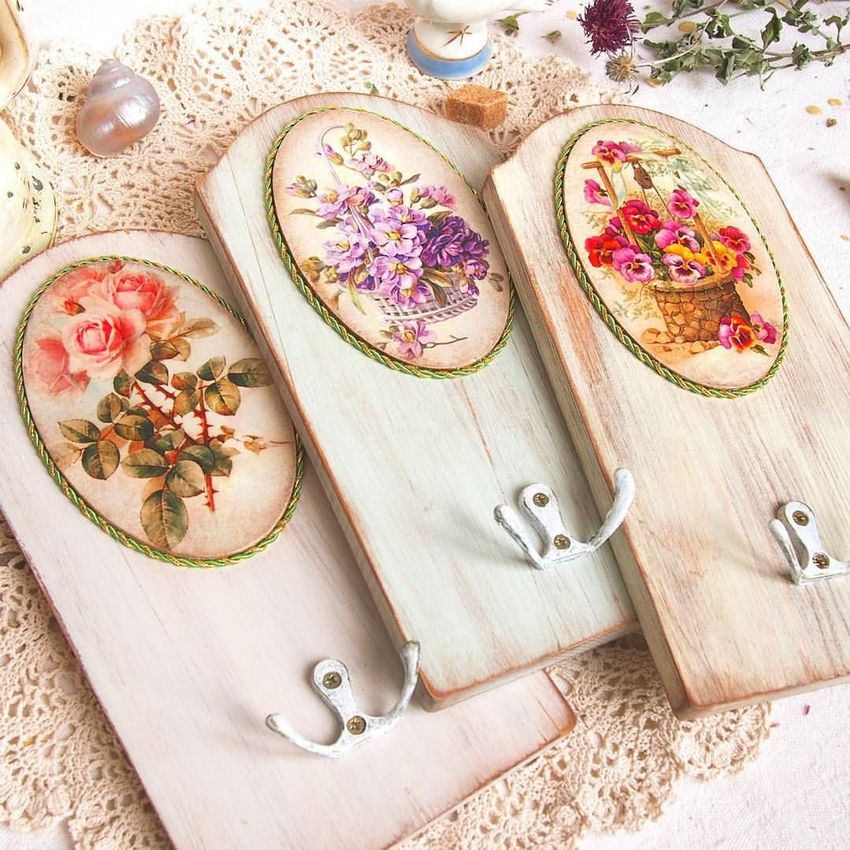
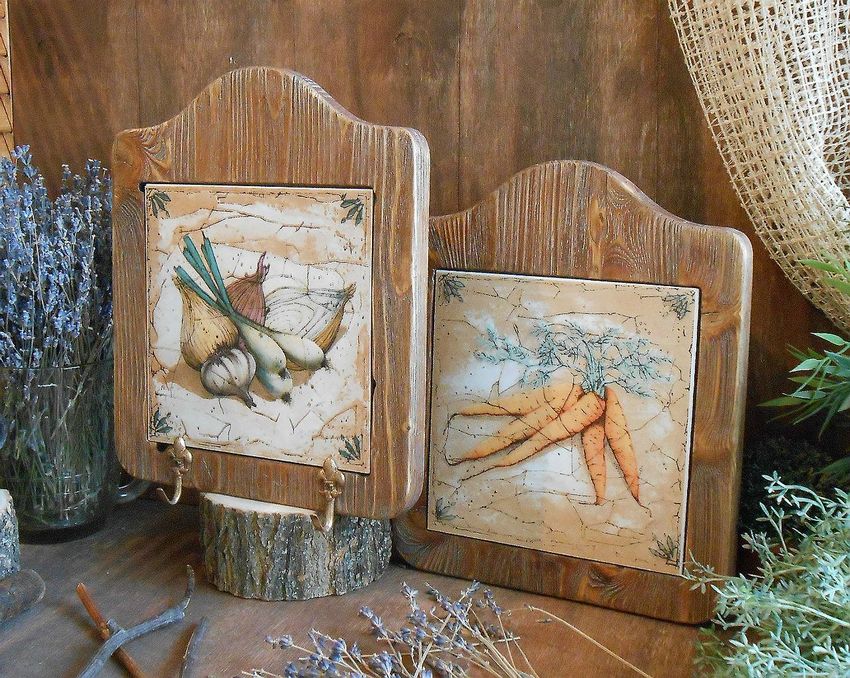
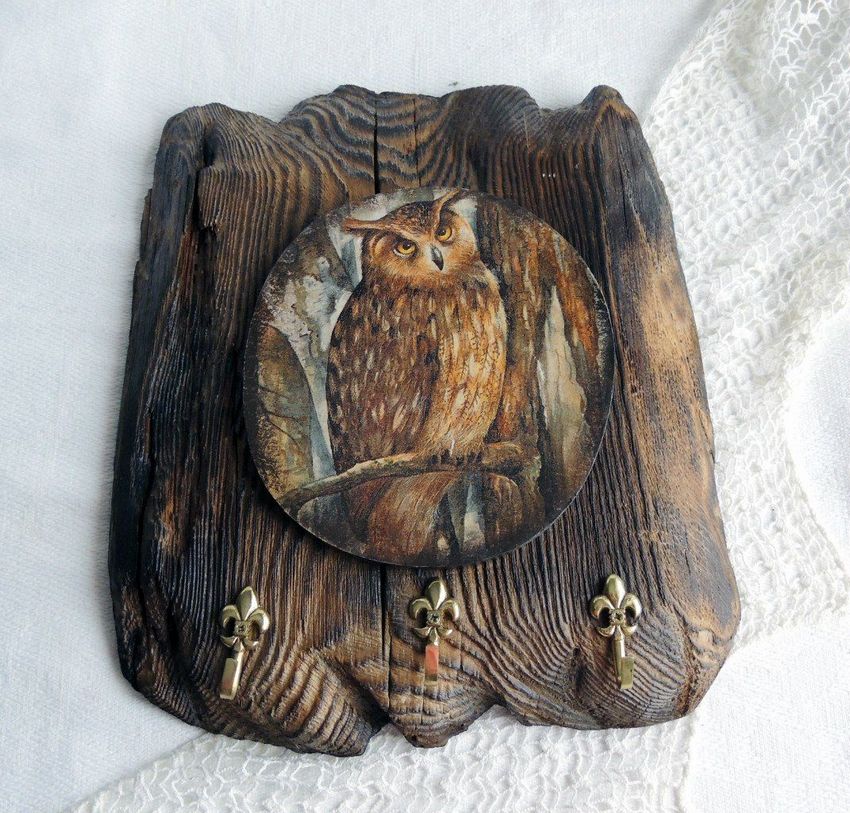
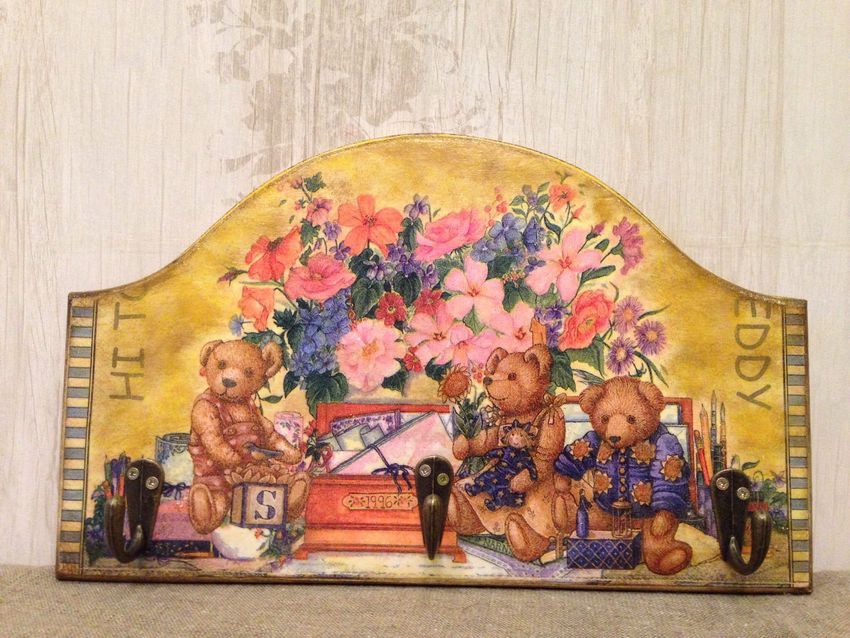
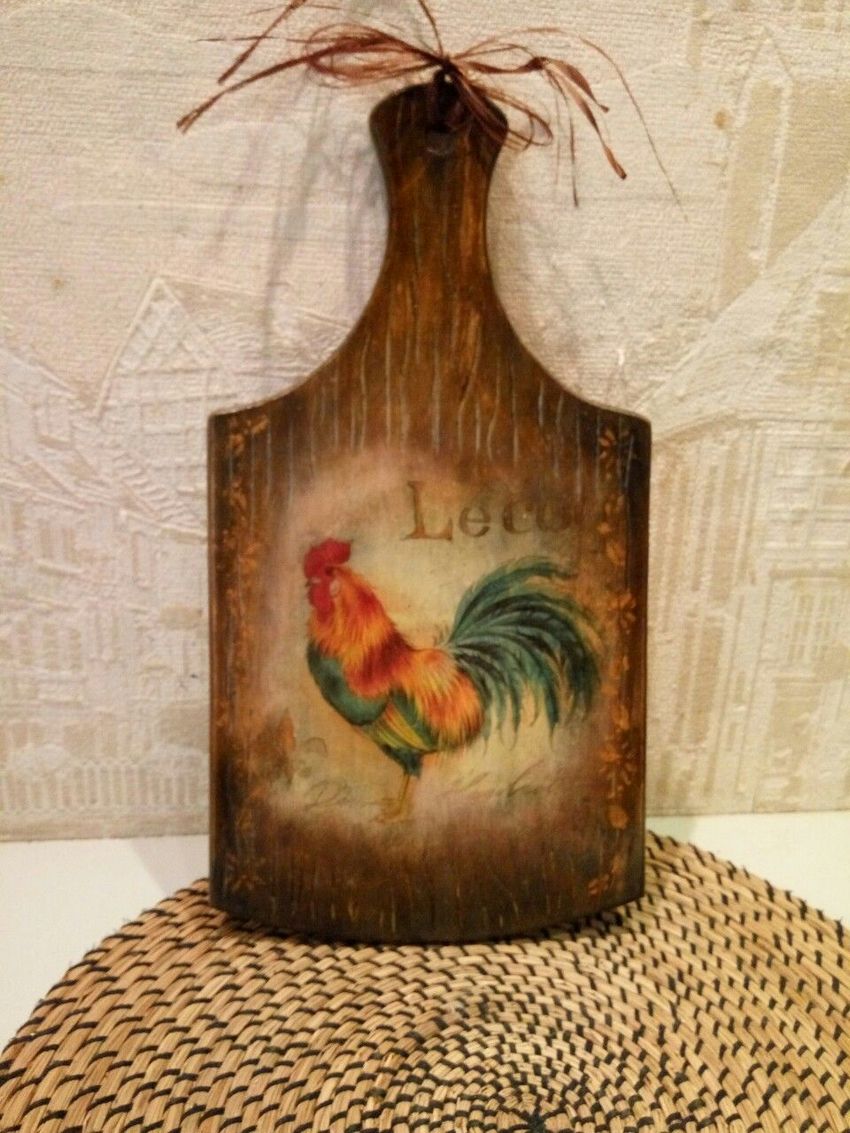
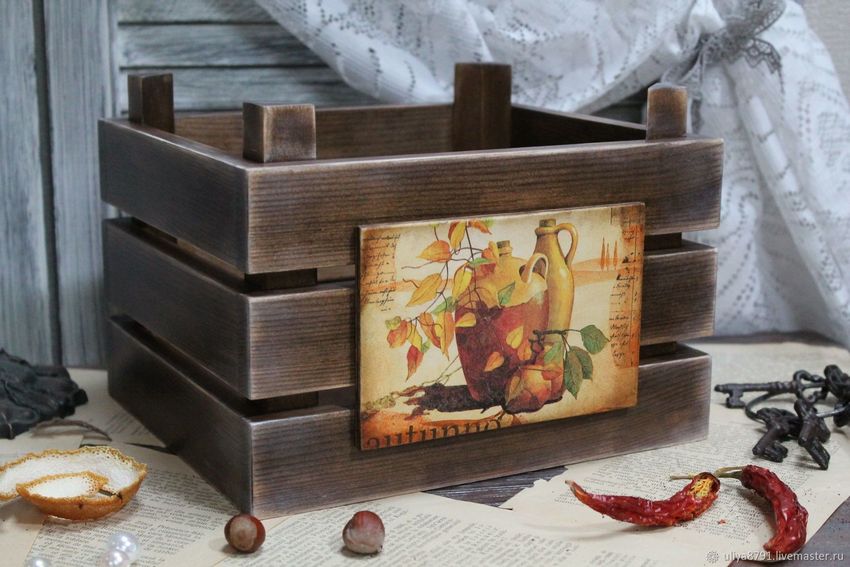
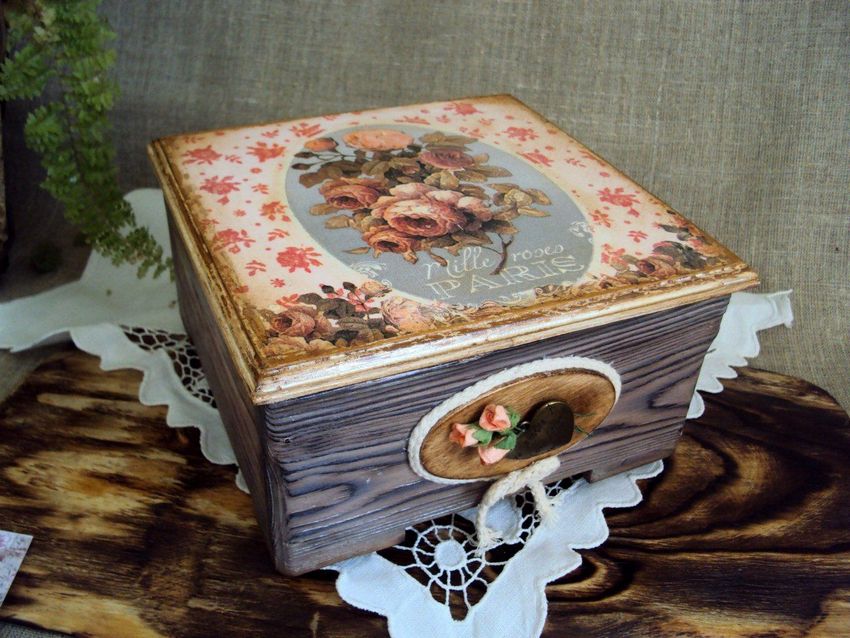
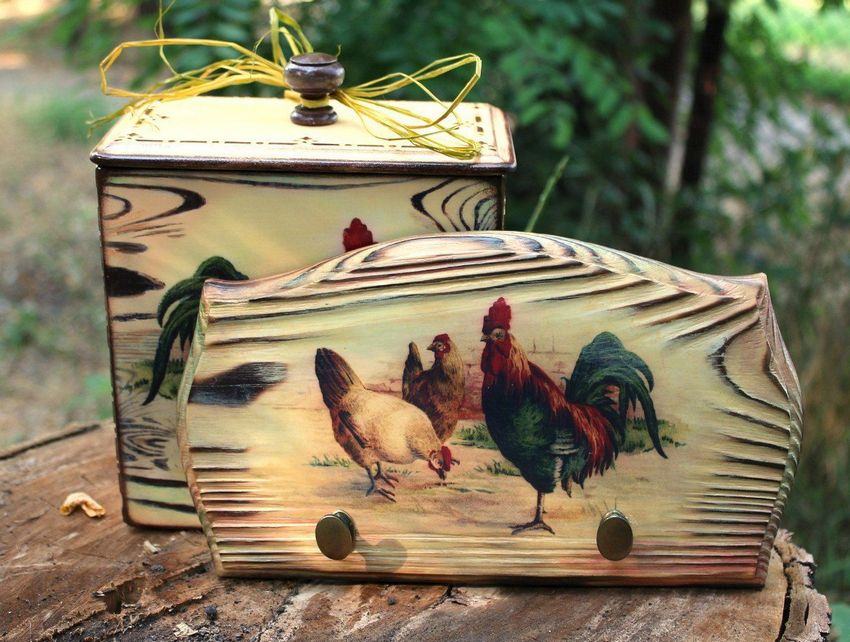
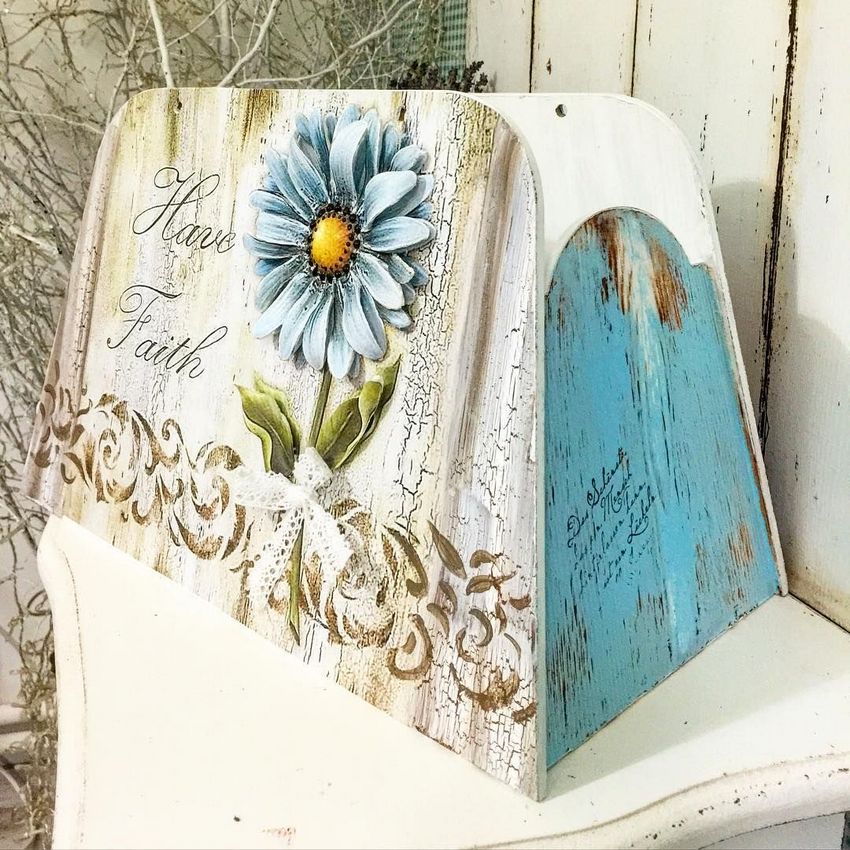
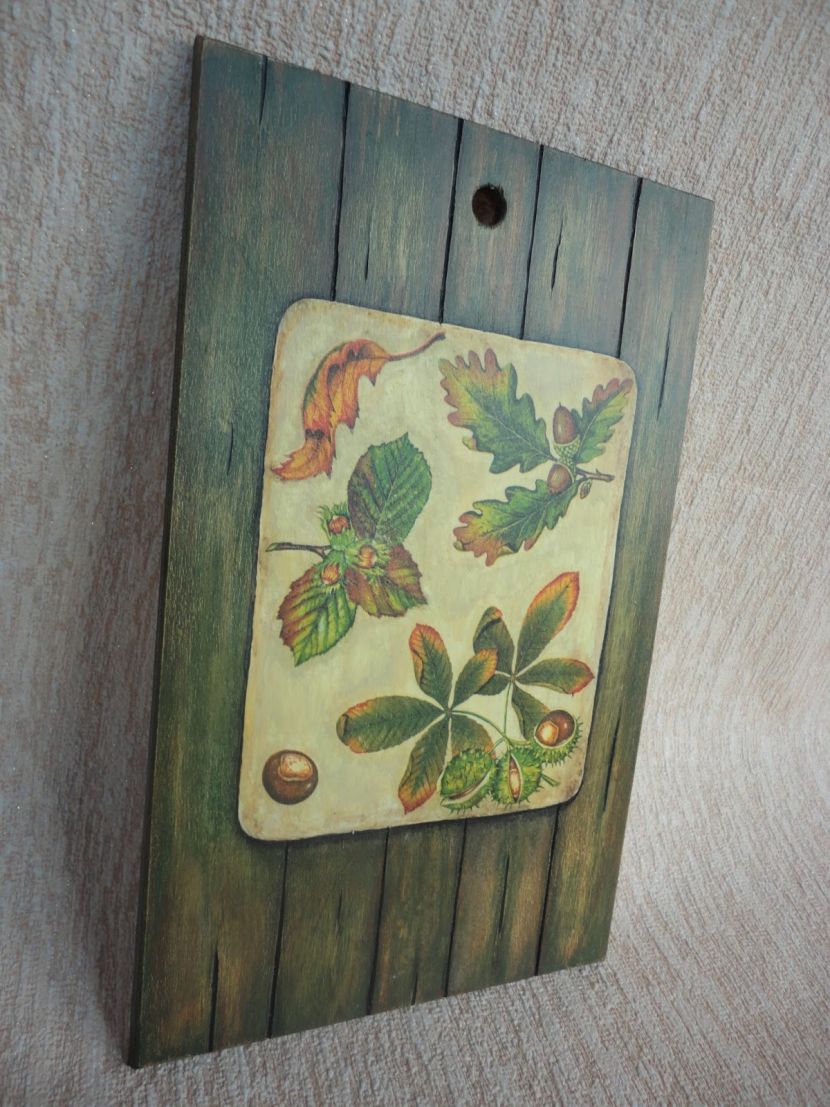
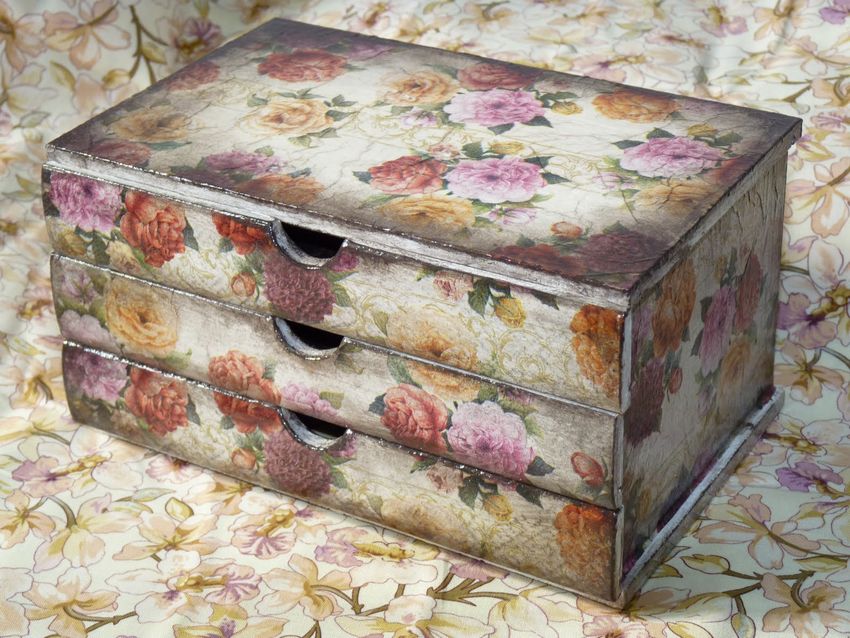
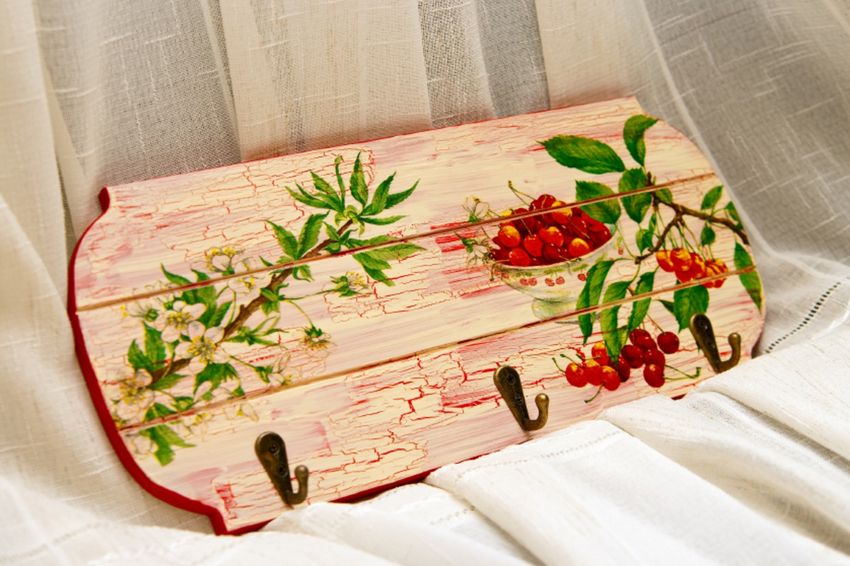
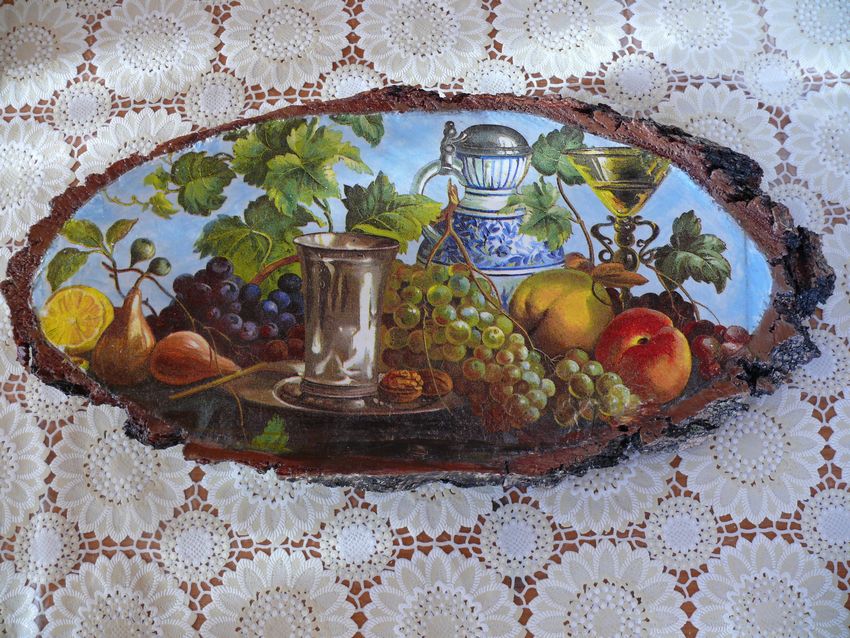
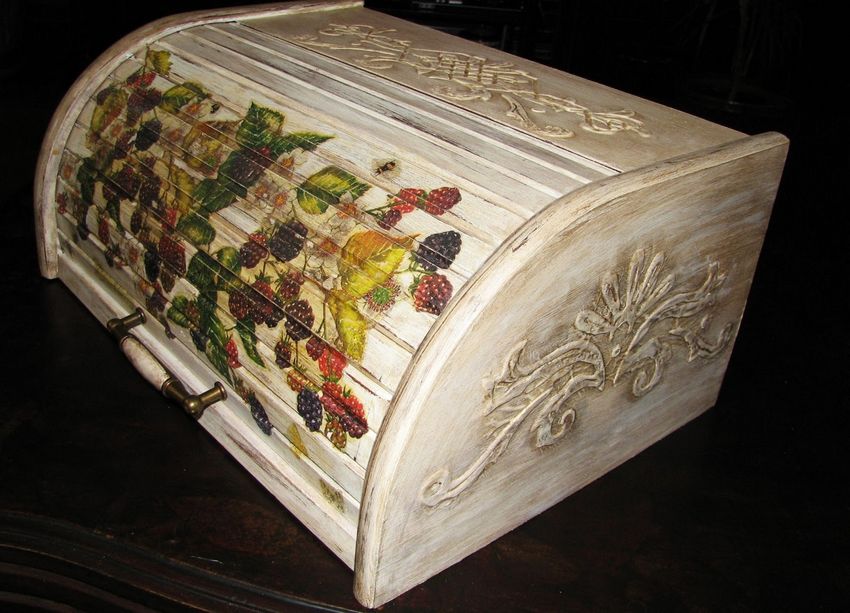
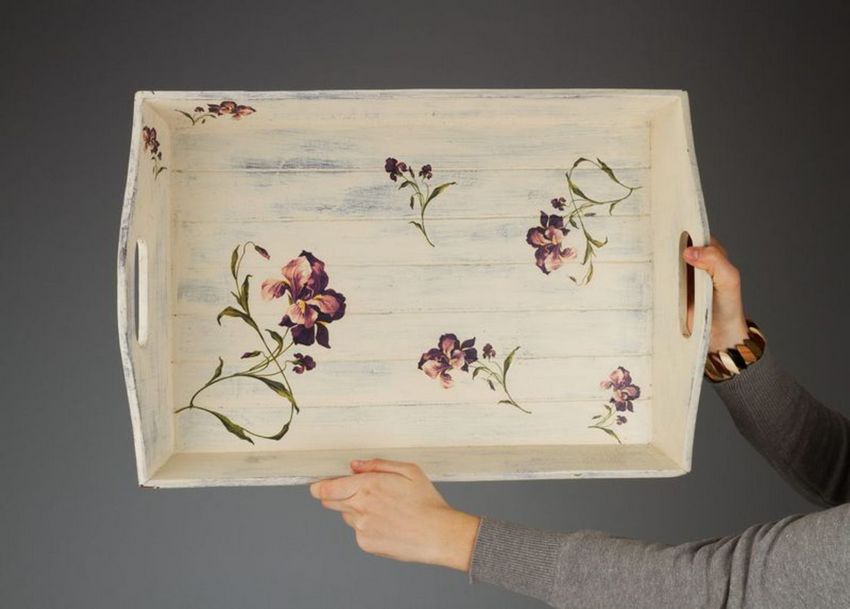
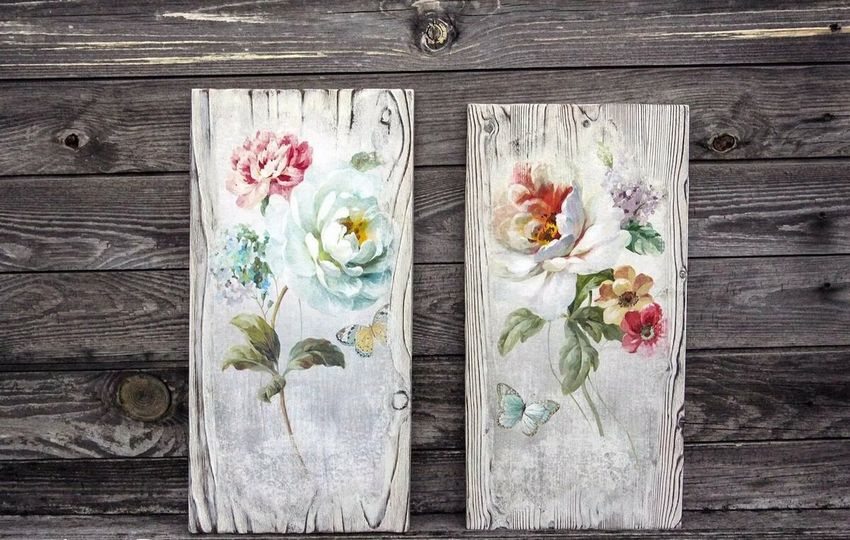
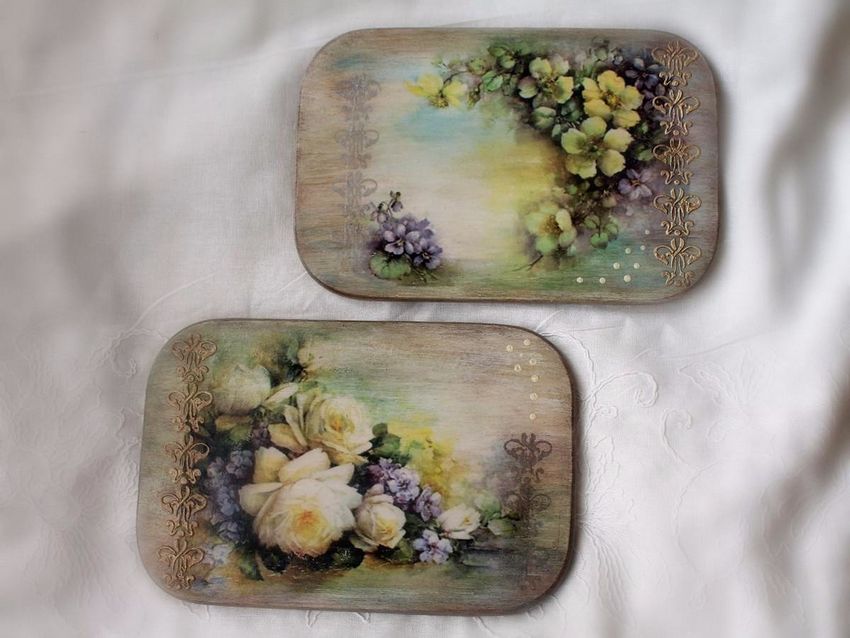
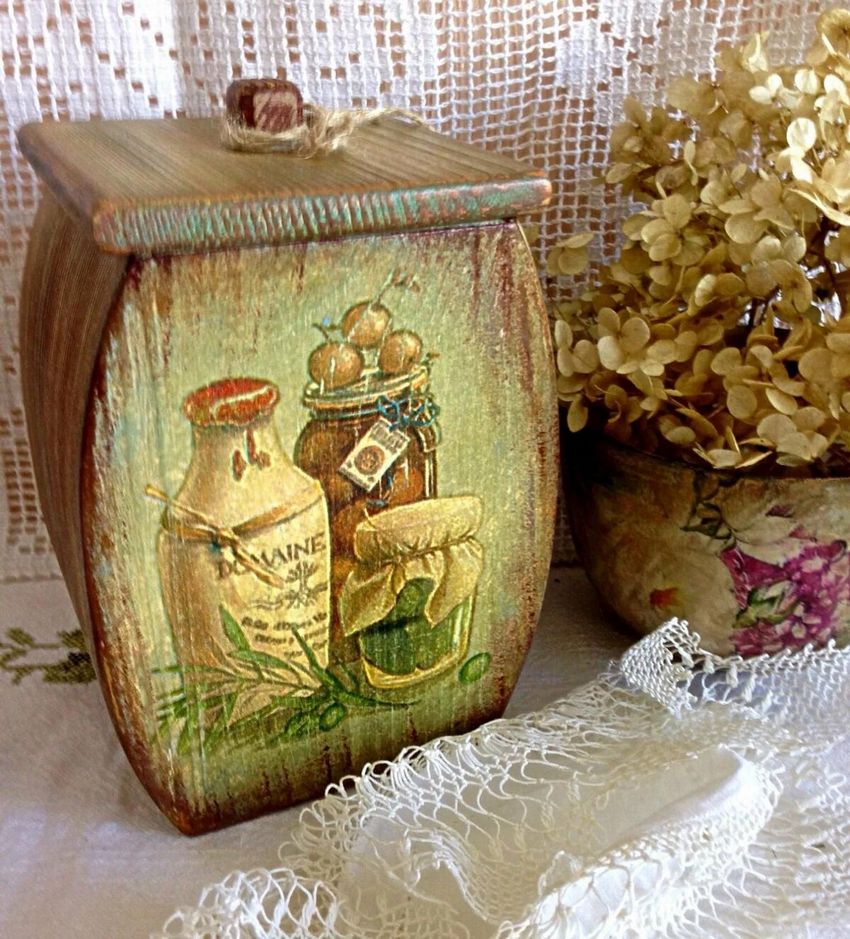
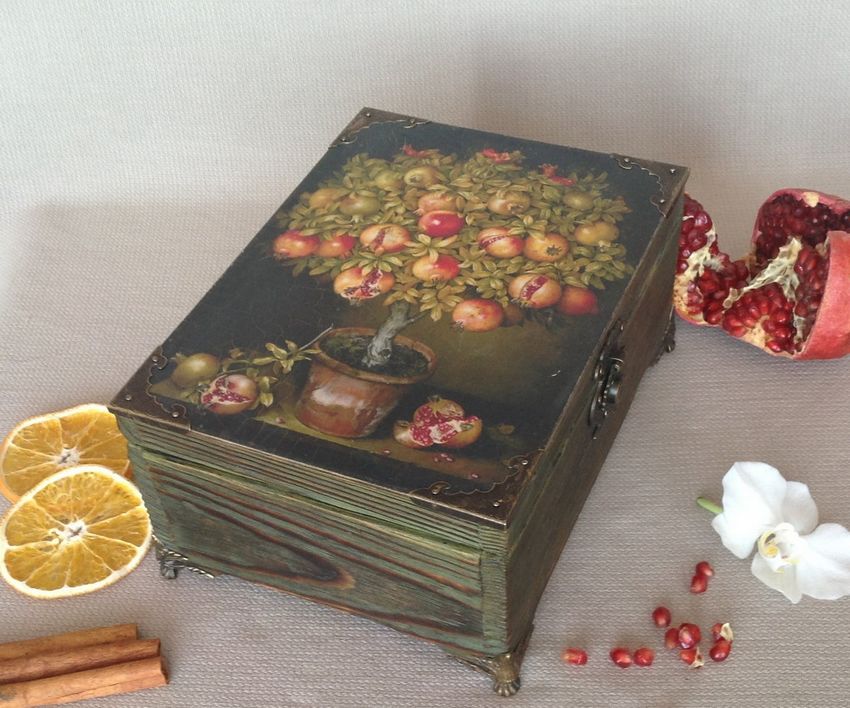
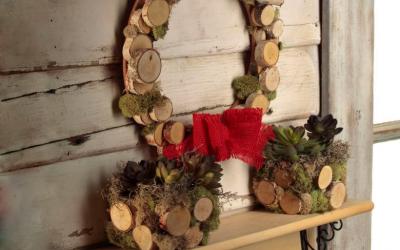
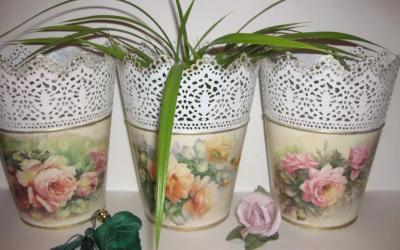
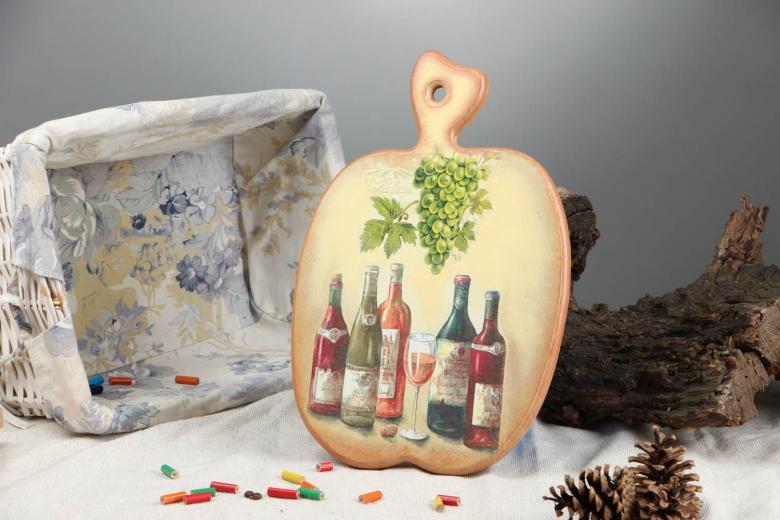
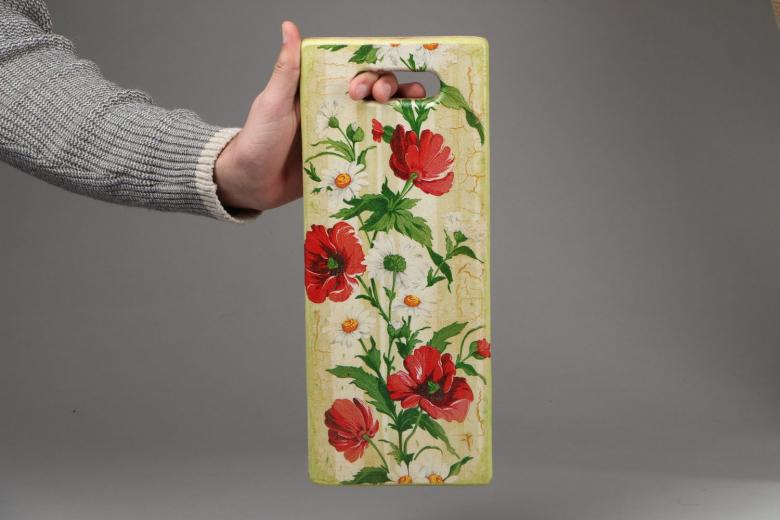
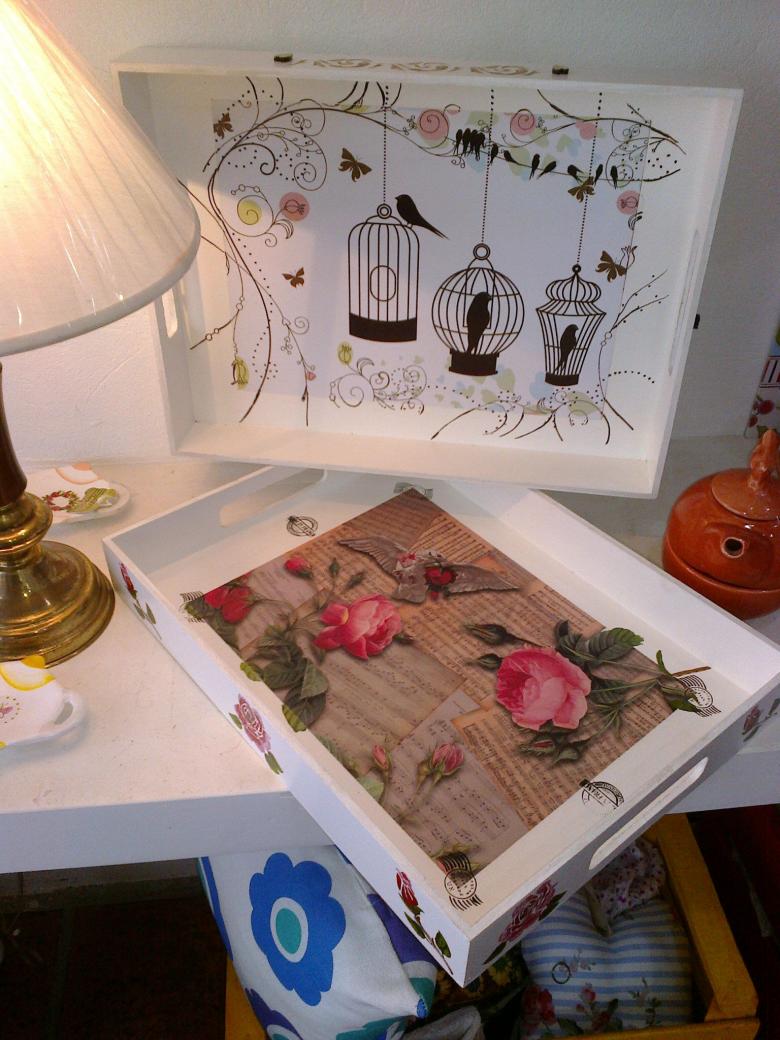
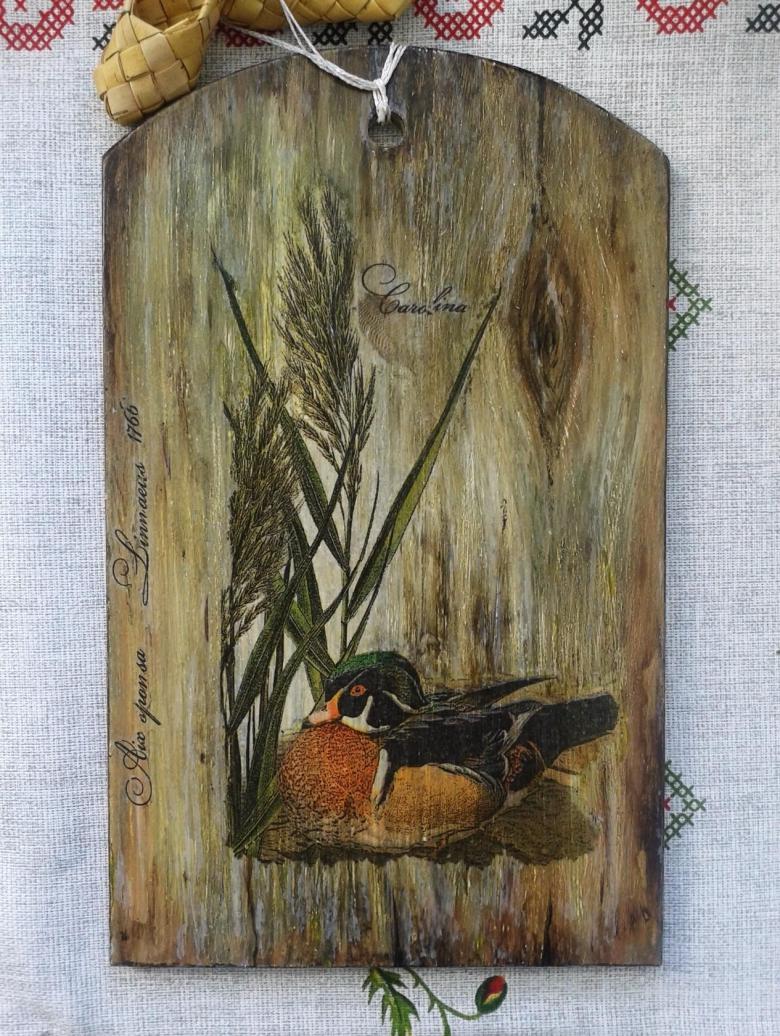
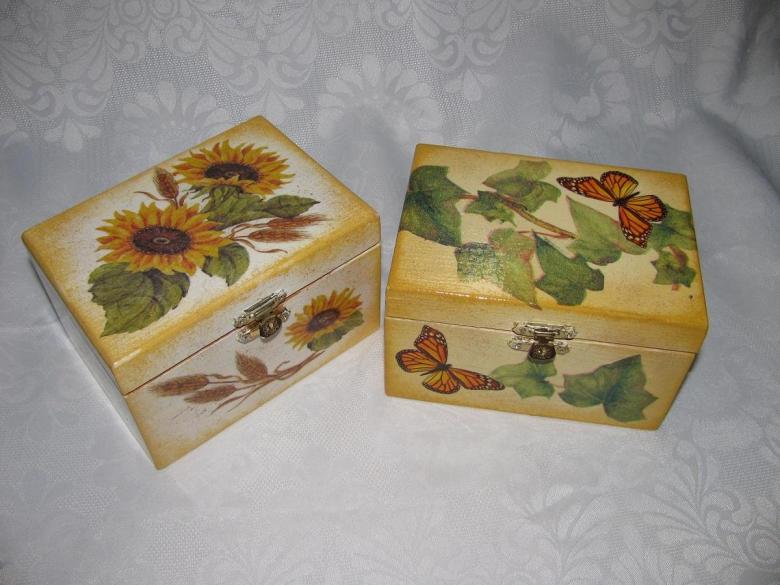
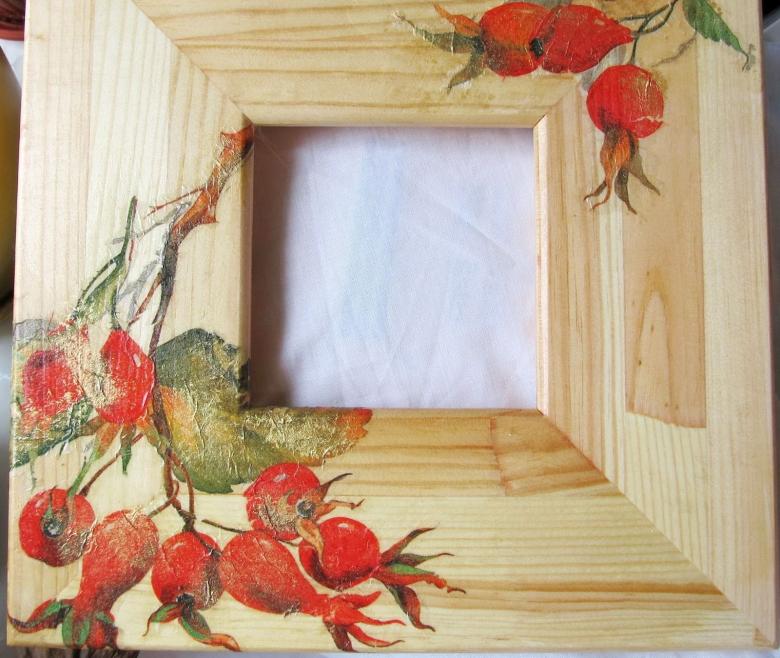
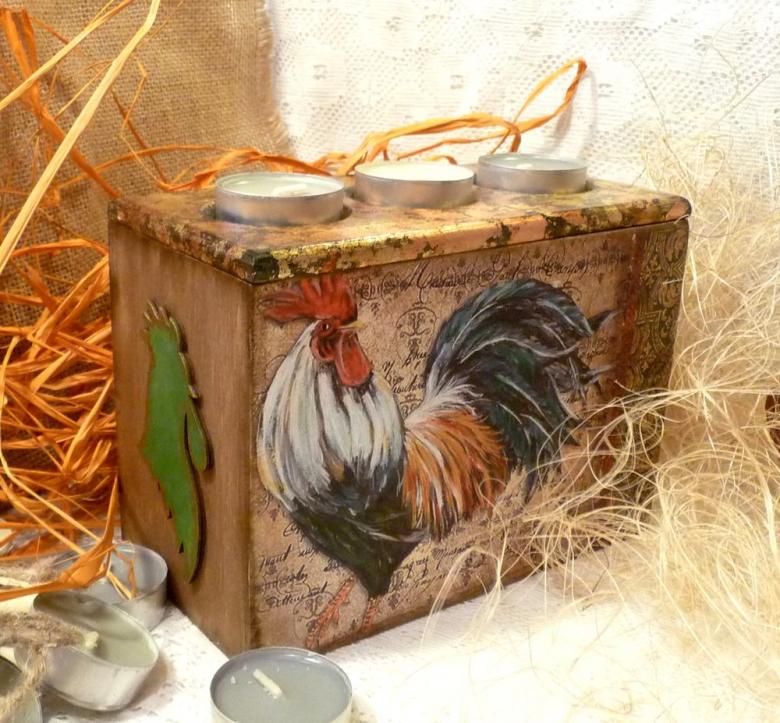
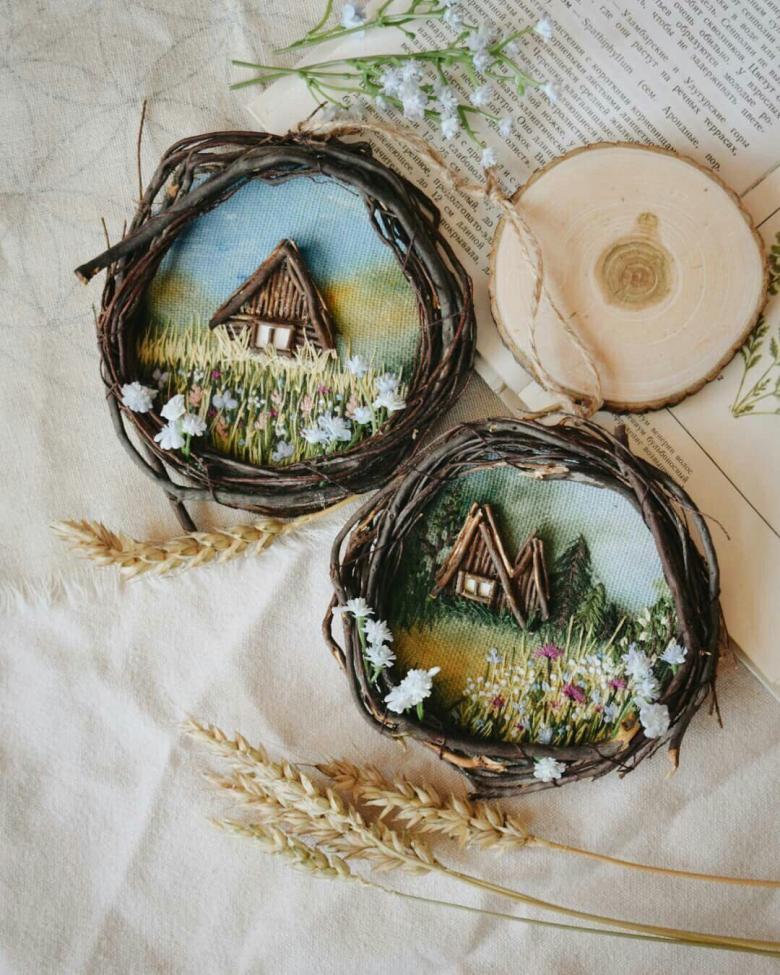
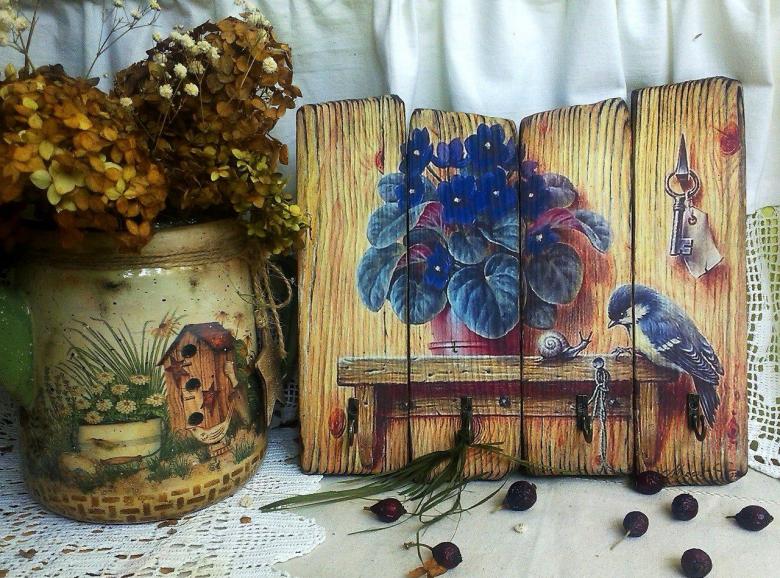
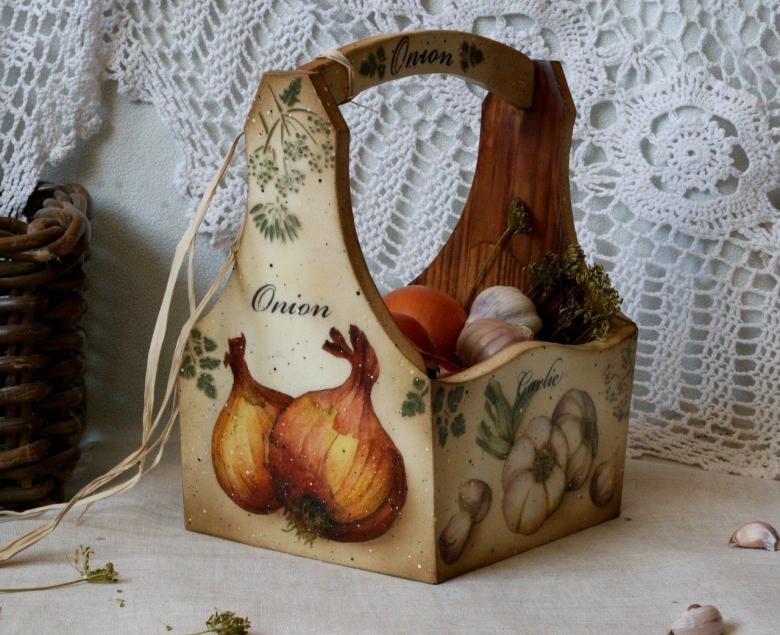
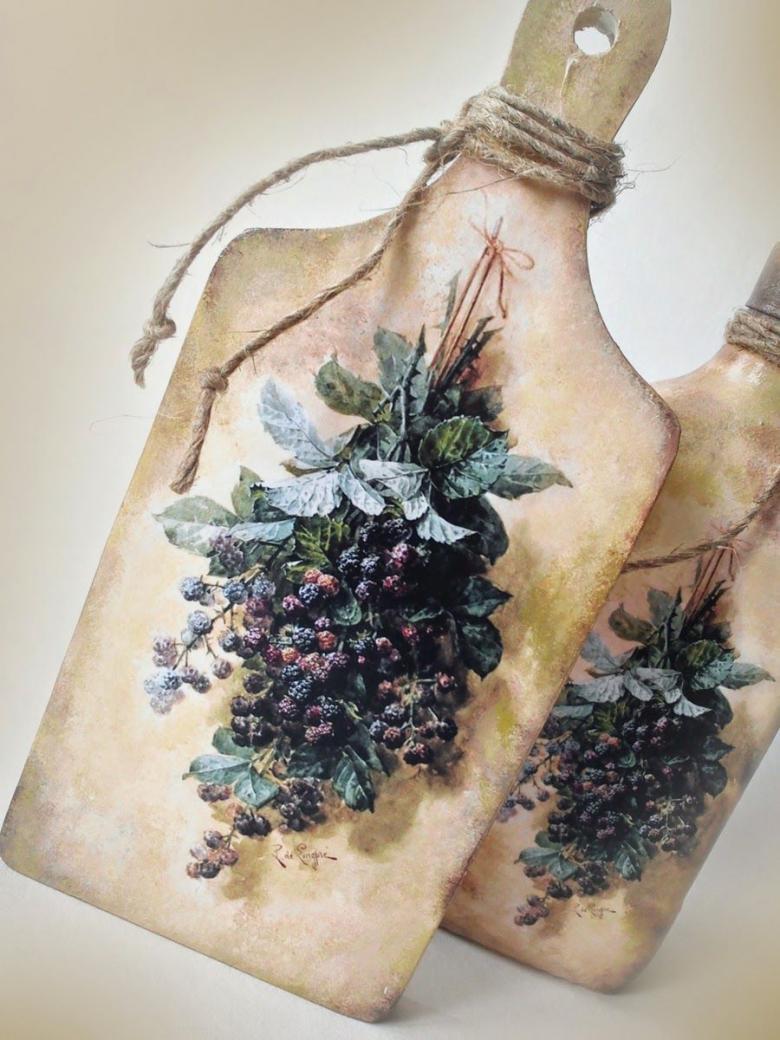
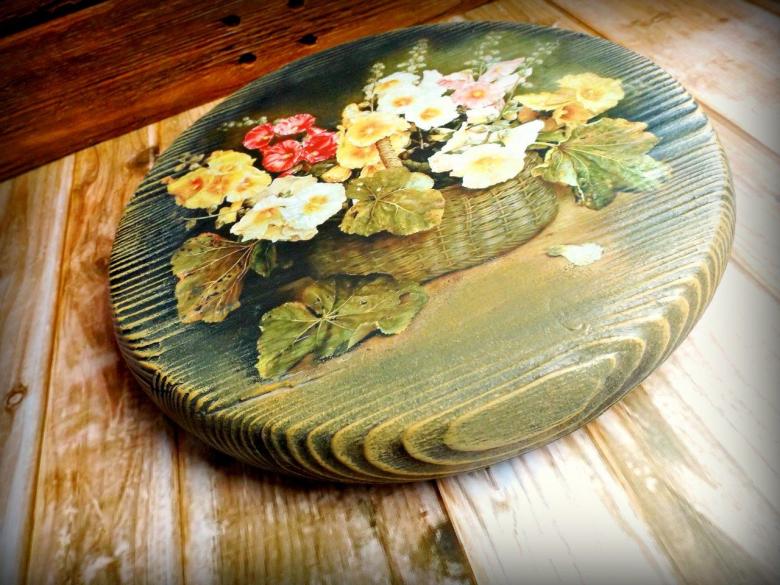
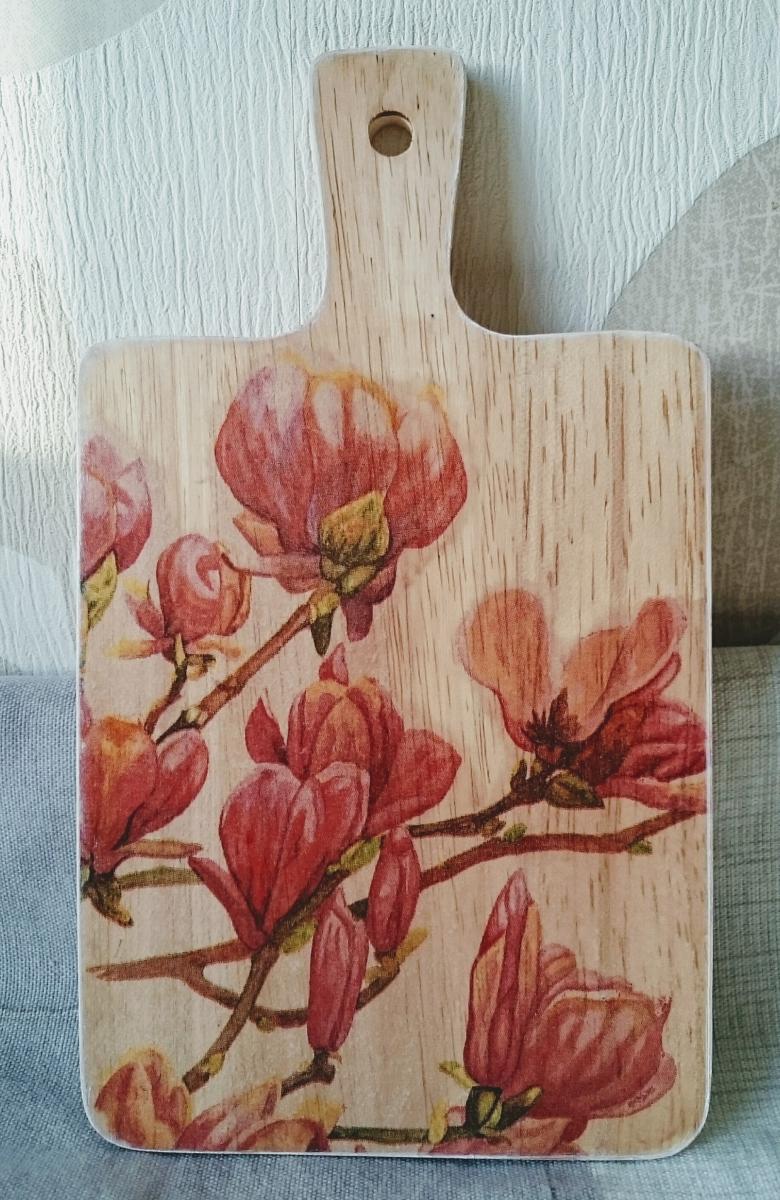
Photo ideas for wood decoupage