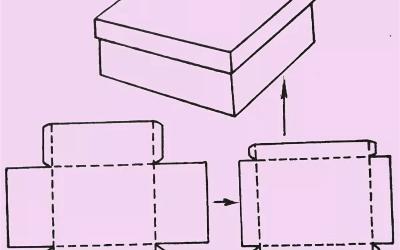
How to make a box with your own hands - a step by step description of making beautiful boxes
Boxes appeared about 3,000 years ago in Egypt and became widespread throughout the world. People had a weakness for this kind of boxes with a secret: after all, in the box could store not only jewelry and trinkets, but also to have small hidden places. Such a variety of materials for making and decorating, perhaps, no other piece of storage, and craftsmanship has elevated the box to the rank of masterpieces.
Necessary tools
In order to make and decorate a casket you will need a simple set of tools:
- scissors;
- glue gun and PVA glue;
- thread;
- pliers, screwdrivers, utility knife;
- sandpaper;
- acrylic paints;
- pencils, ruler.
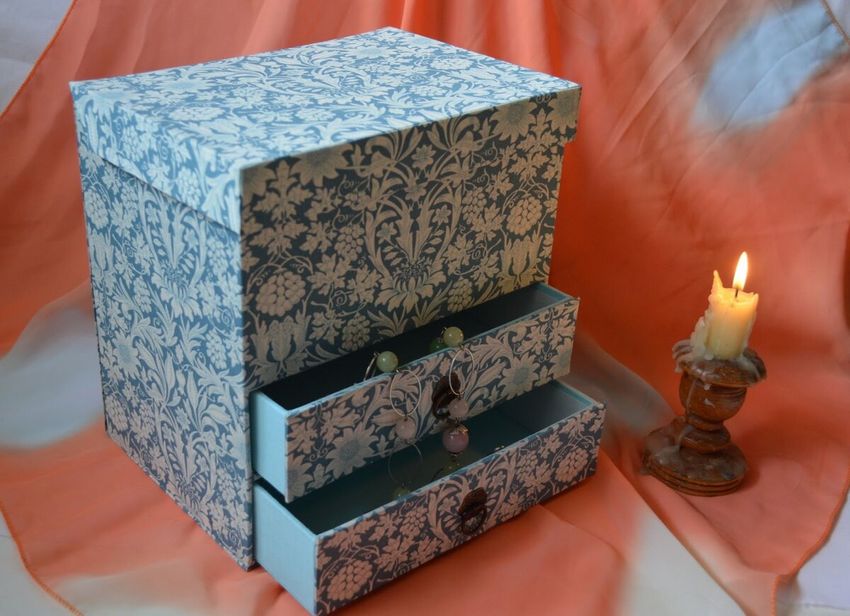
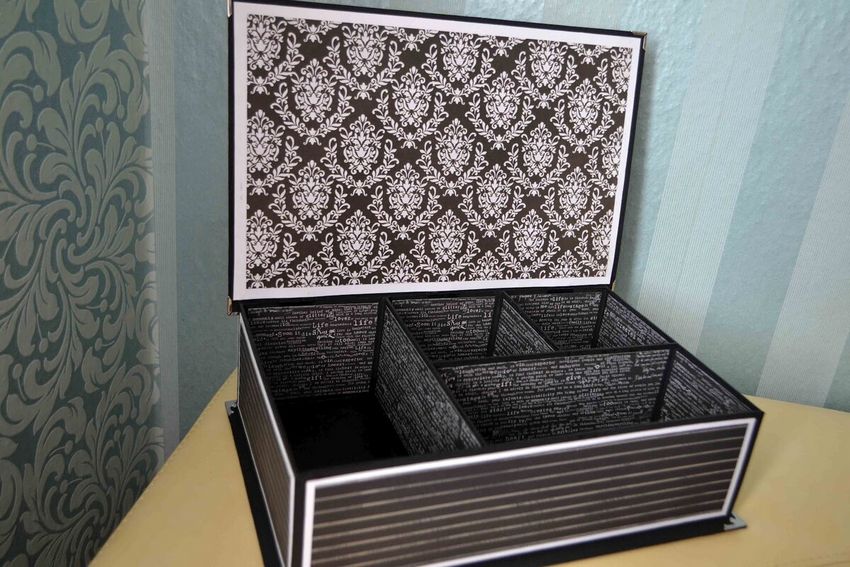
The material for making the box can be anything from plywood to paper. As for decorations, anything that came in the craft basket will come in handy: ribbons, beads, buttons, lace. If you plan to make caskets with intricate finishes, additionally prepare the necessary tools and material.
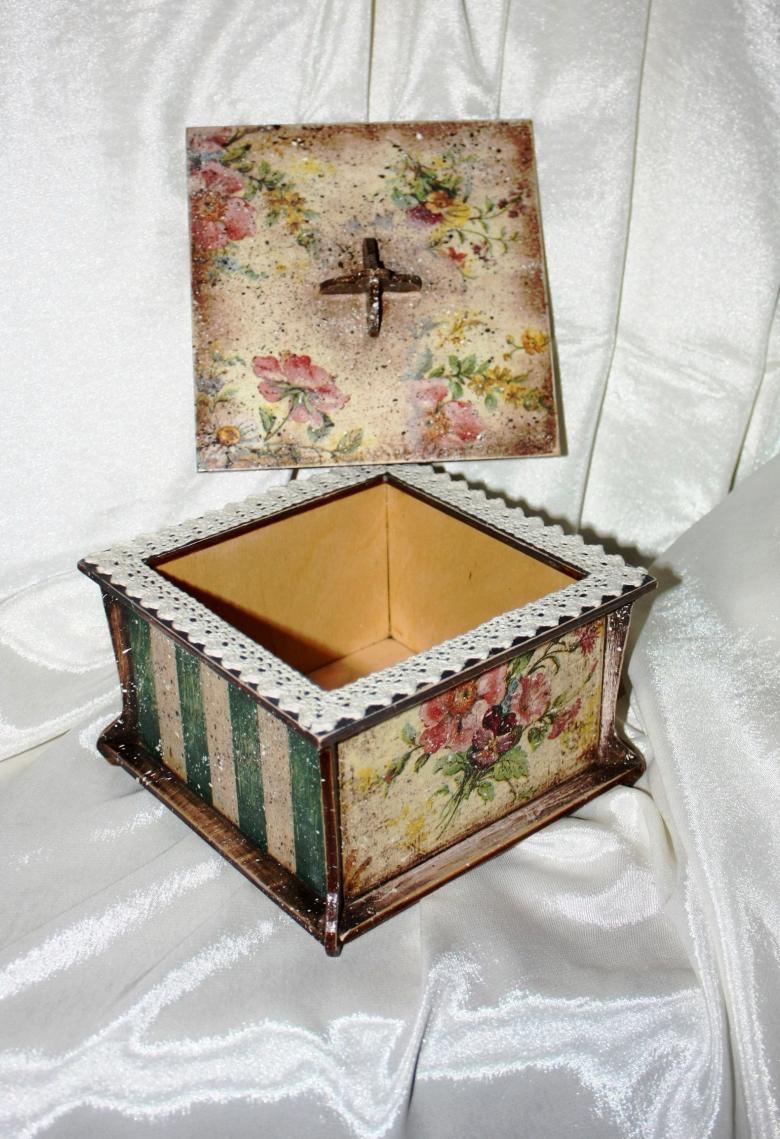
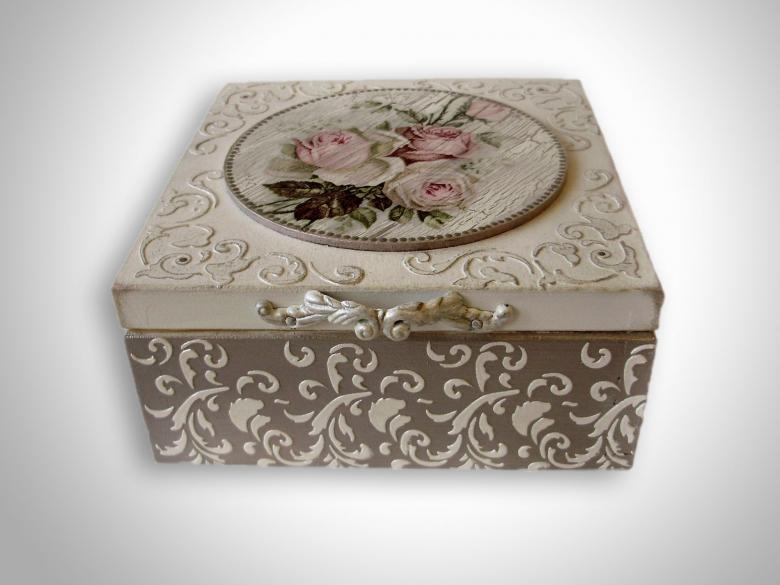
Creativity from plywood with decoupage finish
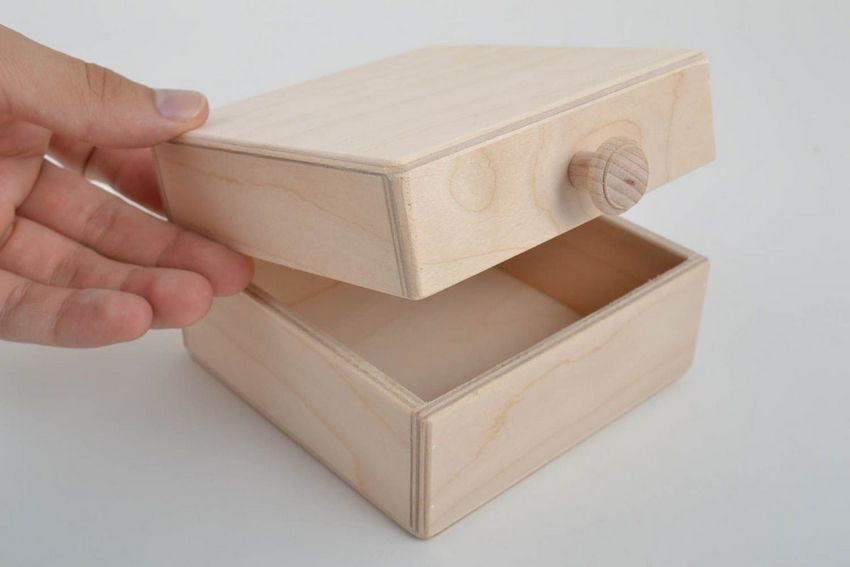
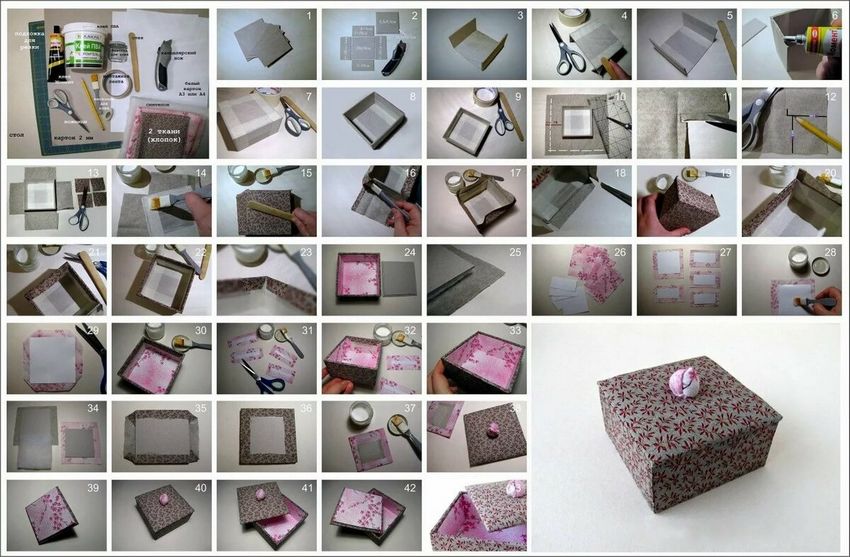
Let's figure out how to make a casket with their own hands from plywood. For the work you will need a sheet of 1 cm thick. Prepare 4 sides, bottom and top with the size you need. For a better fit to each other, cut the edges of the sides at a 45˚ angle. Glue them with PVA glue, then glue the bottom of the box.
To make the object into a box, you need to decorate the product with hinges: to do this, make a recess for the fasteners on the lid and the corresponding sidewall. You can bypass this stage: plywood blanks are sold in the departments for creativity.
Provence .
Let's move on to finishing:
- Sand the surface of the casket with a fine abrasive;
- Apply a primer or layer of white acrylic paint in a blotting motion with a sponge;
- choose a picture on a napkin and try it on the surface, glue the top layer of the picture with coupage glue on the chosen place;
- paint the sides with white paint, and after drying, make a few strokes of gray;
- "aged" the surface with sandpaper, clean from dust, and varnish.
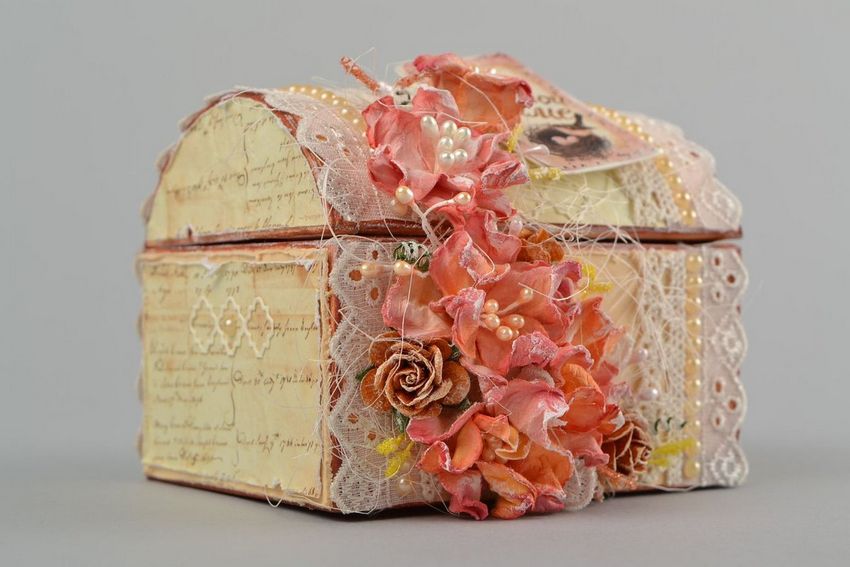
Vintage
To create a finish in the vintage style use pictures with angels, flowers, black and white drawings, complement the decor with ribbons, lace. Decoupage technique:
- level the surface of the casket with an abrasive;
- We cover it with brown acrylic paint and dry it;
- Rub all the outer corners and edges of the workpiece with a candle, remove the excess wax;
- cover the base with white paint, then scrape off some paint from the places with wax;
- proceed to glue the picture elements, moving a brush with glue from the middle to the edges;
- use oil paint to underline the corners of the box
- varnish, decorate with lace.
Inside the box can be decorated with a velvet fabric.
Shabby-chic .
The style is similar to vintage, but the finished product implies more scuffing. Pastel shades are used, figures of angels and flowers, and metal parts are decorated with antique gold or silver paint. To create the "frayed" effect, not only the corners and ribs are rubbed with a candle, but also the supposed places of "cracking".
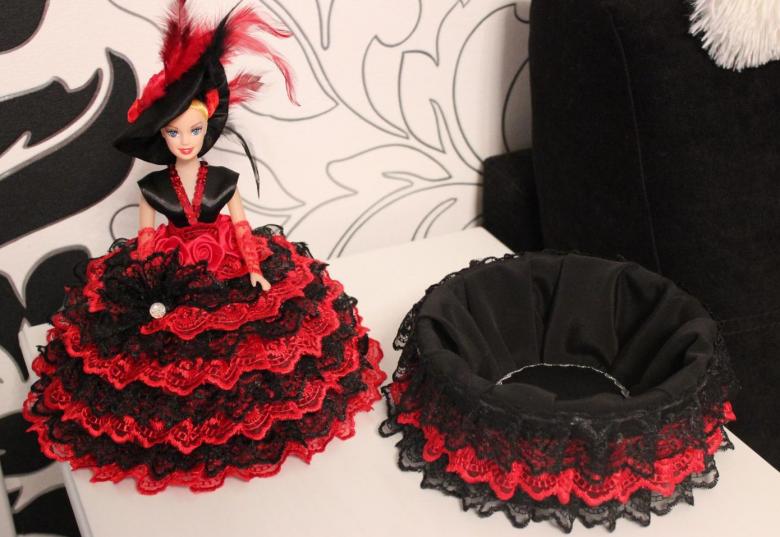
Box - doll
A great gift for a girl will be a handmade doll-casket. To understand the seemingly complex process at first glance, consider step by step how to make a box with his own hands:
- for creativity, prepare a doll (like Barbie), a 1.5 liter plastic bottle, foam plastic, a metal lid from a can, the material for the dress;
- cut off the bottle bottom (the base of the casket) and the neck (the lid of the piece) with a reserve;
- glue the base with the material, separately cover the metal cap with cloth and join the parts: now the base stands firmly;
- fit the neck of the bottle to the doll's waist and glue the parts together, for stability glue a circle of Styrofoam to the bottom of the structure, cover with fabric similar to the base, tighten the material at the doll's waist;
- Now move on to "sewing" the dress: start by creating the ruffles on the base, going higher.
- Create the dress to your liking, you can finish with accessories: a hat and a purse.
Round casket with eggshell trim
An unusual variant of decoration gives an original texture to the surface. Stock up on eggshells and blending cloths.
- Peel the shells from the membranes, rinse, dry and crush them;
- the round box should be primed and glued to it parts of the shells, keeping some distance between them;
- cover the surface with acrylic paint, then with PVA glue;
- put pieces of the picture on the lid by decoupage;
- varnish the box.
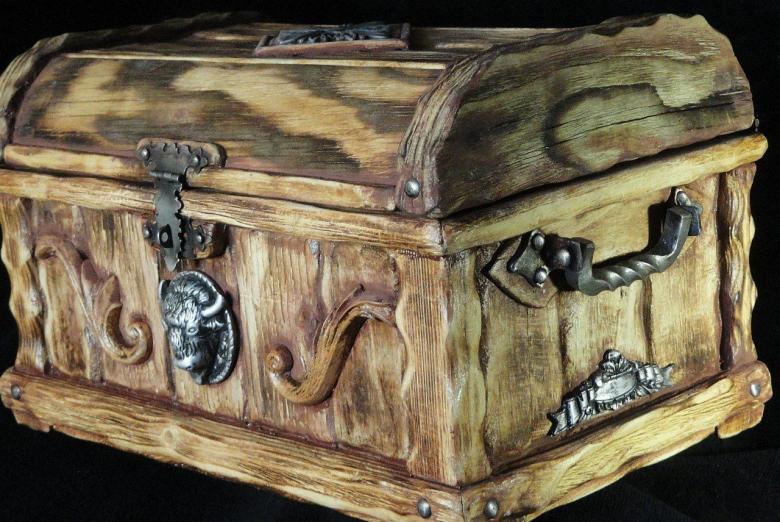
Ancient box
If you are in contemplation about what kind of casket you can make with your own hands, while wanting to really surprise someone, then this variant of finishing is for sure for you. You will need a small round box, black acrylic and metallic paint, paper napkins, PVA, sponge, stocking, foil, threads, and some polymer clay.
- Glue the entire box, except for the bottom, with crumpled napkins;
- from polymer clay mold any element you like for decorating the lid: a butterfly, a flower, a pin - whatever you want;
- we paint elements from clay with black paint, and after drying we dab the details with metallic paint (bronze is better);
- use iris thread to "draw ornaments and squiggles" on the lid of the casket, cover the work with black paint;
- after drying, use a sponge to apply bronze to all black surfaces;
- glue the clay figure with superglue, varnish the entire creation.
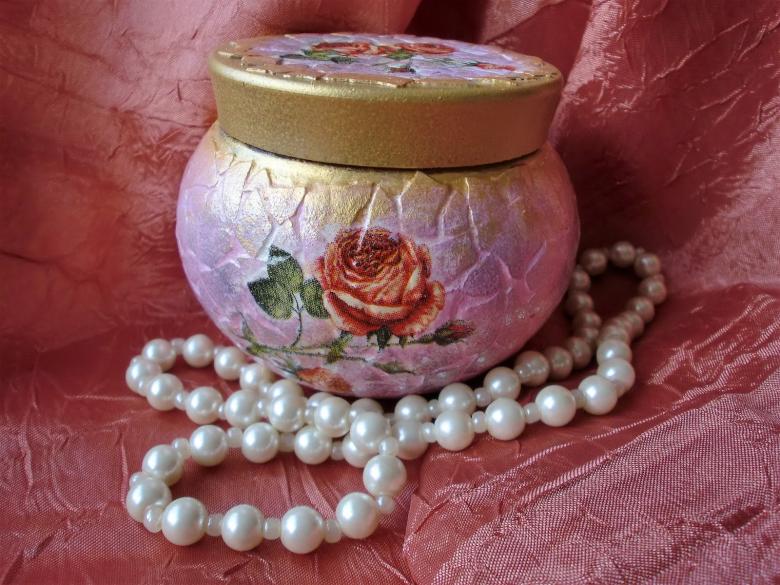
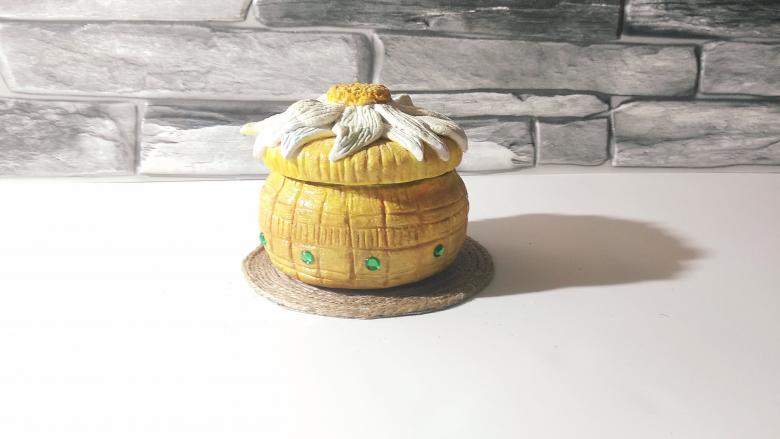
The original salt dough box
Prepare the salt dough: mix 1 part salt, 1.2 parts water and 2 parts flour, knead the mass. Prepare a small tin (you can use a cream tin), cover the outside with the dough.

You can add texture to the surface with any objects: attach skin, create small depressions with cotton swabs. The lid of a jar is also decorated with dough and a floral or berry composition. The product is dried outdoors, painted with acrylic paints and coated with a protective varnish.
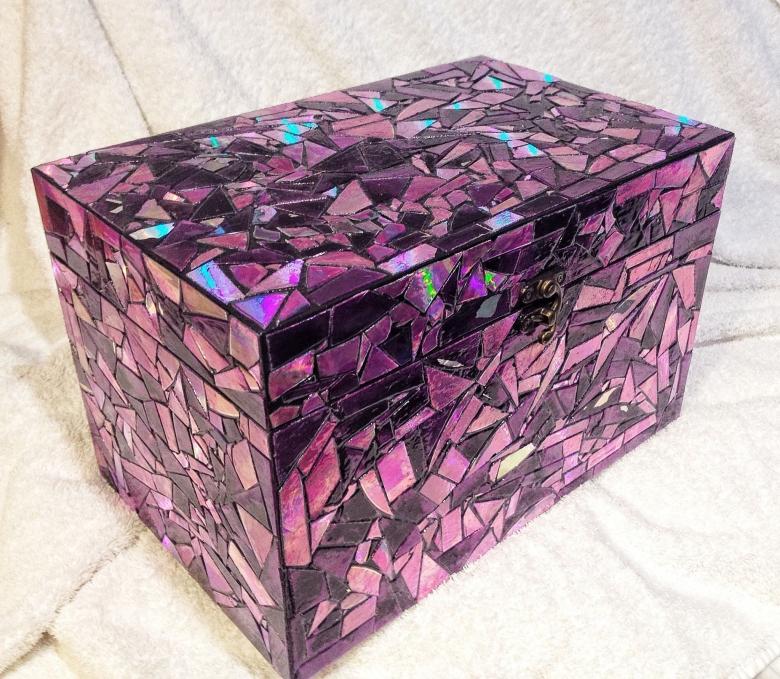
The CD mosaic jewelry box
It is not very difficult to find discs of different colors. They should be cut into pieces of different sizes and glued with hot melt adhesive to the entire surface of the casket. Grind the seams with putty, and after drying, clean the surface with a soft cloth.
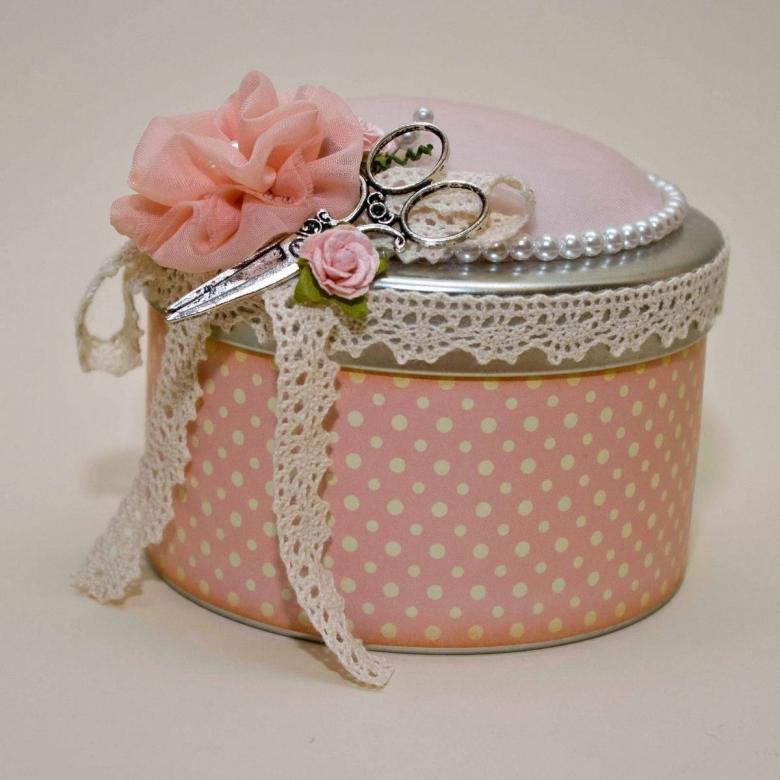
Box-needle holder
The perfect gift for a needlewoman. You will need cardboard, fabric, decoration and synthetic material. Cut a circle in diameter equal to the diameter of the lid. Cut several circles of the same size from the synthetic fabric.
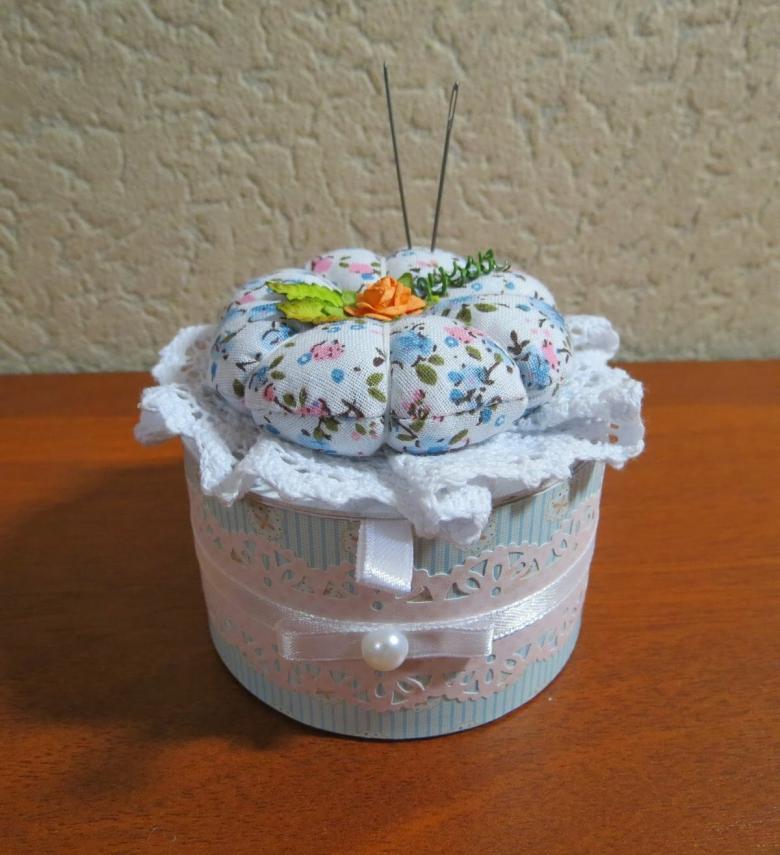
Assemble the "sandwich" of circles and cover it with fabric, fixing it in the center of the inside. Then you fix the whole element of the needle box with glue on the lid of the casket. You decorate the inside of the casket with fabric, and the outside with pins, braid, ribbons.
Make a box not just a gift for a loved one, but a masterpiece is entirely within the power of any craftswoman. The main driving force for creativity will be your love and imagination.
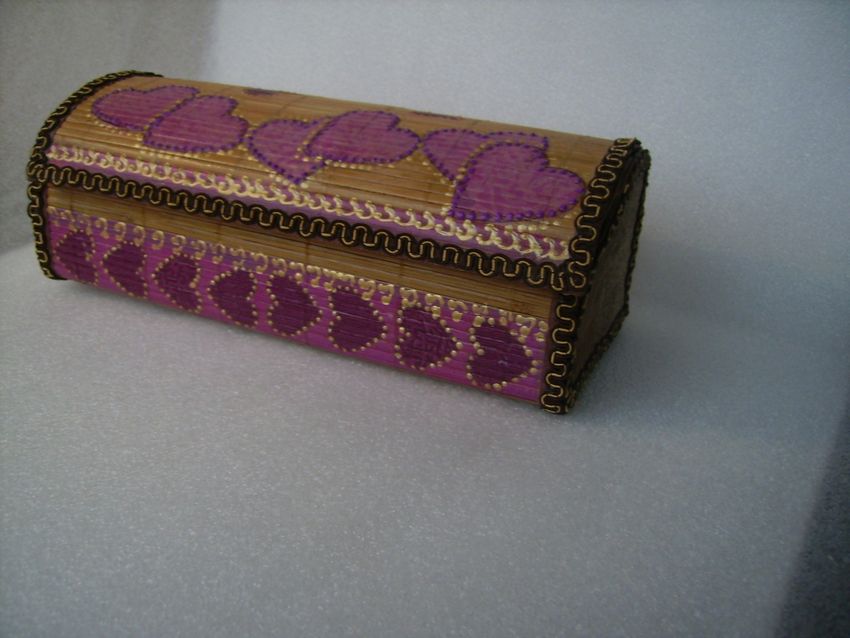
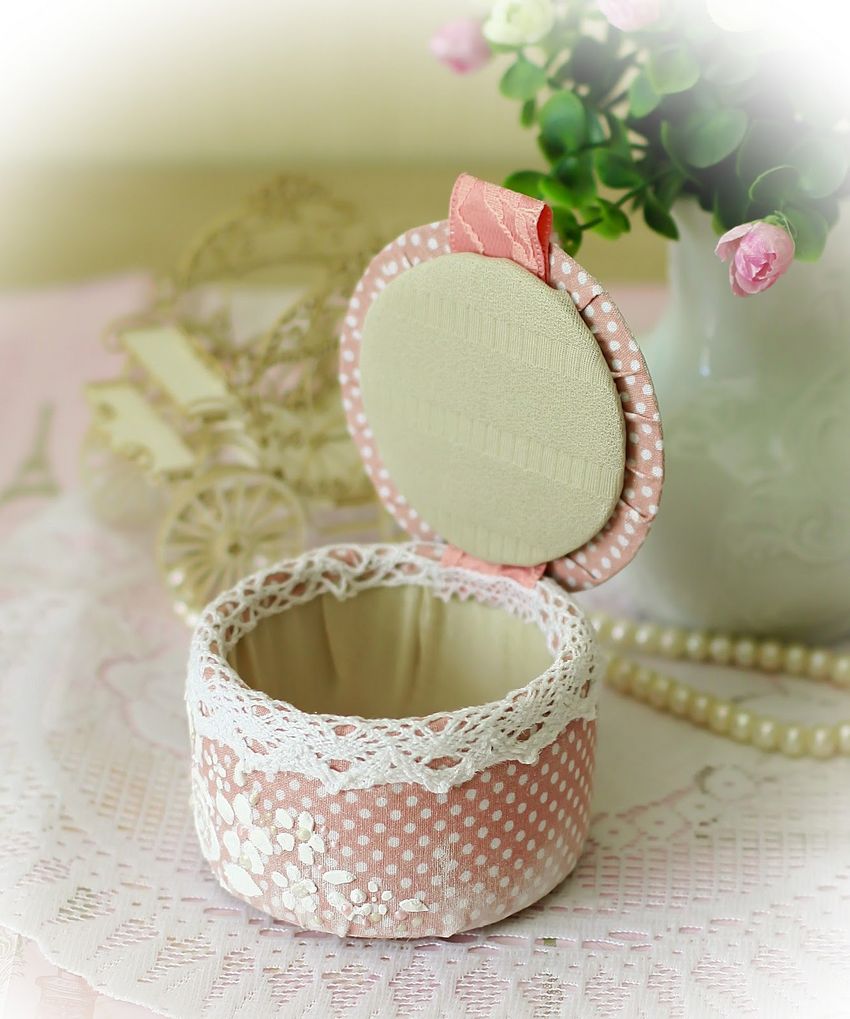
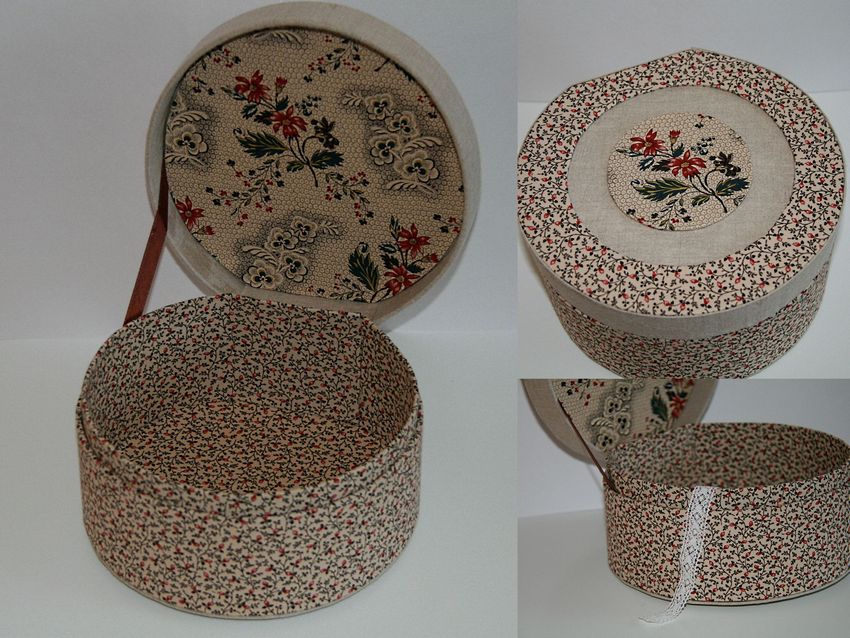
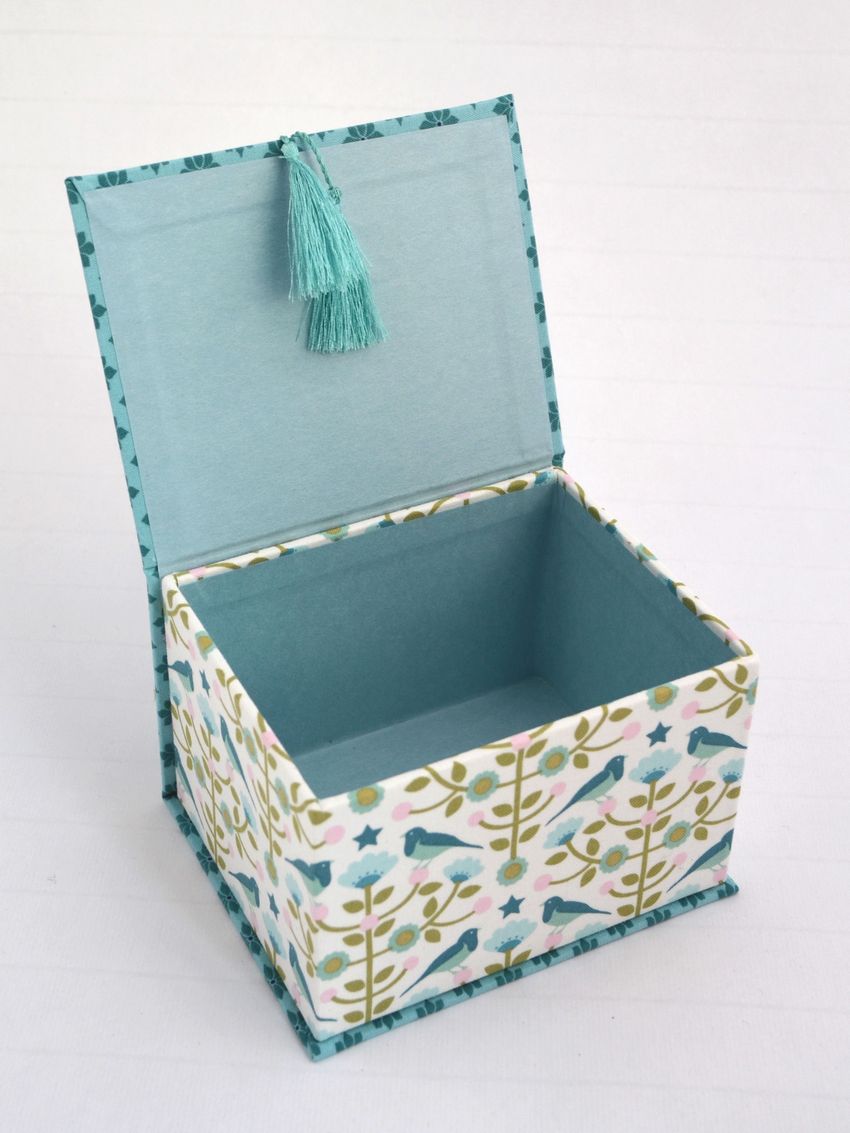
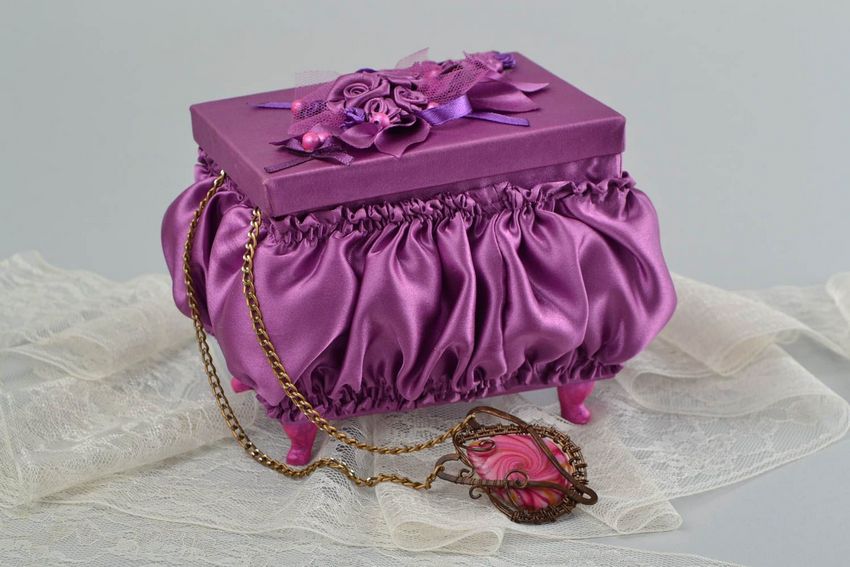
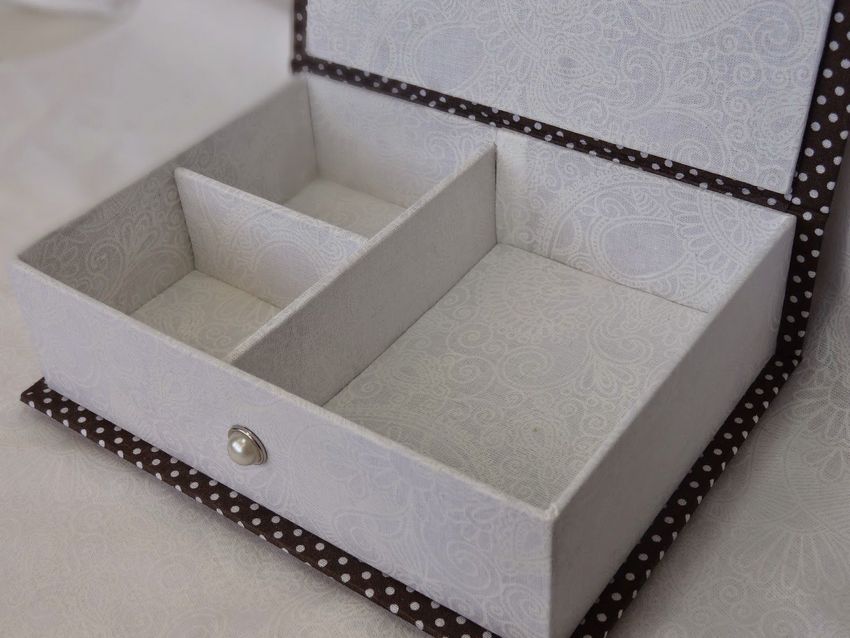
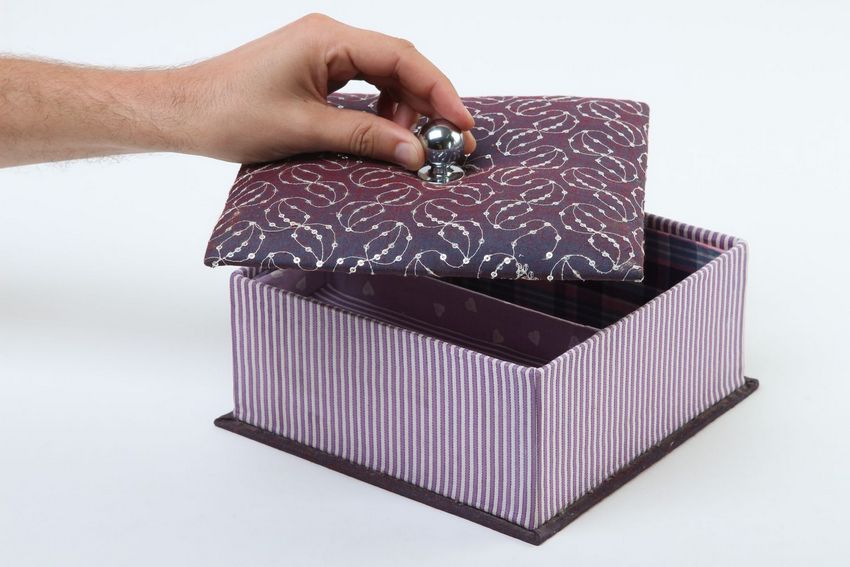
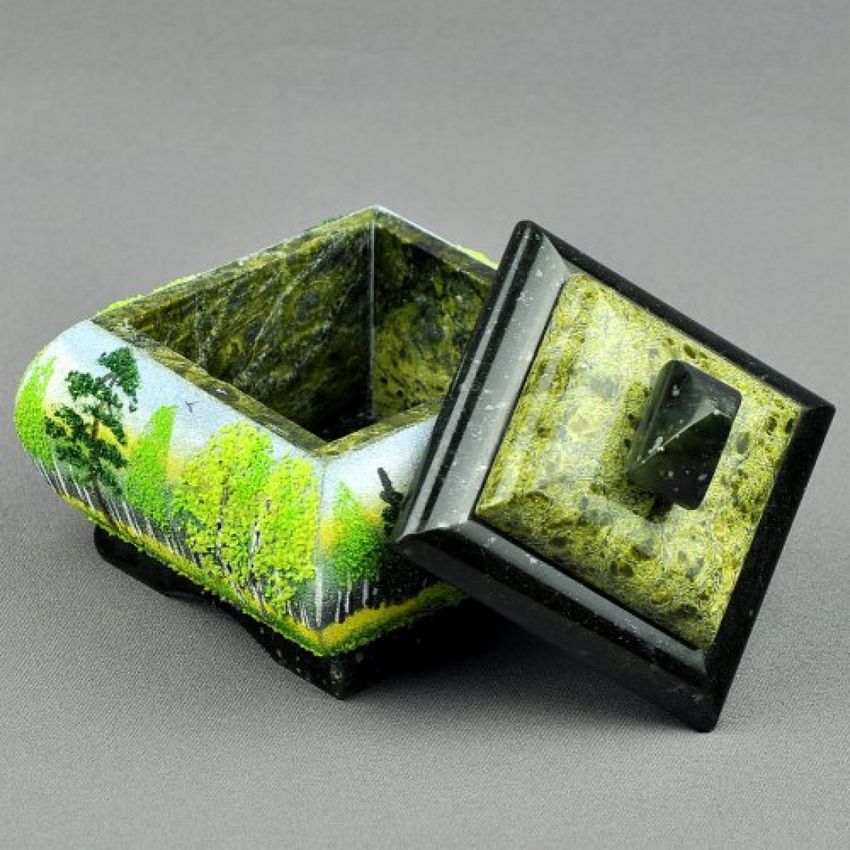
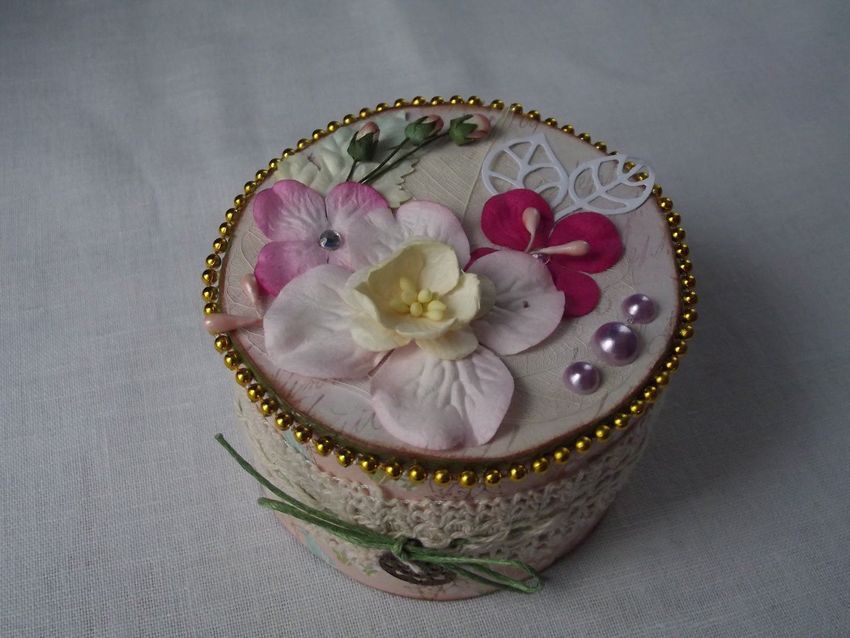
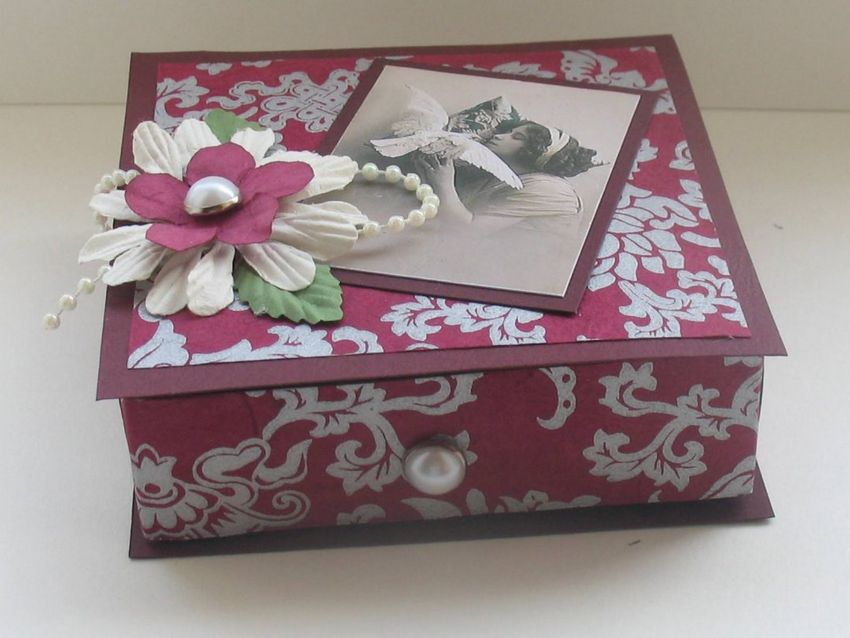
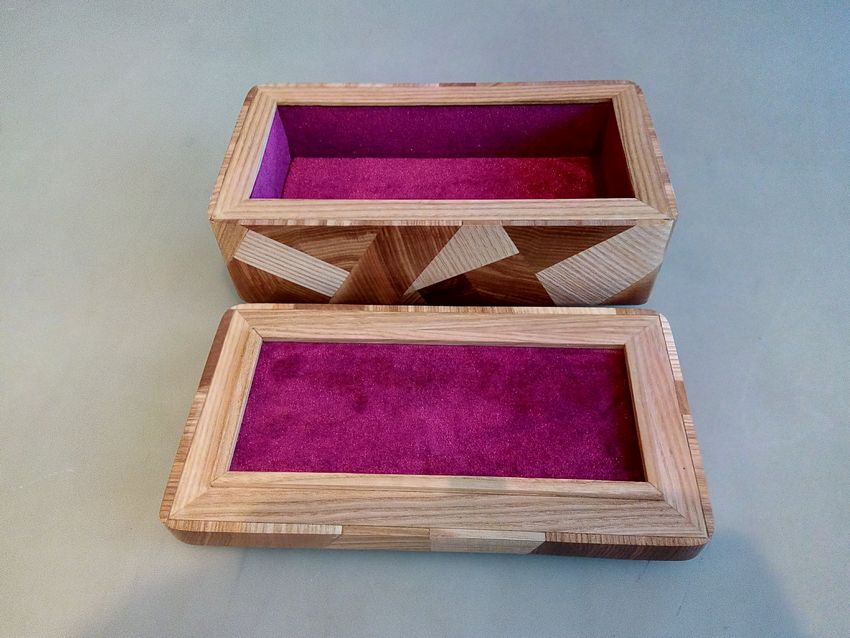
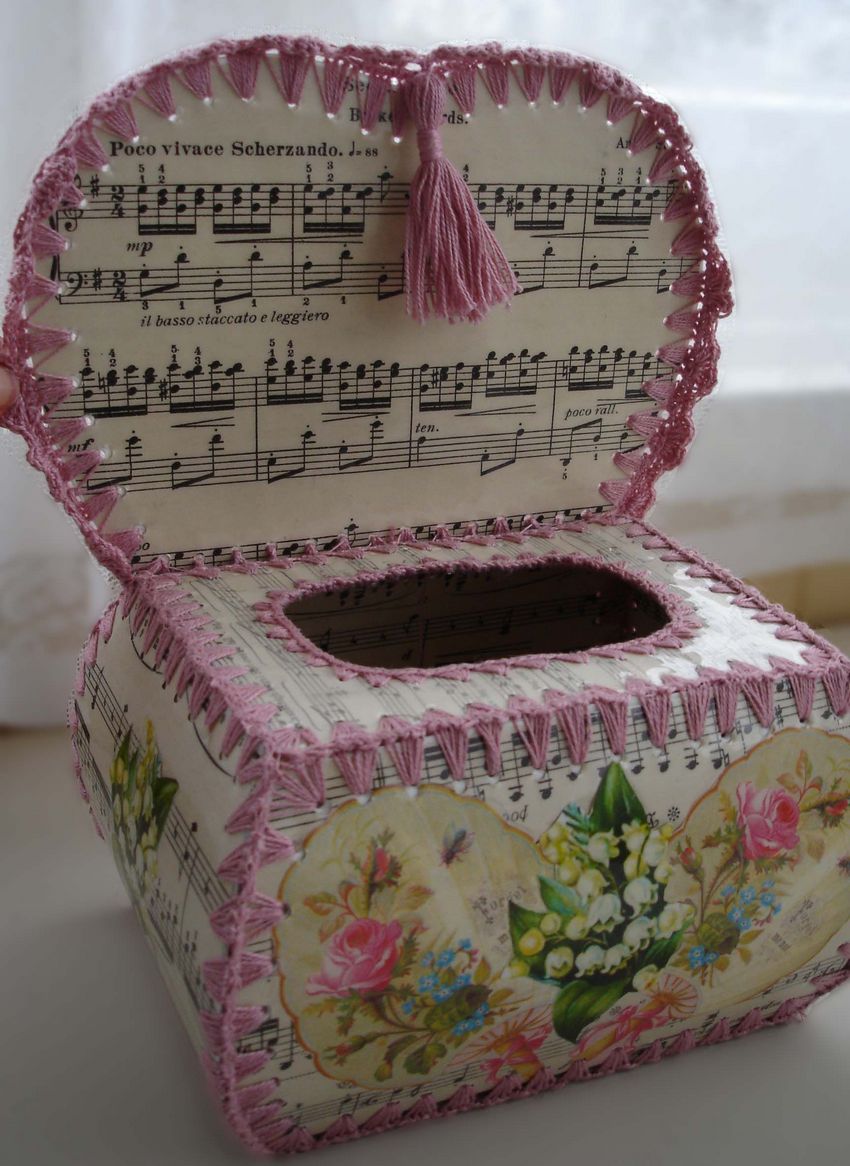
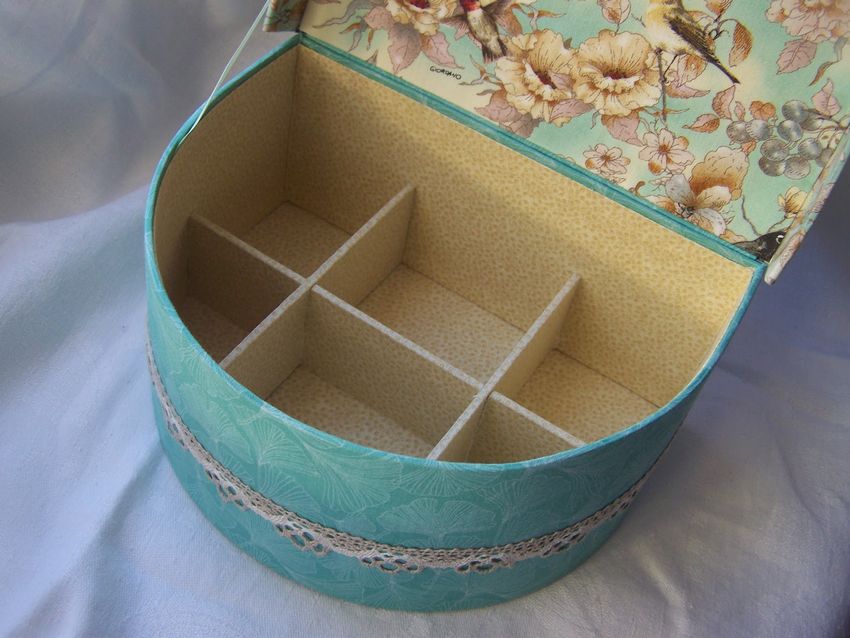
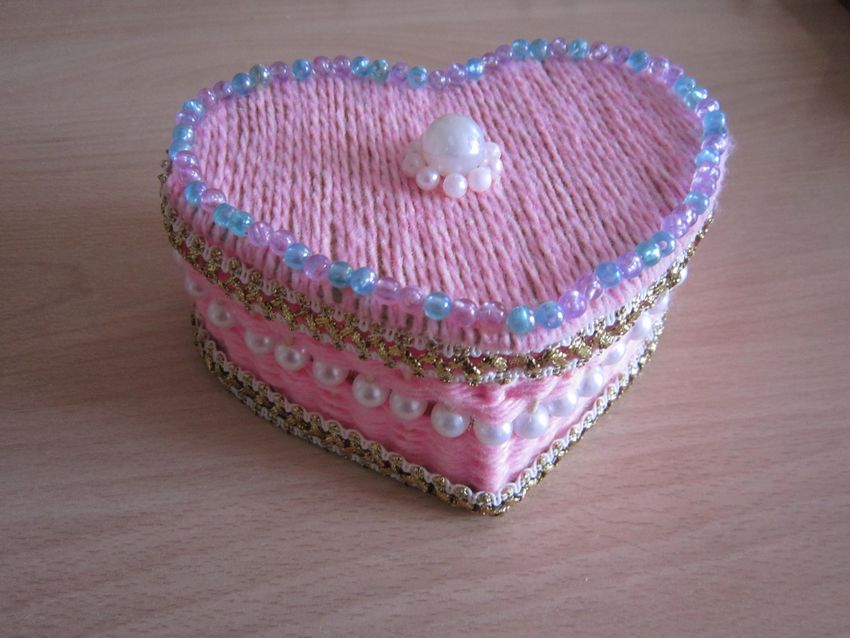
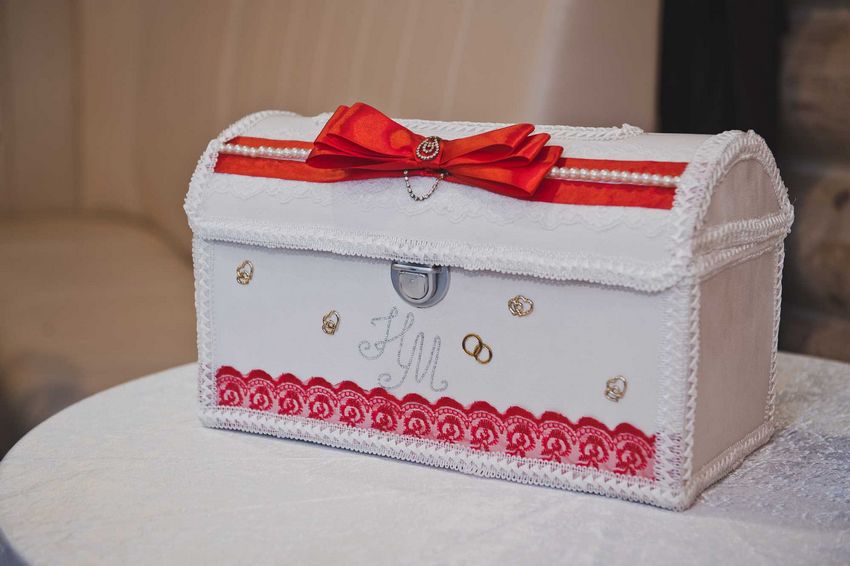
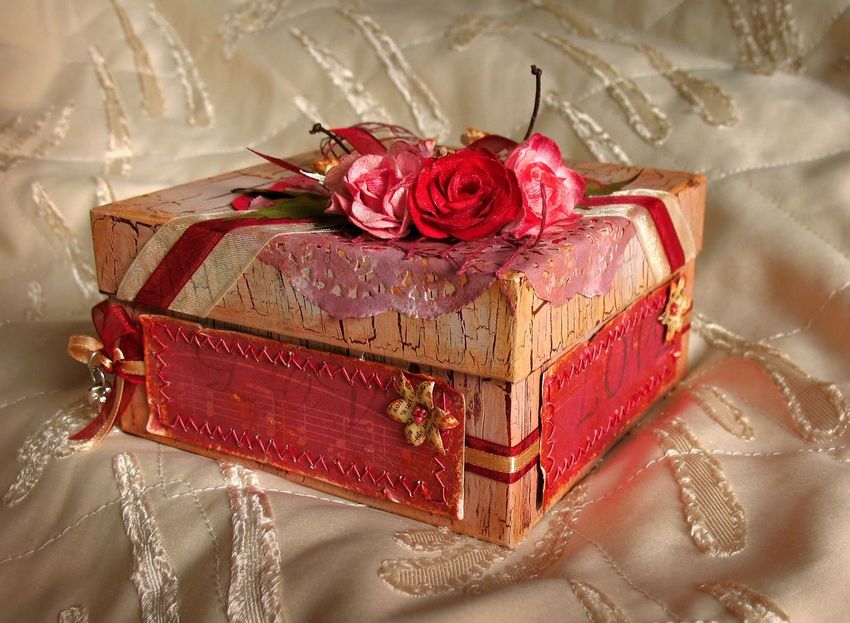
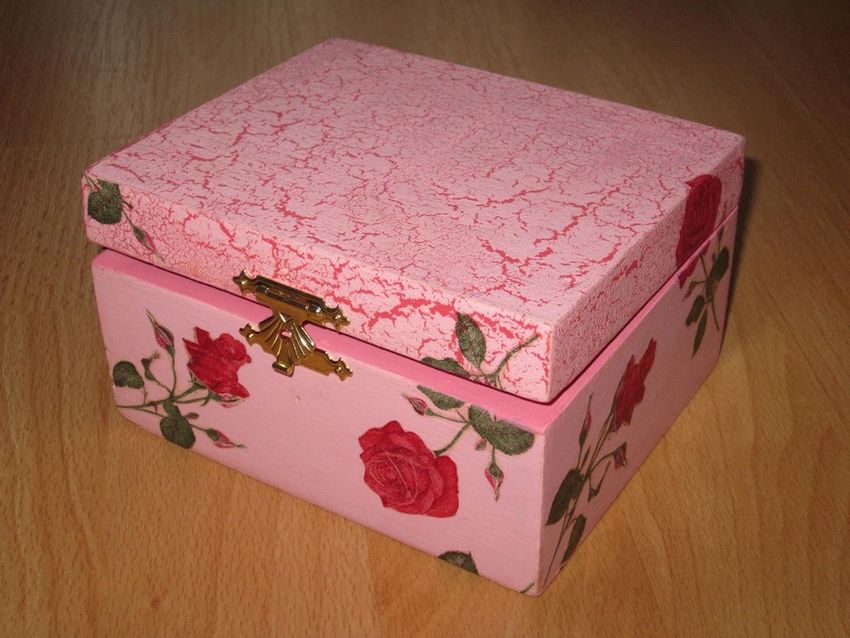
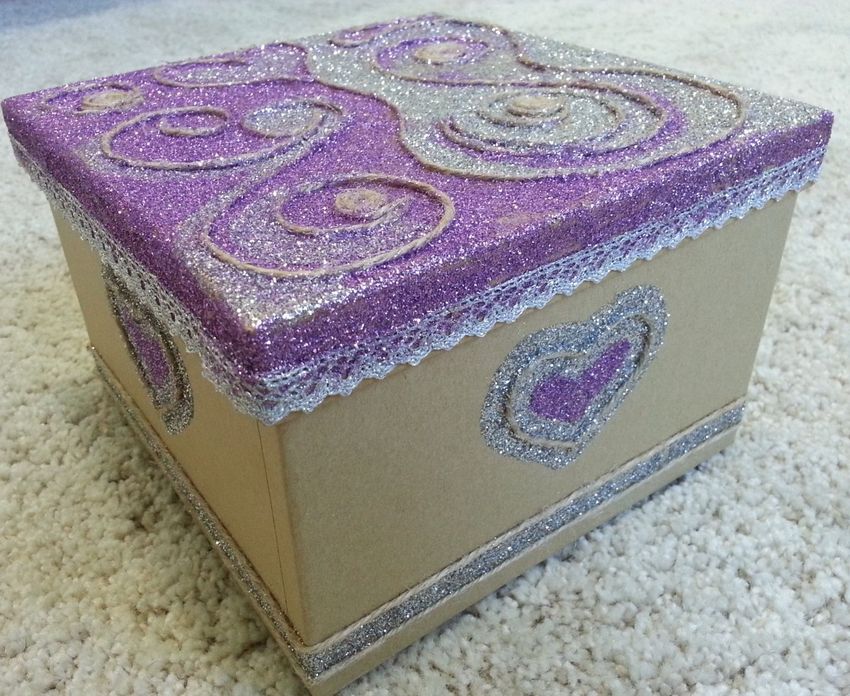
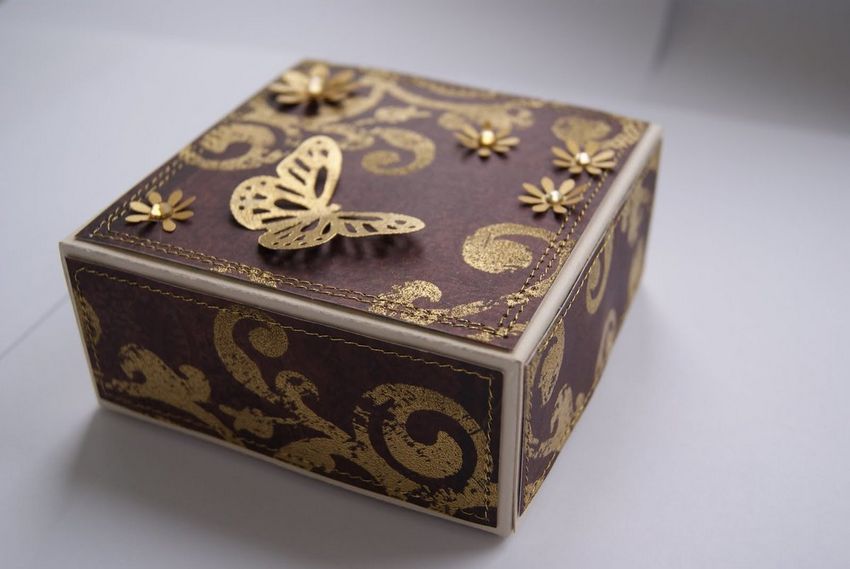
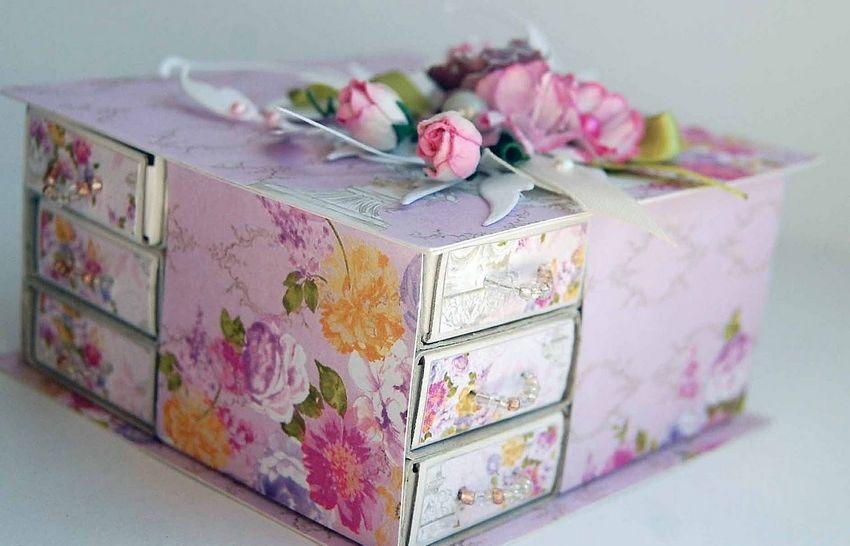
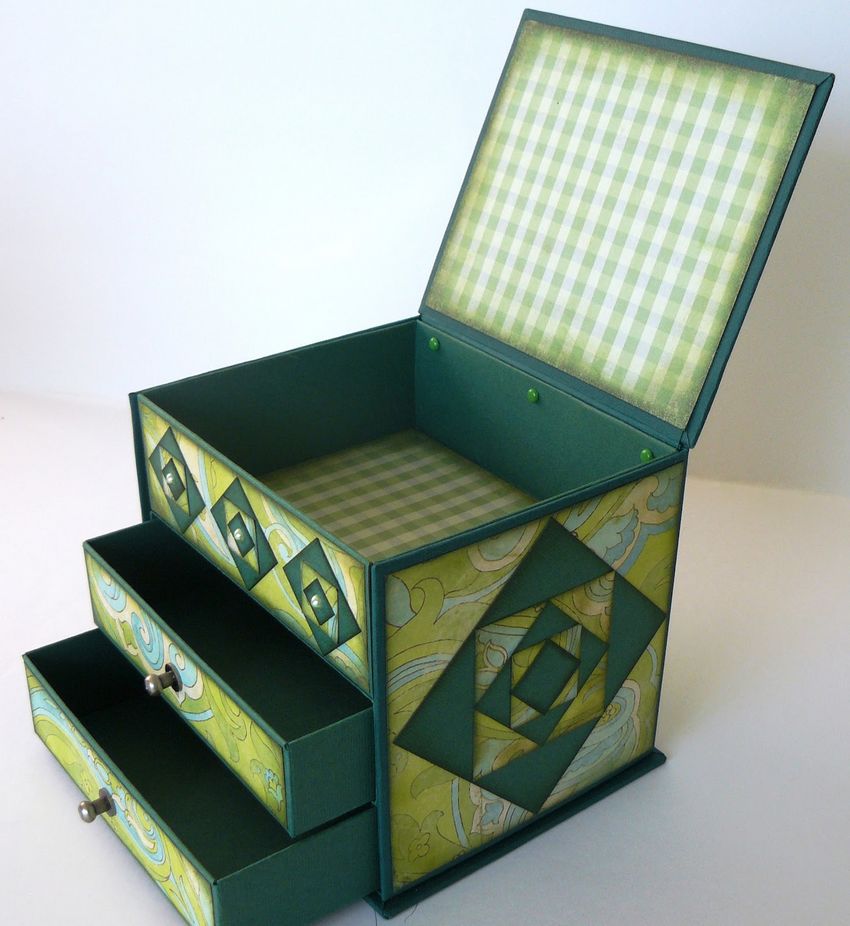
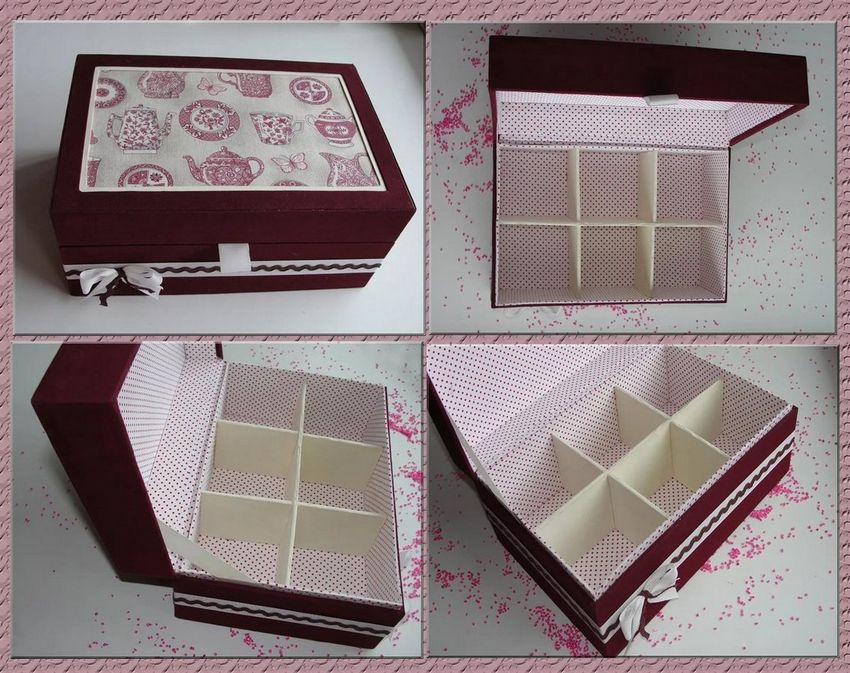
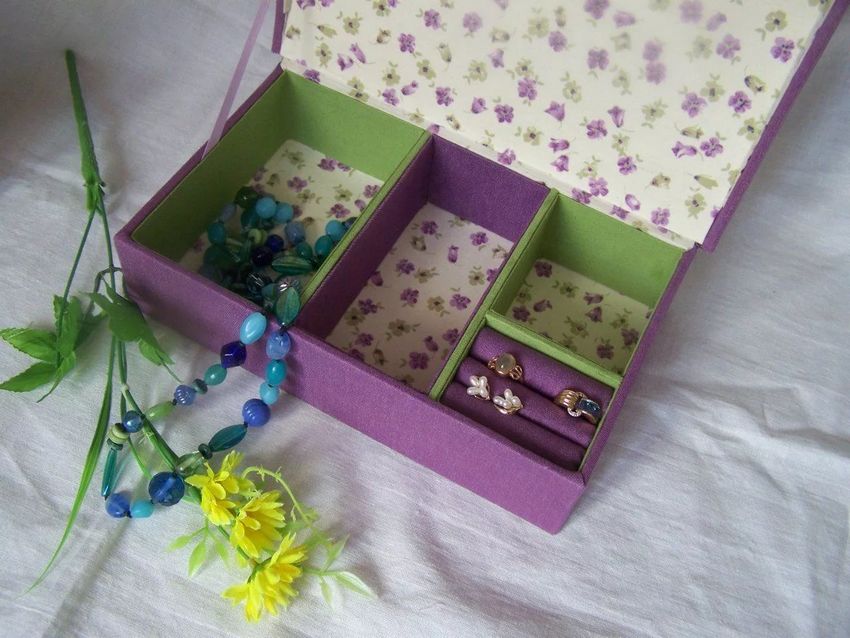
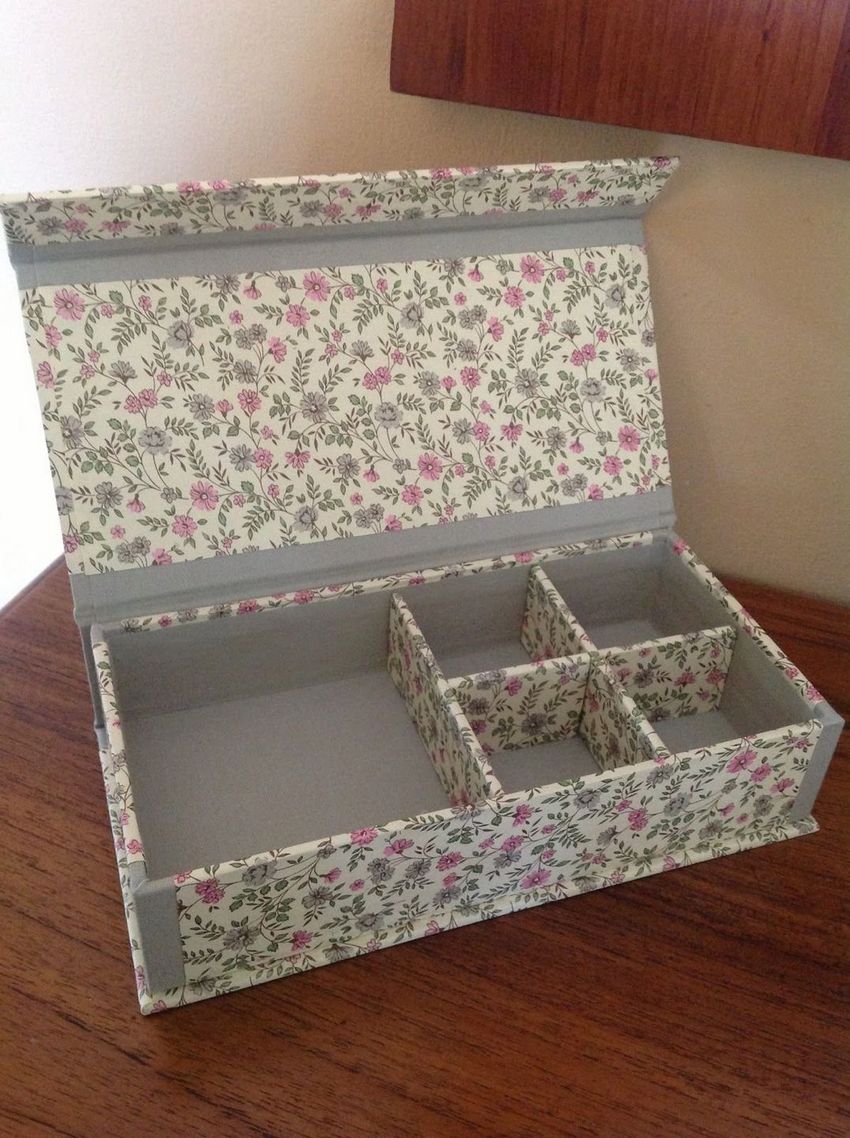
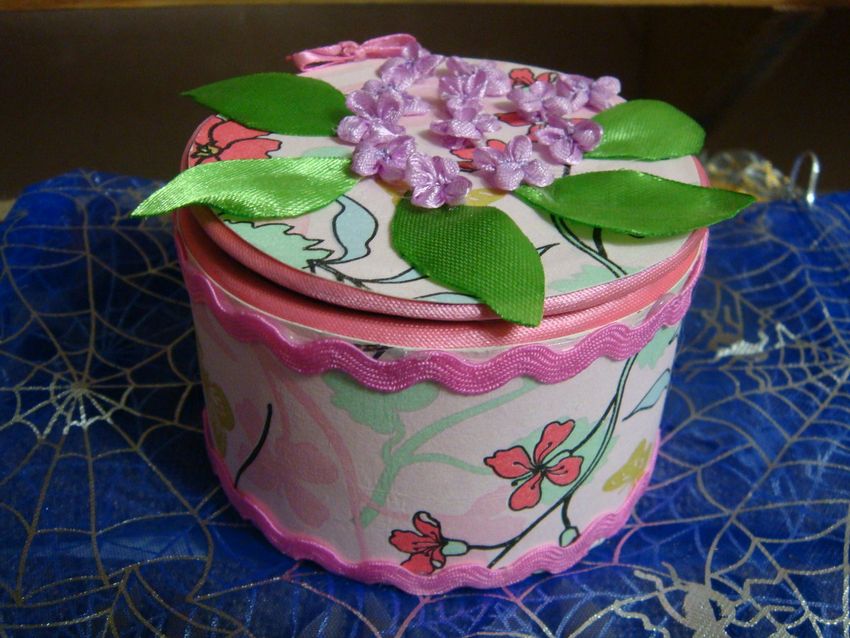
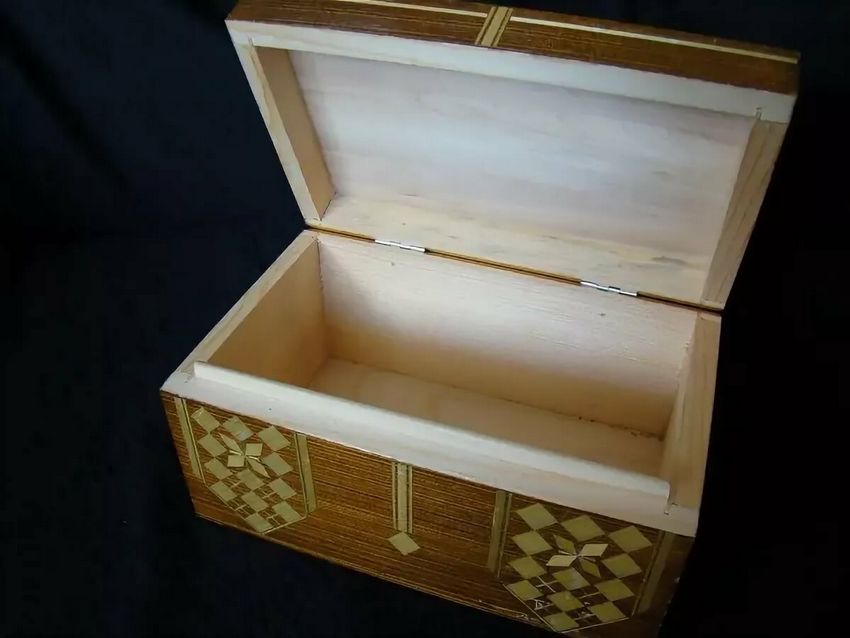
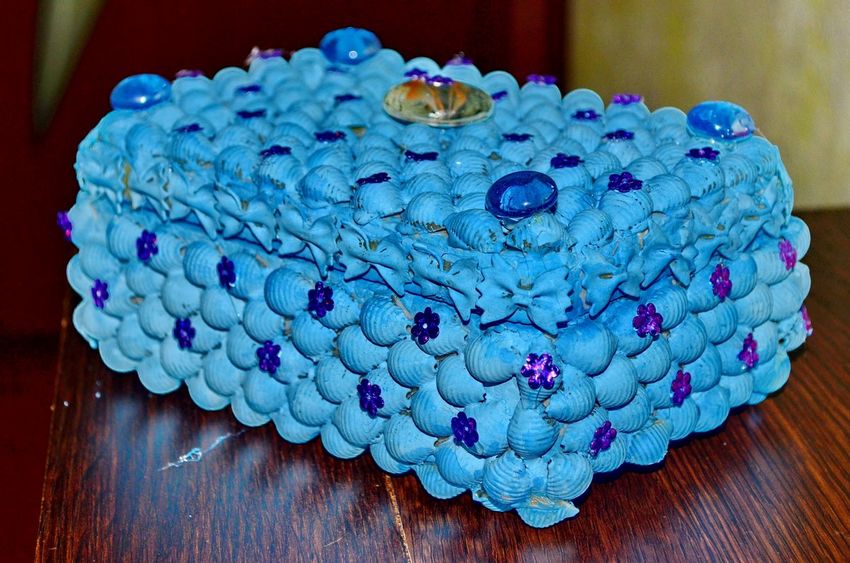
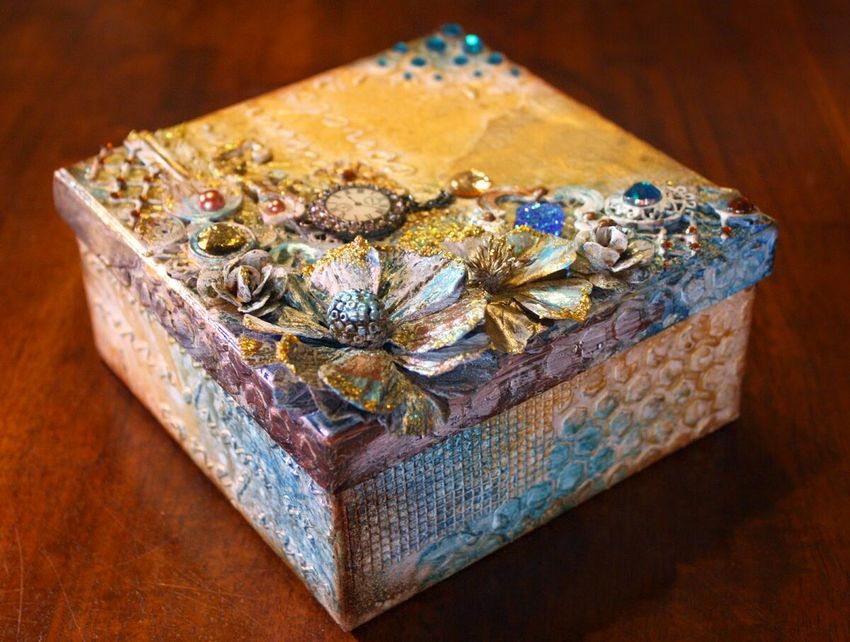
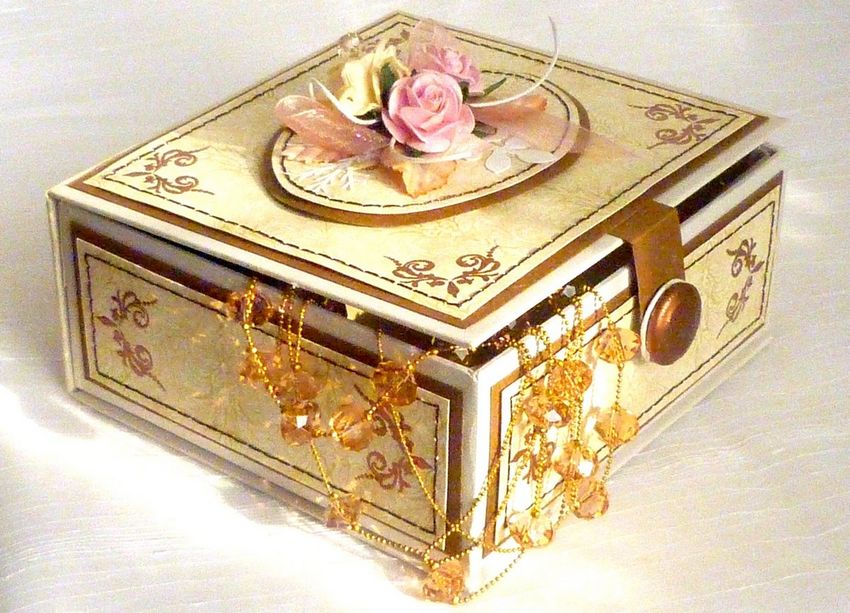
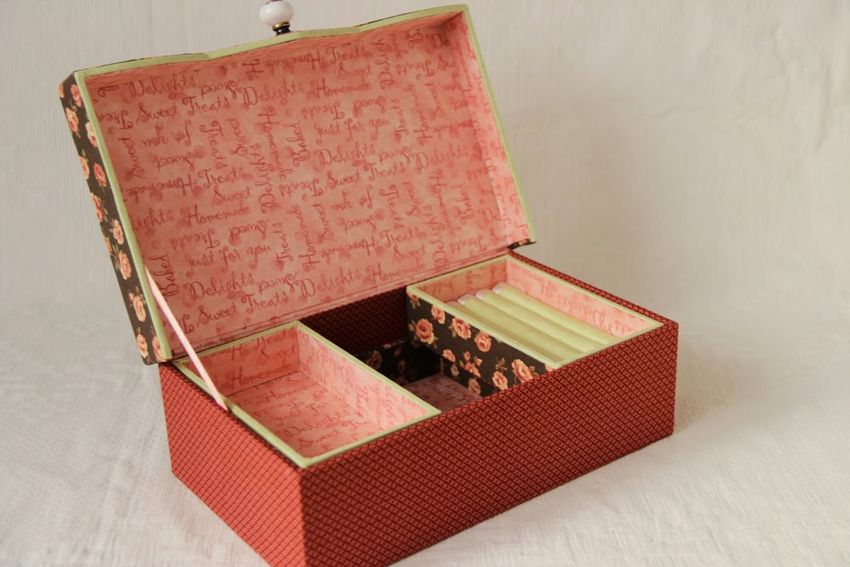
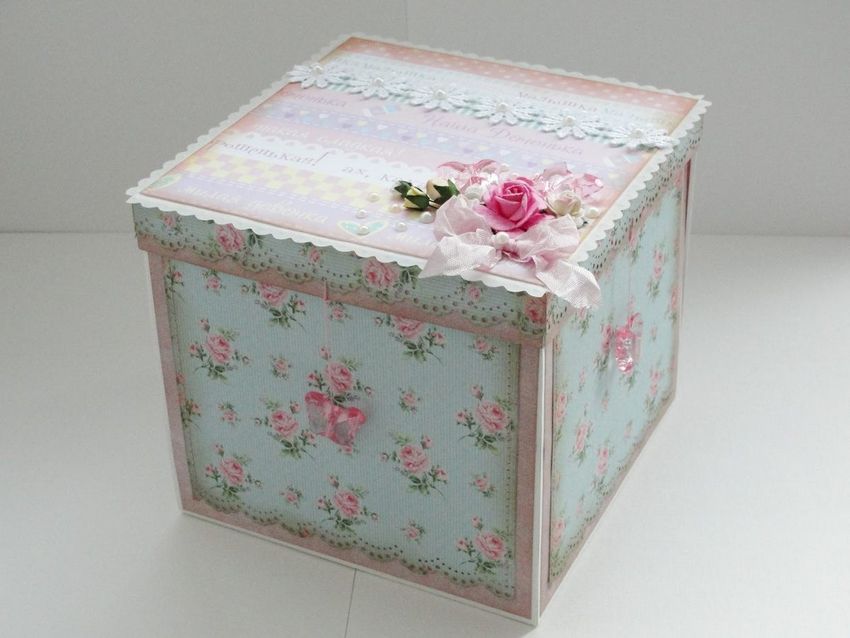
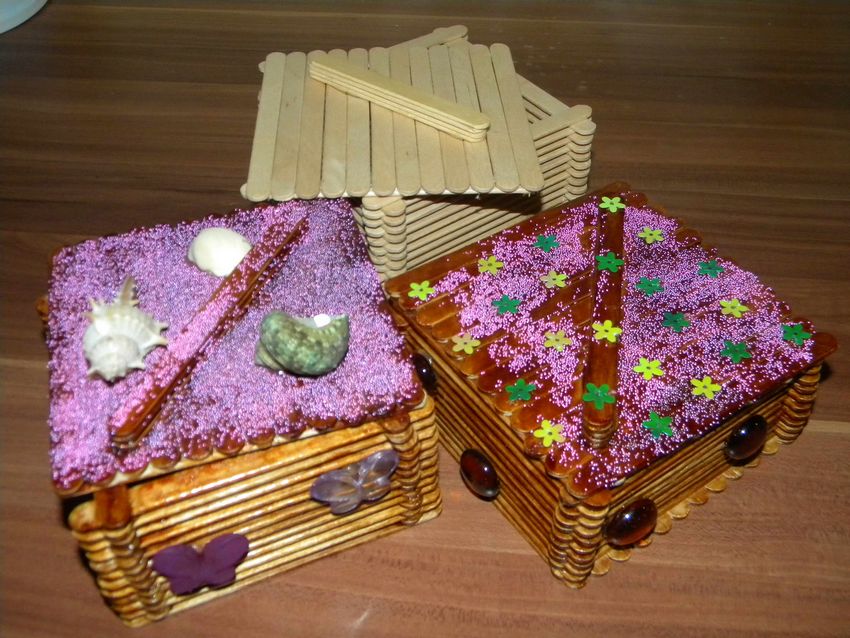
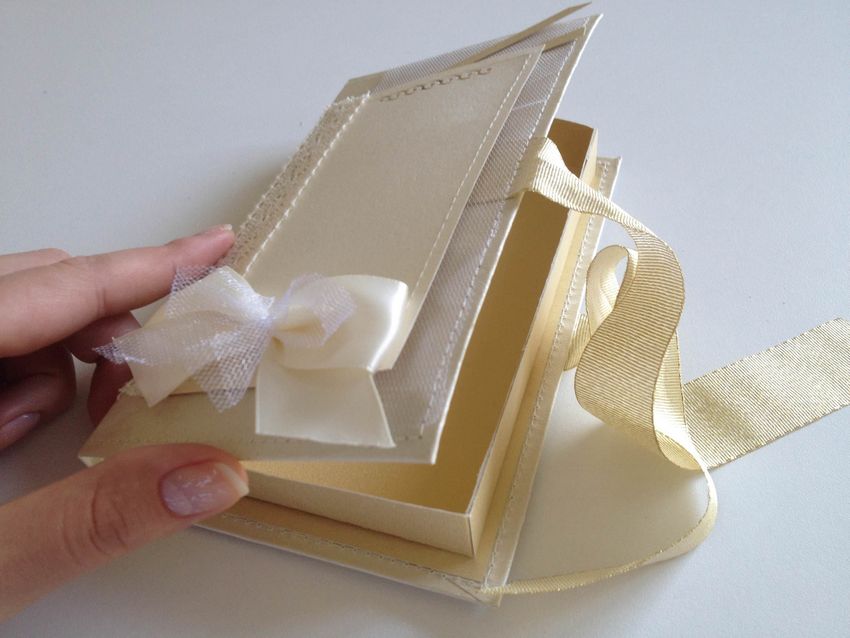
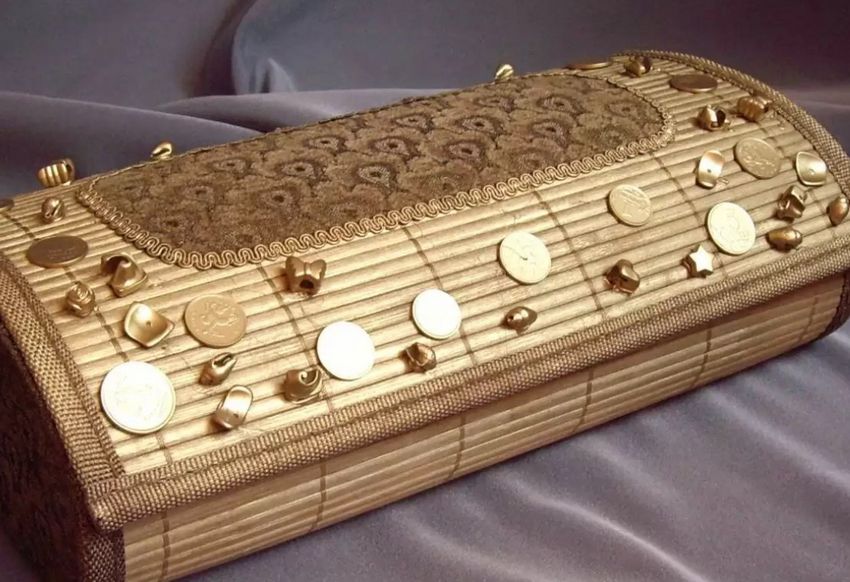
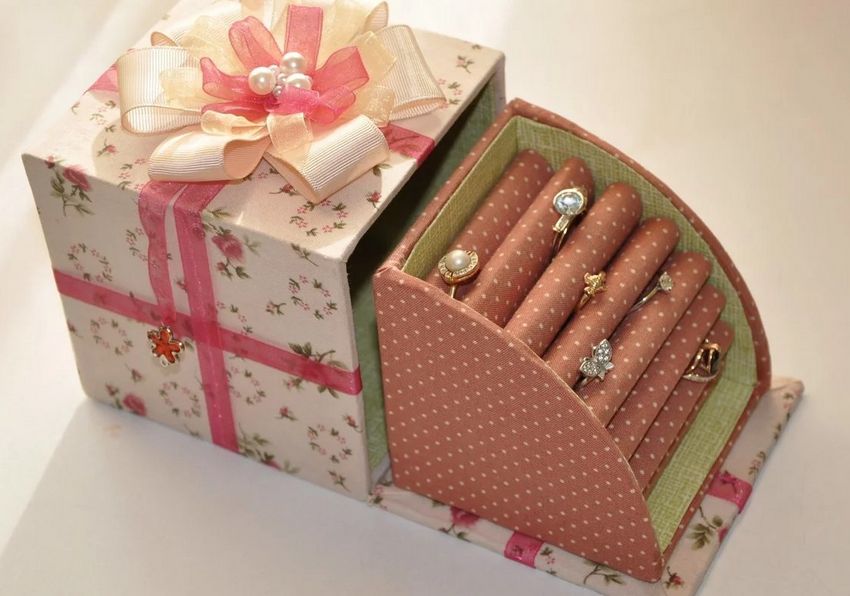
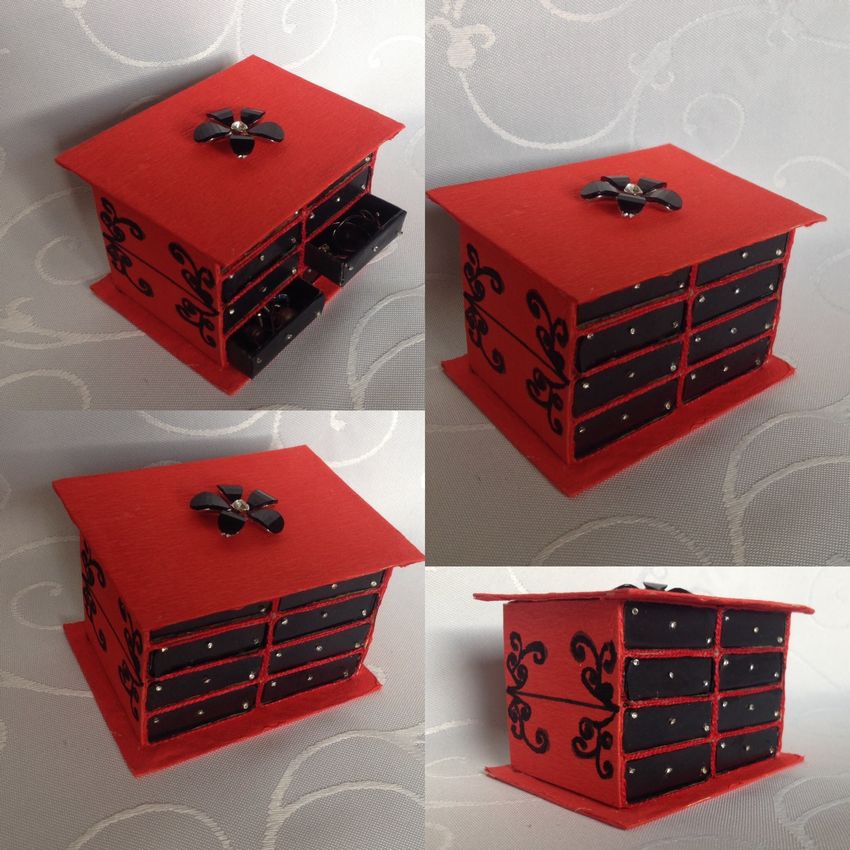
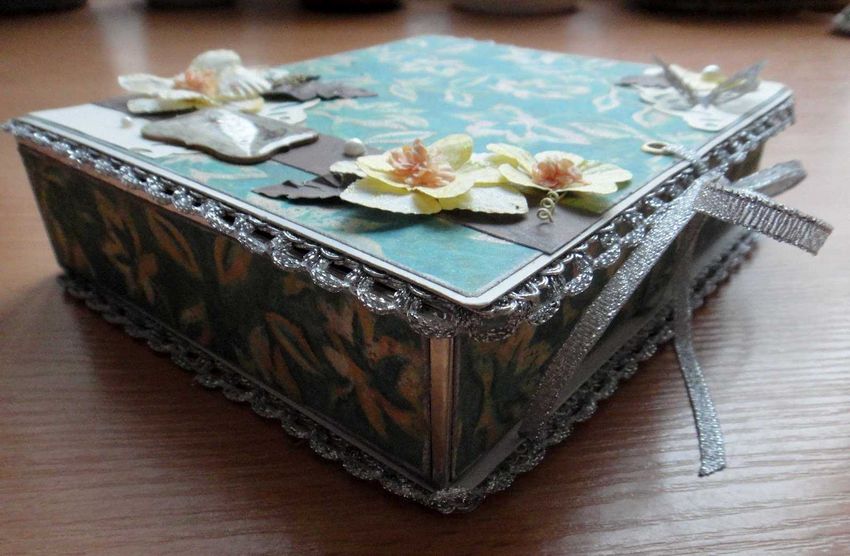
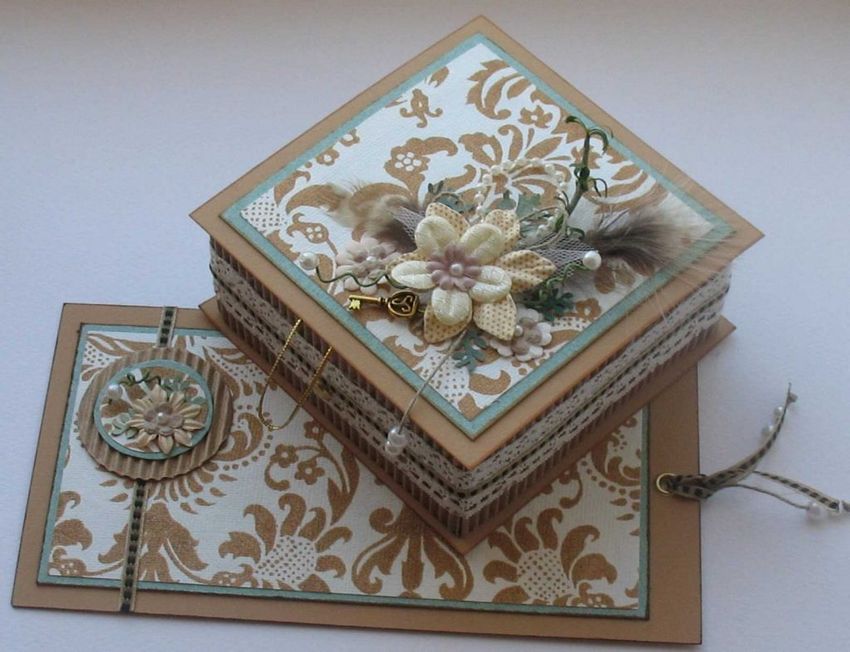
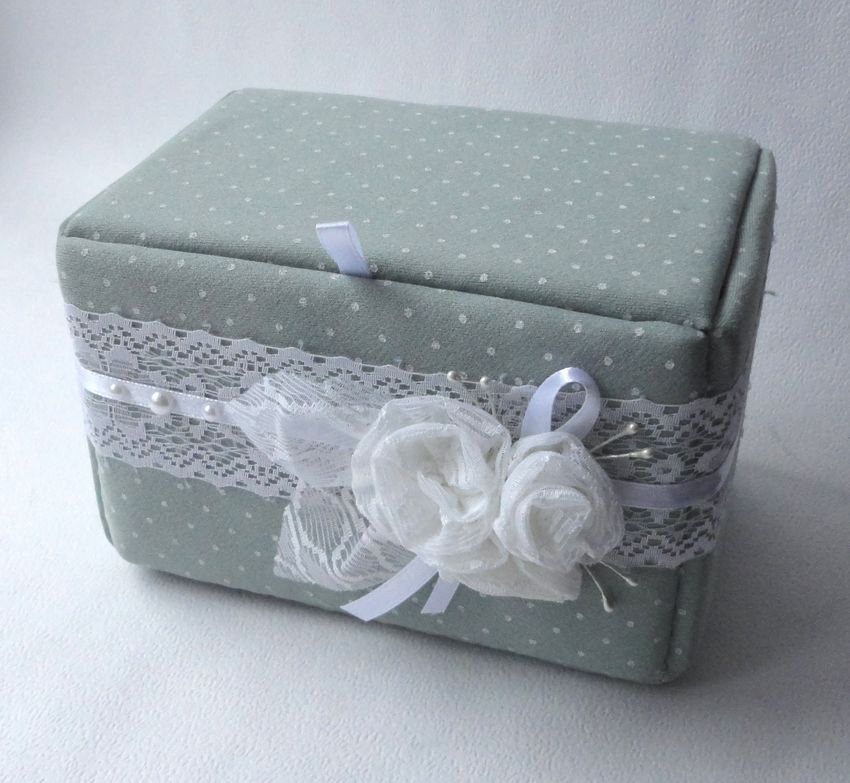
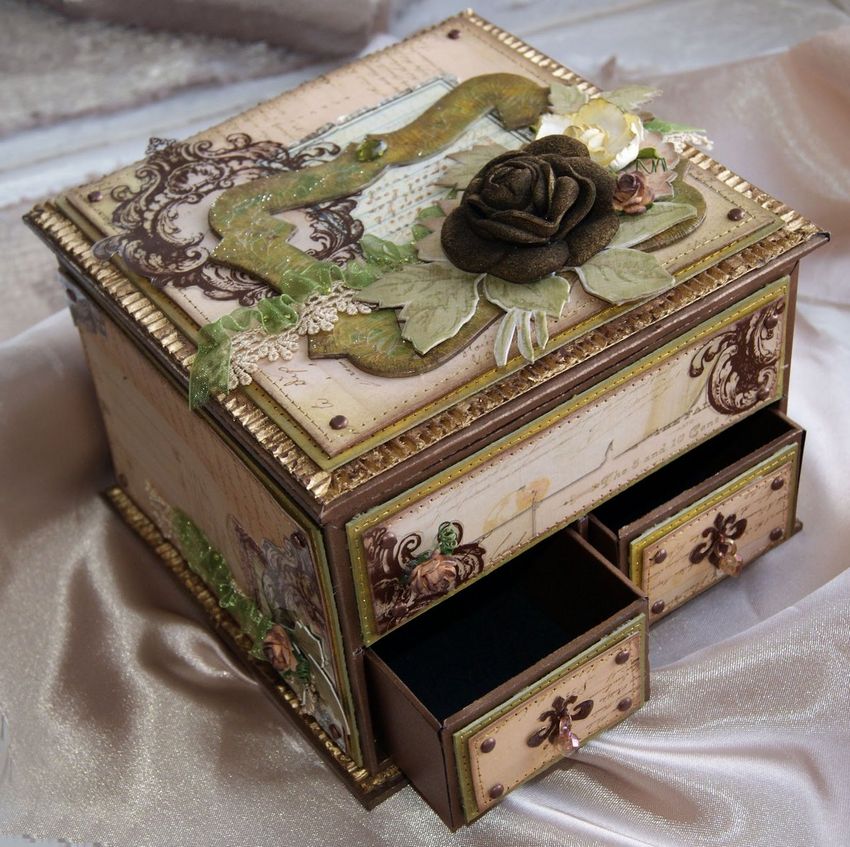
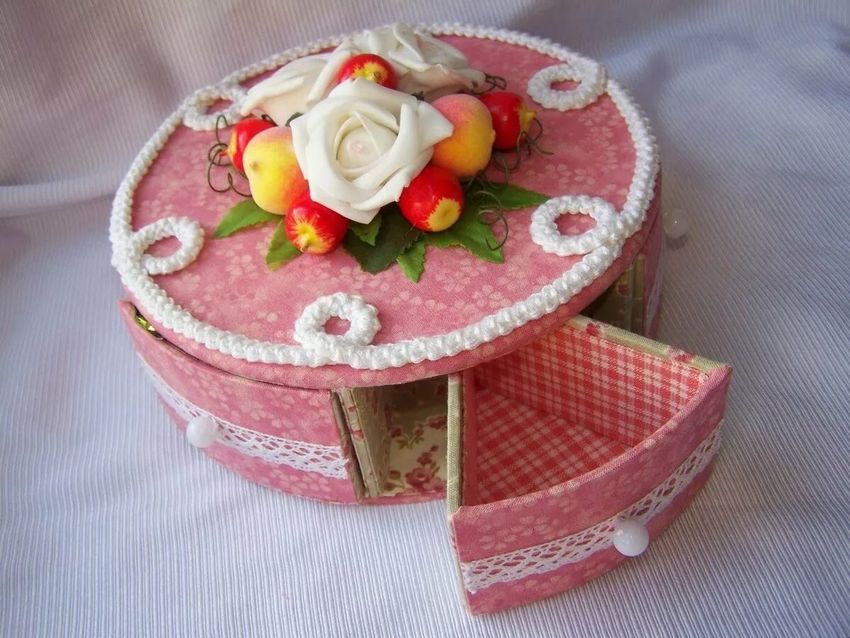
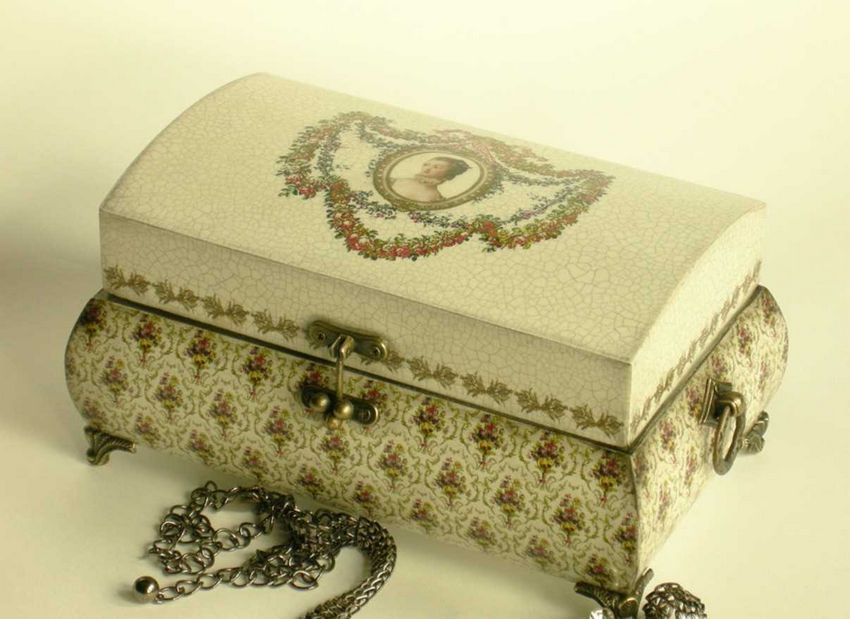
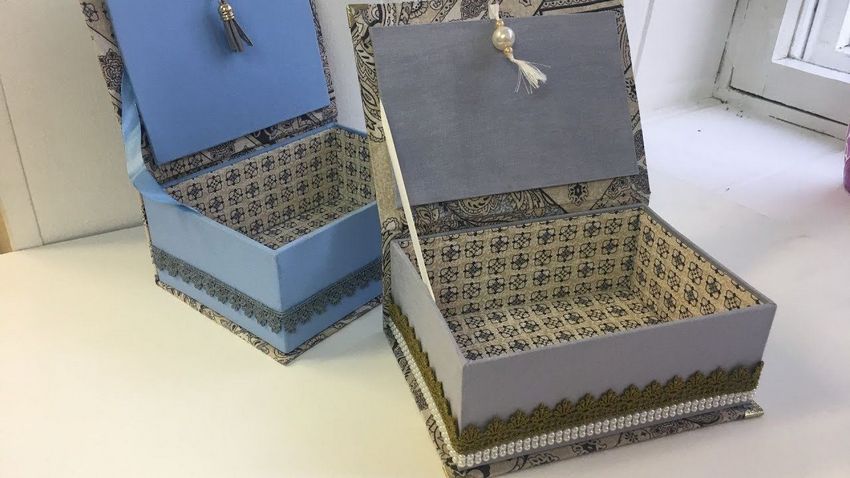
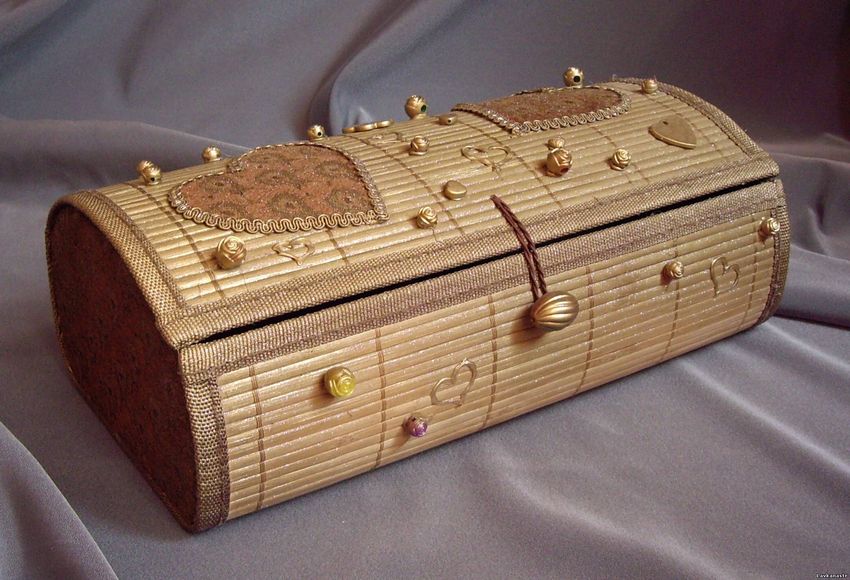
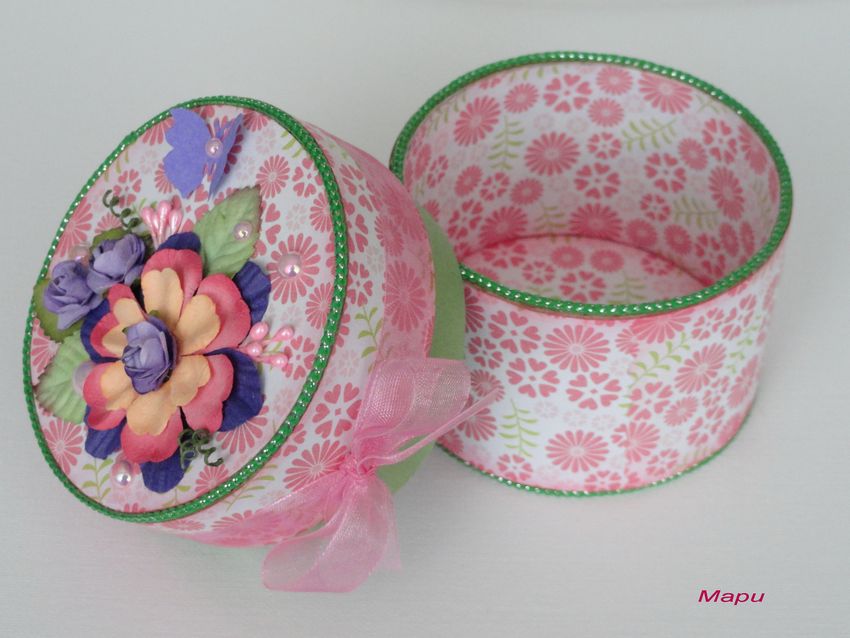
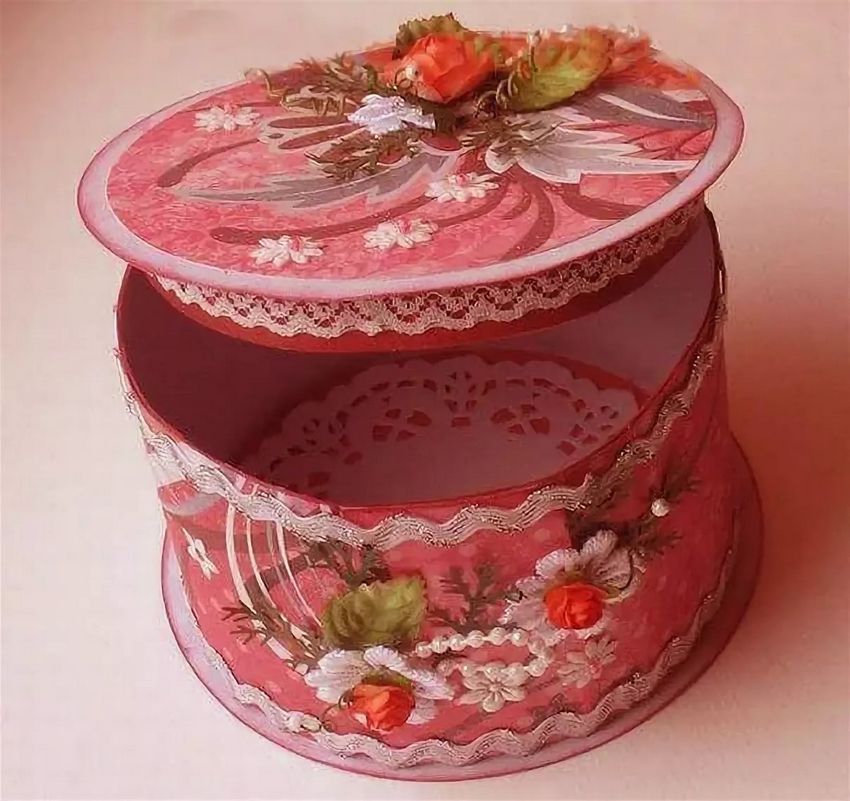
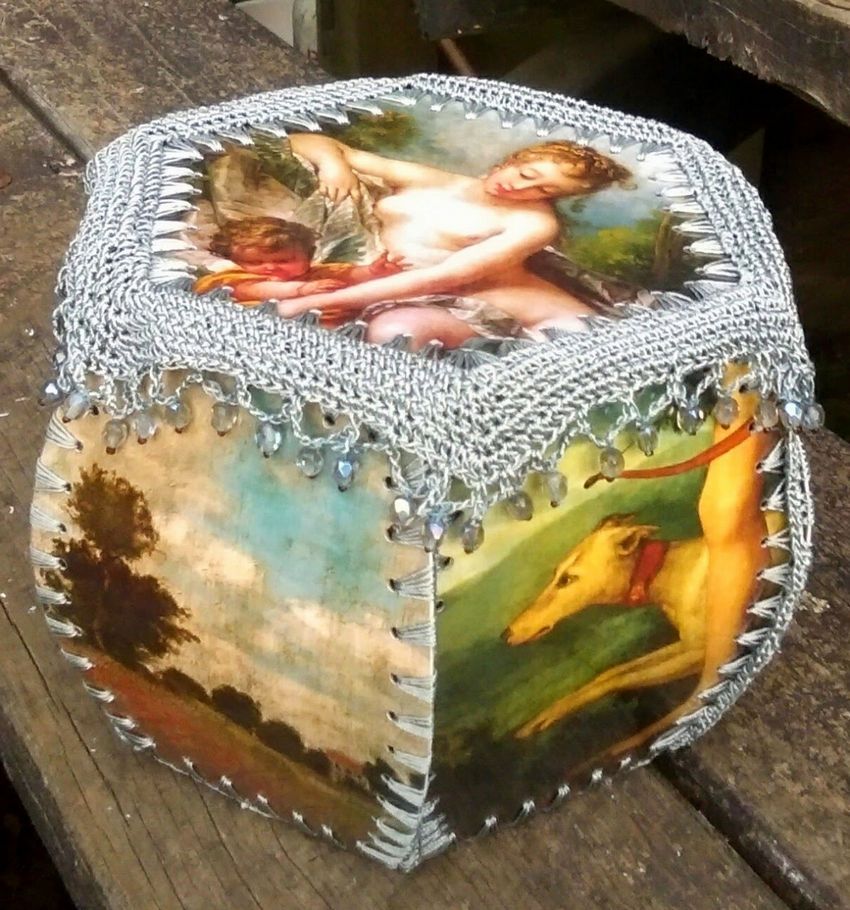
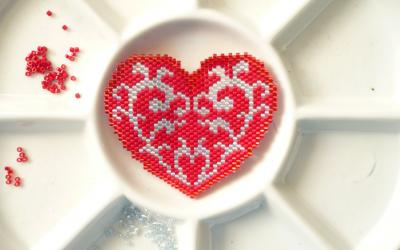
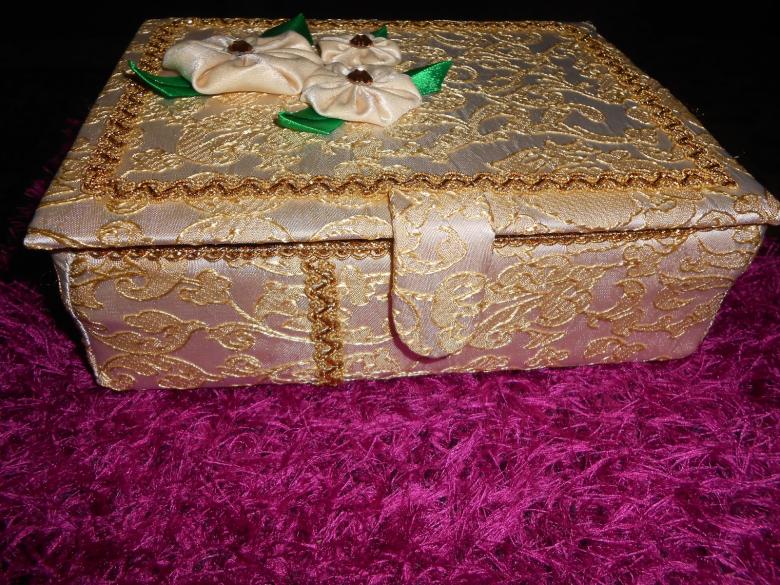
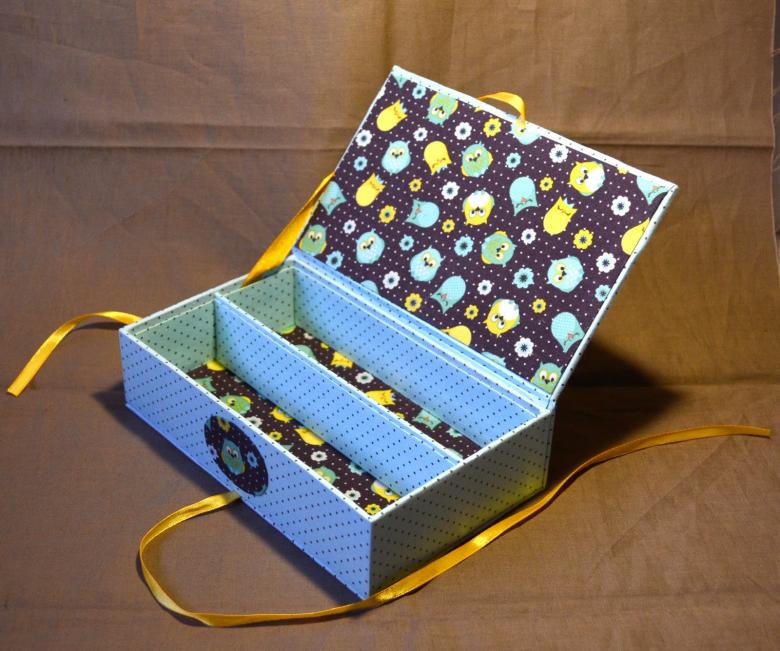
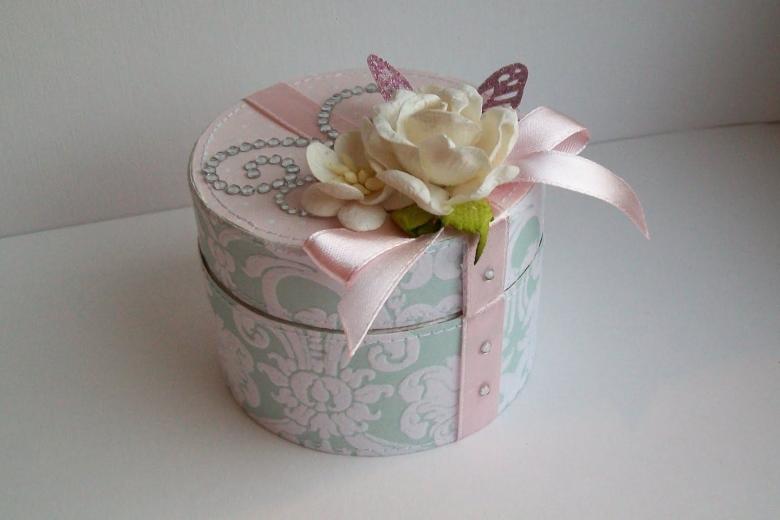
Photo ideas of beautiful homemade boxes