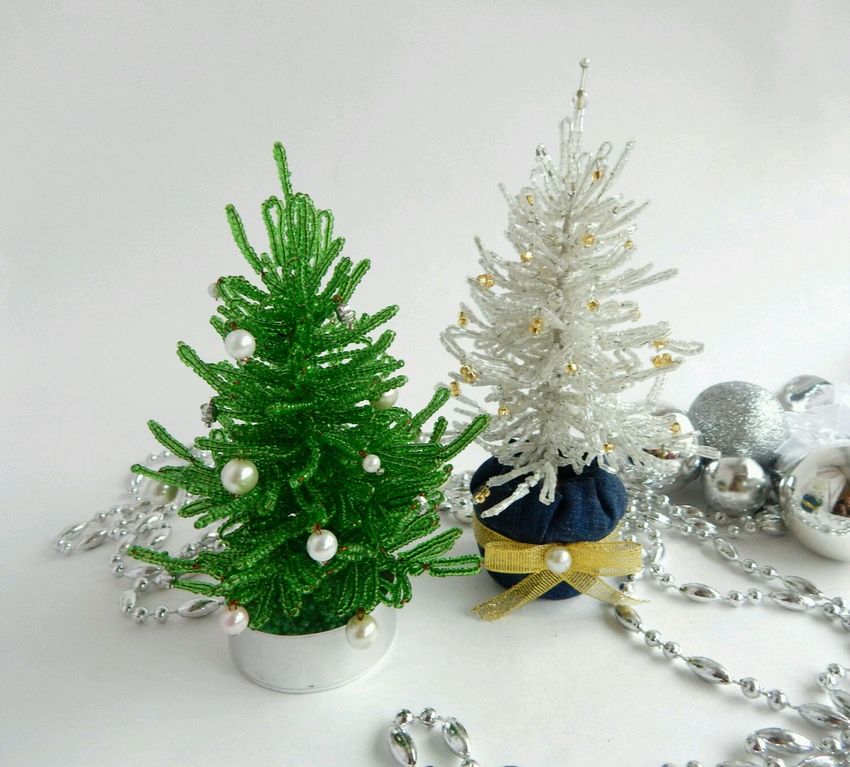
Beaded Christmas tree - making beautiful Christmas trees with simple weaving variants
So, let's start our master class on making a Christmas tree from beads. I think I'm not mistaken, calling the creation of handicraft beads one of the most popular kinds of needlework. By the way, I think not many of you know that such material as beads, too, has its own division. For example, it is divided into chopped and glass beads, they differ in shape.
It is also often distinguished by the country where it is produced. Now the main producers are the Czech Republic and China. Chinese beads can be found in any store that sells products for needlework. Czech beads, found much rarer, primarily due to its price, it is higher in quality, but its cost, and high.
It is not difficult to guess that it is much more expensive than Chinese beads, although much higher quality. In the finished Christmas tree you can hardly see the difference between Chinese and Czech beads. Considering that Chinese beads are cheaper, and much more accessible, use Chinese beads.

Master class on making a Christmas tree with beads
Beadwork is done in a variety of techniques. These techniques can easily be mastered by a beginner. One of the easiest beadwork techniques is the Christmas tree. Beginning masters will do an excellent job of creating such a souvenir with their own hands as a Christmas tree from beads.
Materials for making a Christmas tree
To create a Christmas tree from beads, you will need the following materials:
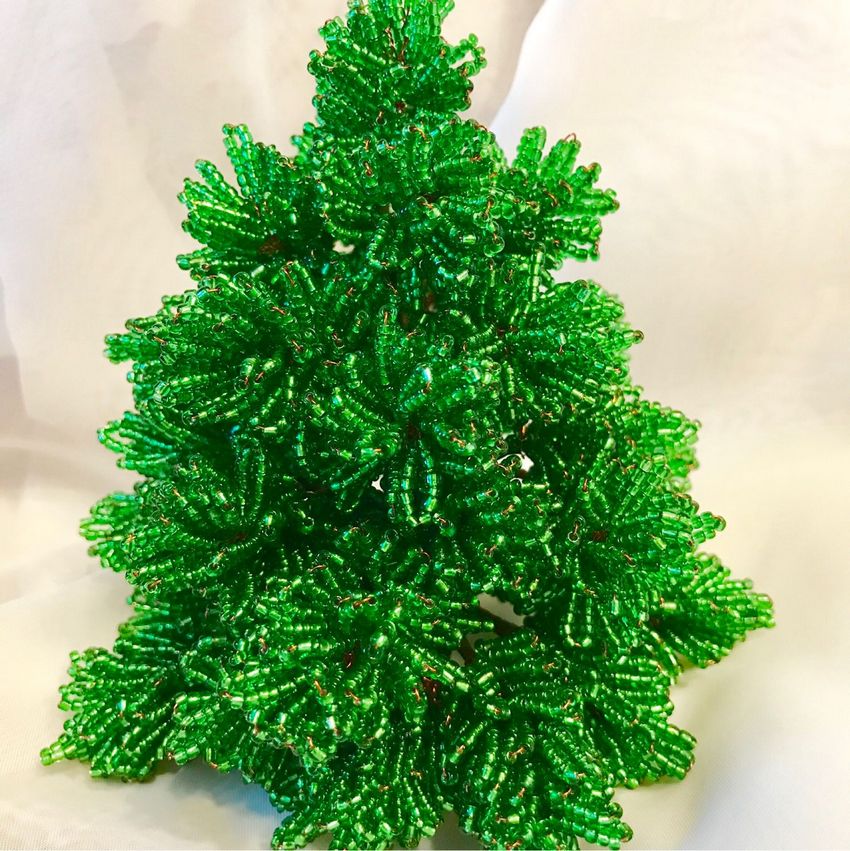
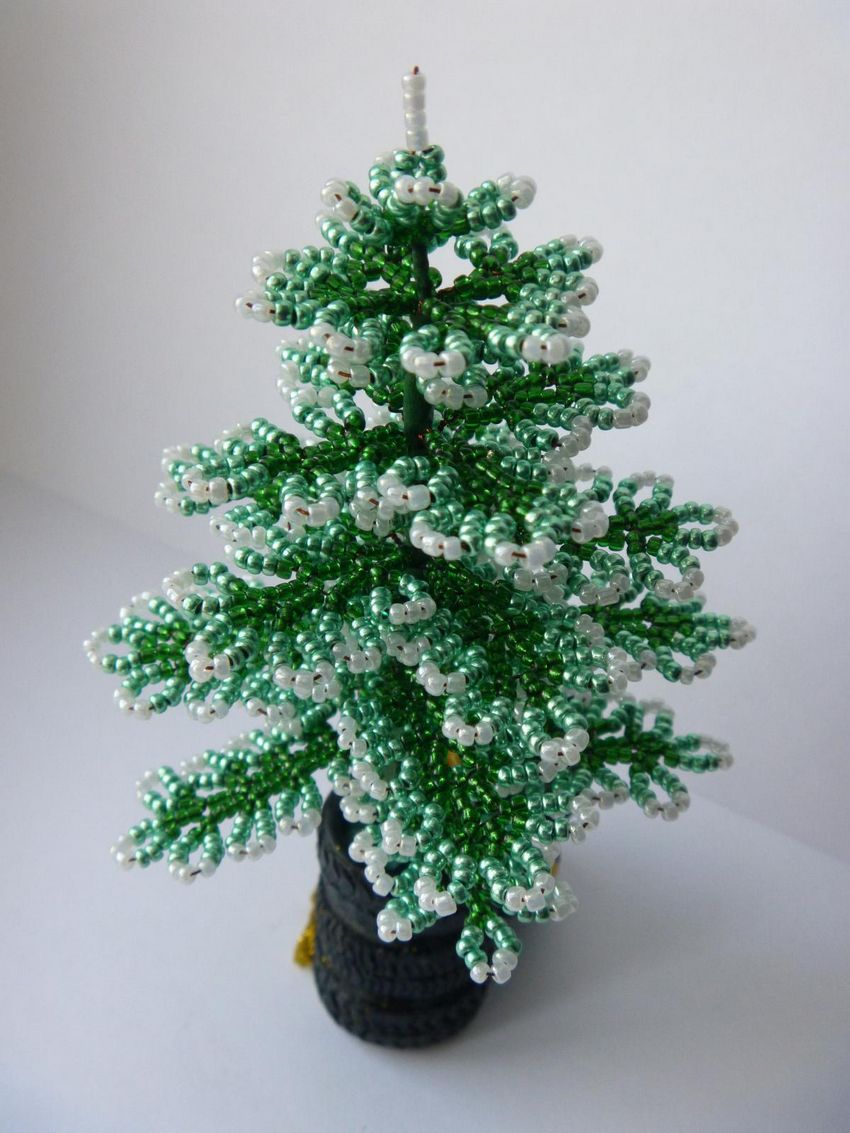
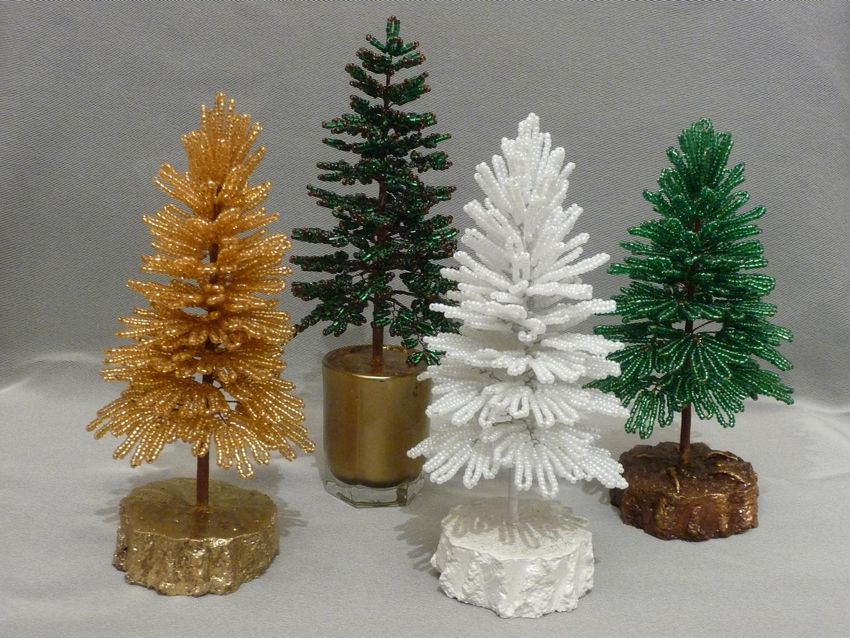
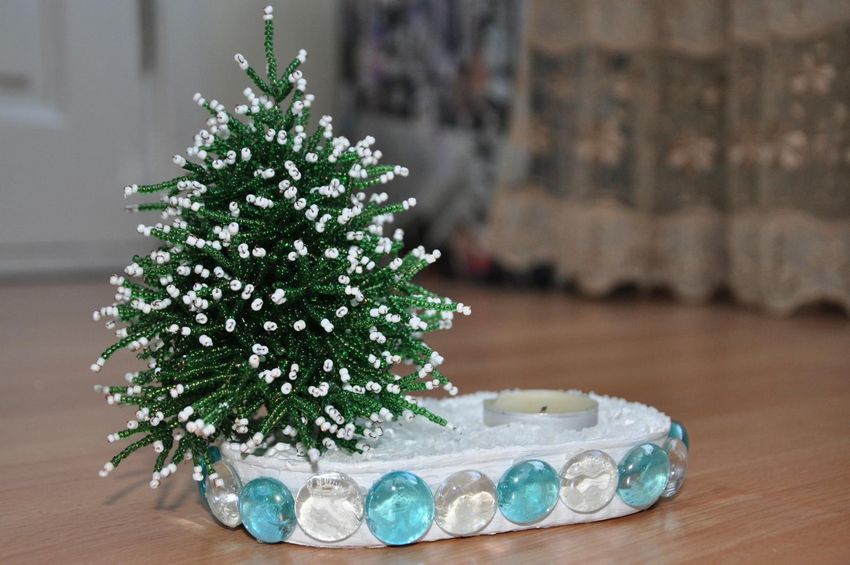
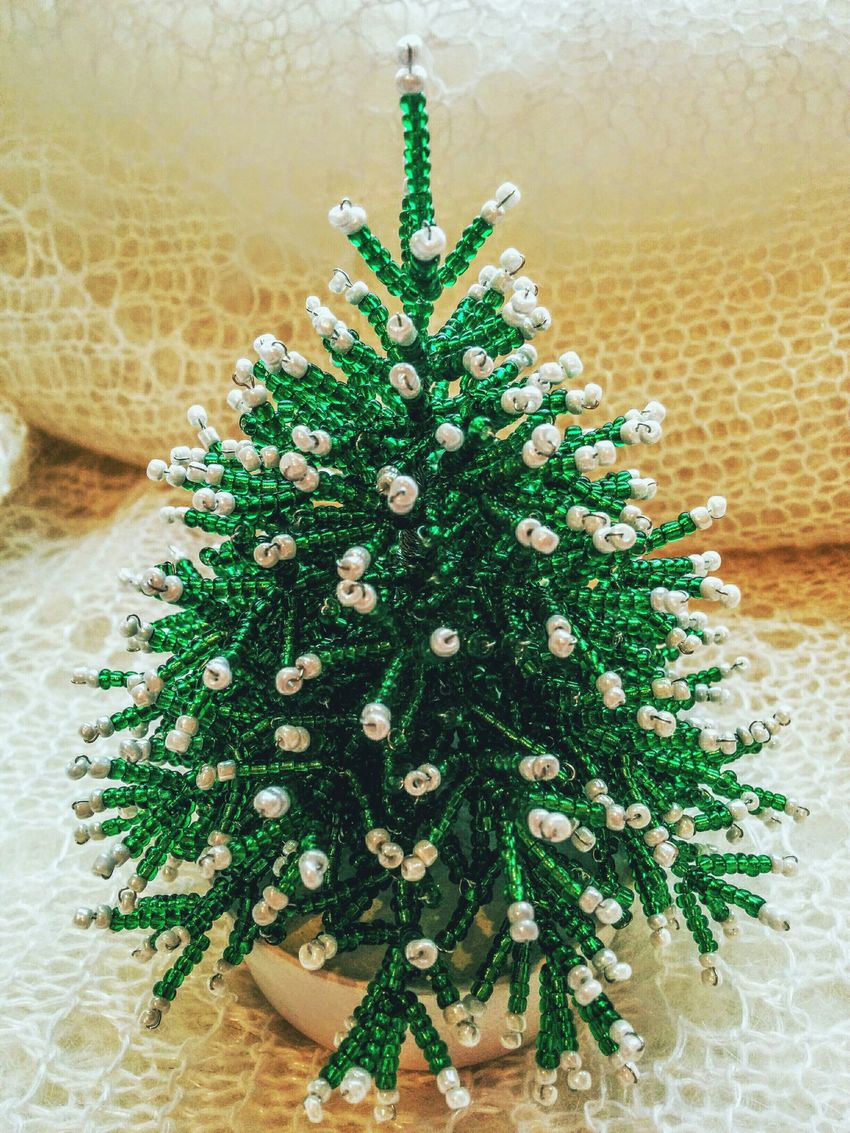
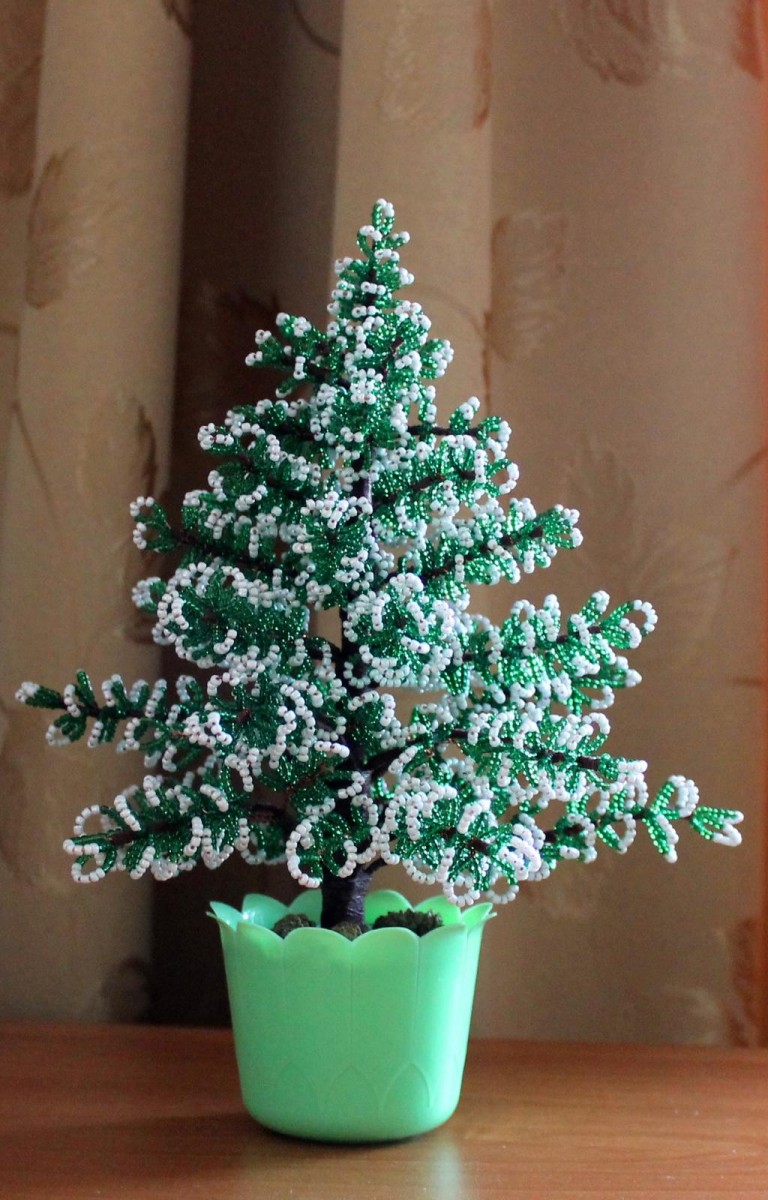
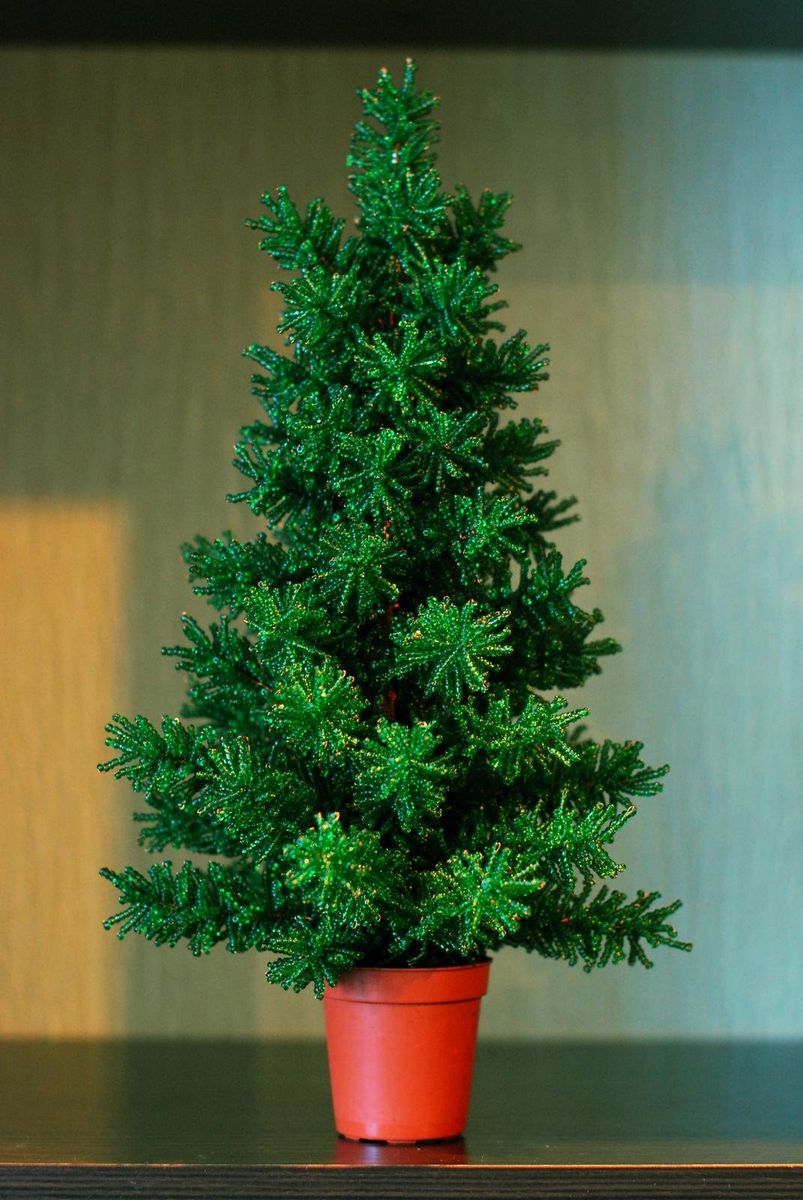
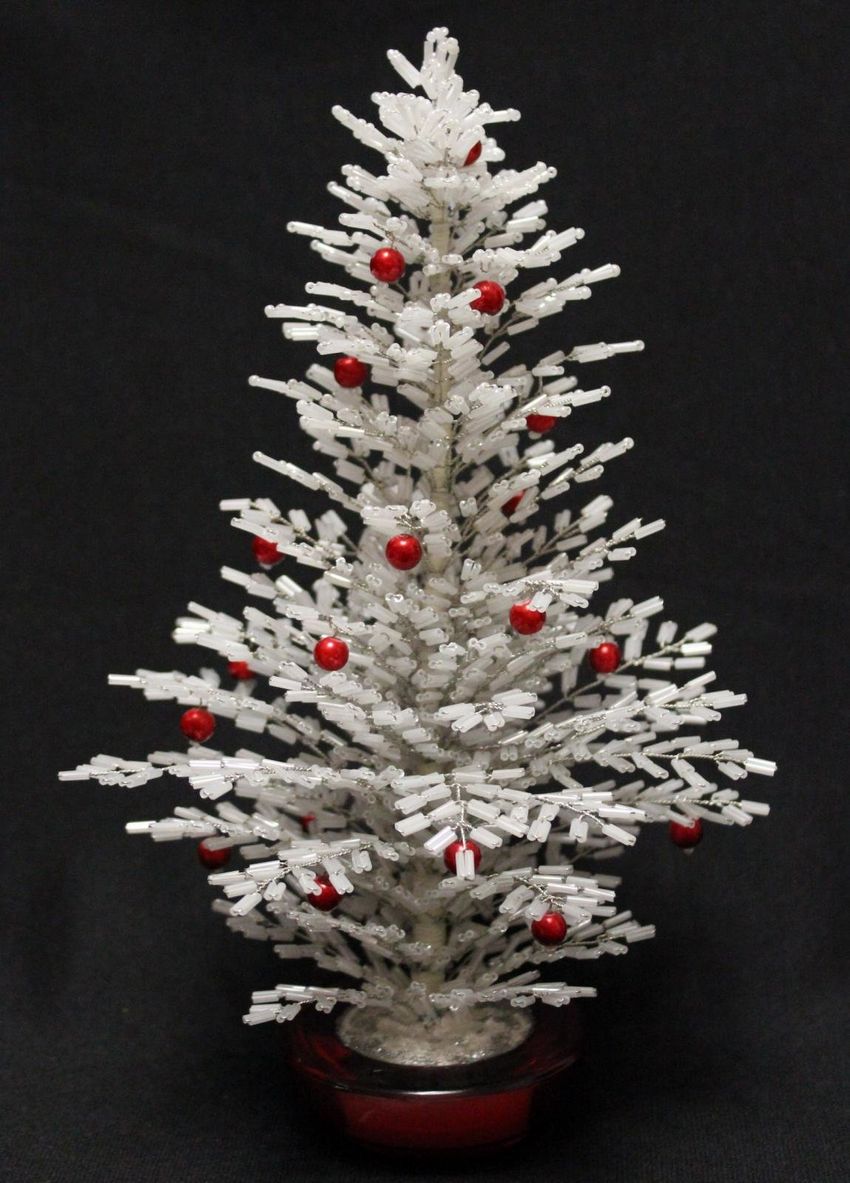
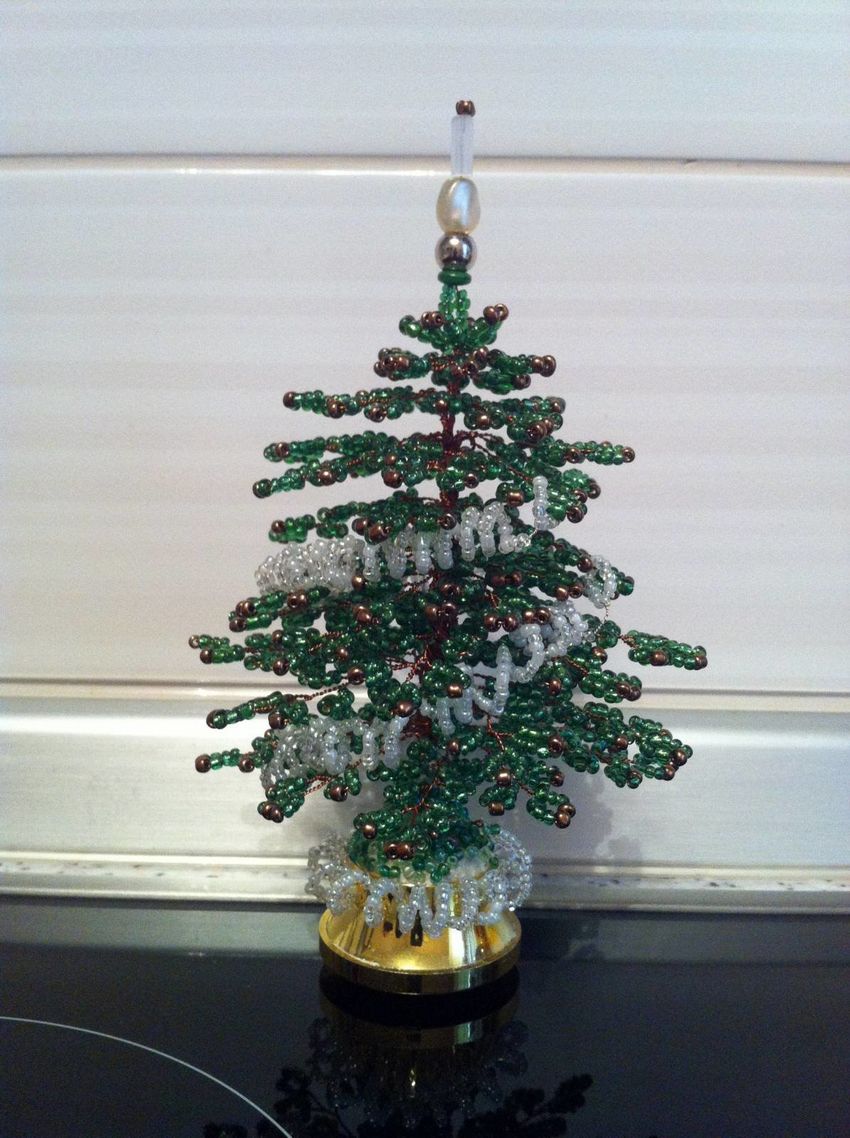
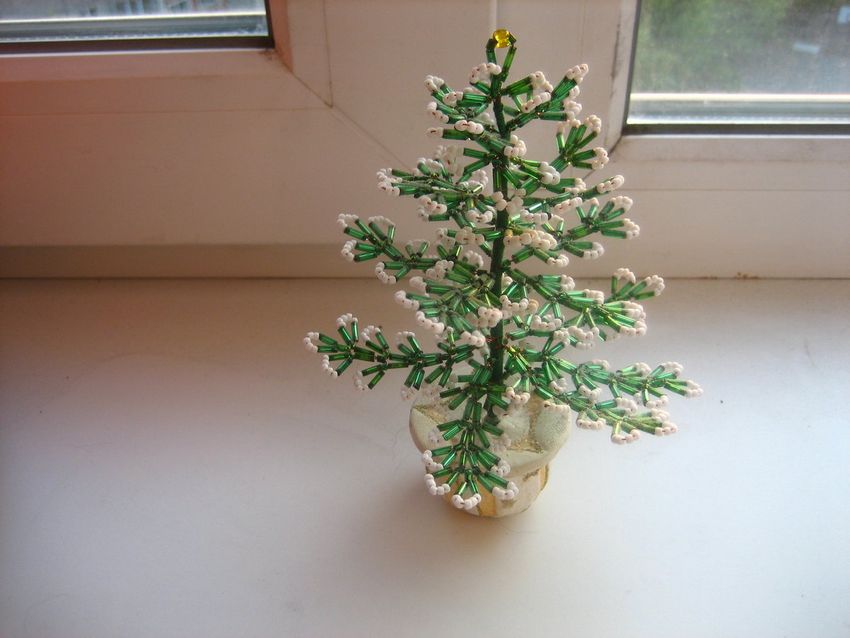
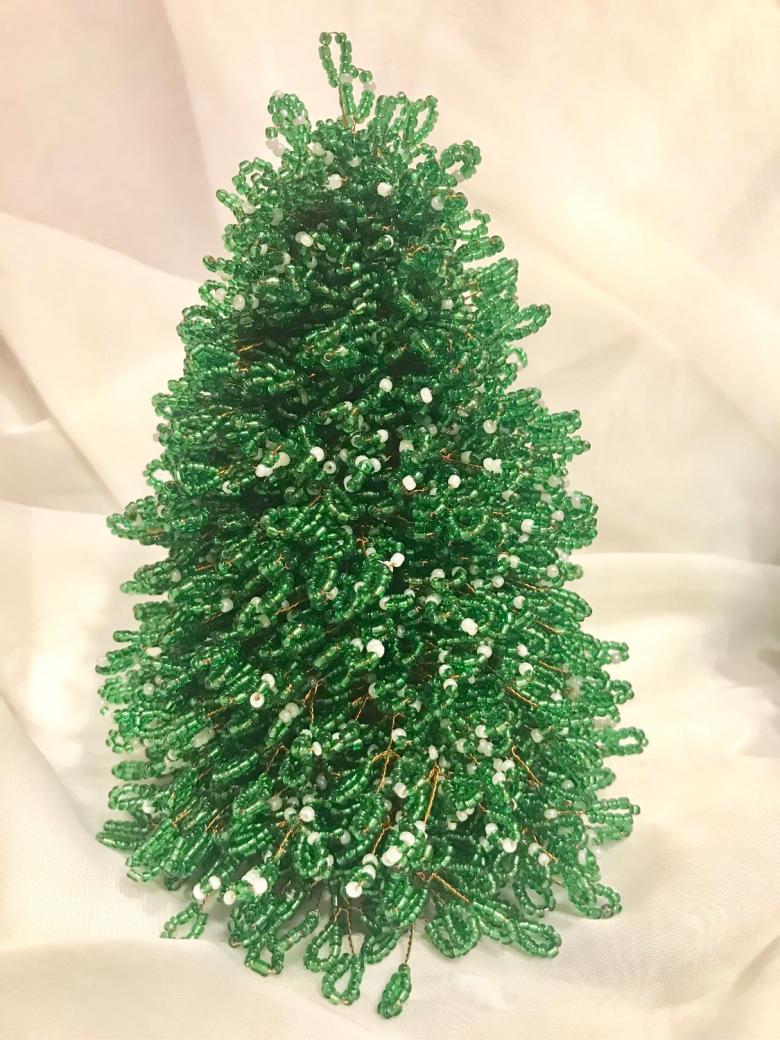
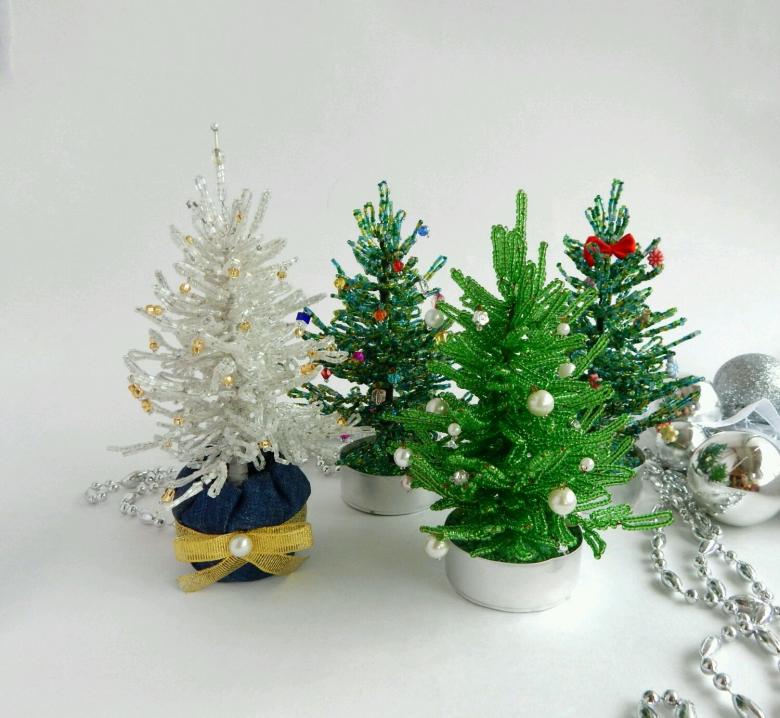
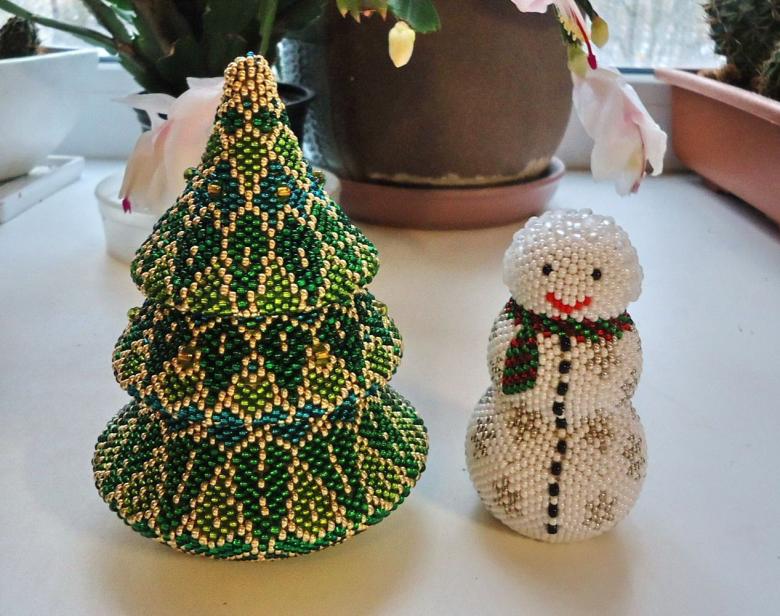
- green beads, I recommend using Chinese beads. As we've said before, on the finished Christmas tree, you still won't feel any difference. In addition, it is much cheaper than Czech, and you will need a lot of it. After all, this is the main material for making your Christmas tree. You can use white beads instead of green ones to make a Christmas tree covered with snow. Beads can be used as glass beads and chopped, it depends on your taste and the availability of one or the other material;
- The wire for beading, 0.3 mm in diameter. You can buy such wire in specialized stores, or you can use regular enameled wire (also called winding wire);
- red bicone wire. It is also sold in stores of goods for needlework;
- A bead "rubka" red color;
- Red bead #10;

Making the top
If a real Christmas tree grows from the bottom up, then our handicraft we will start creating the opposite, from the top down!
Our Christmas tree will have a height of 11 centimeters. For the top we need a 25 centimeter piece of wire. Thread a red bead on one side of the wire and pass the second end of the wire through the same bead on the other side.
Then you need to pull the wire through the bead so that the bead is in the middle of the segment of wire. Then the ends of the piece of wire should be folded together and put them first through the bead, and then through the bicone.

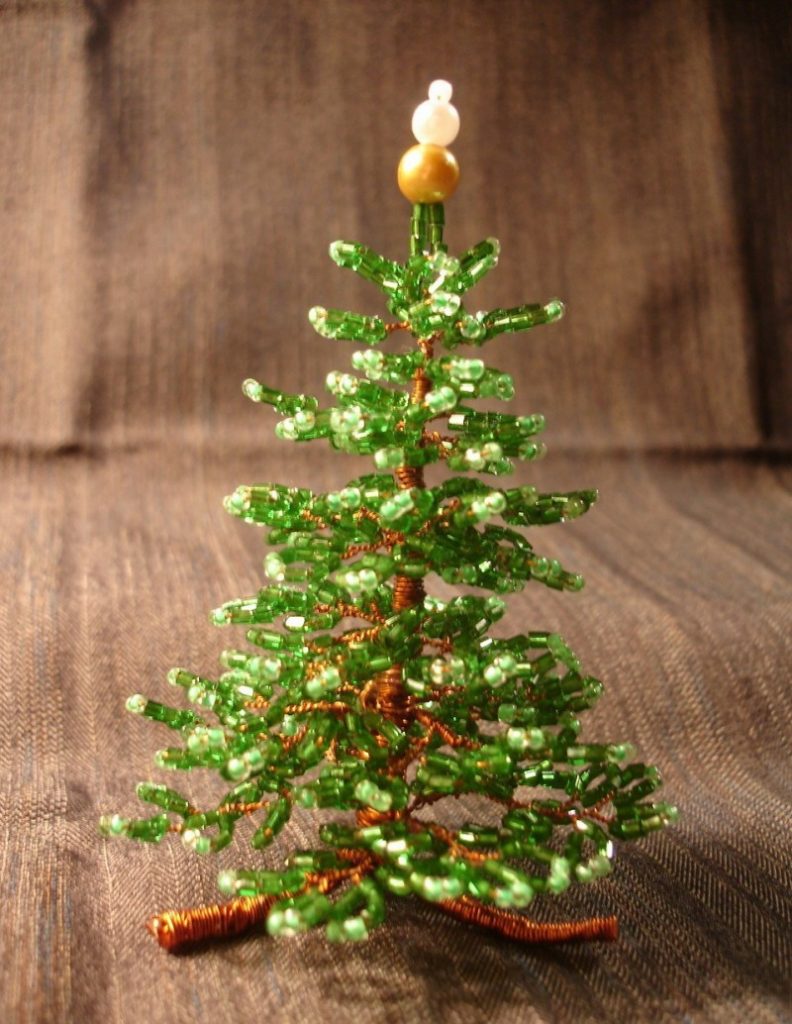
That's how you get the tip. To prevent the top of your future Christmas tree from sliding down the wire, use one green bead. To do this, do the following: Thread the ends of the wire through the green beads from different sides, then gently pull them out, thus tightening the knot under the top of your future souvenir.

After that, thread six green beads on each end of the wire and advance them to the top of the future "tree". Then fix these beads by twisting the ends of the wires.
Create the first (top) row of "branches"
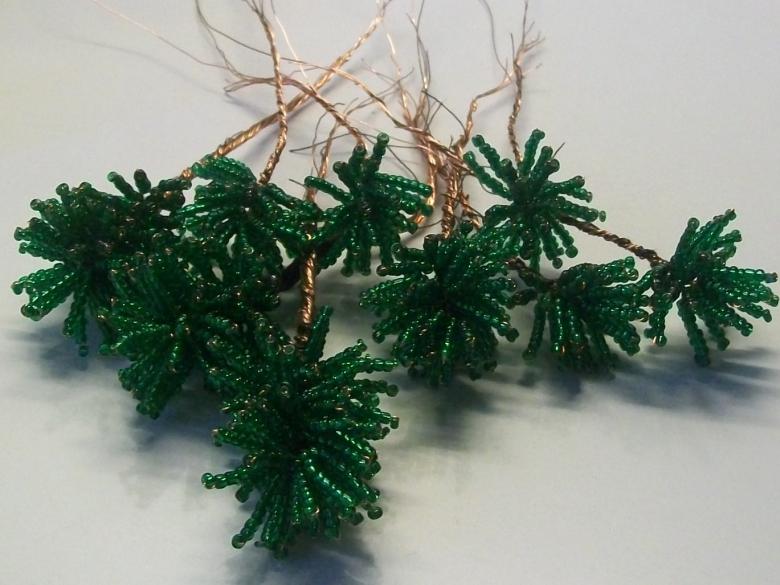
The top row will be made up of four small branches, which means you will need four 25 centimetre lengths of wire. Our green beads, or whatever material you decided to use to make the Christmas tree.
On one of the wire segments you thread 9 green beads, place them in the middle of the wire segment, then bend the wire in the middle and twist it under the beads. You got the first "paw" and then you put 9 green beads on each end of the wire again, and, having moved the beads to the ready "paw", you bend the wire in the middle of the beads, and then you twist the wire at the base of the new "paw" several times. So you get three paws.
Making the next rows of branches
All other branches are made in the same way. Branches for other levels will differ only in the number of "legs". Naturally, the number of branches themselves will also differ (the lower the branches are, the more branches should be used and the more "legs" they should have).
Accordingly, as the number of "legs" to the lower rows of branches increases, so should the length of wire that will be used to make them. The length of wire should be increased by 5 centimeters with each subsequent row of branches.

Since the branches of all the other rows are made similarly and differ only in the number of legs and, accordingly, the length of wire used to make them, there is no point in describing the process of making them in detail.
I will only indicate the required number of branches in each row and the required number of "legs" on these branches. The number of rows is indicated from top to bottom.
- The first row consists of four branches with three legs each.
- The second row consists of five branches with five "legs" each.
- The third row consists of six branches with seven "legs.
- The fourth row consists of seven branches with nine legs each.
- The fifth row consists of eight branches with eleven paws each.
- The sixth row consists of nine branches with thirteen "paws.
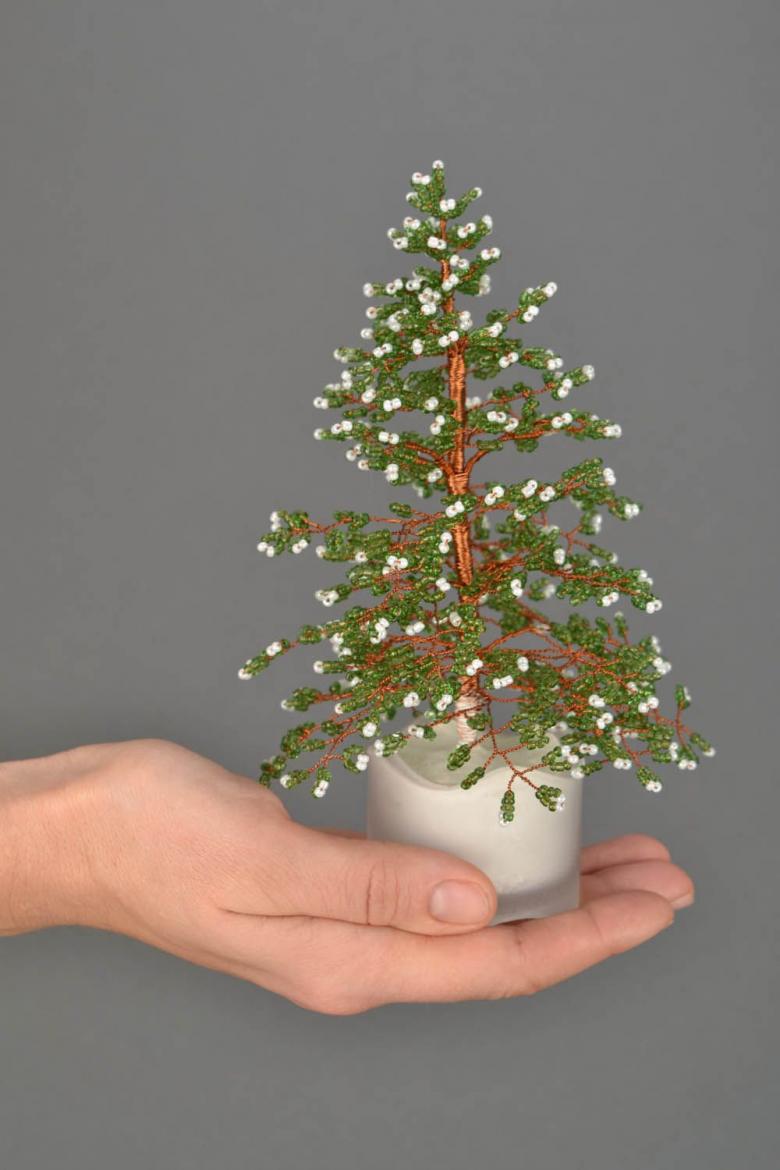
Putting together a Christmas tree
After making all the branches for your Christmas tree assemble the souvenir. The assembly is done as follows:
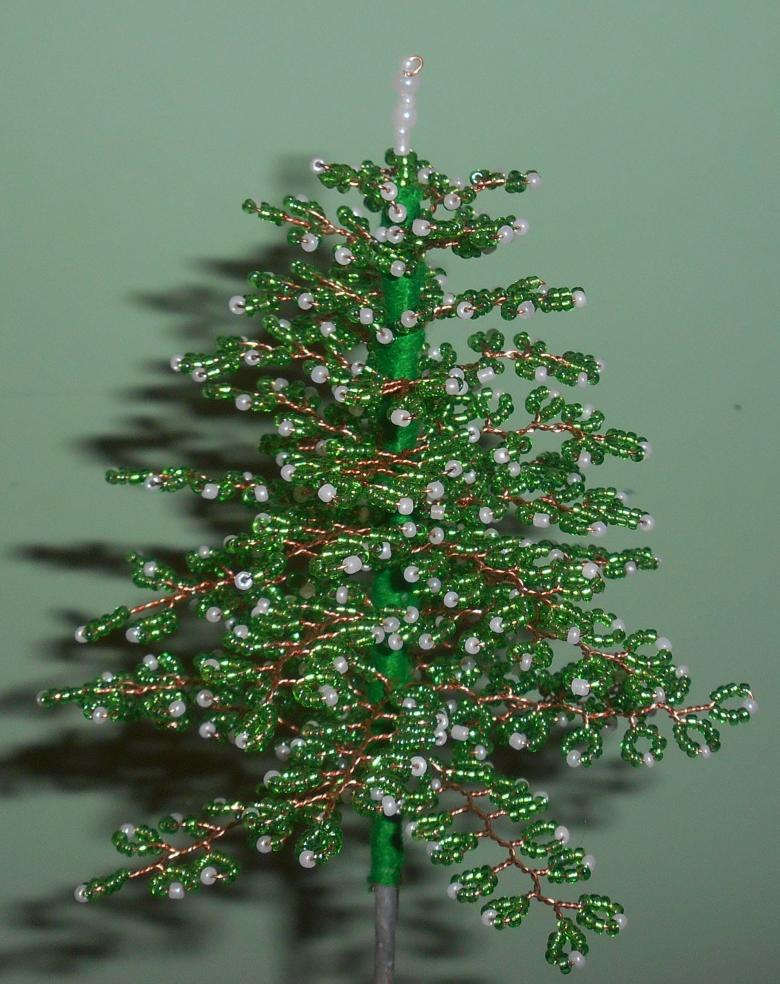
- Around the top, place the branches of the top row (place the branches should be so that the top is located slightly above these branches), and then fix them by twisting the wire of the top and branches between themselves.
- The branches of subsequent rows are fixed in the same way, the distance between the tiers of branches is about 15 mm. The "tails" of the wires from which the branches are made form the trunk of your tree.
- After everything is assembled, bend the bottom of the trunk so that the Christmas tree has gained stability.
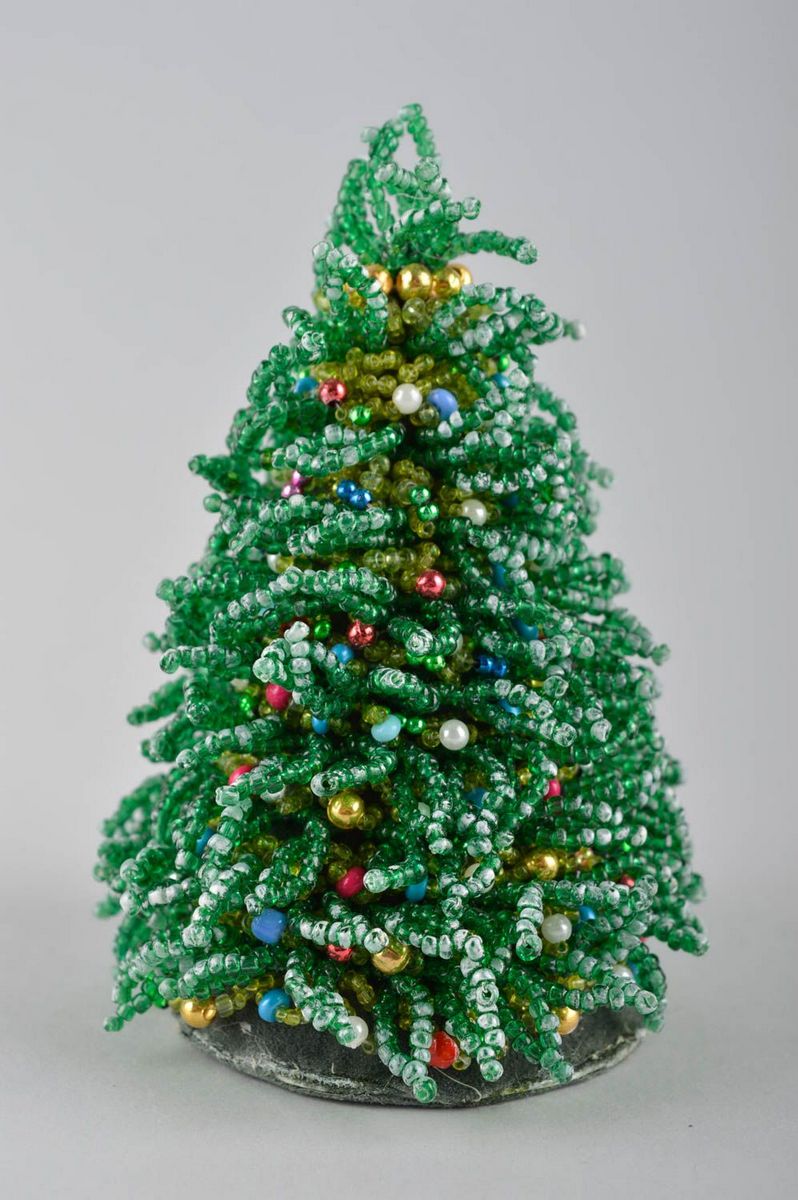
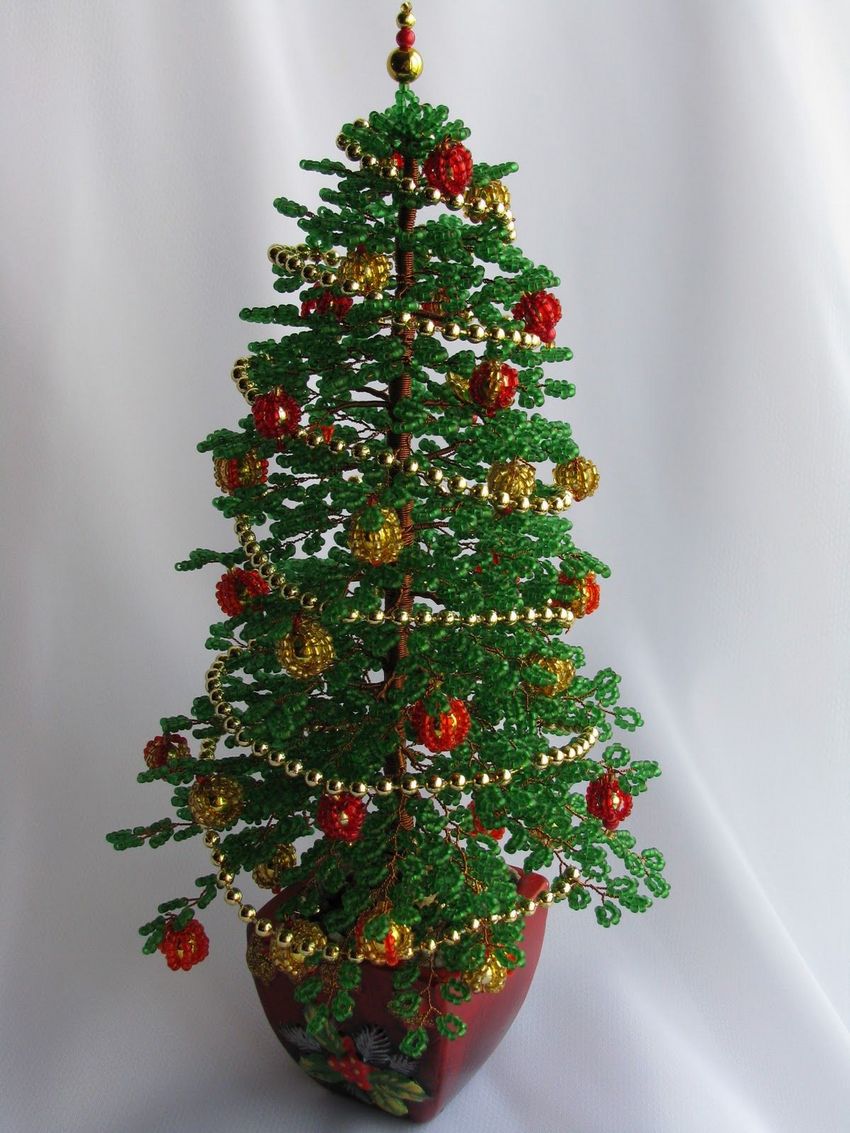
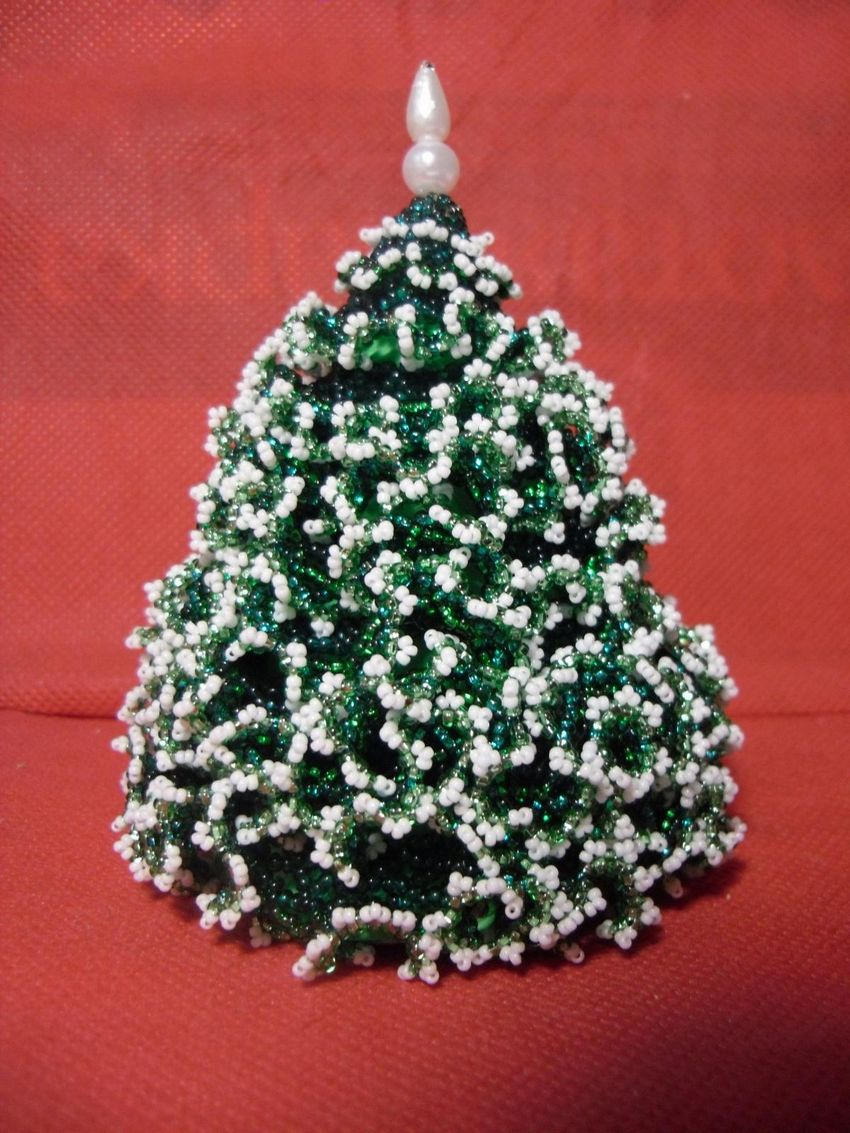
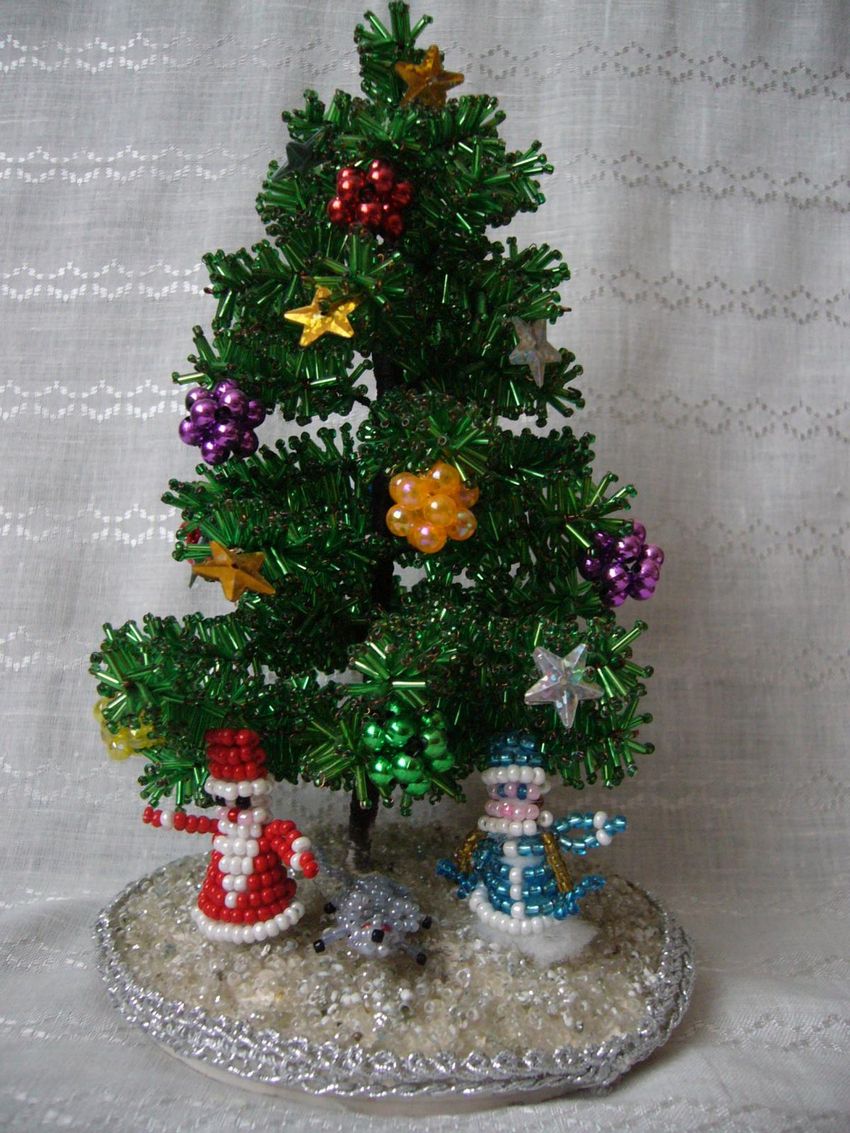
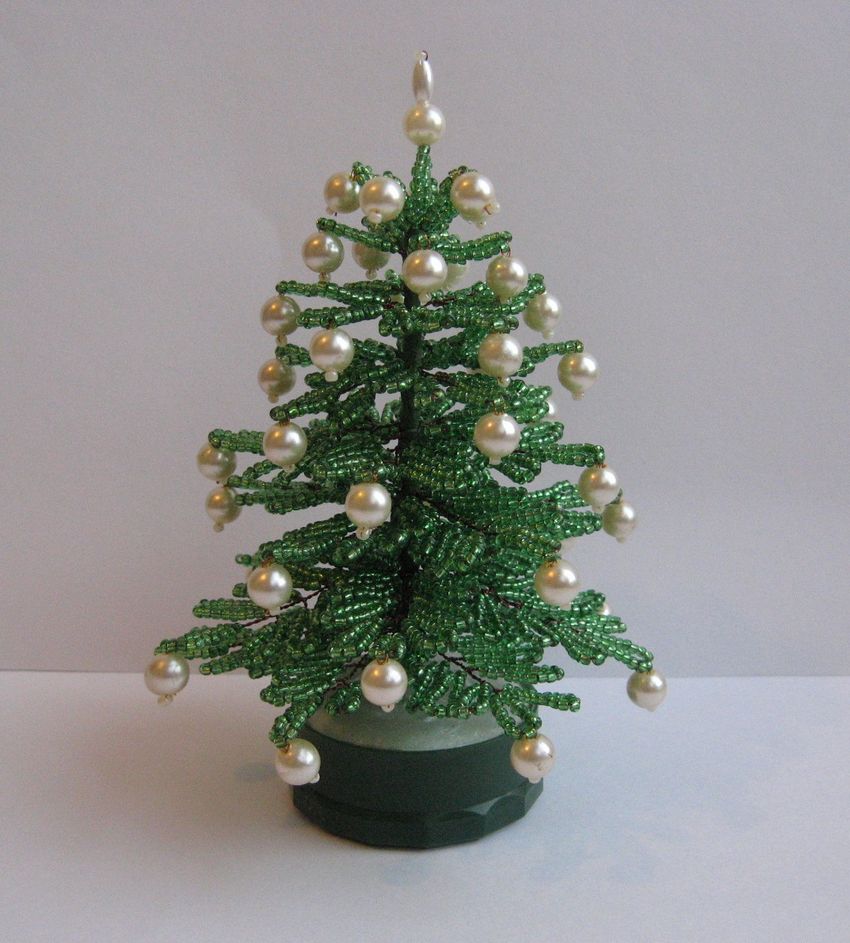
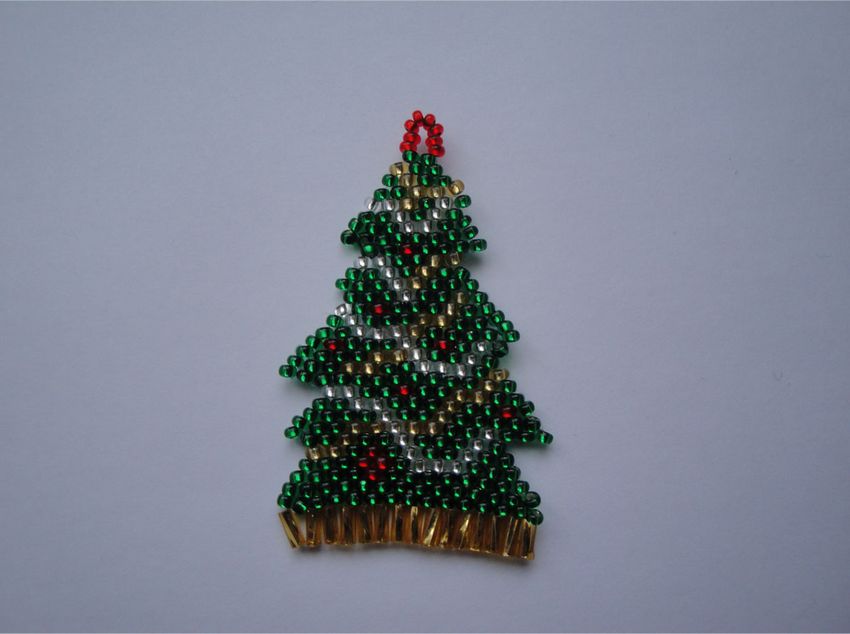
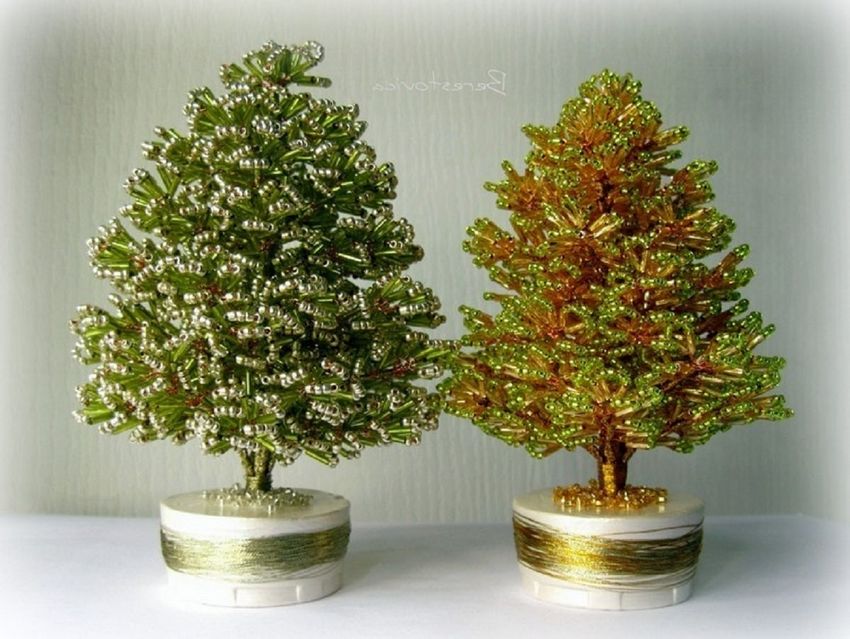
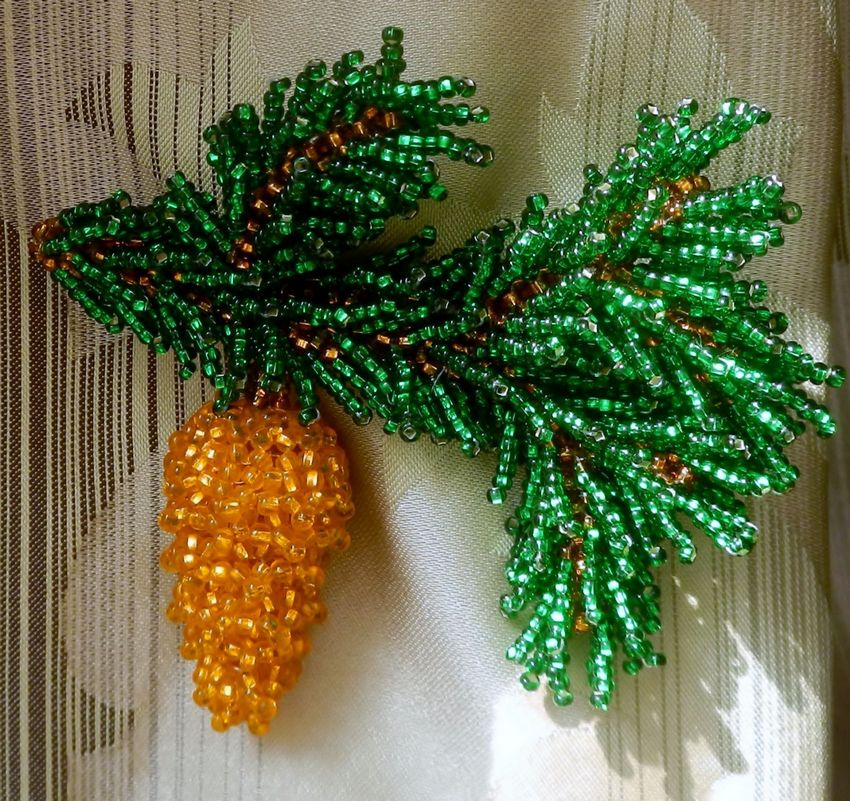
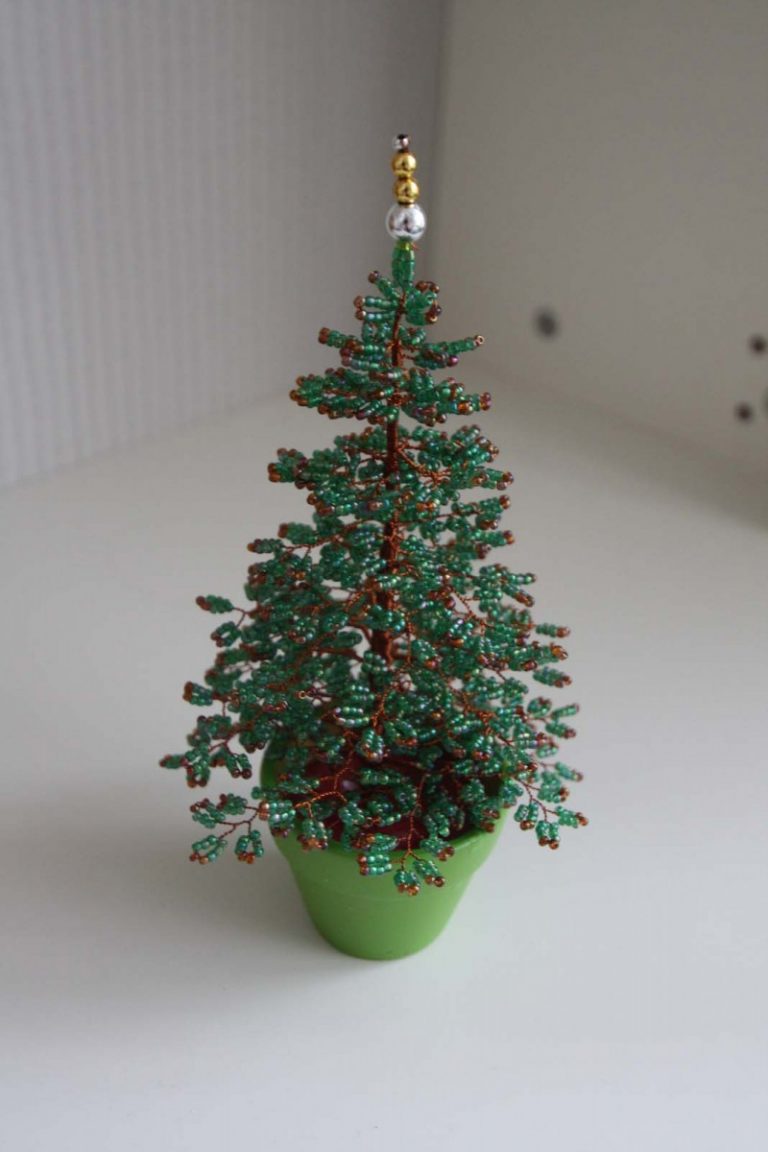
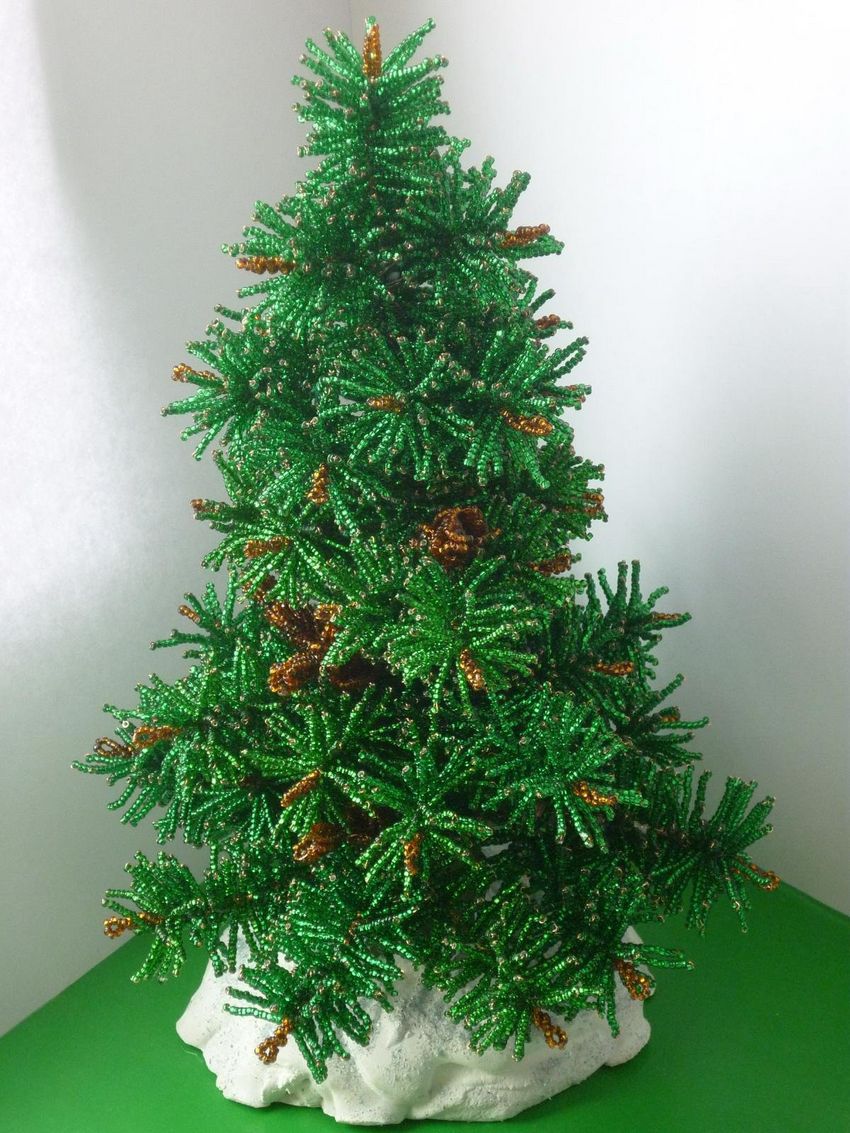
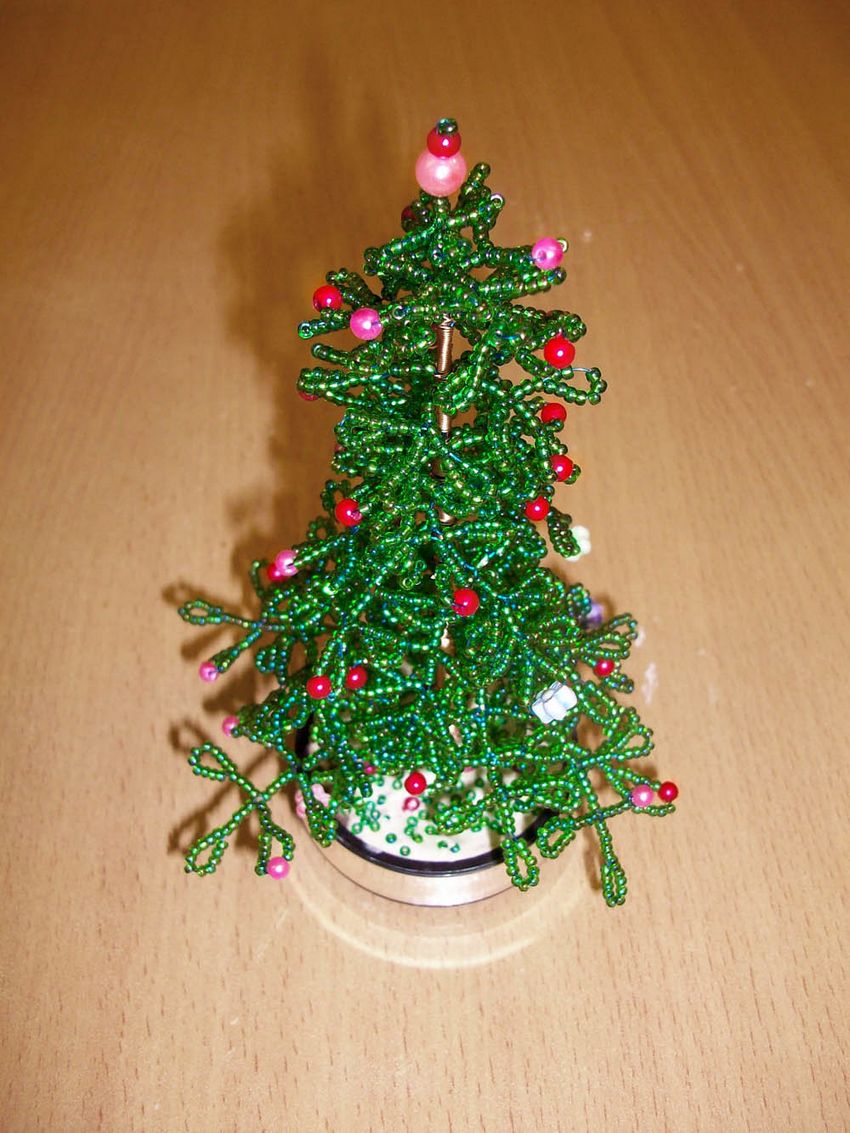
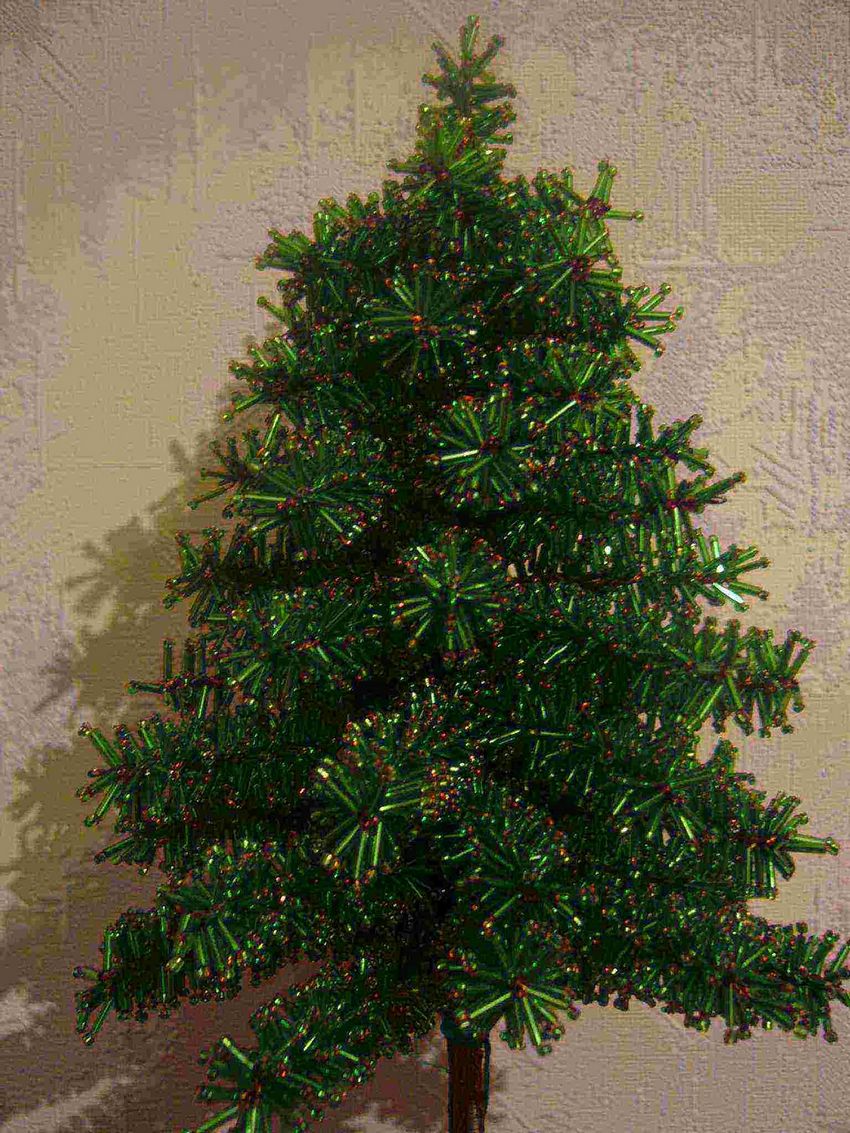
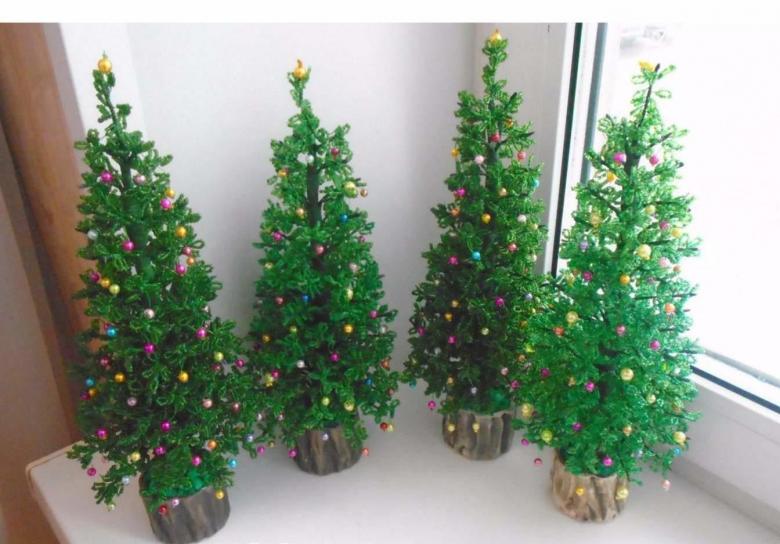
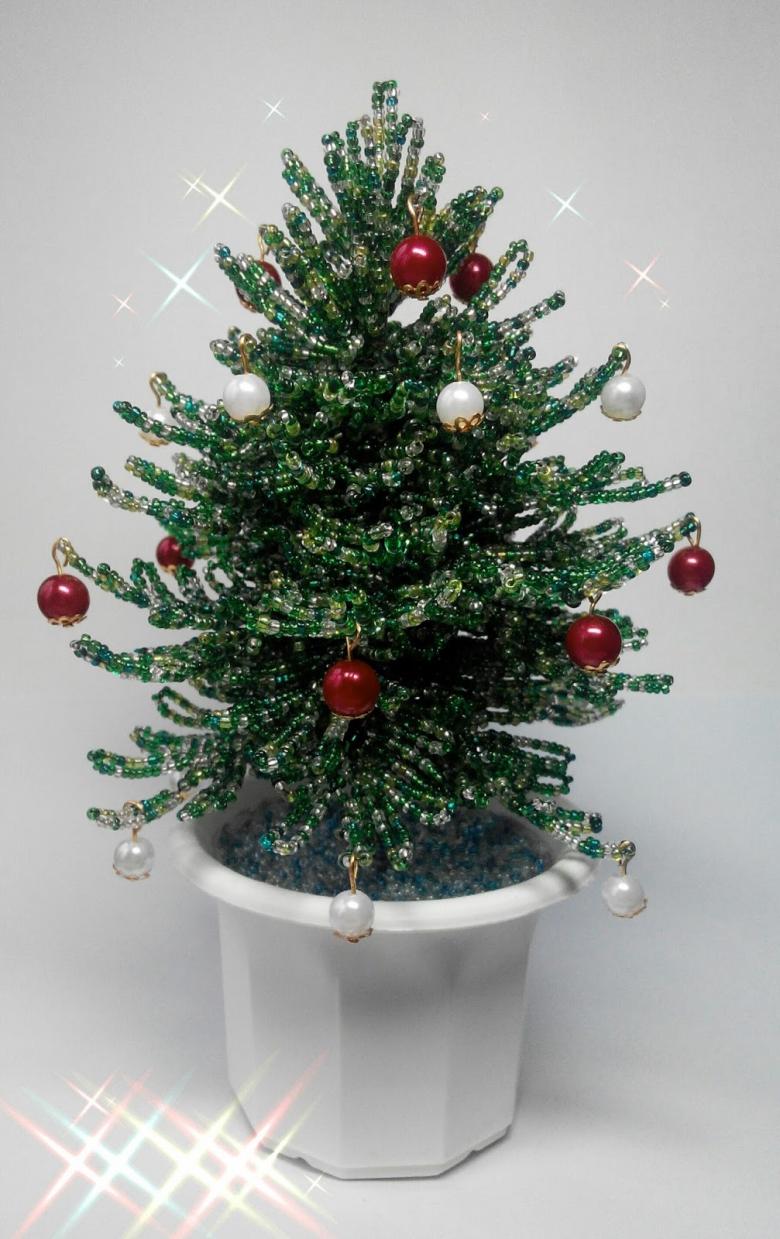
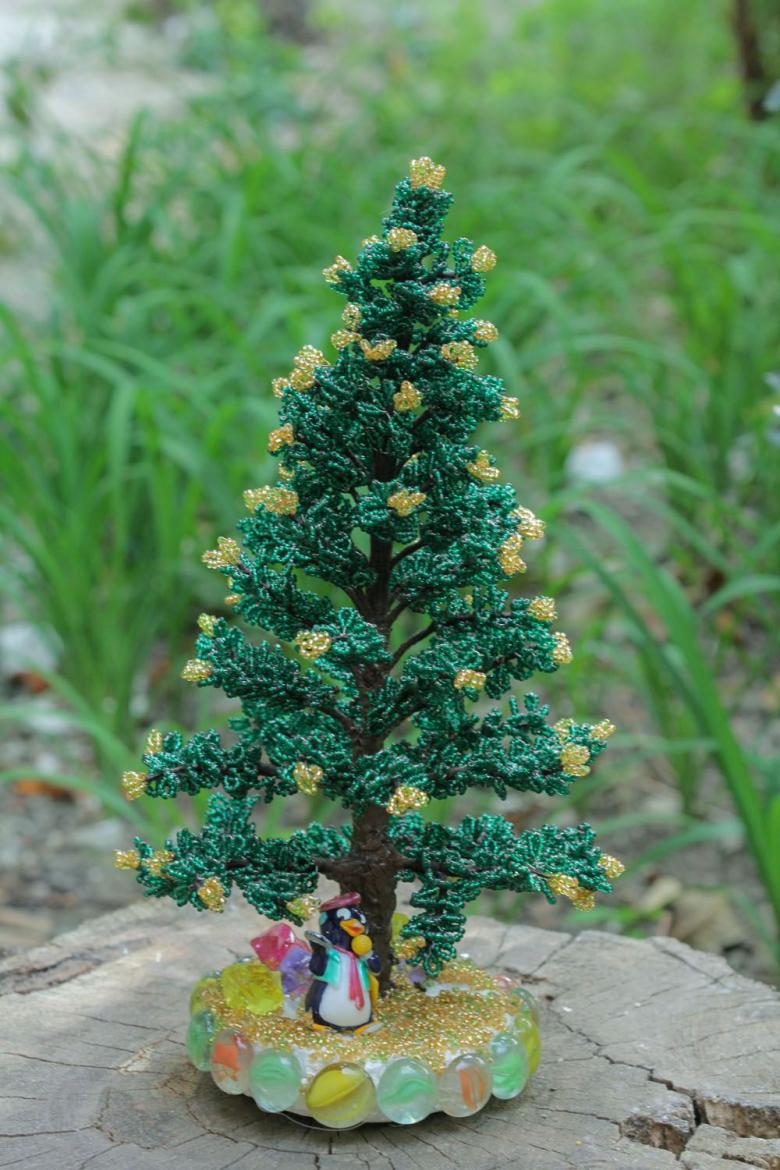
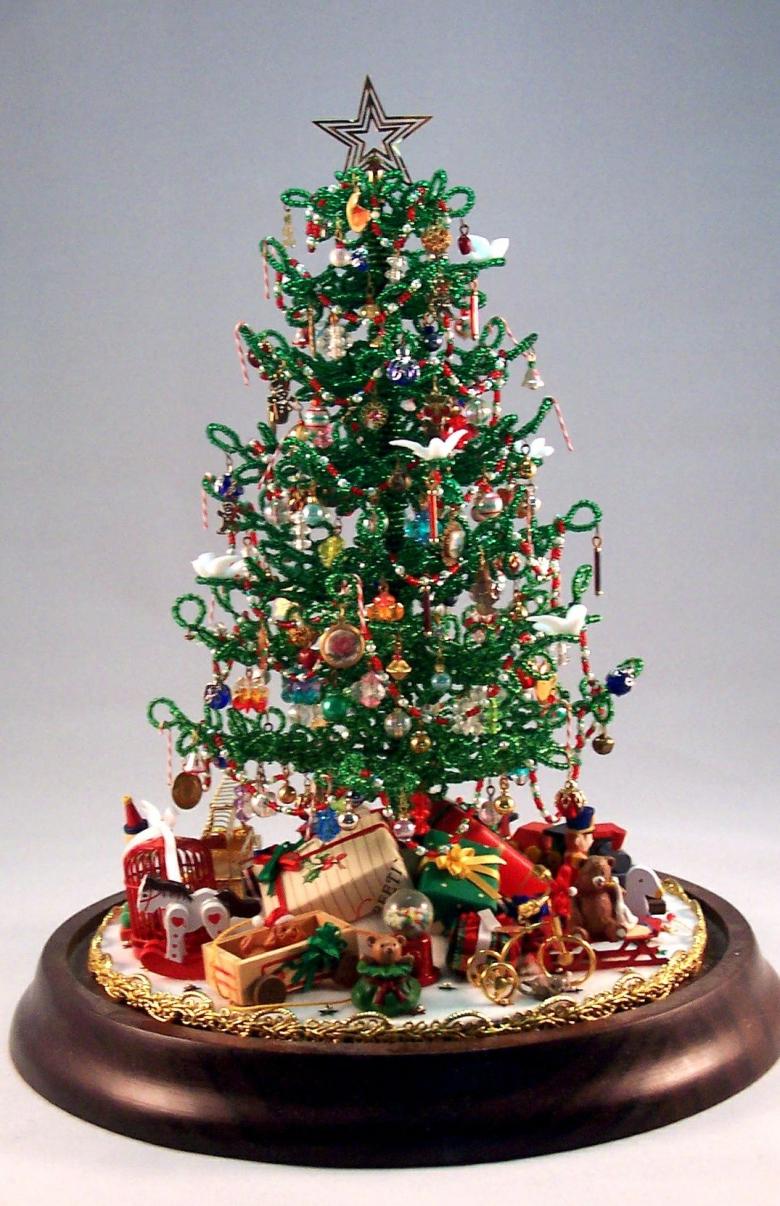
- From the beads can be made and cones on a Christmas tree, as in the photo.

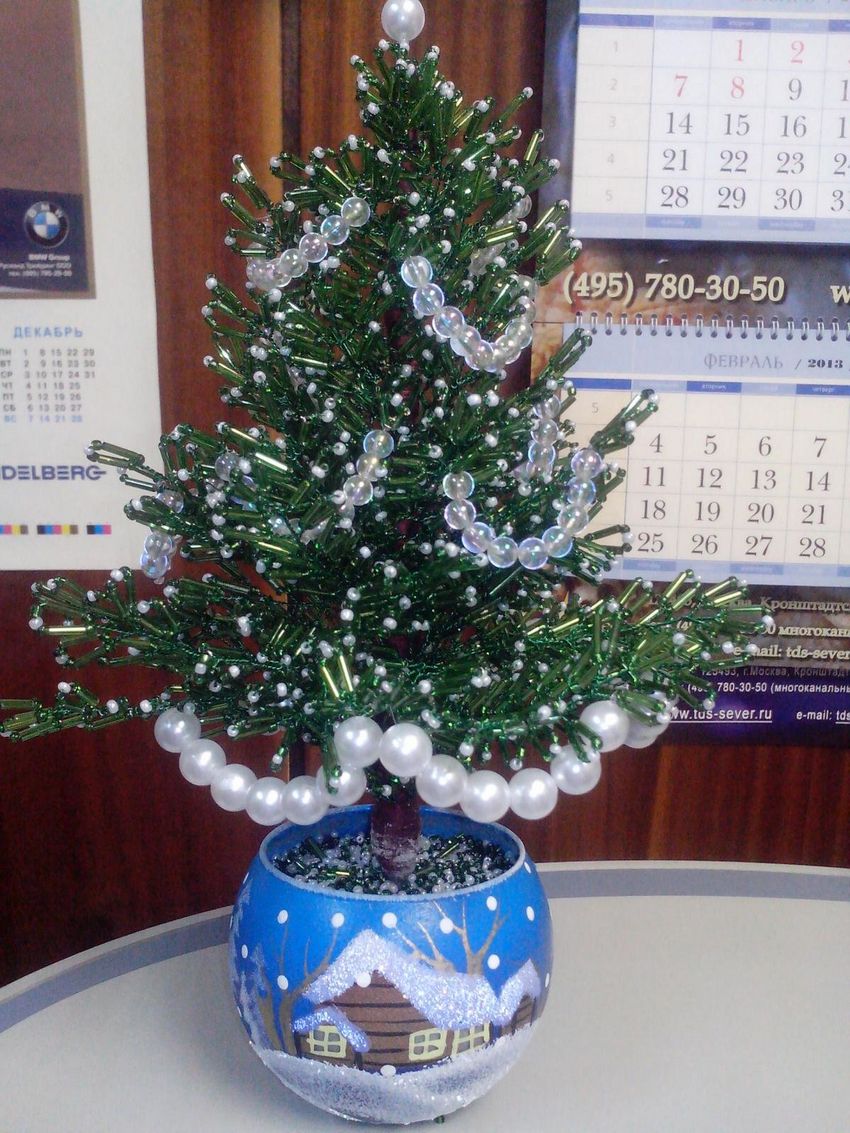
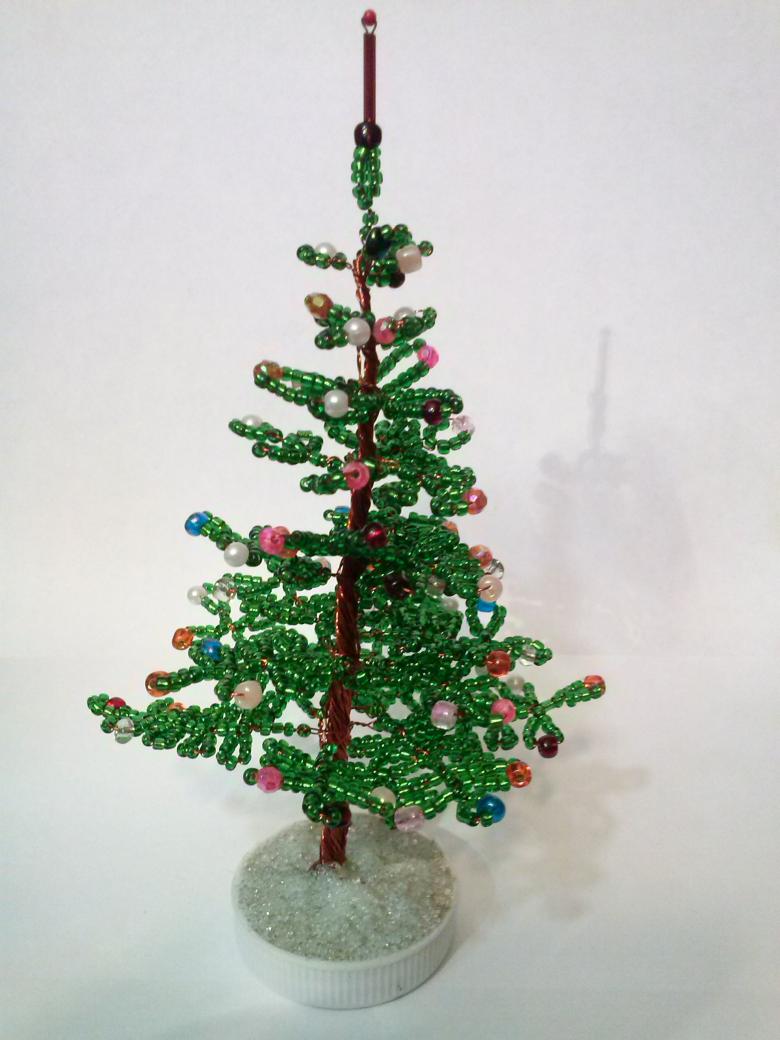
Making a Christmas tree stand
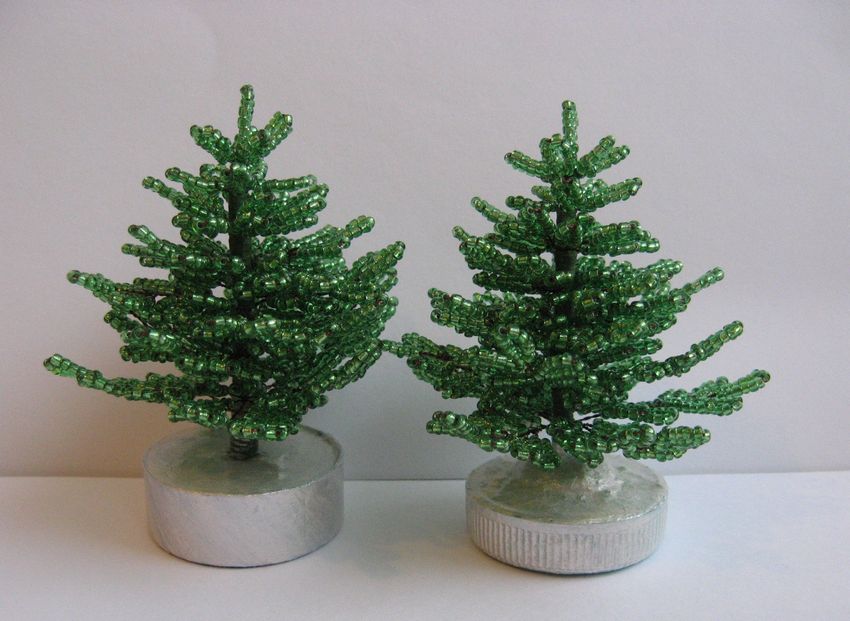
Stand, which will give a little tree stability, you can do as follows: take an empty jar (for example, from the cream) or the lid of such a jar and wrap herringbone in plastic wrap, not to stain it with plaster, put your souvenir in a chosen container. Then fill the container with plaster or a similar material (alabaster or gypsum plaster). Wait for the plaster to harden. Then remove the polyethylene.
The plaster hardens quite quickly (10-20 minutes) once the plaster has hardened, you will not be able to change the position of the Christmas tree.
The Christmas tree is ready.
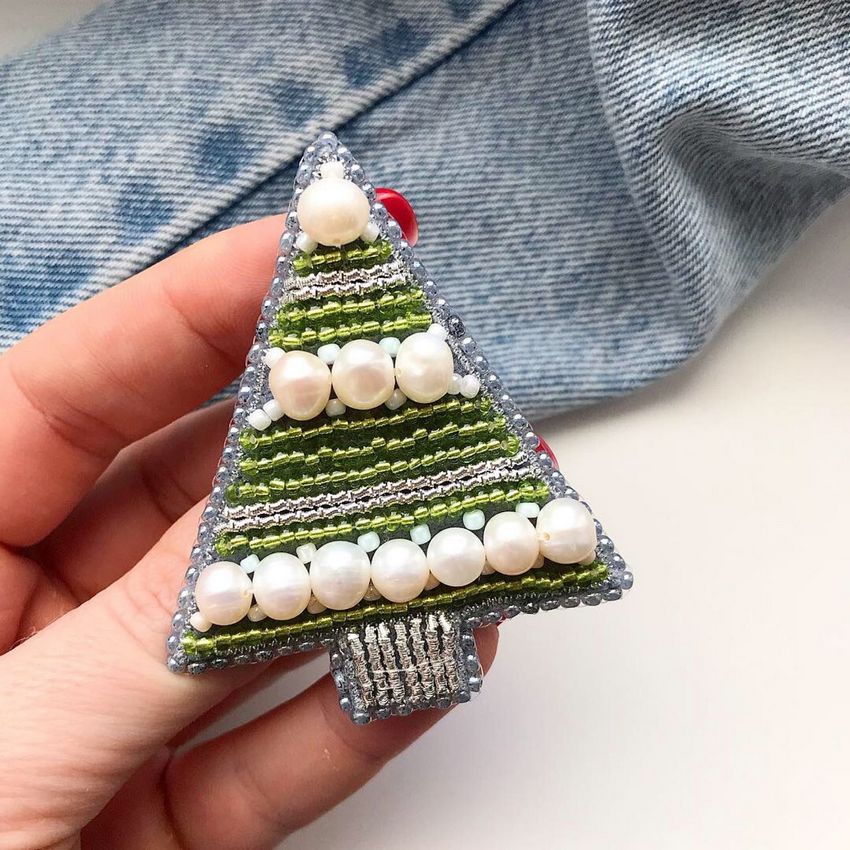
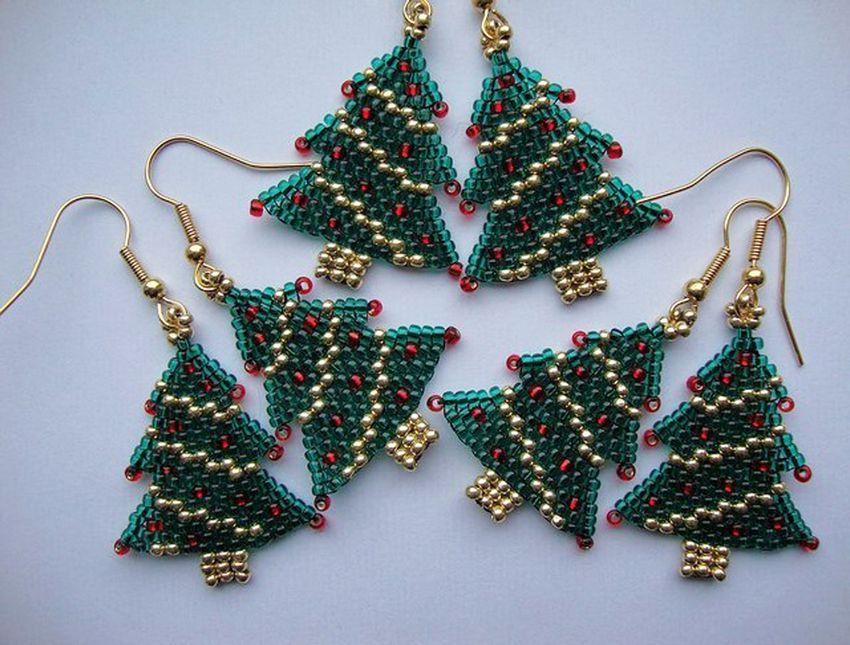
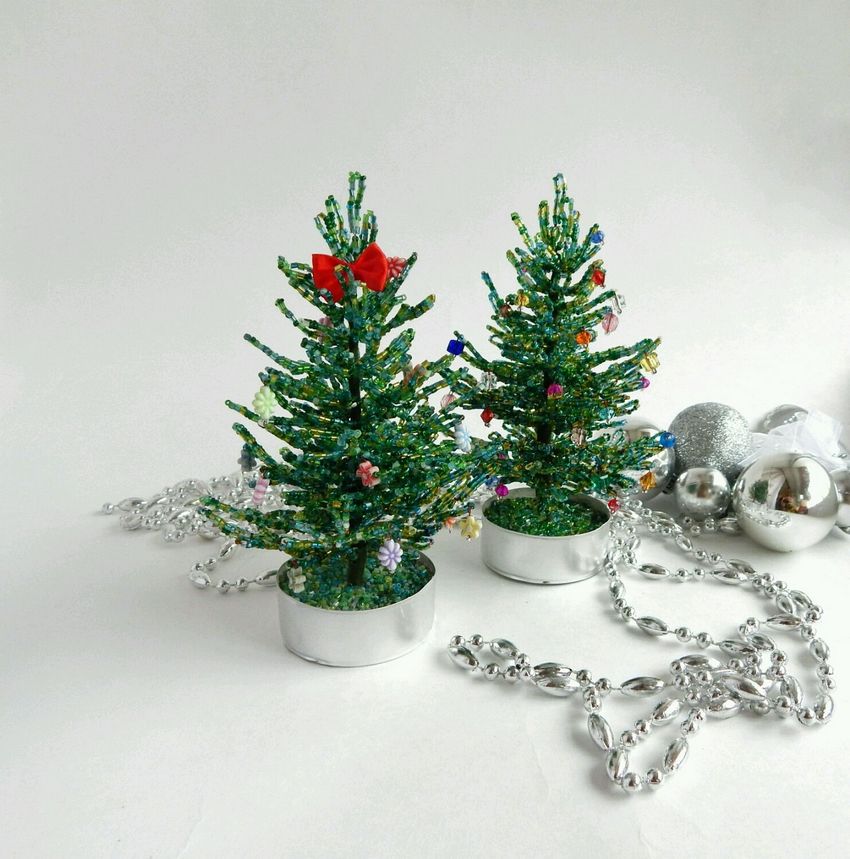
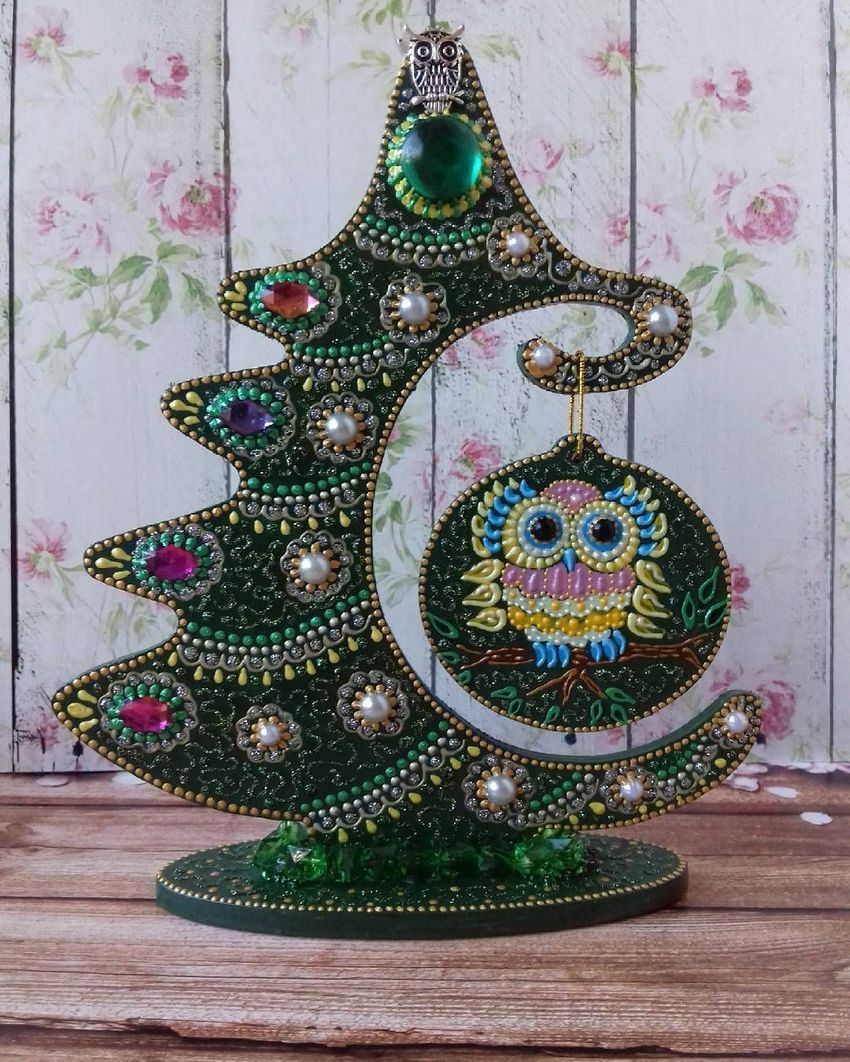
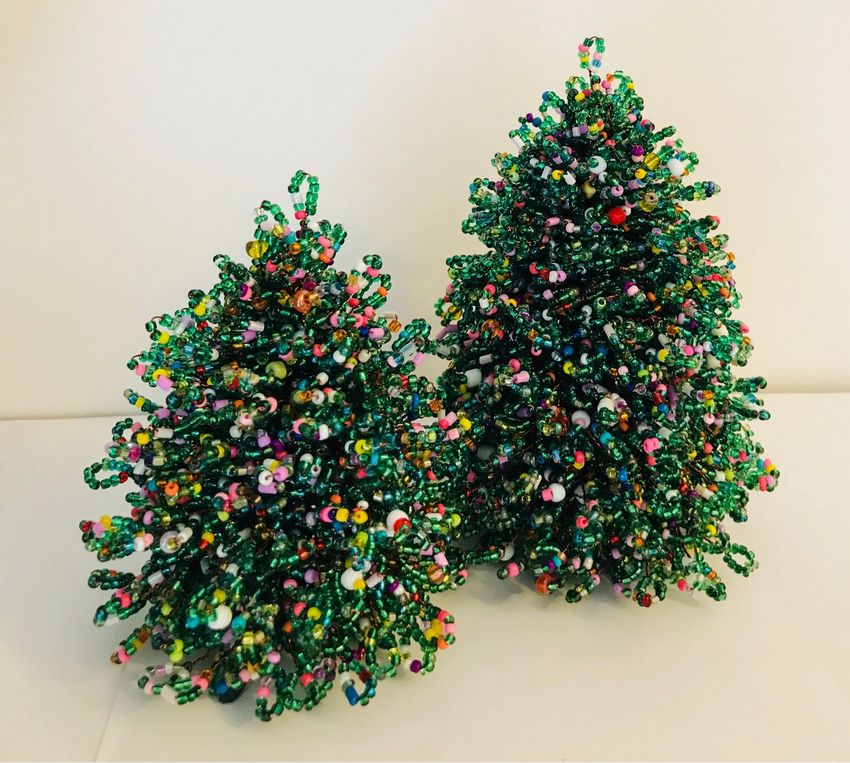
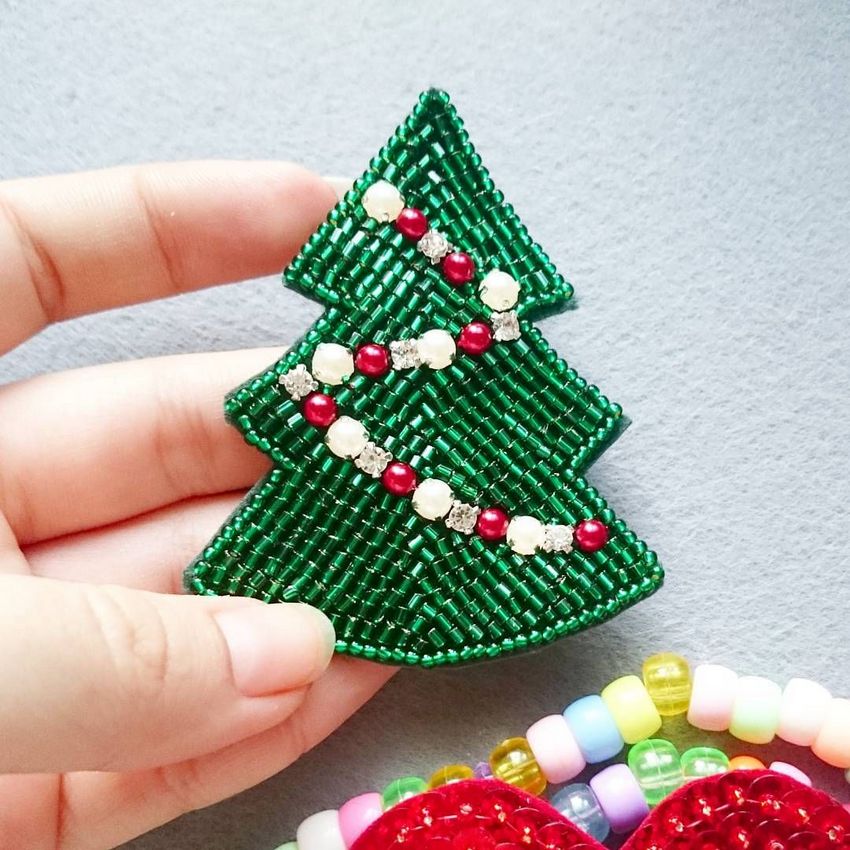
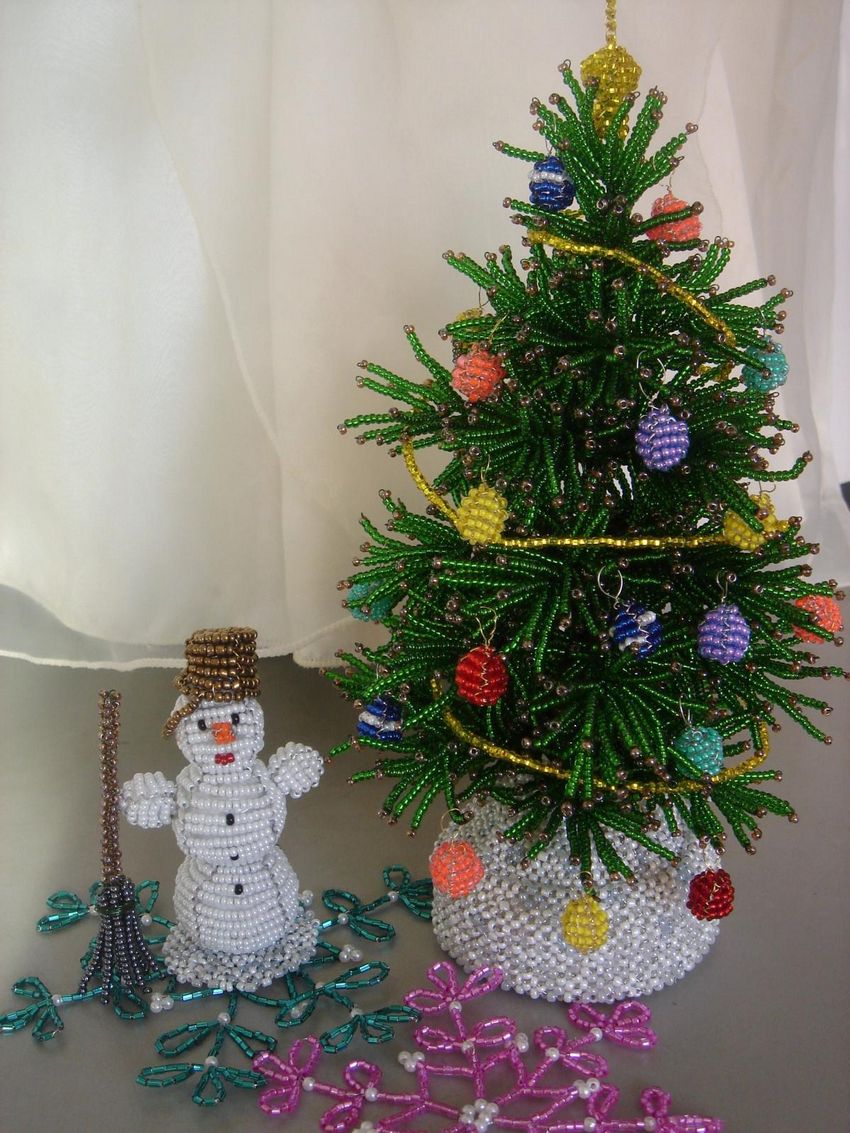
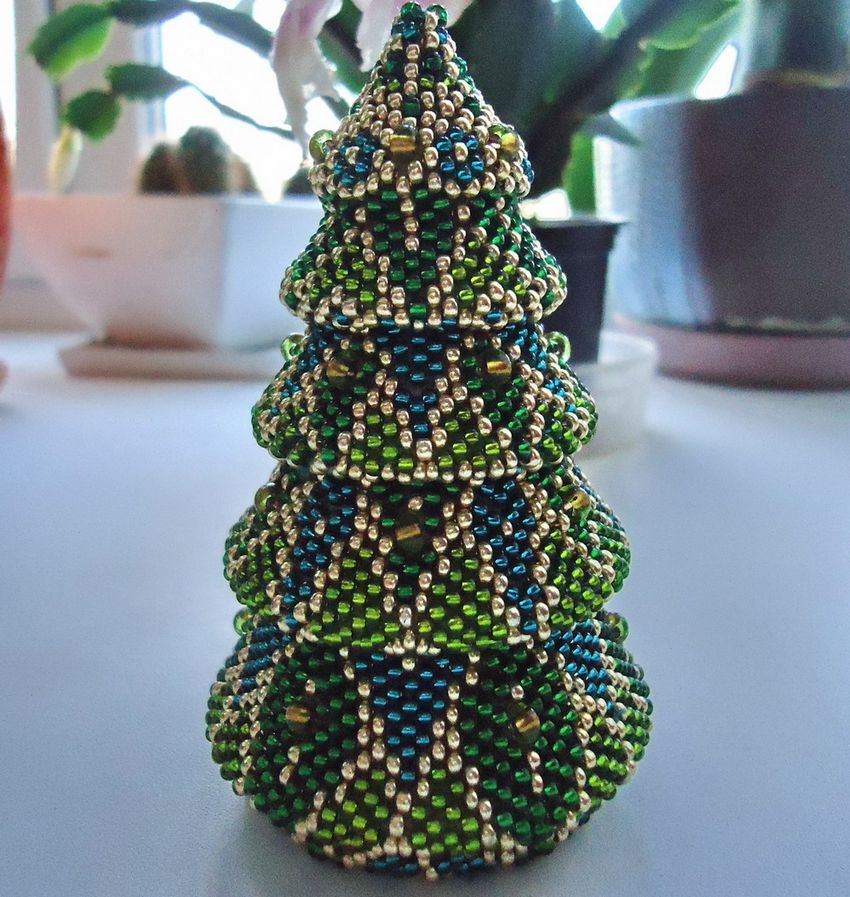
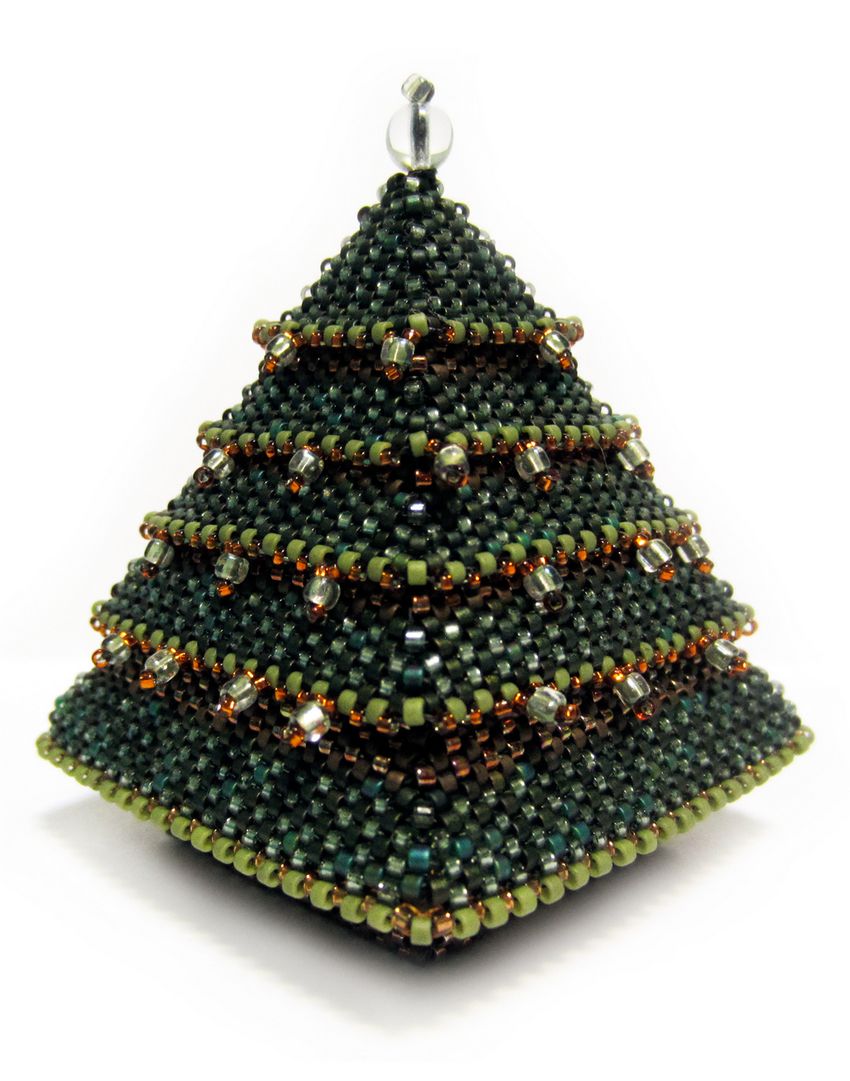
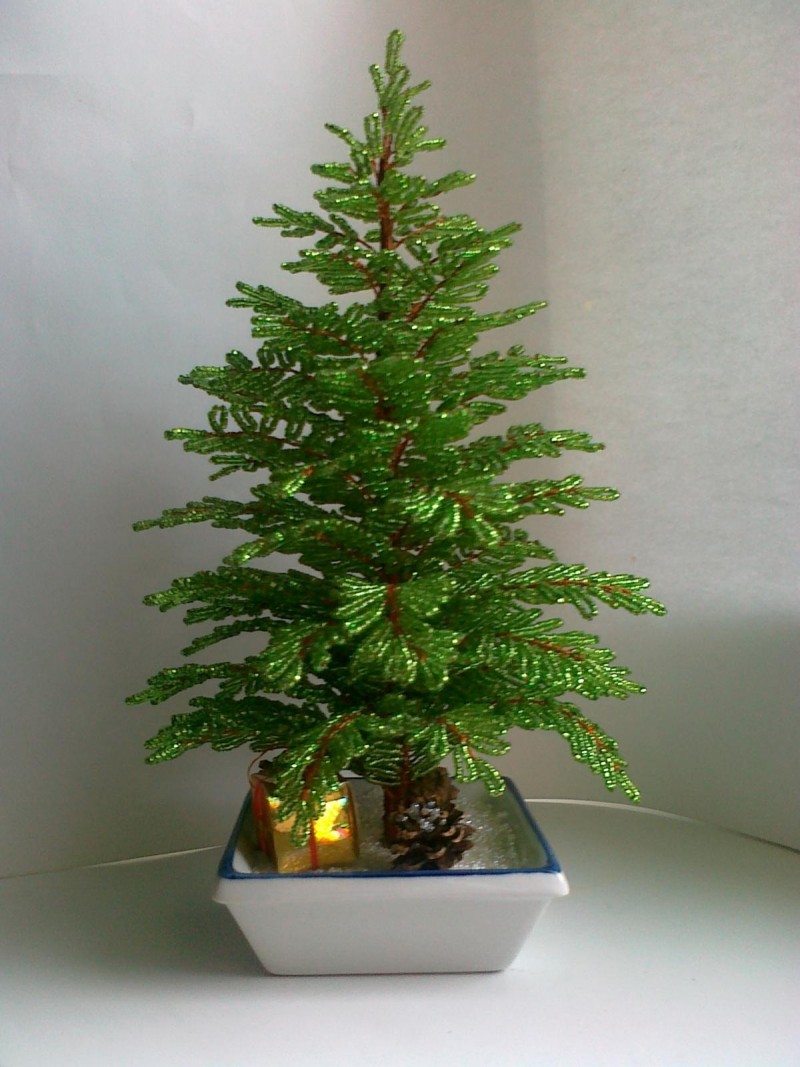
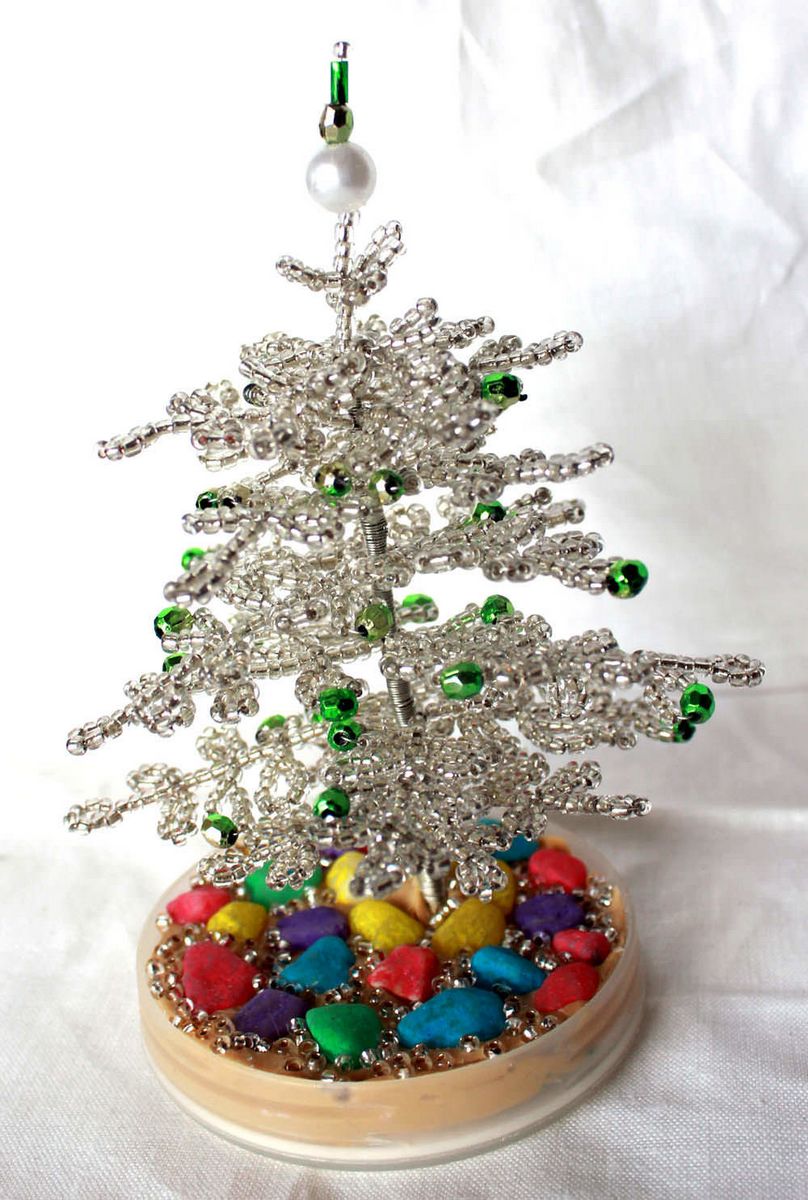
Photo ideas for creating a homemade Christmas tree from beads