How to make a topiary with your own hands - a step by step description of making different kinds of handicrafts
Tree of happiness, or topiary - a symbol of good luck and prosperity, which can often be seen in the home interior. This is an artificial composition, an imitation of a magic tree, which you can make as a gift with your own hands.

Topiary is made from a variety of materials: beads, coffee beans, absorbent cotton and fabric, paper and cardboard. The most relevant such a gift for the New Year, when all together dress up the World Tree - an ancient symbol of abundance. Consider how to make a Christmas topiary with your own hands, as well as other options for decorating such a happy tree.

Materials and tools
Strangely enough, to create a cute topiary does not require expensive source materials. The resources that will be useful in most cases:
- stapler;
- scissors;
- A stick of wood for the trunk;
- A pot in which the "plant" will be placed;
- napkins, scraps, threads, wool, bills, colored magazines - for the crown and leaves;
- wire - copper or other, flexible;
- glue gun;
- beads, buttons, sequins - any decoration, even coins.

For creativity you can use the simplest materials at hand, make do with colored paper, even napkins or threads.
The basis for the topiary
Regardless of the method of manufacture, you will need a common basis - a blank tree. A wire or wooden trunk is made, on top of which a ball-shaped base for the crown is placed.

As a base, you can make a stuffed fabric ball or assemble it from papier-mâché. Styrofoam billet or a plastic ball on which the flowers will be pinned or glued will come in handy.

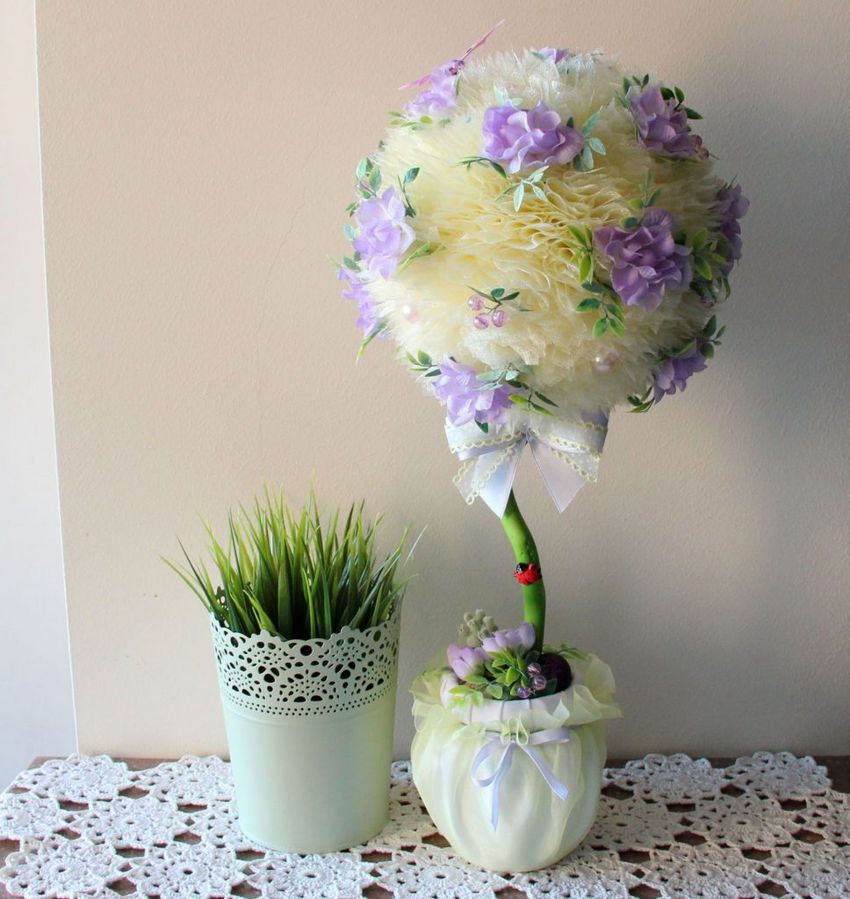
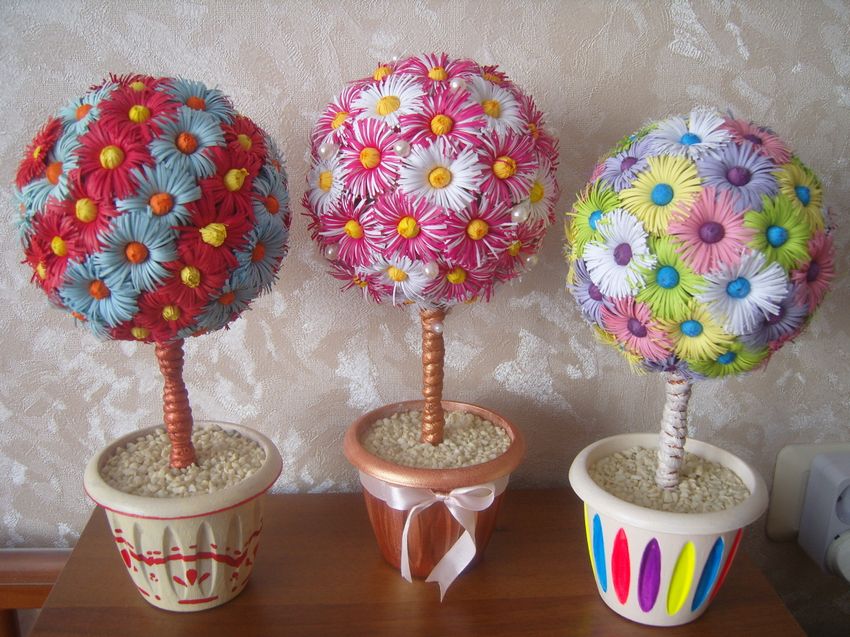
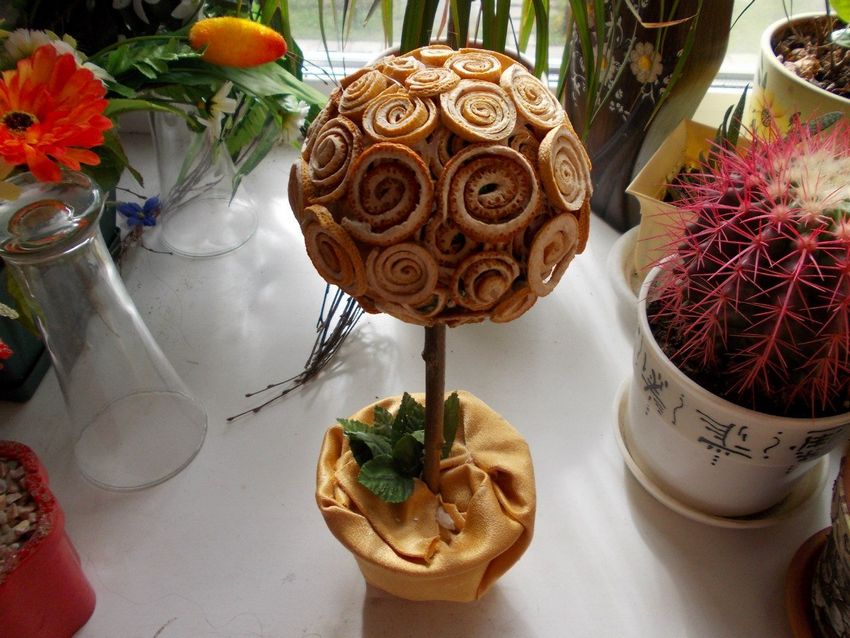
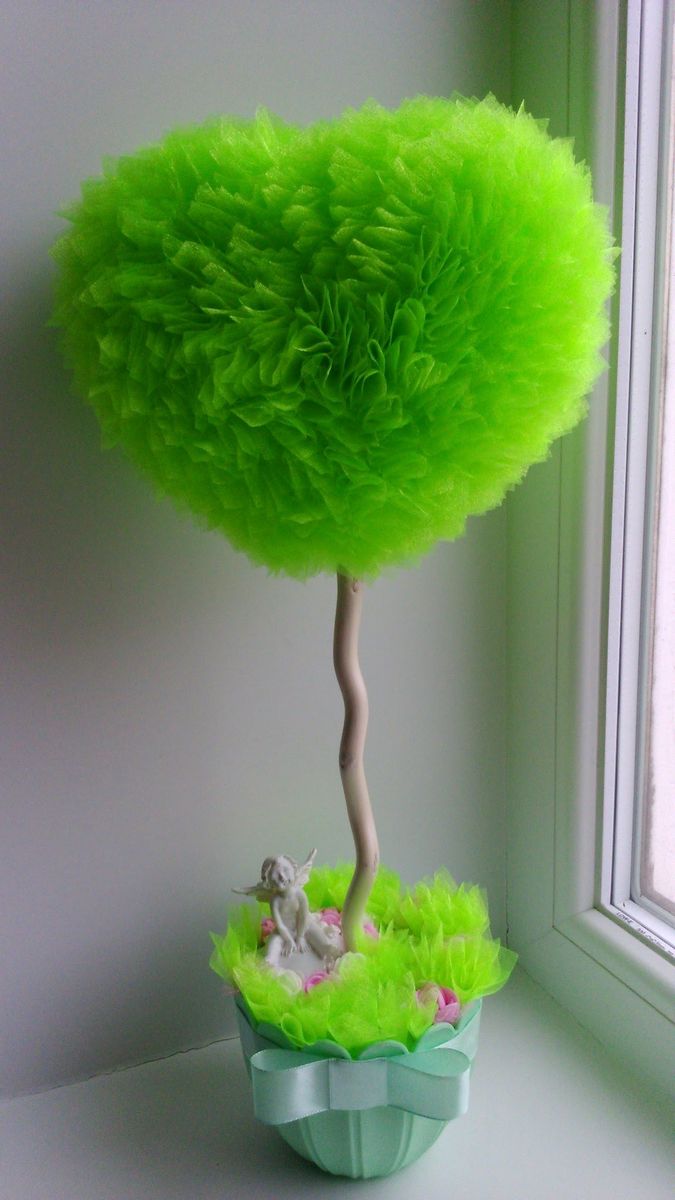
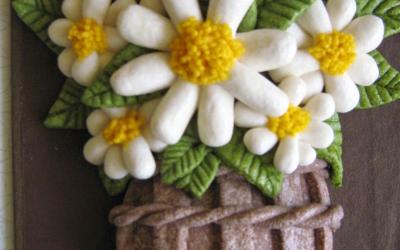
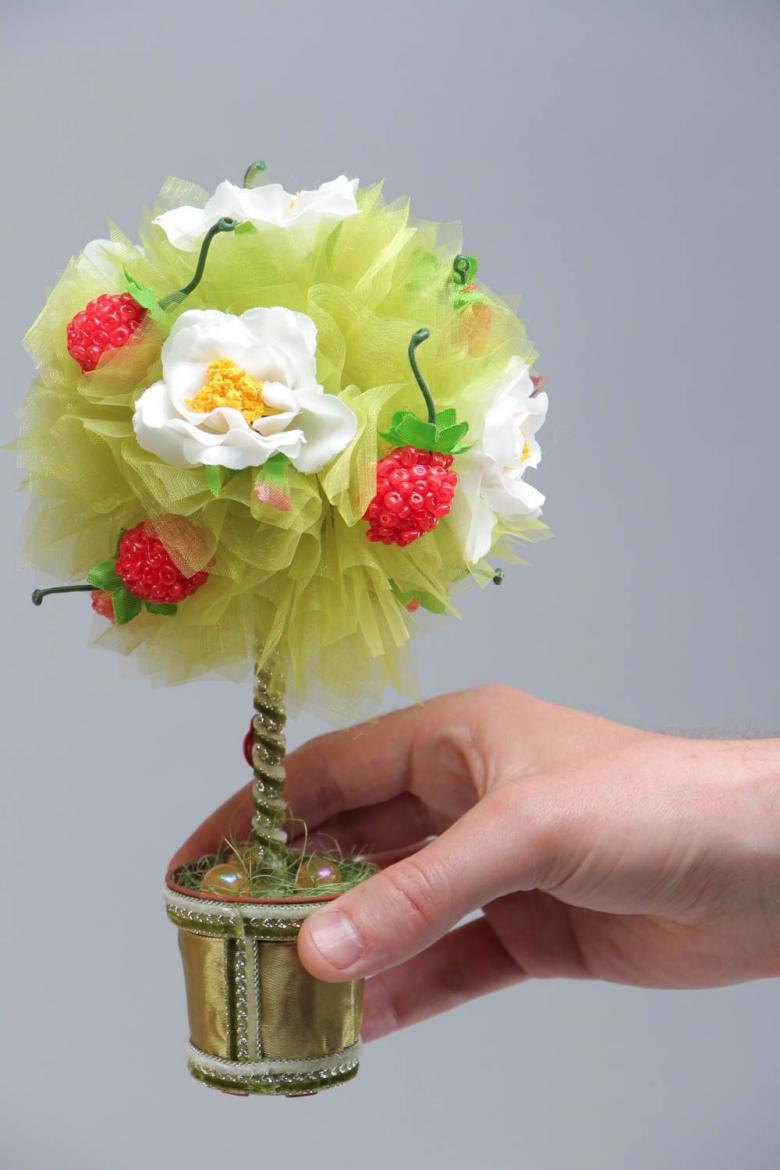
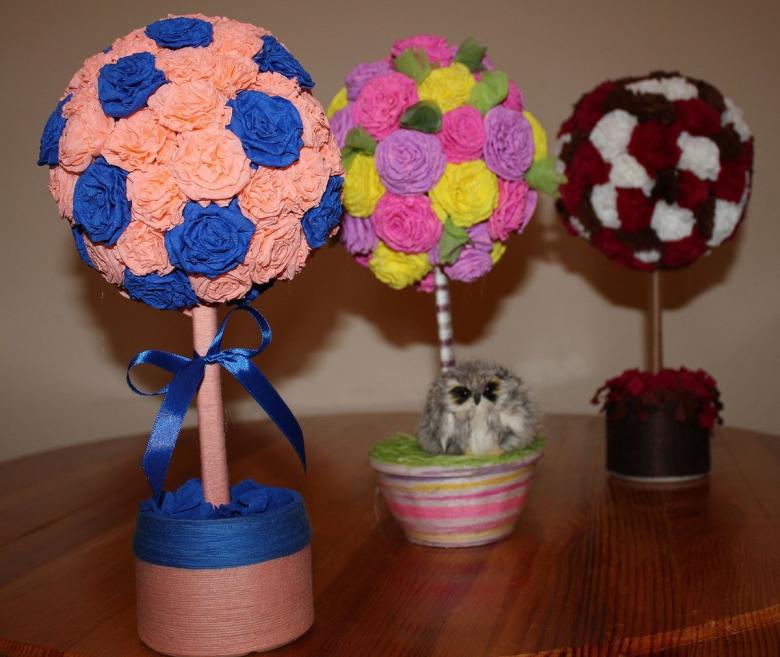
Tree from napkins
To perform an affordable and cute version of the happy tree, it is enough to take colored napkins.
- Create a base for the tree - a ball or something volumetric, to fix the flowers and leaves.
- Napkins should be folded in squares, pierced in the center with a stapler.
- Then cut a circle out of each - it will have many layers.
- The circles need to crumple for voluminous flowers. Require such a number of flowers, so they covered the surface of the basis.
- Pistol glue the flowers, insert leaves from greenish tissues in between.
- At the end add a place of beads for decoration. You can use rhinestones to depict dewdrops or rain, bright beads to represent berries or fruits.
- Depending on your taste and the color of the available napkins, you can create a bright, unusual image, even an entire garden of miniature trees.

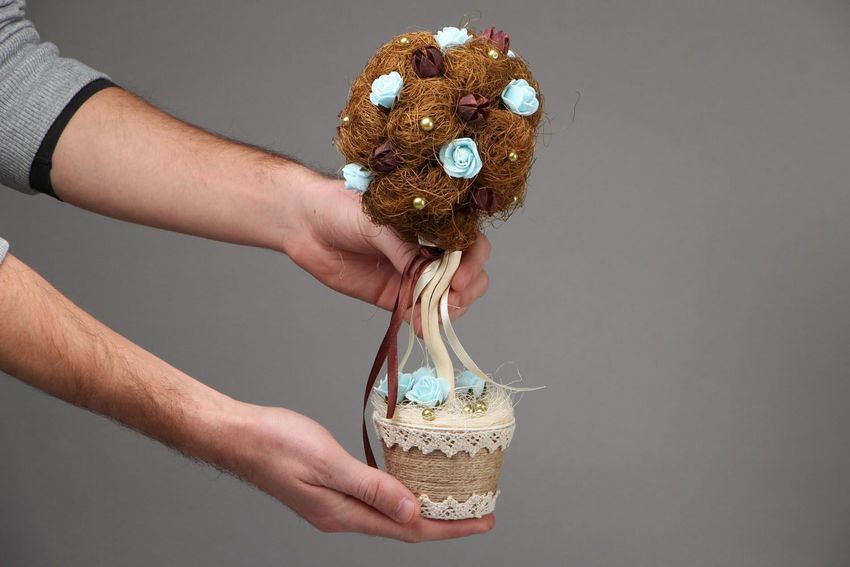
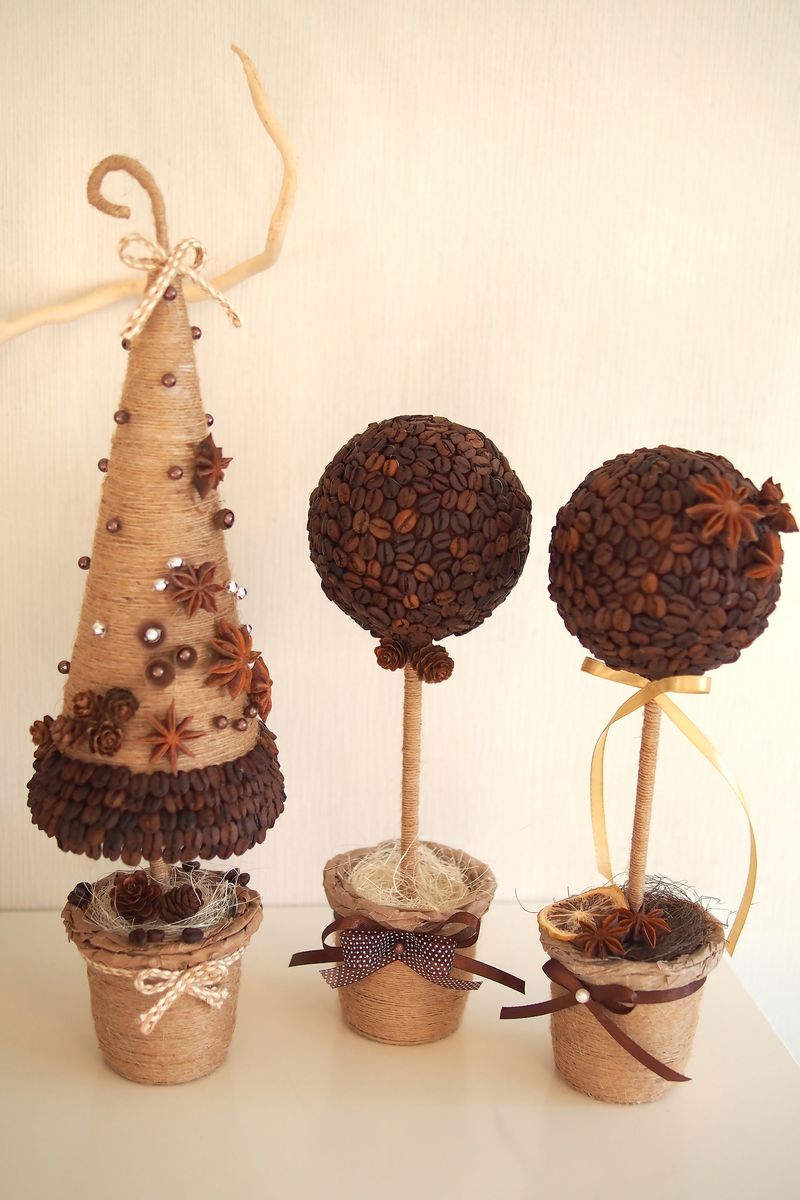
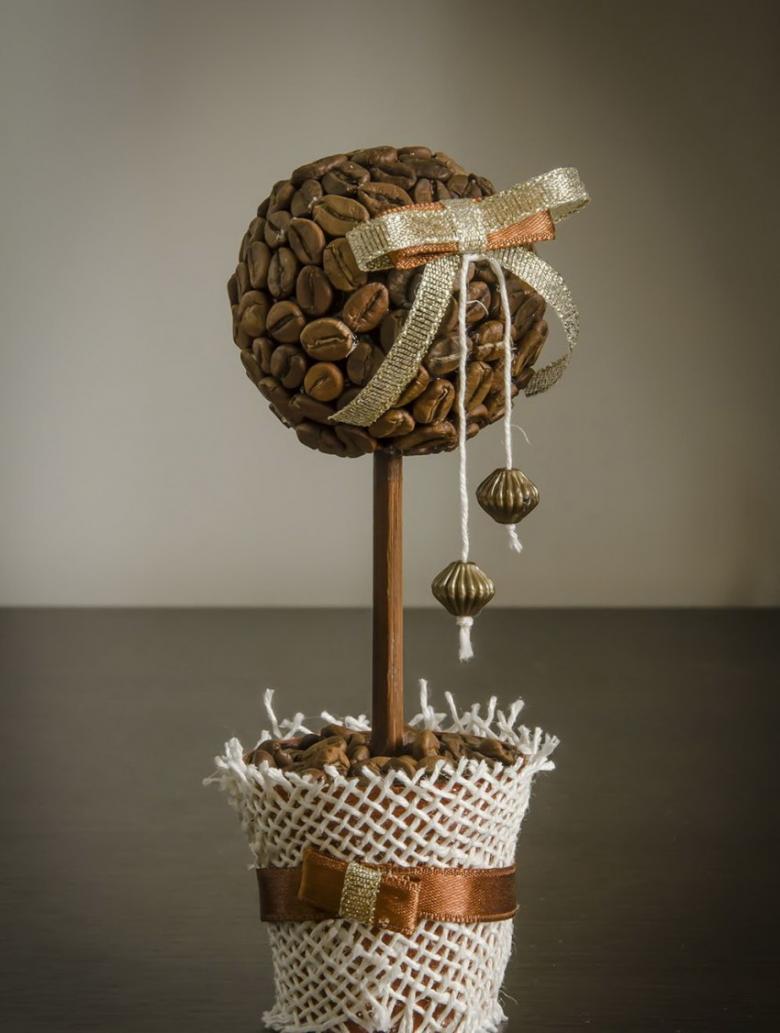
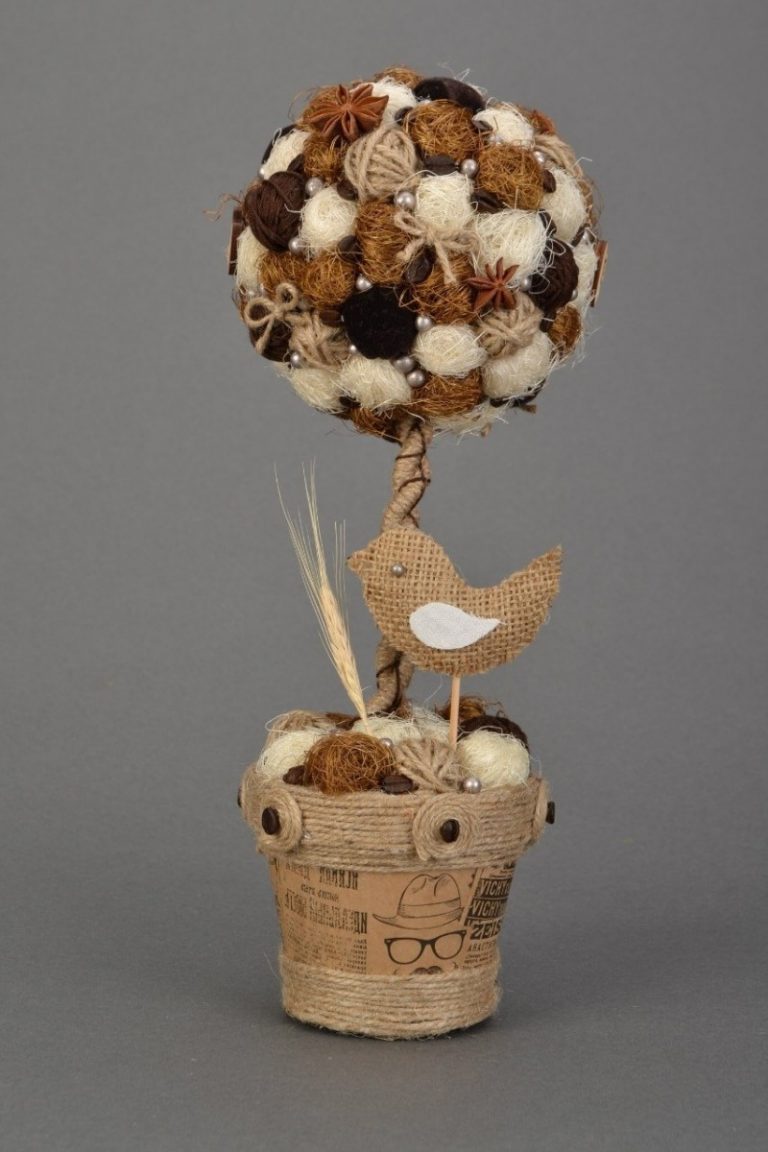
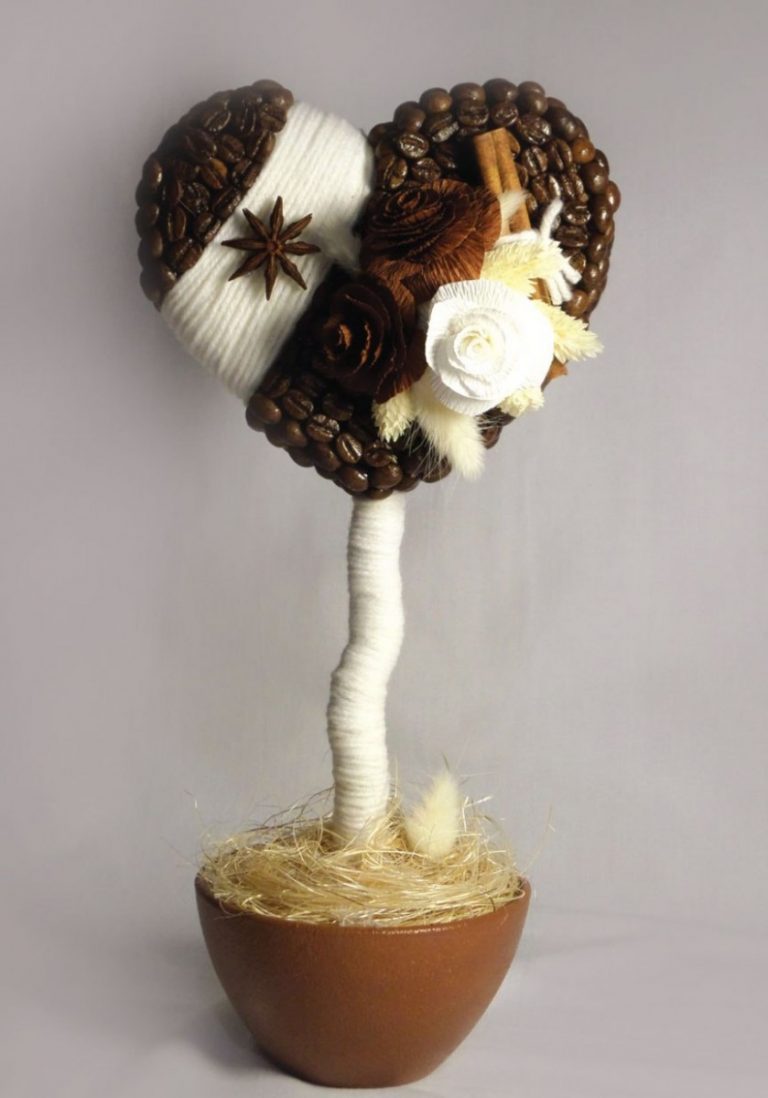
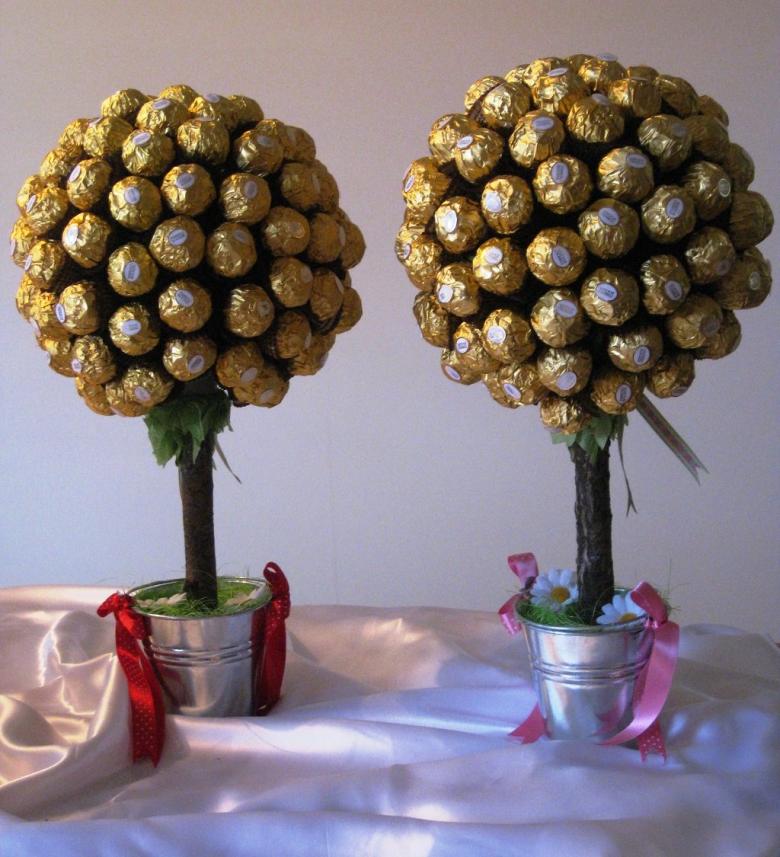
Topiary of coffee
Many people wonder how to make a topiary from coffee. Such a tree from coffee beans looks very elegant in a business interior or coffee shop. And it is also excellent scenting the room and refreshing, getting rid of unpleasant odors. Therefore, this decoration is nice to give as a housewarming gift.

For the work will be required:
- coffee beans (roasted);
- glue and a gun;
- tube of plastic up to 25 cm long, with a diameter of about 1-1.5 cm;
- a decorative cachet;
- scissors;
- scotch tape (double-sided is better);
- a ball of any type for the crown;
- a plate for dissolving the mass;
- alabaster powder;
- kapron ribbons for decoration.
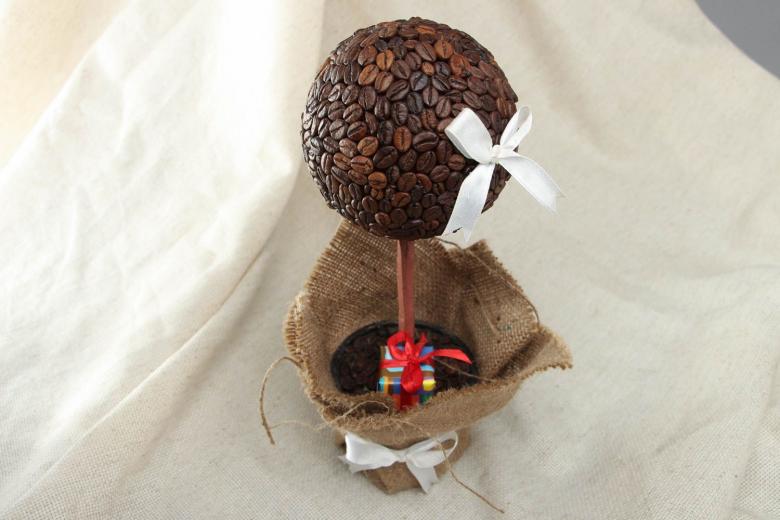
Step by step making:
- On the ball-shaped base glue the grains, it is better to convex side to the top, it is more beautiful.
- Then glue the second layer, now the grains should be placed with the stripe upwards.
- Wrap the stem-tube with double-sided tape, leaving 3 cm free from the edges.
- Wrap the tape around the tape.
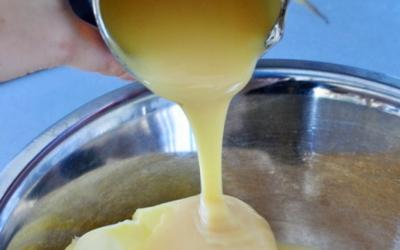
- Pour water into the pot, leaving 3 cm to the edge.
- Then pour the water into a container, where alabaster mixture will be diluted, pour the powder and stir.
- Pour everything again into a cachet, insert a tube and wait for it to dry.
- Dried composition the same way to cover the grains twice.
- Smear the top of the trunk with glue and fix the ball, align it.
- Decorate the tree with a bow of decorative tape.
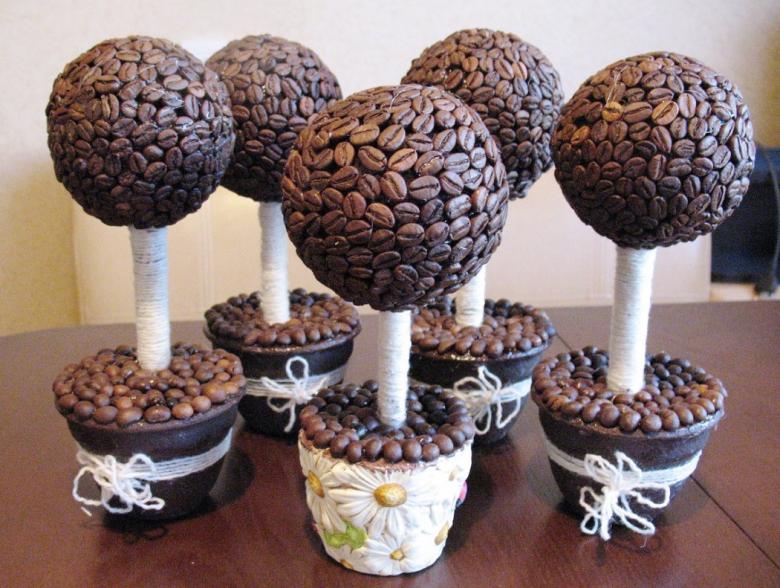
You can combine the grains with coins. The difference in textures looks very advantageous. For coffee, the best friend is cinnamon, as fragrant and brown. It is also possible to take small artificial flowers.
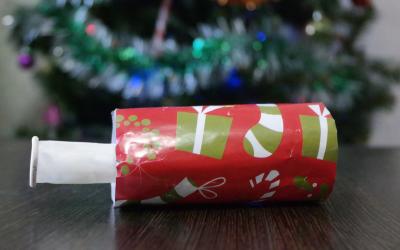
New Year's Tree
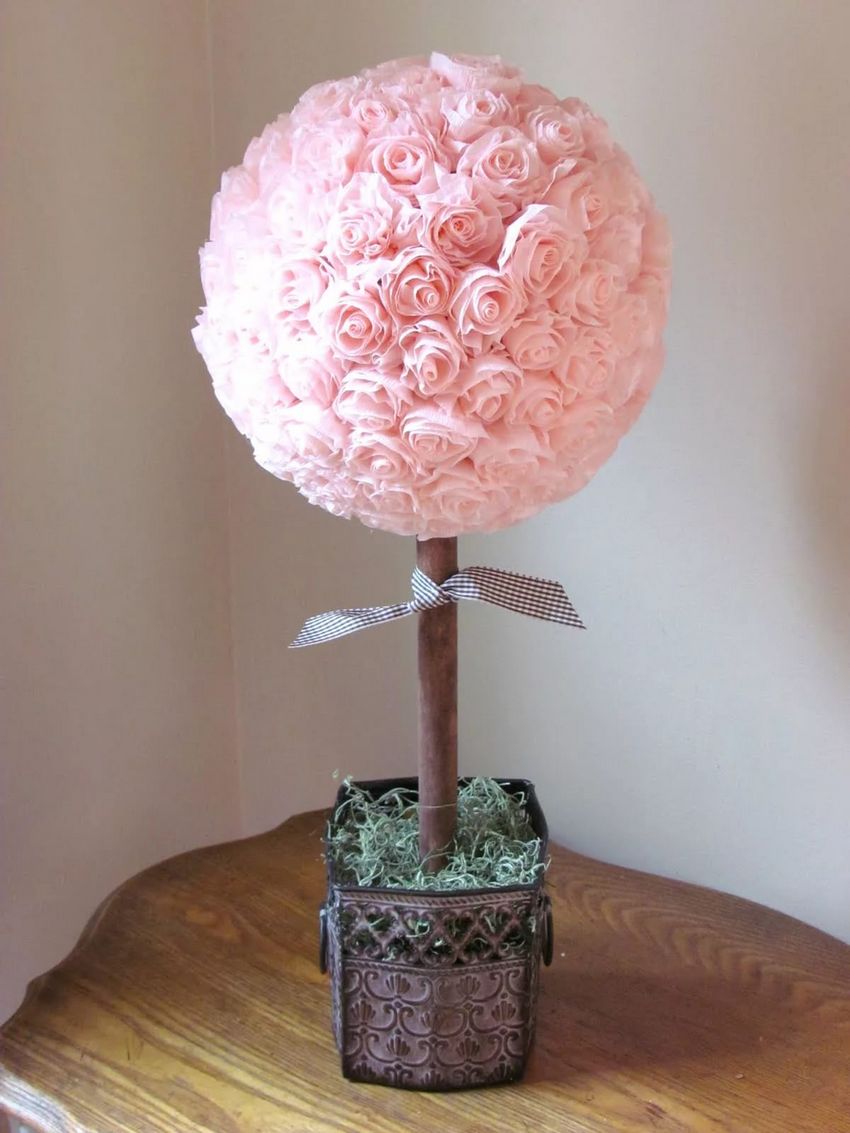
If Christmas with the New Year is approaching, it is worth thinking about how to make a topiary with your own hands on a festive theme. For example, from corrugated paper you can get quite simple and cute models.
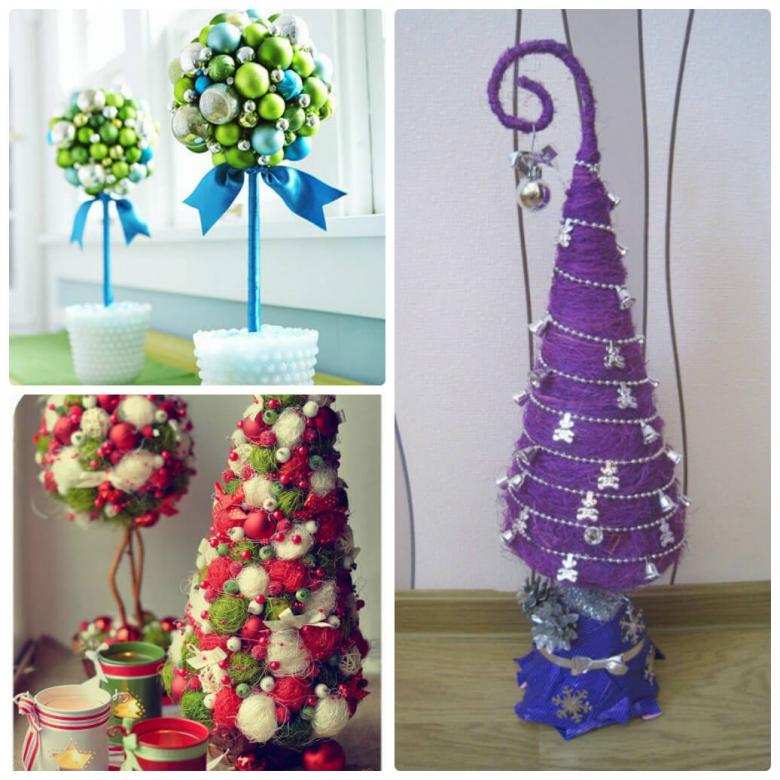
The corrugated version looks unconventional, it is made without a trunk. Because it is...a Christmas tree, not a fruit tree. But if desired, you can put the base on a stick and provide a trunk.
Materials:
- scissors;
- compasses;
- scotch tape;
- beads for the design;
- green paper;
- glue Moment and PVA;
- green gouache;
- cardboard;
- Gold color ribbons.

Procedure:
- Roll a sheet of paper into a cone, secure with tape.
- Paint the cone with gouache in green, so that the white base was not visible.
- Make needles out of paper. Fold it several times, draw circles with a compass.
- Cut out circles and staple them together. Crumple each layer for volume.
- Ready to cover the entire cone with inflorescences. Dry glue.
- Attach beads and gold ribbon.
The Christmas tree can be put on a leg or directly attached to the pot.
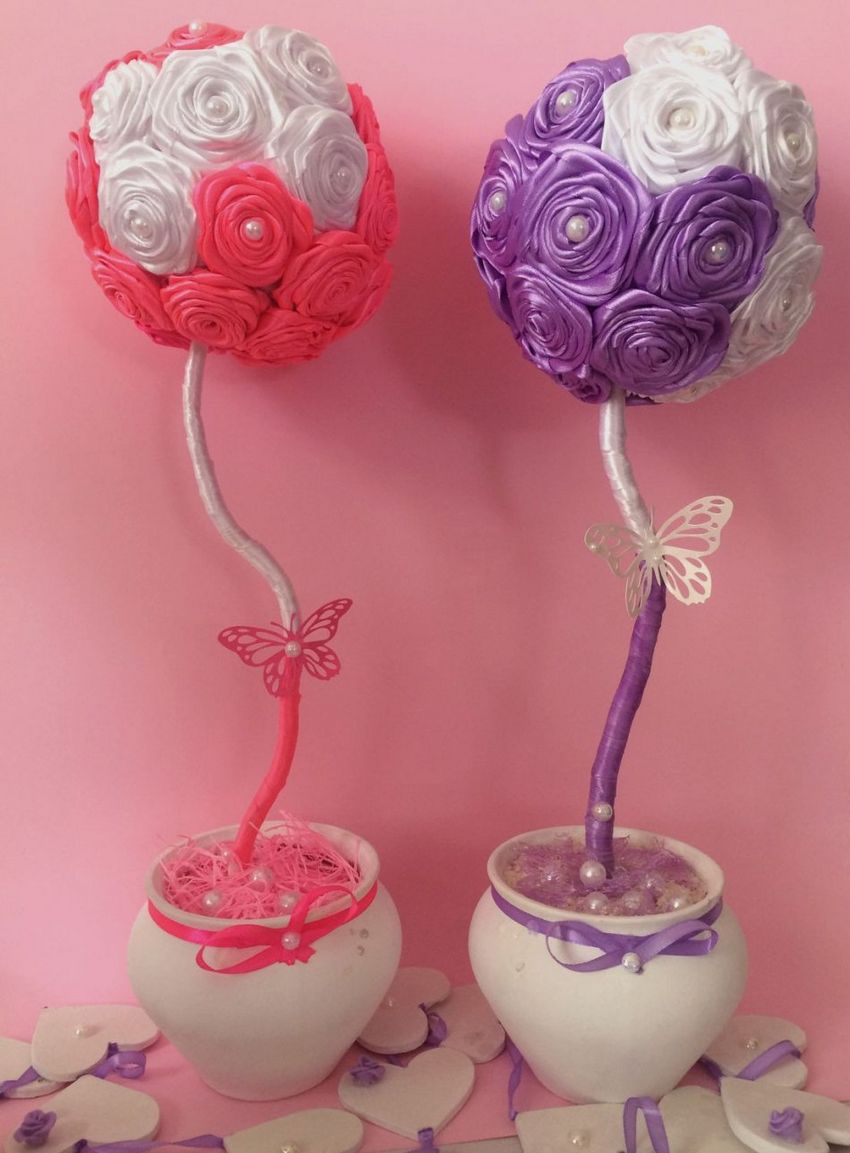
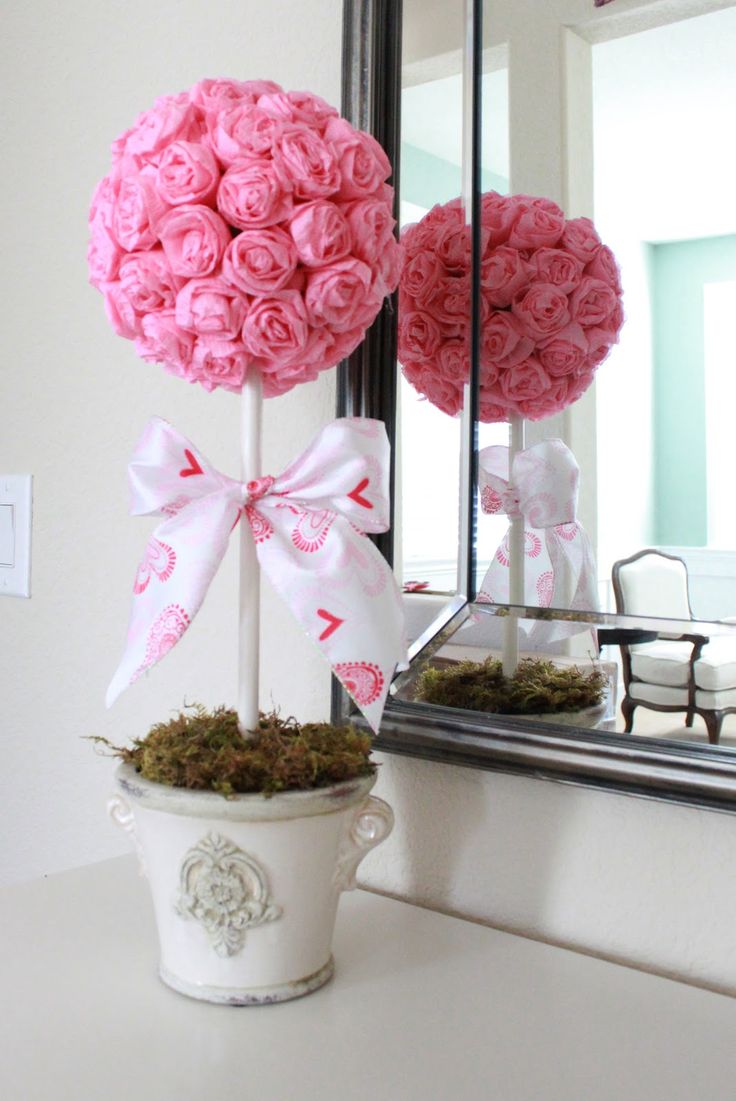
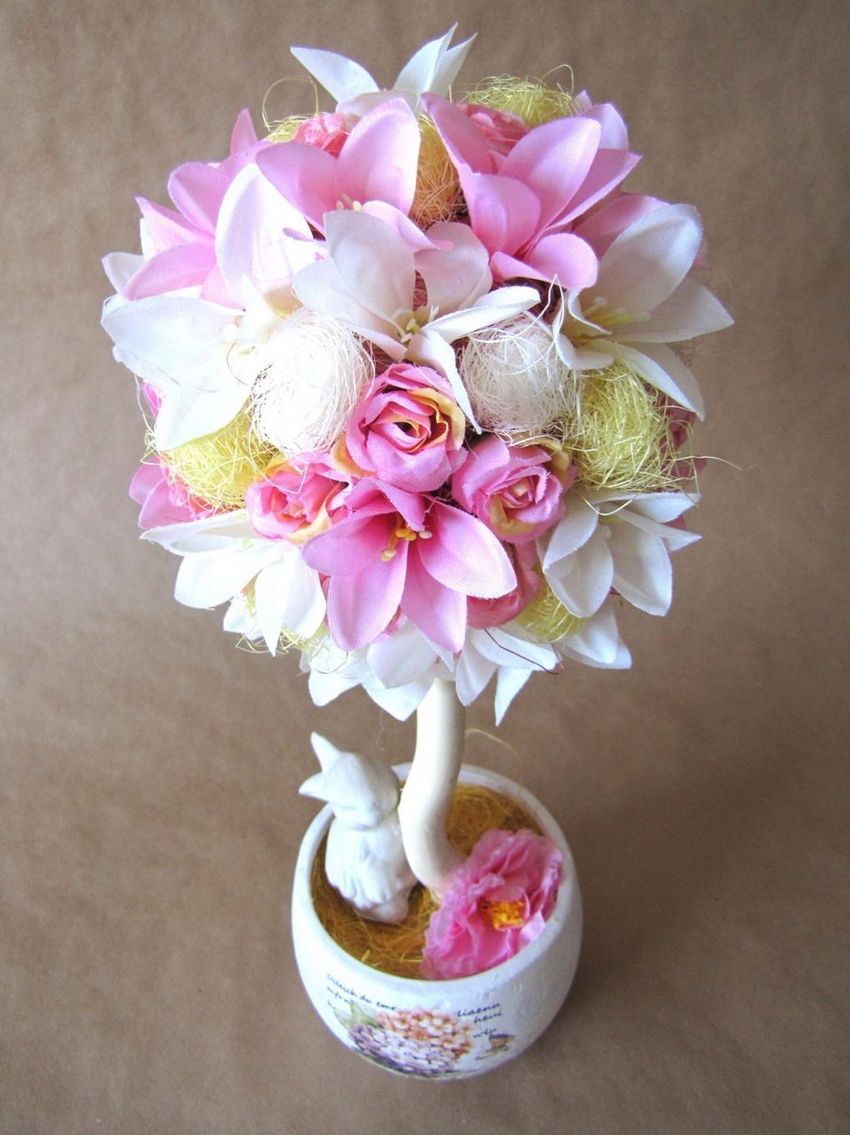
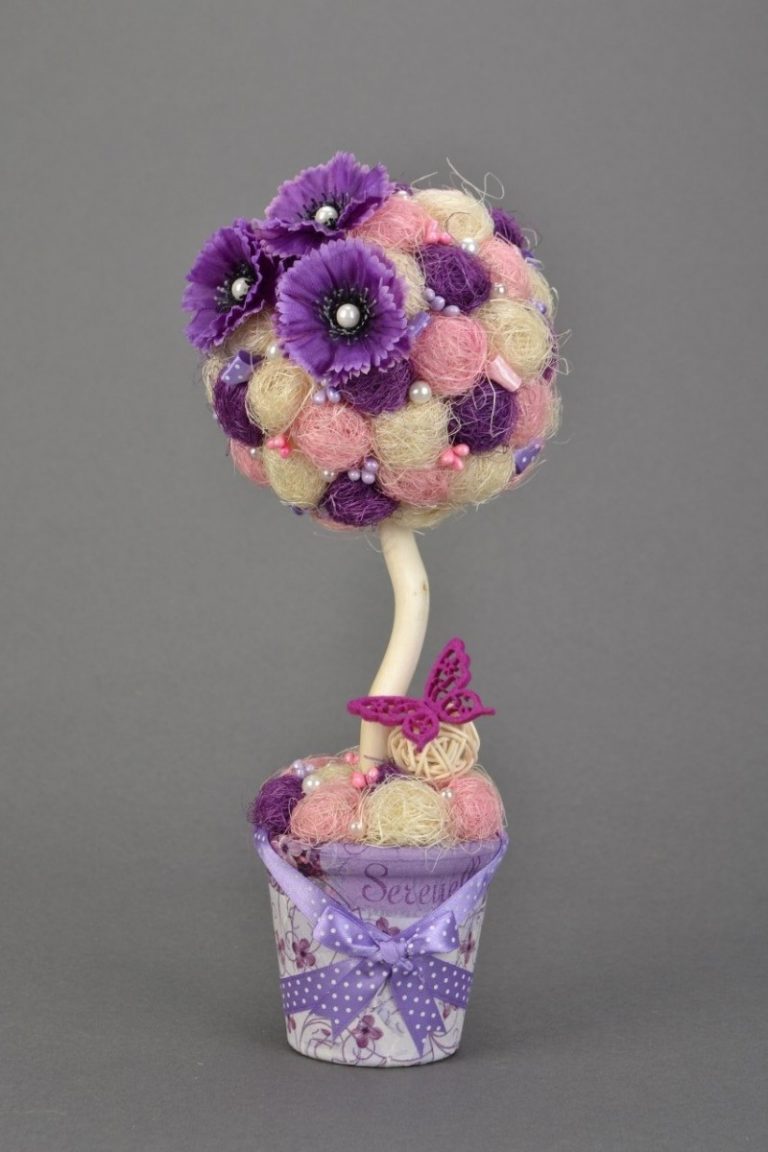
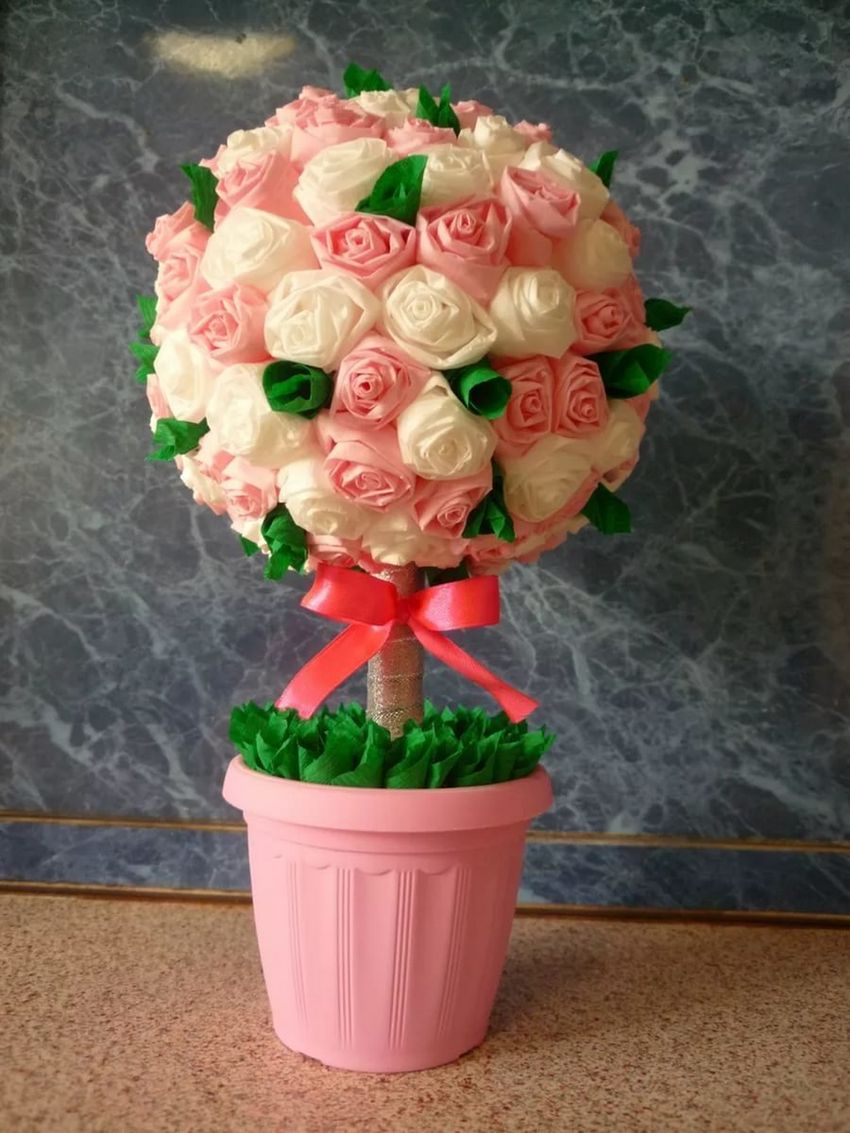
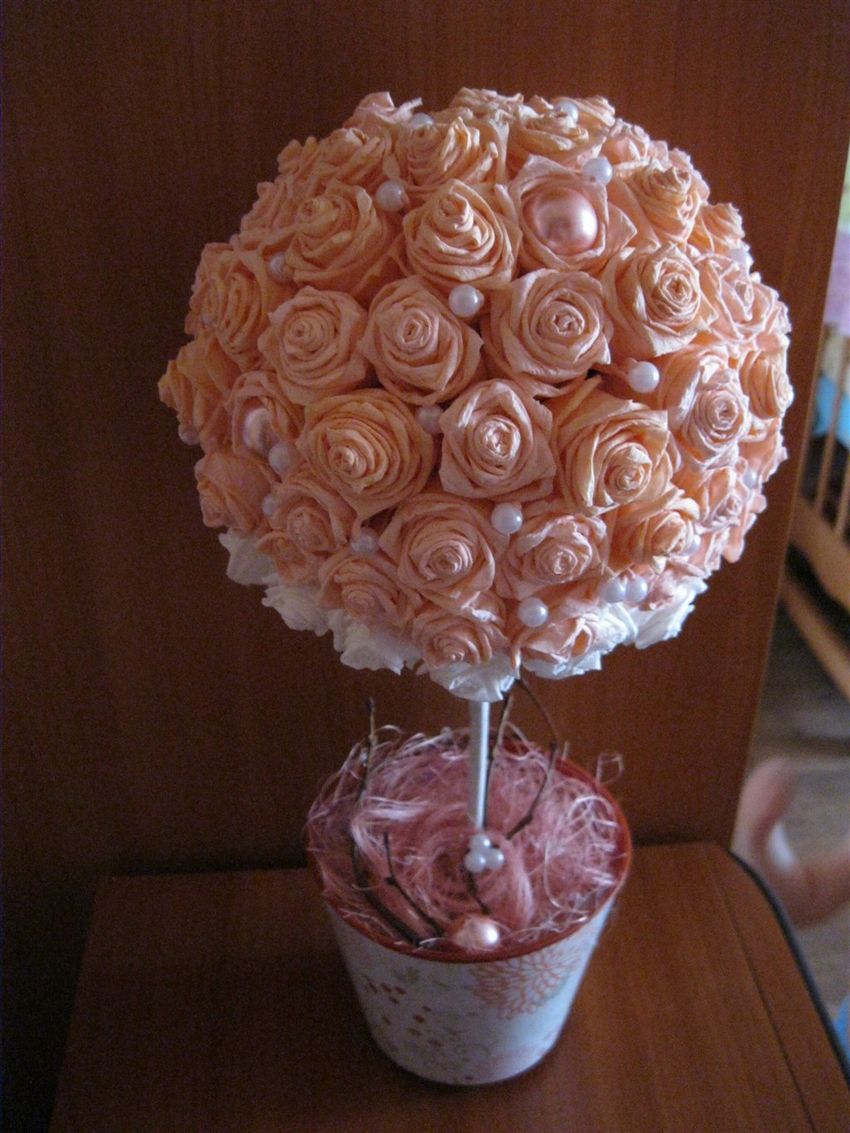
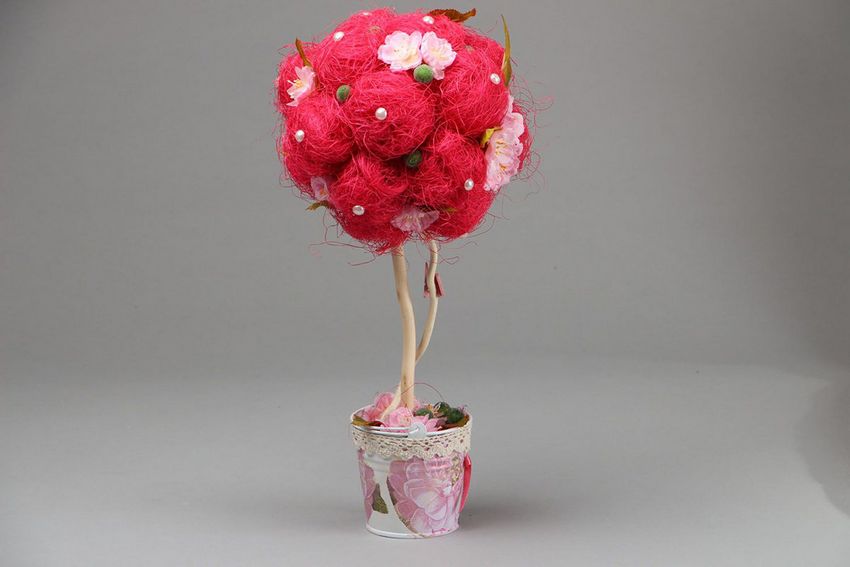
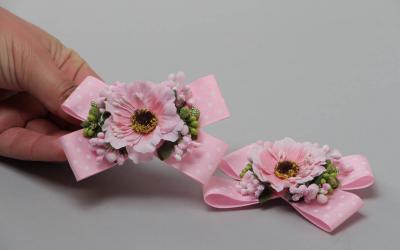
Topiary of satin ribbons
A tree made of satin and silk ribbons looks beautiful. Here you will need a special material, a visit to a fabric store or a department of needlework. But the result will be so beautiful that it justifies the time and effort.
Elements needed:
- water;
- gypsum powder;
- glue gun;
- base for the trunk (tube, branch);
- foam rubber;
- satin ribbons (crimson, red, white, pink) about 2-2.5 cm wide;
- one narrow ribbon 1 cm wide;
- newspapers;
- decor elements (beads, rhinestones, sisal, buttons);
- A planter or a pot.

Preparation is quite routine, it requires patience. You need to make about 50 small rosettes, curling ribbons. This will be the main decoration for the crown. For each flower you need a length of 50 cm. Just curl the ribbons around the first curl, bending back 2 cm. And all roses should be about the same size and volume.

We make the base and assemble the tree:
- From the newspapers are rolled up a ball, wrapped with thread, achieving a spherical shape.
- If the trunk is taken from a branch, it should remove the bark.
- The ball is attached to the trunk by making a hole.
- Put a cut piece of Styrofoam in the pot, stick the stem in.
- Pour the plaster into the pot and dry it out.
- The rosettes are glued around the whole ball. It will take several layers to cover all areas.
- For the base of the tree will need grass. It can be made from sisal.
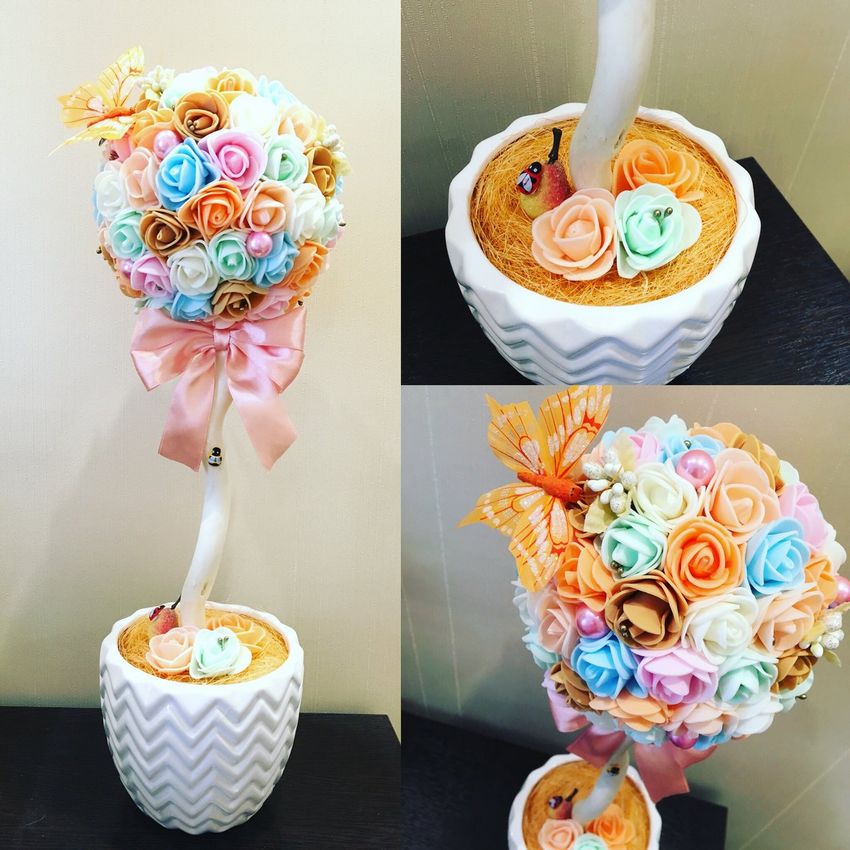
- On the pot itself, you can attach a couple of small roses to echo the crown. As if the flowers fell from the branches.
- Add decor, if desired: ladybug or butterfly.
- To taste, decorate the trunk - with ribbons or threads.
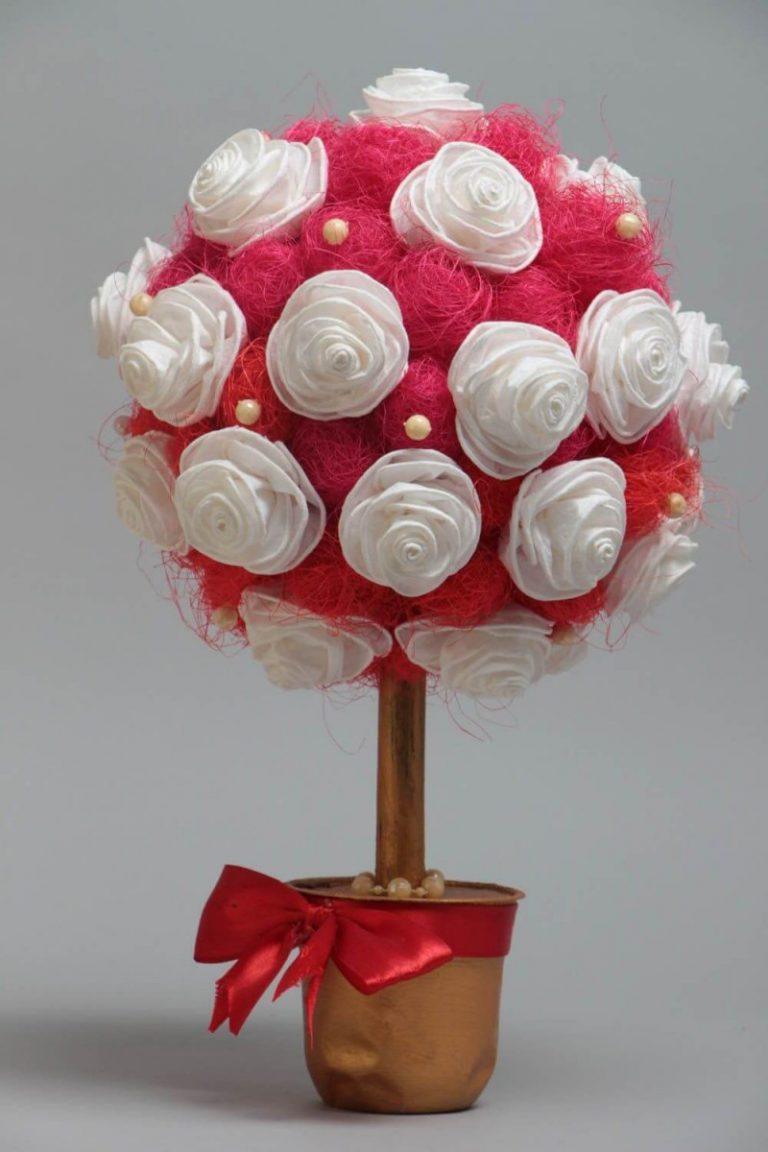
The silky floral topiary is ready to serve as a room decoration. In general, satin is often underestimated, it is a very bright and pleasant material.
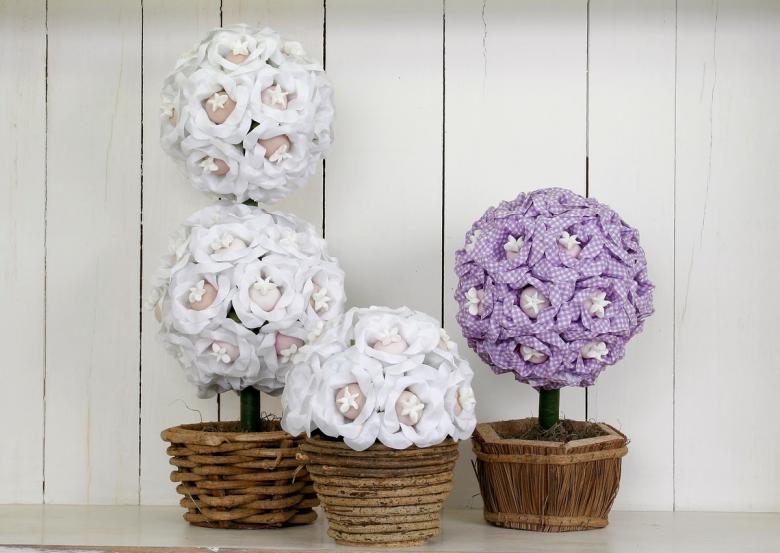
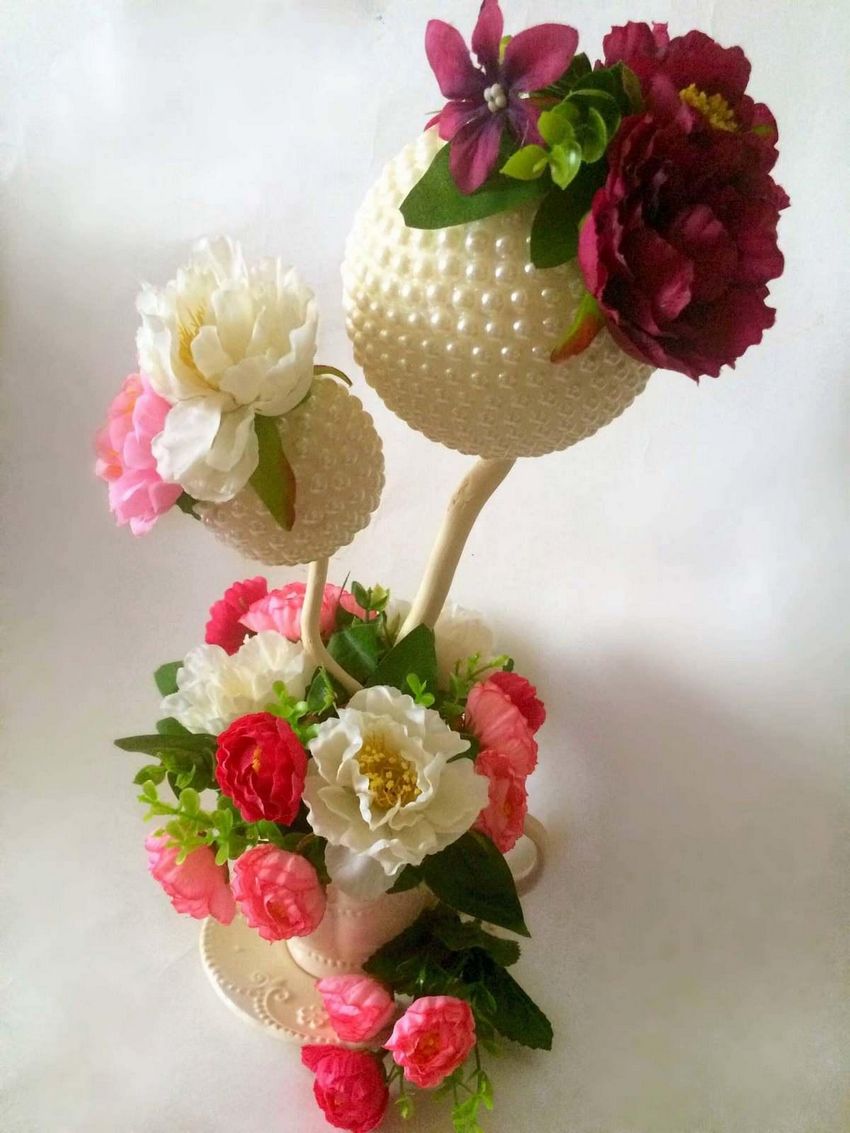
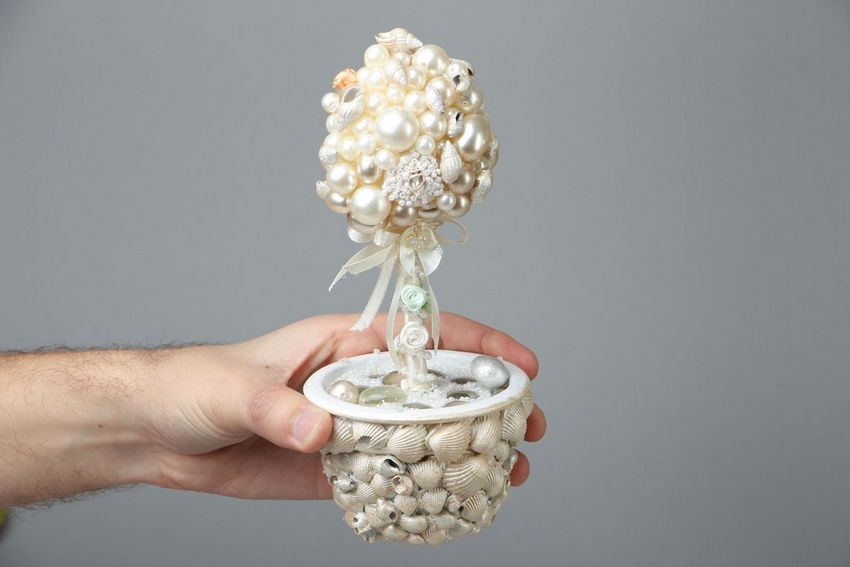
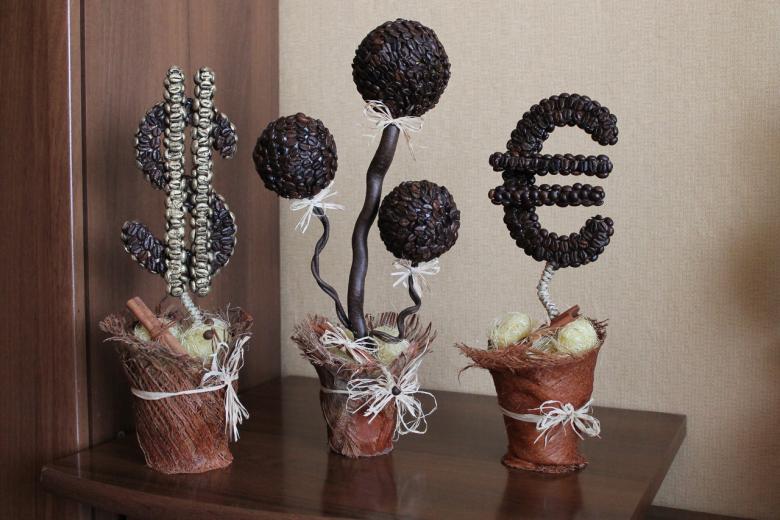
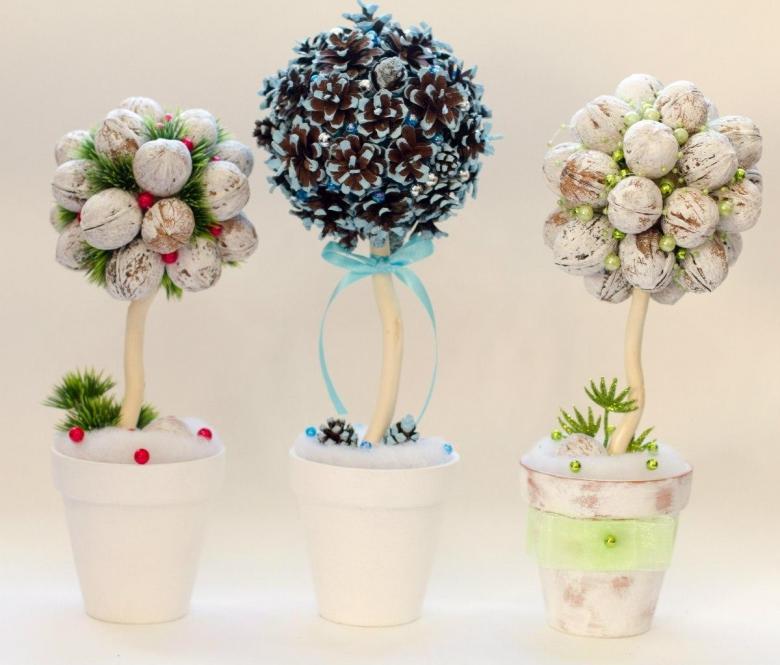
Other models
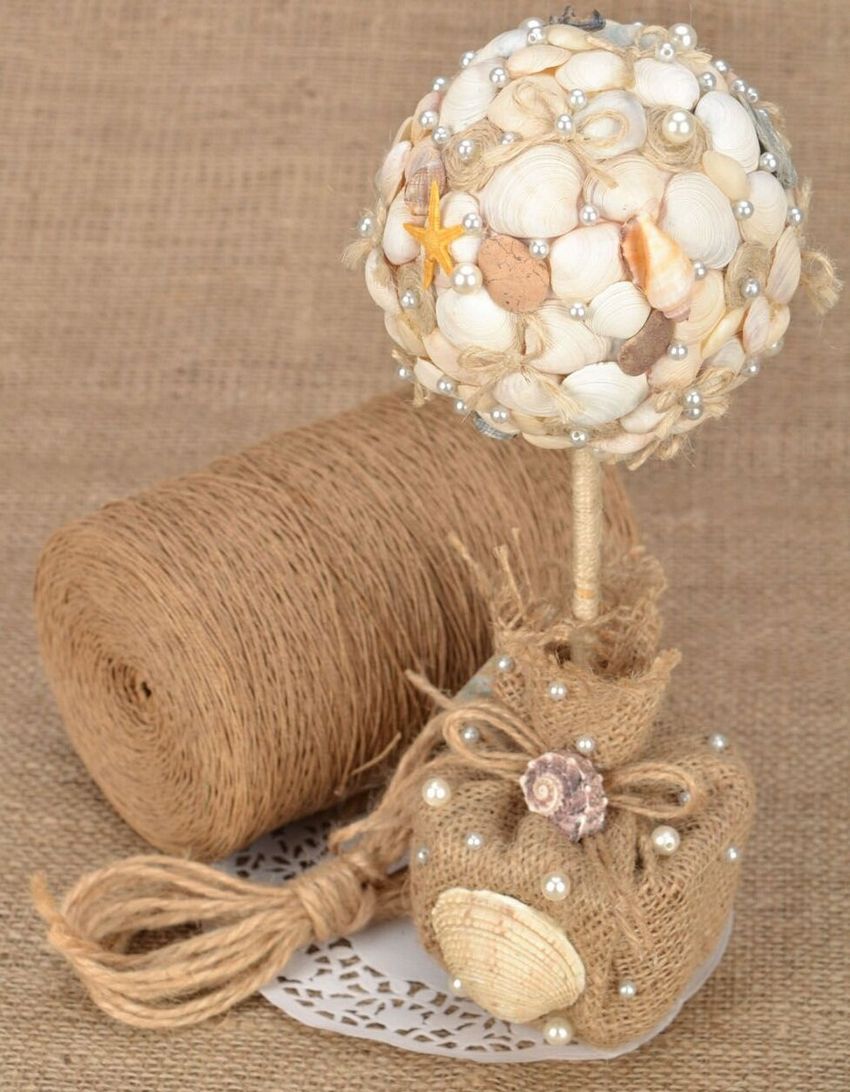
If there is a collection of seashells, hearts or other products - why not use them for a topiary? The tree can be the most fantastic, the main thing is to show ingenuity and approach the design unconventionally. Other options:
- on a nautical theme: from pebbles and seashells;
- With a military theme: khaki shreds;
- Summer version: with miniature fruits made of plastic or felt;
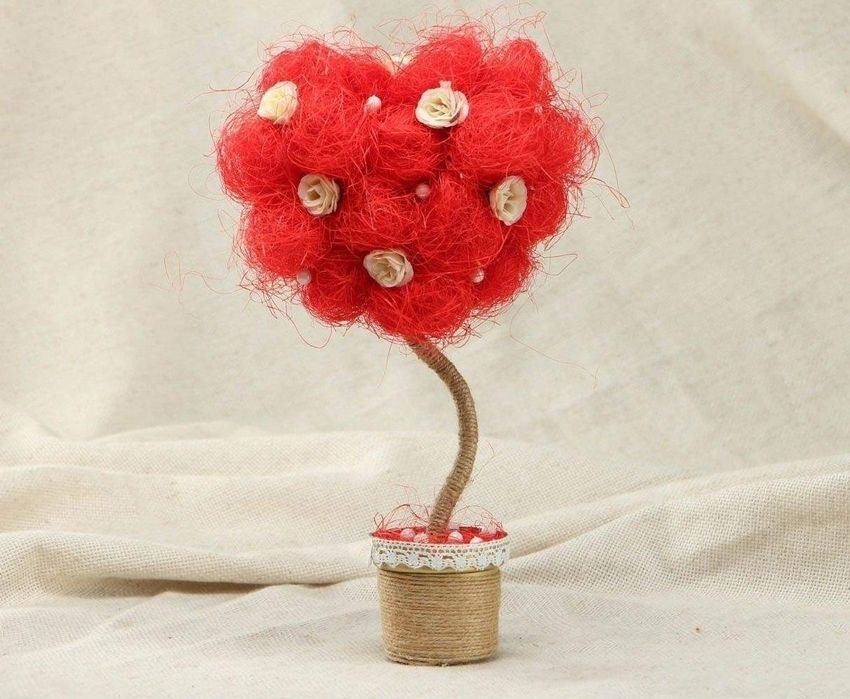
- for Valentine's Day: with hearts;
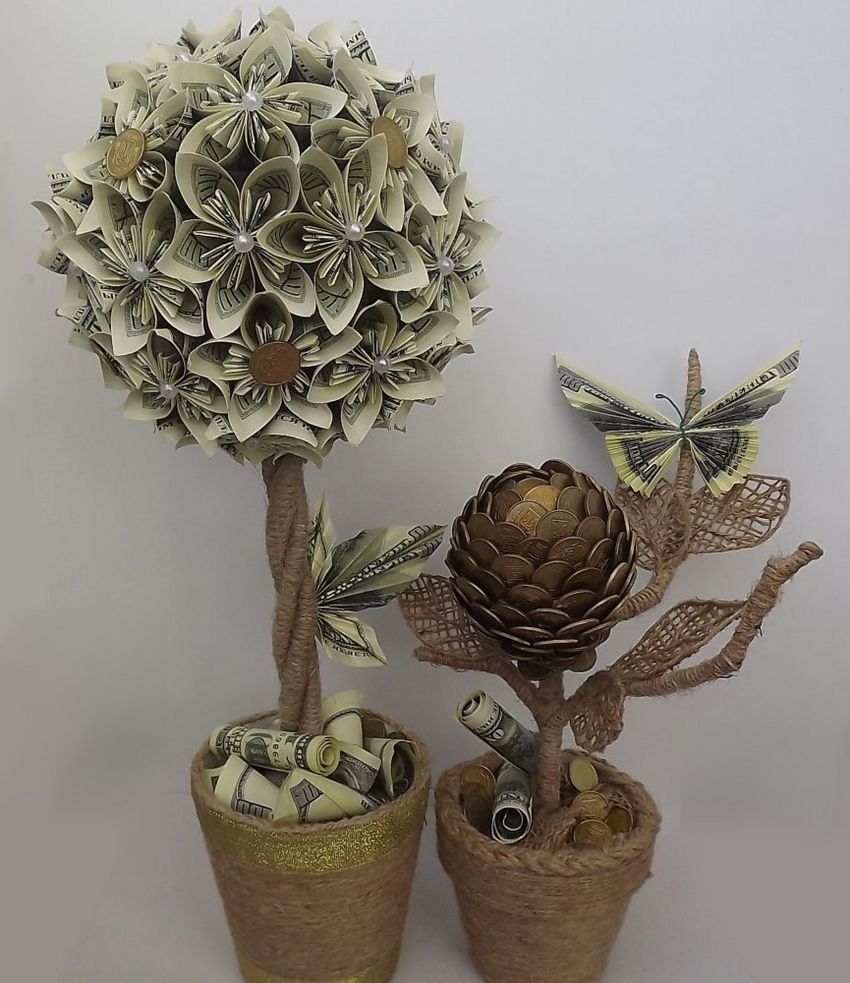
- Money tree: with coins and artificial gems, etc.

Do not deny yourself the pleasure of creating the happy tree of your dreams!
Photo ideas of homemade topiaries