Origami owl of paper with your own hands: step by step master class for beginners
Origami handicrafts - it is not only a beautiful result, but also entertaining and soothing manufacturing process. Not for nothing this ancient art is often used even in kindergartens and schools. Yes, and for relaxation and relaxation of adults is great origami.
How to choose a handicraft
Choosing what to do with a paper handicraft, you need to start from the fact that it will do an adult or child. For children are more suitable maximum simple products that do not take much time. If you like origami and have long been fond of them, choose a more complex model.

How to understand how much harder to make a handicraft on a particular scheme? First of all, look how many steps it contains. If there are fewer than 15, it is most likely a simple origami owl scheme for children.
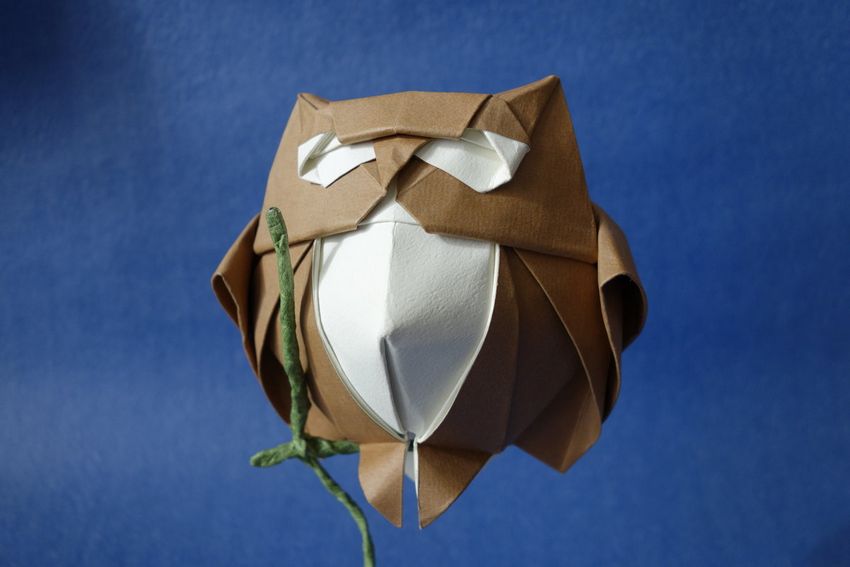
If there are more steps, most likely it is designed for advanced craftsmen paper art. Start with something simple and gradually move on to a more imaginative models.
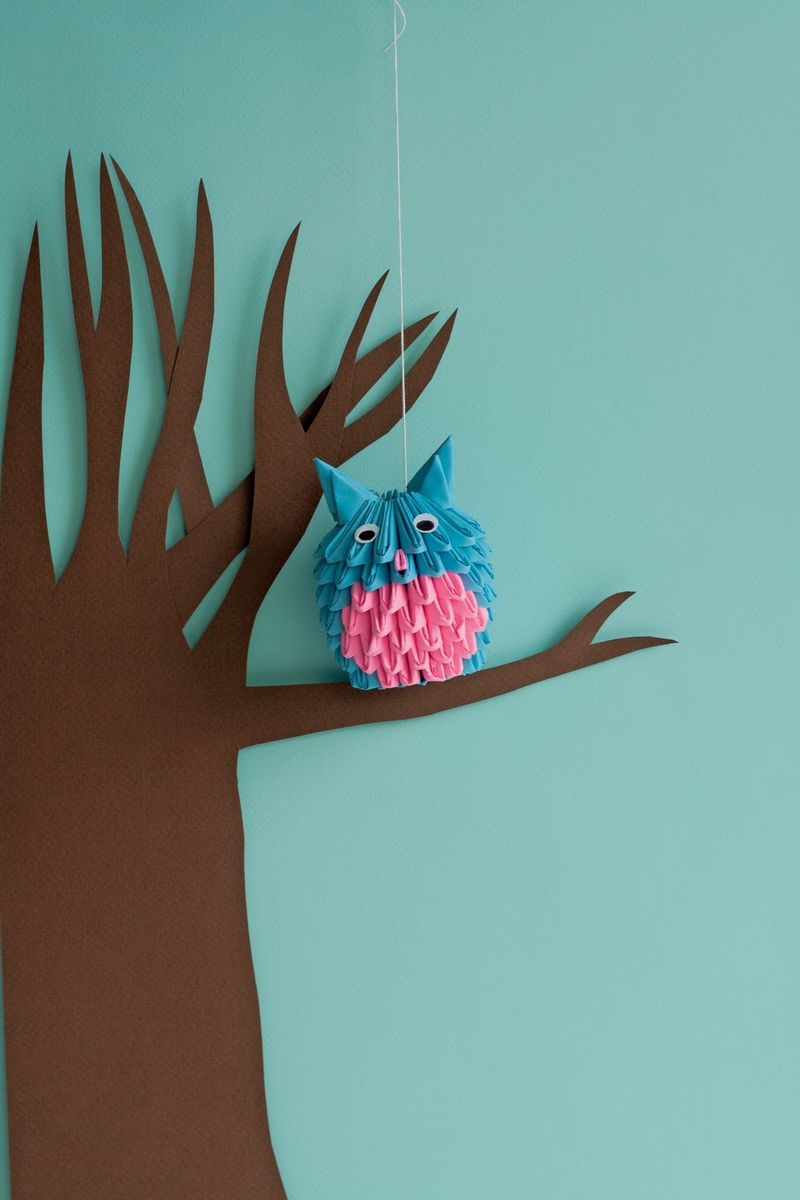
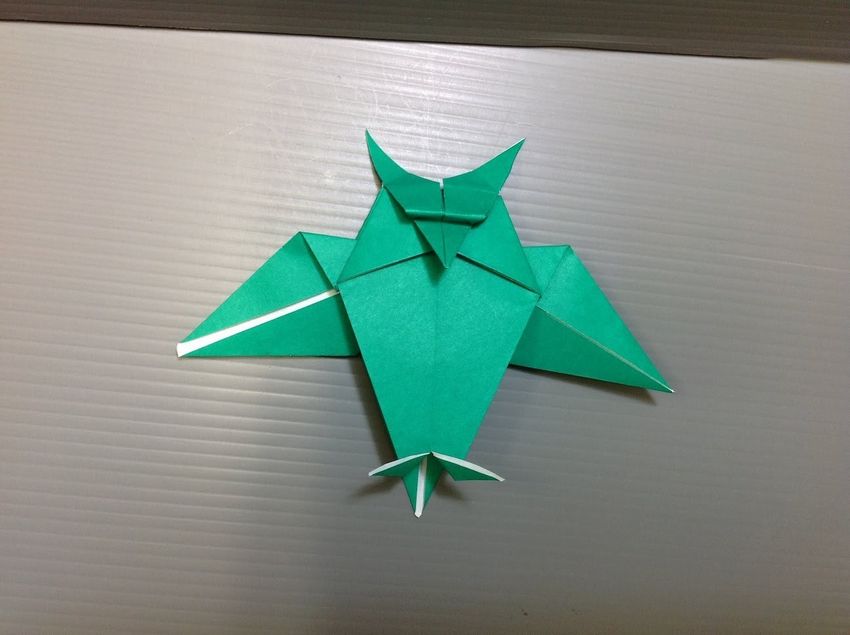
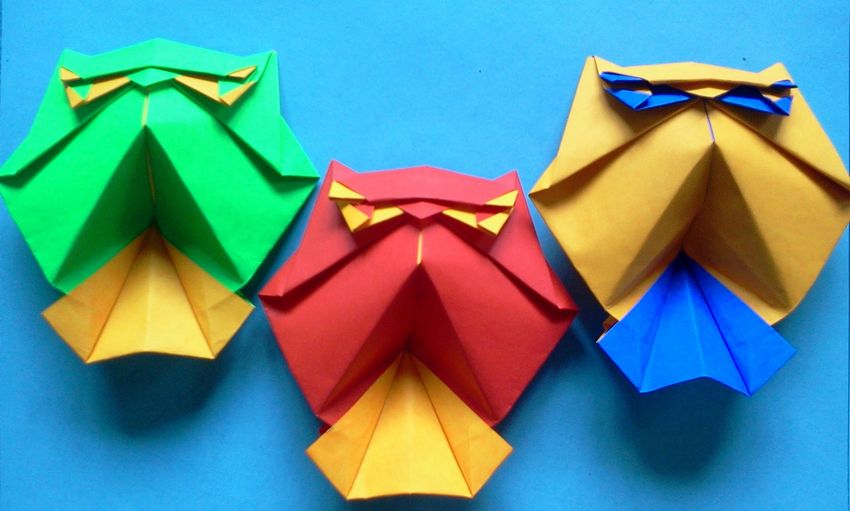
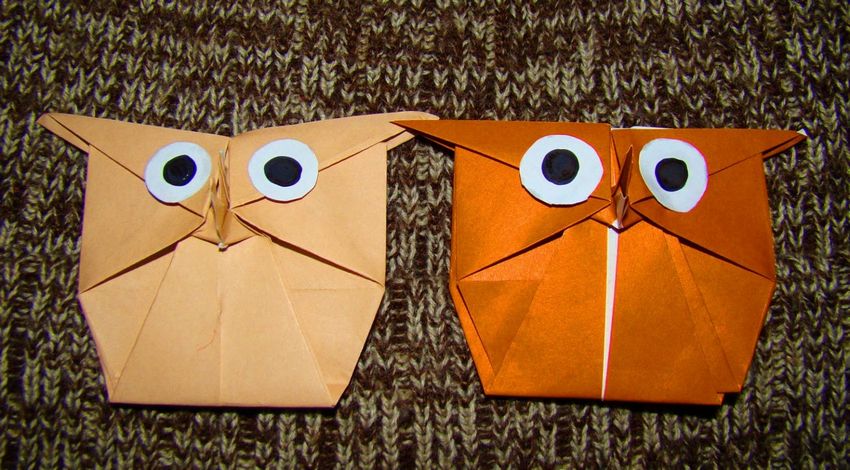
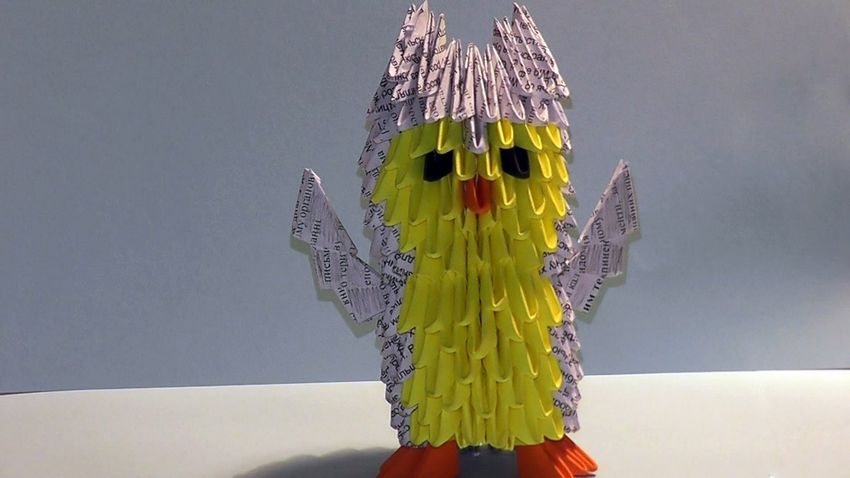
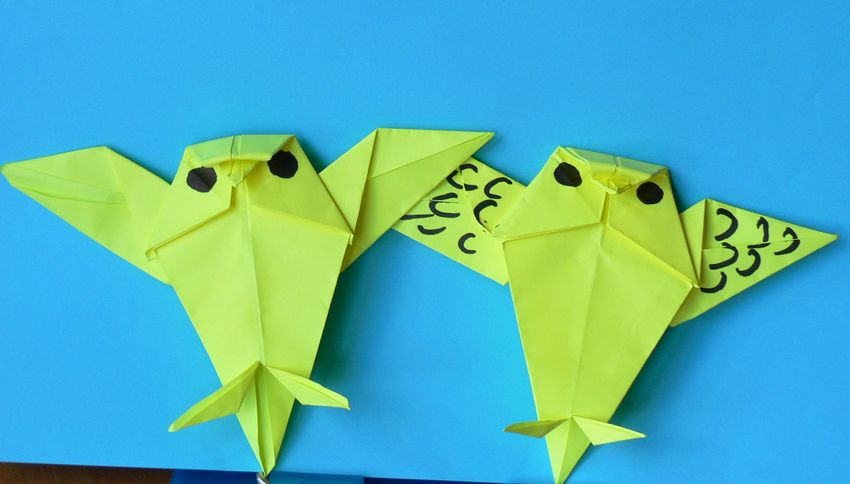
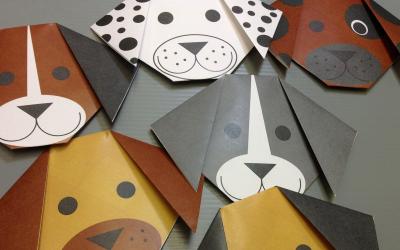
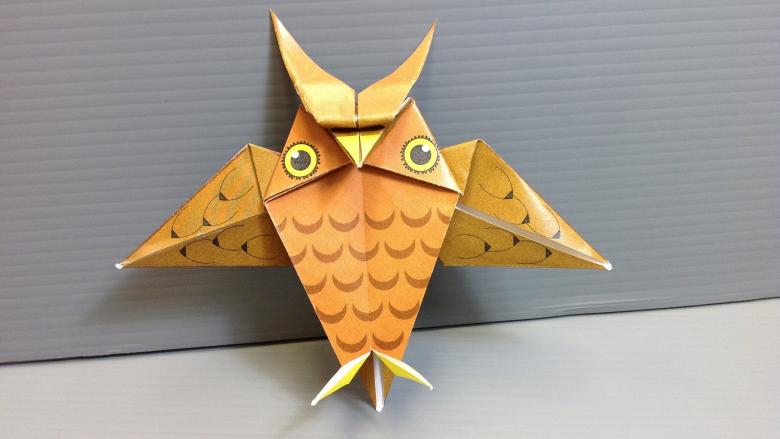
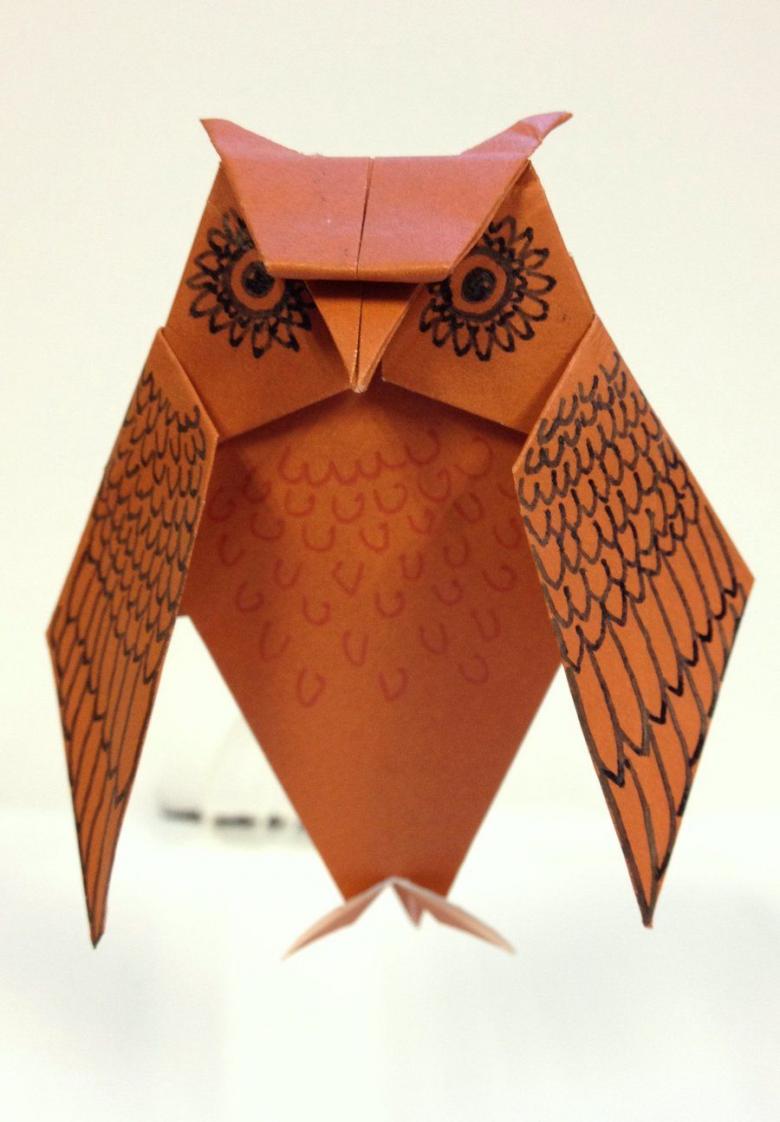
A simple origami owl for children
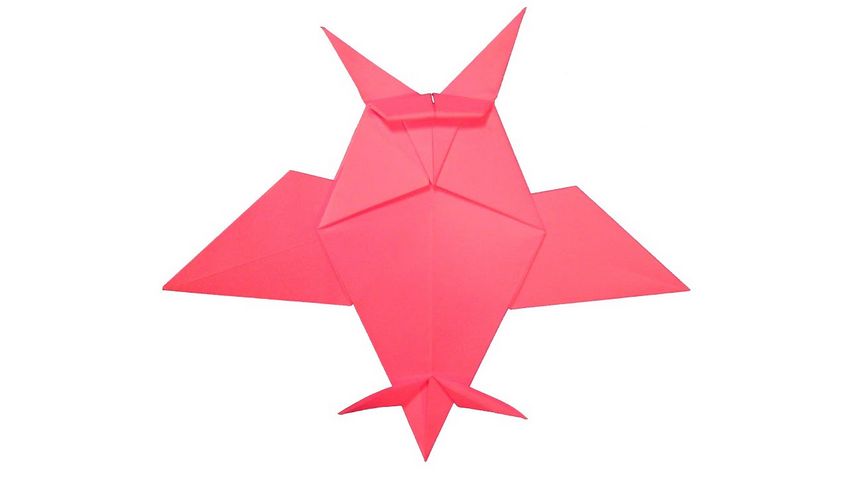
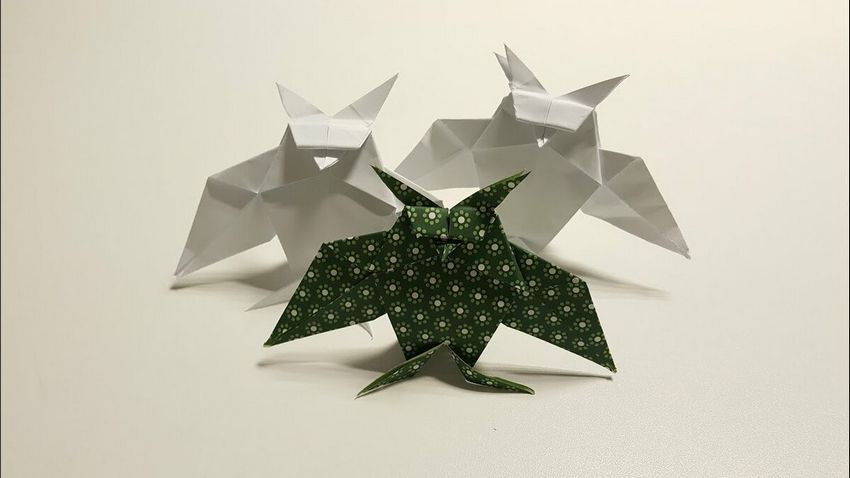
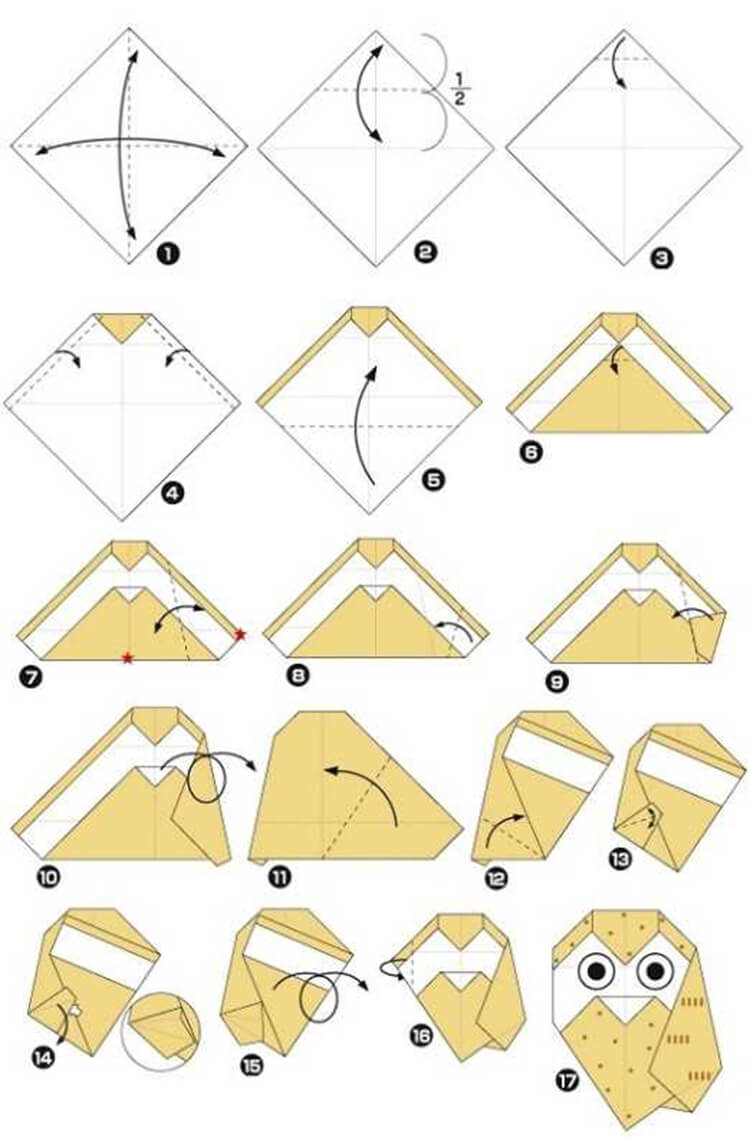
Simple owls are derived from standard schemes or consist of modules (small parts that come together as a puzzle). On the Internet you can find many simple descriptions of origami owls. One of the most basic schemes below. Follow the step-by-step instructions, and you can easily make an owl for your baby.
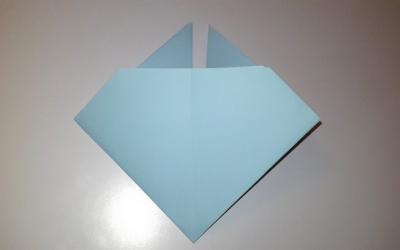
- Take a square sheet of paper and turn it over like a rhombus.
- Use a ruler to divide the sheet into four equal squares.
- Slightly bend the sharp end of the diamond by about a third.
- Fold the bottom half of the sheet twice, to get a semblance of a beak.
- Fold to the middle of the two ends of the diamond, to get a figure in the shape of a tick.
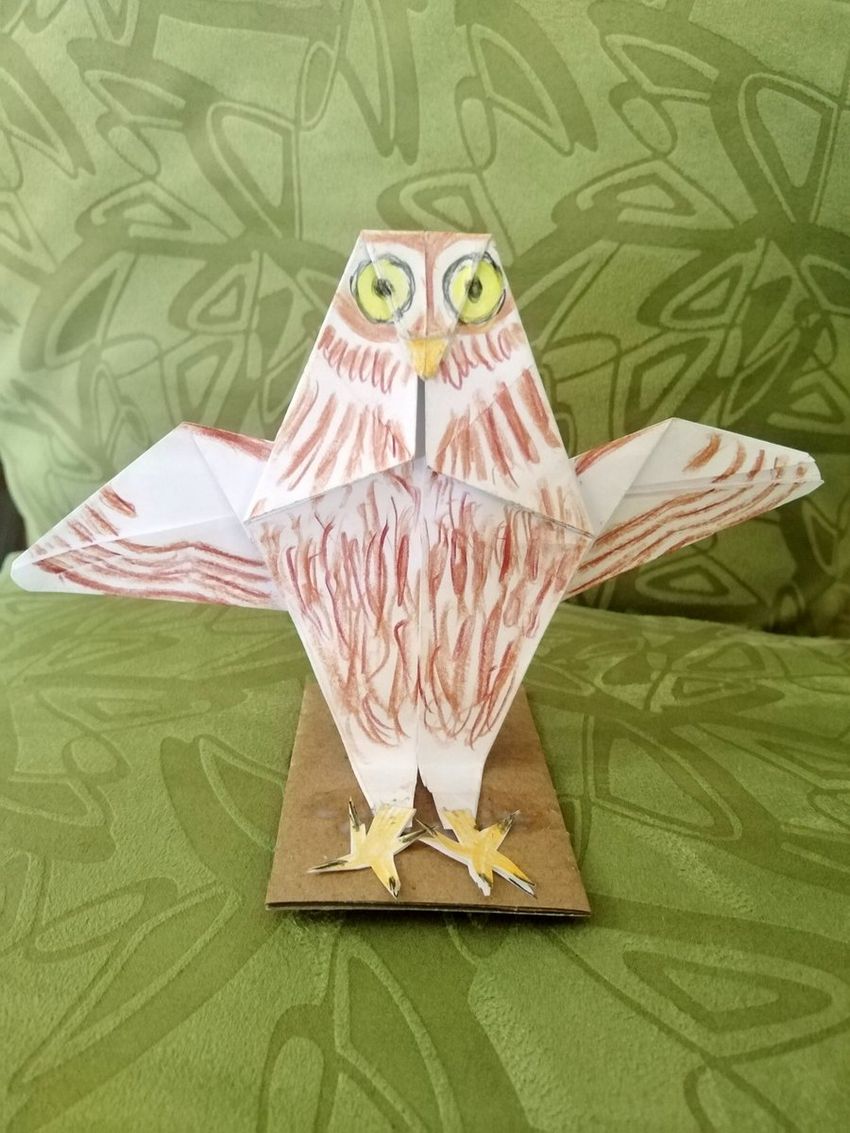
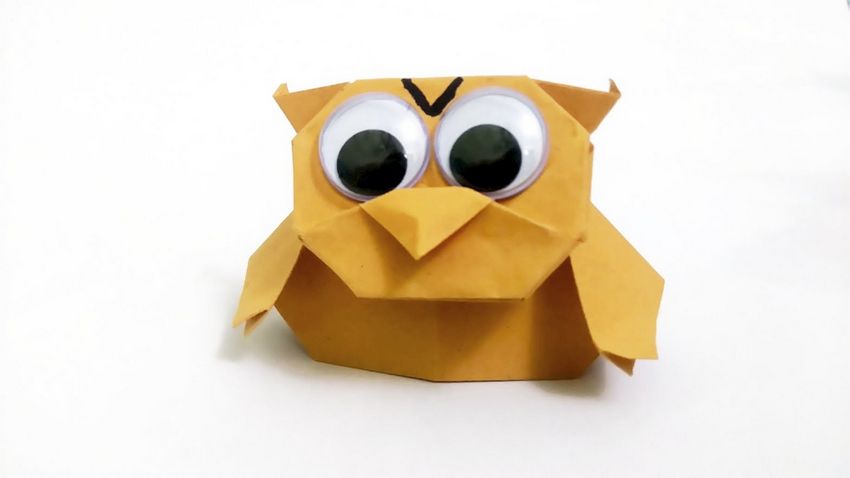
- In place of the head draw the eyes.
- On the sides of the feather strips.
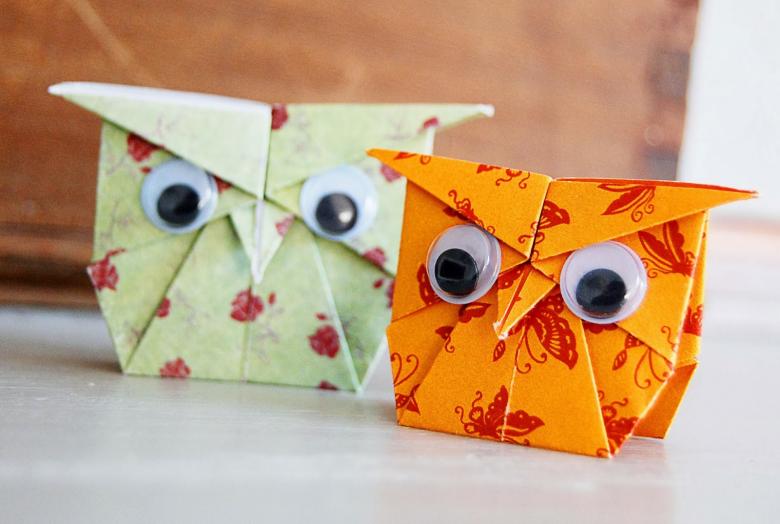
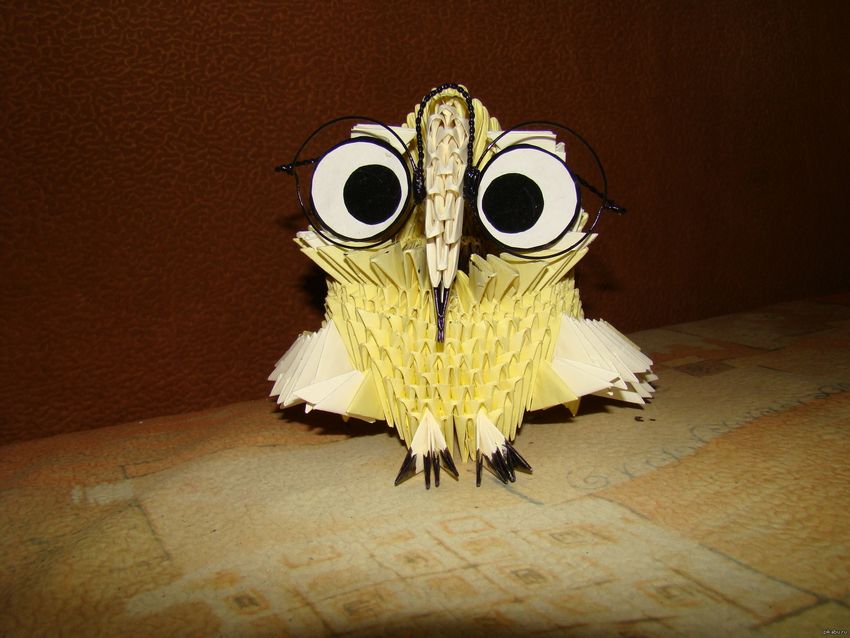
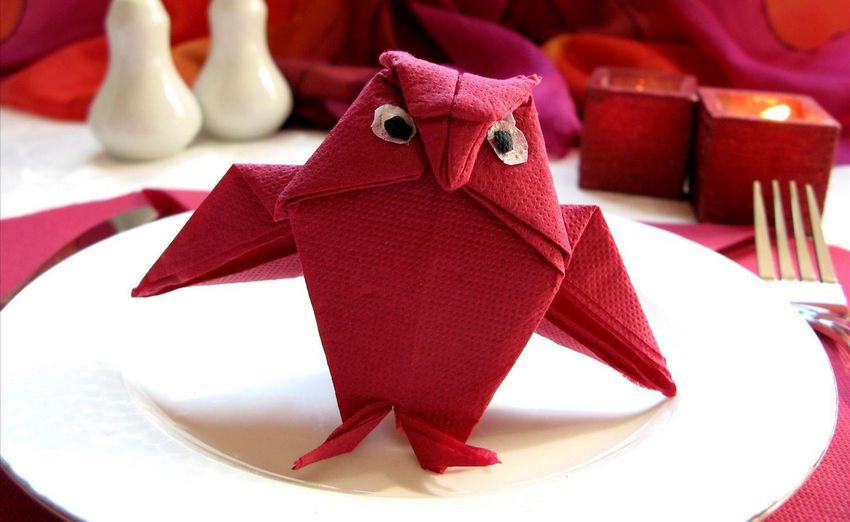
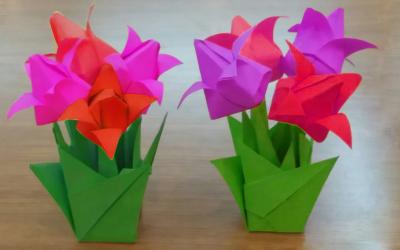
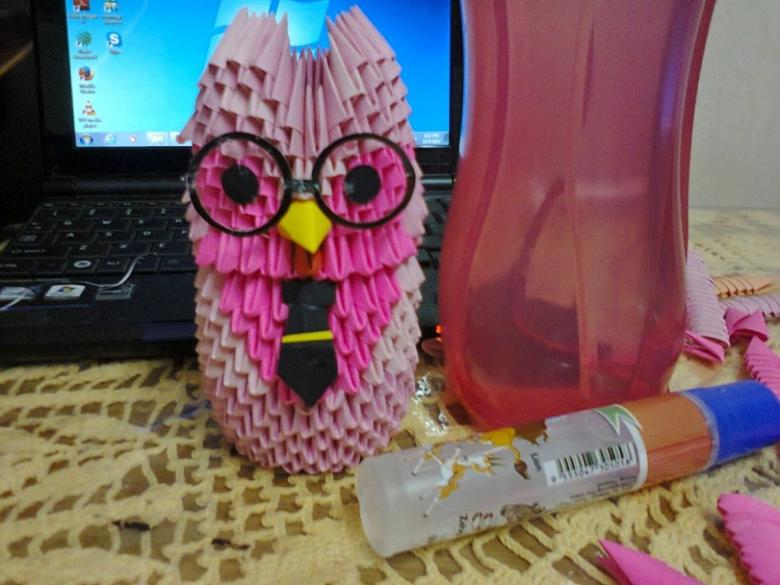
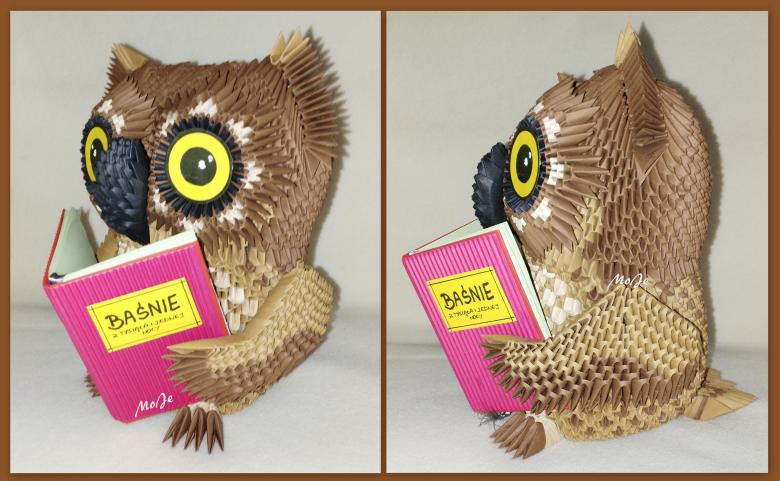
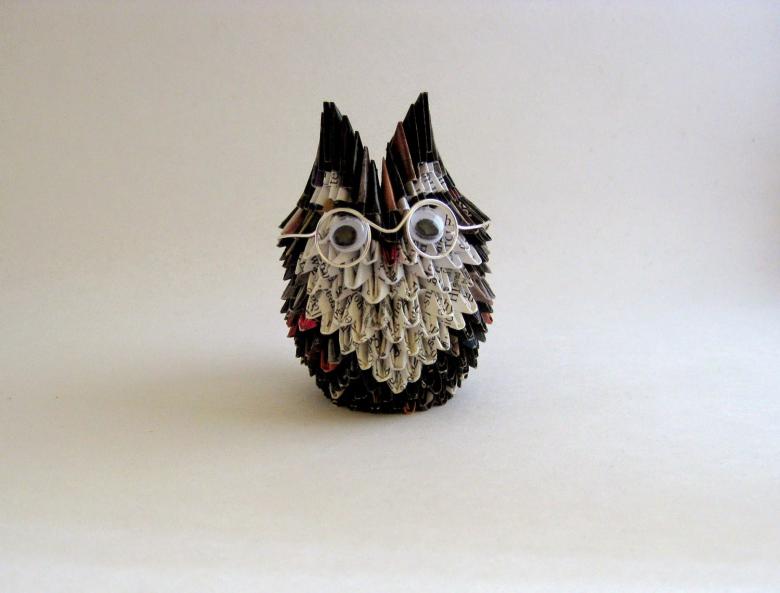
Since the collecting with a child, you choose the most simple scheme, a modest appearance of the owl can be complemented by large glasses, a book under the wing or funny paws in colored socks. All accessories can easily be cut out of colored paper or cardboard.
In order to make a more complex handicraft will need additional tools.
Materials needed
Before you start to make crafts, lay out all the supplies on the table, so that at the right moment everything is at hand. You will need:
- Scissors;
- A glue gun and glue;
- Stationery clips;
- PVA glue;
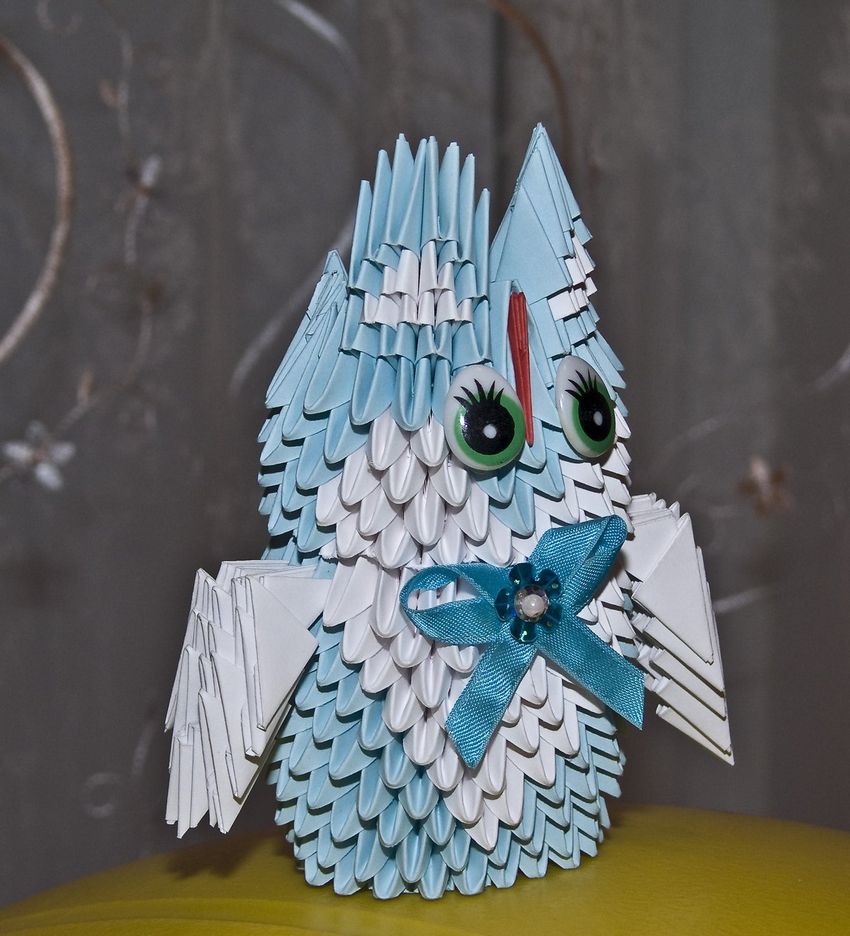
- White, blue and black thick paper for the wings, pupils and eyes;
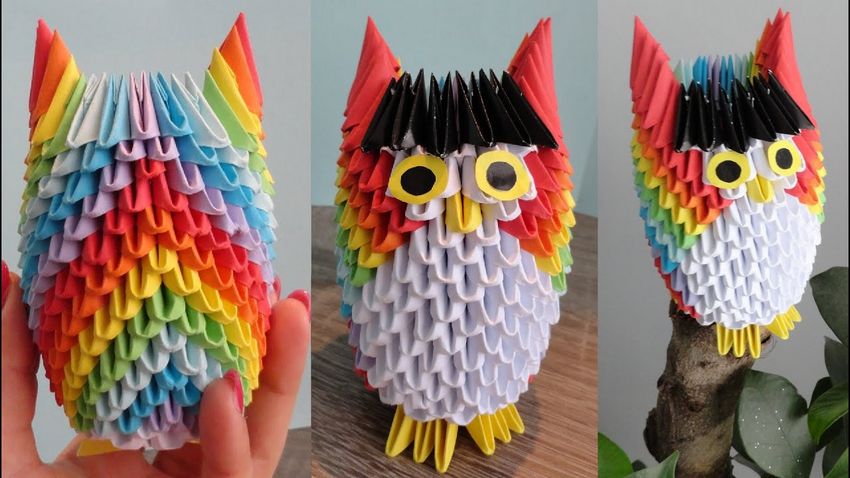
- Colored paper blanks, size 4 by 7 cm. They need to cut a lot, 369 blue, 58 white and one yellow. The colors may vary.
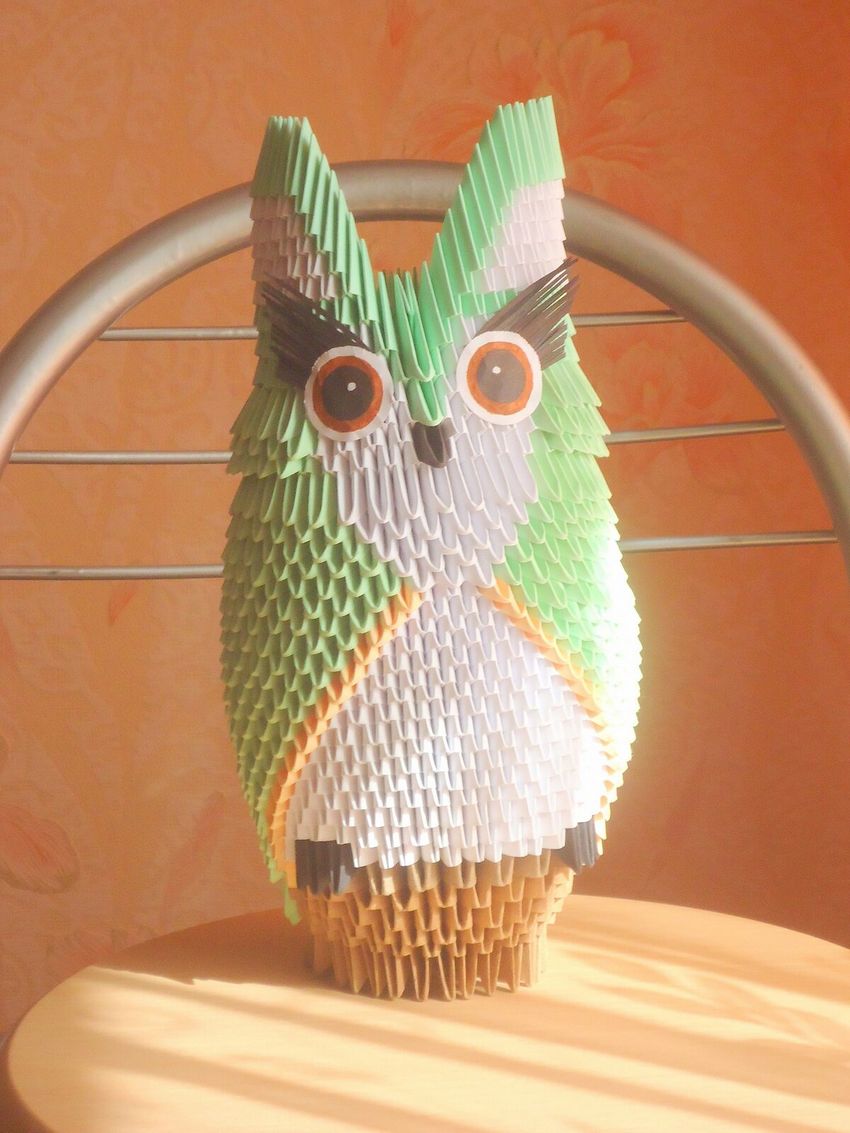
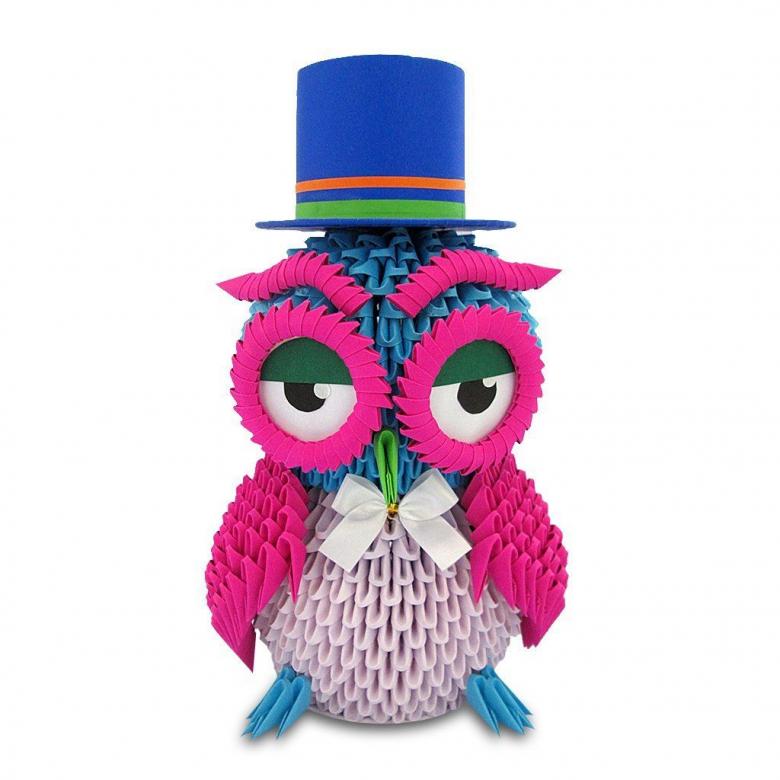
Paper colors are given in the instructions as an example, you can make origami owl in any color. Even a modular handicraft out of white sheets of office paper looks very effective.
If you want to make a colored craft to make it look good from any angle, use a special double-sided origami paper. It is sold in stores of stationery and crafts.
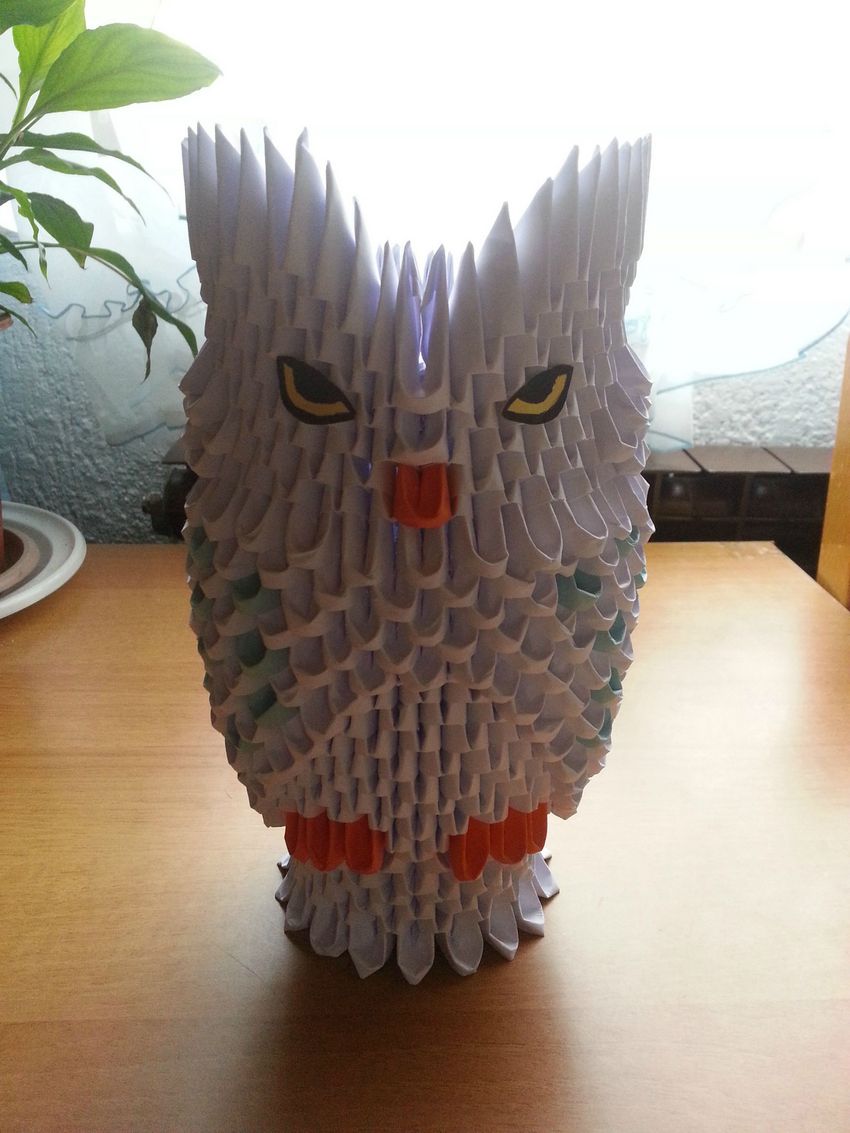
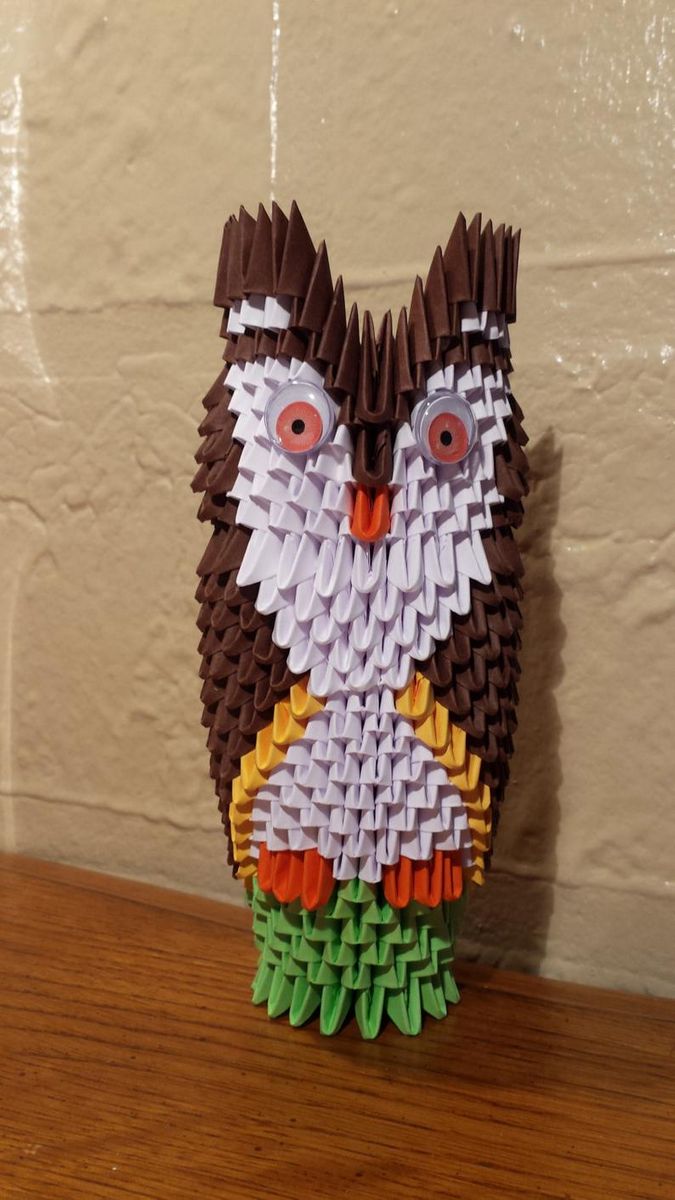
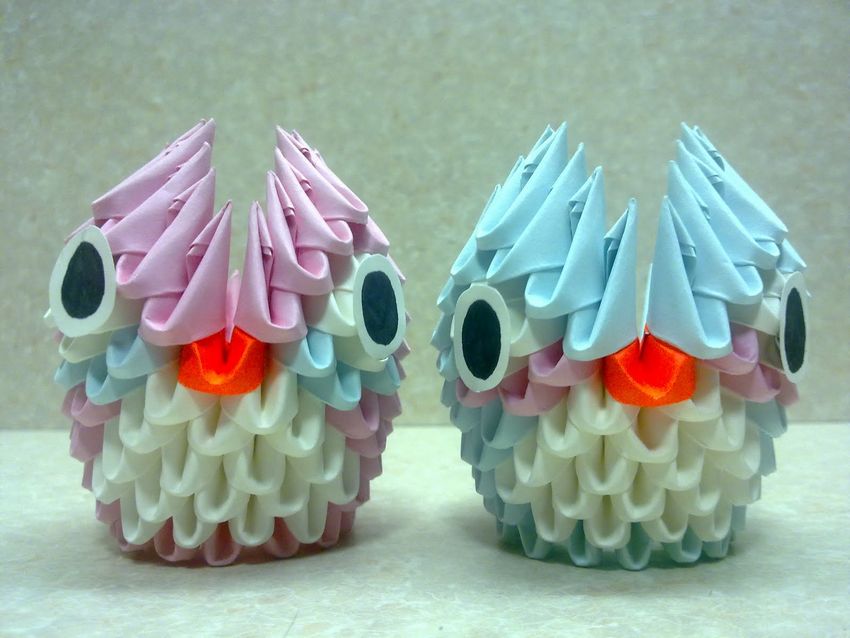
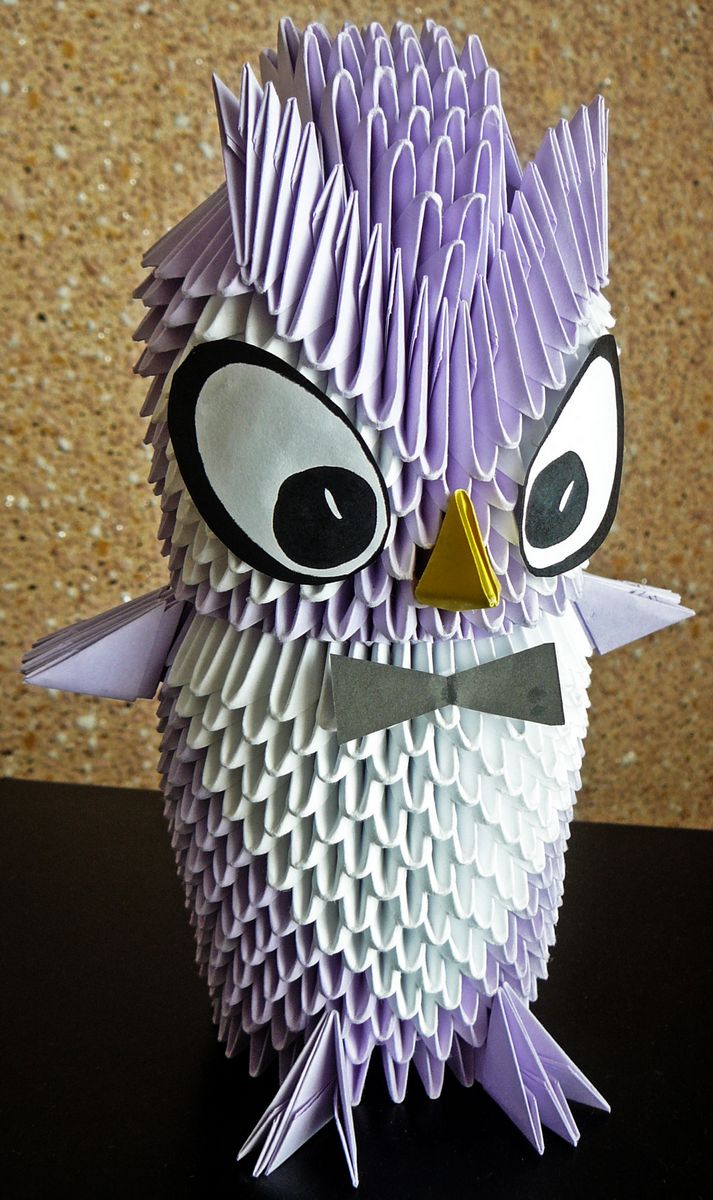
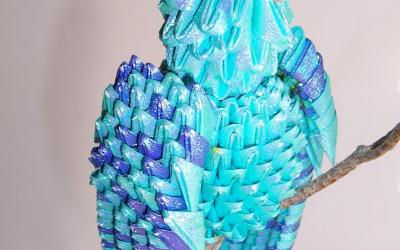
How to make modules for the owl
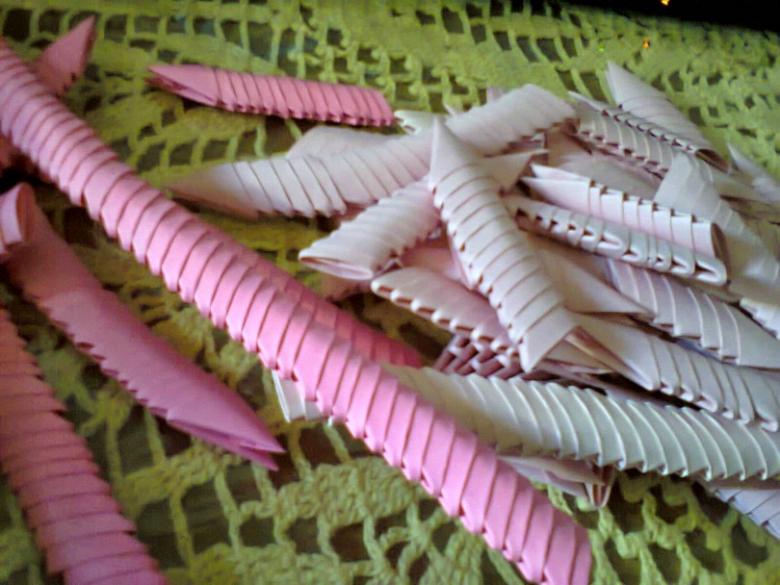
Modular origami owl is made of a large number of small triangular parts.There are origami out of modules of different sizes, but our handicraft consists of the same size details. In order to make a single module, follow these steps:
- Fold the rectangular billet lengthwise.
- Fold the workpiece across to mark the center.
- Fold the corners down to the center (fold a sheet to stay on top).
- Turn the workpiece.
- Fold the bottom "pants" up.
- Protruding on the sides of the bend in the opposite direction.
- Bend "pants".
- Fold the corners inside along the planned lines.
- Again, bend the bottom part of the details
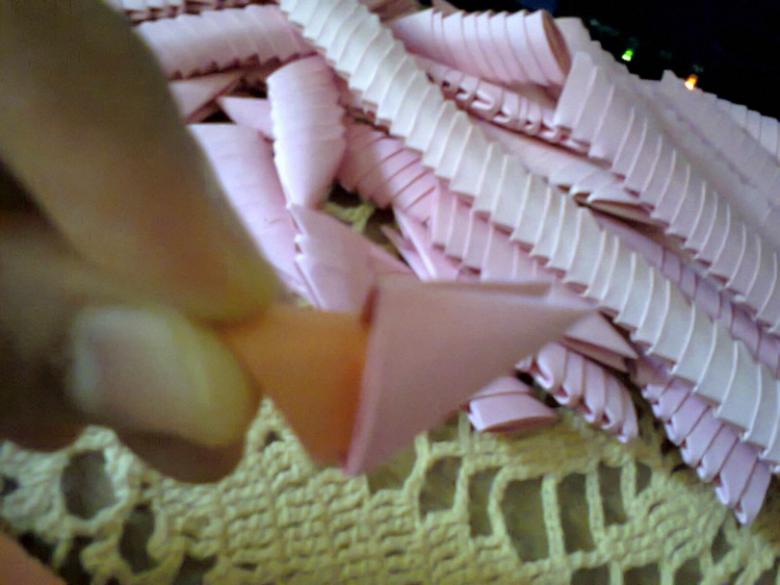
- Fold the resulting triangle in half.
These steps must be done with each of the set of modules.
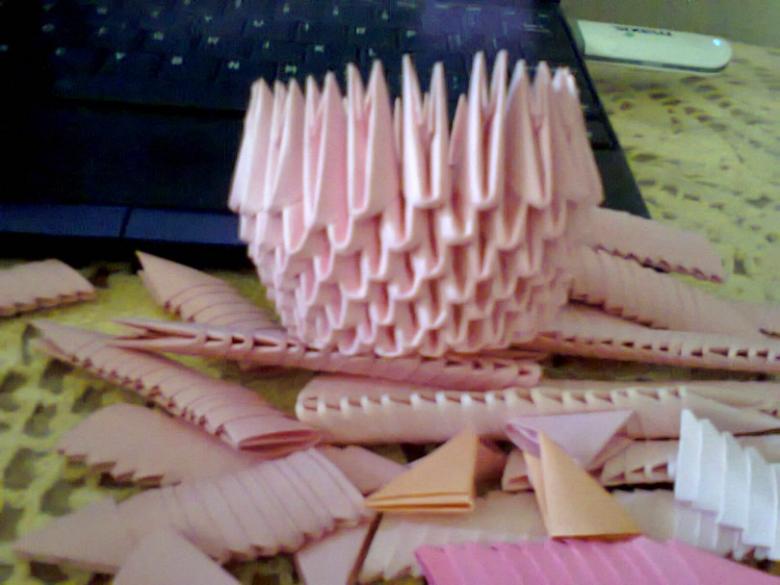
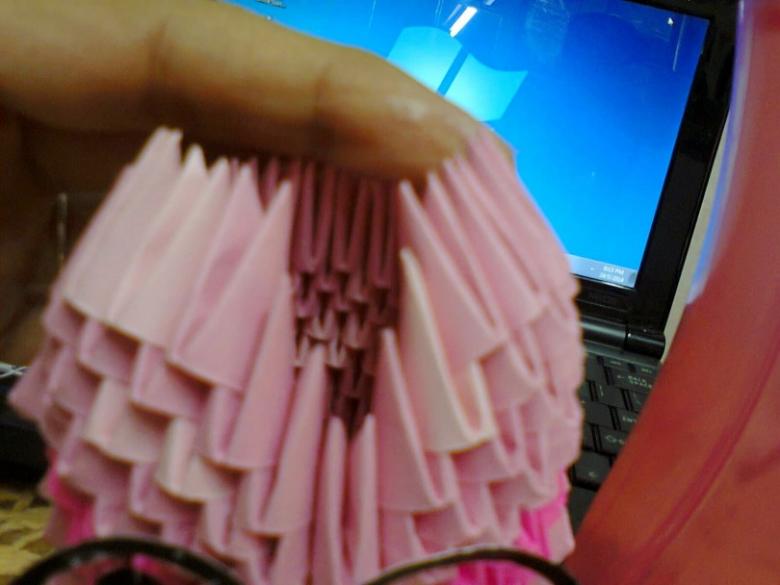
Assemble the bottom tier
To make the bottom tier of the model, which will hold the design, take five modules of the base color and glue them together. Glue should be those parts that are not disclosed. For this procedure can use PVA glue, but faster dense paper glue with a hot melt gun. Each attachment point should be clamped with a Chancellor's clamp and the date should dry well.
Assemble four of these sets and one set of three parts. The resulting dry parts to put the sharp ends together to form a circle. The junction of the sharp edges should be glued.
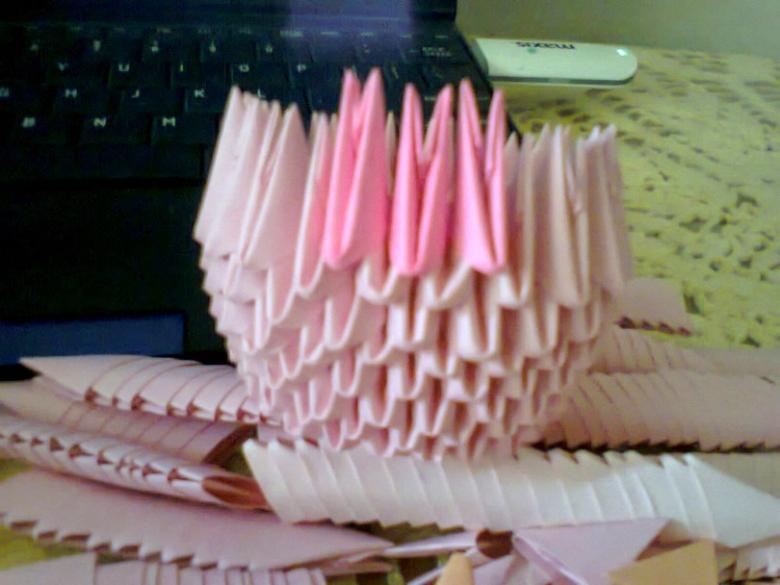
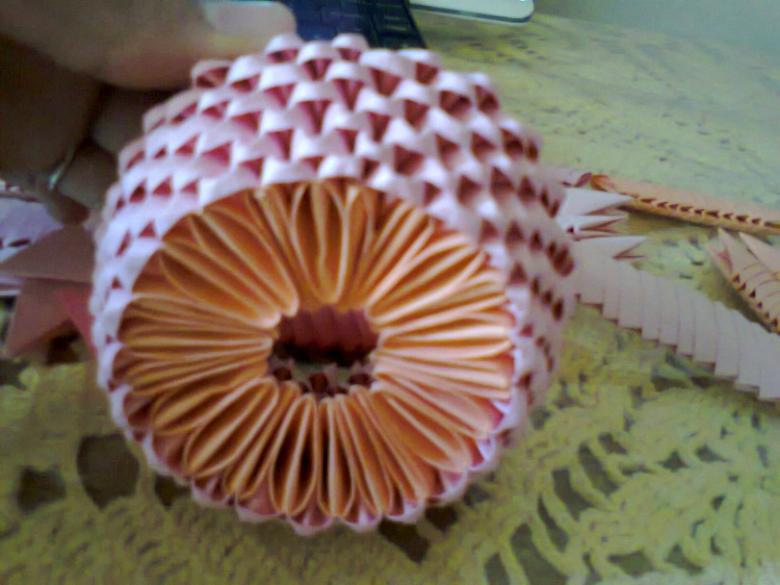
Assembling the next tiers
To create a second row of modular panel as origami owl need 19 blue and 9 white parts. They need to glue in a circle, forming a white belly owl;
For the third row need 10 white and 19 blue parts;
For the fourth row take 9 white and 19 blue modules;
After all the parts are glued, the whole structure should be slightly pressed down;
For the fifth row you need 20 blue modules and 8 white modules;
For the sixth row - 21 blue and 7 white;
For the seventh - 22 blue and 6 white;
The eighth row is made of 28 blue modules;
The ninth row (the neck of the future of the owl) is made of 28 blue parts, stacked flat;
The next five rows consist of 28 blue parts each, the modules are stacked as in the beginning.
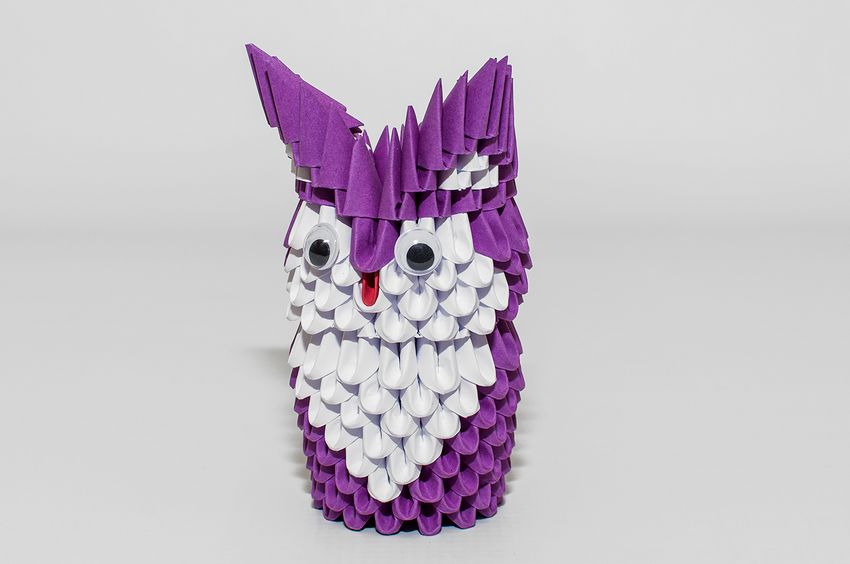
Tail and crest
To make the crest, take four blue modules. Connect two of them, put another piece on top (both at once). After the glue dries, attach another module to the bottom of the crest.

For the tail of the two connected modules put on top of the third.
Tail glue the crest of the head of the owl, attach the tail below.
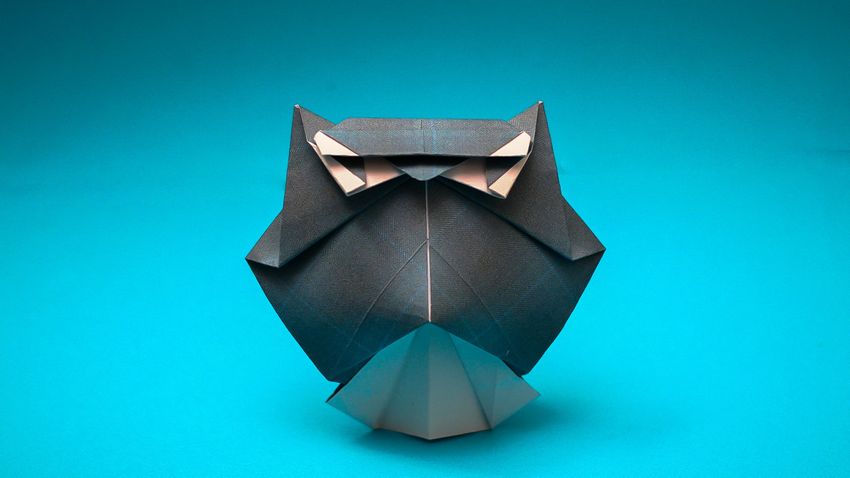
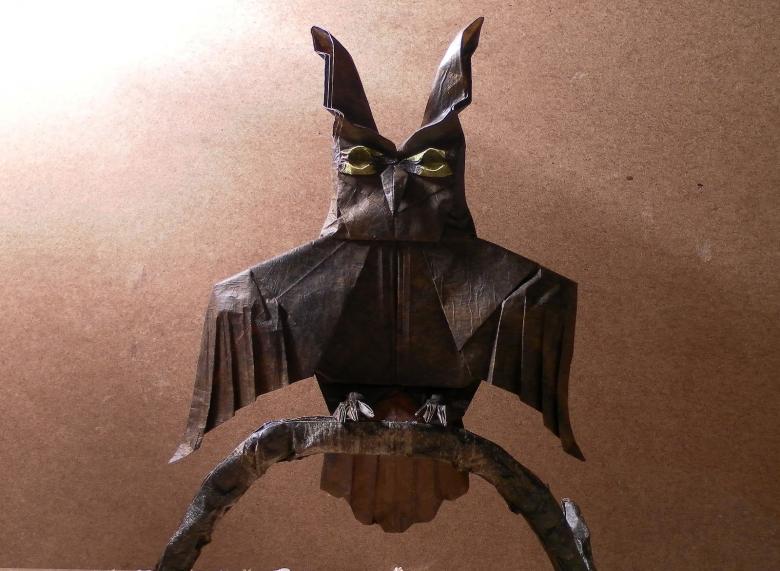
Wings and beak
Beak is a single module blank in yellow. Attach it to the middle of the head.
Wings can just draw over the finished product, you can cut them out of colored paper and draw the feathers on them. Those who are not tired of gluing modules, can perform the wings of the same. This method will take some time, but it looks the best.
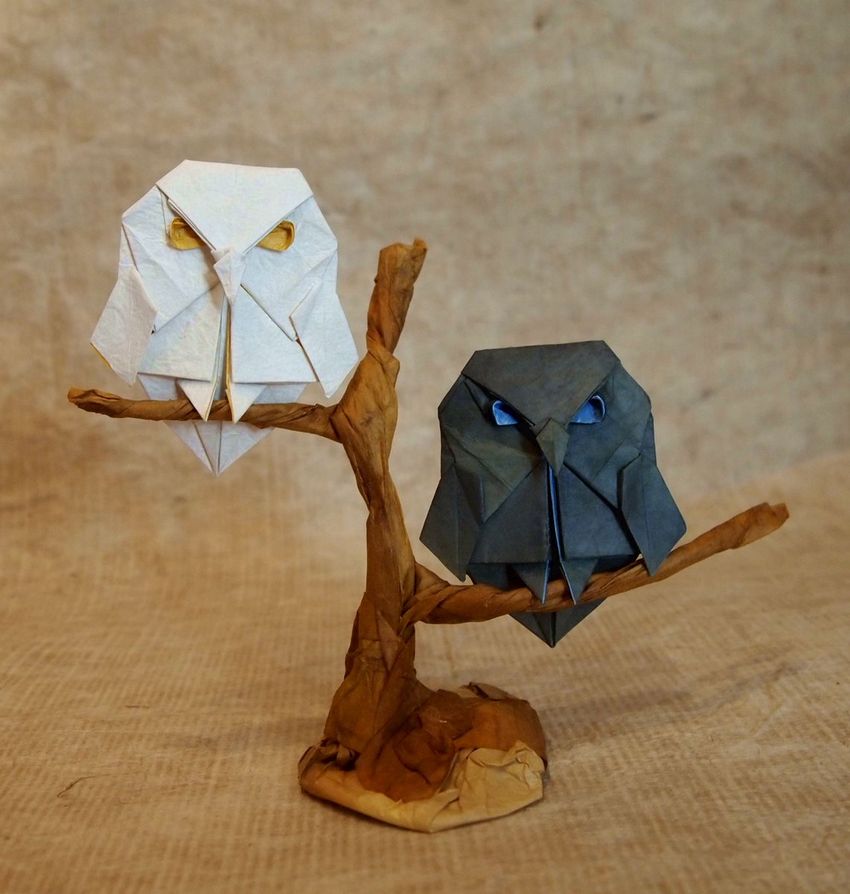
Eyes
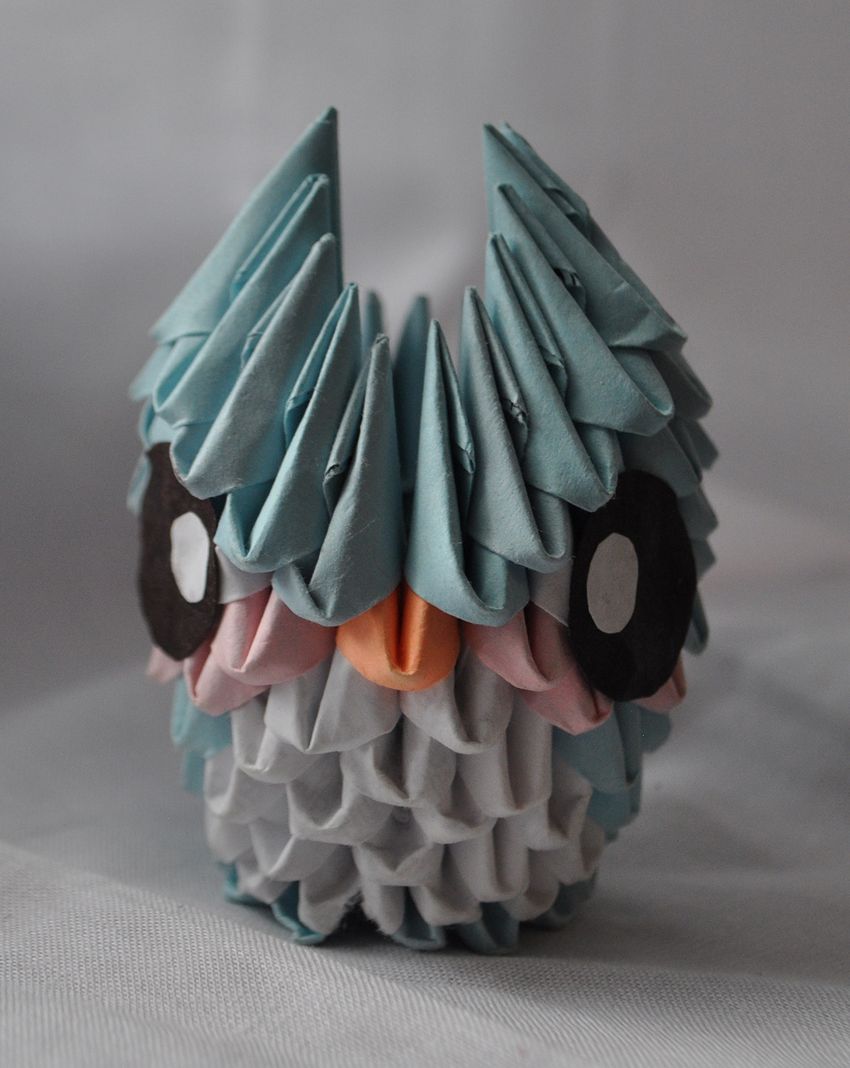
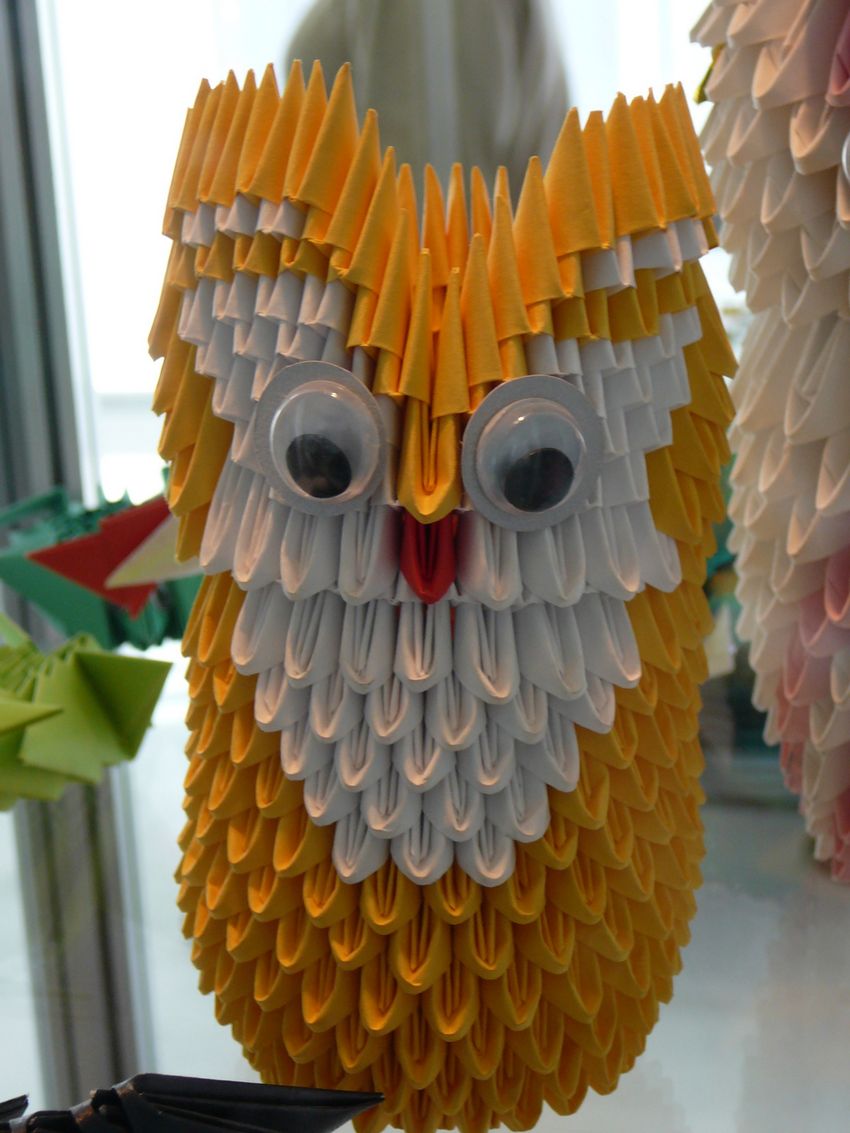
The eyes of the owl are cut out and white or yellow thick paper or cardboard. On a round blank eye glued a black circle of the pupil. The finished eyes are glued to the head of the owl.
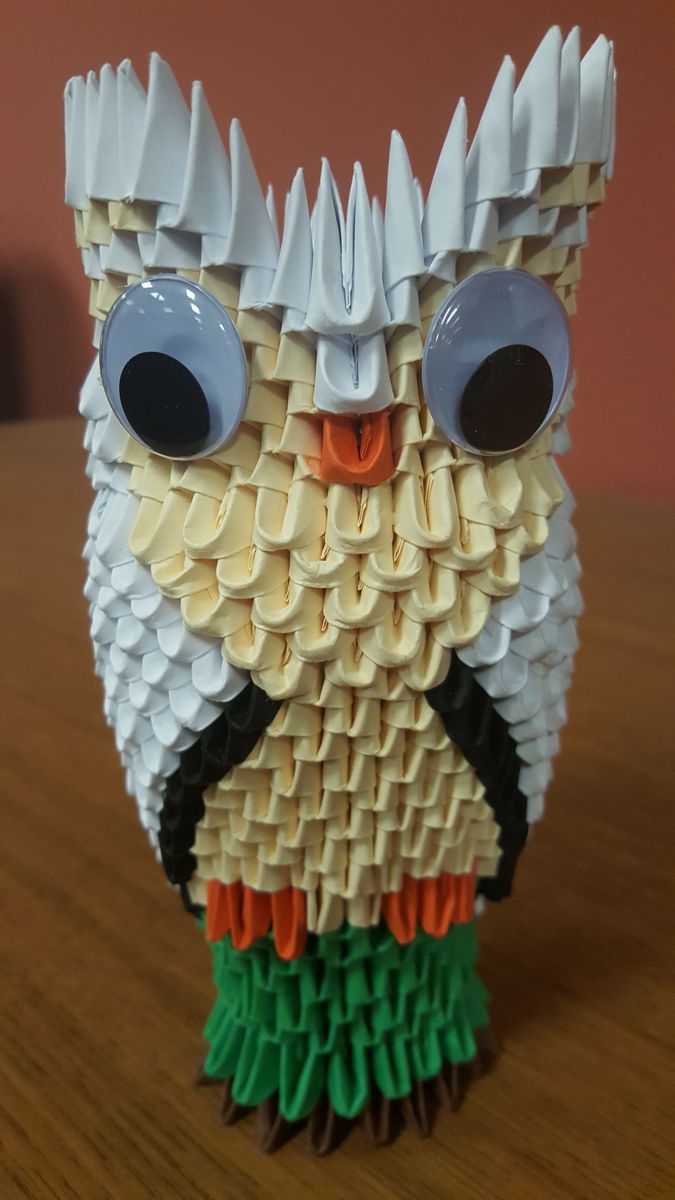
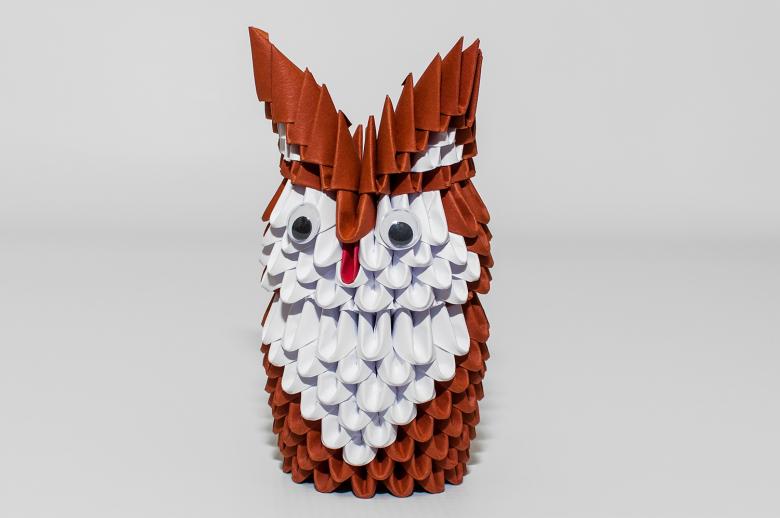
If desired, you can glue a doll's eyes made of plastic with rotating pupils.
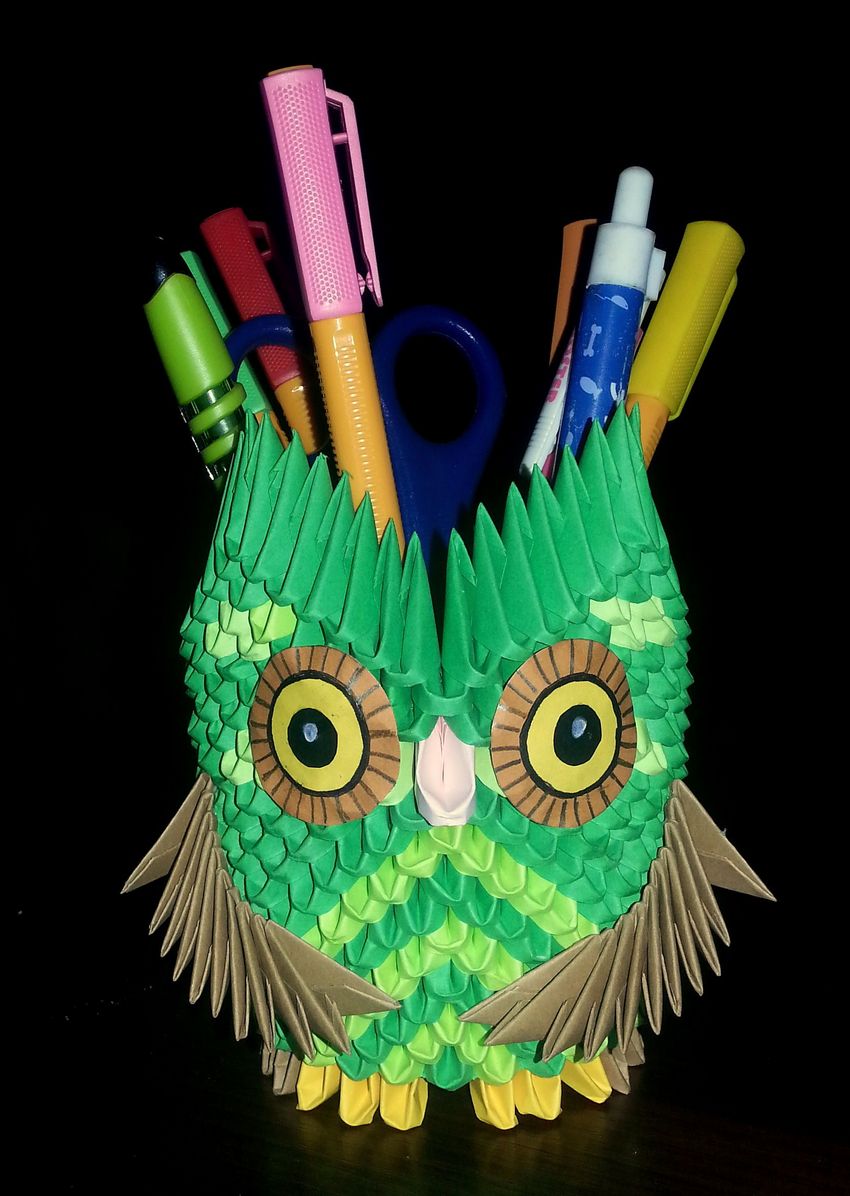
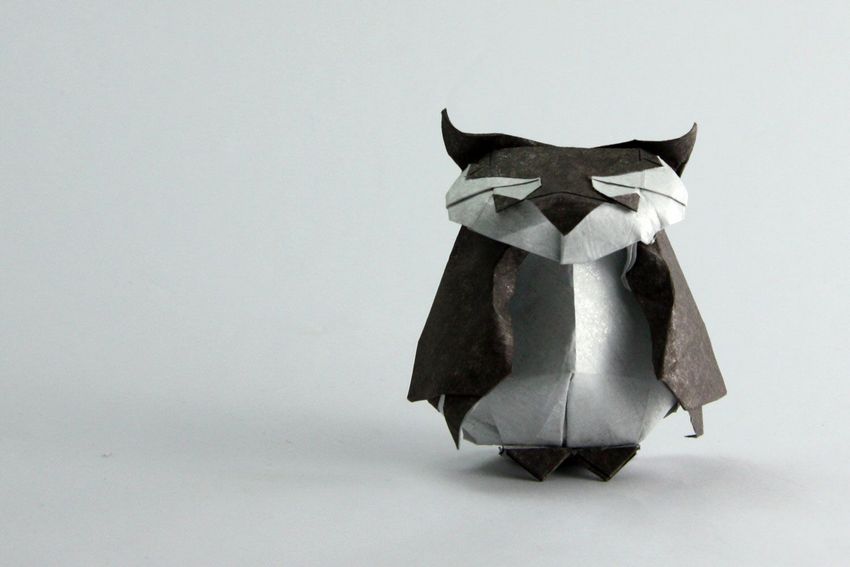
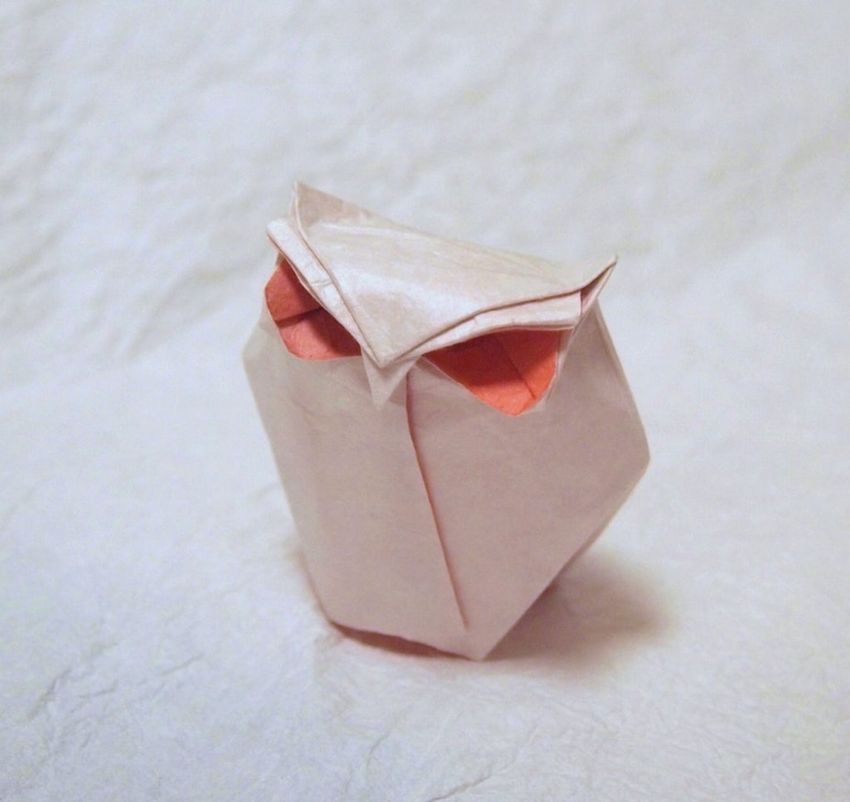
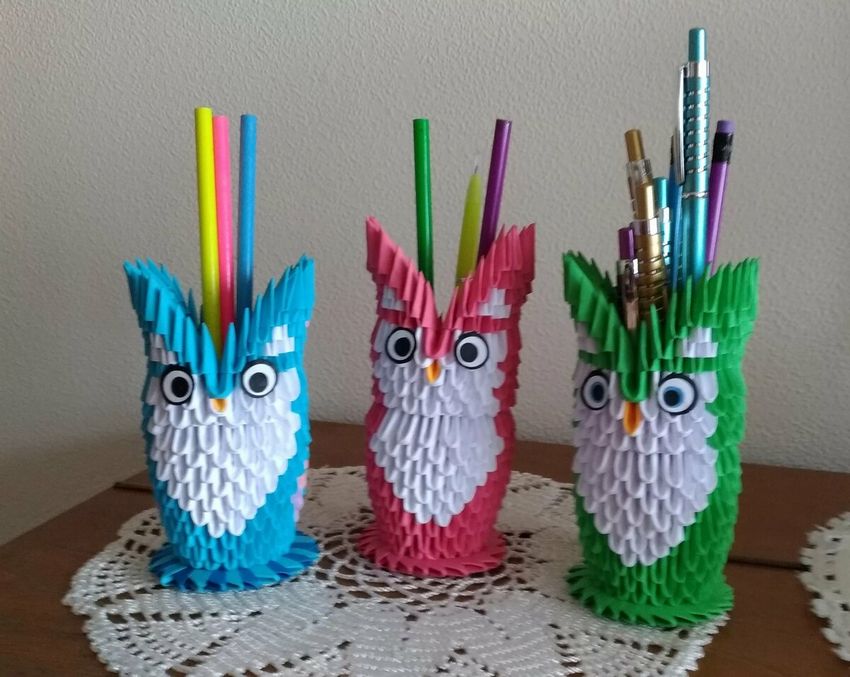
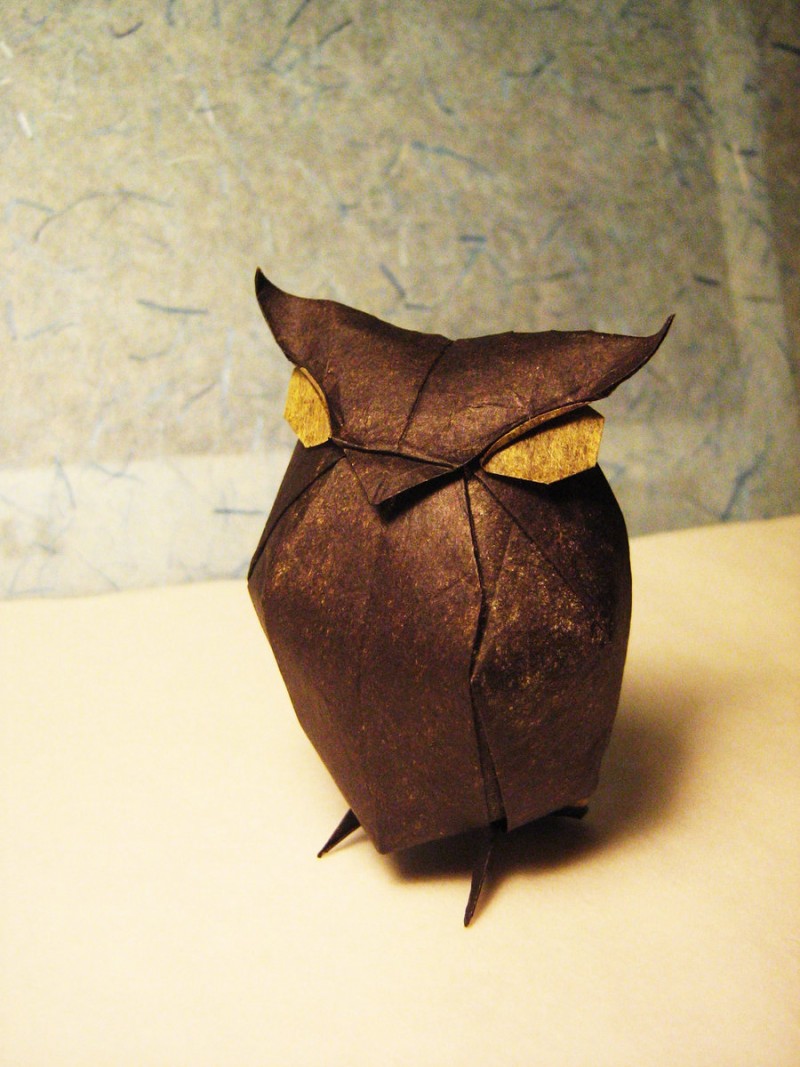
Finished origami owl out of modules can be used as a separate item of decoration or get a functional purpose. Since the inside of a hollow craft, if you do not close the modules top of the head, inside the craft can be put pencils and pens, and if you do from the modules of the top of the head-lid, you have a box for light things.
Be sure to try to make an owl out of paper themselves or together with children, you will love it!
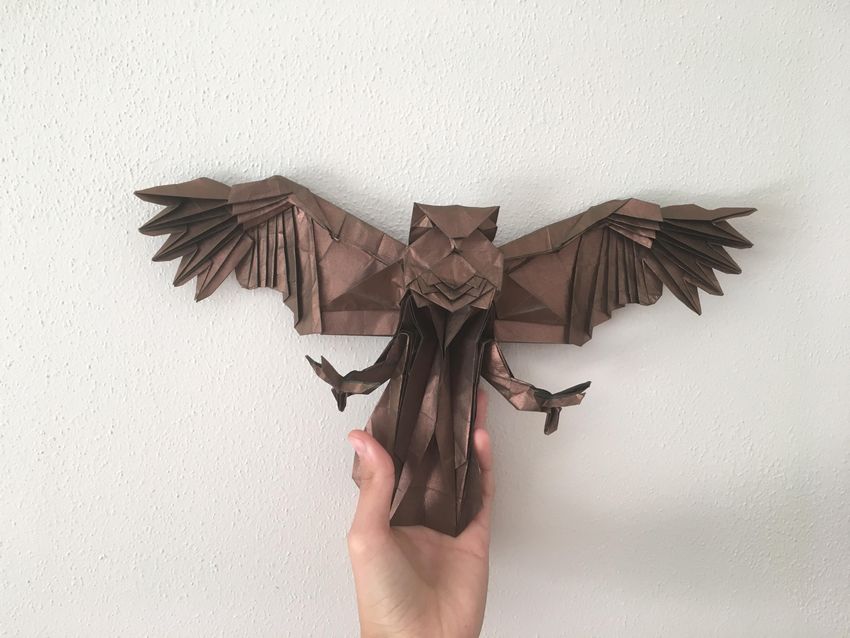
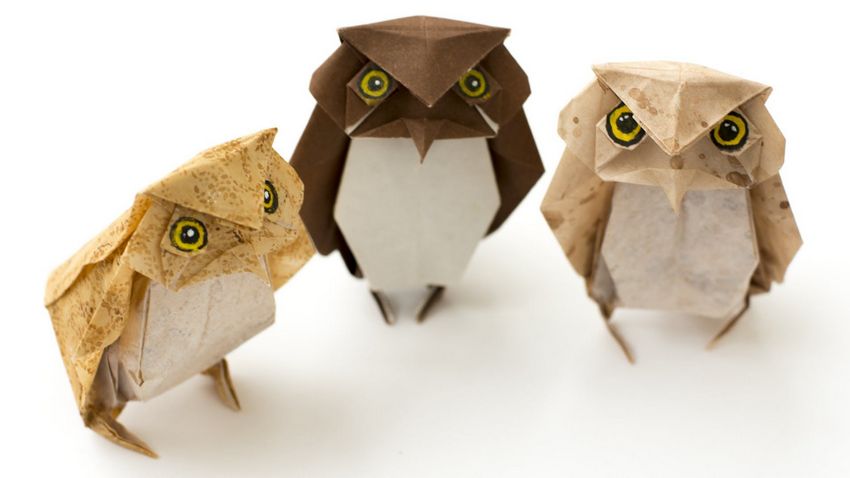
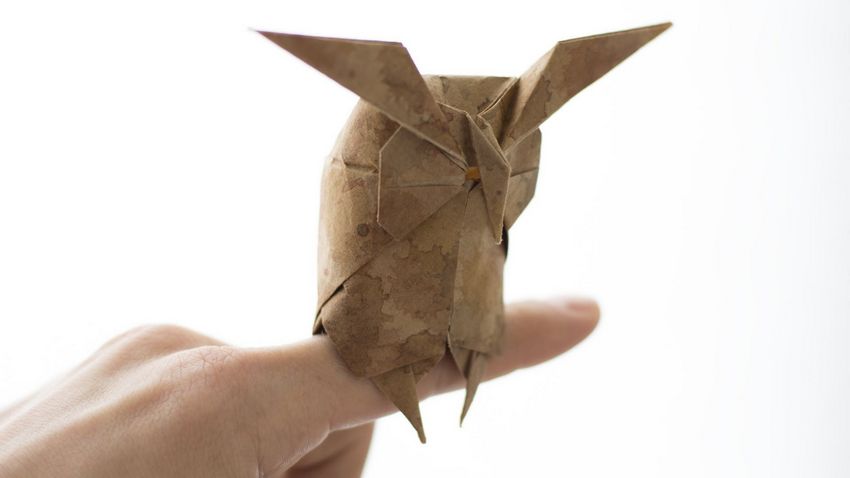
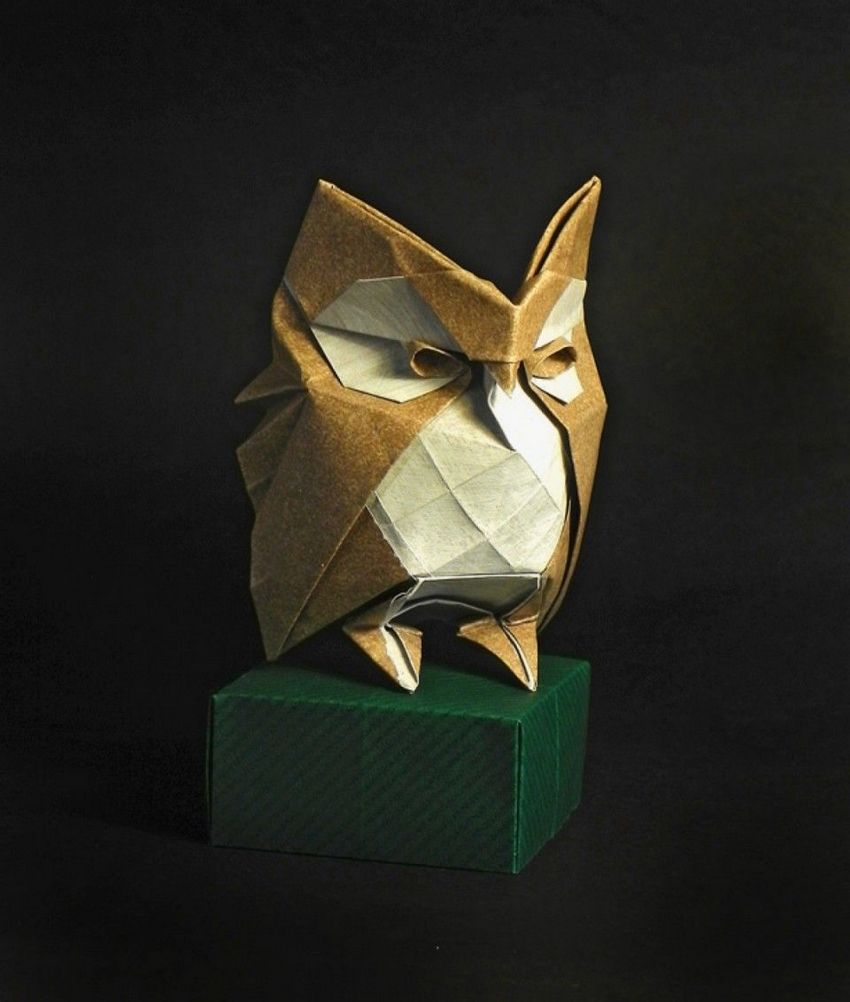
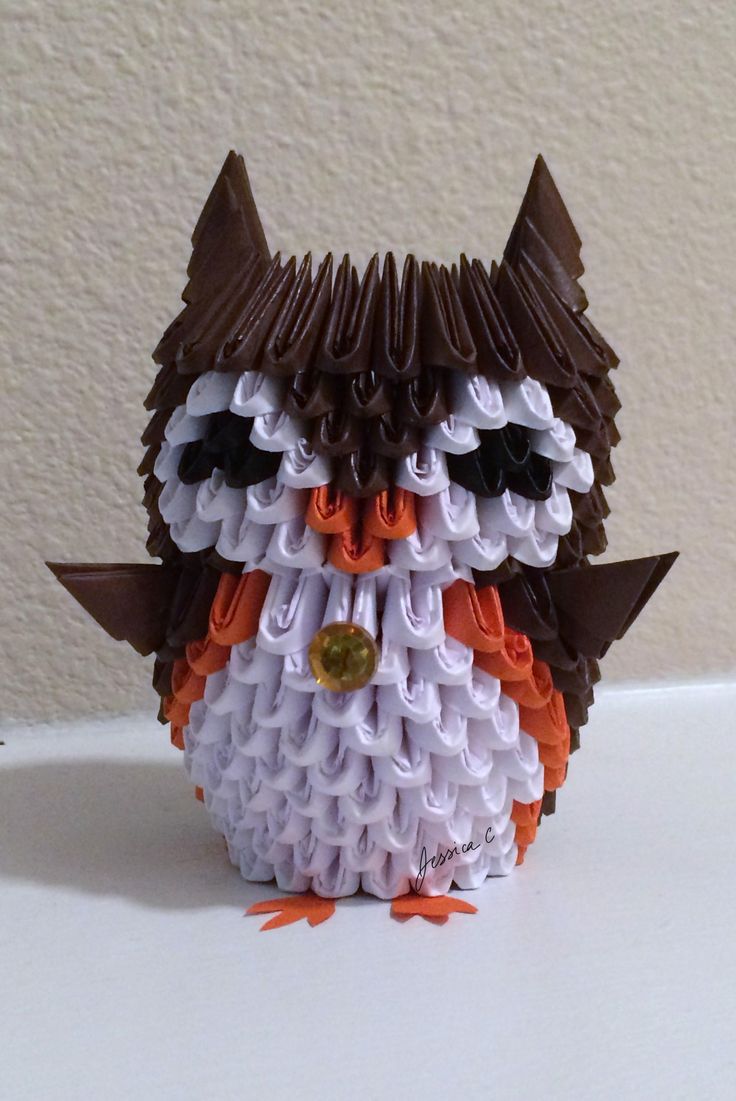
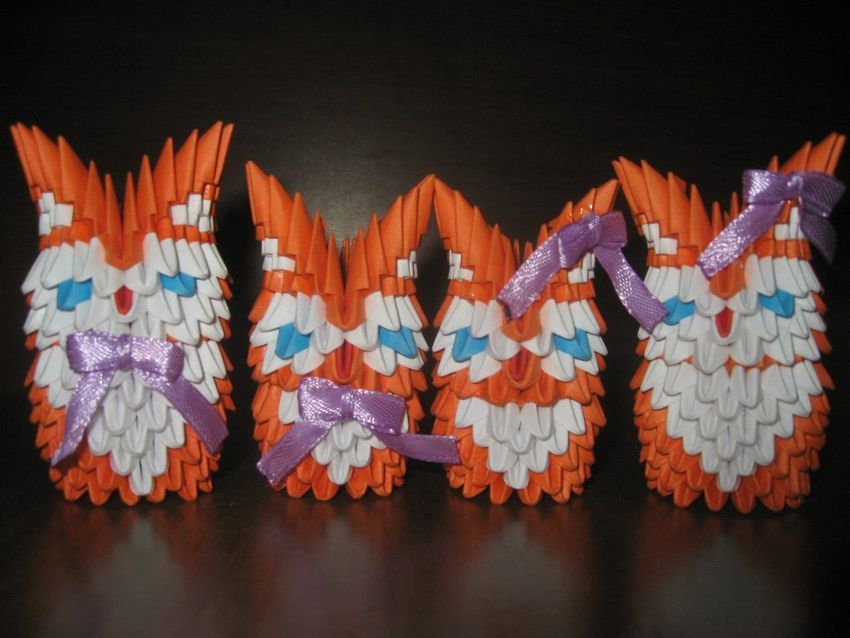
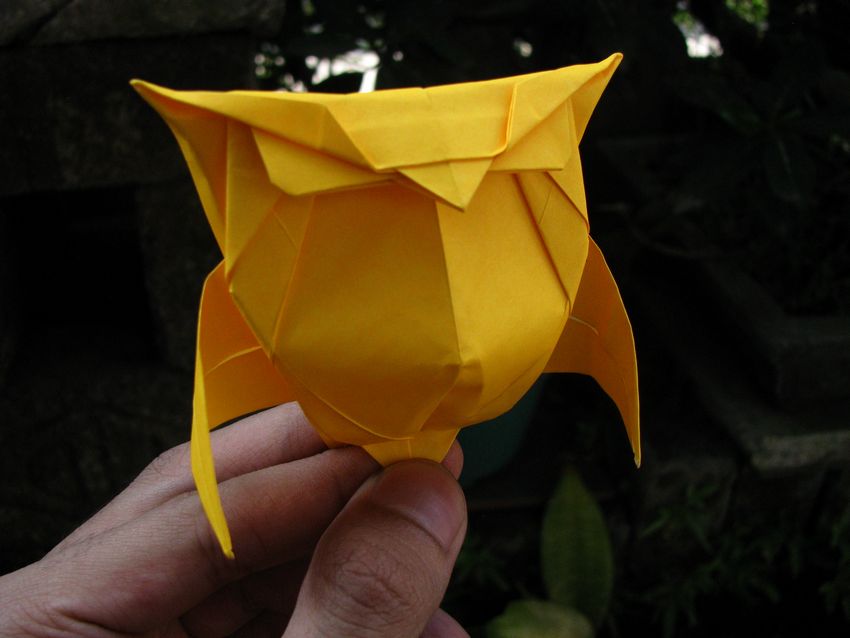
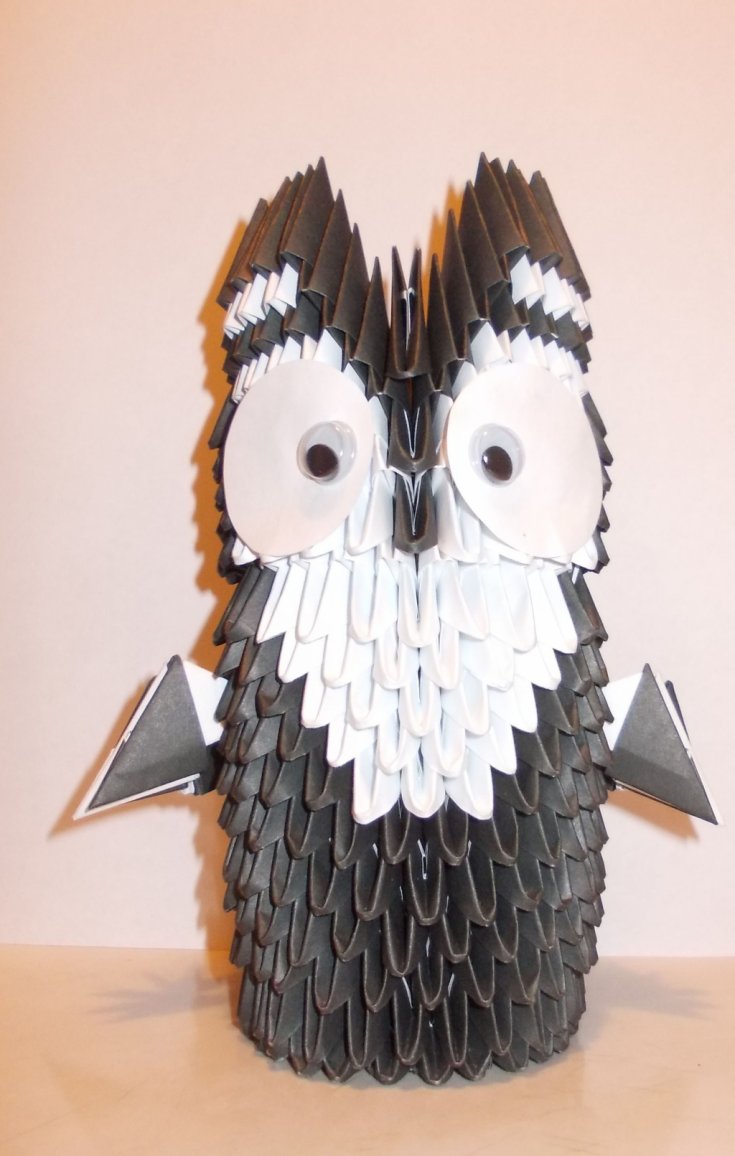
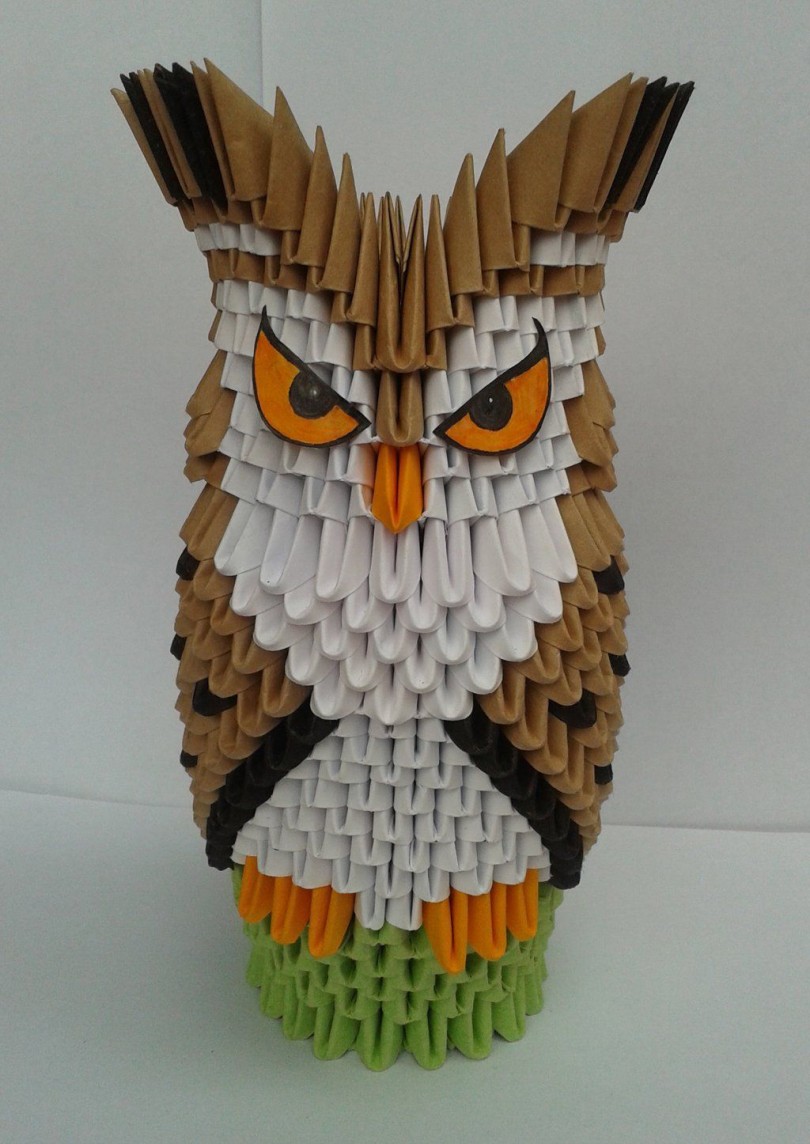
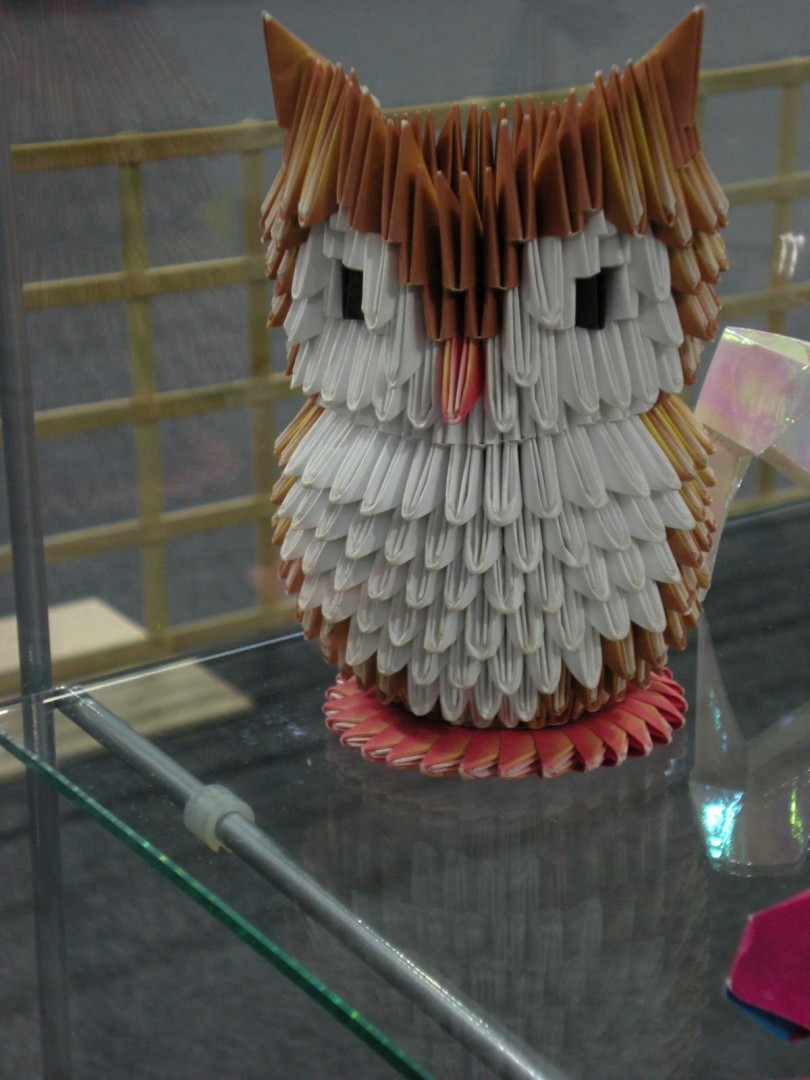
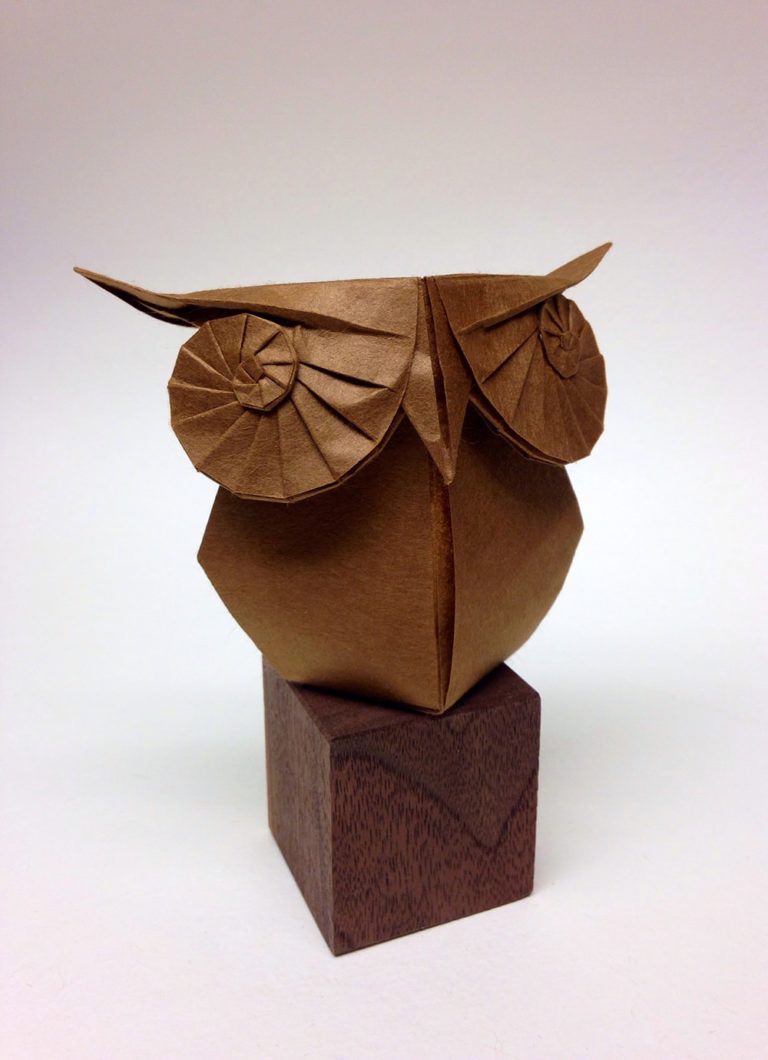
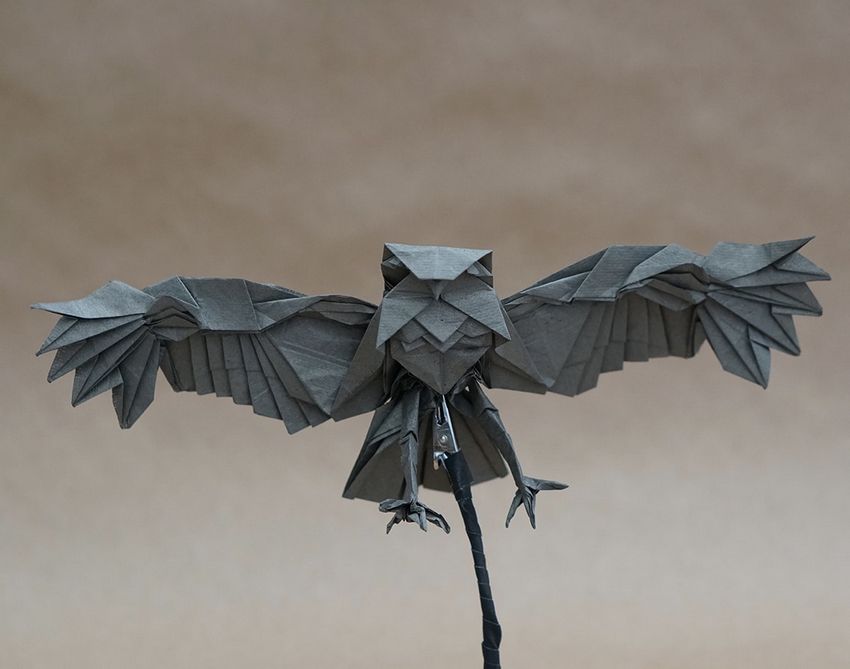
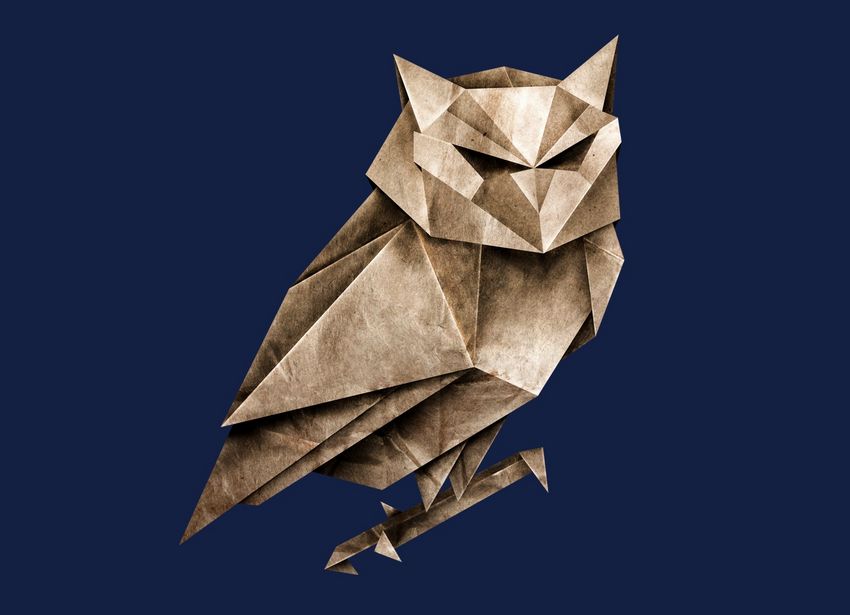
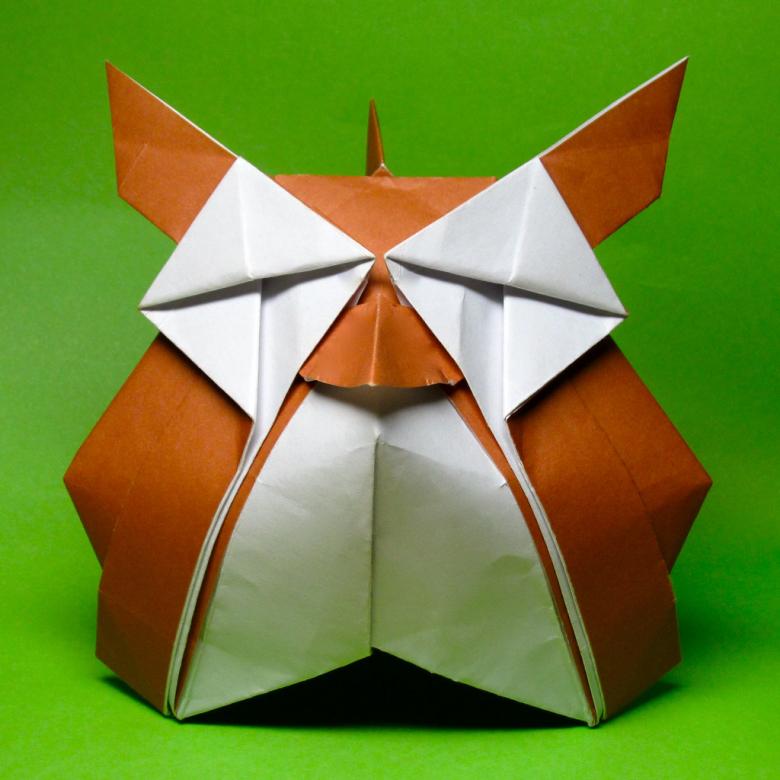
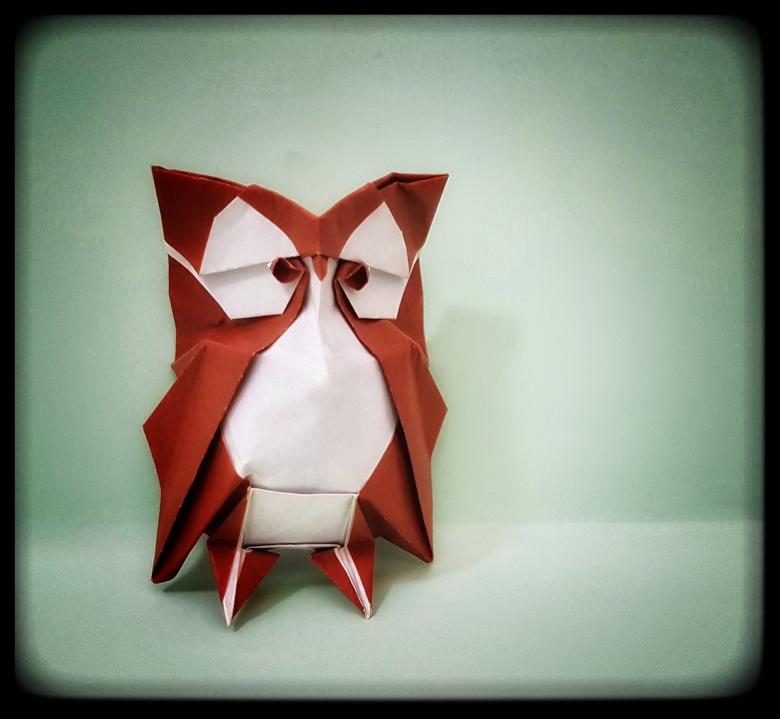
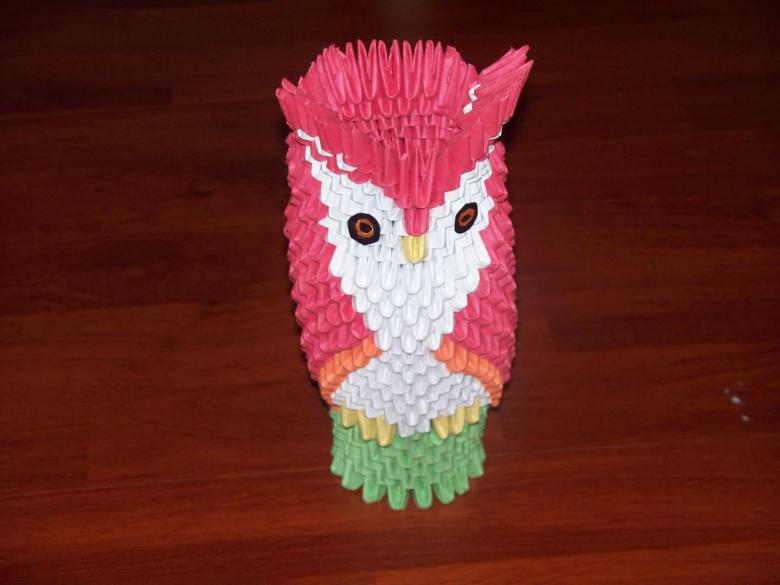
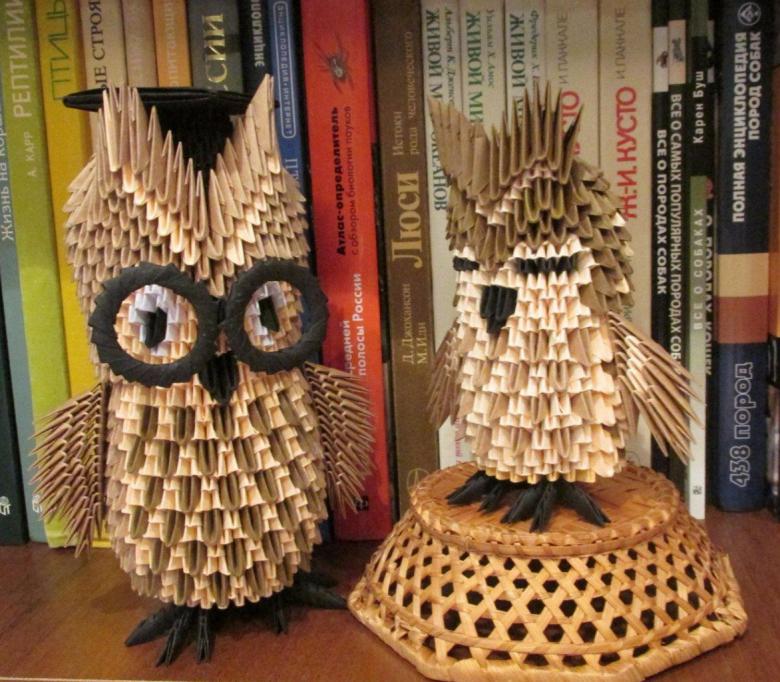
Photo ideas for creating origami owl with their own hands