How to sew a pillowcase for a pillowcase with your own hands - three simple 50x70 patterns, step by step guide, inspiring photos of work
Store counters abound with an assortment of bedding - for every taste and wallet, but there are two situations when skills to sew it are useful - if you need to save money, and when the room requires decoration in accordance with a certain design, and it is easier to make bedding in the right style with your own hands, than to look for suitable in the sale.
Before you master the technology, how to sew your own pillowcase, you should familiarize yourself with the list of necessary accessories and the rules of fabric selection, based on the purpose of the product, so that in the process of sewing there are no difficulties and hitches.
What you need to sew a pillowcase
In addition to the fabric, threads matching the color, and accessories will be needed:
- a sewing machine;
- tape measure and a tailor's ruler (when marking the cut of material it is more convenient to use than a regular one - it is wide and usually 1 m long);
- scissors;
- a crayon or a pencil;
- Pins for studding the cut workpieces to prevent the details from shifting when stitching;
- iron.

You will not need to make patterns on paper - it is enough to iron the material well, and then make the marks directly on the fabric, because in fact the pillowcases are sewn from two rectangles of fabric.

Choosing the fabric for pillowcases
If the pillowcase will be used as bed linen, you should take a cotton, breathable fabric - calico, sateen, calico, baize, flannel. If the purpose - a decorative cover, suitable linen, cambric, silk, satin, wool.
Pros and cons of materials:
- Cotton - affordable, easy to wash, easy to iron, durable, long-lasting, but after repeated washings the color fades;
- sateen - a durable, hard-wearing, smooth surface pleases the skin, does not fade for a long time, easy to care for, not deformed by regular washing, the ideal fabric for bed linen;
- linen - has a "cooling" effect, good for decorative cushions for a summer couch at the cottage, on which it is nice to take a nap in the afternoon in the heat, but very crumple;
- silk - looks beautiful in the product, but quickly loses its appearance from machine washing, so it is recommended for cushions that serve only as a decoration, not a bedding;
- cambric - an elegant fabric for decorative pillowcases, you can not sleep on such pillowcases - they quickly lose their appearance after washing and become thin;
- Wool - topical for pillow cases during the cold season; it provides dry warmth; it is good for colds and joint pains to rest on such pillow cases.

Designers recommend cushions with soft filling to be fitted with pillow-cases made of thin fabrics, so that it is comfortable to have a rest - they will easily follow the shape of the head and neck, and pillows with hard filling - in covers made of thick fabric. Examples - for an orthopedic pillow made of bamboo fiber will suit satin, for a pillow stuffed with feather and down - chintz.
How to calculate the metreage of the fabric
Monochrome materials and materials with a fine pattern - taken with allowance for seam allowance. If the fabric has a large print (flowers, geometric shapes, toys, cartoon characters, etc.), you should take into account that the images should match at the joints, and fully fit on each of the two sides of the pillow.

It will not be aesthetically pleasing if in the corner of Winnie the Pooh's muzzle will be only half a nose and one eye, and the flower will have only one stem sticking out.
Methods of making and sewing pillowcases for three simple, comfortable models
For all three options, the general principle is to cut two rectangular-shaped parts to the size of the pillow with seam allowances and double tucks on the edges, so that they have a neat, trimmed look.
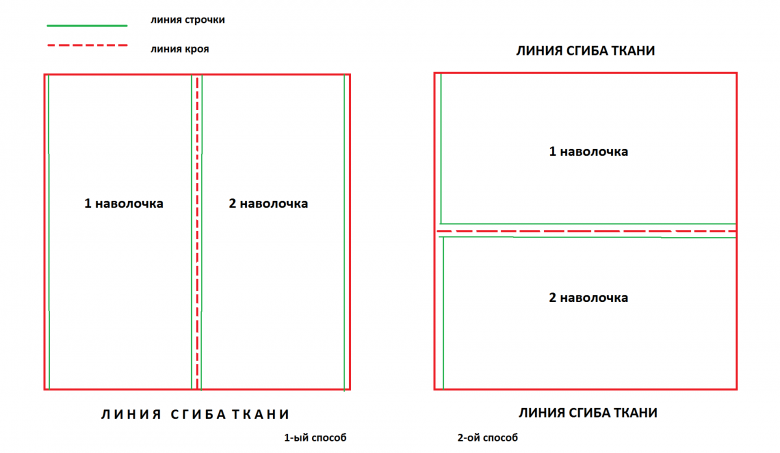
Depending on the purpose of the product (for sleep - as bedding, or as a decoration item for sofa cushions and douches), the pillowcase can be sewn in three styles, which are described in detail below.

With a scoop
For this, the length of one of the two rectangular parts of the product is added centimeters for the flap (in principle, it can be sewn as a separate detail, but whole-cut - easier to perform). An example of how to cut out and sew a pillowcase with a scoop for a pillow with the size of 50 x 70 cm:
- with a crayon or pencil to draw two parts - one 50 cm wide and 70 cm long, the second - 50 cm wide and 100 cm long (30 cm - on the flap) on a flat spread on a hard surface of the fabric;
- on all four sides of each piece to cut out plus 1,5-2,0 cm on the seams;
- Cut out two parts with scissors, one of which has a width of 53-54 cm (50 cm + 1.5-2.0 cm on the seams on both sides) and a length of 73-74 cm, the second (which will be patched) - respectively 53-54 cm and 103-104 cm
Now you can proceed directly to sewing. Here's how to sew a pillowcase for such a pillow step by step:
- Each of the two parts around the perimeter of the sewing machine "zigzag" (sweep), so that the edges inside the product will not unravel in the process of washing and ironing.
- Attach both parts to each other with the right side facing outwards, aligning the width, which means that one part will protrude over the edge of the other on the length of the patent flap, fasten them with pins.
- Sew the parts to each other on three sides - the two lengths and width, and the length of the stitching and overlapped edges of the flap.
- Fold up the edge of the flap twice on the wrong side - and neatly stitch.

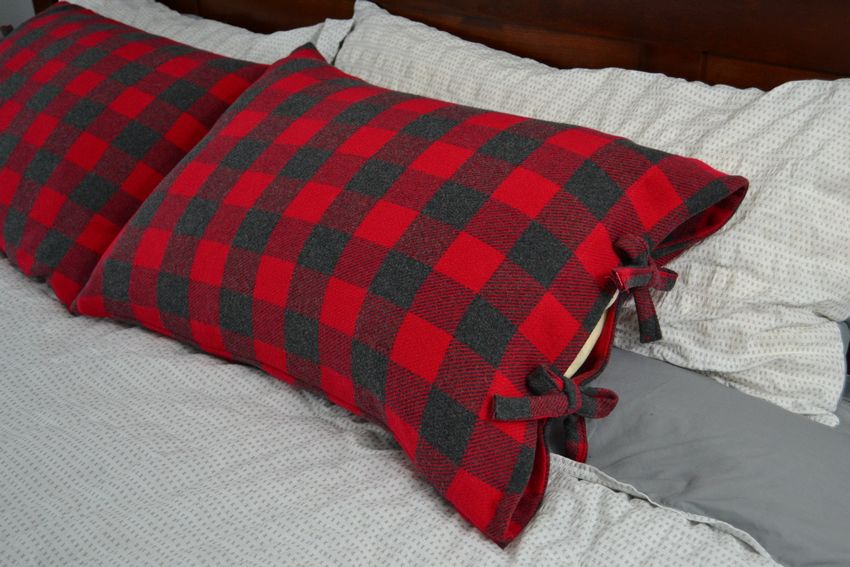
Pillowcase with a smell is ready, you need to turn it out the front side, straighten the corners, seams and iron. If you want - you can sew a narrow satin ribbon on the flap and on the pillowcase - the same overlay loop: so it will not be dislodged, and the pillow will be decorated with a bow.

If the cover is for a sofa cushion, you can sew a special fixing velcro on the inside of it.

Buttoned.
The first option: the basis for the previous model with a seamed flap. Two slits for the buttonholes are made on the flap and sewn on the sewing machine, buttons are sewn on the pillowcase (or sewing buttons are installed, sold in hardware stores for needlework).
The second option - the pillowcase is cut according to the example of the one with a scoop, but both parts are the same length. Buttons or buttons are installed on the edges of the sides. It is also possible to make decorative braid buttonholes.

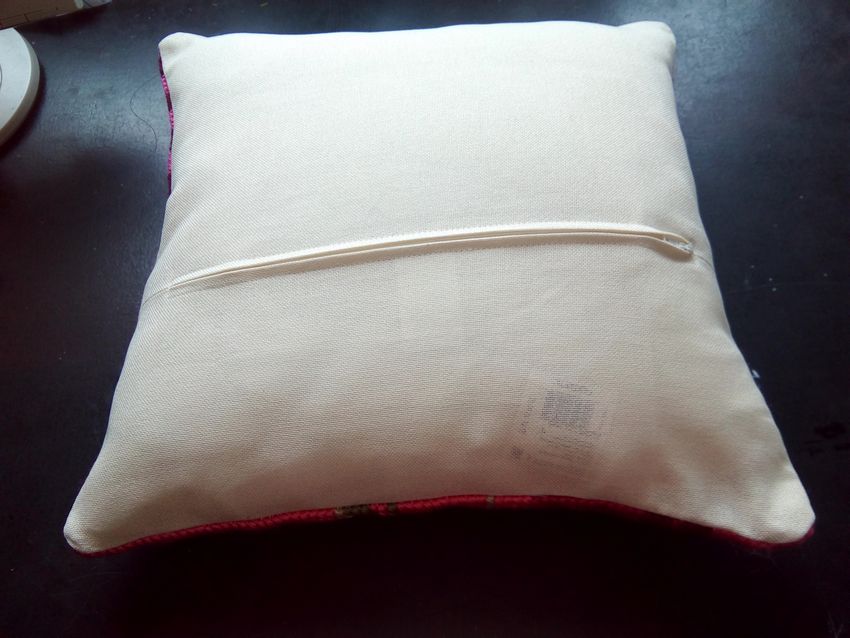
With a zipper.
This model is suitable for covers on sofa cushions and doormats - they will definitely not be knocked down during active use, they are also practical for cushions and thick bedding for pets.

Details are cut out the same, on the edges, to which will be sewed zipper, it is necessary to make an additional allowance of 5 cm for stitching a zipper. The zipper should be 4-5 cm shorter than the side where it is installed.

To install a zipper:
- having turned the cover inside out, with pins pin to the edges of the hole sides of an unzipped zipper so that its teeth look up (when the product will turn out the right side, the teeth will be directed inside, the zipper will close flush);
- Sew on the zipper with the usual stitching or with a special foot for sewing in, giving 2-2,5 cm from the edges of the cover;
- Remove the pins.
Turn the cover inside out, iron it and put it on the cushion.

The above methods can be used not only to make rectangular pillowcases and covers - this is the way out when the pillow has a non-standard shape and size. For example, cushions for pregnant women, shaped cushions for children, cushions on the seats of stools and chairs.
It is advisable to sew from pre-soaked and dried fabric so that it gives shrinkage, or to make a pillowcase slightly larger than the pillow. Sewing a single piece will take no more than a couple of hours from the start of cutting to the moment it can be used.
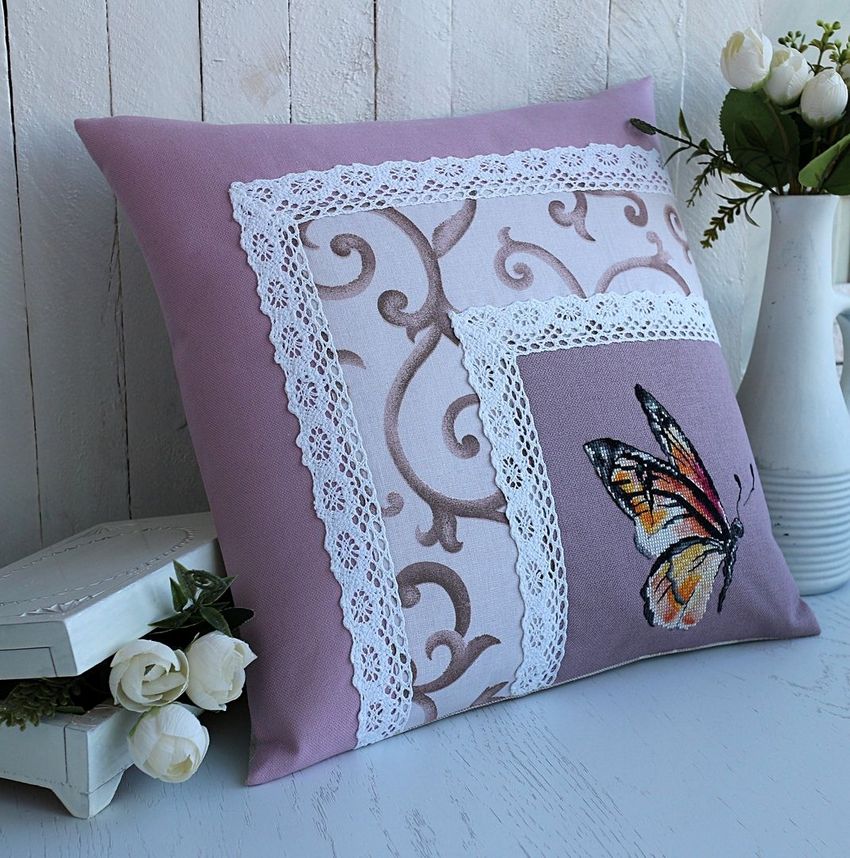
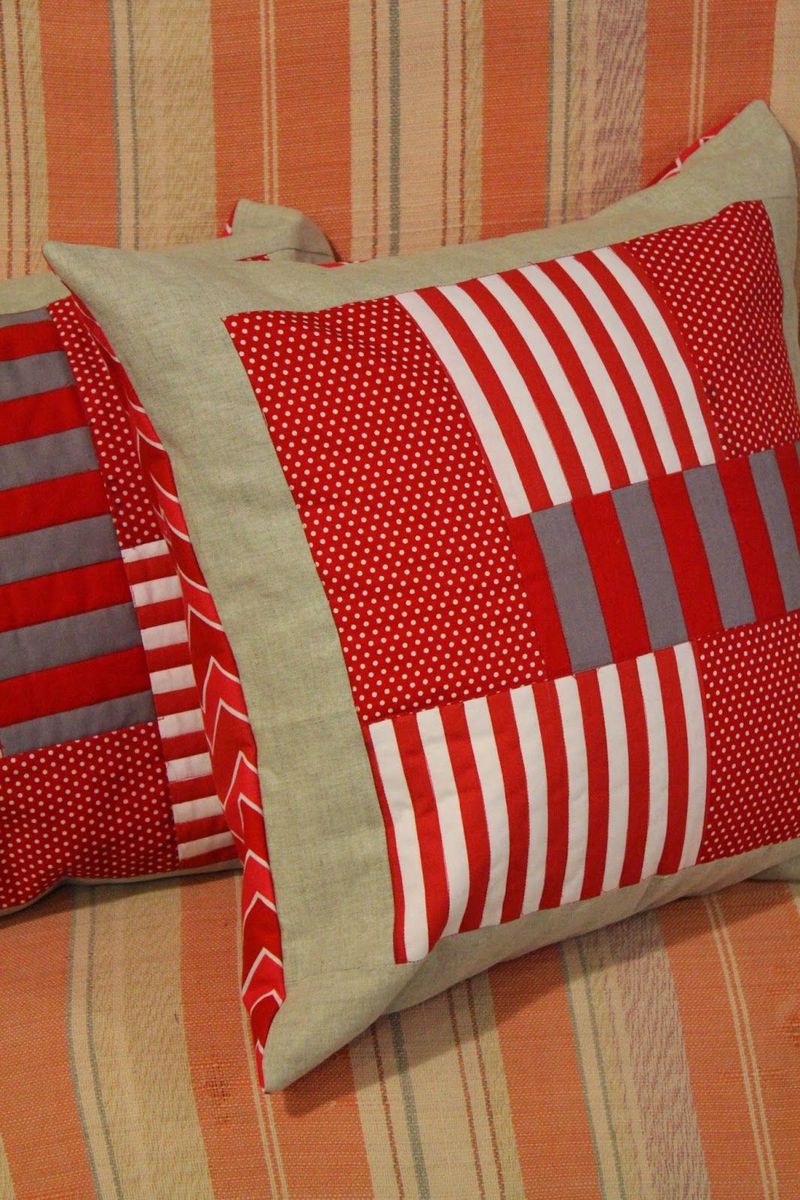
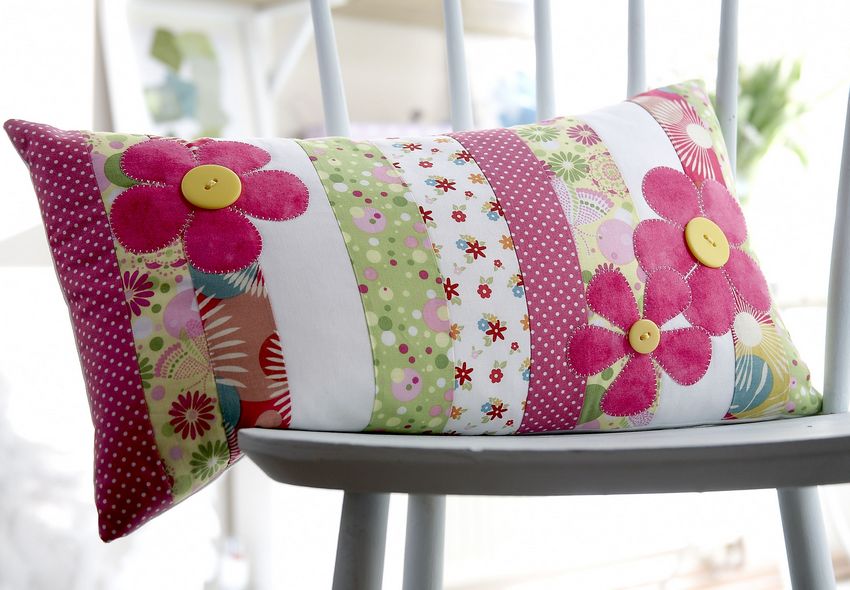
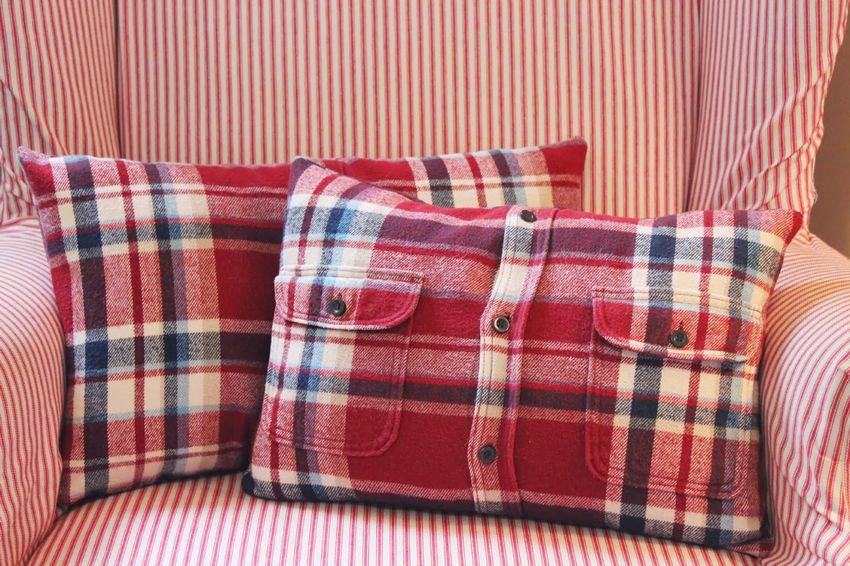
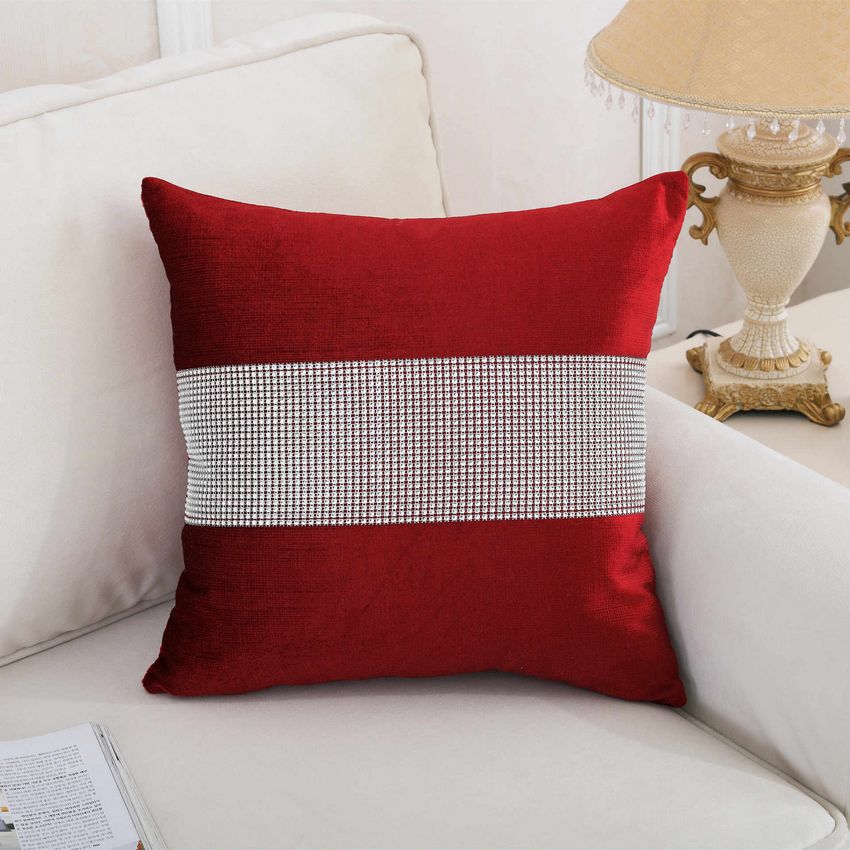
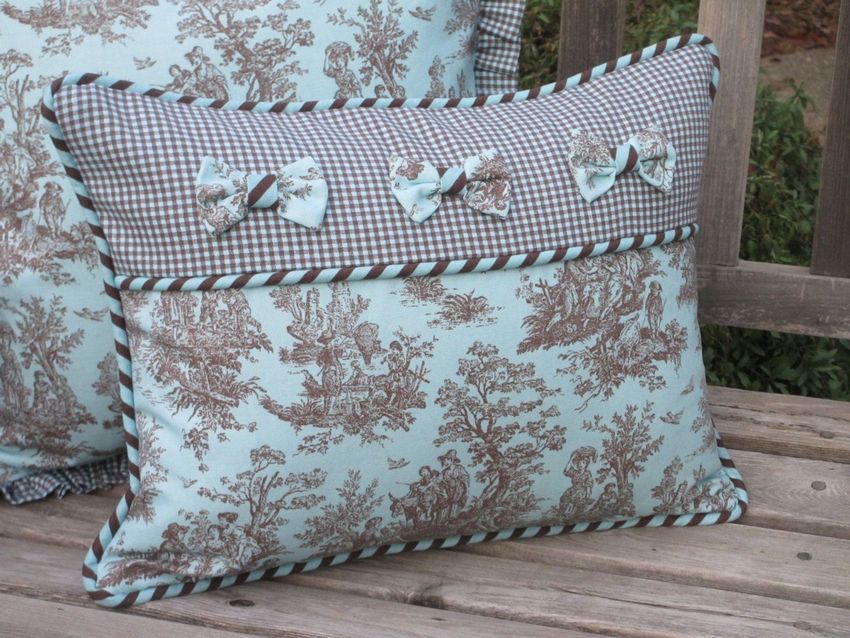
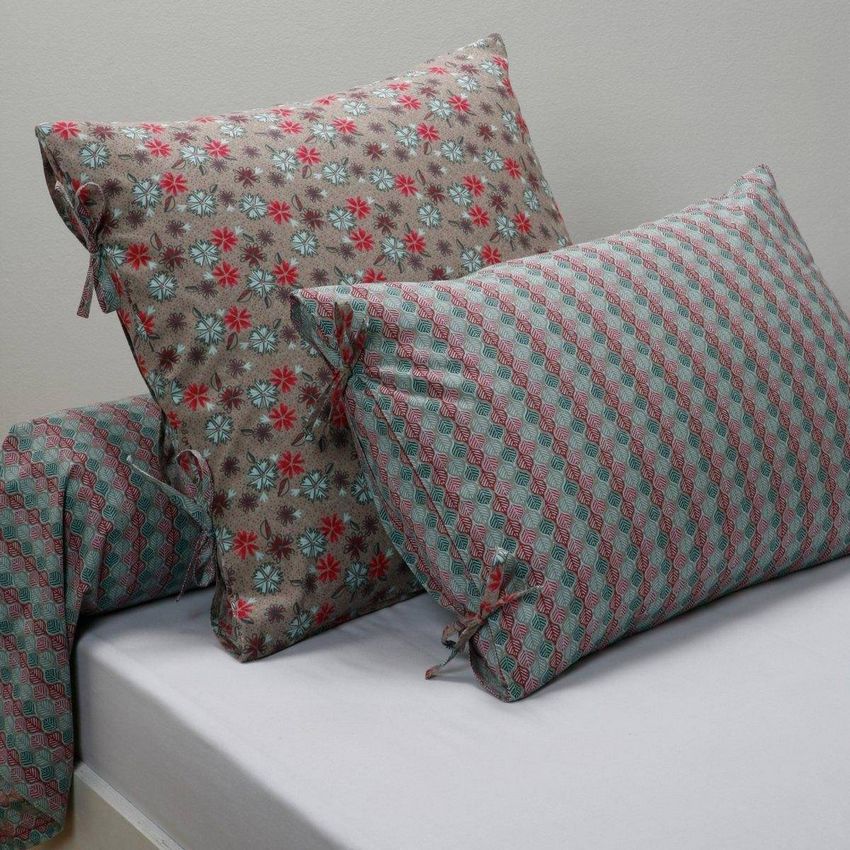
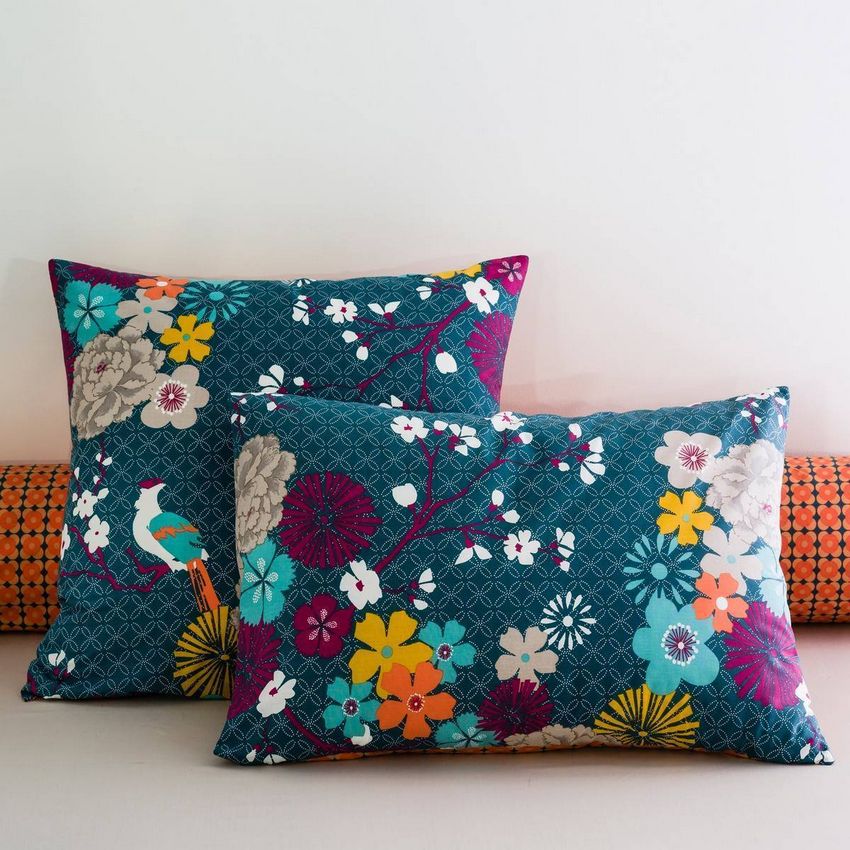
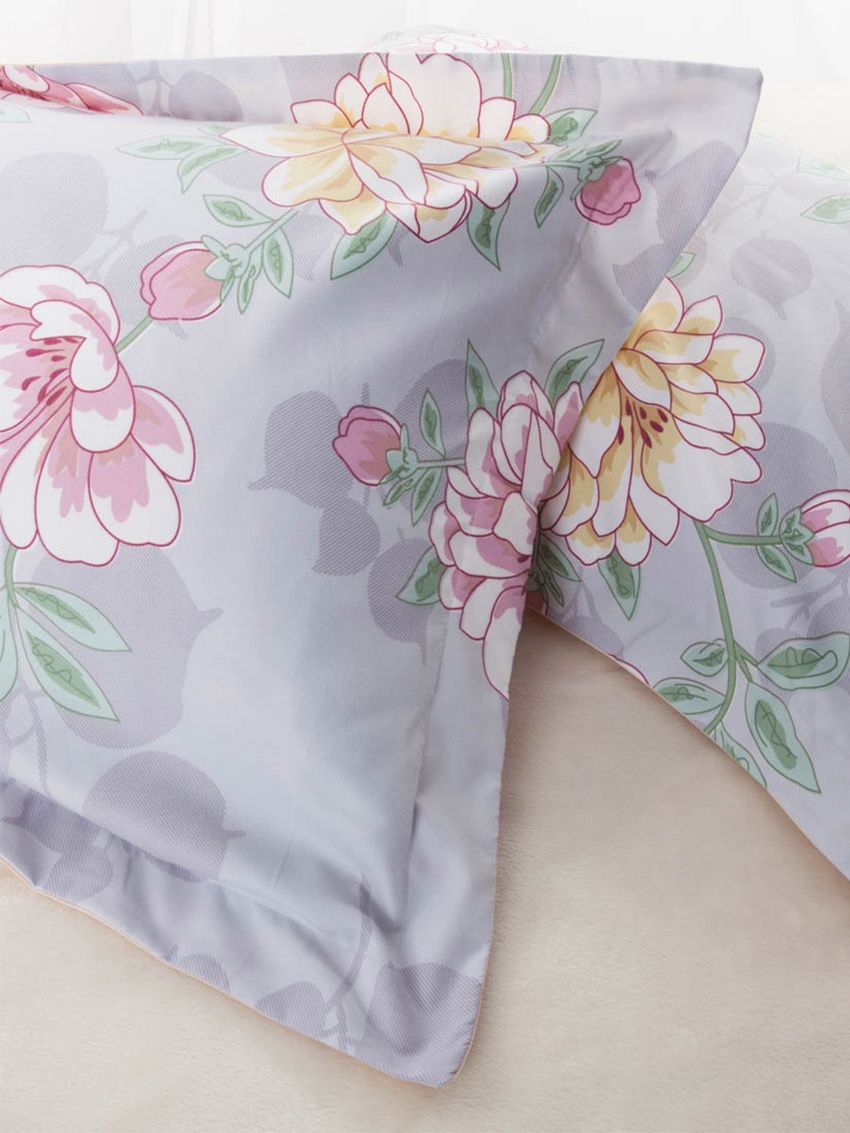
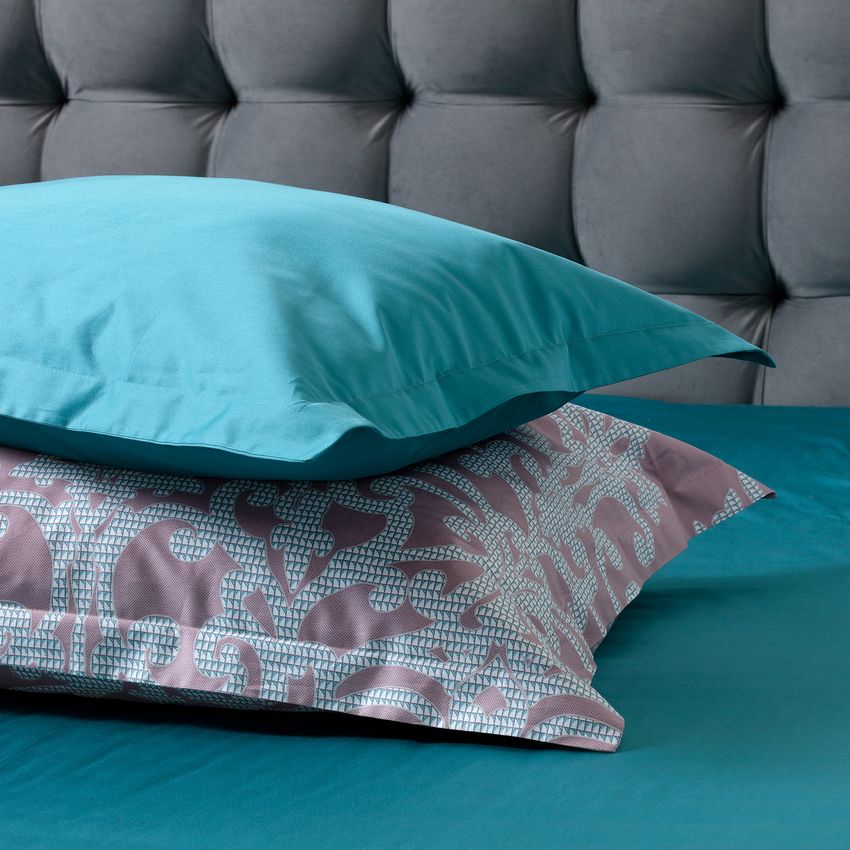
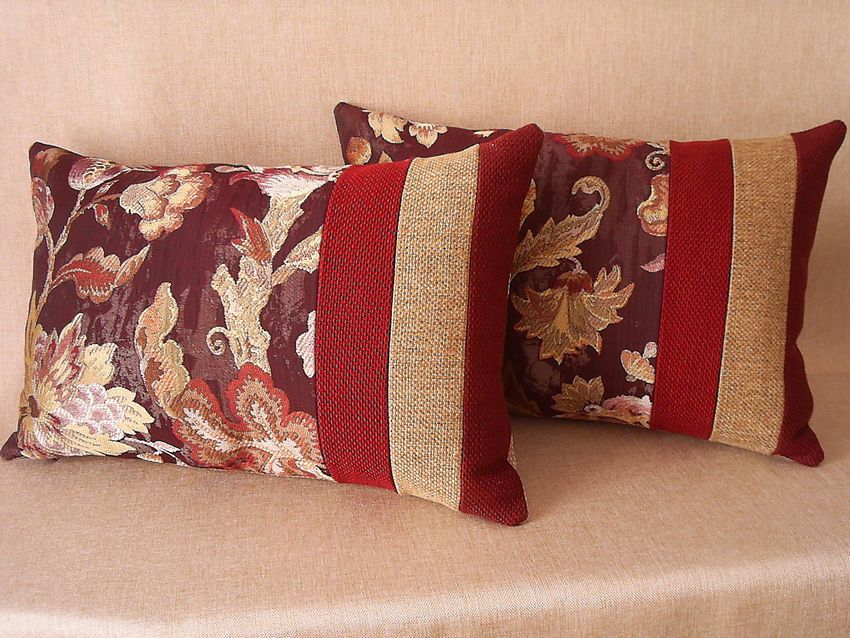
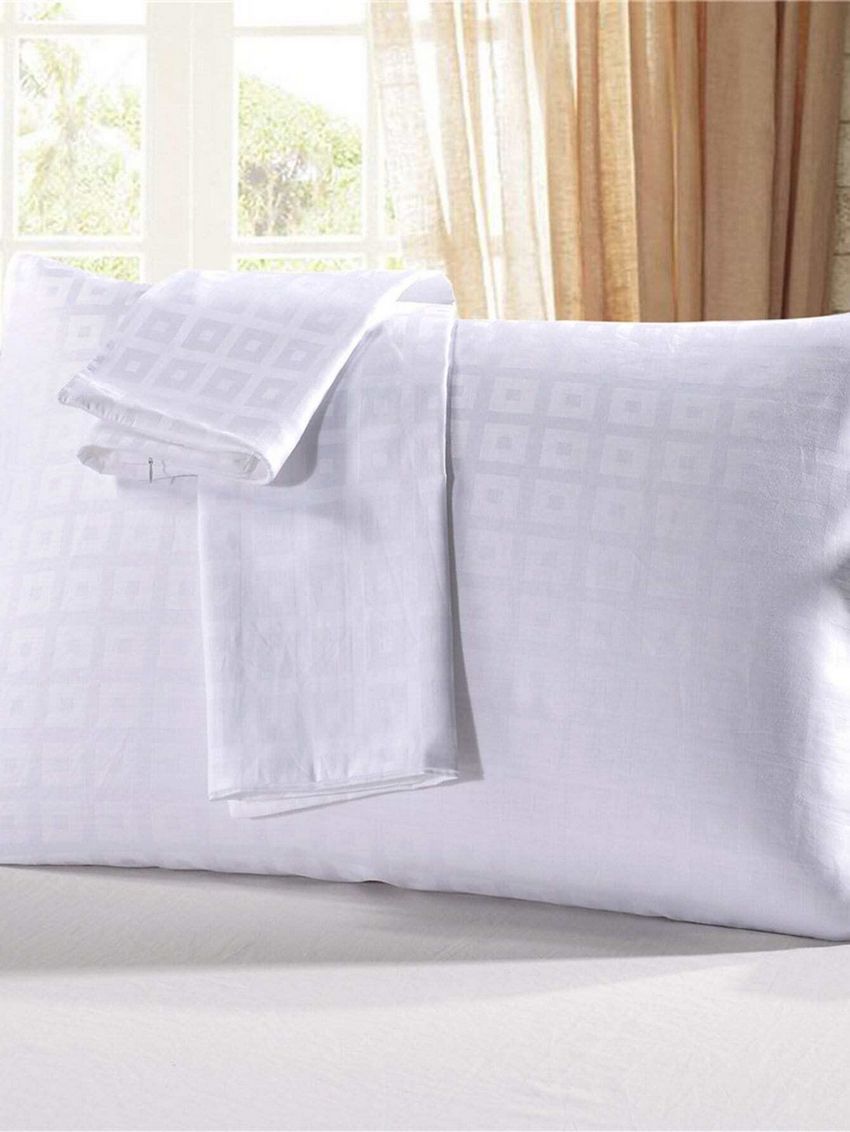
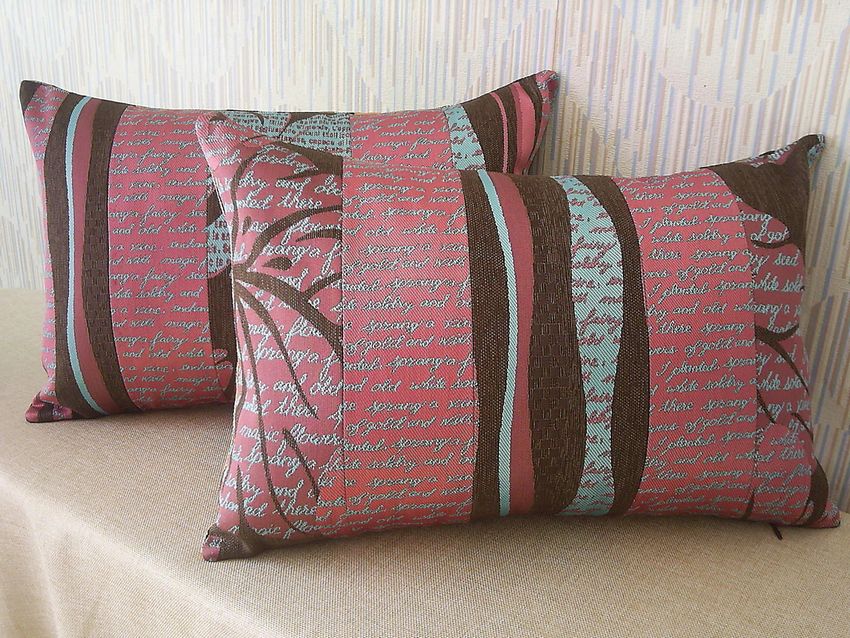
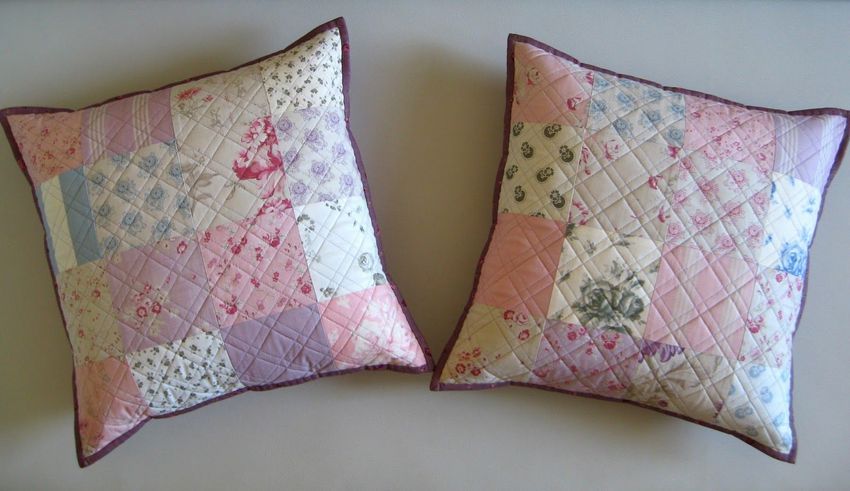
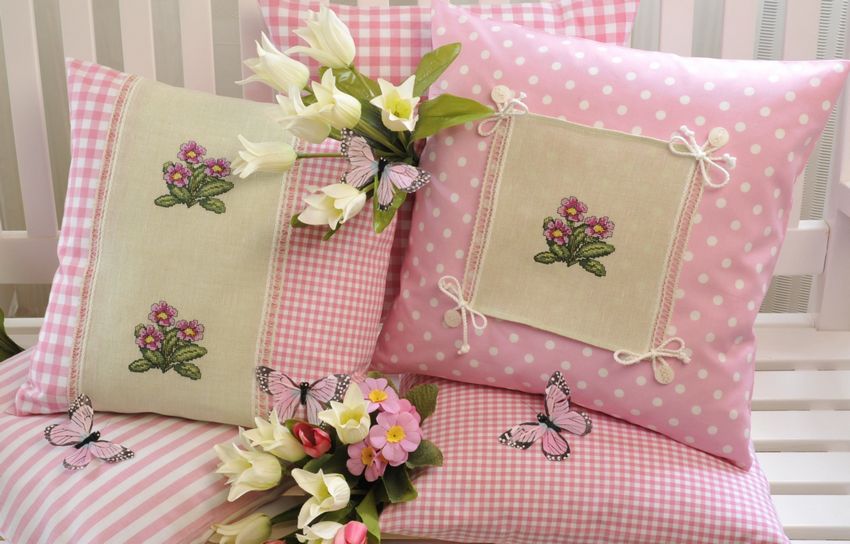
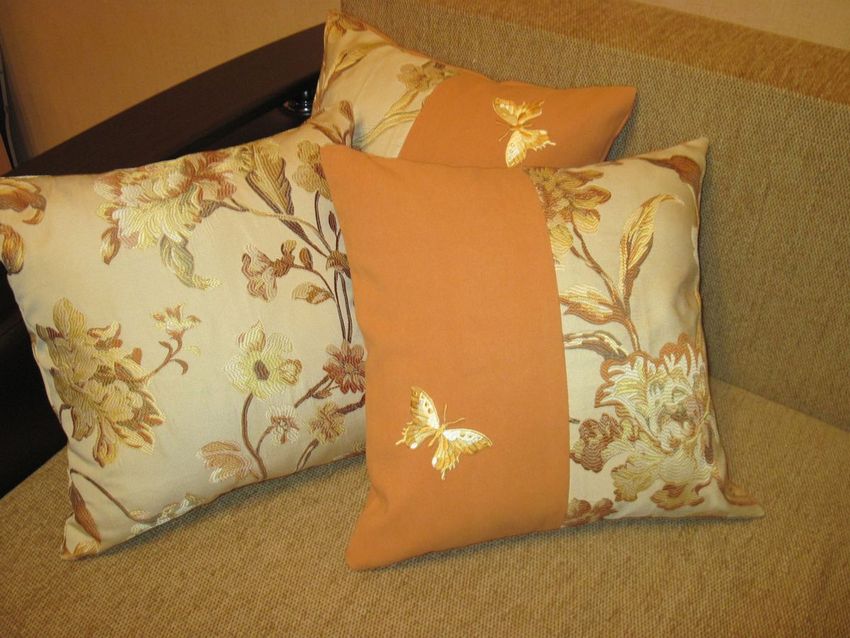
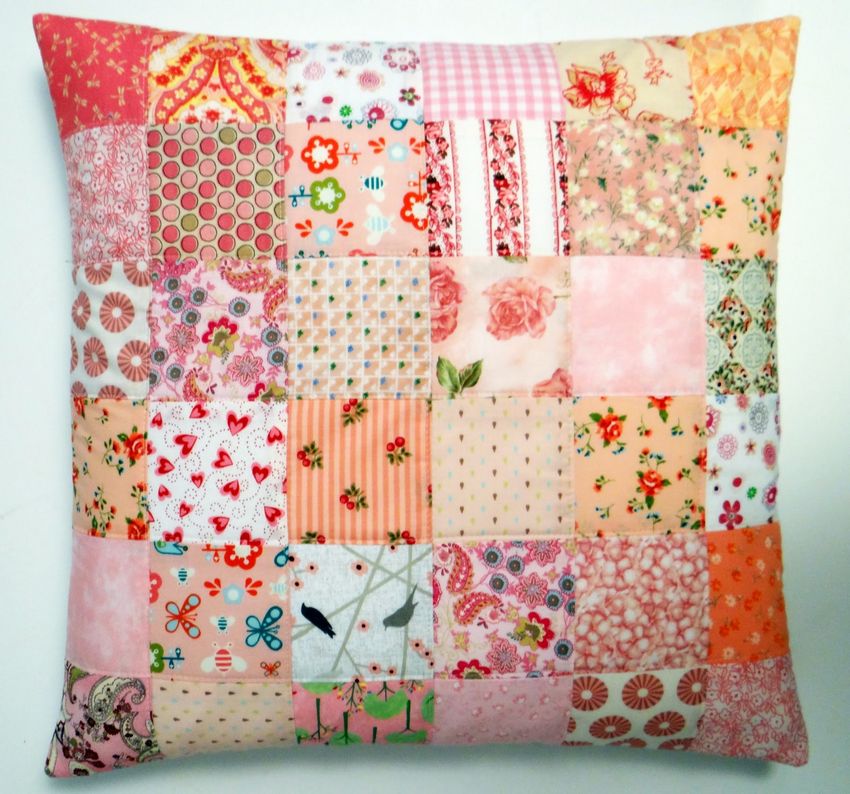
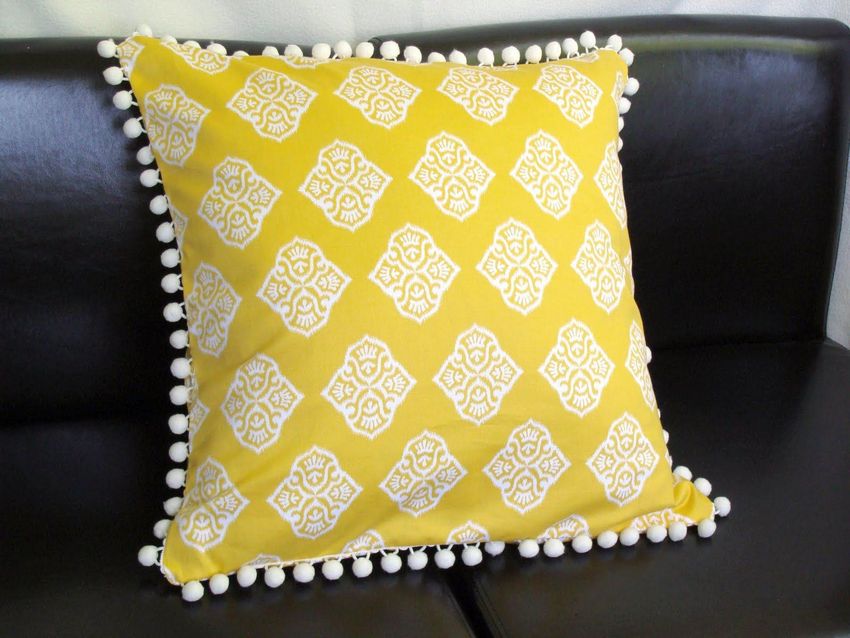
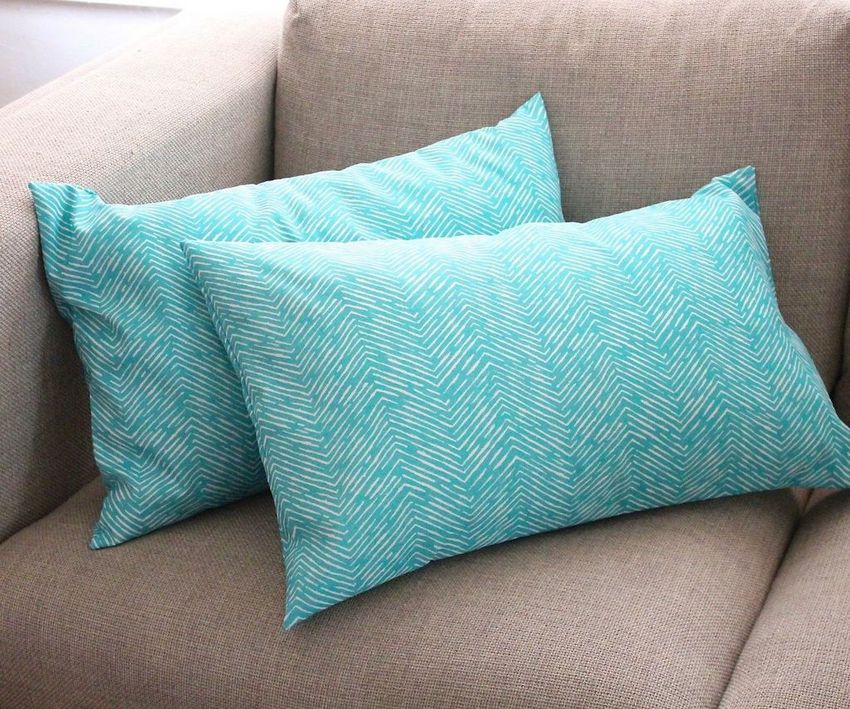
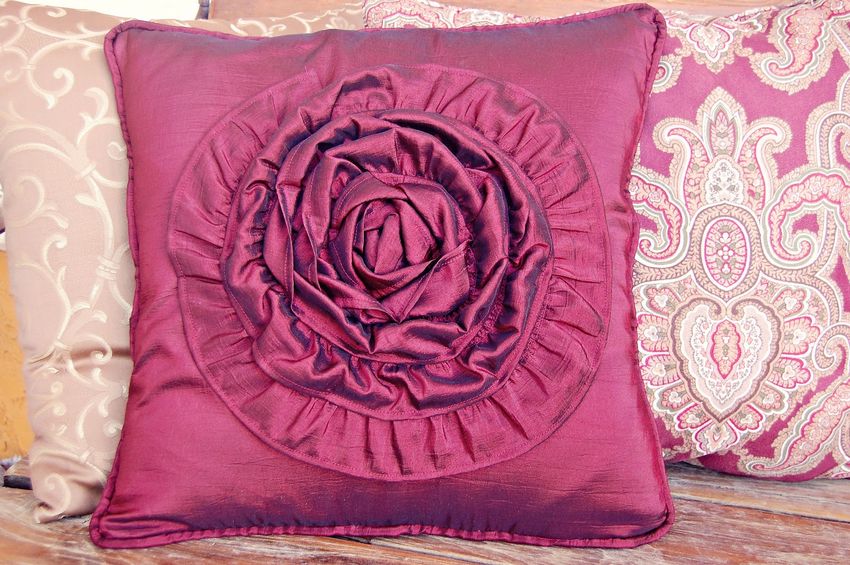
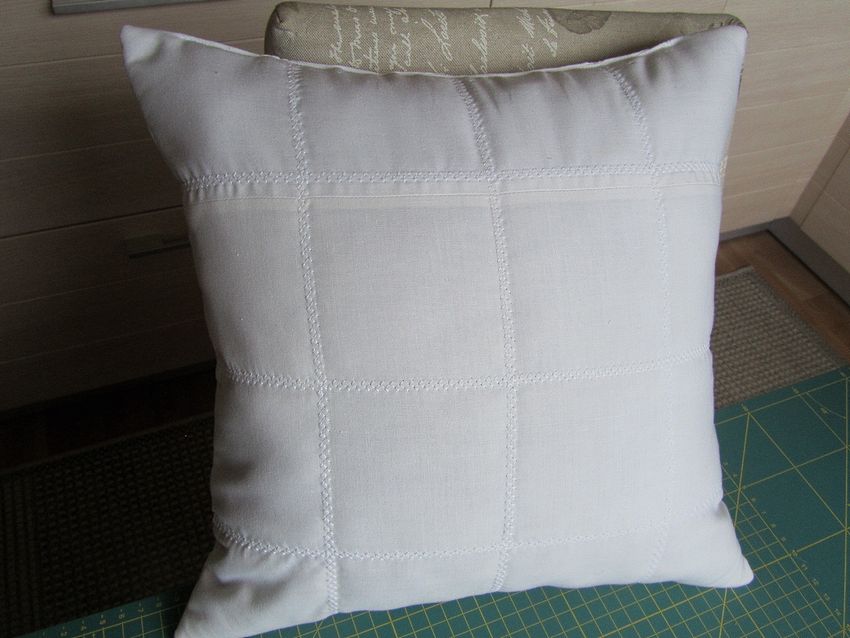
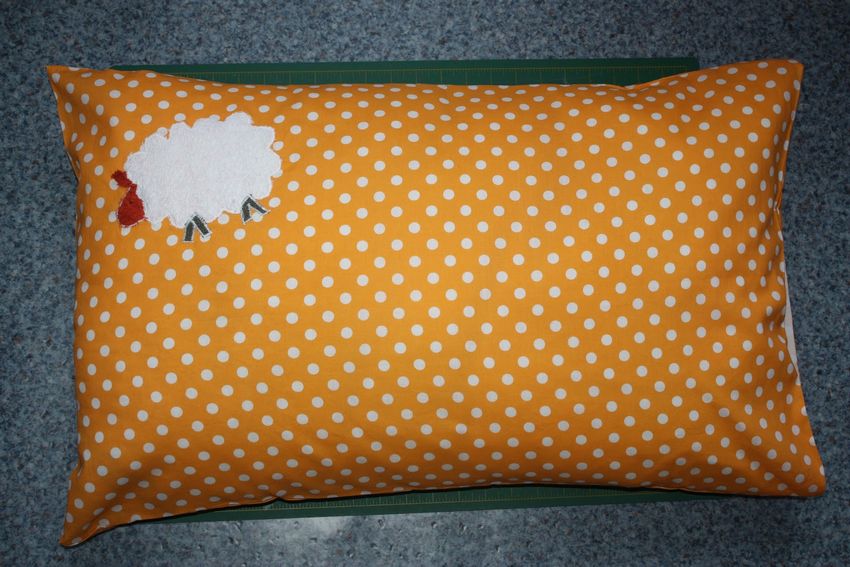
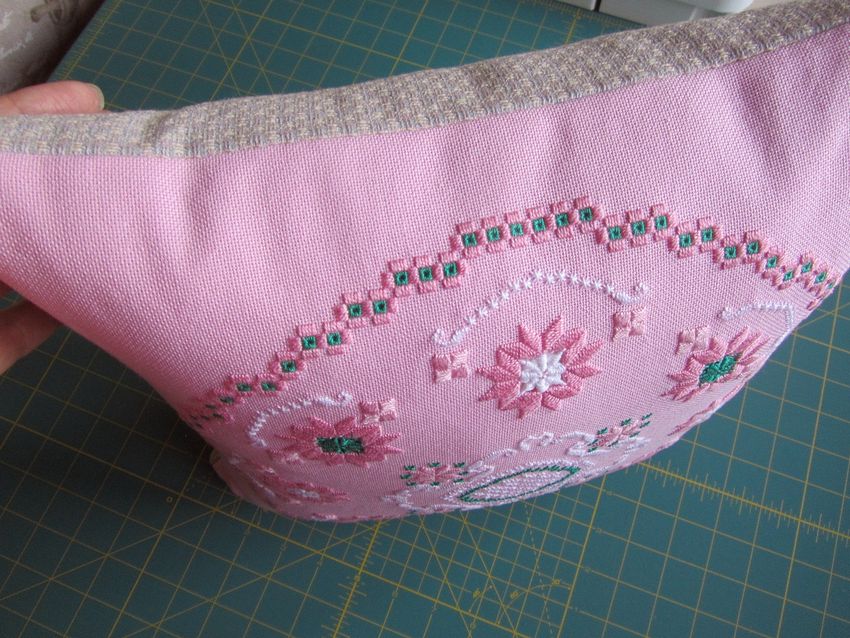
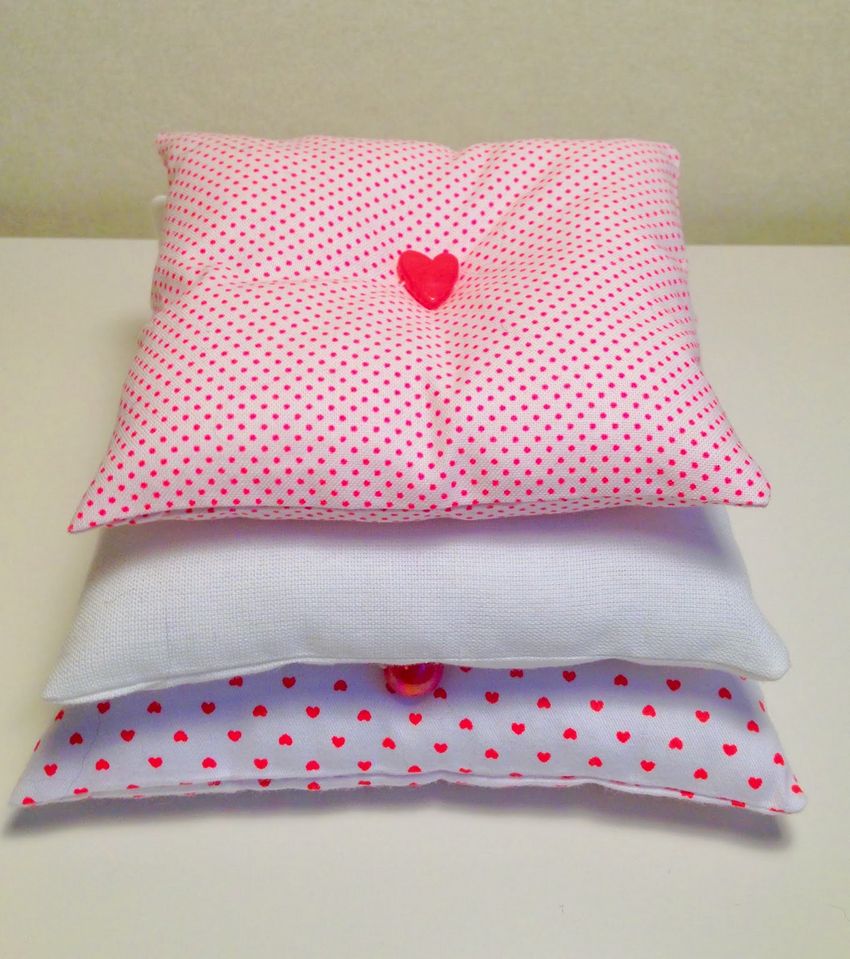
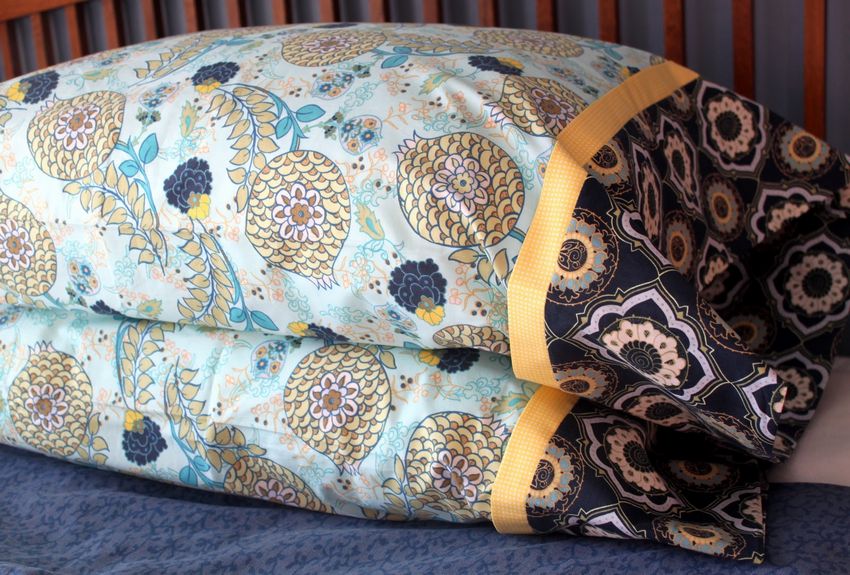
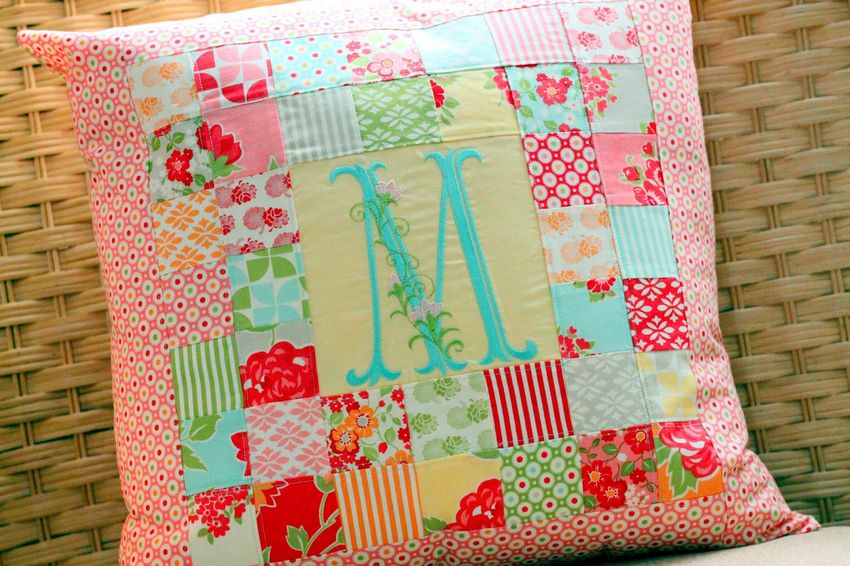
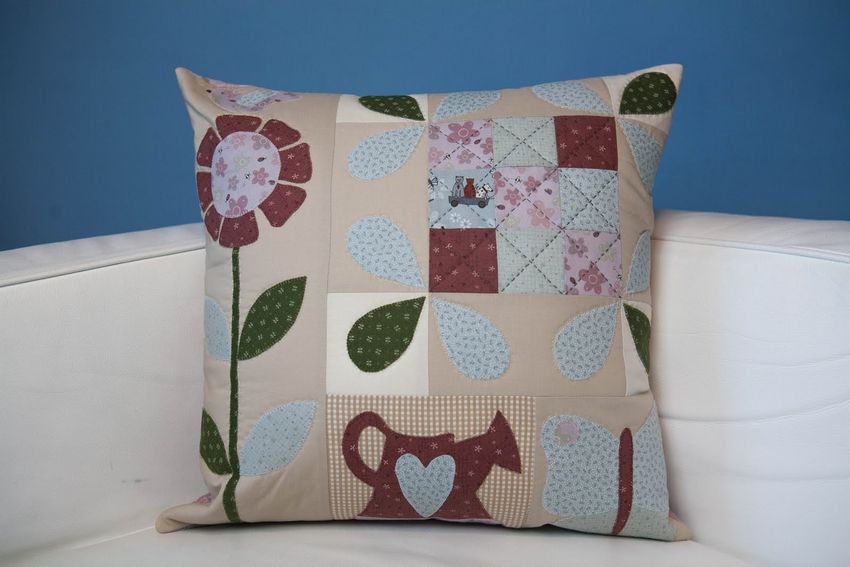
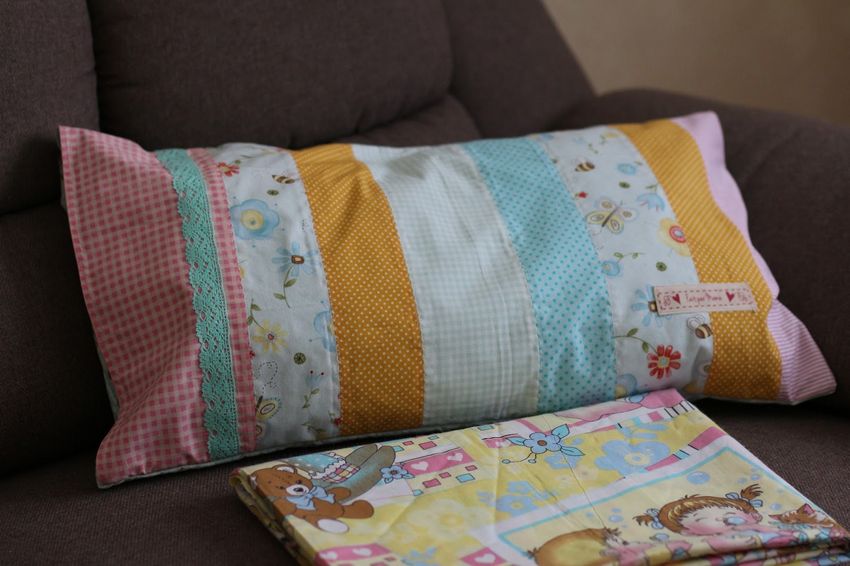
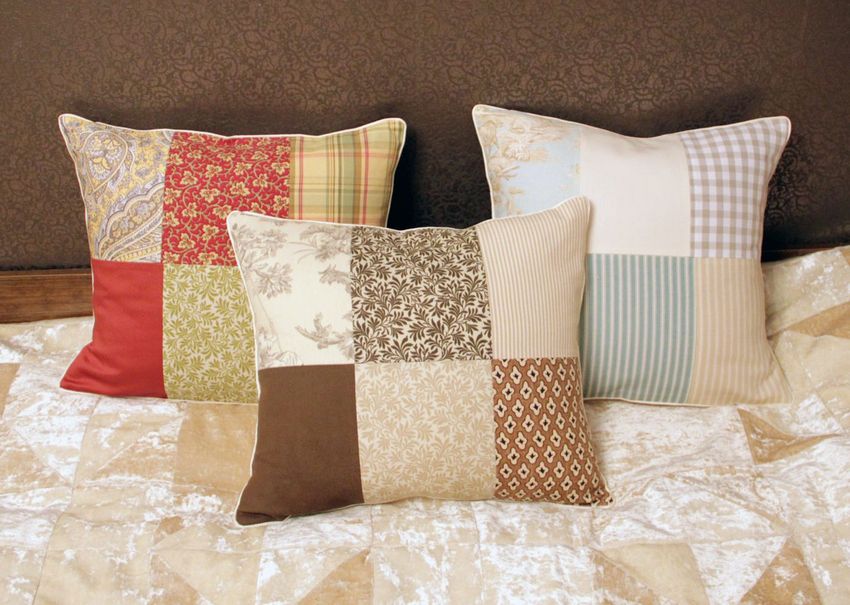
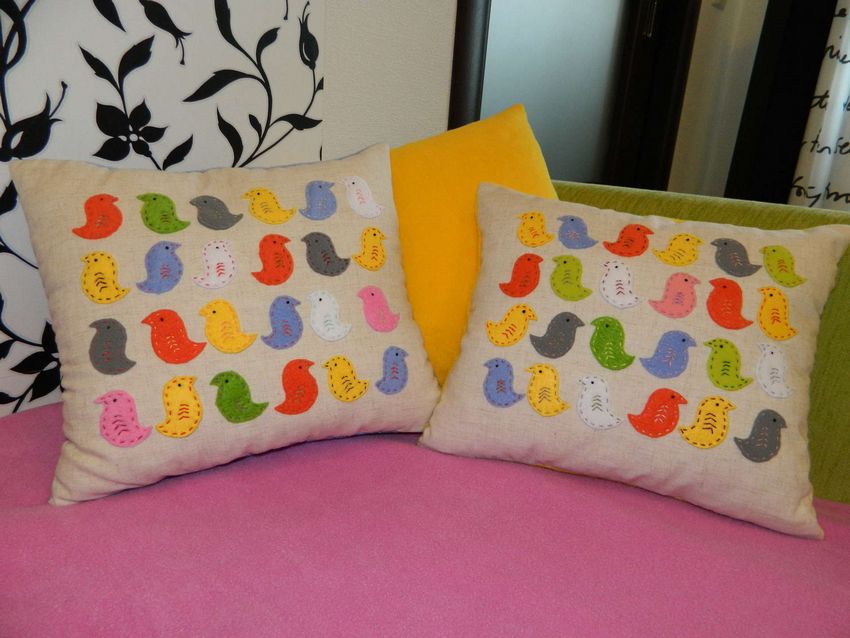
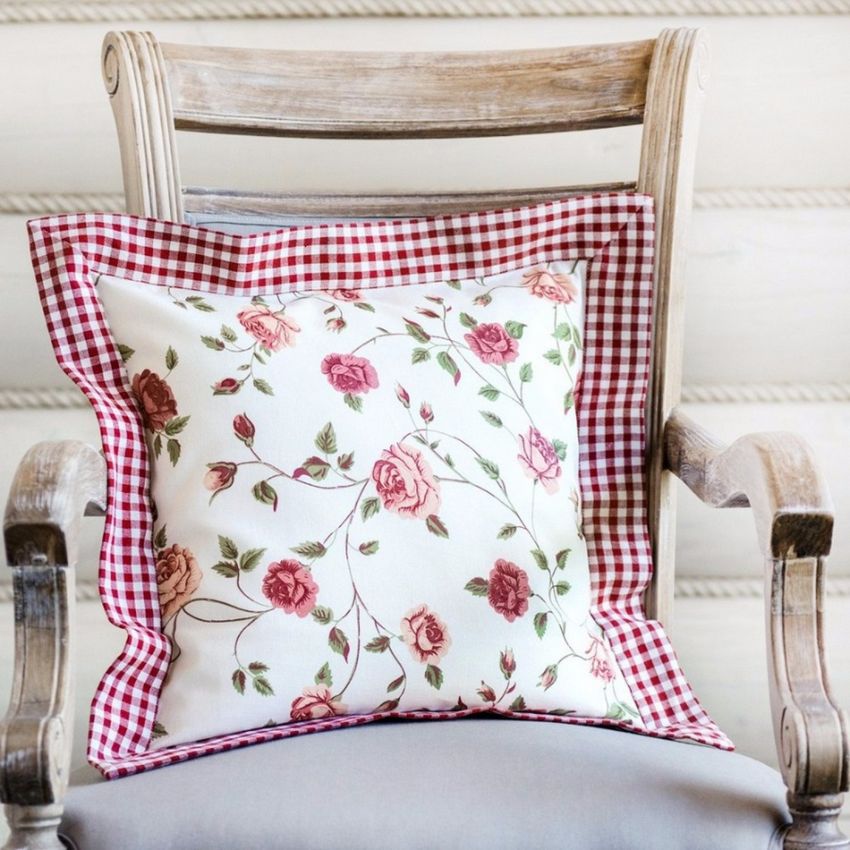
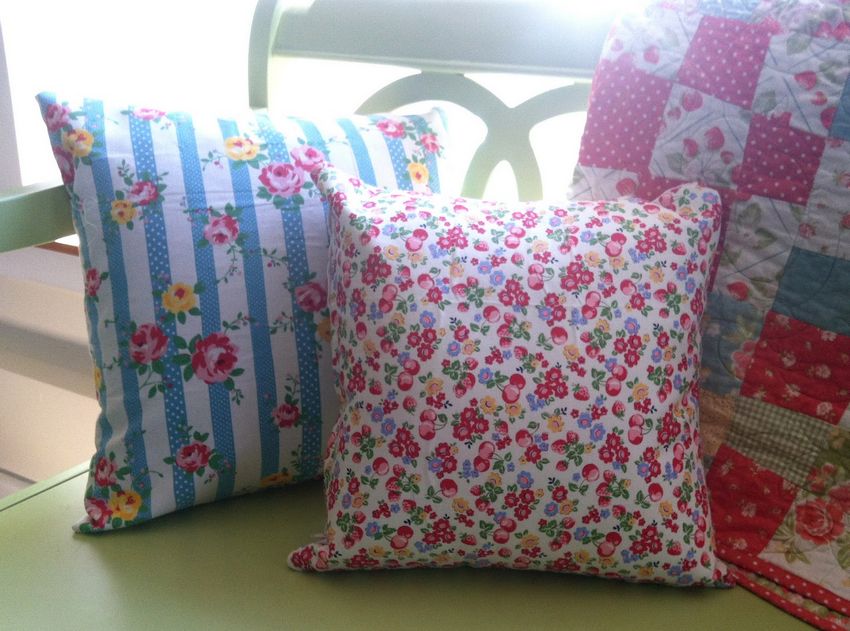
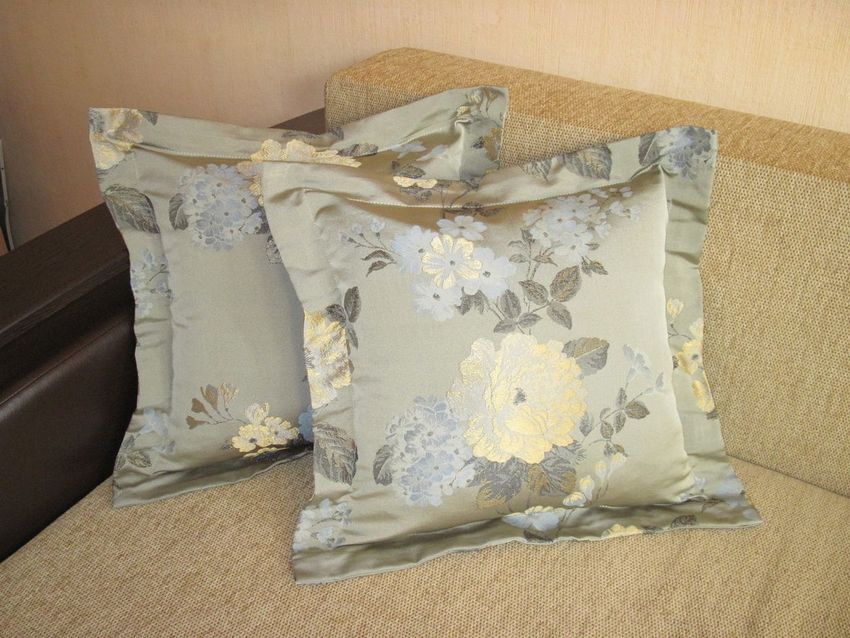
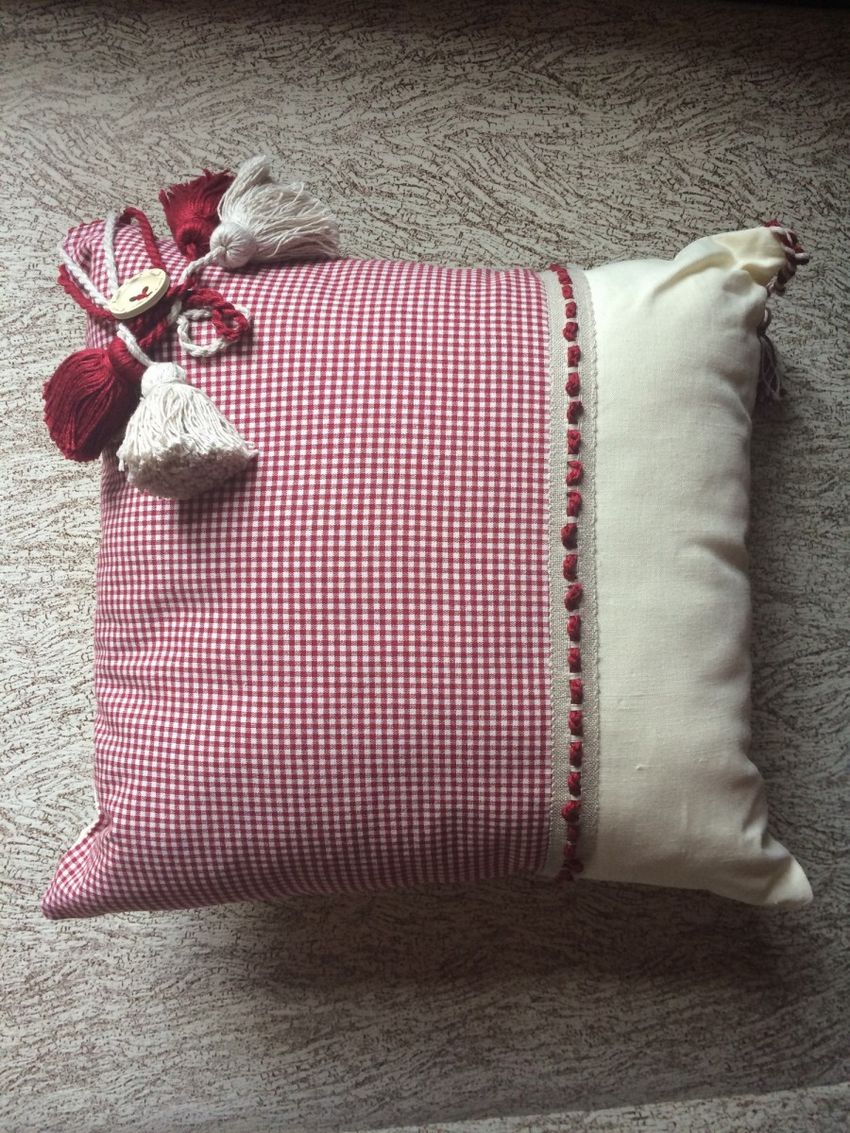
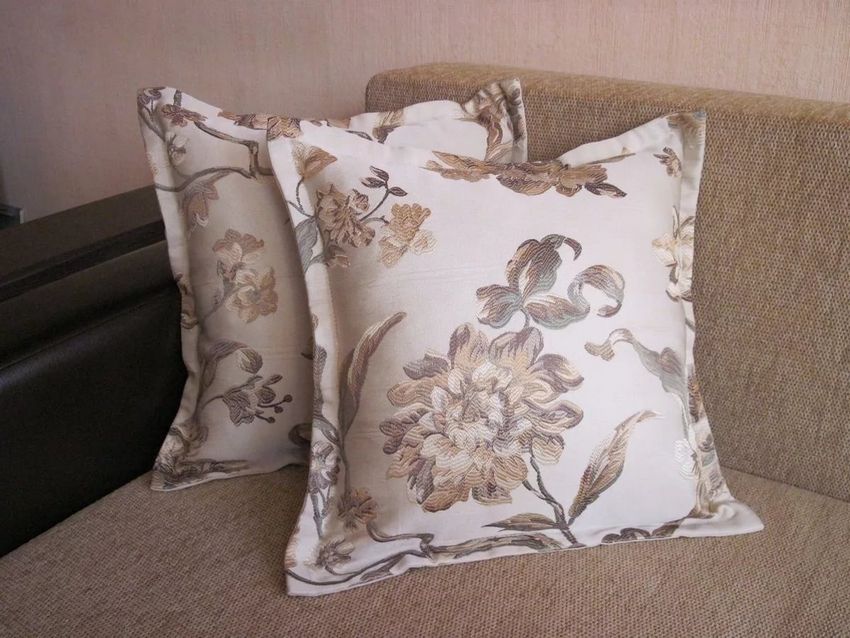
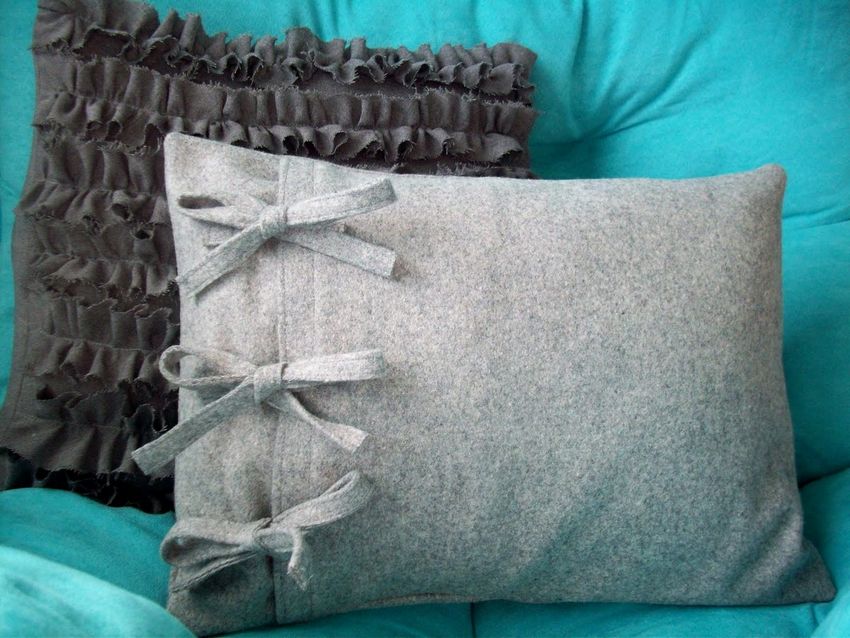
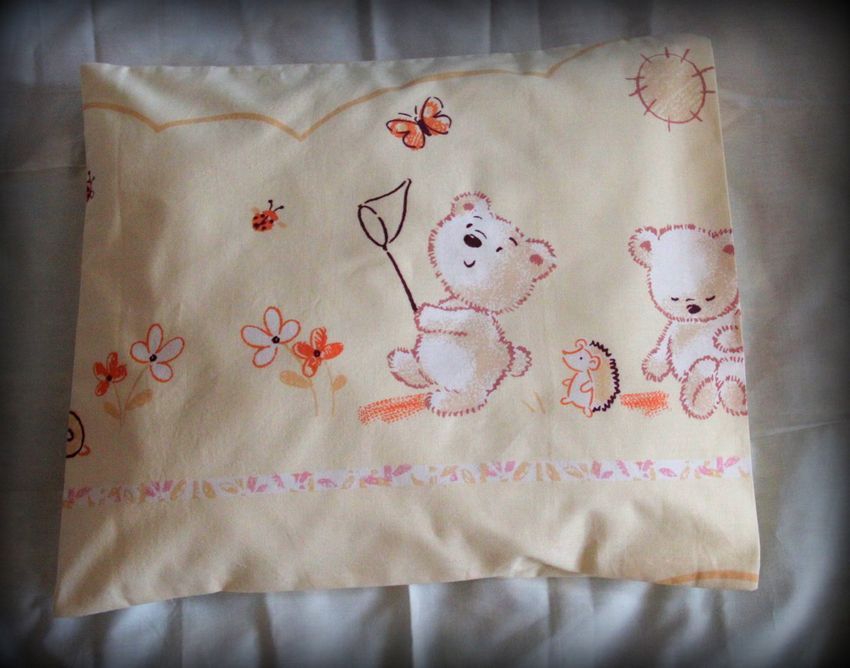
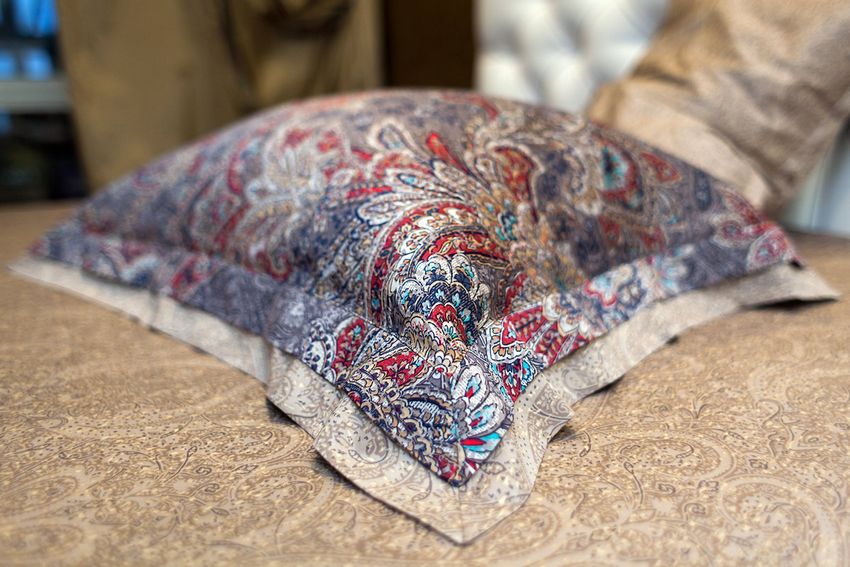
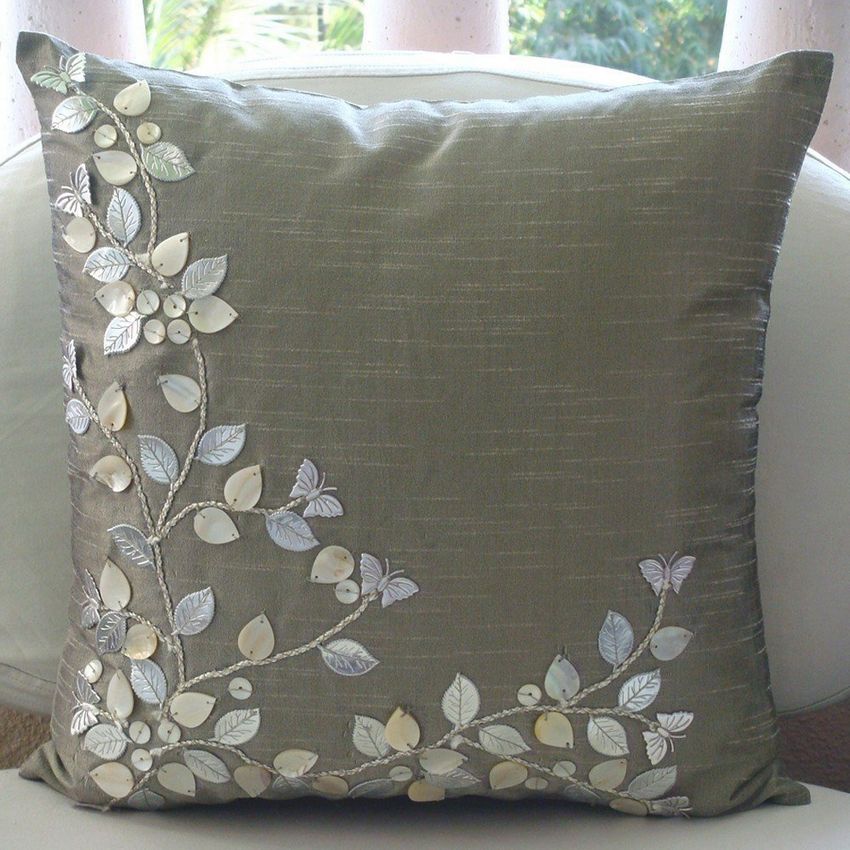
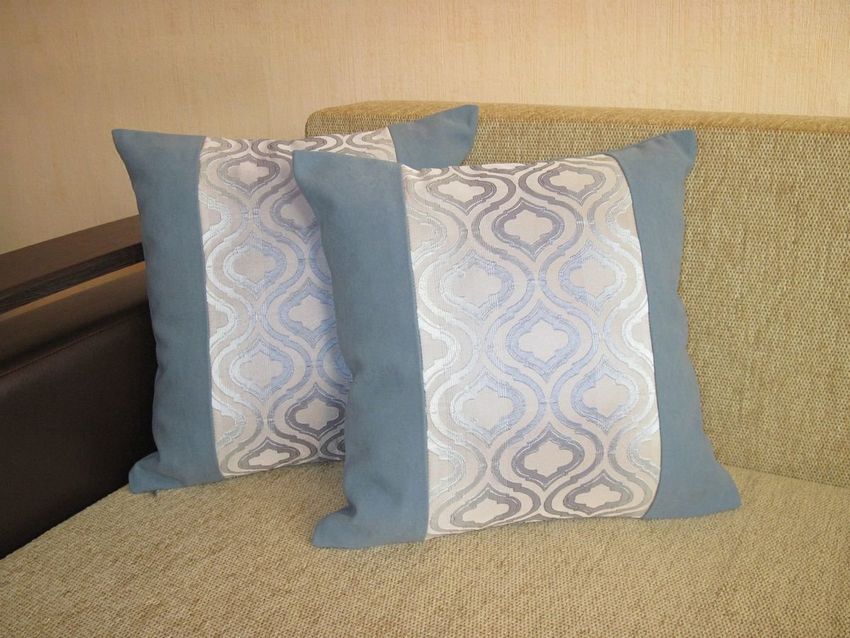
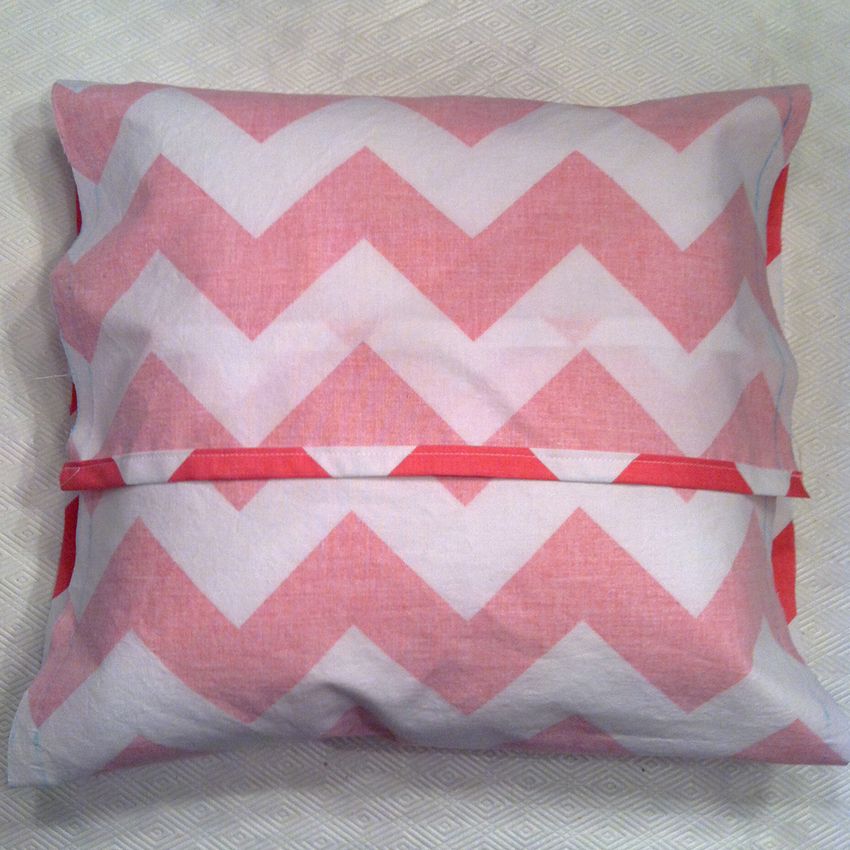
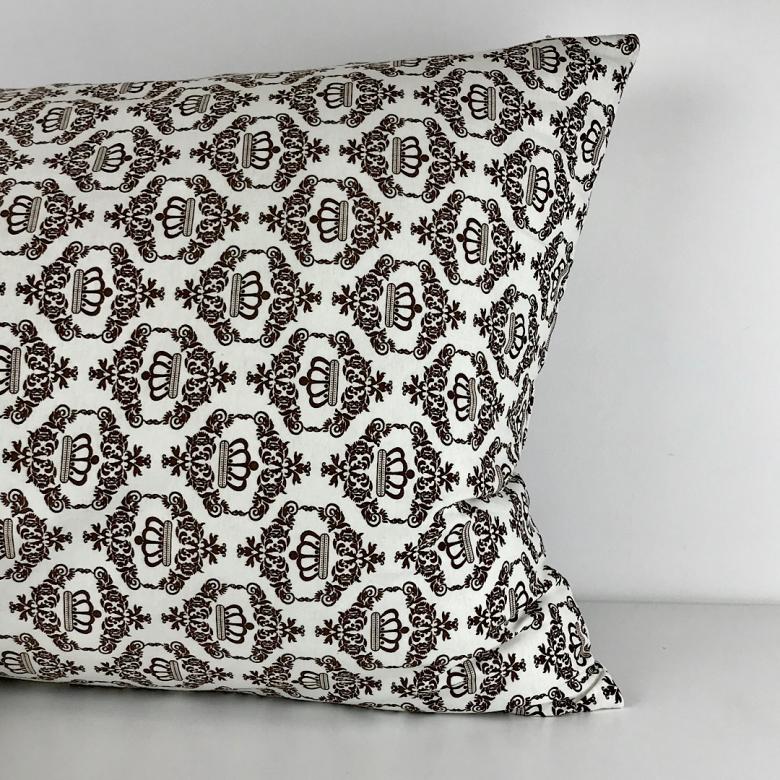
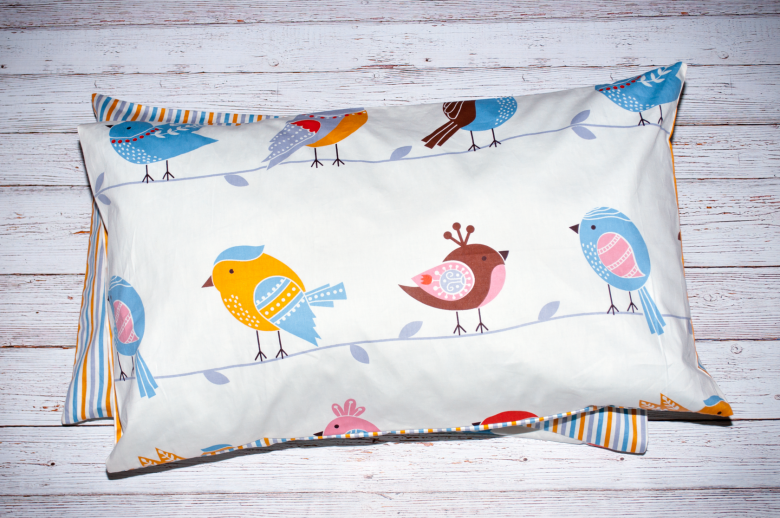
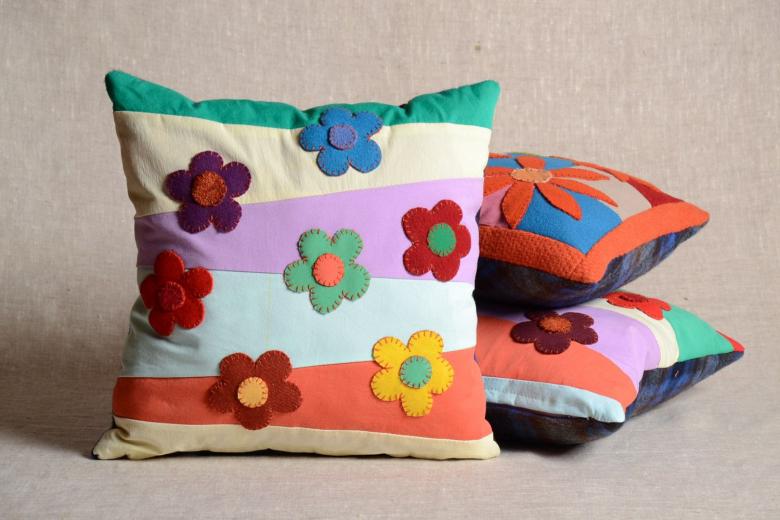
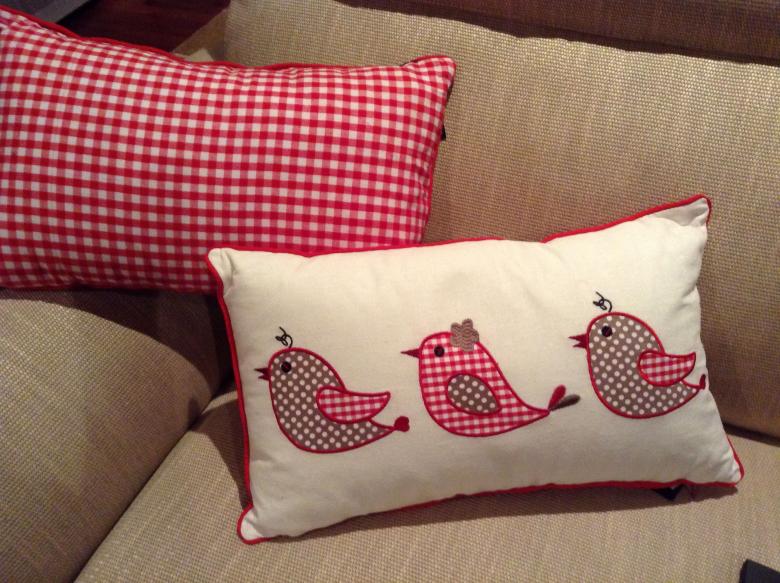
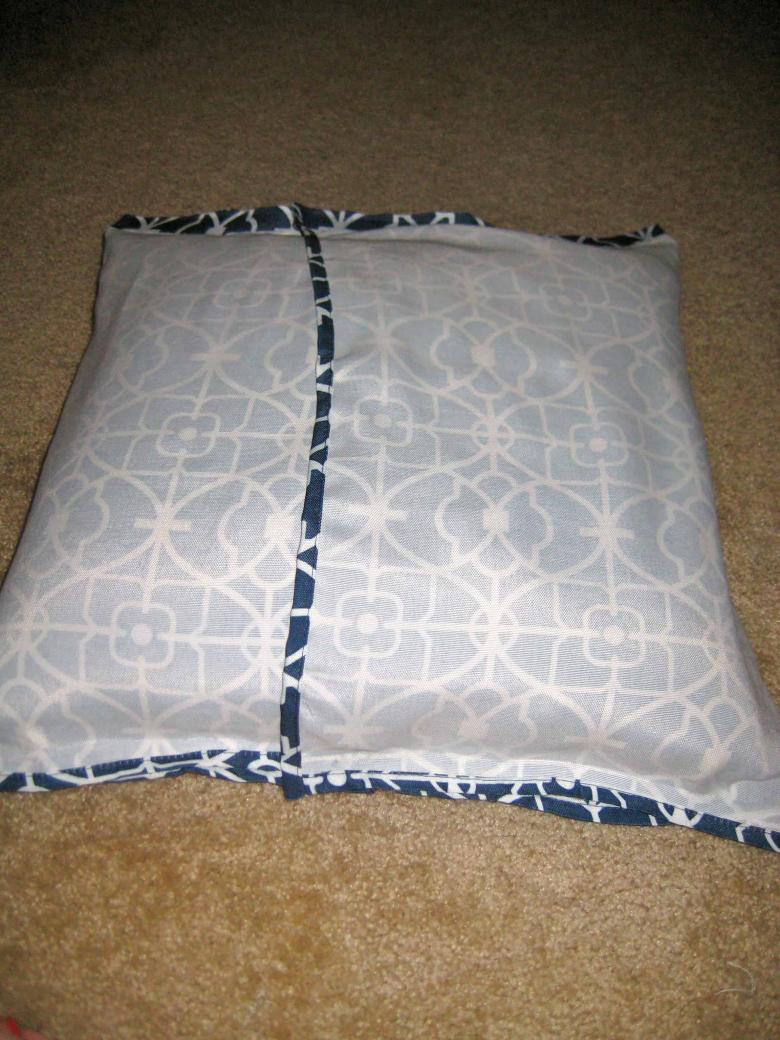
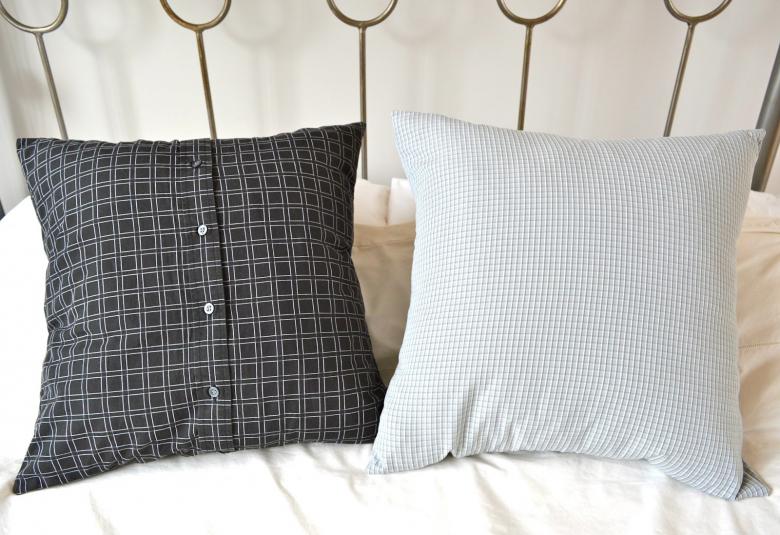
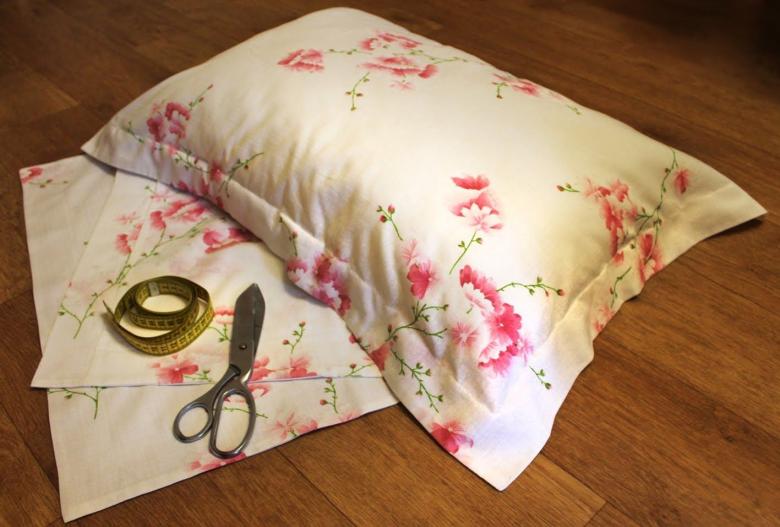
Photo ideas for sewing a pillowcase