How to draw a vase in a pencil step by step - the simplest variants of drawing for children and beginners
One of the basic subjects that many artists are probably familiar with from their training days. The variety of shapes of vases allow them to be a versatile aid in learning such a difficult skill as drawing.
Skills such as shading, the proper application of light and shade, and the development of eye gaze are especially honed. How to draw vases of varying difficulty, tell easily and step by step described master classes.
Working Materials
Basic
As for any other artwork, the first thing you'll need is a canvas. This can be:
- office paper to practice on;
- sketchbook;
- watercolor paper;
- Sketchbook, etc.

Also obligatory will be such items as a pencil (hardness/softness is chosen according to the purpose of using the device), an eraser or an eraser gum.
Additional tools and materials
The basic composition can be varied and more interesting materials. For example, in addition to the eraser, you may need a blotter. And you can give the work a color in different ways. These are:
- watercolor;
- gouache;
- colored pencils;
- art pastels;
- felt-tip pens, markers, etc.
If desired, the work can be supplemented with applications, which will require colored paper, scissors, glue, and possibly other decorative elements.

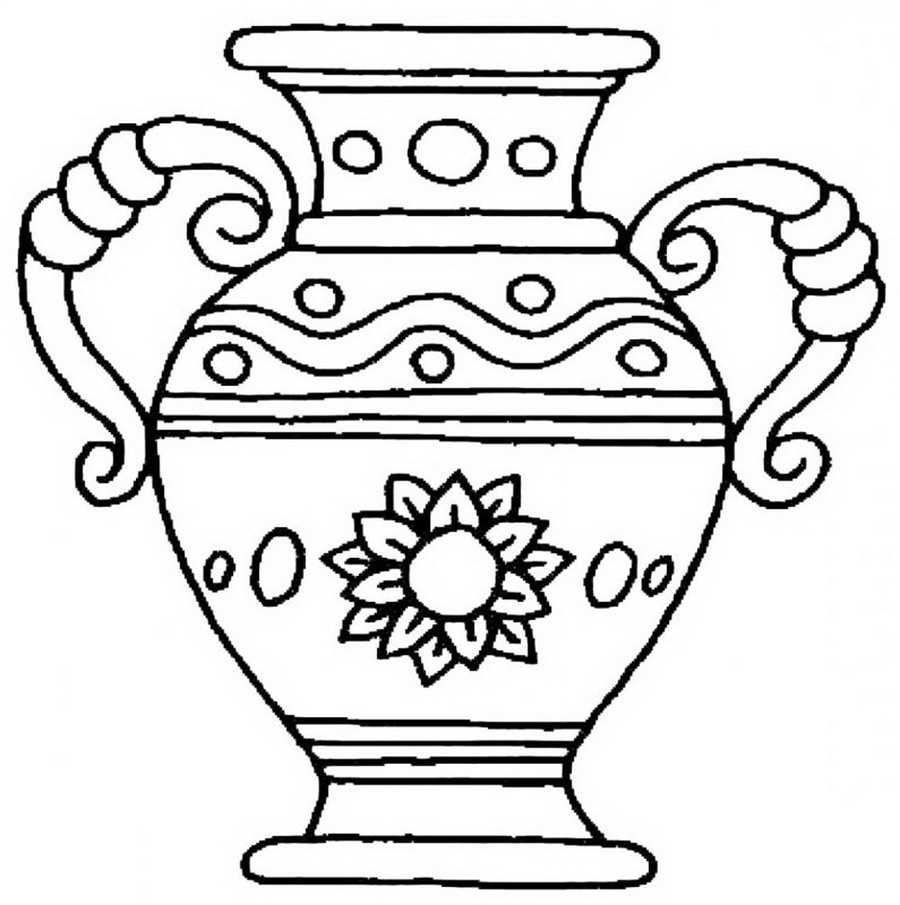
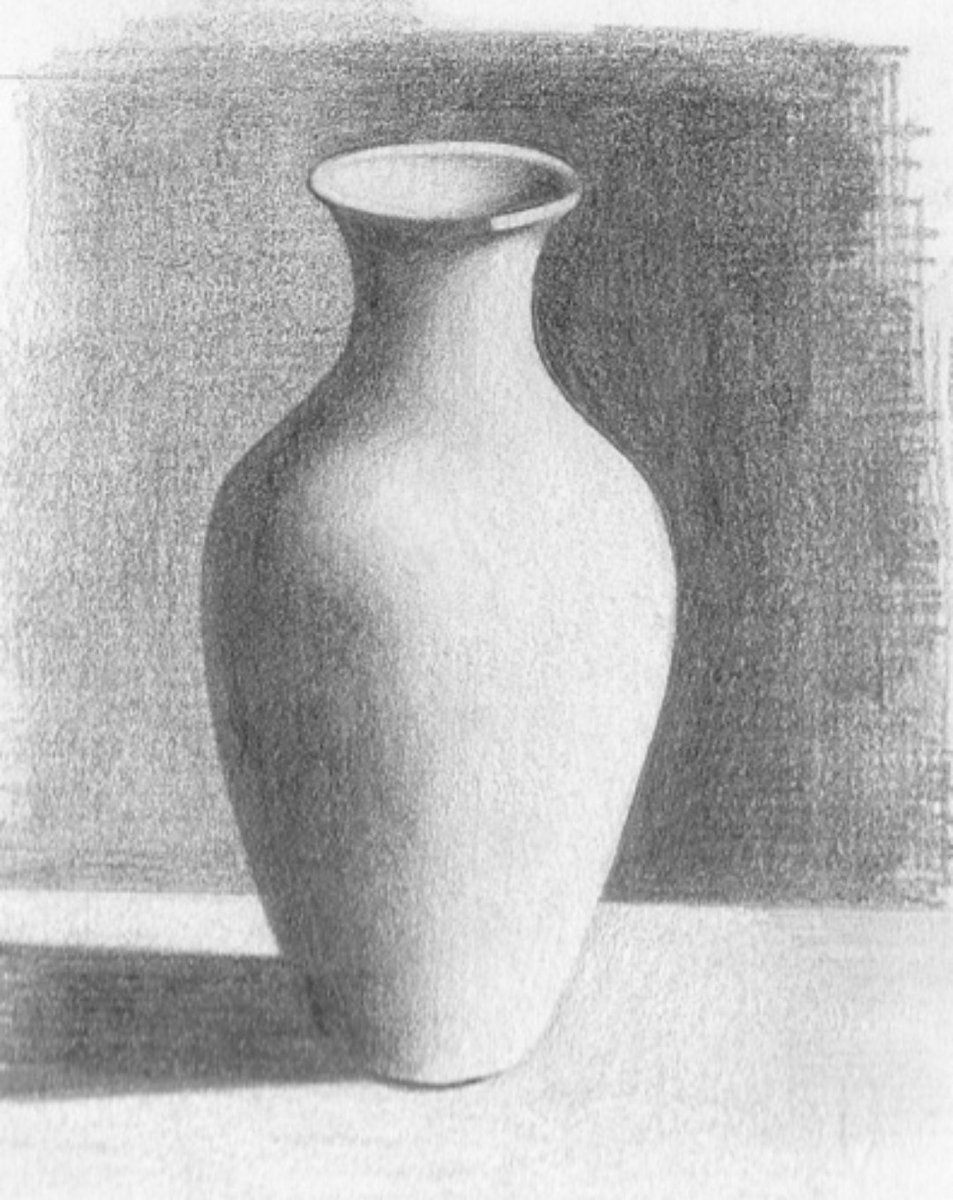
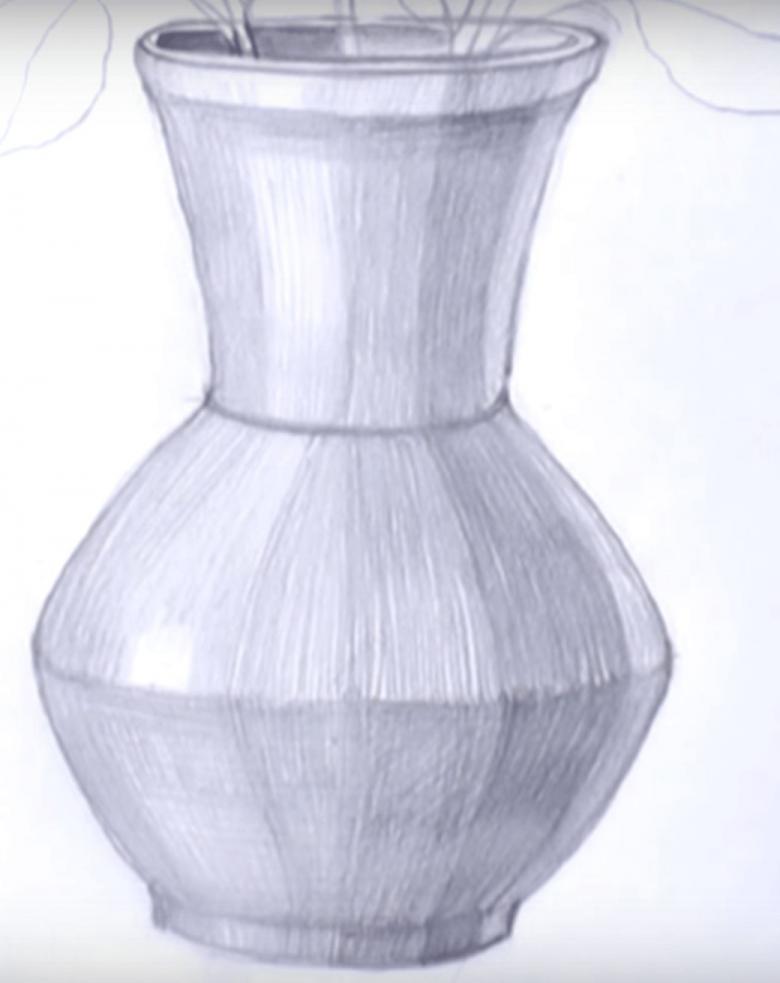
Simple drawing of a vase for beginners
This variant will clearly and in a few simple steps show how to draw a simple vase in pencil step by step with explanations for beginners.
Process:
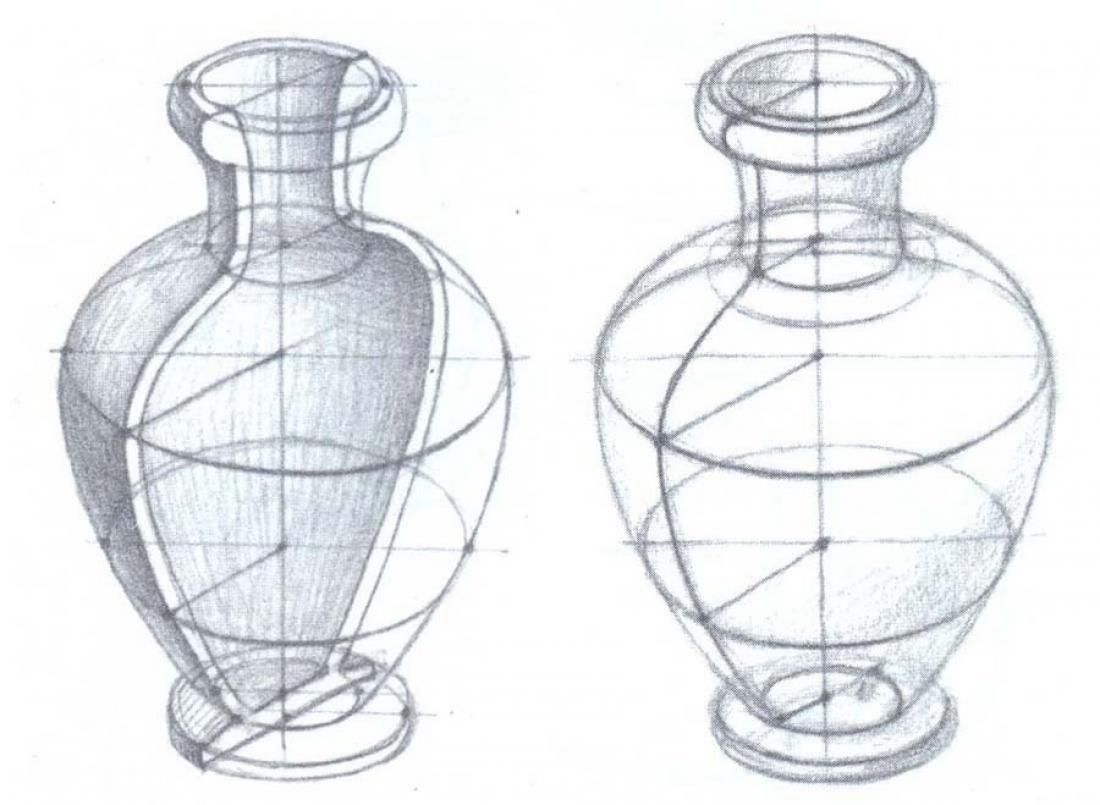
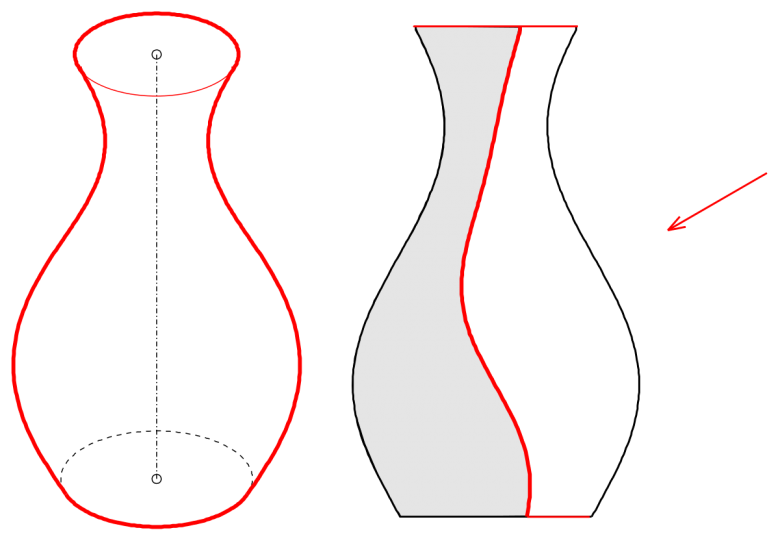
- Begin by drawing a line on a sheet of paper. Sketch perpendicular lines, horizontal and vertical. This is the basis of any drawing. The vertical line will indicate the height of the object and will be the axis of symmetry. The two horizontal lines will mark the bottom and top. Another horizontal marker will determine the width of the product.
- Sketch the approximate contour of the vase with straight lines. This should be done without pressing the pencil, because now all the lines and strokes will be auxiliary, and later erased.
- Now a smoother lines outline the final contour of the figure, sticking to straight bounding lines. Add convexity or concavity to the object can be more prominent curves.
- The next step is to outline the neck of the vase. It is drawn with the same smooth lines, which also go beyond the clear original contours.
- An important stage is the shading of the drawing. Thanks to this, shadows are applied in certain places, in accordance with the lighting and the play of light and shade. The further part of the object from the light source, the darker it is.

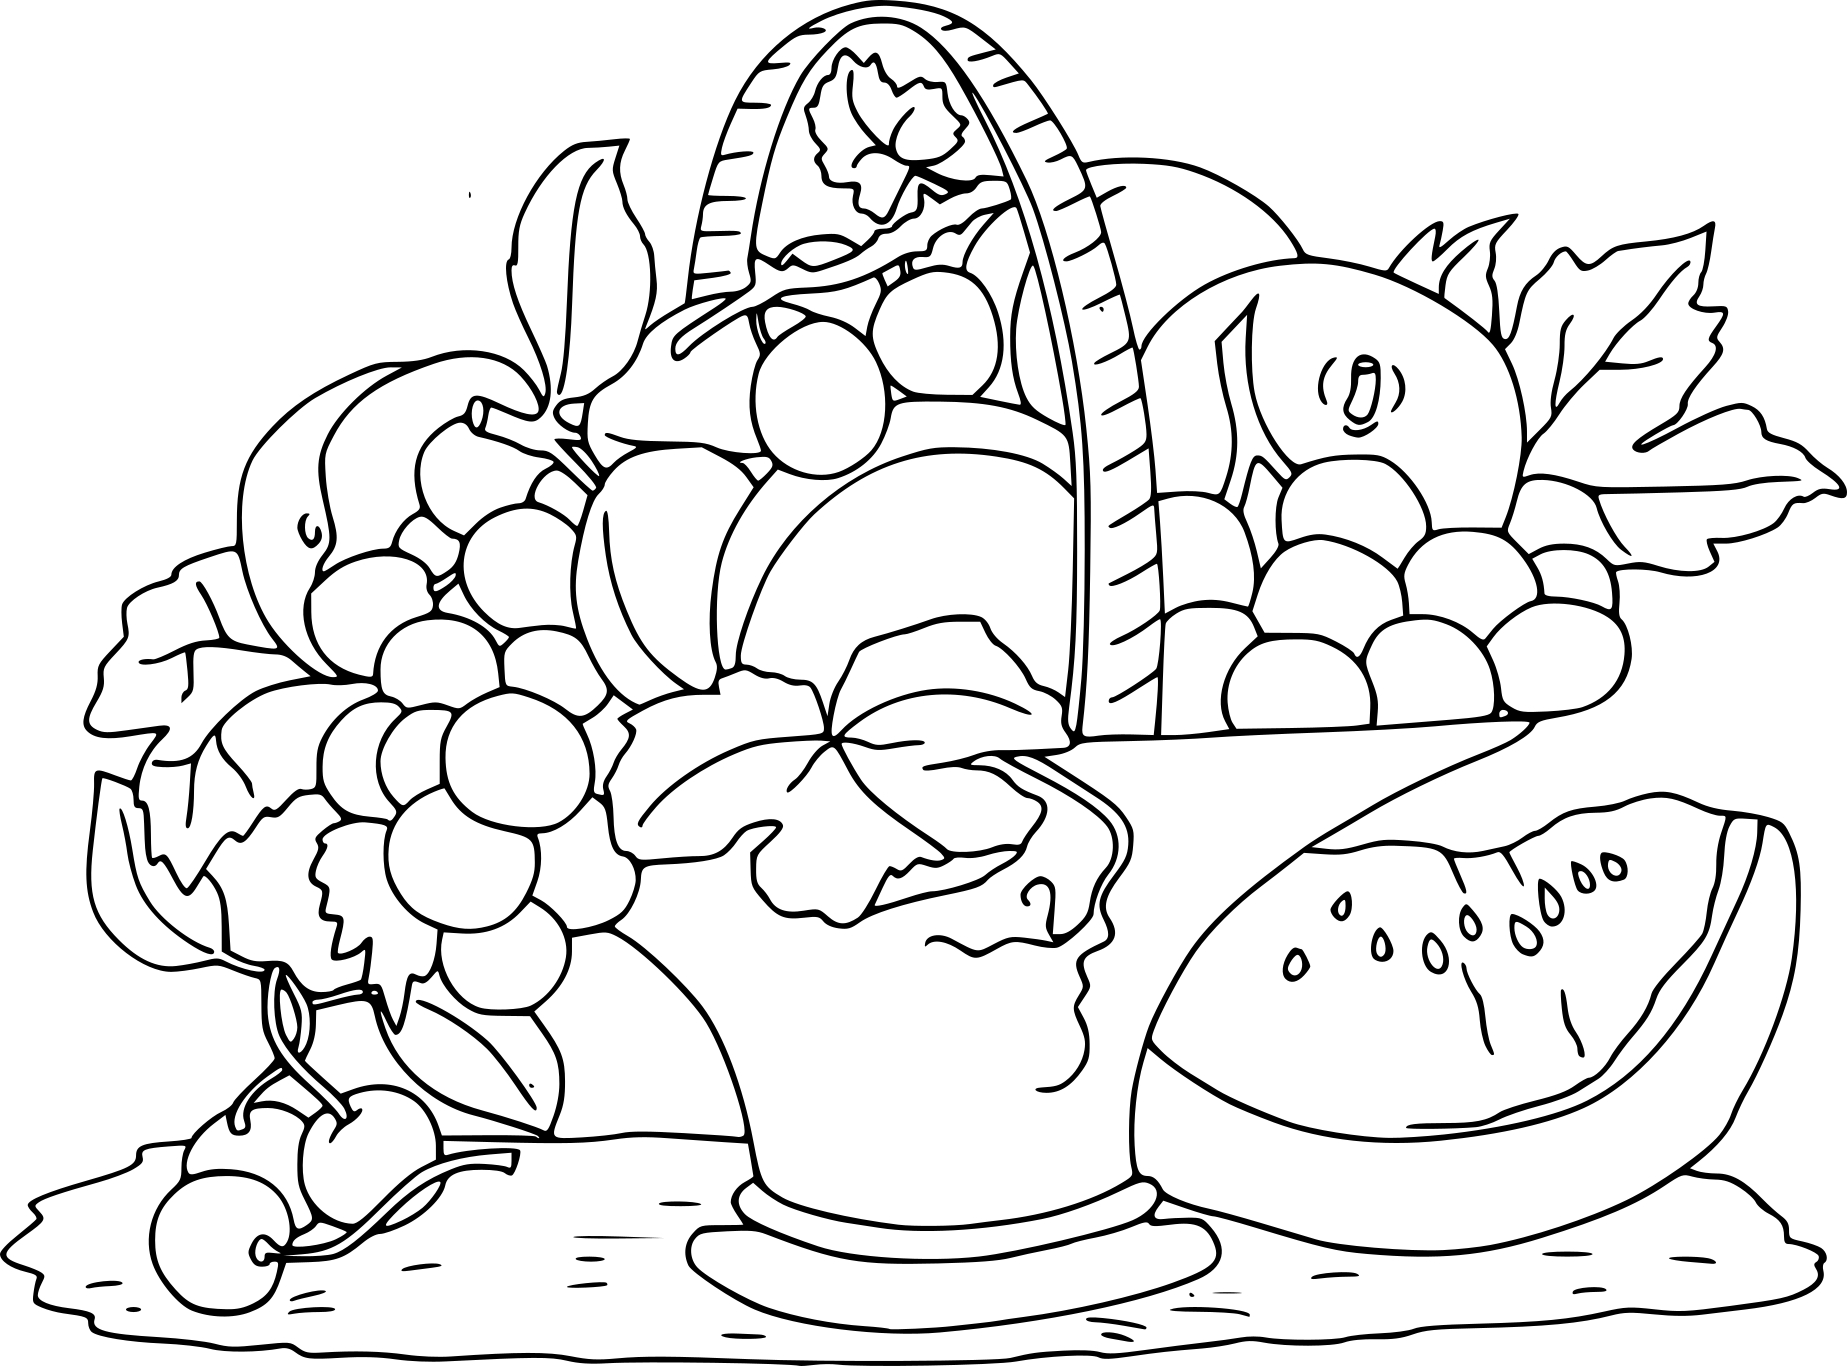
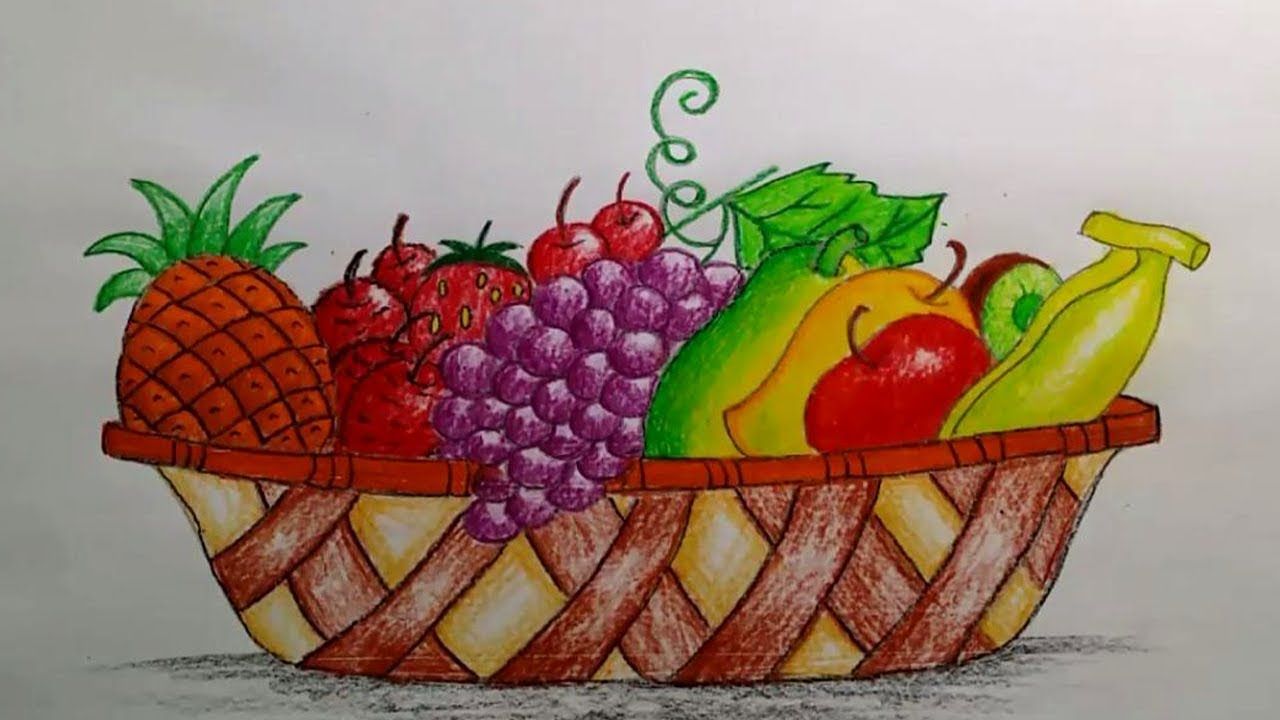
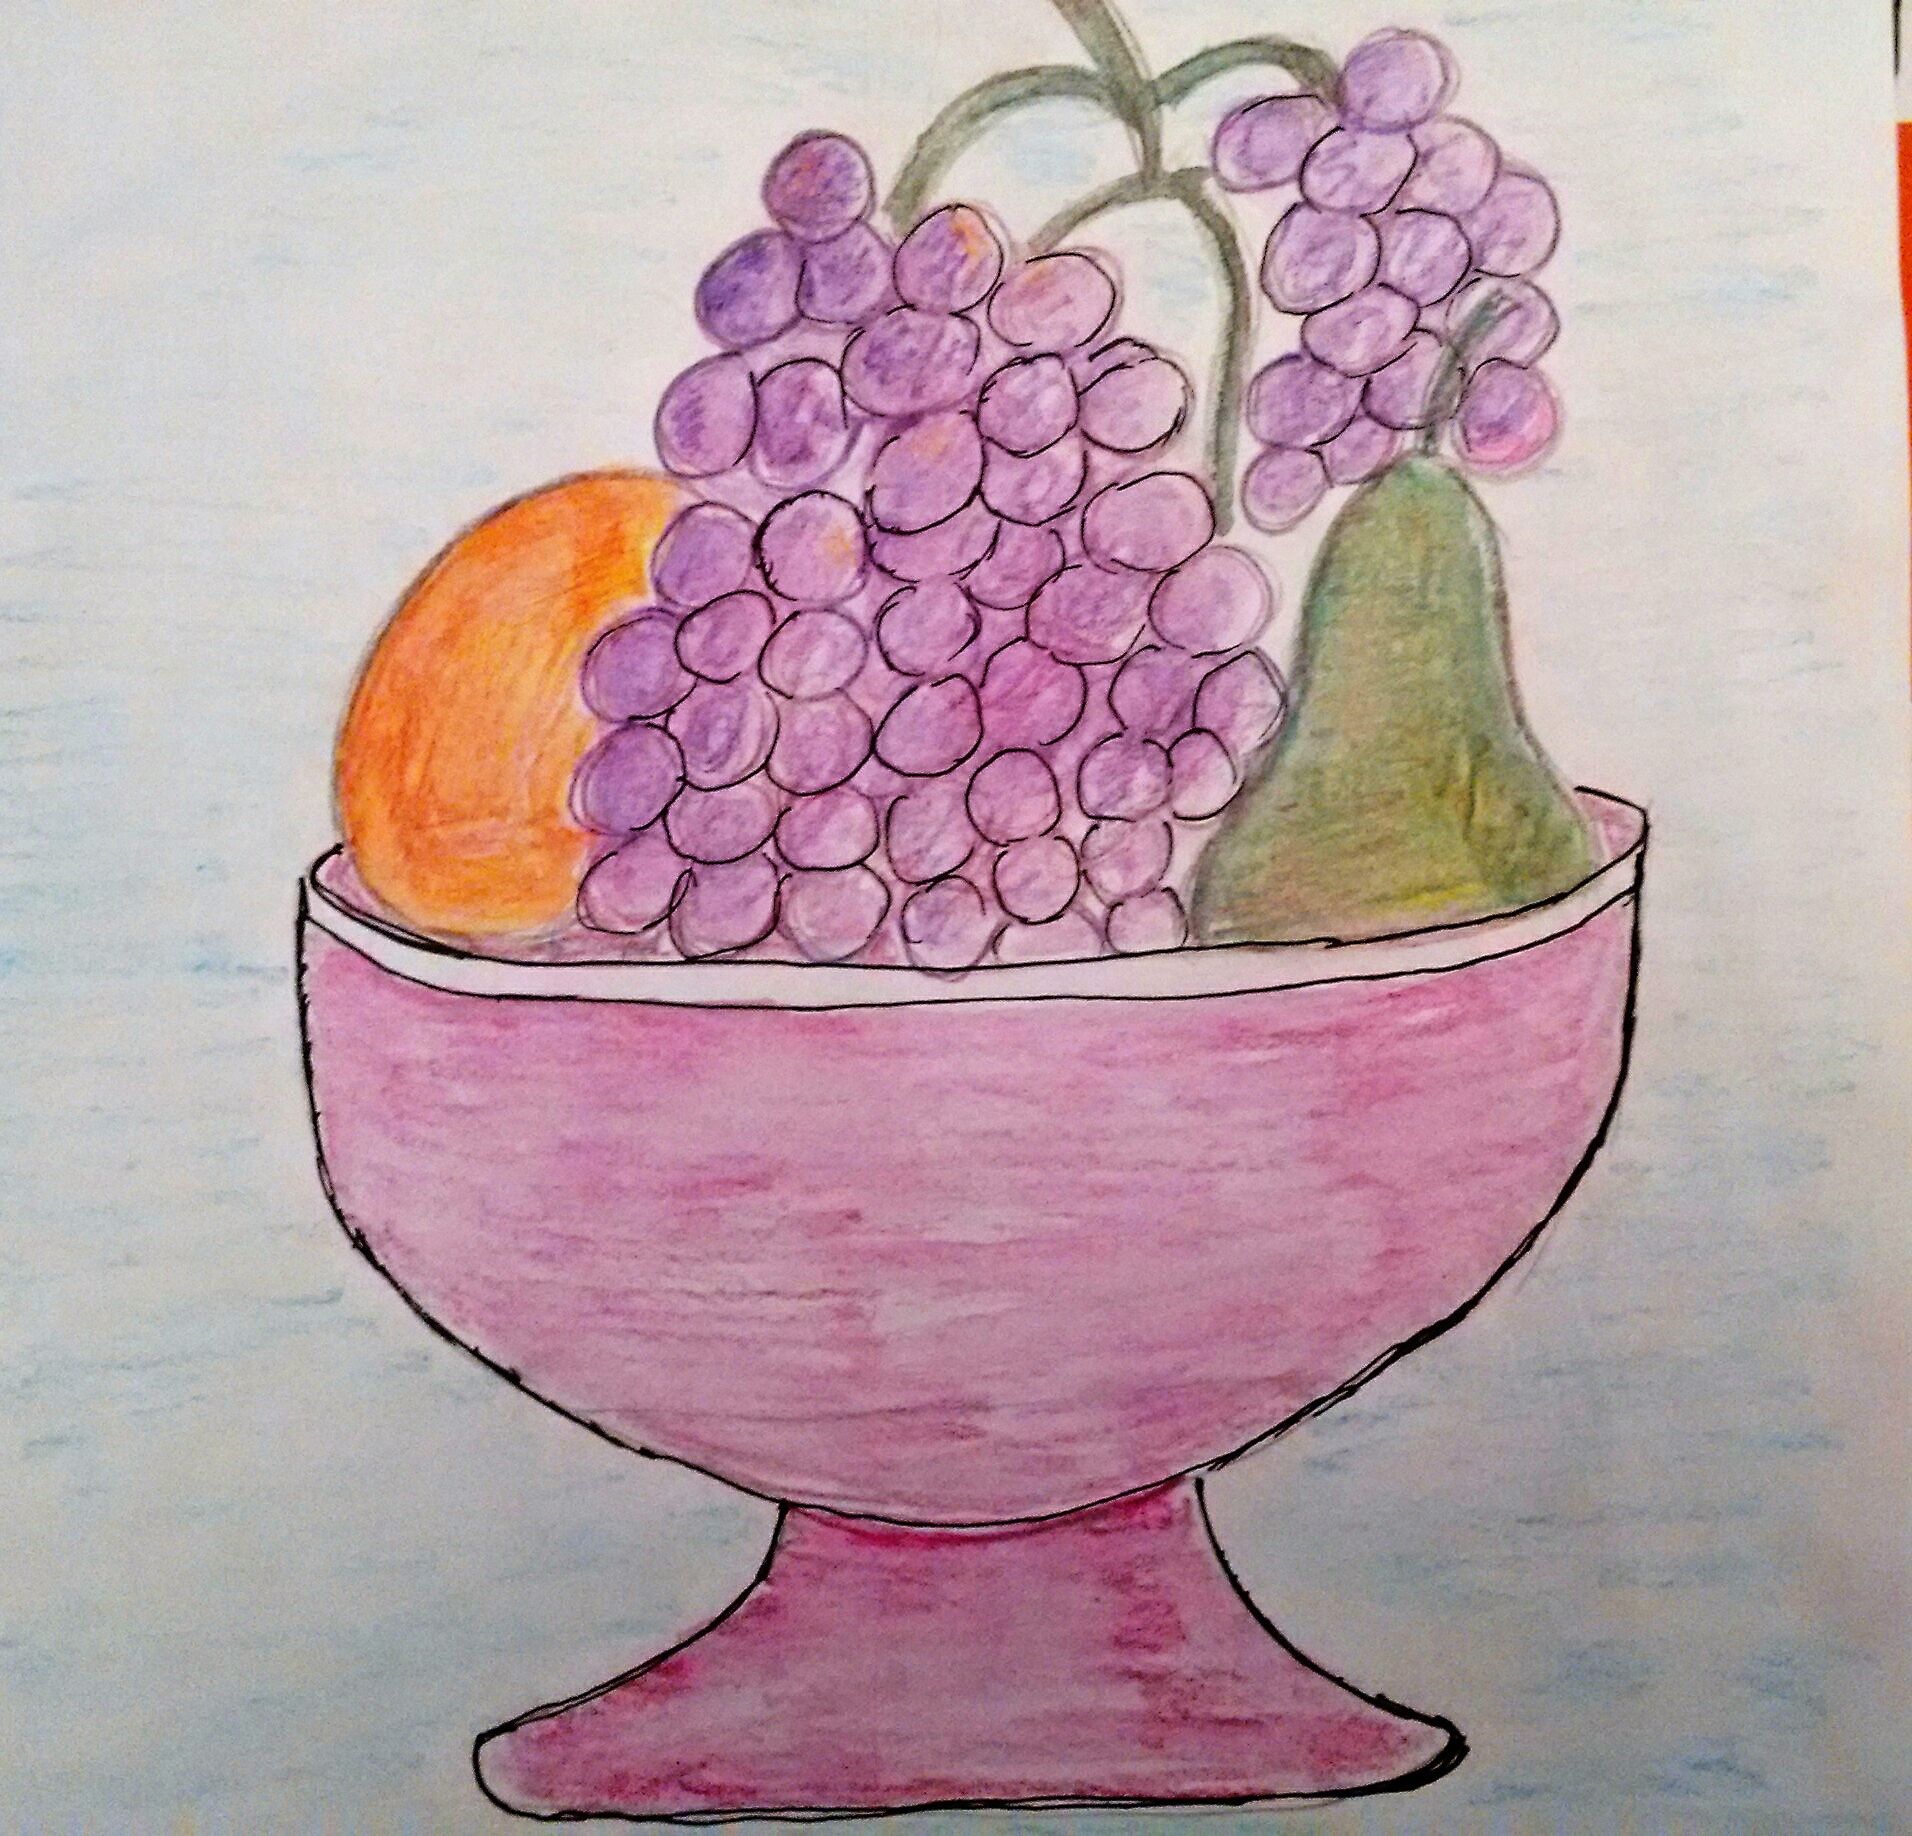
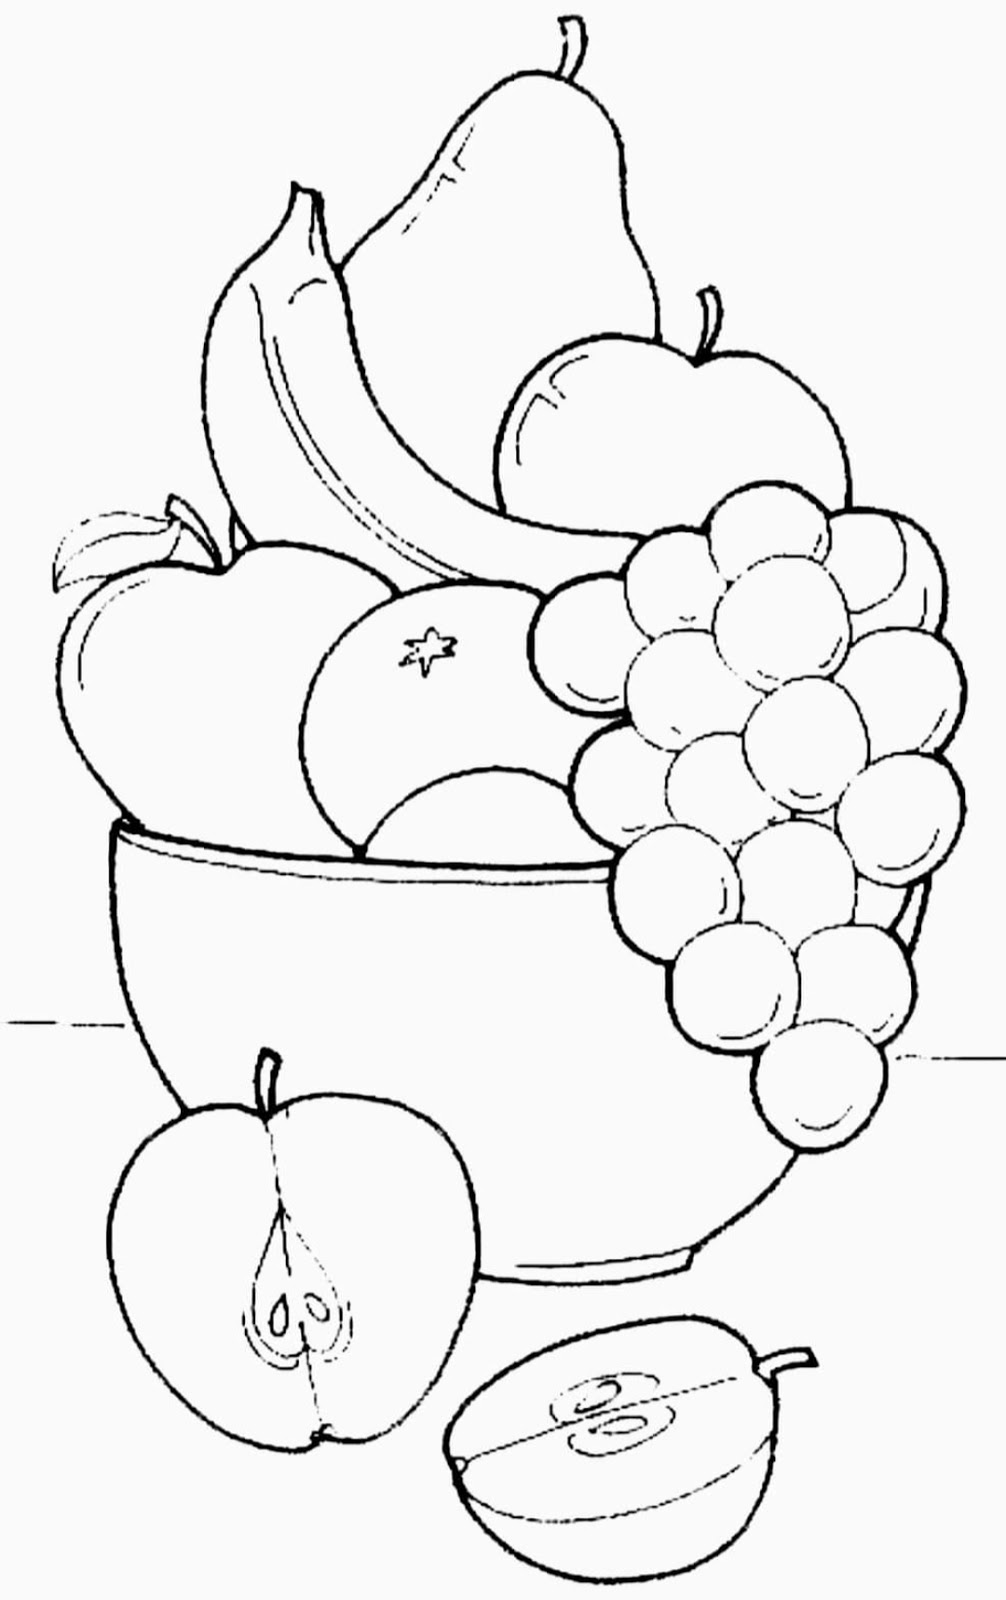
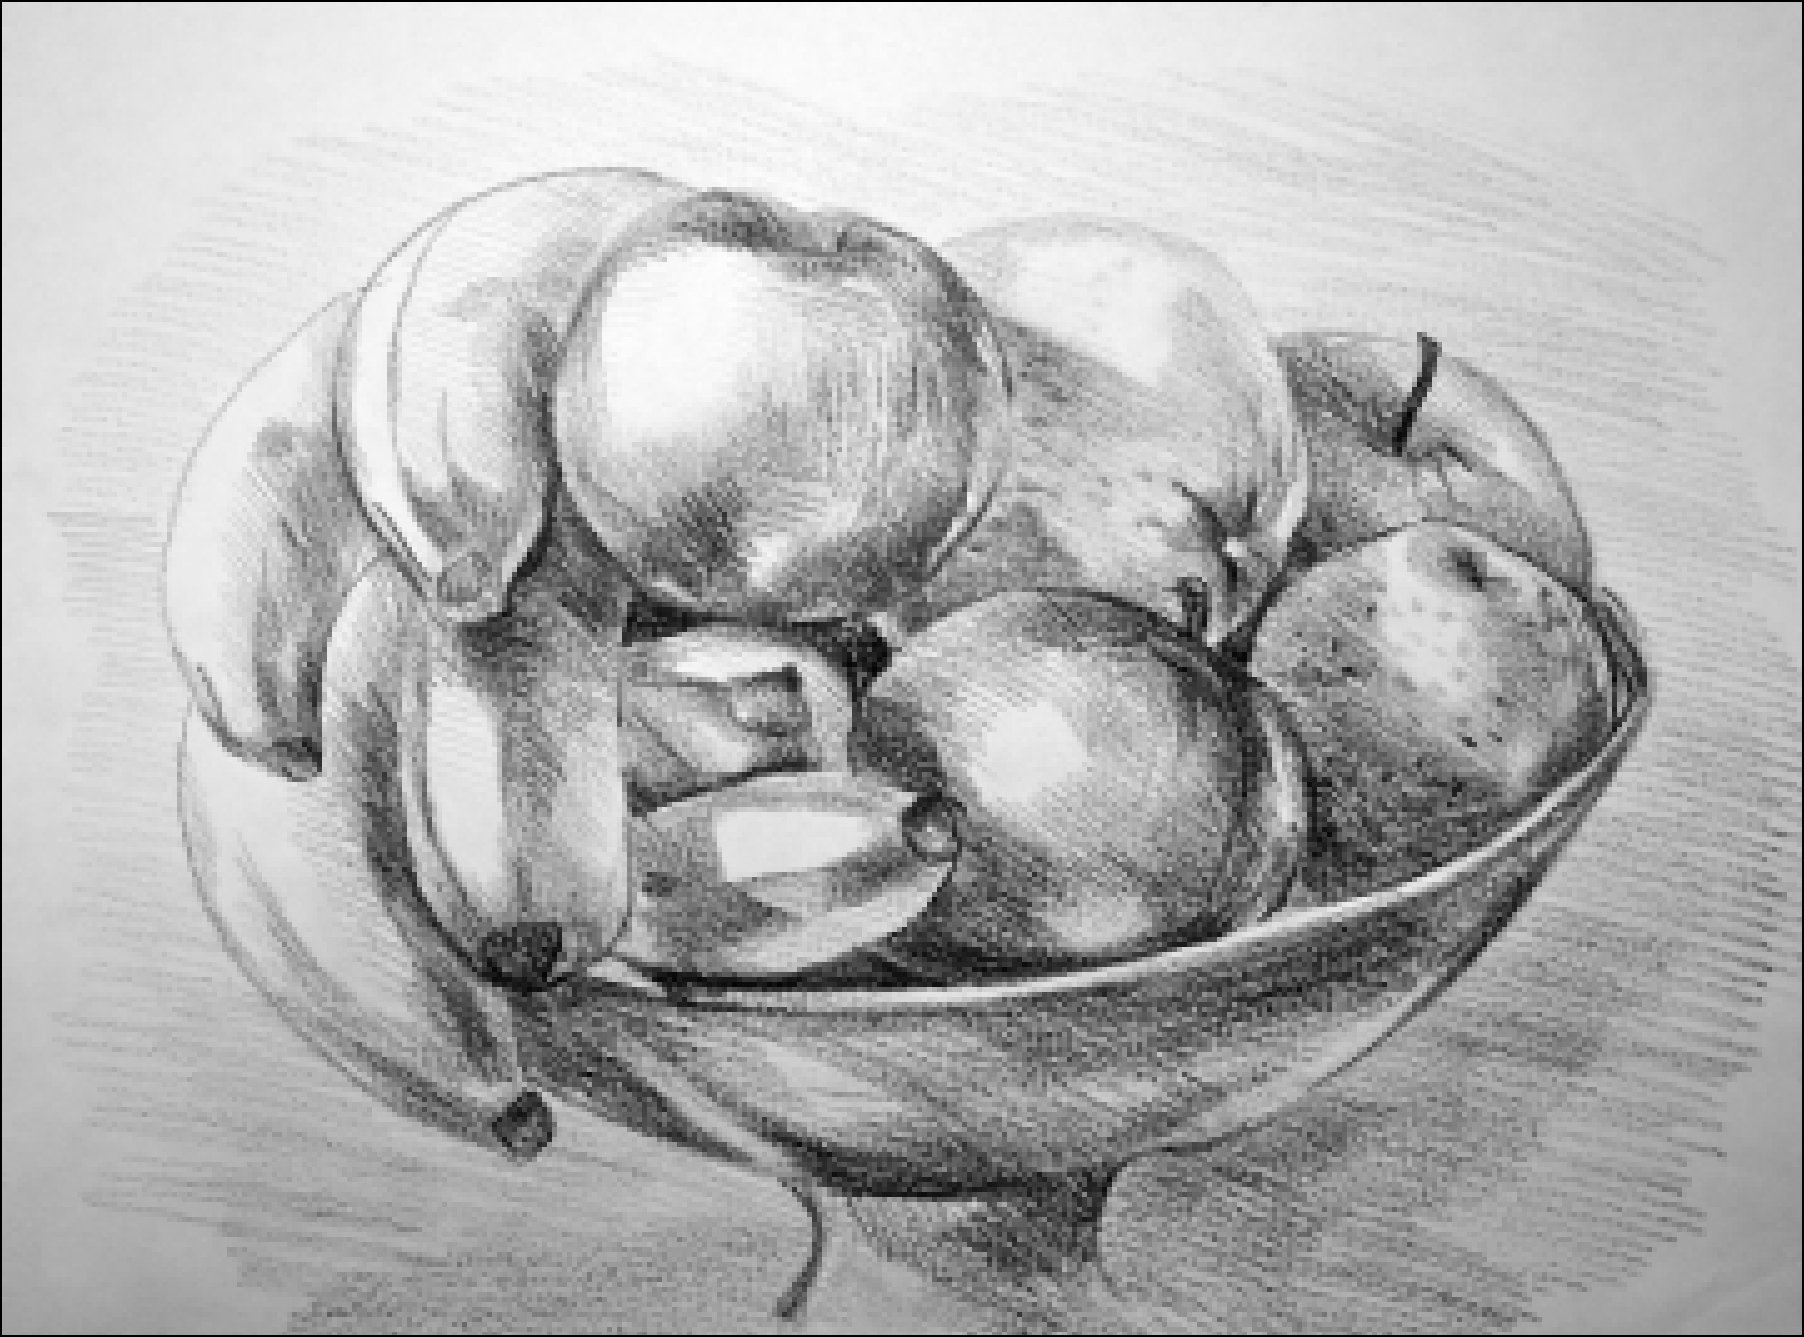
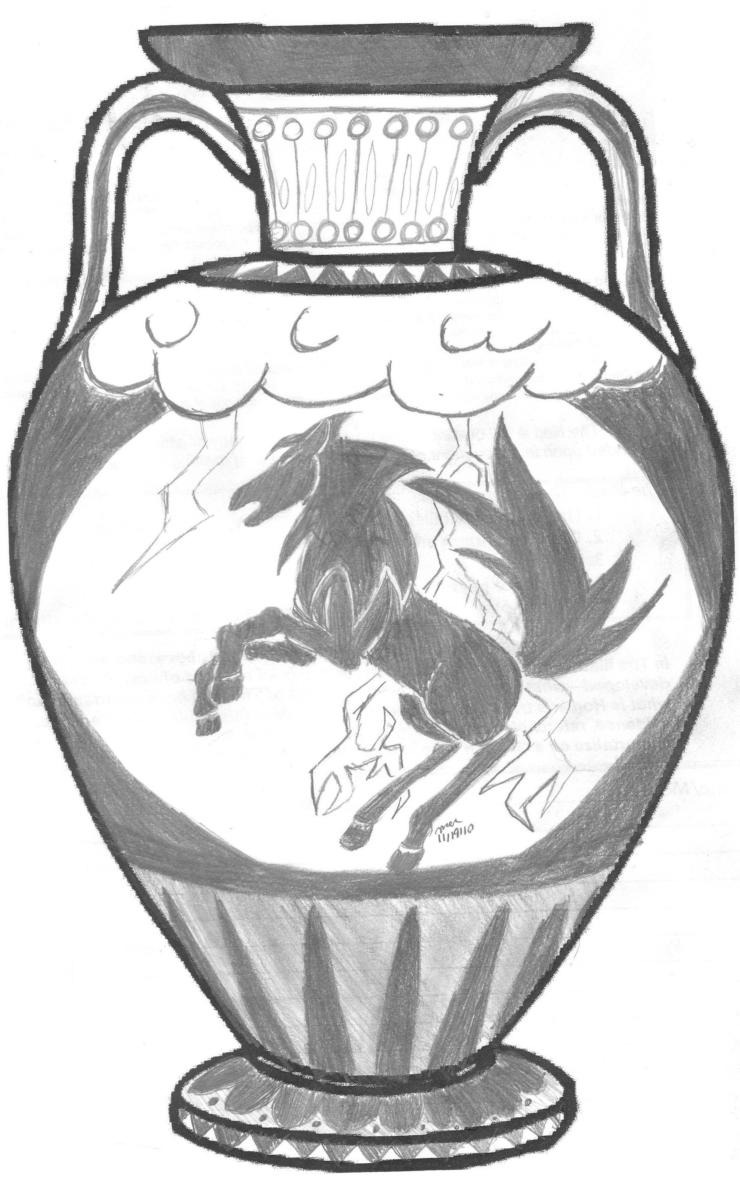
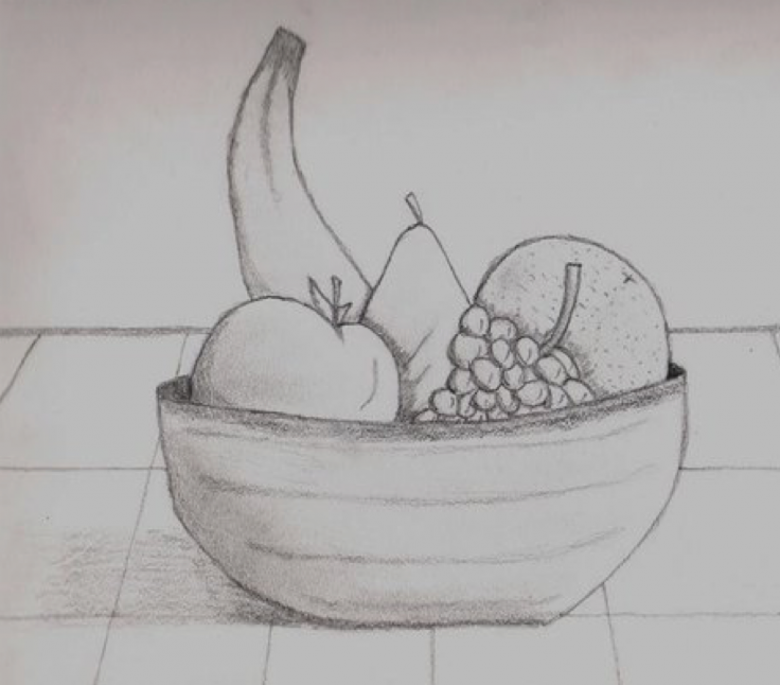
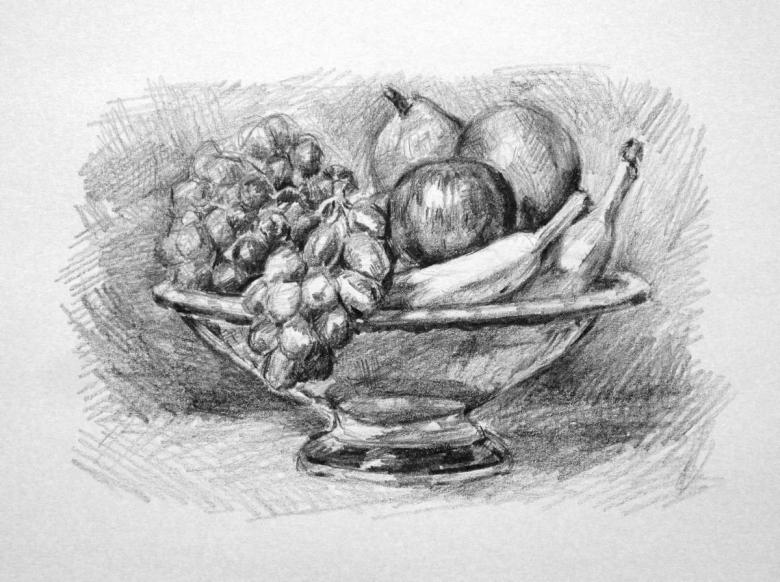
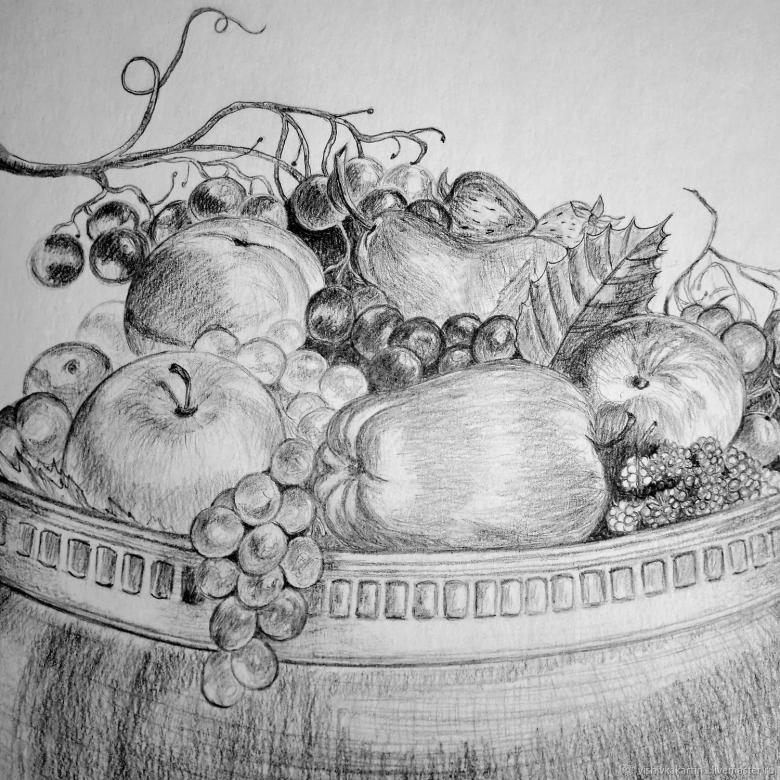
Vase with fruit
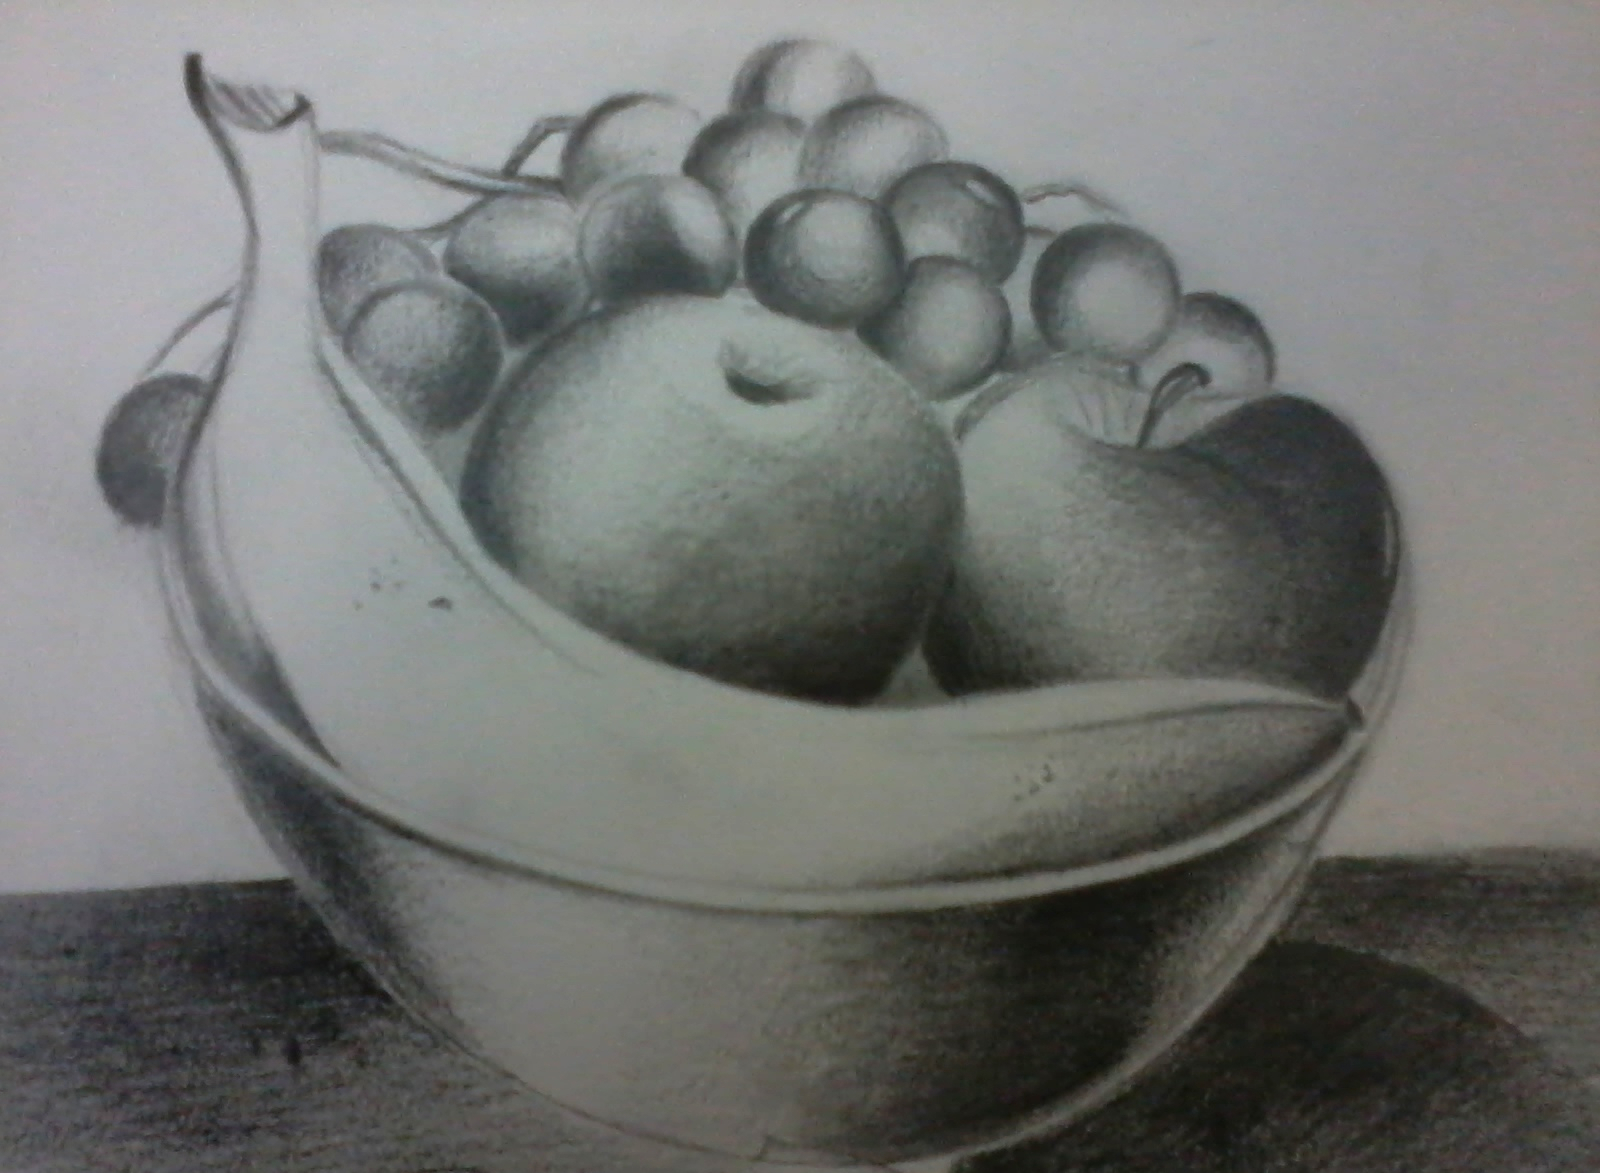
Variant with apples, grapes and any other fruit is great for still life. Break down for beginners the process of how to draw a vase with fruit, using only a pencil, can be divided into two parts and perform them step by step. The first is the vase itself and the second is the selected fruit.
Process:
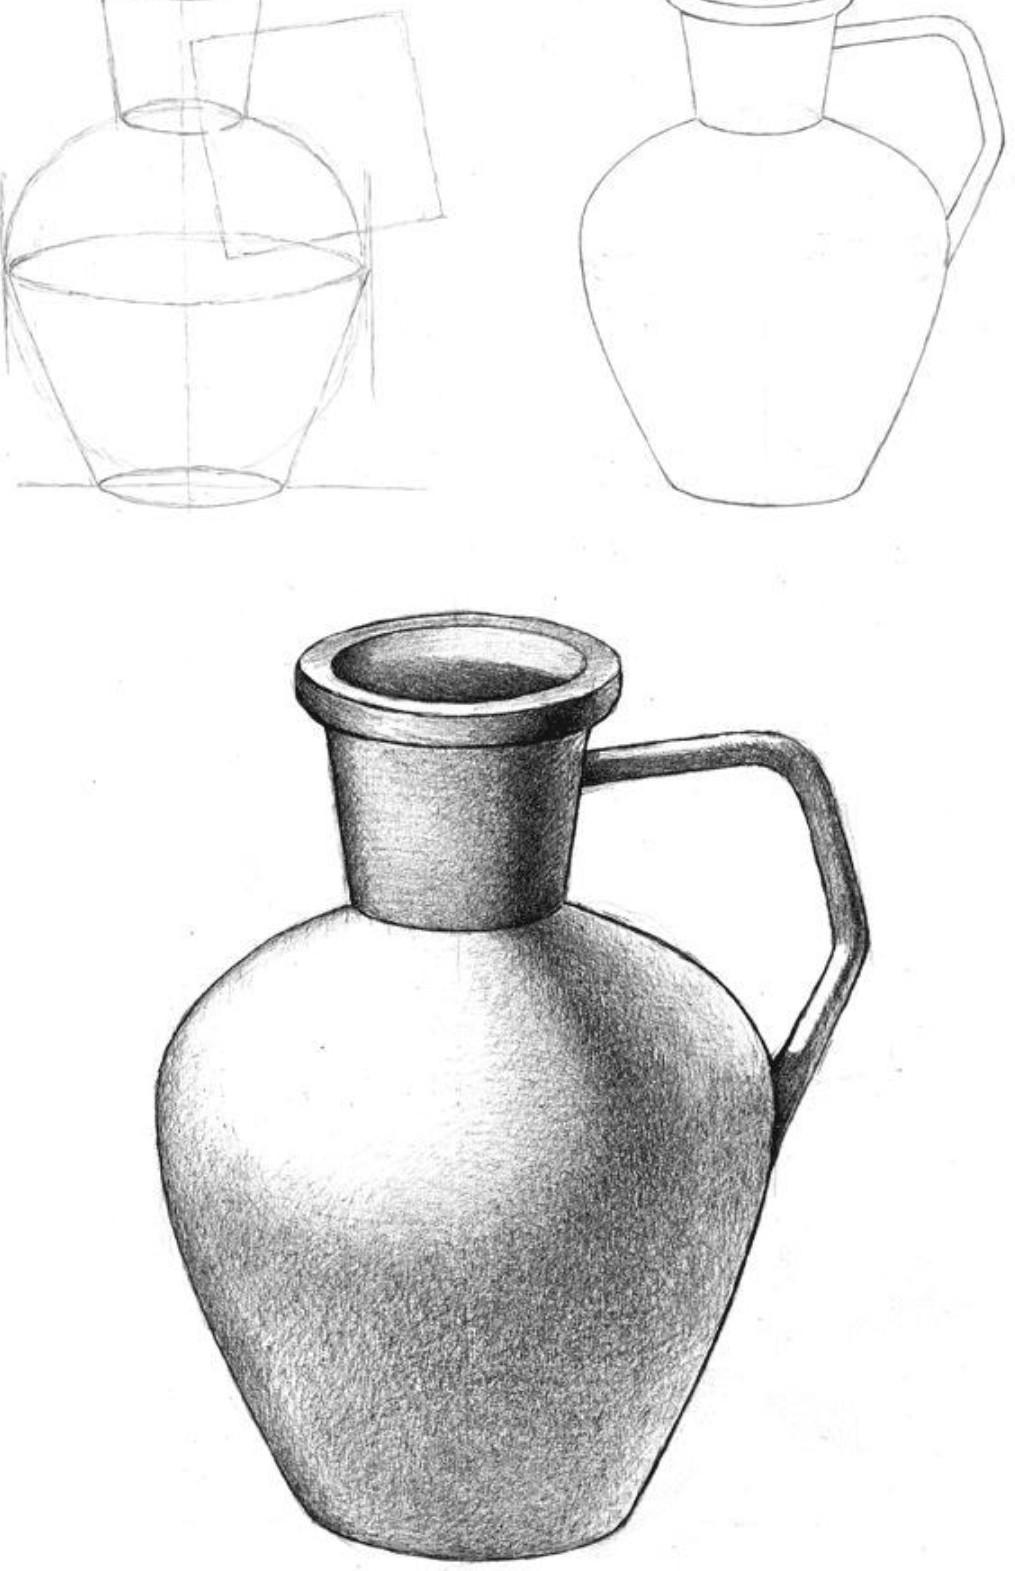
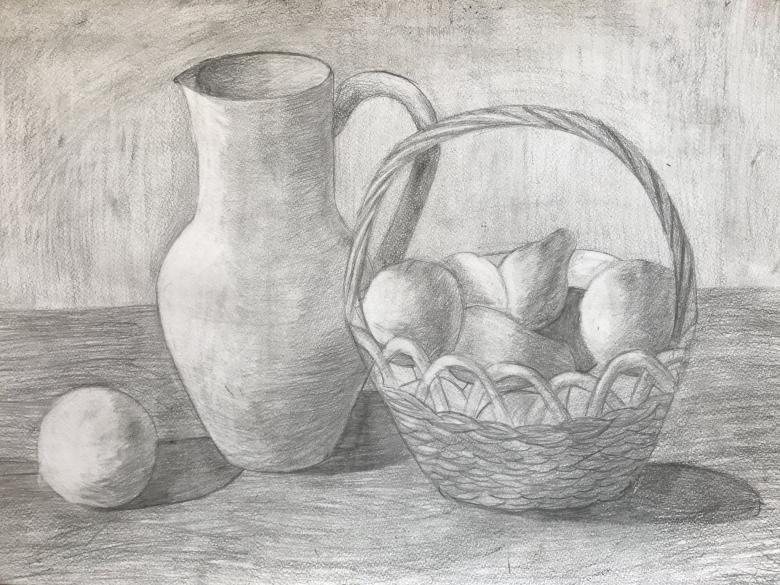
- Before you start drawing, make a sketch of the future work. Think about the shape of the vase or jug, what fruits will be present in your still life and their placement.
- The first step in drawing is the vase. To start with a rough drawing of the size of the object on paper. Then draw a semicircle corresponding to the size. It should go as if down, pushing away from the horizontal axis of the vase.
- A little below the straight line you need to draw already concave curve. This will be the top of the vase.
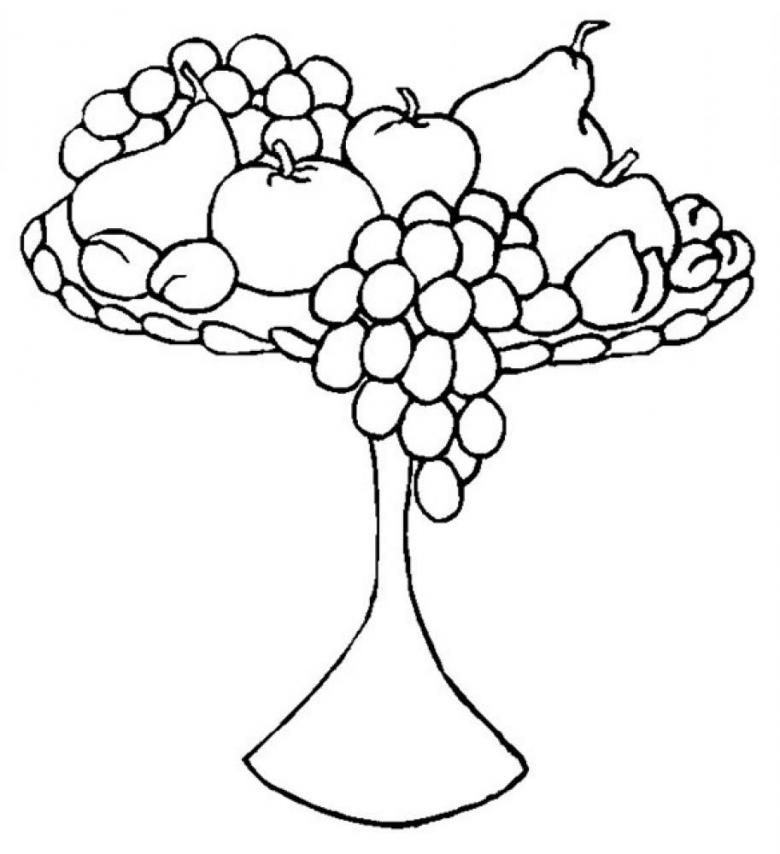
- Now comes the bottom. For this draw the bottom. It will be in any variant, even if your subject is conceived on the leg or too narrowed at the bottom. However, do not forget about its stability.
- The second part of the work is to work with the filling. Based on the initial idea, outline the outline of the fruit. They can be round, elongated or diamond shape. In terms of positioning, the fruit is either in the vase, or it may hang slightly off the edges (example: bunches of grapes).
- After sketching, sketch out clearer and smoother contours. Give volume to the objects with shading and shading.
If you like, you can paint the still life in color. So the work will be much more interesting and eye-catching.
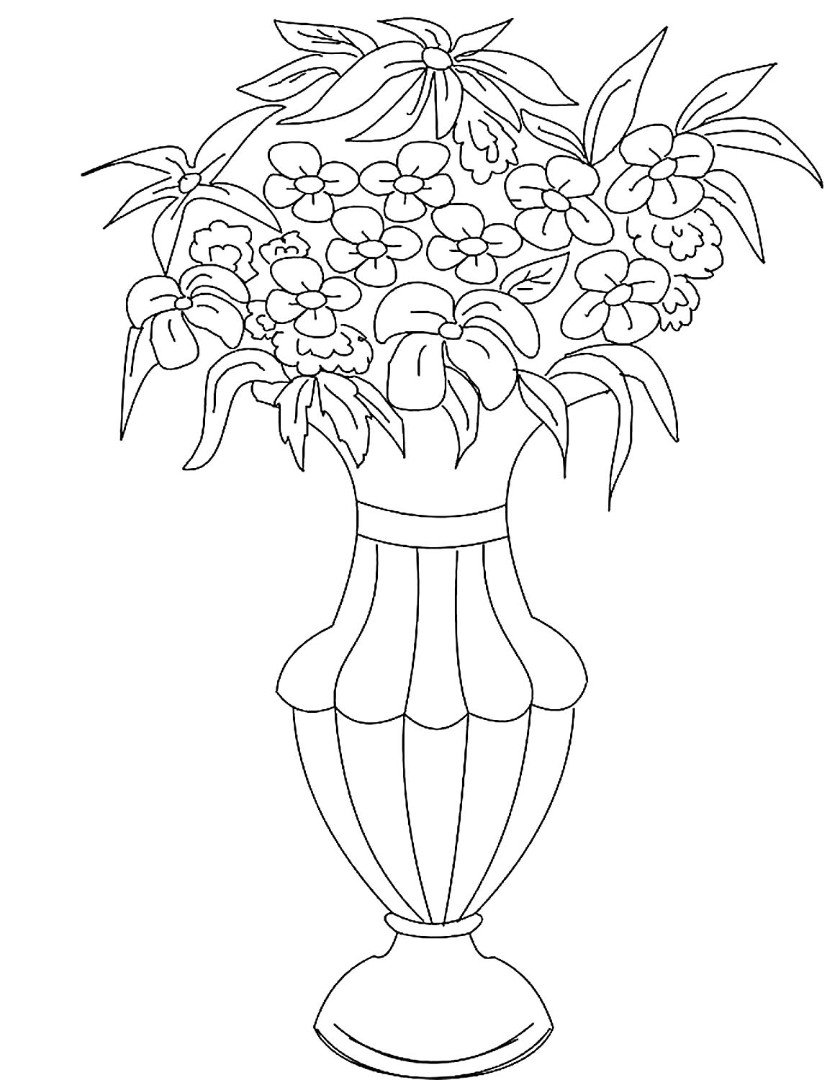
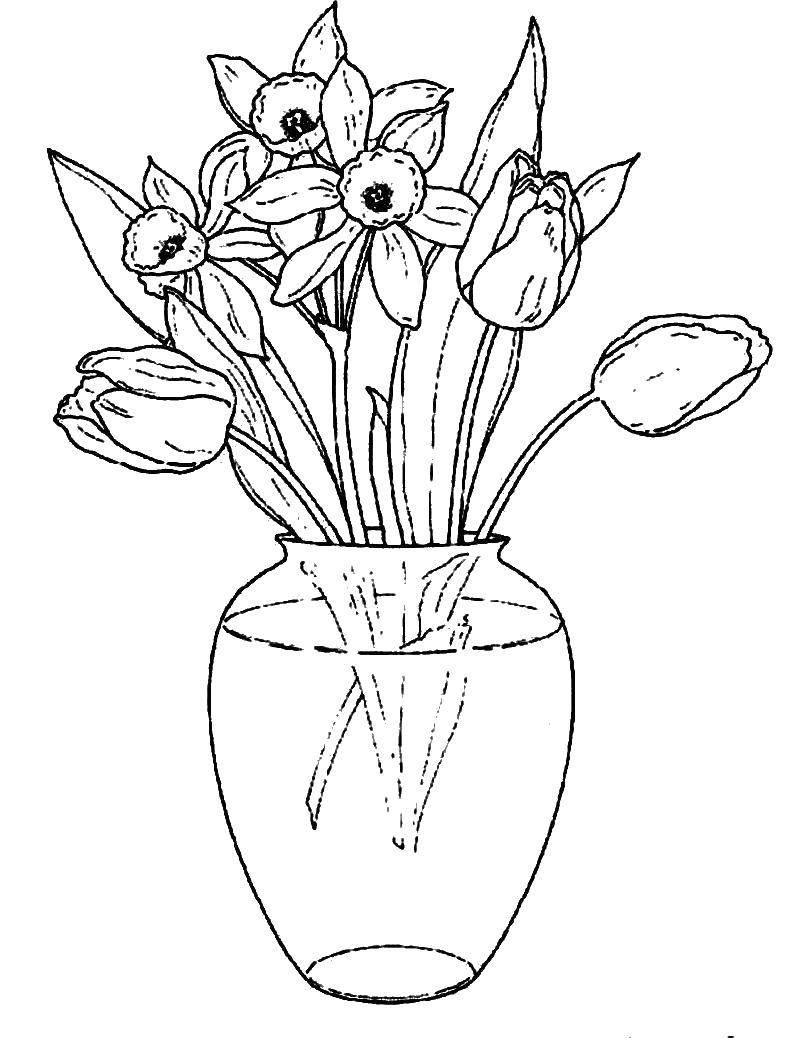
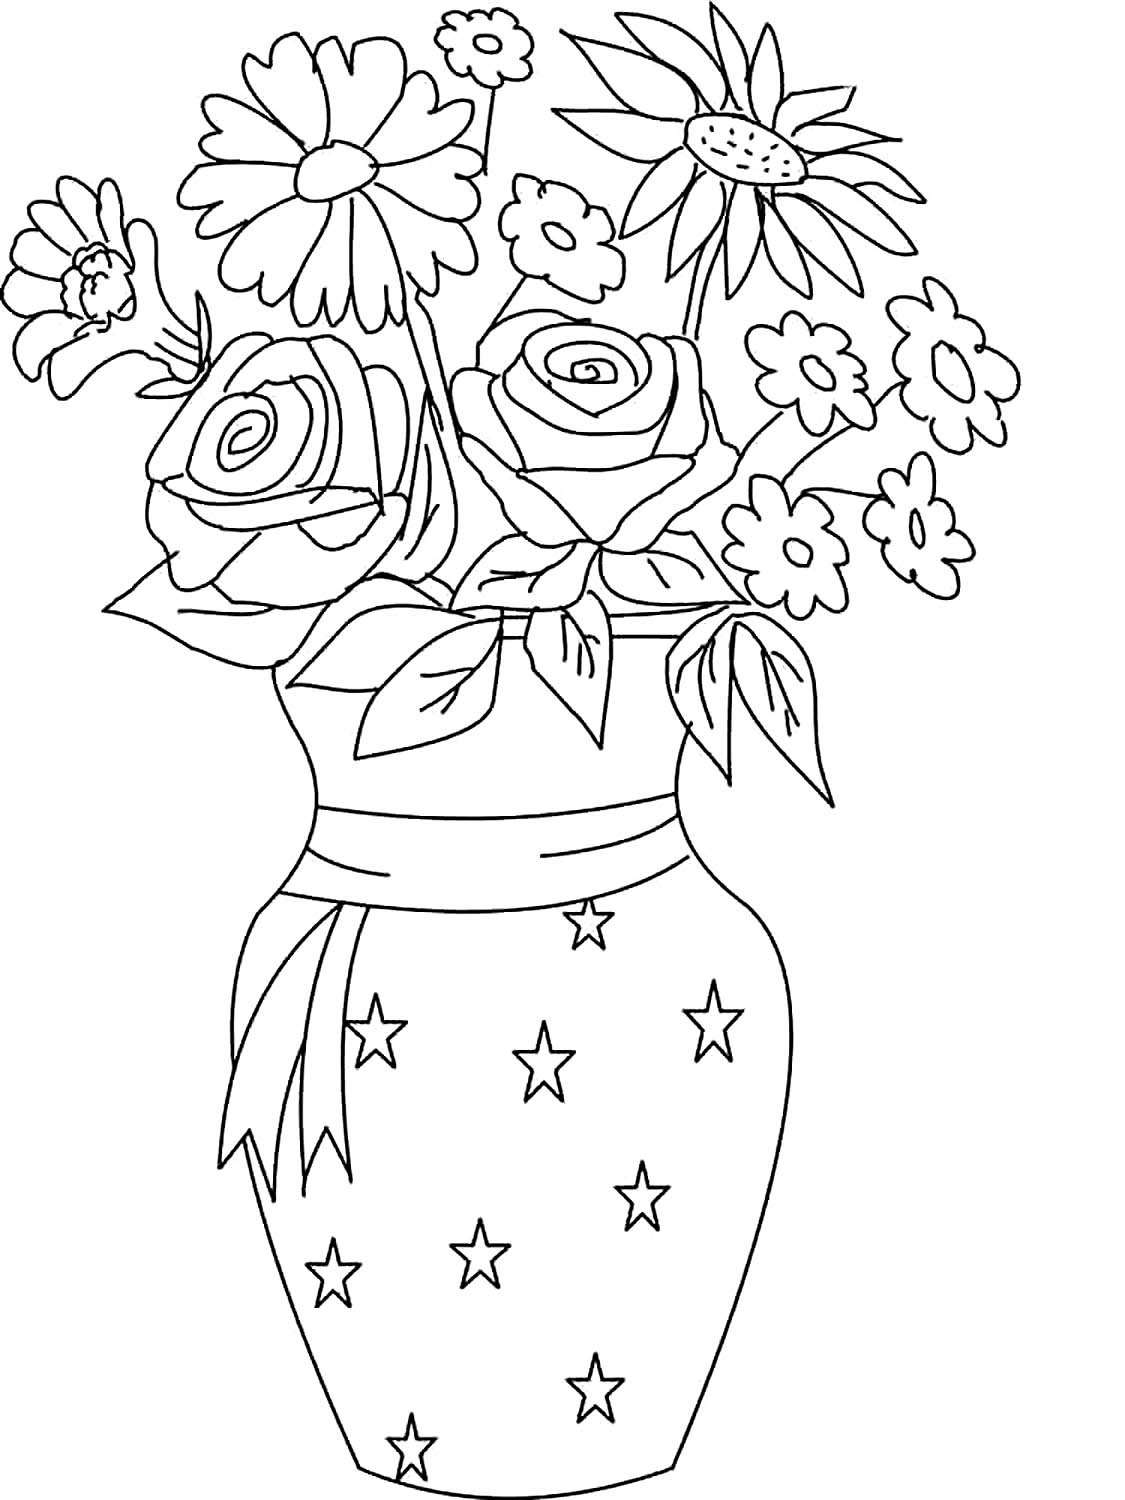
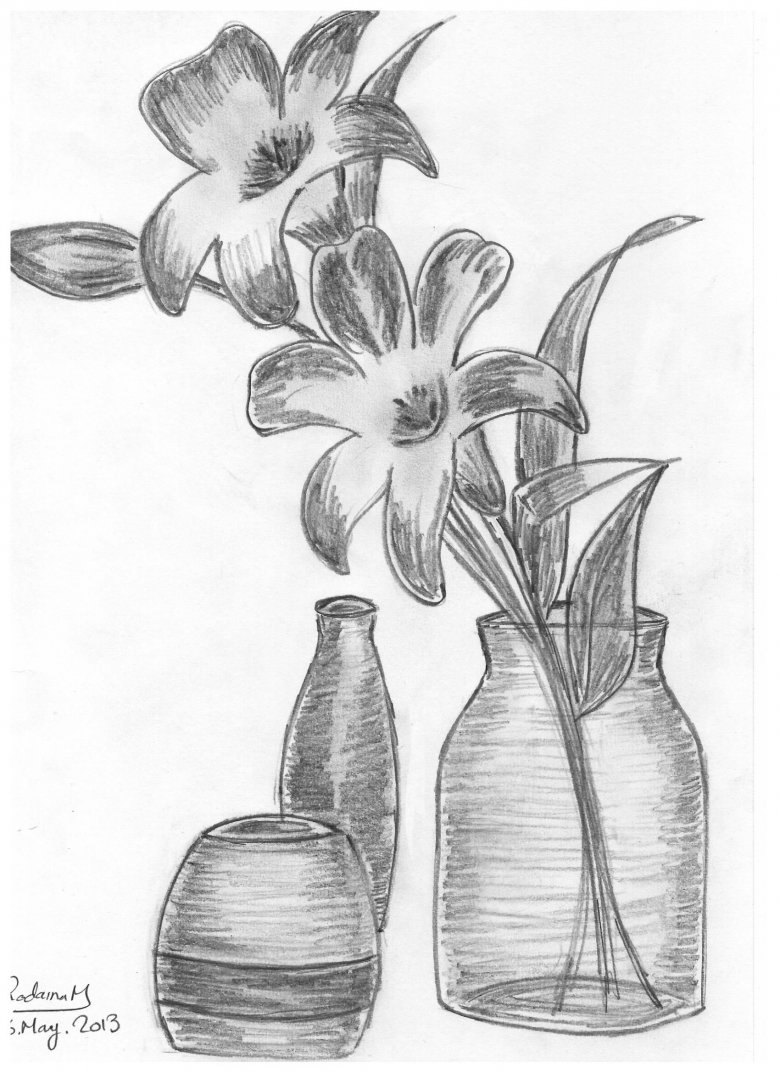
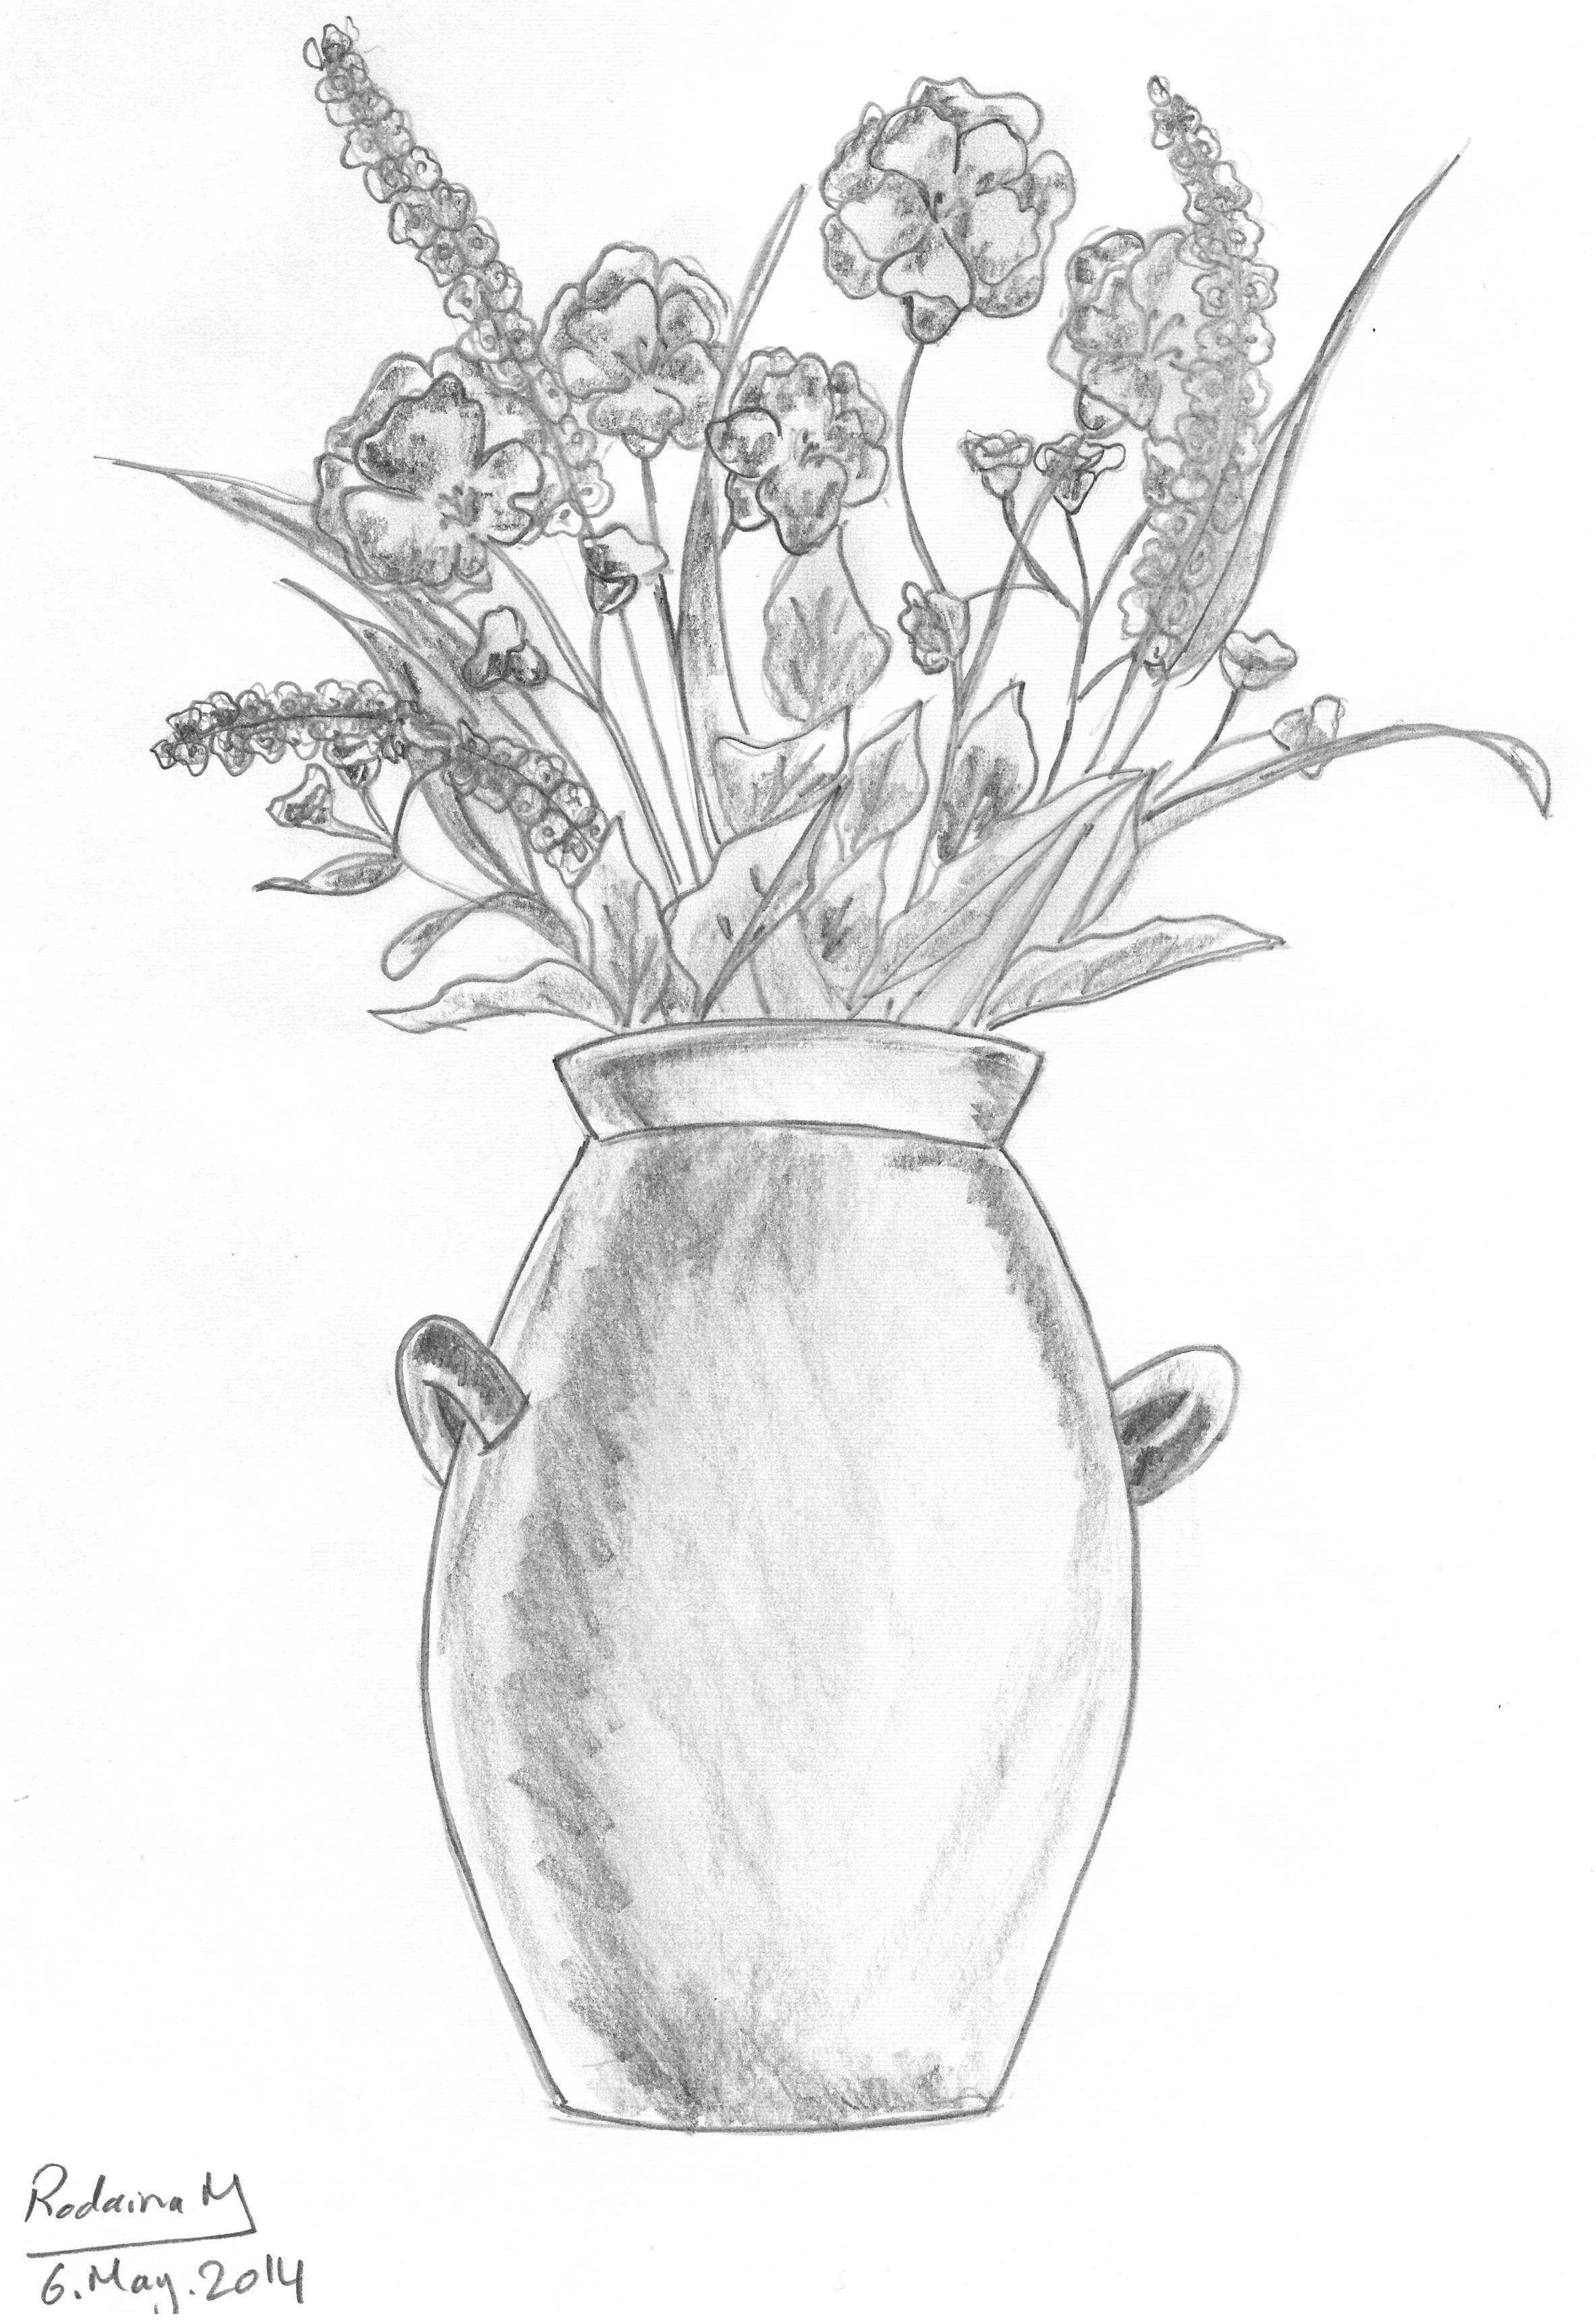
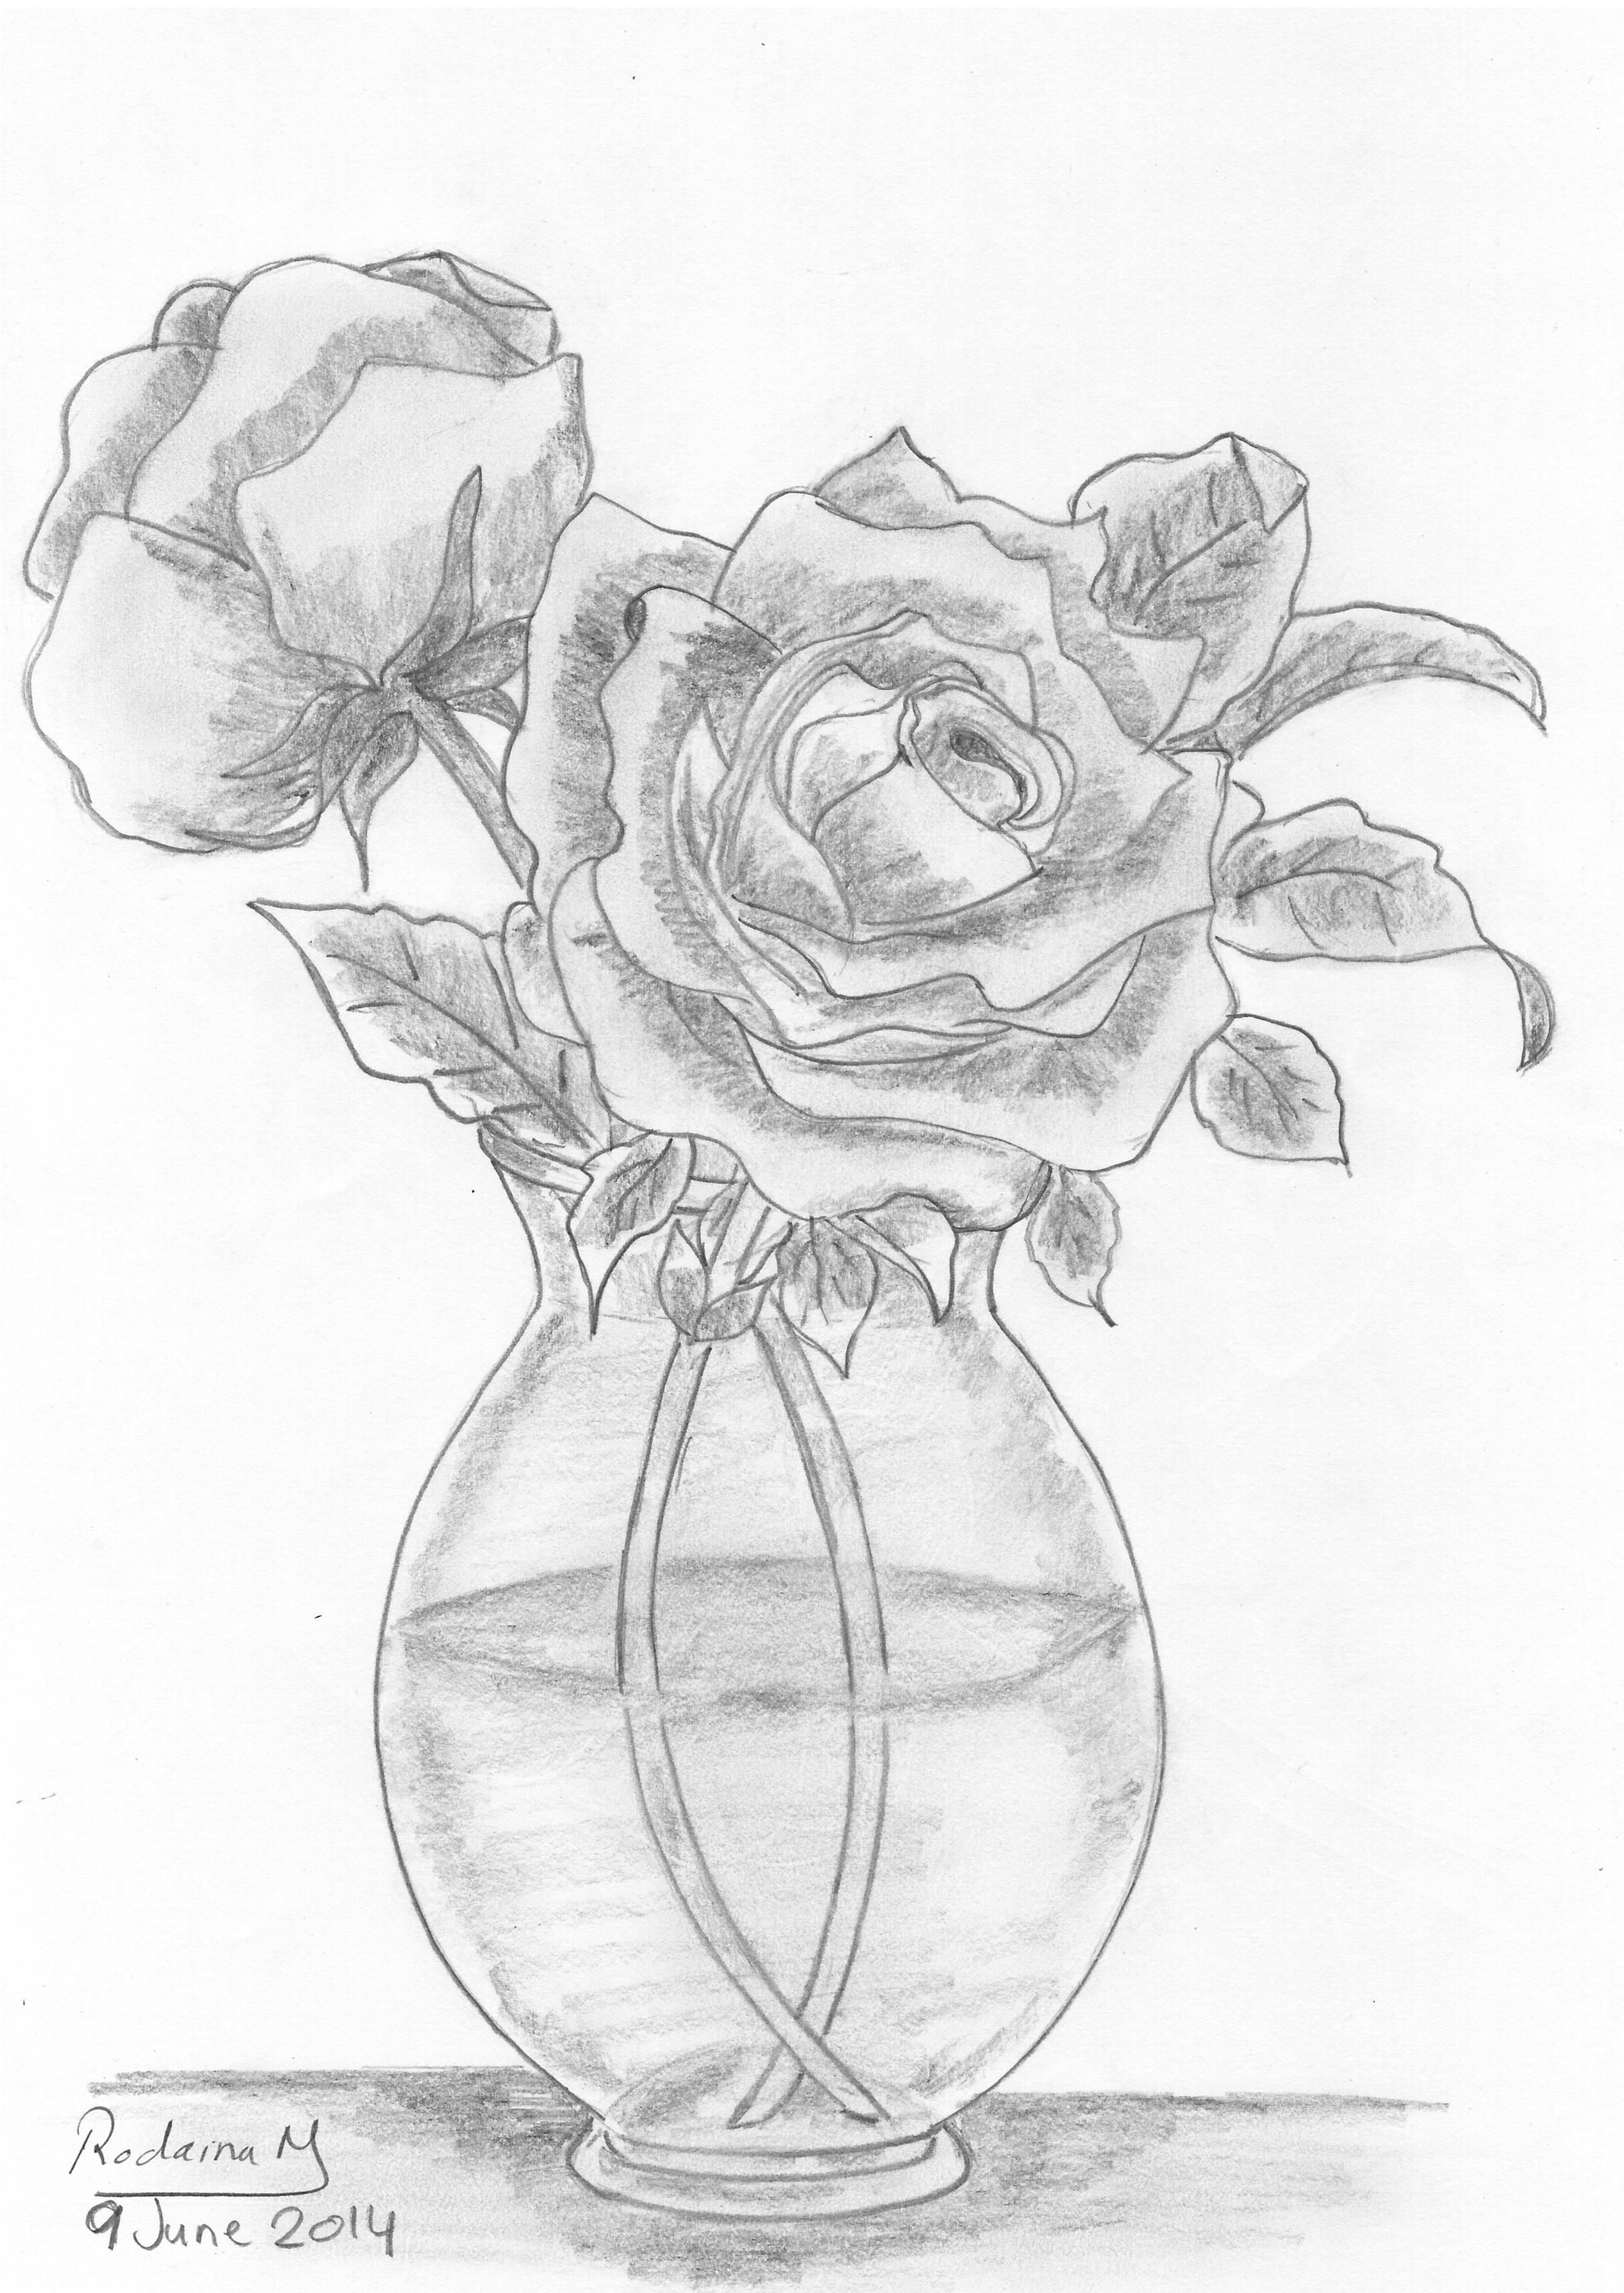
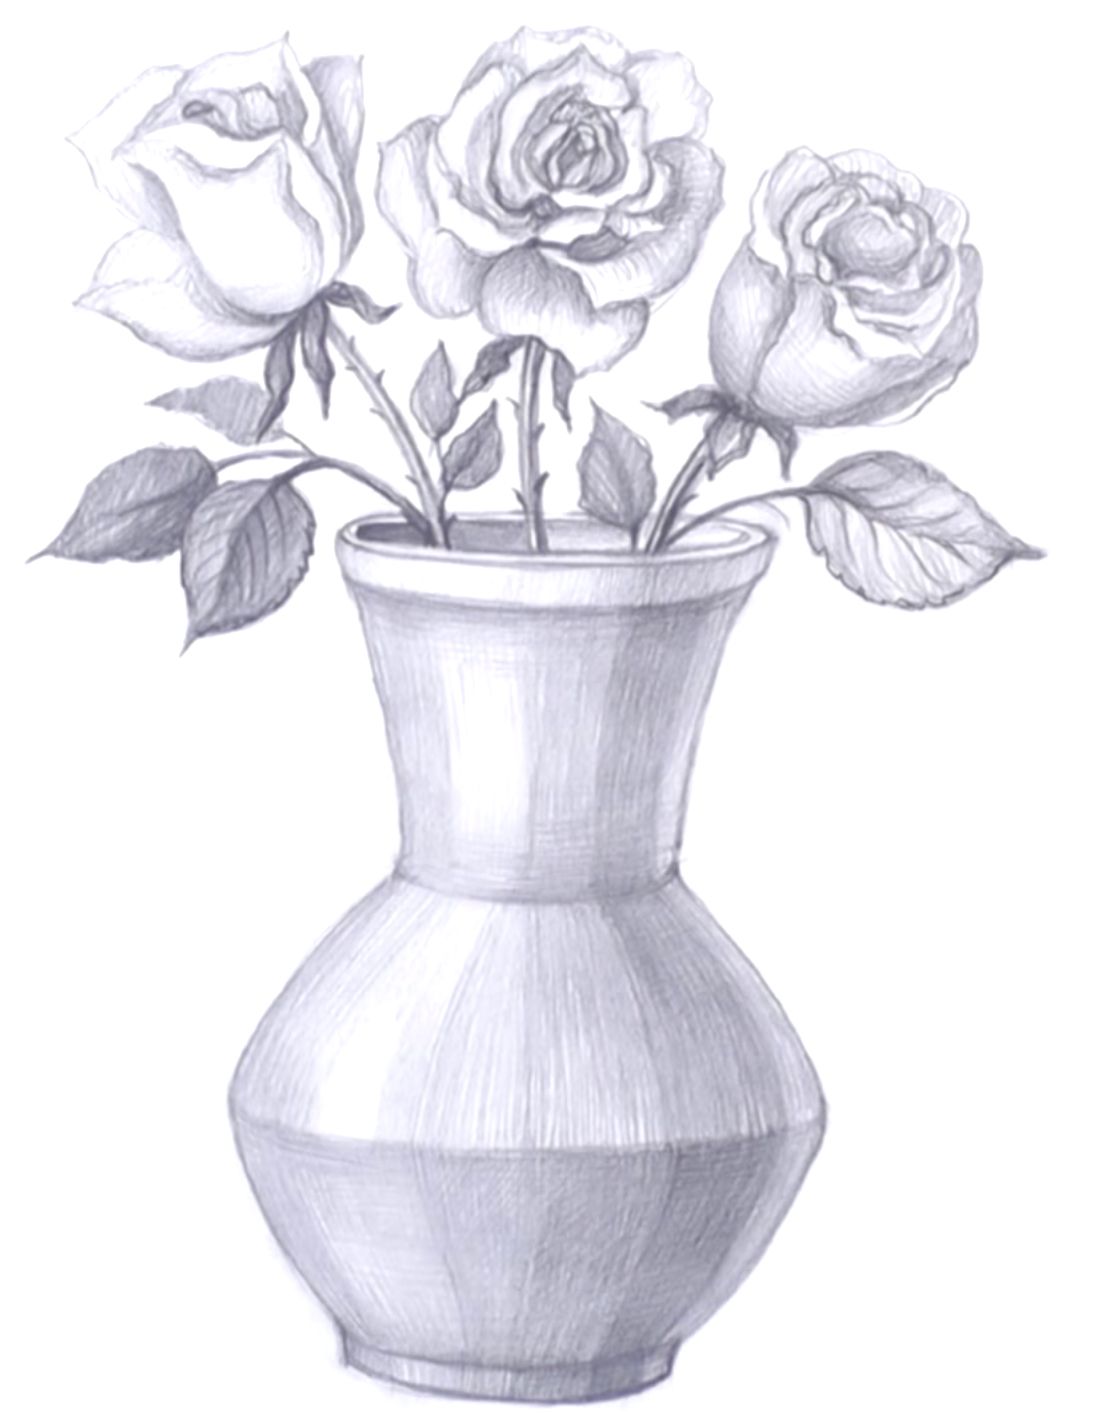
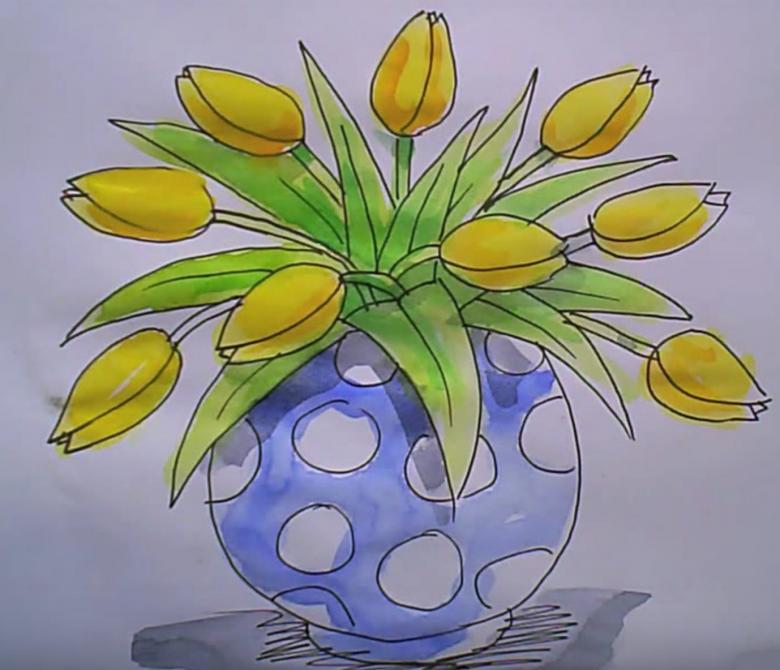
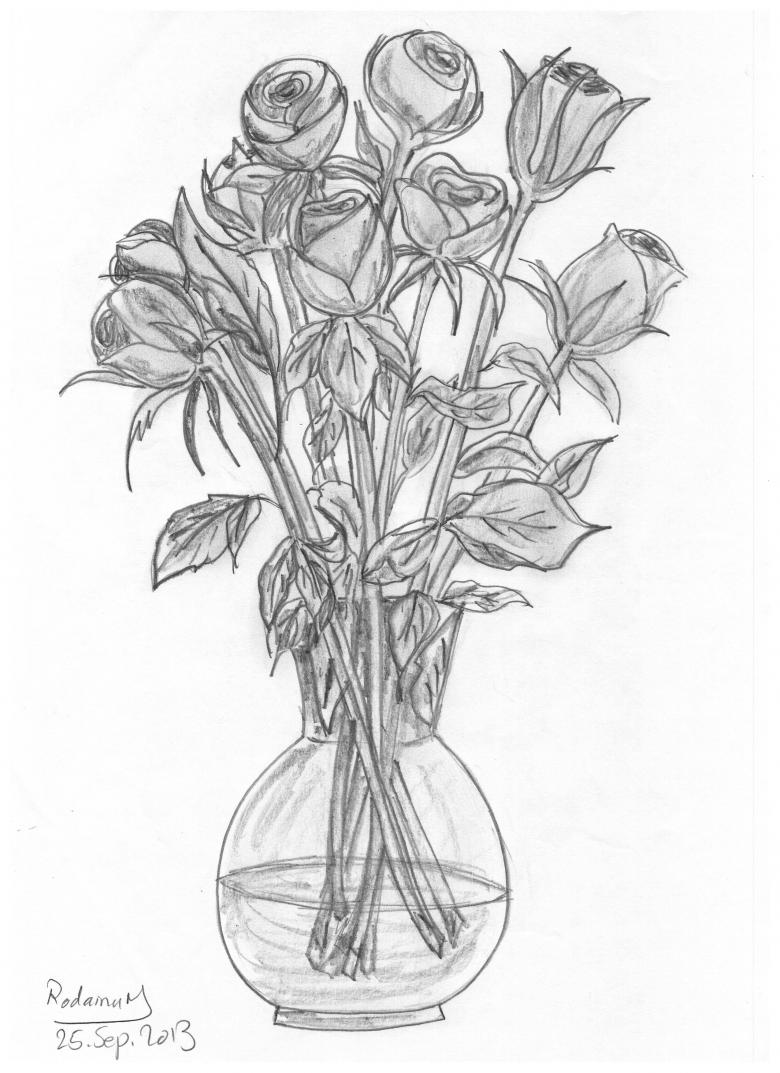
Drawing a vase with flowers
Another slightly more complicated version of the work. By adding more new details, you will develop your skills and imagination. And soon the question of how to draw a vase or jug with flowers step by step in pencil or paint will no longer be a problem.
Process:
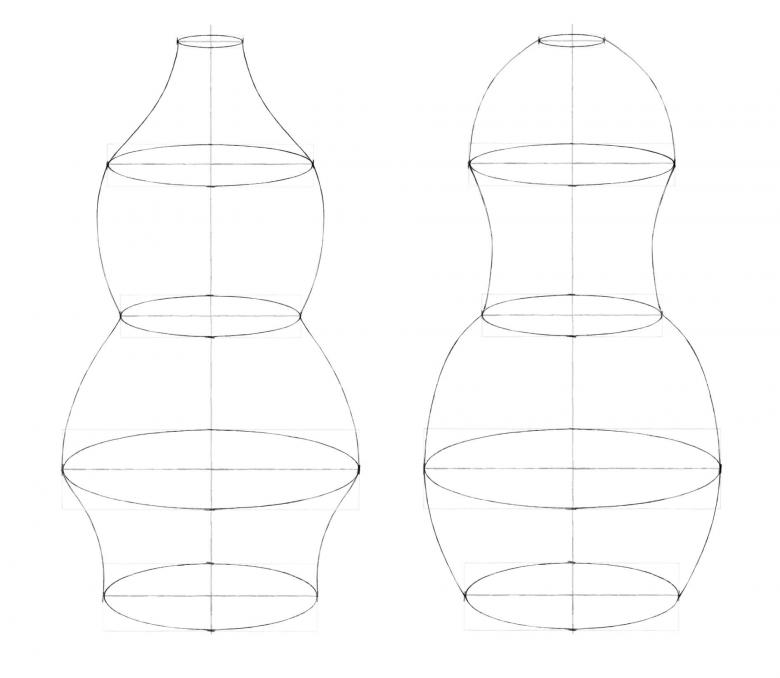
- Preparatory stage - draw a marking of the future vase and mark the approximate outline of the flowers in it. To do this, draw perpendicular lines-axes: vertical for symmetry and two or three on the horizontal. This will be the top, bottom and the place of expansion.
- Sketch the initial outline, and then draw it in more detail.
- Unlike conventional vases, in this version you can do without drawing the neck. On most works, it is still covered with flowers. However, it is worth drawing an ellipse to indicate where the object will be filled.
- Depending on the chosen colors, their position, number and drawing will also depend on it. You can choose the most common options for the first work - daisies and any other species with a few petals. This will make the task easier, and they are much easier to depict than, for example, roses or more complex flowers.
- Do not draw everything too detailed. It's enough to pay due attention to a few pieces in the center, and the rest can be simplified a bit.
- After creating the final outline, add shading and highlights or make a colored version of the drawing.
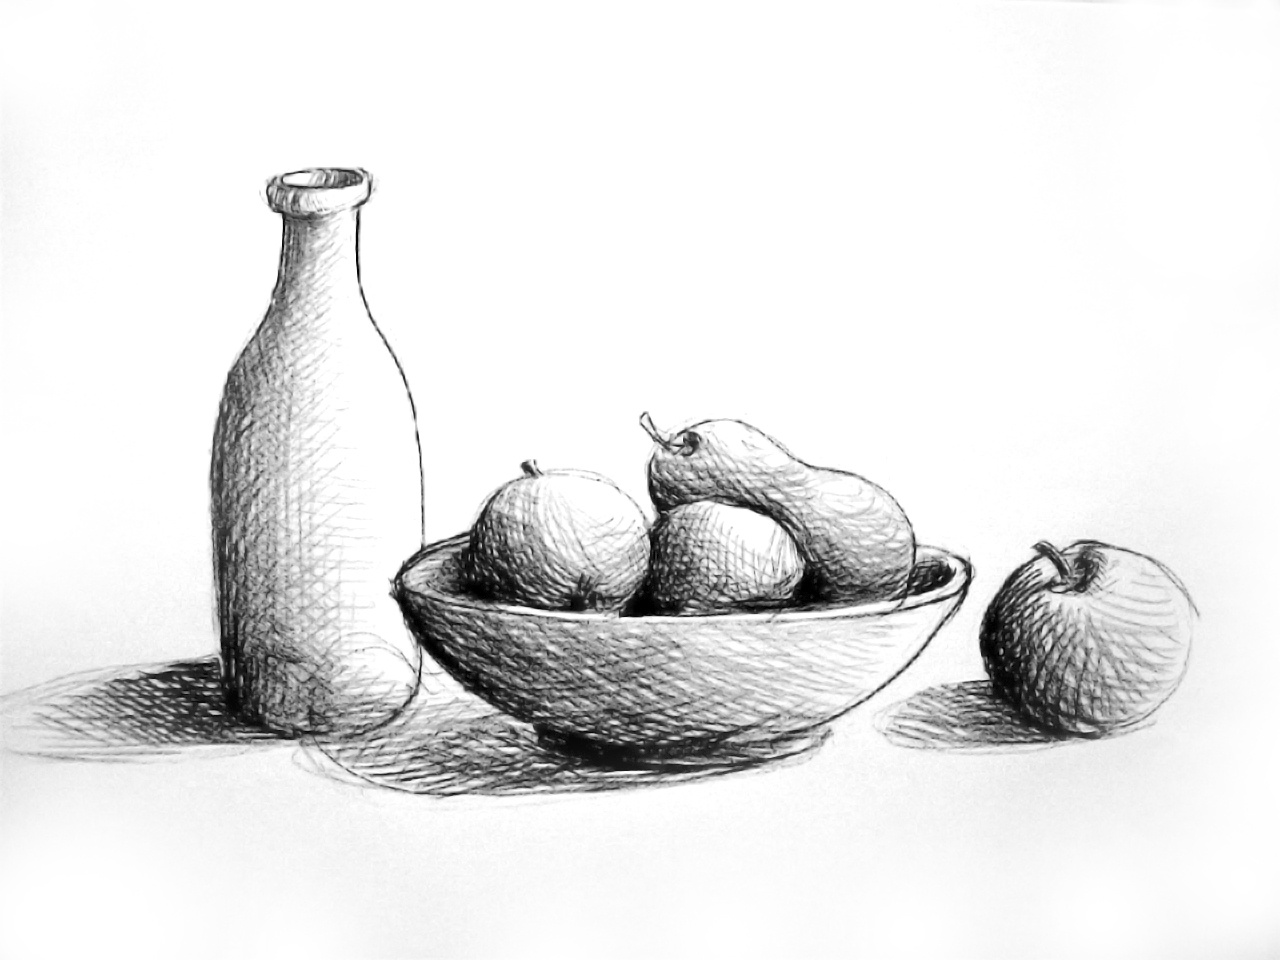
How to learn how to apply shadows
Many beginners as well as already experienced artists are faced with the problem of correctly applying light and shade. A few tips can help you understand how to avoid unnaturalness in your work and make it more lively and realistic.
- Draw more and more often from life. Notice how shadows fall on an object if the light source is in a new location in relation to it each time.
- Try squinting your eyes during the process. This can help in identifying the darkest and brightest areas of the vase.
- Fill in the strokes only where there are shadows. Do not touch the light areas.
Drawing vases may not sound like the most fun, but it's a great way to get a feel for it, train your eye and sharpen your skills. In addition you can create a real masterpiece, creating a successful composition and skillfully captured it on canvas.
Pictures of vases for sketching in pencil