How to knit a beret by scissors and crochet: schemes for beginners with a step-by-step description of how to knit a stylish and warm hat
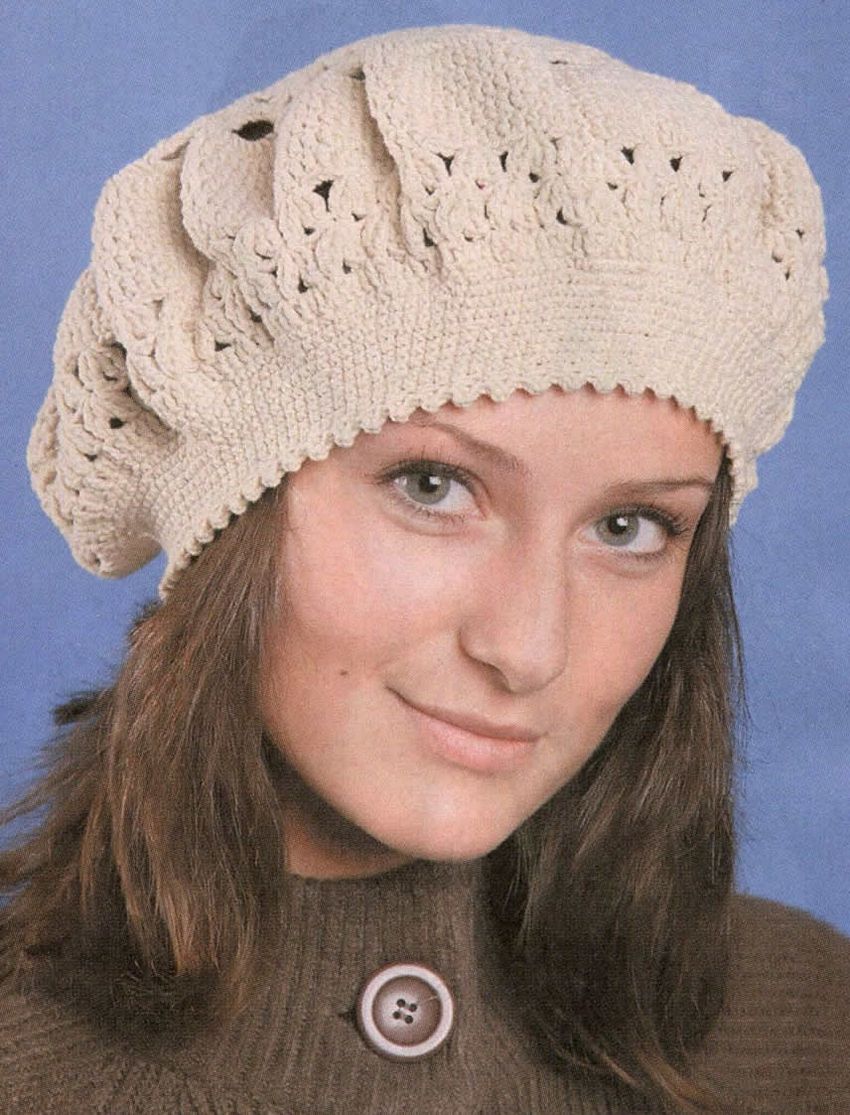
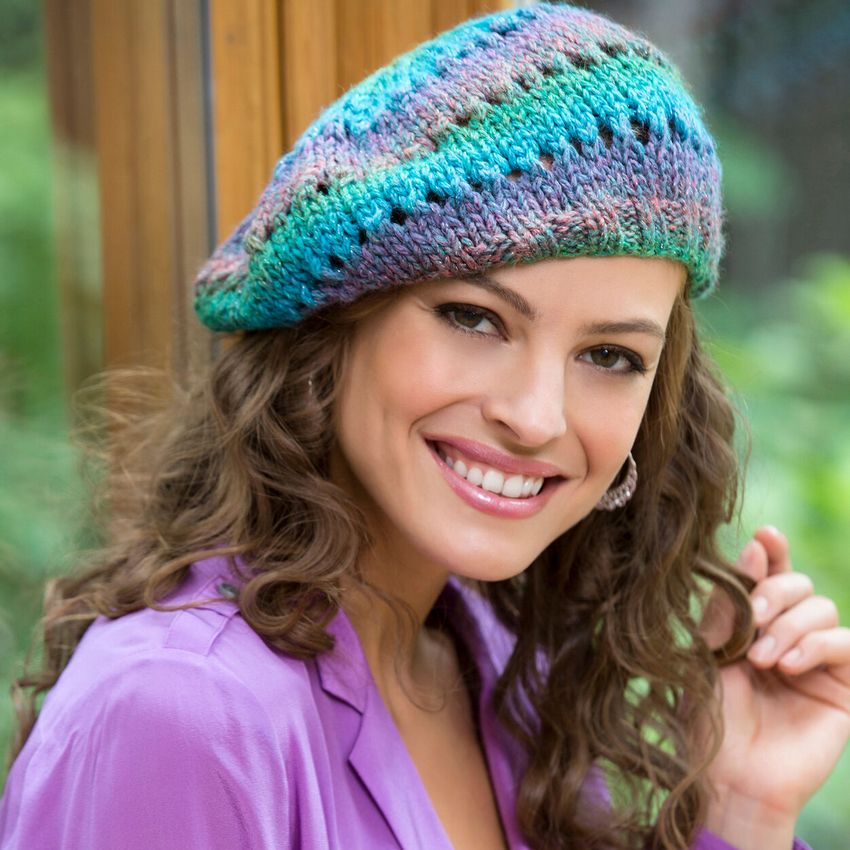
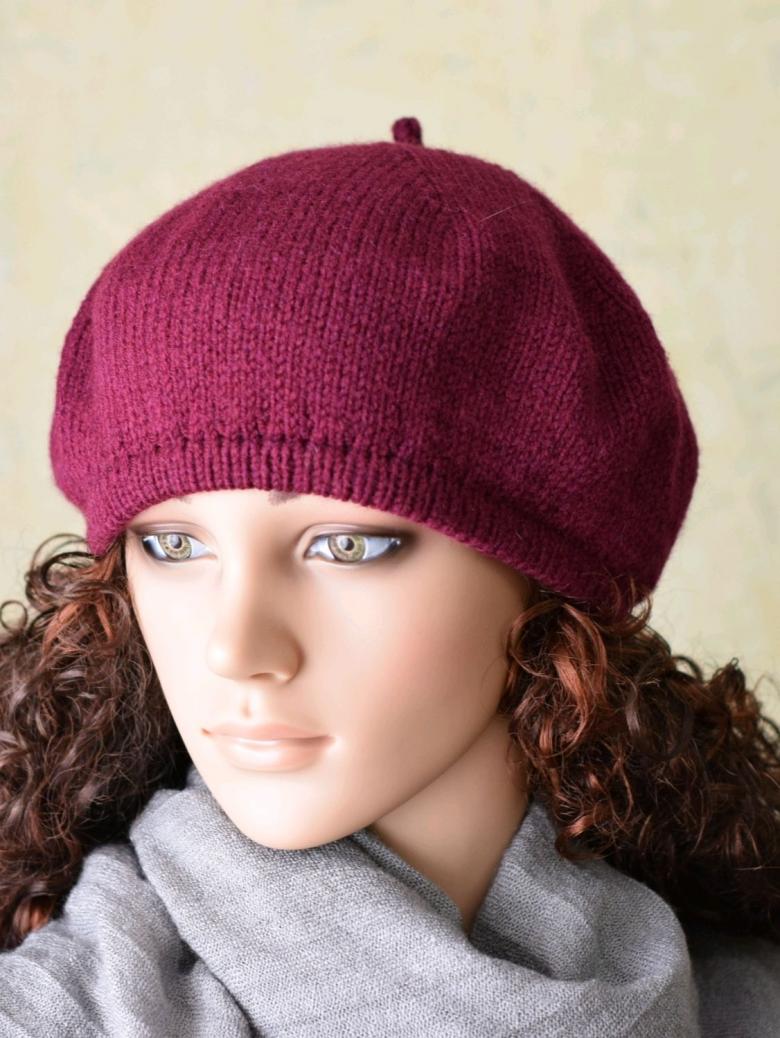
Beret - has always been a symbol of special femininity and luxury since the last century. This is a wonderful element of the closet for the cooler seasons. It is suitable for almost any image and style.
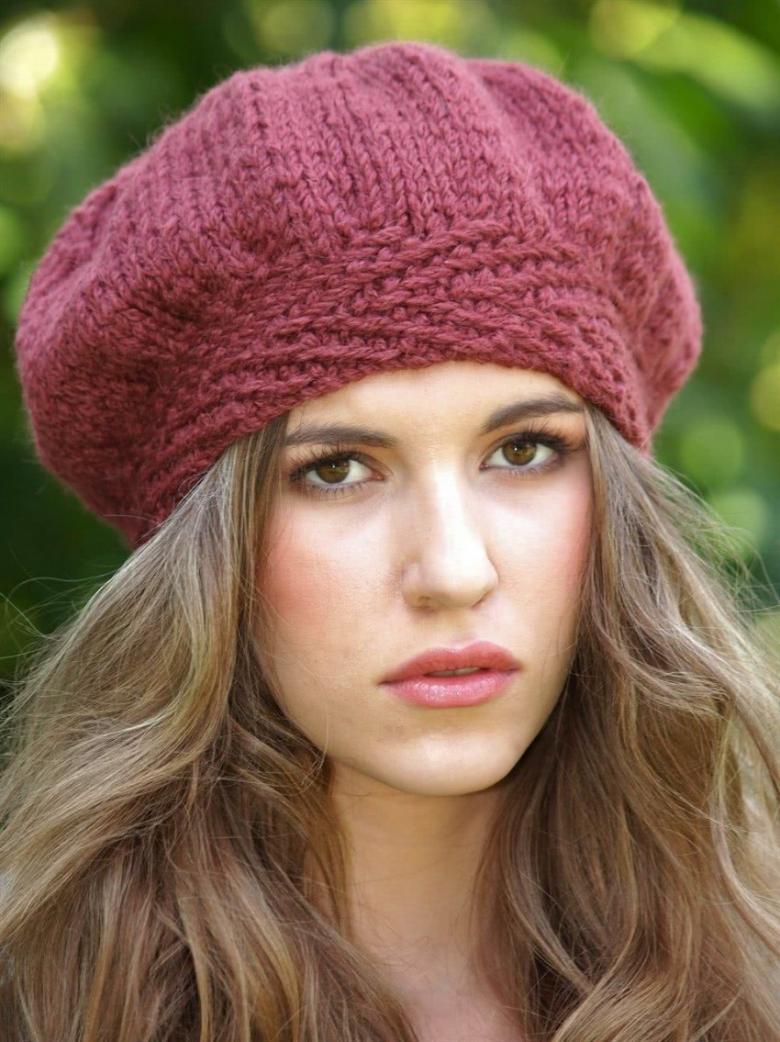
Those who are just beginning to knit, the question arises why do we need to make our own things, if there is an opportunity to buy them in the store. The answer is simple - a knitted thing, even a beret, can be made from any yarn, any style.

It is not always possible to find a closet item that will suit you 100%. A woman's beret by needlework is not difficult to make, even for beginners. This work takes about a day or two, even those needlewomen who knit not so long ago.
In the books of our grandmothers and mothers, and now on the pages of the Internet it is easy to find an incredible number of models of berets, connected with a needle or crochet, made of wool, cotton or mixed yarn. The principle of knitting is always similar and simple. In the beginning the cuff is knitted, then comes the expansion of the headgear, after that - the contraction.

Yarn and needle selection
Since this is mostly a piece of autumn closet - warm yarn is chosen. Another option is to use pure wool or half-wool, which contains acrylic, polyester or, in the case of more expensive yarn - silk. Often sold and yarn made entirely man-made fiber, it is soft and pleasant to the body, but not warm.

In the work of berets for women use needles. They are used to knit a simple beret and openwork, with embossed braids and patterns.

When buying yarn, it is worth paying attention to the number of needles indicated on the package. Or the same number is usually listed in the scheme of the beret.
The product is knitted in a circle, so it is most convenient to work with circular needles. It is two needles connected to each other with fishing line.
The first stitches
When the thread and needles are chosen according to the scheme, it is worth to knit a small sample, then it is possible to see how the yarn lies, how soft it is and what will be the final pattern. In addition, a small sample can "get your hand on" and calculate the number of loops.
How to determine the right size
Any product originates from a "centimeter" or measuring tape. Before you get to work, you need to measure the circumference of the head and the depth of fit of the beret. There is a handy table by which it will not be difficult to find the right size.
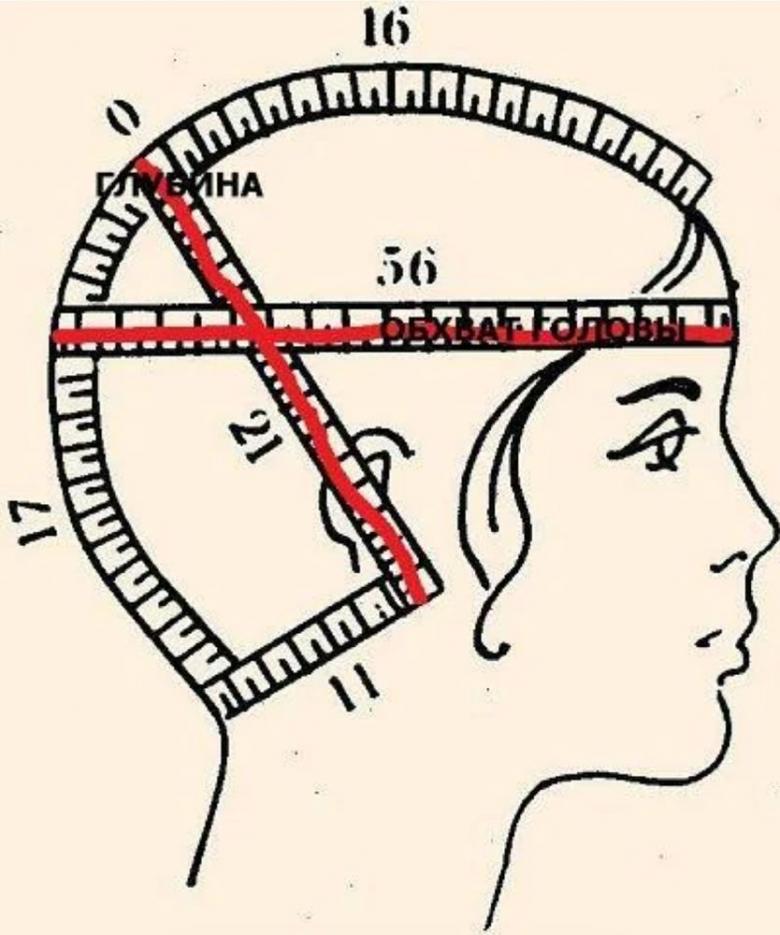
You need to put the tape on your head so that it wraps around the forehead and the back of your head. After measuring, subtract 2-3 centimeters. During the knitting and washing process, the yarn can "spread" and the product will stretch. This technique will ensure a snug fit to the head.
The depth of the beret to measure with a table or tape. You need to put the tape to the earlobe and draw it to the other earlobe. With the depth works the same method of adding centimeters, as with the measurement of the circumference. At the end of the measurement, you need to subtract 3-4 centimeters.
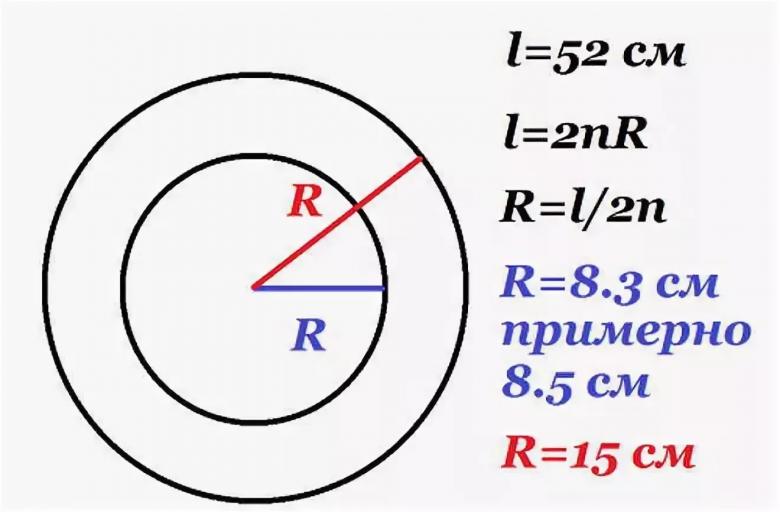
Calculating the loops
The next step is to calculate the required number of loops. In this will help the sample connected earlier.
The correct number of loops is always a multiple of 6. Having recruited the loops, you need to distribute them on 4 spokes, an equal number on each.
This is the basis for any beret and headwear in general.
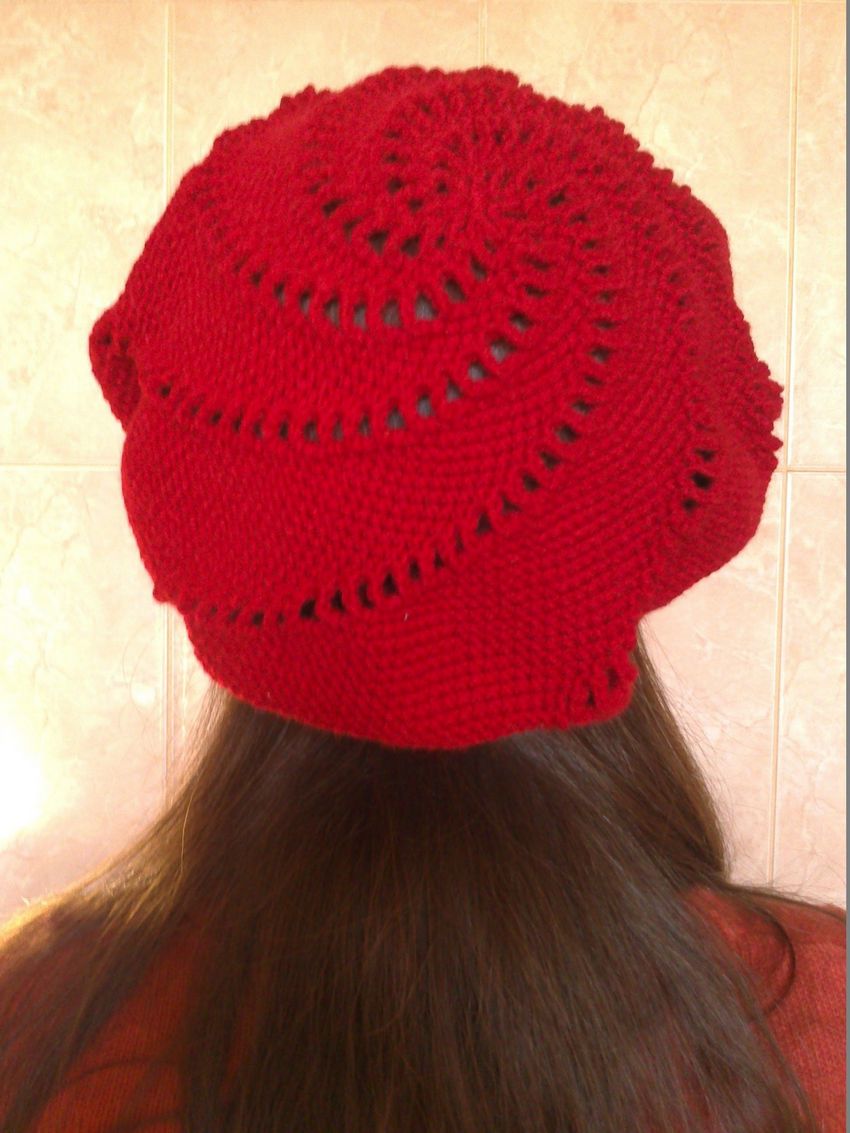
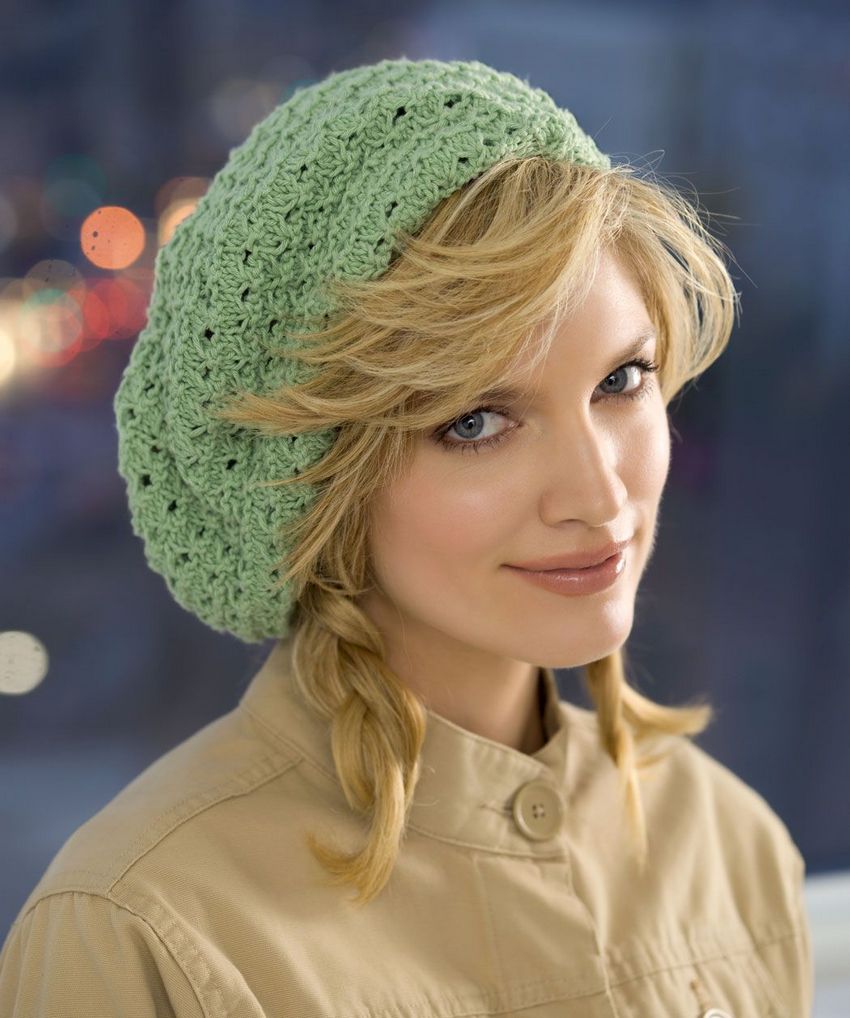
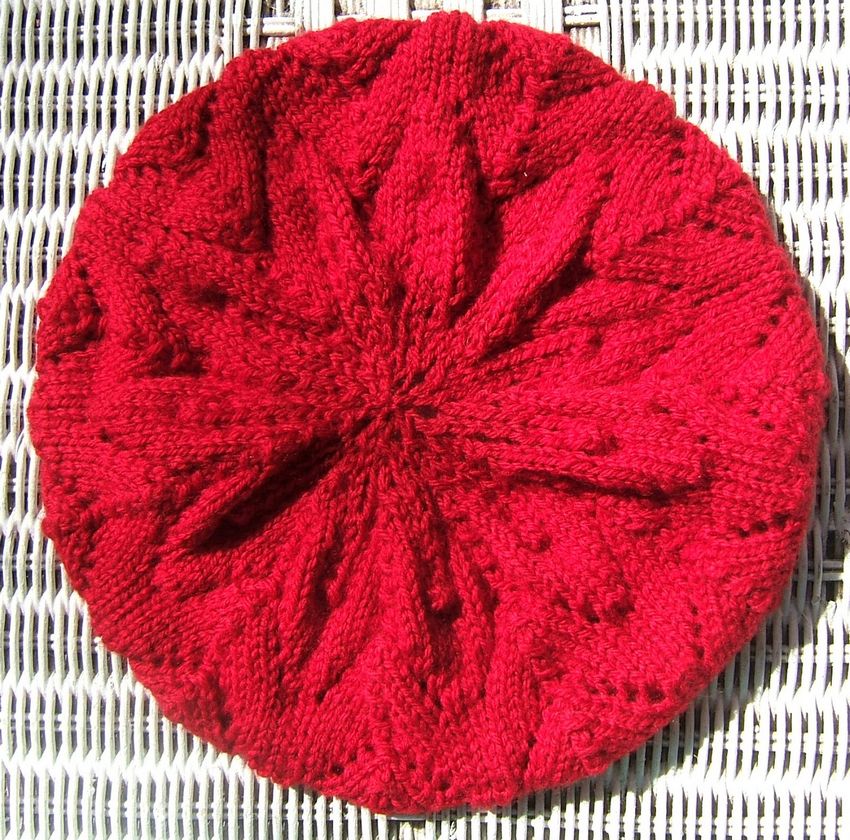
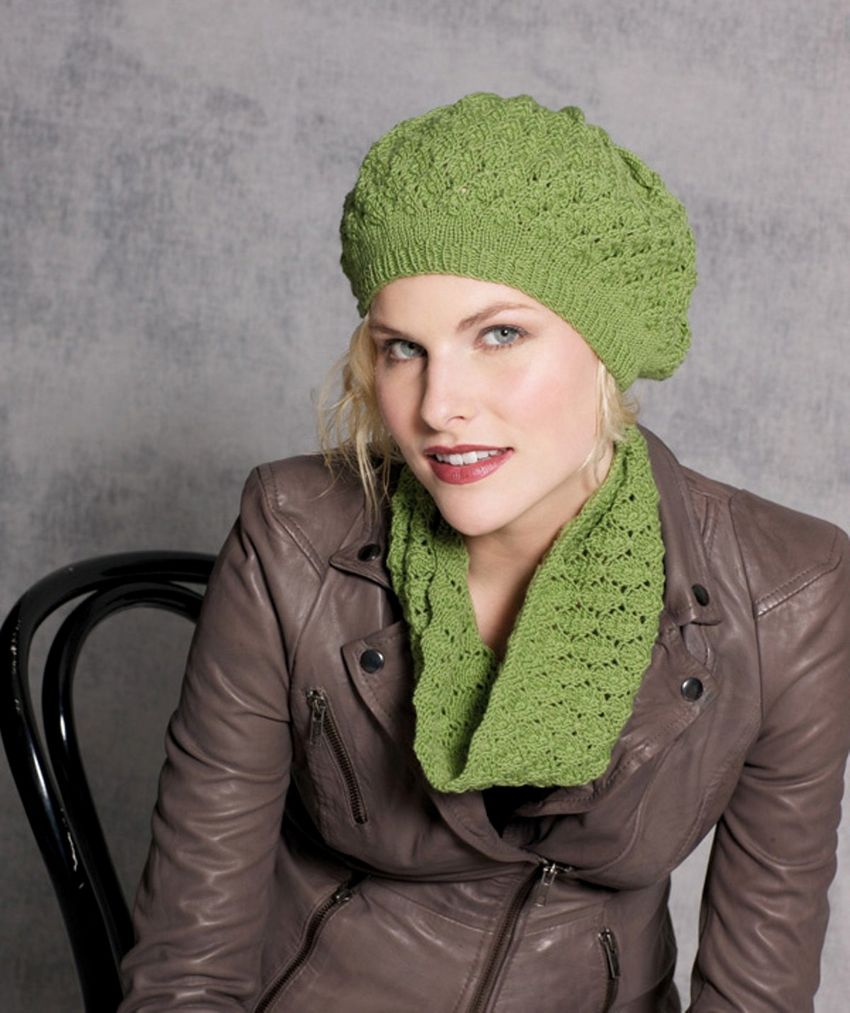
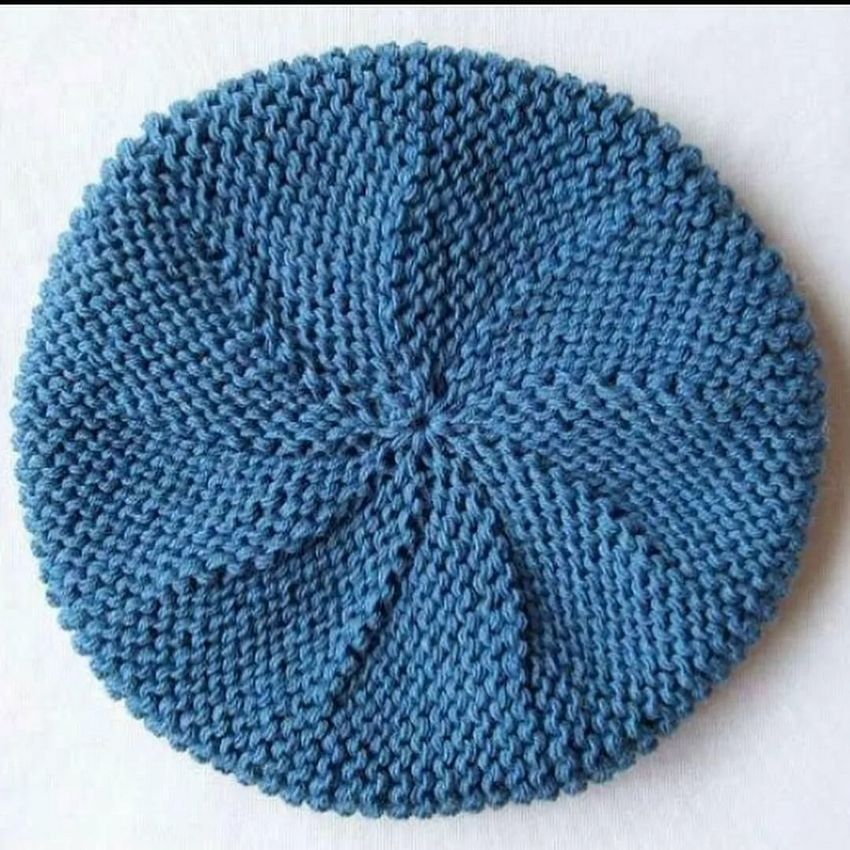
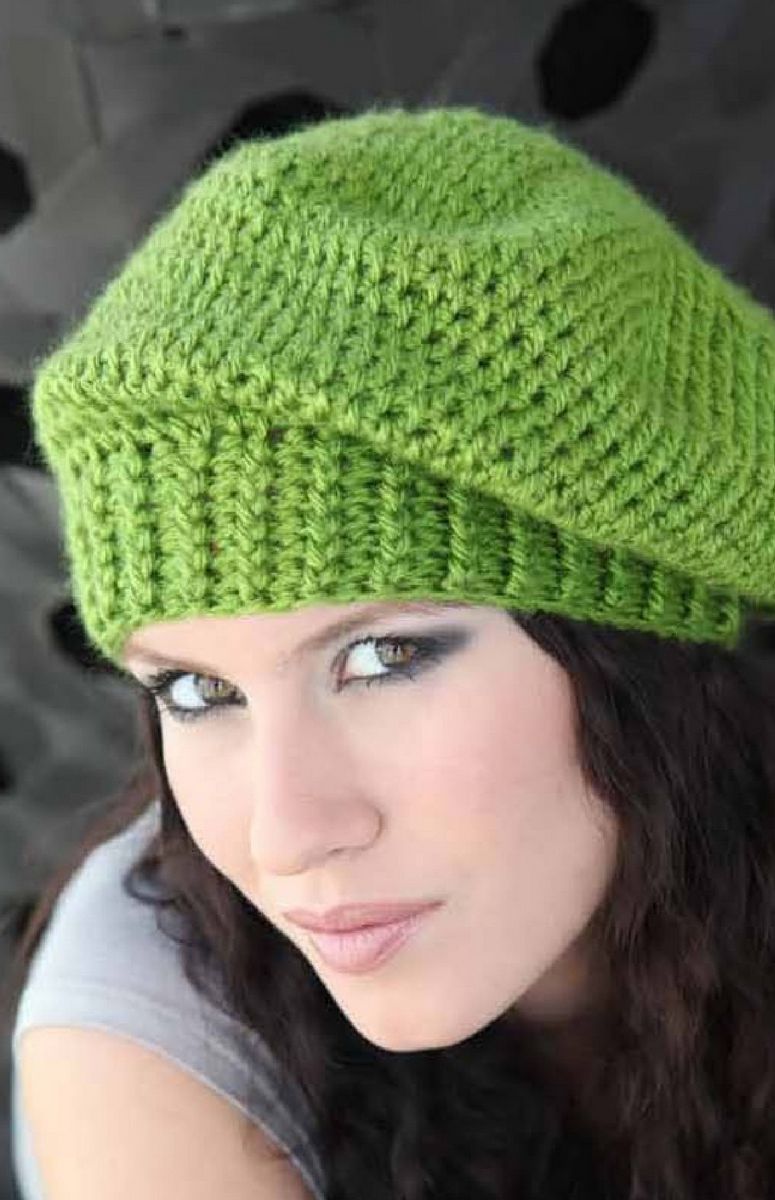
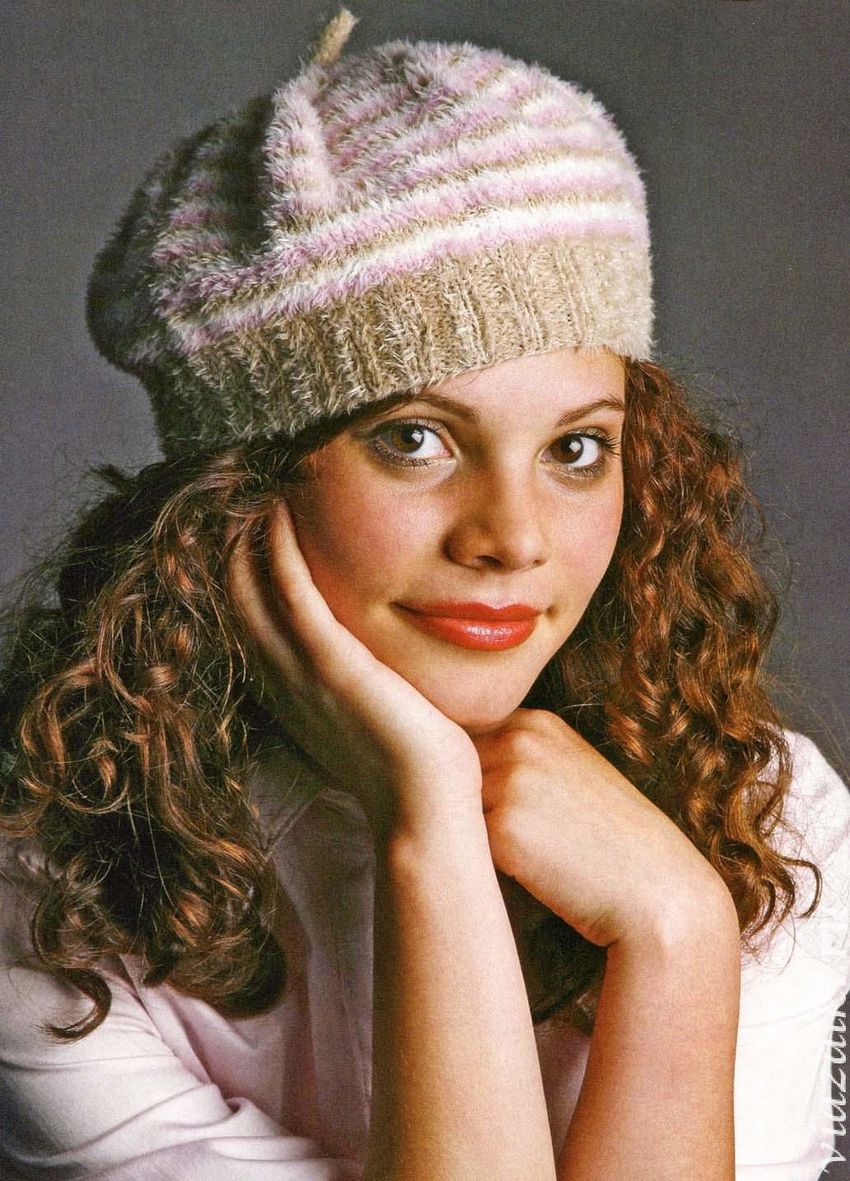
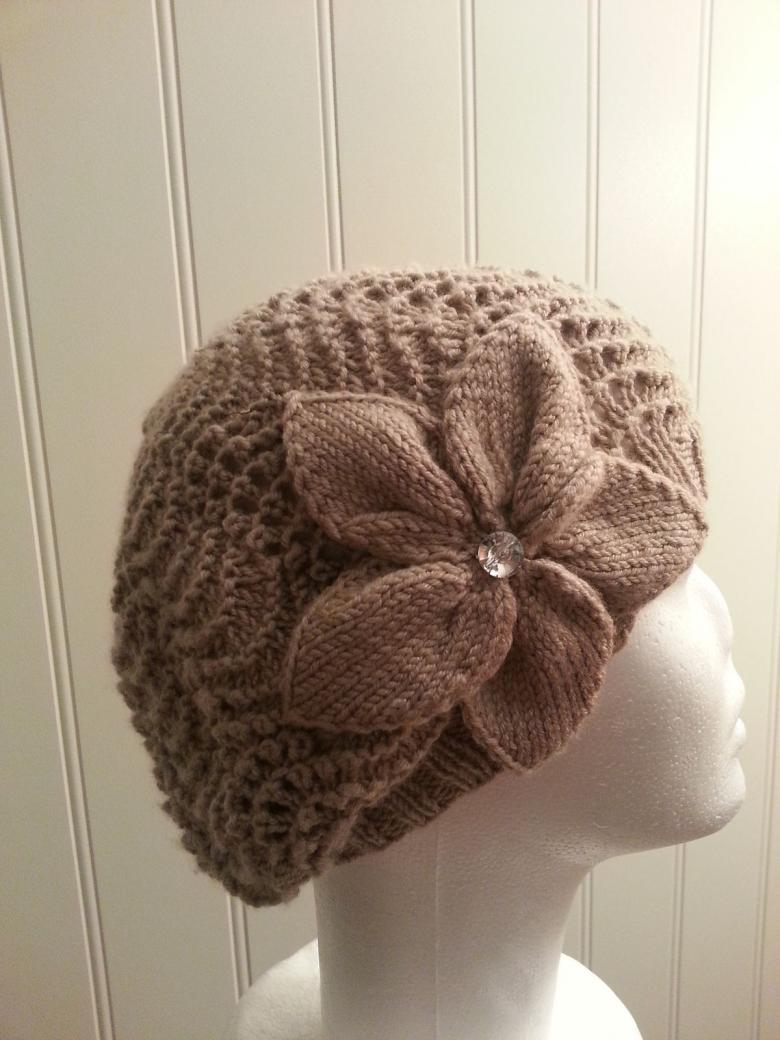
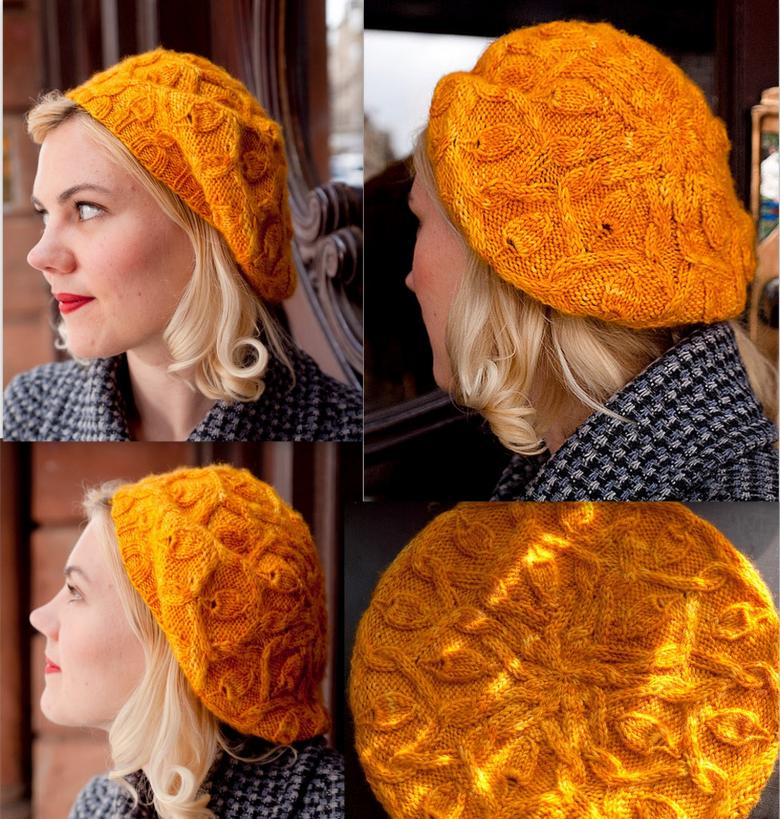
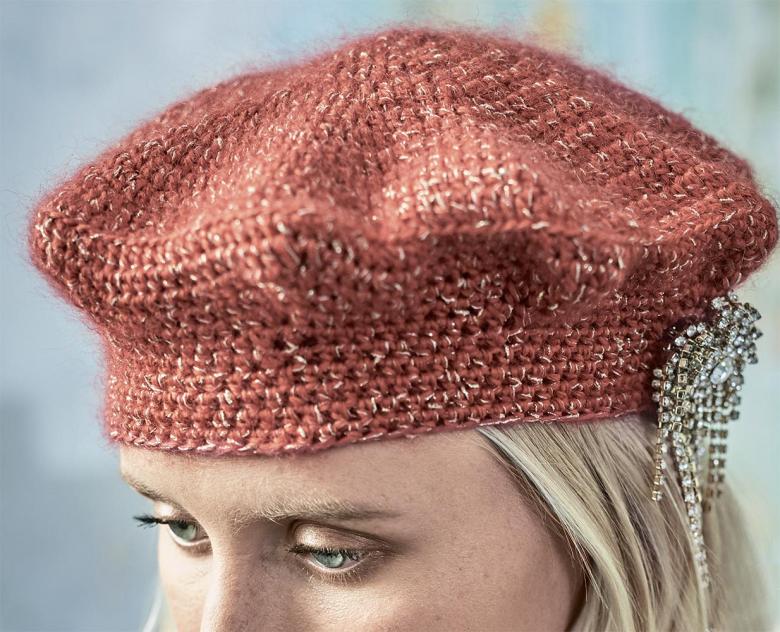
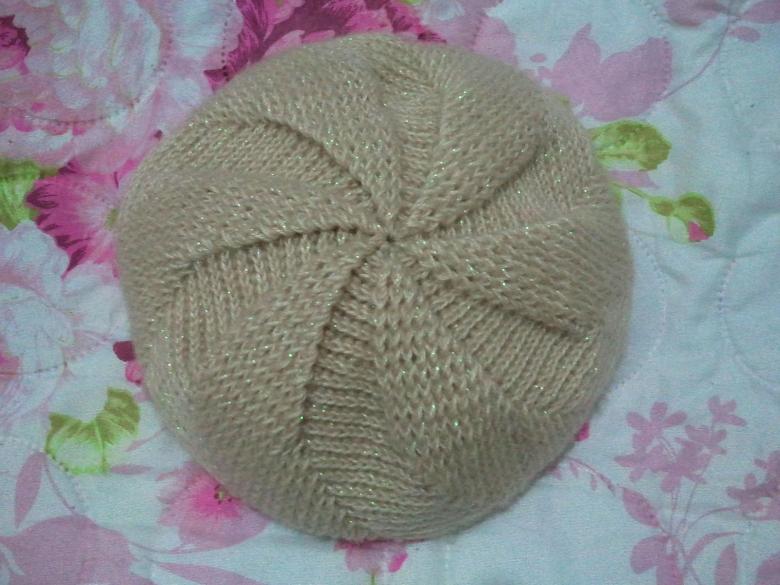
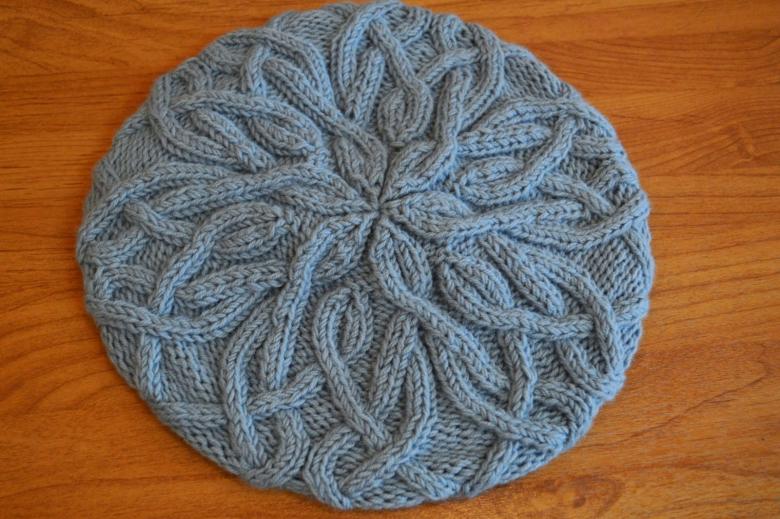
Beret with Leaves
This is a simple master class for beginners on how to knit an elegant and uncomplicated beret.
Beret knitted with needles for beginners is knitted with #2.5 (for the headband) and #3 (the beret)
The headband .
Necessary to gain 78 loops.
Crochet rows, alternating left and right stitches.
- Row № 2 - stitches with a rayon, be knit to the right, and the alternating with the right - the wrong one - remove without having to knit.
- Row #3 - the front loops are to be tied as they are to be tied as they are to be tied, and the loops that are to be tied as they are to be removed as they are to be removed as they are to be tied. The meaning is the same as in the previous row.
- Row 3 4 - knit exactly as in row 3

After knitting row 4, you get a double rubber band, in which the loops are
The rim should be knitted until the rows are 4-5 centimeters.

The main part
The pattern should be knit according to the scheme, adding one more to each previous loop. That will give a total of 39 loops. That is, after the cuff of the headdress is tied, the loops go on addition. Repeat the pattern 10 times. It is important to note that the first rapport repeats the last one exactly, for an even and symmetrical pattern.
The work turns out 183 stitches.
After that, the height of the beret itself is knit. In this beret for beginners 1.5 leaves.

Ducking (crown).
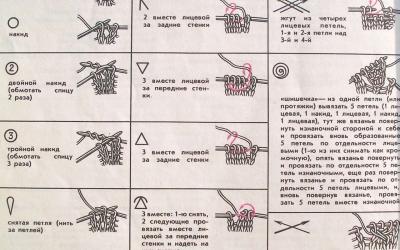
Scheme shows the odd rows. The garment is being subtracted in a circular pattern. The alternation of the back and front loops is the same as in the cuff. Often in the schemes there is a triangle symbol - it is the connection of 3 loops together.
Uncomplicated beret for women ready. You need to wash it in cool water by hand, straighten it and let it dry naturally.
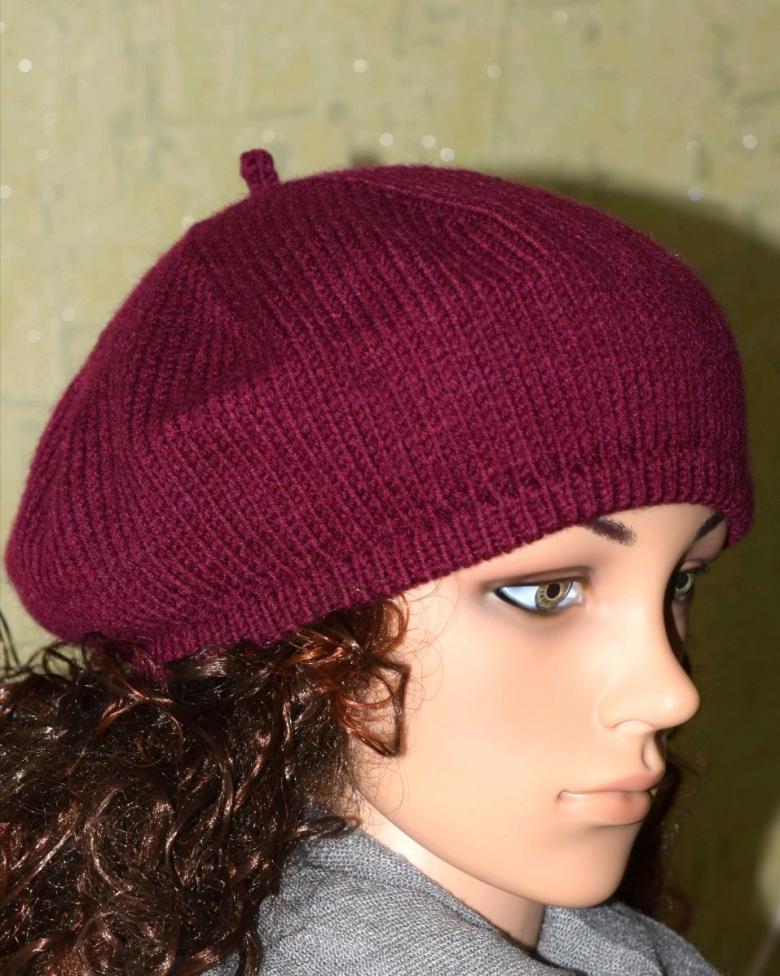
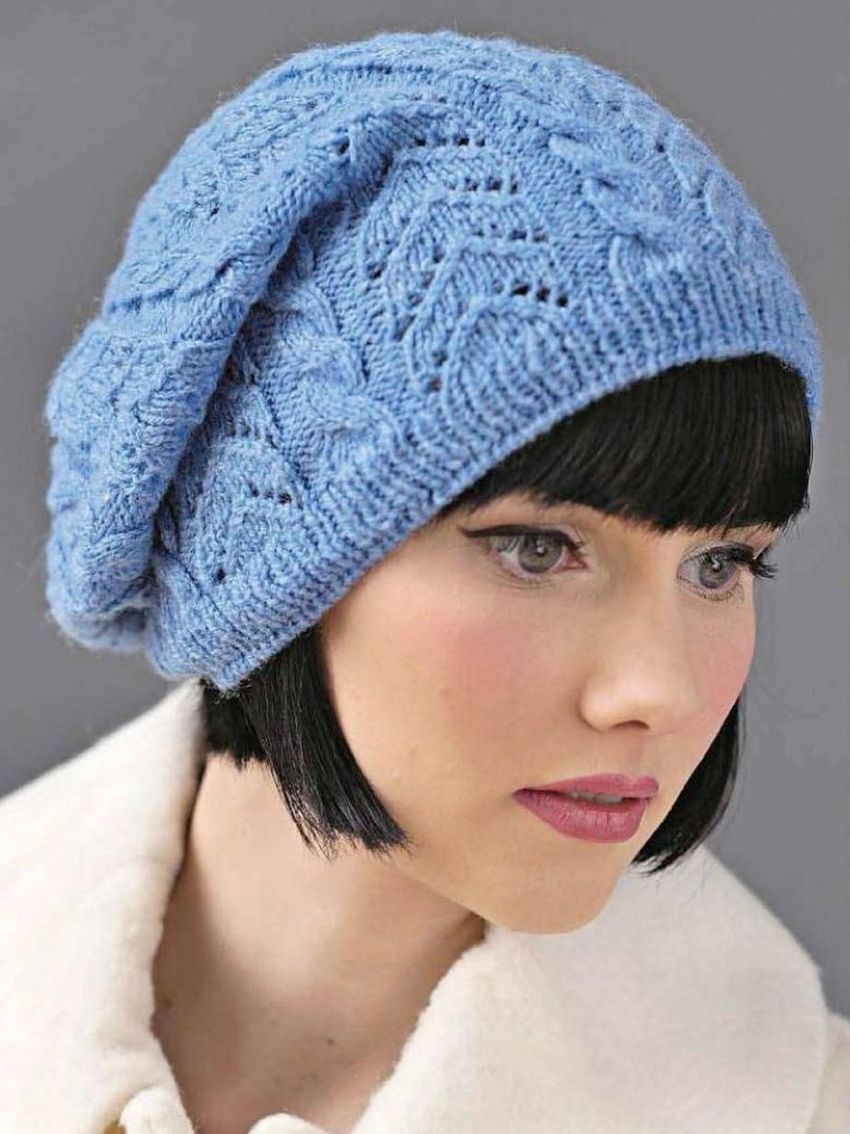
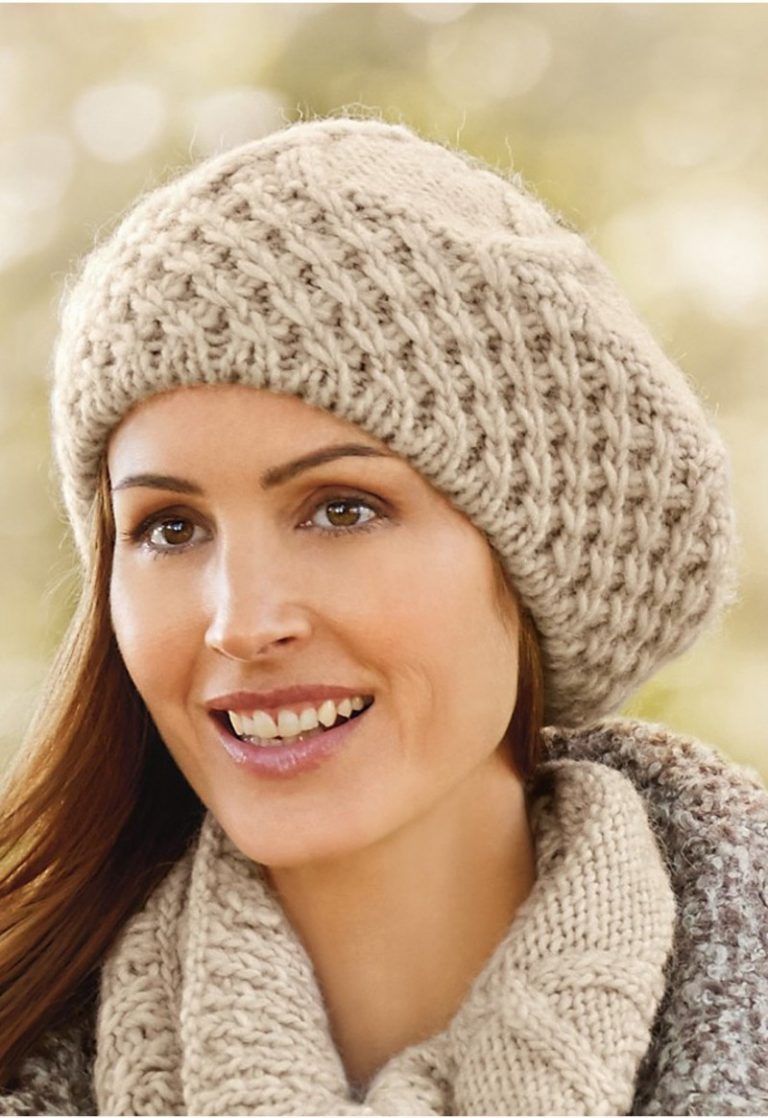
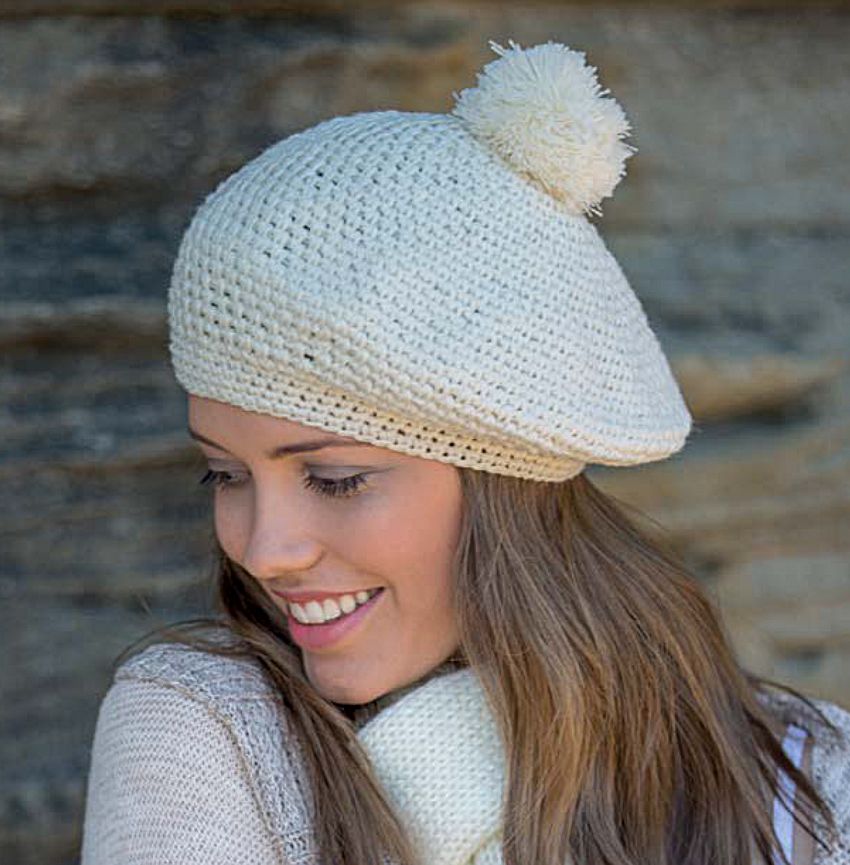
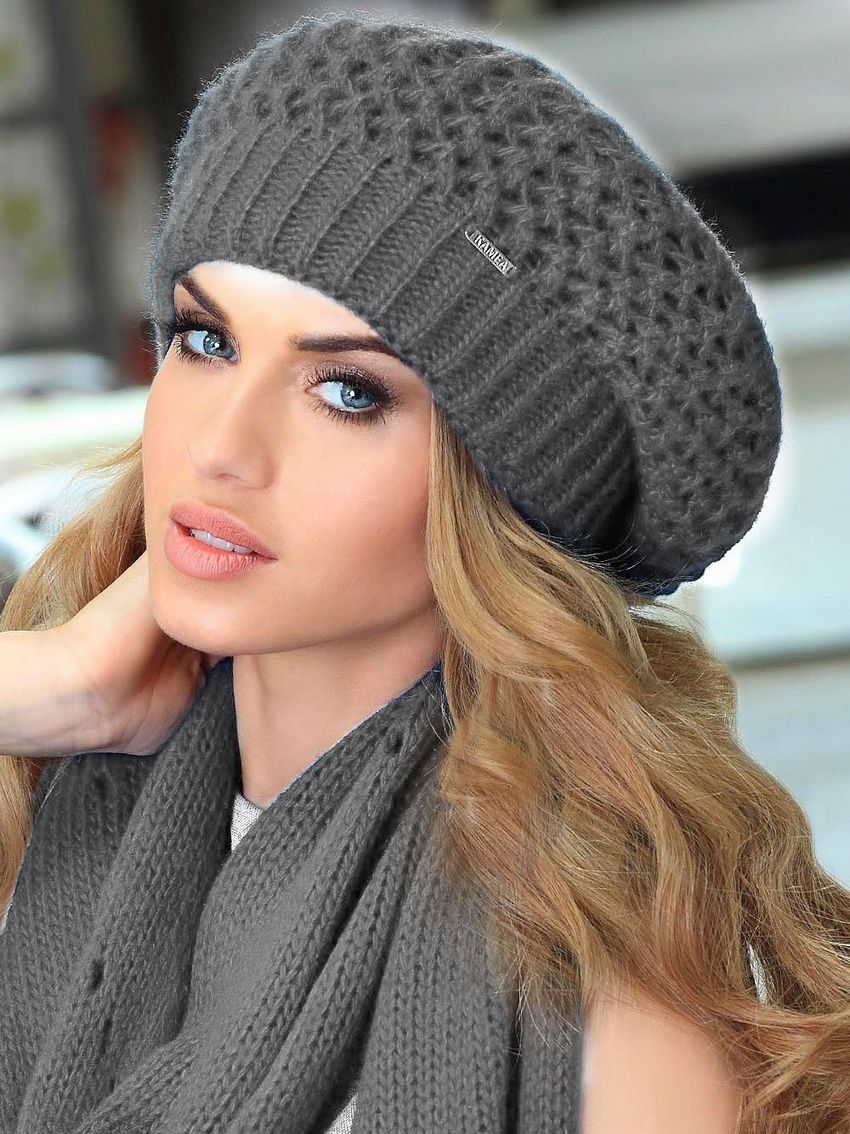
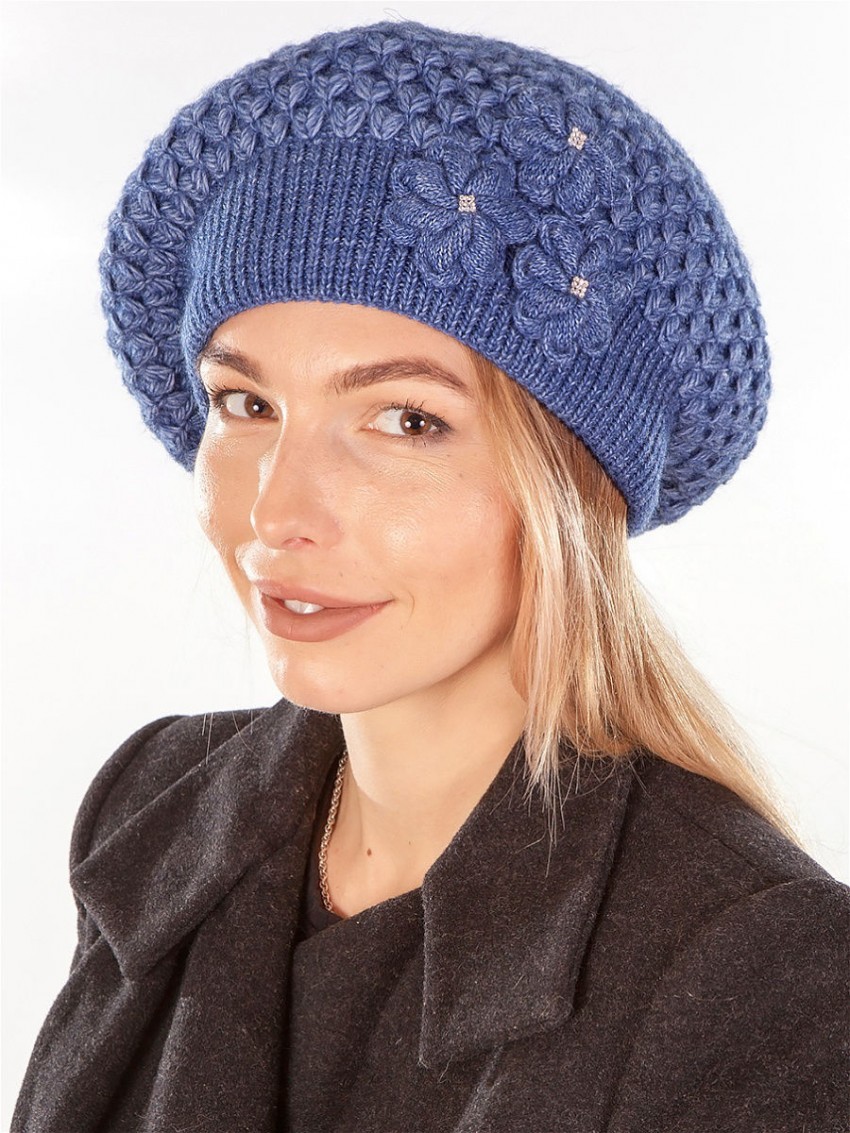
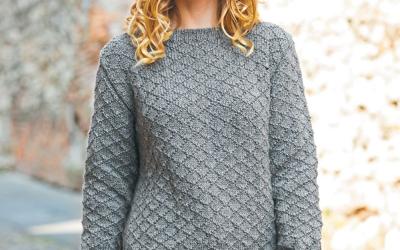
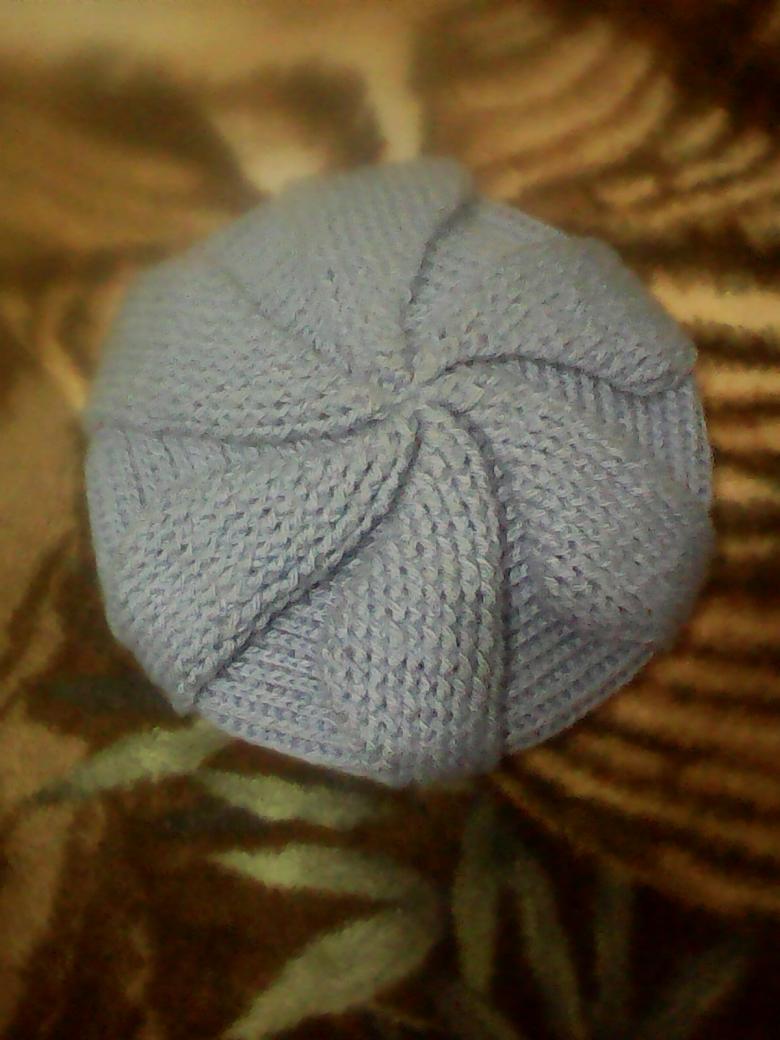
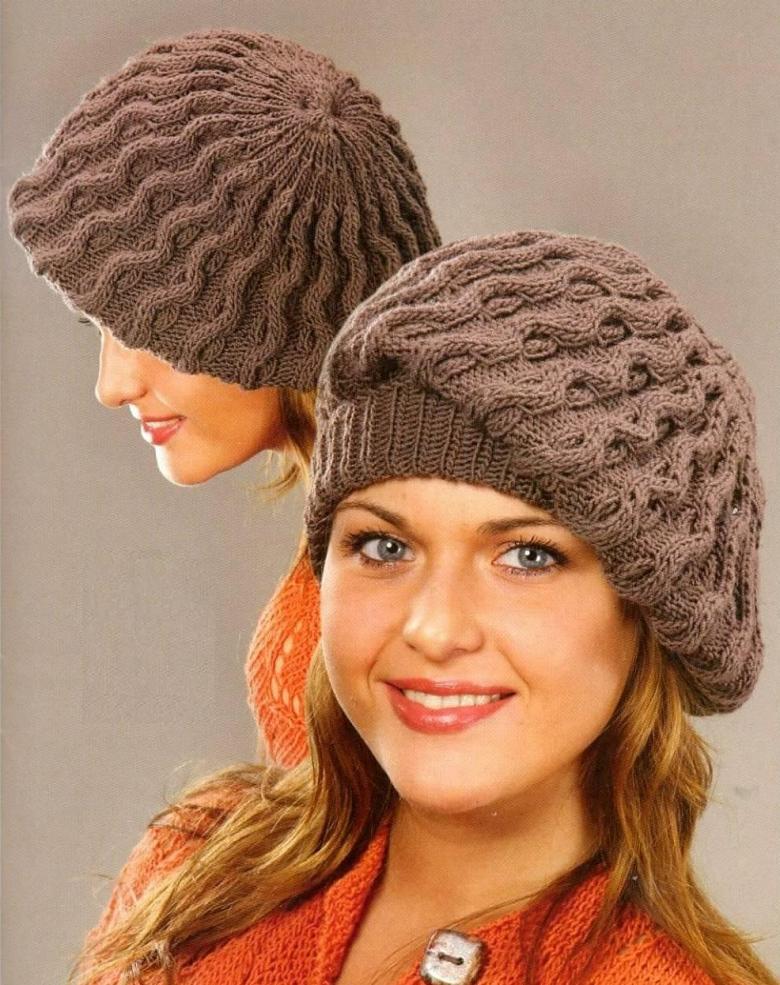
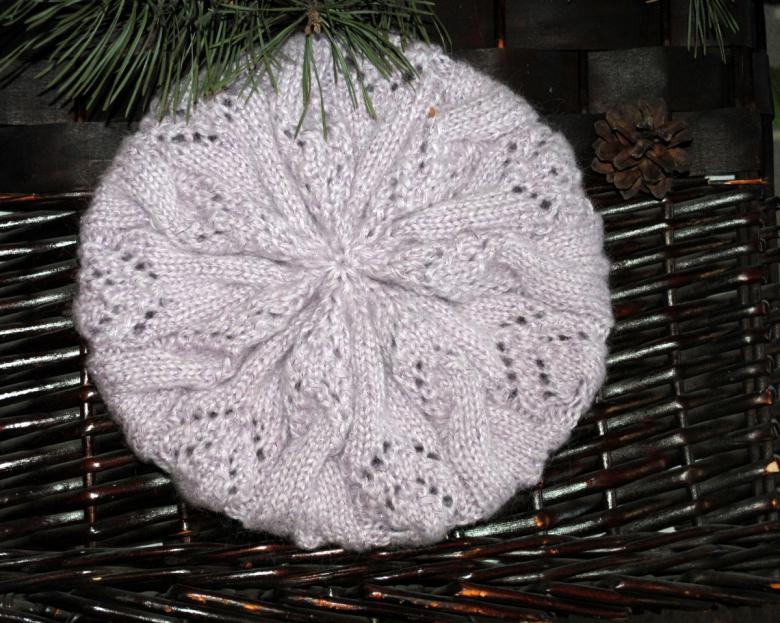
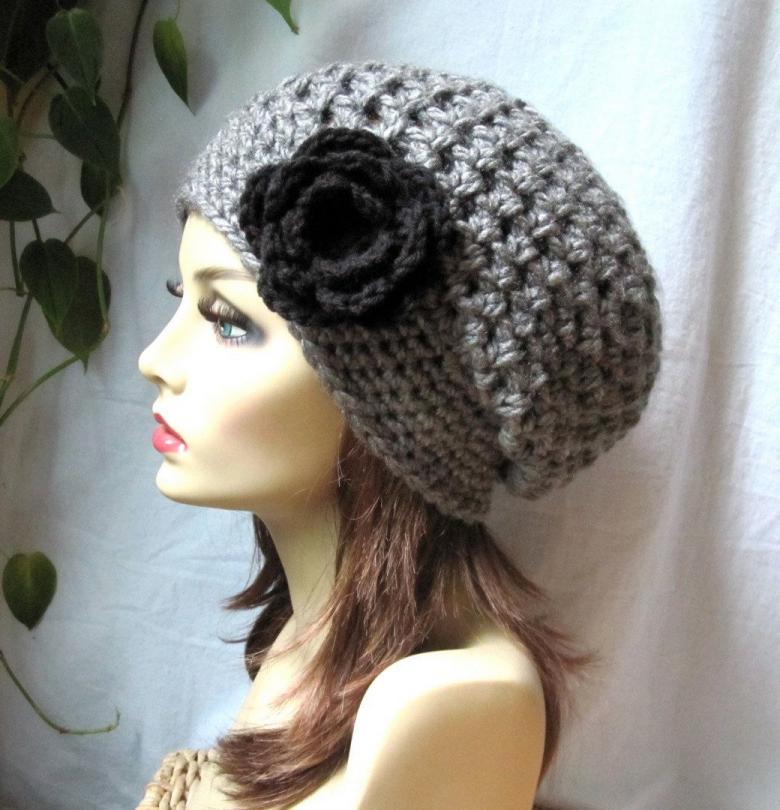
Gray beret
Beret by scissors for beginners is made from 150 grams of yarn. Soft hat is indispensable in the autumn-winter period, so it is better to choose a warm and soft yarn. It can be merino wool mixed with acrylic (the beret will not shrink during washing and will hold its shape well), or just wool and alpaca (then the product will be softer and more "flowing").
Circular needles on a 40 cm long fishing line #3 and circular needles #3.5
rim
On circular needles #3 dial 110 - 120 stitches. Knit a row of alternating back and forth stitches. Make a rim about 4 centimeters high. It should be a soft rubber band.
Main part
Change to circular needles #3.5. This is the base of the beret, where from the first row the stitches are added for the volume of the piece. It is necessary to add the stitches evenly, 8-10 stitches in one row. They must be arranged symmetrically. For example, 10 extra stitches in each row.
Depending on the number of stitches in the rim, you will have 120-128 stitches in the main part of the product.
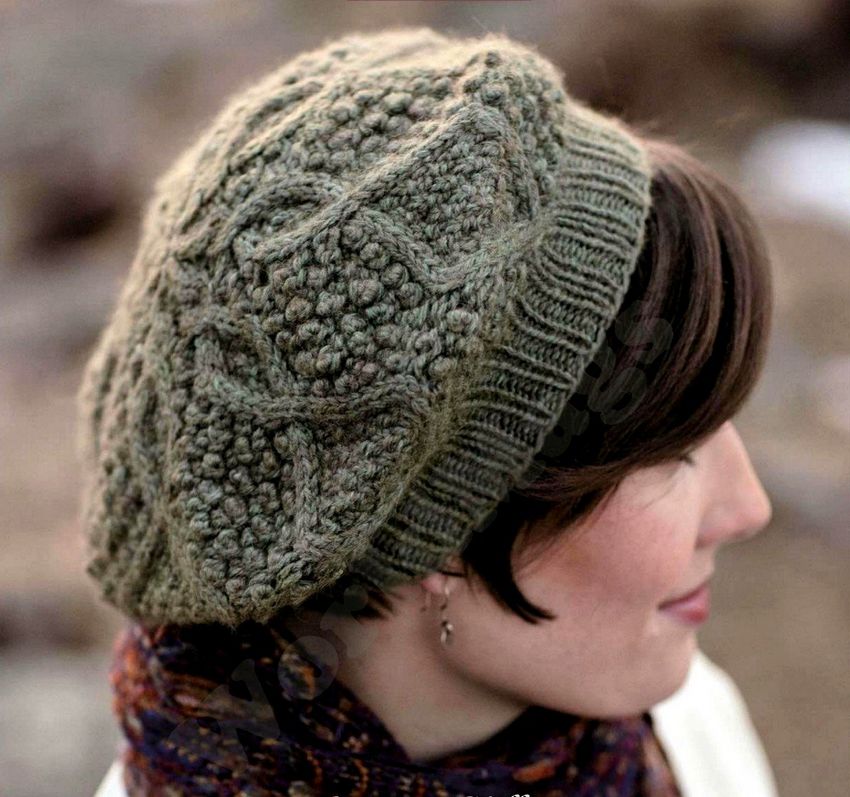
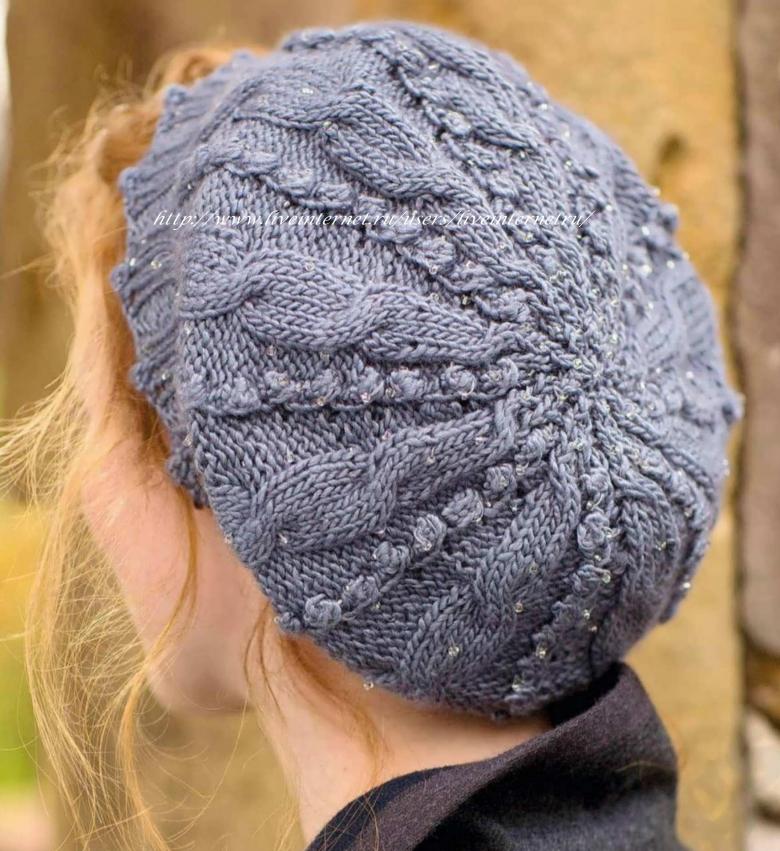
The pattern looks like little lumps because of the alternation of the front and back loops in a staggered pattern. When you reach a height of 22-23 centimeters, you have to take away the pieces to make the top of the piece. The stitches are being reduced in the amount of 28 -30 stitches, evenly. You will get 90 -100 loops in one row.

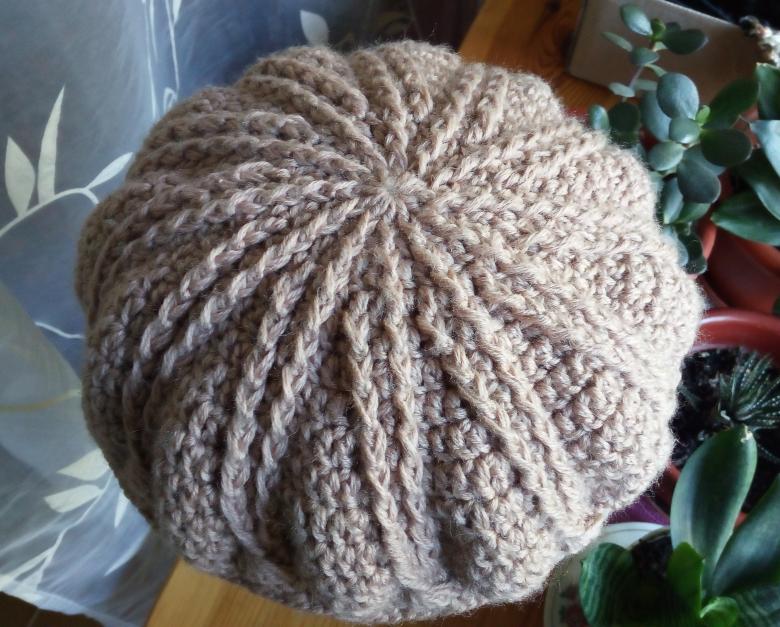
Headpiece .
You will need stocking needles (they are shorter and will not interfere with the piece).
Finish the work by knitting. Take 8-10 marker yarns and place them every 10 stitches. Marker yarns are needed to evenly reduce the piece. Make the additions in each successive row (tie two stitches together).

Repeat until 8-10 stitches are left. Pull the working thread through these loops and fasten (with a hook or needle with a thick eye) with a few neat stitches. The end of the thread is hidden and cut off.
The product can be washed in cool water, so that the yarn "settled" Give the woolen headgear shape and let dry on its own.
Beret for beginner needlewomen ready.
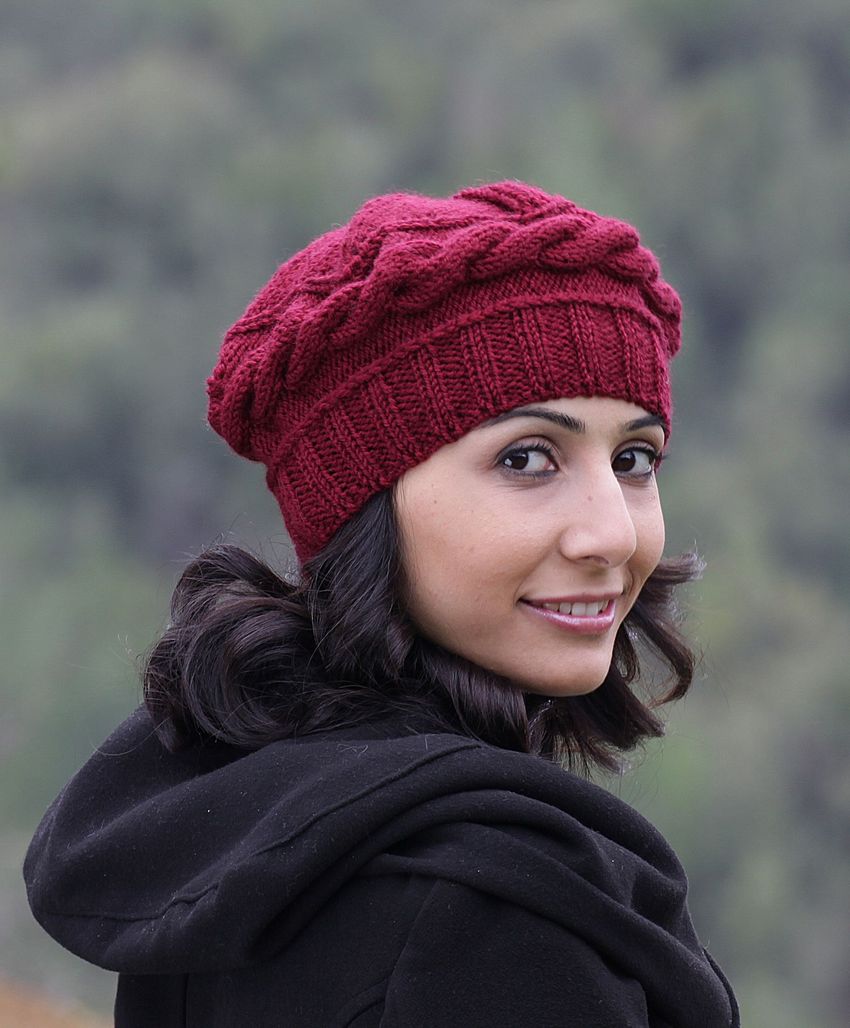
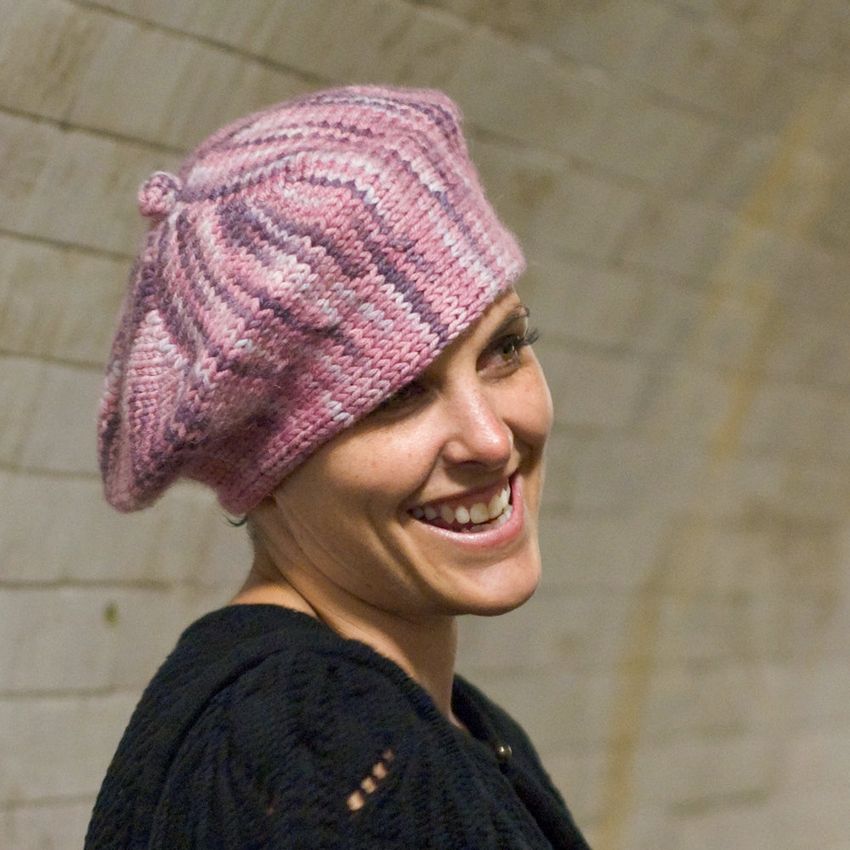
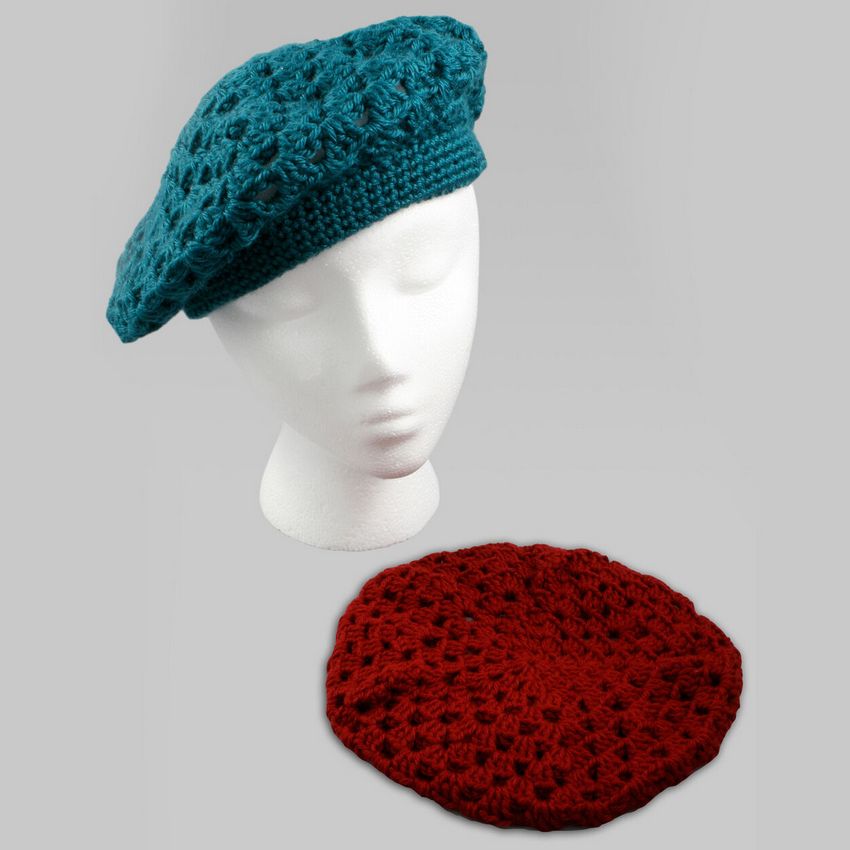
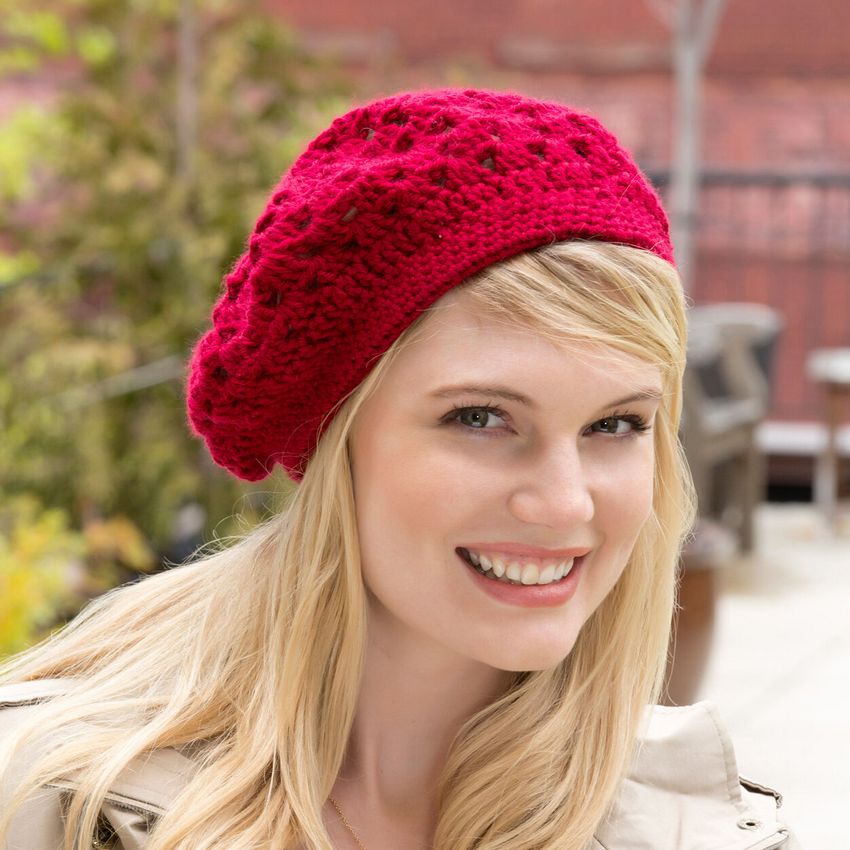
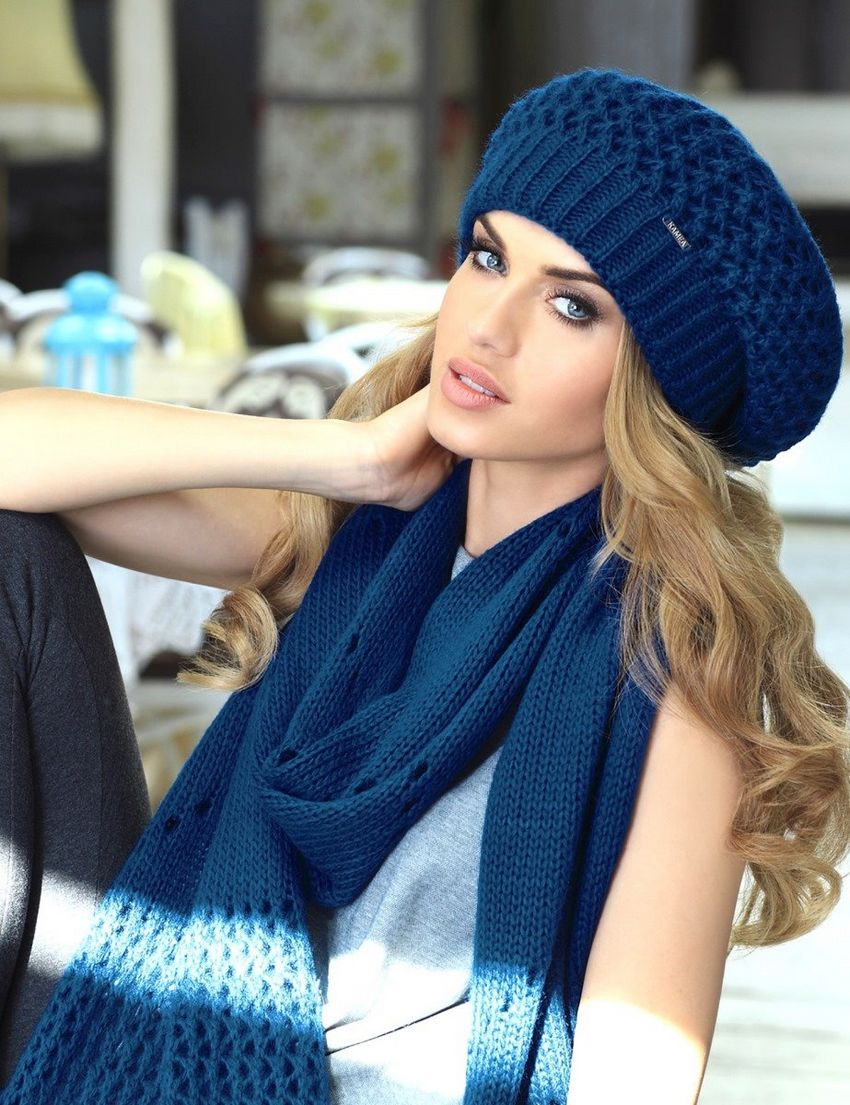
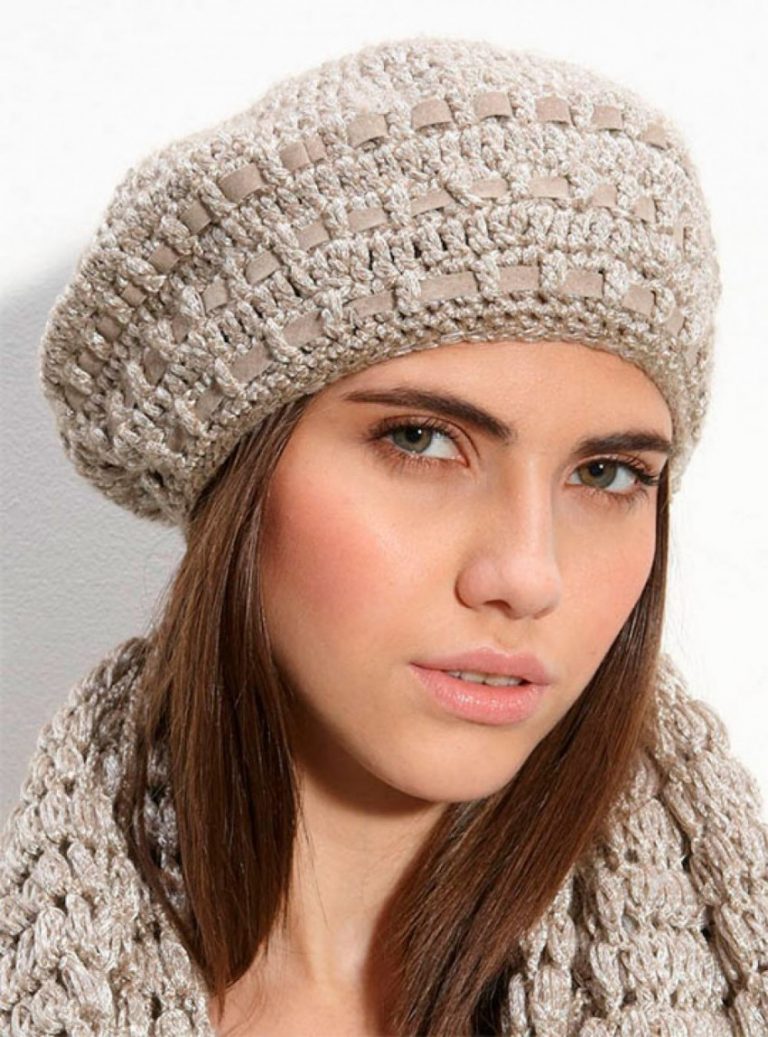
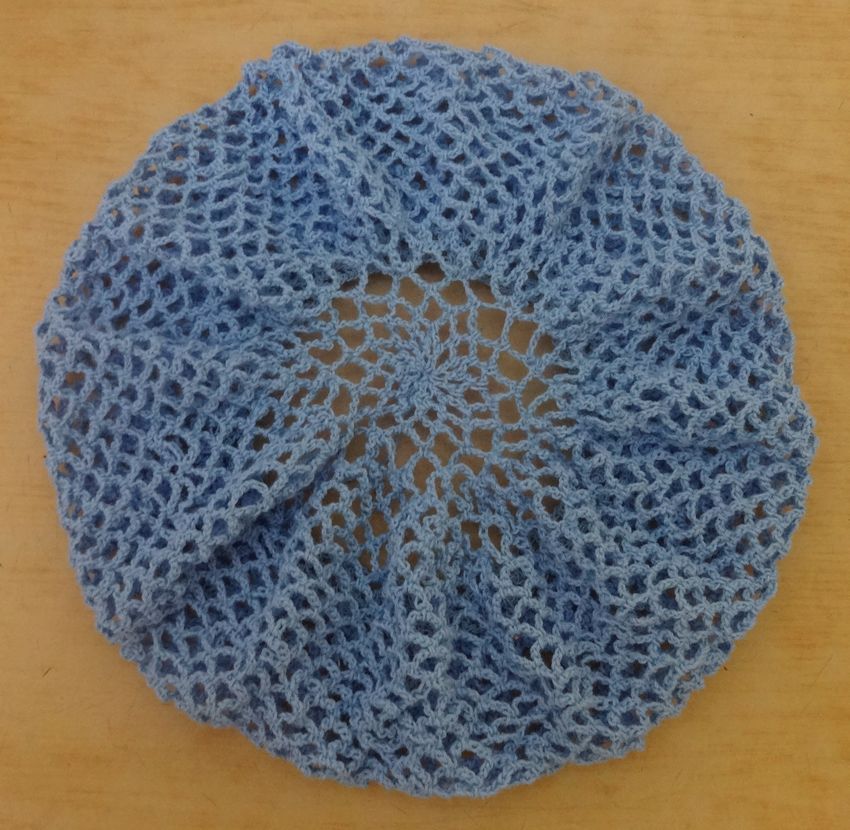
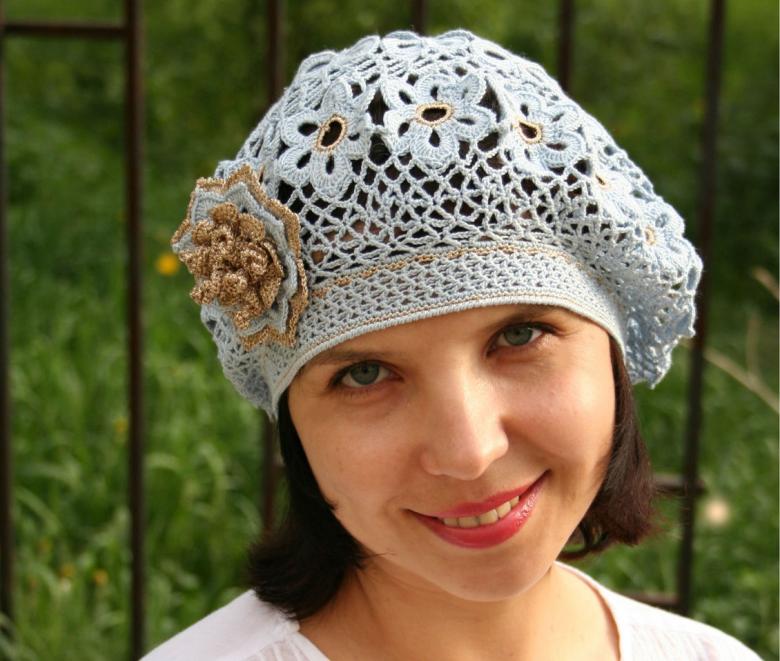
Photo examples of knitted berets