A doll house with their own hands: building and decorating houses
Every girl has a favorite doll. Any girl wants her favorite to have a separate home. Housing unique, unique home. House for the dolls of your baby now, of course, easy to buy and ready, now the market is full of proposals, but make such a toy for a child with their own hands - a separate pleasure!
Imagine her joy, and children rejoice sincerely, from the bottom of their hearts! And the cost of a ready-made house is usually not small. Let's think together, how to make a dollhouse with their own hands?

Get closer for your child
On the Internet you can easily find a lot of ideas for making doll house from a variety of improvised materials. Ready-made house to buy easier, and will look better than a homemade house. But remember, psychologists agree that this joint work brings you and your child. Such work is useful and you, and the child.
What to make it out of
First of all, let's determine the material for creating this toy. Such a house is relatively easy to make from many different materials, each of them has its positive and negative qualities:
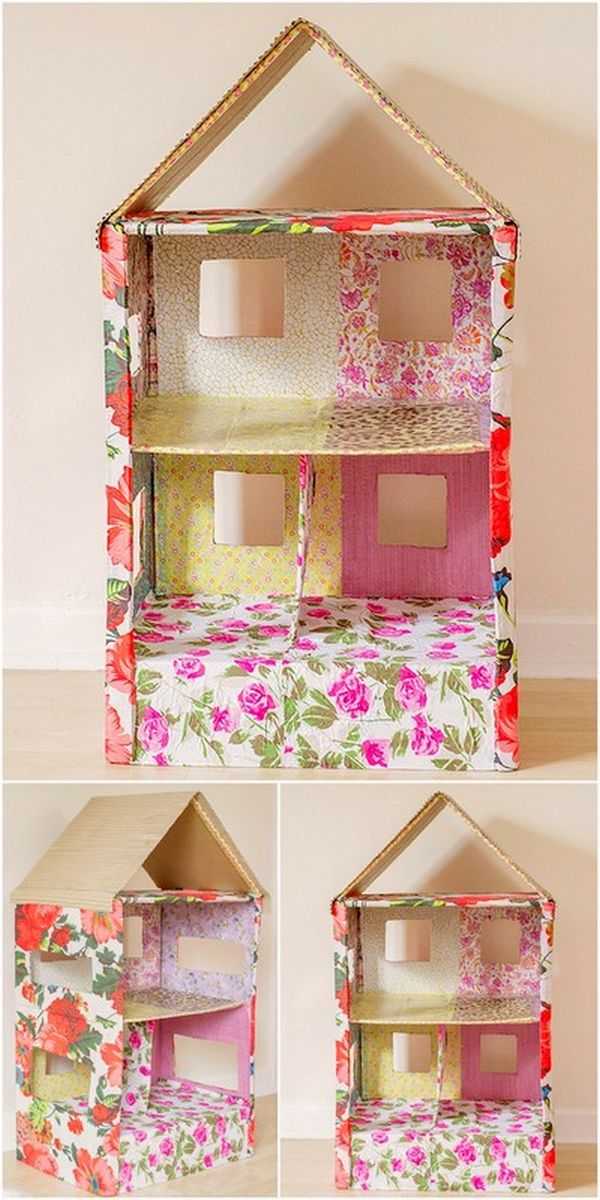
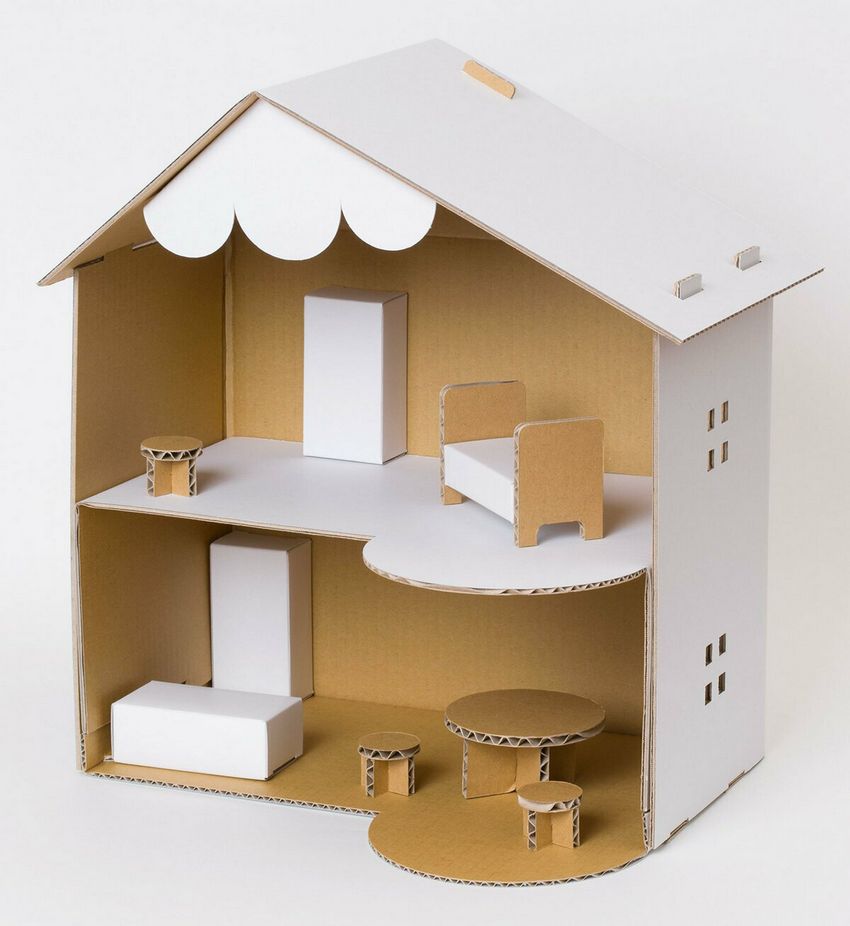
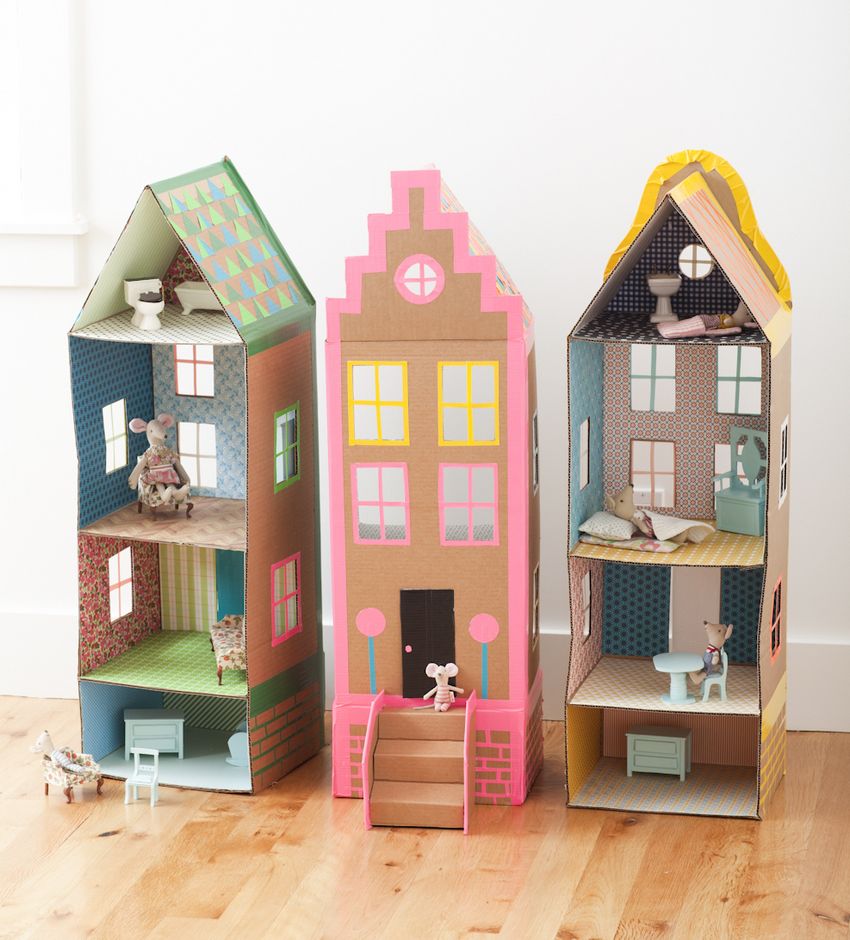
- Cardboard - the undoubted advantage of such a material, the ease of processing cardboard (cut with ordinary scissors). The disadvantages are undoubtedly the low strength of cardboard is a consequence of low strength, short-lived construction.
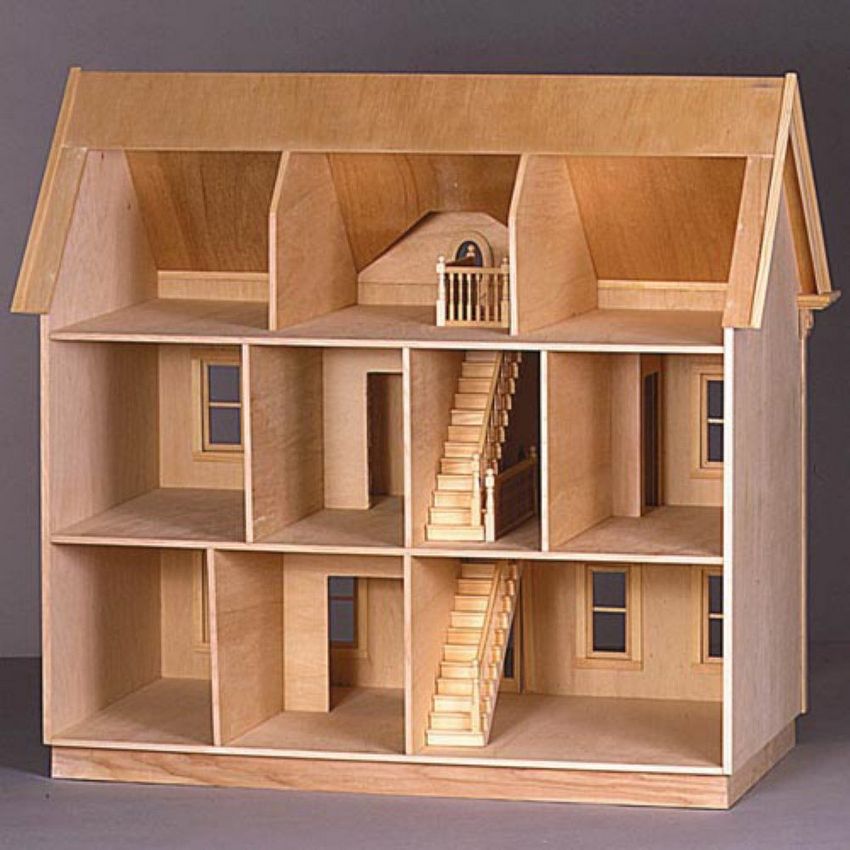
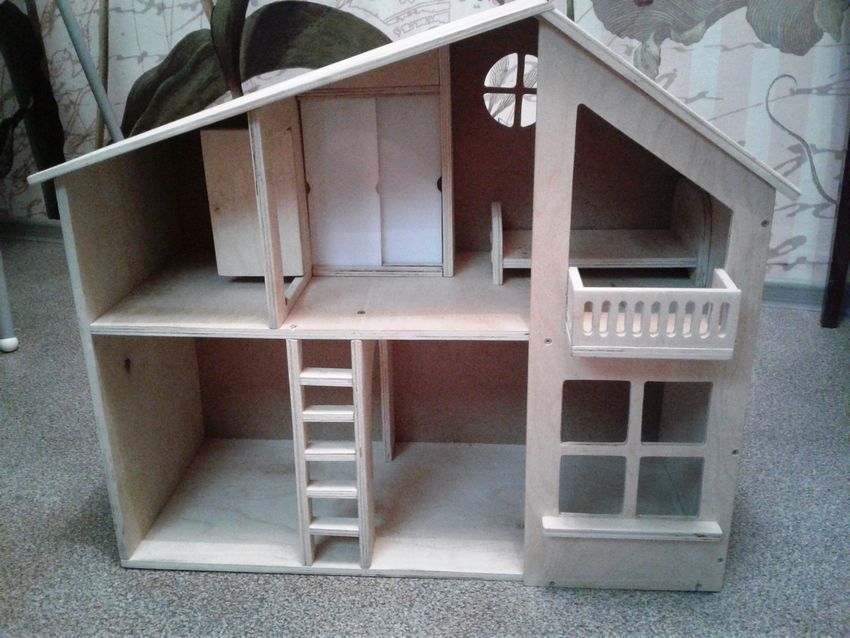
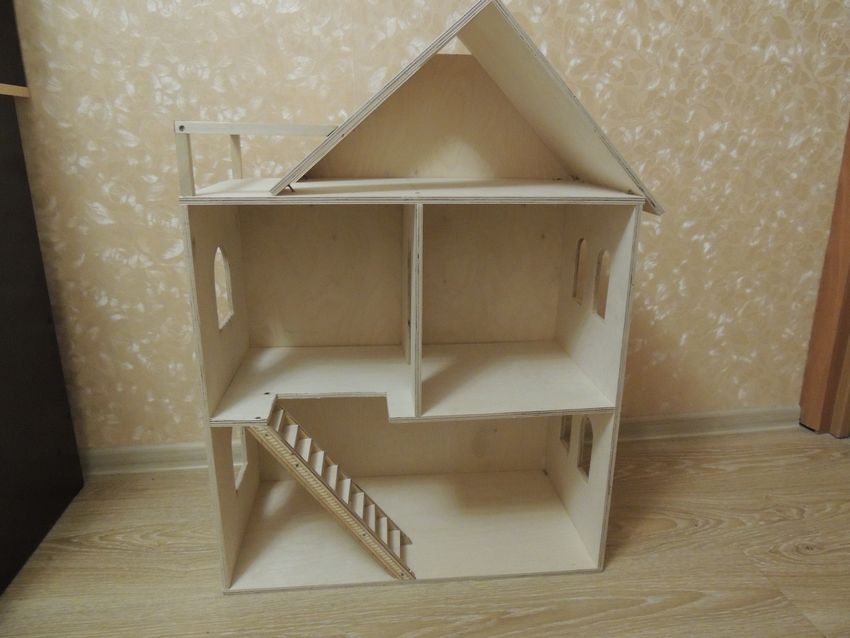
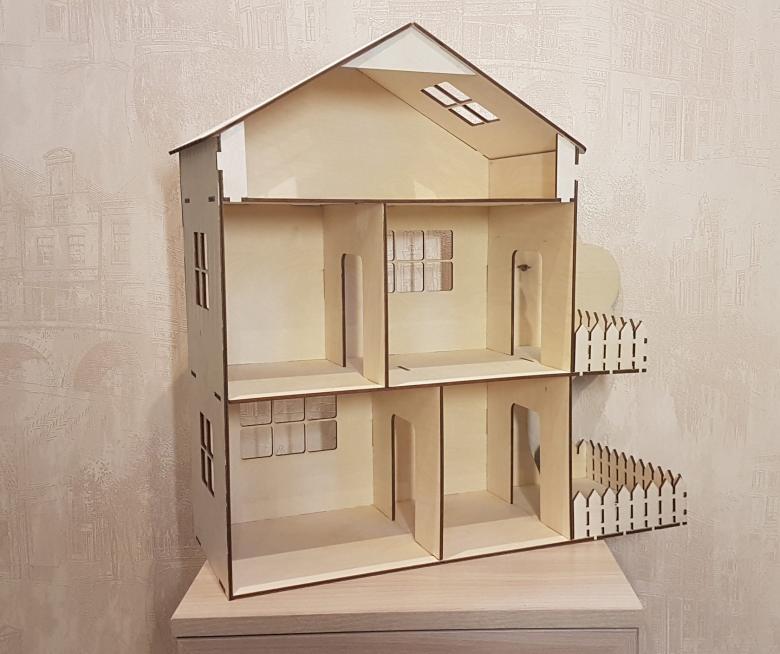
- Plywood - an undoubted advantage of plywood is that the house made of plywood is pleasant to the touch. The disadvantages include the fact that the composition of the bonding layers of the material can include harmful substances, often plywood contains formaldehyde. And to cut such a material is not easy, it is better to trust this part of creating a house professionals. Fortunately, the market is now full of proposals for cutting.
- Drywall - The advantage of such a "building material" for the house of dolls is that the plasterboard can remain from the repair. And the cutting of drywall is not very difficult. A significant disadvantage is that the usual way of fastening is not suitable to create a doll house (because the screws, which usually fasten the drywall, stick out from the back, and it is dangerous, because they are sharp) and drywall has to glue, and this method of fastening imposes requirements for a clean cut much higher.
- OSB board - the advantage of such a material - its strength. The disadvantages are and the content of harmful substances in the glue composition, and the complexity of cutting, as well as the fact that to the touch of the board, although warm, but not very pleasant.
- Chipboard - the pluses of particleboard material, the same as in the creation of a house of OSB board, the disadvantages are similar. The disadvantages are the high weight of the house made of particleboard.
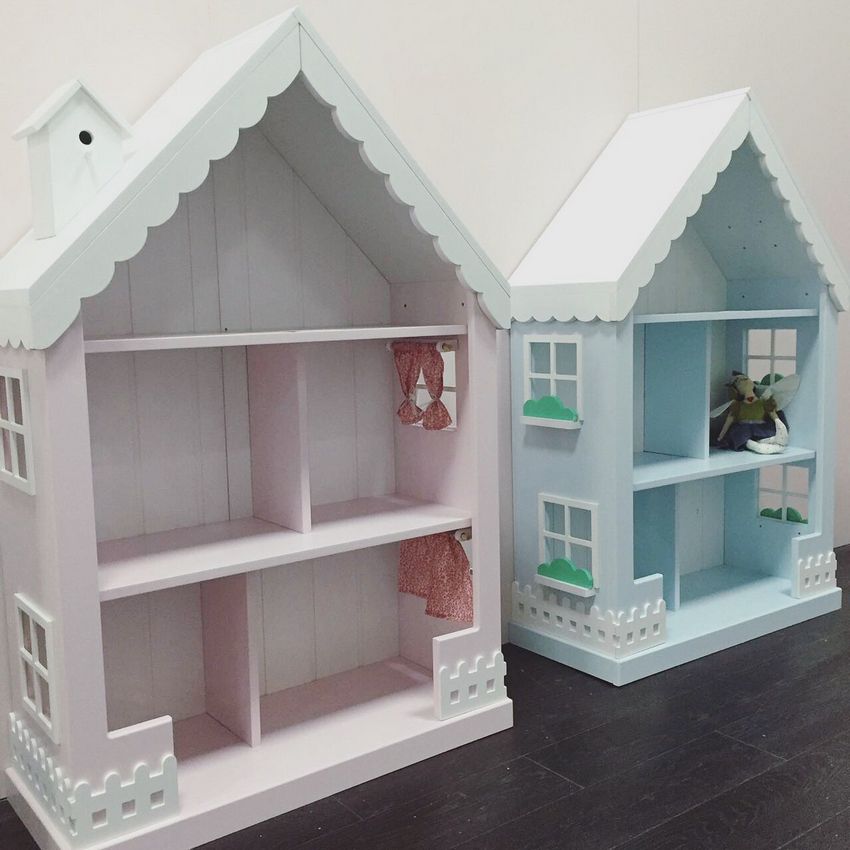
- Glued furniture board - the advantages of furniture board are those inherent in most wooden materials. The main drawback of the furniture board, the high price.
It is worth noting that the materials can be combined.
Let's begin to "build".
To create a truly fabulous masterpiece of "architecture", as with real construction, you must make a plan and strictly follow it. First, develop a plan together with the baby, determine with her what rooms will be the furniture. By the way, the furniture for the doll house can also make their own hands.
Creating a project
Before you put into action what you and your baby have in mind, draw it. The drawing will help you understand what you are going to build in the end. Many flaws and shortcomings you will be able to identify and correct at this stage.
But the drawing must necessarily contain the size of the future "house building". So one of the most common mistakes is the low height of the rooms. For free and comfortable movement of dolls in rooms, the height of rooms should be at least twice the "height" of dolls that will "live" in the house.

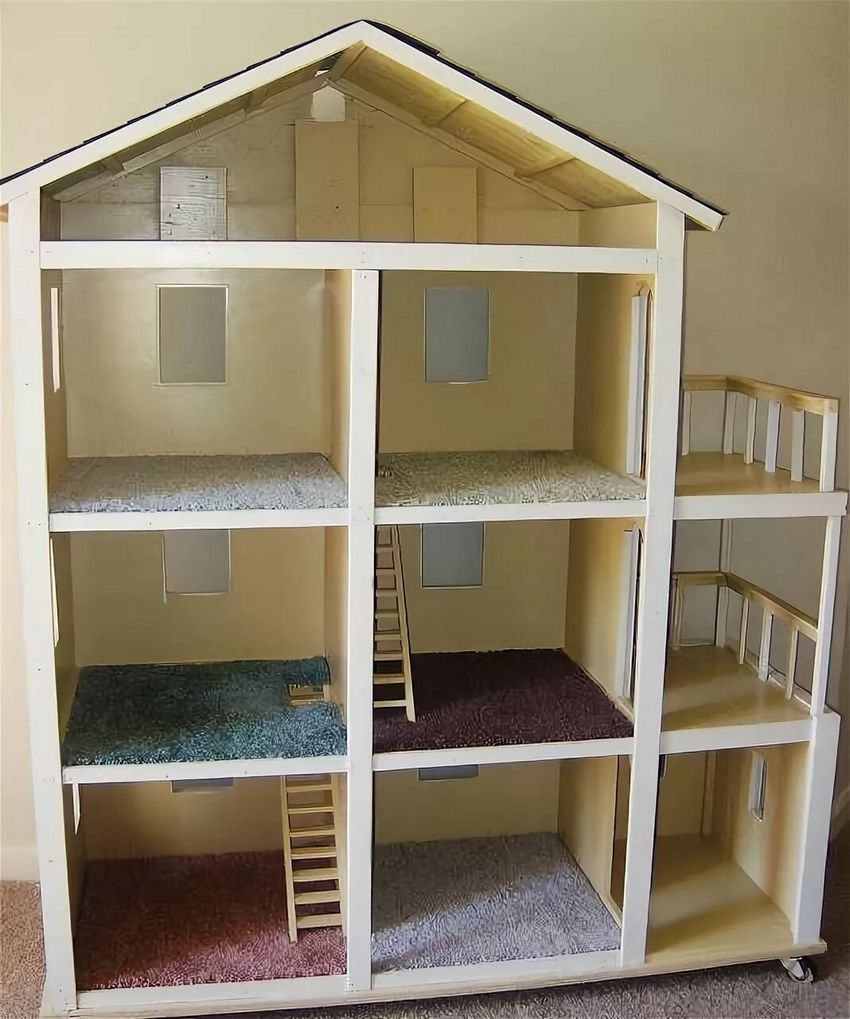
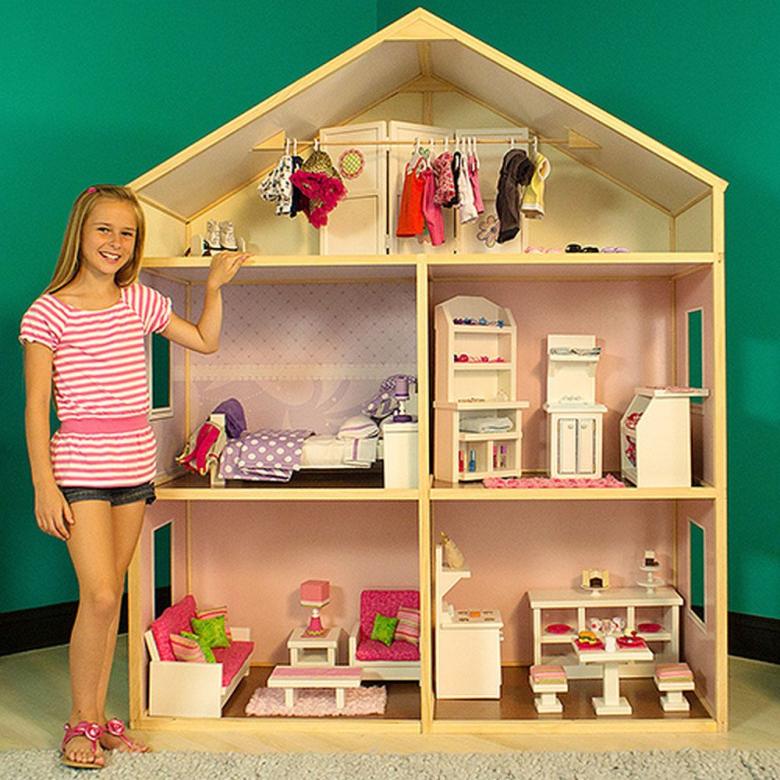
For ease of play, the top "floor" should not be above eye level dochurki, and the optimal depth of the rooms should be 30 to 45 centimeters. If the house is quite large, then provide the bottom of the wheels, so the baby will be able to easily move their own house. Again, the picture should indicate all the dimensions of the future "structure", and the picture should be proportional.
Prepare the parts of the house
According to the project, draw all the details of the future house on a scale of 1:1 and transfer the drawings to your material. Assume that it will be cardboard. Such a drawing on a scale of 1:1 at the same time will help you determine the amount of material that will be needed to "build" house, for bad, if not enough cardboard or plywood in the construction process.
Transfer the images of parts on the material. After cut out the details of the resulting contours. If your house will be "built" of cardboard, then use scissors, and if you decide to make a doll house with their own hands out of plywood, then in cutting parts from such material, well help an electric jigsaw, you also need not very large sandpaper for scraping the end surfaces. Also, as in any construction, you will need a ruler, a tape measure and a pencil.
Joining the prepared parts
The best way to connect the prepared parts of the house is to use glue. What kind of glue is better to use, of course, depends on what material you plan to use. For wood, suitable glue carpentry, and for the cardboard usual PVA is good. Use masking tape to fasten the parts in advance.
The Final Step - Finishing
Usually children just love the stage of finishing work. To finish the toy rooms you will need:
- Colored paper (you can use colored cardboard).
- Pieces of old wallpaper.
- PVA glue (you will need it everywhere).
- Self-adhesive paper.
Finishing rooms, it is a deeply personal process. Be in charge of that should your baby, because she will soon be the mistress of the house.
So I will just give some tips.
- Advise the future mistress of the house. Consult with her in all, even in the most minor, in your opinion, in matters relating to decoration.
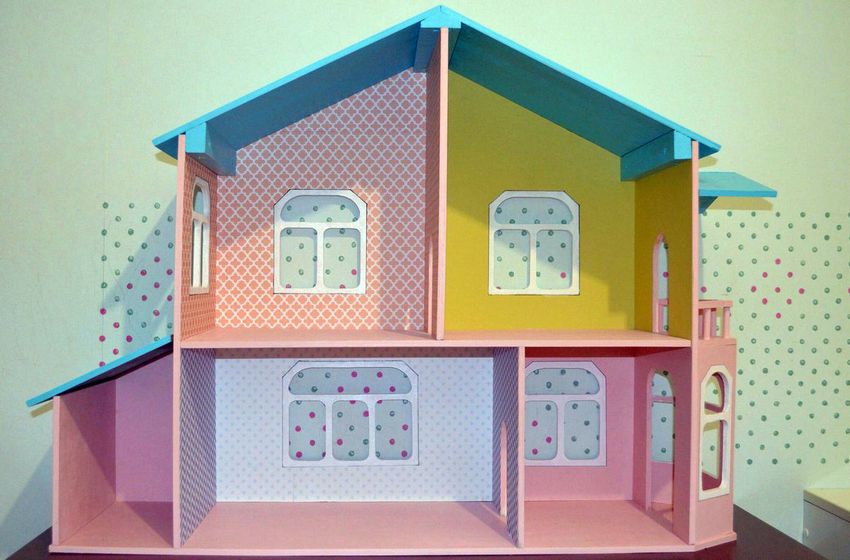
- The windows can be "glazed" by cutting "glasses" out of transparent plastic bottles.
- The walls, floor and ceiling are much easier to wallpaper before assembling the structure.
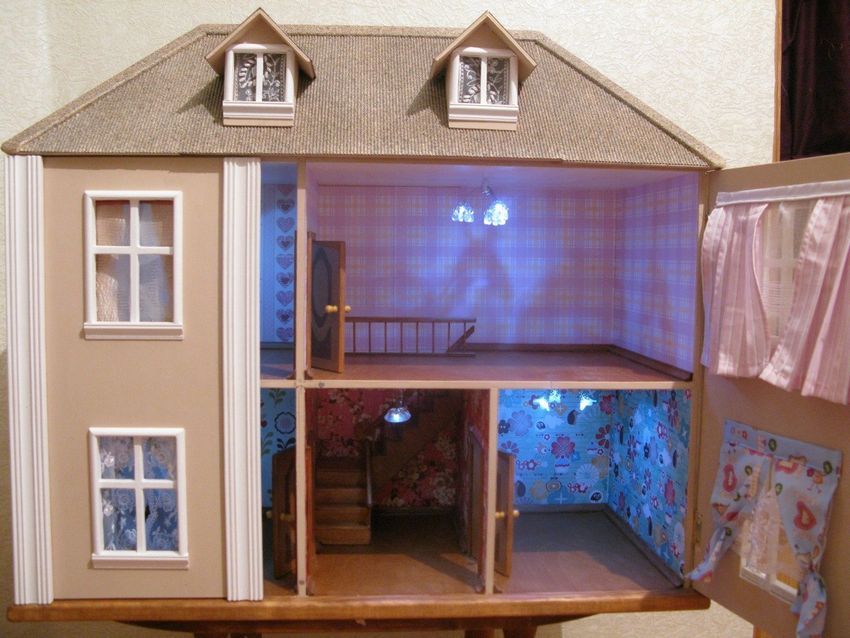
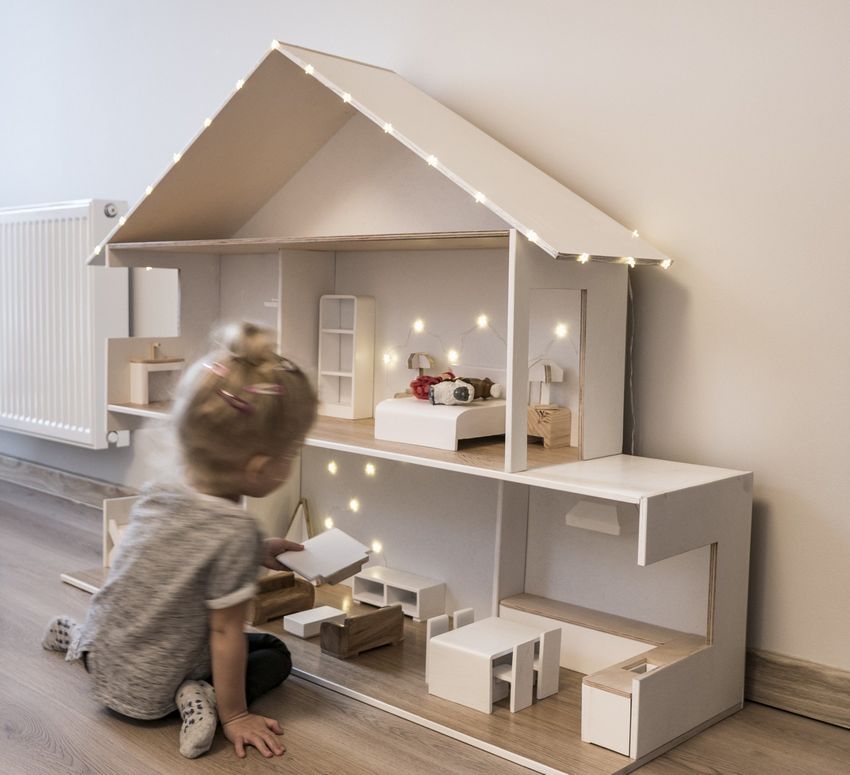
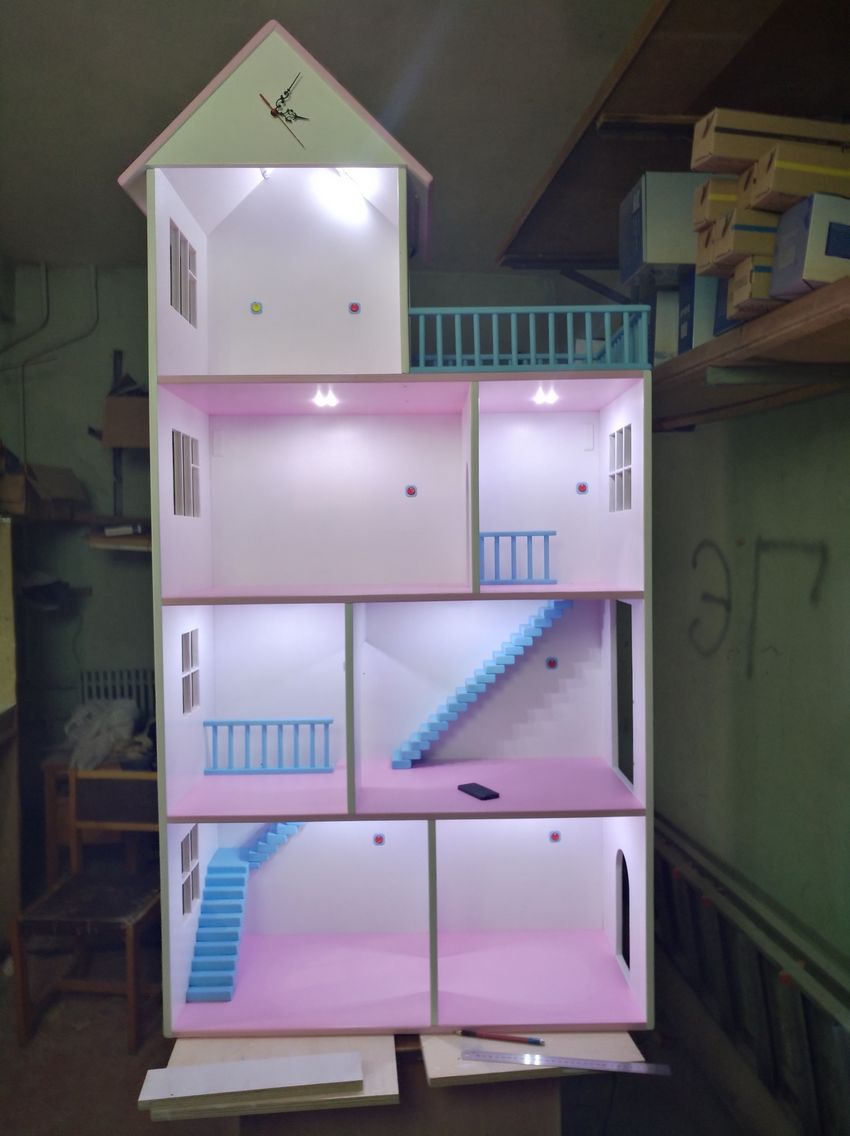
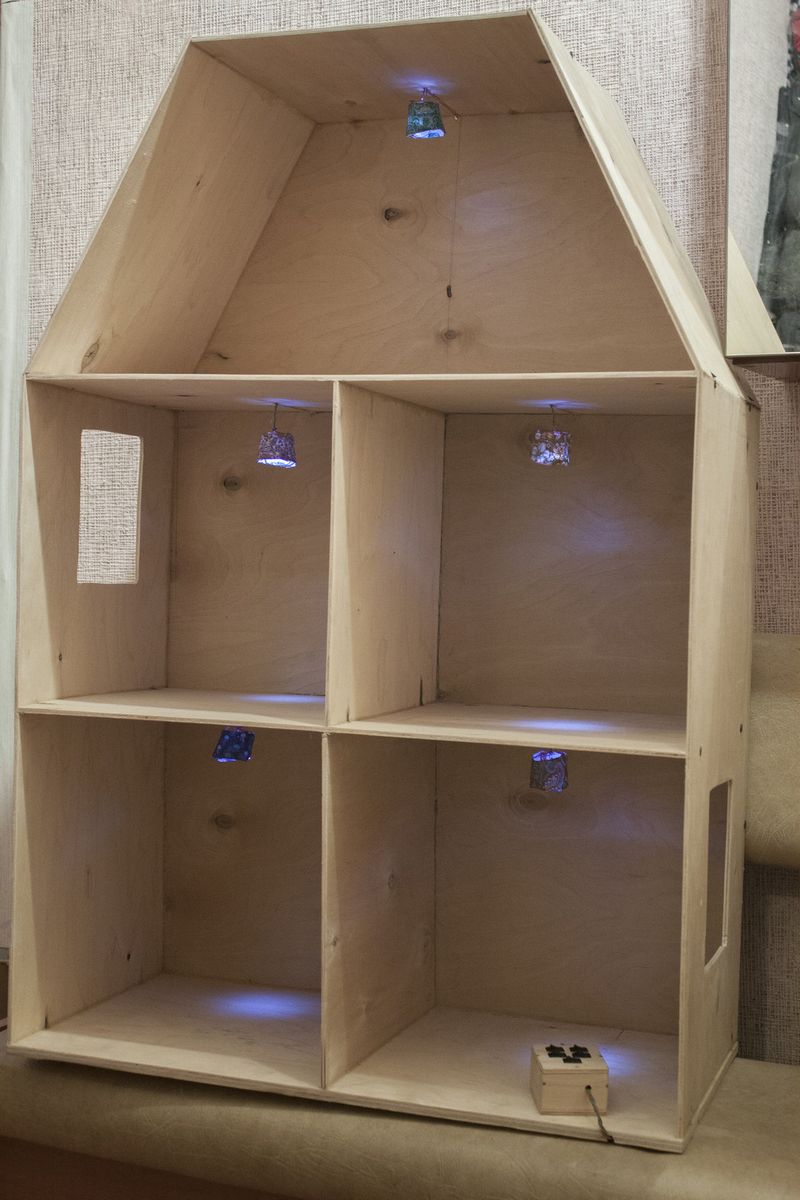
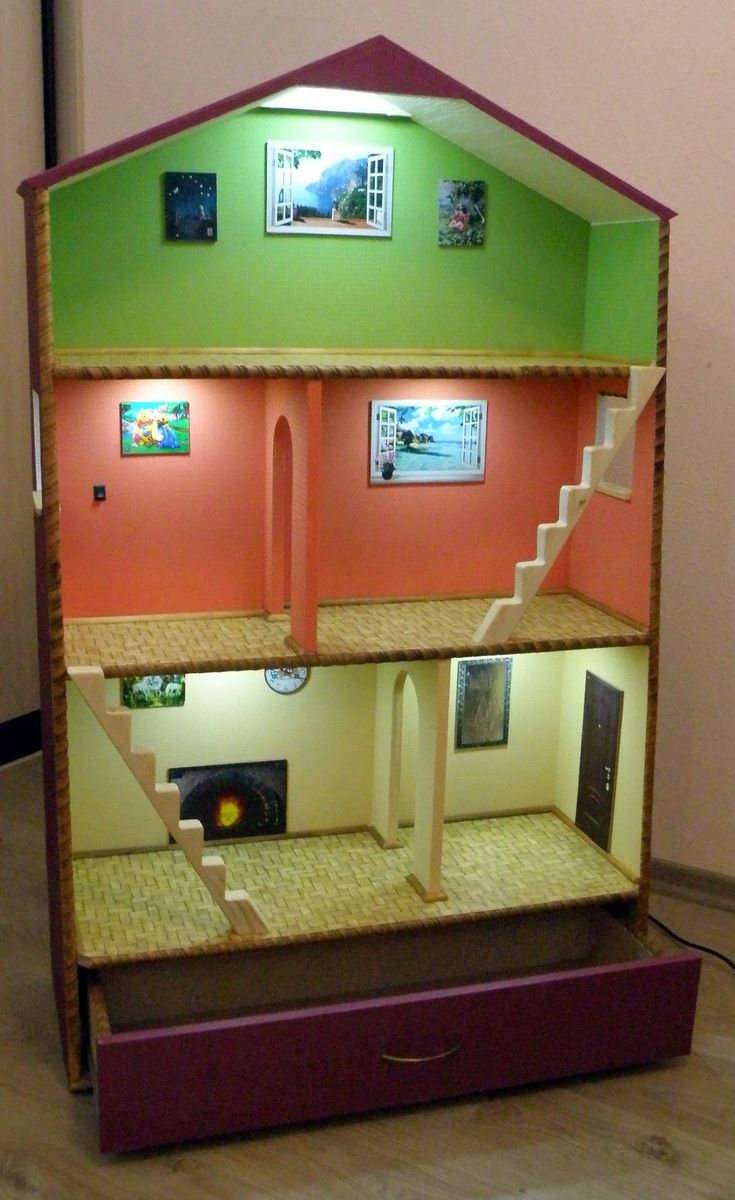
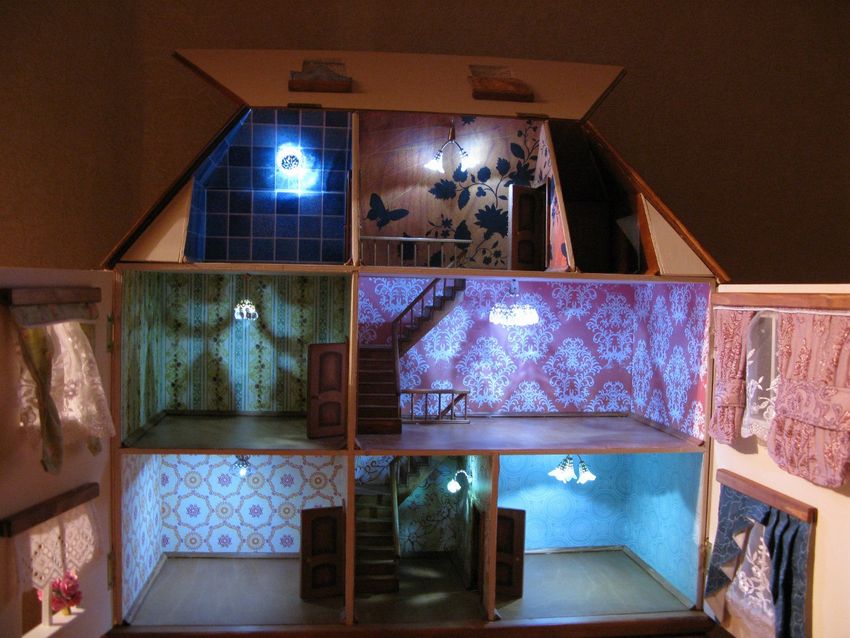
- For lighting, if the hostess wanted it, use small battery-operated lights. It is easy to buy them at almost any hardware store.
- It is easier to decorate the outer walls with thick paper and paint. Using paper on the glue to create the desired relief, and when the glue dries, paint the walls in the desired color.
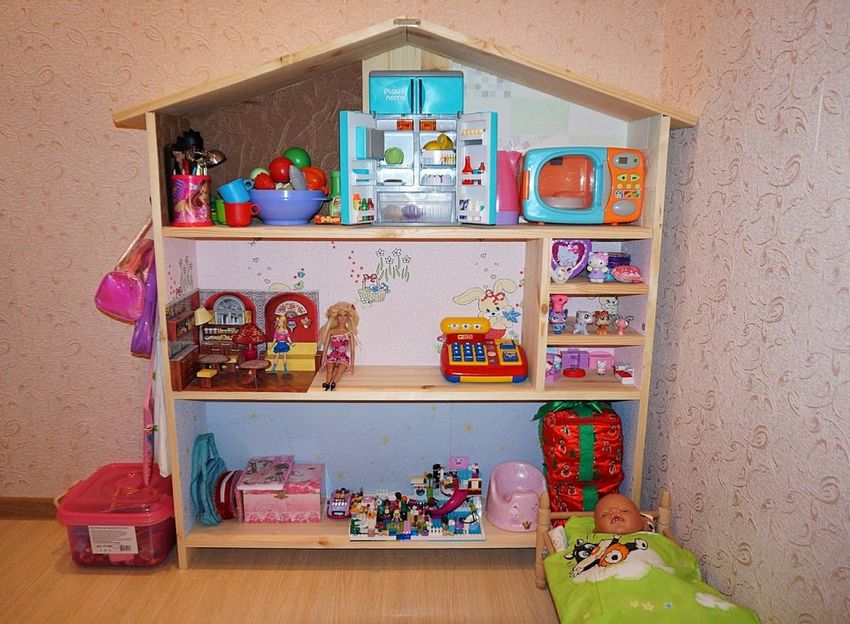
- In the house it is good to provide drawers to store various small toys.
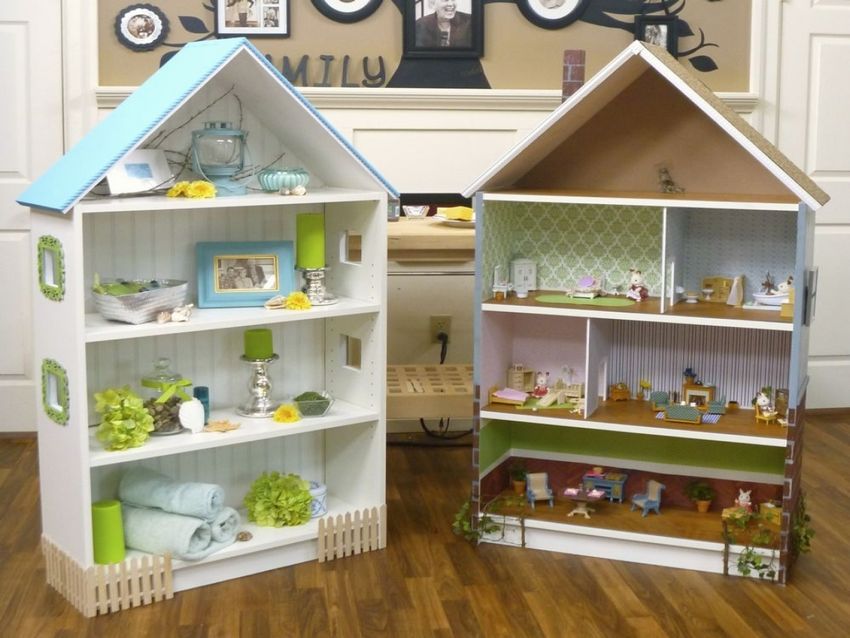
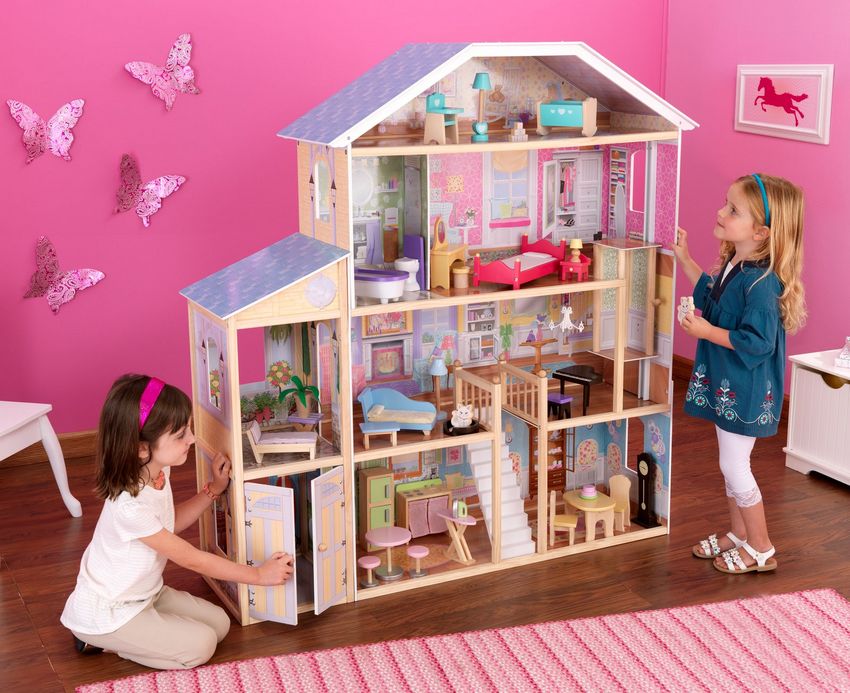
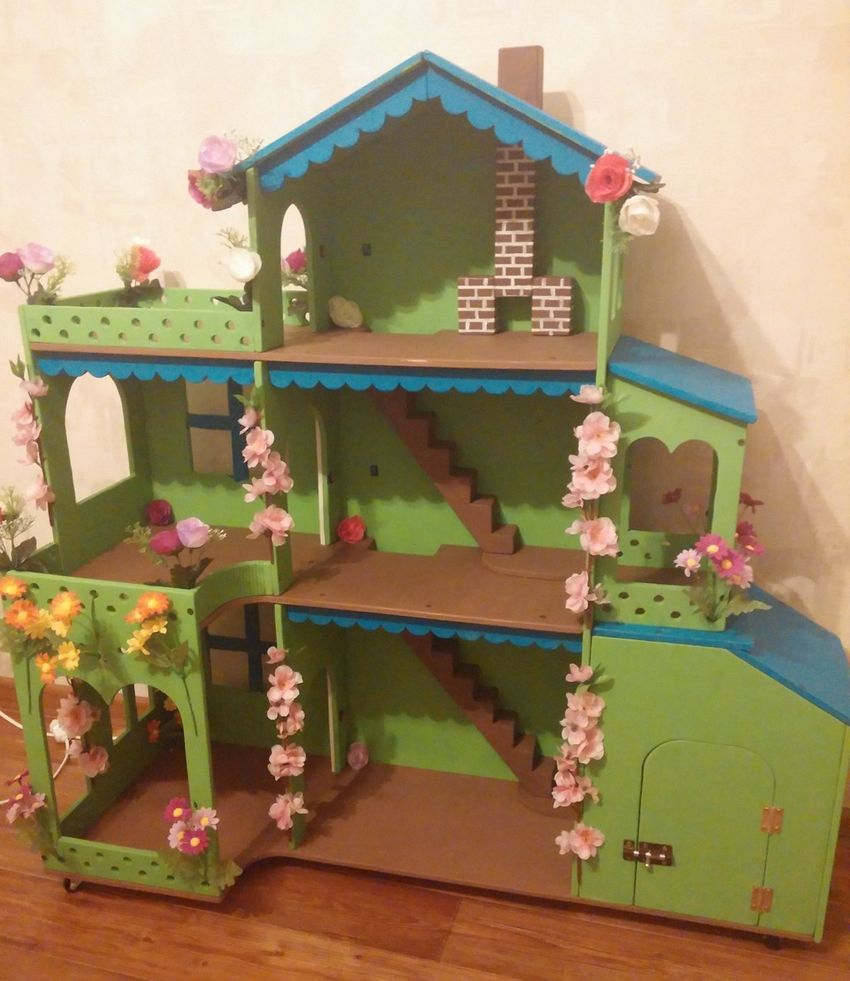
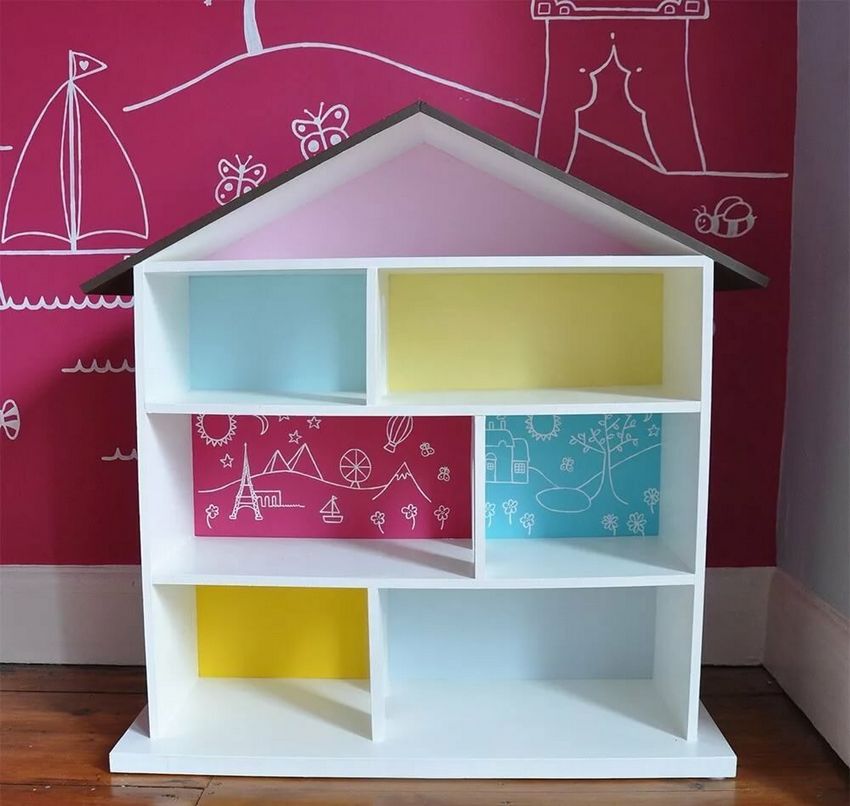
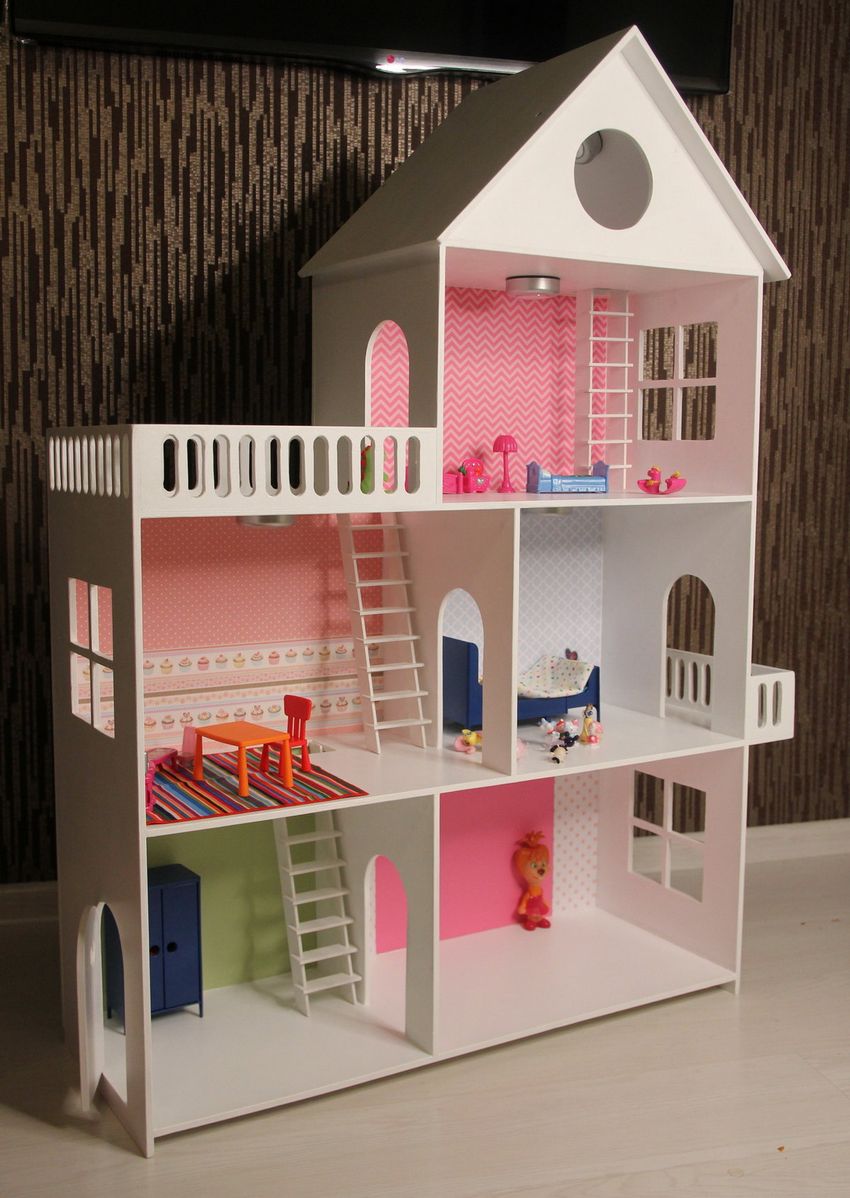
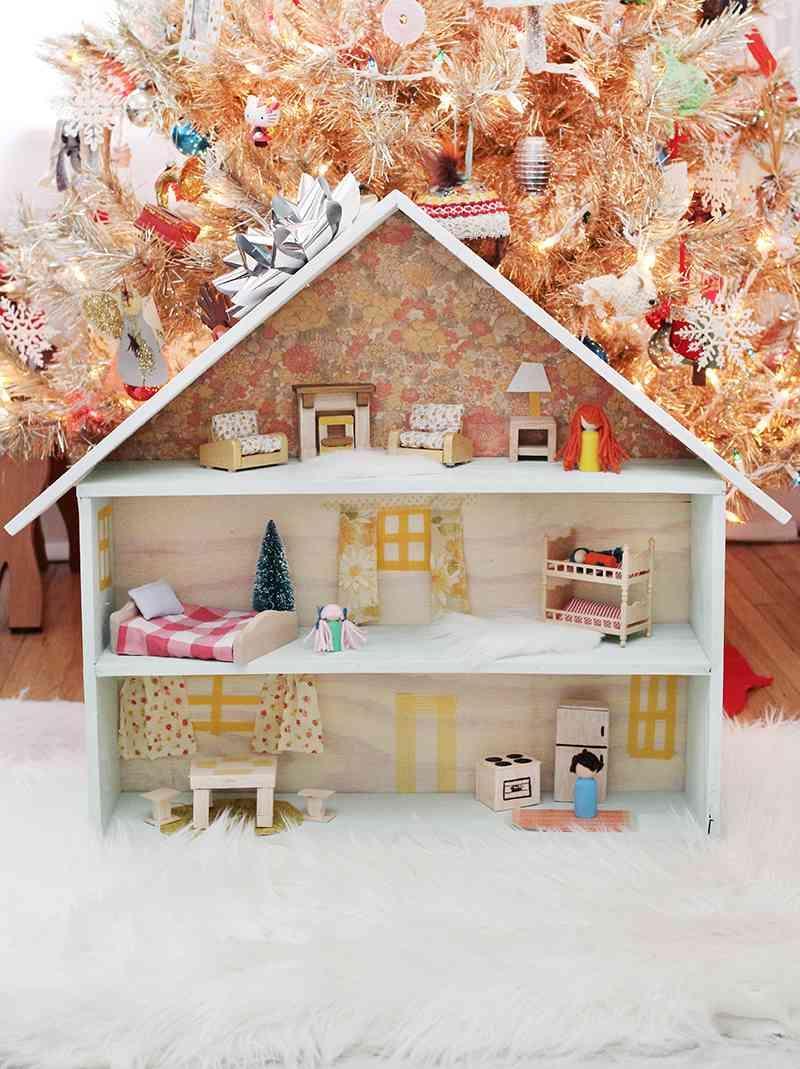
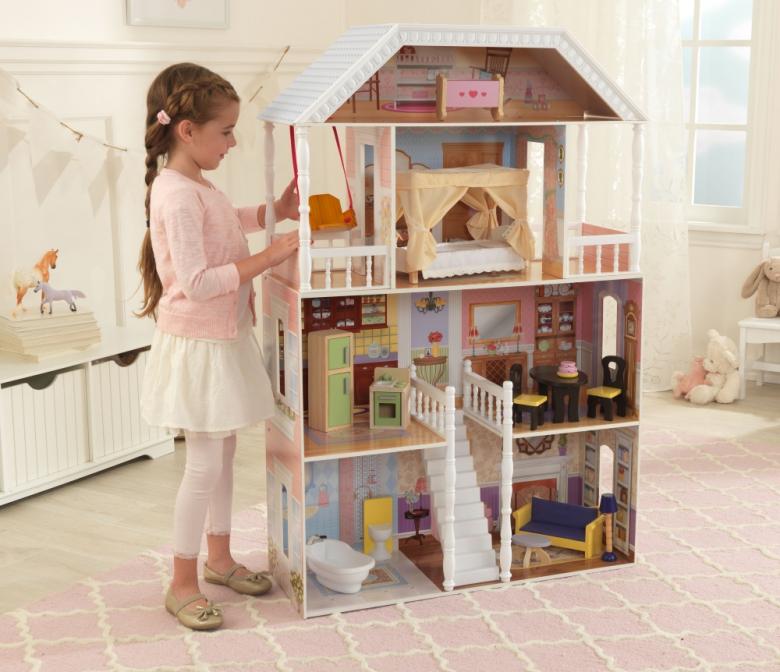
Believe me, the house for the dolls, created with their own hands, and even if the baby took an active part in its creation, will bring much more joy than a purchased house.
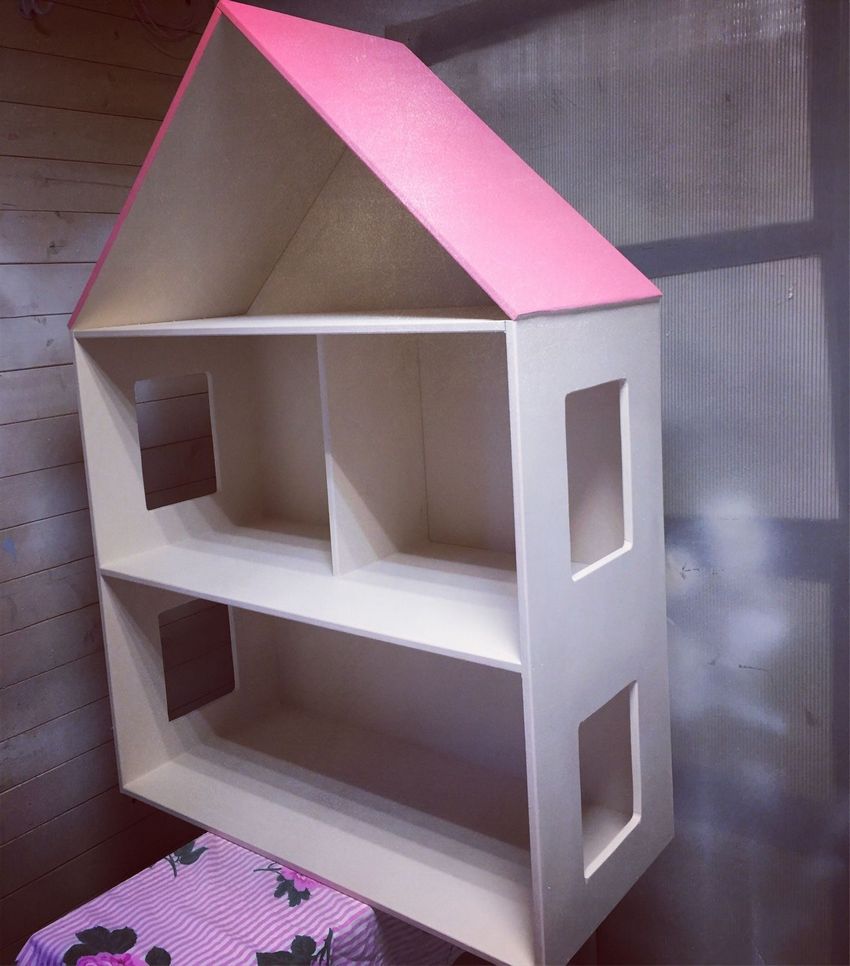
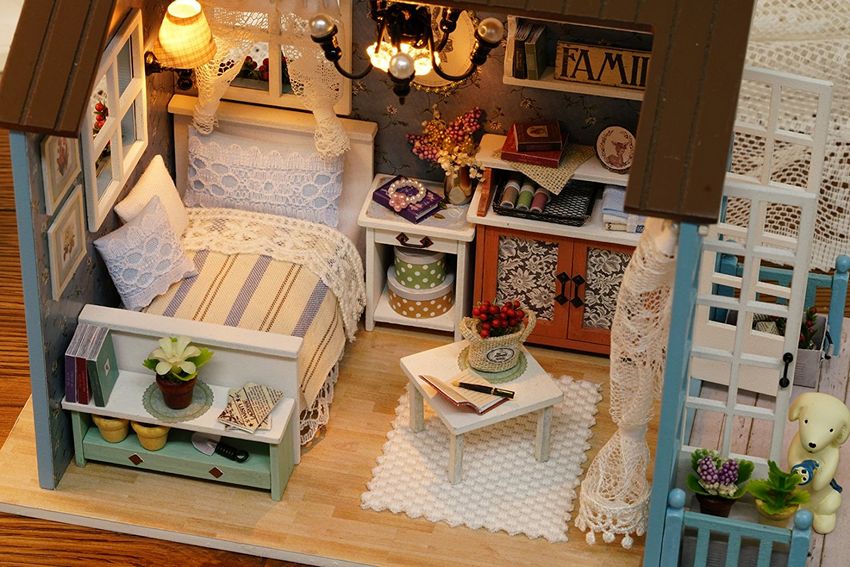
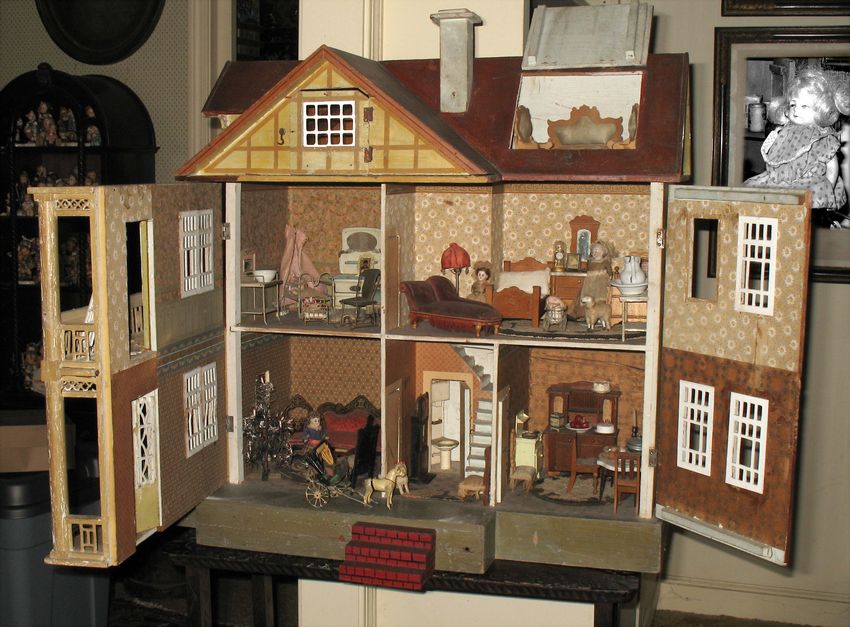
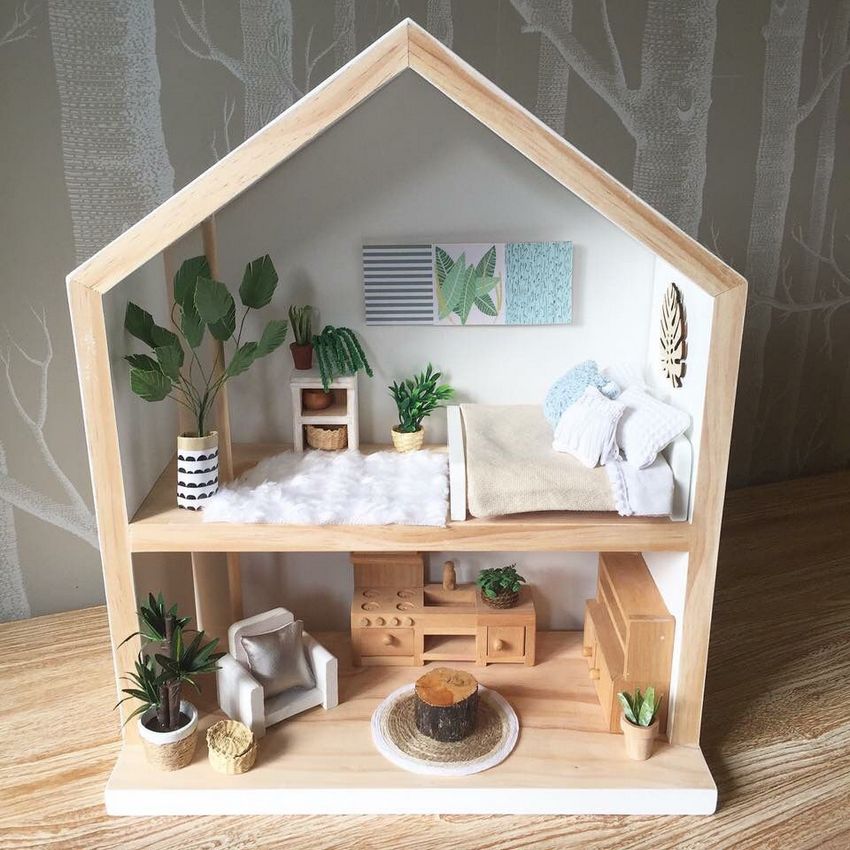
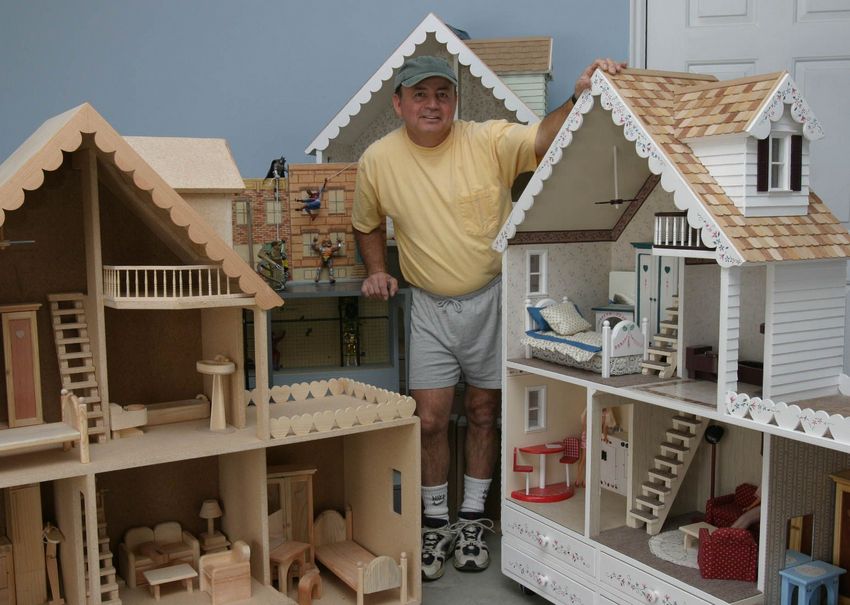
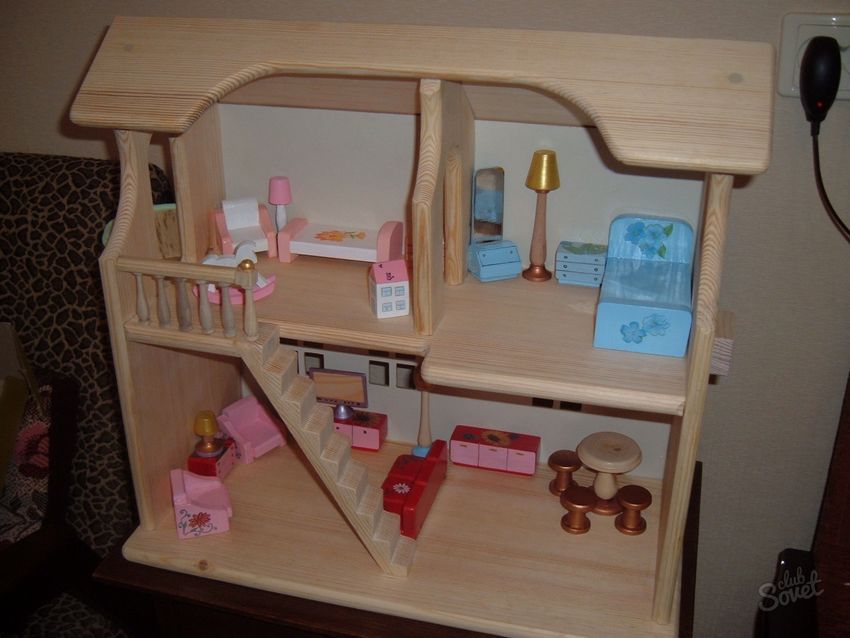
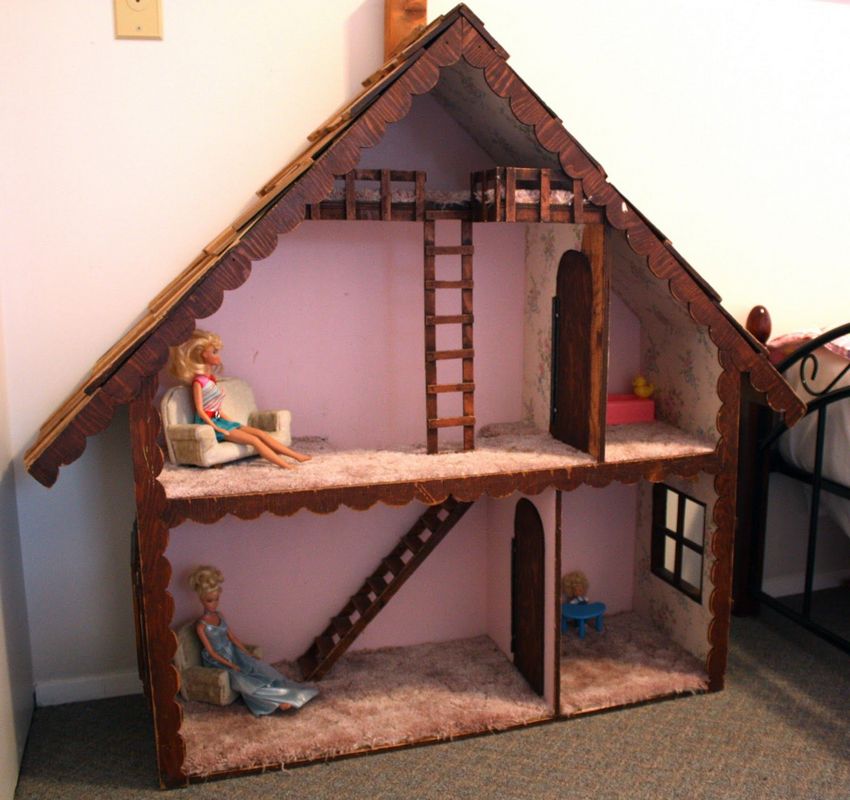
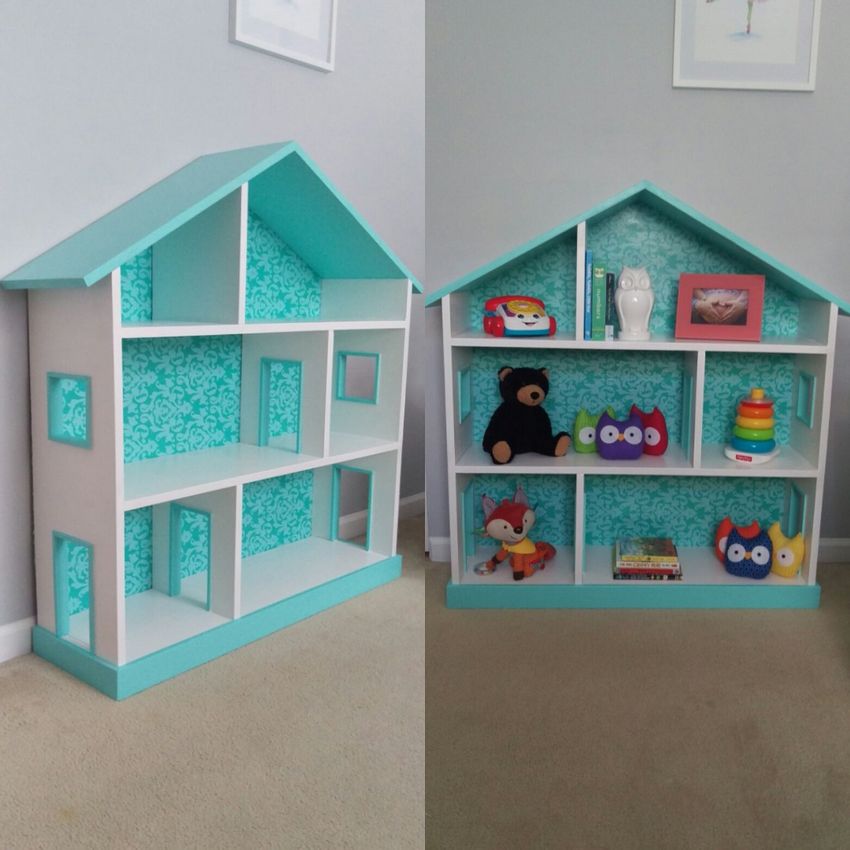
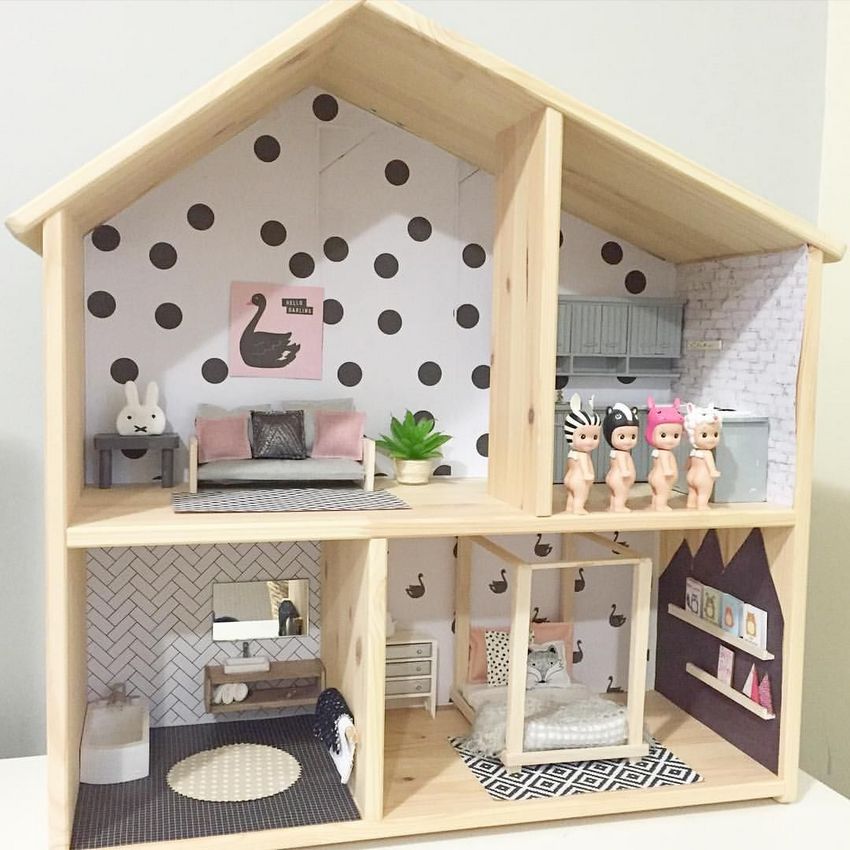
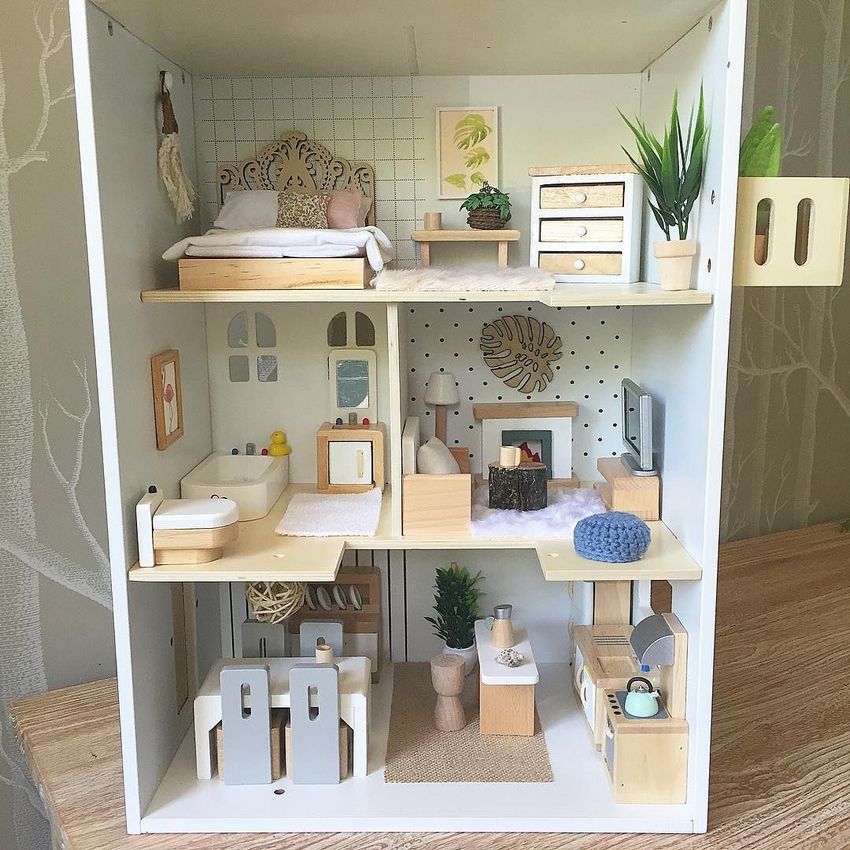
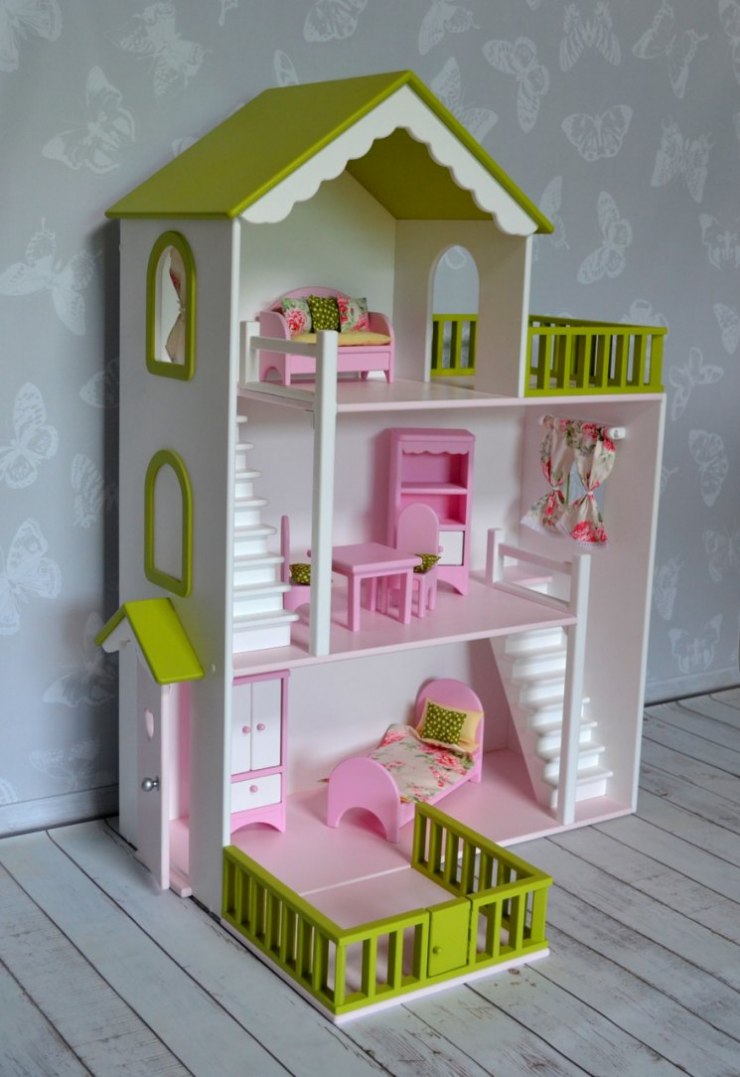
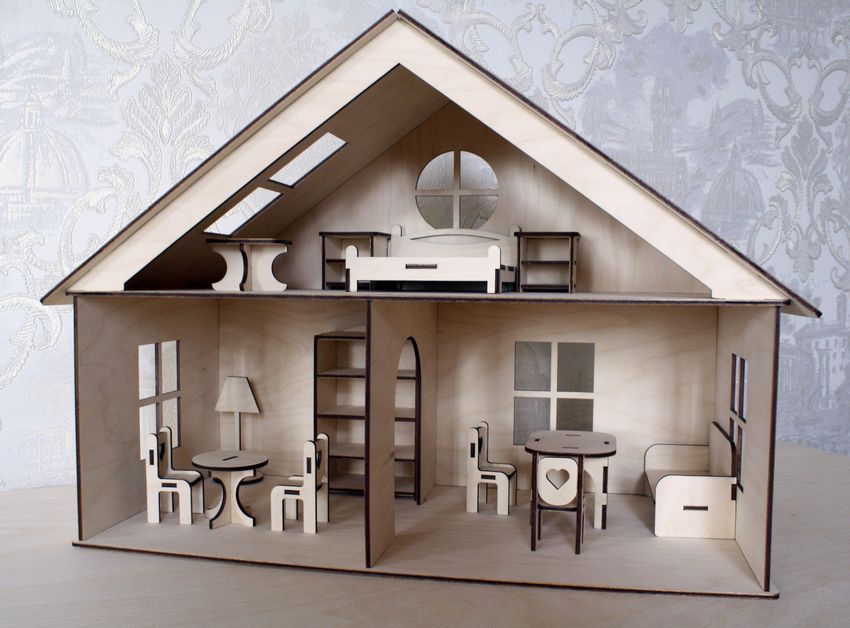
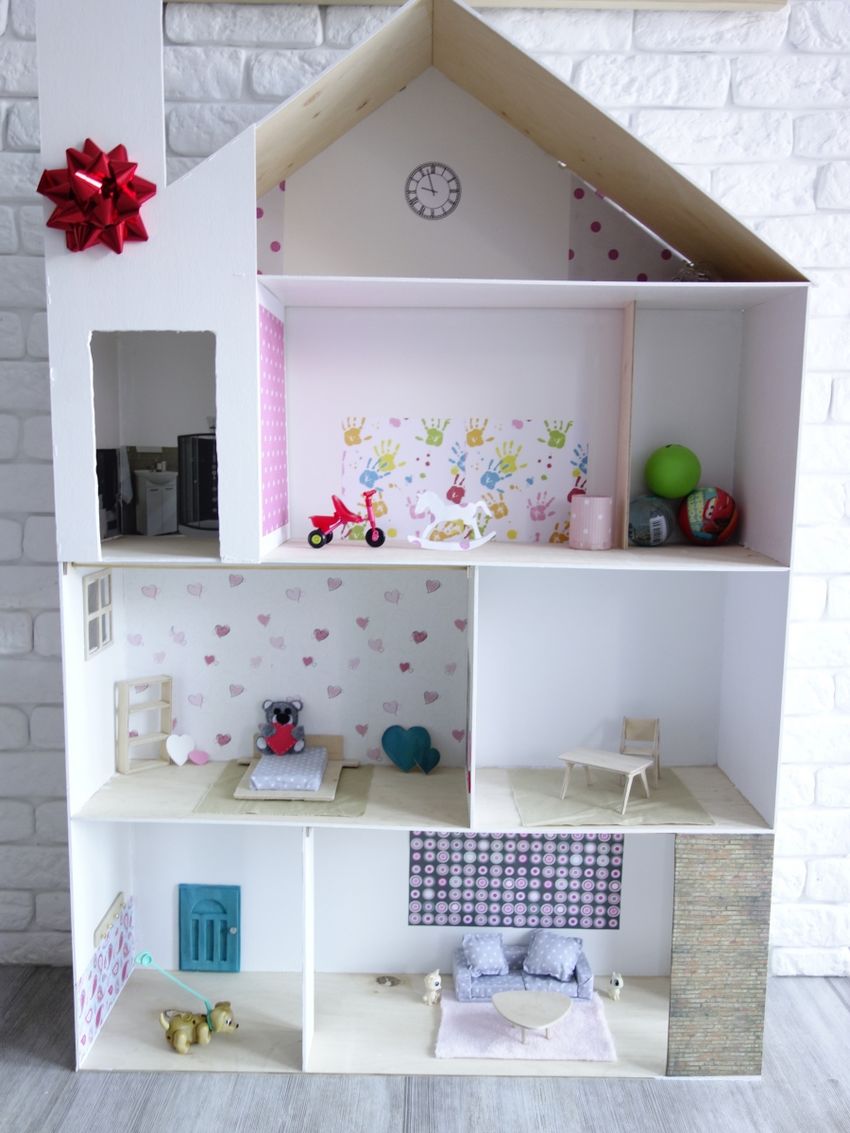
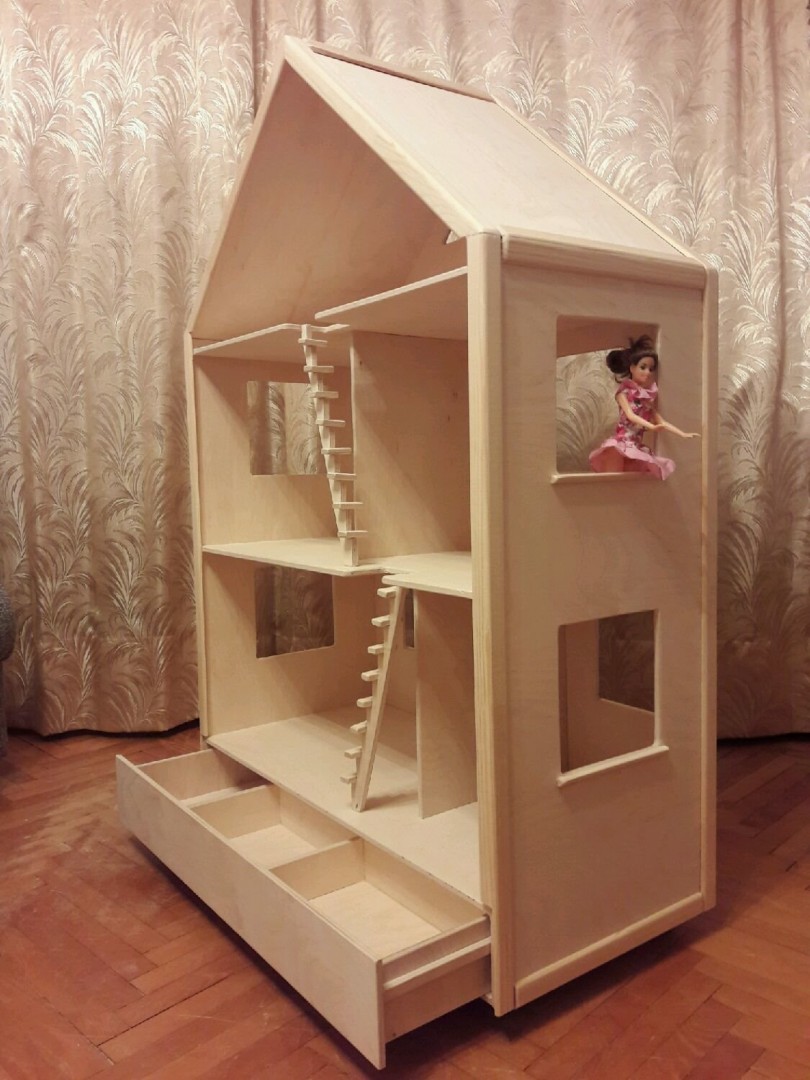
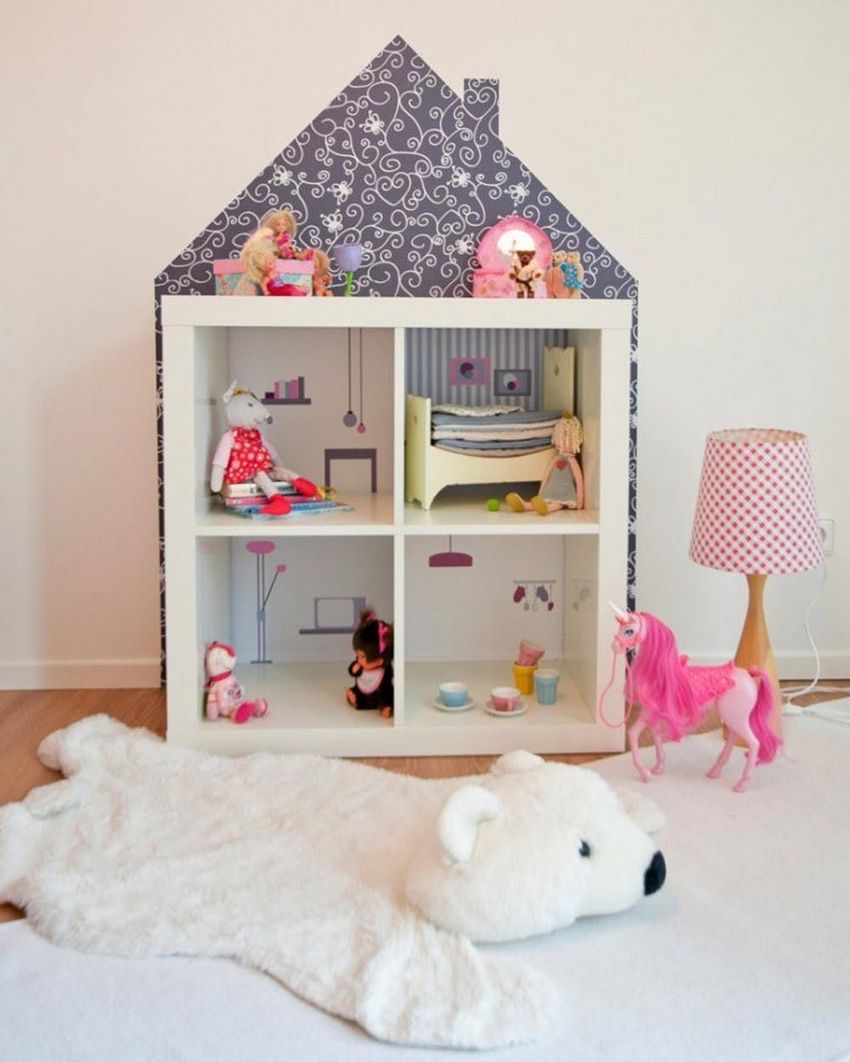
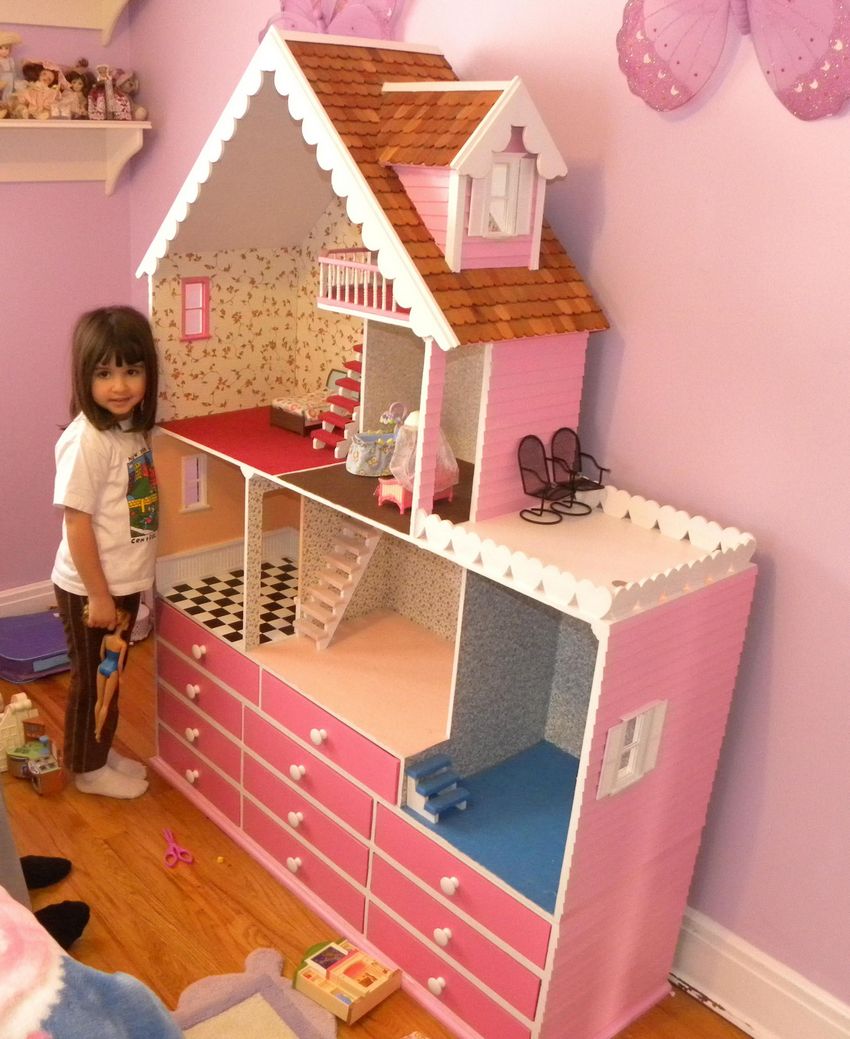
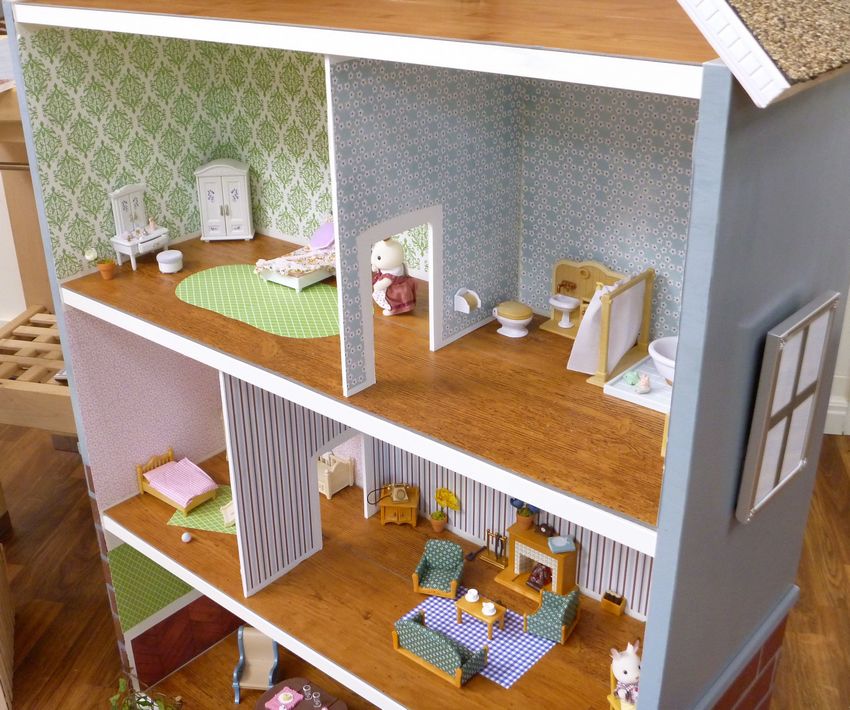
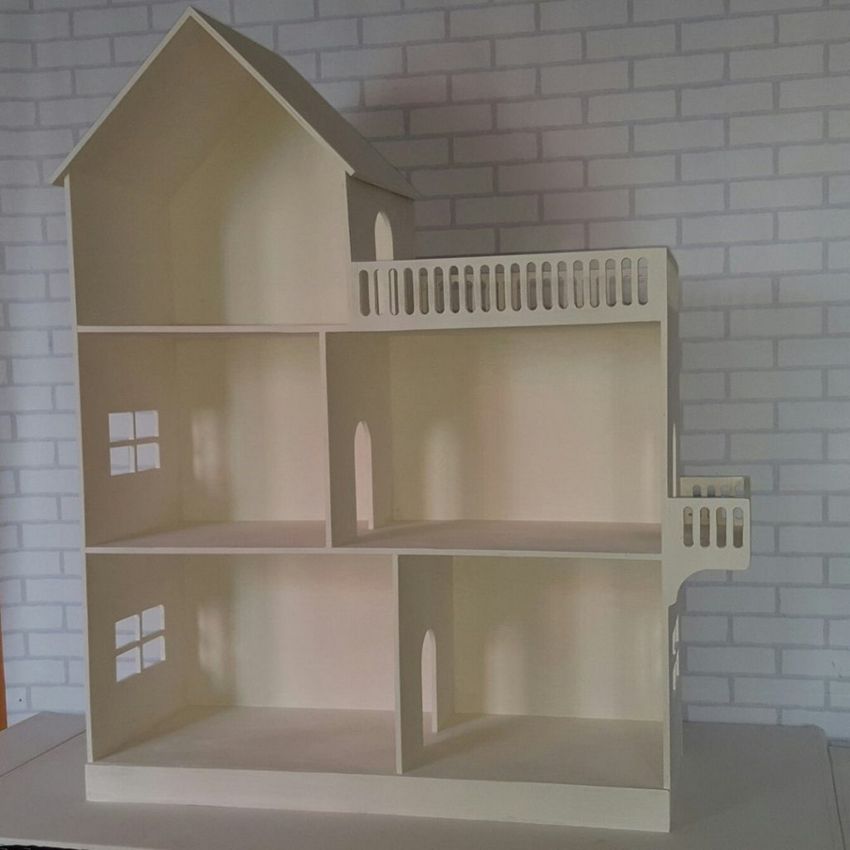
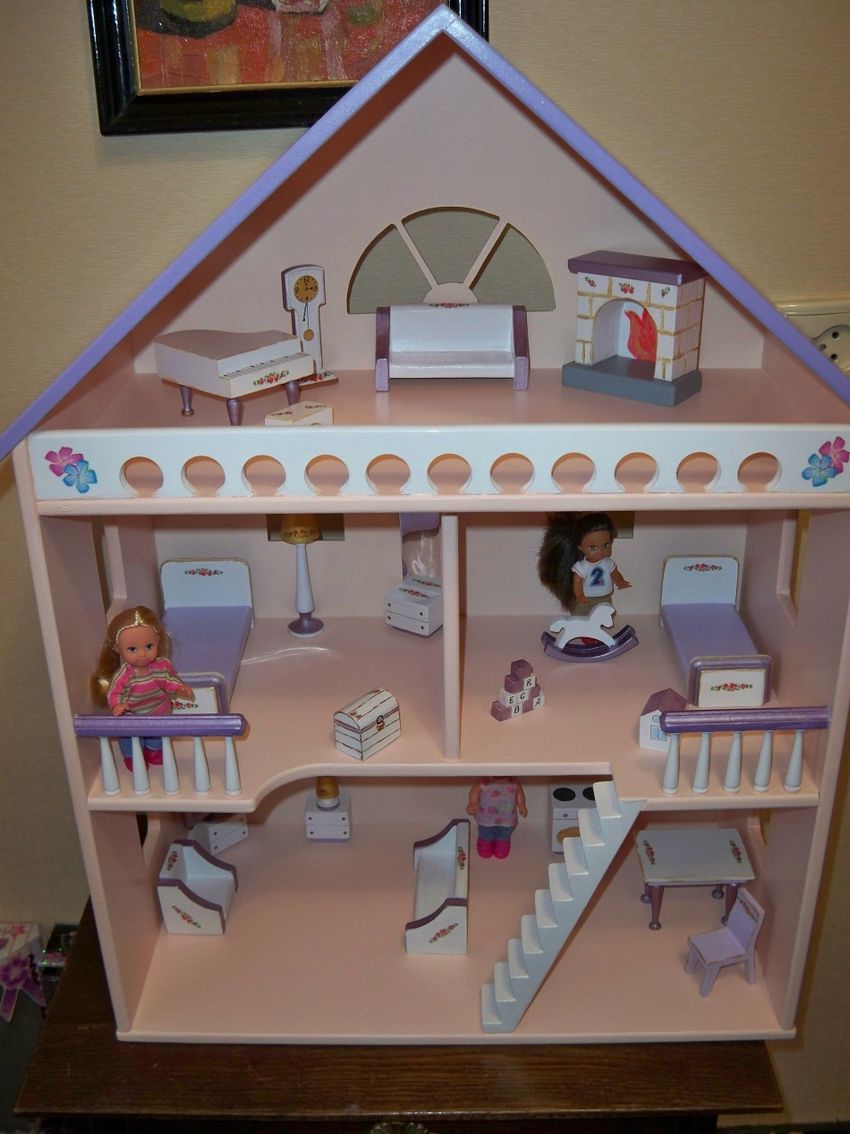
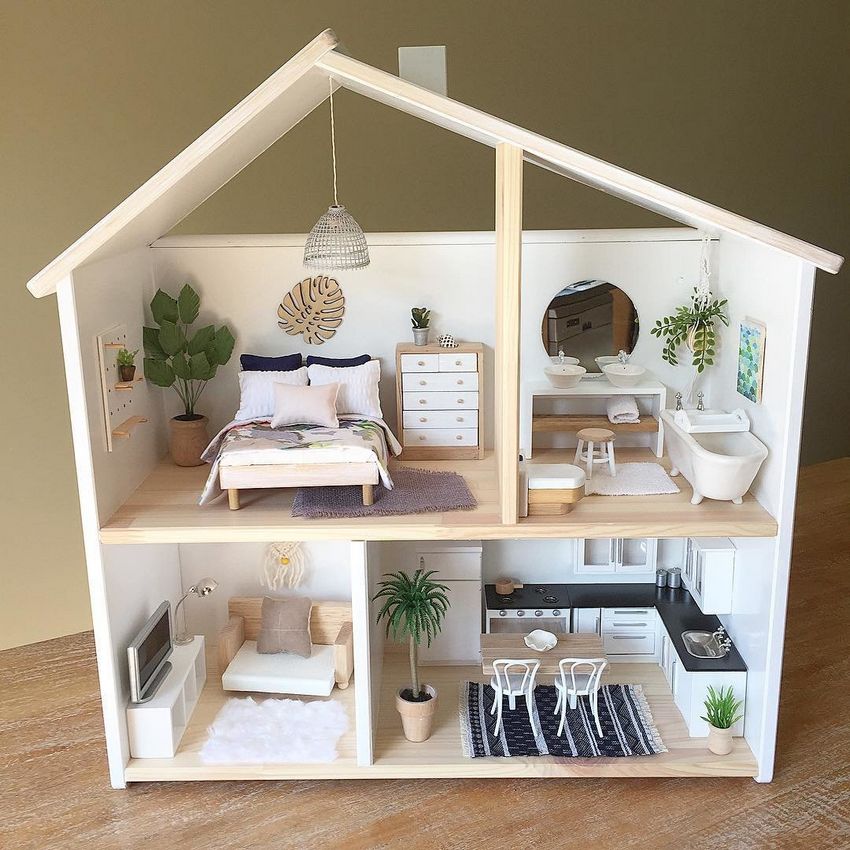
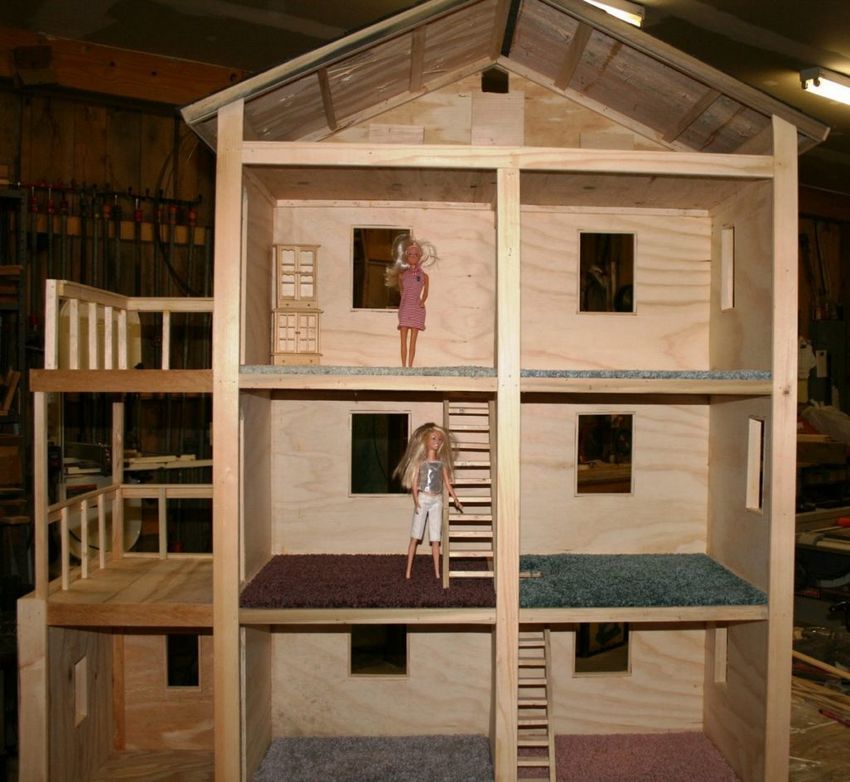
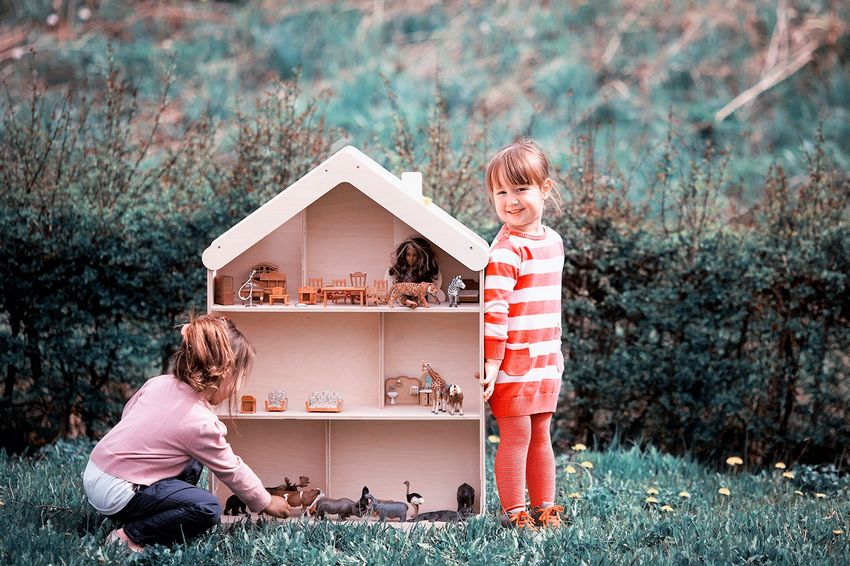
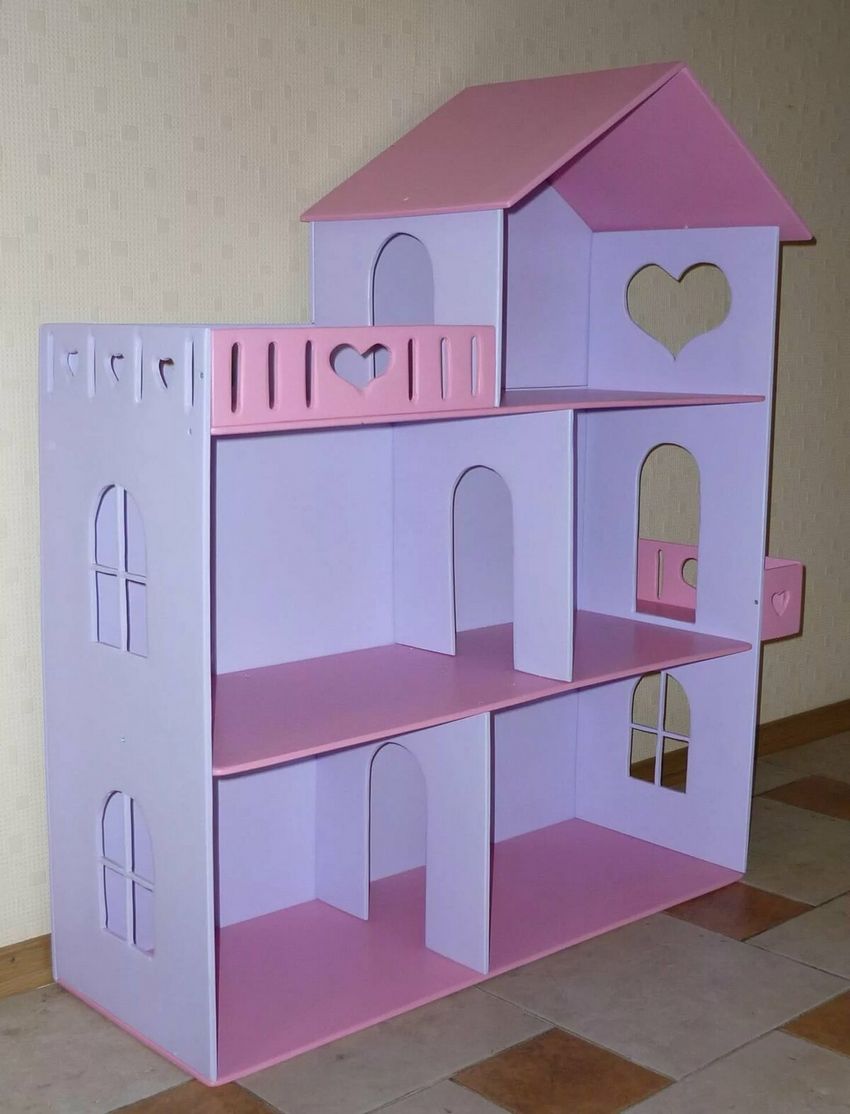
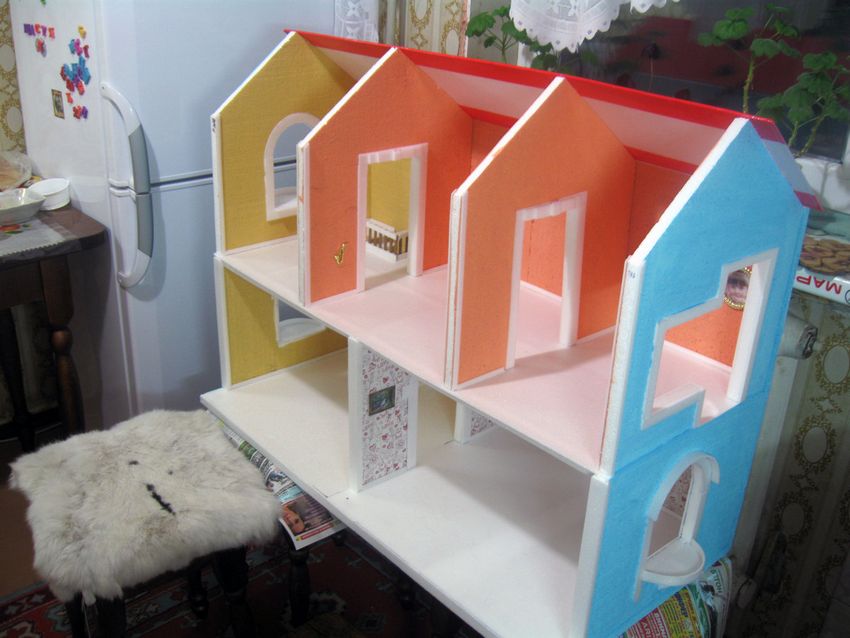
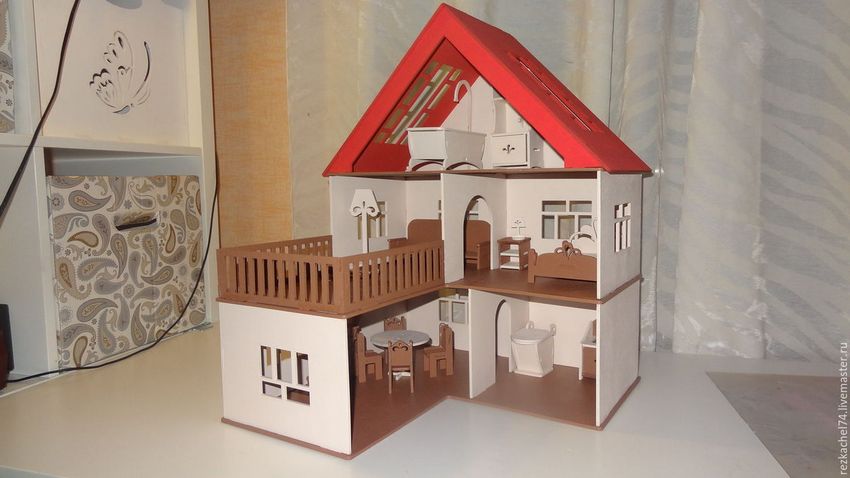
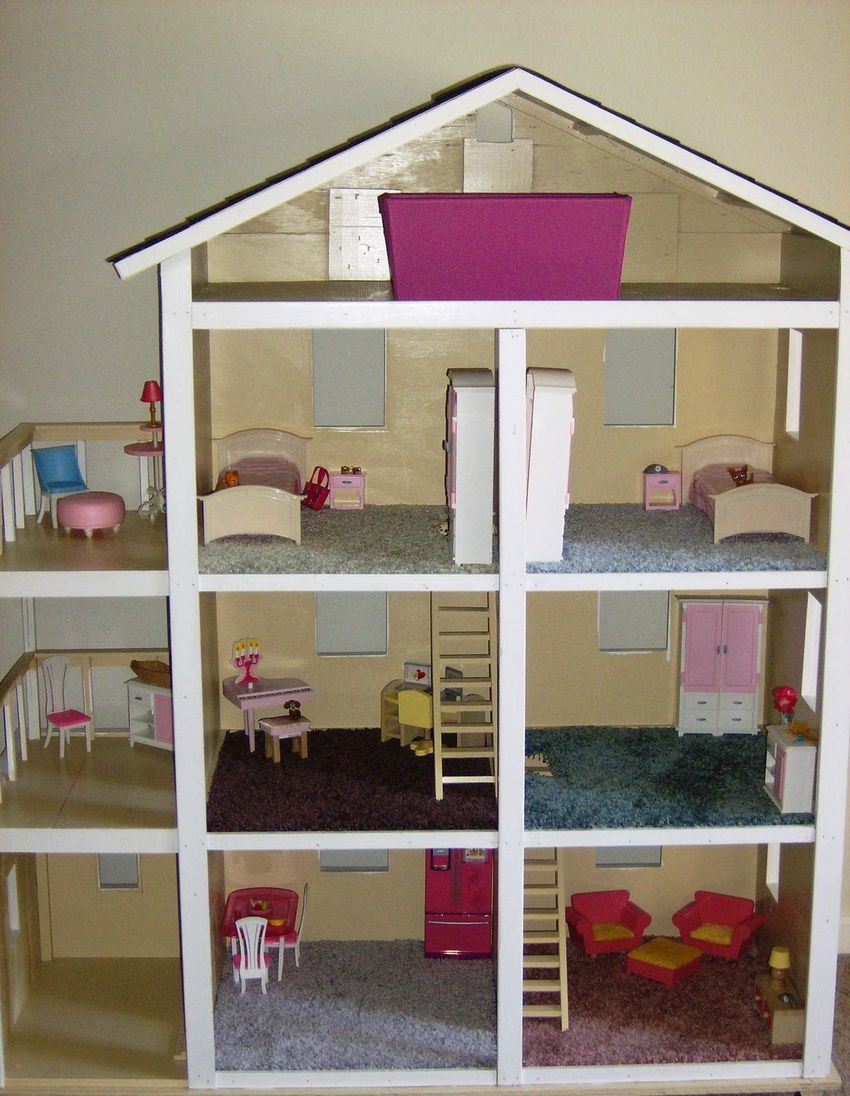
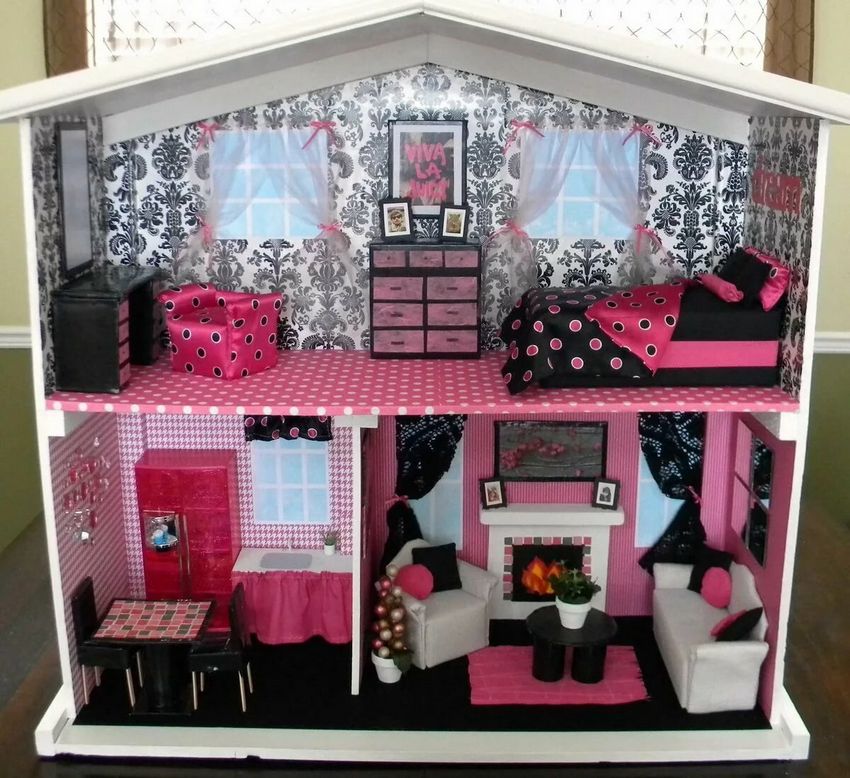
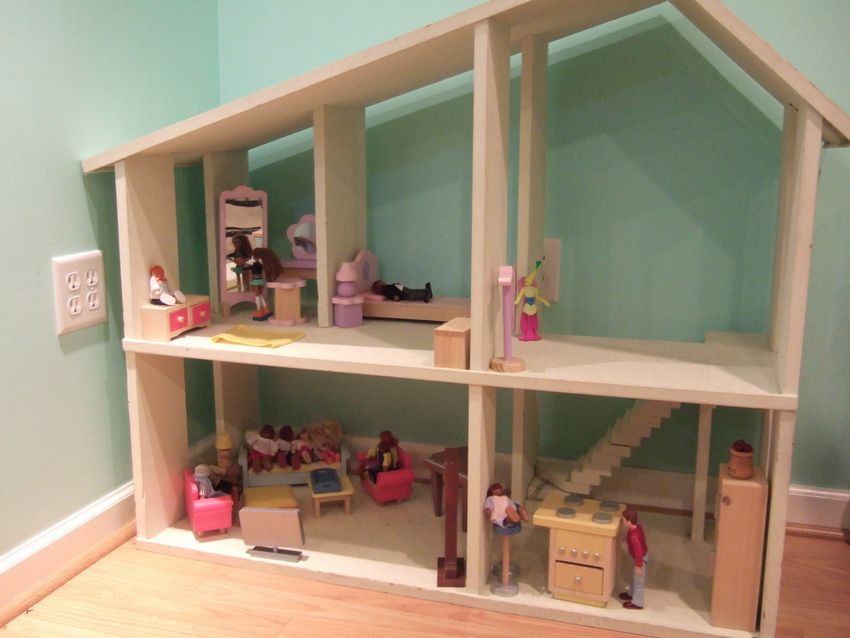
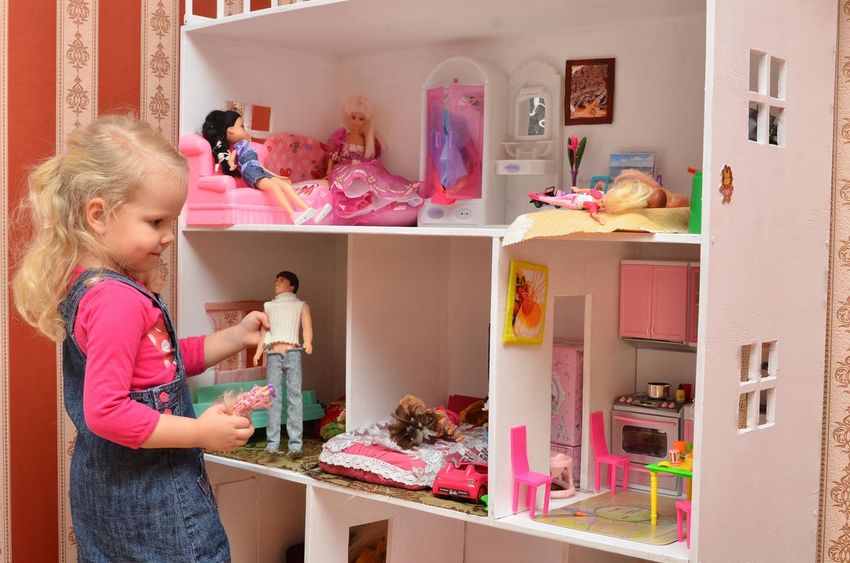
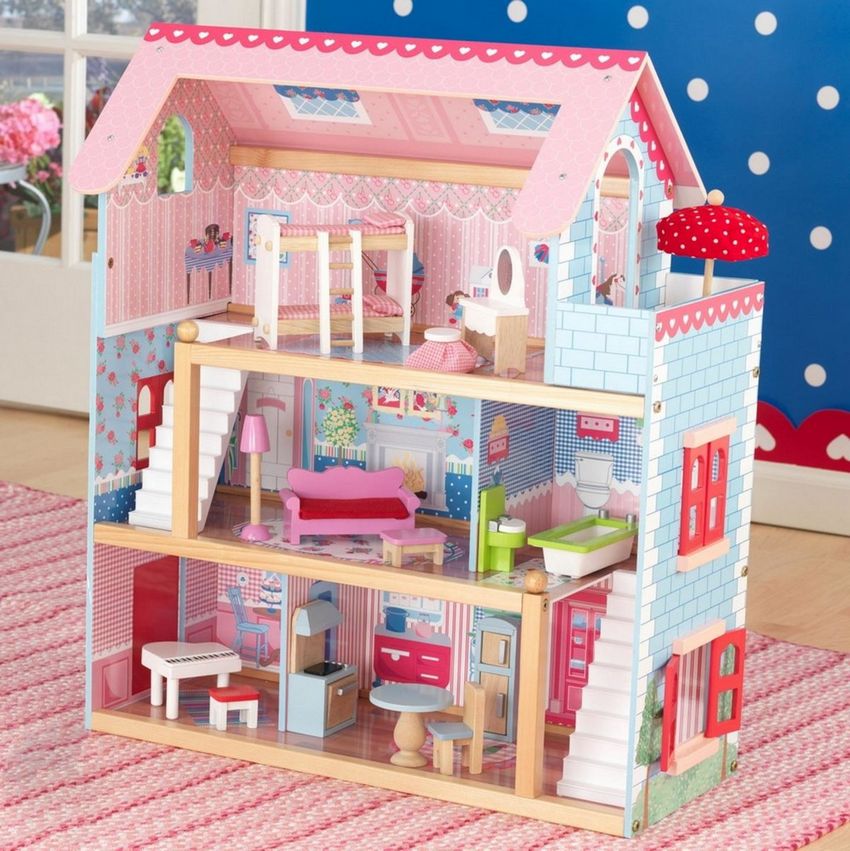
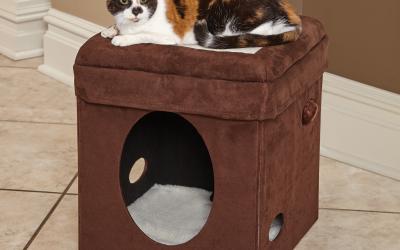
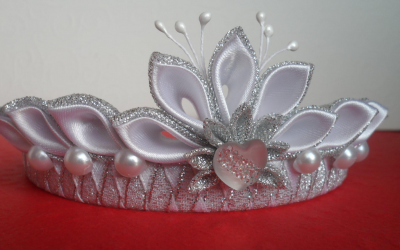
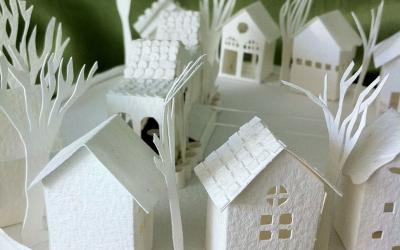
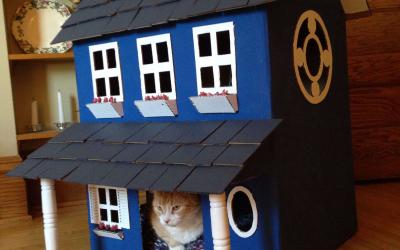
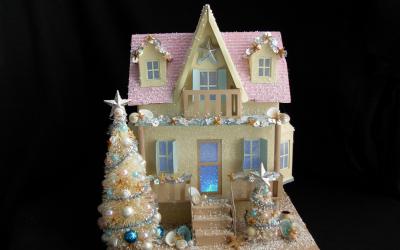
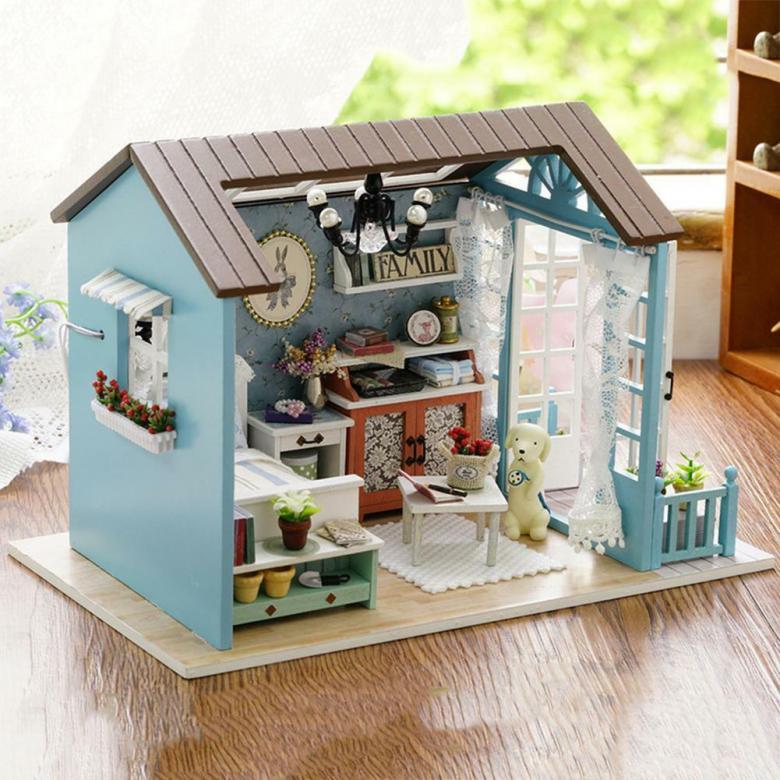
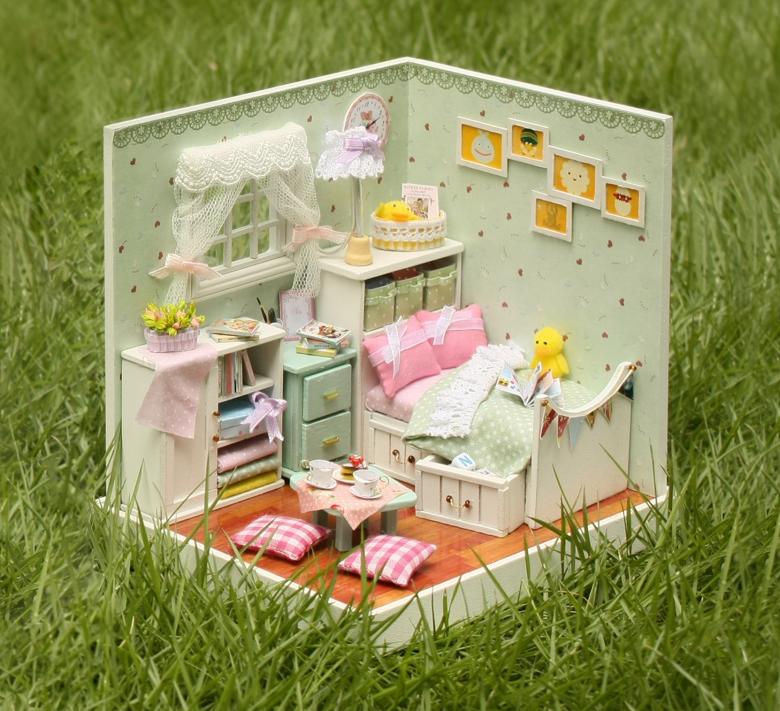
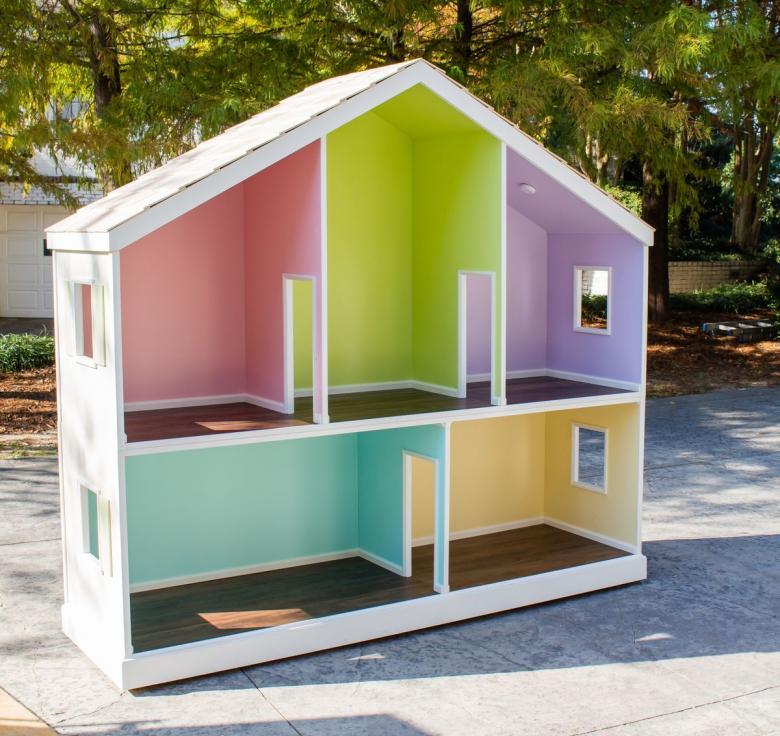
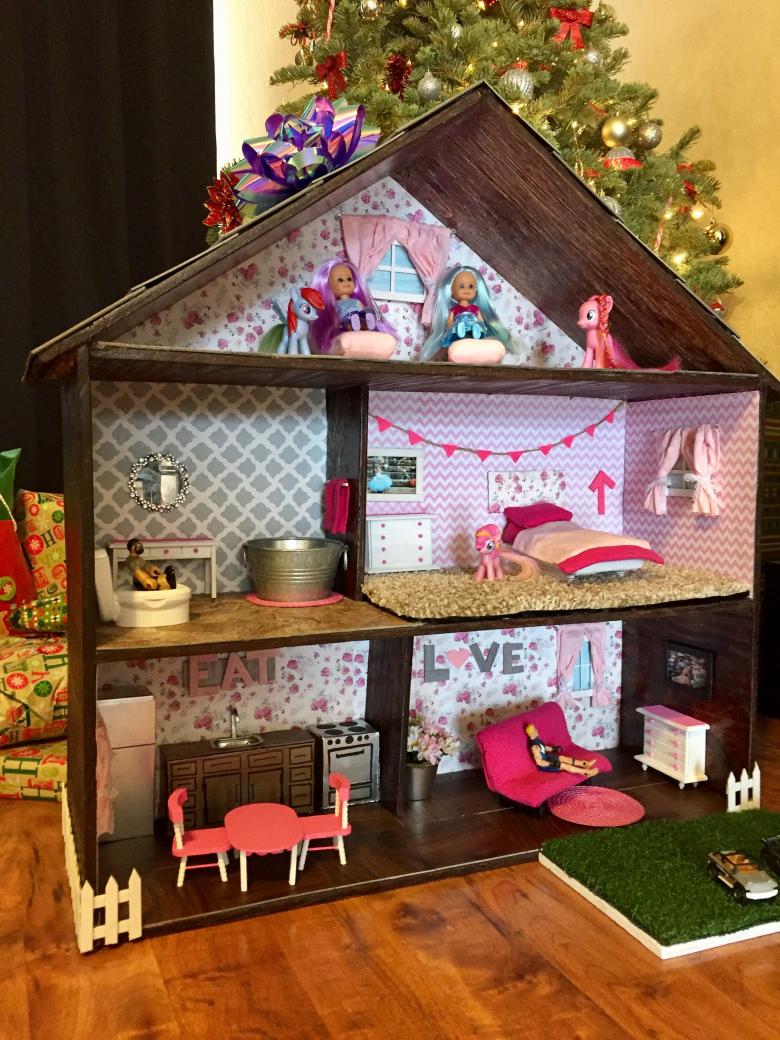
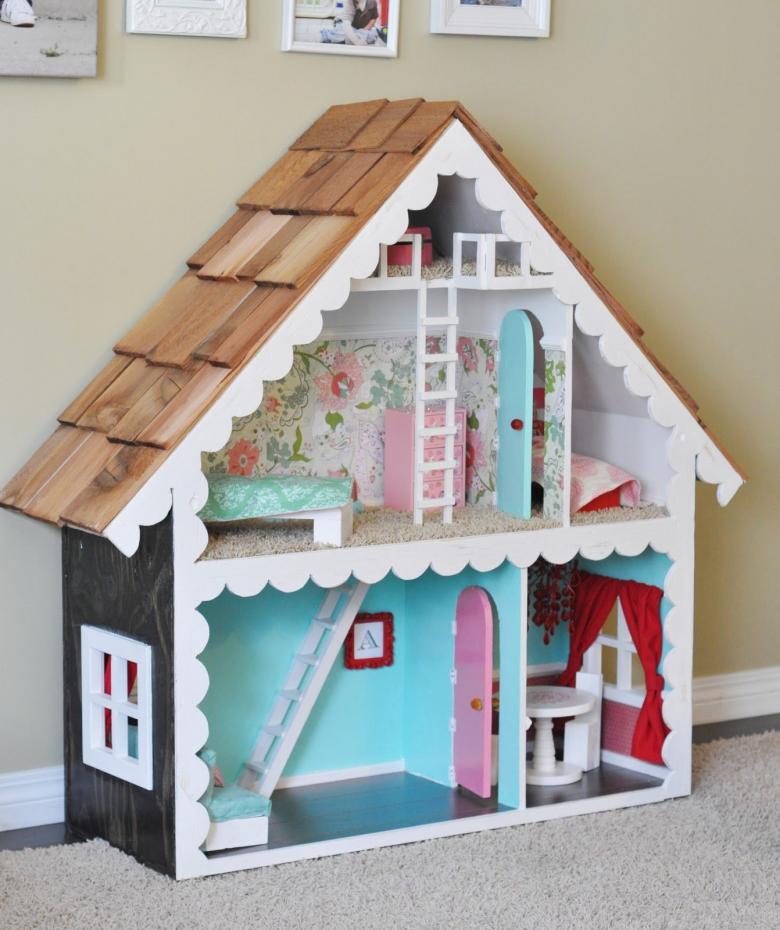
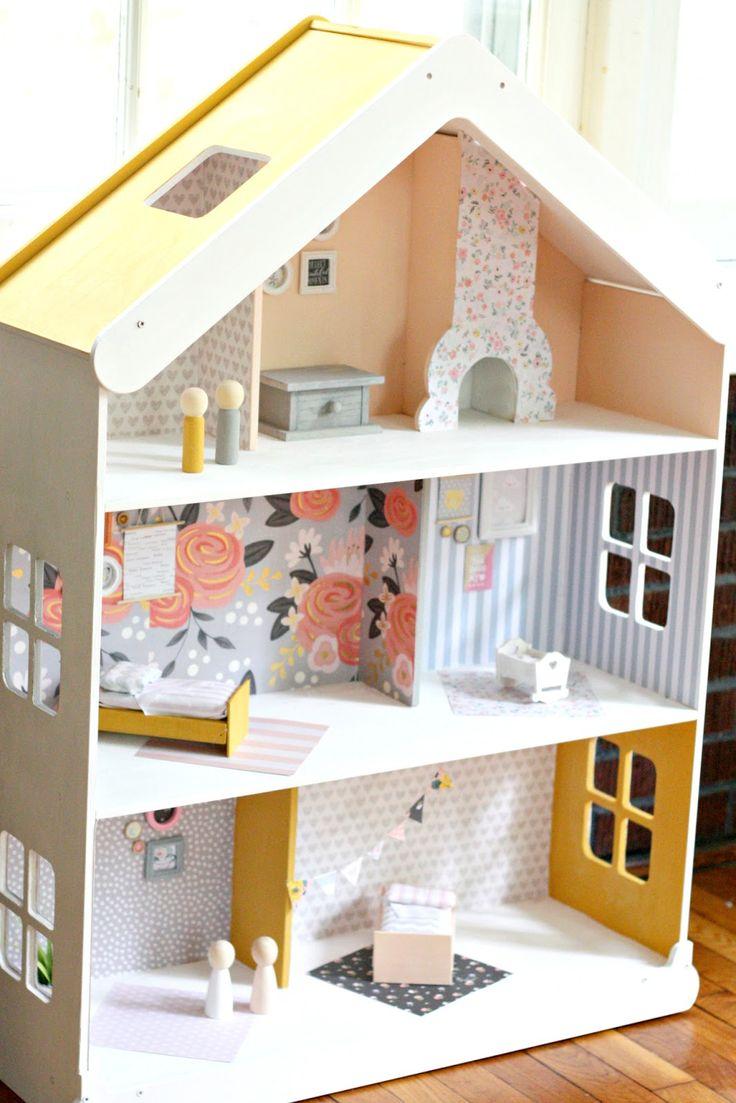
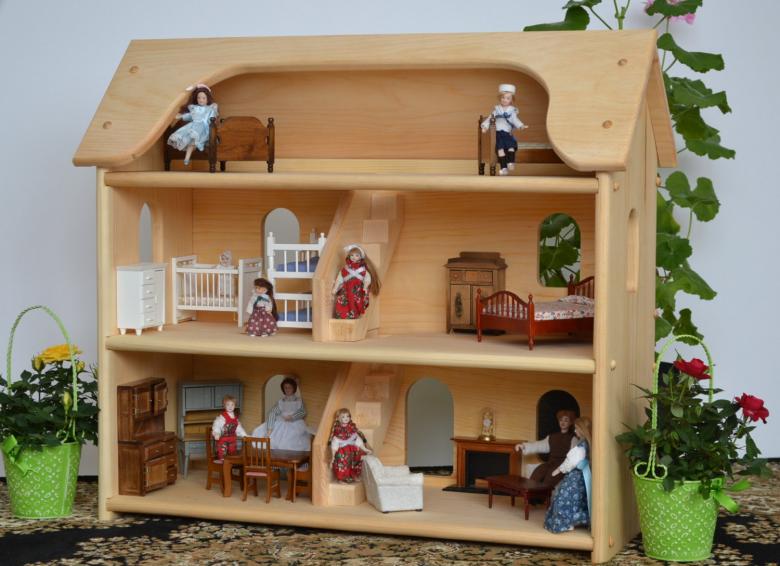
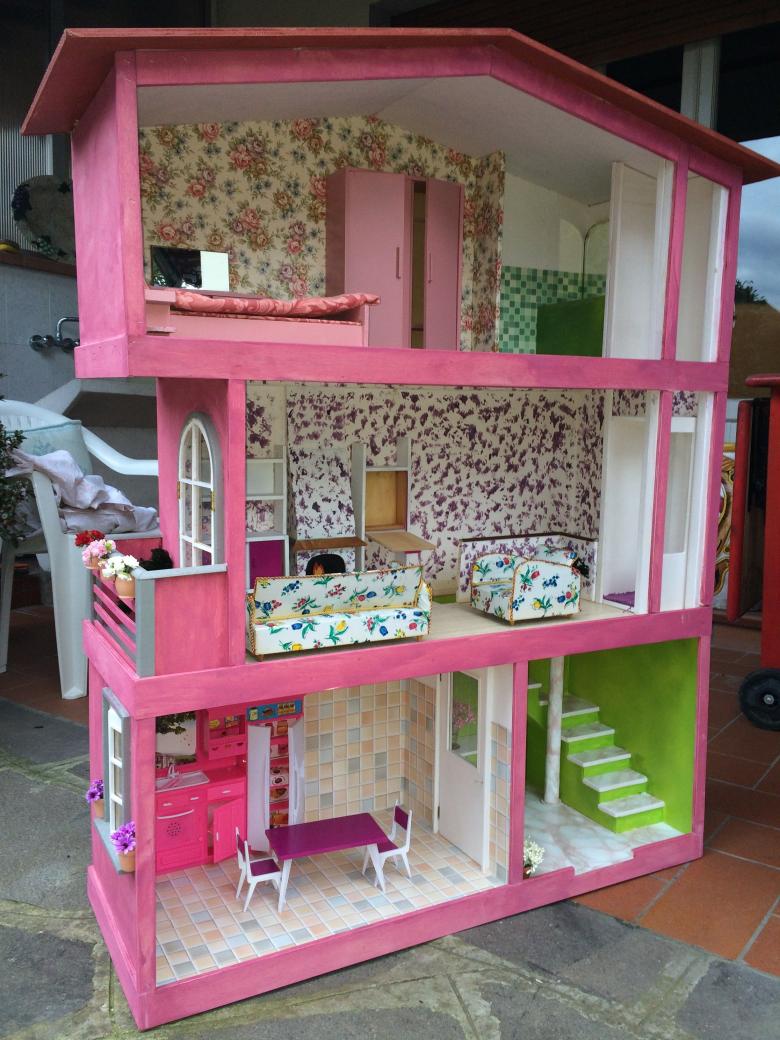
Photo ideas and examples of homemade houses for dolls