Ribbon Bows by hand for children and adults - step by step description of how to make, original photo ideas
This classic, extremely feminine, and at the same time elegant accessory will never go out of fashion. It would seem that what is so special in an uncomplicated decoration? But it is it that gives airiness, lightness to the whole image of a beautiful lady.
It is interesting, but not only the beautiful half of mankind is not indifferent to the bow. In the Baroque era, chevaliers decorated their jabots, hats and even shoes with bows. And today, the classic tuxedo or tailcoat of a true gentleman cannot be imagined without a bow tie.
A bit of history
Bows appeared in ancient times. In Ancient Greece and Rome, honorable matrons decorated their hairstyles with them. However, bows became in fashion in the times of Louis XV, thanks to his favorite Madame de Pompadour. Practically on all the portraits of the official mistress of the King you can see a bow.
However, to be fair, it should be noted that bows were in fashion during the reign of the Sun King Louis XIV, but then they acted as the original form of jewelry.
In the XX century, recognized as a style icon, actress Audrey Hepburn was very fond of decorating herself with the most exquisite bows. So, as you can see, the bow was and remains one of the most sought-after elements of decorating a person's toilet.
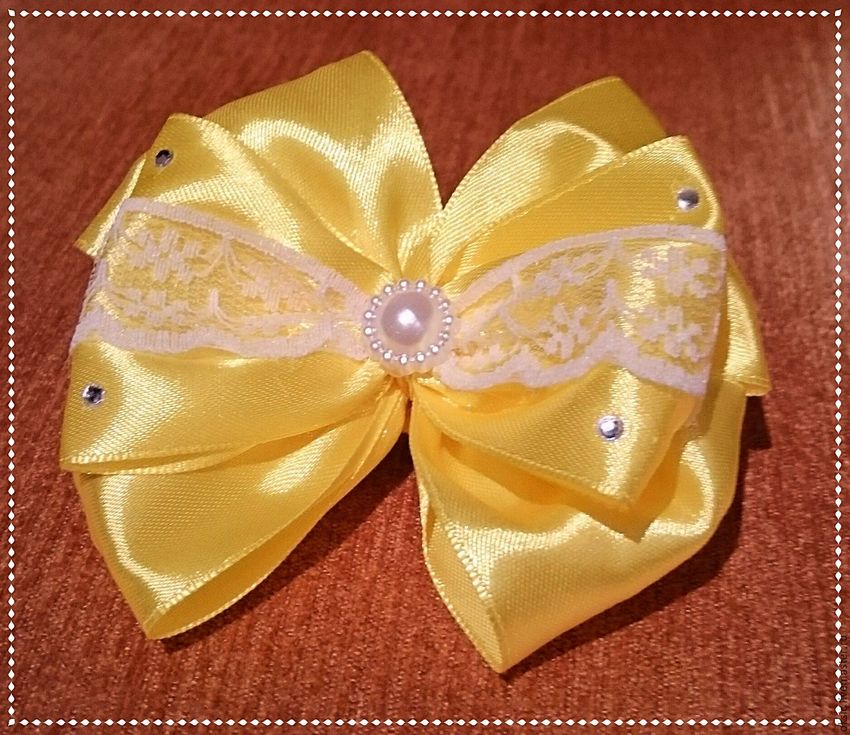
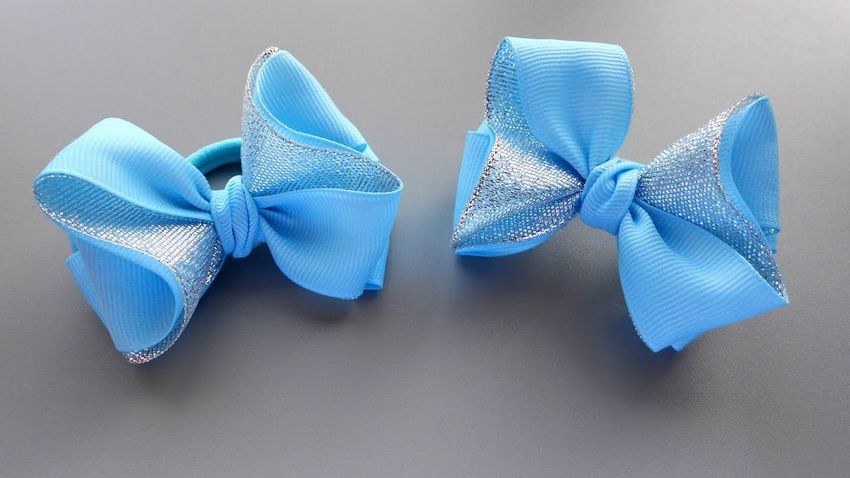
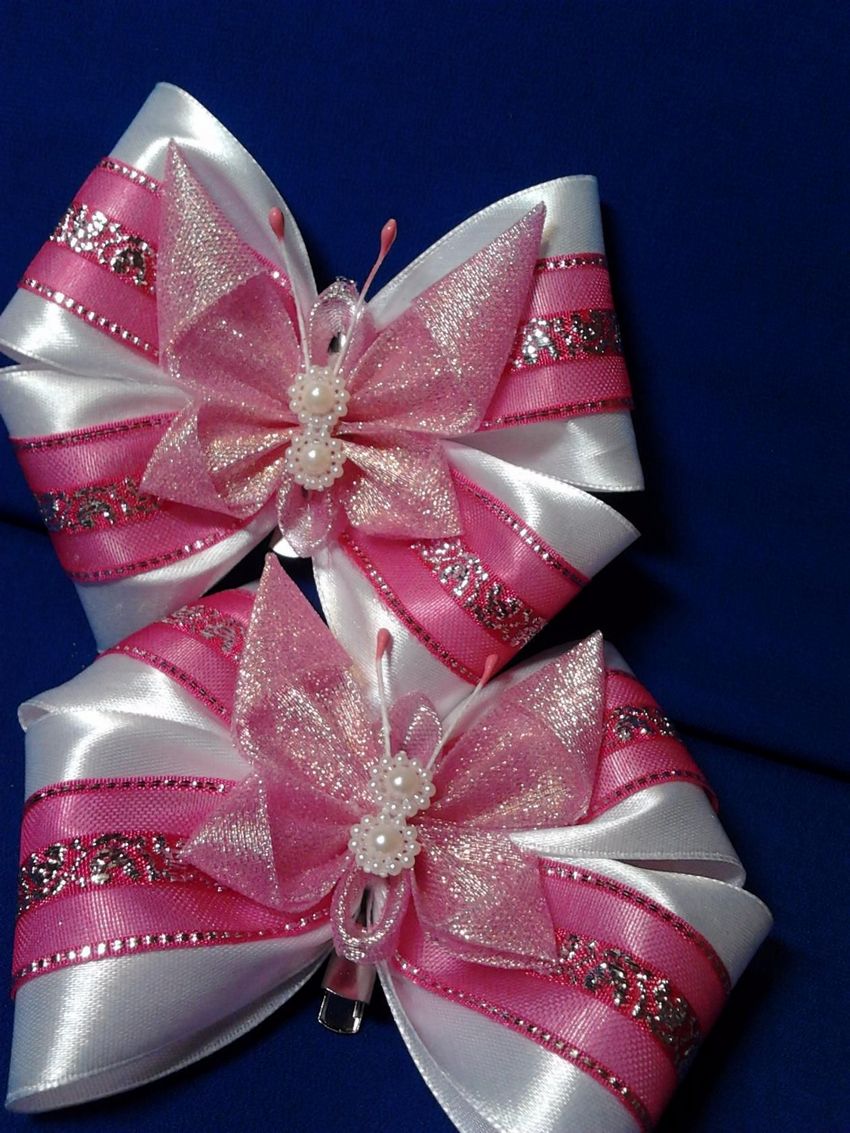
Hair decoration
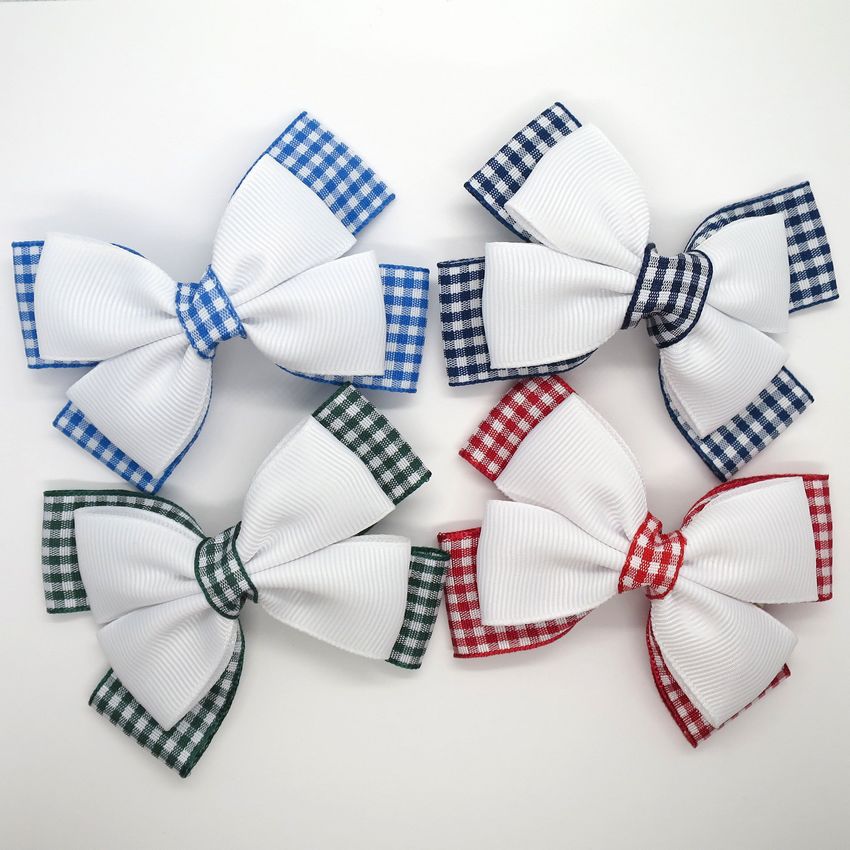
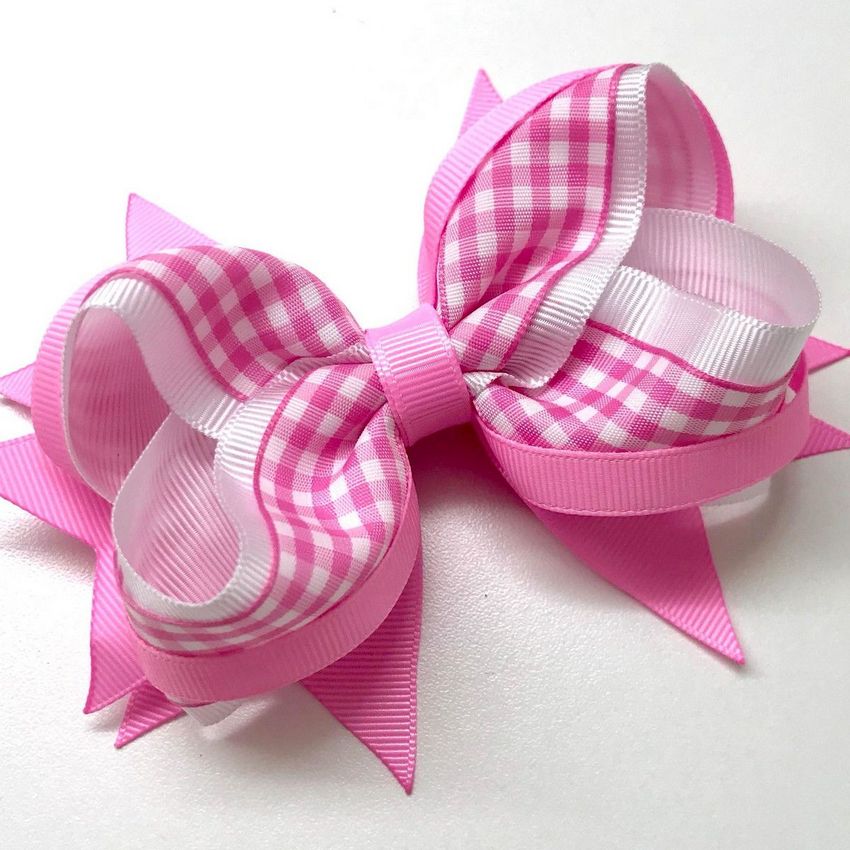
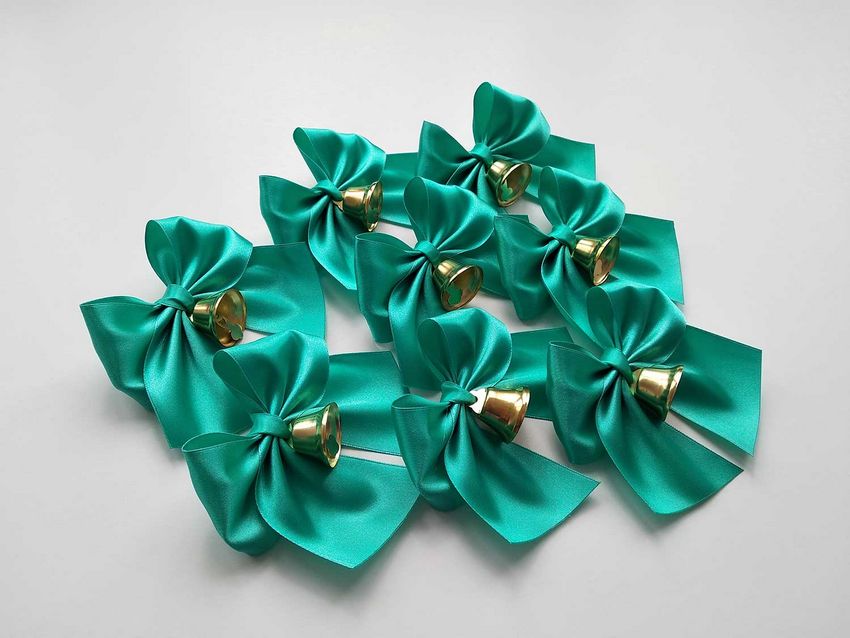
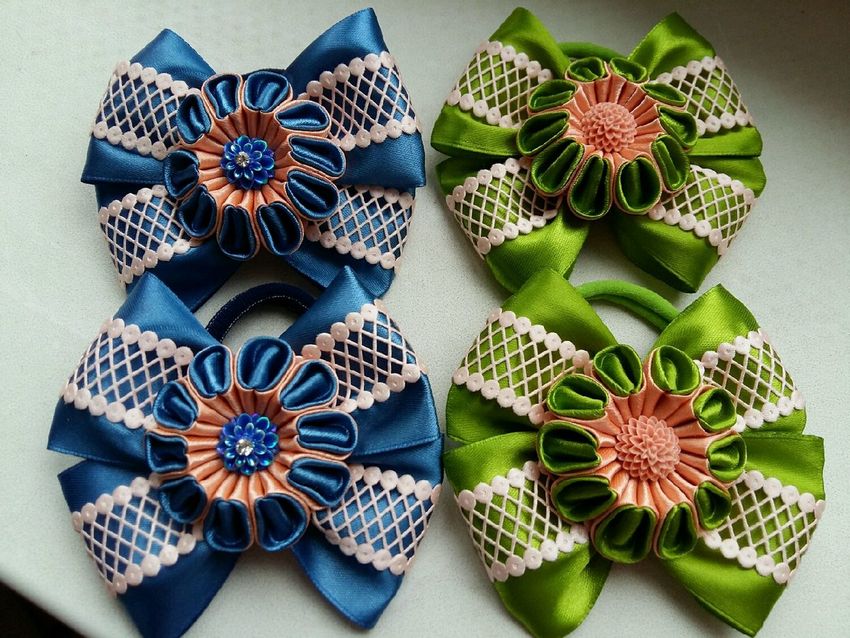
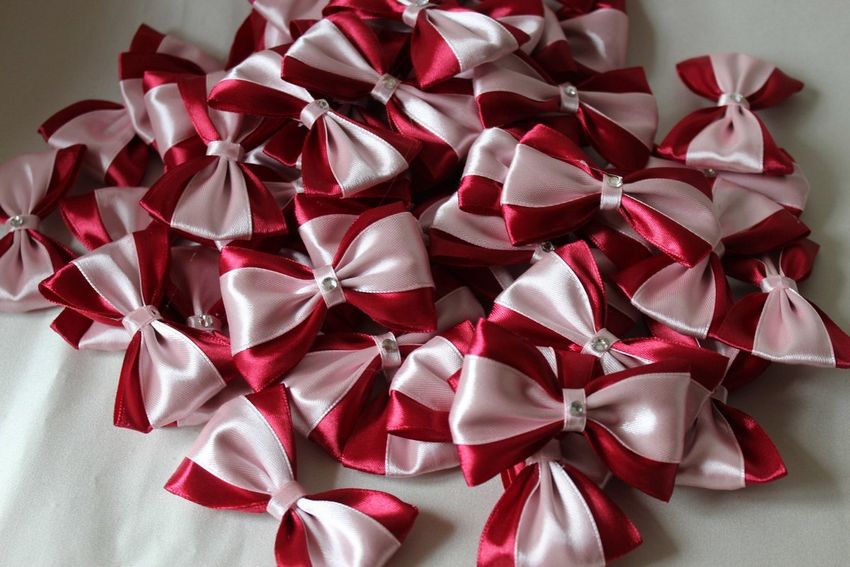
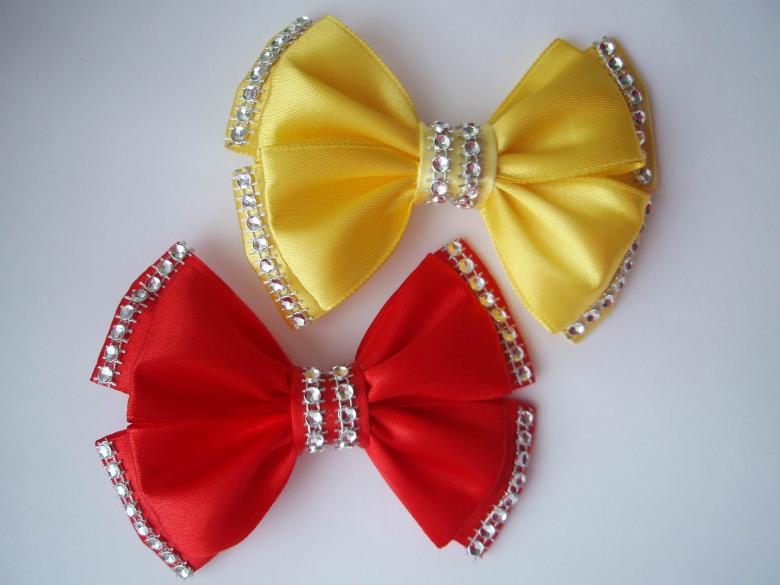
Sourcing a little girl for school, stocking up on the necessary school supplies, uniforms, shoes, socks, parents do not forget about one more decoration - a bow. It makes sense to make a school bow of satin ribbons with their own hands, as buying the necessary materials for the job will cost five times cheaper than buying a ready-made product.
Materials
To work, you will need to buy three kinds of ribbons:
- white satin, with a width of five centimeters and a length of one meter forty;
- red (dark blue, blue, green, etc.) in width of three centimeters, and in length half as short as the first;
- narrow (one centimeter) lurex, ten centimeters long.
Well, such things as a ruler, pins, lighter, thread and needle, an elastic band for hair can be found in any home.
Preparing the pieces
First, the white ribbon is cut - into pieces of ten, 11.5 and thirteen centimeters (each piece is four pieces).
The red ribbon is cut into three pieces of 22 centimeters. The lurex section remains unchanged.
Step by step instructions
We start with a ribbon of 13 centimeters:
- We take two pieces, fold at right angles, and then overlap one on top of the other.
- A similar operation is carried out with pieces of 11.5 centimeters.
- The same steps are made with the ten-meter segments.
- Overlap the workpieces one by one, equaling the right angle, and the upper and lower parts are decorated as a Christmas tree.
- Secure the blanks with a pin.
- Bend the corners of the bottom row, turn back and the same secure the pin.
- With the upper row of blanks carried out the same operation and eventually get a figure similar to a square.
- Ruler measured two and a half centimeters from the bottom right angle with a pencil to mark a line.
- Along the line, double thread make a mark, trying to make the stitches were symmetrical.
- Take out the pins, and do not touch the thread!
- A few millimeters away from the stitches, cut off the excess fabric.
- Bring a lighter to the cut and melt the edge, so that the ribbon does not fall apart.
- Tighten the thread and get a billet in the form of a bouton.
- With the remaining sections of white ribbon carry out the described operation and we get the second bud.
- Sew the buds together and the white part of the bow we have ready.
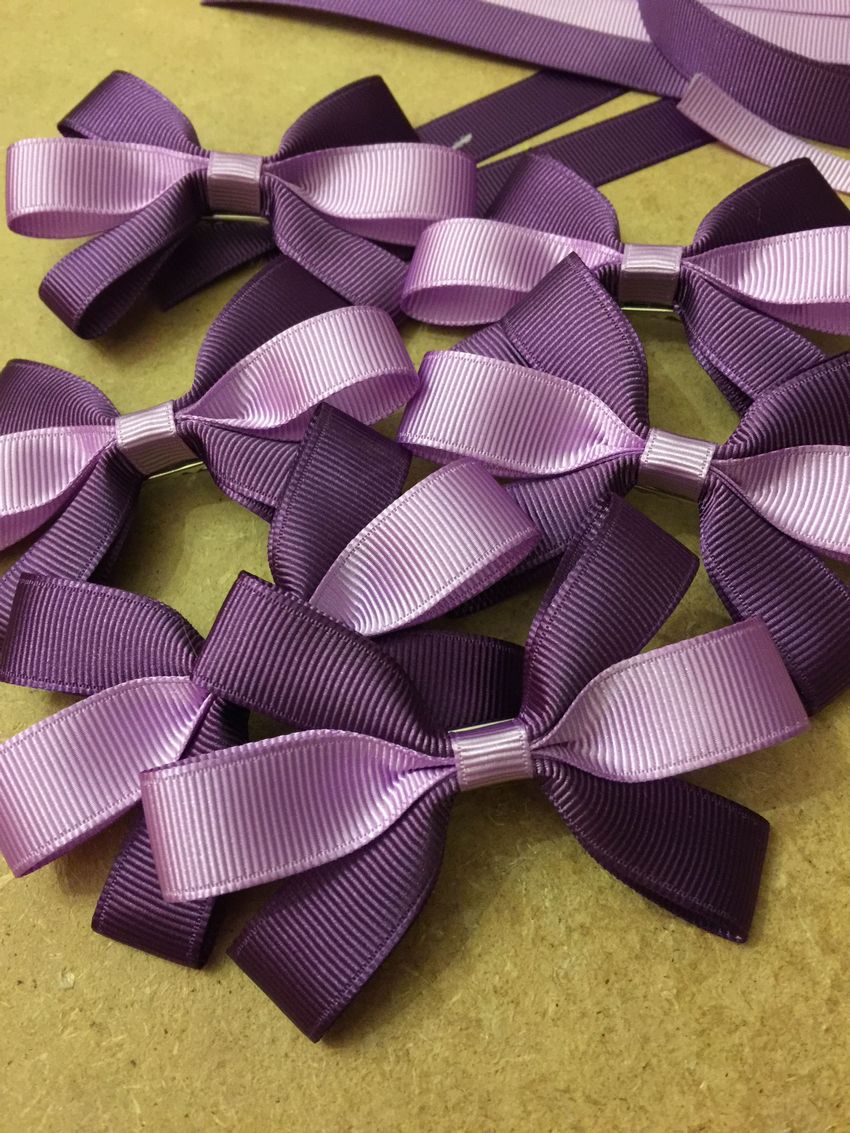
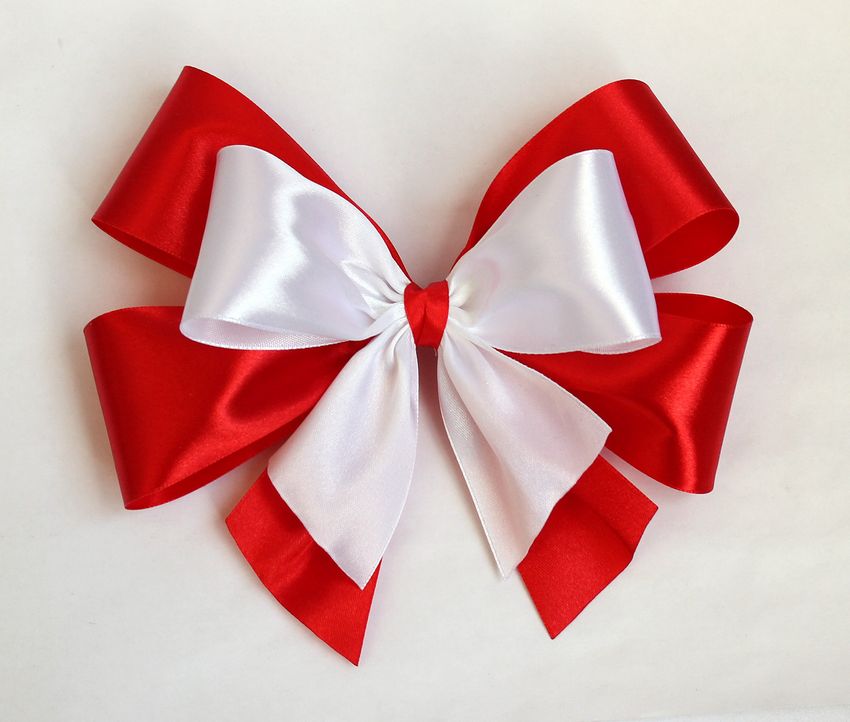
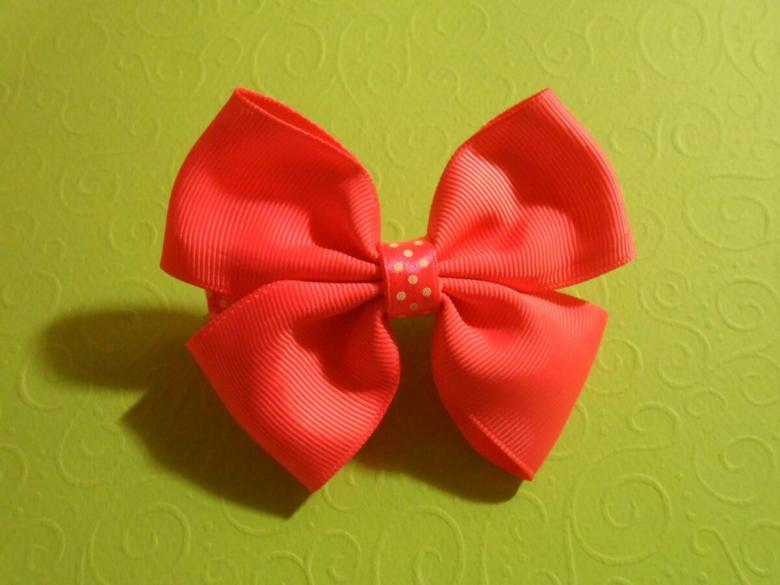
Colored Ribbon
First, we burn the edges of the ribbon. Then:
- Fold the pieces in half, marking the middle.
- The edges of the ribbons bend to the center of the workpiece and fasten with pins.
- Place two pieces side by side, and a third on top of them in the center.
- Take out the pins and double thread make a mark with large stitches.
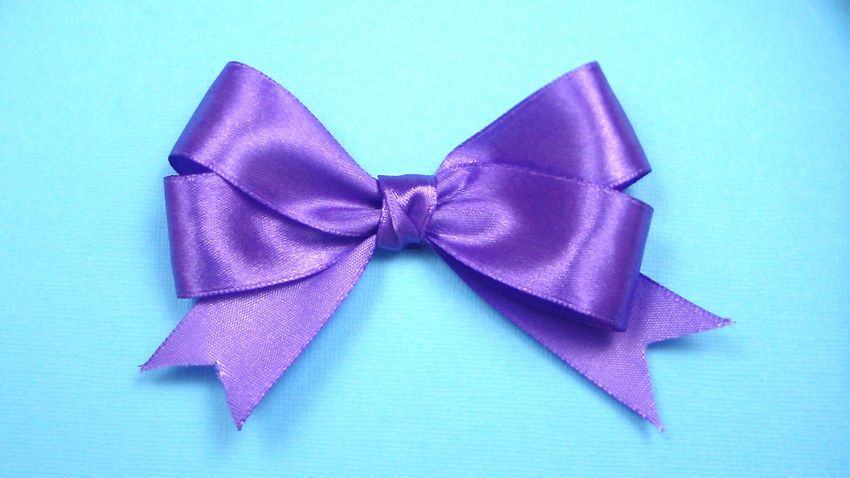
- Tighten the thread, getting a colored bow.
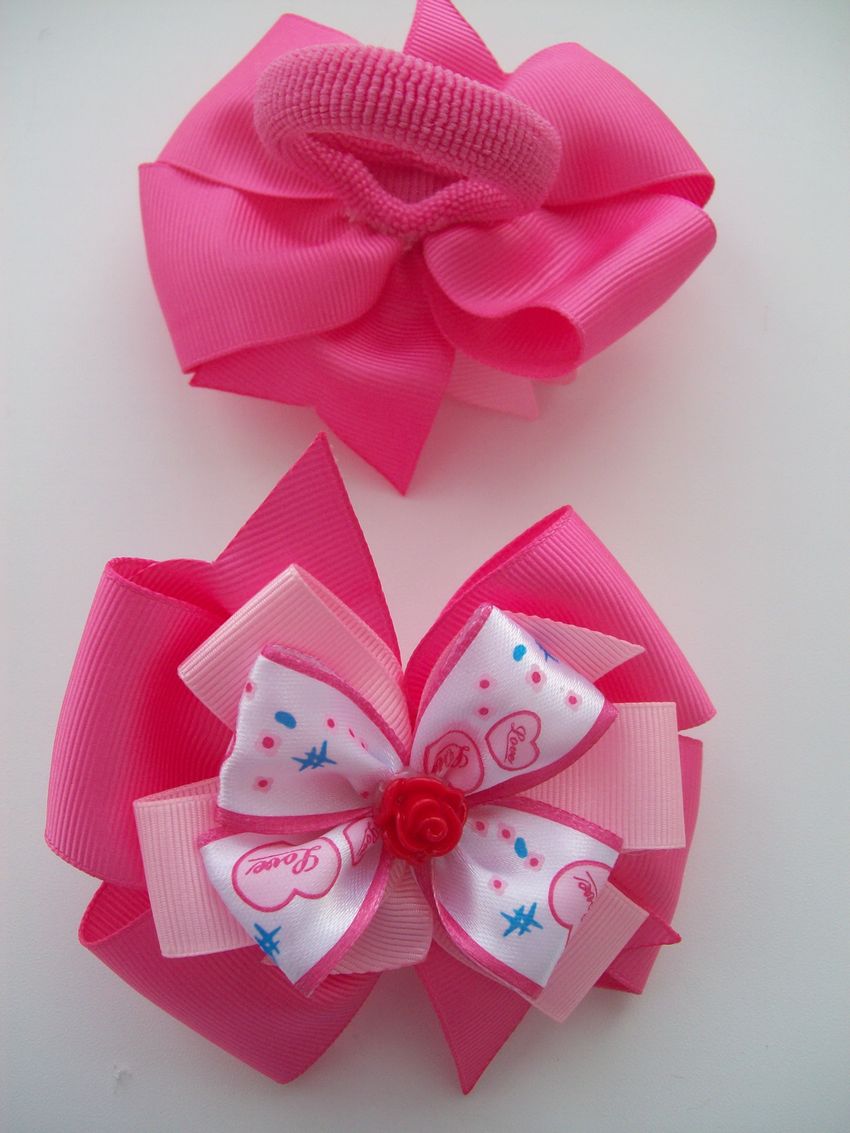
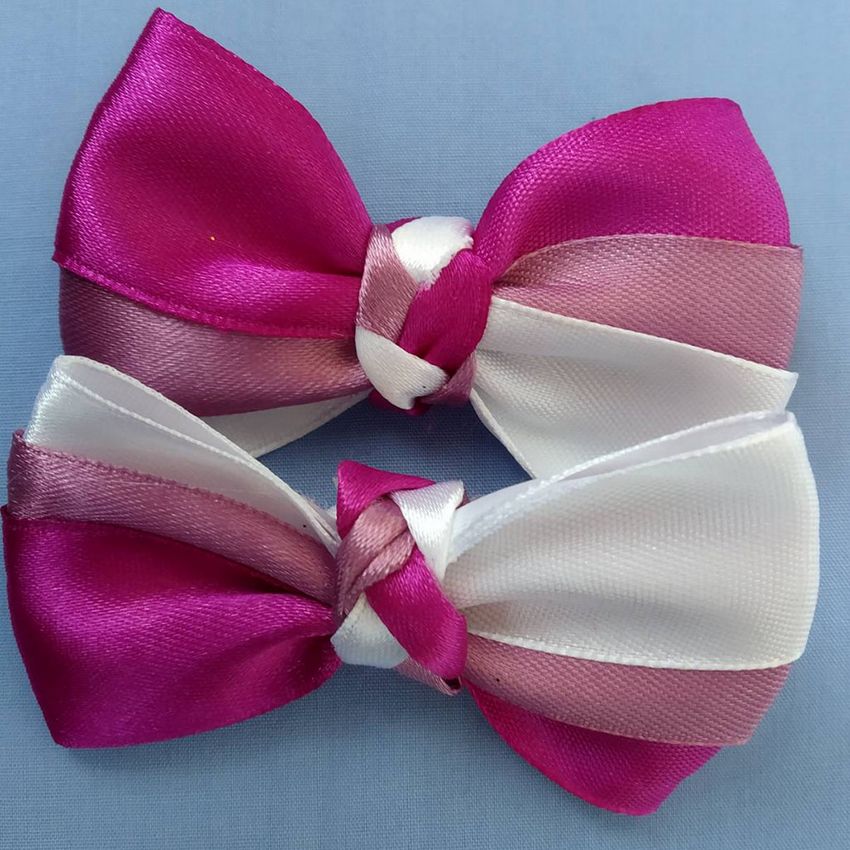
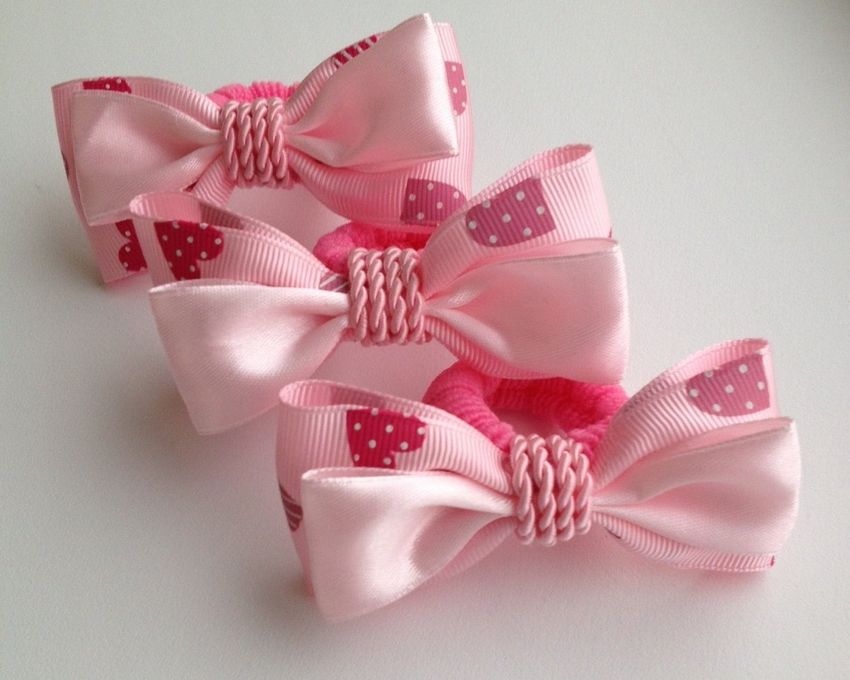
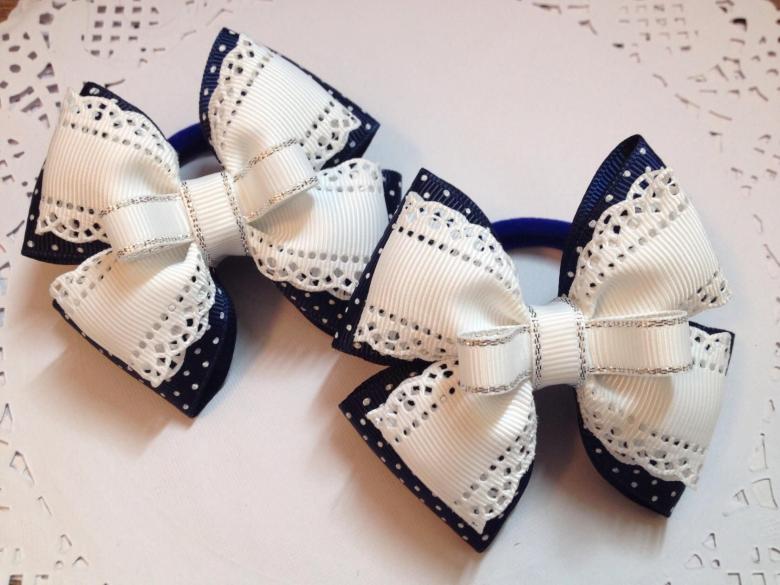
- Put the white bow on the colored one and fasten them with thread.
- Attach a hair band to the bow.
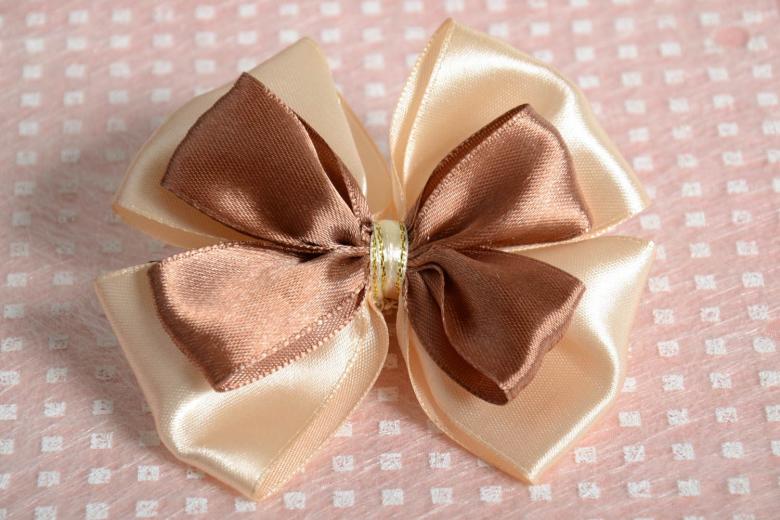
- The junction of the two colors and the elastic band is covered with lurex.
- The edges of the silver ribbon sew up.
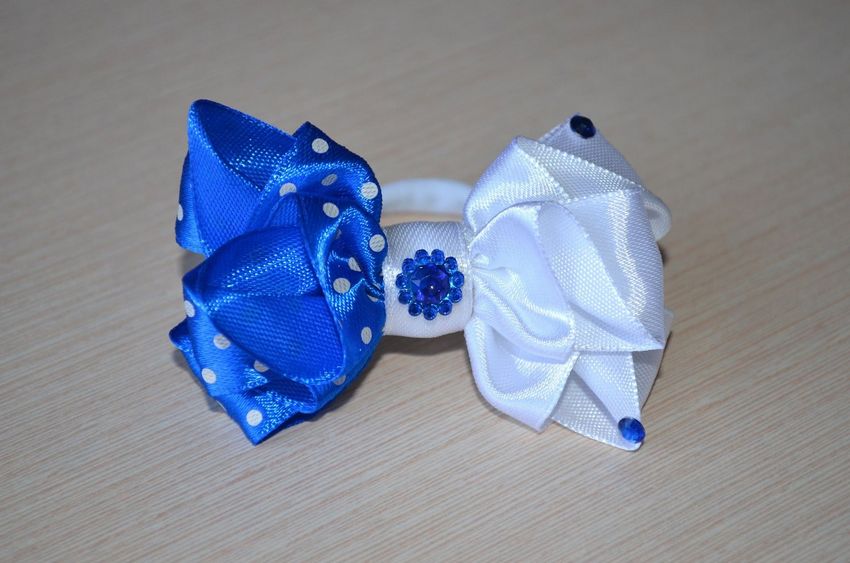
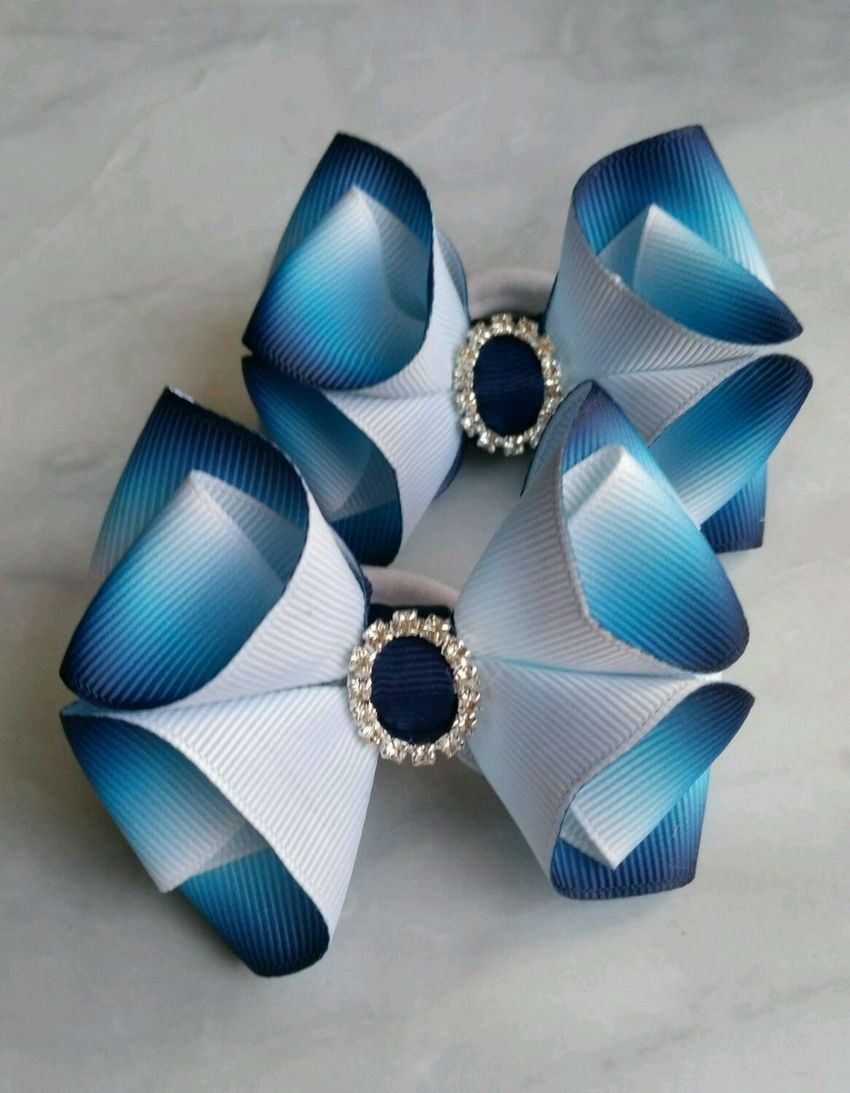
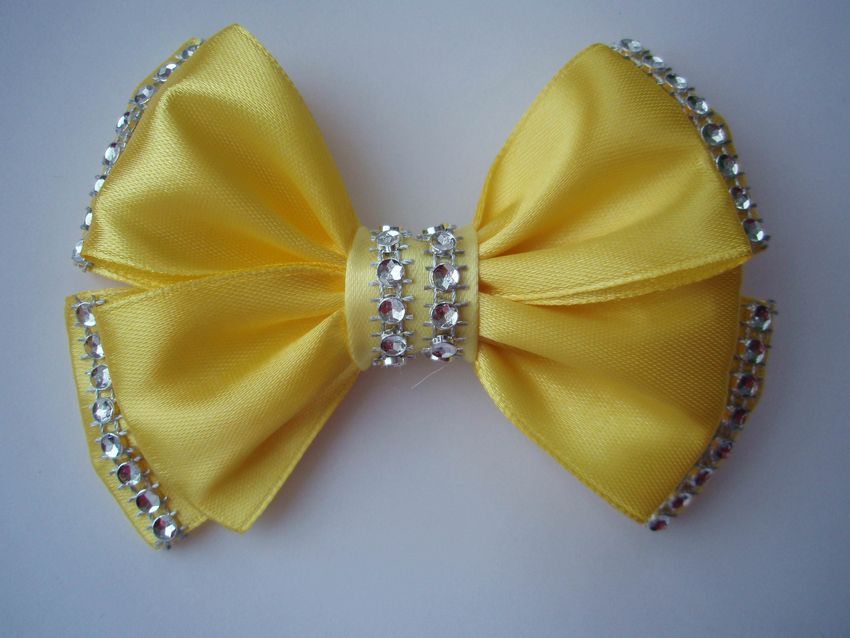
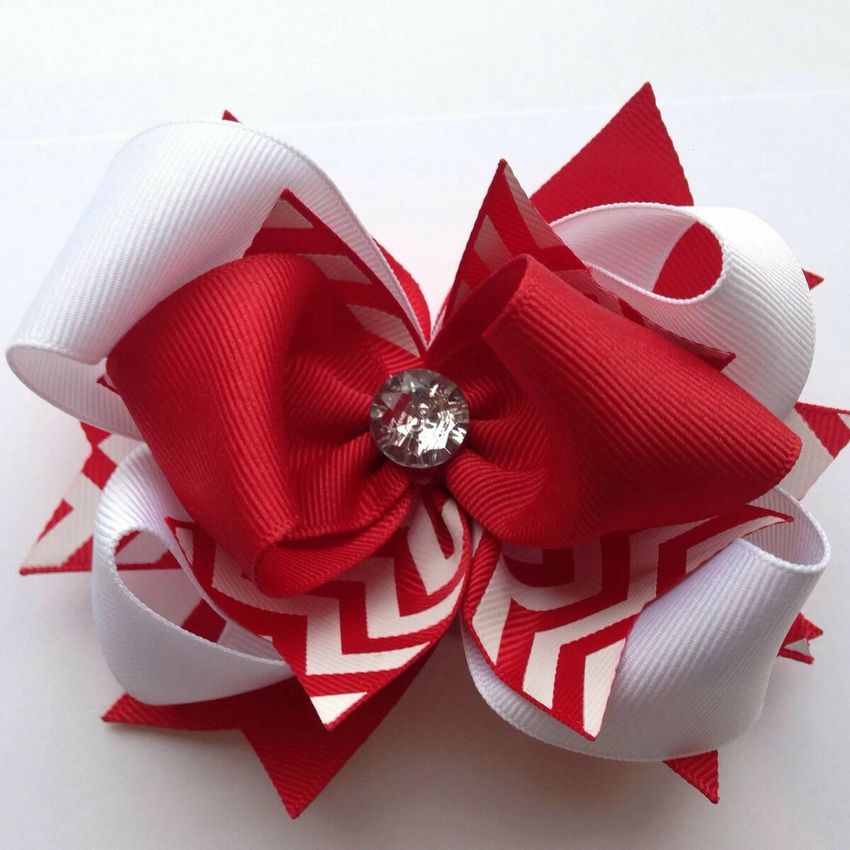
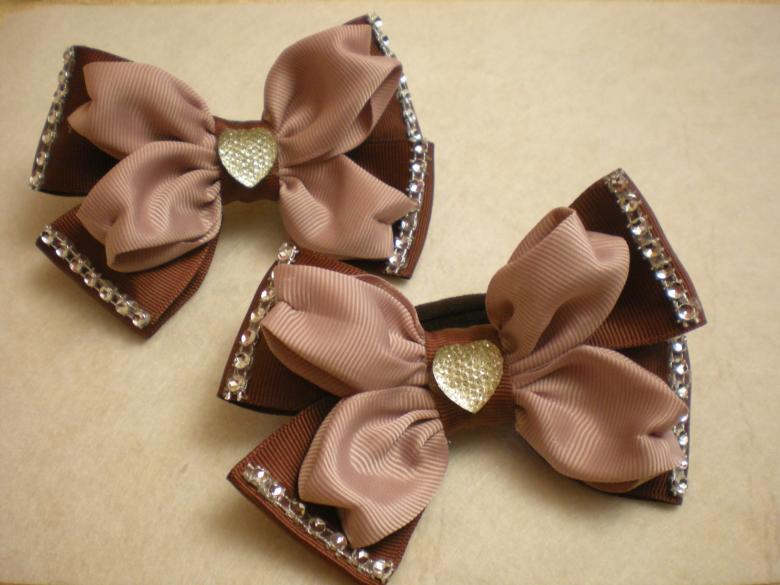
Two-colored bow is ready. If you want, you can decorate it with rhinestones, beads or some button of unusual shape.
If the description of the steps to make a decoration is not enough to work, you should find instructions on the Internet with step-by-step photos of making a ribbon bow with their own hands.
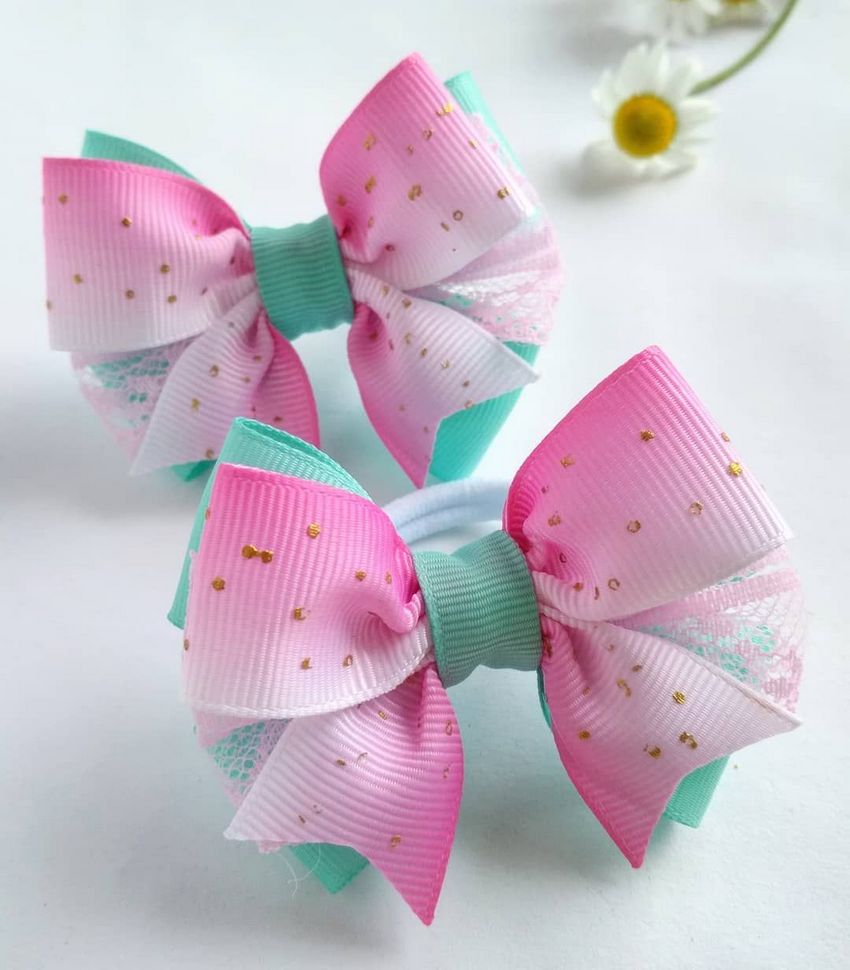
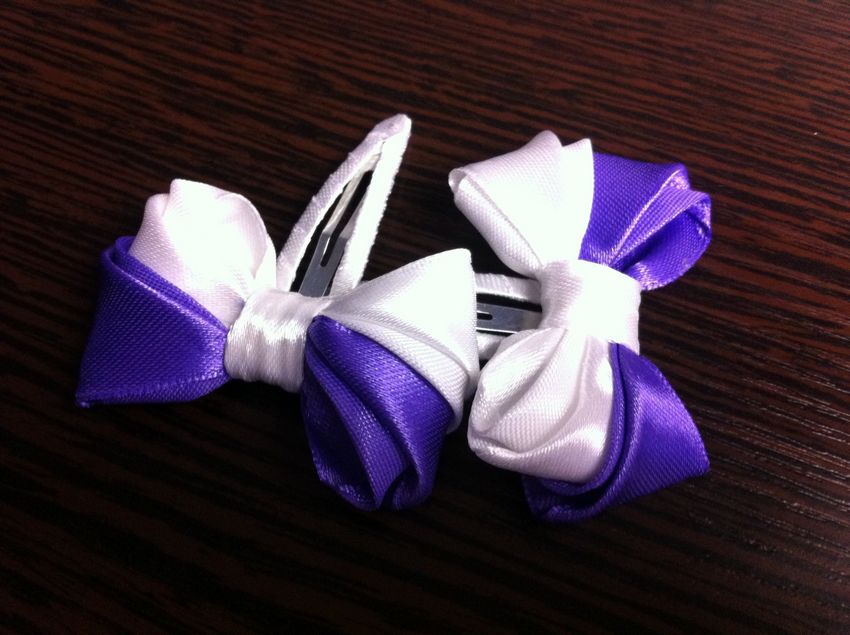
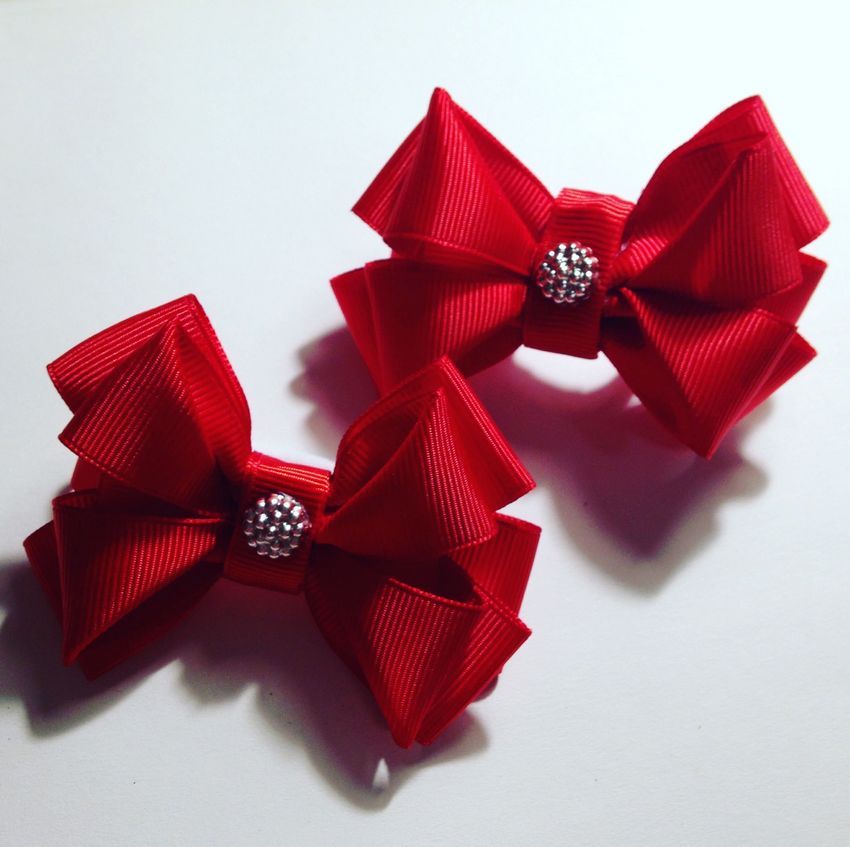
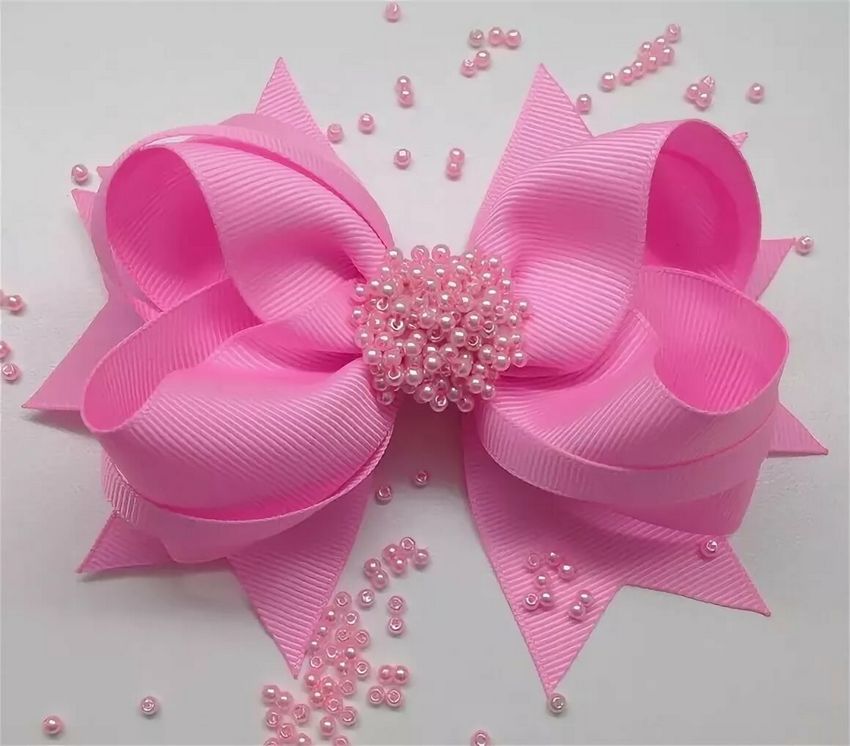
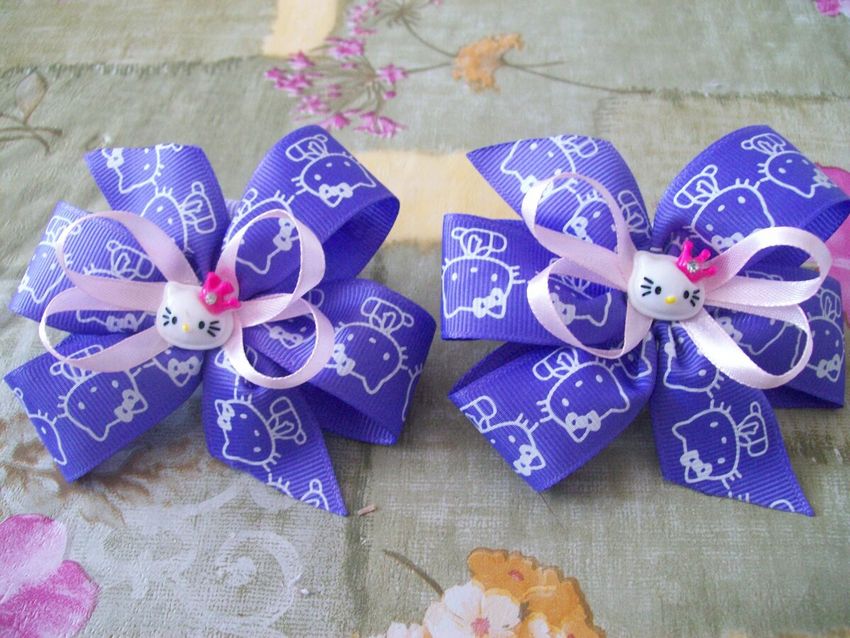
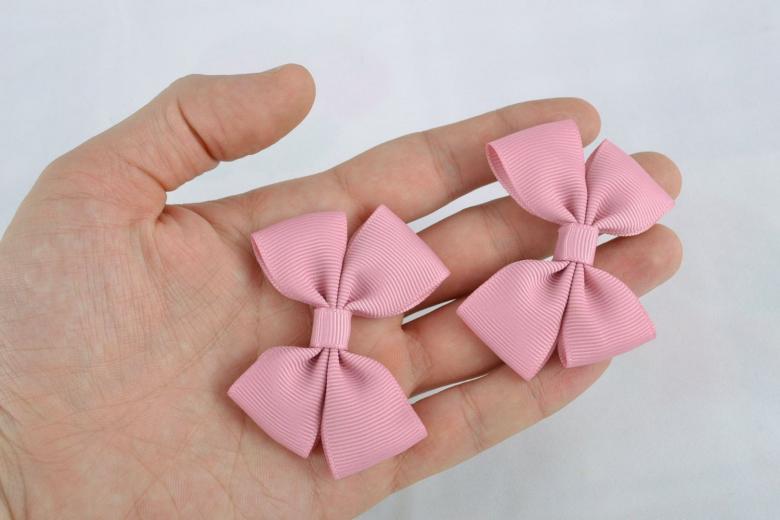
Decorative products
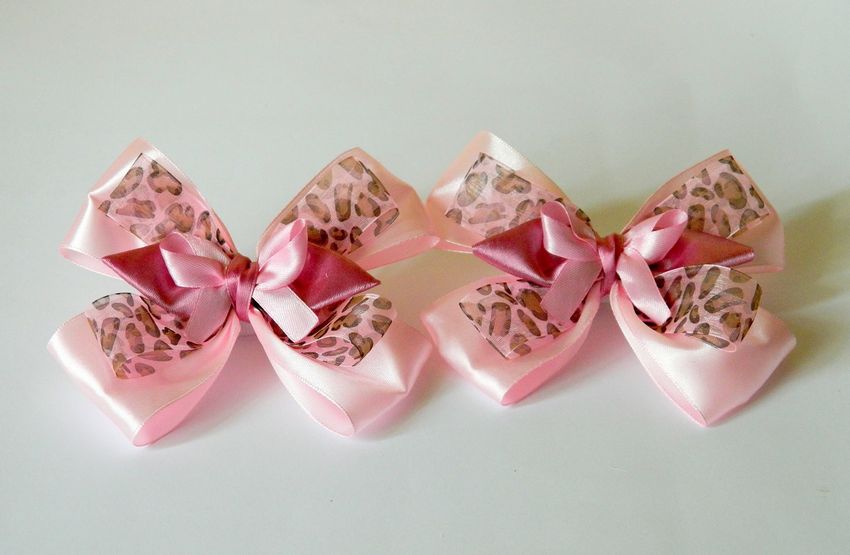
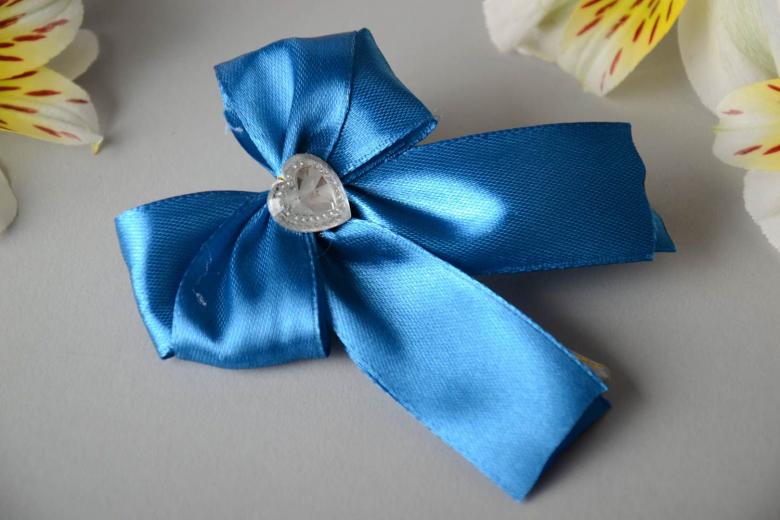
Miniature bows are perfectly suitable for the role of elastic bands, hairpins or other hair ornaments. Such products can be woven into braids or they can be decorated with greeting cards for any significant event.
To create an original souvenir will require two strips of thin satin ribbon up to 15 centimeters long.
The work on the creation will take only five steps.
- At a distance of 5-6 centimeters from the edge of the ribbon, a crease is made.
- The ribbon is tucked at right angles so that its end is directed downward.
- With the second end the same operation is done.
- The second piece is done on the same principle, only if in the first ribbon first bent the bottom edge, here you should start with the top.
- The two pieces are sewn together and attached to a hair band.
The miniature ornament on a gift box, card or hairpin is ready.
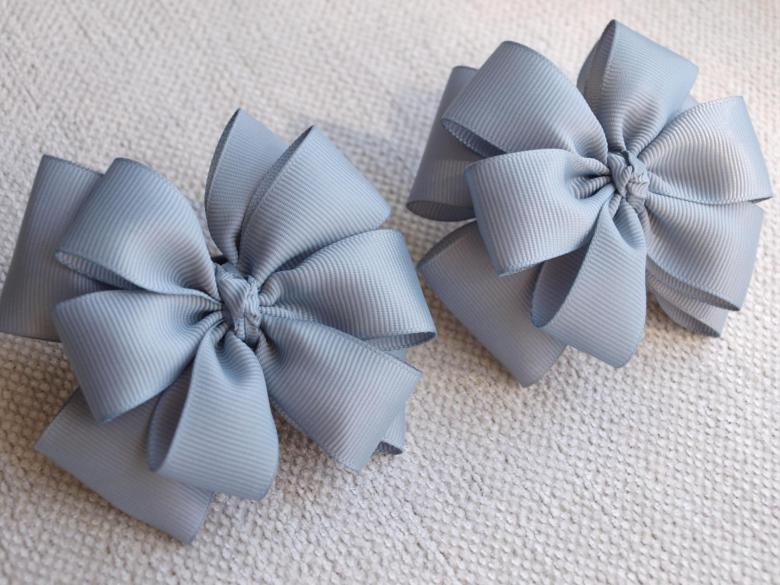
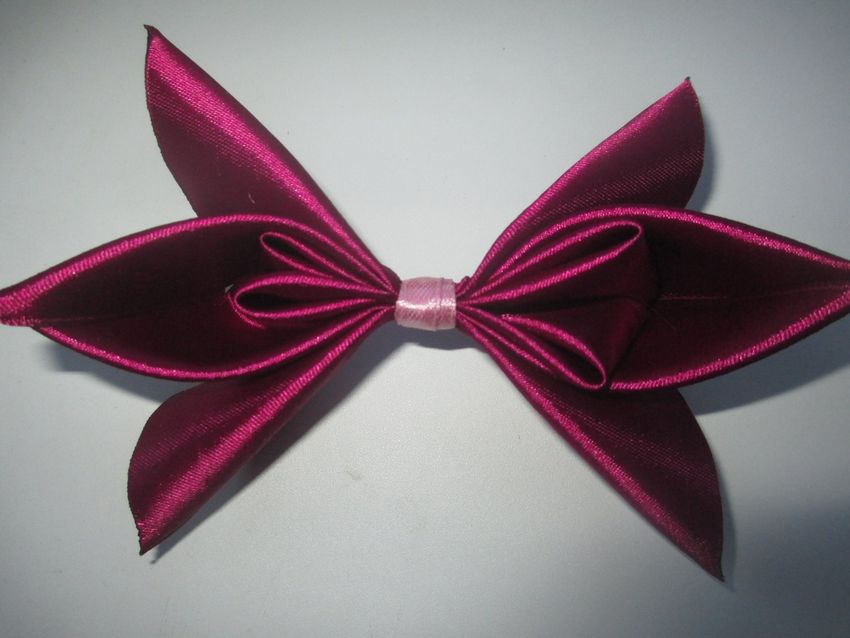
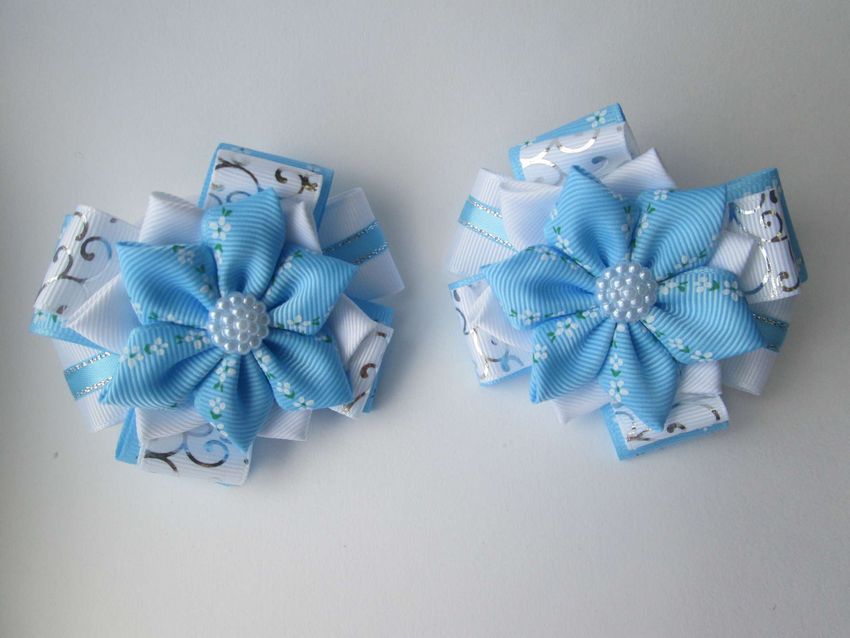
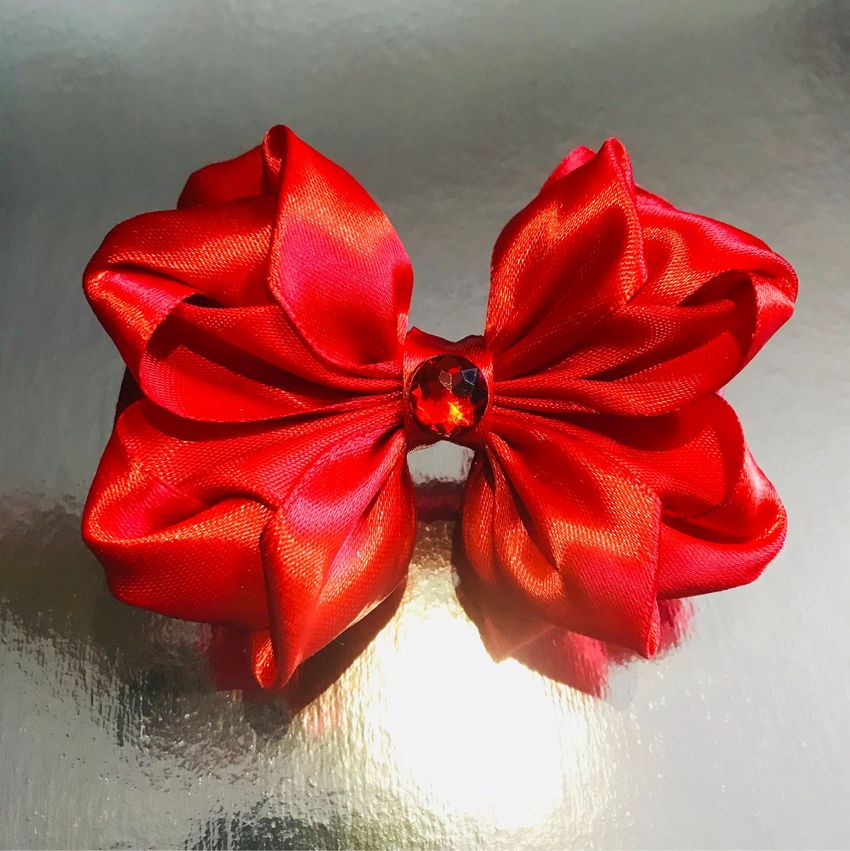
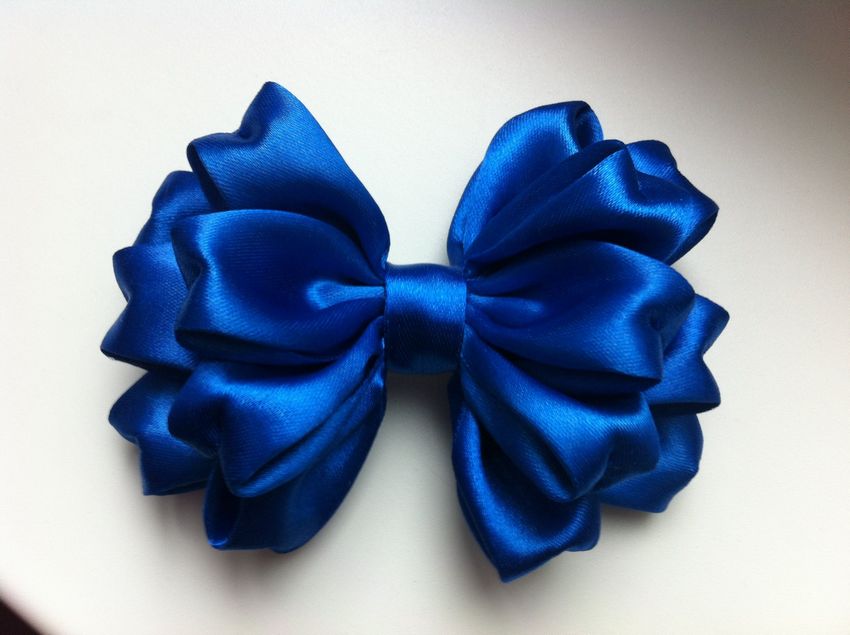
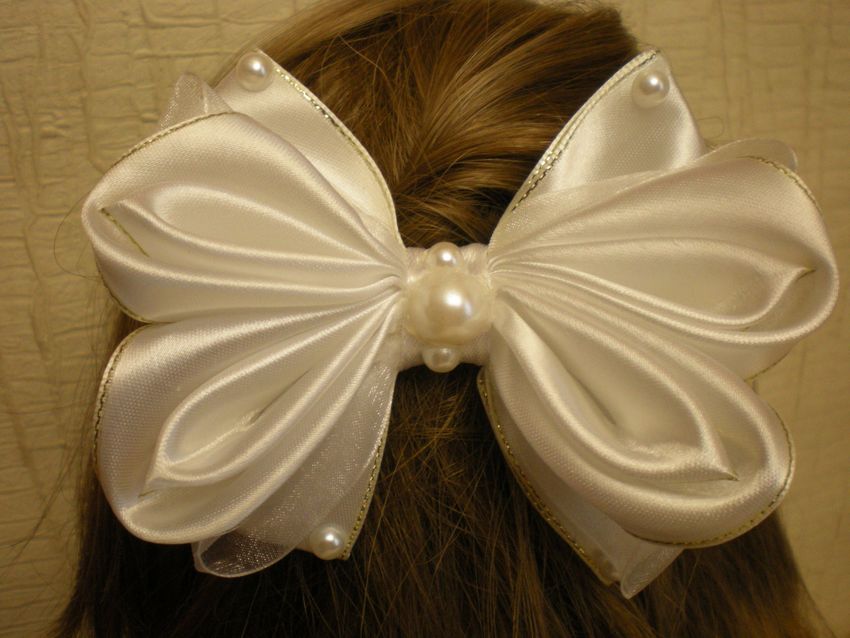
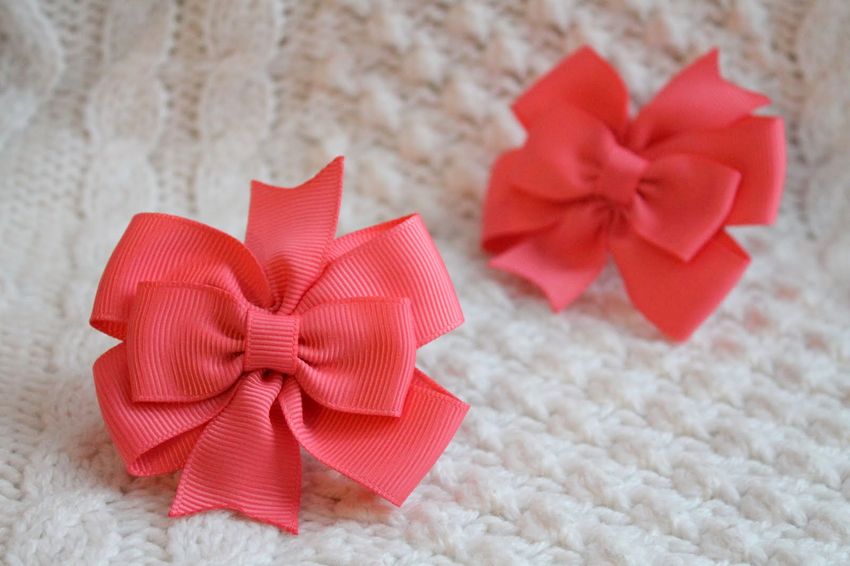
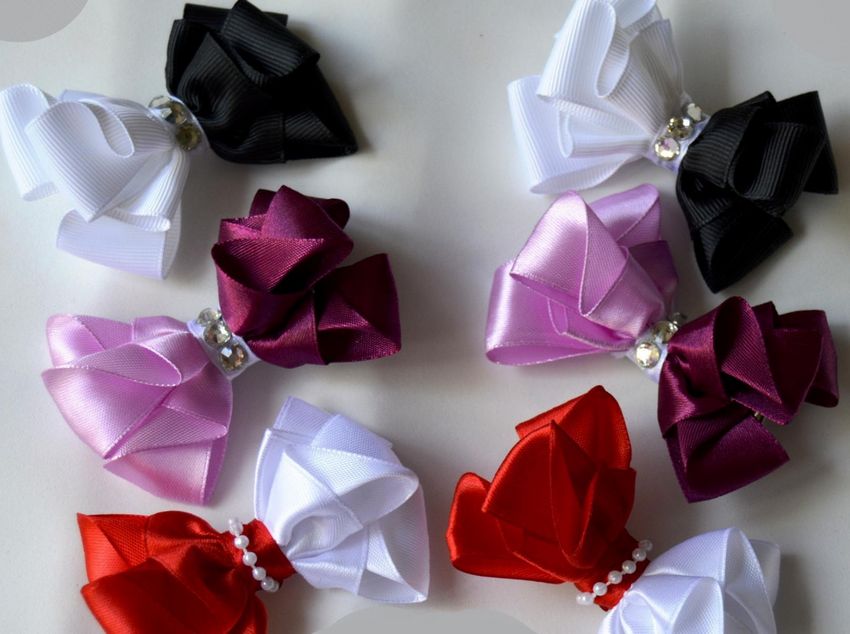
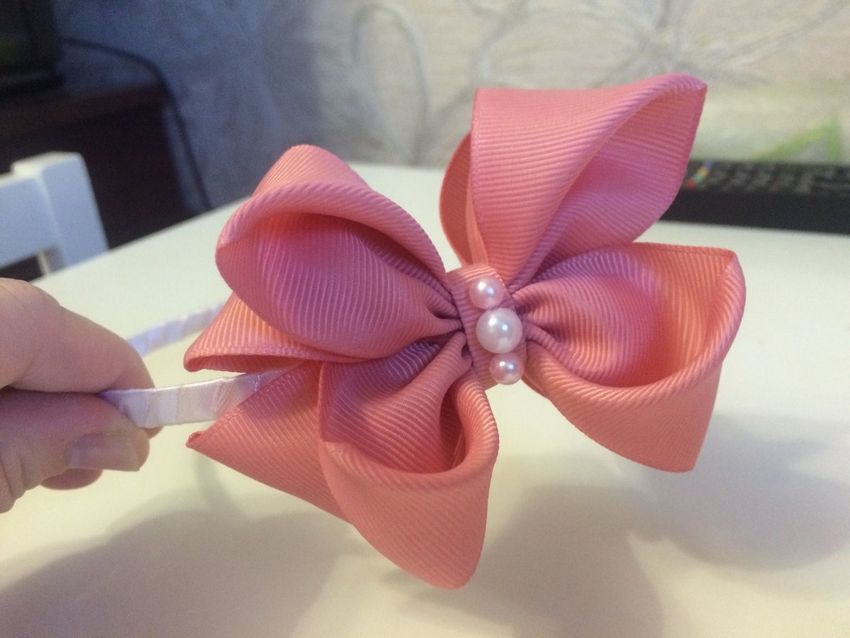
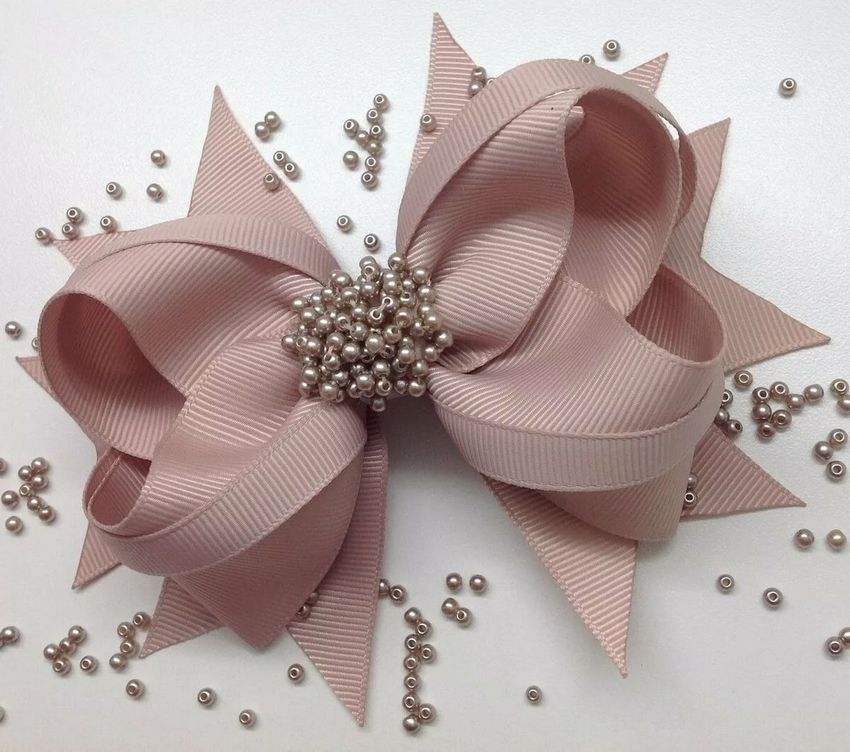
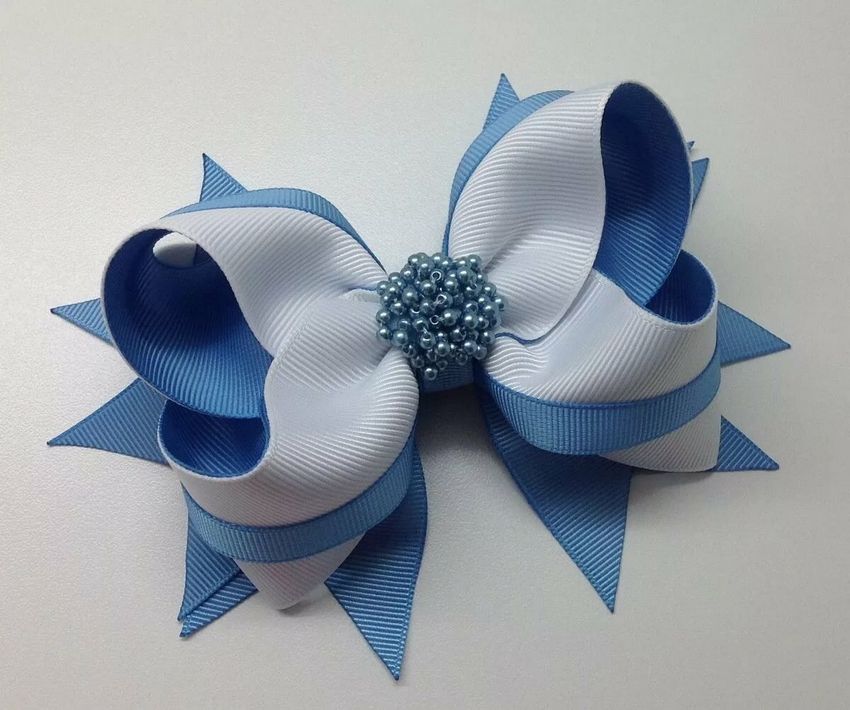
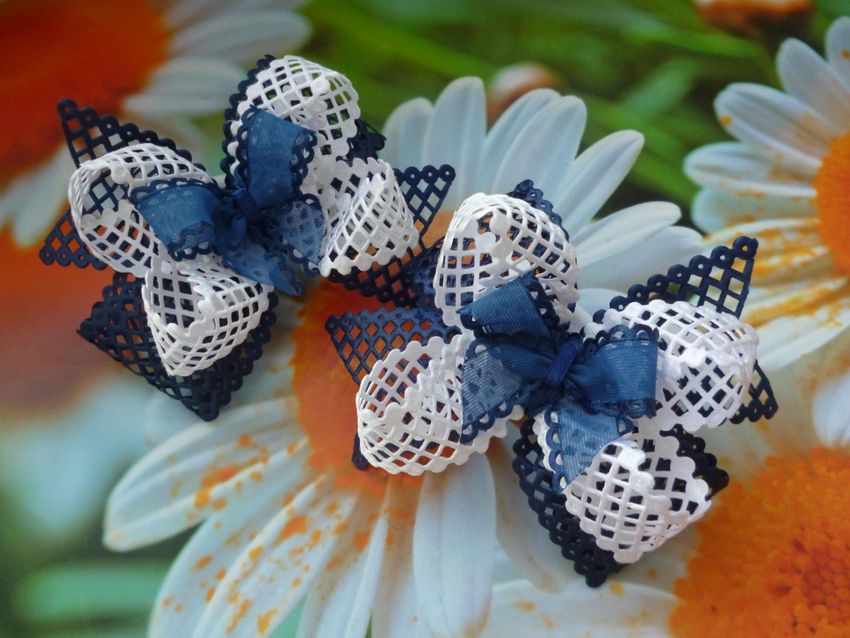
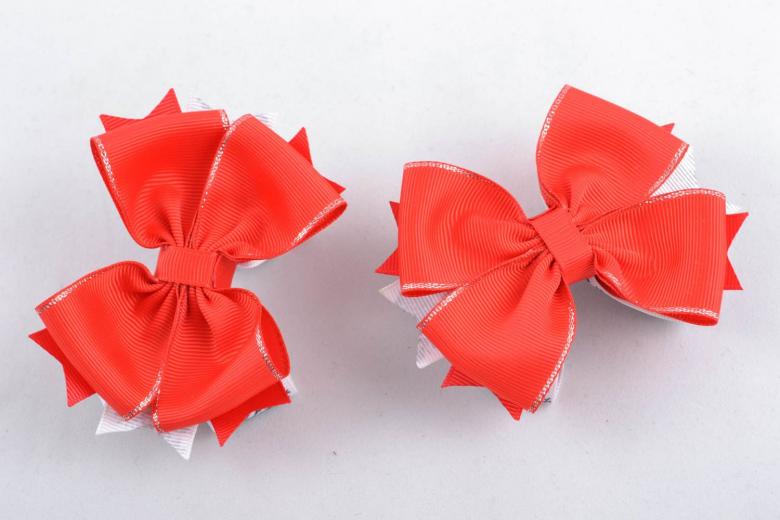
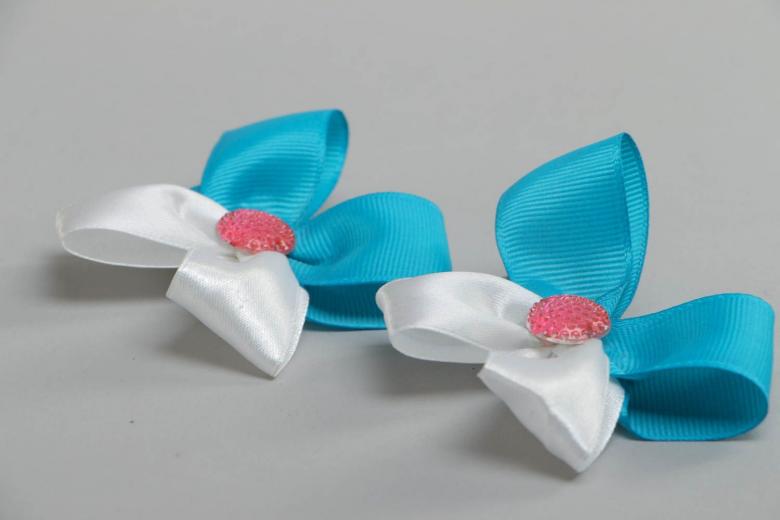
Lush embellishment
You can make small voluminous bows from satin ribbon. To make one thing you will need four pieces of 10-12 centimeters long.

Here the workflow consists of only a few steps:
- The piece is folded in half.
- The edges are bent down, forming a kind of house with a triangular roof.
- The triangle is bent down and fastened the pin.
- The sides are brought to the center of the workpiece.
- The resulting billet in the form of roses are fastened threads.
- With the remaining three sections are carried out the same steps.
It remains to connect all four "buds" and volumetric knick-knack finished.
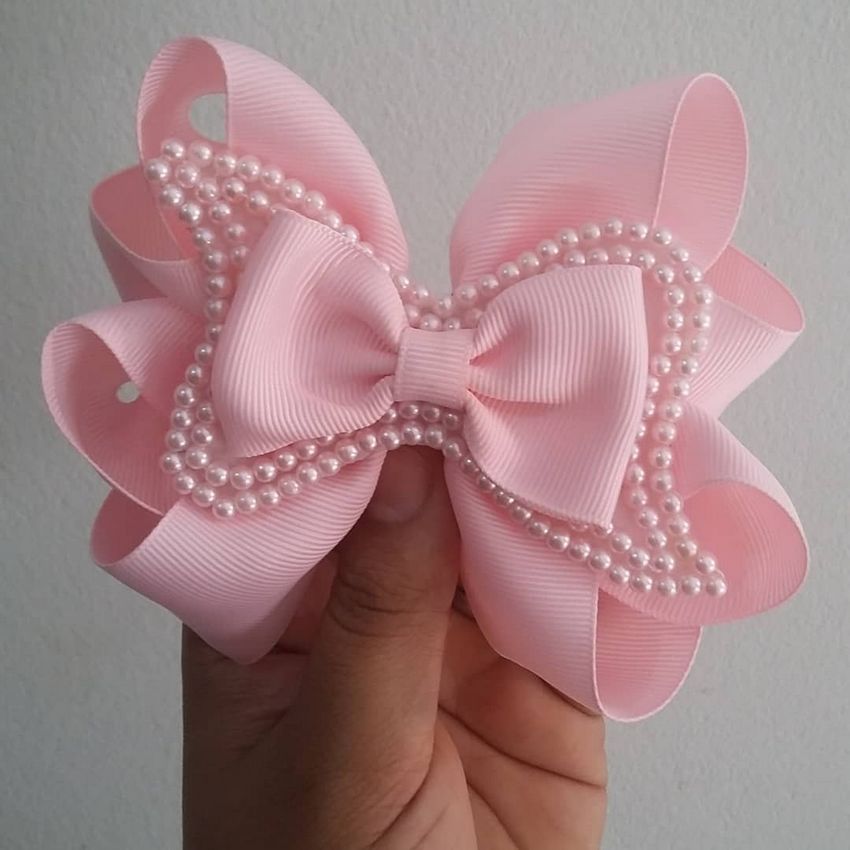
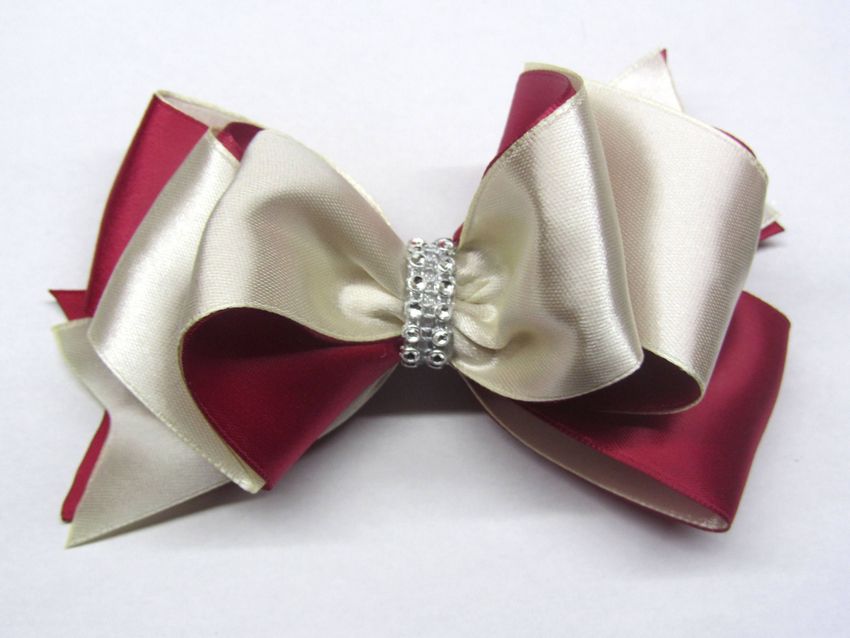
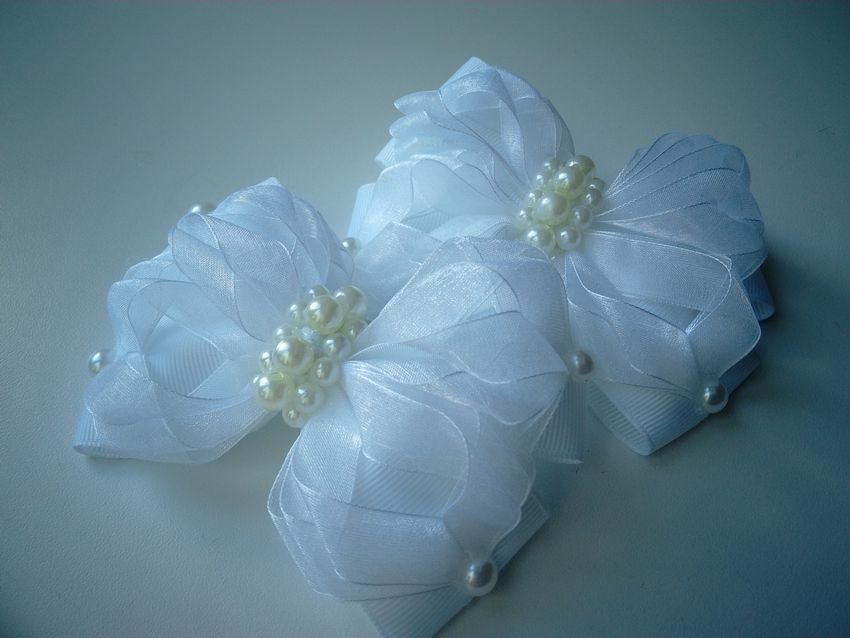
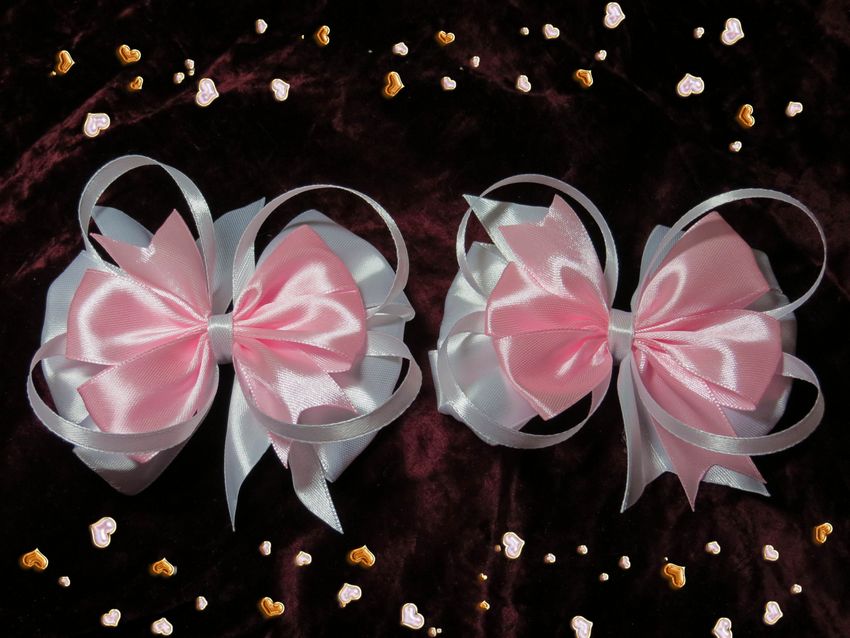
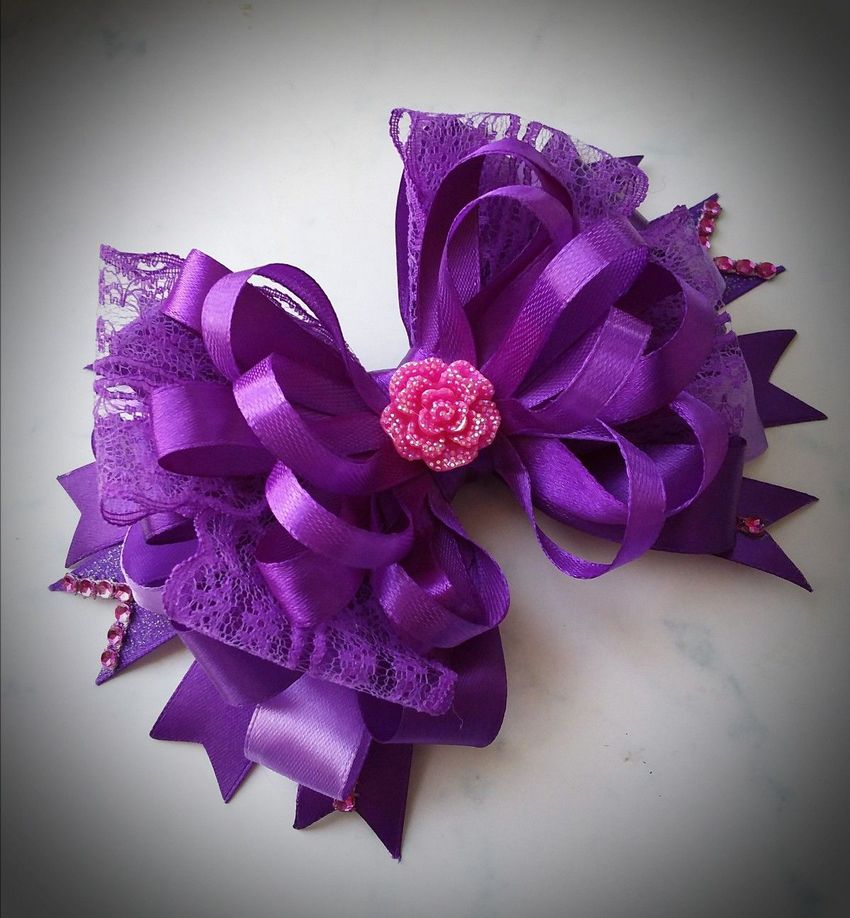
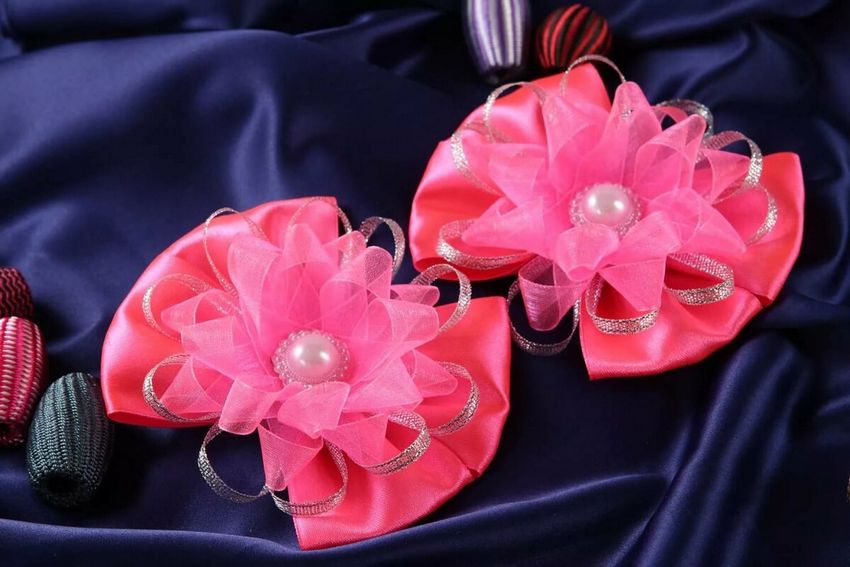
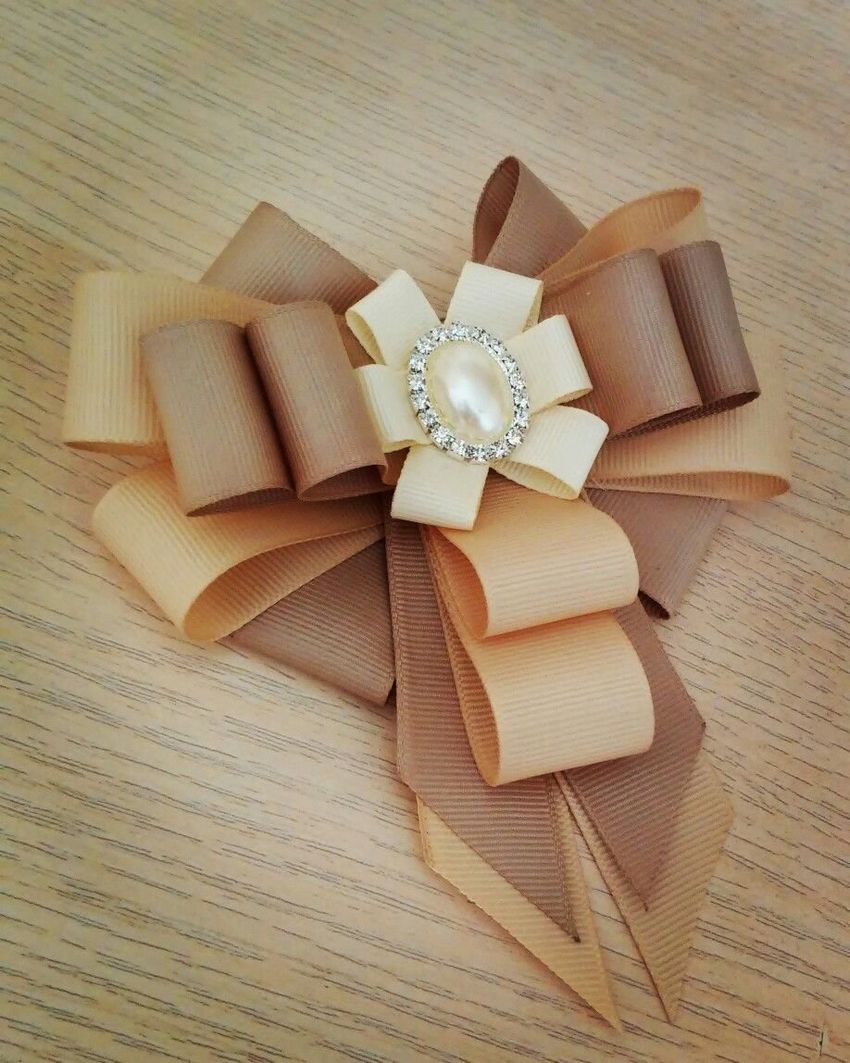
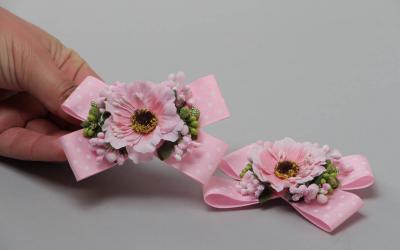
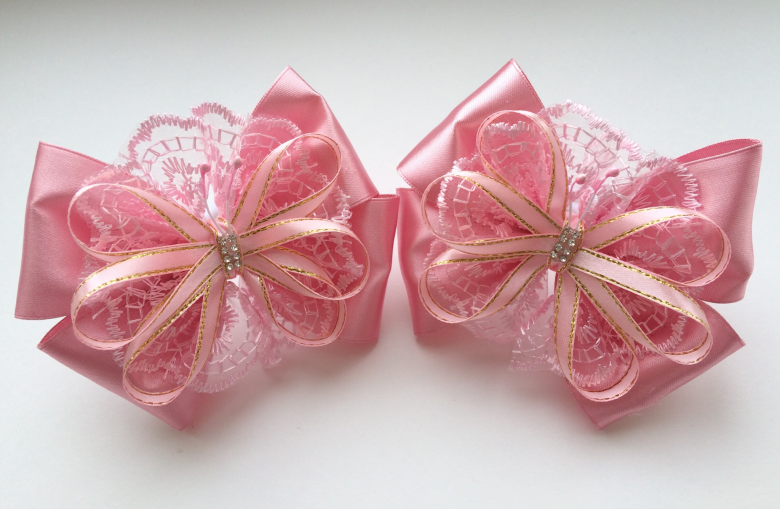
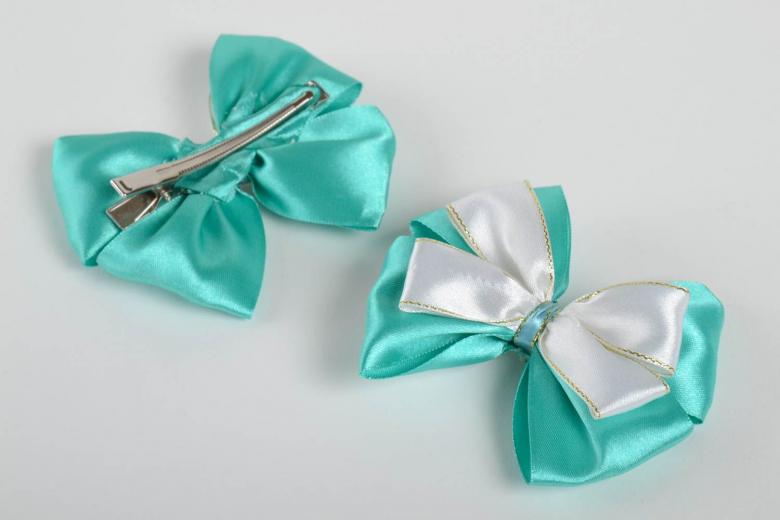
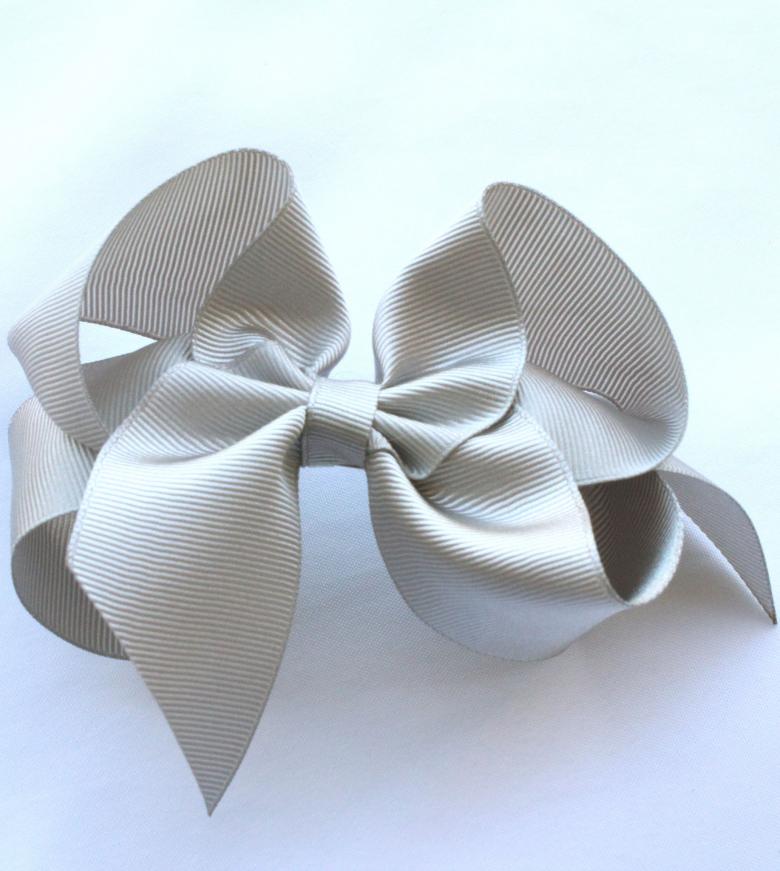
Classic variant
To create a traditional bow, you will need:
- wide satin ribbon;
- Semi-transparent ribbon twice as long as the first one, but in the same color scheme;
- A lighter or a candle;
- lace and artificial flowers, threads;
- beads and beads, etc.
Satin ribbons tend to "fall apart" along the cut line, so they need to be torched.
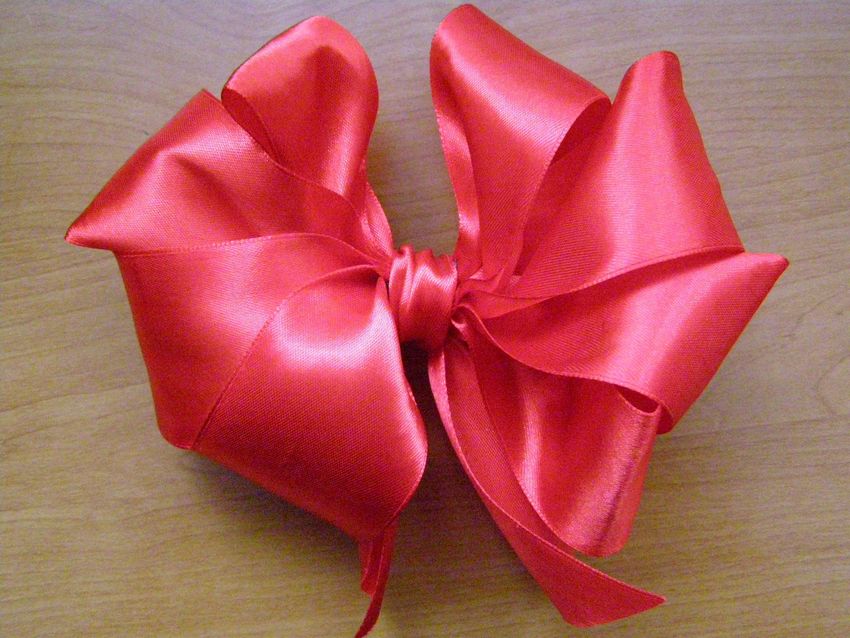
How to make a bow
Creating a classic bow will require only a few simple actions:
- it is necessary to cut three segments of dina in 20-22 centimeters and another three on the length of 18-20 centimeters;
- The narrow ribbon is superimposed on the wider one;
- Use a lighter to "fix" the edges of the workpiece;
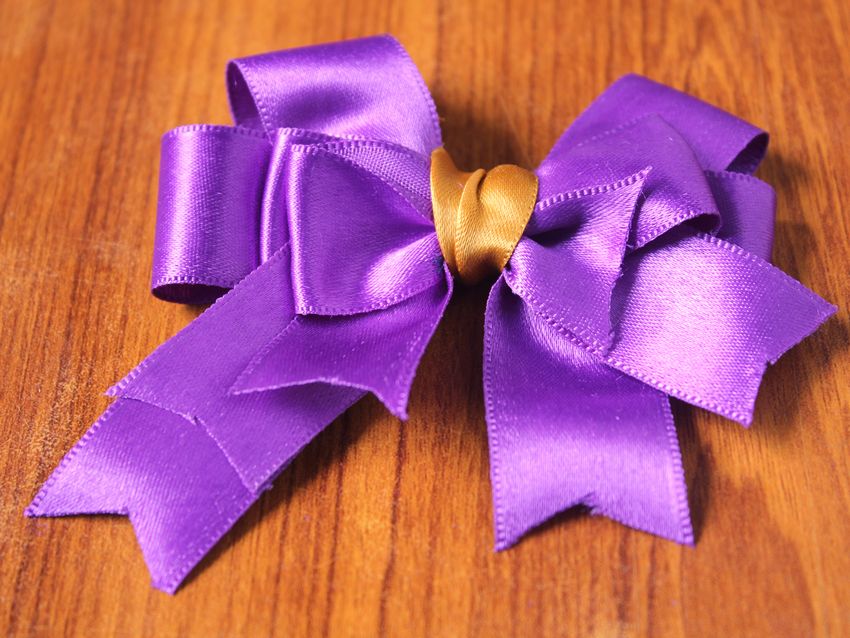
- two long fragments are folded in half and rewound in the center of the thread, thus making a double bow;
- similar actions are performed with shorter pieces of ribbon;
- the smaller bow is superimposed on top of the larger one;
- Both workpieces are secured with threads.
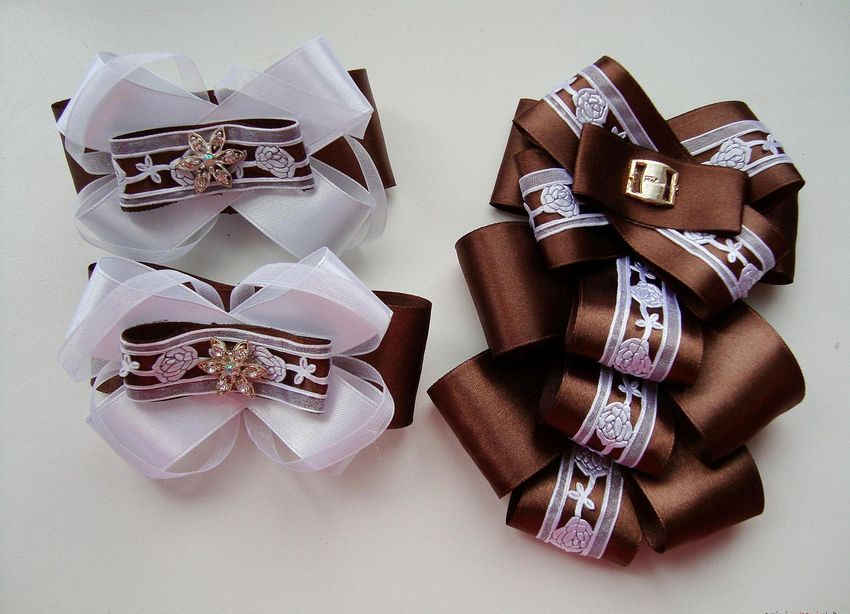
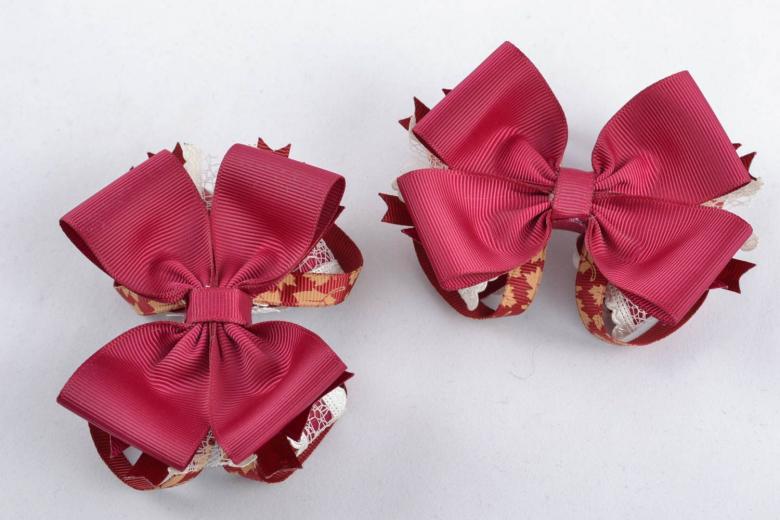
In the center and edges of the handmade thing from satin ribbons are attached decorative elements - lace, beads and beads.
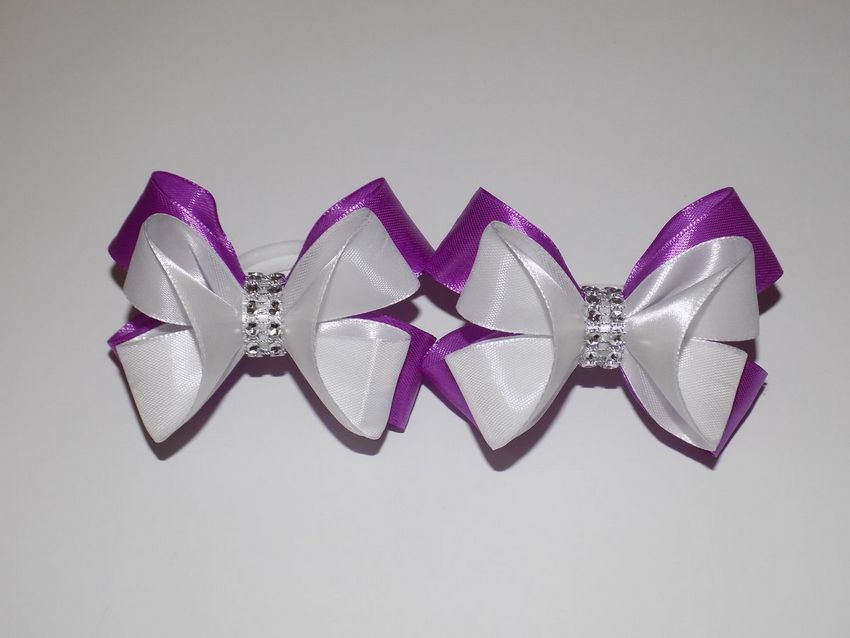
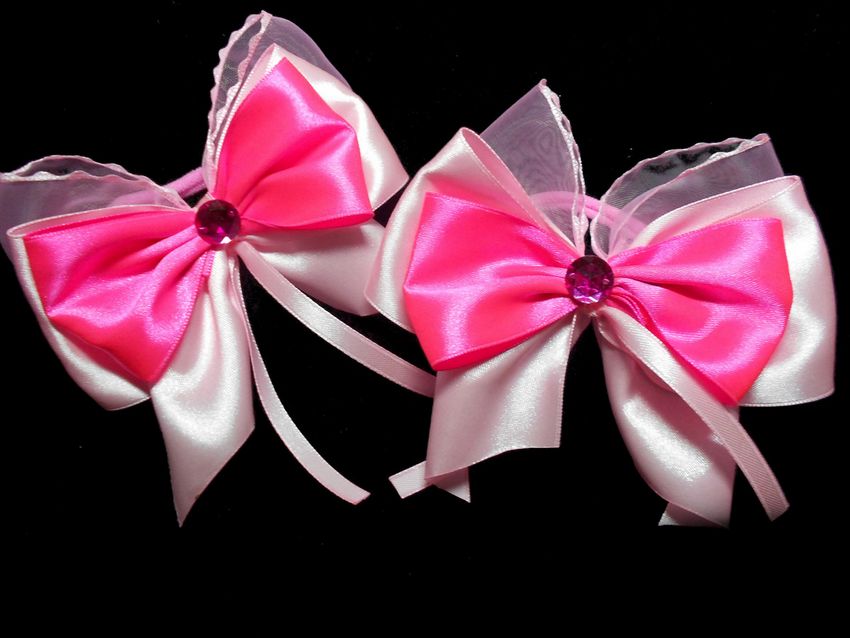
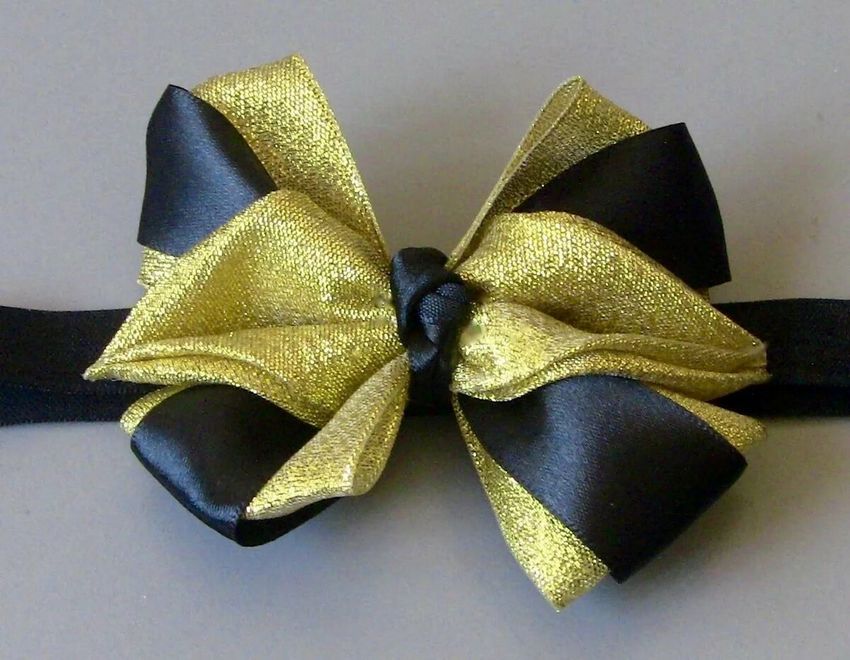
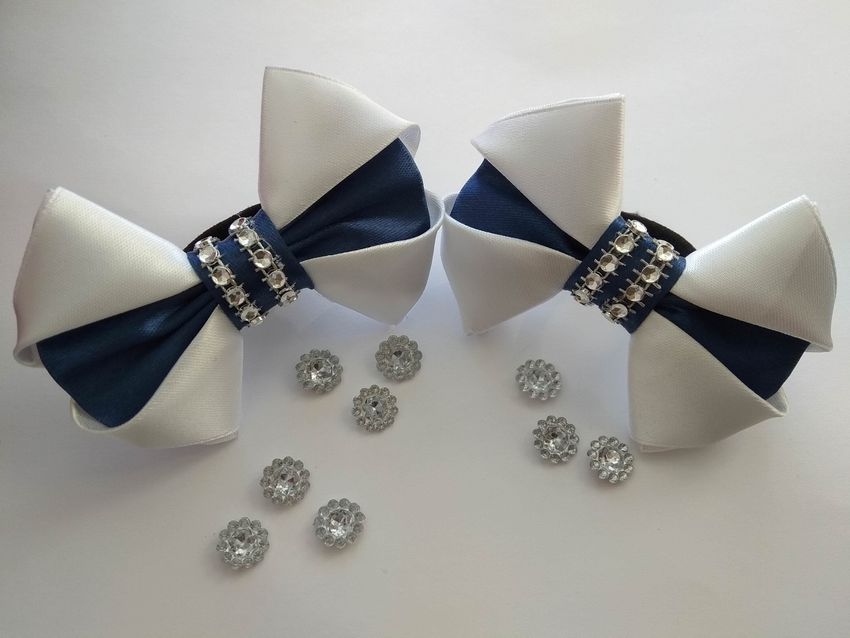
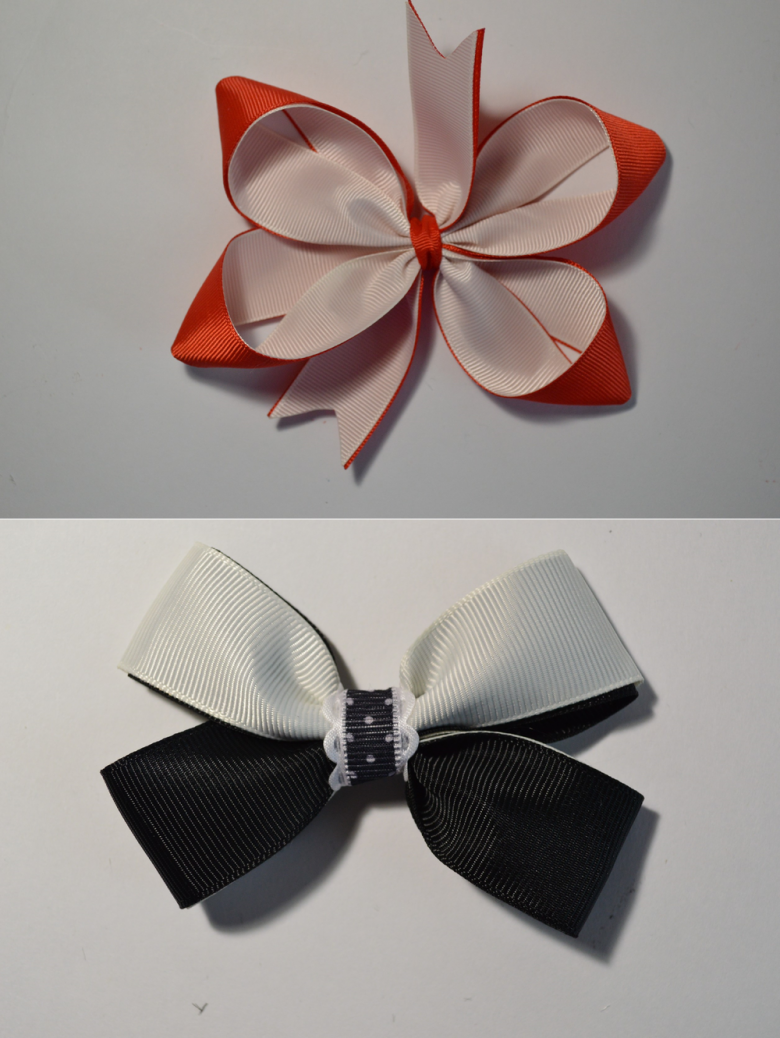
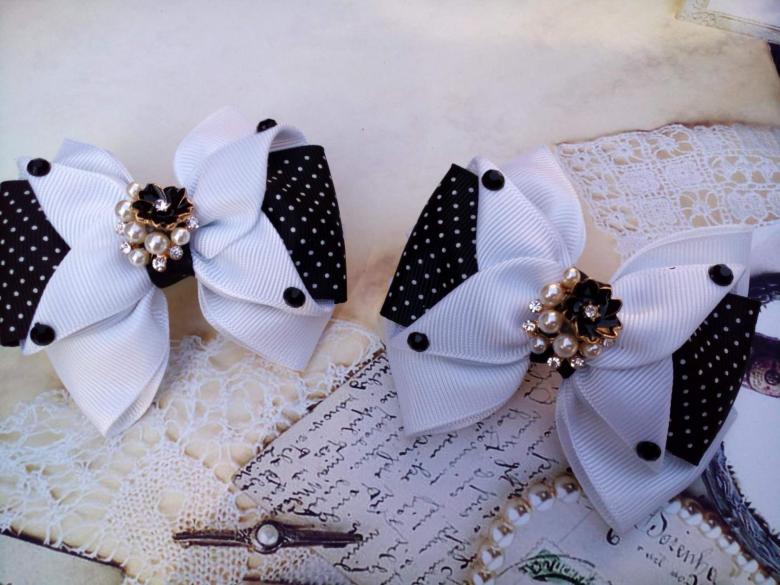
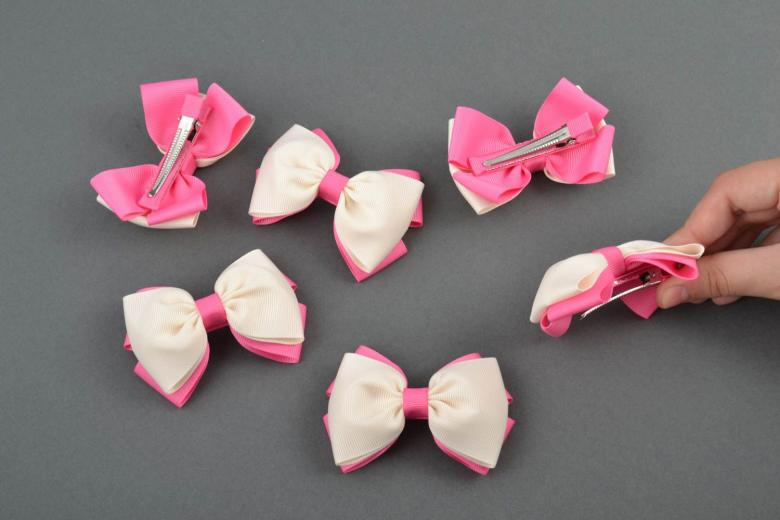
Contrast bow
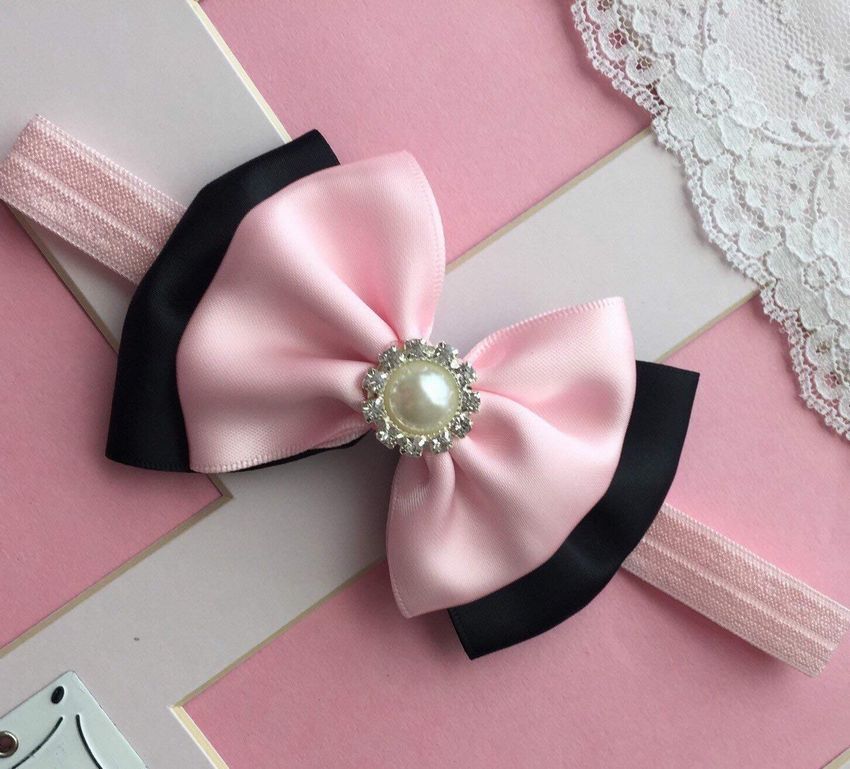
The combination of white and black is a classic choice for any piece of decorative jewelry. The traditional head ornament for girls is no exception.
To make it you will need:
- white ribbon;
- Ribbon with black stripes or polka dots;
- black lace;
- scissors;
- Rhinestones or beads.
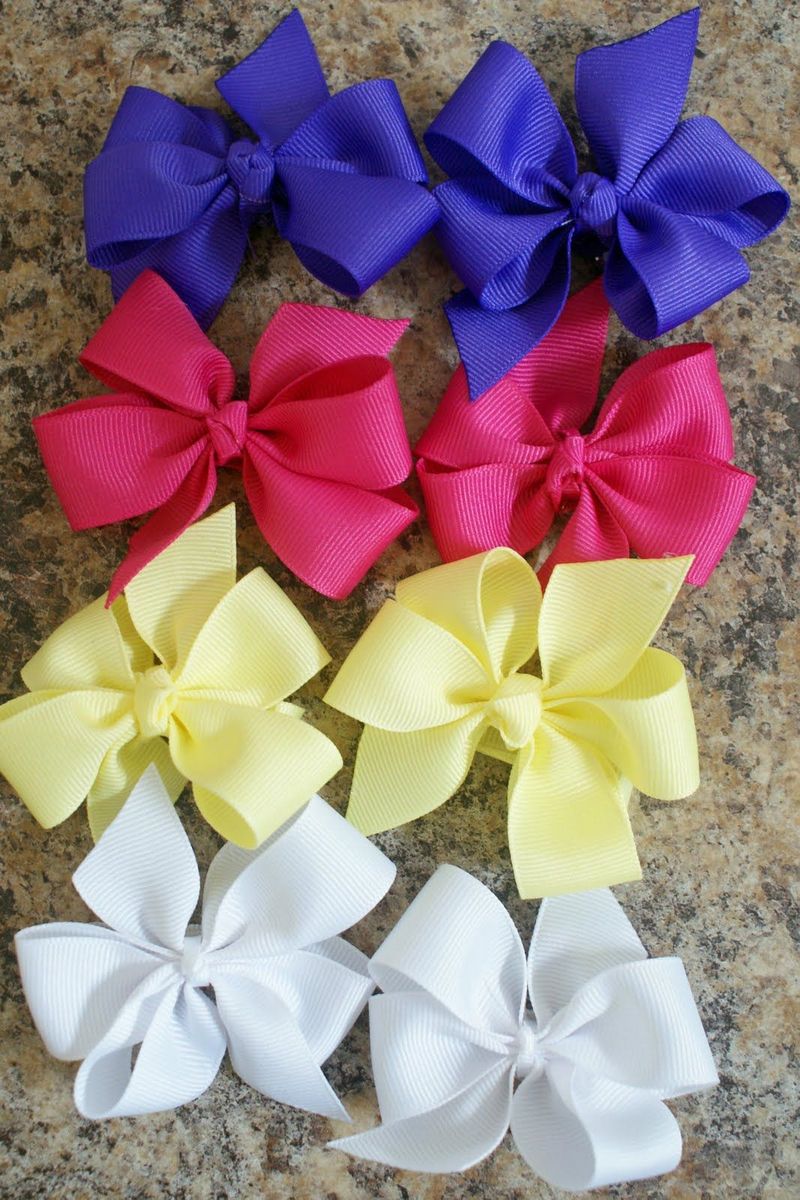
Stages of work
- Step # 1. The colorful ribbon is cut into three lengths of about 25 centimeters.
- Stage # 2. The white base is cut into shorter sections - about a couple of centimeters shorter than the first one.
- Step #3. A simple loop bow is formed from the ribbons and stitched in the center.
- Step #4. On one of the white bows is sewn a piece of black lace.
- Step #5. The two remaining white bows are stitched on top of each other crosswise.
- Step #6. The motley bows are folded in a snowflake fashion and also fastened in the center.
It remains to connect the two blanks and the contrasting decoration can take its place on the head of the little girl.
Photo ideas of homemade ribbon bows with their own hands