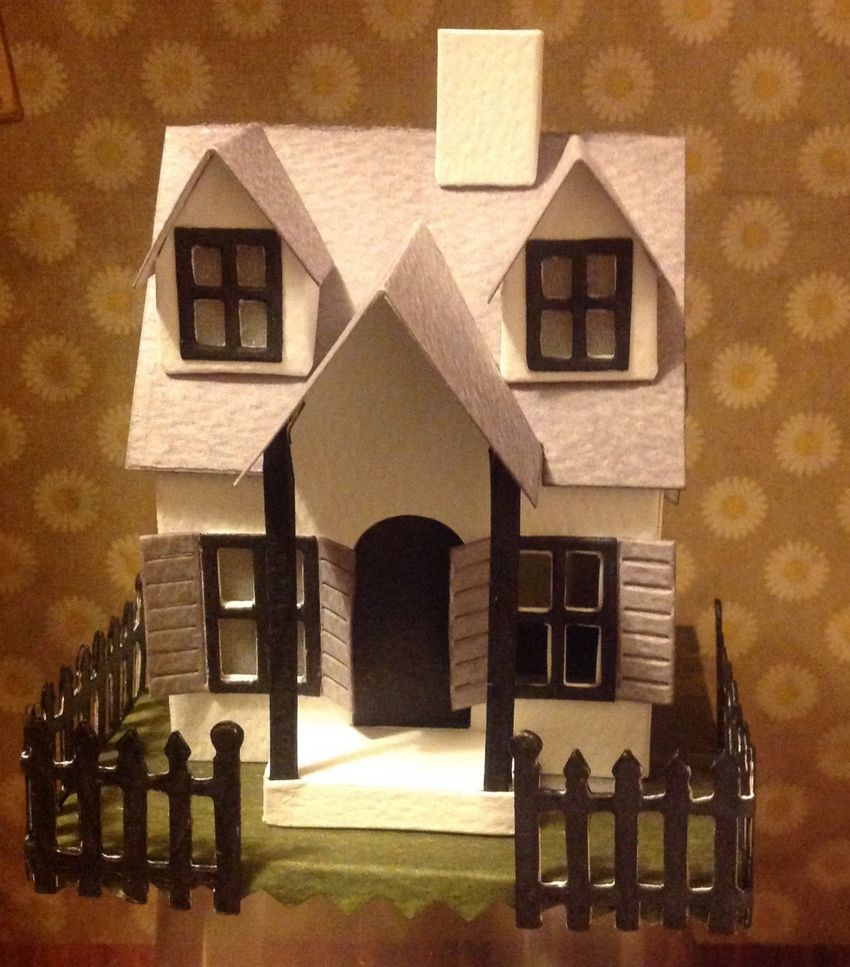
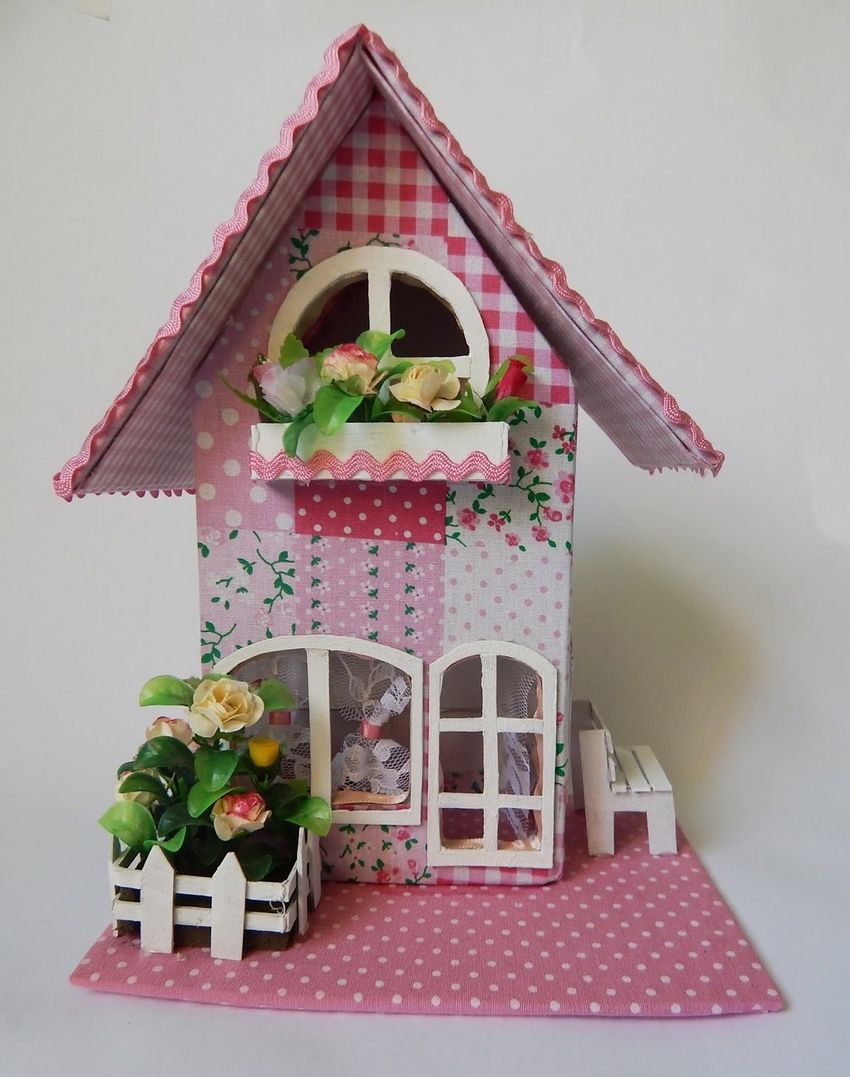
A craft house - a detailed description of how and what to build a toy house
Most parents have long known: children love to play with various toy houses. They with genuine interest choose for them a semblance of furniture, inhabit the characters.

In supermarkets there are a lot of houses. You can find almost any size, configuration, cost. If there is no desire to spend money, using materials that are at home, you can make a house with your own hands, showing your child the charms of the creative process.
What exactly how the handicraft house can be made, it is easy to find in many magazines, the Internet. Thanks to the described in detail the sequence of actions, you can determine how the future house will look like, from what materials will be built.

What materials can be used
During the creation of the house you can use the following natural materials, which are always easy to find:
- Vegetables, like pumpkins, eggplants;
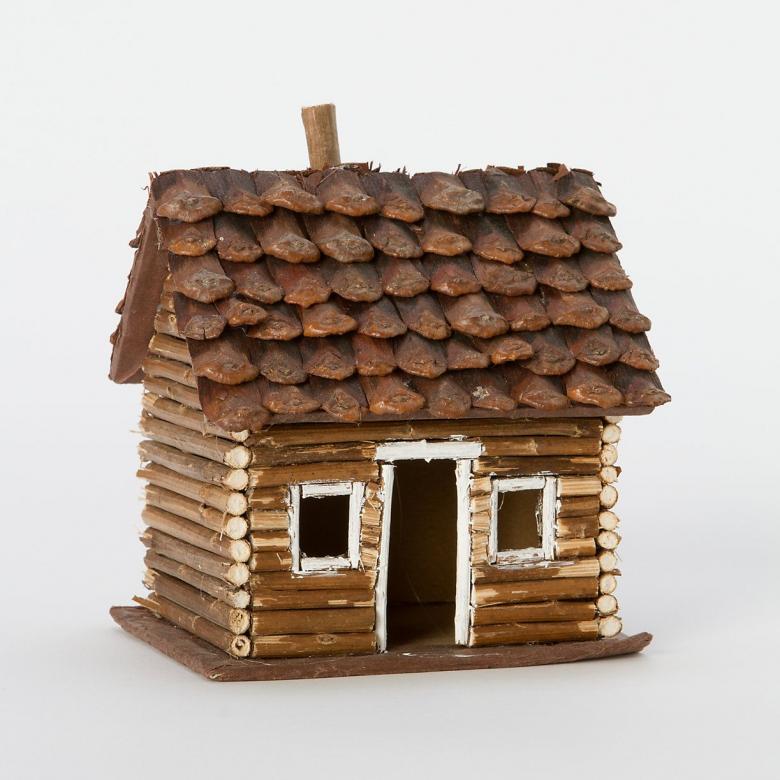
- scales from a cone, big chestnuts;
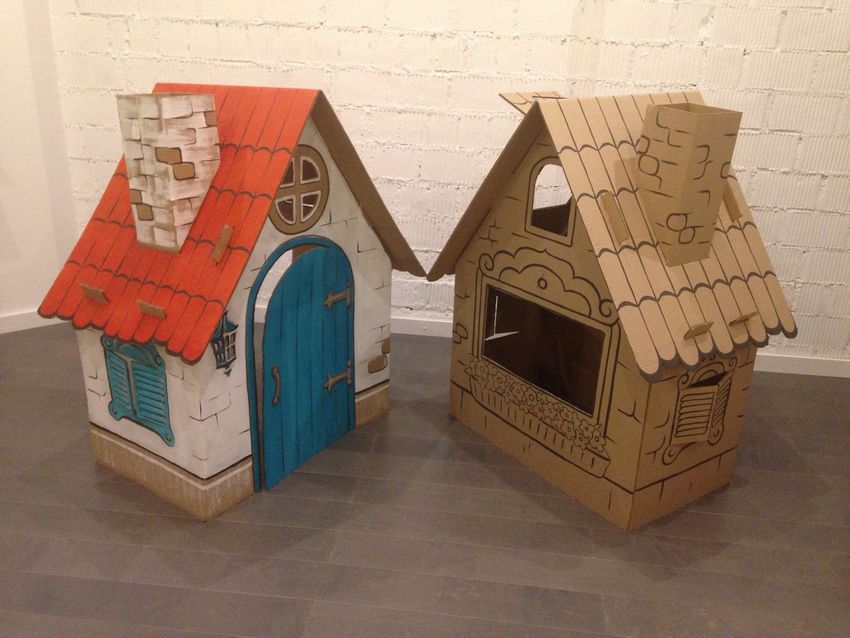
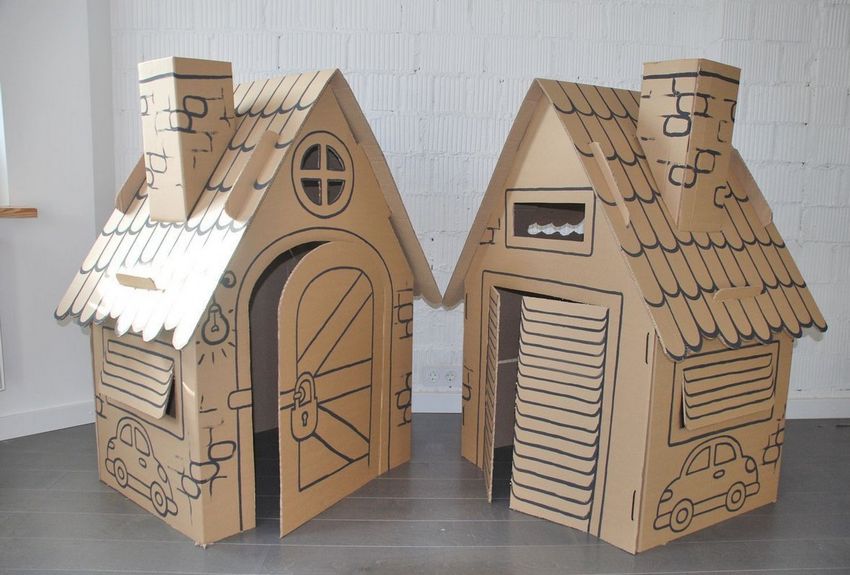
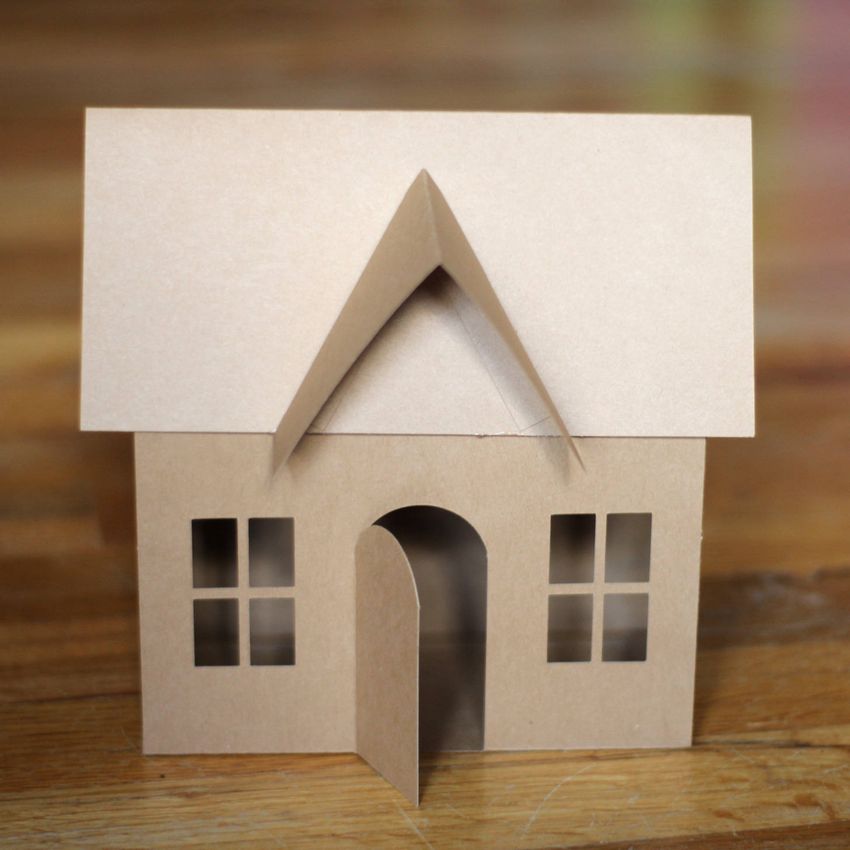
- cardboard boxes left over from appliances, shoes of some kind;
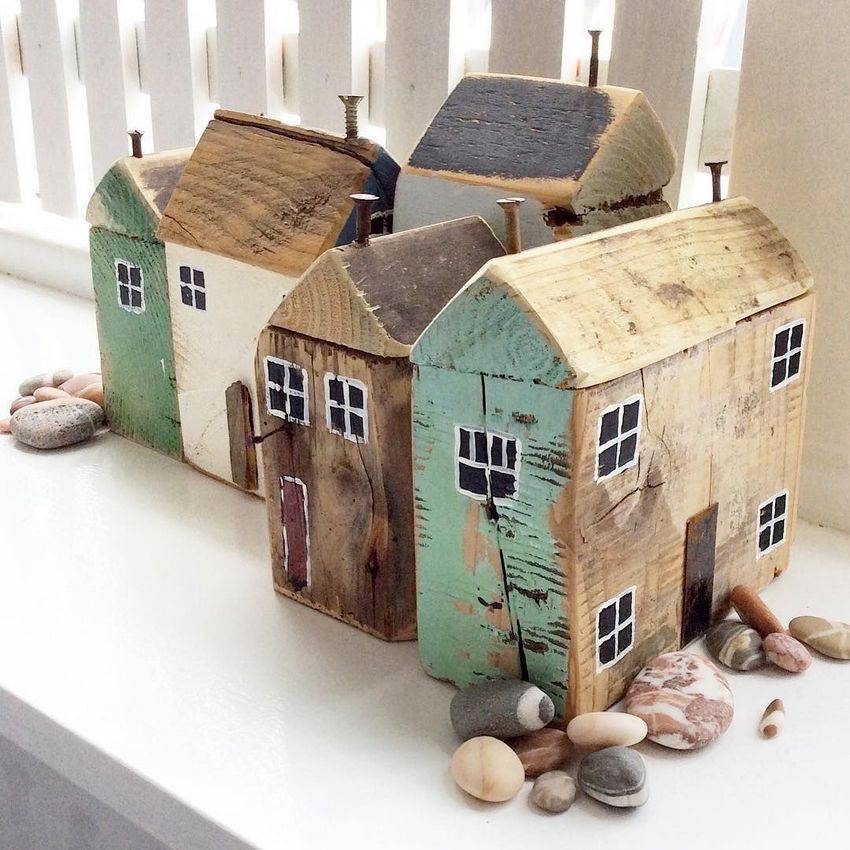
- tree branches, clothespins, cuttings from wood;
- plasticine;
- cardboard, much more.

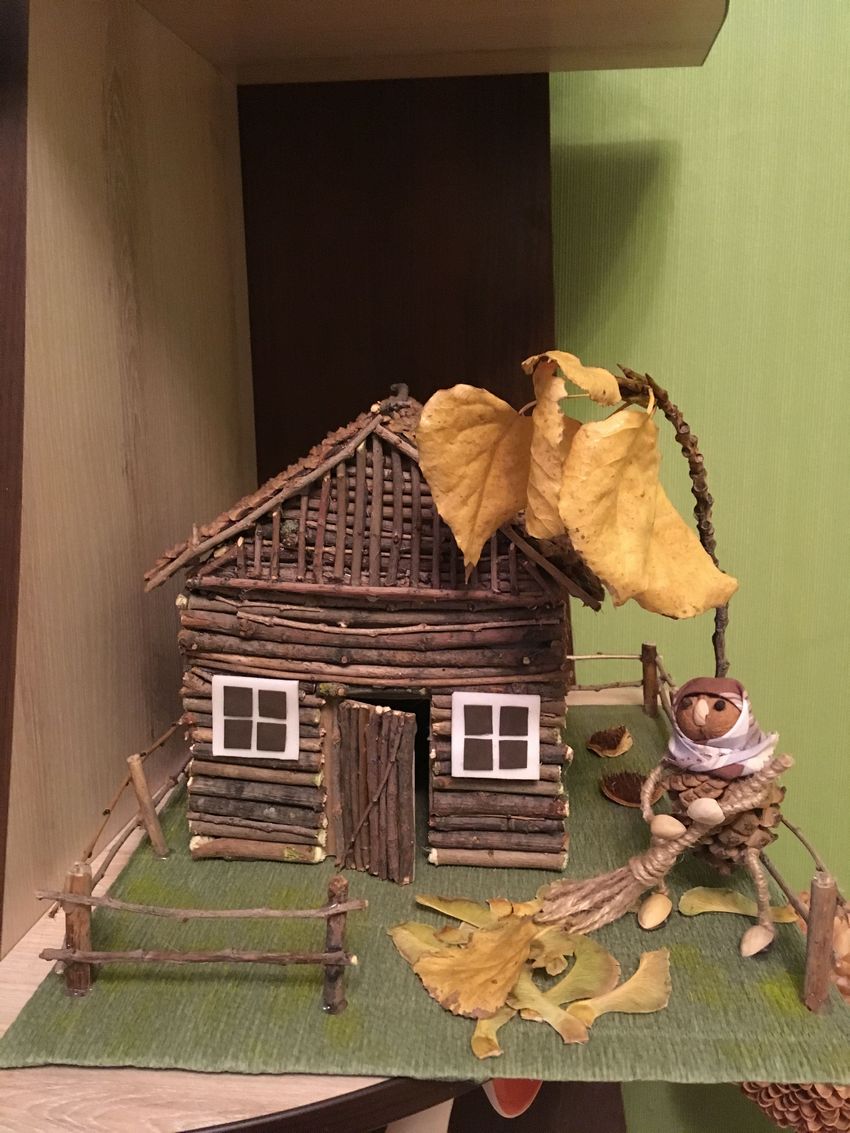
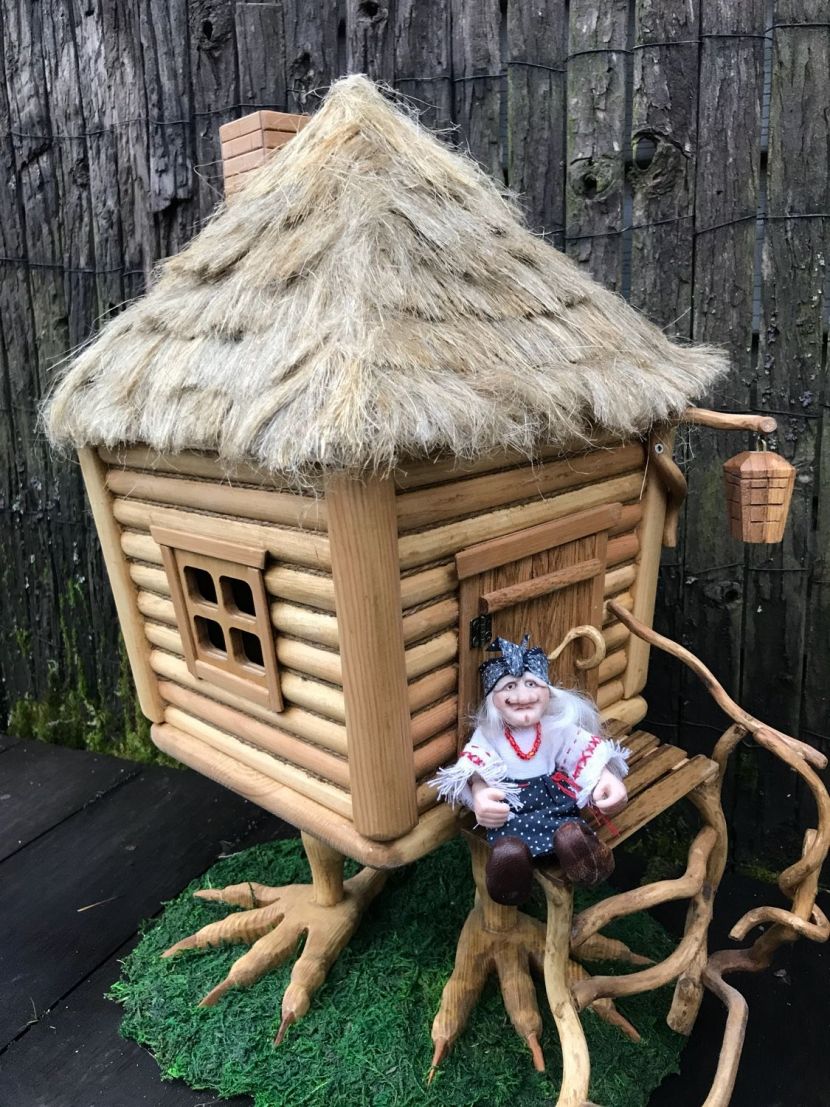
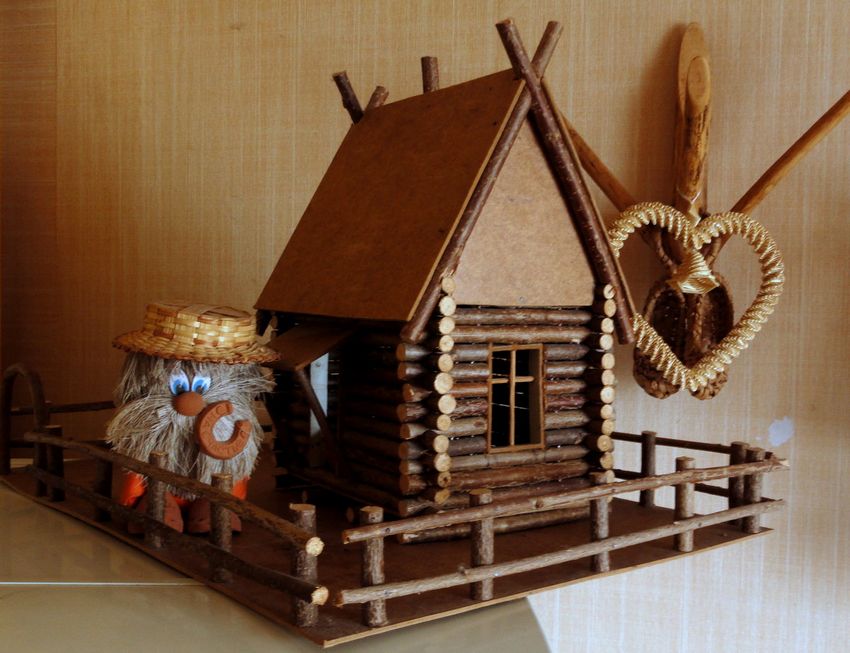
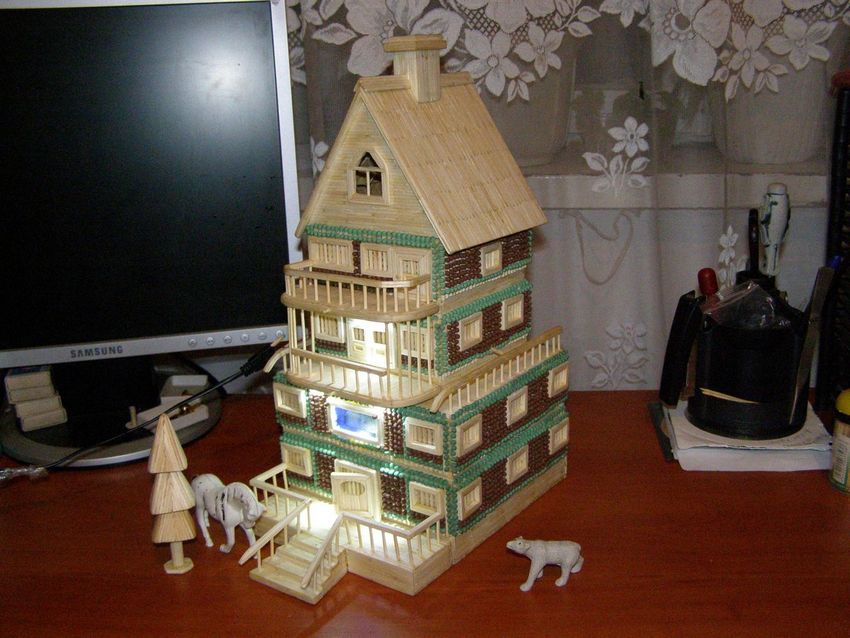
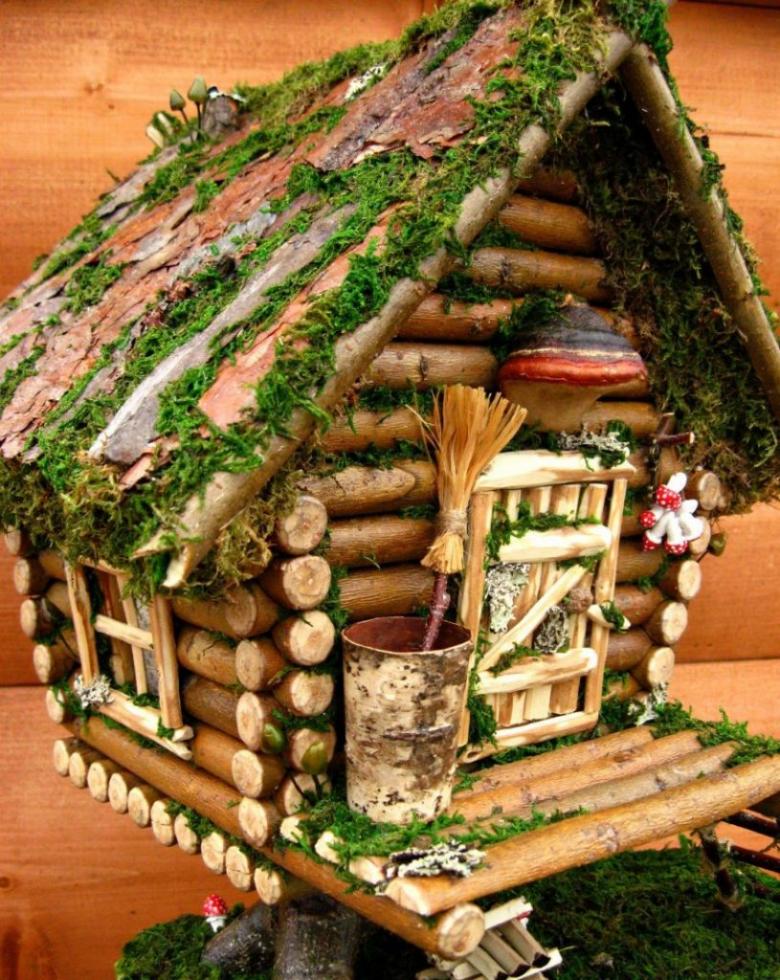
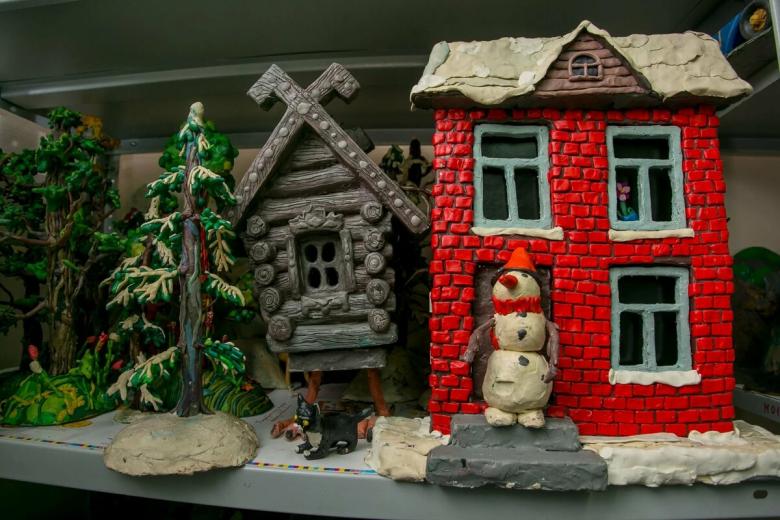
Baba Yaga's hut.
This handicraft house from natural material will definitely please the child, will give the children's room a fairy-tale atmosphere.
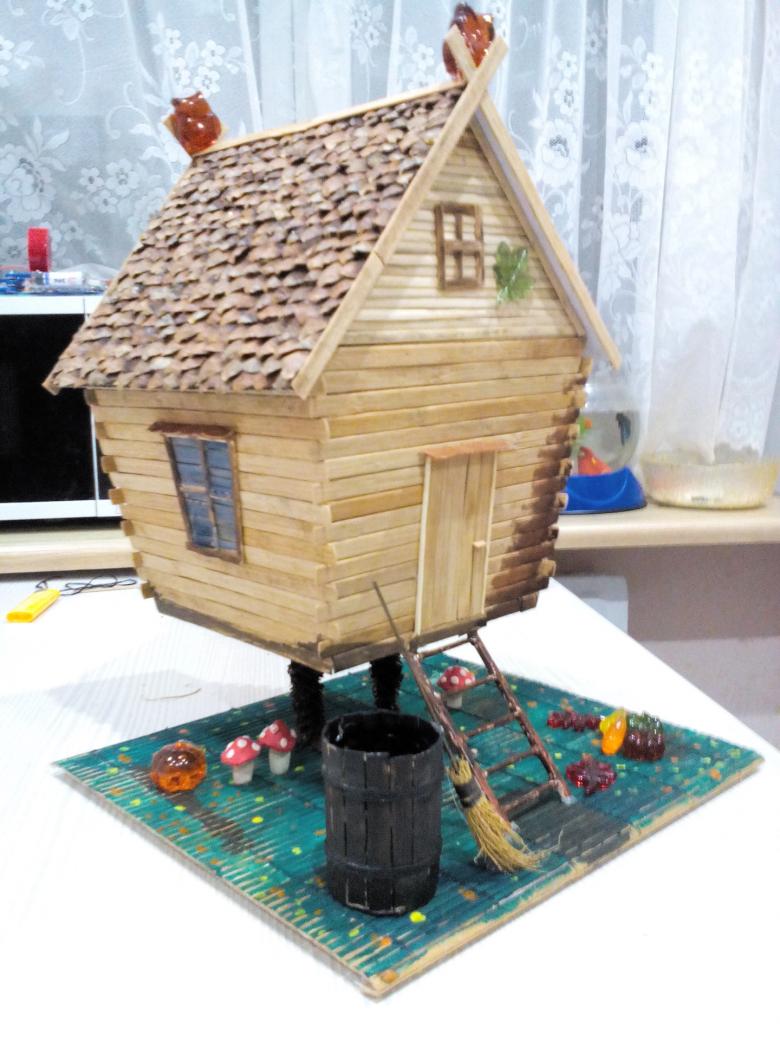
Materials:
- Linen clothespins;
- Dry moss;
- Berries, leaves from trees;
- Cones from the forest;
- Plasticine;
- Cardboard;
- Glue gun.

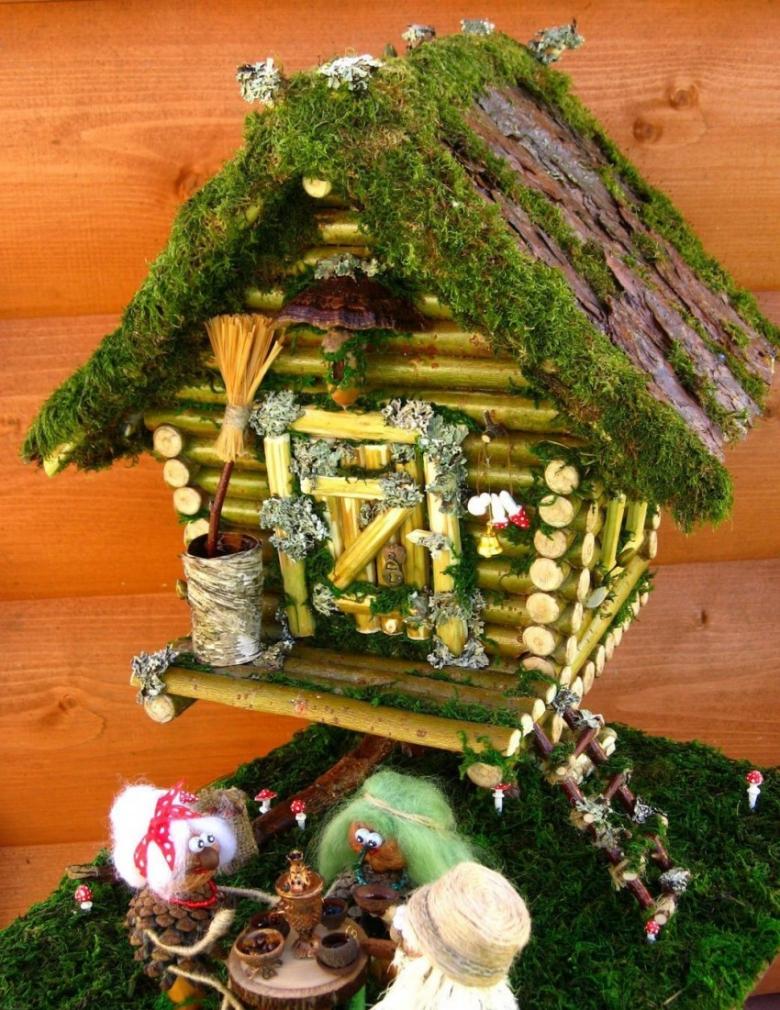
Sequence of steps:
- Disassemble the clothespins into two separate components.
- Build a home for Baba Yaga.
- Using leaves, moss, branches of berries, decorate the roof with glue.
- Cardboard sheet glue moss, put the house.
- Using cones make several Christmas trees, placing them evenly throughout the house.
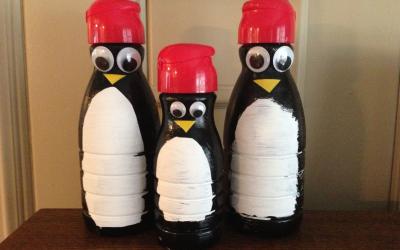
- Breathe life into the composition, enlivening the different forest creatures. Animals can be made from plasticine, any other material.
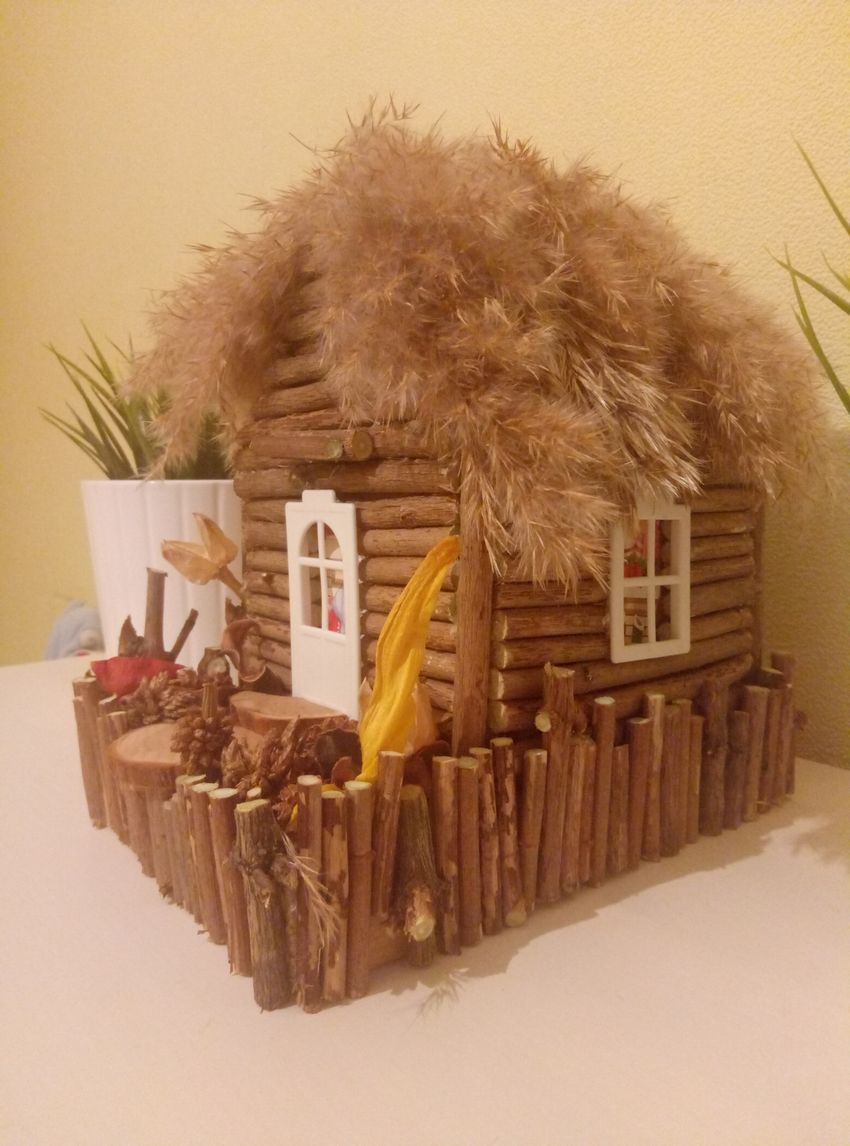
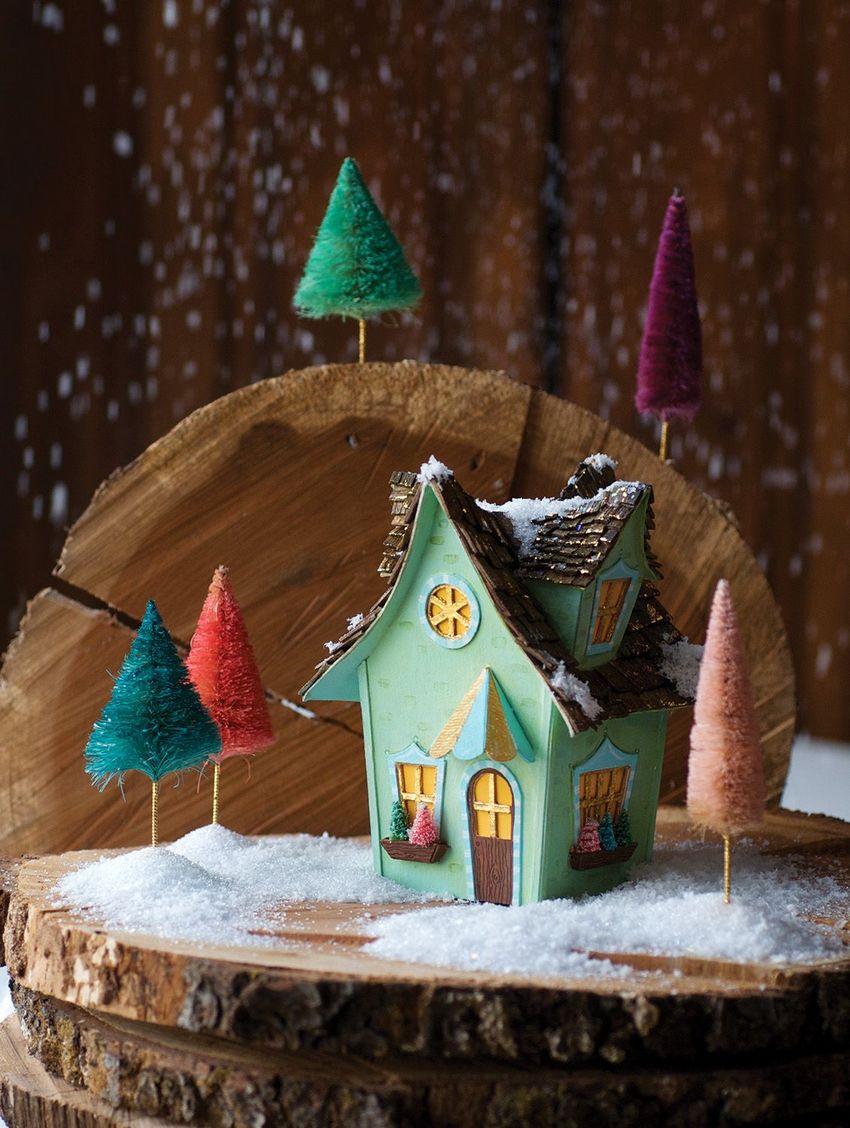
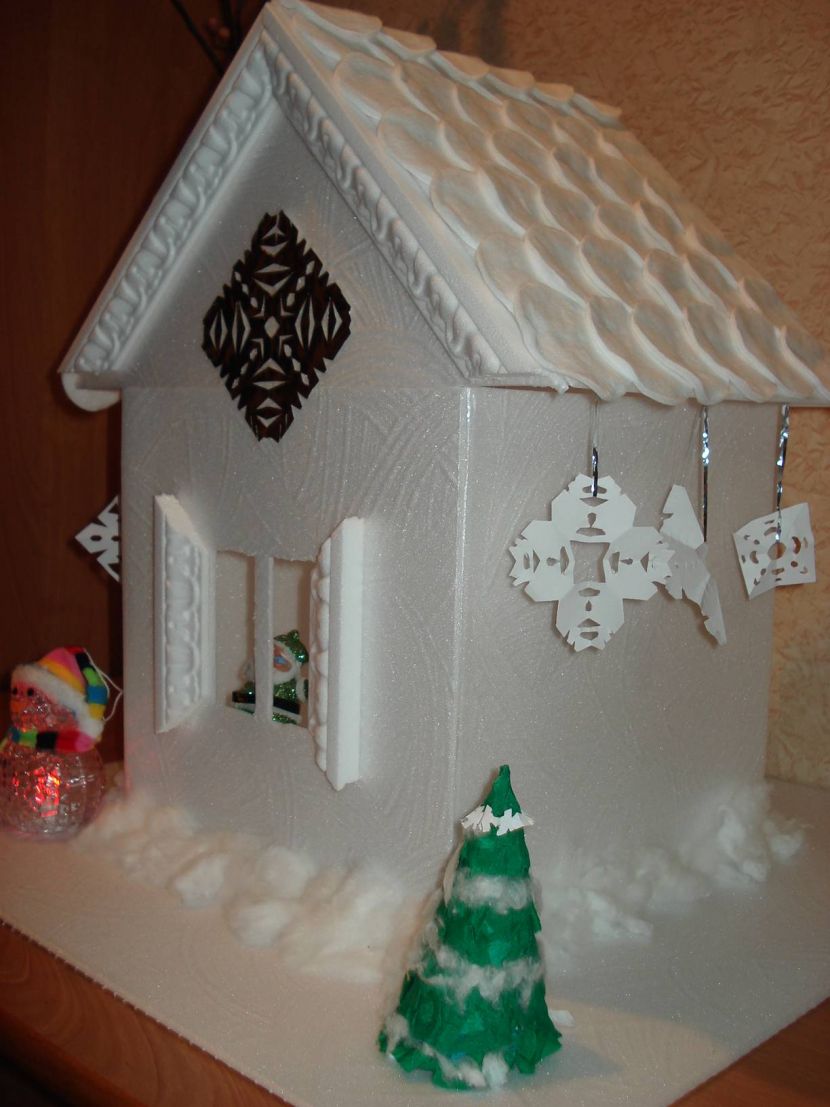
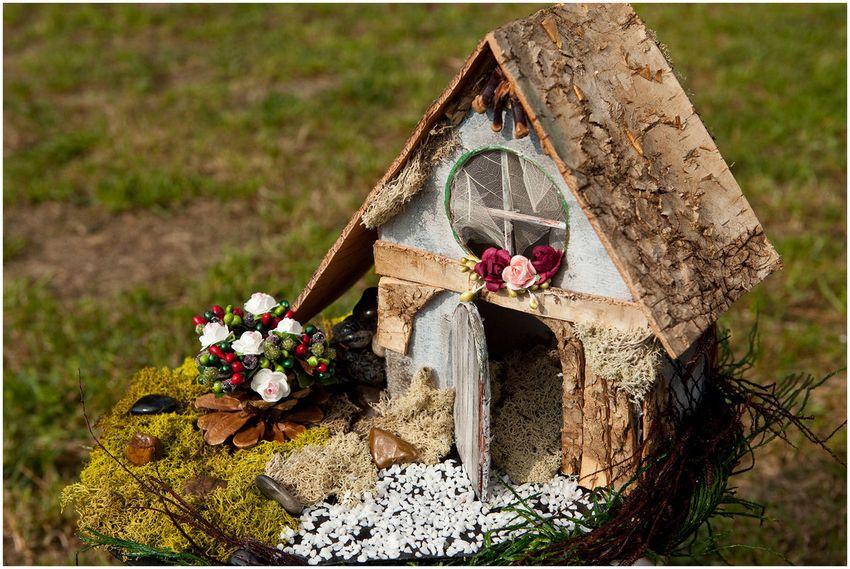
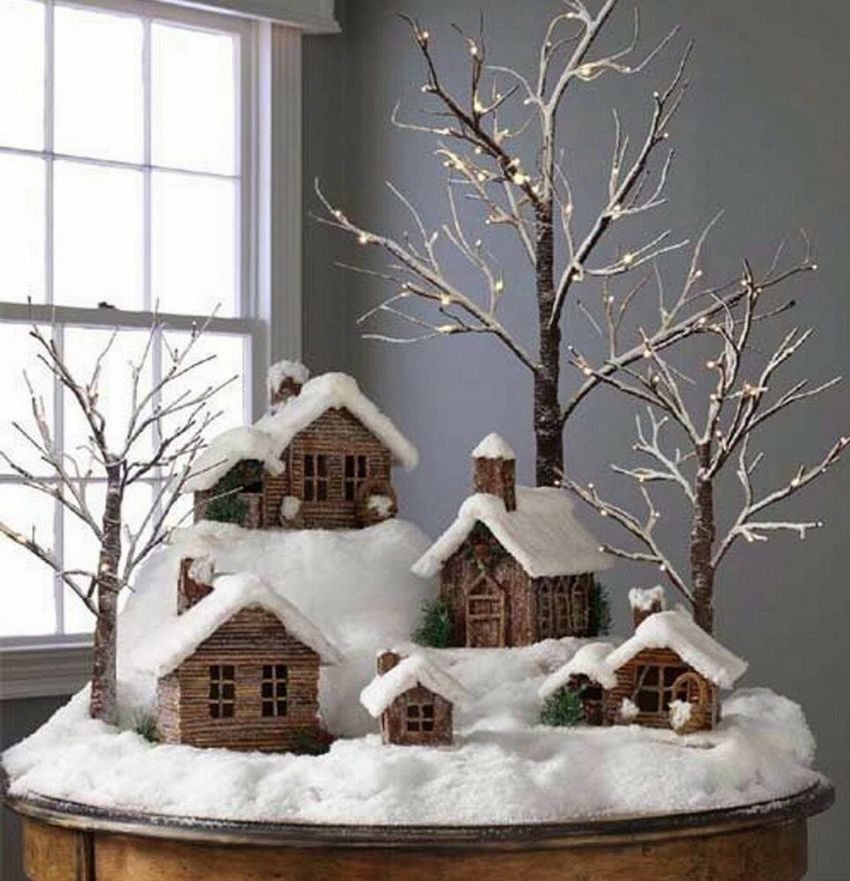
House of cones in the woods
This handicraft is one of the easiest to make. To make it just need to find a wire, cones. On our website https://imaster.desigusxpro.com/en/ you can find a detailed description of the process and various tiphacks.
Basic steps:
- Wash, dry the cones.
- Each cone in turn carefully wrap the wire around the next cone. Weave one row of four cones, then repeat three times.
- From the blanks make the walls for the future house, not forgetting to wrap them with wire. So the house will be strong.
- The roof can be made originally in the form of an arch. All you need to do is bend a row in a semi-circle shape.
- It remains only to assemble the elements of the house, fasten with wire.
You can dream up with a child, offer him to create a hero from the cones, which will remain. Handicrafts will be a great option, even for exhibitions in any institution for children and are sure to earn some kind of award.

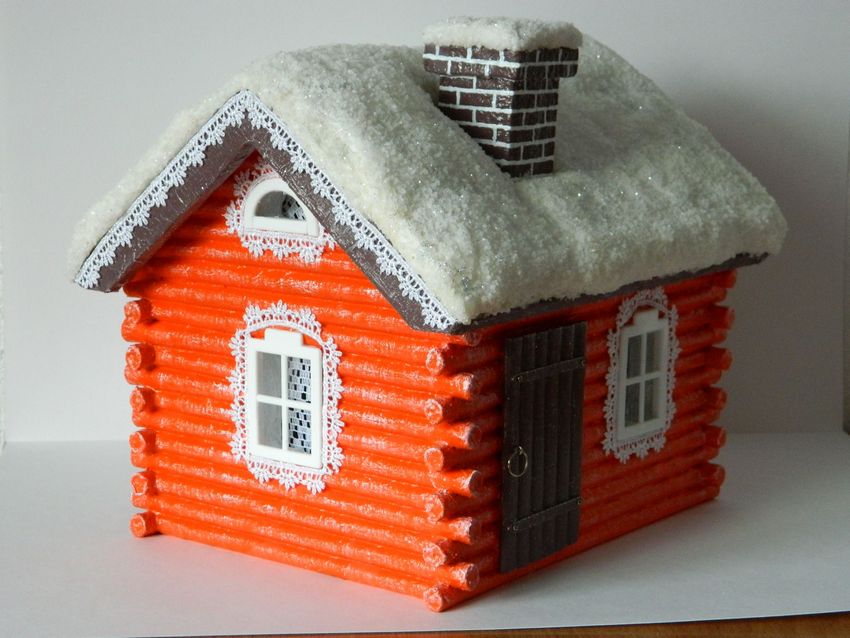
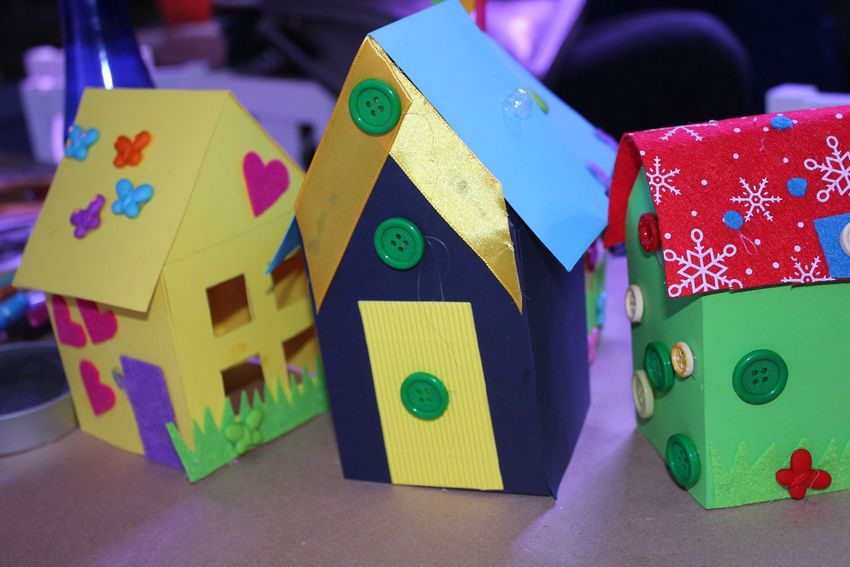
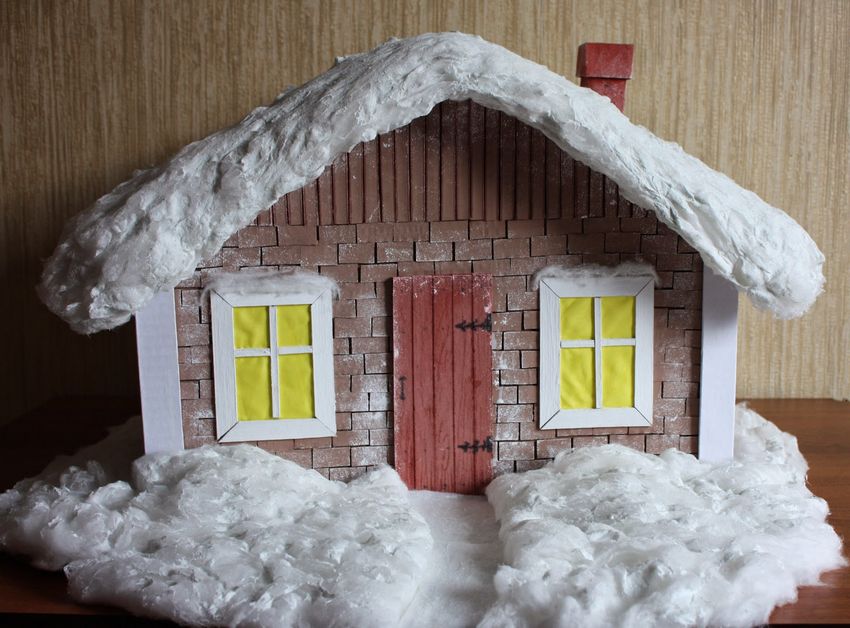
Plasticine house
To make such a house, you will not need anything but high-quality plasticine. If you will make a craft with a child, in this case, it is desirable to buy airy material, as it will be much easier to work with it.
- Make a square out of white plasticine. These will be the walls of the house.
- From the material of chocolate color mold two cakes in the form of squares of equal size to make a roof.
- Make a small pipe out of plasticine of any dark color.
- Make windows, door from blue plasticine. Fix them on the square, and then install the roof with the chimney.
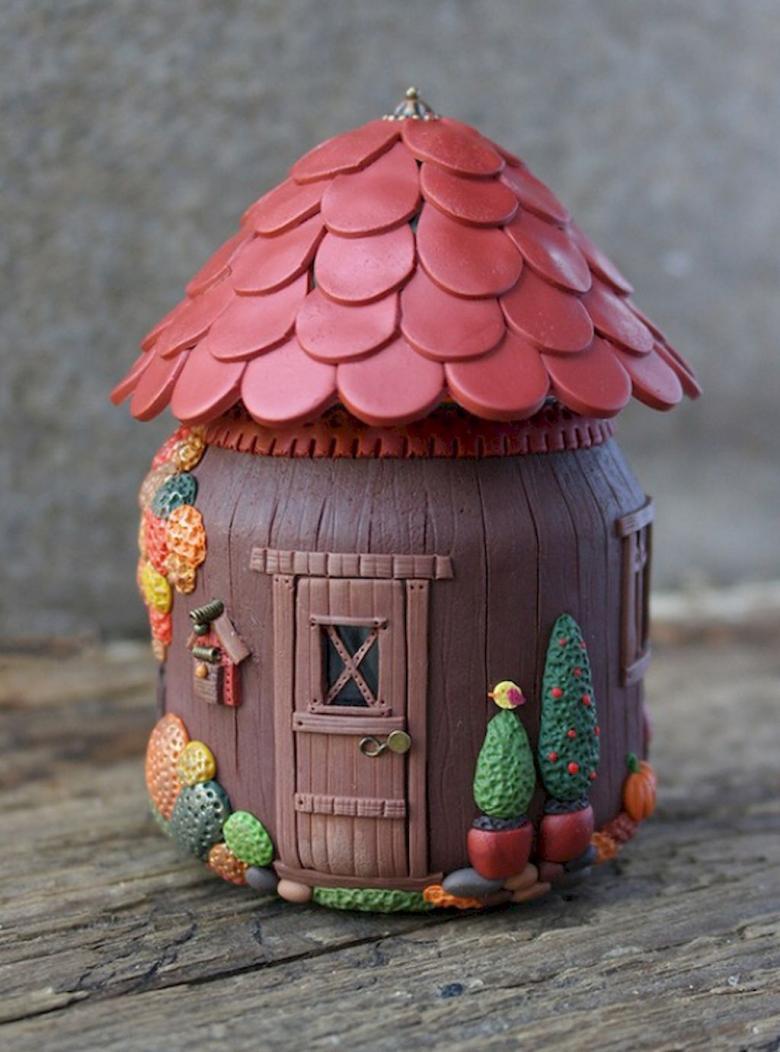
As a decoration of the house, you can add some green grass. To do this, roll out a line of green plasticine, cut it into small prongs, glue around the perimeter of the erected house.
How to make an applique
In order to make a house out of paper for a craft in the form of applique, you will need any colored paper, glue and scissors.
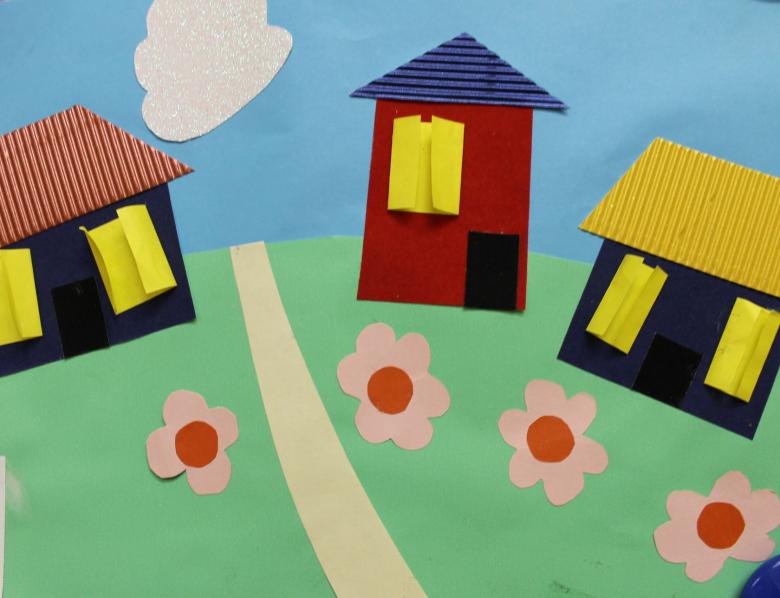
Sequence of steps
- Create special blanks. For this, from colored paper cut out several geometric shapes: a triangle, squares of different sizes. Also, from paper colors you like to cut out the clouds, trees, grass, fence and other elements. If you do not draw well, you can always find a template for the craft and cut everything from the schemes of the Internet.
- When all blanks are ready, you can start the gluing process. On a white sheet of paper glue all the parts prepared. With such an activity can easily handle any kid.
That's all there is to it. The handicraft will only dry.
How to keep a craft for a long time in its original form?
After the work is done, you will want to keep the result of the creation for a long time. In order to make your handicrafts look like new, as long as possible, it is important to regularly sweep dust off it, keep it away from direct sunlight and moisture.

In the future, when time or need appears, you can build a few more houses with different materials to erect an entire village.

Do not forget that involving from time to time to the creative process of your children, you can really have fun together. At the same time you still manage to create an original craft, which will be a long time to please your child.
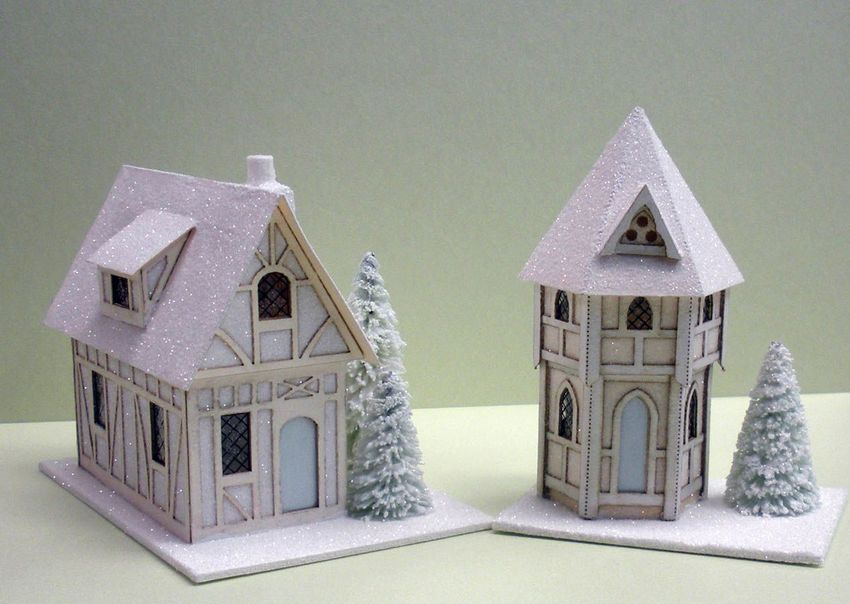
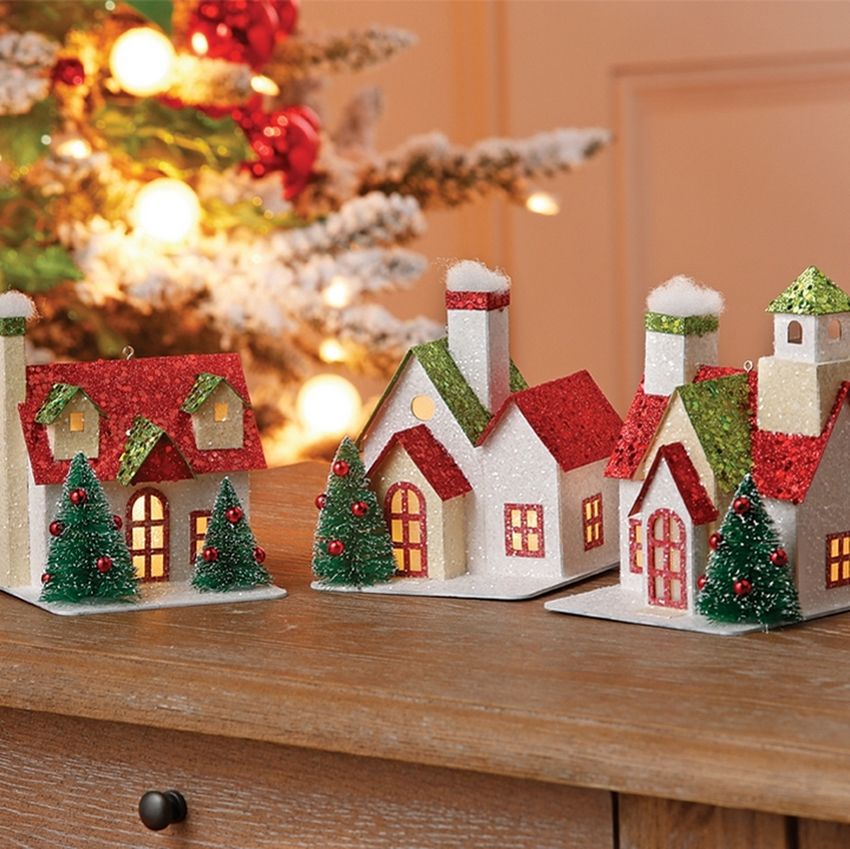
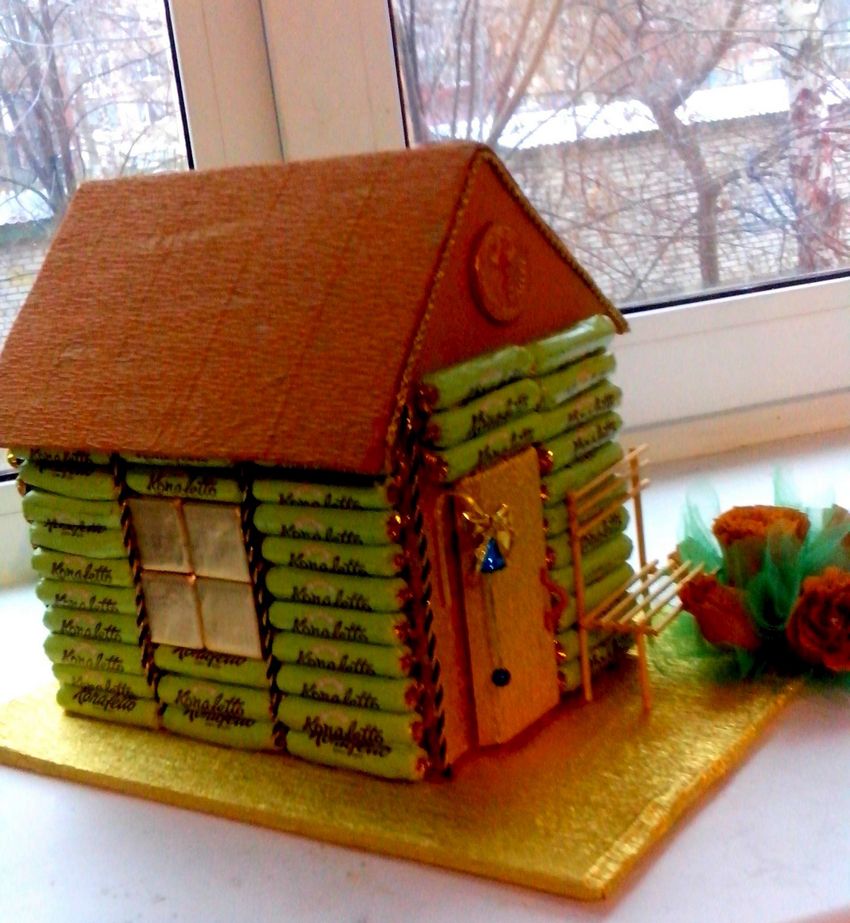
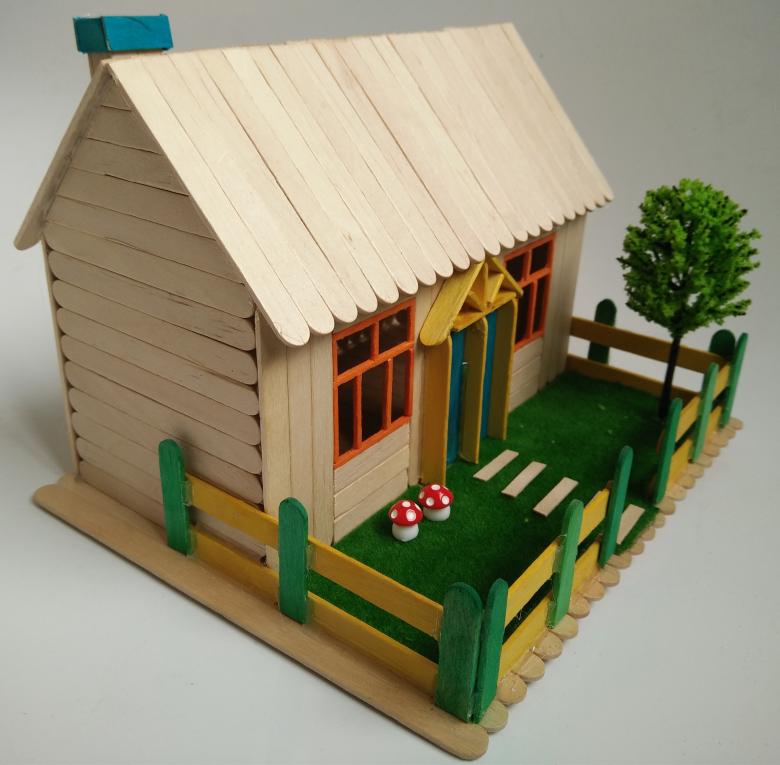
Photo ideas of homemade cabins