Origami Dove: easy ways of making for children and adults
Origami - an ancient Japanese arts and crafts art of folding various figures of the paper. Originally origami figures were intended for religious rituals, and today they have become part of the cultural Japanese tradition and just a fun occupation.

Origami develops imagination, perseverance, memory and attention to detail. If you want to learn origami, start with the simplest of figures, such as a dove. Fold the dove out of the paper can be a variety of ways, but for this you need to learn the basics of origami.
The basic rules of folding origami
In classical origami, there are two basic techniques, which are conventionally called "valley" and "mountain. In addition to them, there are others. If they are found in the description, then you need to fold the paper as follows:
- valley - the direction of the fold of the paper towards yourself;
- mountain - the direction of the fold away from yourself;
- Bend - the paper is first folded along the planned line, and then it is unbent back so that the fold line remains on it.
There are even more complicated techniques such as "cap" or "lightning bolt", which simultaneously combine the basic techniques of origami.
How to fold a figure of a dove out of paper
To work we need paper: white or color printer's double-sided. Working with paper, you need to strictly follow the order of operations. If at first attempt to make a perfect figure, just try again.
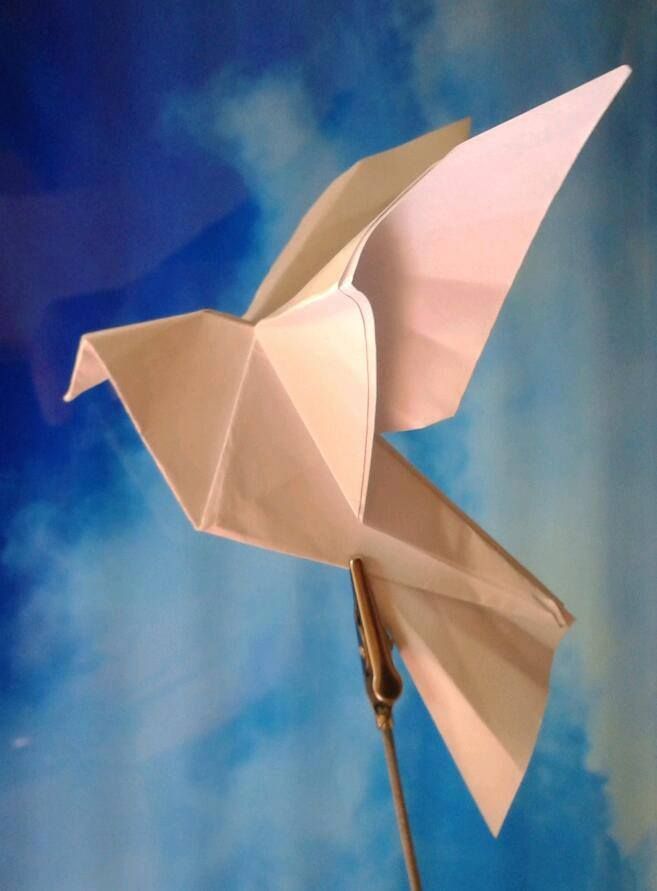
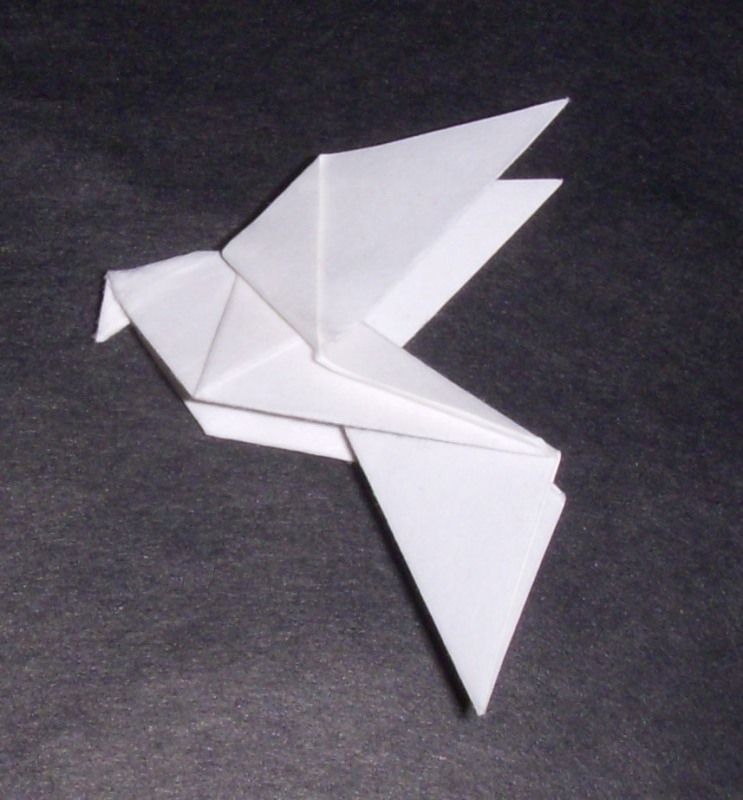
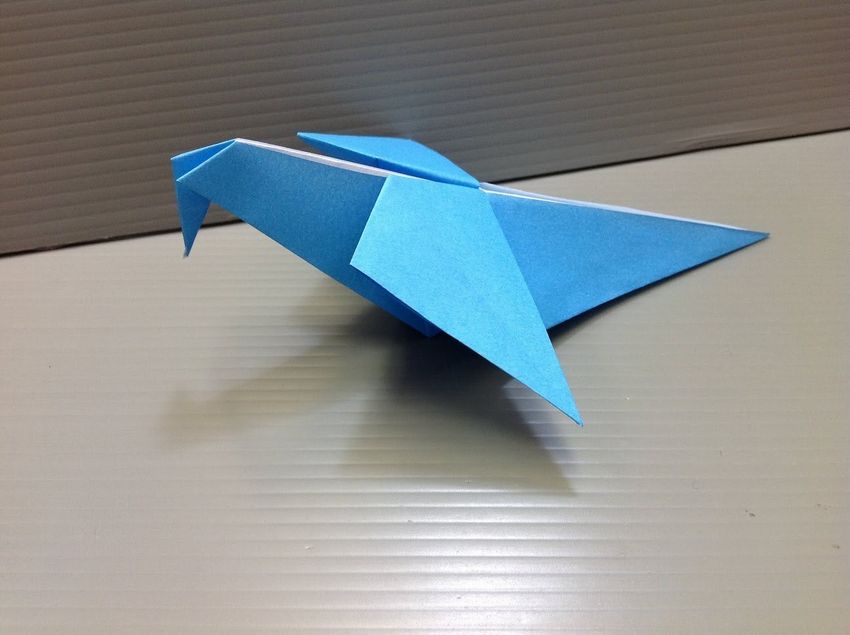
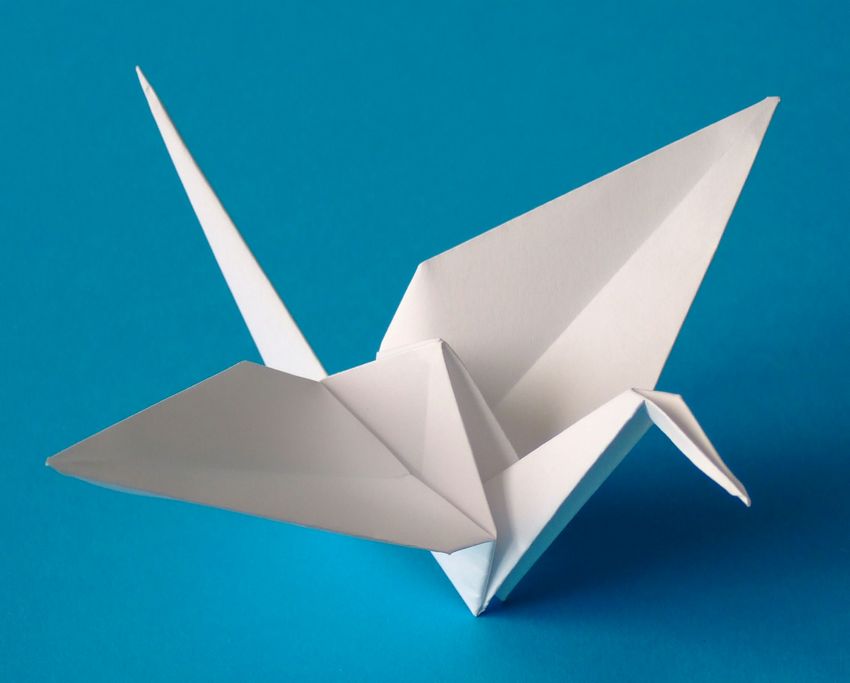
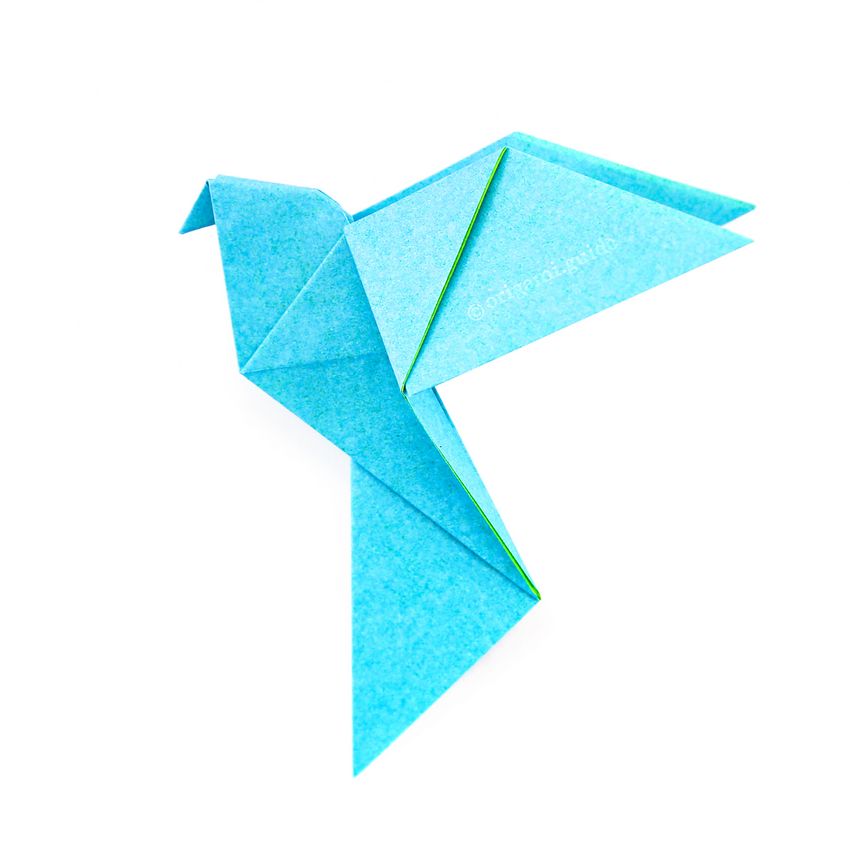
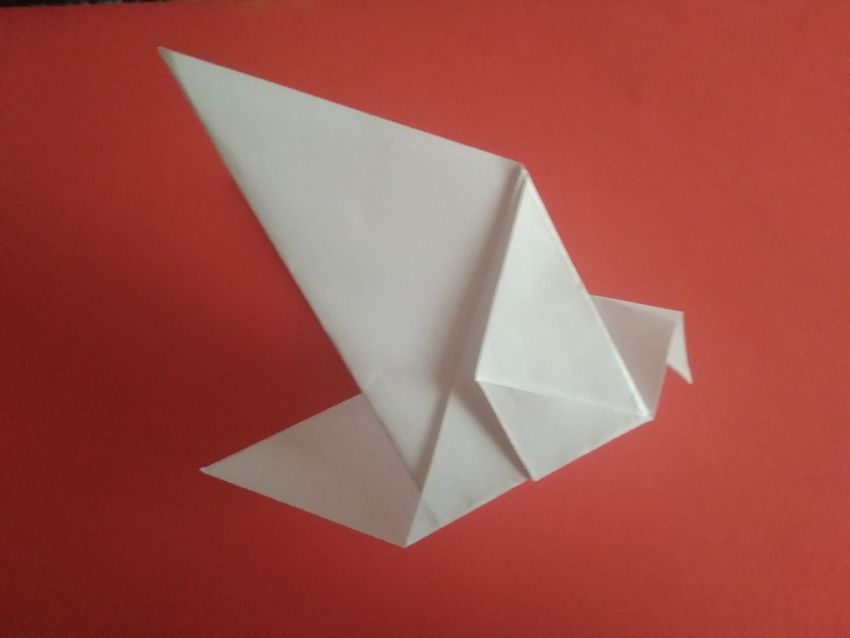
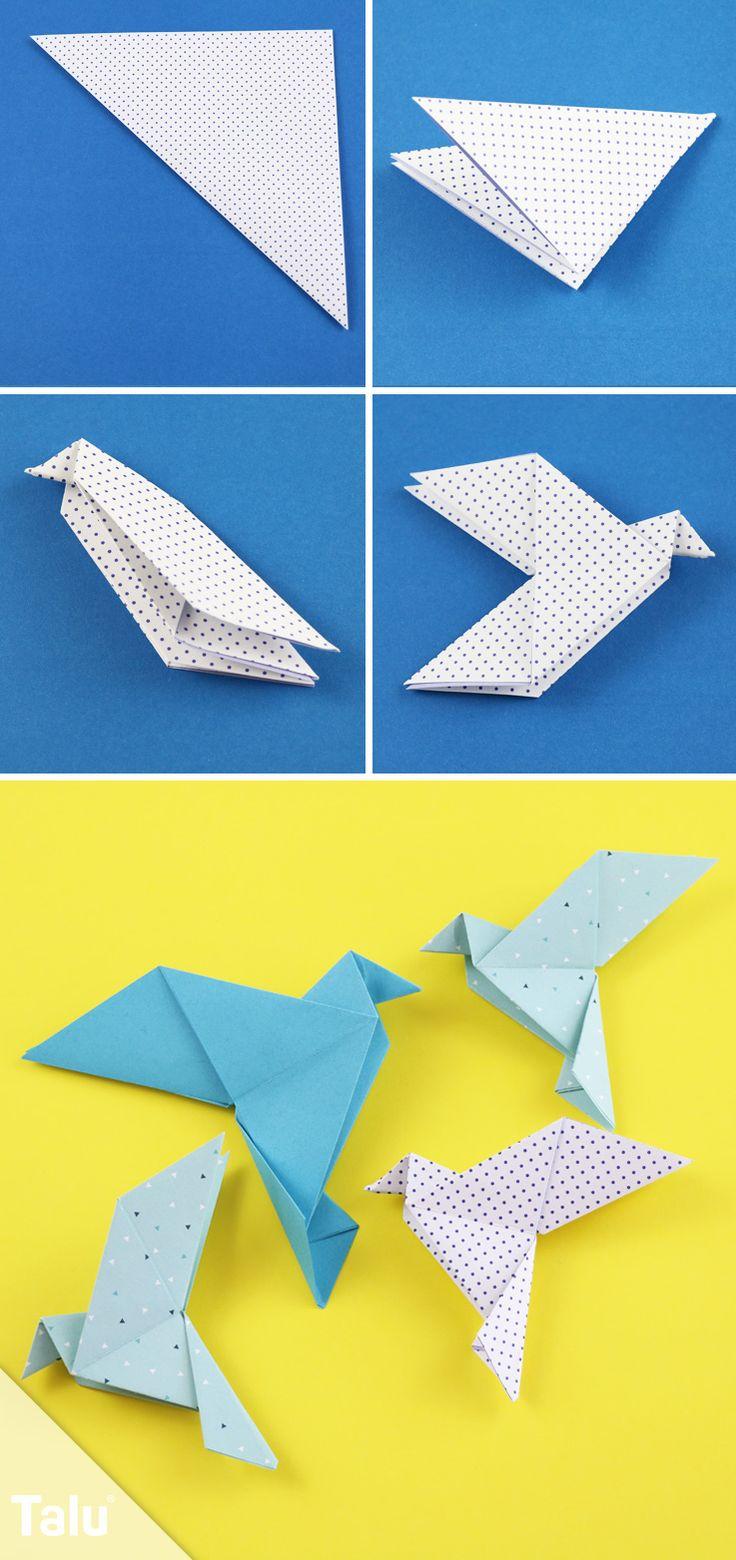
Method #1
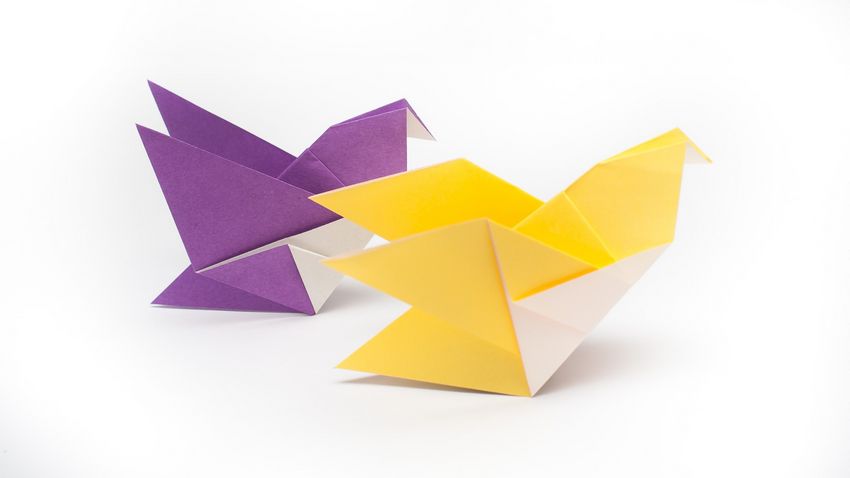
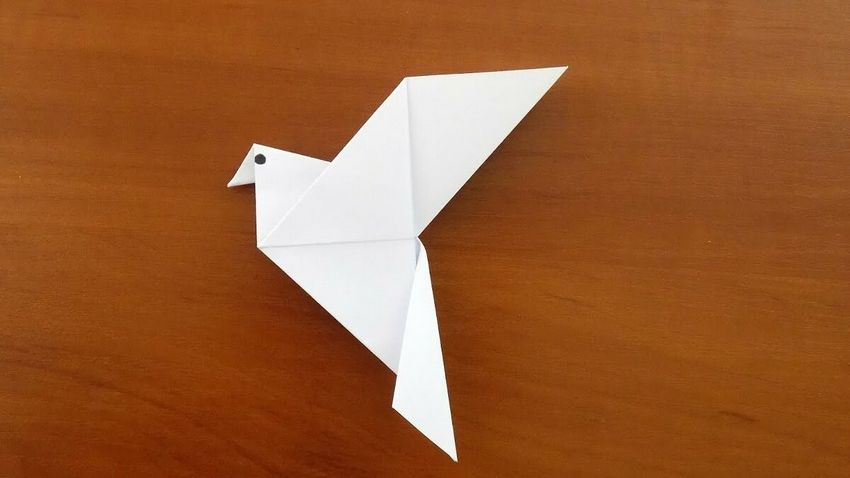
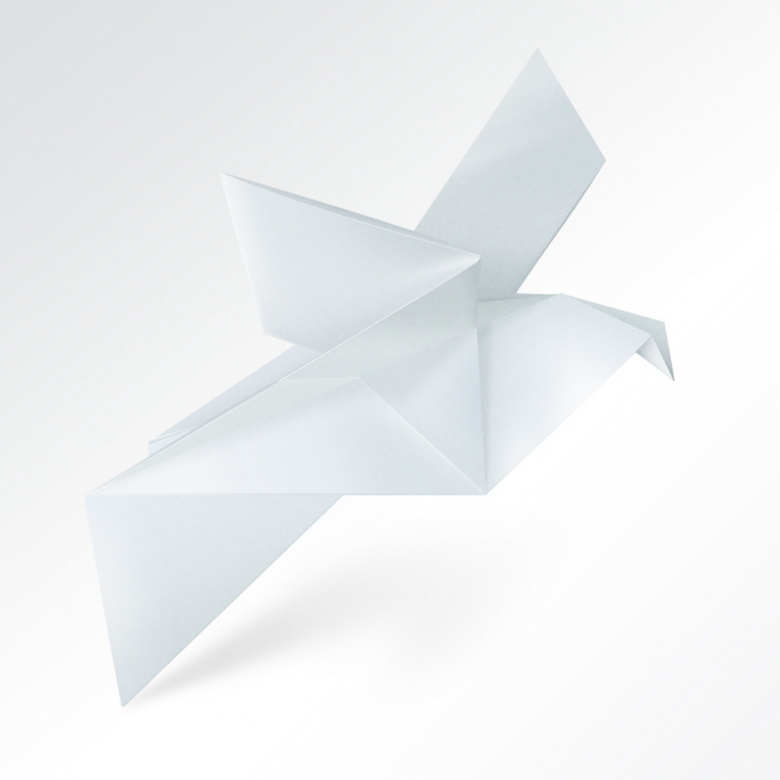
For work prepare a paper square of approximately 20x20 cm. This is a paper dove, which is folded in a classic way.
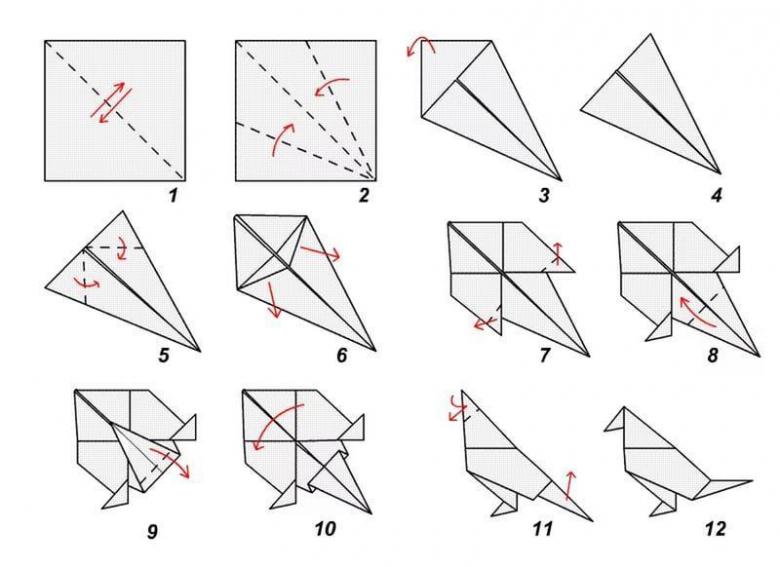
Follow the step by step instructions:
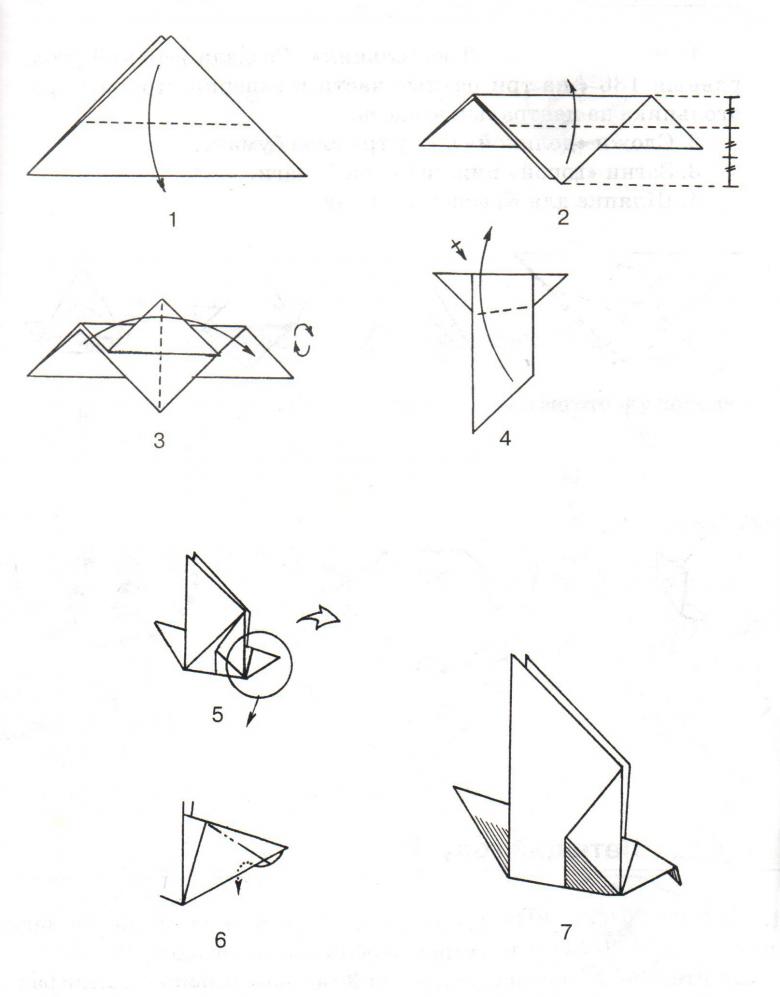
- Fold the square in half diagonally to make a triangle.
- Triangle also fold in half, and then return to its original state. This is necessary to mark its center.
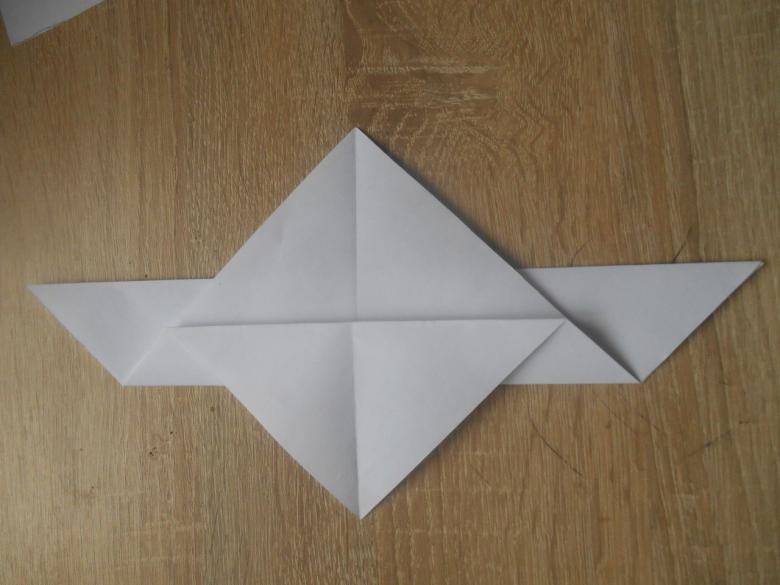
- The ends of the triangle wrap inside, the central line. Should get a diamond.
- The top and bottom of the diamond add together to make a triangle. Make a bend and return the figure to its original position.
- On both sides of the diamond (right and left), wrap the corners in half inside to the center. Return to its original position.
- The end of the triangle, from the angle of the diamond to the line of inflection, you need to wrap inside. Do so on both sides of the figure.
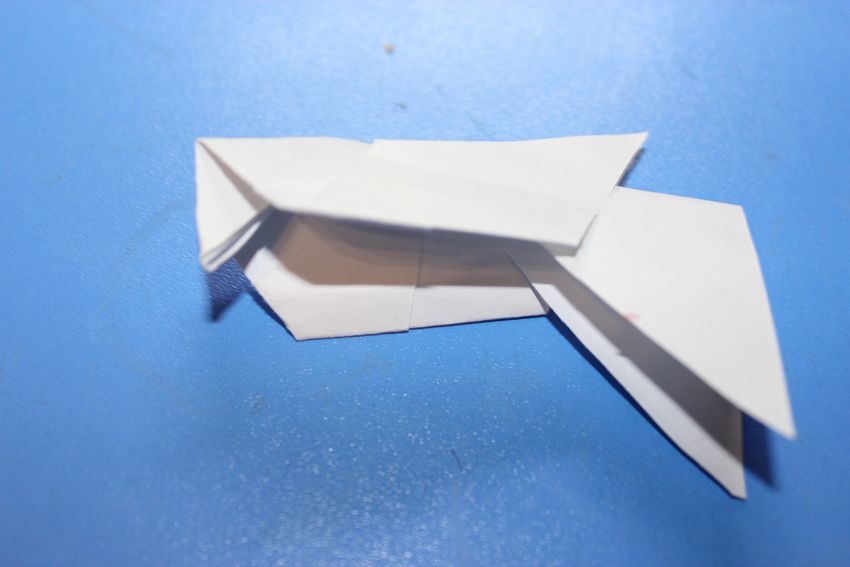
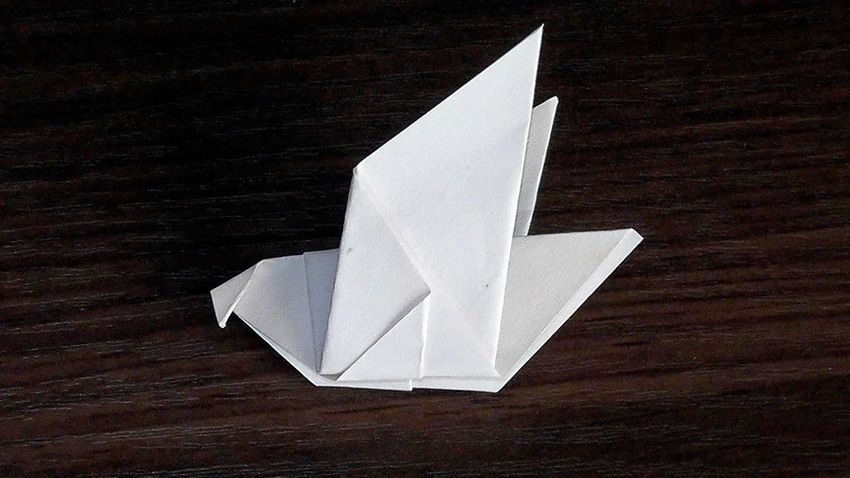
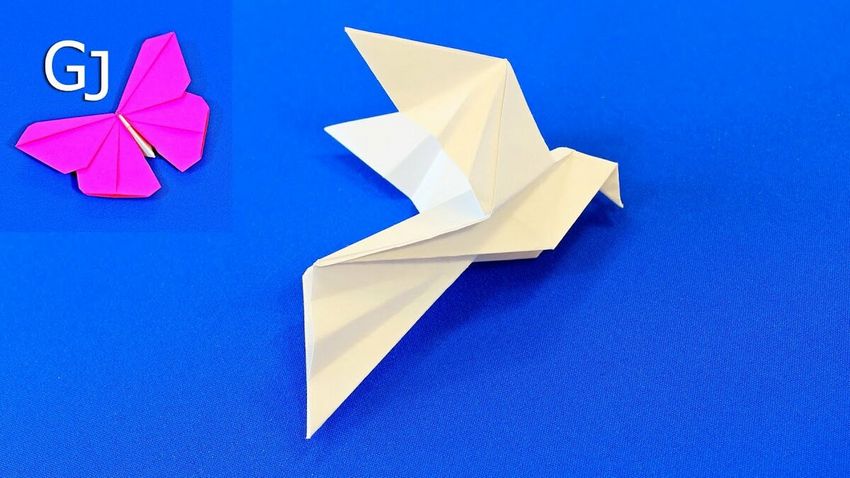
- The resulting figure fold in half, away from you, so it looks like a boat.
- Wings form, wrapping the ends of the boat up - with one and two sides.
- Make the tail of the dove by bending the back of the figure inside.
- Similarly, make the head of the bird, bending the small tip of the front part inside.
- The last step is to make the wings of the bird more voluminous. To do this, make a small bend near the base of the wings.
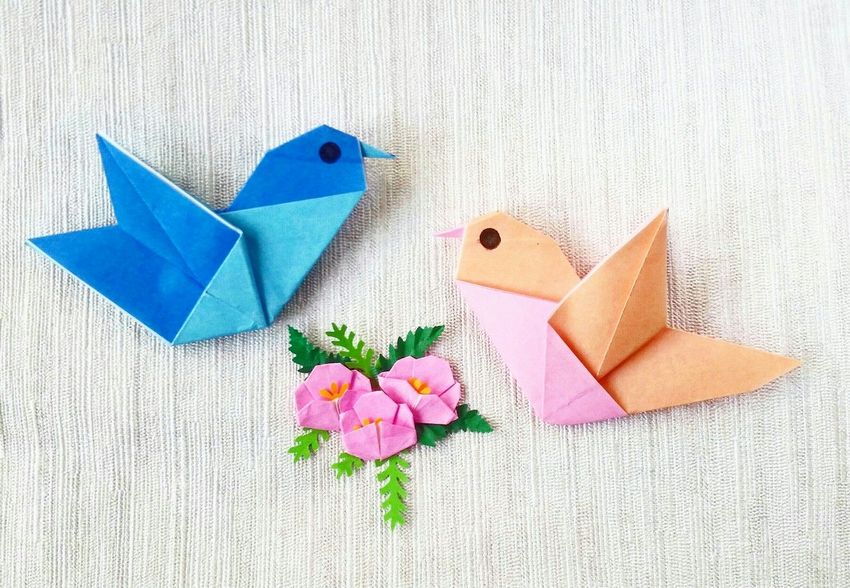
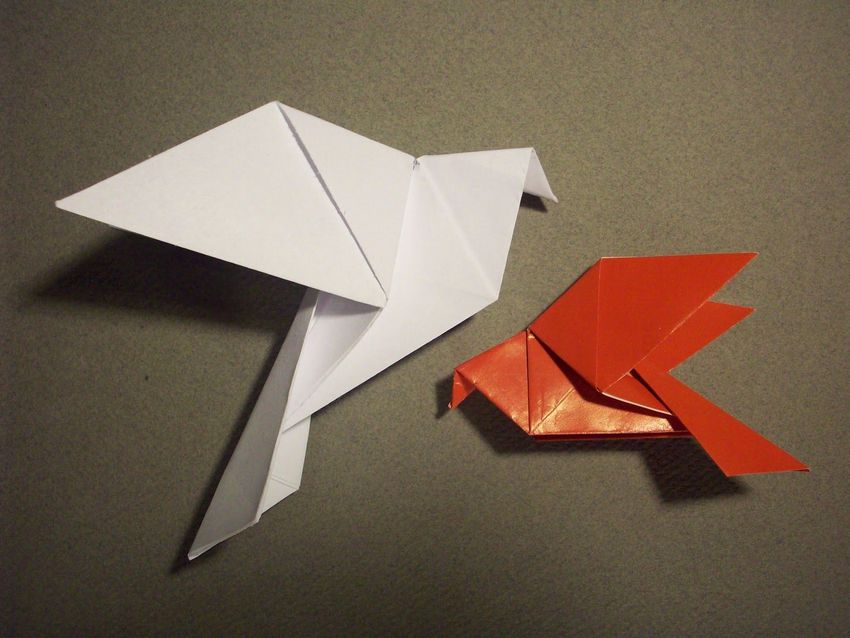
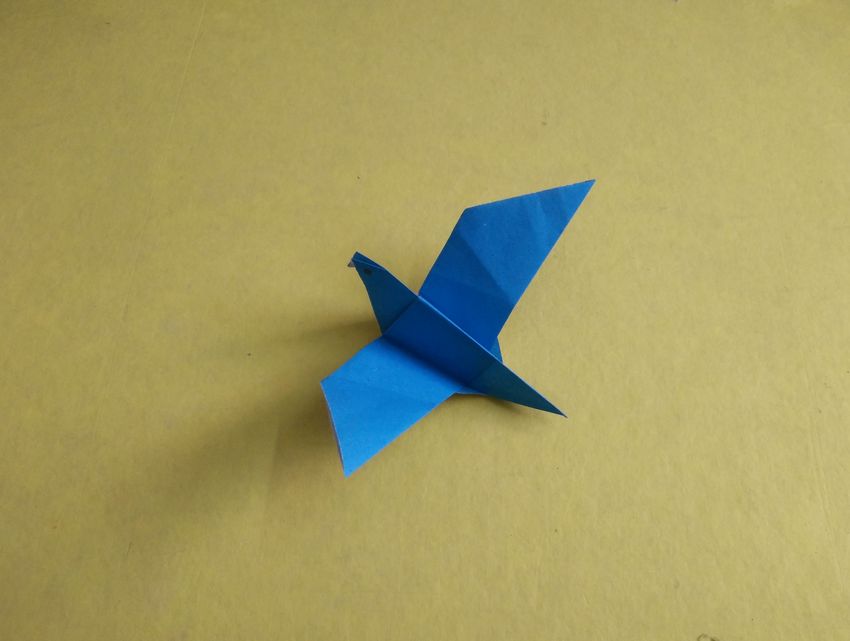
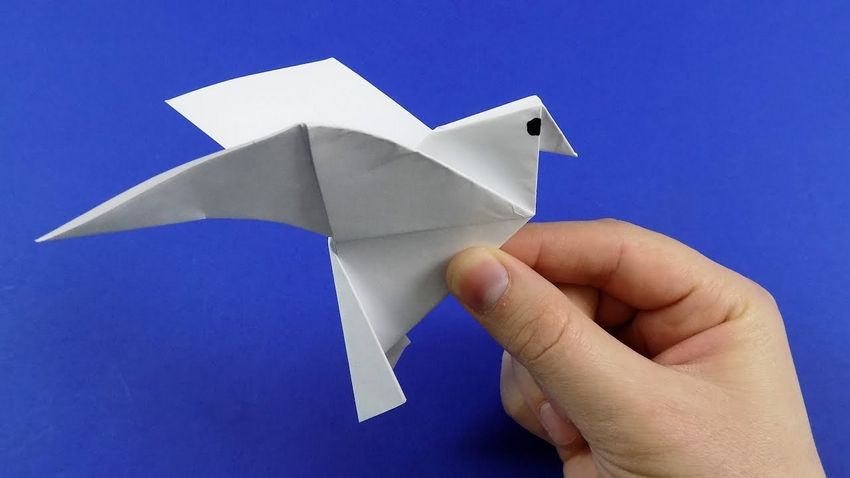
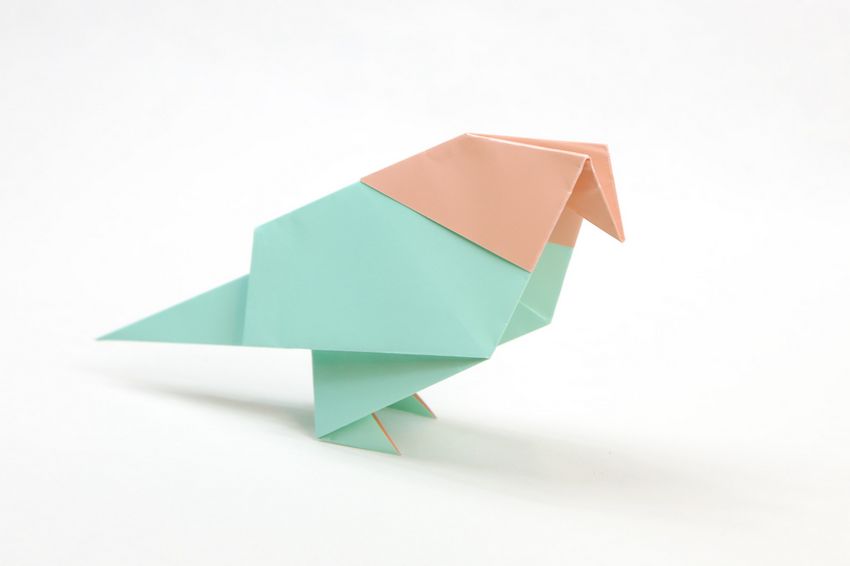
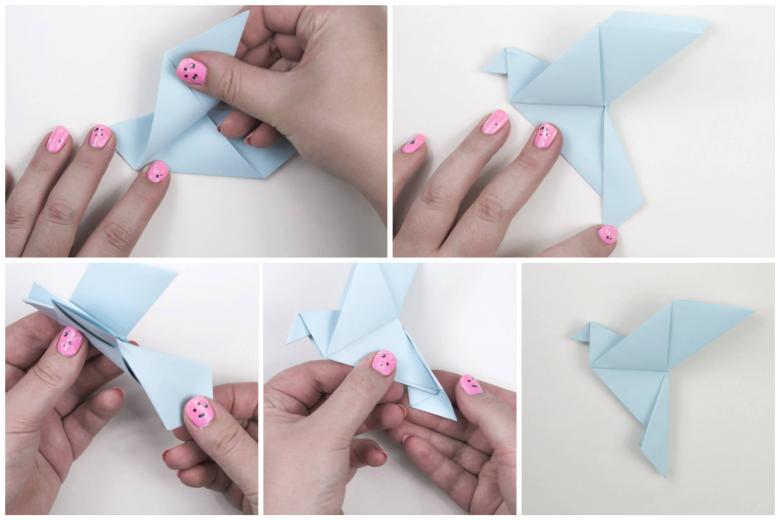
Method # 2
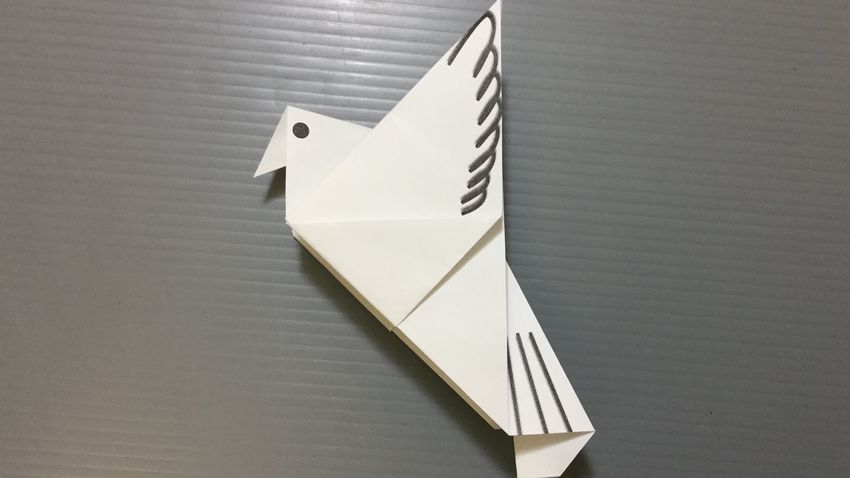
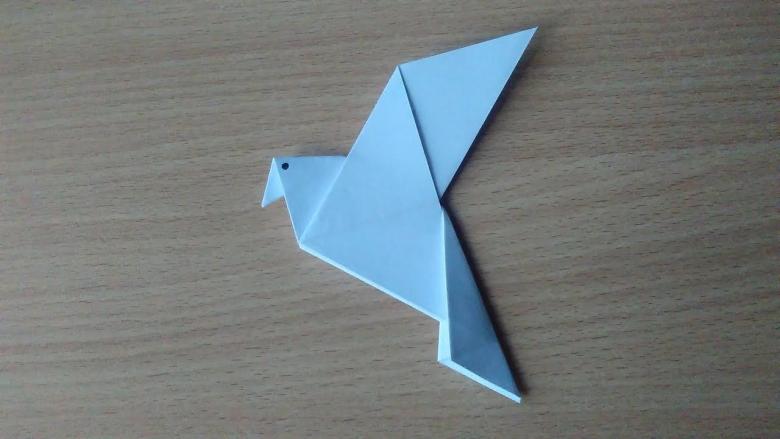
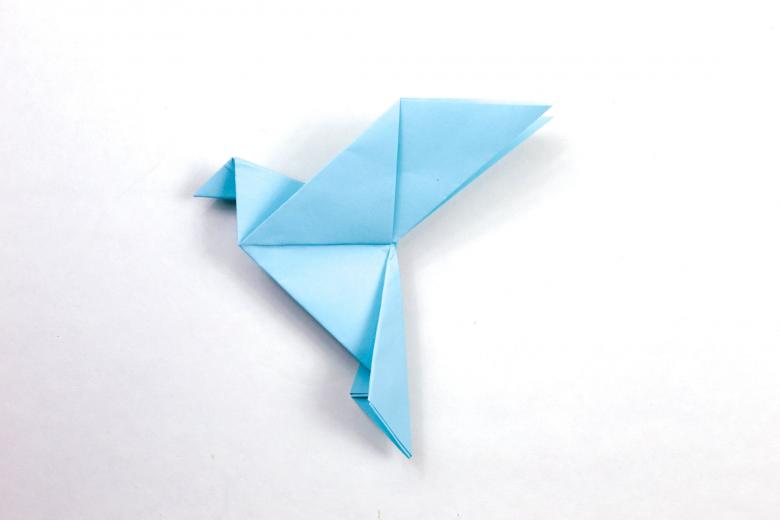
This is a very simple way to make a dove out of paper. Ideal for activities with young children or beginners to master origami. Need a square with sides ranging in size from 10 to 20 cm. The smaller the size of the sheet of paper, the more miniature the figure will be.
Step by step instructions are enclosed:
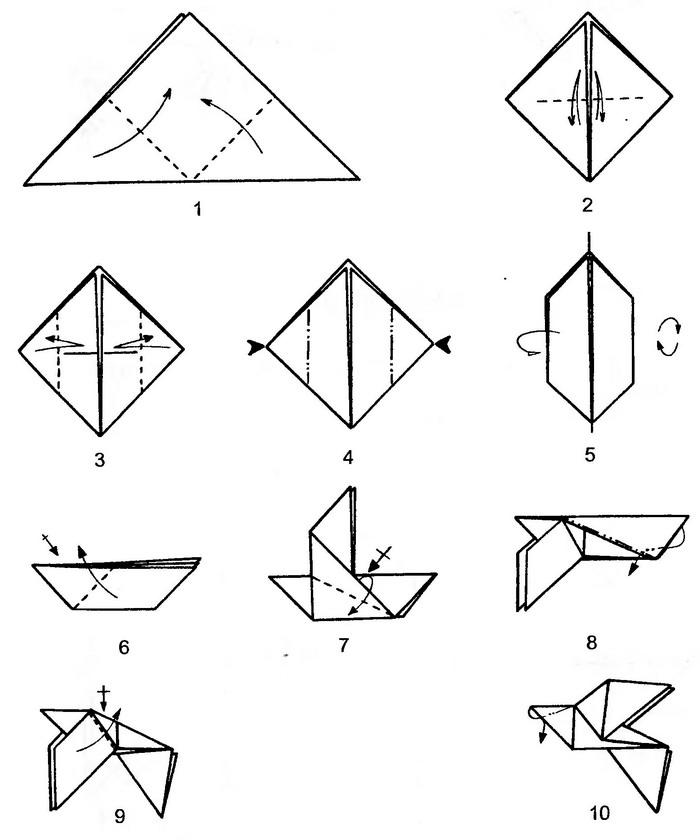
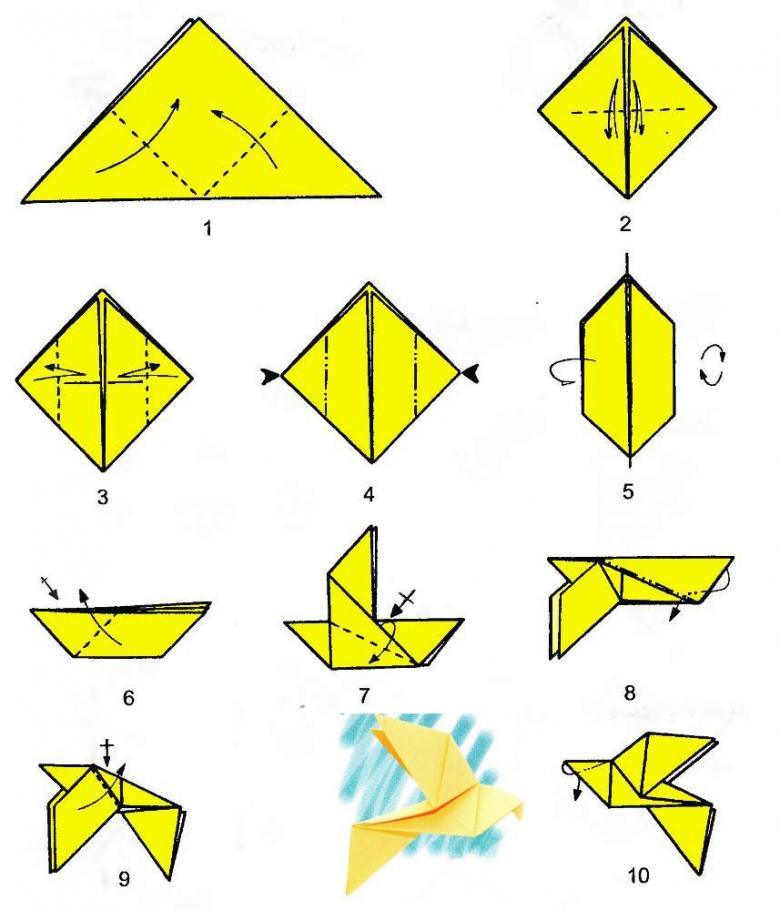
- Take a square and fold it diagonally in half. Make a line of inflection, and then return the paper to its original position.
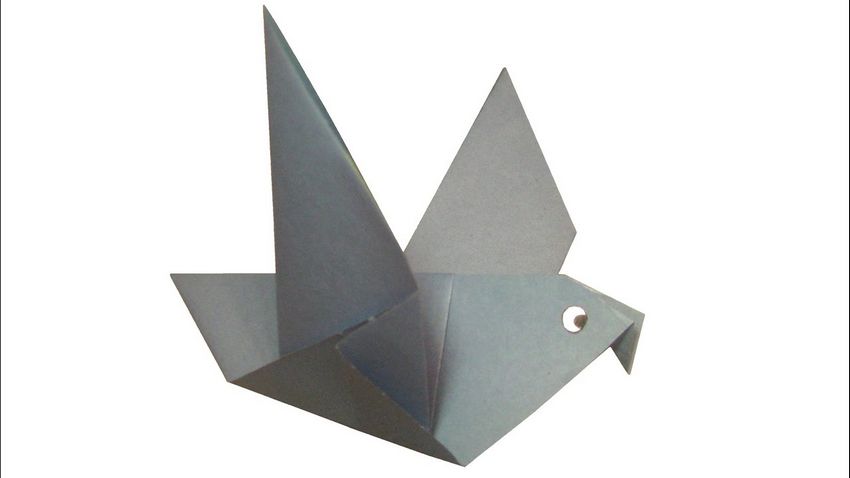
- Put the paper in front of you so that it looks like a rhombus. Fold the top right and left sides inward so that the edges are exactly on the center inflection line.
- Similarly, fold the bottom half of the rhombus toward the center.
- Turn the workpiece on the other side so that the whole figure was in front of you.
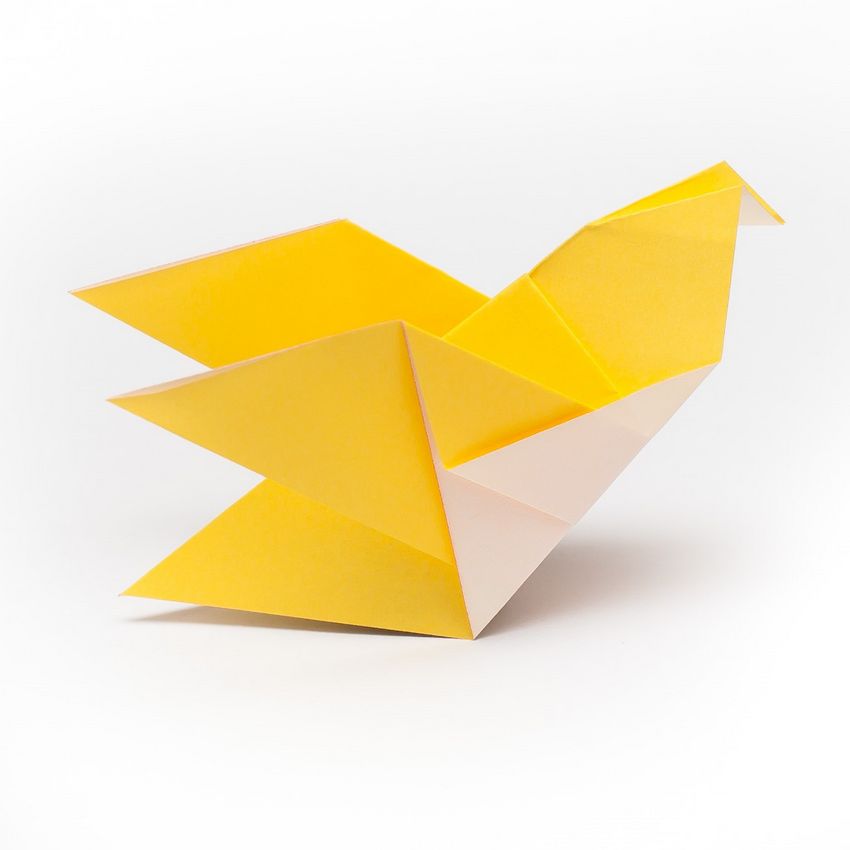
- Fold in half, turning up the bottom half of the figure.
- To make the breast and neck, most of the roll up, making the inner fold. At the tip make another crease inside, to make a bird's head.
- Spread the wings.
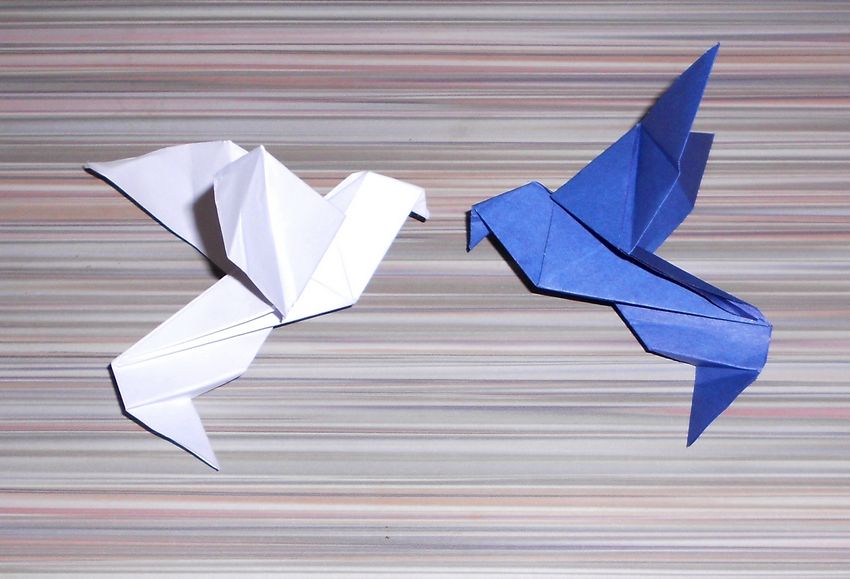
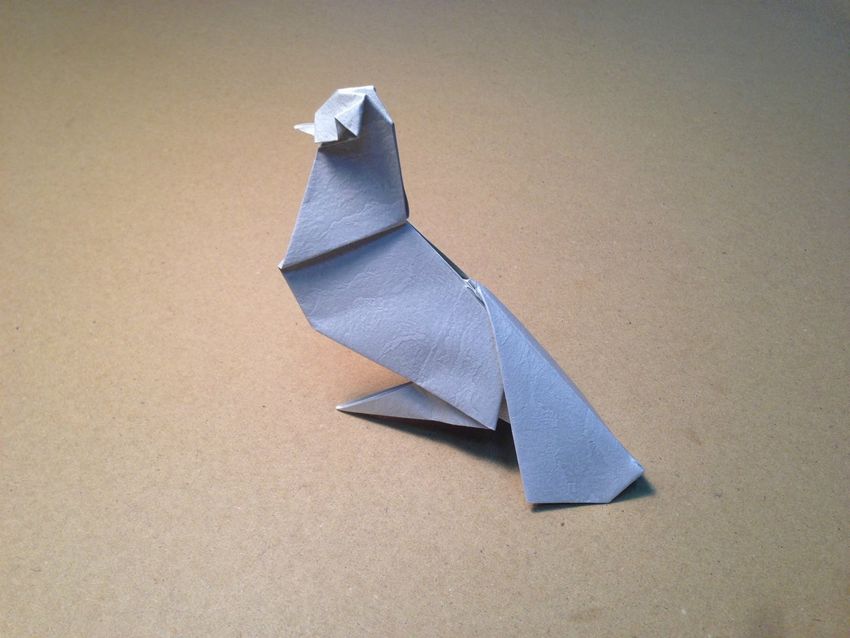
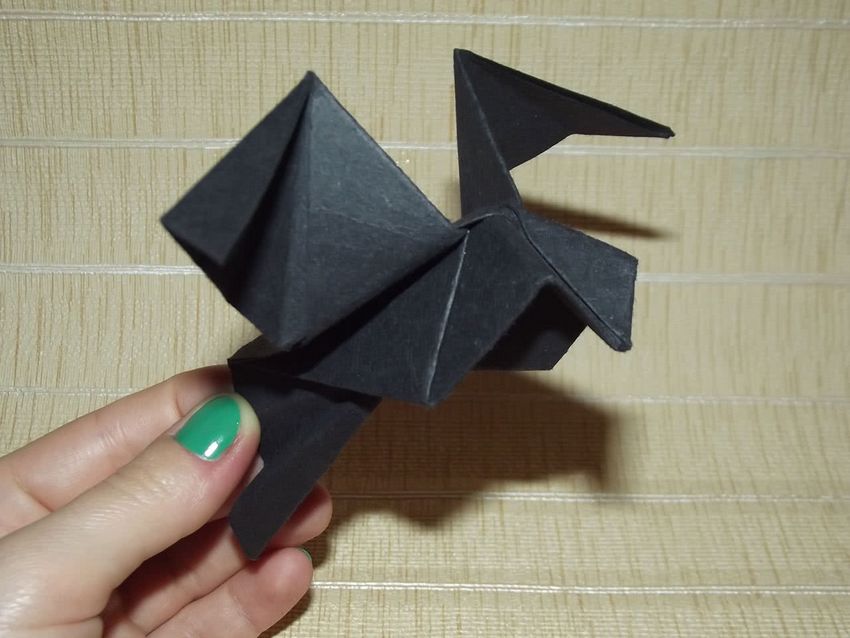
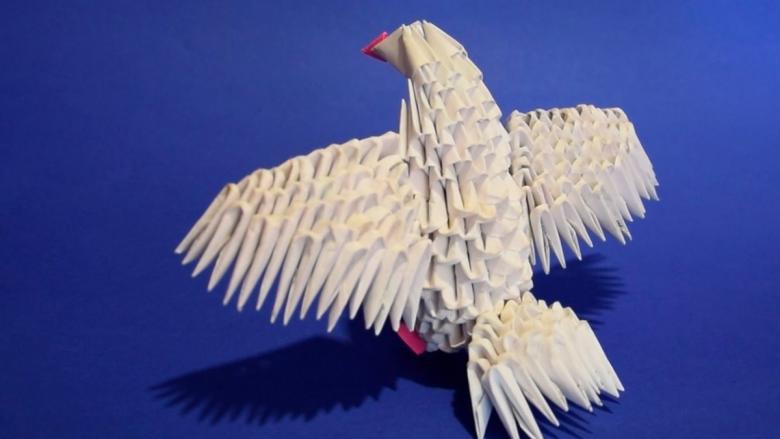
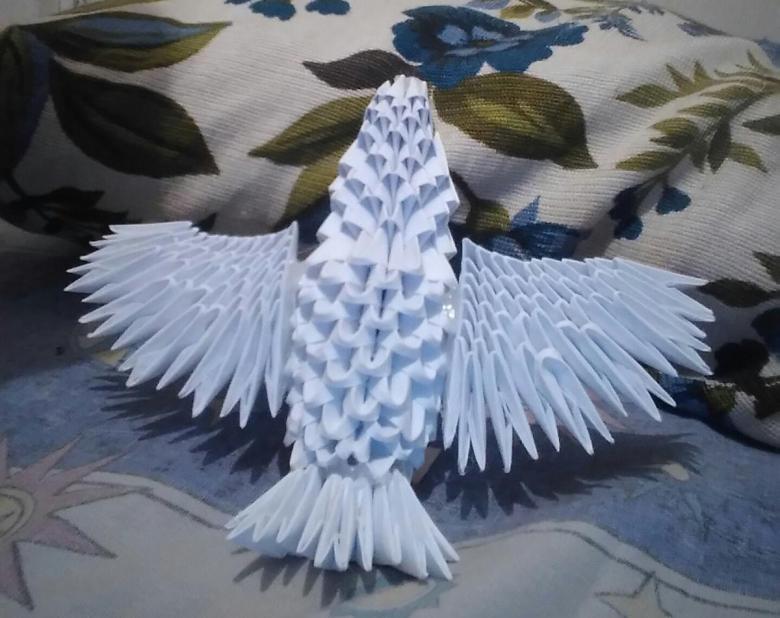
Method #3. Modular pigeon
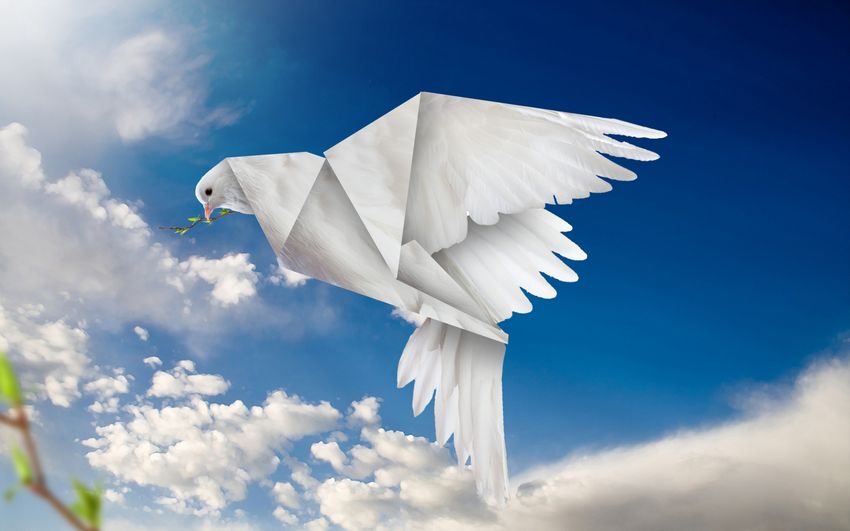
If there is enough time and patience, the pigeon can also be assembled, using the technique of volume origami. The result should be the original 3D-product. Modular origami differs from the classic in that first make a lot of small pieces, and only then they are fastened together. Do not use glue.
To begin with, learn how to make small modules:
- Take thick paper A4 and mark with a pencil on it the rectangles of equal size. It is easier to do if you first divide the sheet into 4 equal parts and then divide each part into 4 more parts. Cut the sheet along the lines, you should have 16 rectangles.
- Fold one rectangle in half, so that the fold line was parallel to its length.
- Connect both ends of the figure, to get the bend in its center. Return everything to its original position. Turn the paper back to the center line of the fold was at the top.
- The upper edges of the press to the center line of the fold. Again turn it upside down.
- The edges that go beyond, bend upward, and then small triangles on the edges again to wrap. Should get a figure in the form of a triangle, so that it does not have anything sticking out around the edges.
- Fold everything back, and then first small triangles bend at the top, and then the lower part.
- Fold the triangle in half. The model is ready.
These modules should make a few hundred, depending on the size of the figure. To fasten the parts together, the edges of one module are inserted into the pockets of another - and then around the circle. In the first three rows of fasten the 10 modules with sharp edges outward, and then with the addition of elements to form the body and wings of a bird.
The first time in the fourth row at the same distance add another 5 elements to the 10. The following two rows of modules do not change the number, but you need to compress the figure slightly, so it looks a little flattened. In the seventh row should already be 22 modules, and then three rows continue the work on the same pattern.
Eleventh and twelfth rows to make 20 modules, and fix them not all around, but only where there should be breast. The next row is 13 pieces, and then you should reduce one more piece.Neck pigeon formed from 7 triangles, fix them with the shorter side outward.
Then continue according to the scheme:
- 2nd row - 6 pieces;
- The 3rd row - 5 pieces;
- 4th - 4 pcs;
- Fifth row, 5 pieces;
- 6th - 4 pcs;
- 7 - 5 pcs;
- 8th - 4 pcs;
- 9th - 3 pcs;
- 10th - 4 pcs;
- 11th - 3 pcs;
- Twelve, four pieces;
- 13th - 3 pieces.
For the head of the pigeon need to take first 3 modules, then 4 pieces. In the next row to increase by one more, and then two rows of staple 4 pieces. The tail do this way: first staple 7 triangles, then increase first to 8, then 9 pieces. The next three rows take 1 piece more, and then 1 piece less. The wings are made according to the scheme:
- 1st-9th rows - 8 pieces;
- The 10th row - 7 pieces;
- 11th, 12th - 6 pcs;
- 13th - 5 pieces;
- 14th, 15th, 16th - 4 pcs;
- 17, 18 - 3 pcs;
- 19, 20 - 2 pcs;
- 21st, 22nd - 1 piece.
Beak is made from a single module and glued together with the wings to the body of the bird. Feet are made from 5 modules, inserting them into each other. Pigeon ready, left only to glue his eyes, cutting them out of black cardboard.
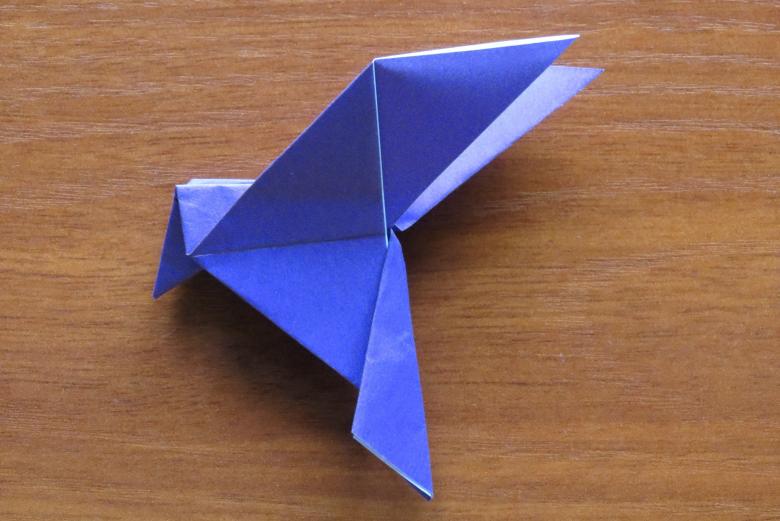
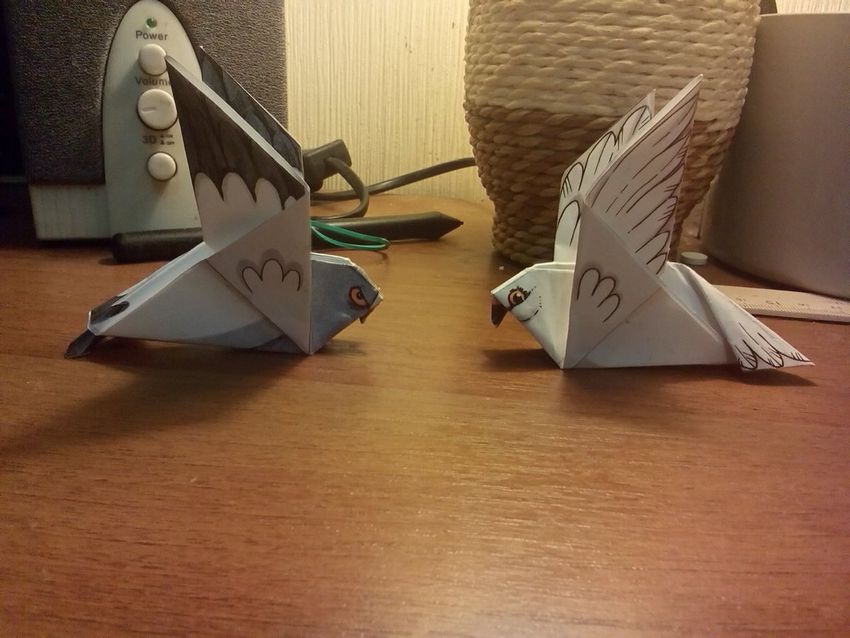
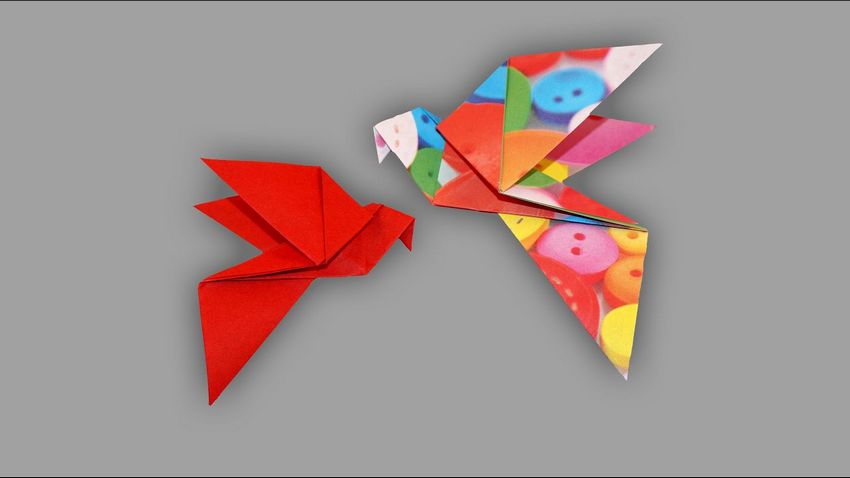
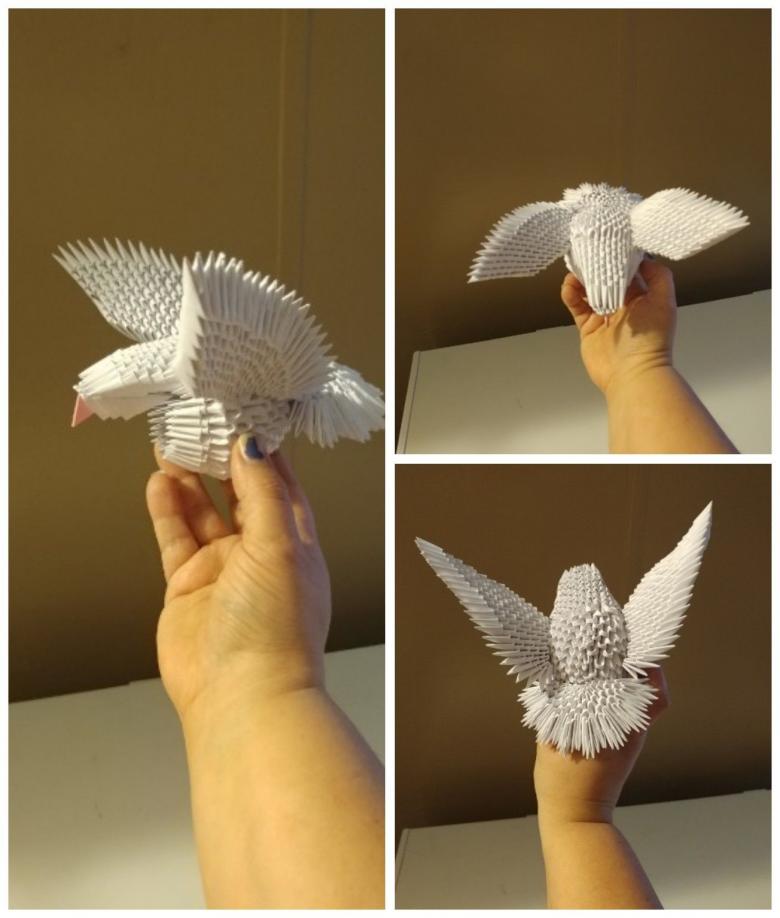
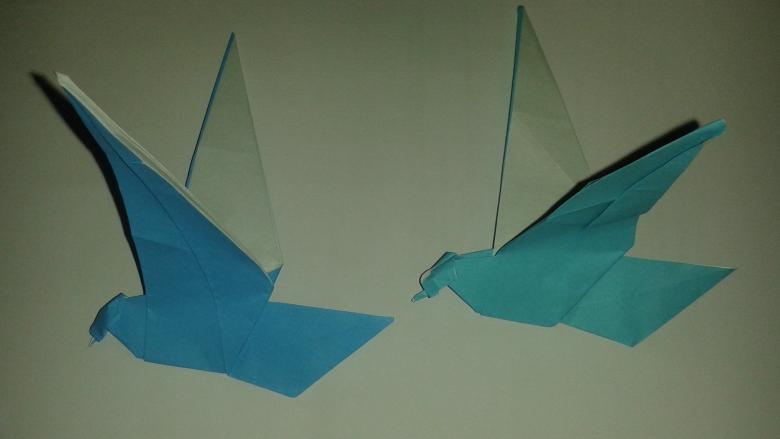
Try to make some paper pigeons right now! They can be an unusual part of your interior, which attracts attention.
Photo ideas of origami paper pigeon