How to make an origami parrot - making a craft with children quickly and easily from the modular elements
We all wanted a pet, forbidden by parents. Now we've grown up and transfer our own negative experiences to our children. They also hope to get a friend for fun. Most often - it's a dog or cat. But there are exotic desires, like a parrot or a hamster.

If a lover to stick food in his cheeks can somehow be tolerated and fed. But a feathered animal is not available to everyone, because it needs a cage and a specific diet. But there is a way out - the child's passion will satisfy origami parrot made with his own hands.
But, how to make a parrot out of paper origami technique does not know everyone. Therefore, below we will shed some light on this issue.
The advantages of the paper parrot
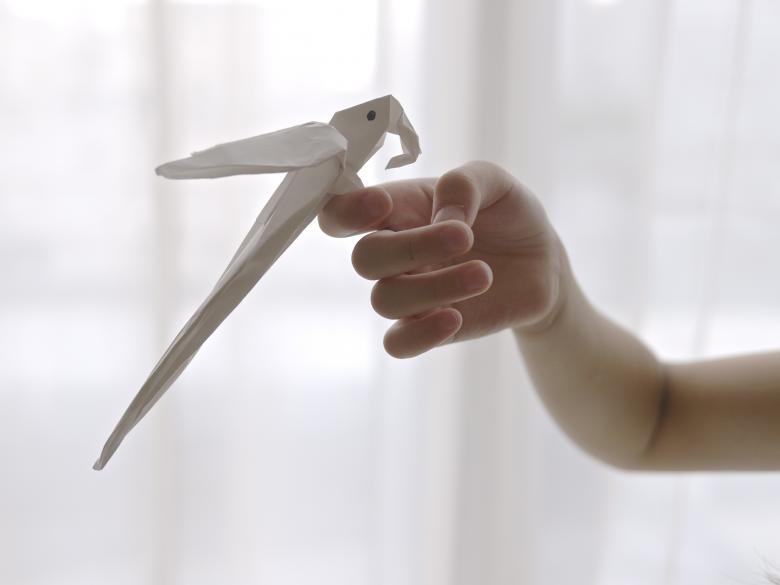
In contrast to the living animal, an origami parrot does not need special care, attention or care. It is necessary, sometimes, to wipe dust. Thanks to him, it is possible to beautifully decorate the interior of the nursery. You can use it for pirate games or other entertainment. Let's make different versions of a talking bird.
It is worth involving the baby for this work. He can acquire new skills in working with different materials and tools. As a result, fine motor skills and the creative imagination of the boy will develop.

To do this, you do not need to insist on making a craft according to the scheme. Well, if he wanted to add their own touches to the product or significantly change the process of creating origami parrot.
But we must decide what way to create origami parrot. There are two directions:
The classic origami origami parrot.
Suitable for beginners amateur needlework.
Modular fake.
Distinguished by the complexity. Because it is resorted to by advanced craftsmen.

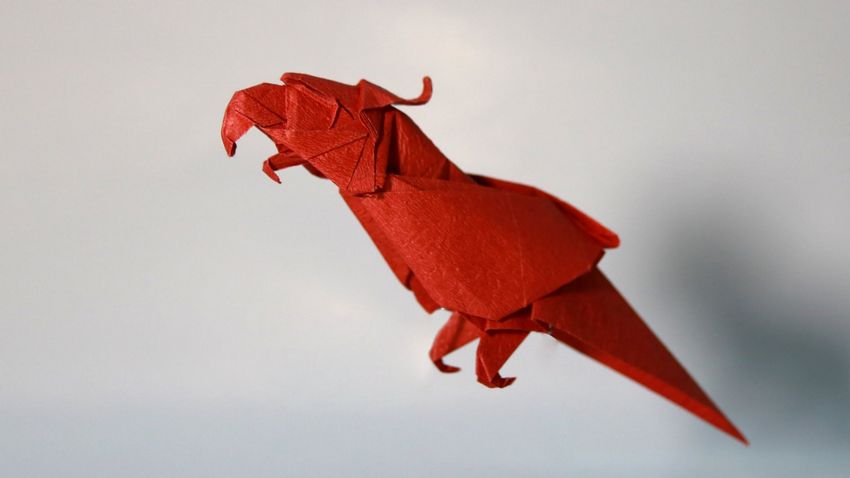
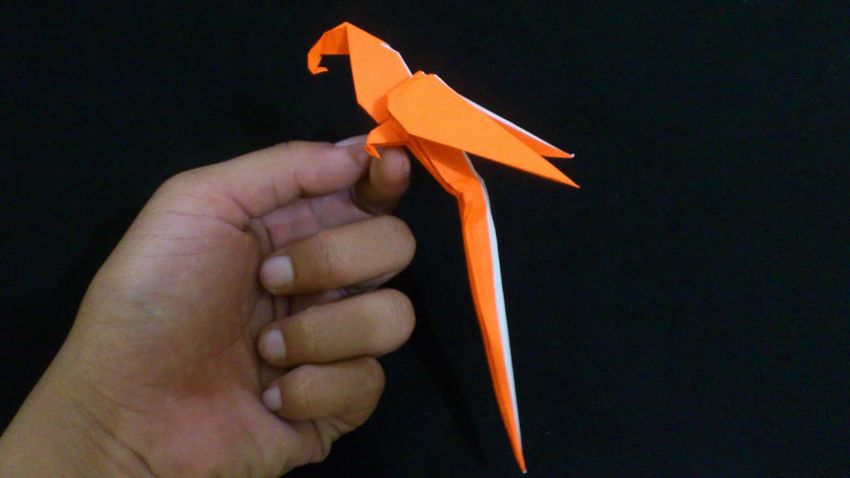
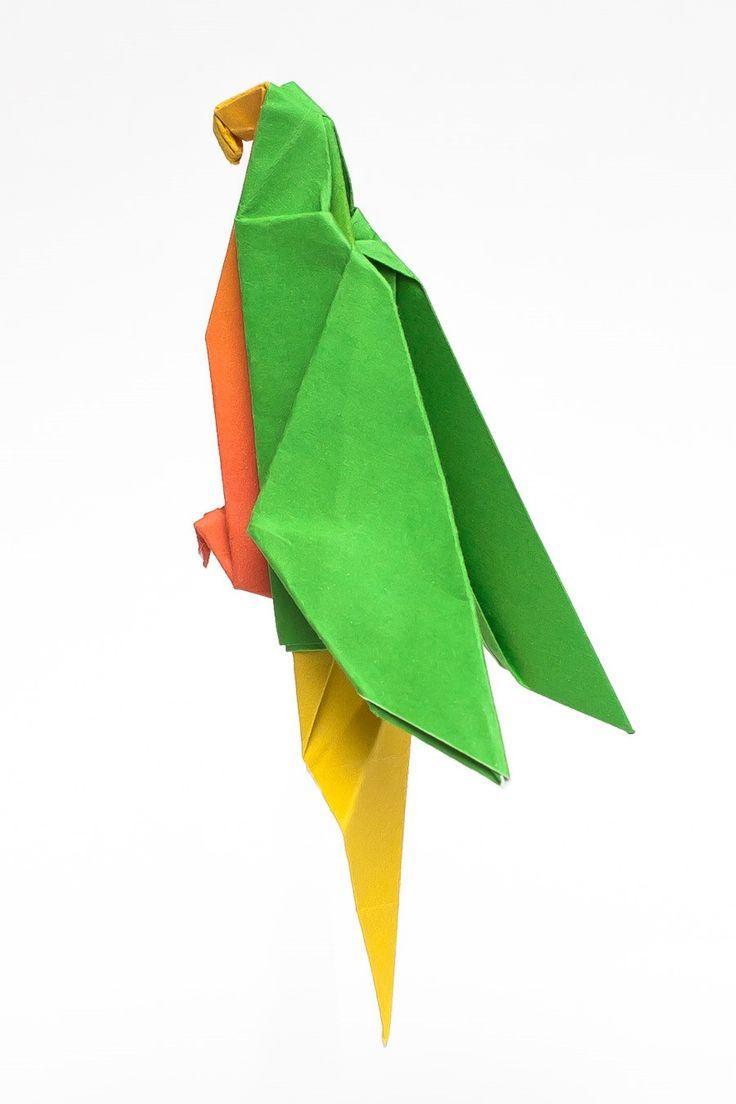
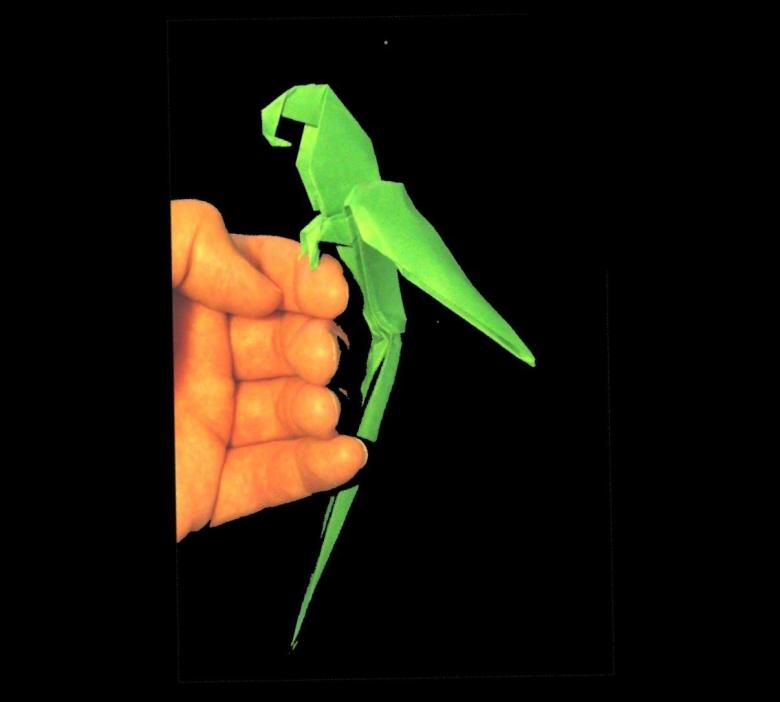
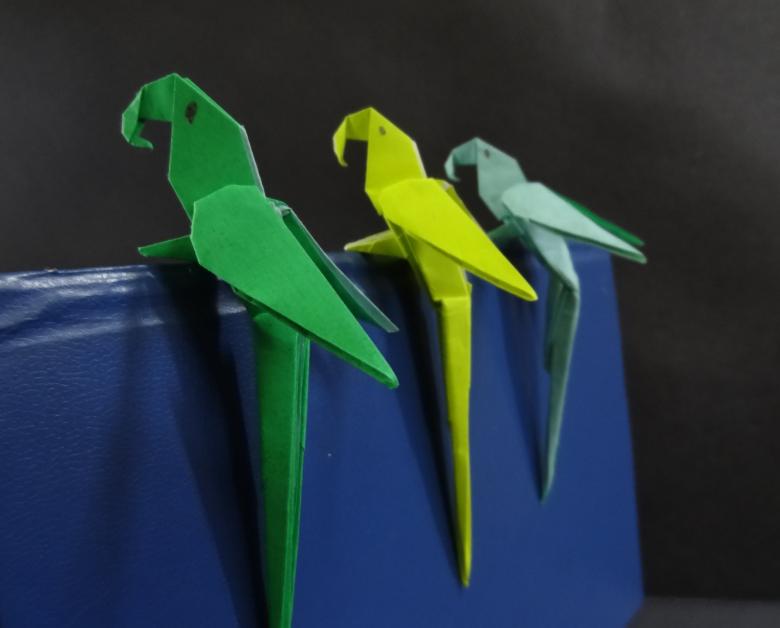
A classic origami parrot for beginners.
Handicraft trend allowing to create a paper parrot originated in Japan. Since ancient times in the land of the rising sun has appeared art - origami. Then it became popular around the world.
Thanks to the paper can create the legendary parrot Kesha or a unique handicraft based on personal preference. To do this, you can rely on the classical method or gather origami parrot from the modules for beginners.
But we begin to understand how to make a classic version of the handicraft. It will take a lot of suitable paper.
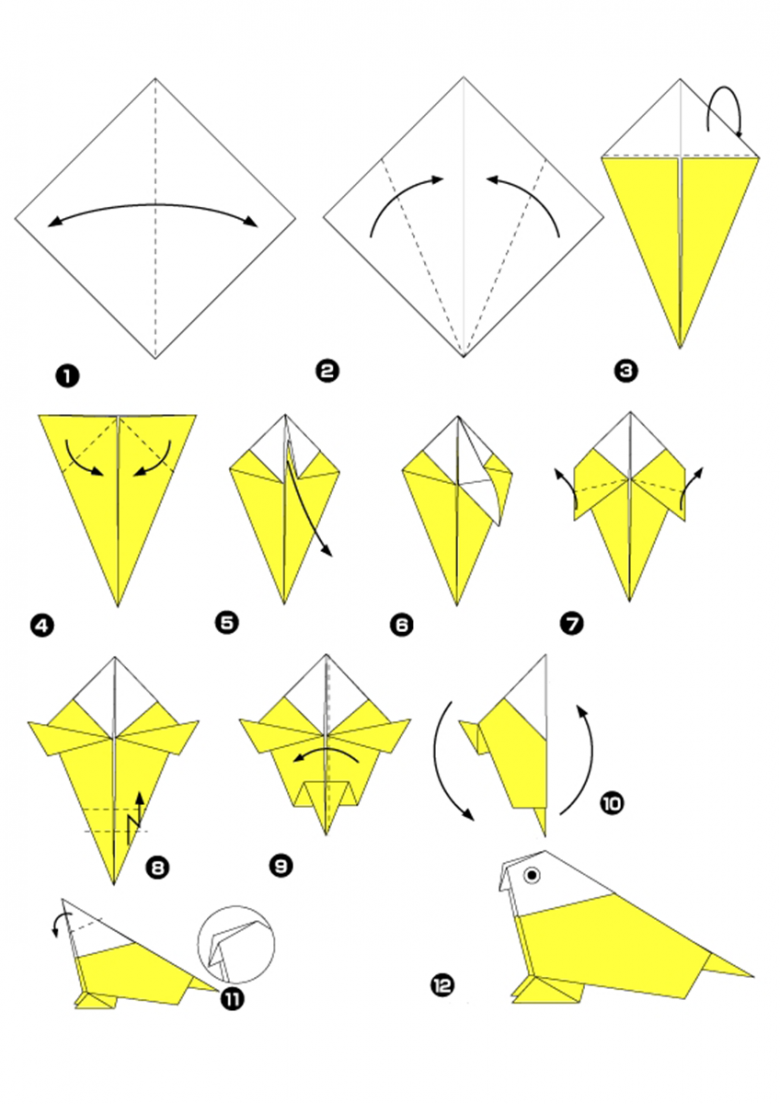
Manufacturing steps:
- Takes a sheet of A4 paper by the bottom of the left corner. It is bent according to the scheme.
- Rectangular edge is bent to form a classic square.
- Shaped square, twice bent on the diagonal. Unfolded, so that there were curves. They will be used as a marker.
- The structure is bent to form a diamond shape. Its lower sides are bent in the central direction, the bend line is pressed through. This is necessary to prevent the details from unbending.
- The triangle formed on the upper level of crafts bent in its direction.
- Leaf unfolds, folding its parts in the direction of the internal markings. Formed a triangle in the center of the square.
- Handicraft turned over and folded to the middle side of the workpiece.
- Right then left flattens the inside. Securely pressed. They are carefully aligned with the fingers of his hands or a solid tool.
- Bend to the center of the lower parts of the handicraft. But they immediately unfold back. Lines of products rolled to the inside. The upper triangular geometric figure is folded on itself. The product has acquired the shape of an acute angle.
- With the right, left side performed identical steps. But the middle of the triangle is rotated much lower, to be able to form the feet of a parrot.
- Workpiece unfolded, so that the feet moved to the front. Therefore, the workpiece unfolded and put on a flat surface. Lines of the diamond are applied to the center in both directions. The lower level of the parrot is almost made. But there is a lot of work left to do with the upper level.
- The triangle is bent at the top. Workpiece is folded in half.
- The top line is again superimposed on the bottom line to fold it in half. With the parallel side is an identical procedure.
- Elements of the workpiece are bent. Legs are separated in different directions.
- The wings look down.
- The remaining top level is folded to form a barely noticeable crease.
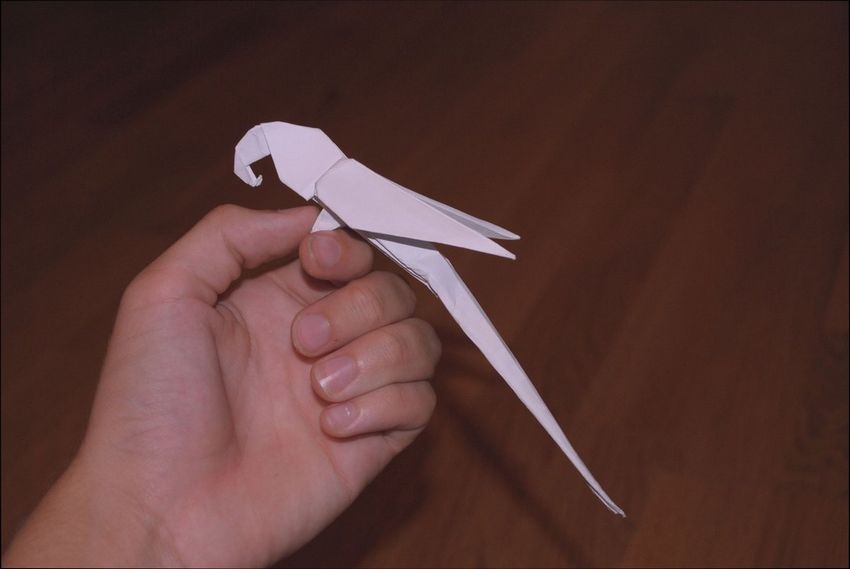
- The whole product is again folded in half.
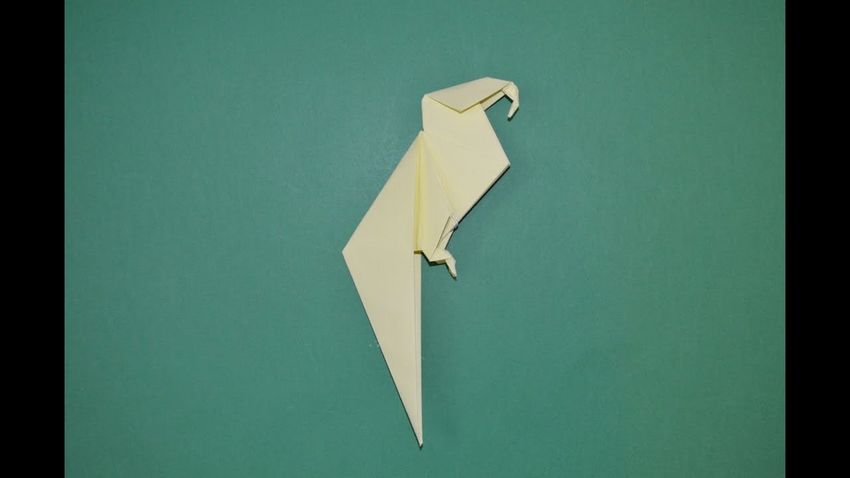
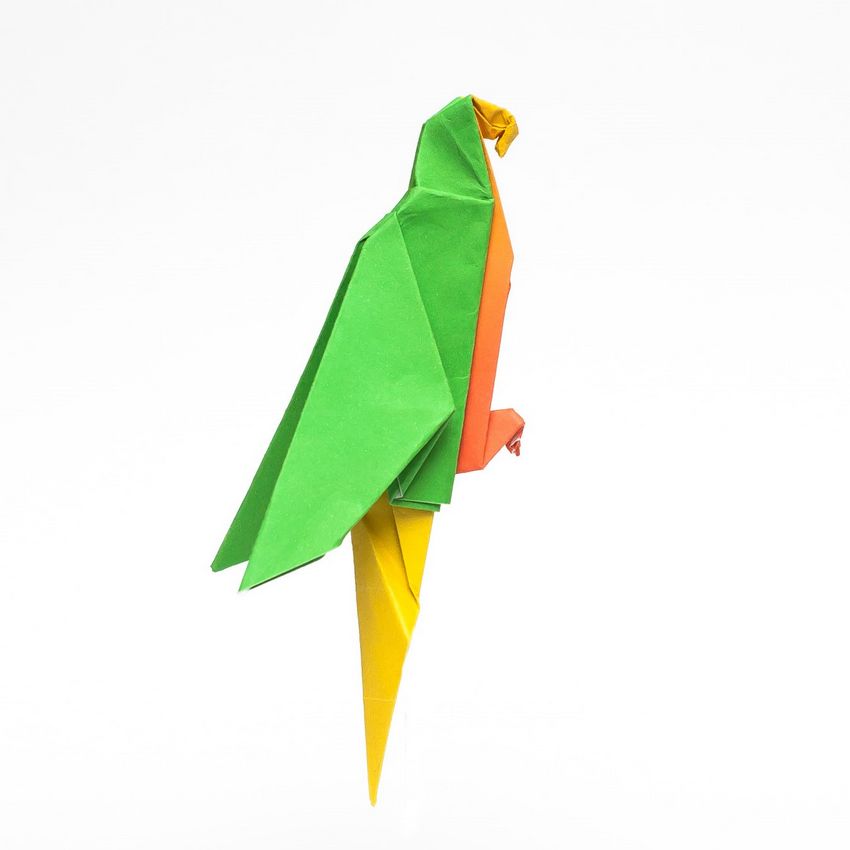
- Origami parrot is actually made. Necessary to finish the head. The remainder of the paper is bent inward. Then this action is repeated twice more. This ensures the formation of the beak like a real bird.

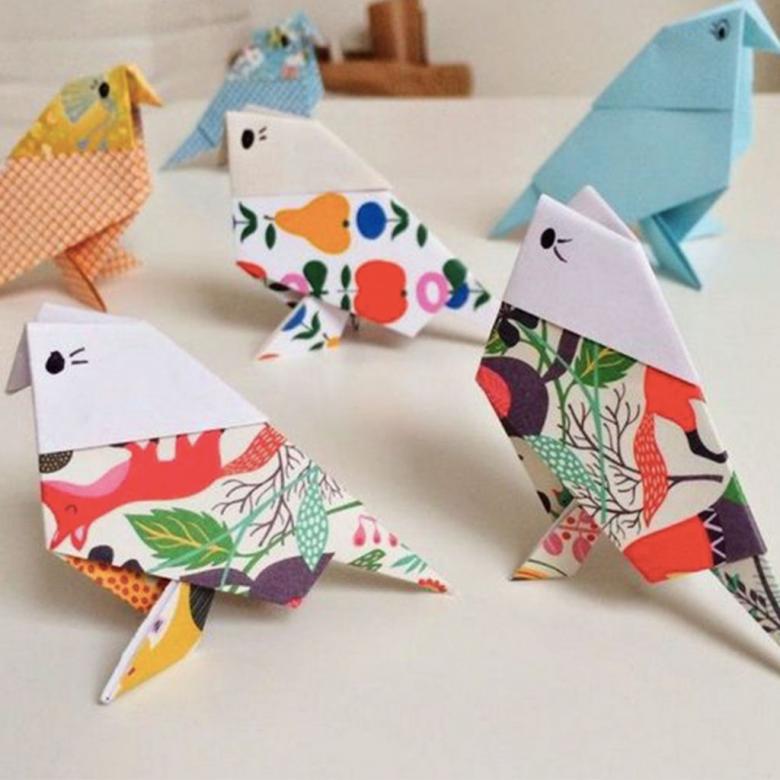
To complete the work, you need to paint some surface crafts. Allowed decorating with additional elements.

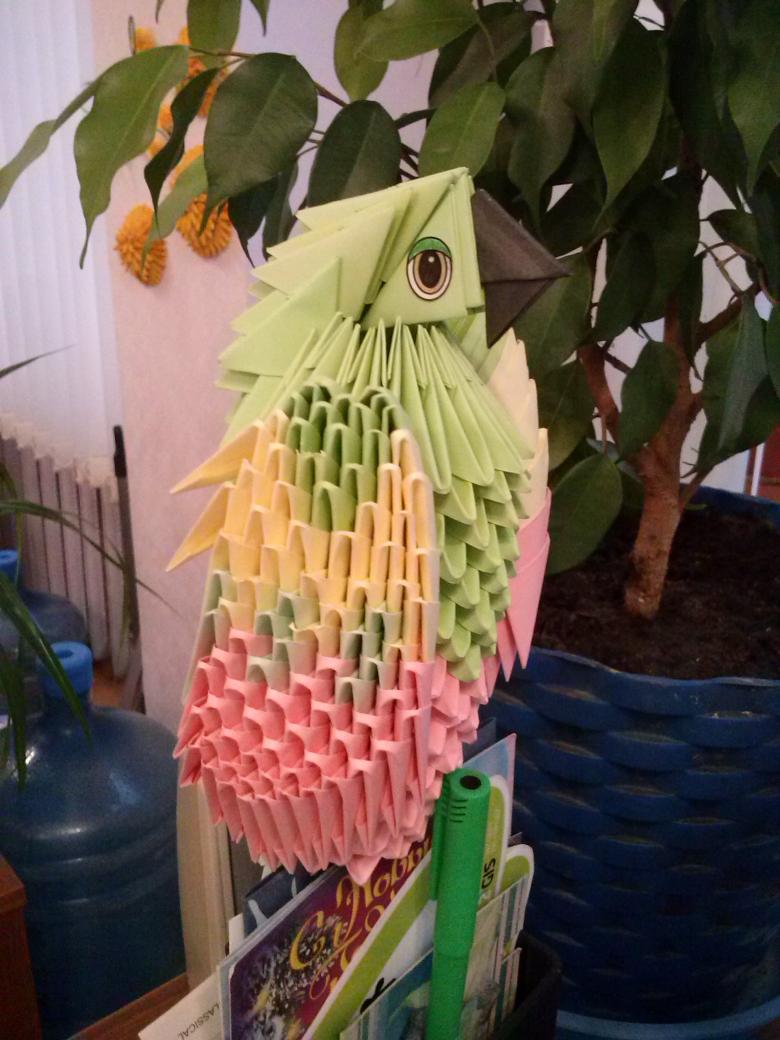
Let's learn how to assemble a modular version of a parrot.
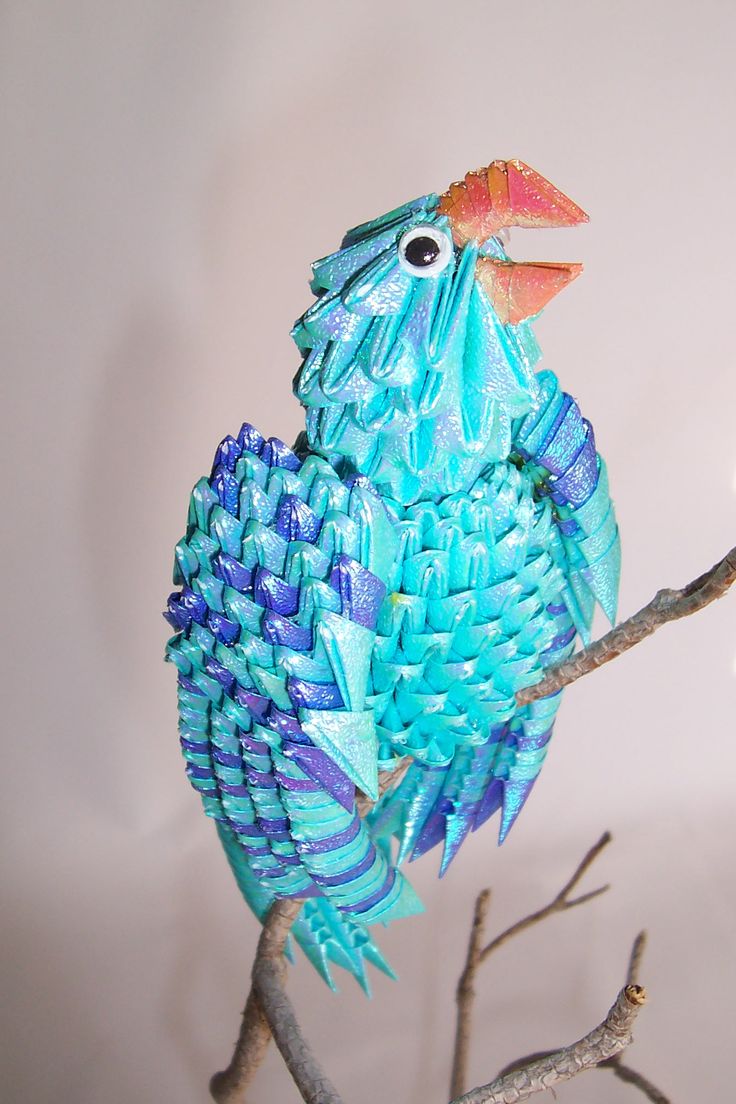
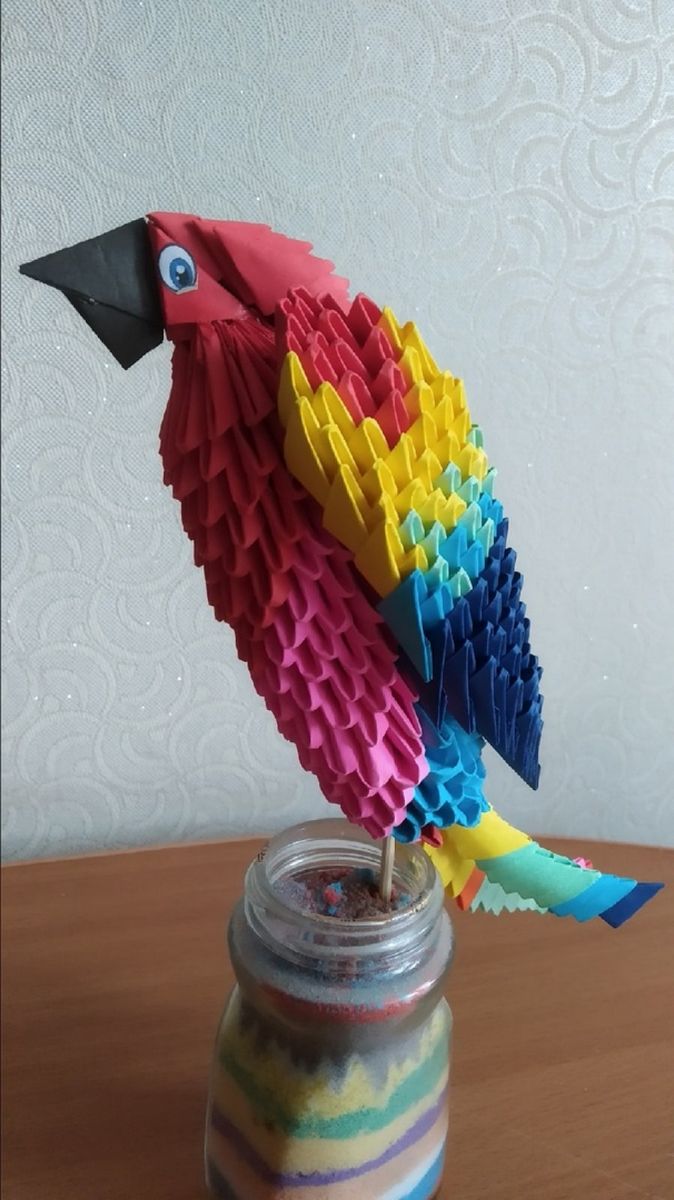
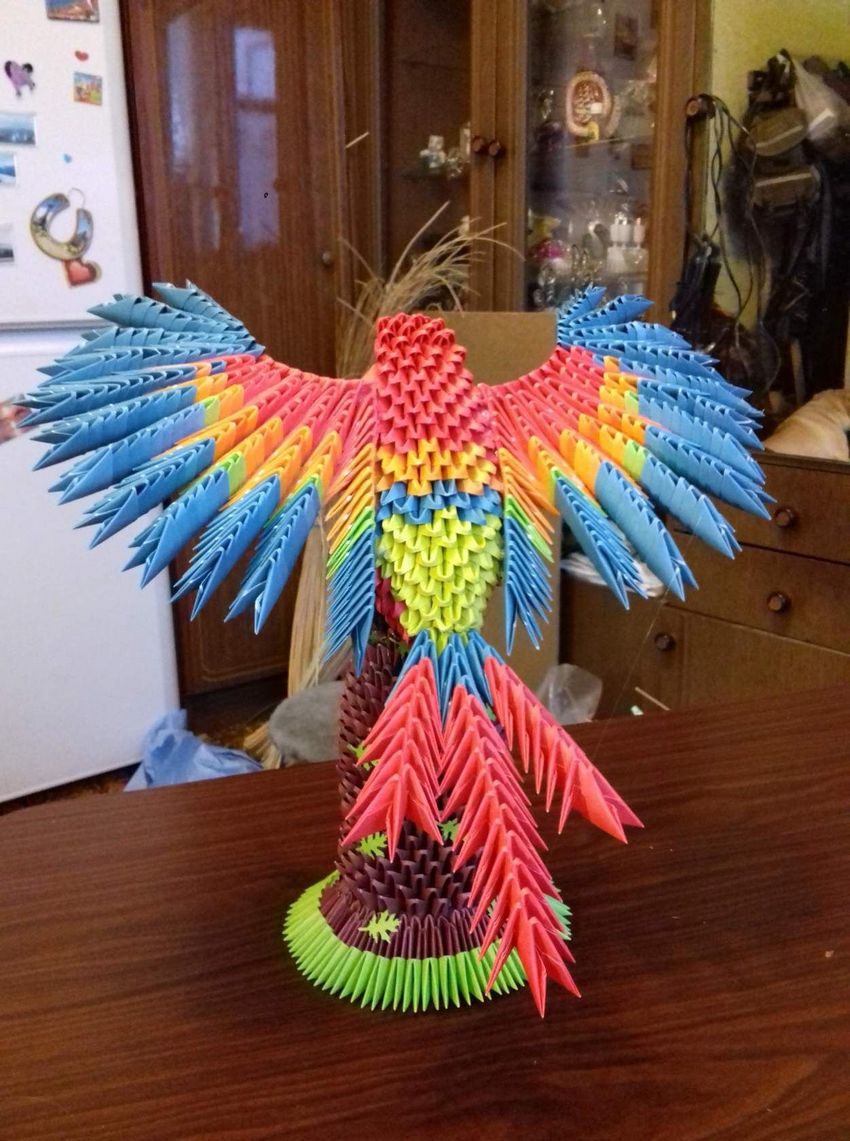
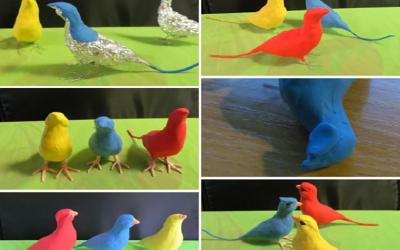
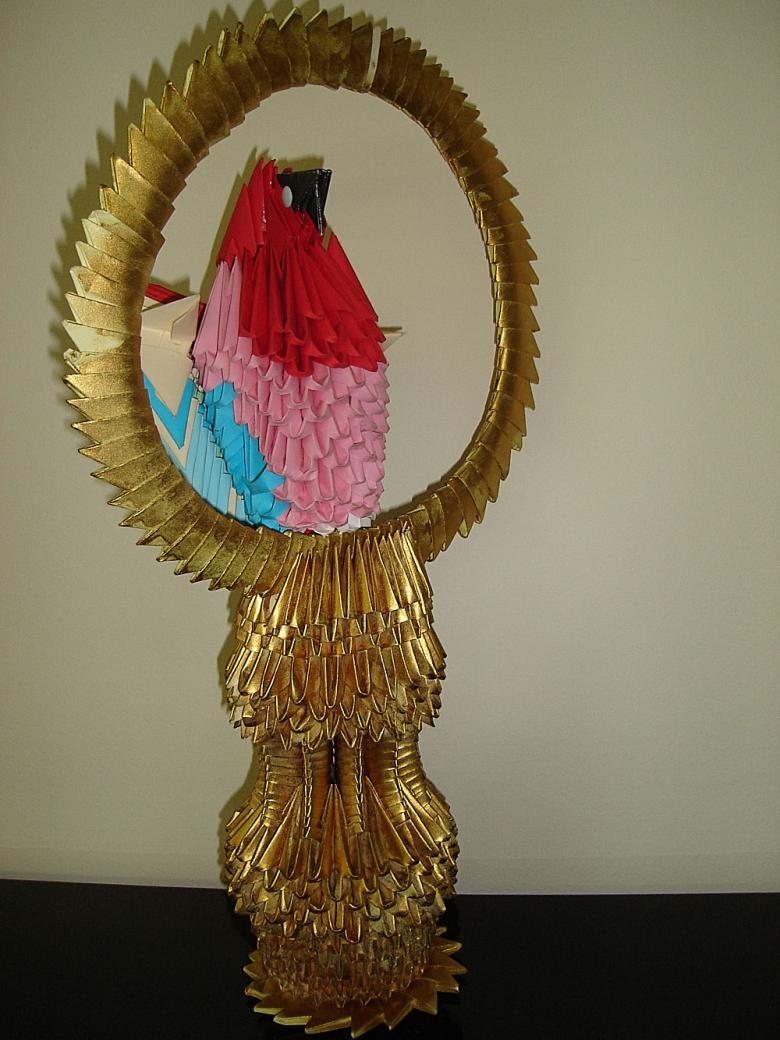
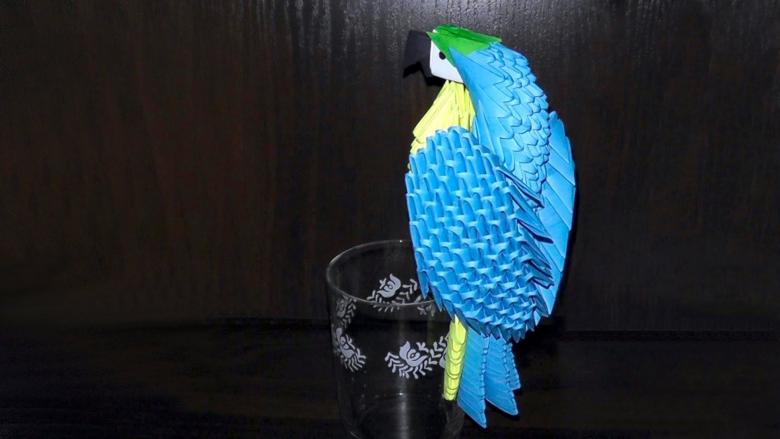
To collect the handicraft, used the scheme of a parrot blue macaw from modular origami, but the bird can be made in different colors. It all depends on the preferences of the author. Multicolored version is much harder. Let's make exactly it to get a funny figure for children.
What will be needed:
We use 262 red, 162 blue, 54 yellow, 34 green and 3 pink elements on a triangular base. They are made on their own or ordered by a master.
Manufacturing steps:
- Two starter strips are added with 6 red, 5 blue modules for each line;
- On 3-5 rows identical elements are used;
- Further you can not connect the colors. That's why blue is used for the 6th level, red for the 7th;
- The seventh strip 8 to, 7 blue;
- 8th 9 k, 3 s, 2 k, 3 blue modules according to scheme;
- 9th row 5 k, 2 s, connection with the sternum, 8 k, 2 s, based on the next connection;
- 10th 1 s, 9 k, 1 s, 6 red elements;
- 11th level is formed by 17 k. Creates 4 rows based on the 17 red elements;
- Reaching the central part of the back. We add in a line of 2 red elements;
- We begin to form the neck section of the parrot. We use 6 to, 5 to, a new row of 4 to, 5 to, a transition of 4 to, 3 to, another line of 4 to, 3 to, 2 red elements;
- Bend the neck to glue the 2 red modules;
- Create head section 2k, pink element, red and pink module again;
- The head is glued and connected to the neck;
- 11 rows are added, followed by 9 red elements;
- Two additional modules are added to the edges;
- One additional blue module is added to the side holes;
- A wing is formed;
- Add an identical second wing;
- The tail is made with 2 feathers of 7 green elements, 3 feathers of 9 blue modules. They are attached to the base;
- A beak is made. Pink, black modules are used. Attached to the product;
- Draw eyes. They are superimposed on the handicraft;
- Wings are bent. They are glued to the base;
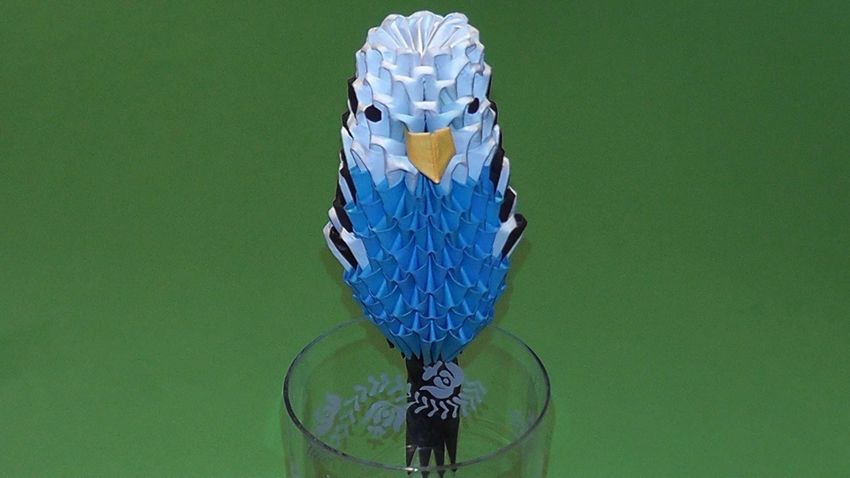
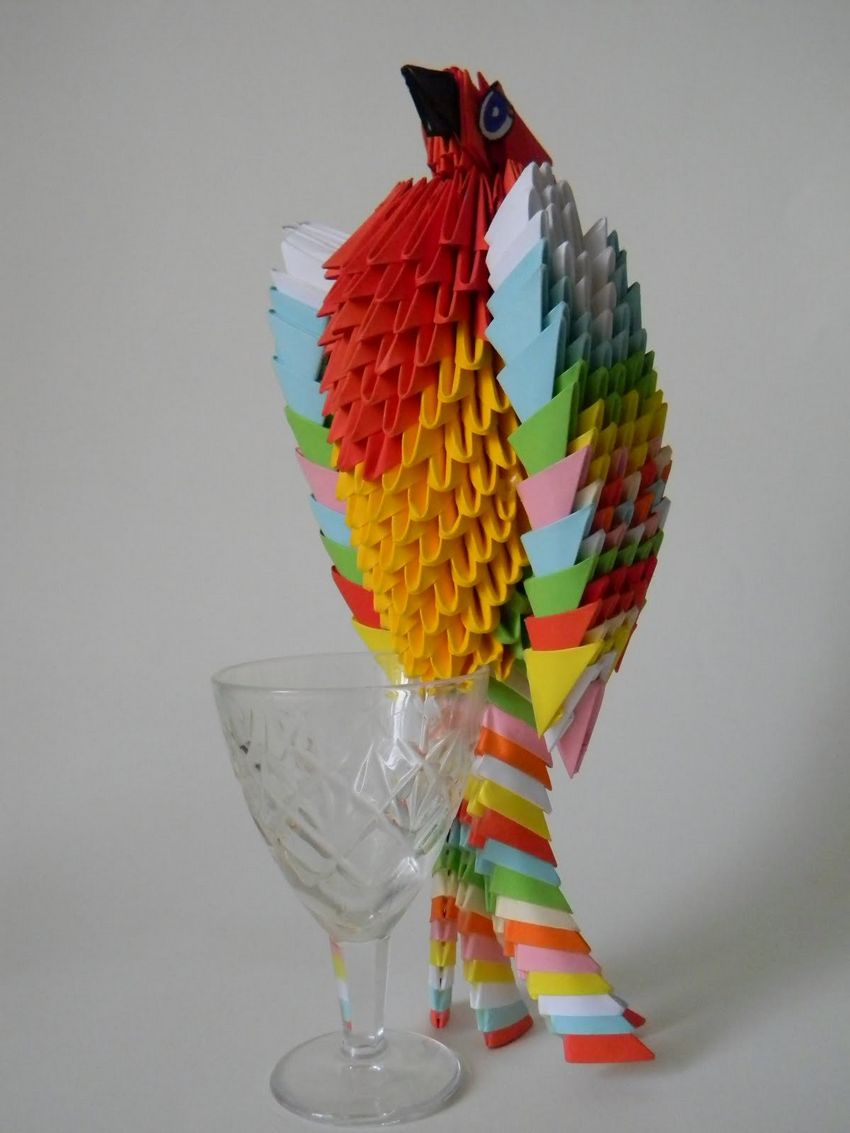
- For beauty of the product, a parrot is placed on the edge of the glass. Green and blue modules are used for this.
All, if the work is done correctly, the parrot ara should be ready.
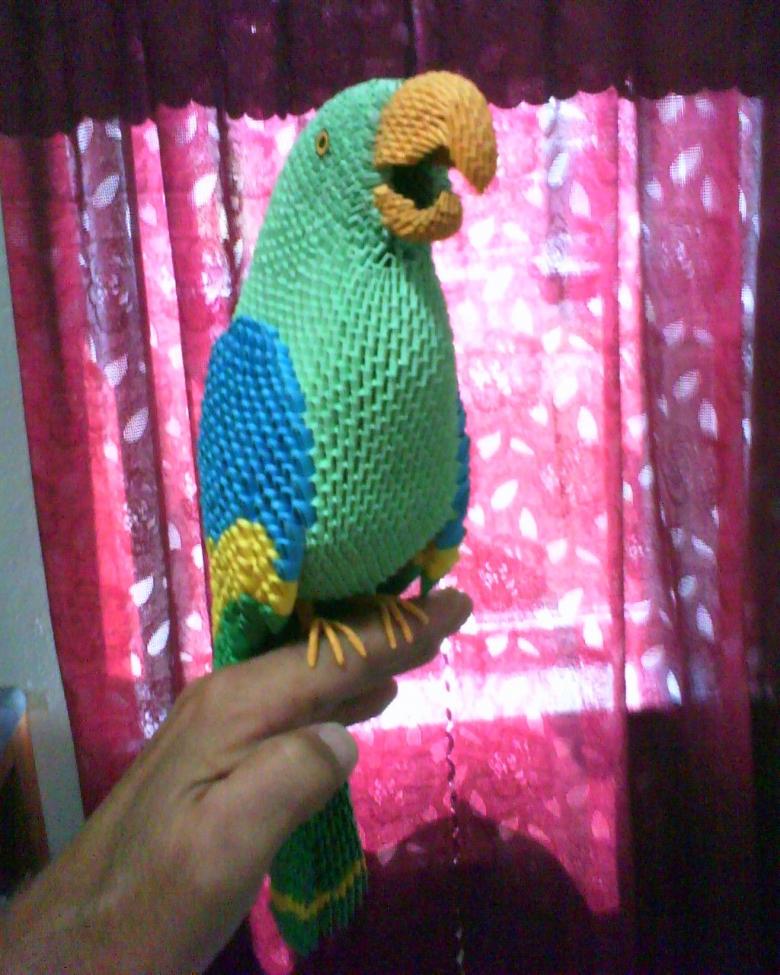
Now we have learned how to assemble origami parrot in different ways. However, on this site there are other options for creating origami lots of birds and animals. For self-development, it wouldn't hurt to take advantage of the other detailed master classes. Come back to us, we hope to see you again.
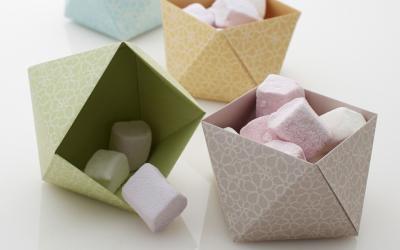
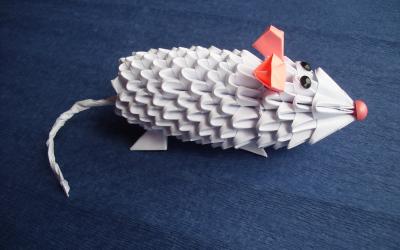
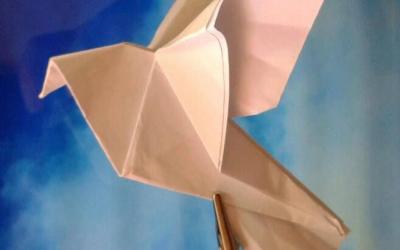
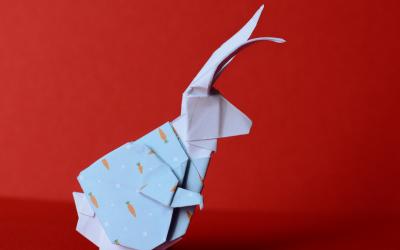
Photo ideas of homemade origami parrot