Origami Fish: Diagrams and instructions how to make a fish with their own hands
The child wants to spend more time with their parents? The question arises, "And what to do together?" Origami will help you. For children 5-6 years there are fairly simple schemes for creating handicrafts in this original technique.
After all, this work has an excellent impact on the child's thinking, as well as developing fine motor skills. For joint activities with your child can be combined with the useful - to read a story, and then create characters from it. The heroine of "The Tale of the Fisherman and the Fish" by Alexander Sergeyevich Pushkin's beautiful goldfish can inspire the creation of origami fish from paper.
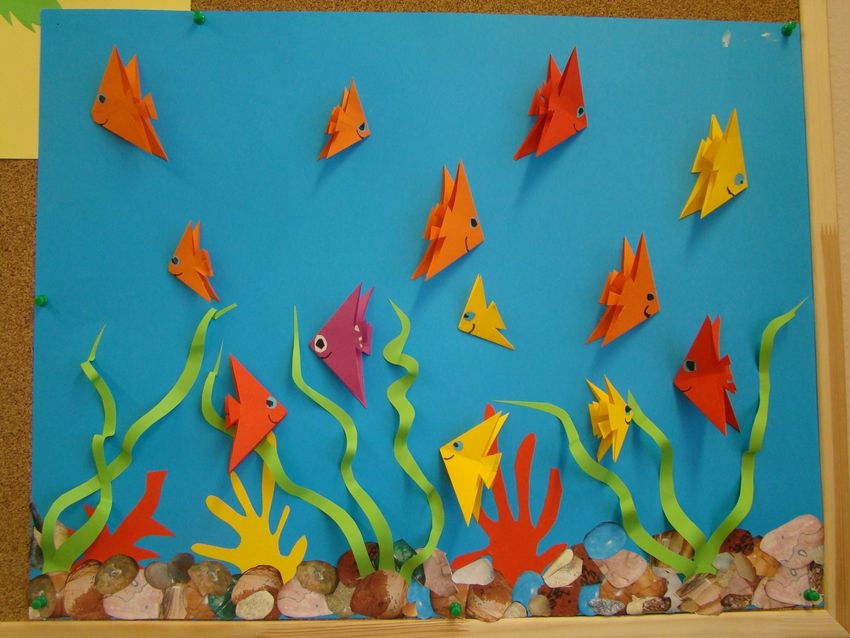
And if after work a child wants to relax, you can change the activity and watch a beautiful fairy tale "Sadko. And create an underwater kingdom. This will require a lot of origami fish out of paper. Such work can devote several days.Scheme of making fish with origami, there are many. There is even a volume of origami. For the same enthusiastic and advanced option is offered, such as modular origami. There is a simple origami paper for children.
With imagination can diversify joint activities with your child, turning the apartment into an aquarium or the seabed. After watching the cartoon "Octopussy" (by Edward Uspensky "Colorful family"). You can buy special paper for origami crafts. It is colored on both sides, so the work is beautiful and highly attractive in appearance.
It is necessary to choose paper so that it is of good quality. Not to tear at the folds. (In the process of working it will have to repeatedly bend and unbend!)
Origami classic
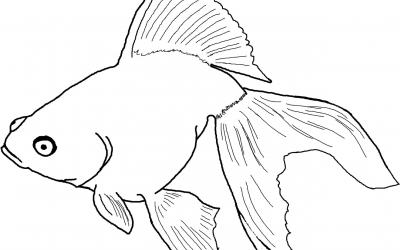
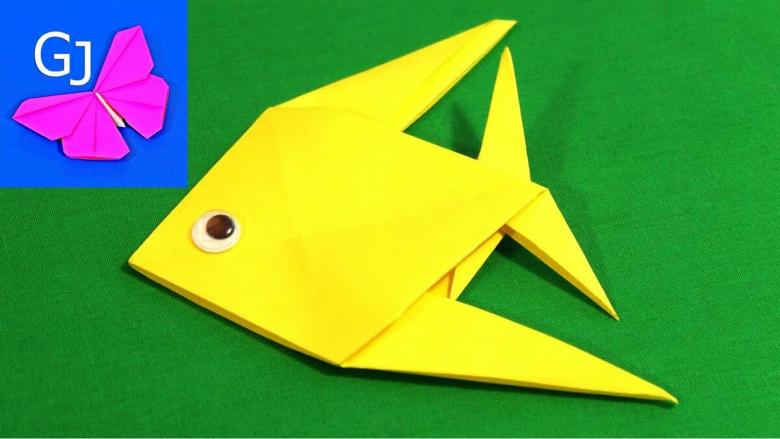
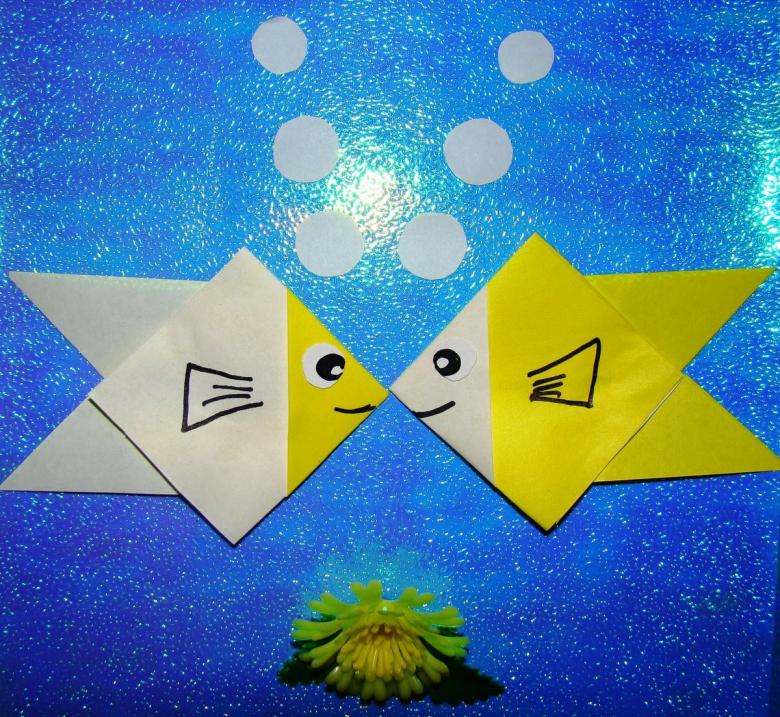
Goldfish out of paper
For crafts we will need a square piece of work.
For making a goldfish from Pushkin's tale we take yellow or orange paper. Is there a gold leaf in the set? Bend, and then unbend our workpiece along one and then the other diagonal (diagonal is a straight line that connects the opposite sides of the square).

Then the workpiece is folded in half. Need to bend the corners inside, so that the result is a triangular shape.
Then we take the scissors and cut the tail of the fish.
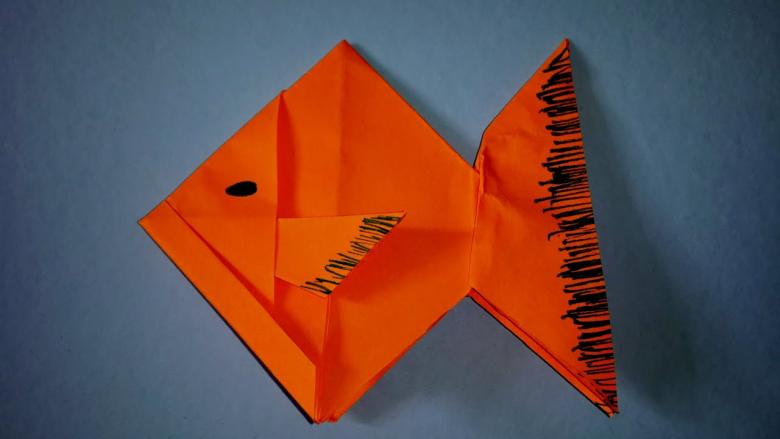
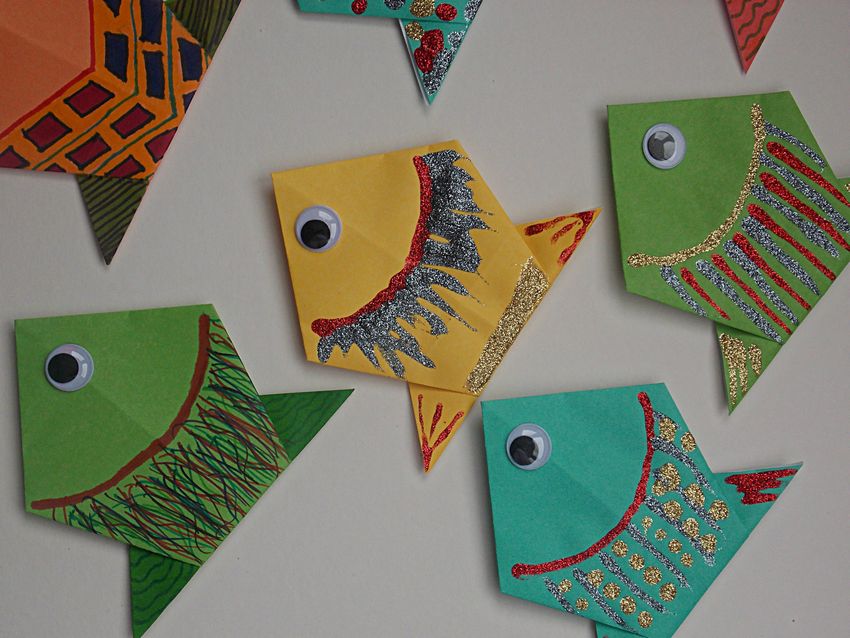
Take a red or orange felt-tip pen (depending on the color of the blank) and draw scales. If you have a hole punch at home, you can create many small scales from the remnants of a rectangular sheet (from which a square was cut out). The child will be happy to decorate fish with them. Yes, and it will get much more accurate and exotic.
Blue or green felt-tip marker draw the eyes. And you can use the blanks. Now in stores you can find on sale decorative plastic eyes. They come in blue, green or black. This decorative element will help to turn a simple handicraft into a work of art.
In some cultures, the fish represents coldness and indifference. The heroine of our fairy tale is a symbol of higher justice. This is a good excuse to start talking to your child about human values. After a little philosophizing, you can play the story by role. So the child will join the world of beauty with the help of an ordinary paper goldfish.
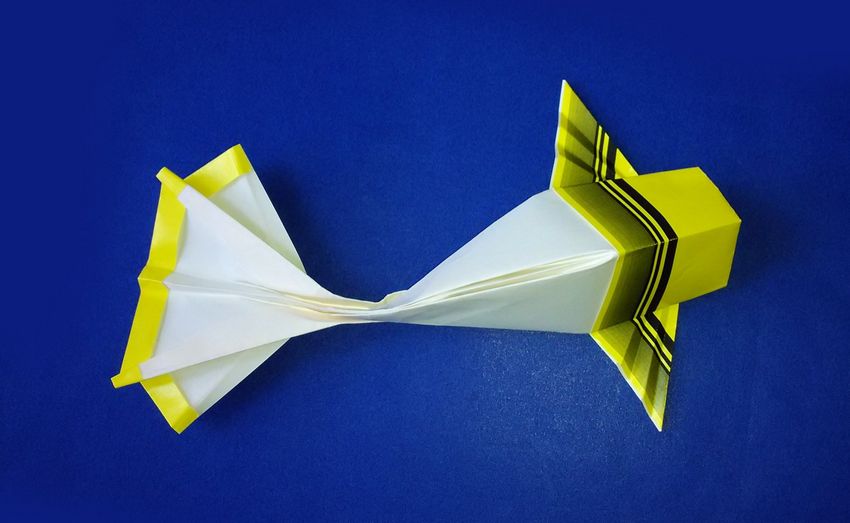
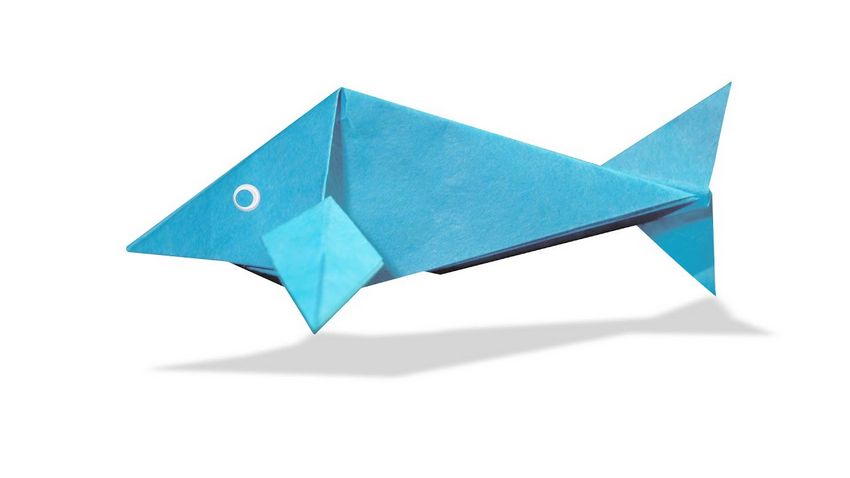
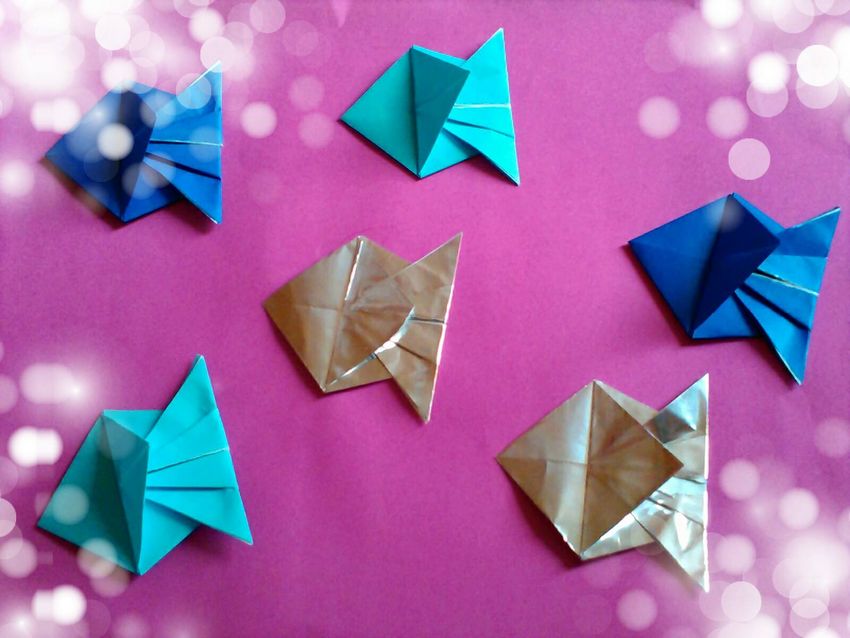
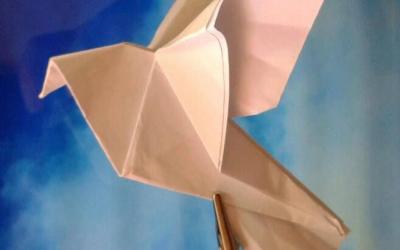
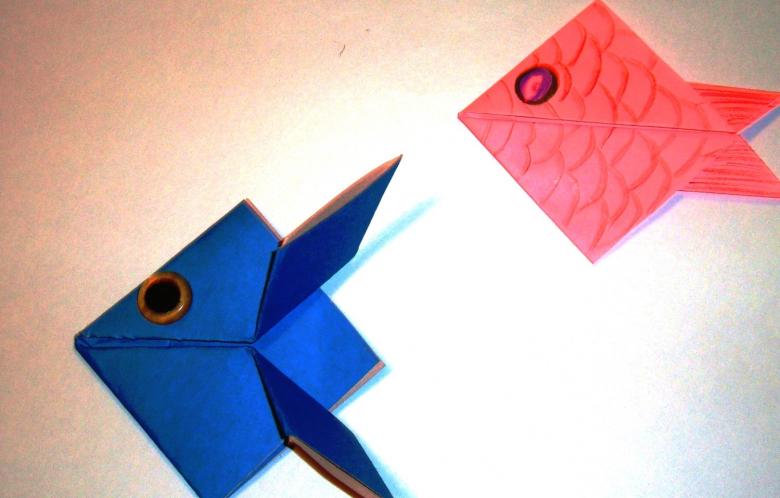
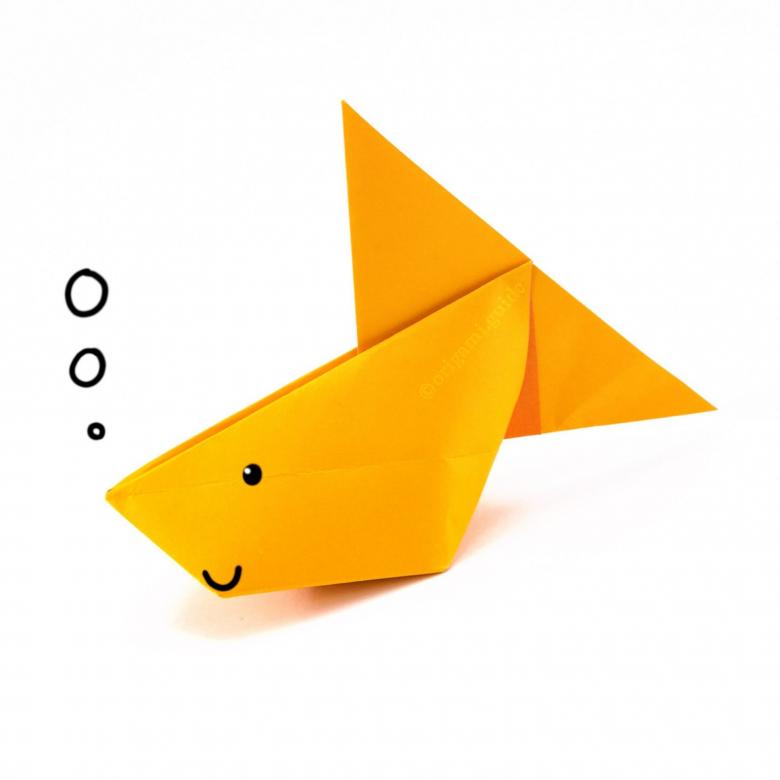
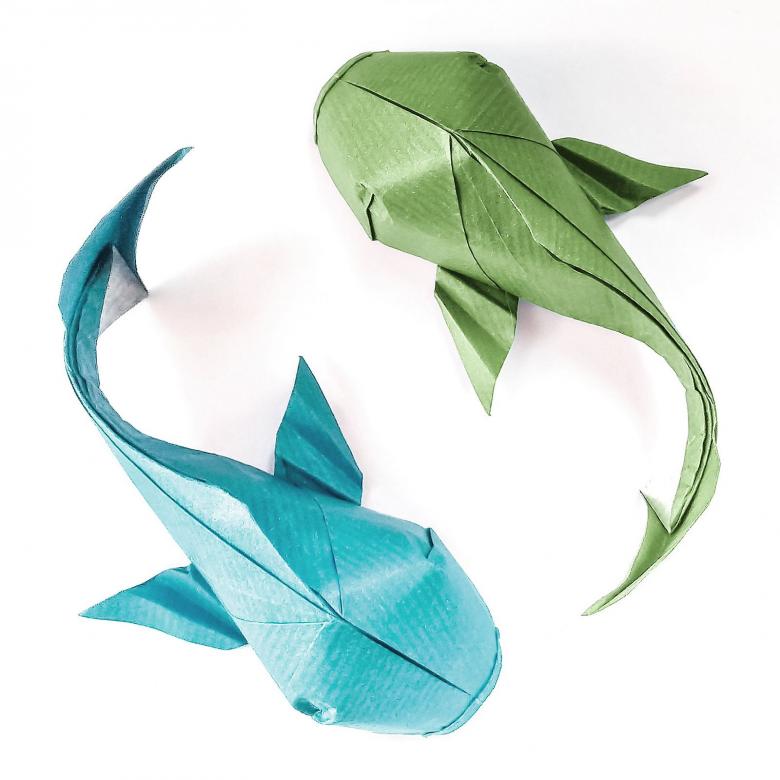
Inhabitant of the seas
There is another scheme of making fish out of paper using origami. She, of course, more complicated in the making. But on the seabed will be a variety of residents. And if you take the paper in different colors, it can get a whole cartoon.
- 1.Take blanks. We have a sheet of paper in the shape of a square. Fold it in half.
- 2. The result is a triangle. The resulting figure is folded in half. Then our triangle is unbent in the opposite direction, so that we have a diagonal.
- 3. The next step is folding the edges of the triangle to the center. Along the central line, obtained by folding.
- 4. We get a shape called a rhombus. (Thus mastered the basics of mathematics: triangle, rhombus, square. With great enthusiasm child will learn them. And the new concepts will gradually memorize themselves). In the next step, the rhombus is bent in half. Then it is unfolded in the opposite direction. (This requires a thicker paper. After all, spoiled billet for you is just a piece of paper, but for kid 5-6 years old unrealized magic!)
- 5. The next step is to turn the top opening edges.
- 6. The bottom edge is bent to a third. And then unbent back.
- 7. Then the fish is folded in half and unbent again.
- 8.We take the scissors, cutting along the line obtained after bending.
- 9. Cut part is folded in the opposite direction.
- 10. We mark the place for the fins. Open them on themselves.
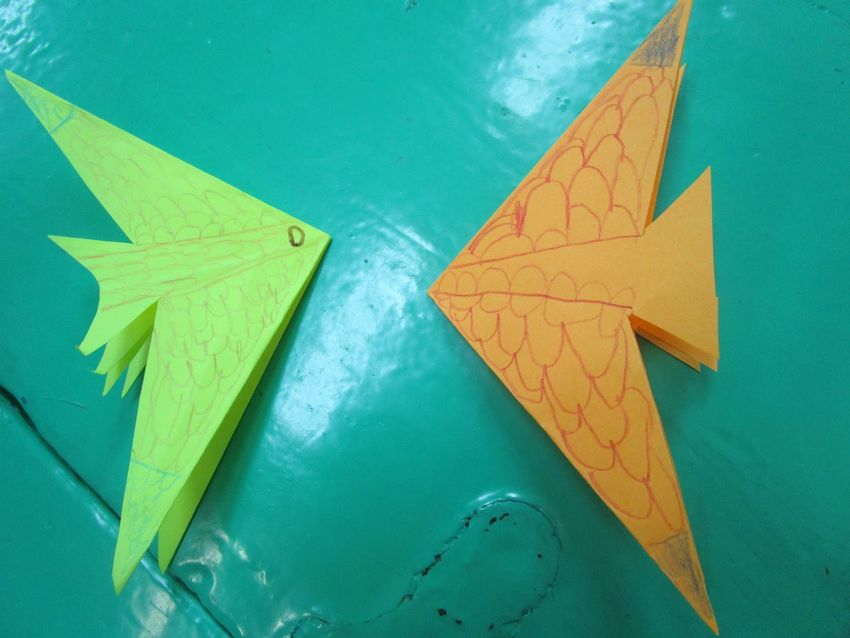
- 11. Now you can unfold the workpiece.
- 12. Draw eyes and the fish can go. As a tip, we recommend the preliminary figure eyes on a separate piece of paper, folded in half. This way the eyes are the same.
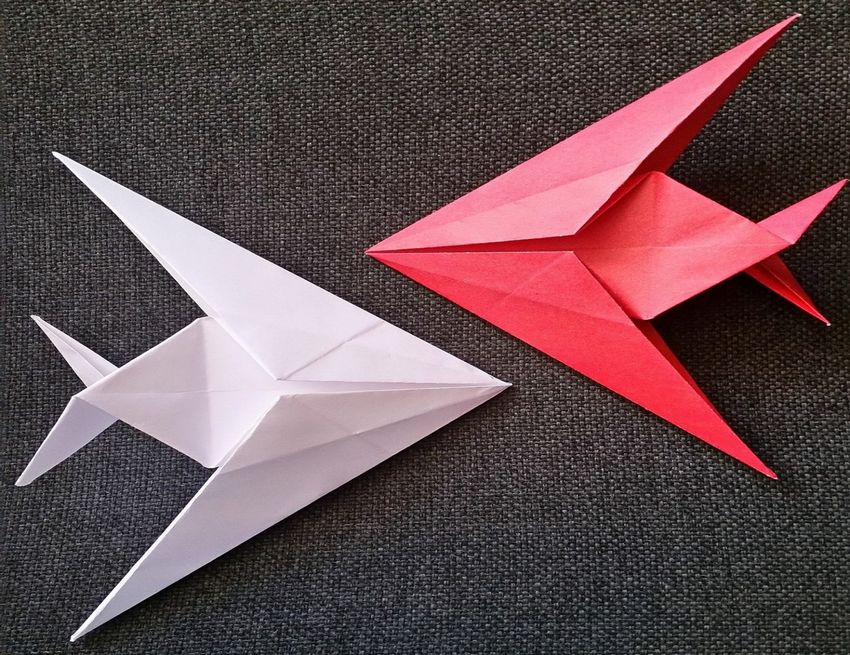
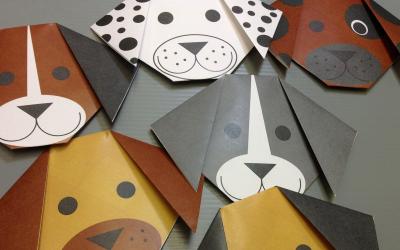
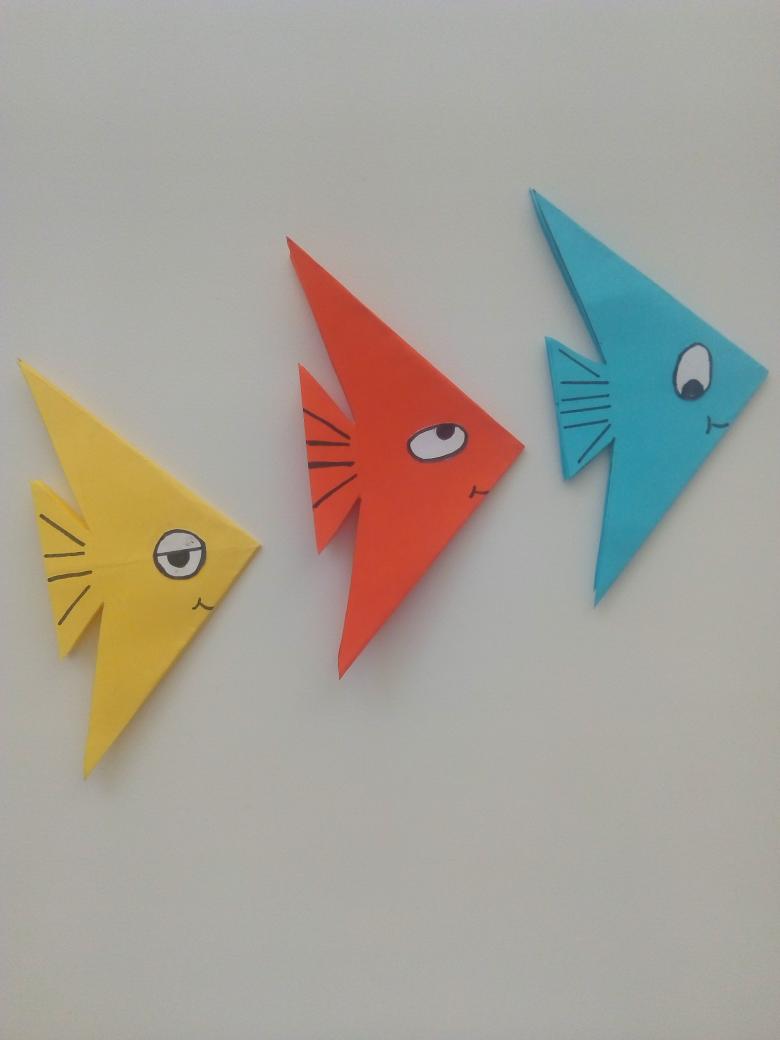
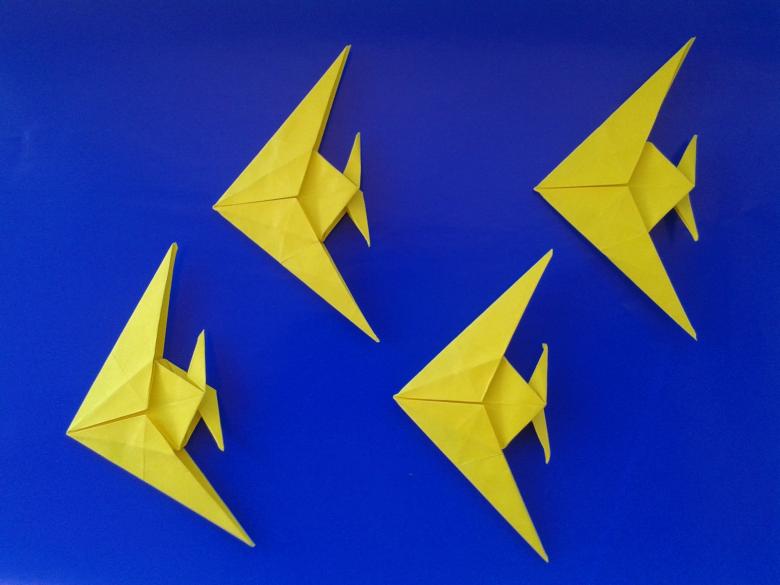
Shark .
People can be cunning, kind and evil. Talk to your child about these qualities with the help of fish. The image of the shark is always associated with evil. But there are children's cartoons where the shark has other qualities.
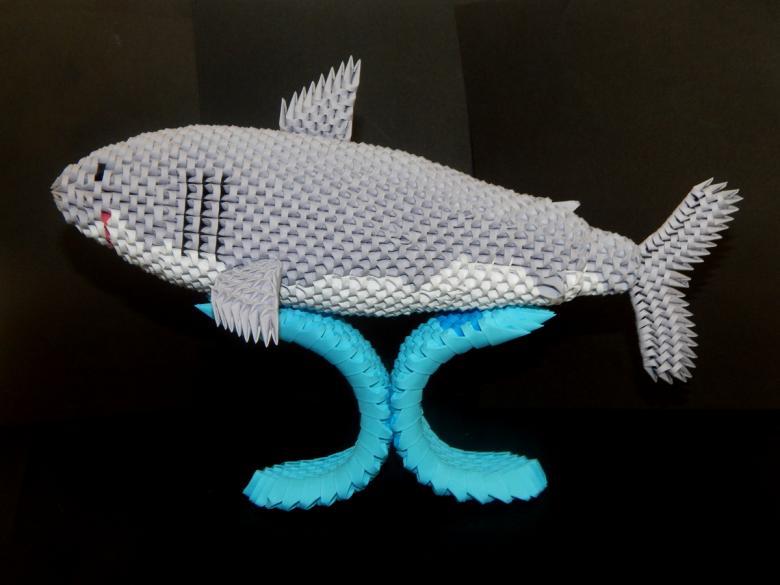
When watching the cartoons "Finding Nemo" and "The Sea Crew," you can speculate about the images - stereotypes. A shark in origami technique will help to do it in game form.
For the craft we use paper in black, blue or white, felt-tip pens, scissors.
- Square piece fold in half, joining the corners of opposite sides. We get a triangle. Fix the fold line. 2. Unfolding the side back.
- We turn the workpiece so that the acute angle facing us.
- We bend the sides of the triangle to the center so that the lower side of the diamond connected to the center line.
- Turn the figure bent part up.
- Scissors cut from the angle that faces us to the junction of the sides of the diamond.
- Turn the workpiece. Bend the bottom corner so that it slightly overlapped the top. The place of fold smooths.
- Go back.
- We take the bottom corner and bend it to the point of cut.
- Smoothing the fold. Unfold the corner back.
- In the center we got two folds that are parallel to each other. Bend the corner back.
- Fold in half the workpiece. We use as a guide to a transverse fold.
- Pull out the incised parts. This is the tail of the shark. Straighten it out. Fold in half. Bend the side parts of the tail from the middle.
- Bend in different directions tail parts, modeling it.
- Turn over billet. Draw a shark eyes and teeth.
Now the shark can go on his voyage!

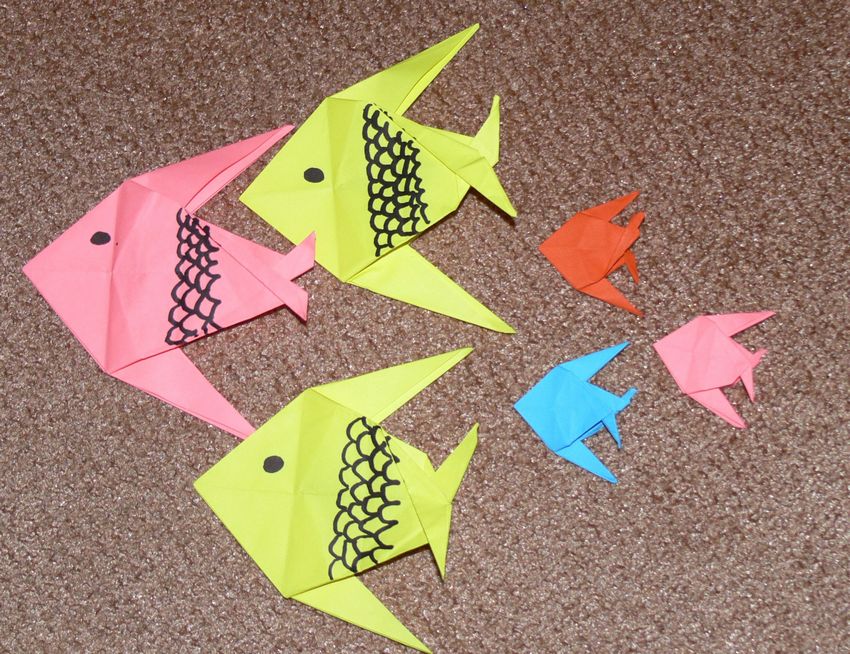
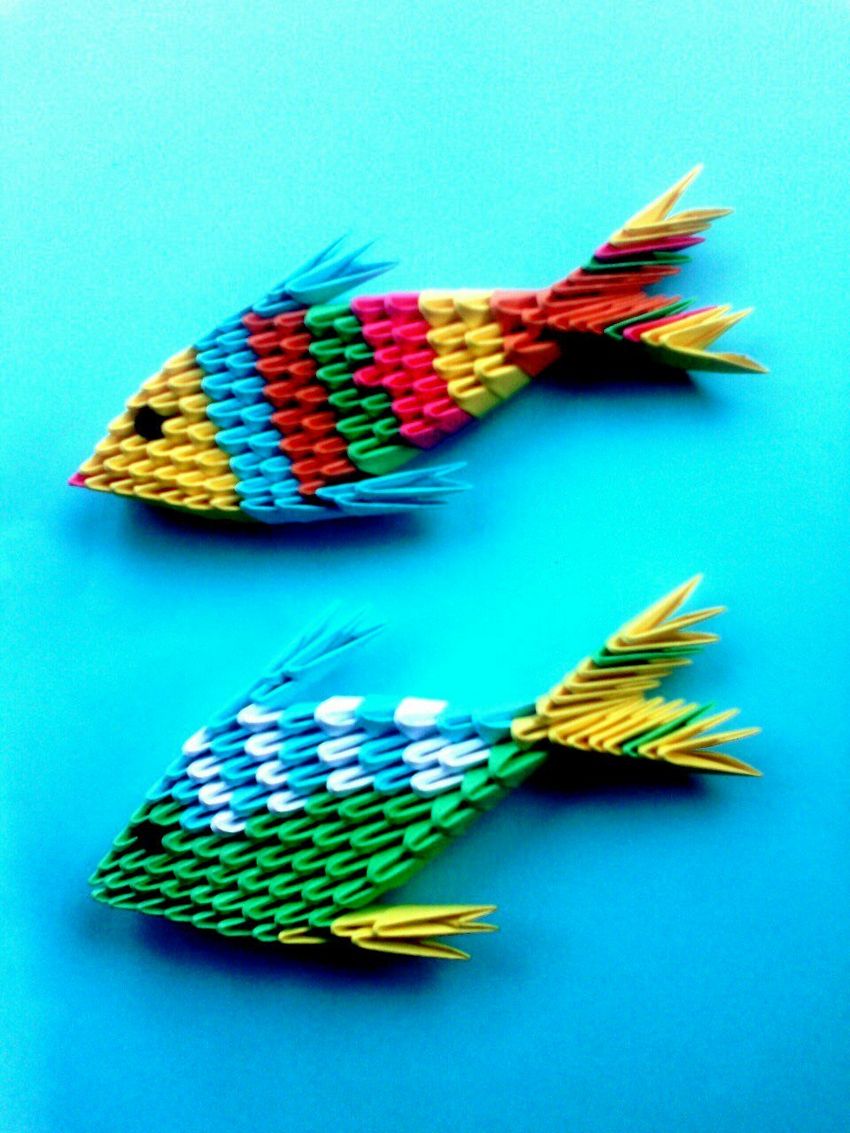
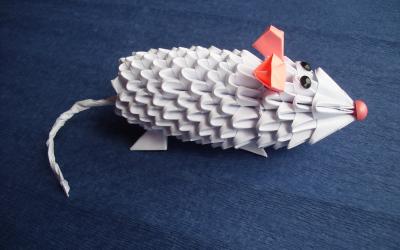
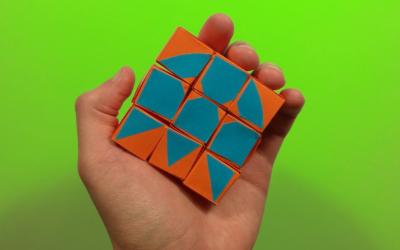
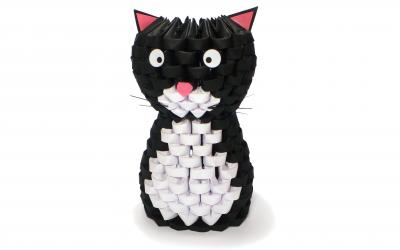
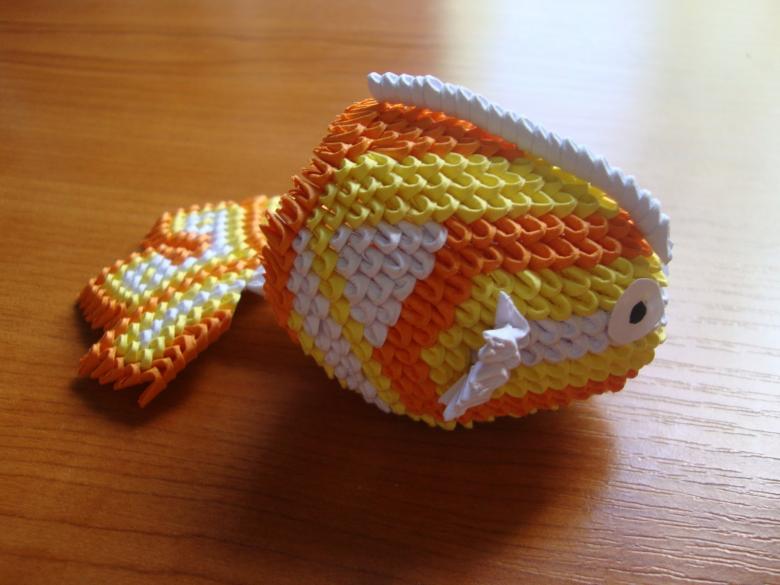
Modular origami
If you want to improve their skills, then the modular origami will help you with this. The essence of the method lies in the fact that the whole craft is made of modular blanks of the same size, stacked in a certain way. We need rectangles, cut in 5.5x4 cm format. From them we will fold modules.
We suggest you to create a fish Scalaria. It consists of 159 modules. We need:
- 70 blanks of yellow color,
- 47 black
- 31 orange
- 9 blue
- 2 red.

Making the workpiece-module
- Workpiece bent in the middle on an imaginary horizontal line.
- Then bent vertically.
- Turned so that the rib faces up.
- Unfolded back. In the middle there is only the line on which we bent. Then the right side is bent and brought to the center line vertically.
- The left side performs the same operation.
- Workpiece turned back.
- The lower ends are lifted almost to the stop.
- Corners are screwed into the ribs. Turn the module.
- Take a job on the reverse side. Then turn it.
- Then bend back corners. Small triangles pressed and lifted.
- The two halves of the work are connected in the middle.

Scalaria
Now assemble the fish piece by piece.
The body .
- It is yellow. Only the lips are red.
- Therefore, for the first row we take two red blanks for the lips. On them put three yellow and row 2 is assembled.
- In row 3 we have 4 modules.
- In row 4, 1 black module should be in the middle between the 4 yellow ones, and for the fifth row we will take 6 yellow ones. The head is finished.
- In rows 6 and 7 we use black modules 7 and 8 pieces each.
- For rows 8 and 9 we take 9 and 10 pieces of yellow.
- The tenth and eleventh rows consist of all-black strips of 11 and 12 pieces.
- The twelfth and thirteenth rows are decorated with a yellow stripe. It will take 13 and 14 pieces.
- The fourteenth row will finish the body of our beauty. To do this we add yellow blanks - 2 on the edges and 3 in the center. The body is ready.

Shaping the tail
Fix 4 black modules to the body on 3 yellow ones in the middle and 5 blue ones on them. Now we are going to use only orange ones, because we need them for the next two rows. We use 6 and 7 pieces each.
At the end of the tail attach one piece each. Tail finished.
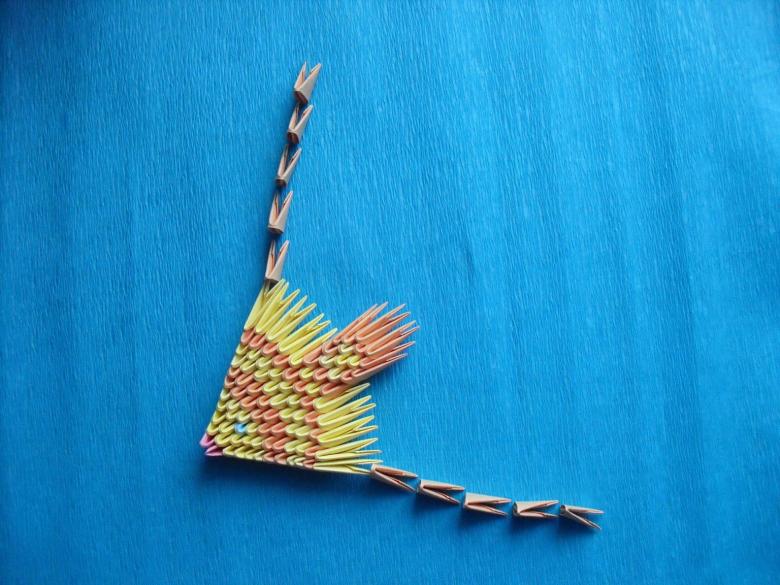
Shaping the fins.
They need two. 2 black put on the outermost yellow, and 2 blue after that.
Then there are three rows of 2 blanks in orange. Fins end one orange billet.
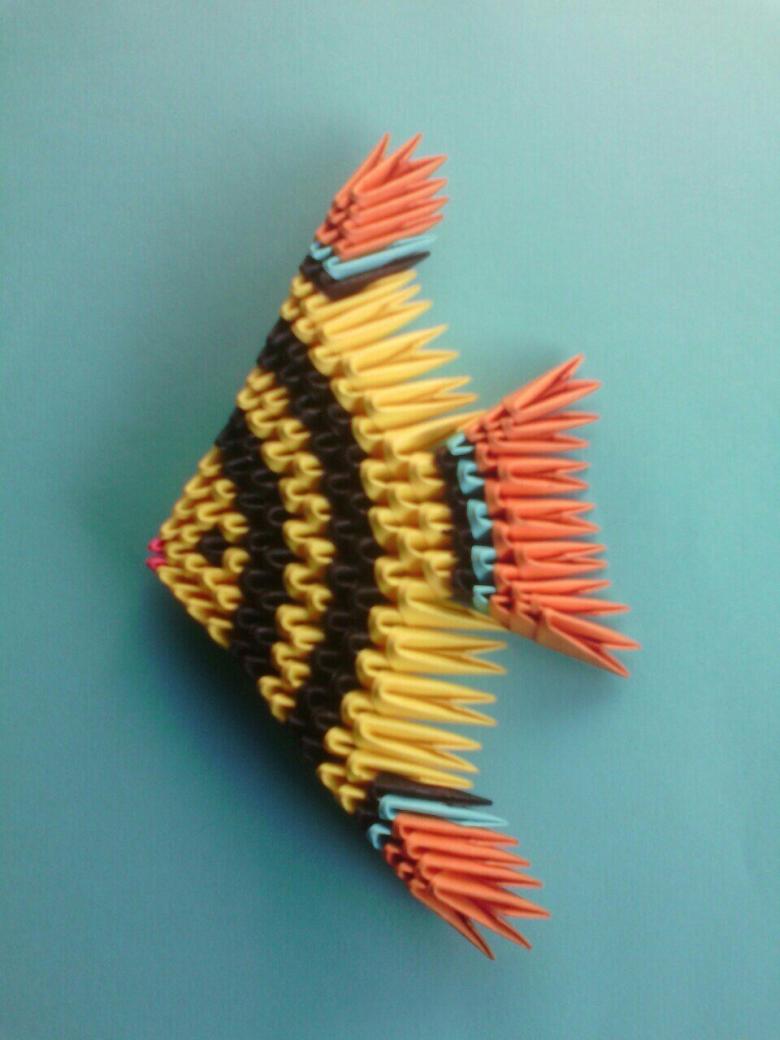
Beauty Scalaria is ready! It can be a birthday present or send to the exhibition in kindergarten.
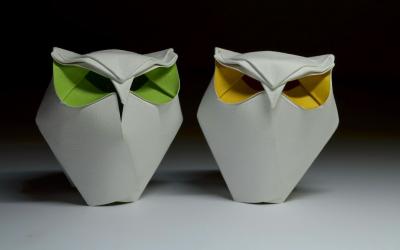
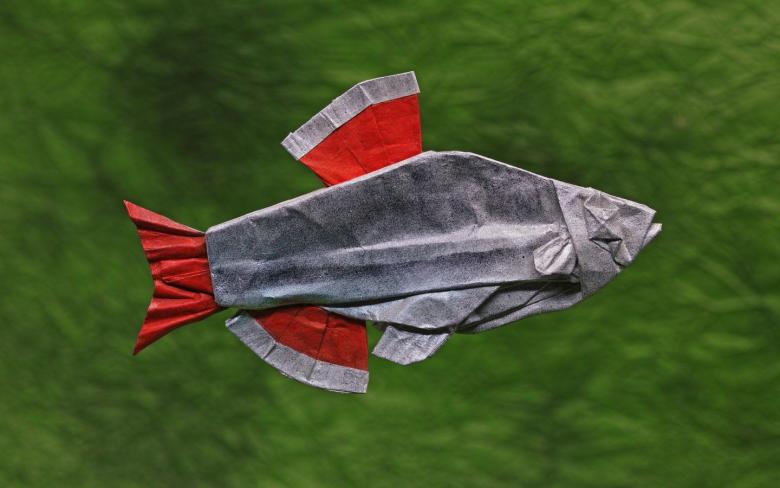
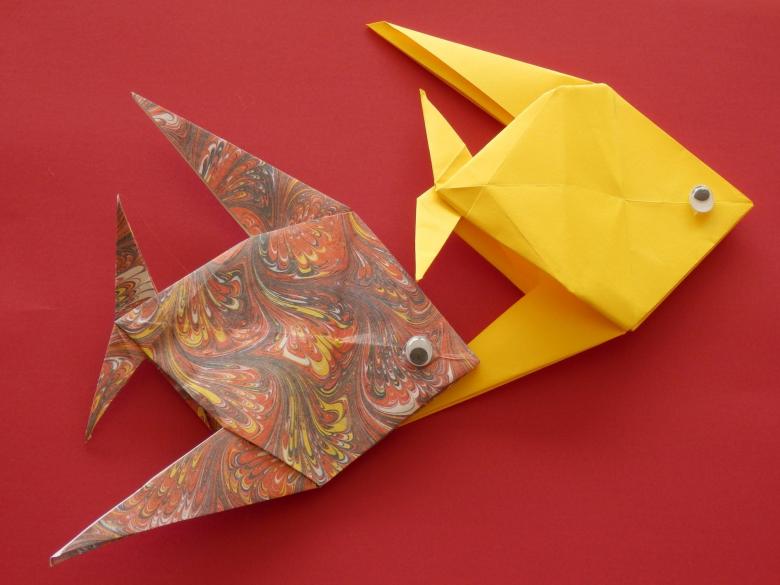
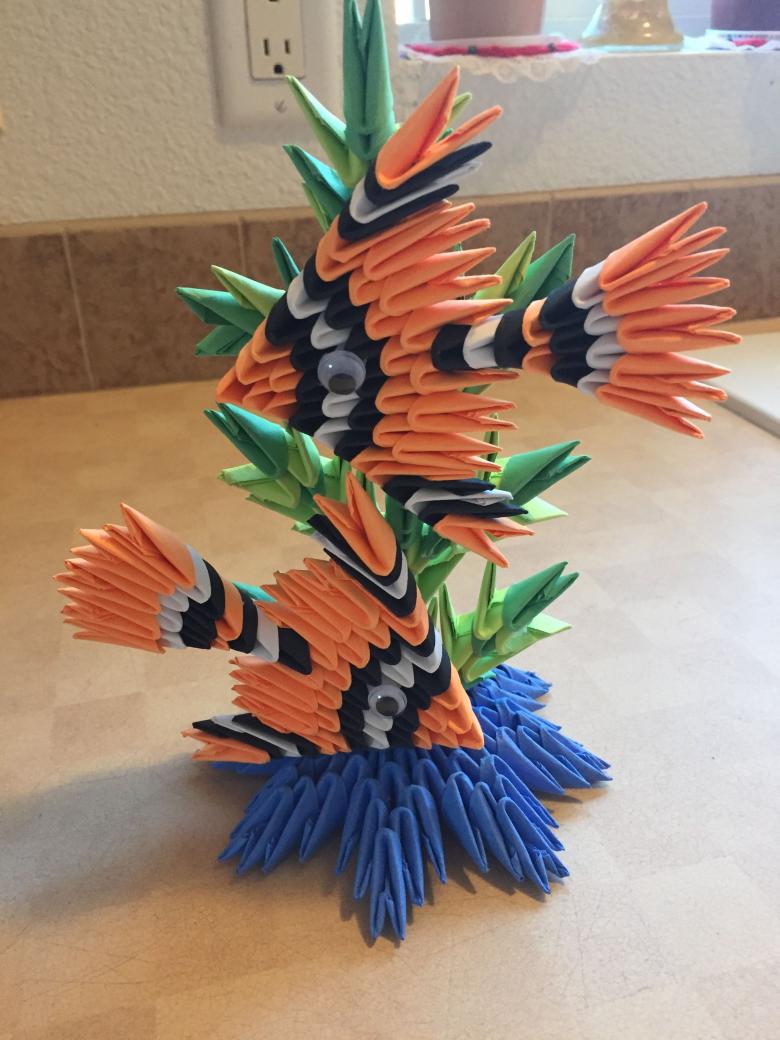
Photo ideas fish made in the style of origami