Origami cube: schemes, options and tips how to make modular paper cubes
Cubes in the art of origami is in third place in popularity after the airplanes and ships. In fact, there are many ways to fold a cube of paper. It can be classic origami or a template design, or even a modular system. Choose the one that will be interesting to you.
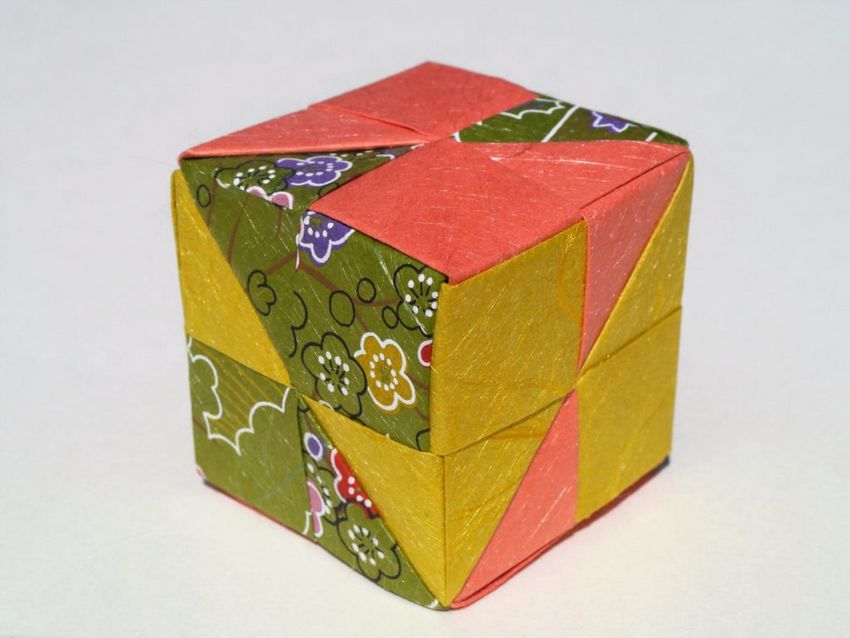
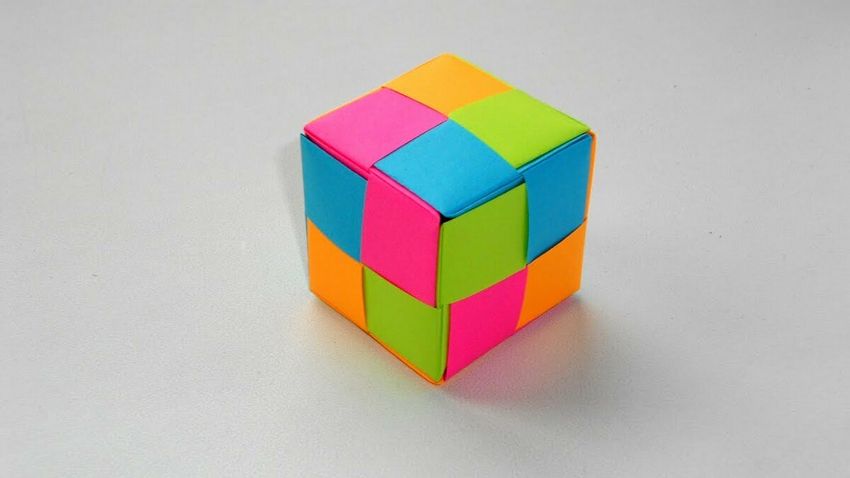
How to make an origami cube
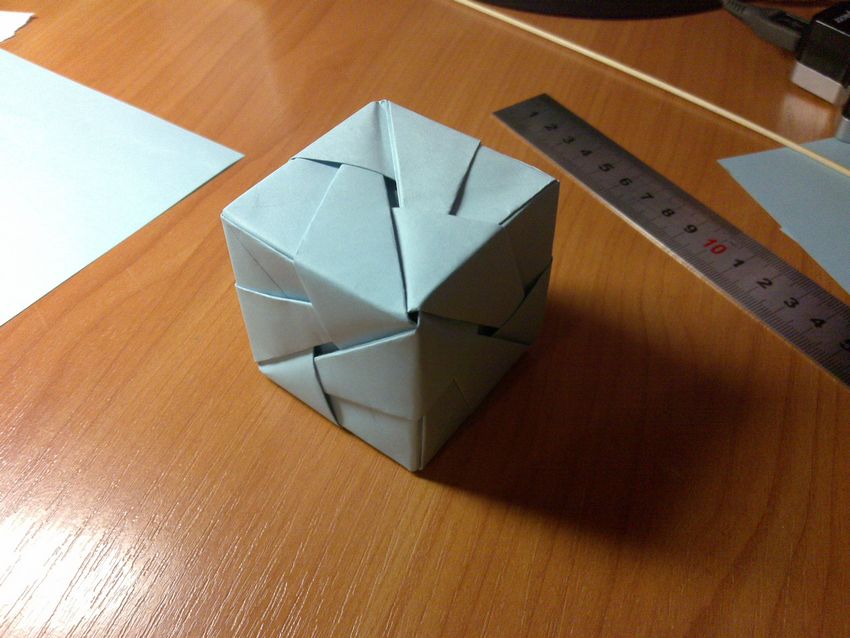
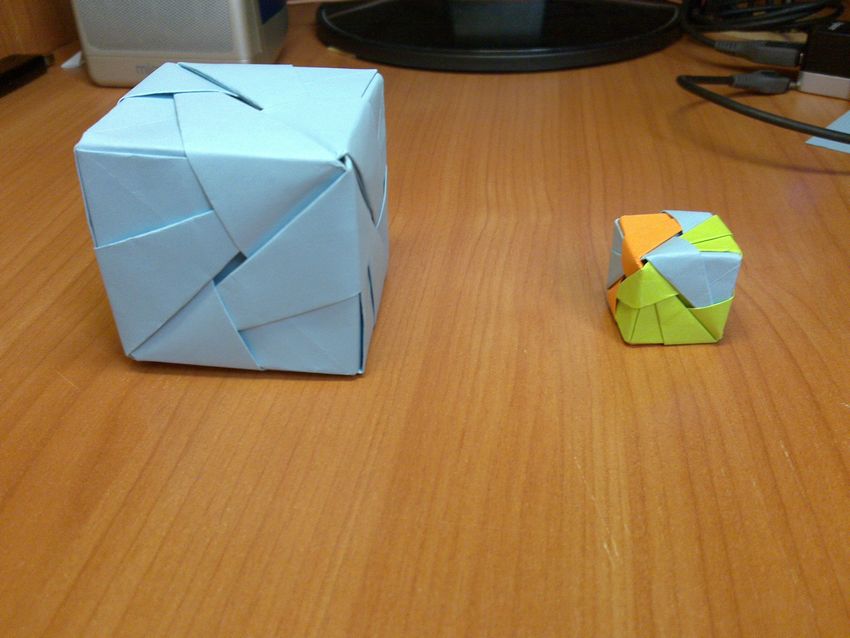
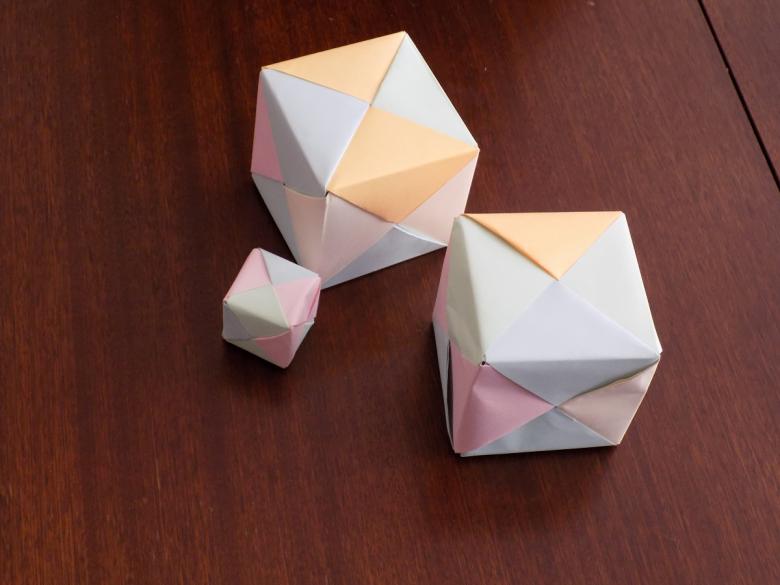
Let's start with one of the most popular schemes on the Internet. It will be a design of mini-cubes, which are collected into one large. Origami paper cube should be made step by step:
- Use a square piece of paper;
- Fold it aslant twice to mark the place of folds;
- Put the paper so as to see the rhombus;
- Fold the top and bottom corners to the center fold;
- Fold the top and bottom to the center to make an arrow;
- The sides of the arrow fold inward, you get a rectangle;
- Upper left corner bend down;
- Bottom right corner bend upward;
- The corners of the resulting parallelogram hide in the pockets formed;
- Turn over;
- Fold the elongated corners of the figure to the center to see a square;
- Bend the corners;
- Make another such module;
- Connect the two identical parts, by inserting the elongated corner of one into the pocket on the back of the second part;
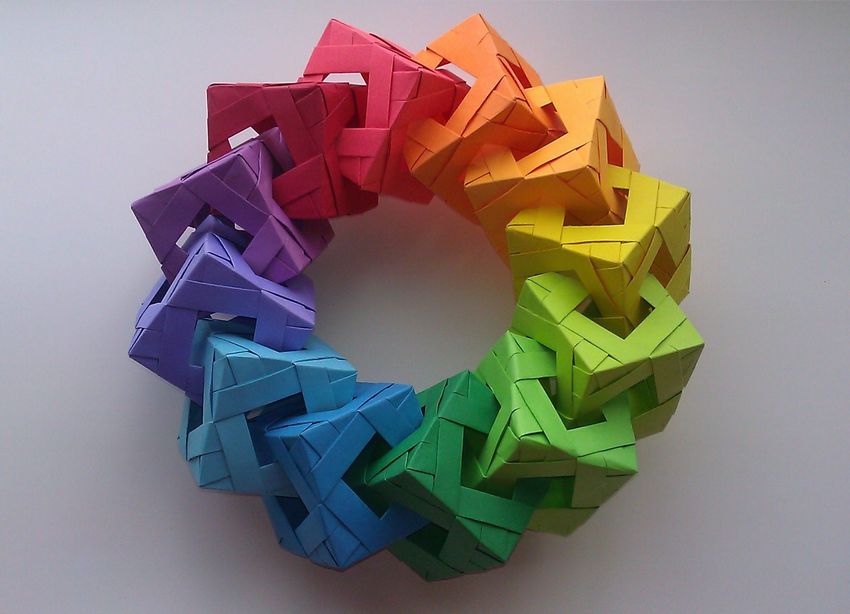
- Connect the five parts with each other in a similar way.
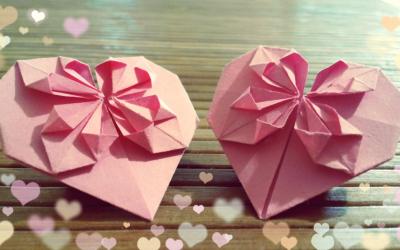
- The result is a hollow article of paper inside. It can be used for games or decorations or to store light objects inside. Excellent for such origami gift wrapping gifts such as candy.

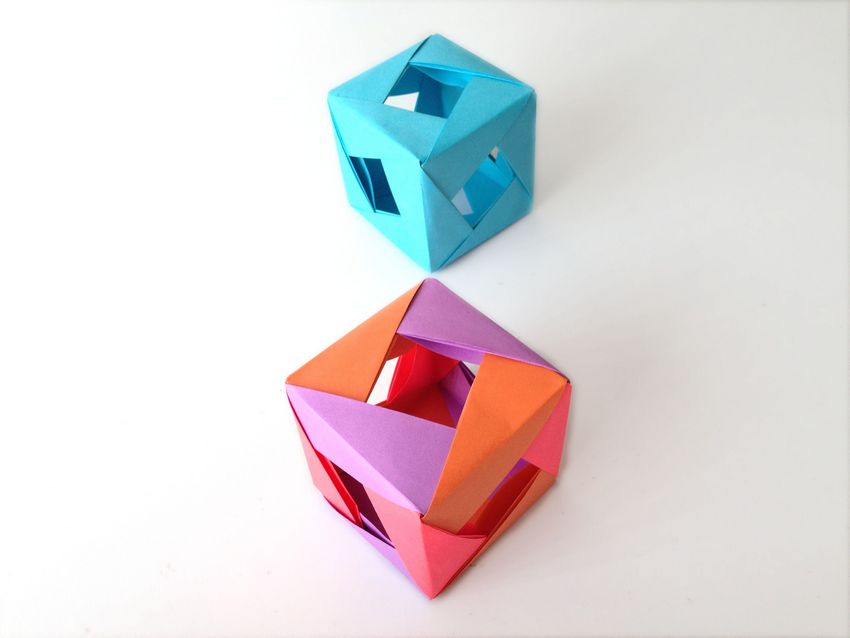
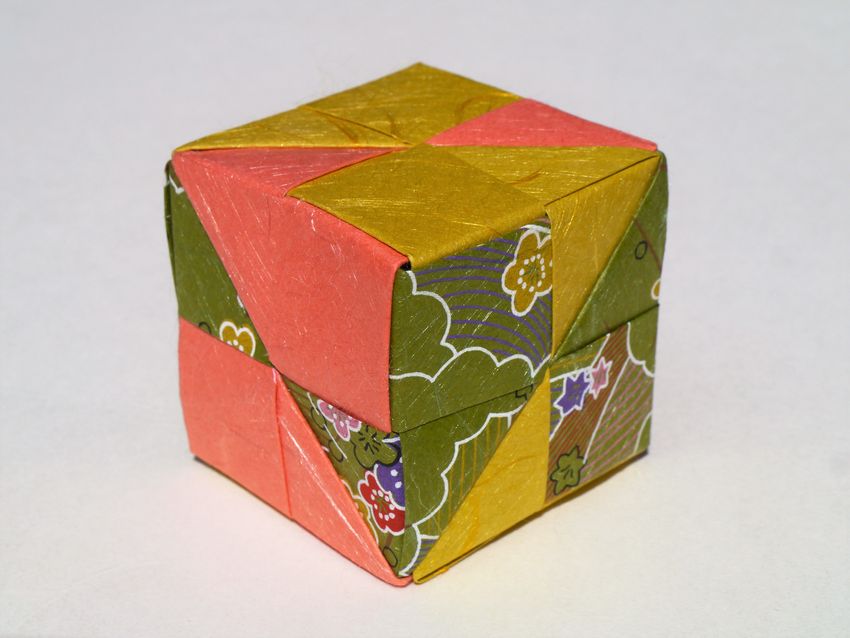
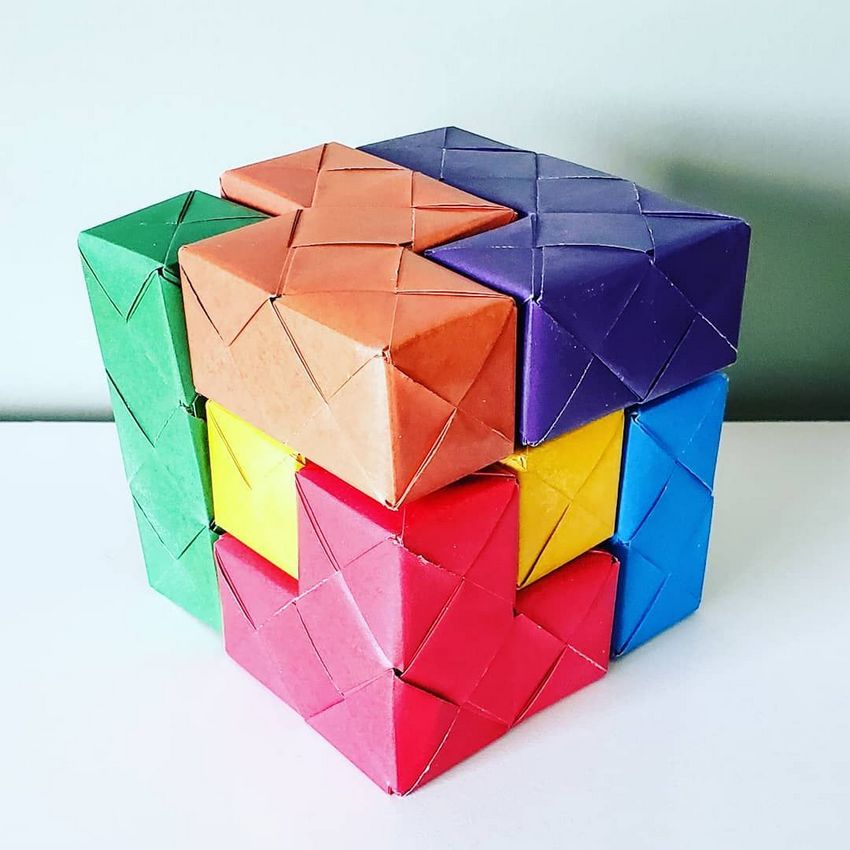
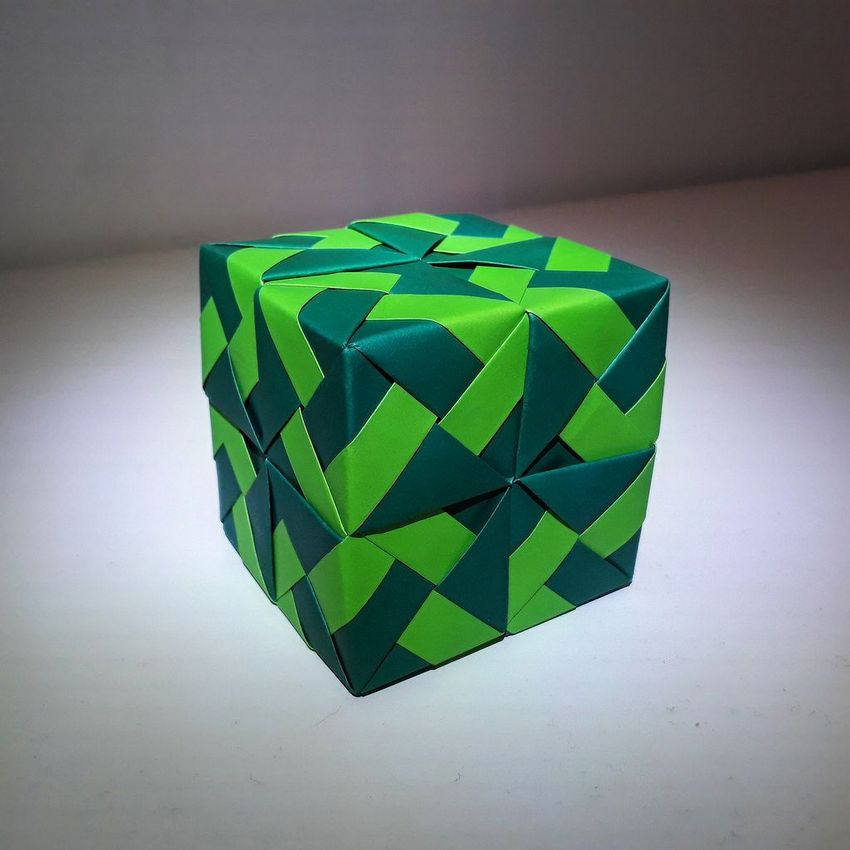
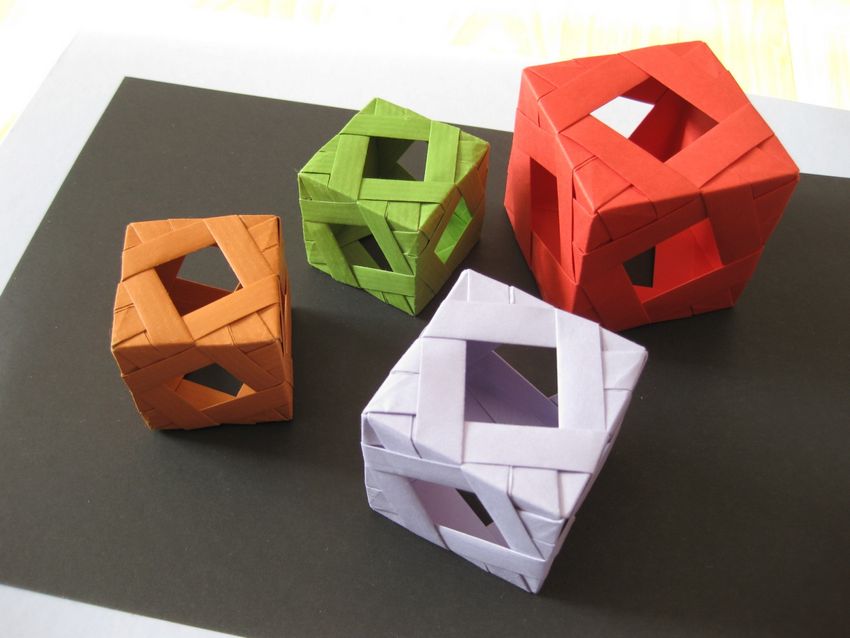
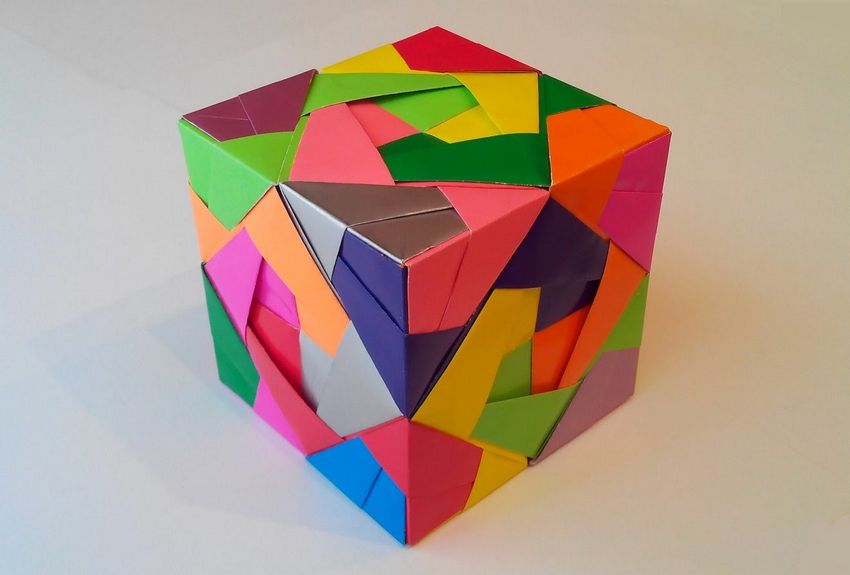
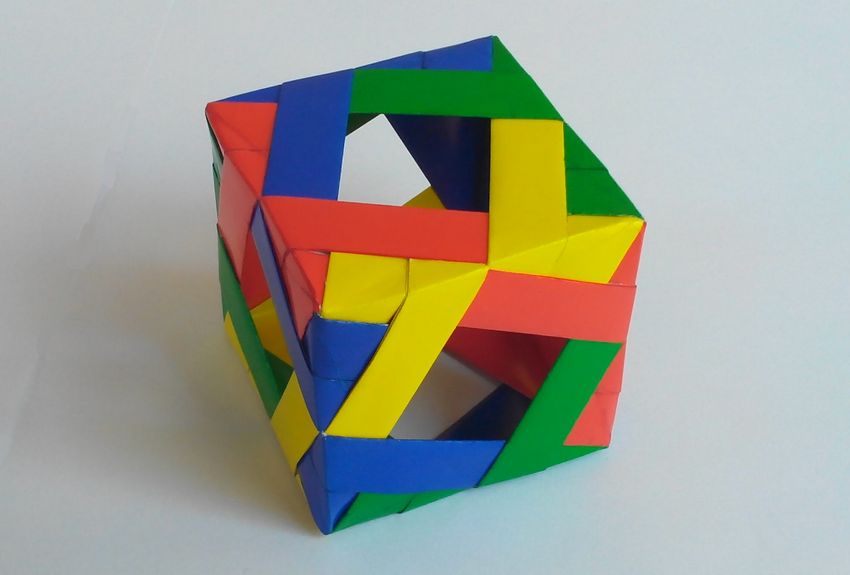
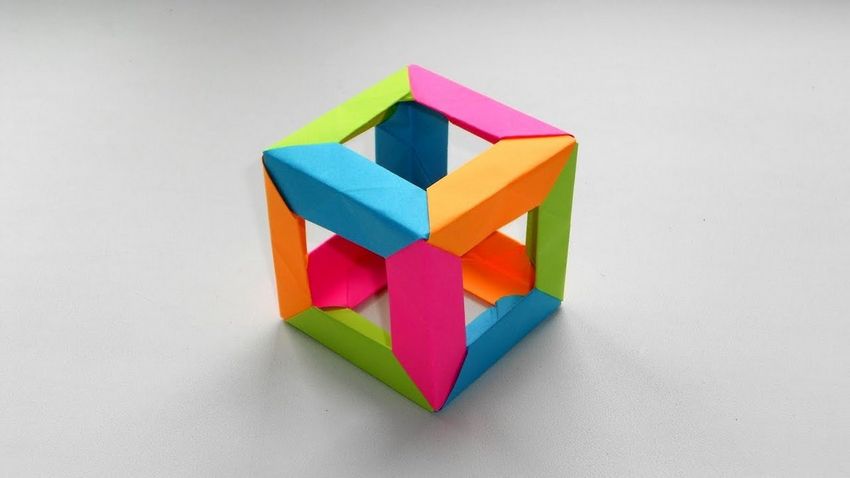
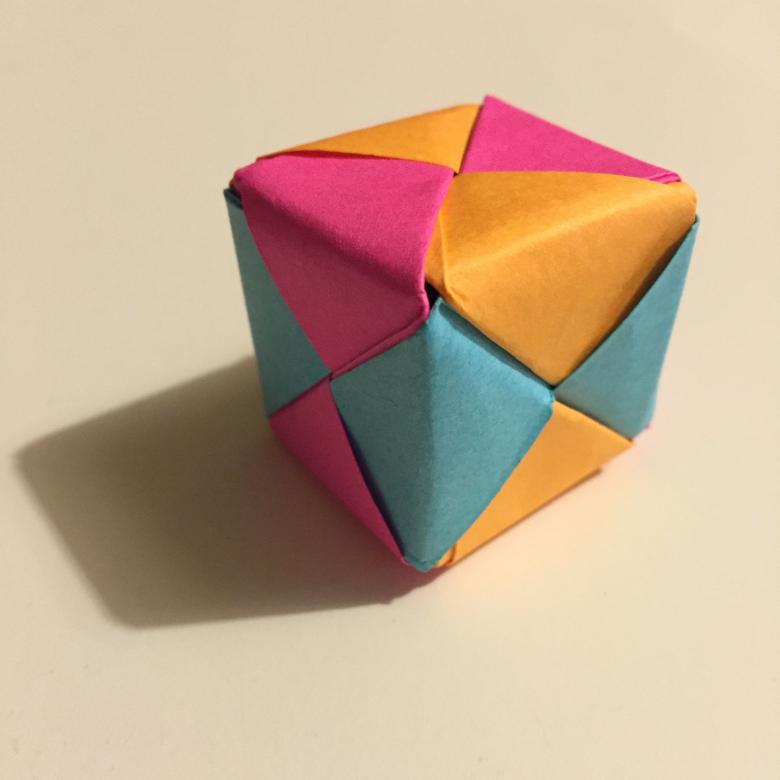
Modular cube
For the folding of this handicraft prepare only the paper size of 20 by 20 cm. In order to read the schemes of origami, you only need to know two concepts. "Folding the valley" is the folding of the paper on itself, "folding the mountain" - from itself. "The valley" in the diagrams are denoted by a dotted line, and "mountain" by a dashed line. In order to make origami cube of paper, do the following:
- Fold the paper accordion so that it came out five equal strips;
- Unfold the leaf, turn it 90 degrees;
- Fold the fold once again and spread to make prints in the shape of squares;
- Turn the leaflet at an acute angle to yourself;
- At the midpoint of the fourth row of diamonds fold the sheet up and return it;
- At the level of the second row of diamonds fold up and bend;
- Turn the workpiece at 90 degrees;
- Repeat steps 5 and 6;
- Repeat steps 5 and 6 for two more sides, so that you see squares with two diagonals on the sheet;
- Visually find the center square;
- The middle of each side of the diamond fold to the tops of the square in the center;
- Fold the sheet along the lines drawn in all directions from the center;
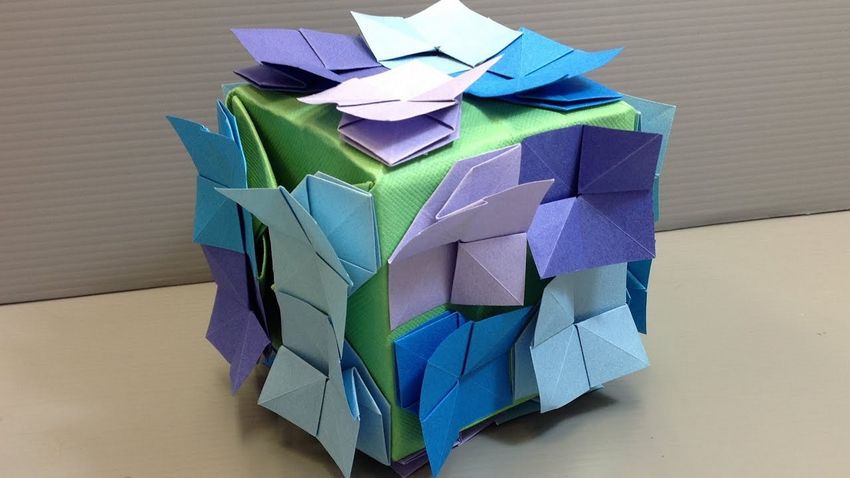
- Fold the sheet to the resulting folds, you should get a box with the petals sticking up;
- Turn the petals outward, you should get four "houses" on the edges of the cube;
- Each of the petals fold in a line from the lower right corner to the middle of the left upper edge;
- Each of the petals fold down, stacking on top of each other in turn;
- Last sharp edge should be tucked into the center of the cover craft.
This origami is also suitable for storing light things.
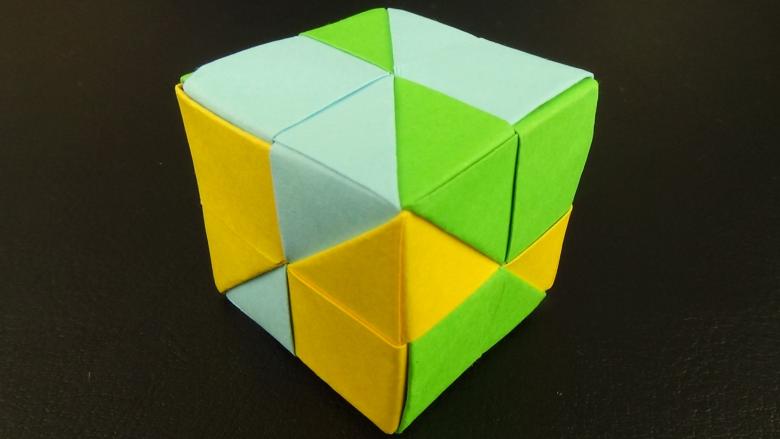
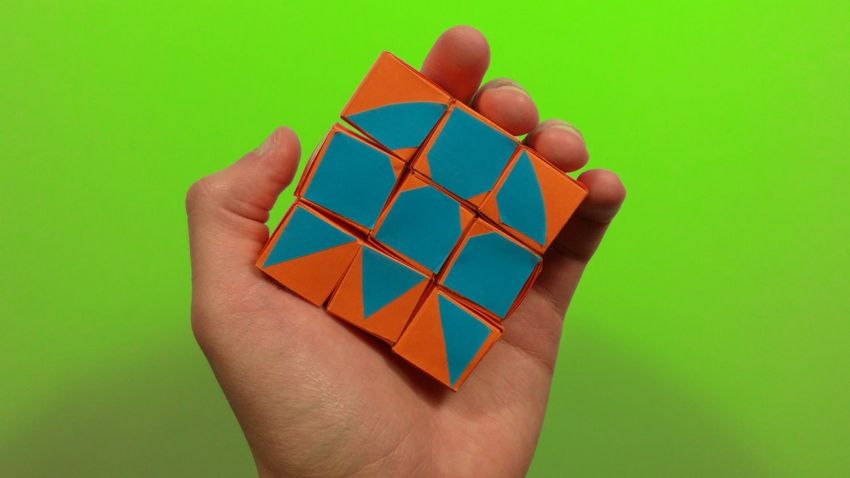
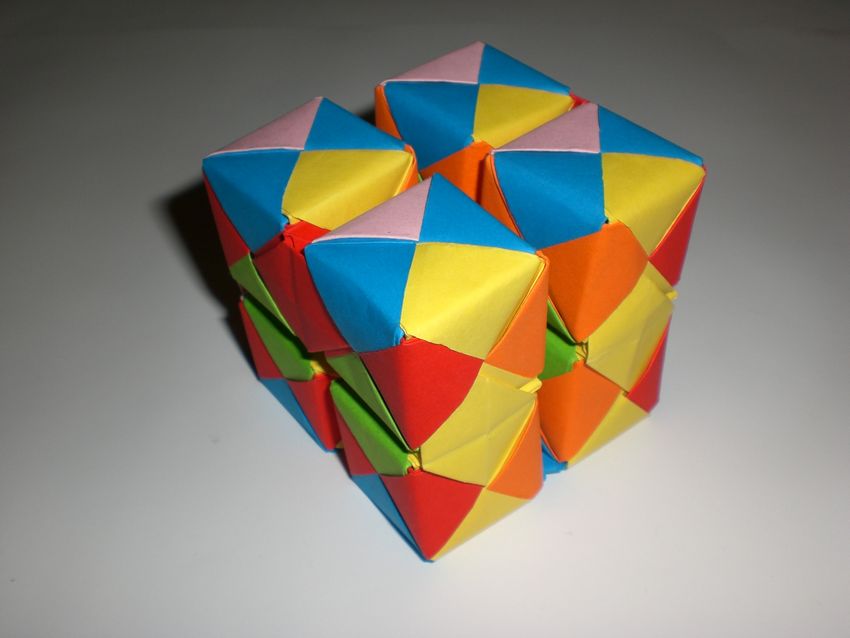
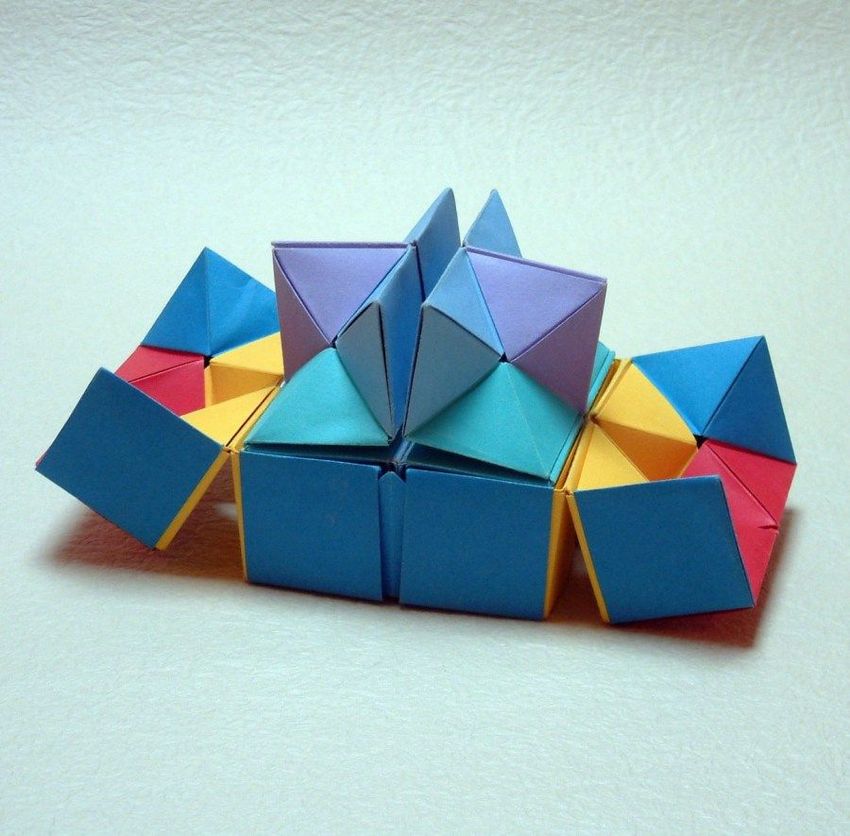
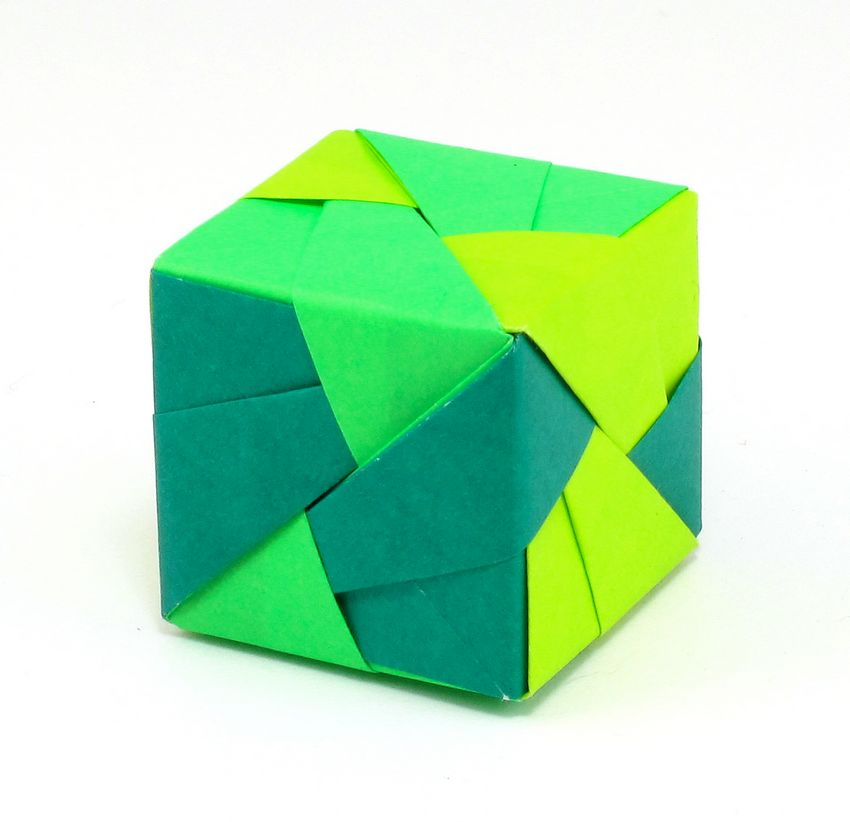
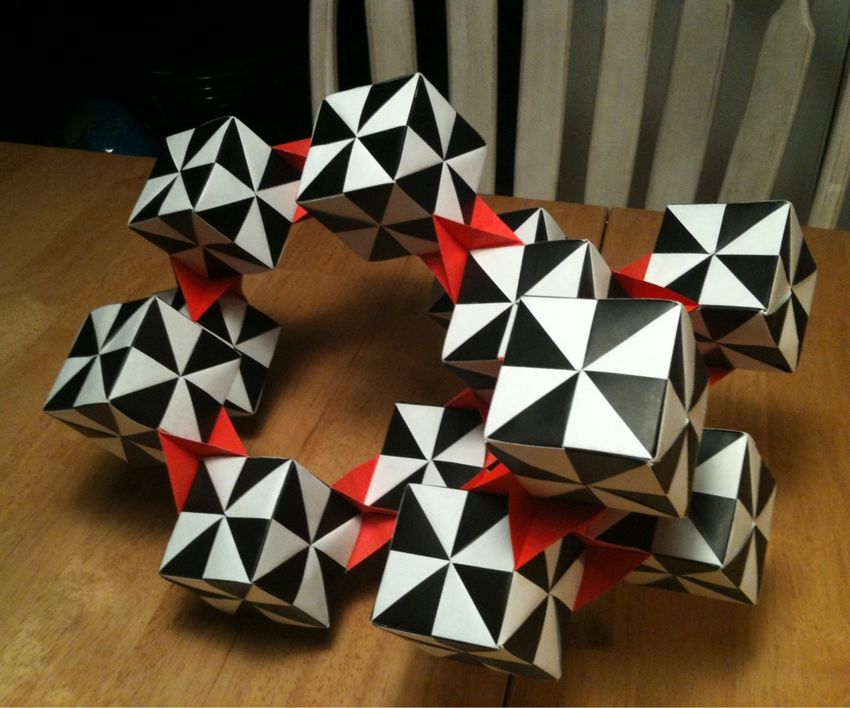
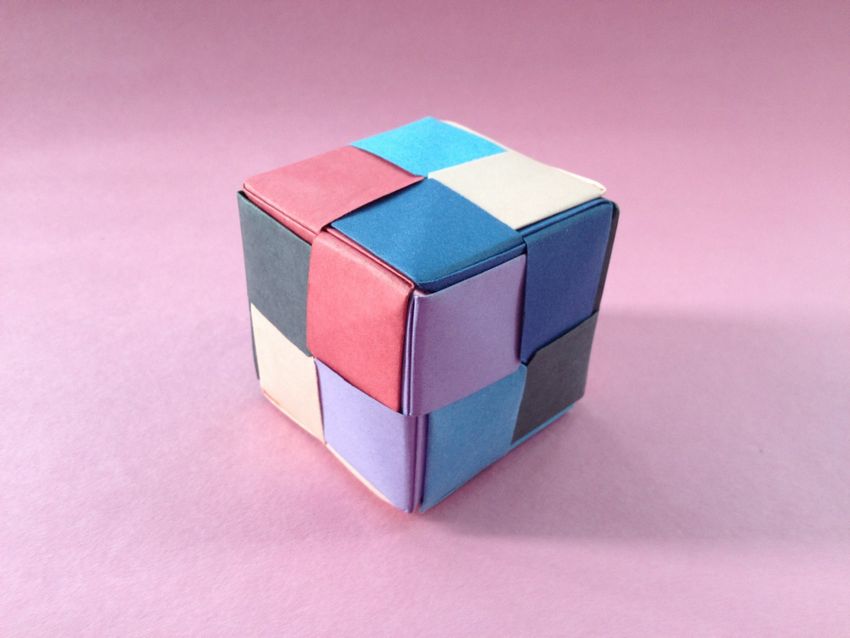
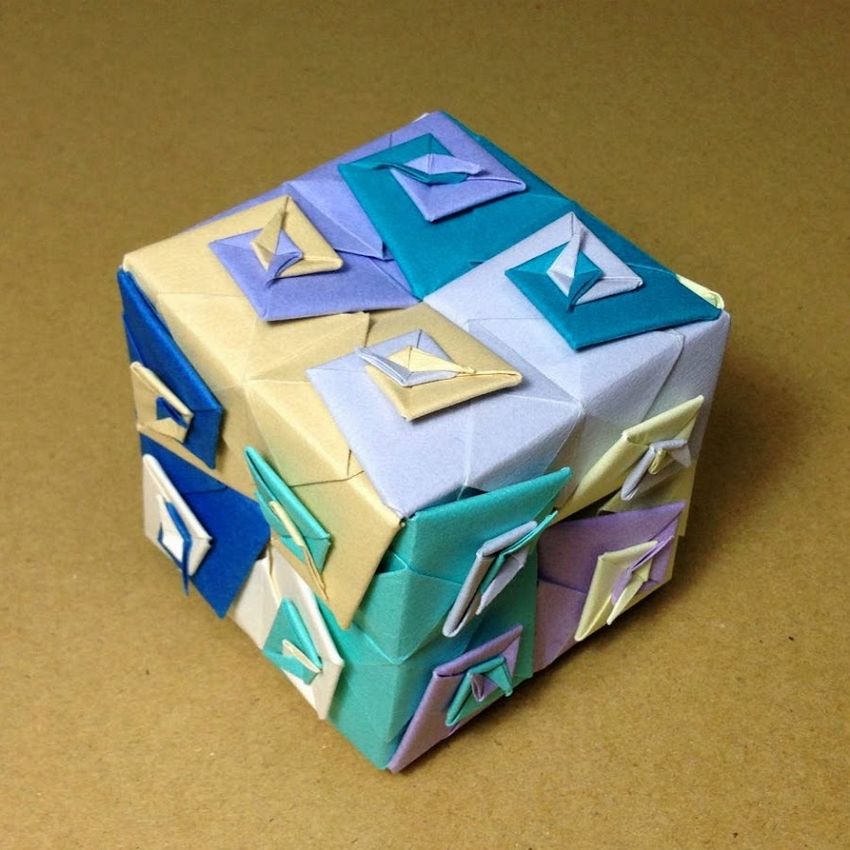
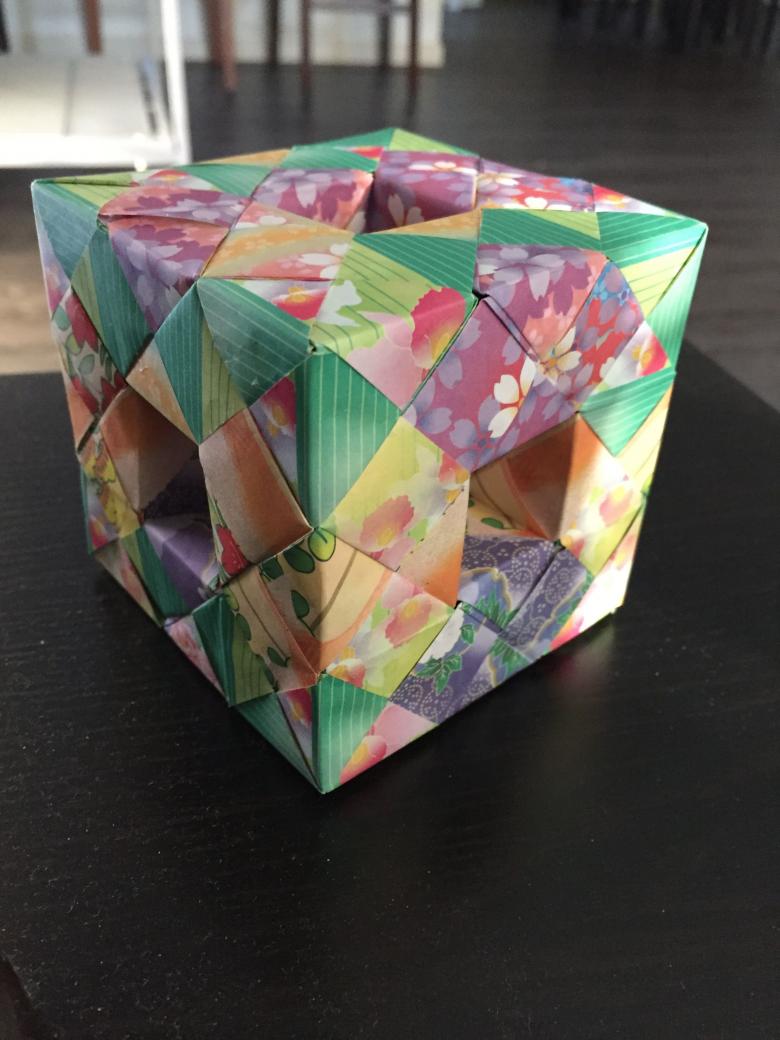
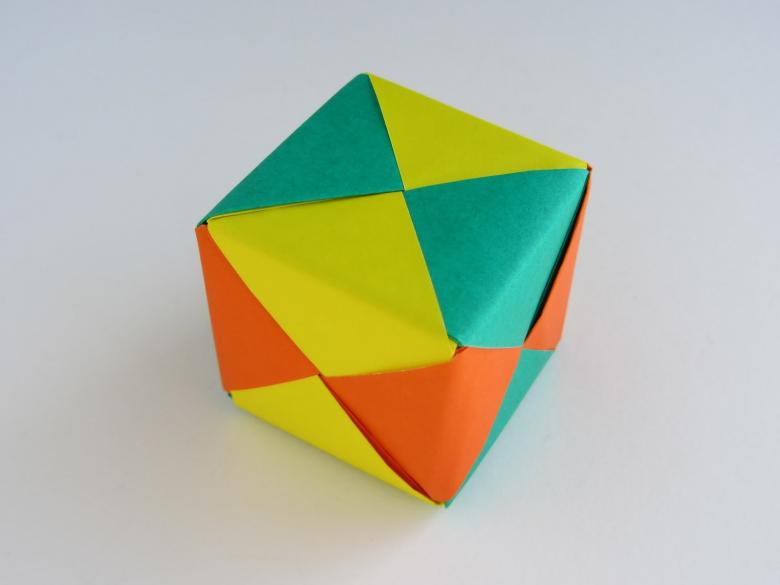
Sonobe cube
In order to obtain a movable cube Sonobe, we need to make nine small modular cubes. You will need to make three rows of three blanks. The last tab of each module should be left untucked. Next, all parts of the design merge:
- Put the tongues in the pockets of the adjacent cubes. There should be three rows connected by sharp angles, like three rhombuses when viewed from above;
- Take out the tongues of each cube and, having laid out three rows side by side, insert them into the cubes of the neighboring row.
- The finished construction can be squeezed and unclenched, the cubes can even rotate without separating. Sonobe cube looks most effective if you make three cubes of different colors or each cube of its color.
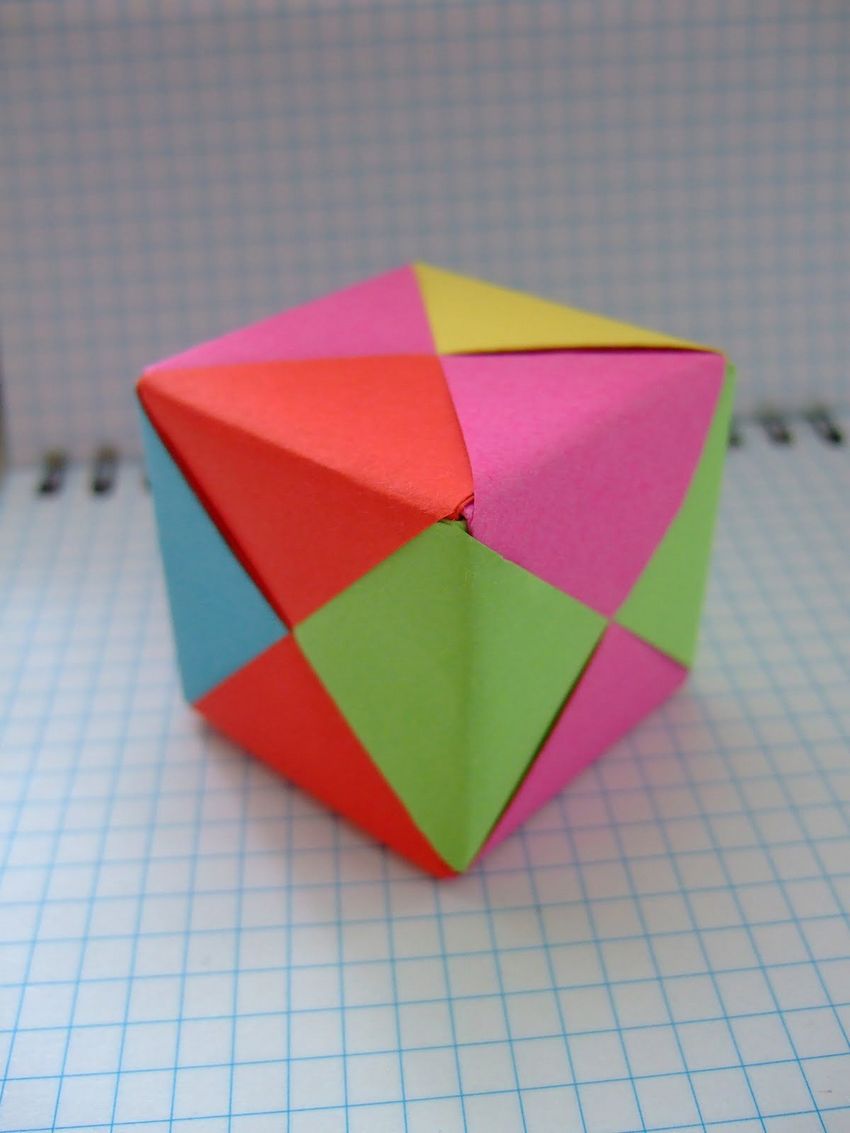
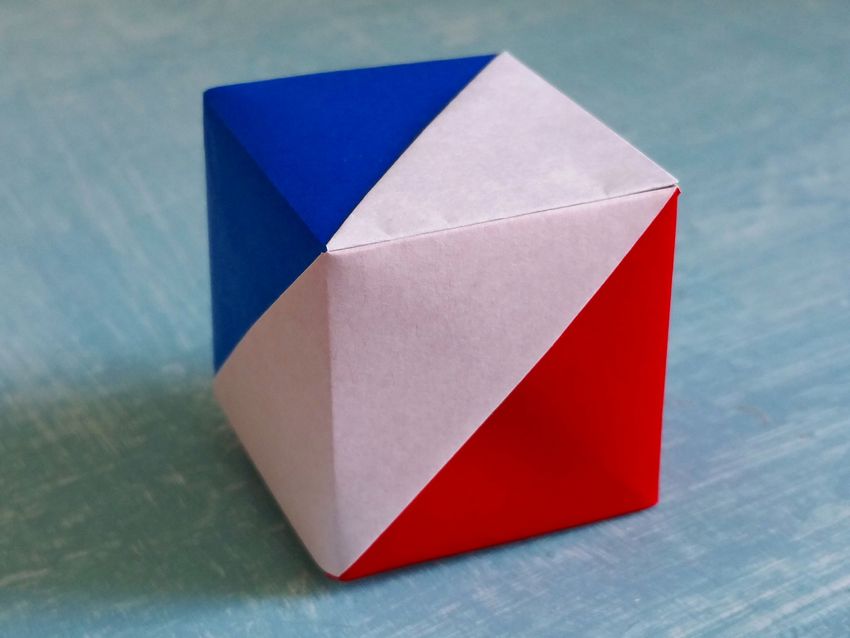
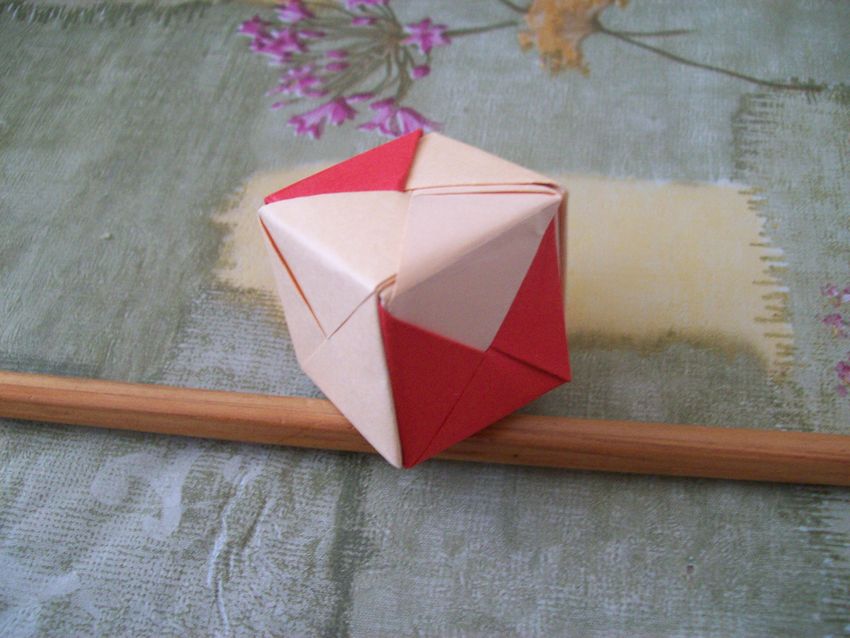
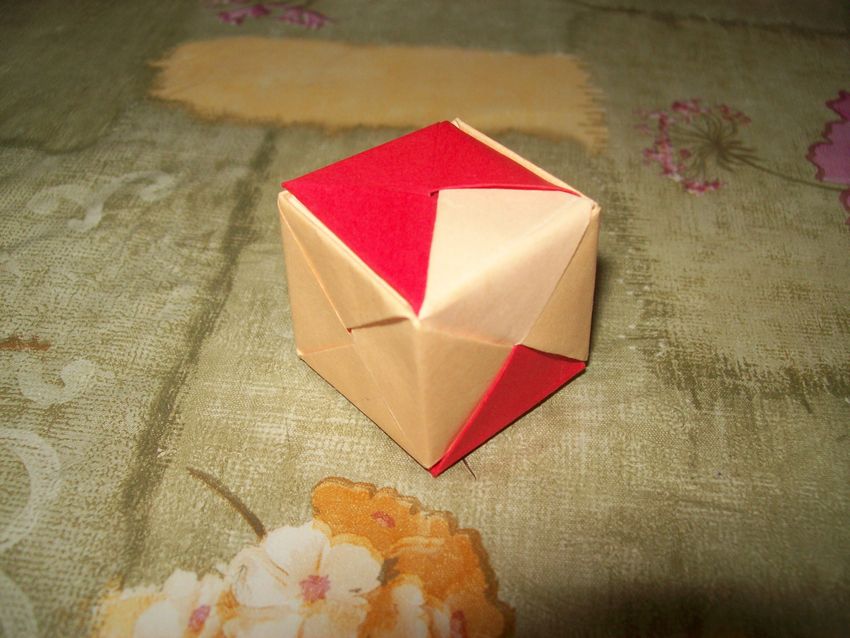
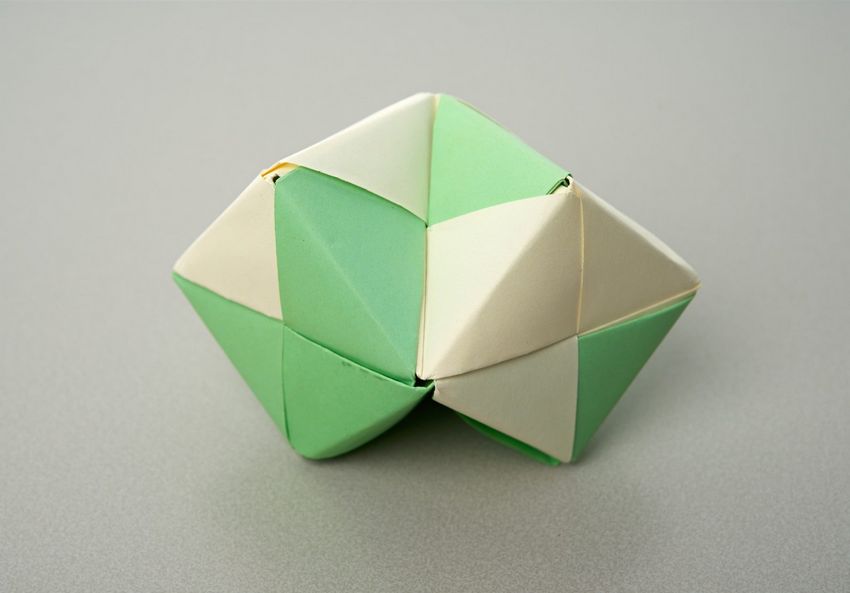
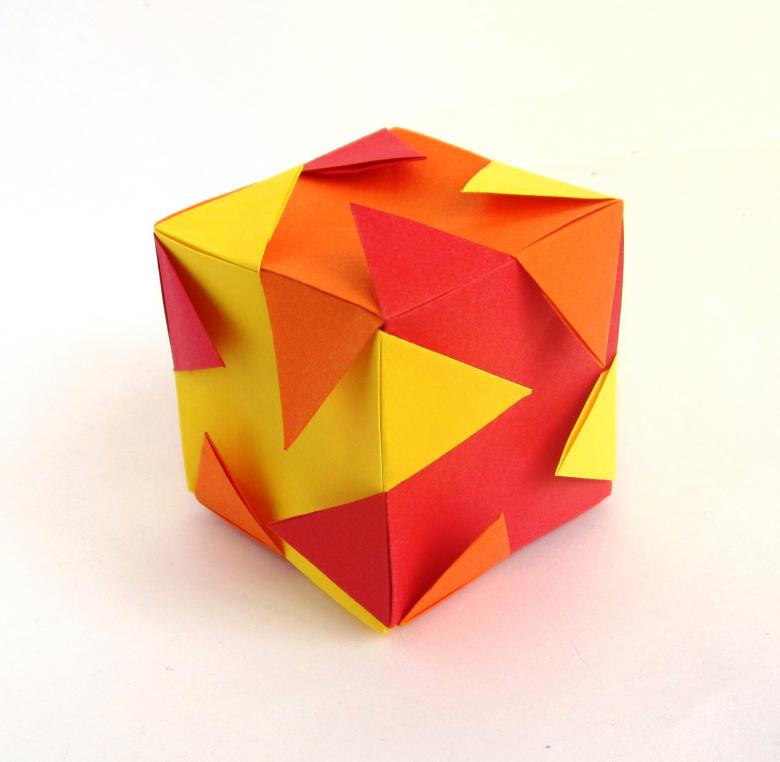
Quick way
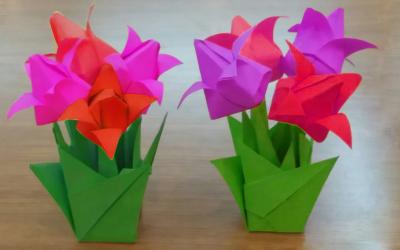
To create this model also need a square sheet obtained from a sheet of A4 and only five minutes of time. Many people know this craft as a "water bomb" or origami tulip bud.
- Cut a square of paper;
- Fold it from corner to corner and in the middle to get two diagonal folds and one in the center;
- Fold the sheet along these lines to see a double triangle;
- Angles of the triangle bend upwards to see the diamond;
- Angles of the diamond fold into a central fold;
- The top two corners of his bend down to the center;
- Turn the workpiece and repeat the same on the second side;
- Unfold the handicraft, inflate it with air and flatten all the corners to see a neat cube.
Children's version
If you are wondering how to make a cube of origami paper, but have never faced with this technique, you can take the easiest way and start with the children's version. This scheme is ideal for making cubes for crafts in kindergarten or elementary school.
To make such a cube, print out a blueprint for it from the internet. It will be a drawing-splitting cube with indents for gluing. The finished template should be glued to heavy paper or cardboard and cut out. Then the workpiece should be bent at the joints of the squares and glued, applying glue to the special indents.

If you do not have at hand a printer, you can draw the workpiece yourself.
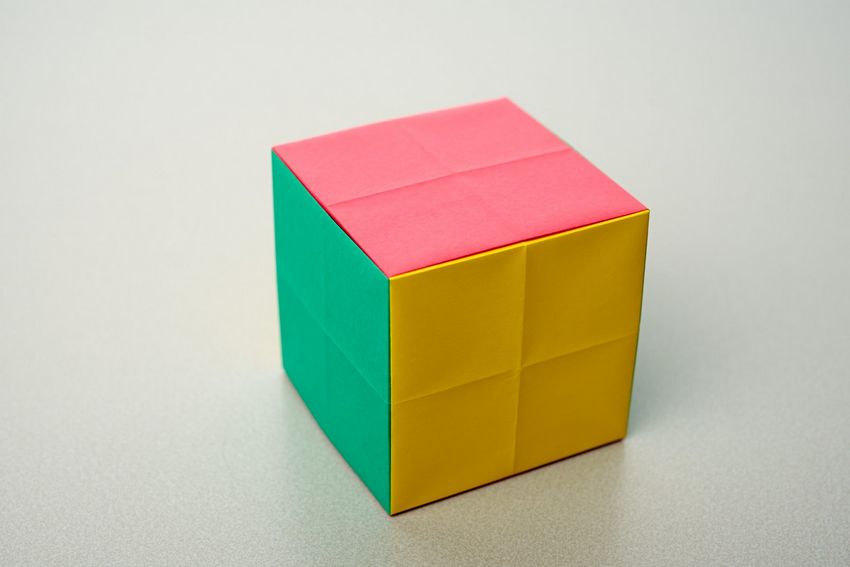
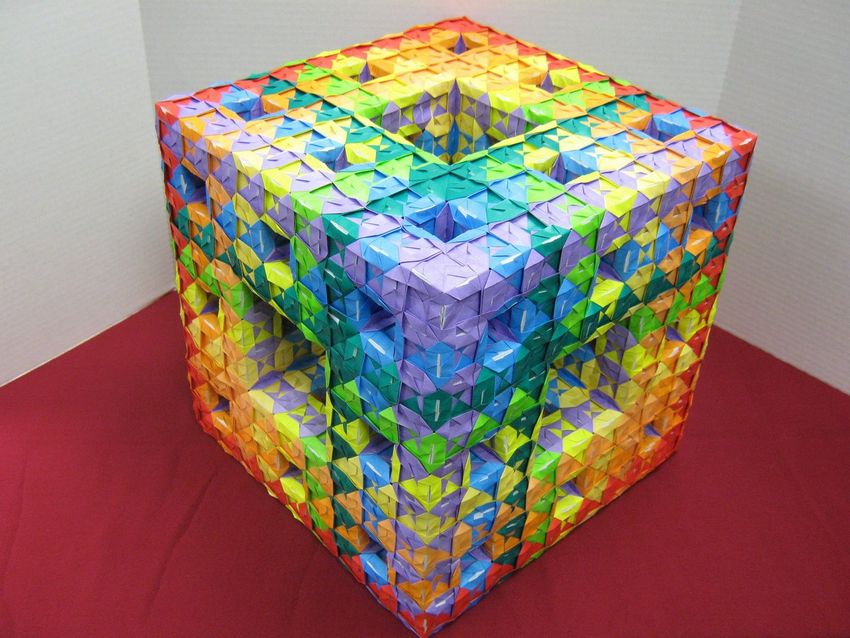
Multicolored large cube
Such cubes can be made for construction in the children's room. For this, you will need six squares of heavy paper or cardboard. The larger the squares, the larger the finished cube. Next, do the following:
- Fold each sheet in half, marking the center line;
- Fold the top and bottom of the sheet to the center line;
- Right and left edges of the workpiece fold to the center;
- One piece put down a flat part, so that the top stick out two "wings";
- On top of her put four pieces on the edges of a square base;
- "Wings" blanks tucked into the pockets of the neighboring;
- Place the last part of the cube on top.

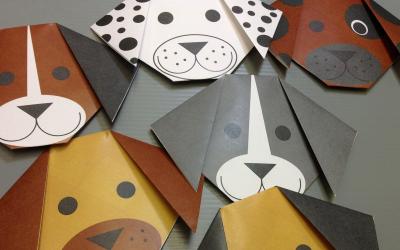
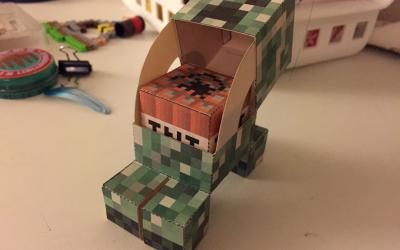
Cube with a face
Children will love the box, from which will look funny face. For this craft you need a sheet of double colored paper A4, scissors, a white sheet of 20 by 20 cm.
- Fold the sheet of A4 in half lengthwise;
- Cut the sheet into two parts along the fold;
- From these rectangles cut two equal squares;
- Fold the square diagonally two times;
- Fold each corner to the center;
- The upper and lower edge bend to the middle;
- Unfold the bends, leaving only two corners of the diamond bent to the center;
- The outer corners of the bends outward;
- Bottom edge bend up to the center;
- To the same line tuck the top edge;
- Unfold the workpiece and unfold;
- Make a diagonal in the lower right square, the lower left and the top two;
- Turn the workpiece;
- Push down on the corners and assemble the box;
- Repeat steps for the second blank;
- Put boxes into each other, forming an opening box;
- White square fold twice diagonally;
- Turn and fold in half;
- Make a water bomb;

Draw a funny face on one side of the white part and put it in the colored box.
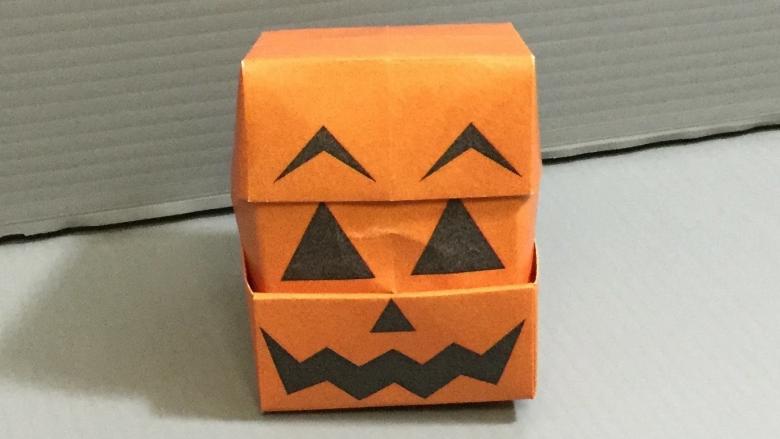
That way you will have a face peeking out of the colored box. You can draw the face and use ready-made stickers and plastic eyes with moving pupils.
Photo ideas for origami cubes