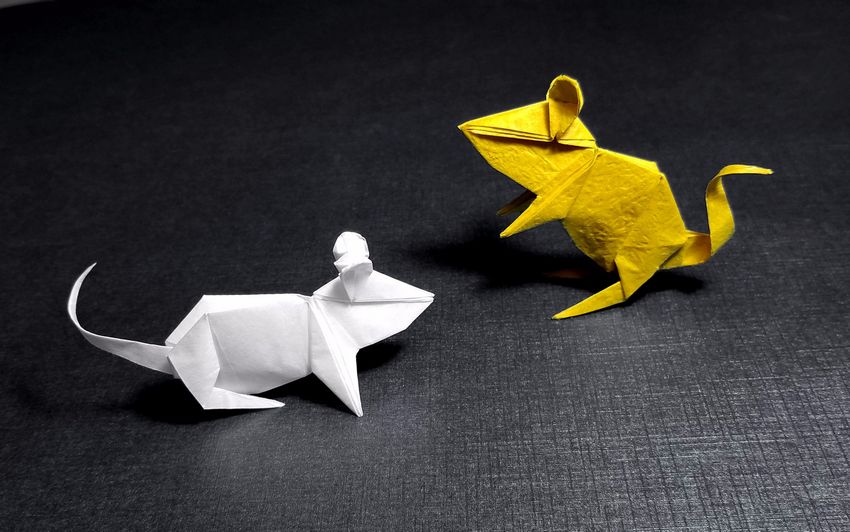
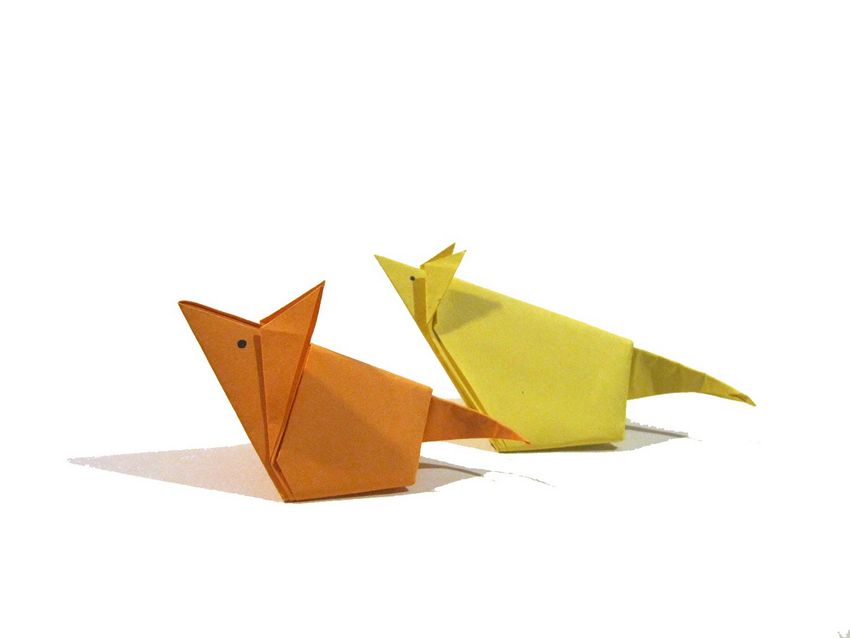
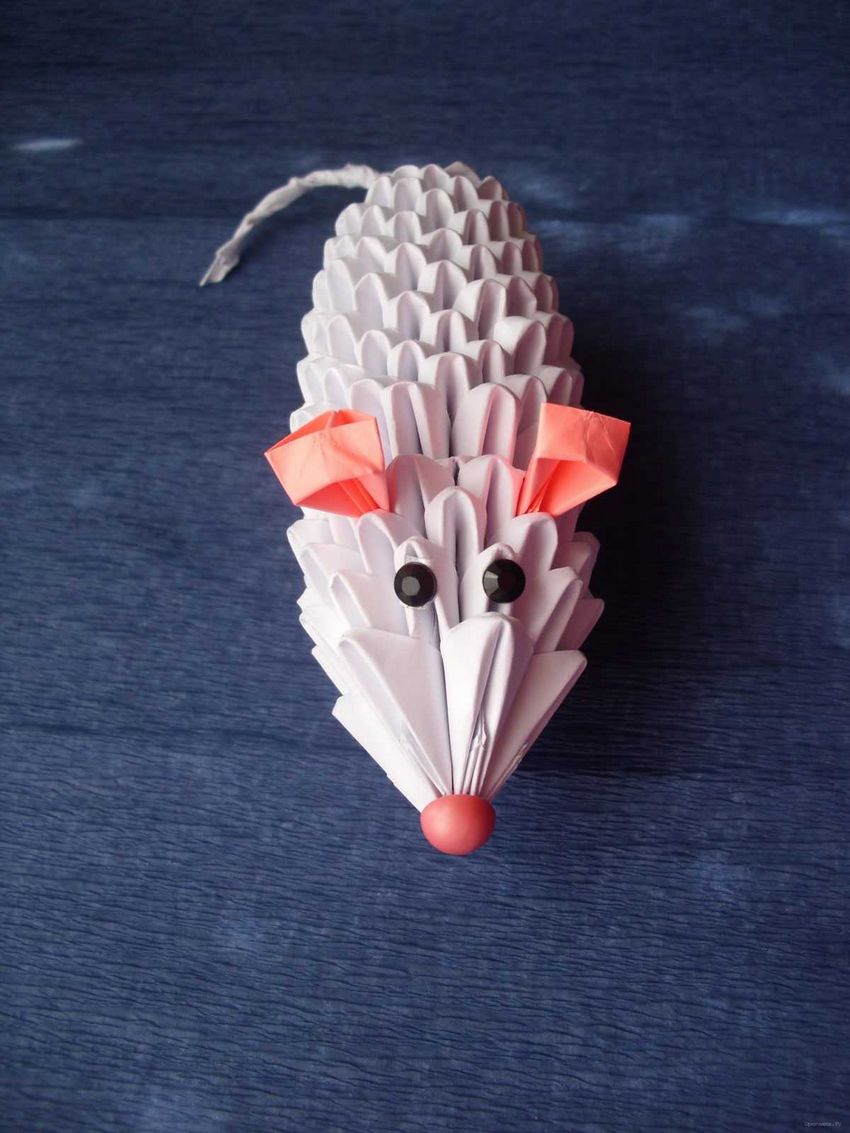
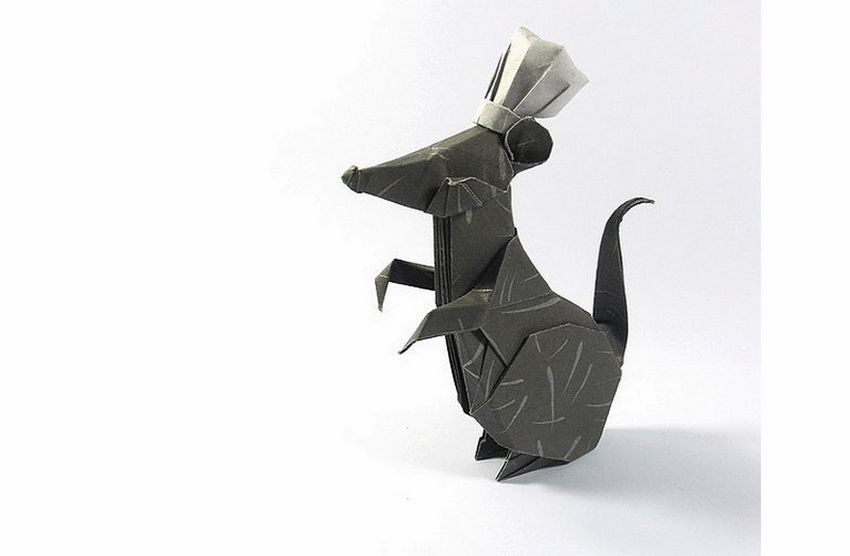
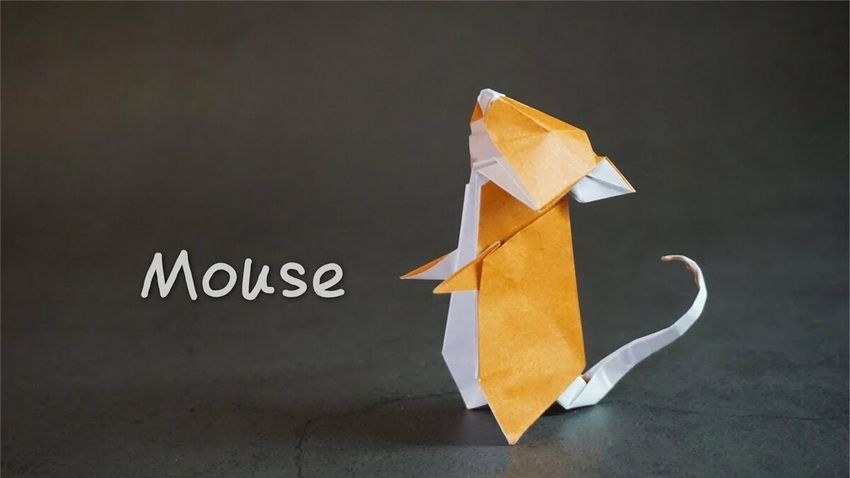
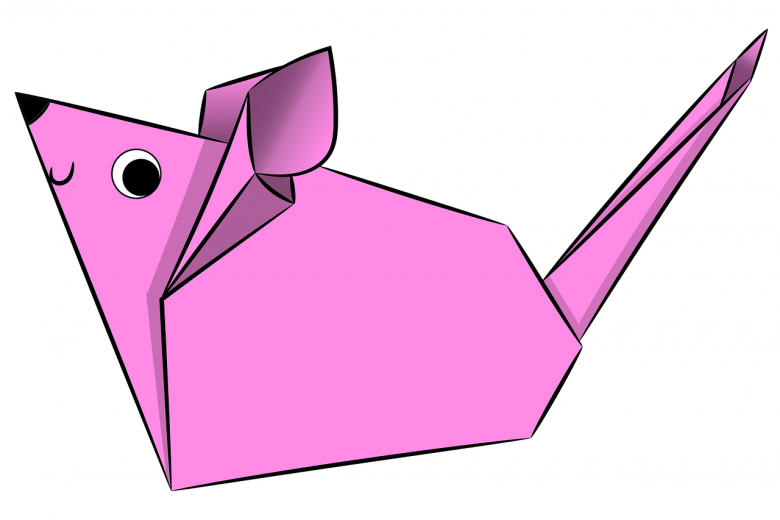
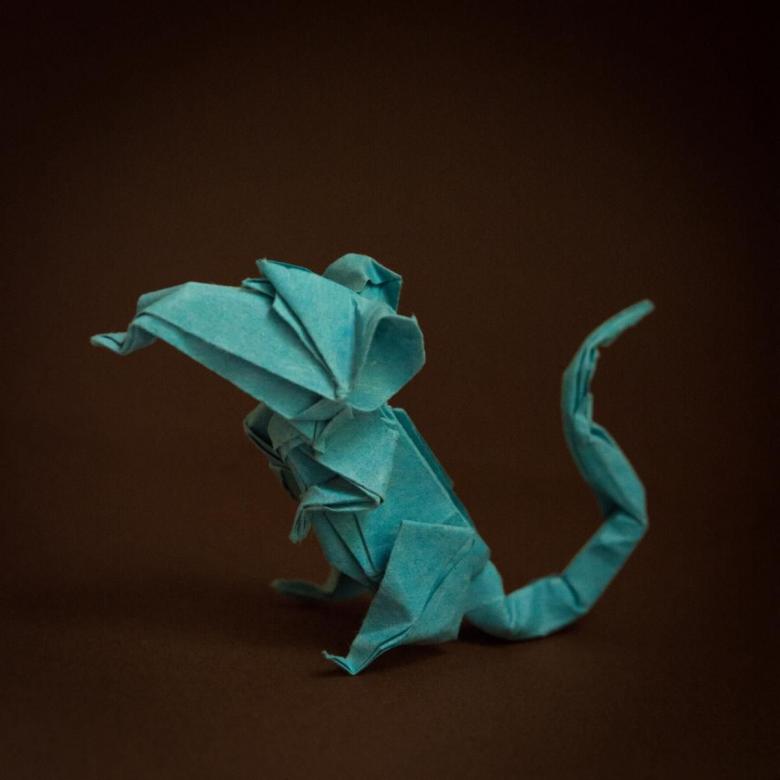
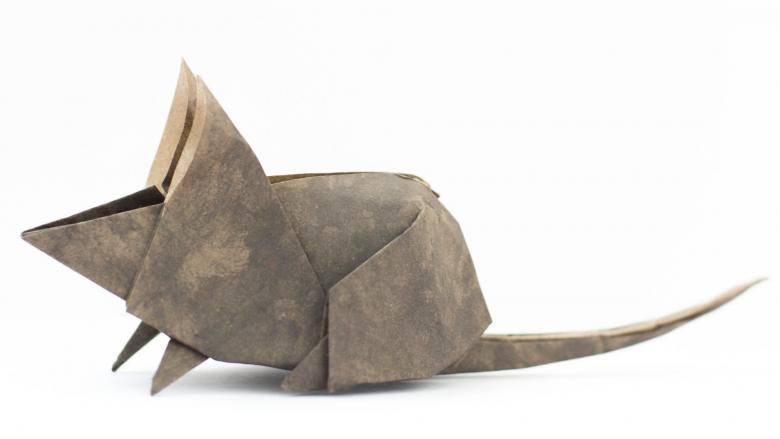
Origami mouse - a detailed description of how to make a paper mouse with his hands
Origami art as well as any new business, you need to learn from the simplest basics. To do this, this article introduces you to the technology of making an elementary crafts - origami mouse.
Briefly about the traditional technique
Origami - a kind of applied art, intricate technology, which is based on the process of folding paper in various shapes.
The Japanese call it as "The Art of the whole leaf," which, as you have guessed, symbolizes the participation in the process only sheets of paper. Glue, scissors, combining with other figures is forbidden in the traditional sense of origami.
New schools and approaches.
This was the technique at its origins, at the time of its birth. Today, this art is divided into a huge number of subspecies and branches. There are, for example, techniques and entire schools are allowed to use glue and scissors.
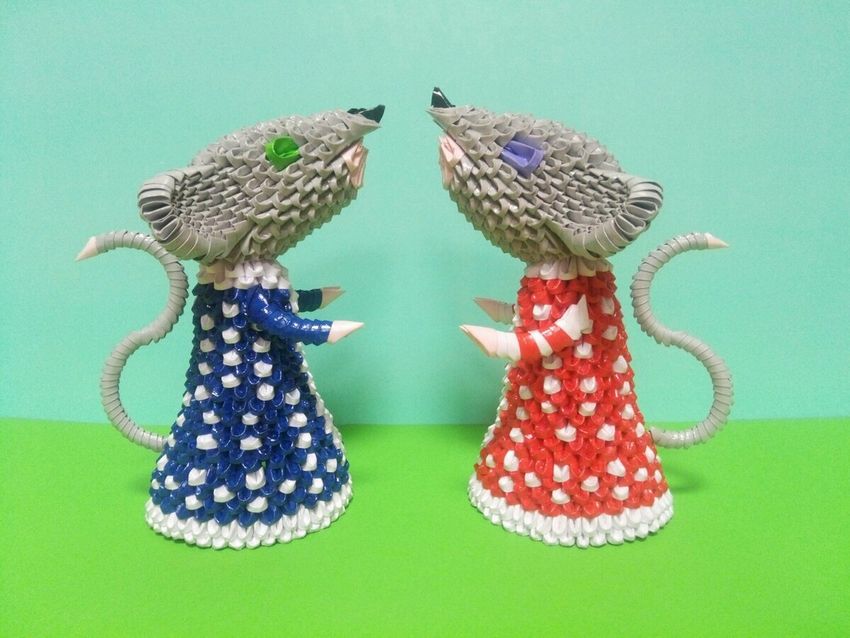
Allowed to use materials such as foil, tinplate, wire mesh. You will find on the web lessons to create a flat and three-dimensional origami, as well as paper balls (kusudama), impressive beauty and complexity of work that represents the modular origami.
From the history of origami
China, that's where the legs grow from the intricate art of folding paper figures. It was in the Middle Kingdom invented paper from which to create all this beauty. And only about a century later was invented Japanese paper, exceeding the quality of Chinese.
Mostly paper was used for practical purposes - recording sacred texts, valuable information. But the inventive Japanese brain did not stop there, he created a whole new art.
The sacred square - the basis of technology
However, the paper then did not scatter because of the high cost, using origami only in Buddhist rituals.
However, the paper was initially extremely rare and expensive material, so all products from it, including origami, were used exclusively in religious rites of the Buddhists.
Classical technique involves making crafts always based on the paper square shape, it is no accident, because it is a square carries a sacred meaning in Japanese culture.
A cure for a fussy world
Origami enthusiasts can not help but feel some distant echoes of the ancient sacred, as meditation, during which there is a concentration in the process of working on the product, helps to distract from bad thoughts.
One is already forced to think about the beauty of geometric shapes and lines, fixing his attention on a strict sequence of actions. This process perfectly shifts consciousness from the daily grind to the contemplation of the eternal beauty.
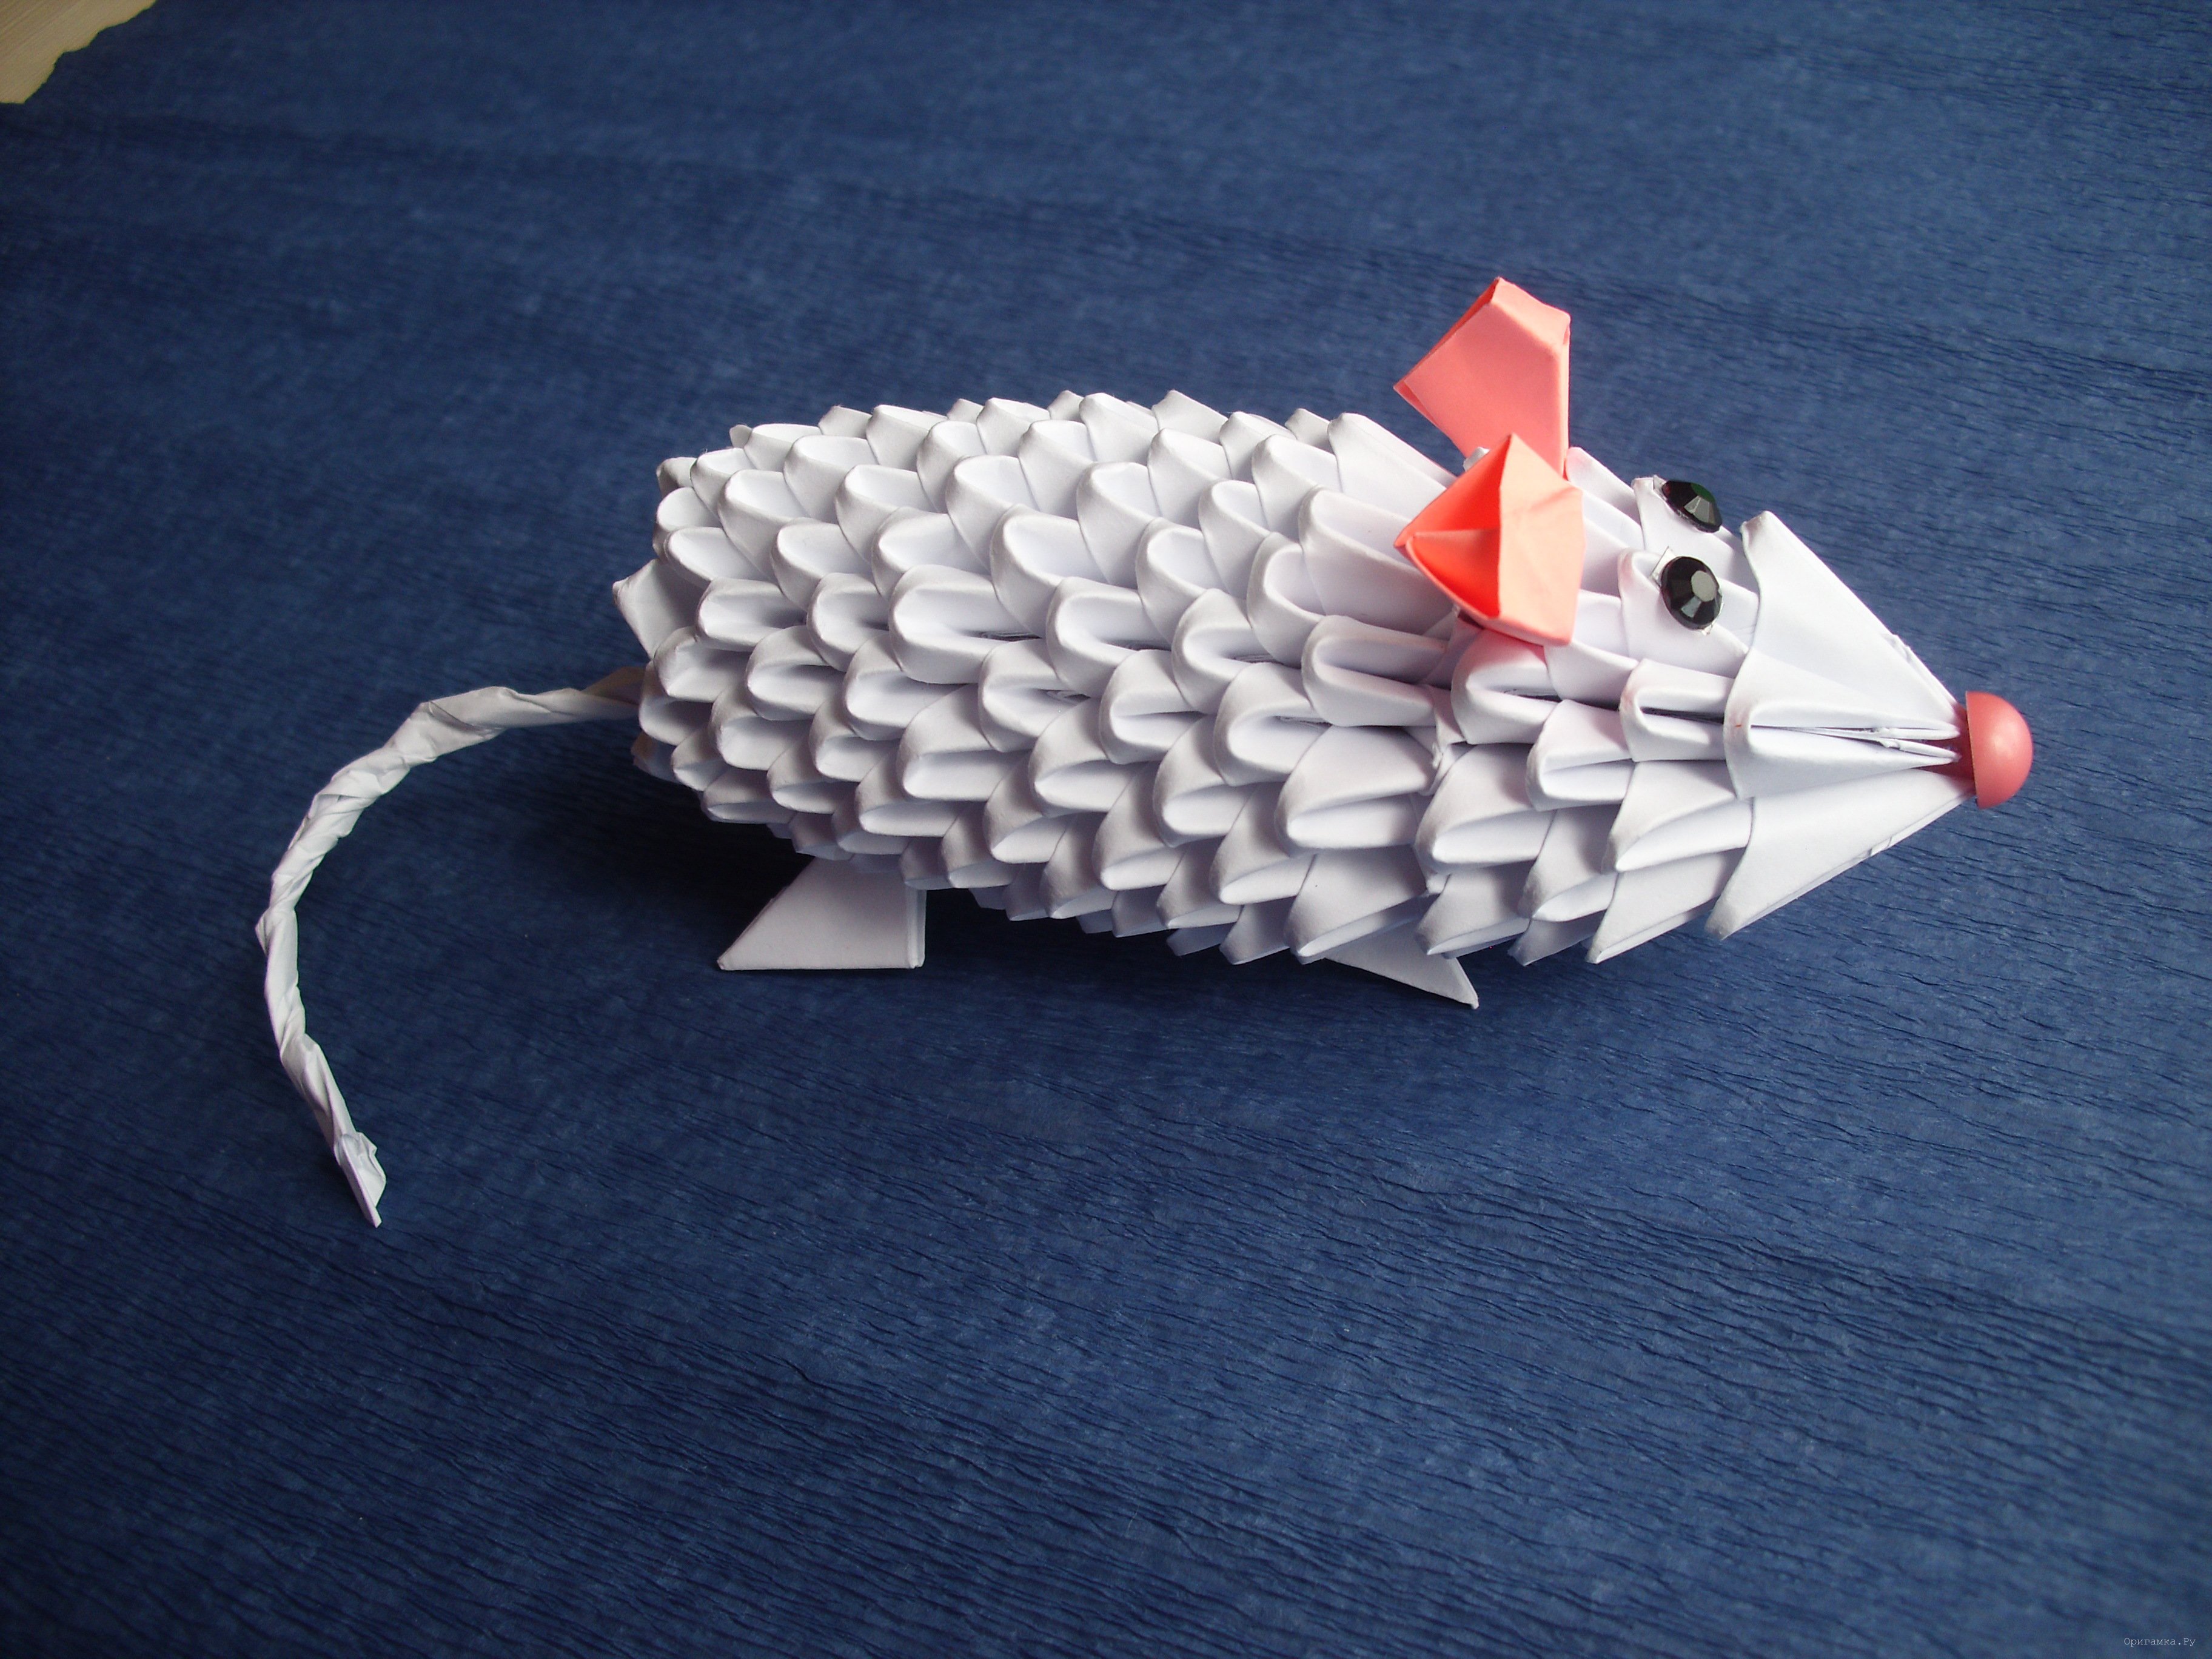
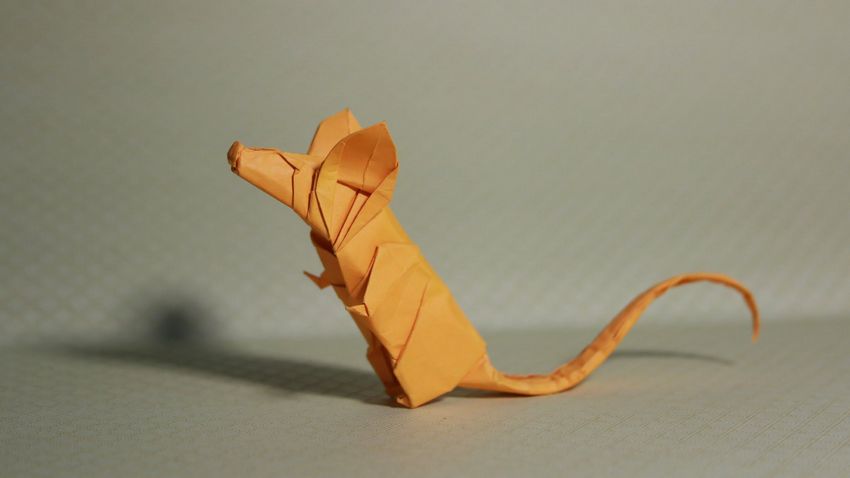
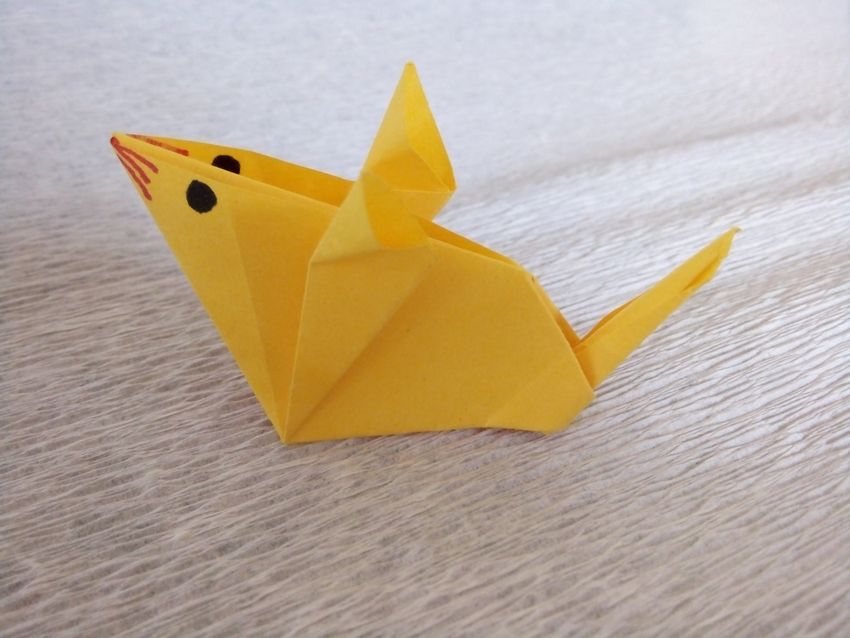
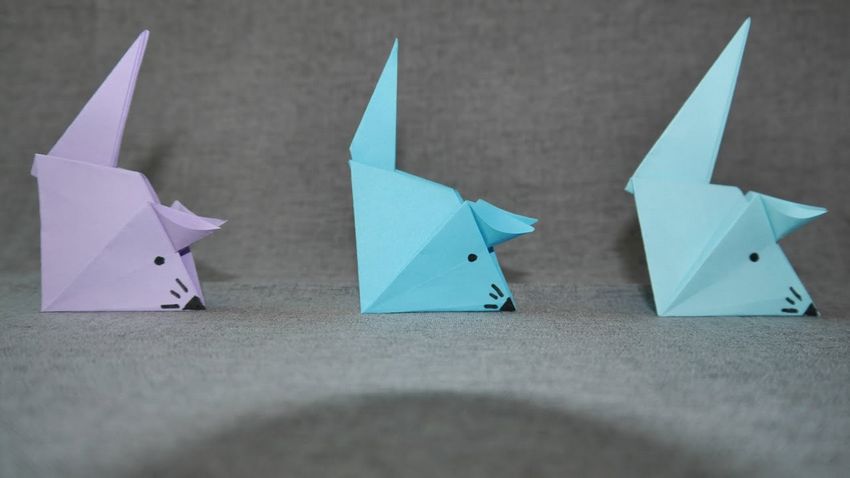
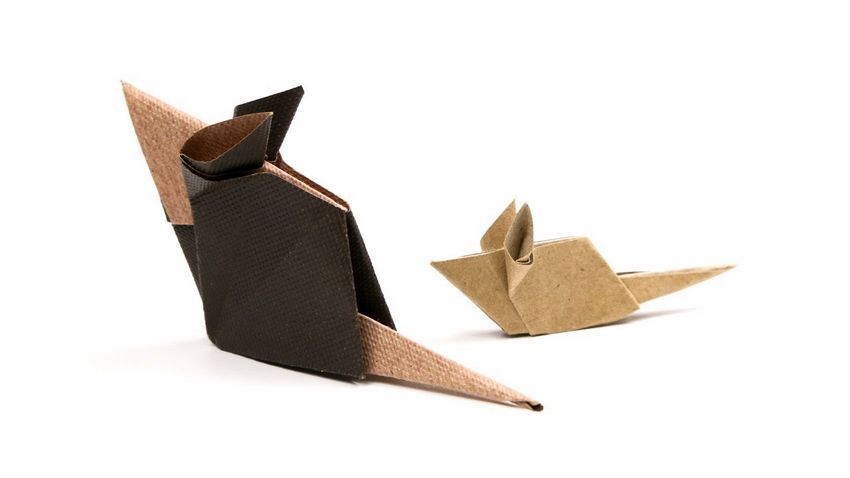
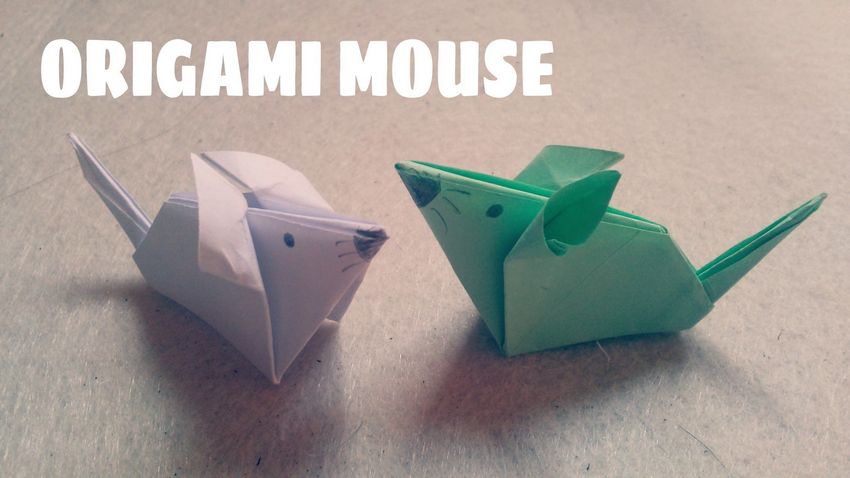
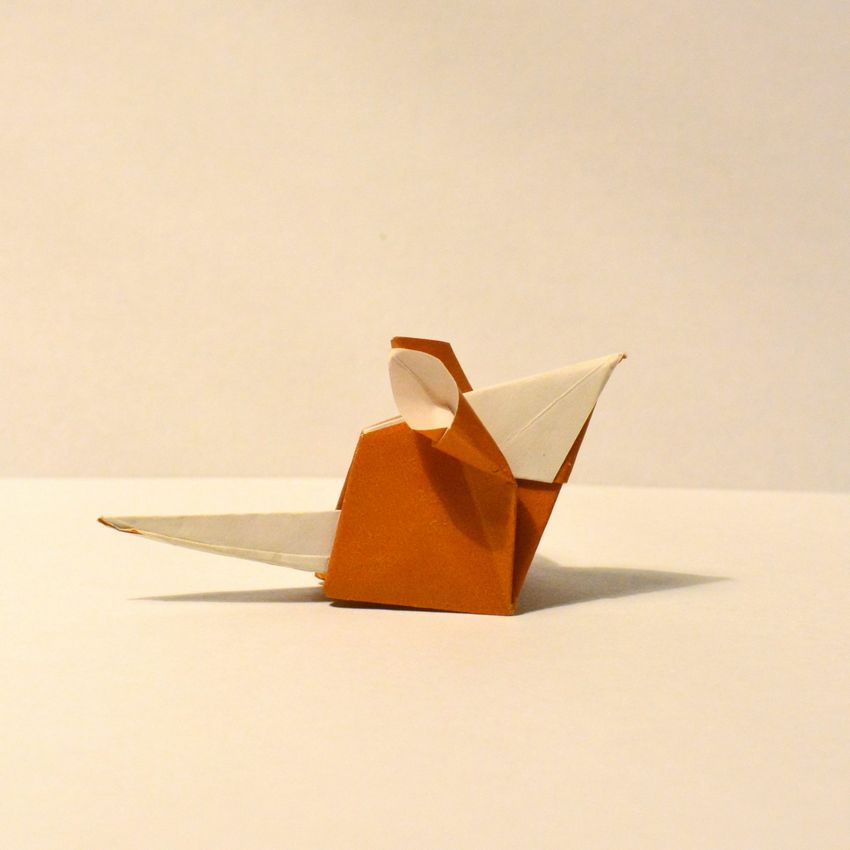
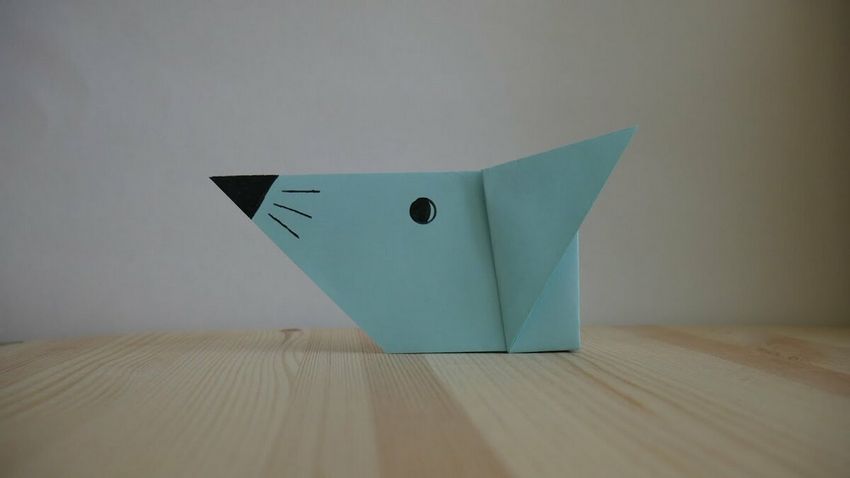
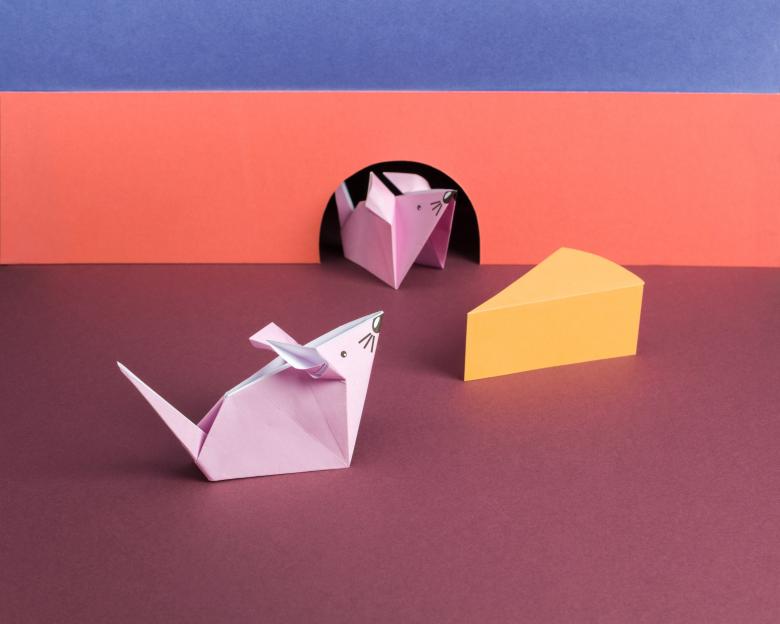
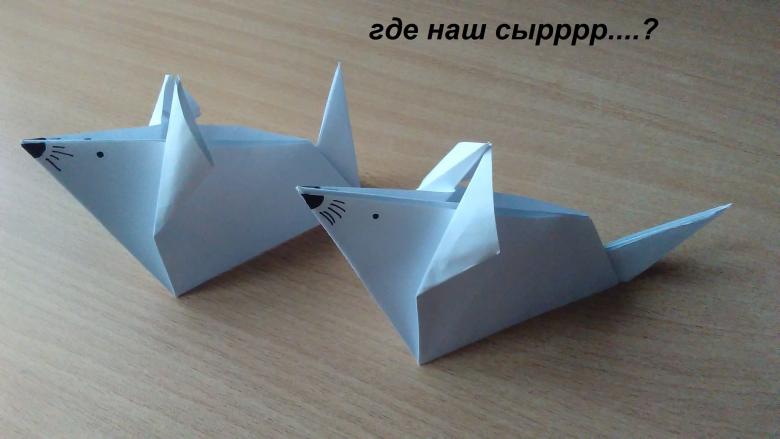
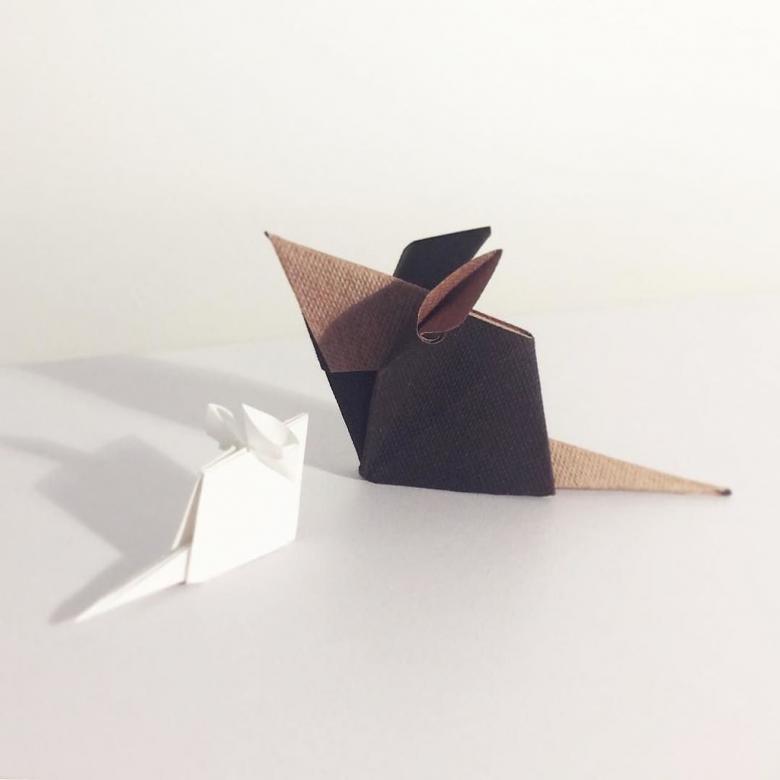
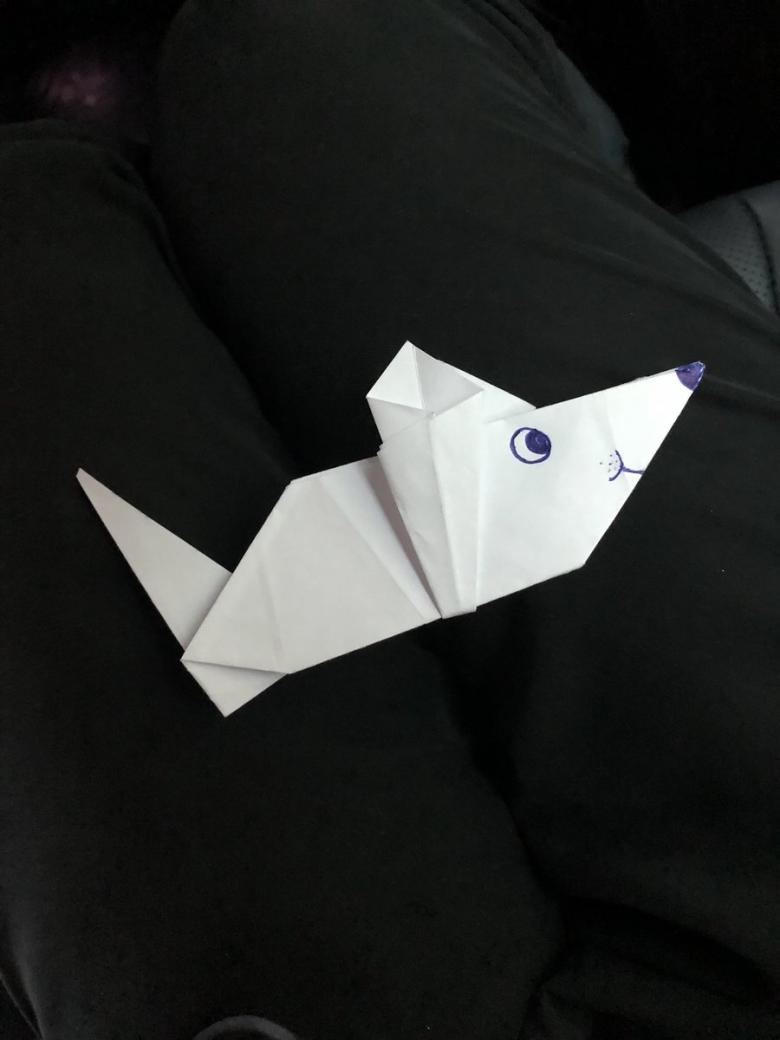
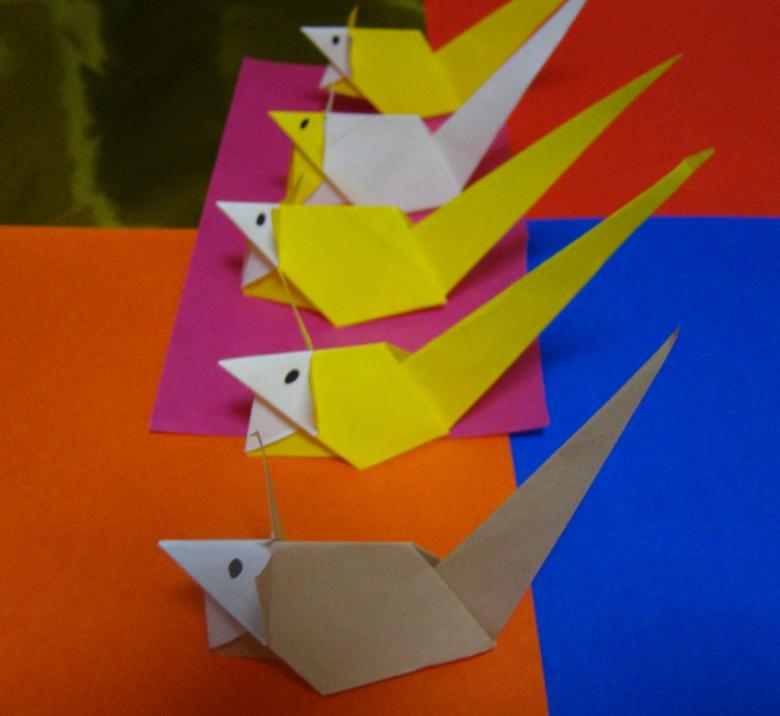
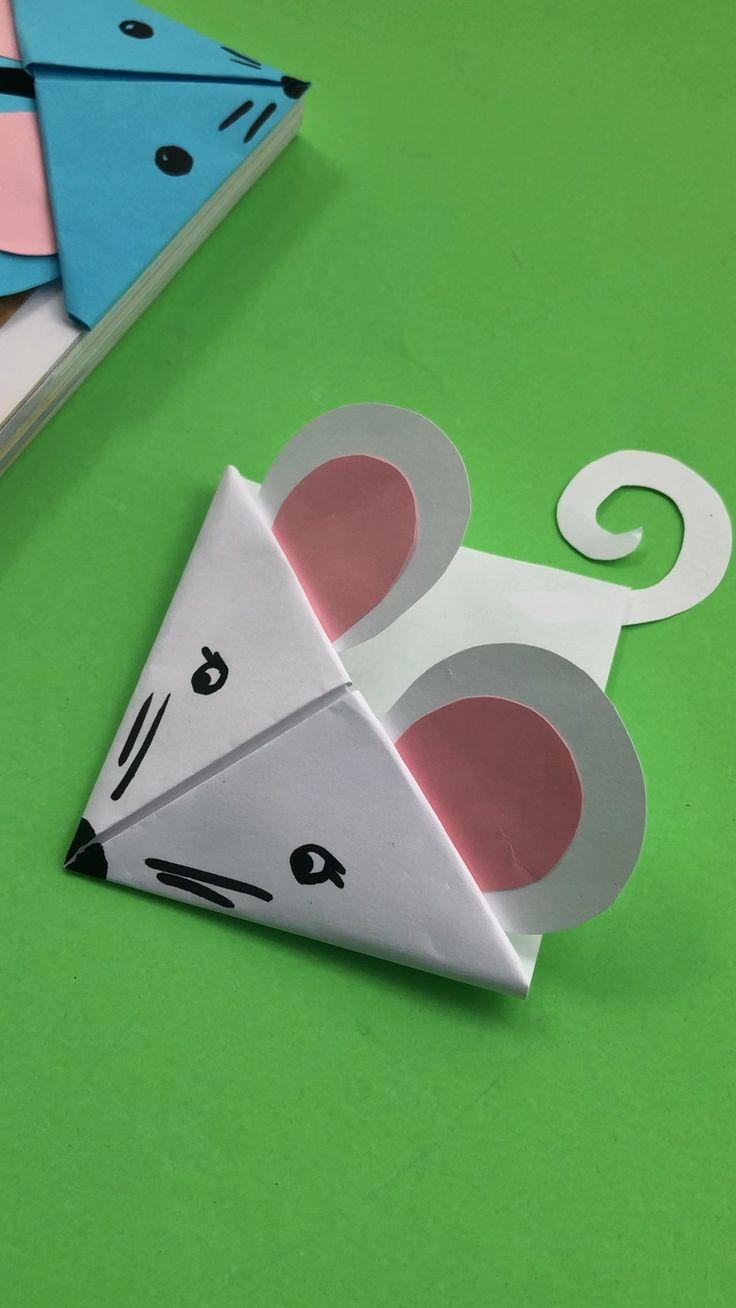
Origami mouse paper for beginners
Origami paper mouse is a craft that will not let your child get bored, and the process of making it is designed to develop your child's artistic taste along with constructive thinking.
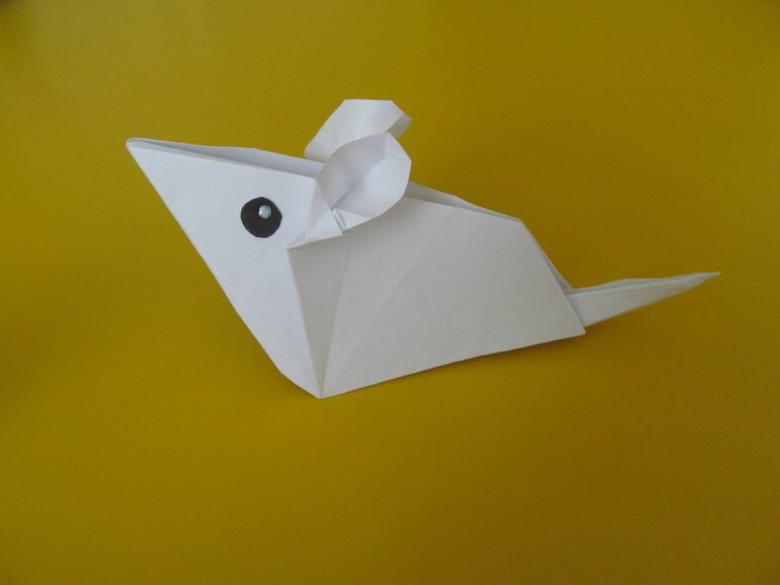
The mouse, which will not chew anything and will not scare anyone because of its cute look, can be easily and simply made from a piece of paper.
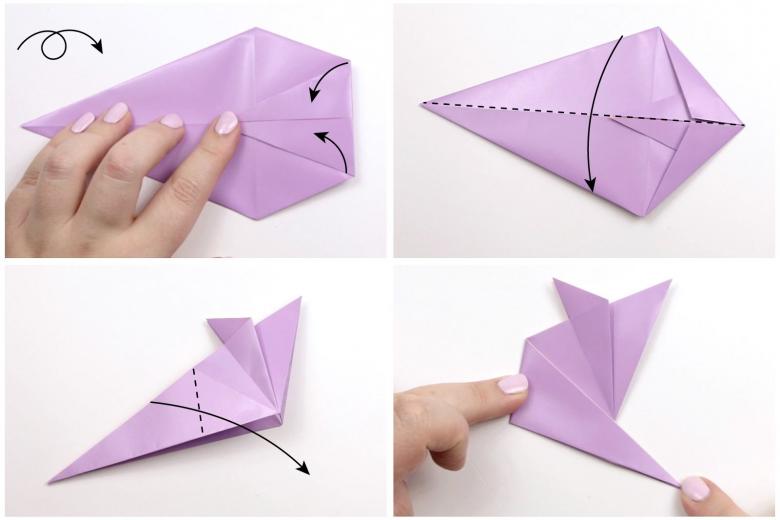
This option is one of the simplest, the principle of work is clear for inexperienced, novice amateurs and kids. The whole work consists of 8 simple steps. Let's try to build a craft together.

We will need:
- Colored paper - any color you like. Double-sided paper will work well, or you can just take white paper.
- Marker or pencil.
- Scissors .
How to do it
- Take the paper and cut out of it a square of your desired size. The larger it is, the more will be the mouse.
- Fold the square diagonally until it changes shape from a square to a triangle.
- Expand and connect the other two corners.
- Open again, in the center a pair of cross folds, which will later simplify the process of folding.
- Fold the sheet into a triangular shape, bend on the left side of the right corner, the fold should not coincide with the central one
- The same angle unbent back, a fold is formed. This is the ear of our mouse.
- Now you have to bend the bottom corner back, trim it along the bottom line of the ear.
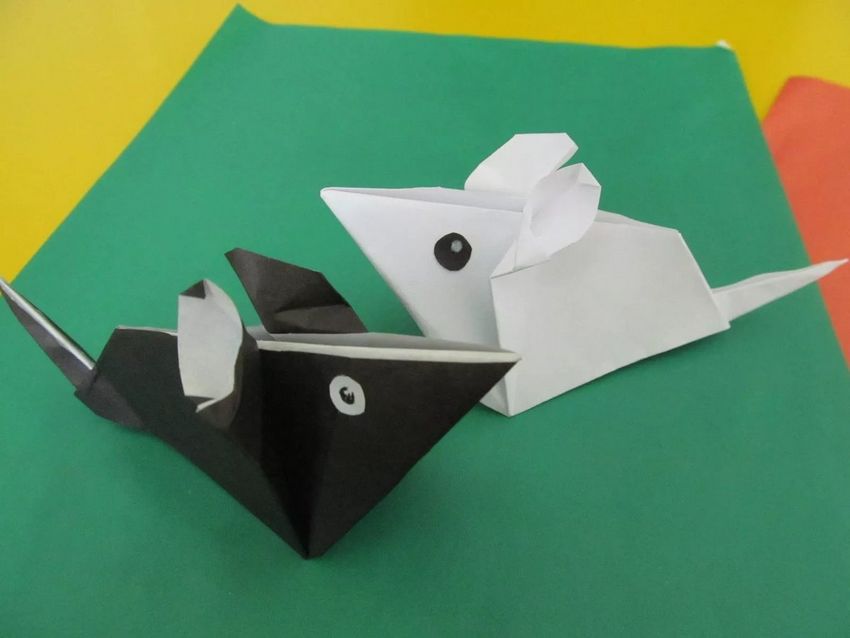
- It now remains to draw with a marker or pencil mouse face parts. Mark the nose, eyes and antennae. Complement the handicraft can be paper whiskers, tail and eyes can also be glued from paper. To do this, cut out of paper thin, long strips. Curl them, you can, twisting them on a pencil. This will be a fun mouse mustache. The tail, too, can be twisted in the same way.
Our wonderful toy is ready!
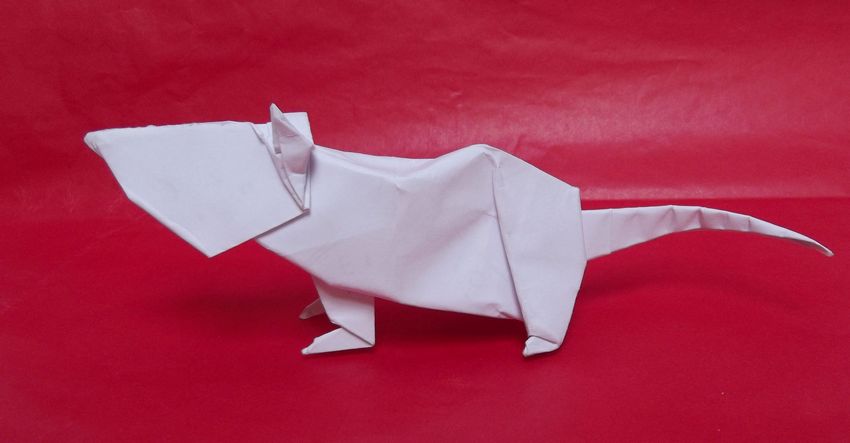
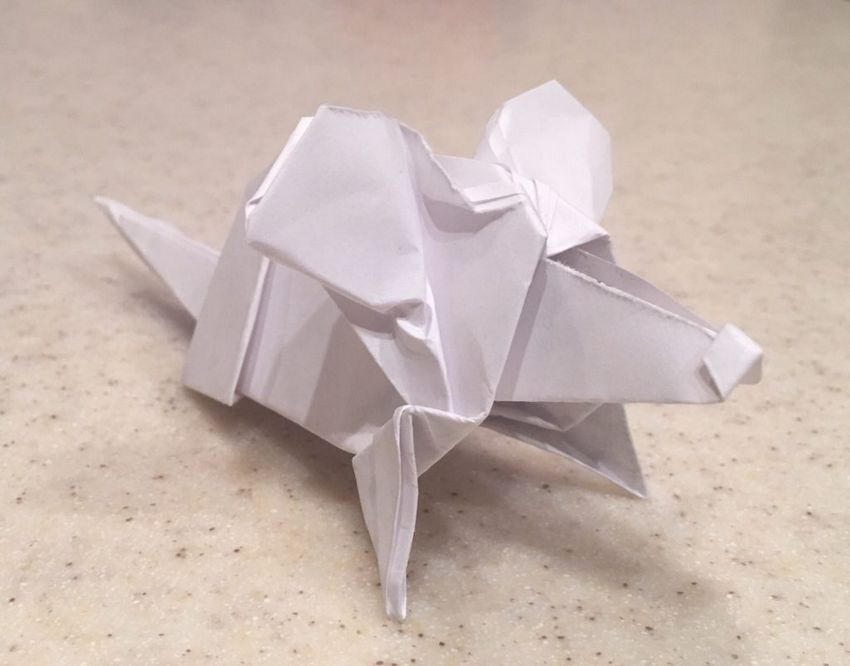
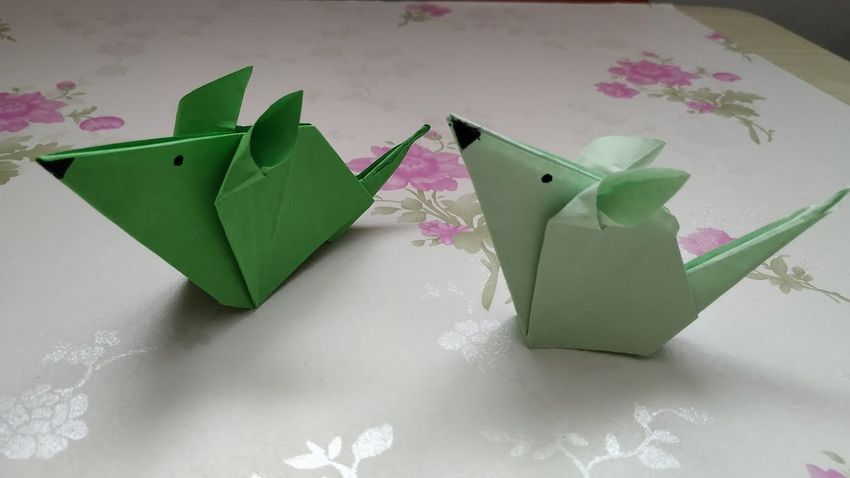
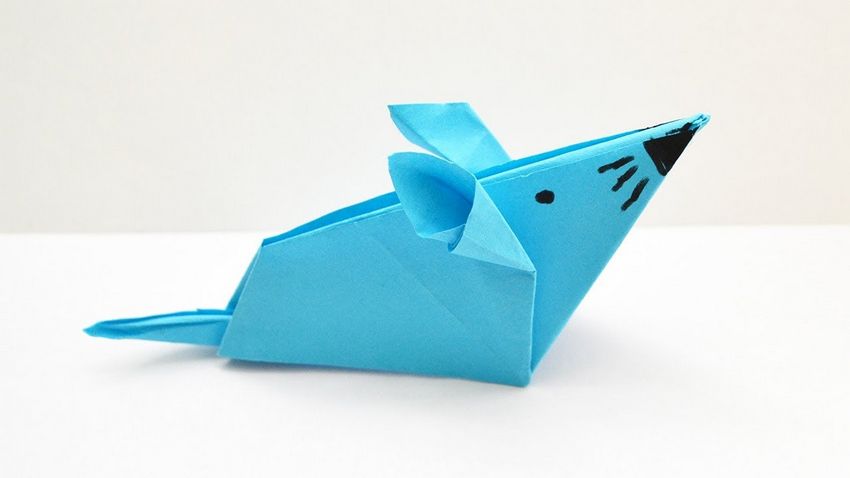
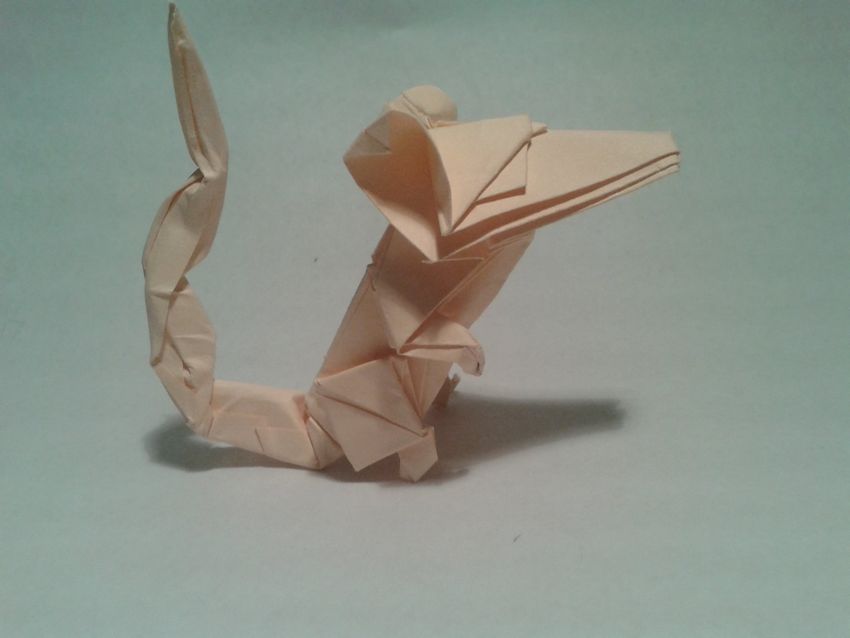
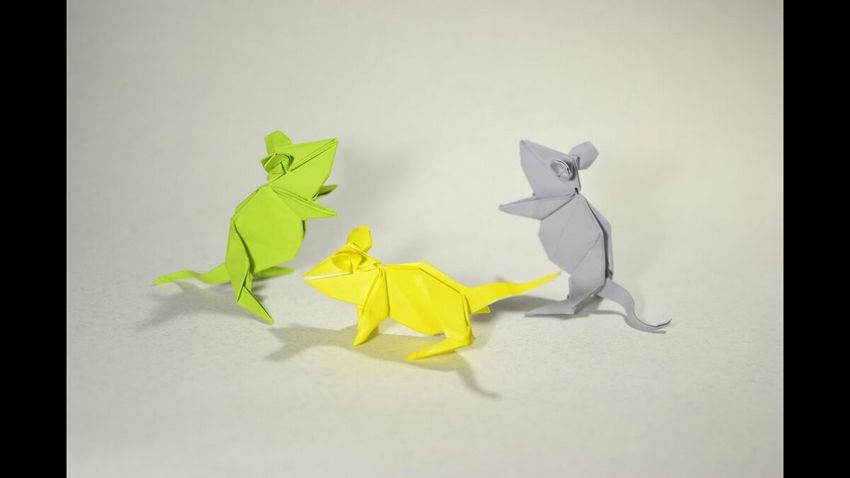
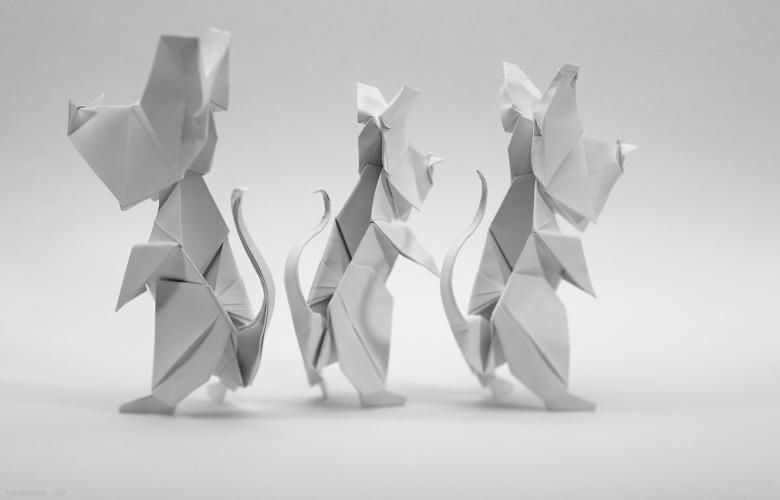
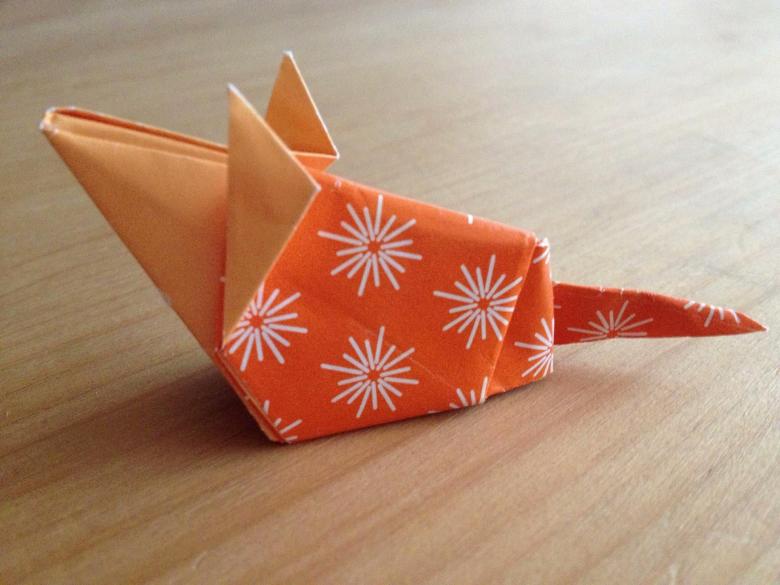
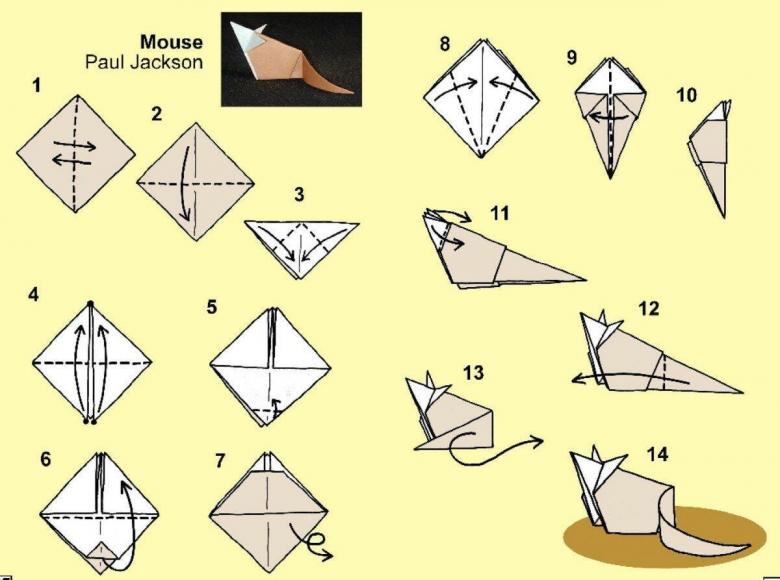
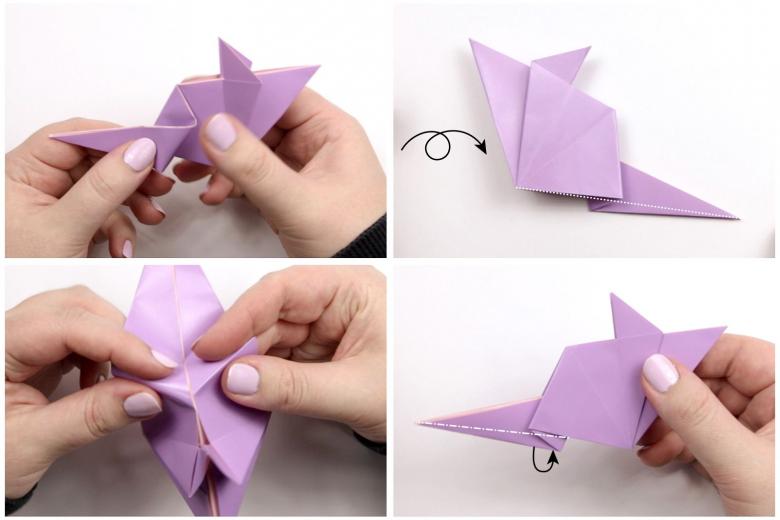
Origami mouse step by step instructions
If your child is crazy about solving puzzles or other logical problems, then making fun crafts in the Japanese technique will be to his liking.
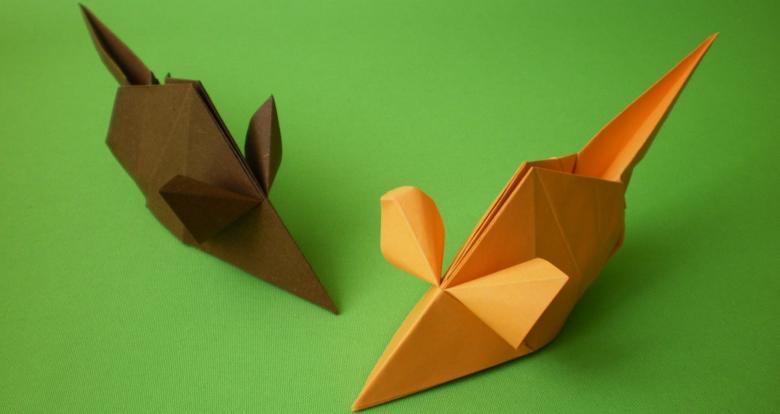
There are many different master classes on the construction of the rodent in the origami technique, but they are all about the same. Now we are going to look at another lesson, which describes in detail the process of creating the head of the mouse, namely its head with a funny muzzle.
Mouse muzzle in origami technique
The basis can serve as an ordinary heart, but then take a square of double-sided colored paper is better.
Necessary materials:
- 1. A square of paper sheet of any color;
- 2. Black marker.
Workflow
- Fold the square diagonally.
- The front side of one shade, and the reverse side should be white.
- Fold the square in half again, also diagonally, but in the opposite direction.
- Unfold and turn the white color to him. One of the corners adjacent to the center of the square
- Turn the piece again with the white side down
- Lift the bottom corner upwards so that the white side is exposed and the corner must abut to the middle of the side that is upwards
- Unfold the sheet, focusing on the resulting folds.
- Now you should bend each side in turn
- Unfold the workpiece to the first fold, turn the white side facing you, sides bend inward, so should form four squares.
- Fold the sheet to get a square in the center and the top two sides.Soon will be transformed into a central square of the head of the mouse, and the other sides in her ears.
- Dip down the top of the square that is in the center, should show the white side
- Turn the piece on its other side and bend out the side corners to form small isosceles triangles.
- Disguise the corner of the top layer, bending it down.
- Head ready! It remains to glue or draw a mustache, nose and eyes.
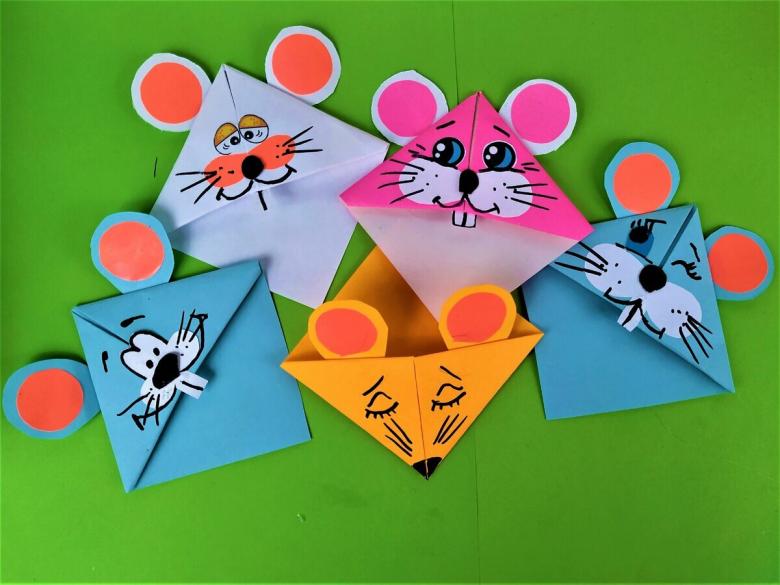
As you can see, having the scheme and guidance for work, cope with the task of making origami mouse can everyone, even a small child.
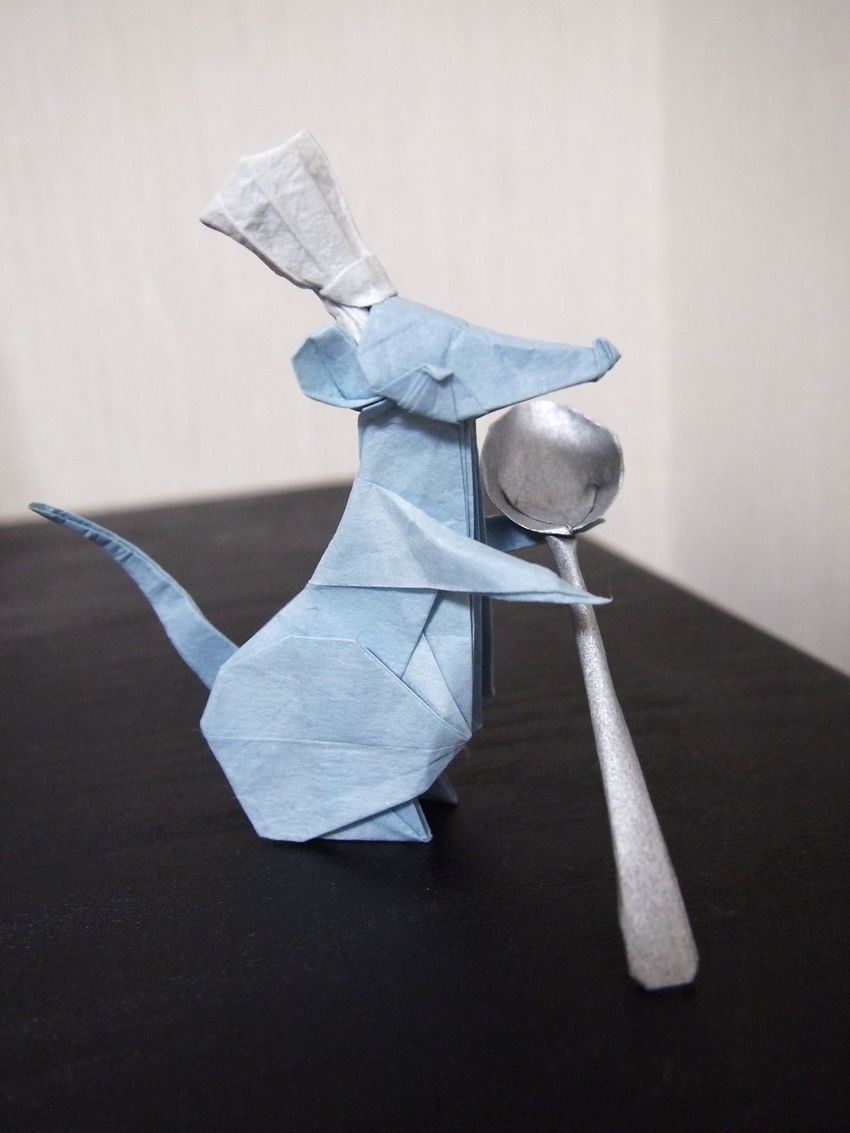
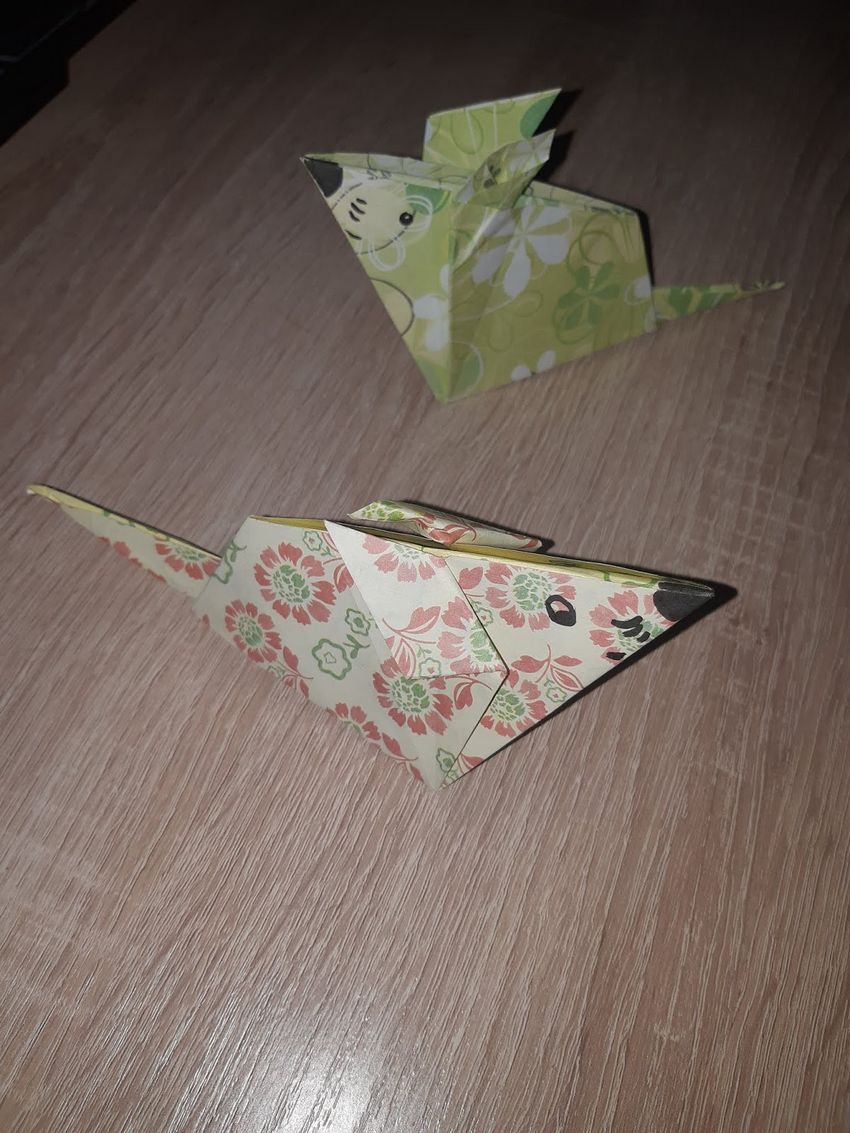
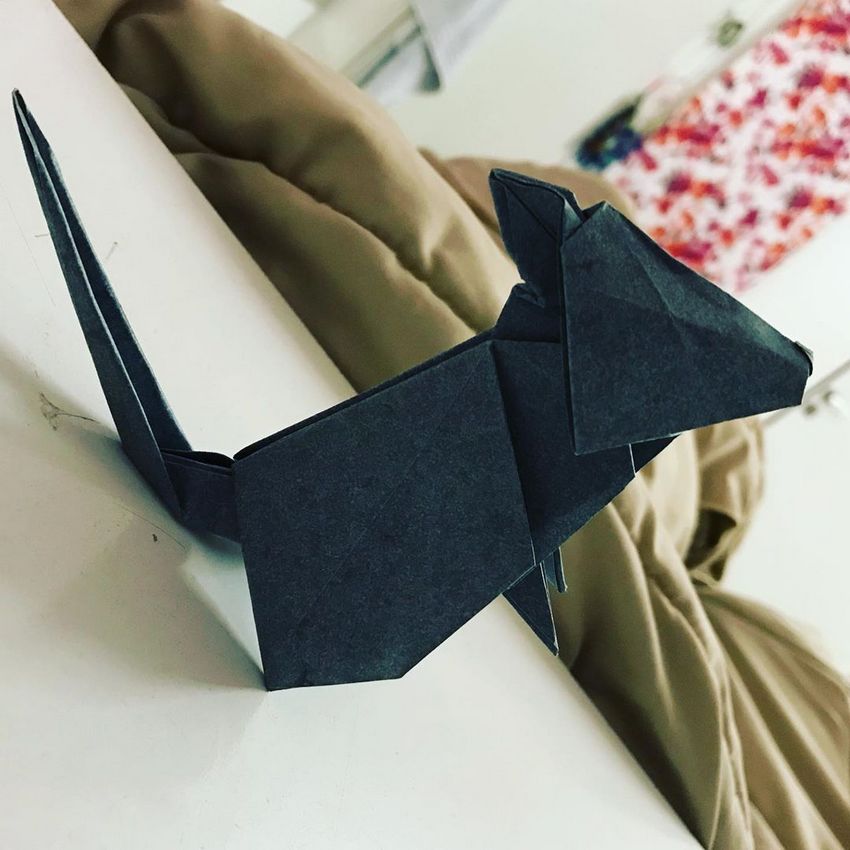
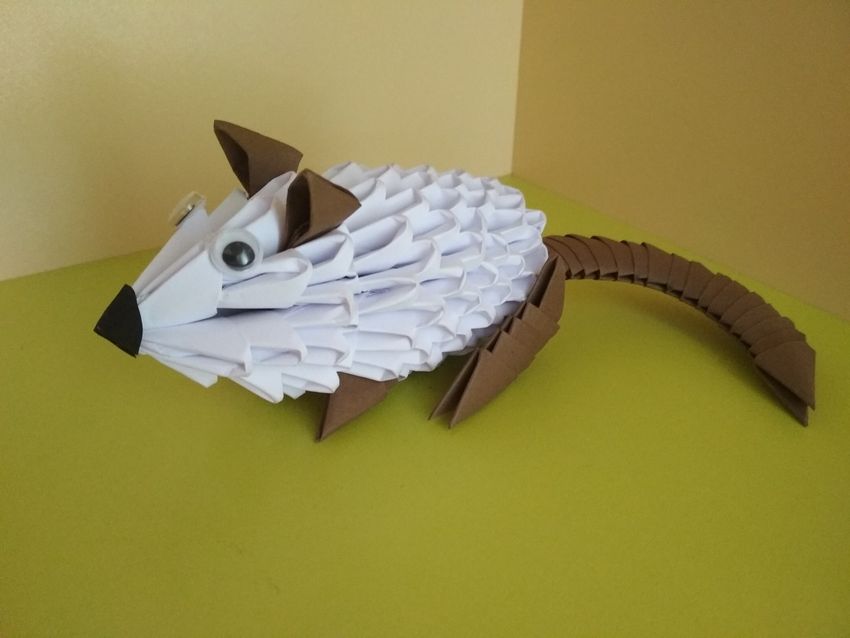
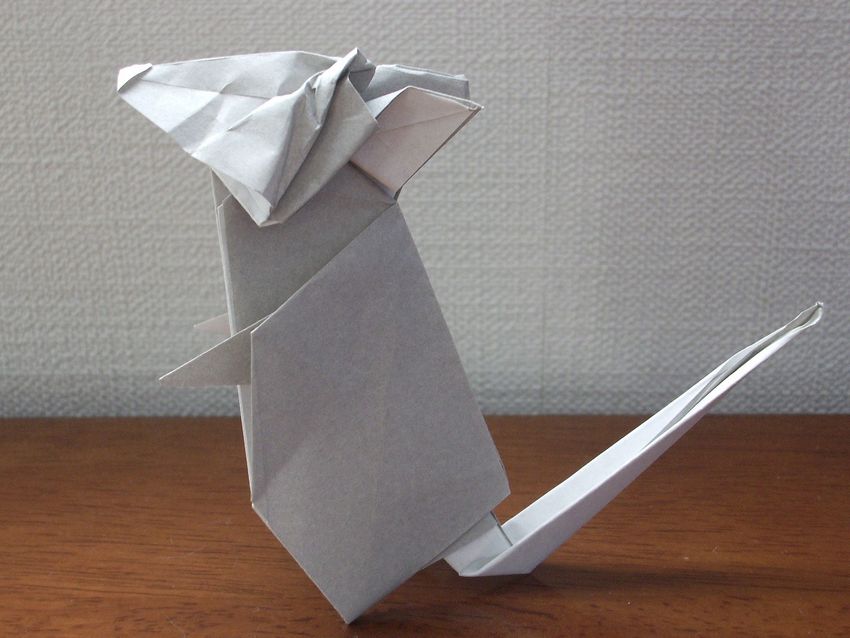
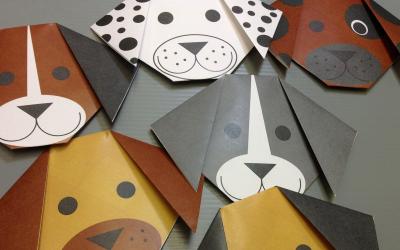
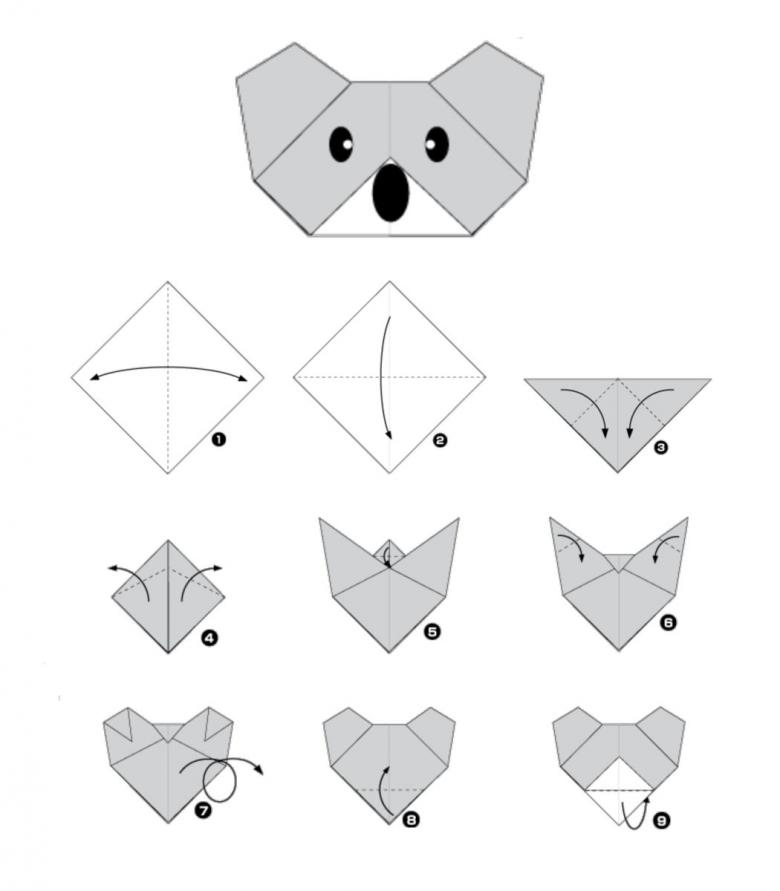
Photo ideas bears made in the art of origami