How to make origami heart: schemes of paper and cardboard, original photo ideas
Heart - a figure that can easily be created using origami technique. Hearts are very popular, because many people love gifts, but to get something made with their own hands is twice as enjoyable!
The technique of origami creation of the heart of paper is quite diverse and is suitable for beginners and experienced people. After all, there are so many versions of the figures, and they differ not only in difficulty of execution, but also in their purpose.
Materials needed
Before you start creating a heart, make sure you have all the materials you need on hand:
- Paper: it is preferable to use colored double-sided, so that the gift will be more vivid;
- Stationery: a simple pencil, scissors, ruler;
- Schemes of shapes: it is desirable to prepare in advance favorite pictures on which you can fold origami.
Options for hearts
There are a huge number of ways by which you can create a heart of origami. They differ in their complexity and focus.
Heart can serve as a cute addition to the main gifts such as greeting cards or Valentine's Day, often the heart technique on the principle of origami use in the form of bookmarks for books, people make whole boxes or individual bulk compositions, etc.

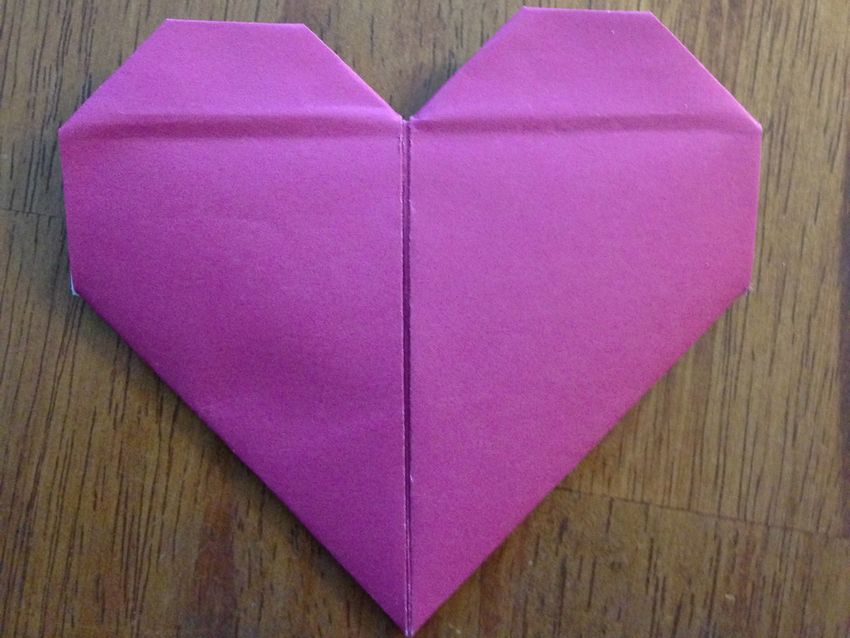
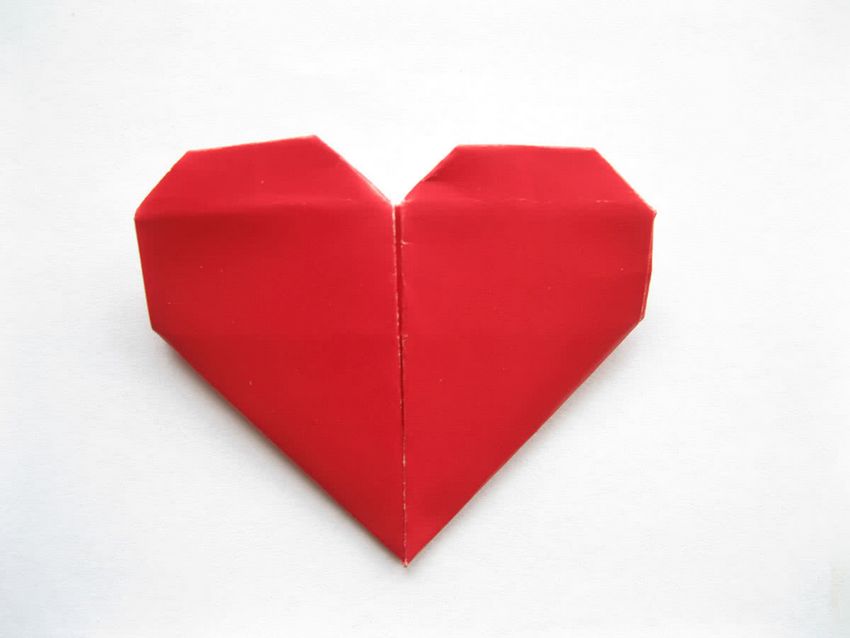
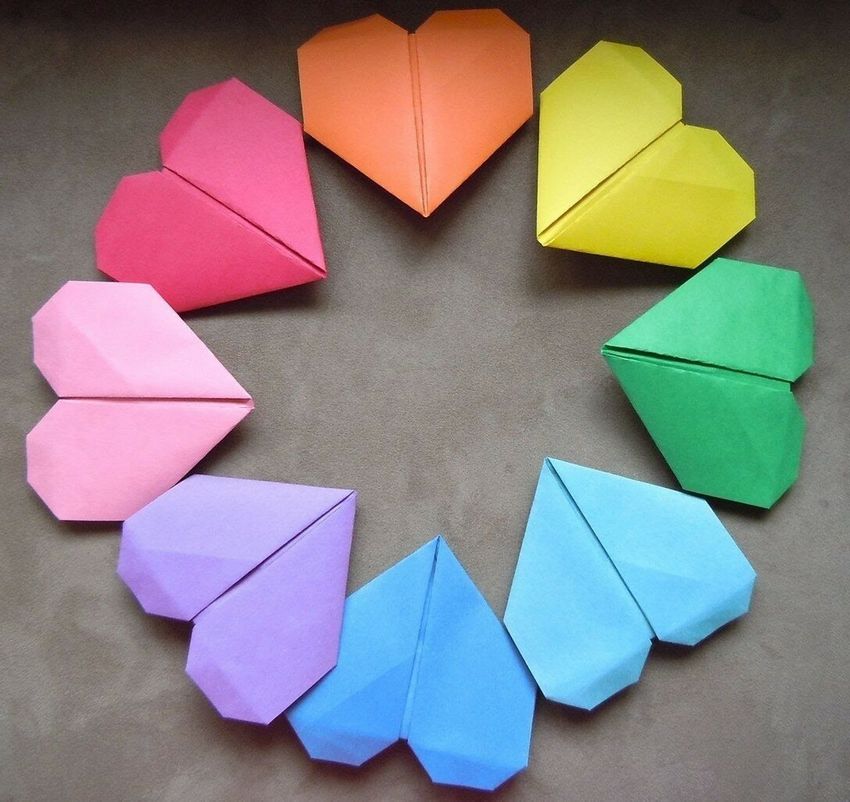
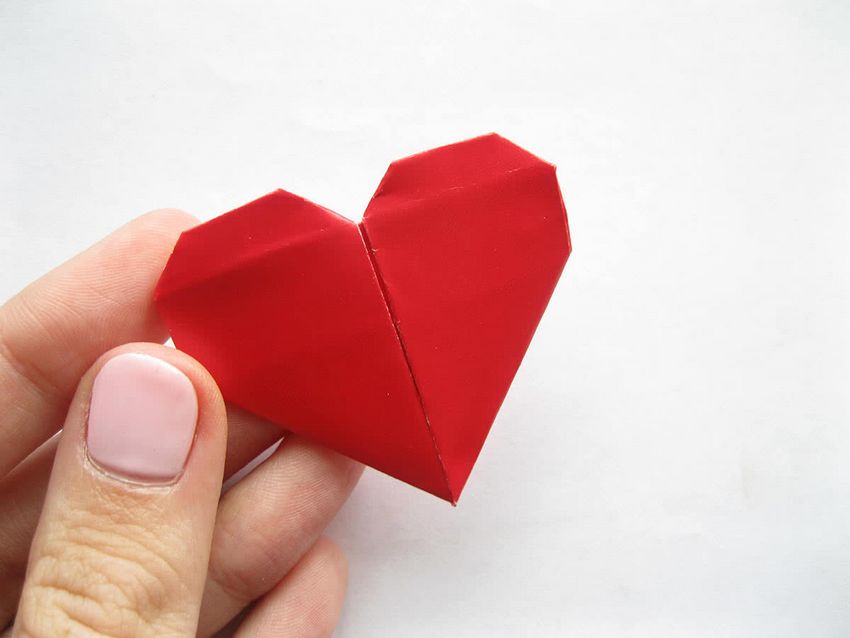
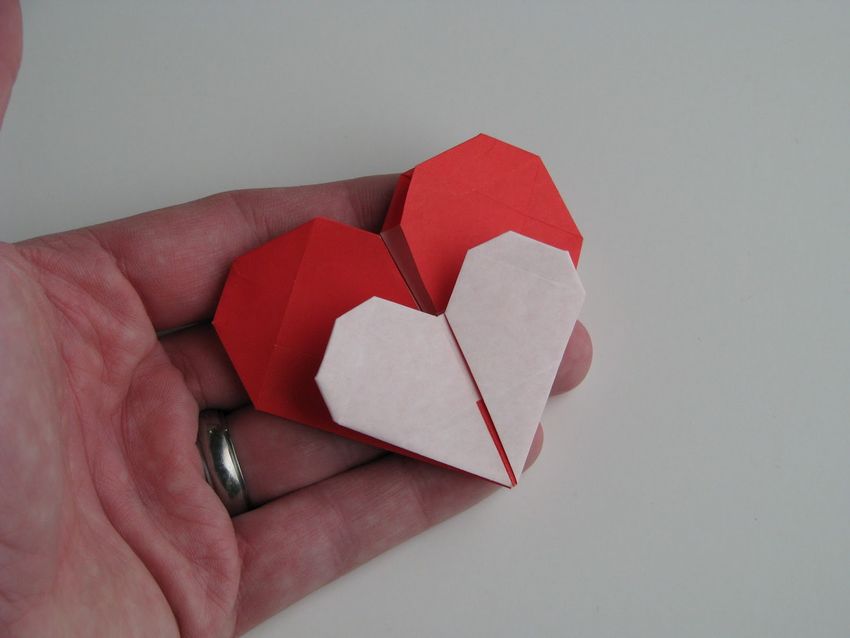
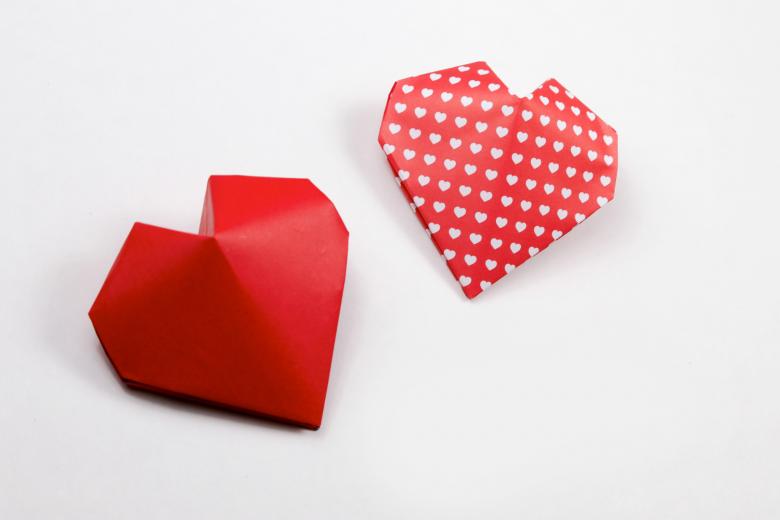
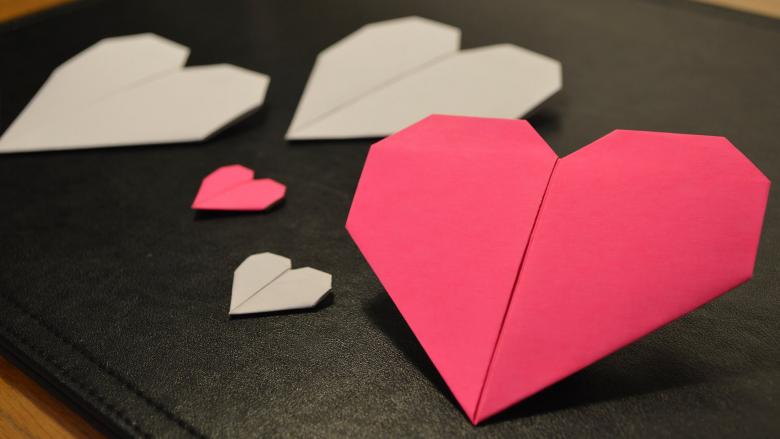
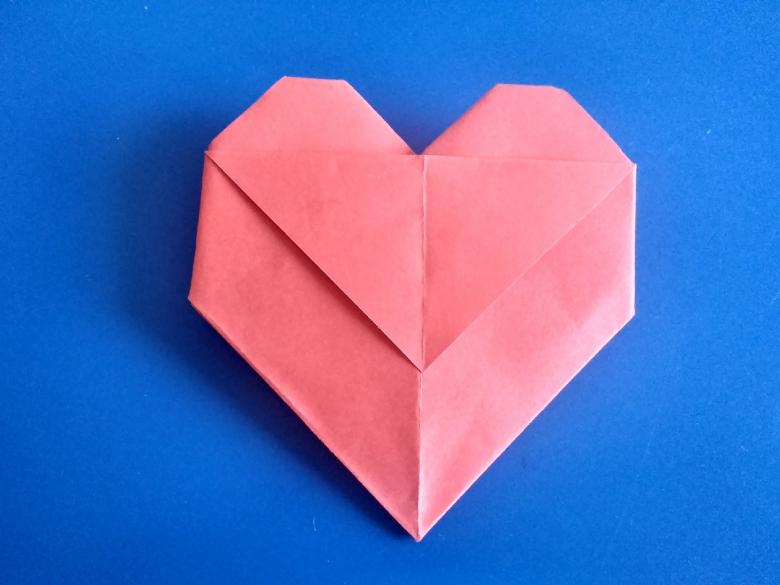
A simple heart
To assemble the most simple figure to take a pre-prepared paper. Note that the standard rectangular shape of A4 sheets for the future heart will not work.
- The first step is to make a square from a rectangle.
- The next step is to bend the opposite side of the square diagonally in such a way as to form a cross.
- One of the corners to bend so that its tip "touches" the center of the cross: we should get a triangle.
- Now you need to add the opposite corner so that it was in the middle of the base of the resulting inverted triangle. (At this stage it must be neat, so that the heart turned out symmetrical).
- Thanks to the cross, fold both sides of the figure up along its fold.
- The last step is to make a rounded heart, bending the corners on the sides and top of the figure.
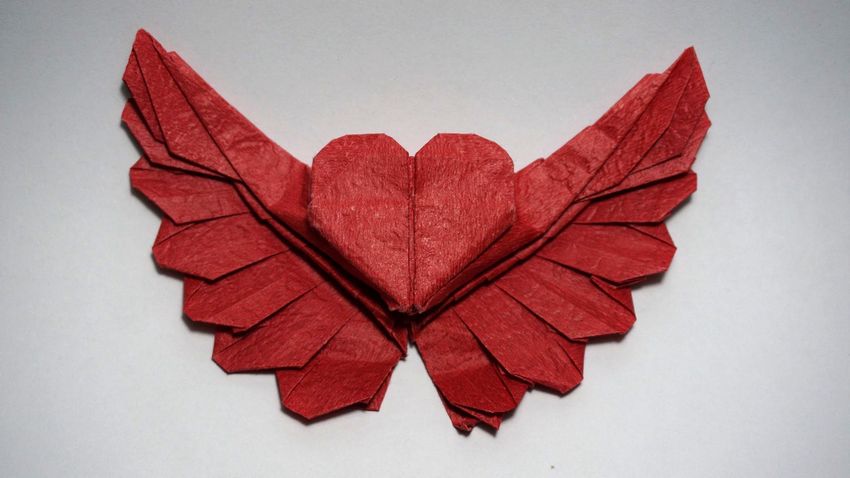
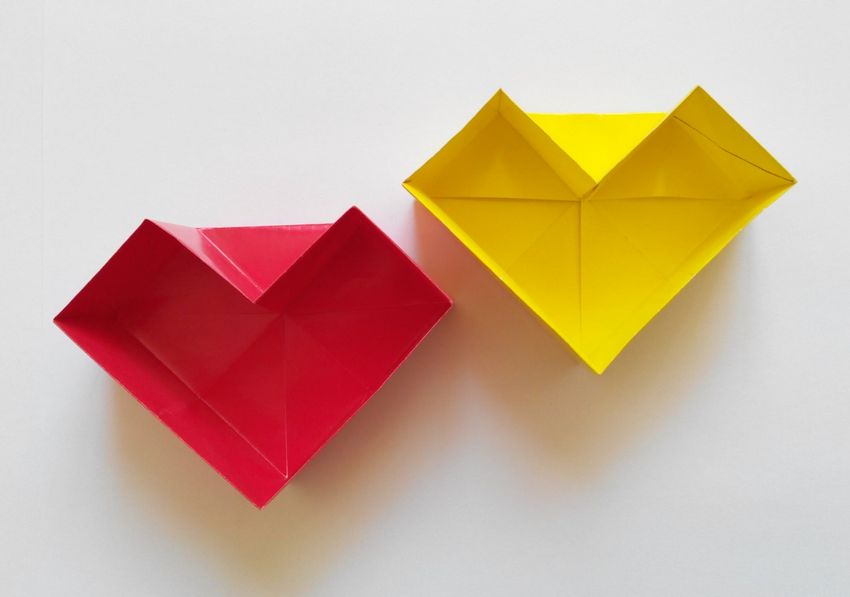
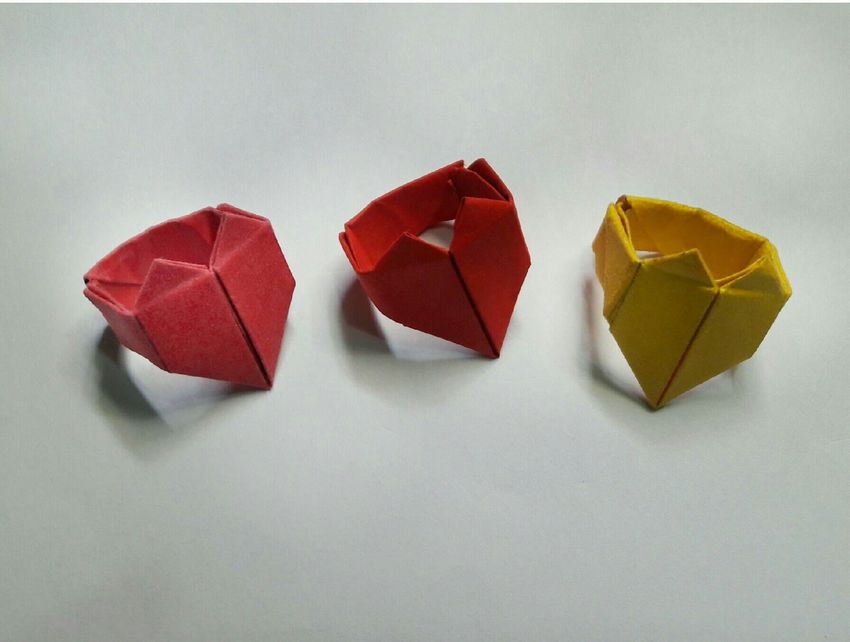
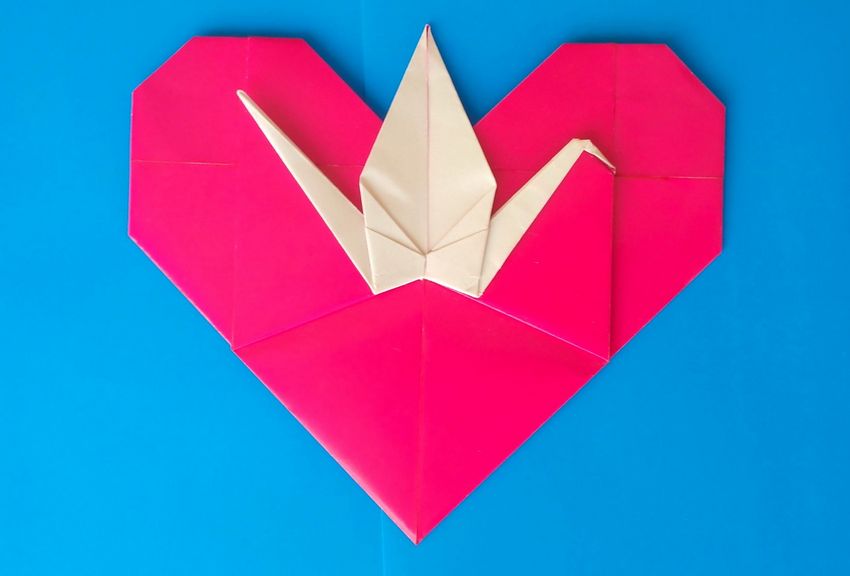
Three-dimensional heart
When the first stage of learning at the most simple example of "heart" product is passed, you can proceed to create a three-dimensional heart of paper using the origami technique.
- To create a three-dimensional heart at the first stage it is necessary to build a rectangle on a sheet of paper. In terms of scale the rectangle should have a ratio of two to one with the paper.
- Fold both sides of the sheet of diagonals so as to form a cross.
- One by one, you need to bend first one side of the paper toward the center of the cross, and then the other side.
- At this stage, all the central elements should be bent to the edges of the product.
- The resulting pockets to open, and then twist one side of the craft.
- Now you need to turn the product on the other side and bend all the corners.
- At the final stage of the return of the heart on the front side and all the pockets (they should turn out to eight) and open them. Angles also need to twist.
- The product is ready to use!
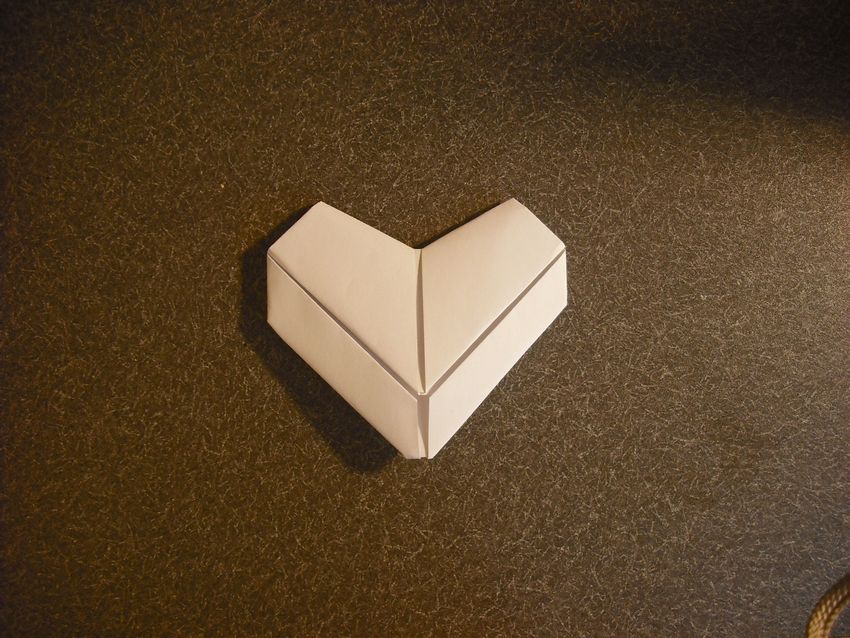
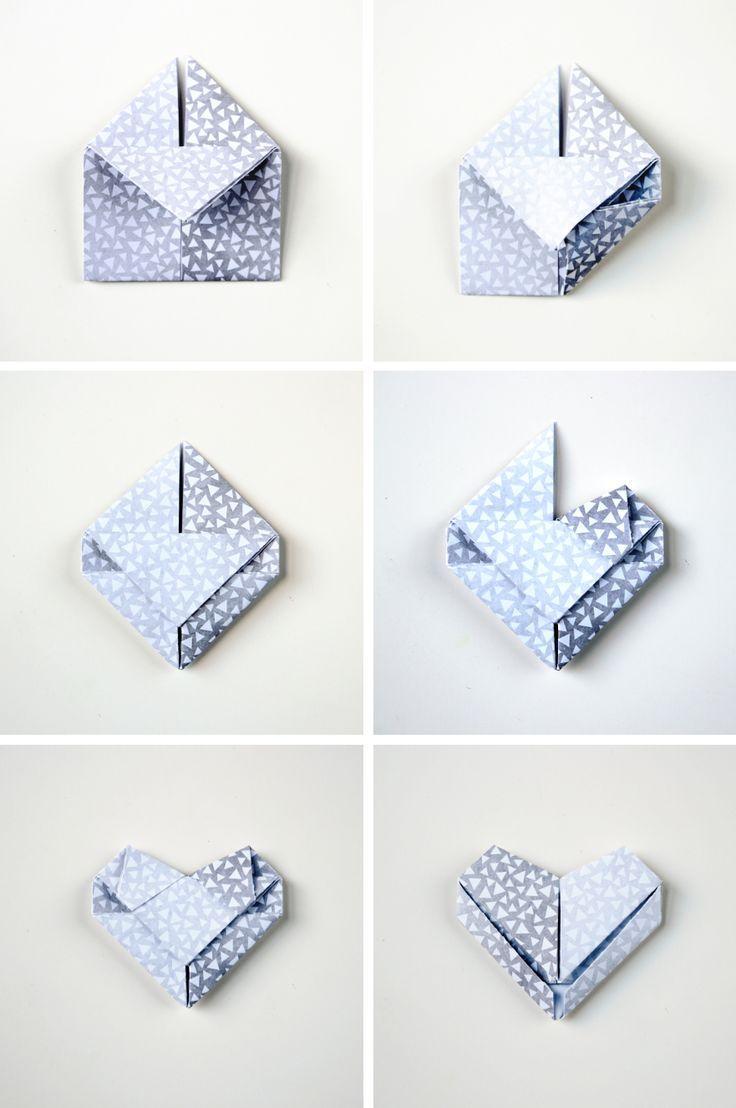
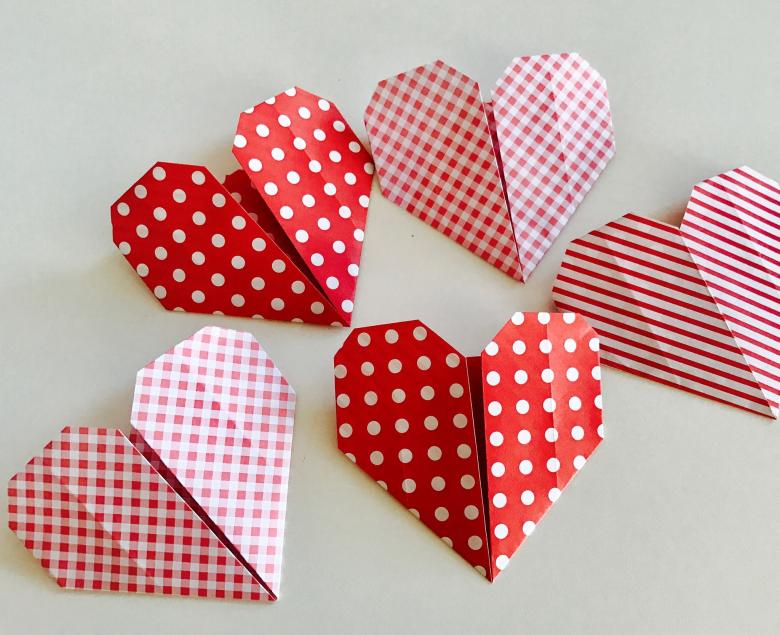
Bookmark Heart .
Origami heart can be not just a beautiful gift, but also very useful! In addition, book lovers who are fond of origami technique, can please themselves with the following product. The process of creating a bookmark in the form of a heart, just like the previous figure is not difficult.
- This time again we need a square piece of paper, which should be folded in half twice (so that the sheet was divided into four equal squares on the folds).
- The underside of the sheet should be bent to the center line of the fold.
- Now you need to turn the sheet on the other side and fold the triangular edges to the middle of the product (the middle fold).
- Return the future bookmark on the front side: the triangular side should be at the bottom. The triangle should bend so that its vertex was in the middle of the opposite edge.
- Again you need to turn the product and bend tabs. It's easy to do with your finger. On the reverse side you need to do the same operation.
- On both sides of the bookmark you need to bend the triangles to the center, and then similarly bend the triangles from the bottom corners of the product.
- The last step is to turn the bookmark to the front side and fold the paper around the edges.
Heart envelope .
A beautifully designed envelope will be a great addition to a gift card with nice words, a declaration of love and everything else you can think of to please friends and family.
- A square piece of paper should be folded diagonally to make a cross.
- One corner of the future envelope should bend to the center of the cross.
- Now you need to turn the product on the other side.
- The lower part to bend so that it coincided with the edge of the upper part.
- Then fold both sides of the product so that the edges converged with the highest point of the largest angle.
- Again we turn the product and add roundness to the future envelope: bend the corners on the sides and bend the tops. The envelope is ready!
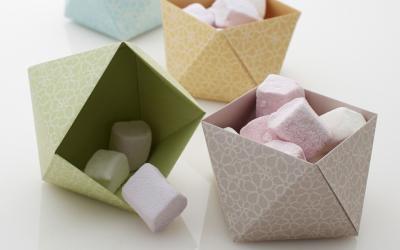
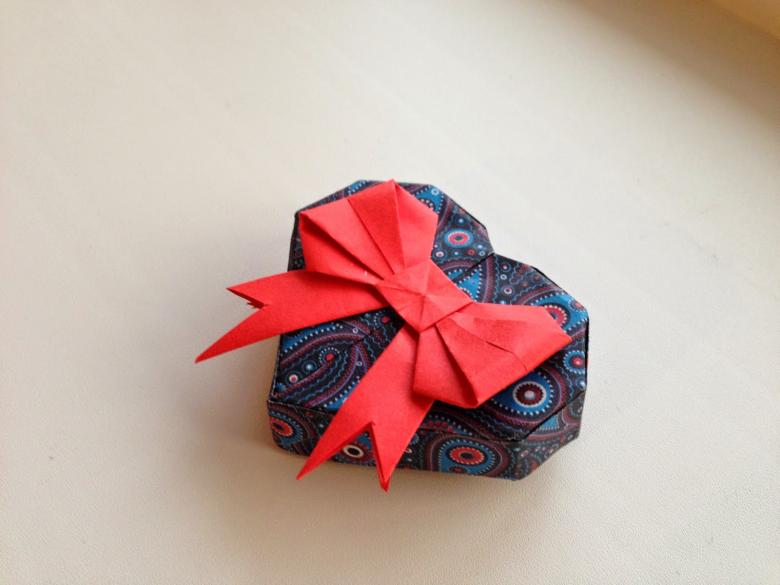
Heart Box
The first thing a person sees when he gets a gift is its wrapping. To make the gift was really special, you can do his wrapping with their own hands.
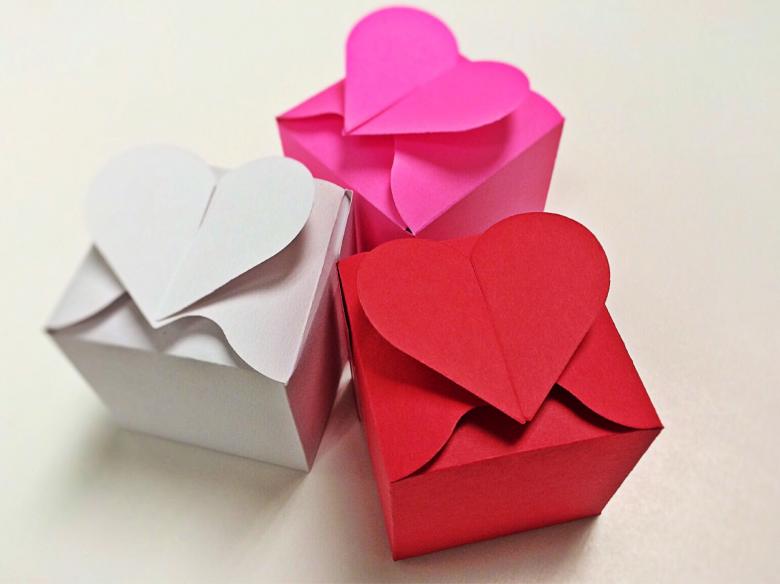
In order to make a box in the form of a heart using origami, in addition to a standard set of hand tools, it is necessary to prepare and glue.
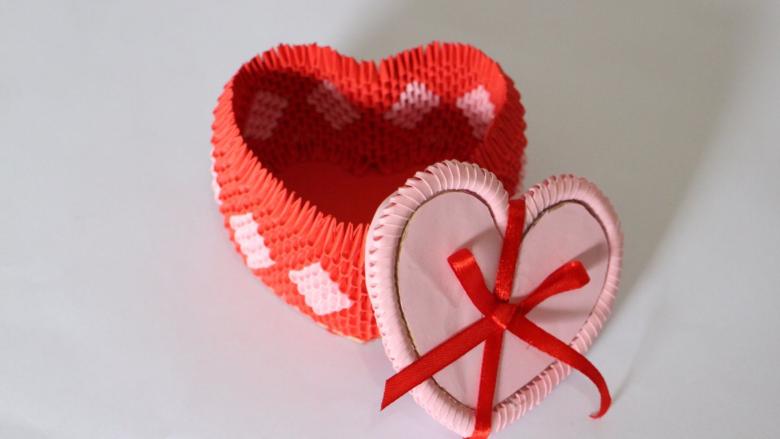
Note that the paper used to create a box, should be more dense than for a bookmark, envelope or other shapes.
- The first step is to prepare a template of the box you like. Many examples can be found on the Internet and choose to your liking.
- Draw the selected template on paper, and then, using scissors or a box cutter, cut it out.
- On the drawing, the areas for joining the sides of the future product are usually marked: along the fold lines, fold these sides.
- Put glue on the sides and join them. You can use any medium, but note that if the box filling is heavy, it will quickly come apart with pencil glue.
- Wait for the craft to dry and enjoy the finished result!

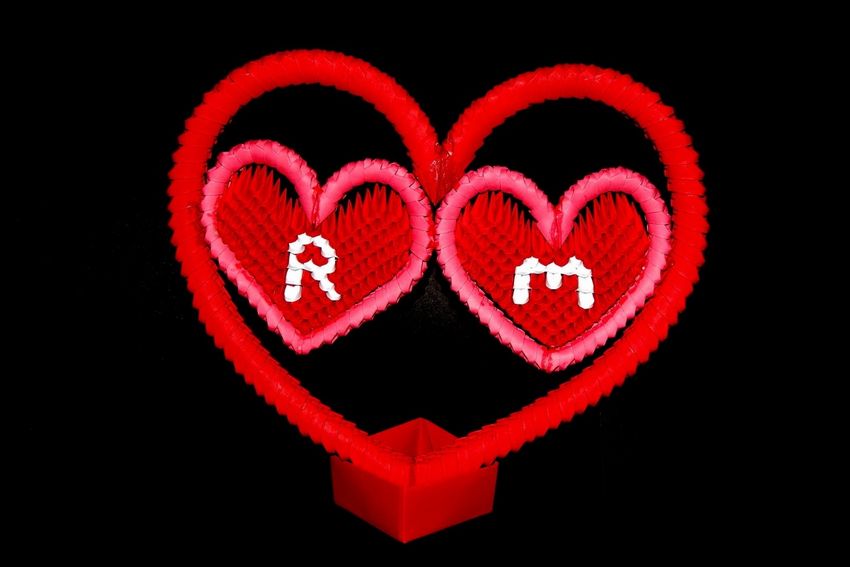
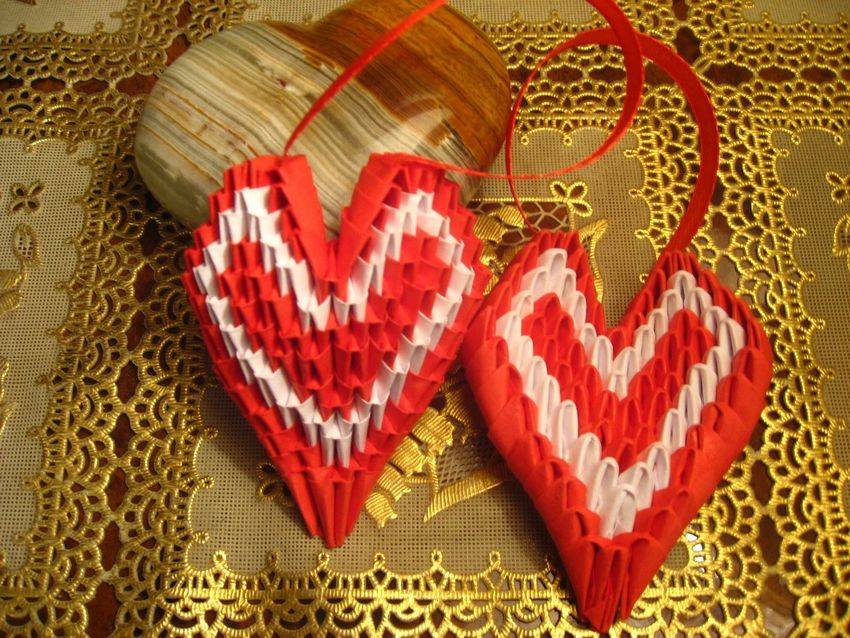
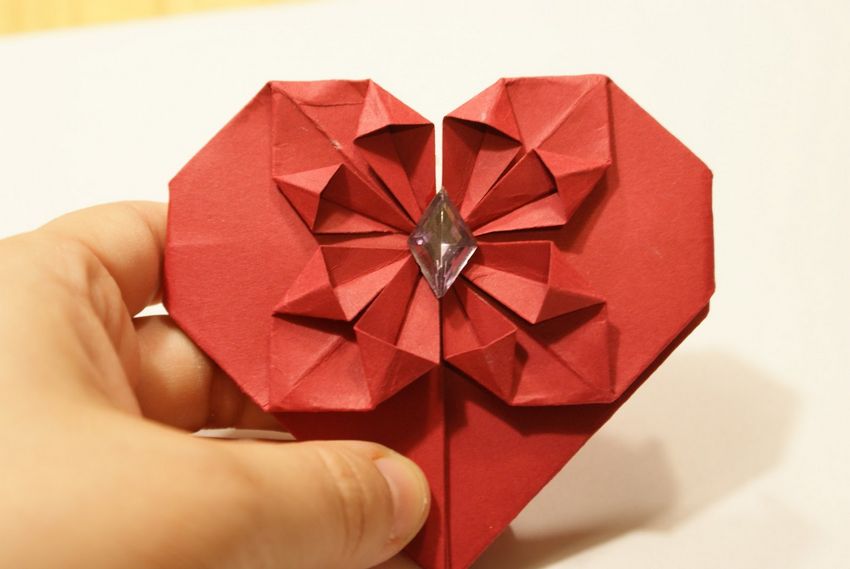
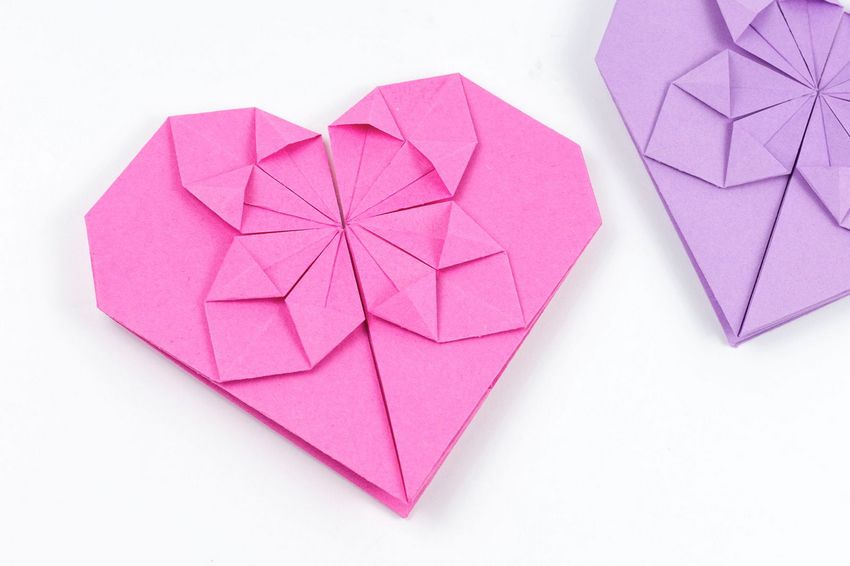
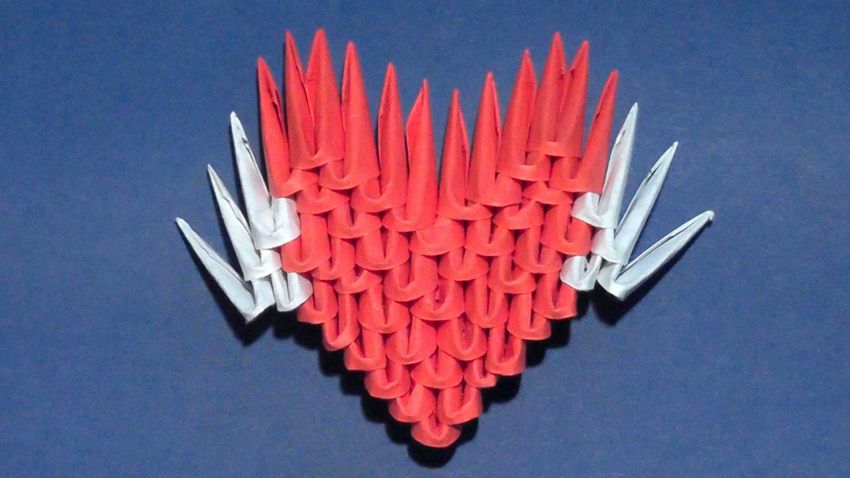
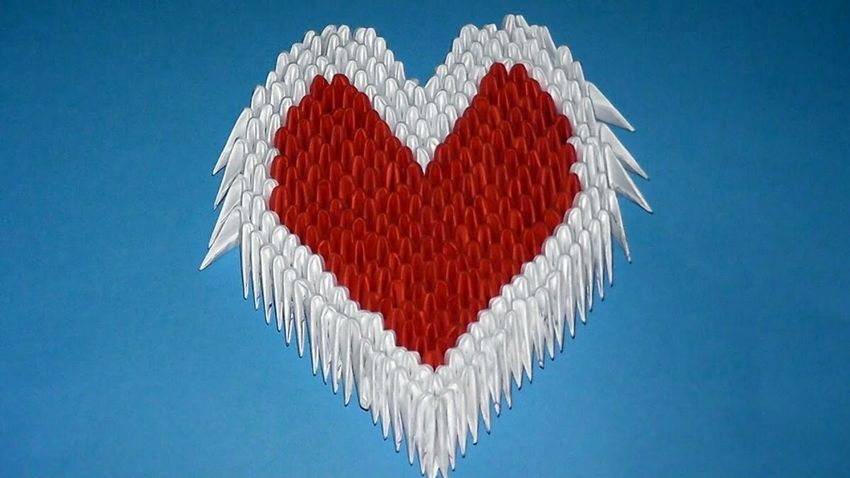
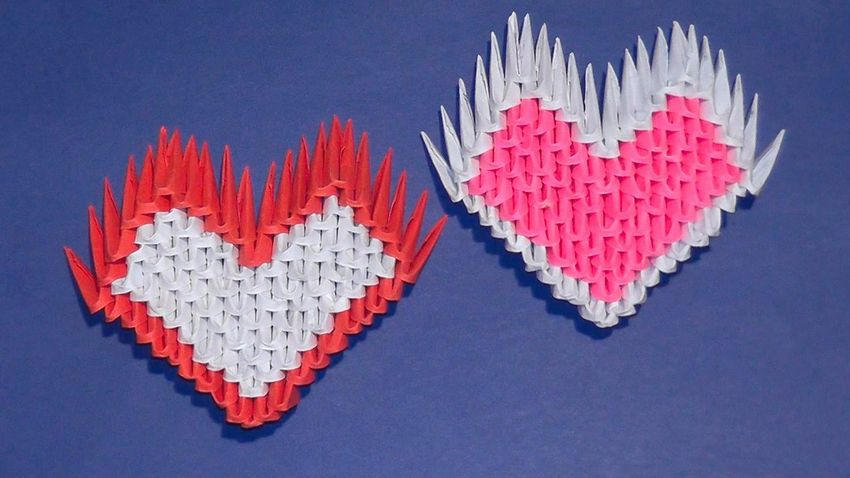
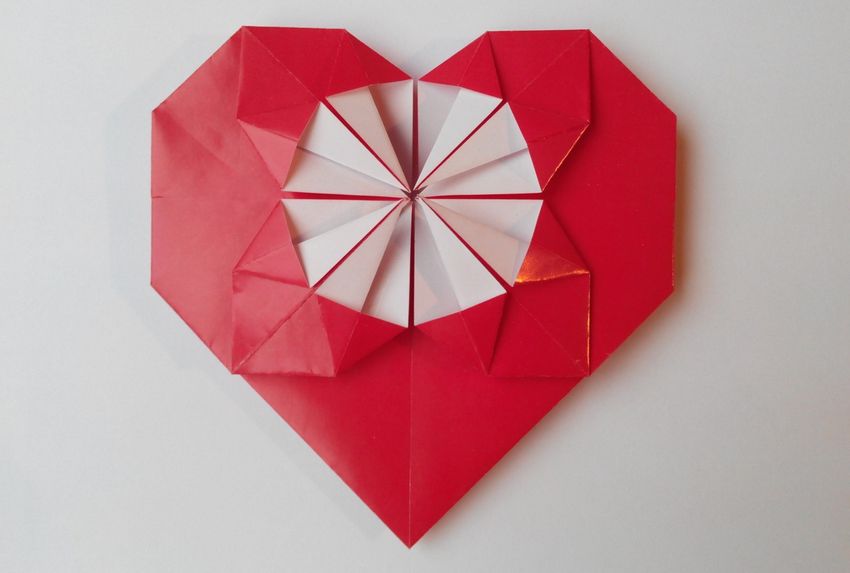
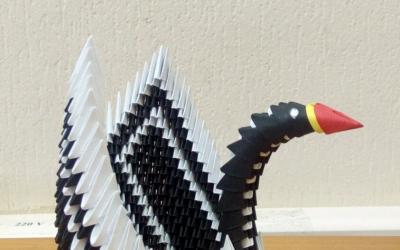
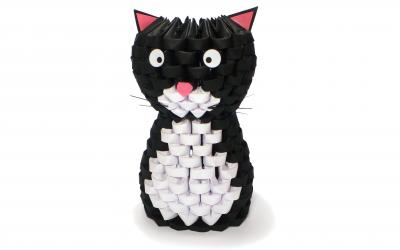
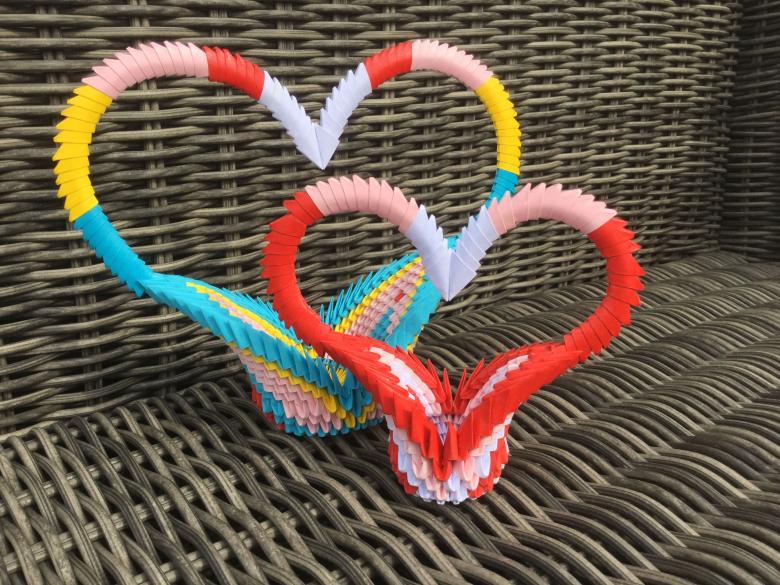
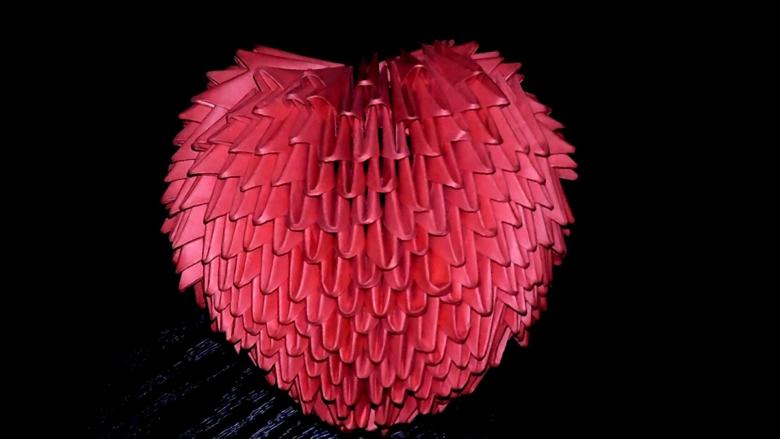
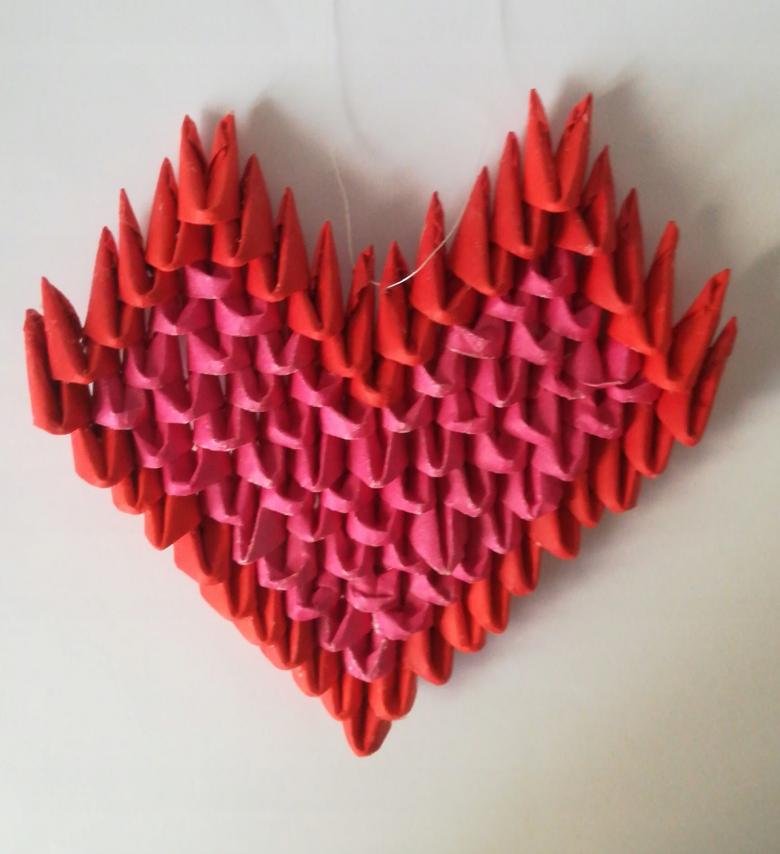
Modular hearts
The most difficult technique of origami is the modular principle. With this technique can make great colorful compositions that can be self-sufficient, and used for something else.

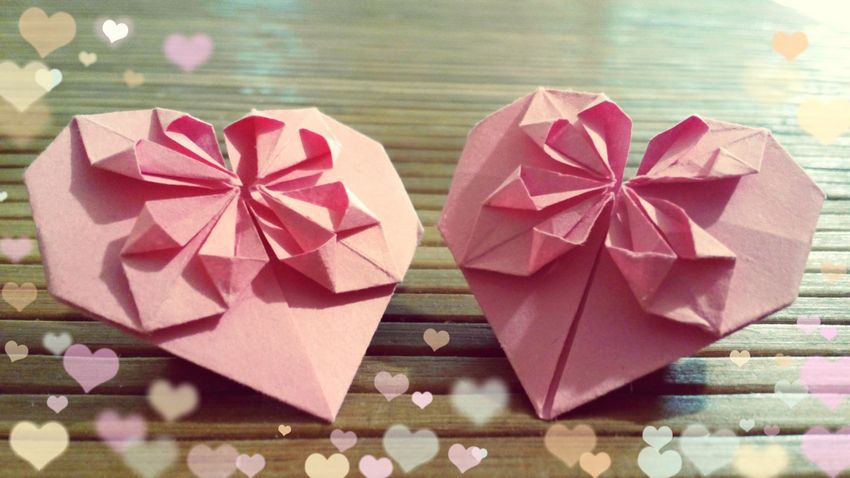
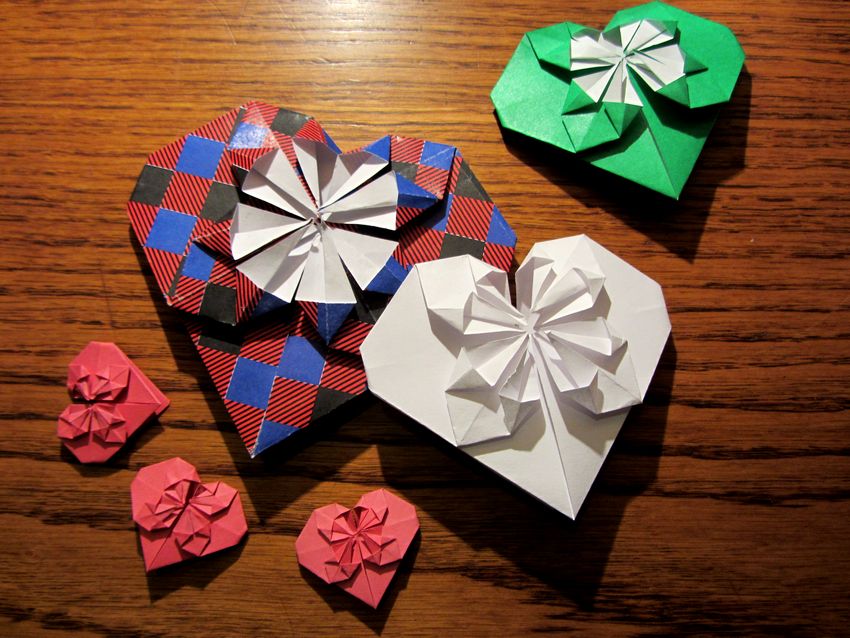
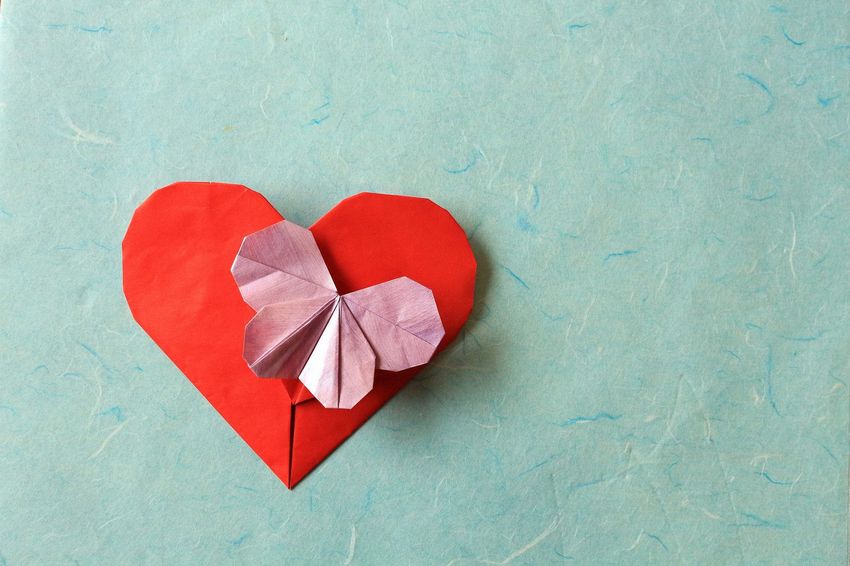
Country masters suggests familiarizing yourself with the principle of modular origami to create a flower heart.
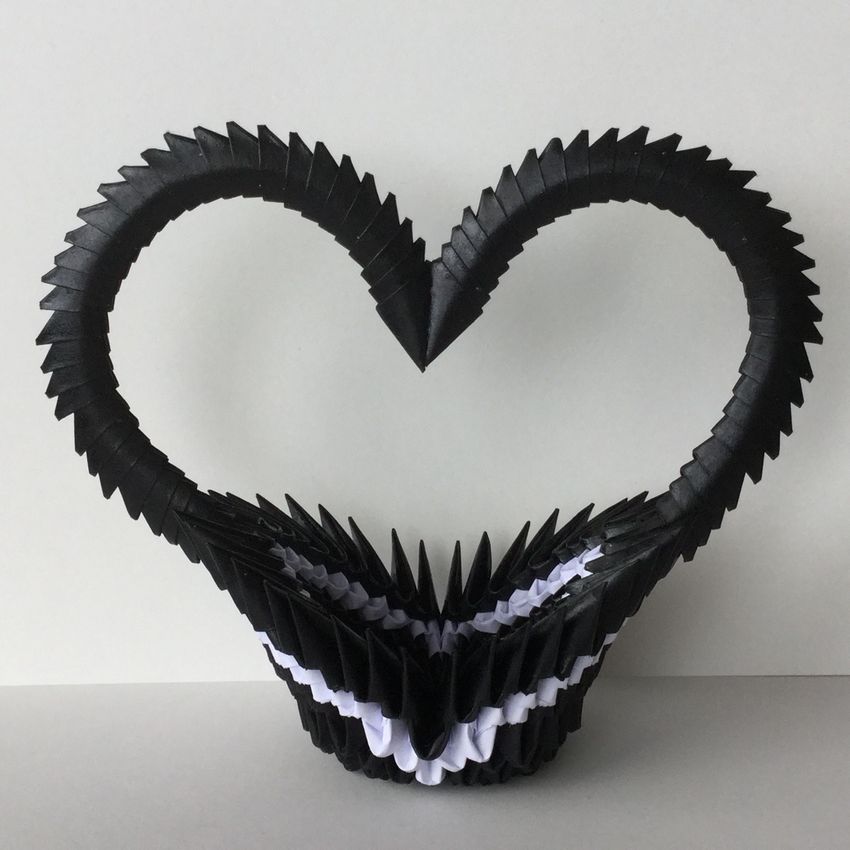
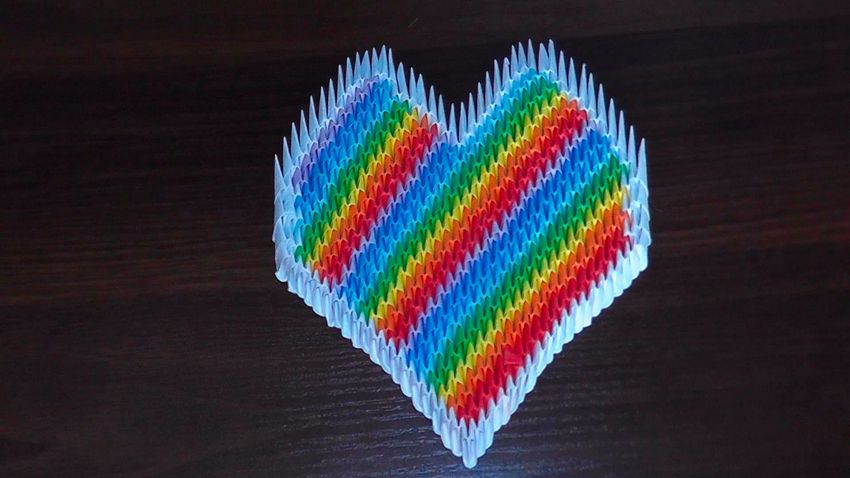
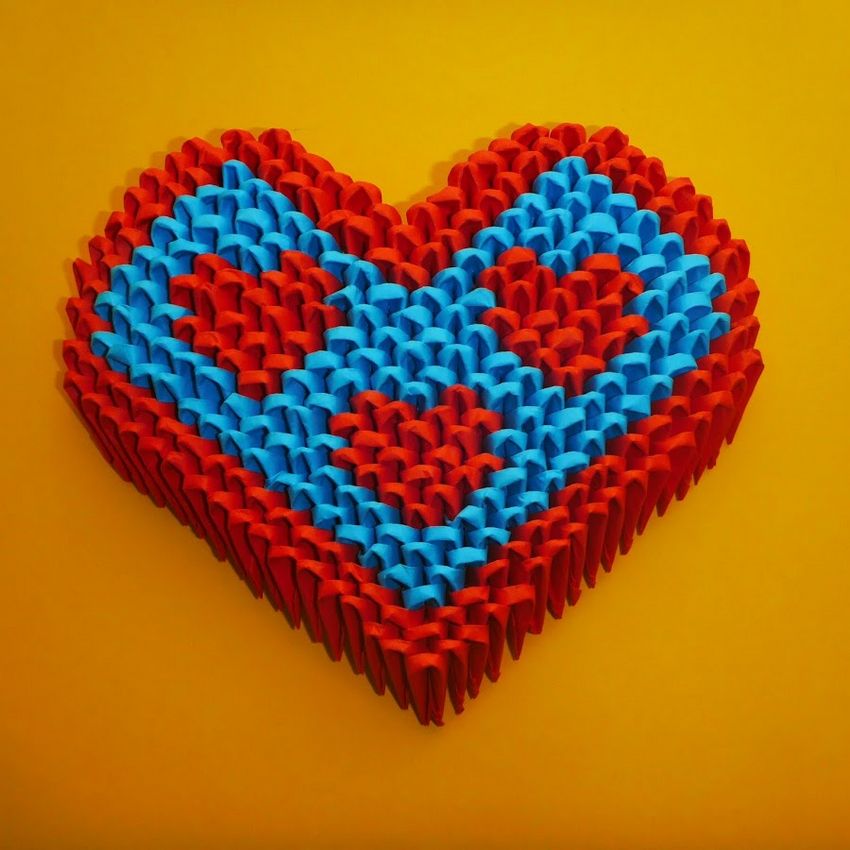
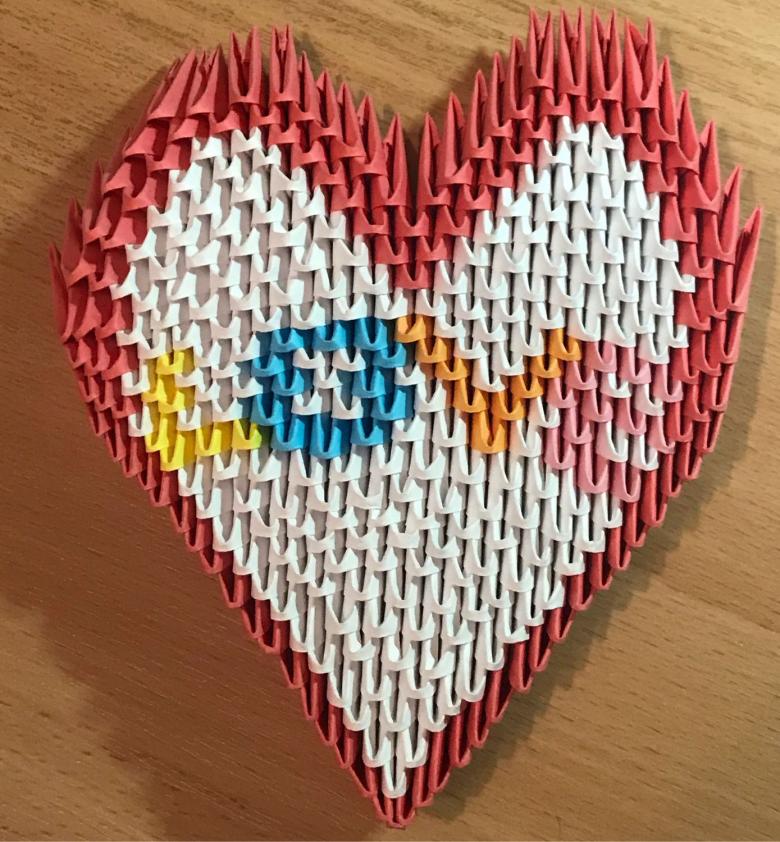
- To begin with you need to prepare a large number of paper modules. If this is the first attempt to create a heart, it is suggested to start with 80 triangles and clearly follow the instructions.
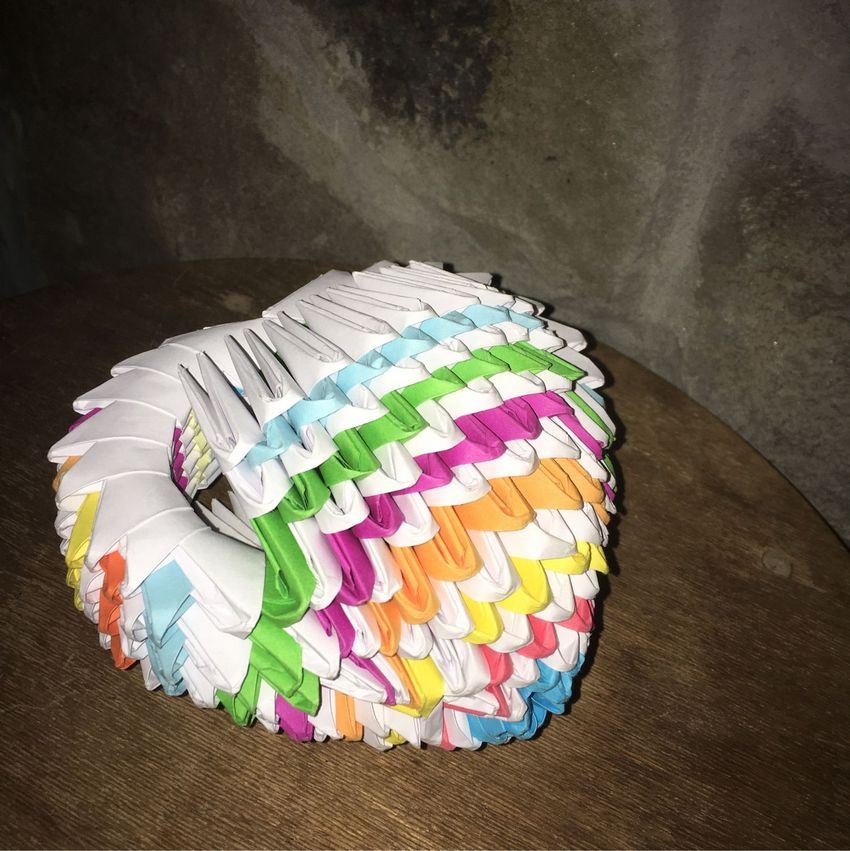
- Construction of the figure starts from the bottom up: the corner of the future heart. The first row - the corner itself - makes up one triangular module.
- The second row makes up two modules. (Until the tenth row, the order number of the level will be equal to the number of modules needed to build it).
- In the eleventh row to connect the four modules on the left and right so that the outer parts of the tenth row remain free.
- In the twelfth row connected three modules on each side.
- In the thirteenth row, two modules on the left and right, and in the 14th row one module.
- Volumetric modular heart is ready!
This article provided easy, detailed instructions on how to make different variations of hearts using the origami technique. Use these tips to please your loved ones and have a good time!
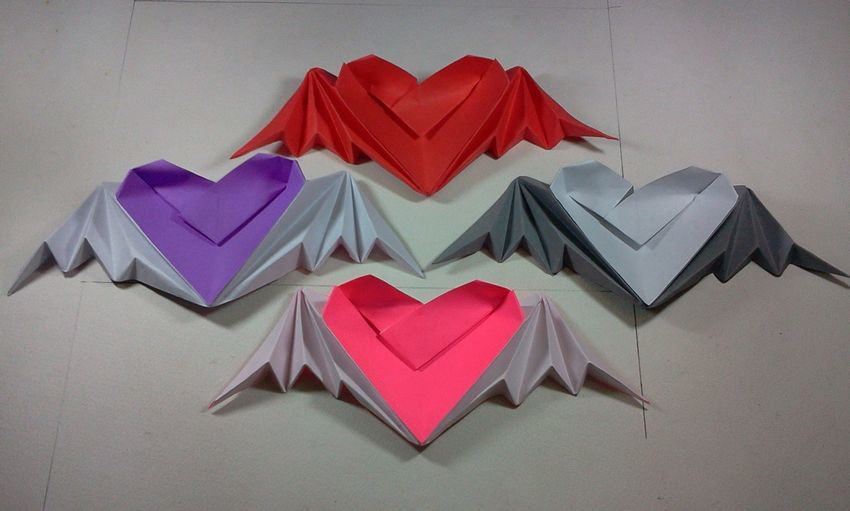
Photo ideas of homemade hearts in origami technique