Weaving from newspaper tubes for beginners - the best products and options of weaving for beginners (74 photos)
Original souvenirs, decorative objects, toys and crafts are not difficult to make, using as a starting material old newspapers or other printed materials. Mastering the peculiar technology is simple, but you have to spend some time making the rod itself.
Both the appearance of products and the technology of their creation are very similar to weaving from ordinary vine or straw.
The preparatory stage
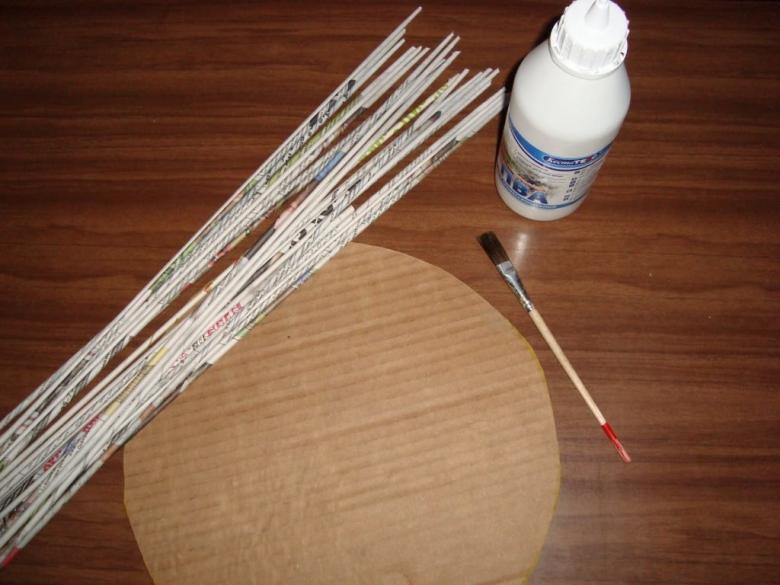
An important point is the preparation of the vine in the form of narrow tubes. At the initial stage of the creative process we have to prepare:
- newspapers;
- PVA glue (it is more convenient to use glue in a small plastic bottle with a cone-shaped nozzle);
- scissors (or a knife);
- a needle or a piece of wire with a diameter of 1.5-2 mm.
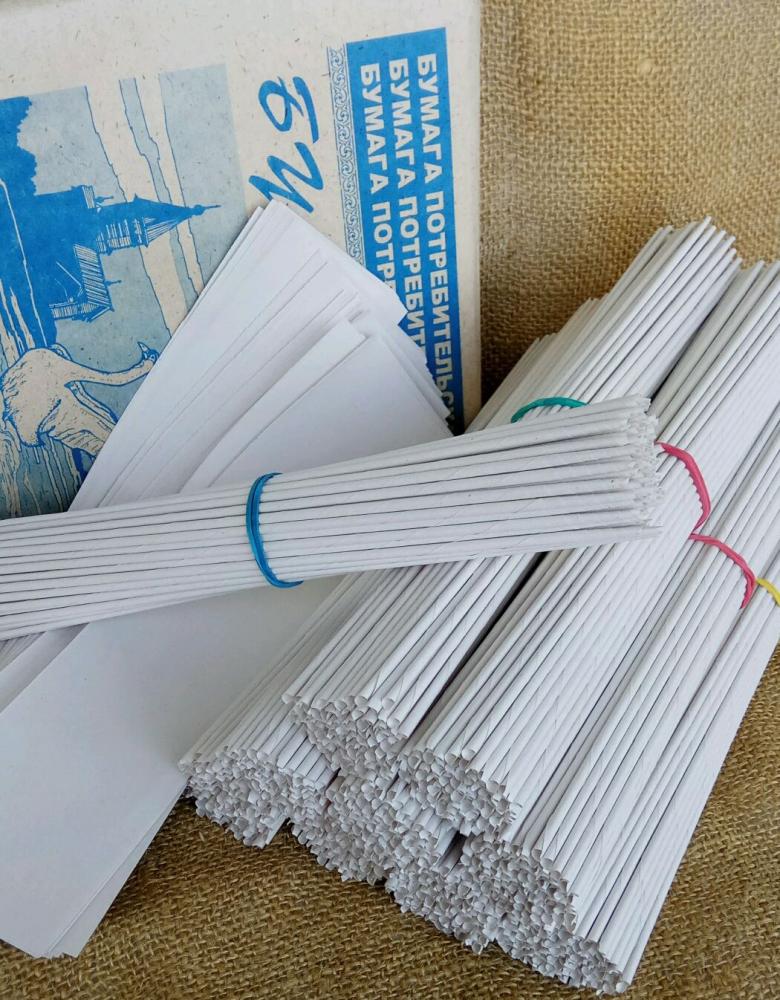
Twine for weaving can be made not only from newspapers, catalogs, magazines, but also from ordinary paper. Newspapers are more convenient to cut into long strips, and the elements from them come out neater.
Making pipes
The process begins with cutting strips. When cutting the raw material, it is recommended to keep the ratio of sides 1:3 or 1:4.
It is convenient to cut the newspaper into 4 strips along the long edge, folding it in half and then again in half.
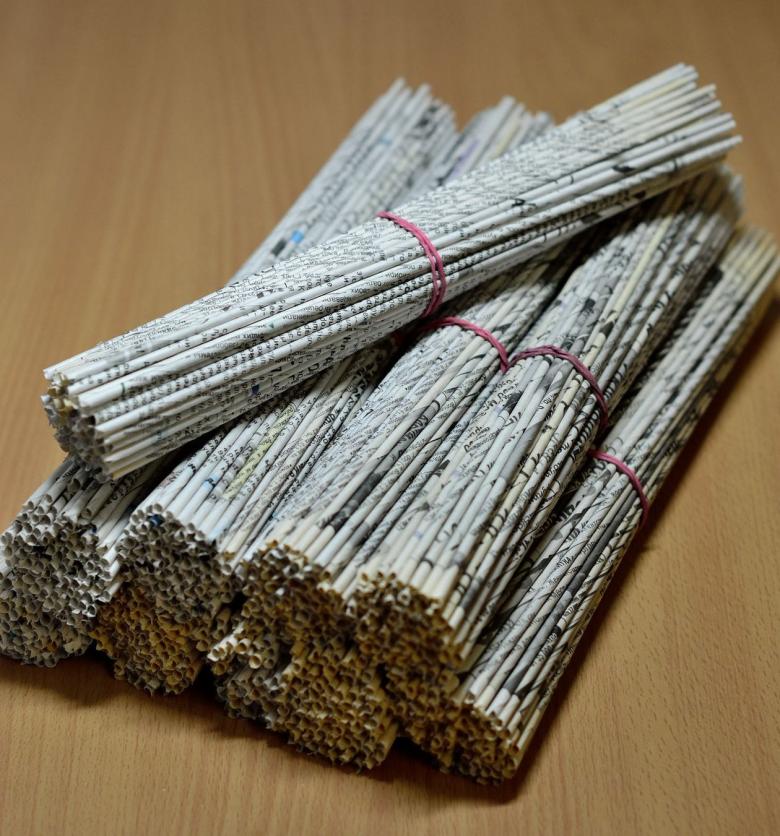
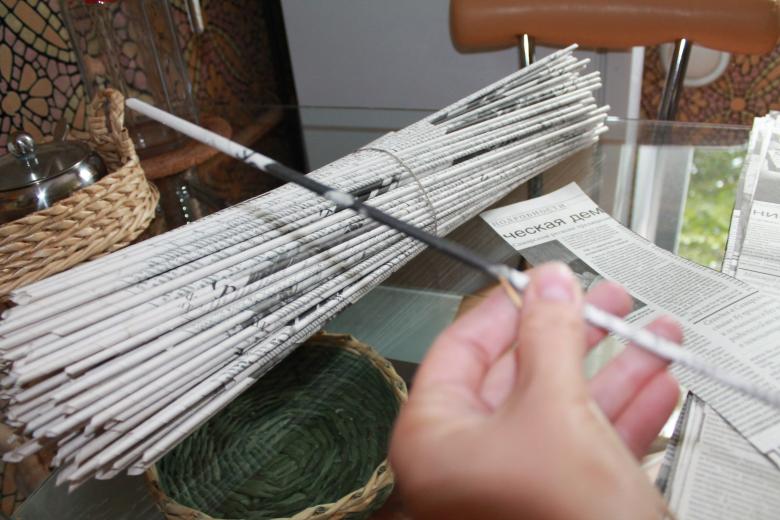
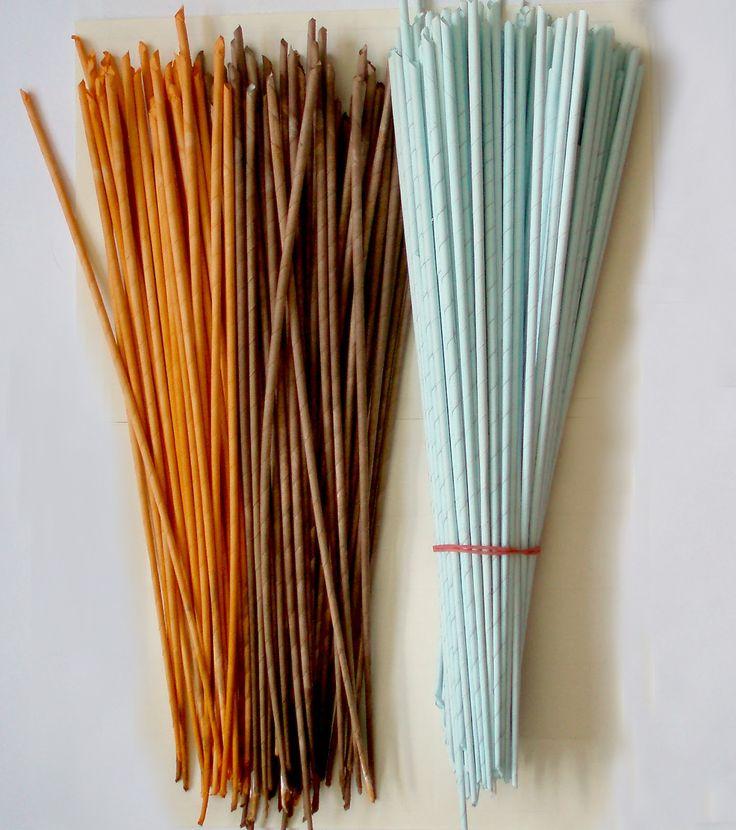
To form the tubes you will need a needle or rod of wire. The smaller the diameter of the needle, the thinner the paper vine will be. This is important for the aesthetic appearance of the final product. For small objects you will need thinner straw, for large vases or boxes it is a good idea to prepare a wider vine.
The strip at an angle of 45 degrees is placed in relation to the needle and begin to twist the strip slightly in a spiral. The edge should be fixed with a drop of glue.
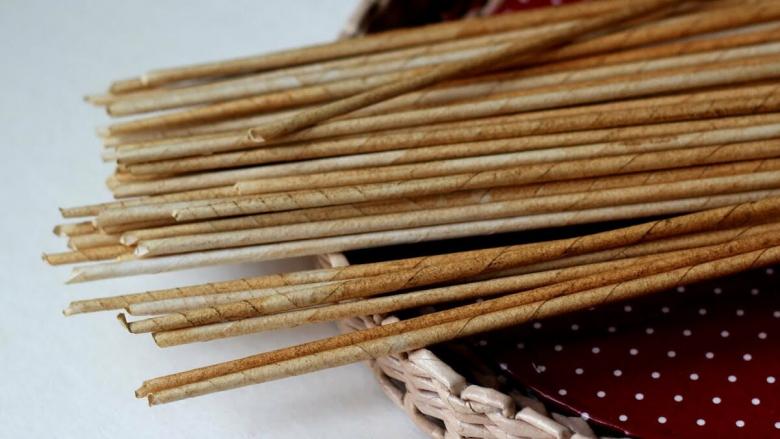
Having twisted a few tubes, it is easy to see that the diameter of one edge is slightly larger. This is convenient to use to connect the vine when intertwining. The straws are easily inserted one into the other, and the connection can be duplicated with glue for reliability.
Sometimes the finished pieces are rolled with a rolling pin or bottle to give them a flat appearance.
Painting .
In order for the product to gain an attractive appearance, the vine should be painted. To do this, it is convenient to use acrylic paint or varnish with the addition of a coloring pigment.Accelerate the process of painting is not difficult, placing the parts in a rectangular tray with paint or bottle.
After the paint dries, you can get to work. To make the tubes more pliable, it is advisable to moisten them a little with water from a sprayer.
When painting the vine with a brush, you should not apply several layers of acrylic paint, it will stand up when bent.
Weaving Techniques
When creating crafts, several different weaving techniques and schemes are used. The choice of technique depends on the final appearance of the product, the size and shape of the pattern.
Simple weaving
The method of direct weaving is the simplest, so with it and should begin to learn the creative process of creating unusual products from old prints.
Straight weaving from newspaper tubes for beginners should be disassembled step by step. The method is excellent for making boxes, baskets, trays, cachet and individual elements, since it holds its shape well.
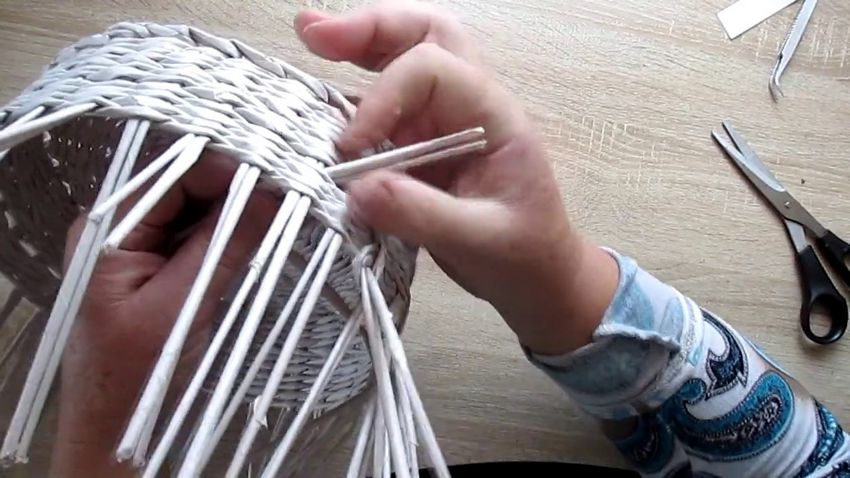
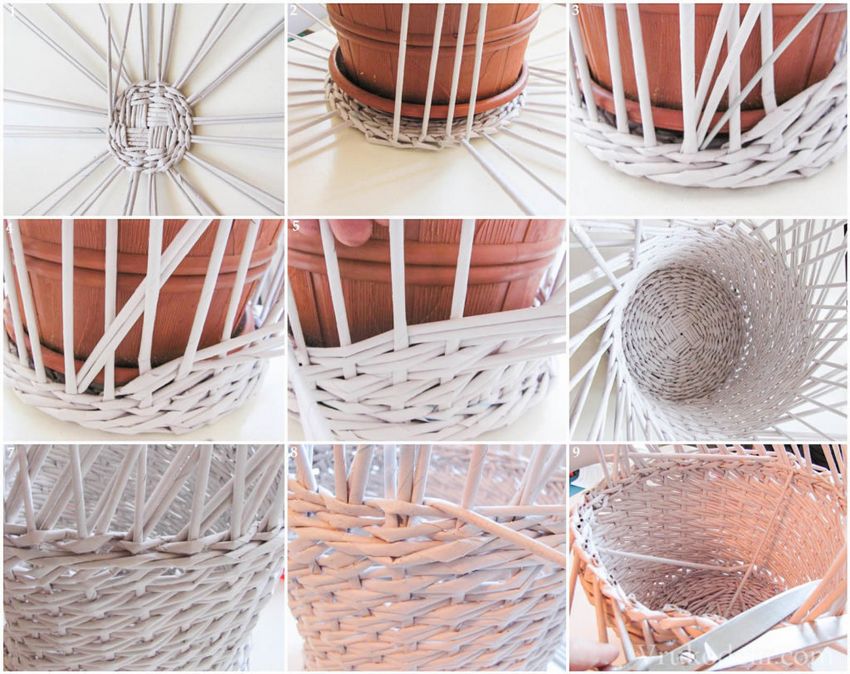
- The first thing you need to do is to form a base from an odd number of twigs, fixing them at an equal distance vertically.
- The process begins with the wide edge of the tube. The edge is fixed or just leave a small "tail" on the outside.
- The vines are passed alternately on the back and front sides of the supporting parts, braiding them. Tubes are built up, the procedure continues according to the same scheme until the wall of the desired height is formed.
- Intertwine supporting parts in a clockwise direction when forming objects closed in perimeter (pots or baskets).
- When making flat blanks or one-piece items, complete the process by wrapping the vine around the outermost guide. The last row is carried out according to the same scheme, but in the opposite direction.
The edge of the tube at the end of the work is carefully hidden inside the pattern formed from the rod, fixing it with a drop of glue.
Intertwining in rows
There are several uncomplicated schemes of weaving from newspaper tubes for beginners, allowing to make an original product.
The technique of forming rows is similar to the direct weaving, only three twigs are used alternately.
- After forming the basis for braiding, the weaving process begins with one twig and the first vertical element. Move according to the scheme of direct weaving to the end of the first workpiece.
- When the first piece is finished, work with the second begins by braiding her next rod of the basis.
- The third piece is started with the third support.
Continue the movement on the same principle. It is possible to start not only one piece, but a pair or three twigs in a row at once.
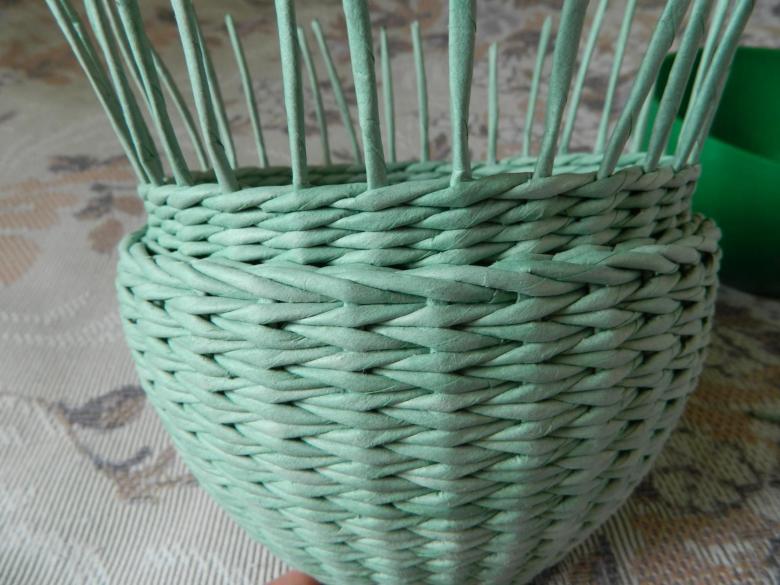
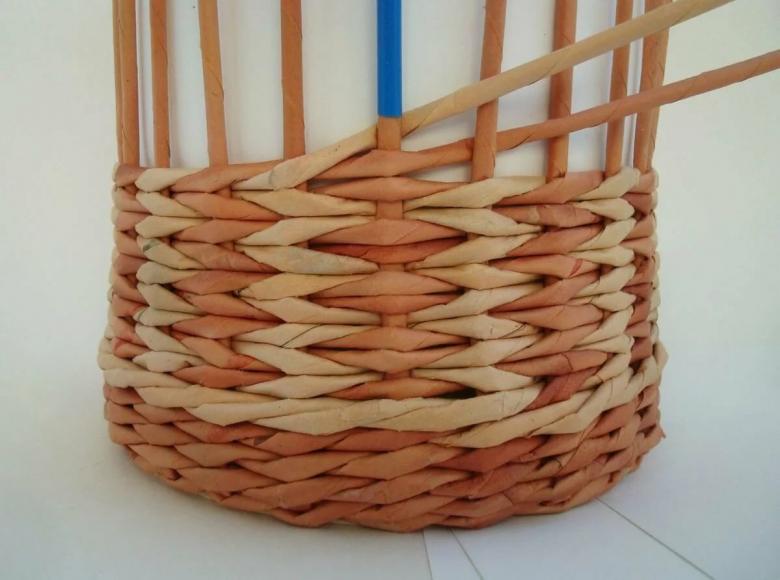
Layer-by-layer technique
The technique allows you to form a dense texture without gaps. As a result of this scheme, the final product is durable, and perfectly holds its shape.
- To create the base you will need to place an odd number of blanks at a distance of about one and a half centimeters.
- On the right side of each guide should be inserted in the process of weaving an additional rod.
- The rod is braided into the first rail and pulled through to the next rail.
- The second twig passes in front of the guide and bend it around the next vertical post.
- According to this scheme, weave the entire row: the working straw passes in front of "its" support and bends around the next post.
- At the end of the row two working pieces remain in the gap between the two support rods. The lower one is passed in front of the nearest bar, then it wraps around the next post. Make sure that there is now one rod in each gap.
- Then work according to the same scheme, increasing the length of the vine if necessary.
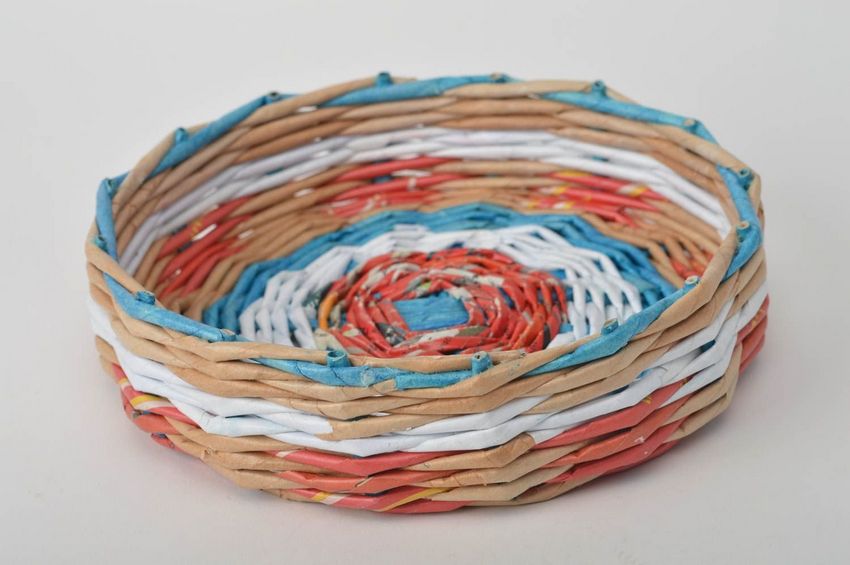
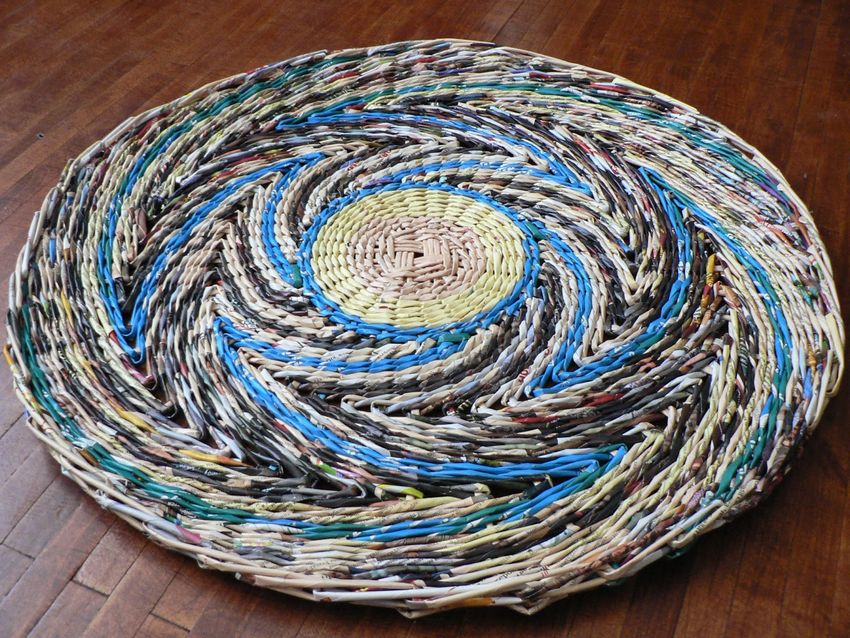
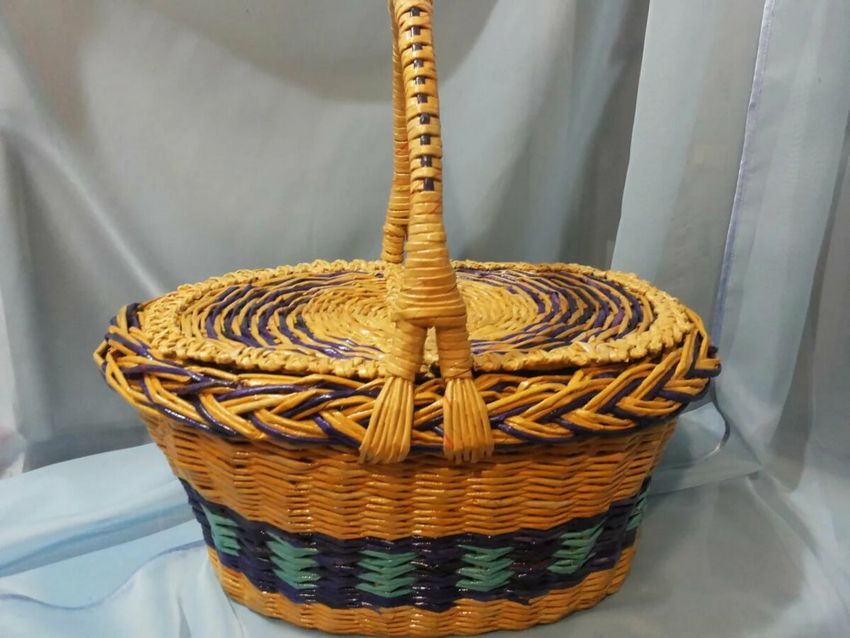
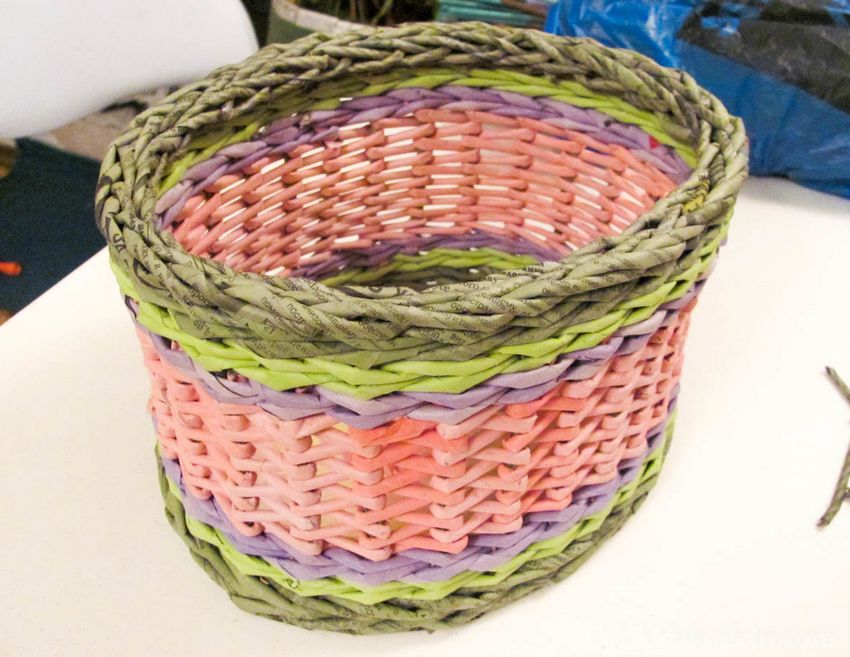
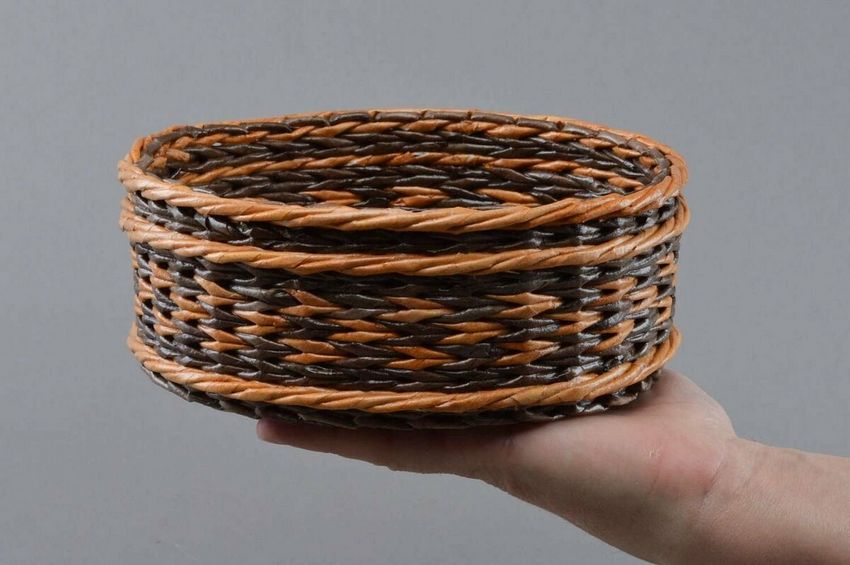
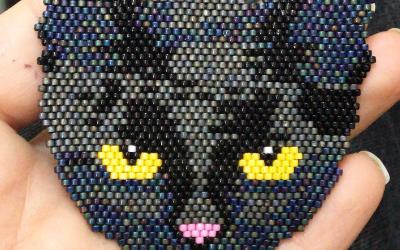
Unusual pattern is easy to get, alternating colored twigs.
The method of a square
The technique is applicable to the formation of any objects and crafts.
- Work should begin by placing the rod with the wide end of the first post. It is necessary to move from left to right, rounding off each pair of guides.
- After finishing the first row, the direction of movement is reversed, and the piece is passed from the second rack.
- The scheme involves weaving an odd row from the first stand, and an even row always from the second tube of the base. The result is a square pattern.
- The outermost guide rod should wrap very tightly, without gaps.
The number of rows directly depends on the size of the product.
Simplify the task of learning to plait from newspaper tubes for beginners will help video lesson.
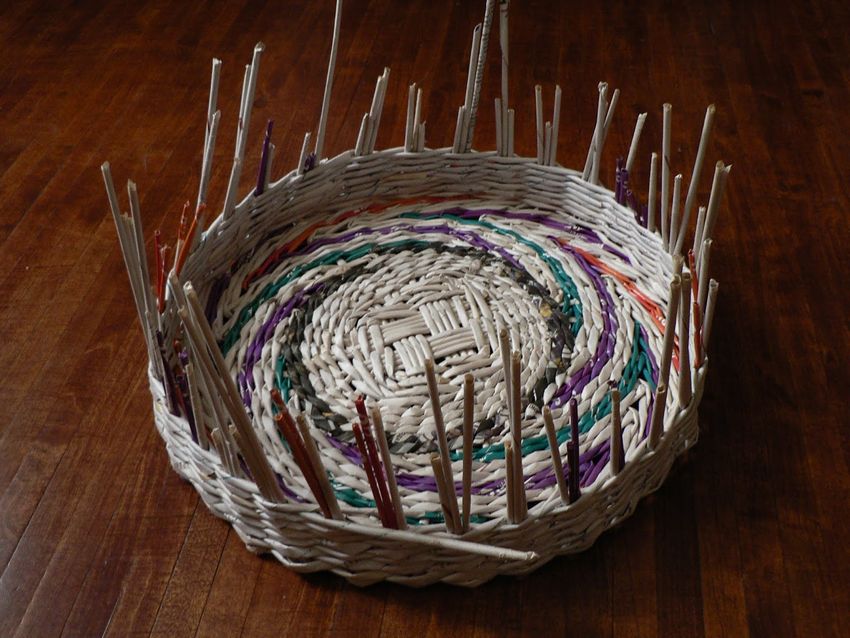
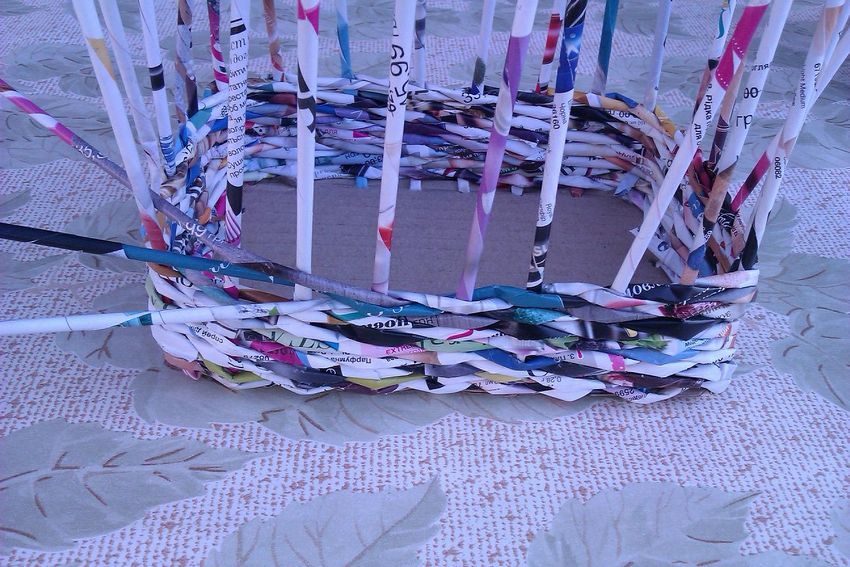
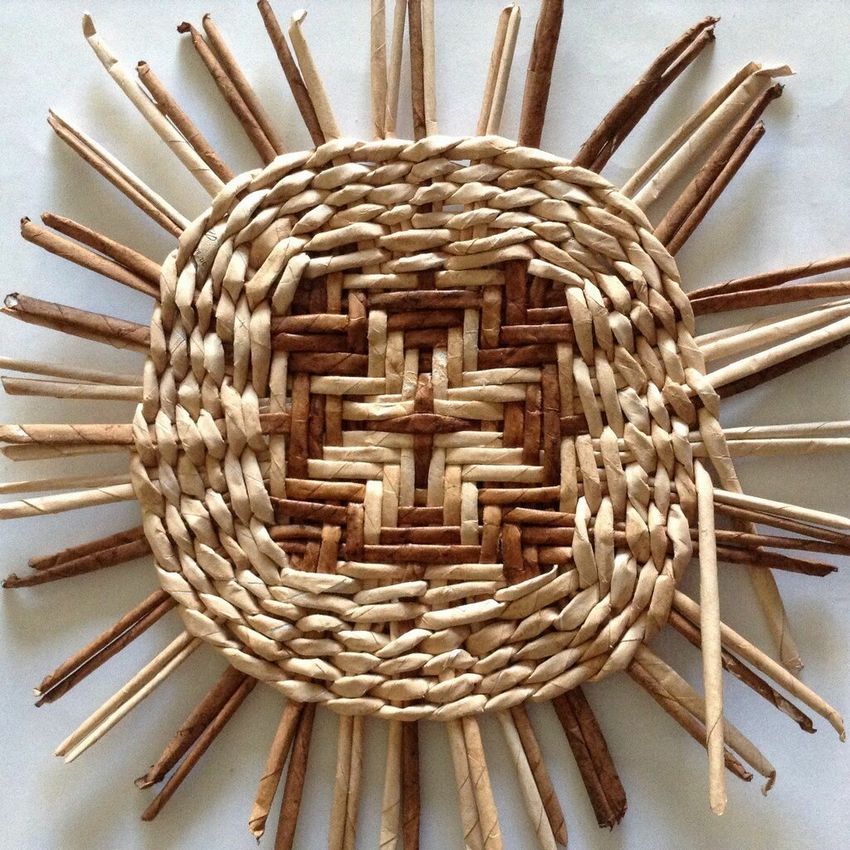
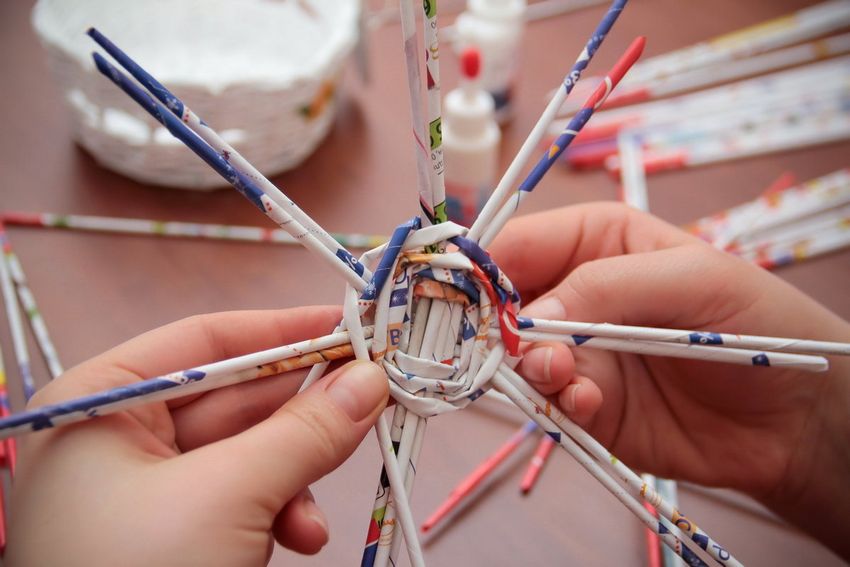
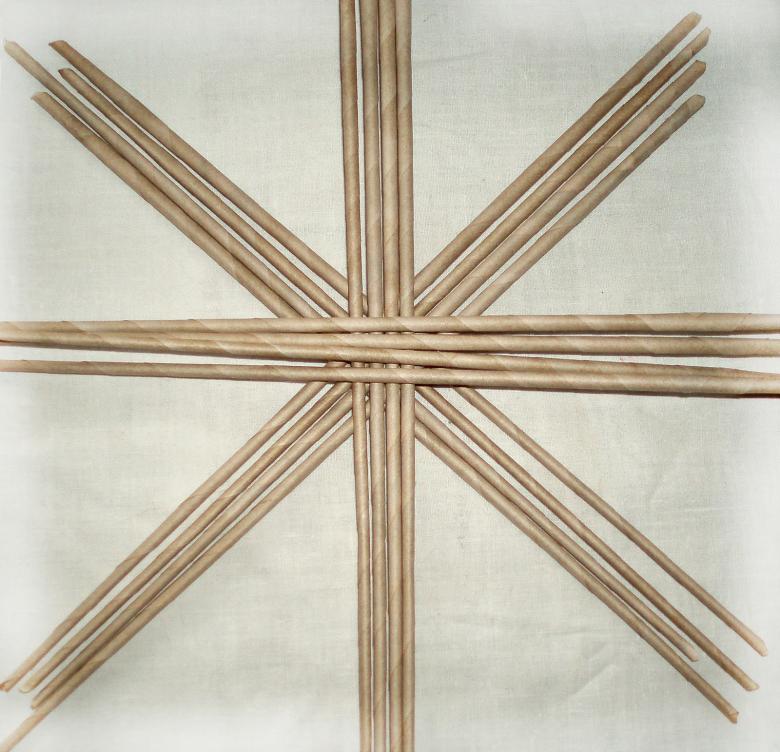
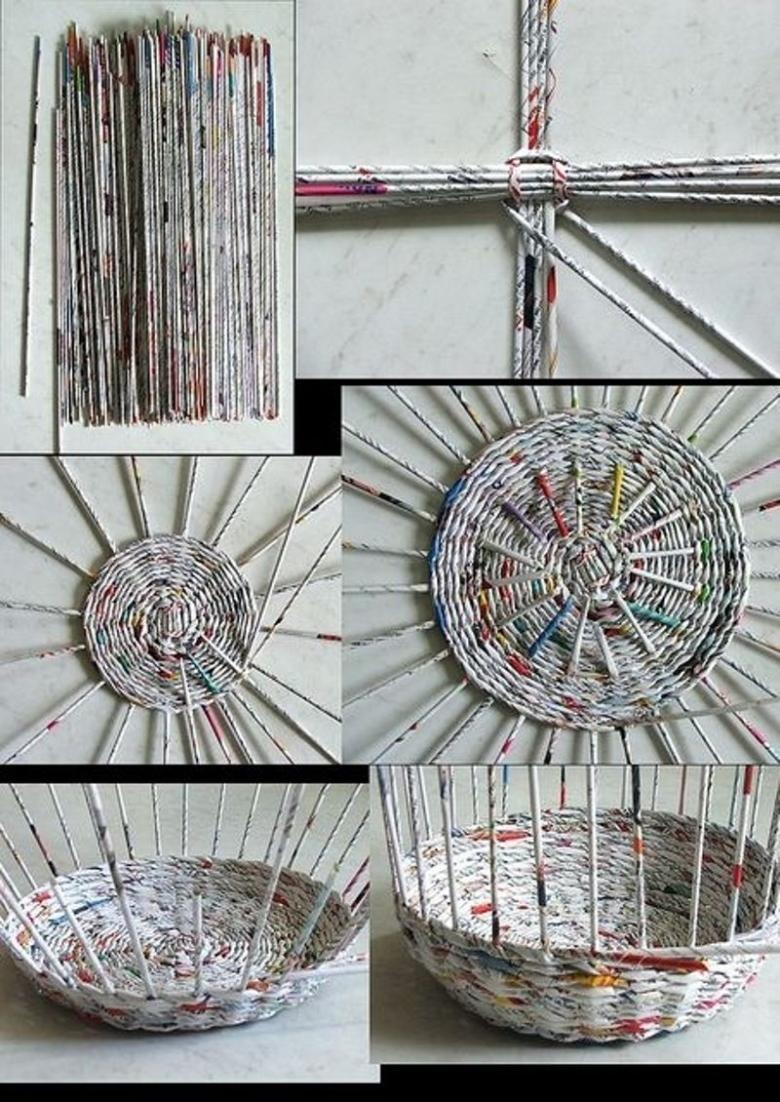
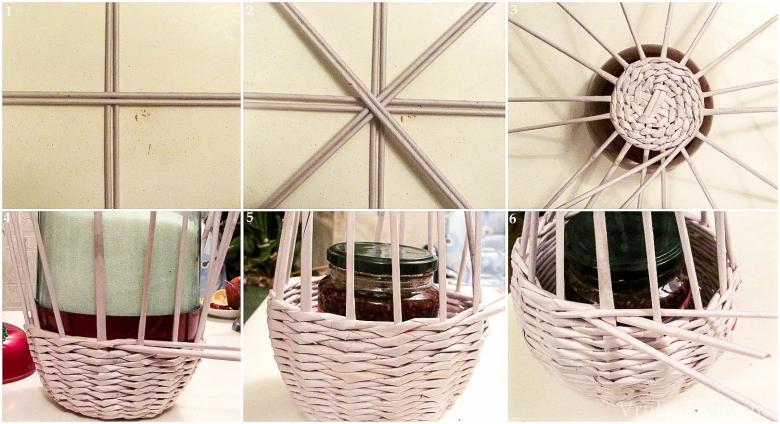
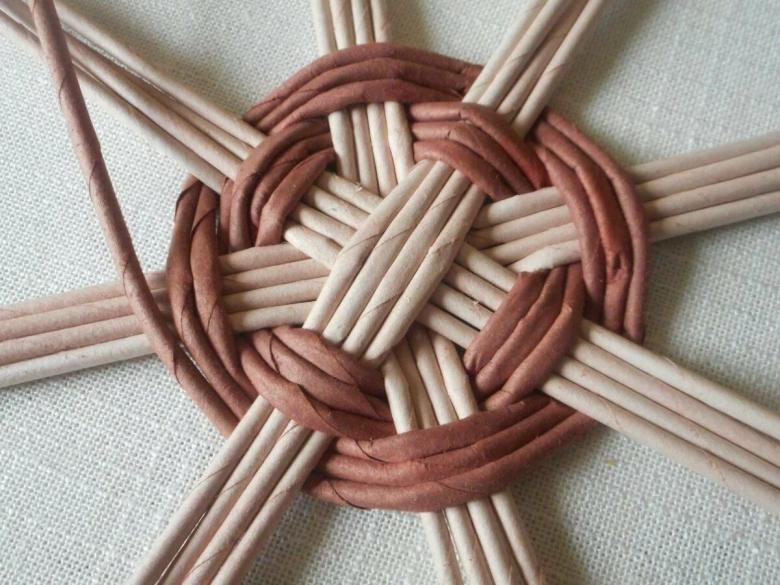
Making the Bottom
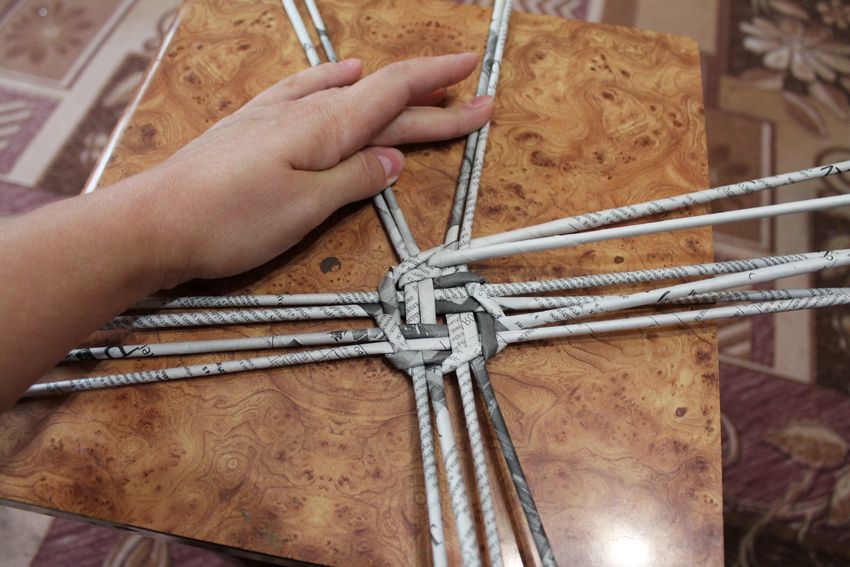
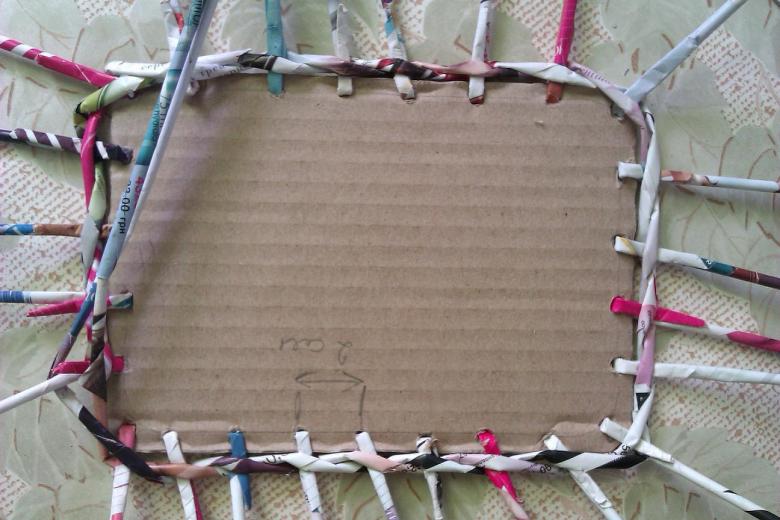
The simplest method for forming the bottom of the craft serves as a base of cardboard, which are attached to the rack of twigs. In the manufacture of the bottom of a square or rectangular shape in the corners to fix two racks.
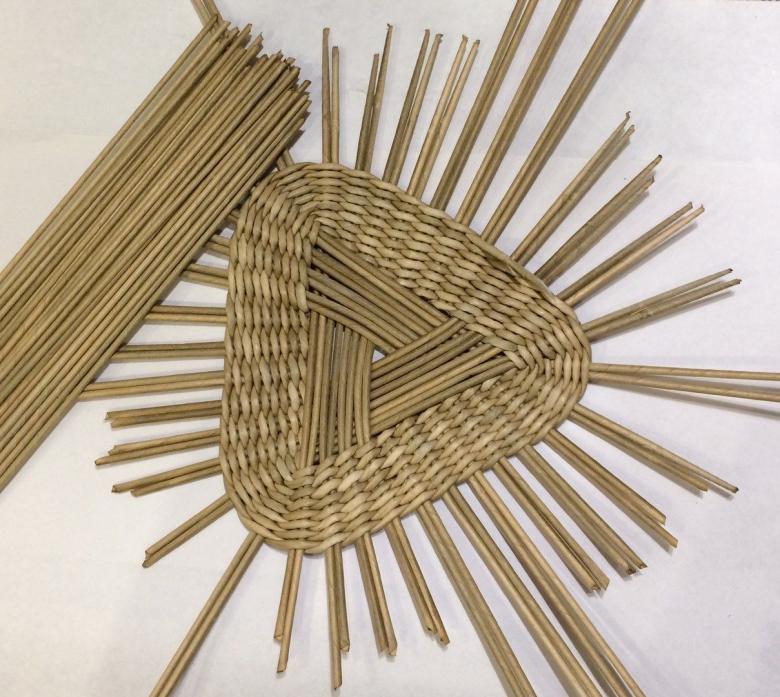
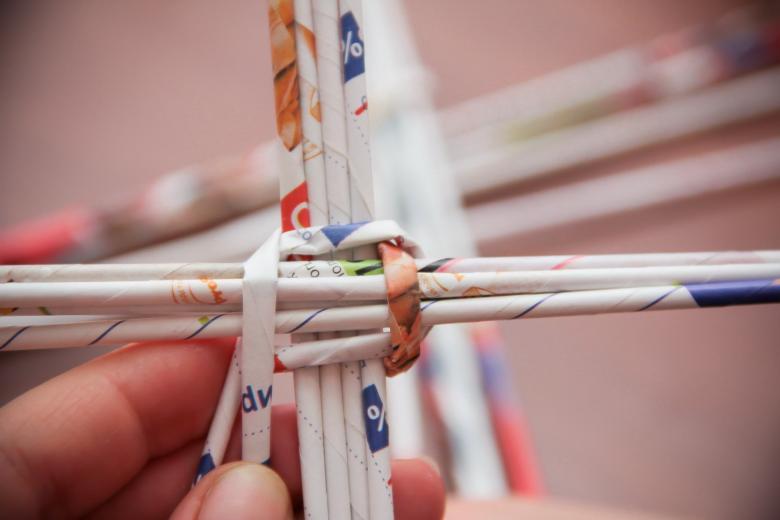
In addition, it is not difficult to stack four rows, consisting of an equal number of straws. To create a flat bottom, the "cross" is rolled with a rolling pin. Then this middle is braided according to the scheme of a flat weave, bringing the diameter of the bottom to the desired size.
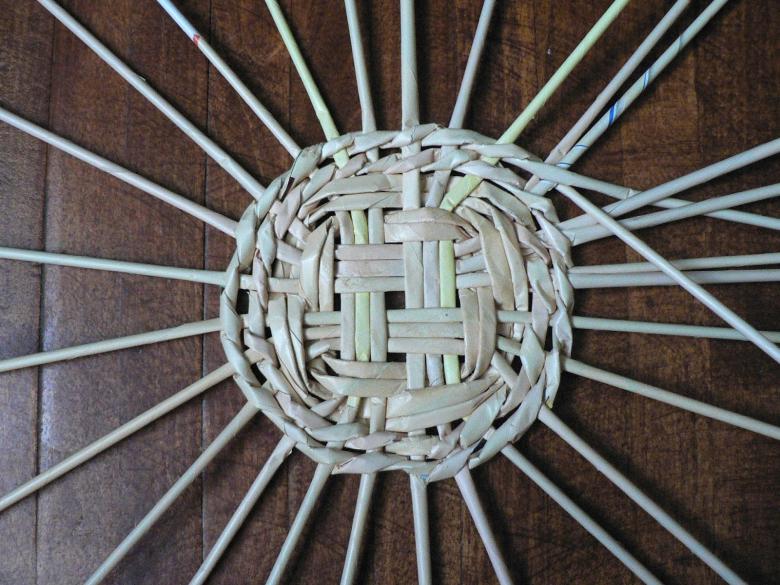
In this scheme, the number of straws taken in the first step to make the bottom, depending on the volume of the future product.
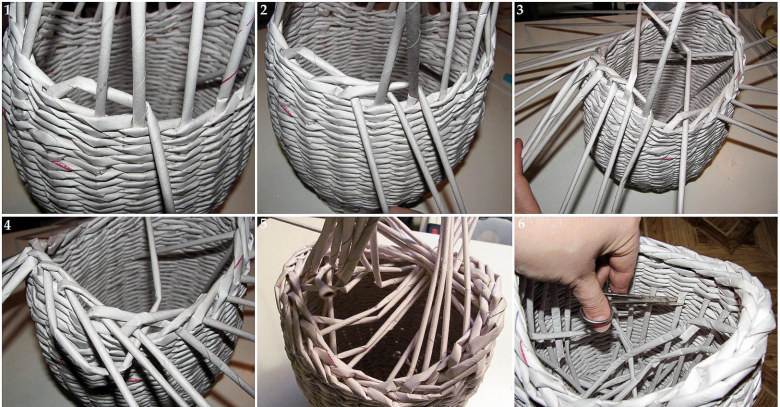
Edge decoration
The appearance of the craft depends largely on how the top edge looks like.
First of all, you should remove the ends of the working tubes, carefully tucking them inside the intertwined tubes. It is convenient to use a crochet hook, needle or skewers for this. The part is pressed tightly, trim off the excess. You can also use glue for a strong fixation.
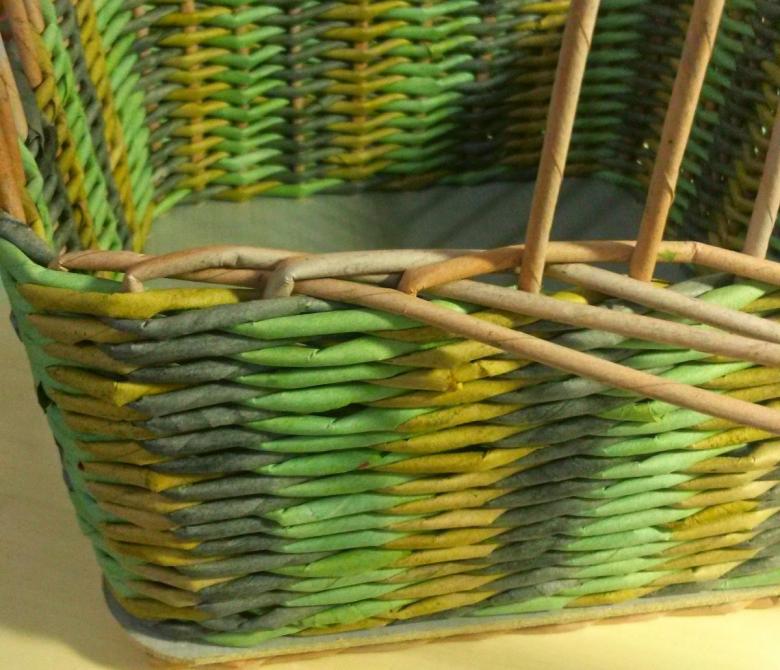
In order to hide the straw-guides, they are also easy to bend and hide inside the braids. Or you can make an additional braided row along the top edge by intertwining the vertical guides. Tubes alternately bend, take away to the right, intertwining the two. Bend and hide down on the third twig. The tip is cut off and taped if necessary.
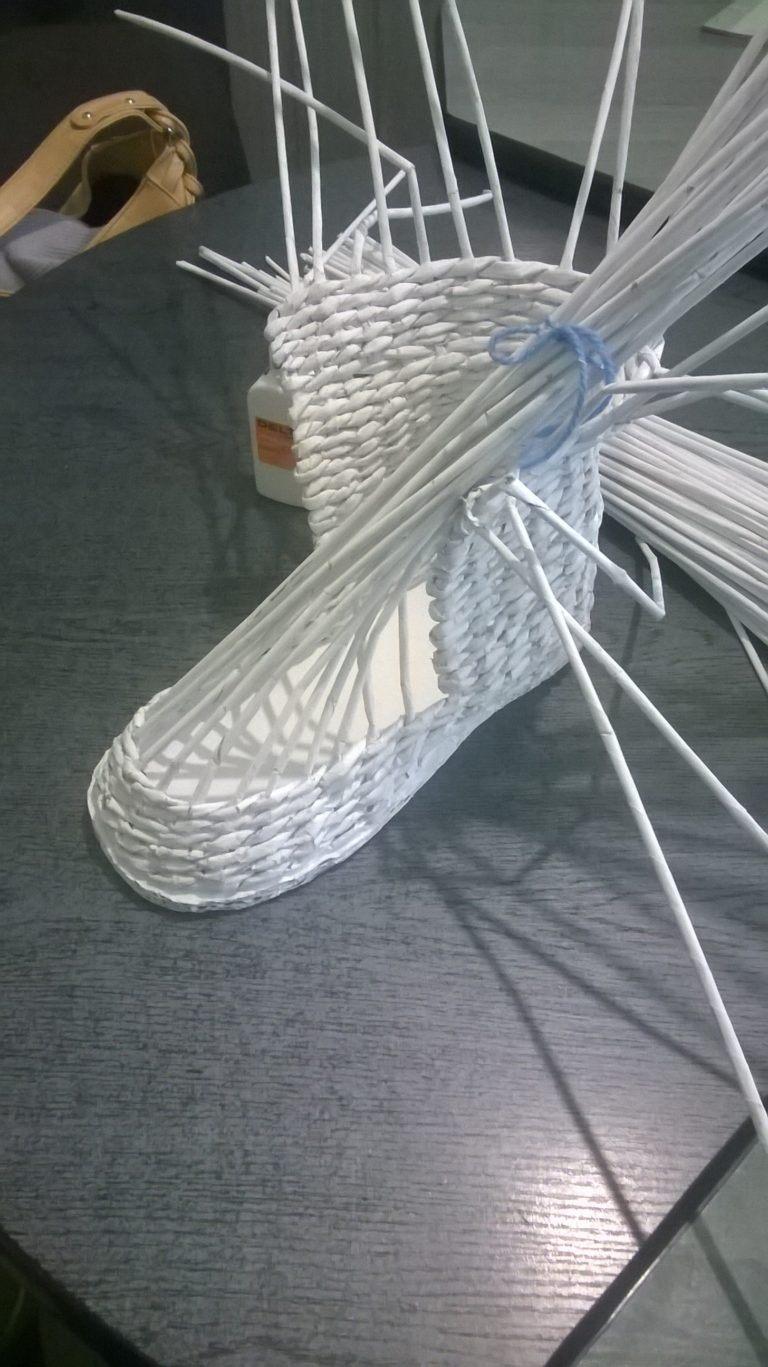
Ideas for crafts
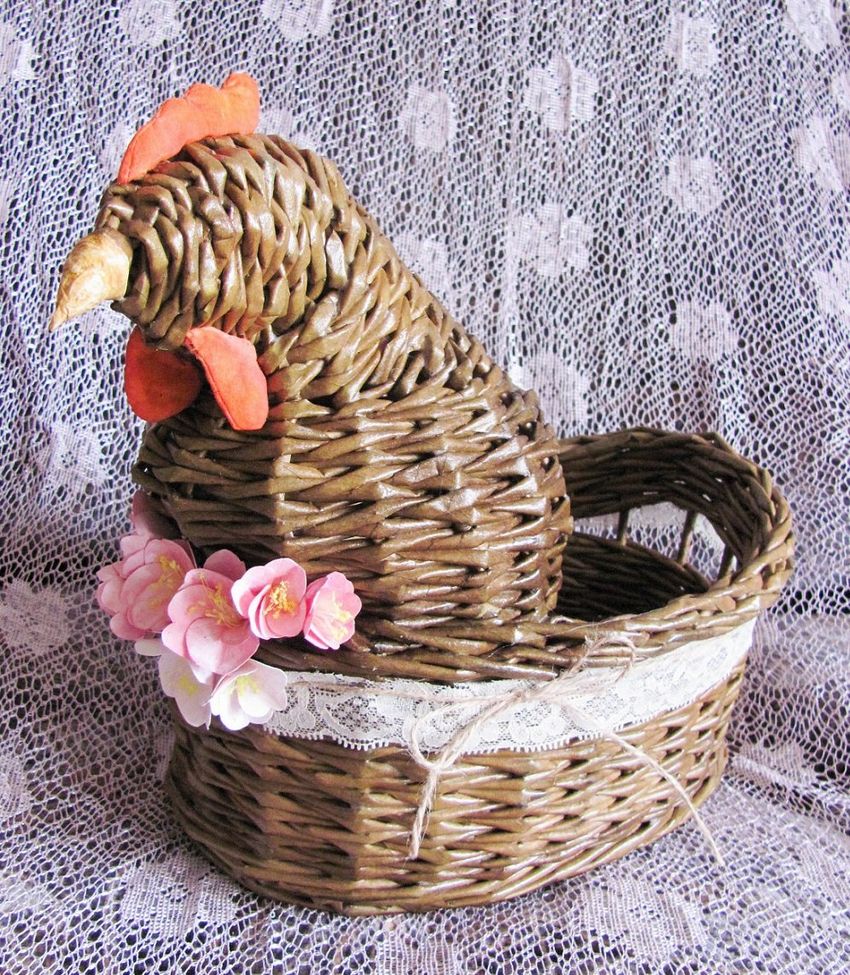
Using homemade paper vine, you can make a lot of original products from children's themed crafts and ending with various souvenirs and household items.
The twigs are easy to form a house and a wattle and daub, a frame for a mirror or a photo, a wall panel.
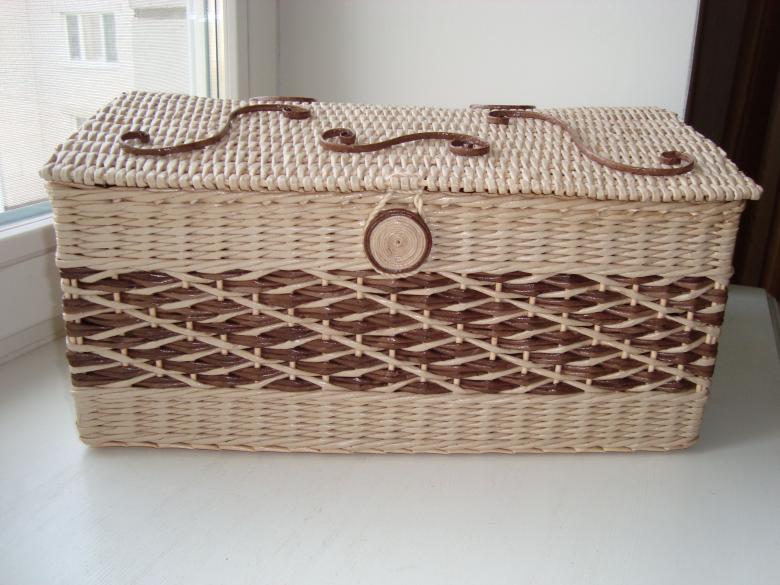
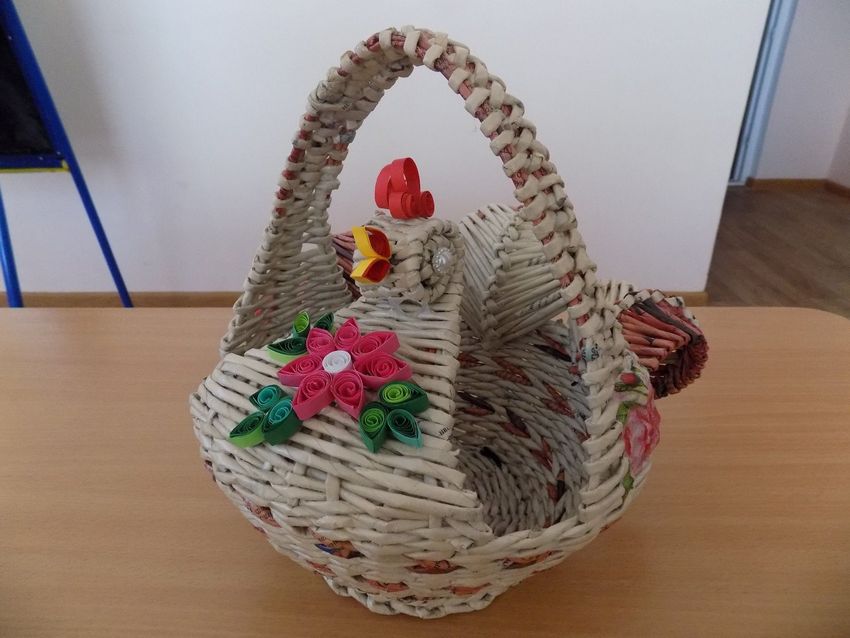
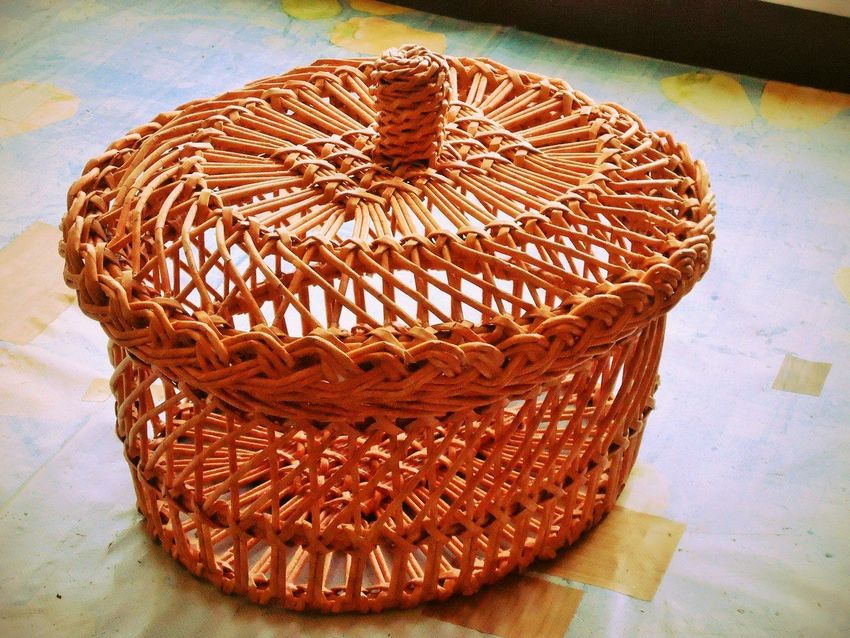
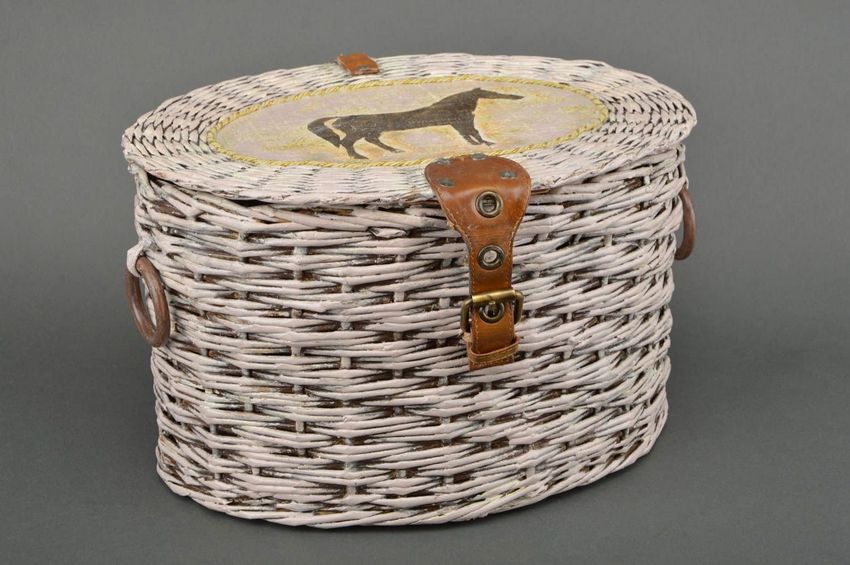
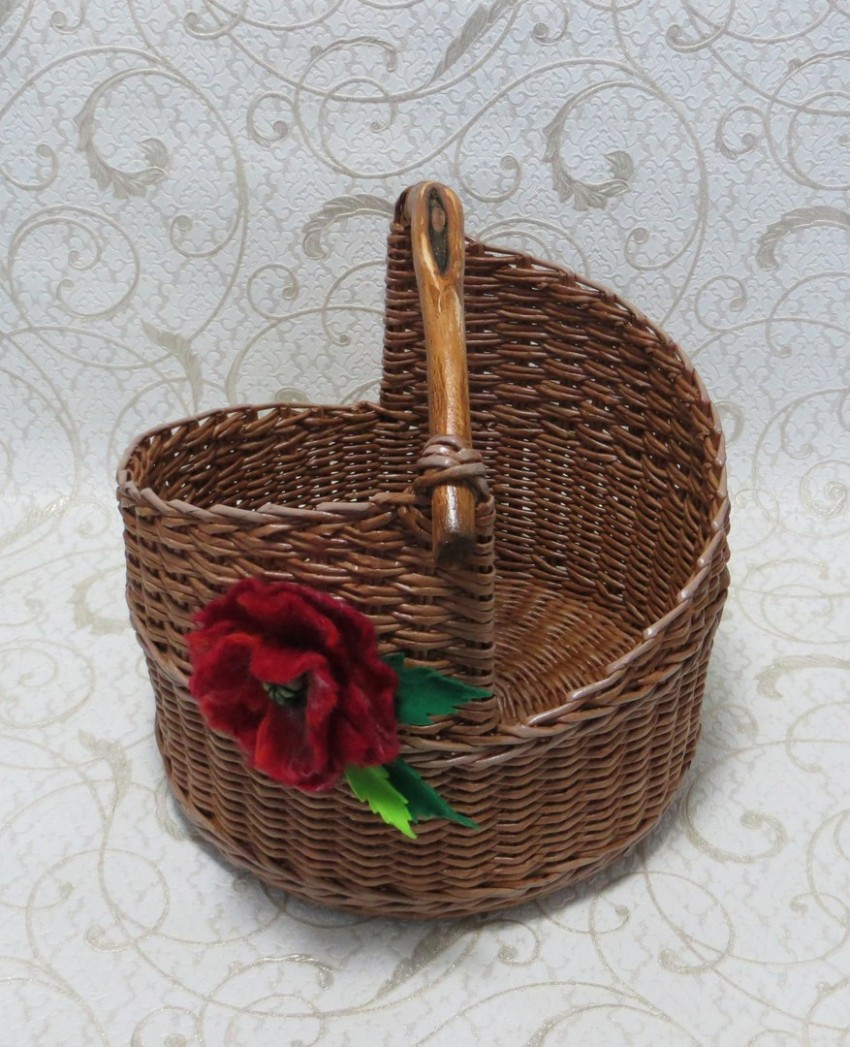
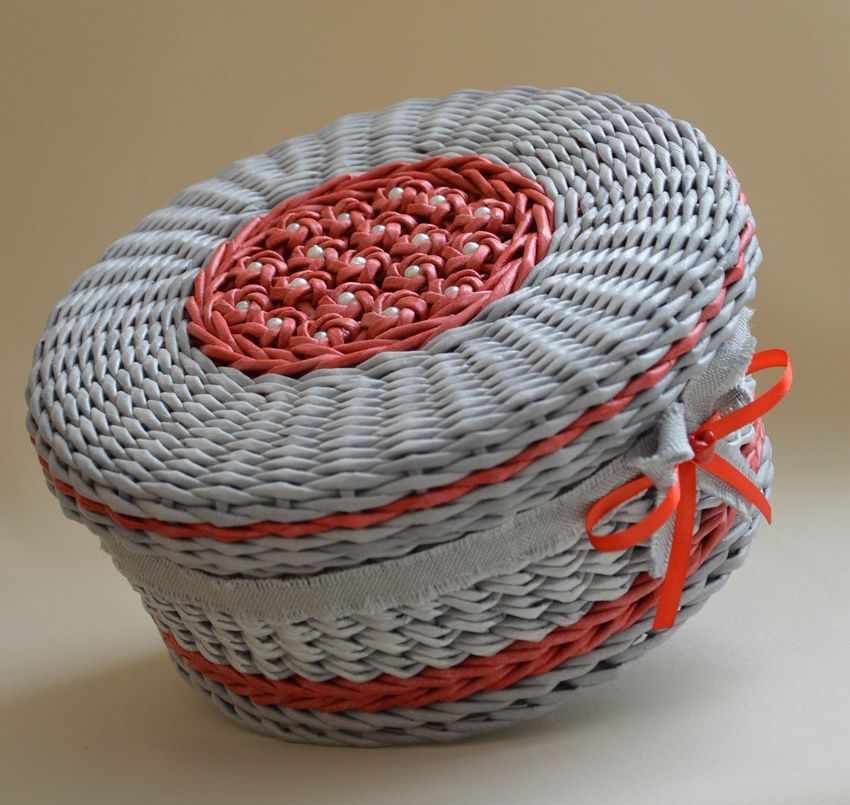
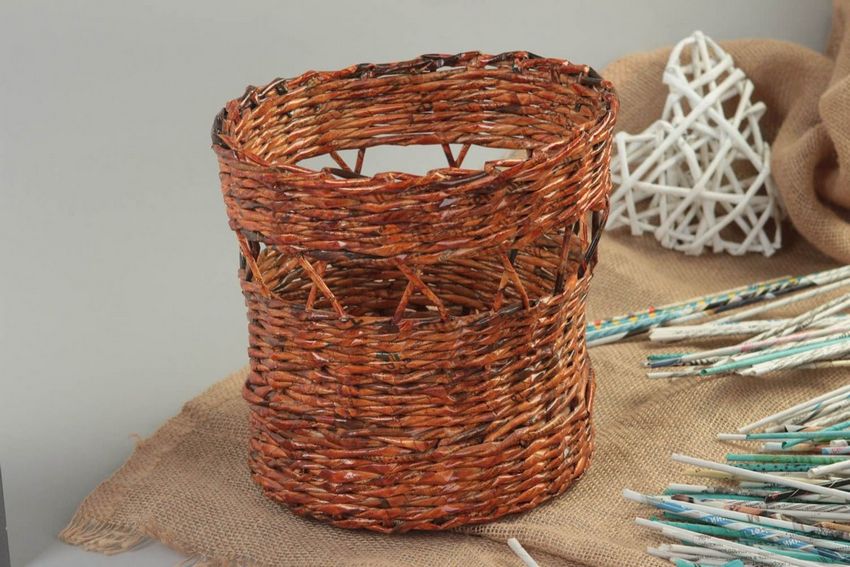
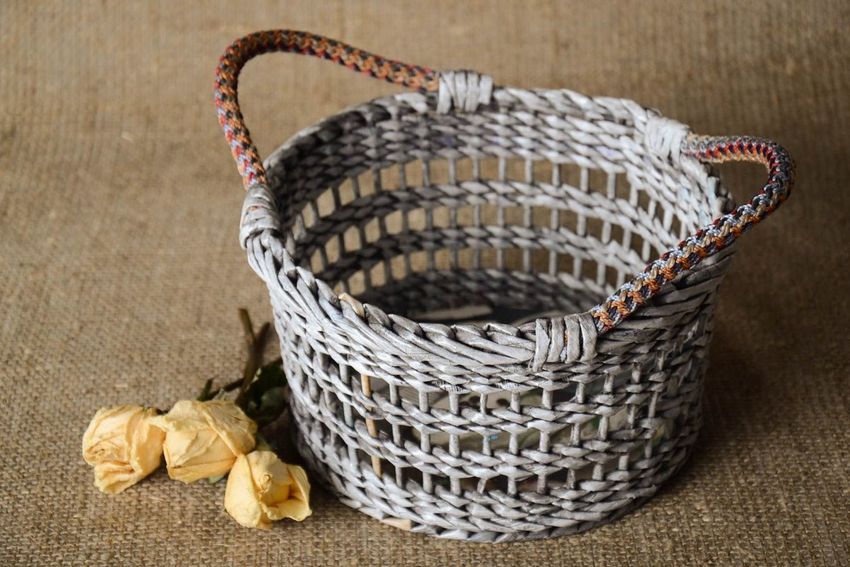
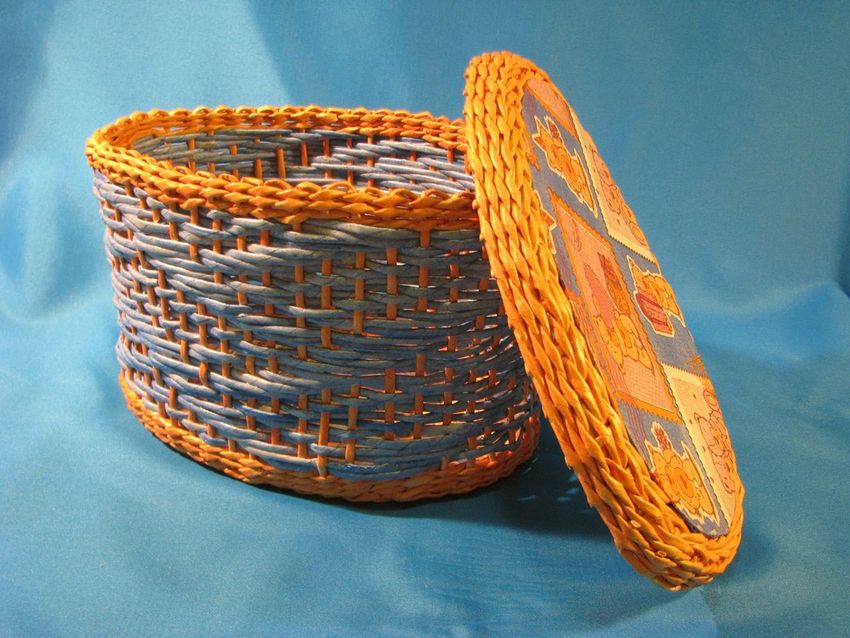
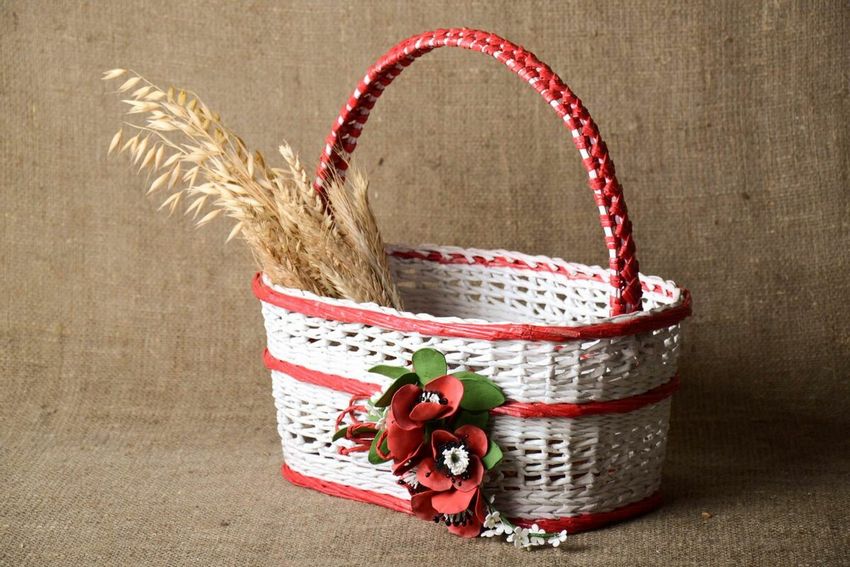
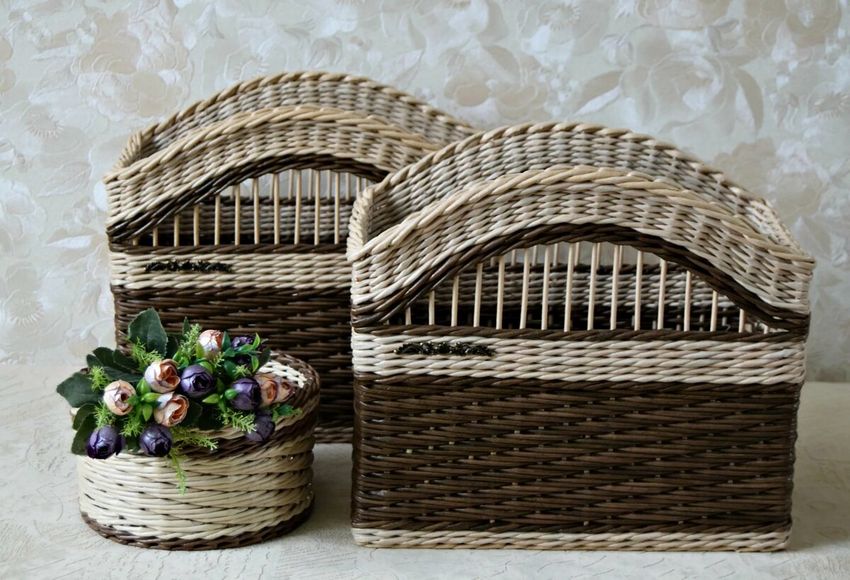
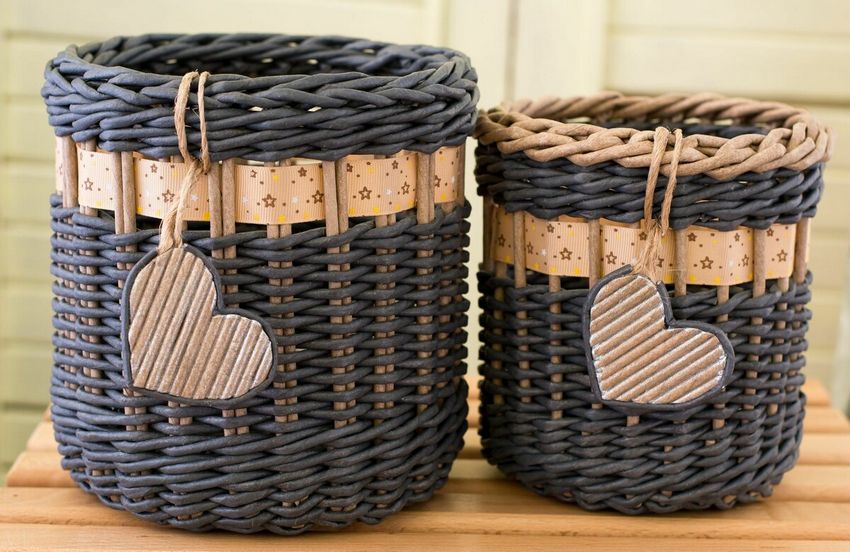
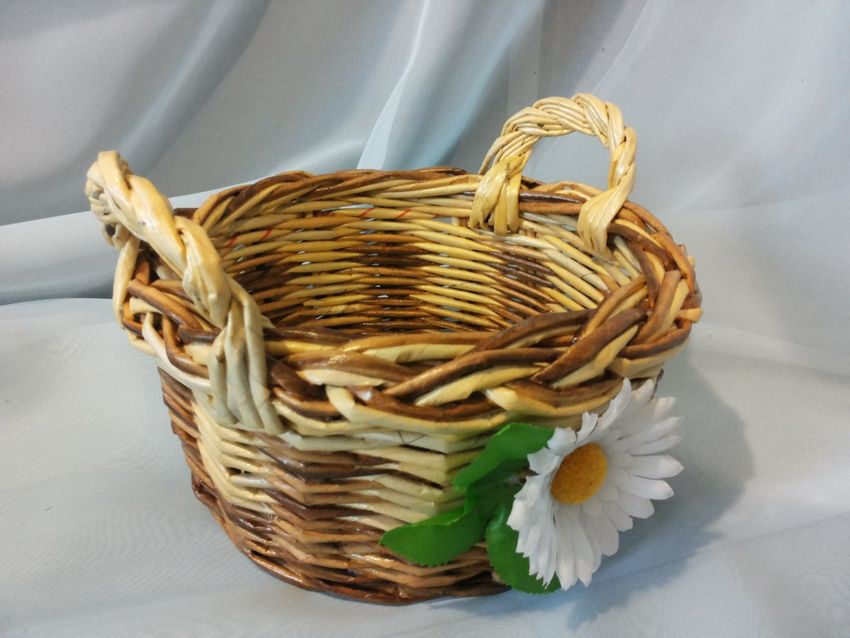
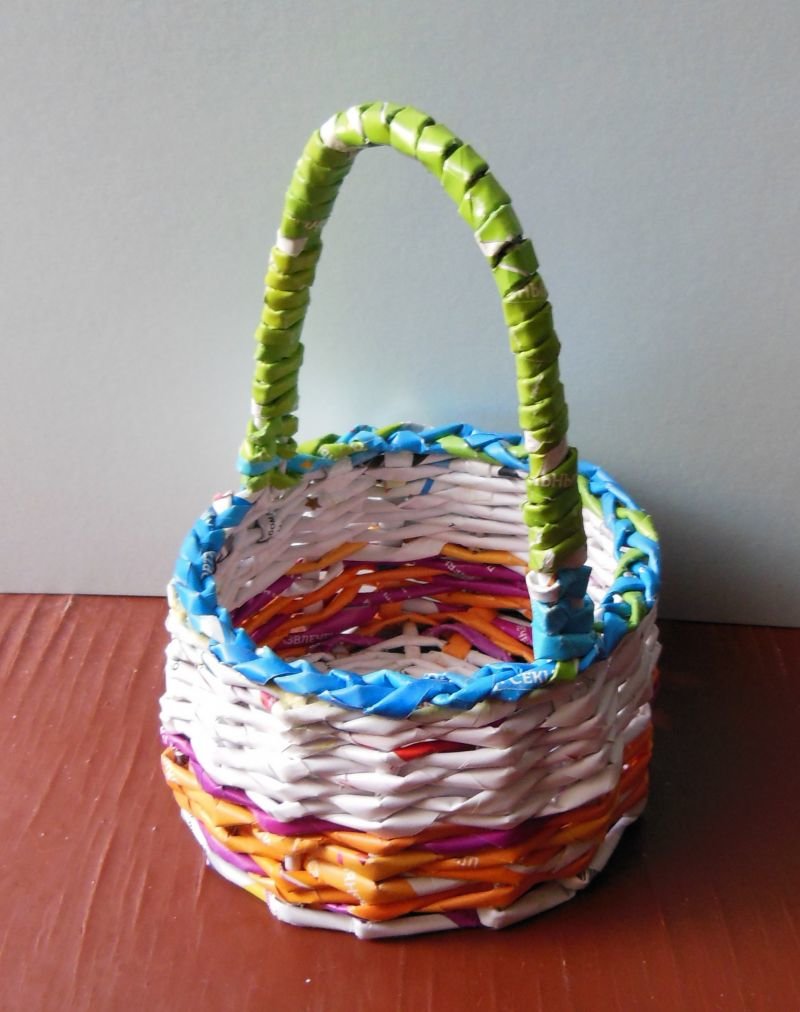
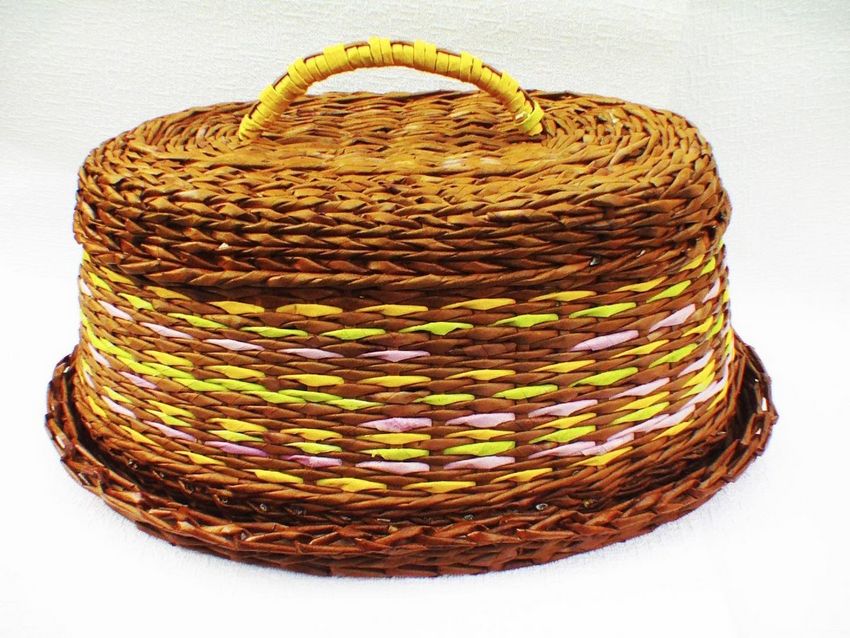
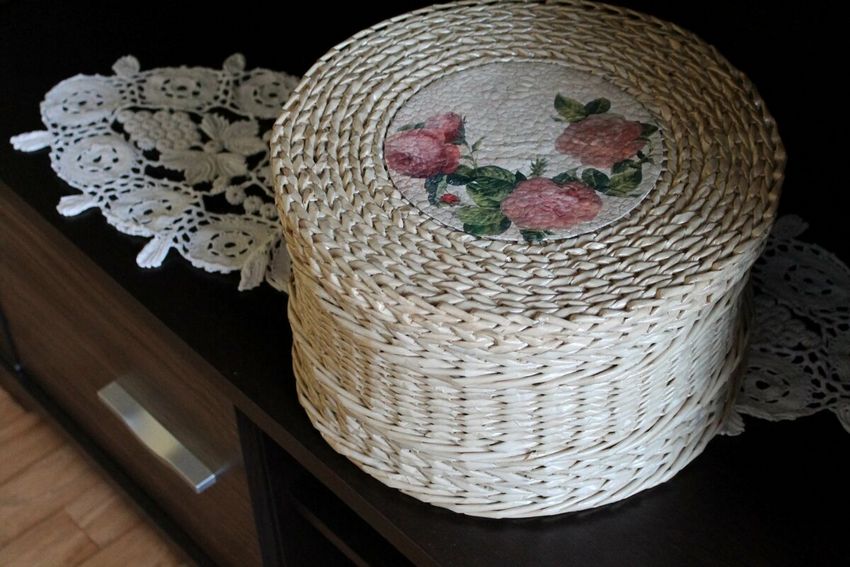
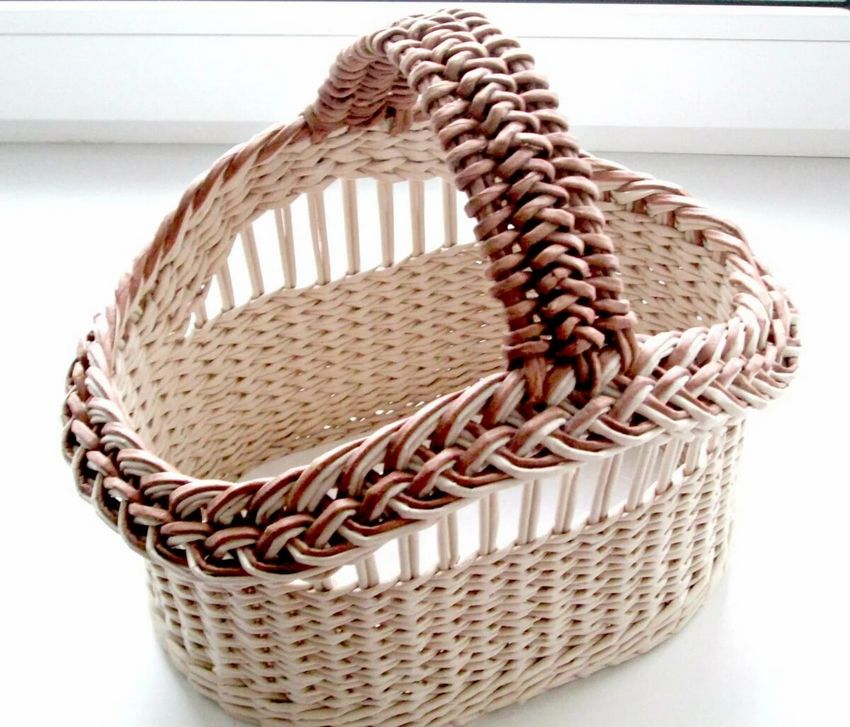
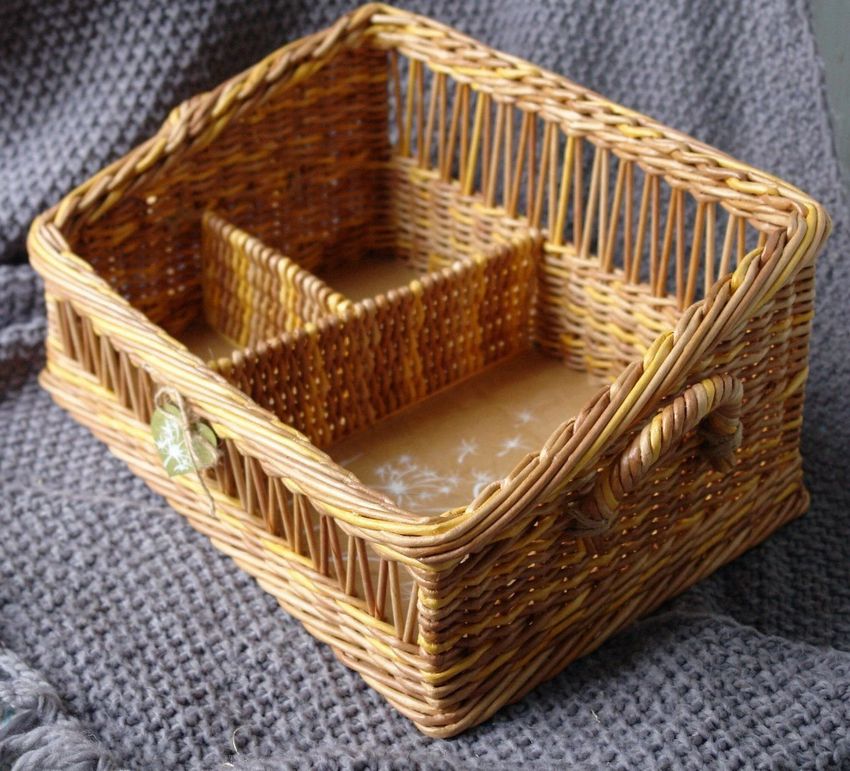
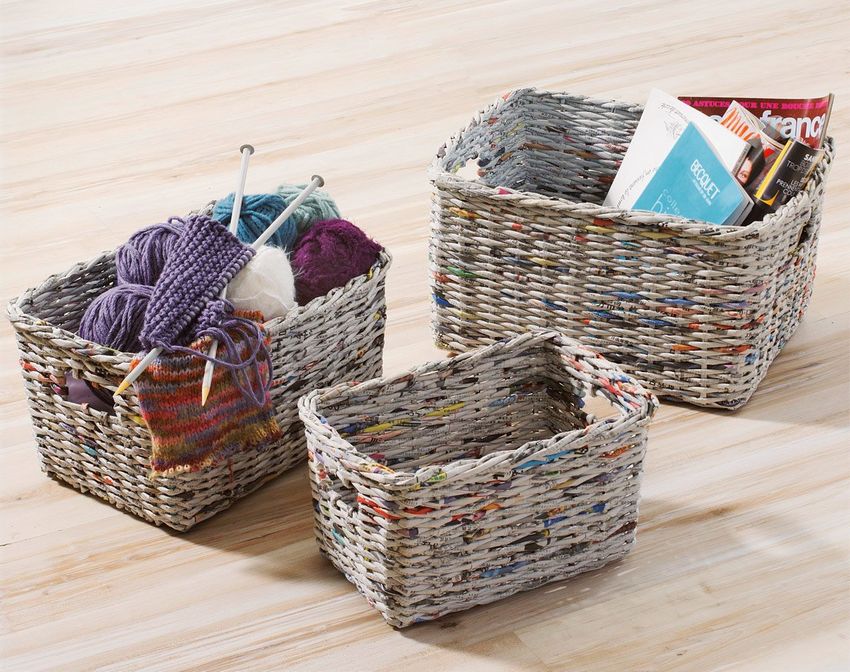
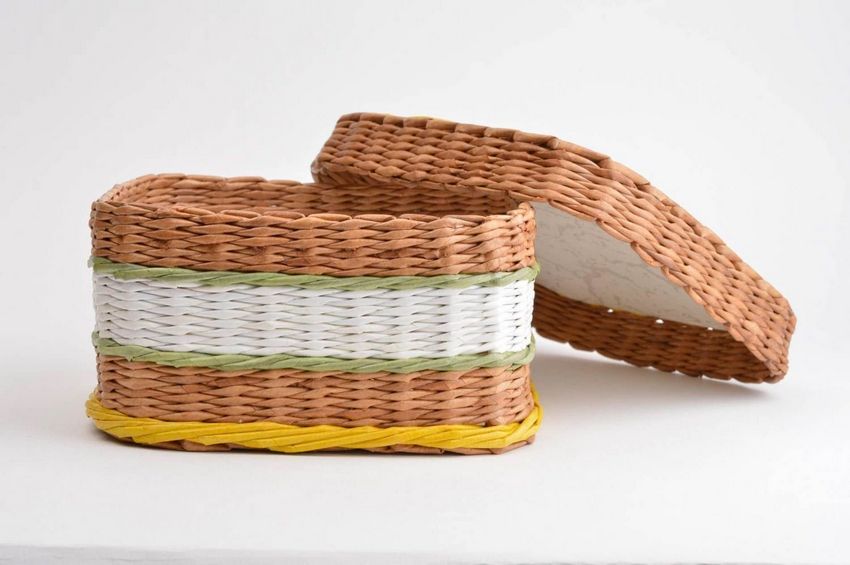
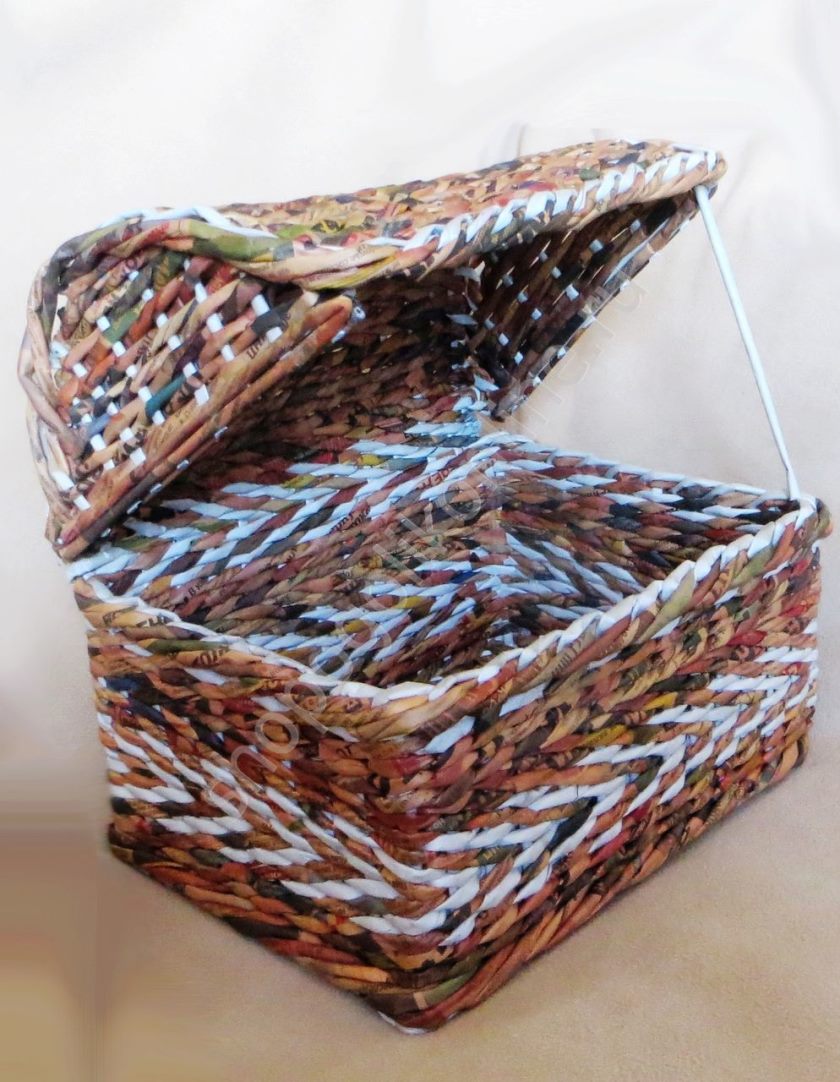
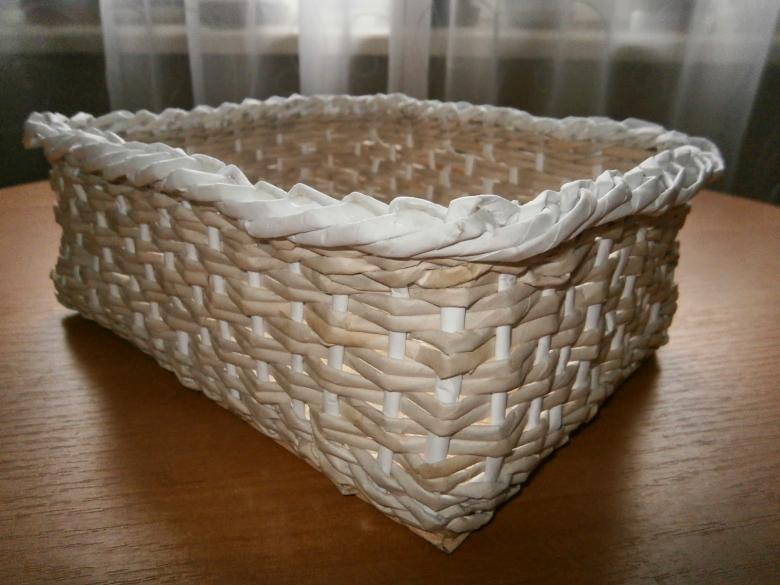
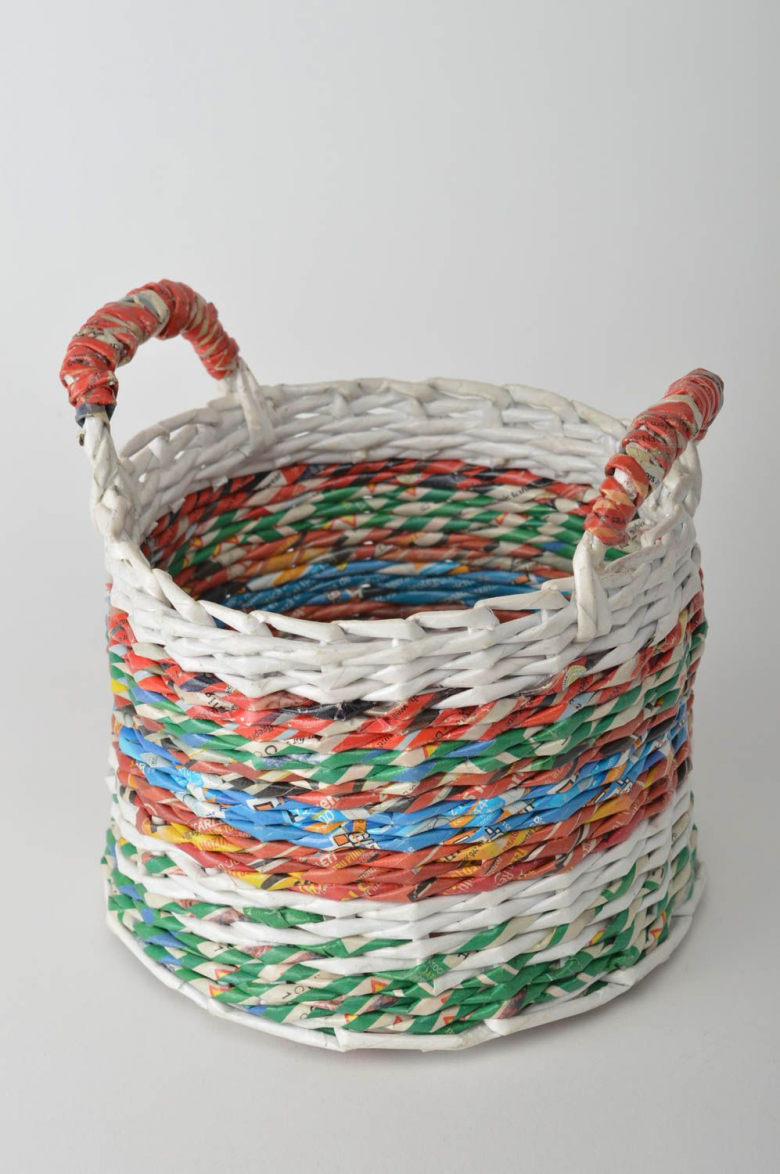
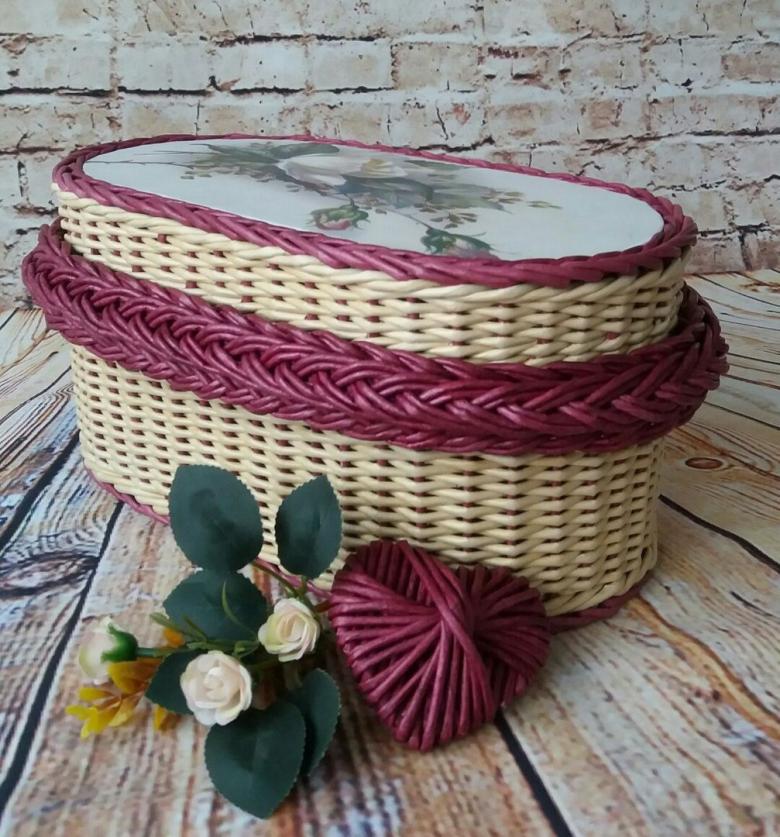
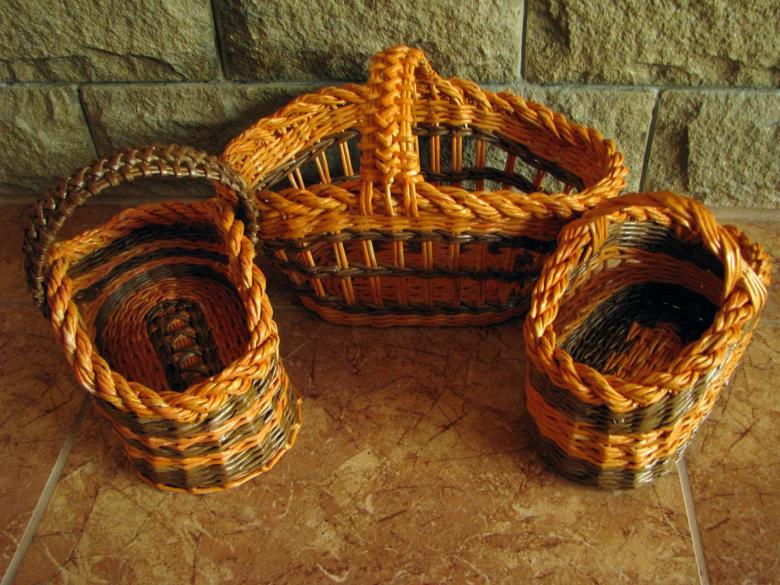
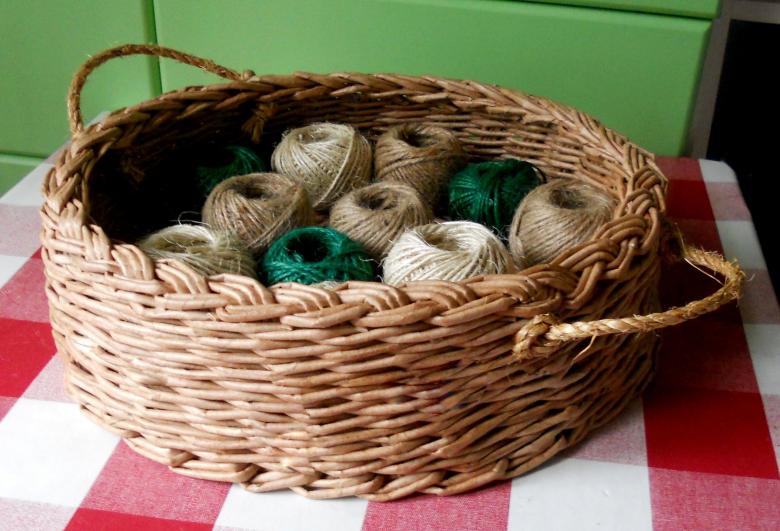
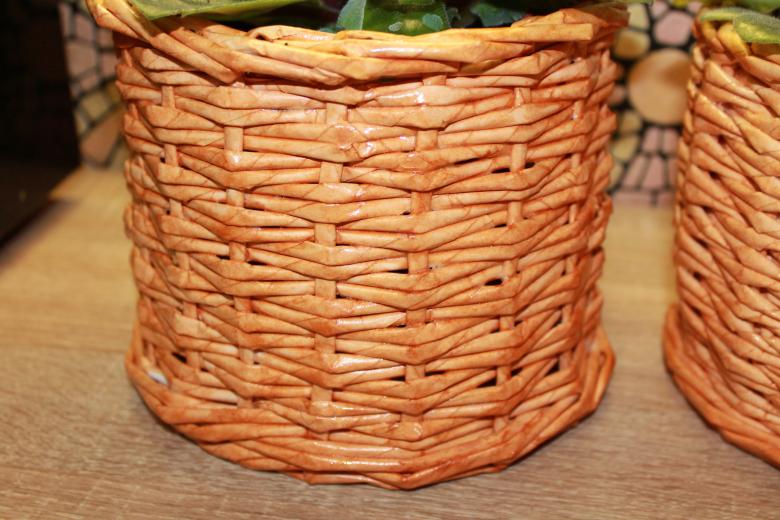
Handy boxes and baskets for storing different things, created by your own hands, spectacularly complement the home interior.
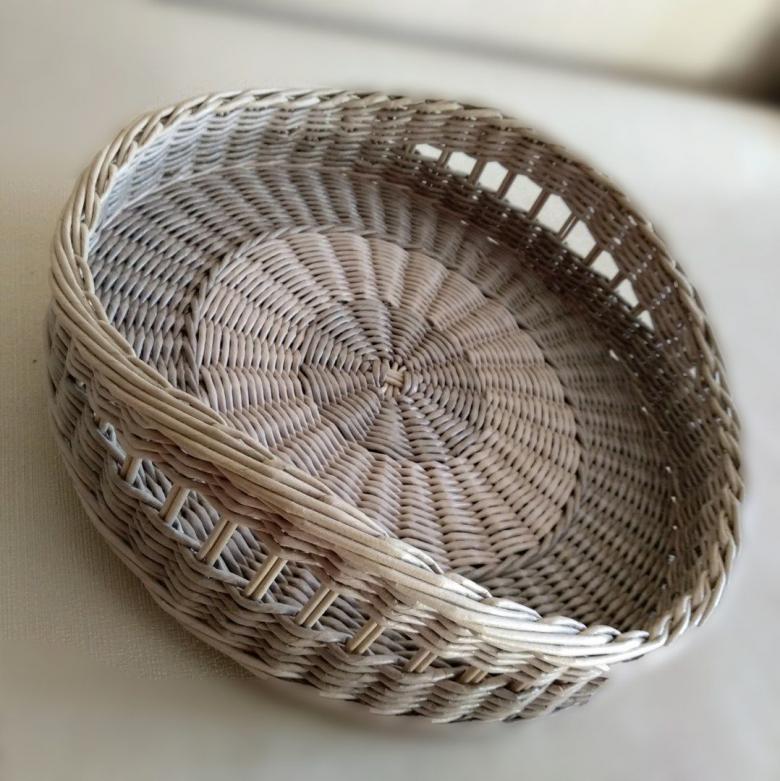
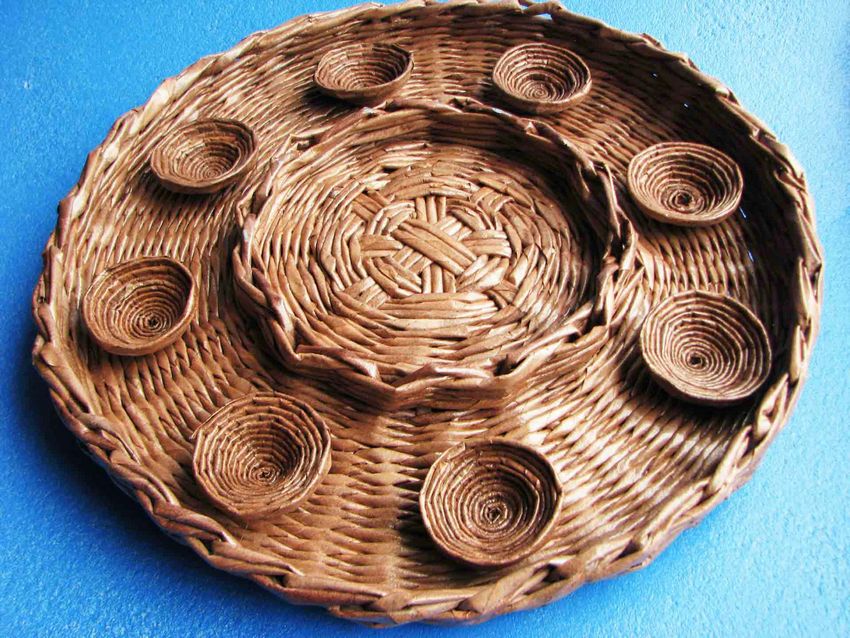
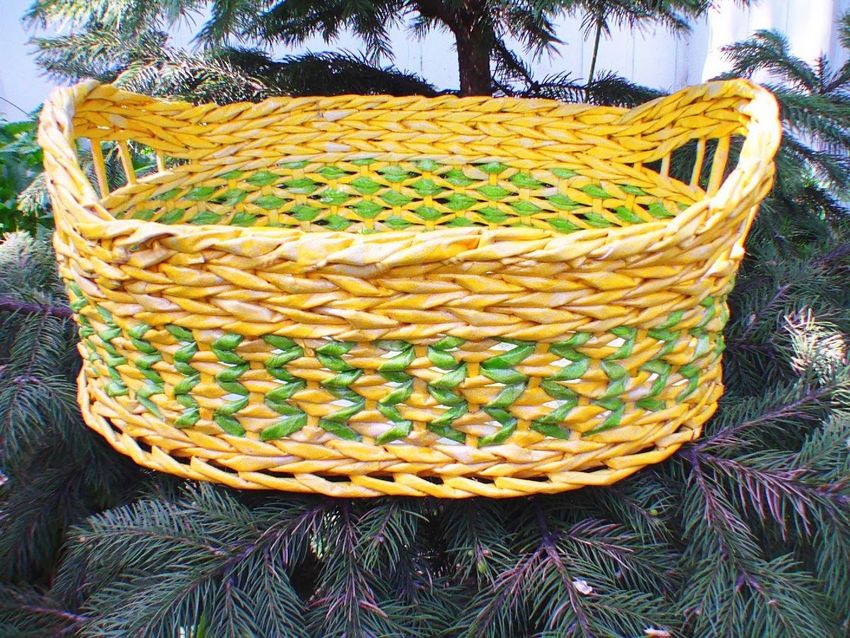
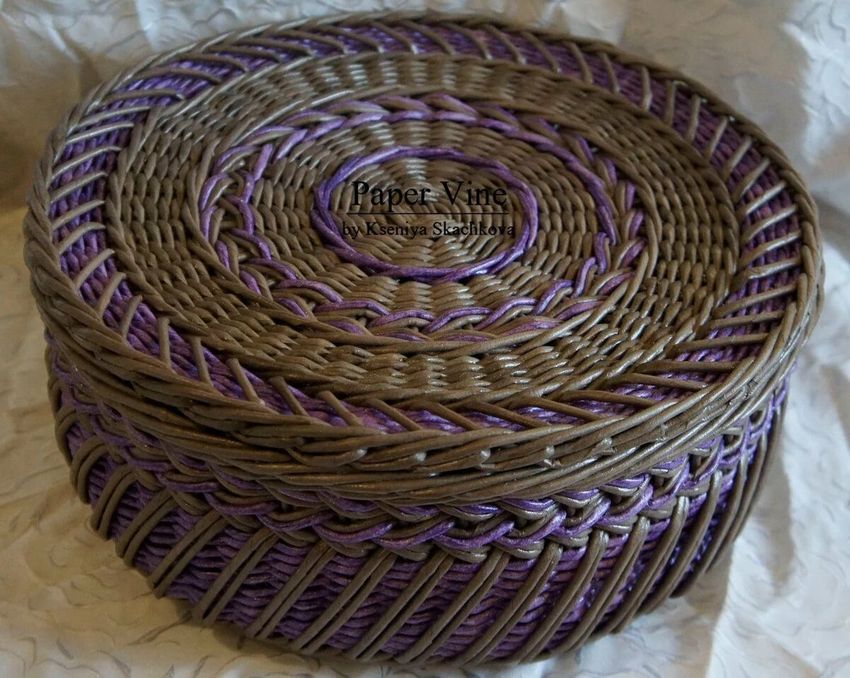
From a painted rod is not difficult to weave an unusual vase, cachet, decorative tray or plate.

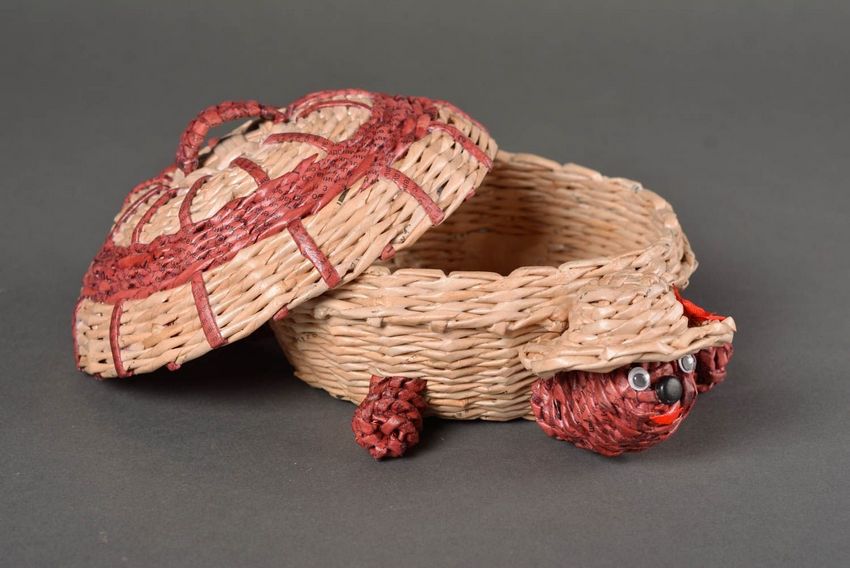
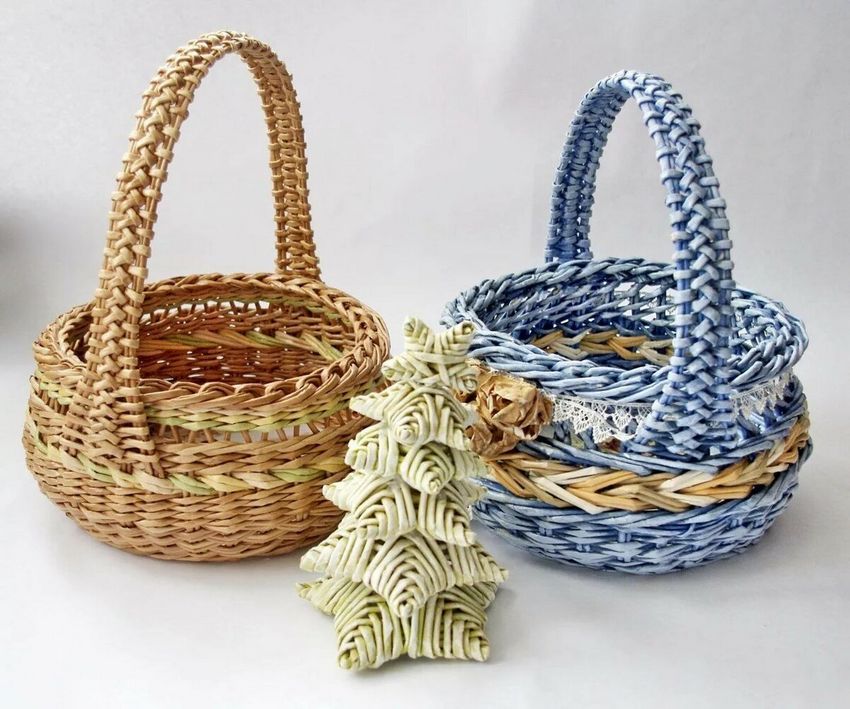
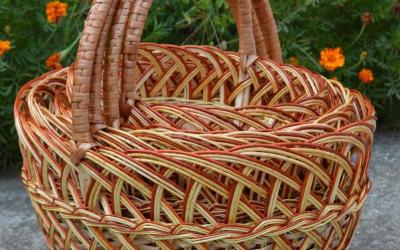
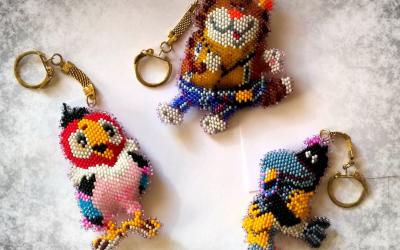
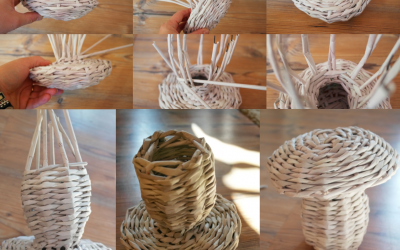
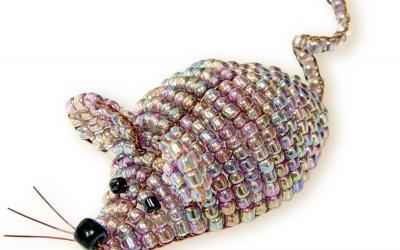
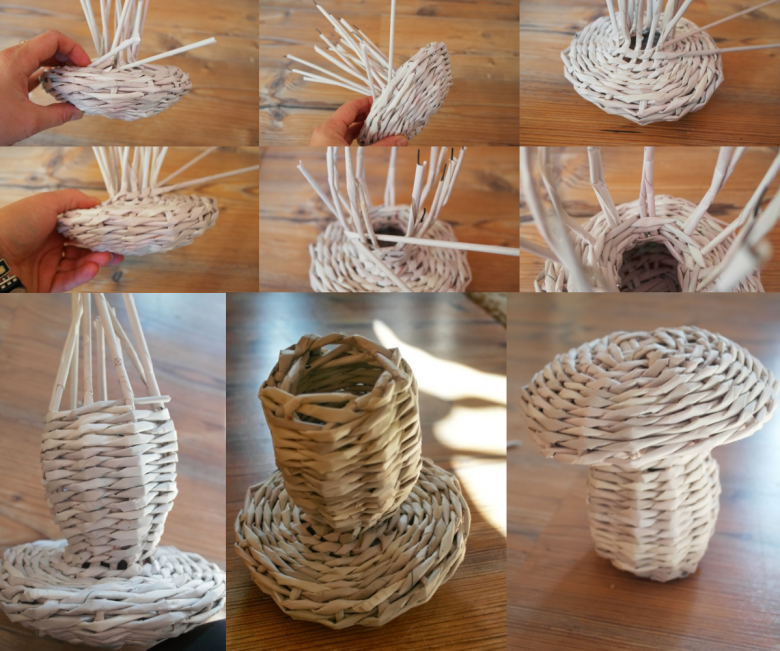
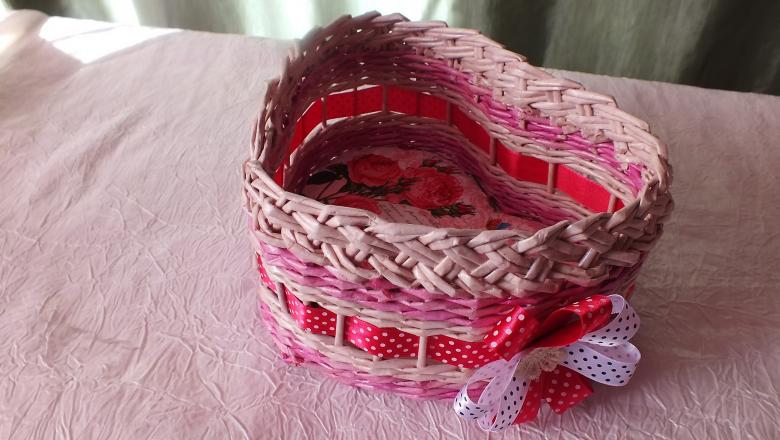
Often they are used to make decorative baskets, various containers, as well as wick balls, mushrooms, doll furniture, hearts, flowers and Christmas crafts.
With the help of creativity from old newspapers is easy to make a lot of interesting products.
Photo ideas of products from newspaper tubes