Handmade crafts for 2nd grade: easy master classes of paper, plasticine, craft materials
Making different handmade crafts by children helps to show their creativity and personal qualities. In elementary school, kids already have certain skills for handicrafts. These activities develop their character qualities and help them adapt in the social environment. To increase the child's interest in work, it is necessary to create a welcoming, trusting atmosphere for him or her.
An essential factor is the organization of space to make children's fantasies come true. It is necessary to have enough space to easily place all the hand tools and provide a surface for cutting and gluing paper. The table is covered with oilcloth. The result depends largely on lighting and a comfortable environment.

On how to make origami crafts of paper for grade 2, there are many step by step instructions. Students at this age are already able to trace outlines and cut along the lines without the help of others. They can follow the sequence of folding origami figures or assemble models from reamers.
Materials and tools
Multicolored paper is great for making uncomplicated crafts and appliques. Need:
- Different colors and textures of paper and cardboard.
- Scissors.
- Glue pencil or PVA.
- Stapler, tape - for stapling.
- Gouache, watercolor, acrylic paint.
- Crayons, markers, glue-based glitter - for the purpose of decorating.
- Figurines of animals, objects, trees, flowers as scrapbooking decorations.
- Wet hand wipes.
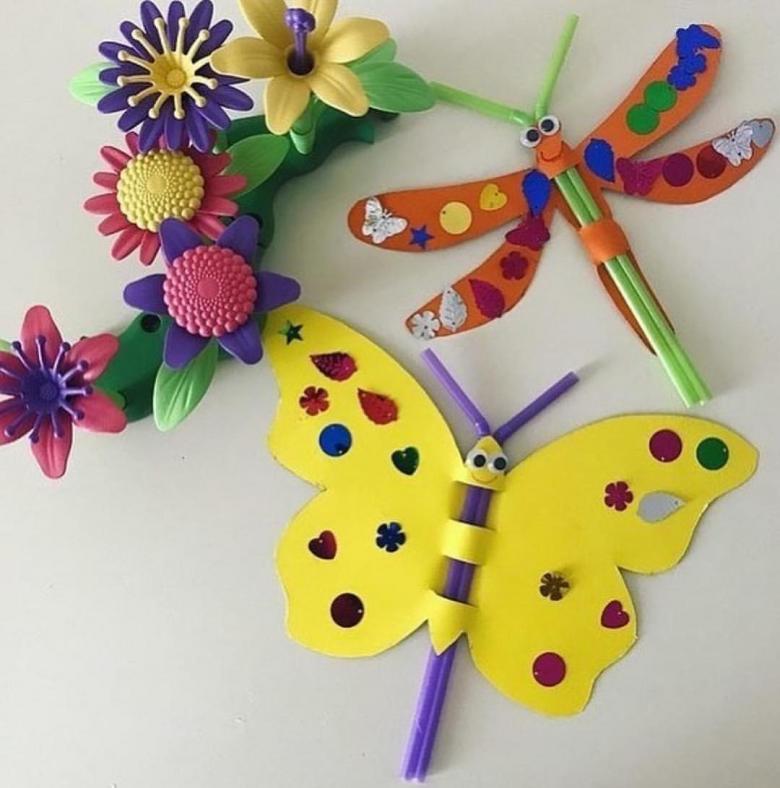
Cutting objects are allowed to use only under the supervision of parents or teachers. The ancient art of origami is very useful for the development of fine motor skills, teaches to concentrate thoughts, increases intelligence. Children become more assiduous and attentive, which they now especially need. You can make ornaments for the Christmas tree or three-dimensional panels, to later present them at school in an exhibition.
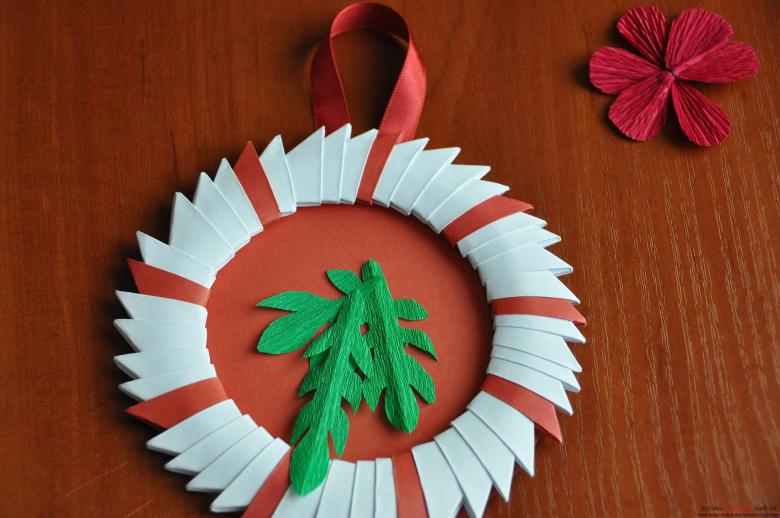
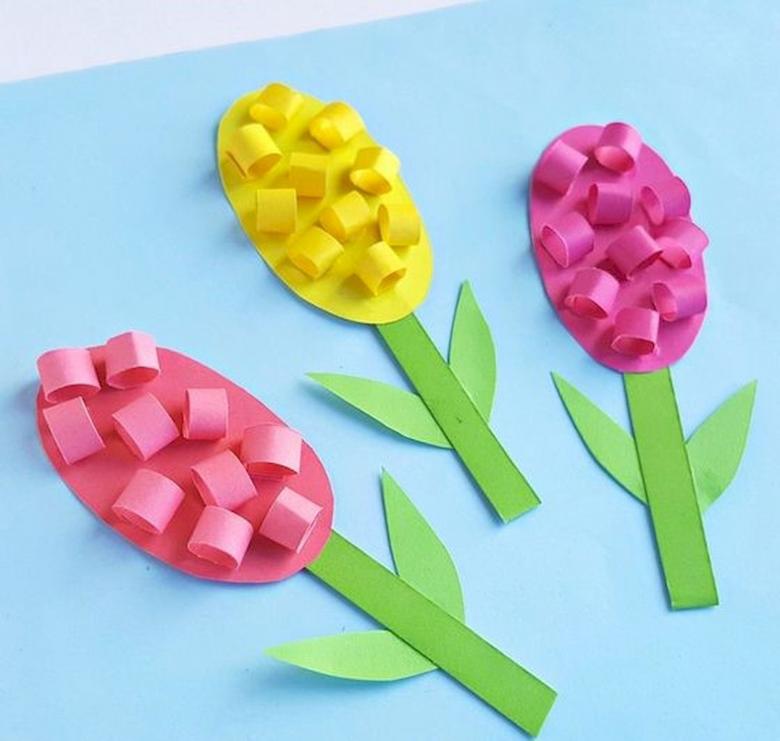
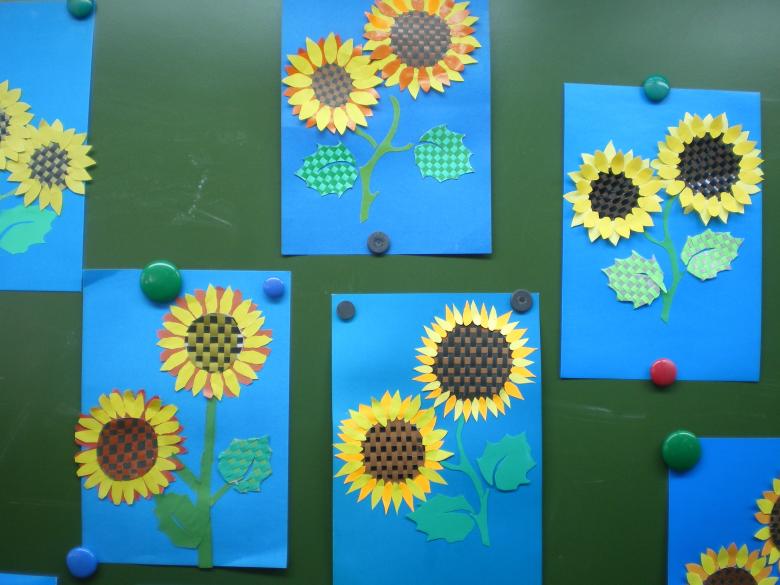
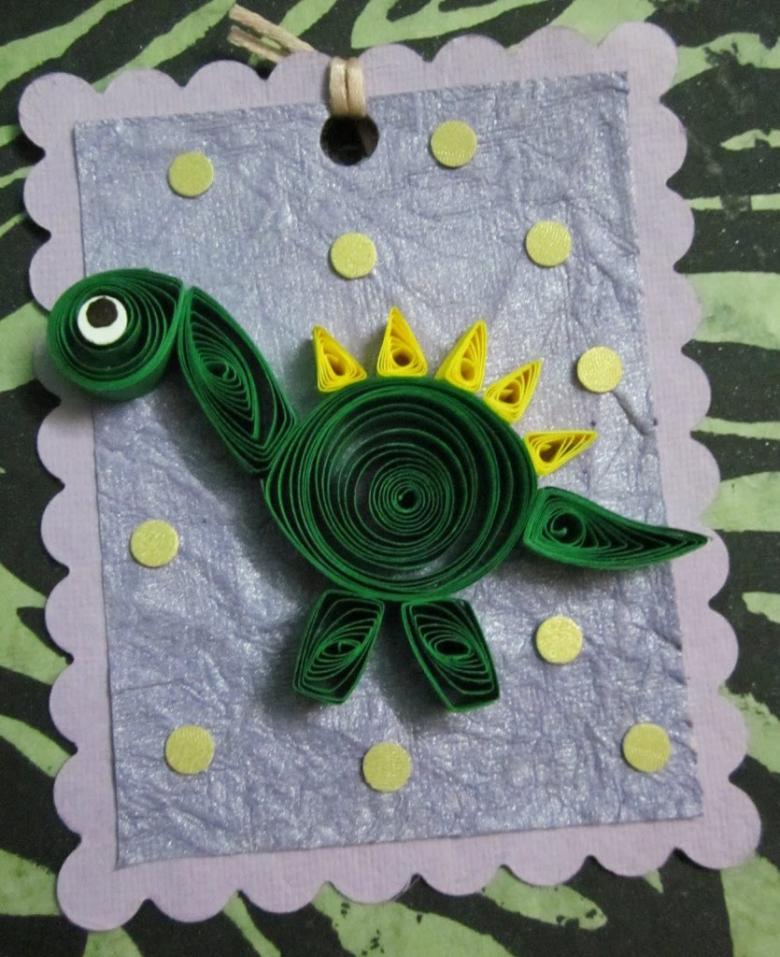
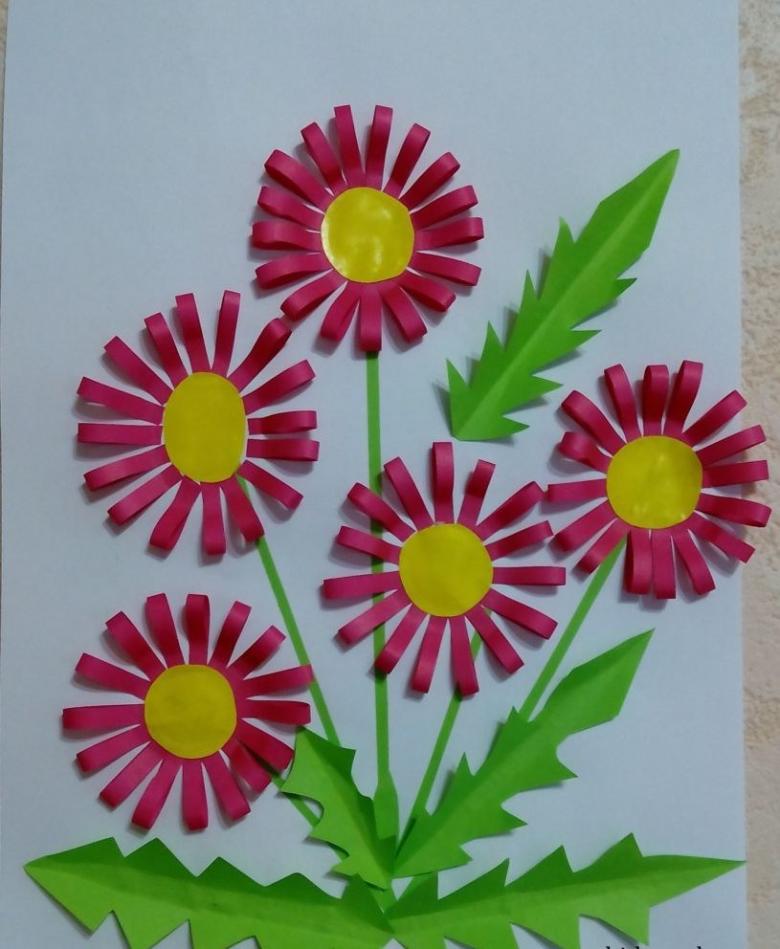
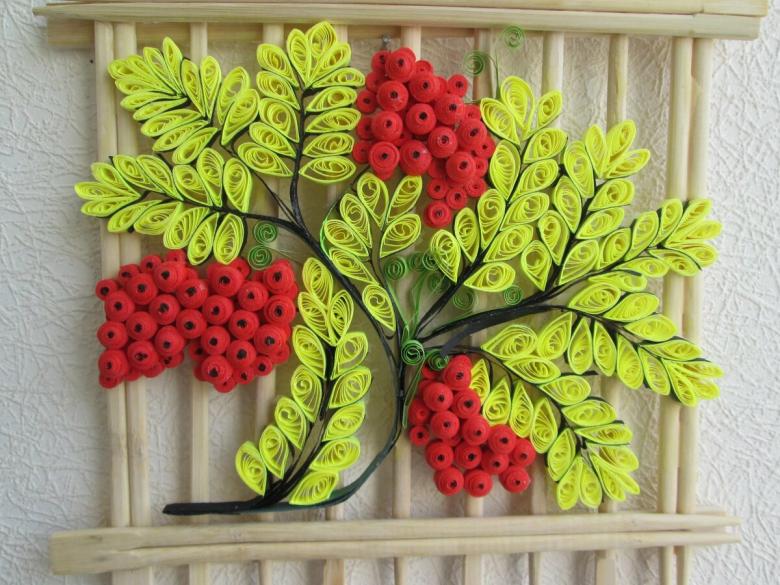
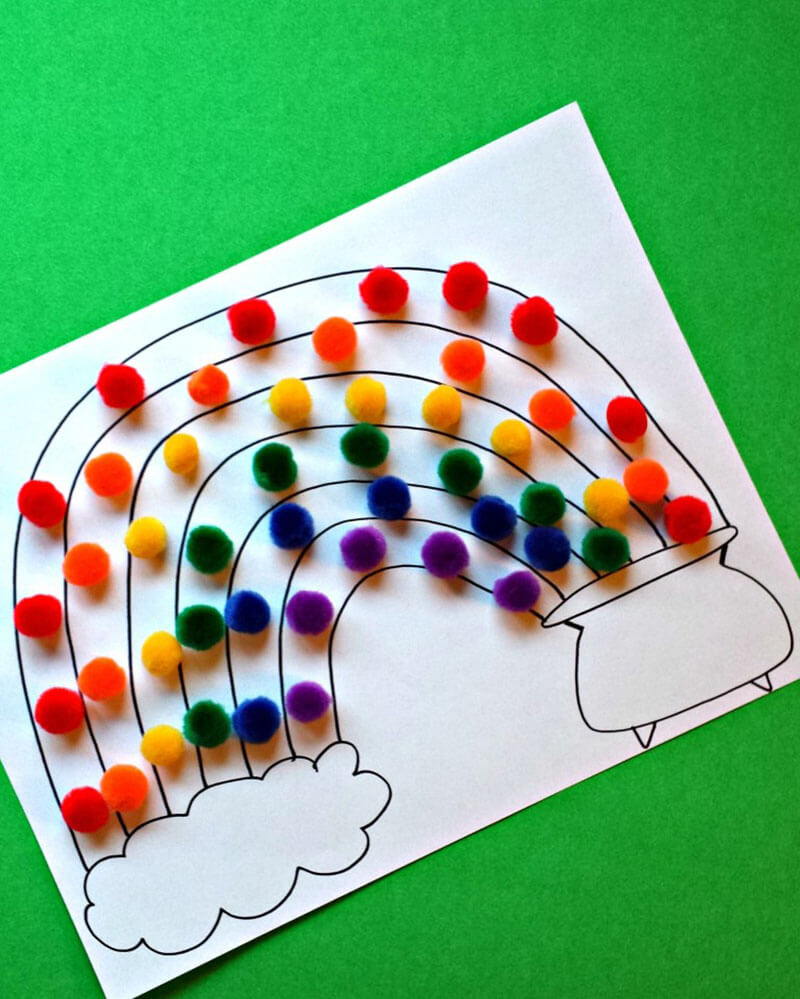
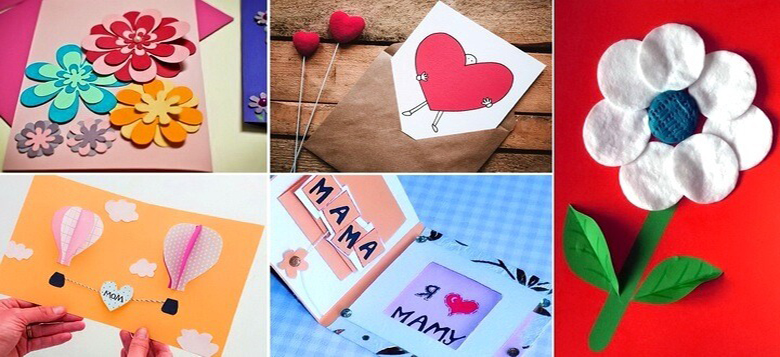
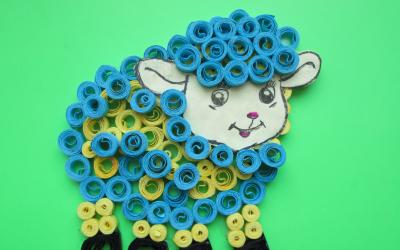
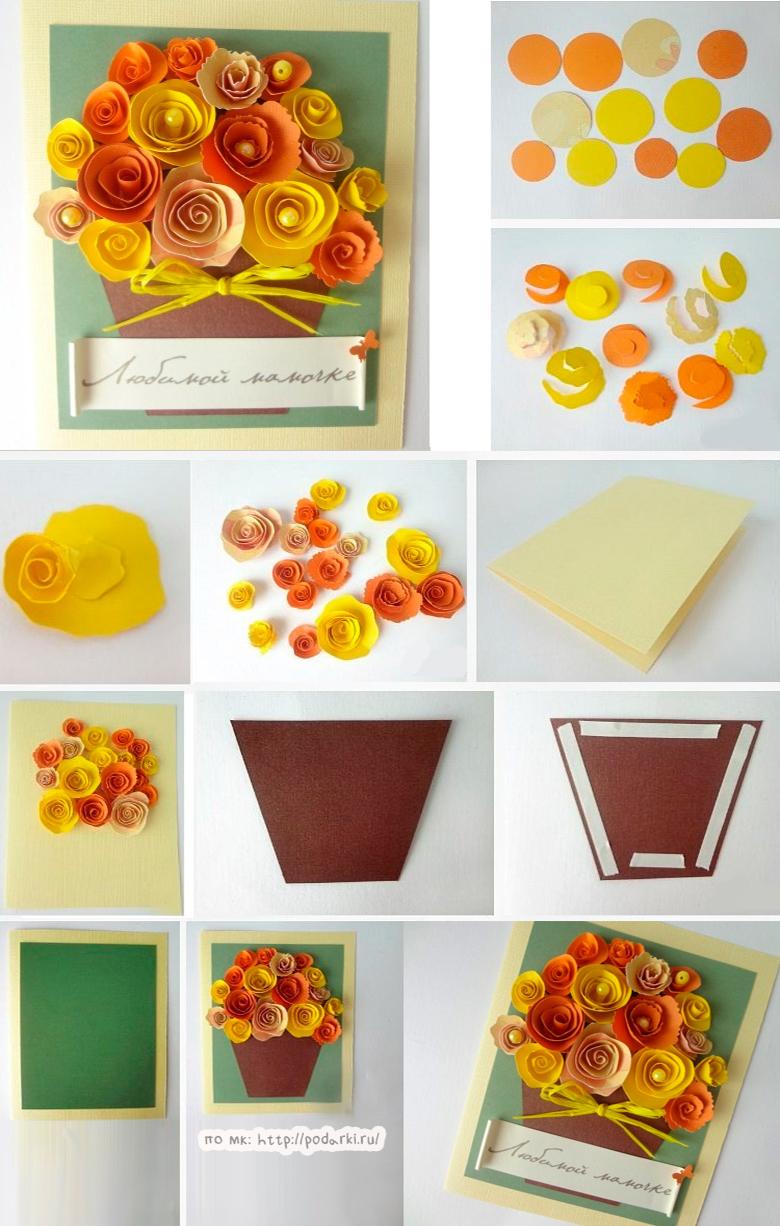
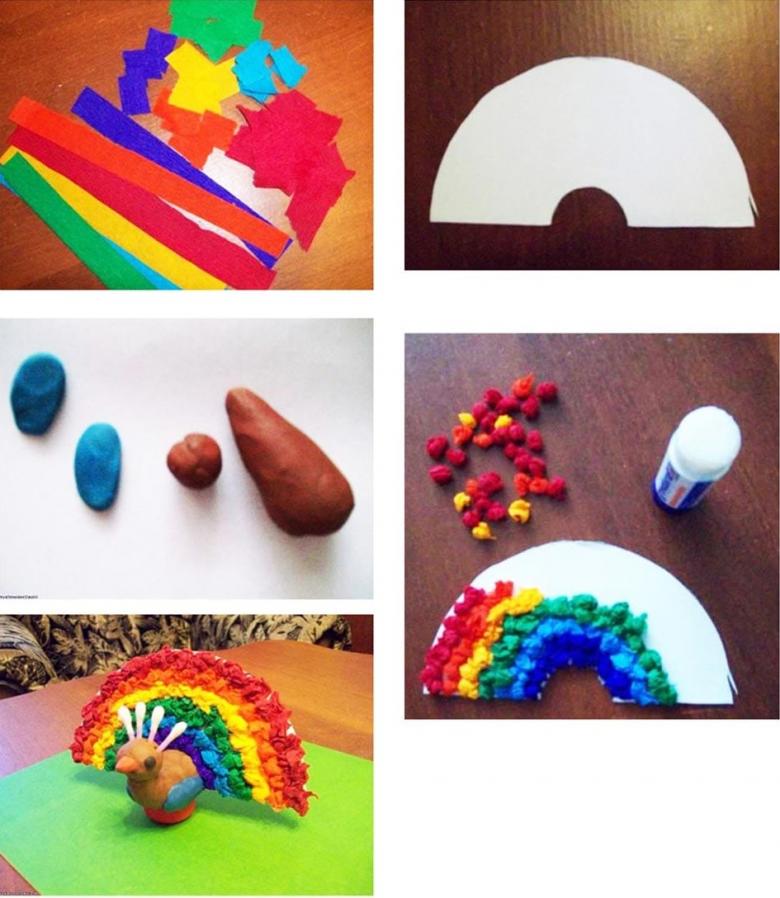
Postcard-applique made of paper skeins
Handicrafts for the 2nd grade for March 8 and other holidays at labor lessons have become traditional. Children have the opportunity to make their own modest gift for their relatives and friends.
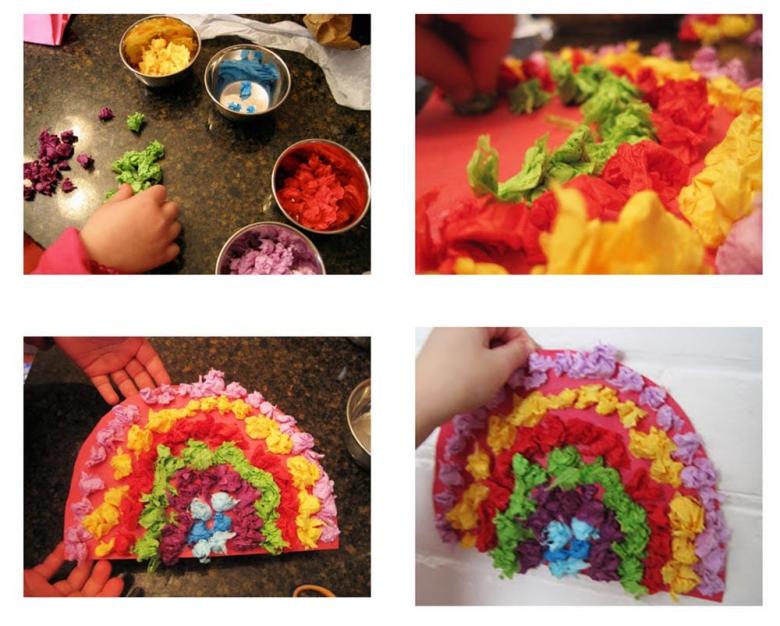
It is easy to make the following card:
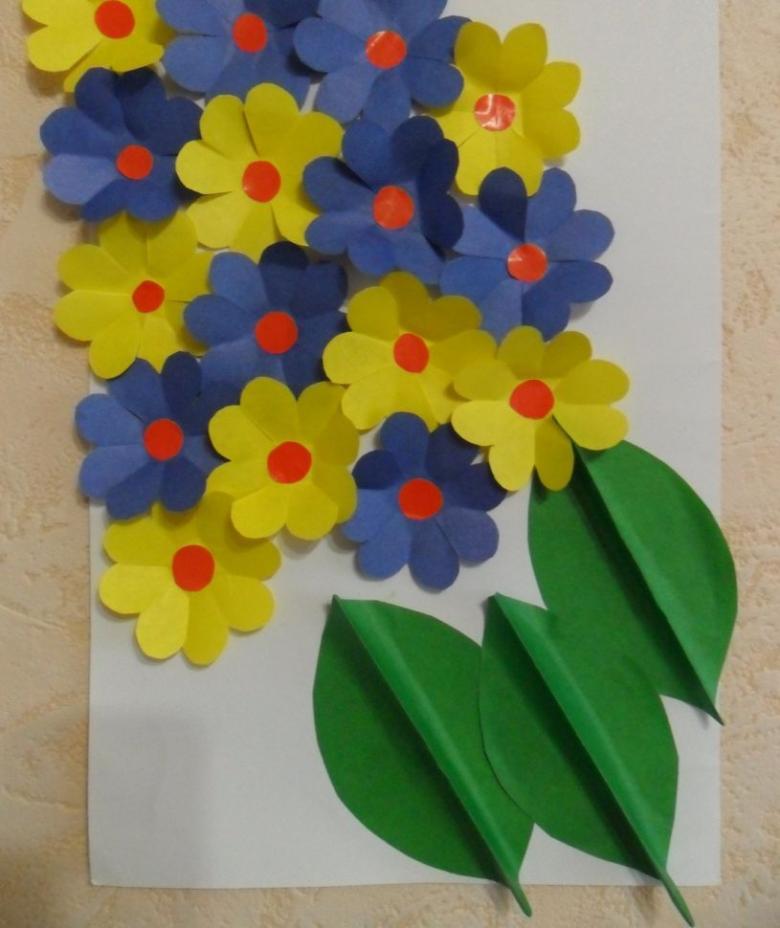
- Take 3 sheets of paper in red, yellow and green.
- Draw equal strips of width 2 cm.
- They cut the paper along them.
- From the strips form small squares - stacked and then cut crosswise.
- From them roll balls, squeezing and tightly squeezed in his hands.
- Yellow color on the contour pasted previously drawn on the cardboard "figure of eight.
- Green paper lumps lay out the stem and leaf flower.
- Red will serve as its base.
Such a creation on the eve of Women's Day will bring a lot of joy and pleasant moments to your mother, grandmother or sister!
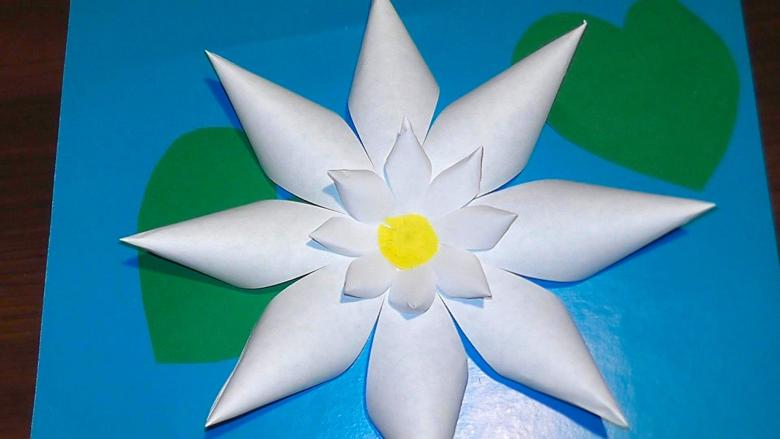
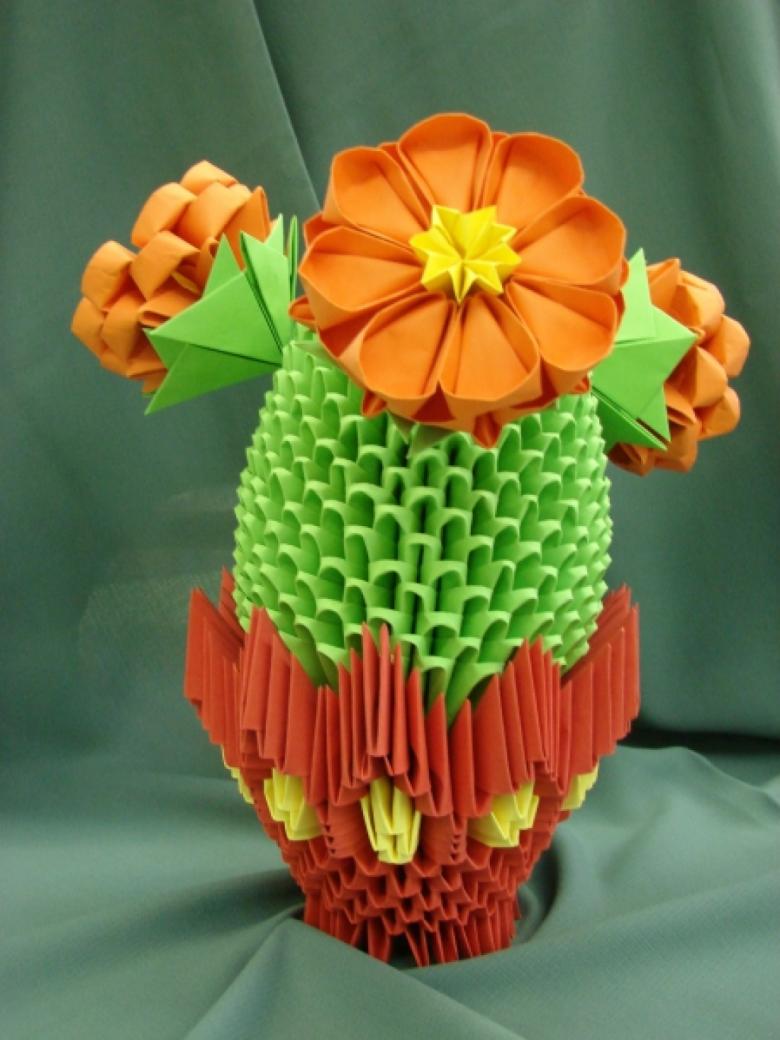
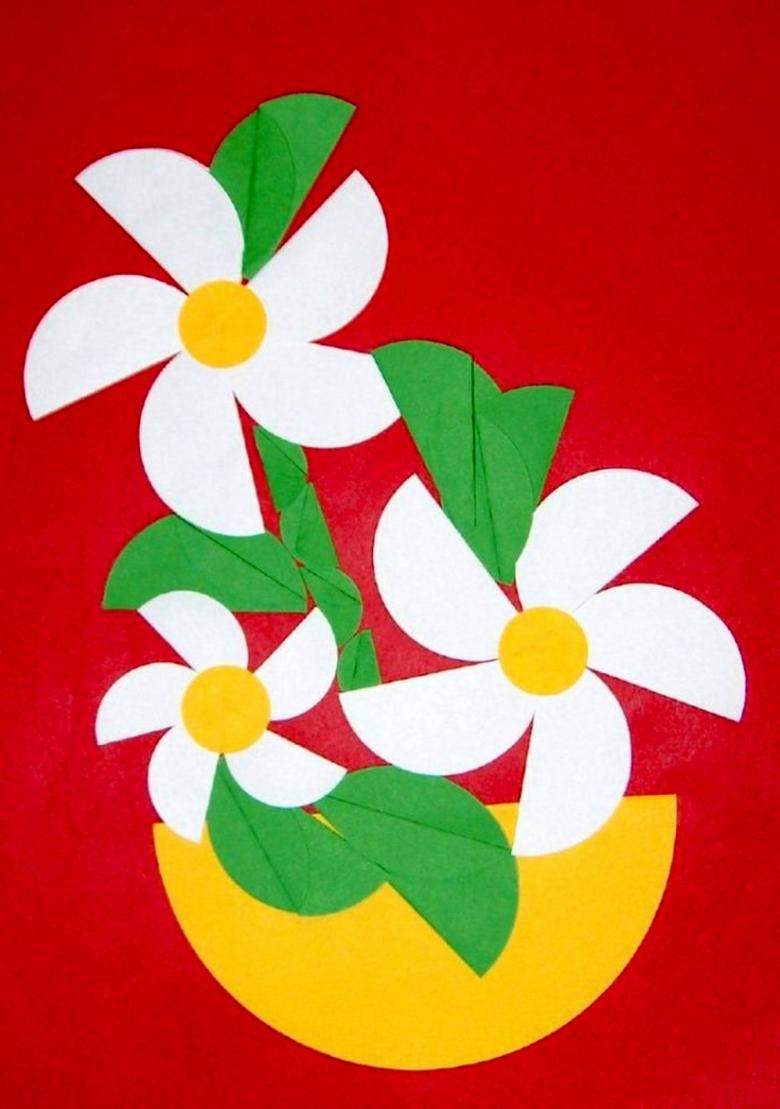
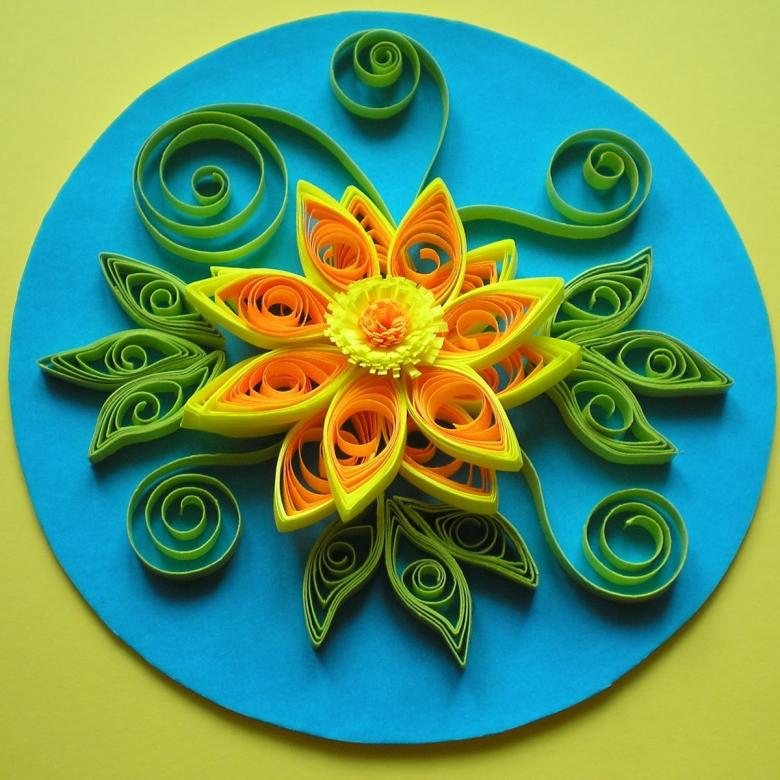
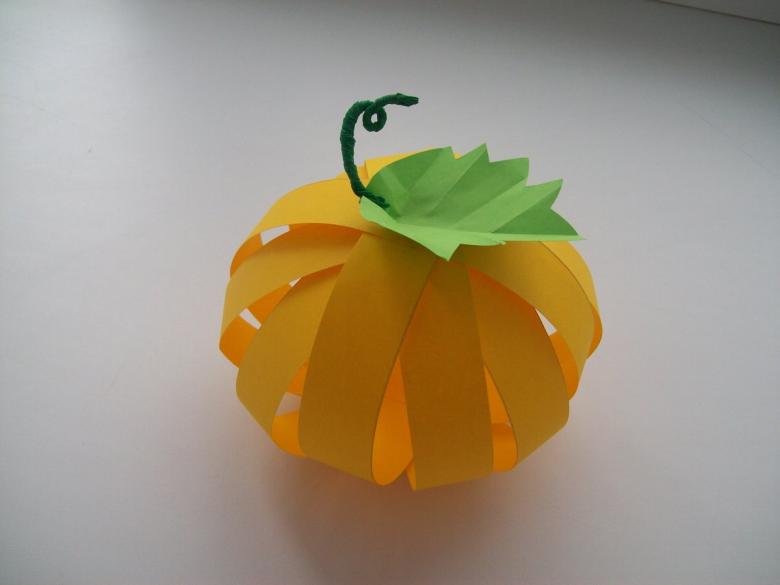
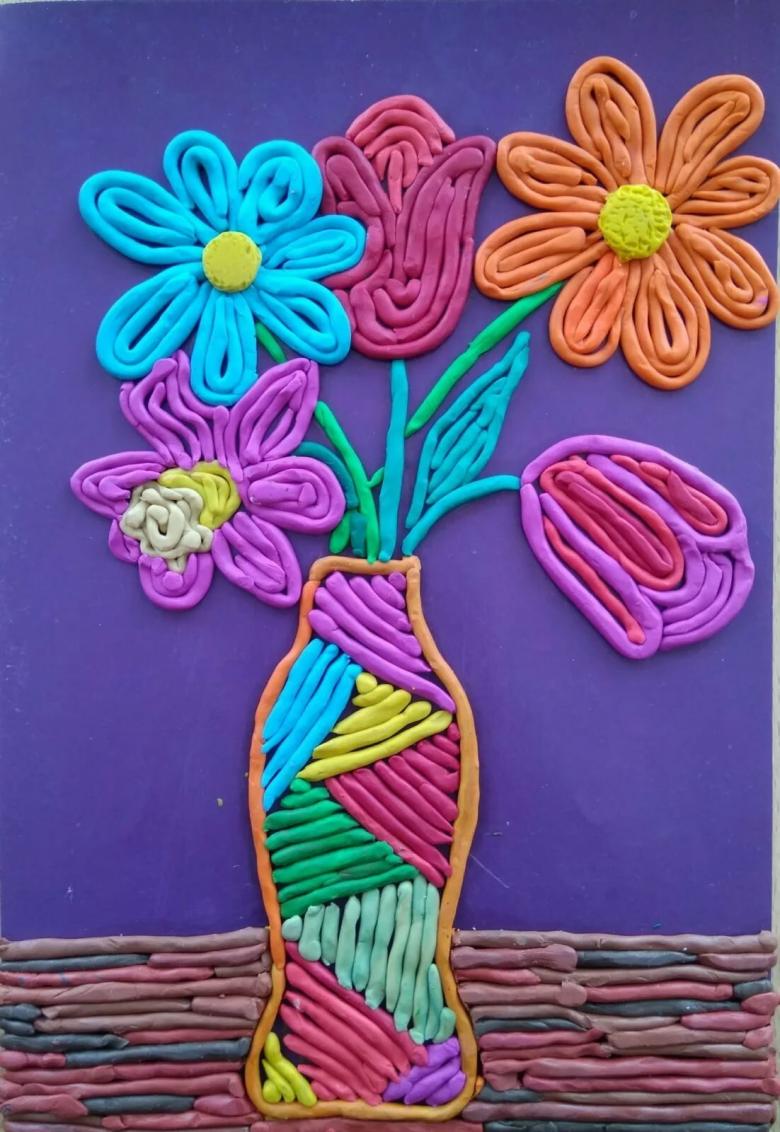
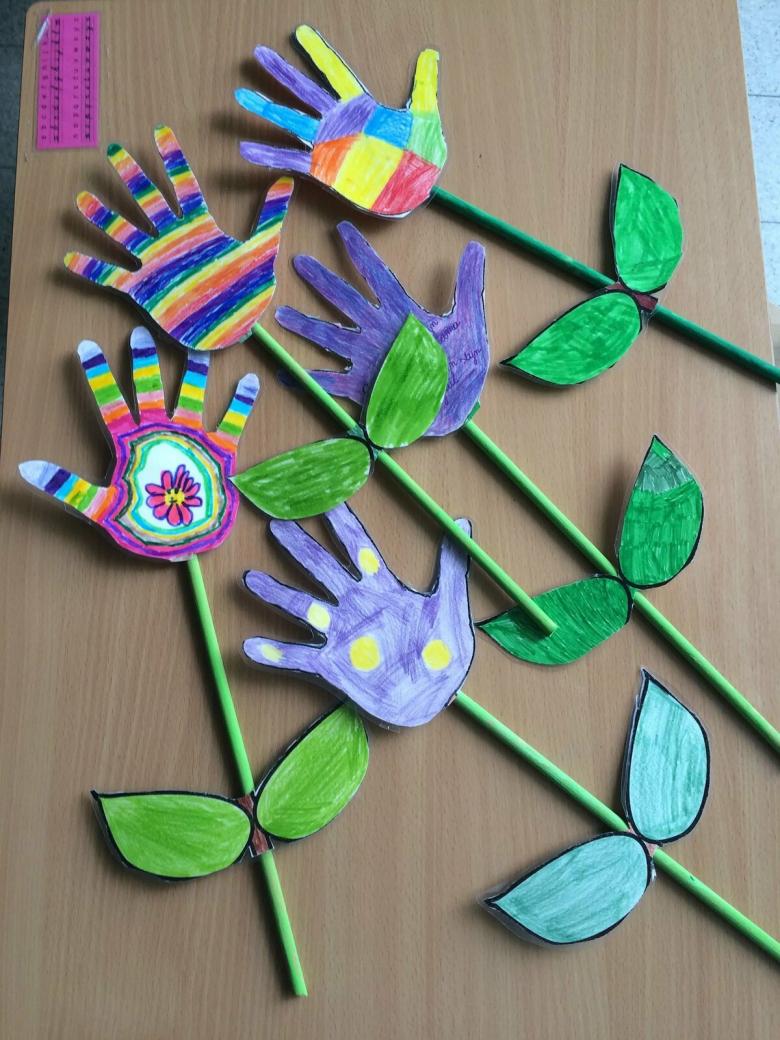
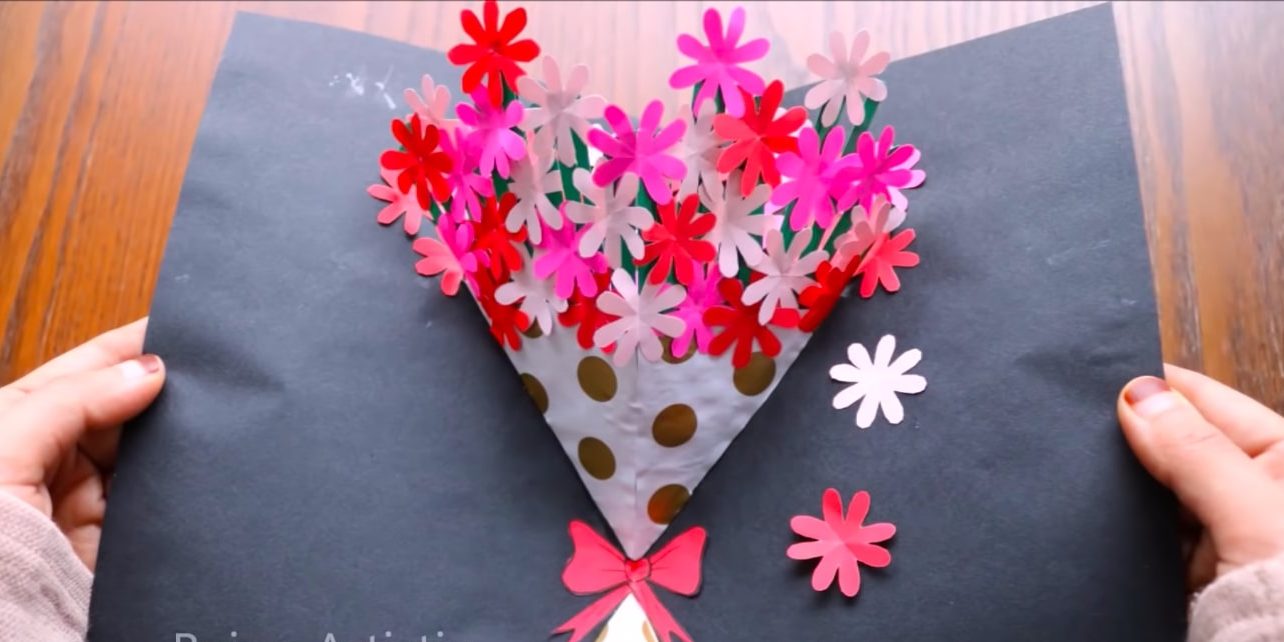
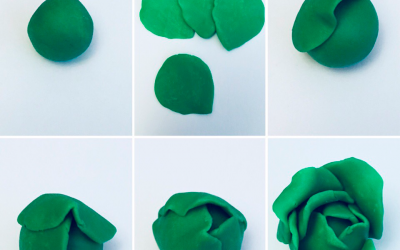
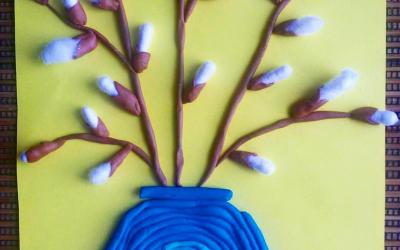
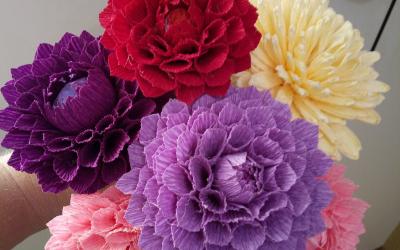
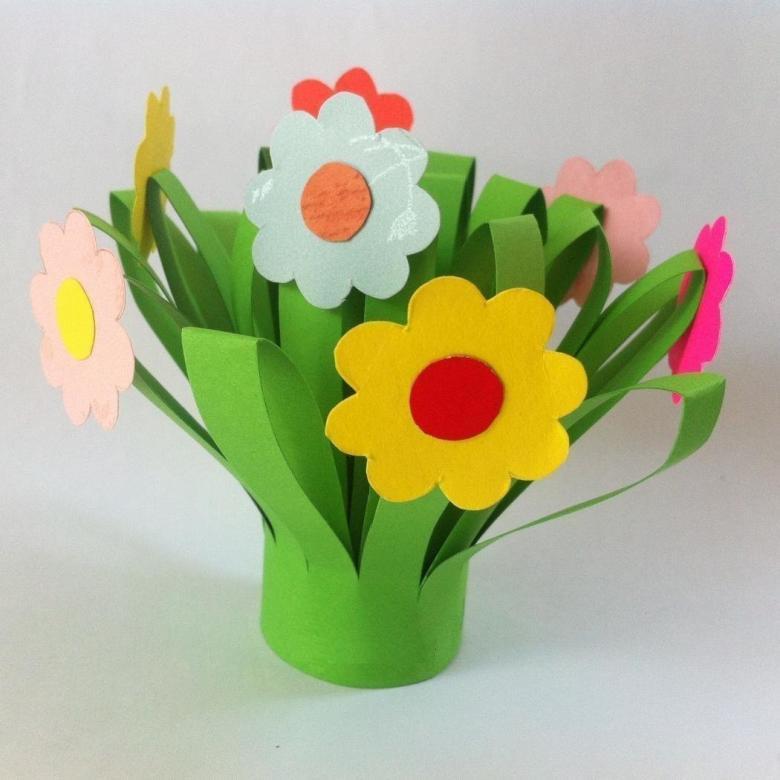
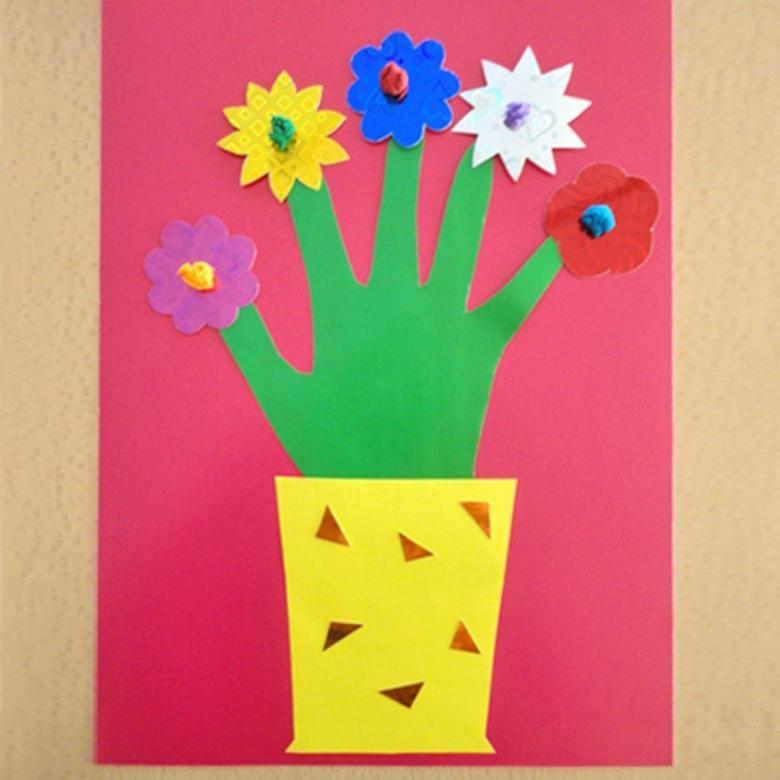
Vase with Flowers
- From blue cardboard cut out a vase with a stand.
- Glue flowers with leaves from corrugated paper.
- They are glued to the vase.
- Glue the paper blanks to make a three-dimensional flower.
- Flowers glued to cardboard vase.
- Decorate with green petals and tie with string.
Product for March 8 is ready!
With plasticine
Modelling evokes in children a lot of positive emotions. The process is absolutely safe. In the process of work is learning to think. In addition, imagination develops, learn the world around us - its fauna and flora.
Tools for crafts for grade 2 from plasticine are:
- Scissors.
- Beads.
- Frames for the basics.
- Rags.
- Tanks of water.
Most often illustrations by theme and riddles are used to realize creative ideas.
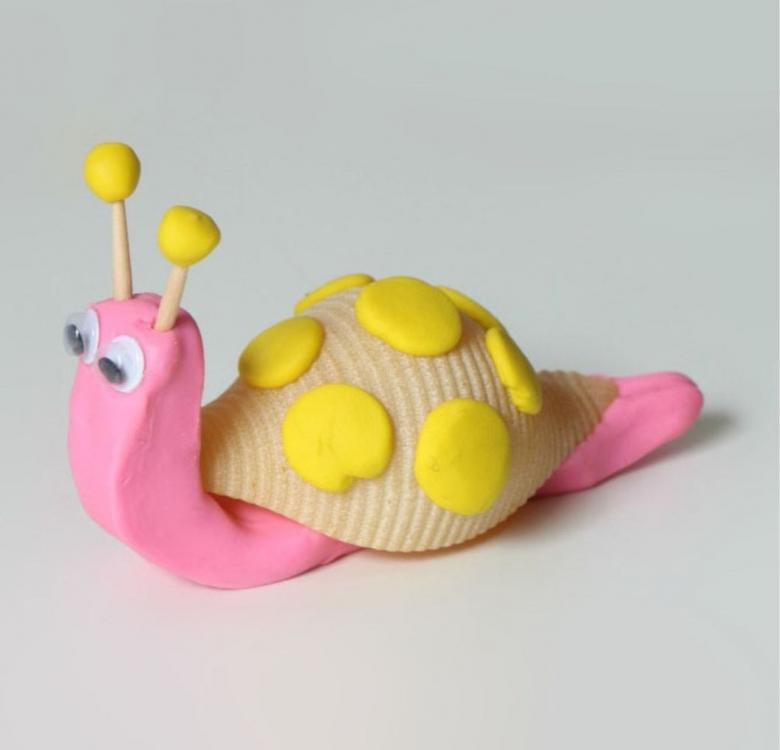
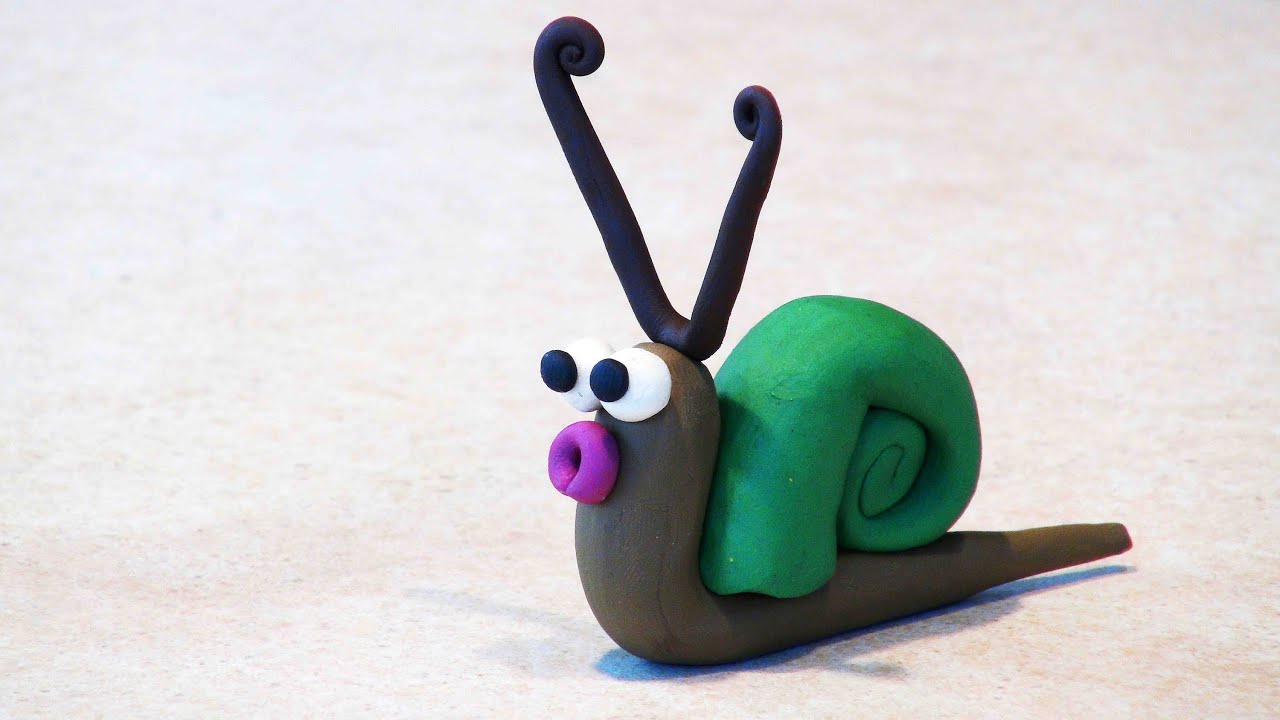
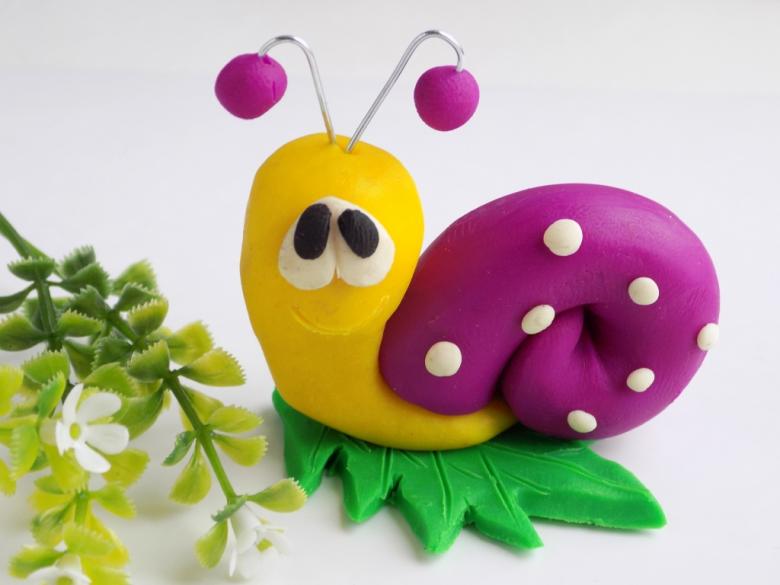
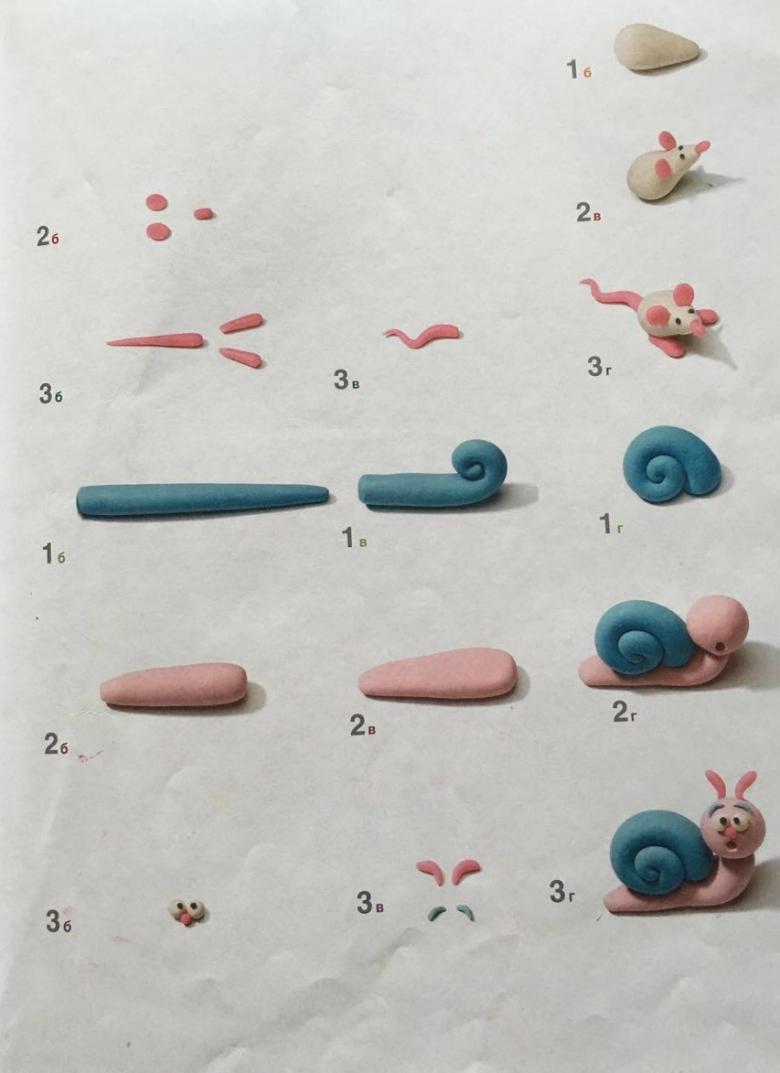
Snail .
The procedure is as follows:
- Roll 2 balls of orange and brown colors.
- Of the larger elongated sausage roll up a shell.
- The other part is made shorter but wider body, it bends at right angles. The base should be flattened.
- Combine the former shell and a flat billet.
- Made of white and black plasticine eyes are attached using a wire.
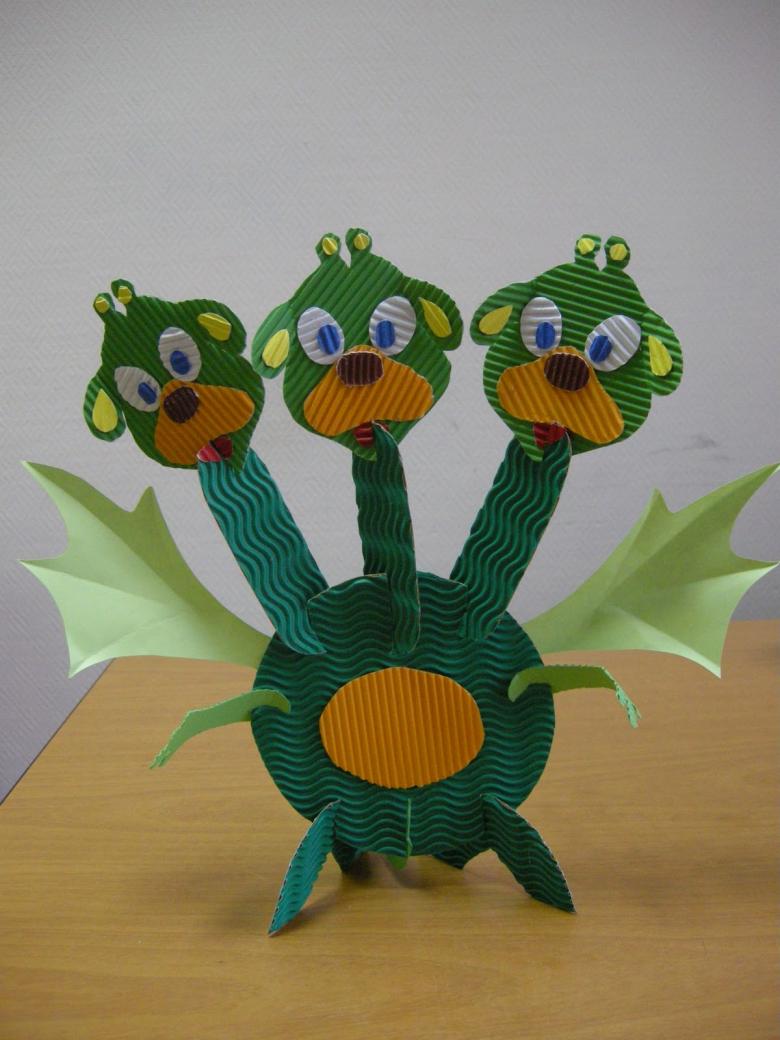
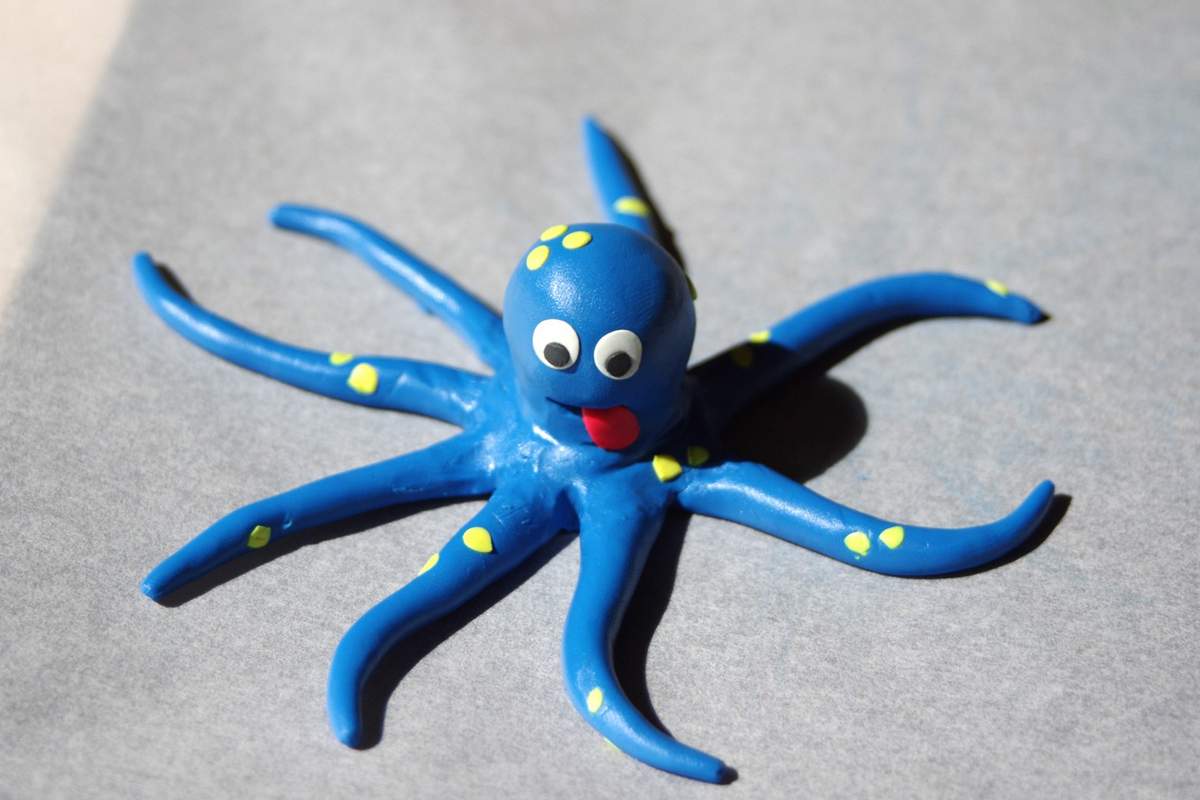
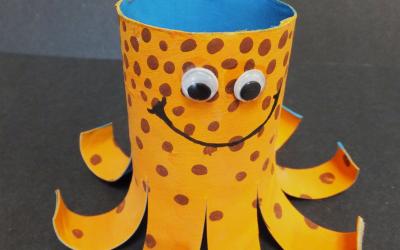
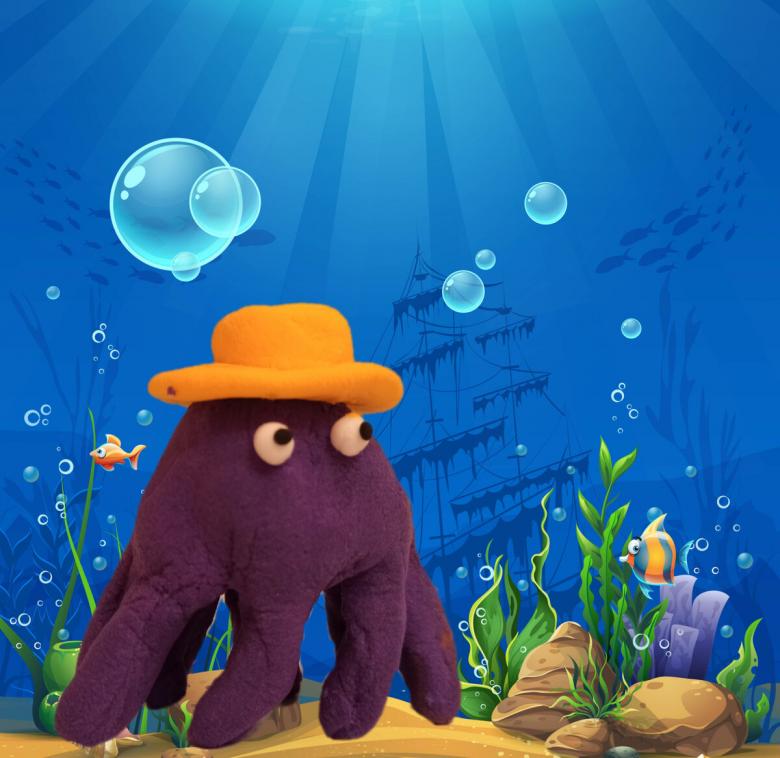
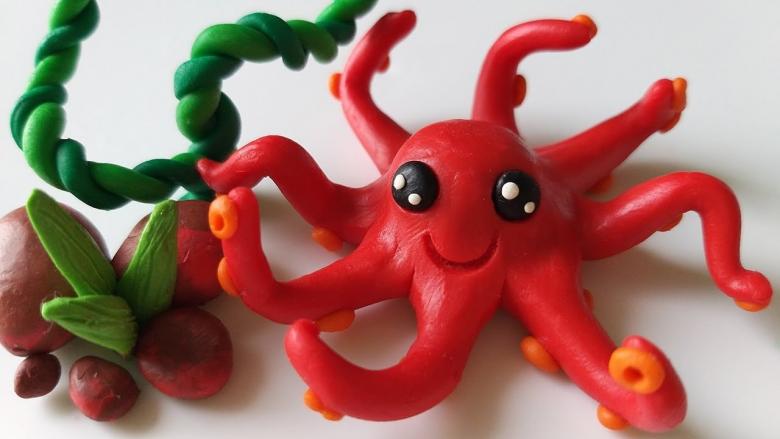
Octopus .
The algorithm of action is as follows:
- The molded bar is divided into 5 parts, 1 more than the rest.
- Shape balls.
- Of the 4 make 8 thin strips, which are intertwined to form a star with 8 ends.
- Darker colored dots are attached to the legs of the figures.
- To get the tentacles they are pierced.
- Large ball should be oblong in shape, a little wider at the top.
- Attach eyes and draw a mouth to the head.
- Snowflake made of tentacles turn over and attach a decorated top.
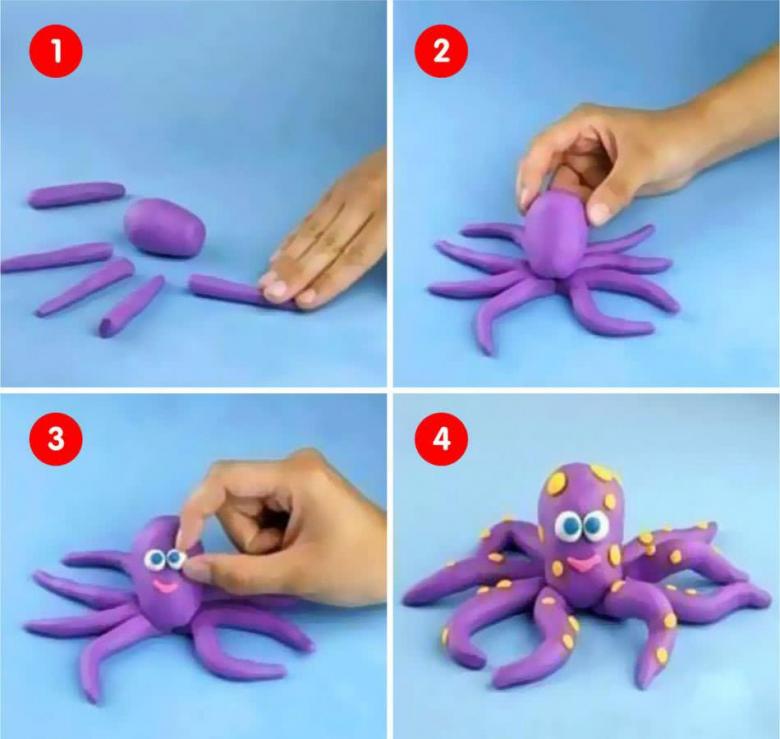
To make the product look plausible, bend the tentacles.
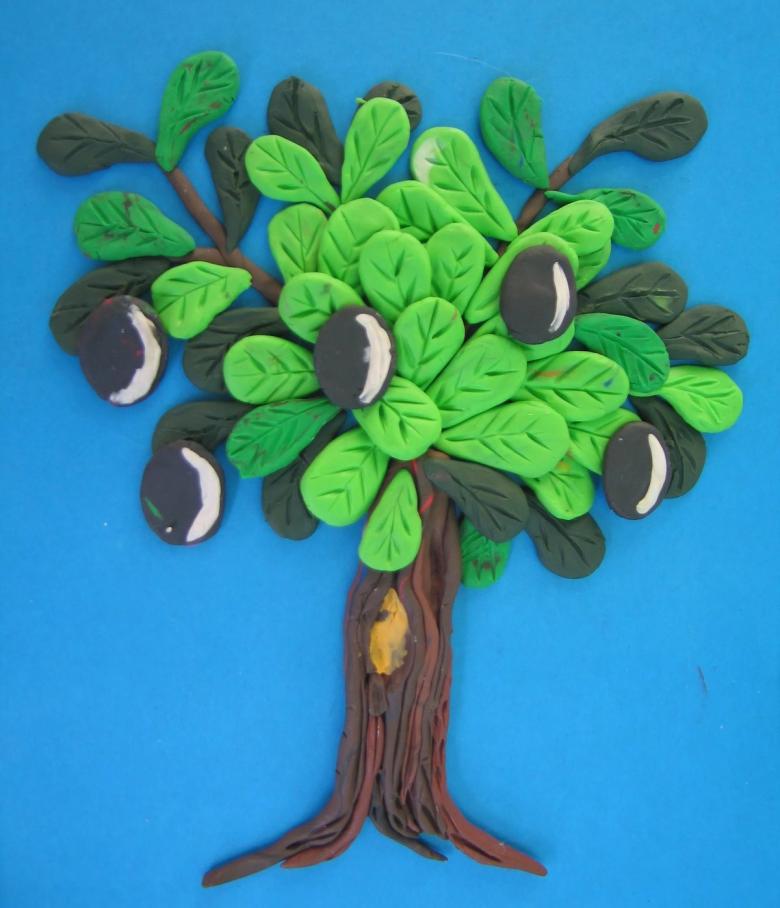
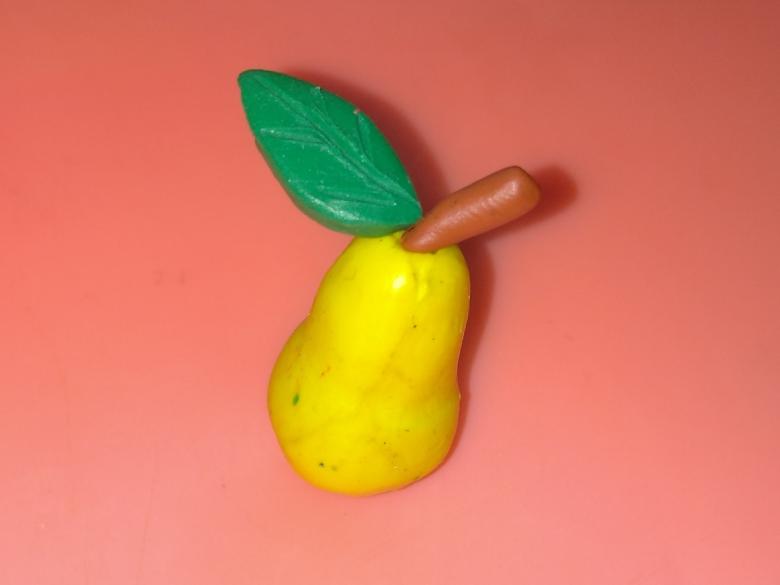
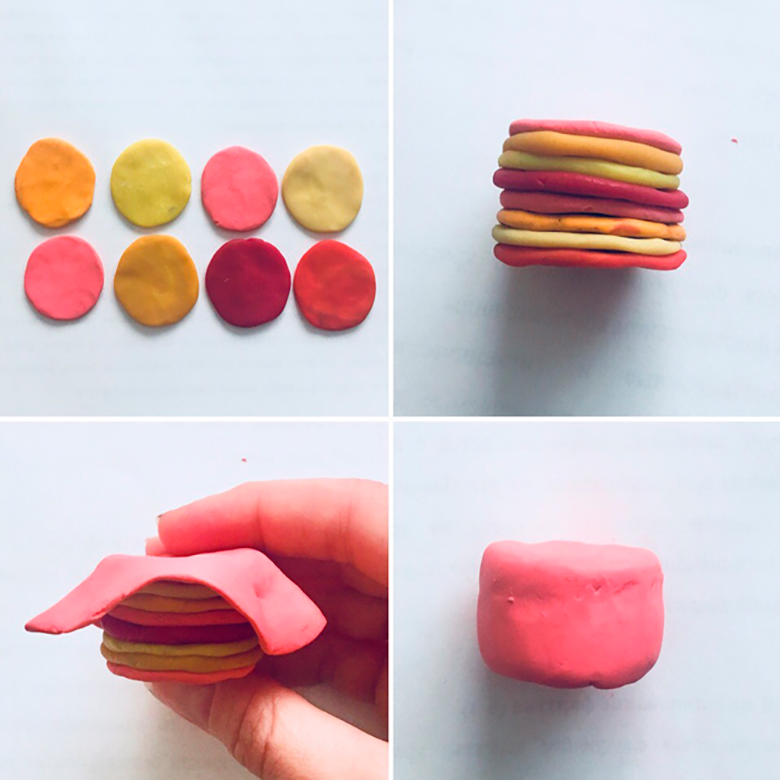
Pears .
- Take red, yellow, orange and green clay.
- Roll the flagellum.
- Weave and mix until balls of different shades.
- Give the shape of a pear.
- Attach a brown stalk and a green leaf to the narrow part.
Like any craft, modeling joins in the beauty!

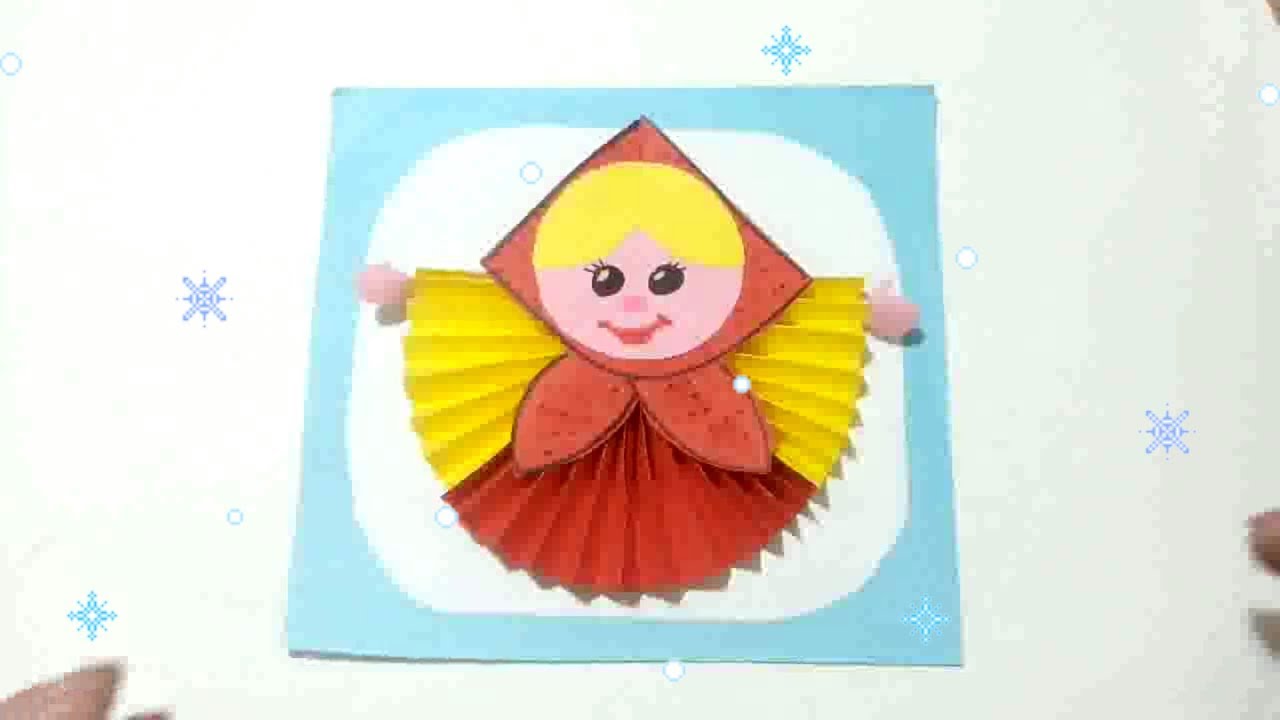
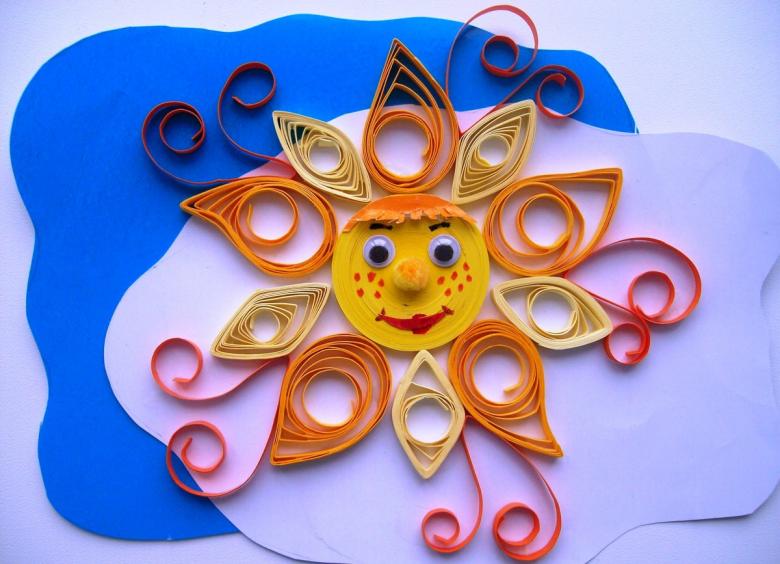
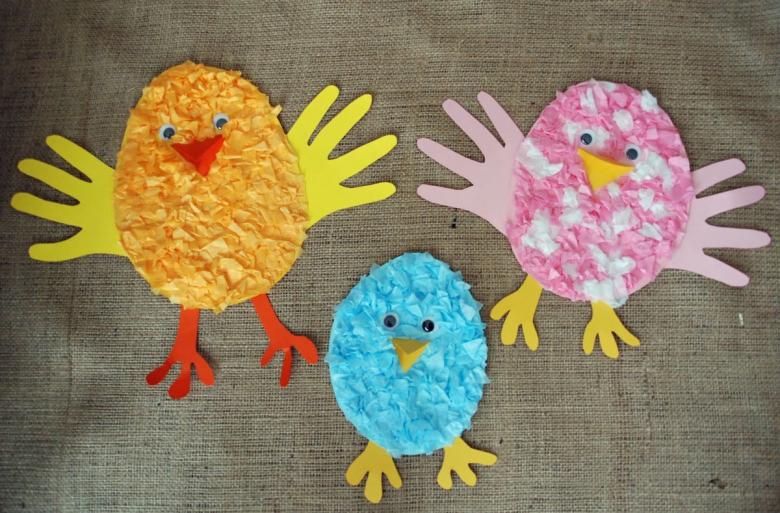
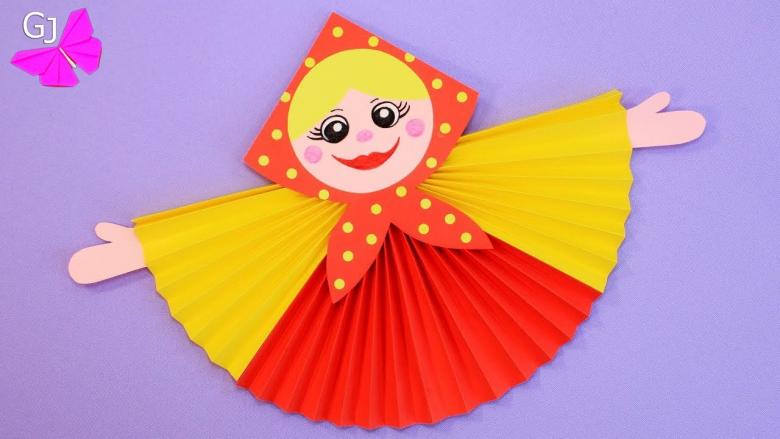
Shrovetide doll made of paper
On a folk holiday, which is known in Russia since ancient times, they organize fun, full of fun fairs, festivities in the streets. The Shrovetide always ends with the burning of a scarecrow, symbolizing the passing of the winter cold, hardships, sorrows, and the coming of spring.
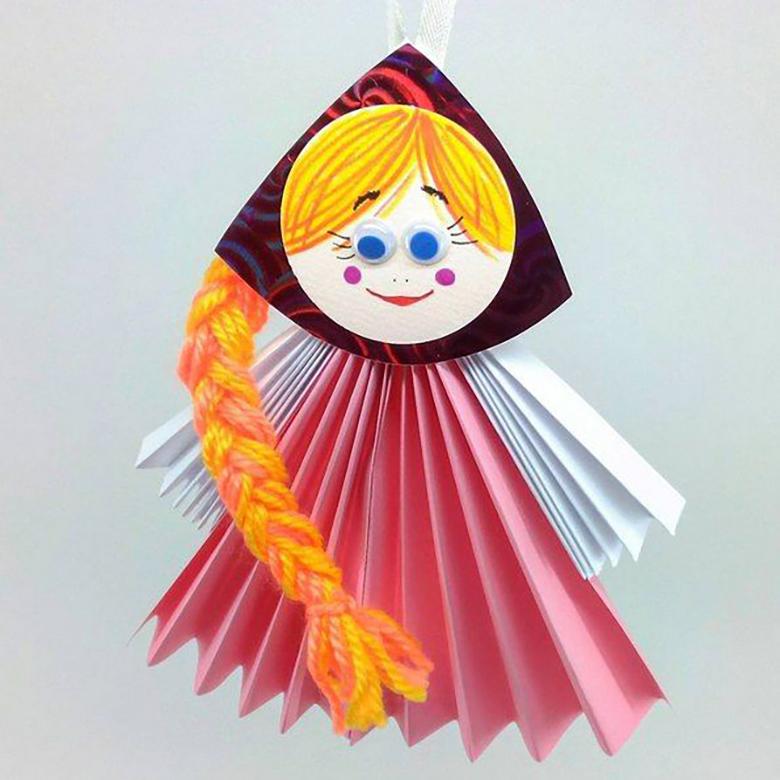
Traditionally pancakes are baked to symbolize the sun and a fertile harvest. Handmade Shrovetide crafts for the school for grade 2 are used as souvenirs, often sold at school fairs, or prizes for participating in games and competitions. Making a doll out of paper with your own hands is not difficult at all.
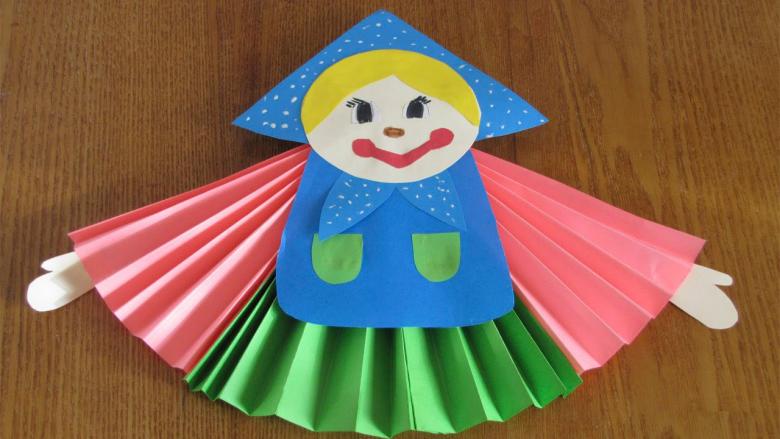
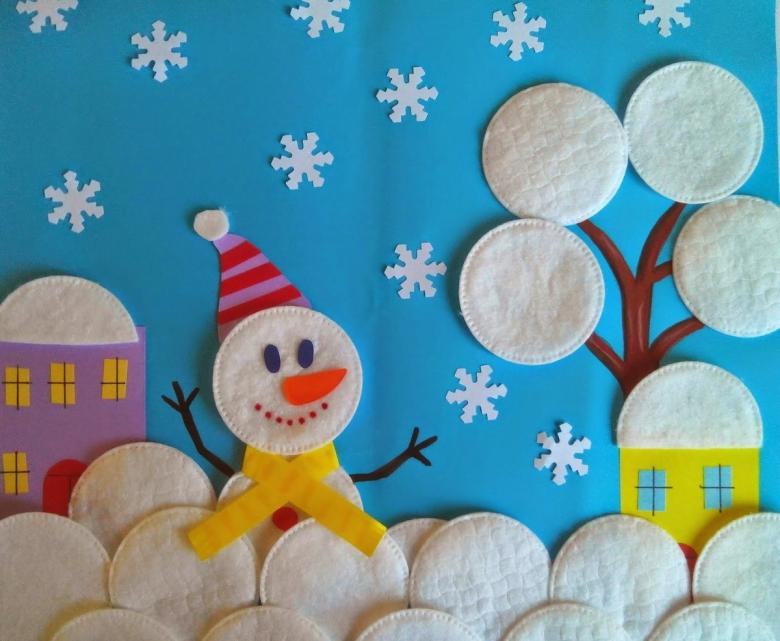
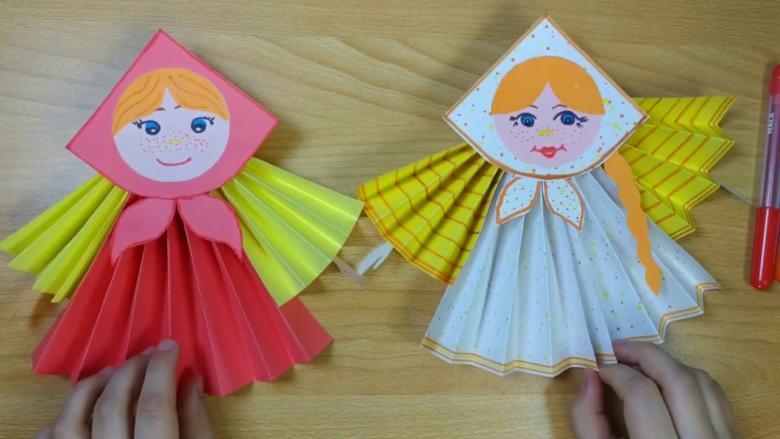
Step by step instructions
- From the green cardboard cut a circle.
- Also need a white square sheet of paper.
- Of the paper blank make a snowflake.
- Of the 2 square sheets of red and light-colored with a patterned fold accordion.
- Connect in such a way that the patterned sheet was between the red.
- Garmoshki fix glue.
- At the top of staple it with tape.
- Place on the base.
- Glued handkerchief and face.
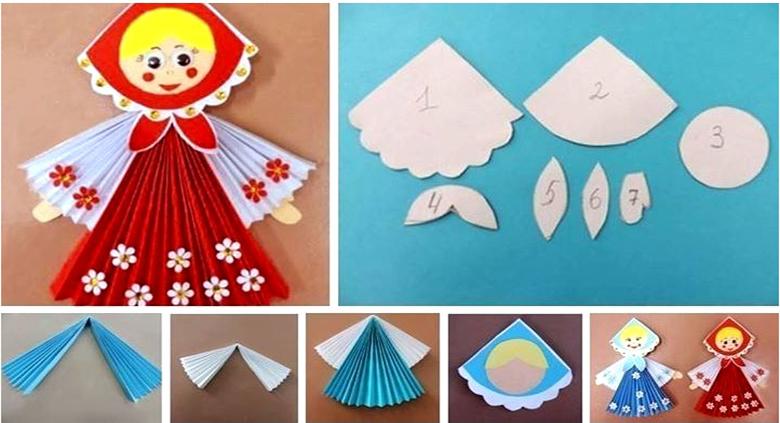
At the final stage, decorate with delicate spring flowers!
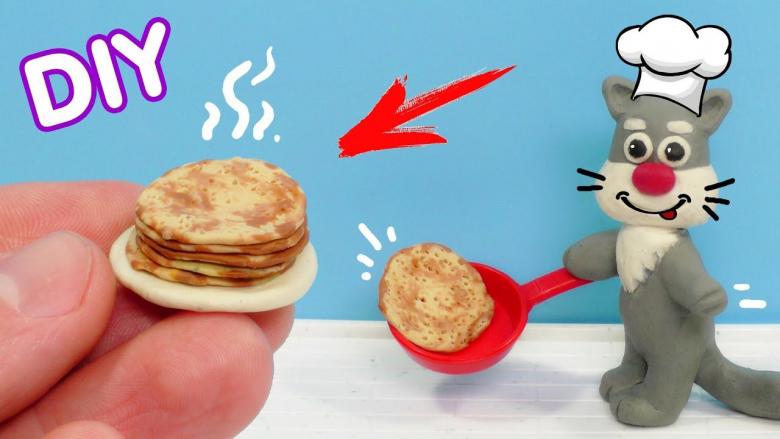
Pancakes of plasticine
Such a cute handicraft is sure to delight and create a festive mood. Order of work:
- Make a round tortilla, which will serve as a plate for a treat for Pancake Day.
- Another, smaller, of light brown plasticine, put in the center of the white circle - this is the 1st pancake.
- Similar pancakes are placed by the stack.
Completes crafts "Pancakes on a plate" gluing mouth and eyes!
Christmas tree of thread on a cone base
The cone shape is ideal for no less original handmade crafts. Cone crafts for children in grade 2 begin with the preparation of the base. With a circular on paper or cardboard, draw a circle, mark an area for cutting out. For accurate gluing of the workpiece, a few centimeters are left on the allowance.
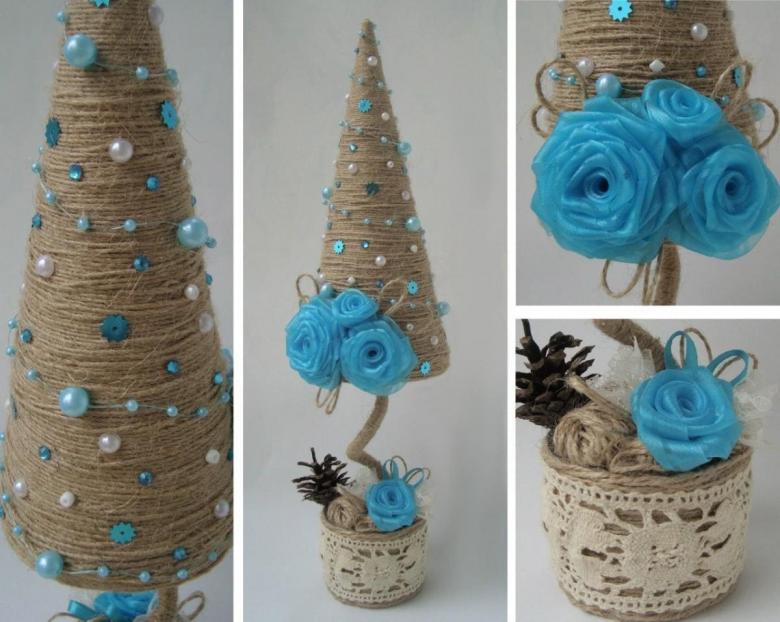
Step by step master class using woolen threads will help to make a Christmas tree, quite capable of replacing the real one. Prepare in advance: a cone and green thread of any density, PVA glue, a brush, a cellophane bag and additional decorations.
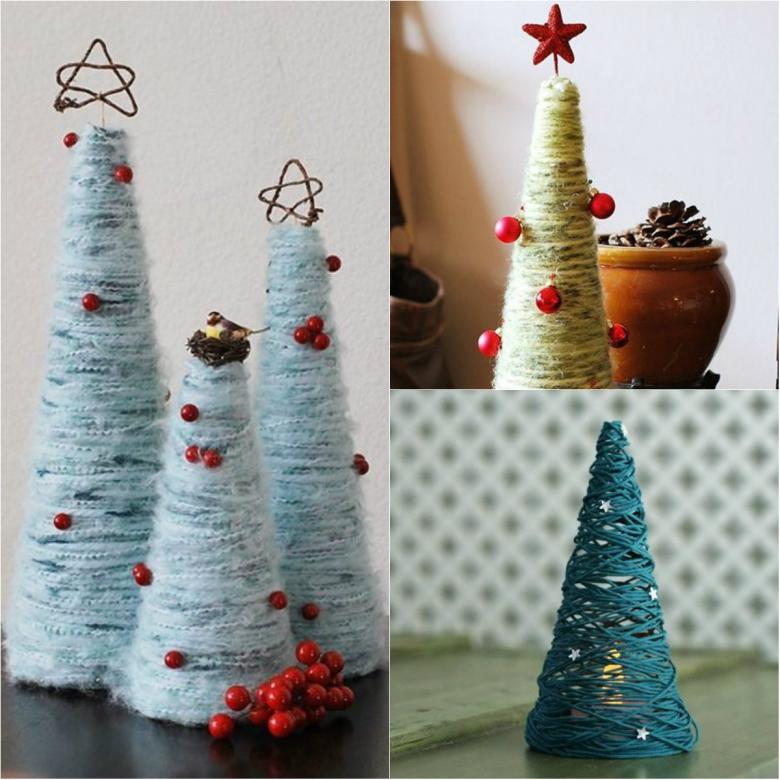
- Cone of cardboard or foam plastic wrapped in a bag for unhindered removal of the craft.
- Wrap a thread in 1 layer, apply glue.
- After drying, the procedure is repeated. Carefully watched for complete filling of the free space.
- When it dries well, gently turn it over and release it from the bag.
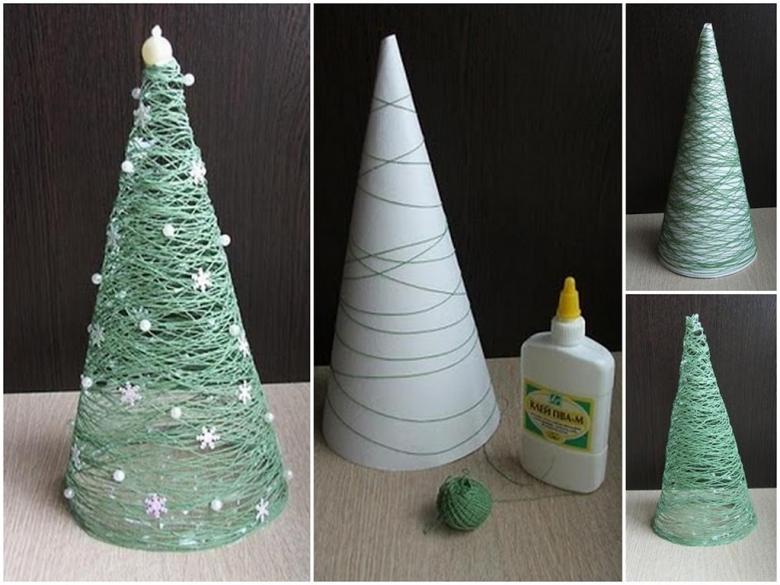
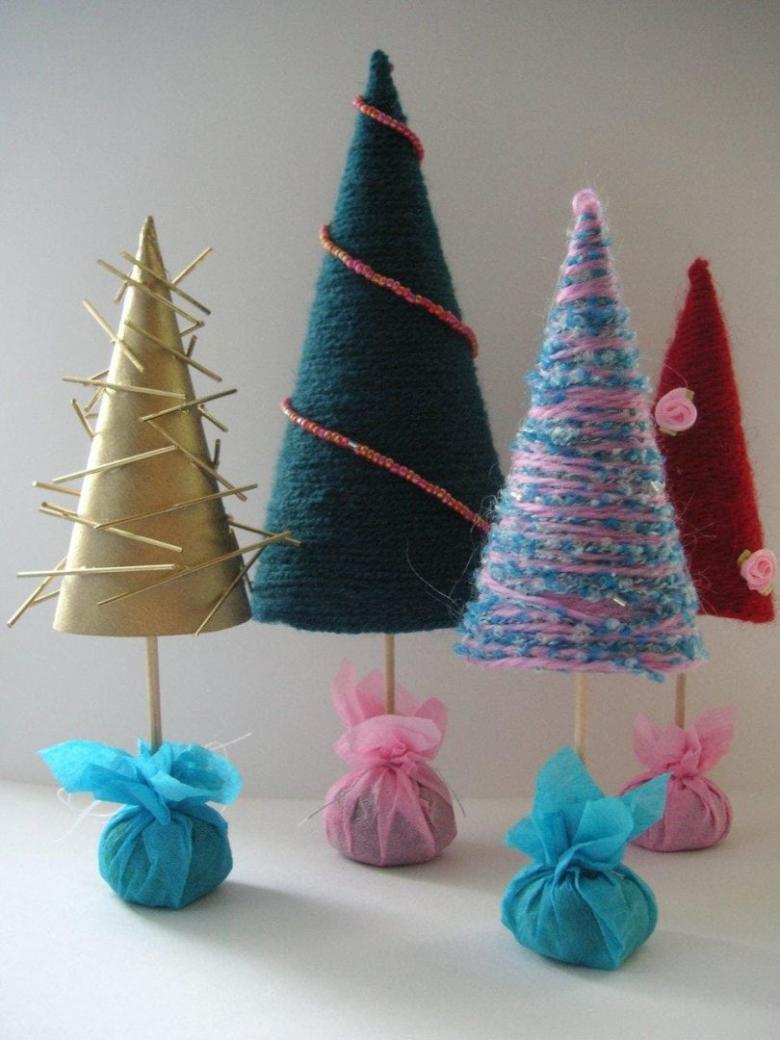
Thread Christmas tree is decorated with miniature toys, sequins, beads and placed in a room or on the holiday table.
It is important for children to realize how exciting it is to modify objects, to get positive emotions and approval from adults. The number of parts should not be excessive, and the finished crafts should be of practical use. It is better if they will be used or presented as a gift!
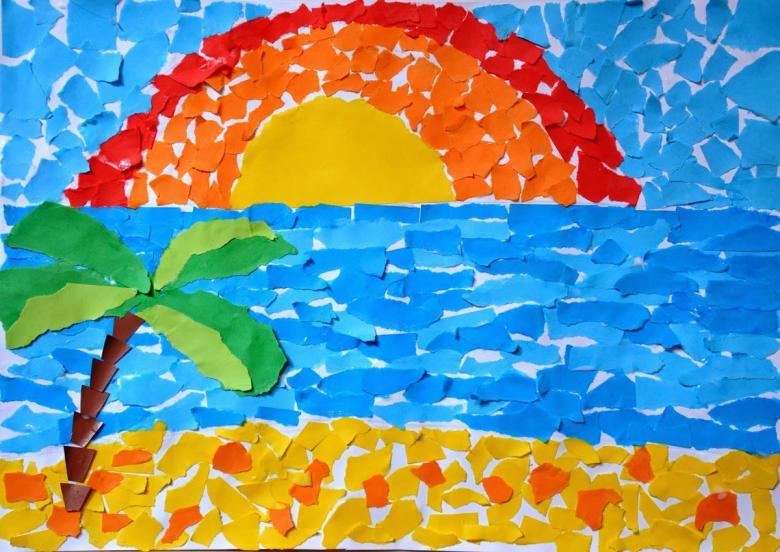
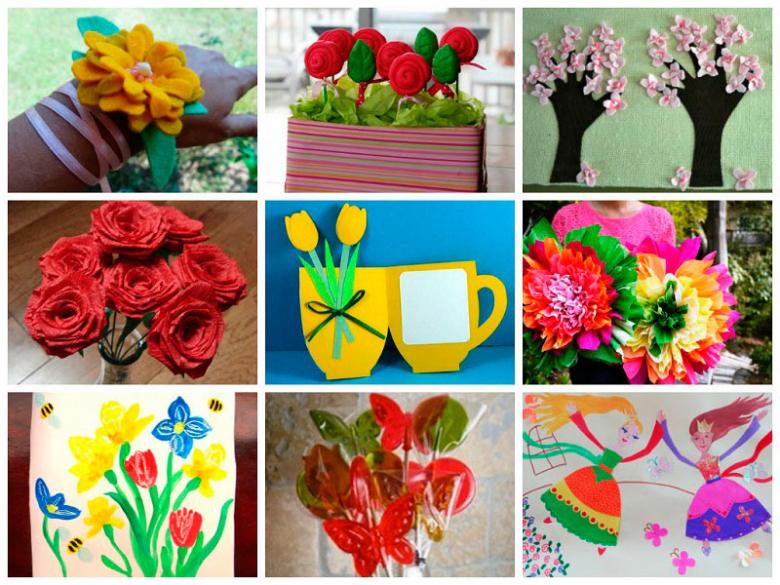
Photo ideas of homemade crafts for children of the 2nd grade