How to make an incubator at home - pros and cons, scheme and design steps, tools and materials
Poultry meat is of high nutritional value, easy to digest. And eggs are an excellent, useful product. The natural process of incubation of eggs by poultry is quite long and in the end several chicks appear.
Incubators are used to increase productivity. On the site you will find detailed descriptions of how to make an incubator with your own hands from improvised means, to always get fresh meat, eggs for yourself and for sale.
The device is a box with artificially created conditions for incubating eggs, as in poultry in natural conditions, and obtaining the young feathered birds.
Industrial models are expensive, so folk ingenuity has found many options for creating incubators with their own hands at home from a variety of materials, without investing much money.
You can choose a design from the proposed options, use the idea to implement your own project. Products are divided by the number of simultaneous laying into:
- Industrial. Have a capacity of up to several thousand;
- Farmers, with a bookmark of 1,000 eggs;
- Household, designed for 30-150 chicks.
The main differences consist in the automation of the brooding process. This includes regulation of temperature, lighting, and humidification. Devices designed for a large number of eggs are equipped with automatic sensors that monitor the condition inside the devices.
Advantages of homemade designs
Homemade incubators stand out for a number of positive points:
- Designed for local conditions, taking into account the climate and peculiarities of the structure;
- The possibility of assembling from available materials, according to their own measurements;
- They are characterized by economical power consumption;
- Reliability in use;
- Capacity. Some designs for home use incubate several hundred eggs at a time;
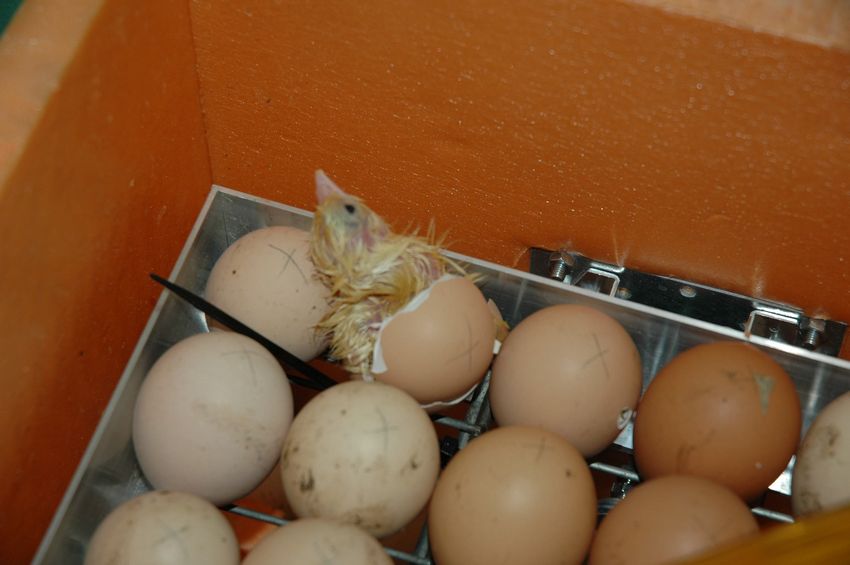
- The survival rate in such containers is 90%. The chicks do not differ in any way from those incubated under the hen;
- The versatility of the device allows to get birds of different breeds, including exotic (chicken, geese, parrots, ostriches).
Minuses in the use of devices
The negative side of manufacturing can be the need to mount a large number of additional parts, which can not be done independently (sensors, thermometers, automatic regulators).
Uncontrolled surges of vital parameters are possible and will lead to the death of the young (fire, increased temperature, decreased humidity).
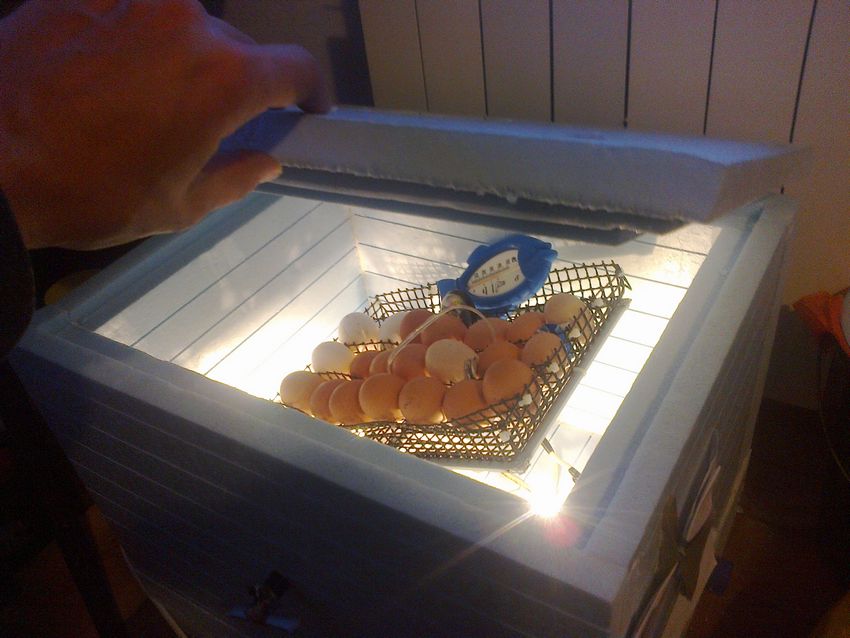
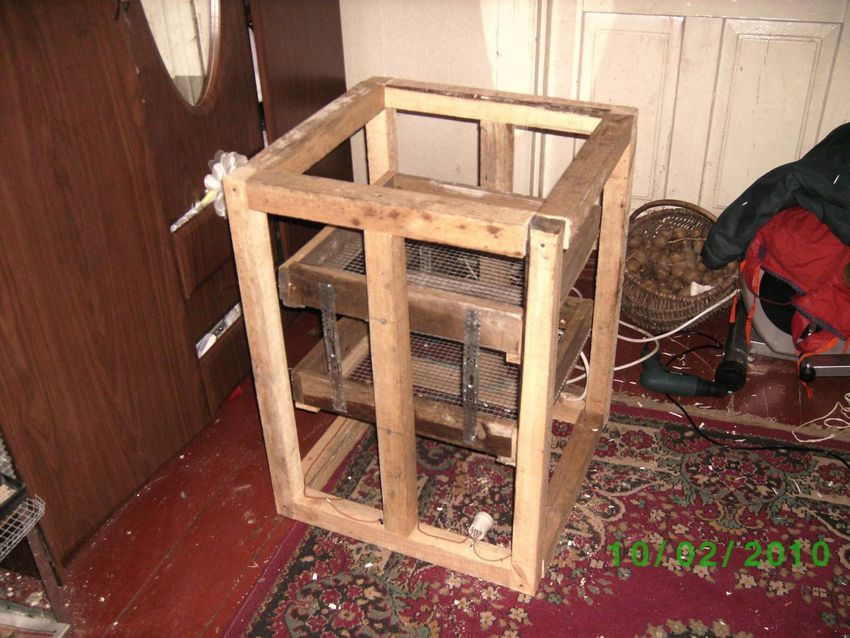
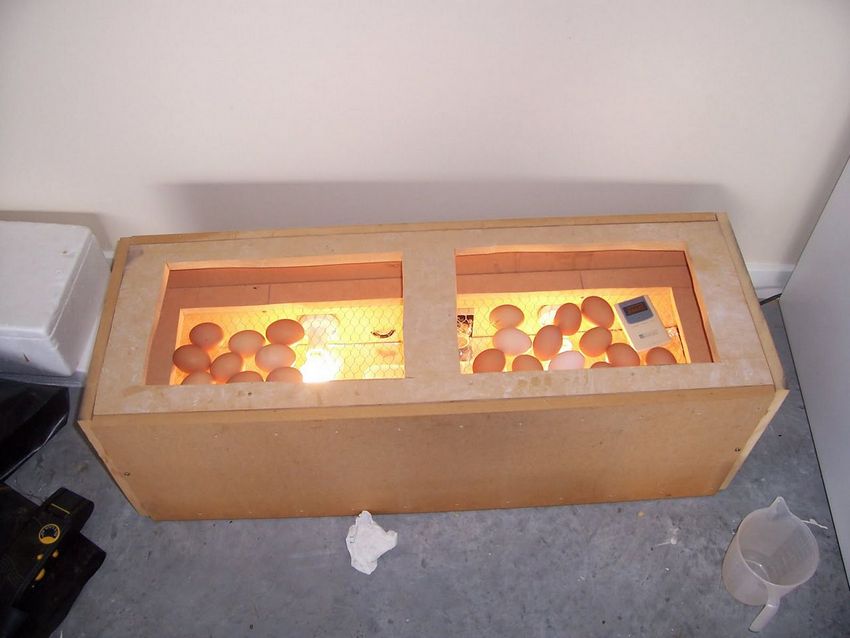
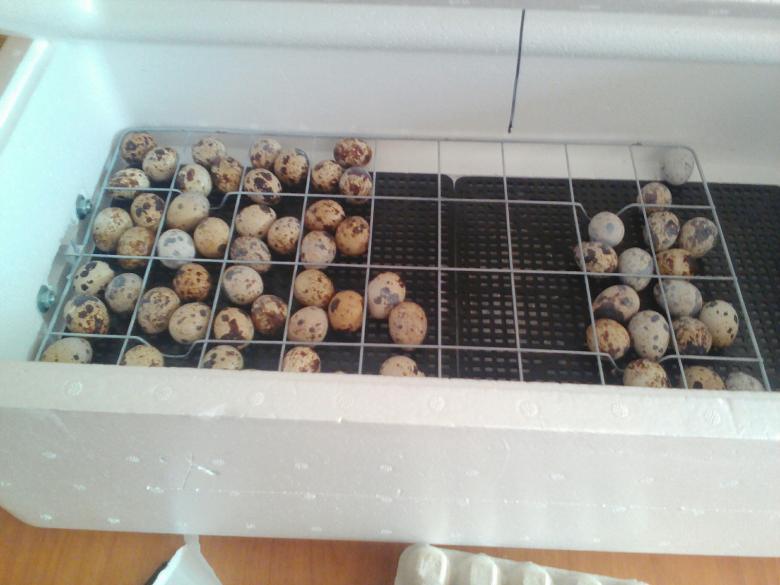
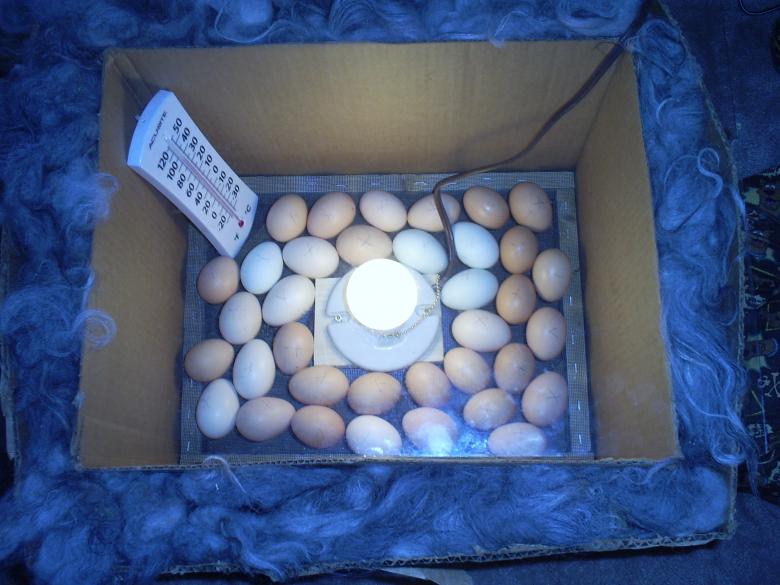
The size of the incubator is determined by the number of laying at one time, the thickness of the material. For 70 hen eggs is mounted box 450h400 mm. This also holds 40 goose eggs and 55 duck eggs.
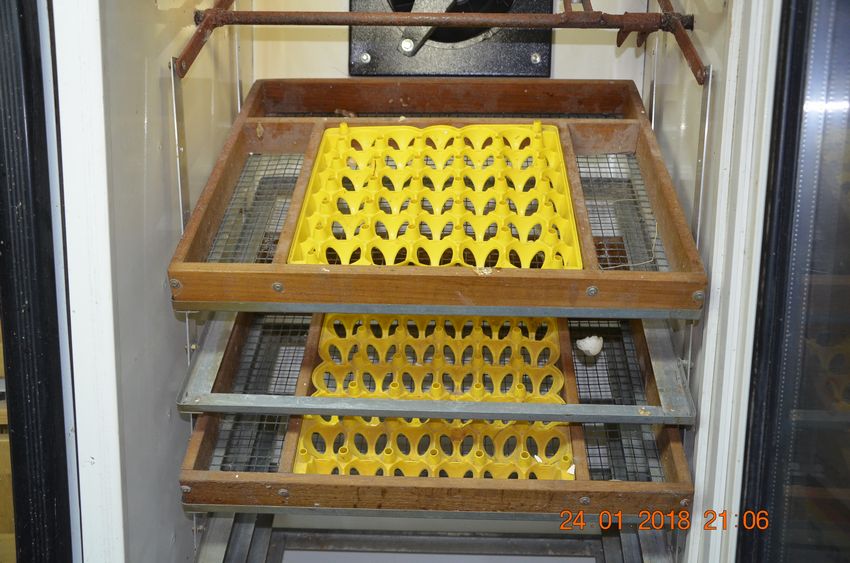
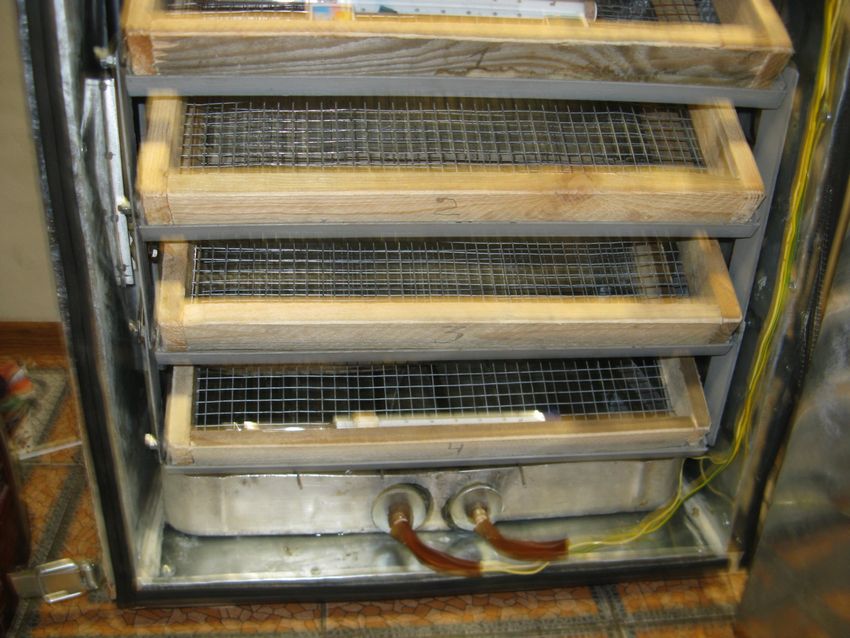
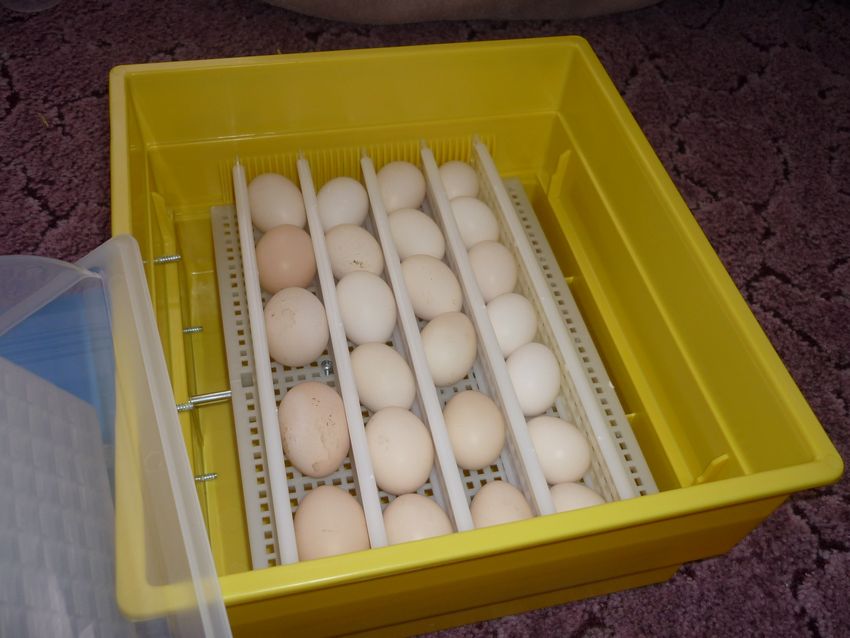
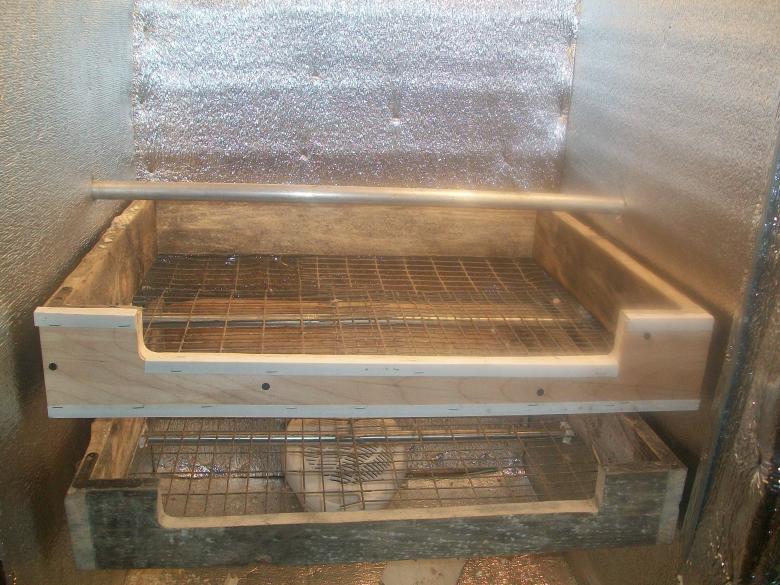
The heating system also takes a large volume, which affects the final size of the device. Often use boxes for 100 eggs measuring 60x60 cm and weighing about 3 kg. Nets have a mesh structure of 45x45 mm for storing eggs separately from each other and heating evenly.
It is possible to lay several nets at a distance of 6-8 cm, but then the size of the box increases. The same incubator can be used for incubating different categories of chicks, you just need to have replacement nets.
Features of operation
Before you begin assembling the unit, you should read the instructions for construction carefully to keep all brooding conditions as close to natural as possible.
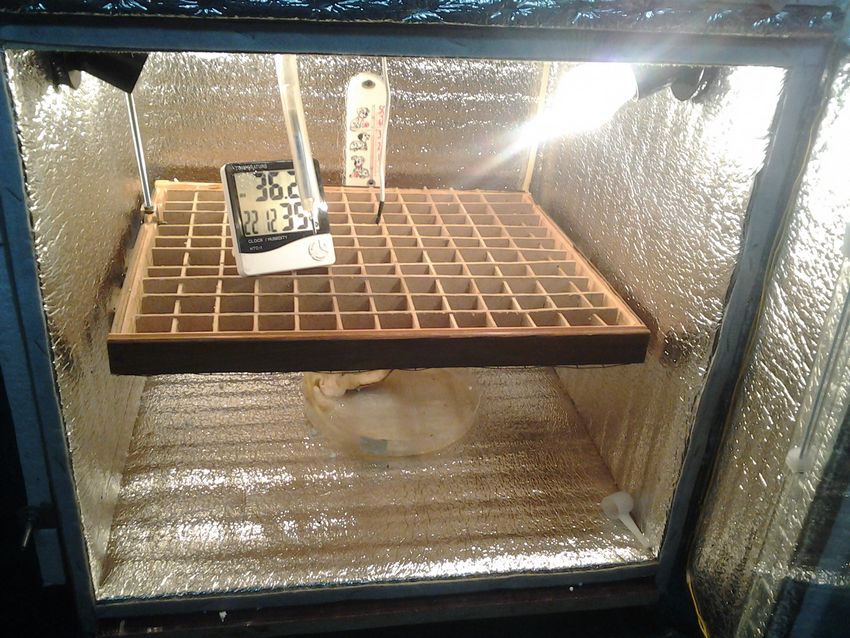
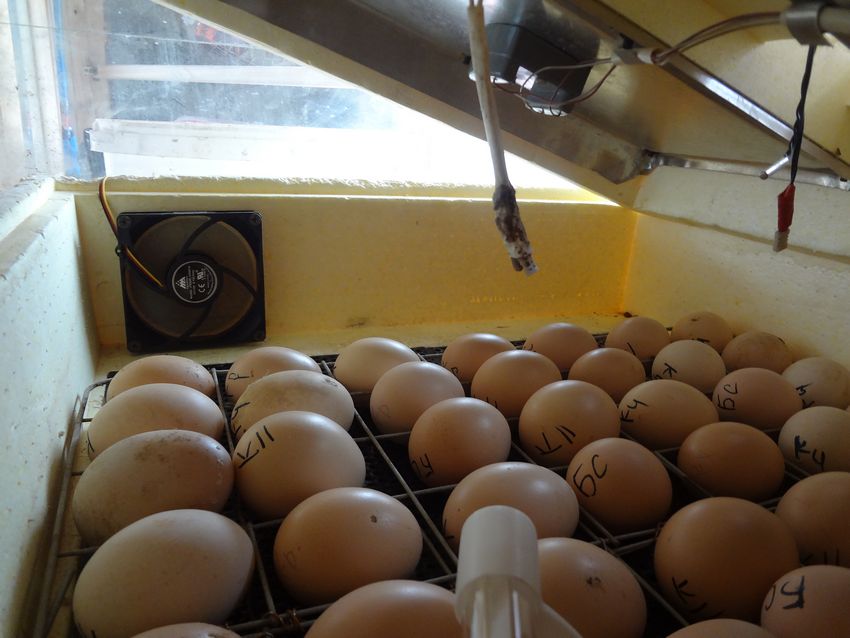
The most important factors are: maintaining humidity levels and temperature. In nature the brooder periodically gets up from the perch, which provides ventilation, thermoregulation; it turns the eggs with its paws, which allows them to warm evenly. Heating takes place at a constant temperature of 37,1-39 degrees Celsius (different species of birds require different environment).
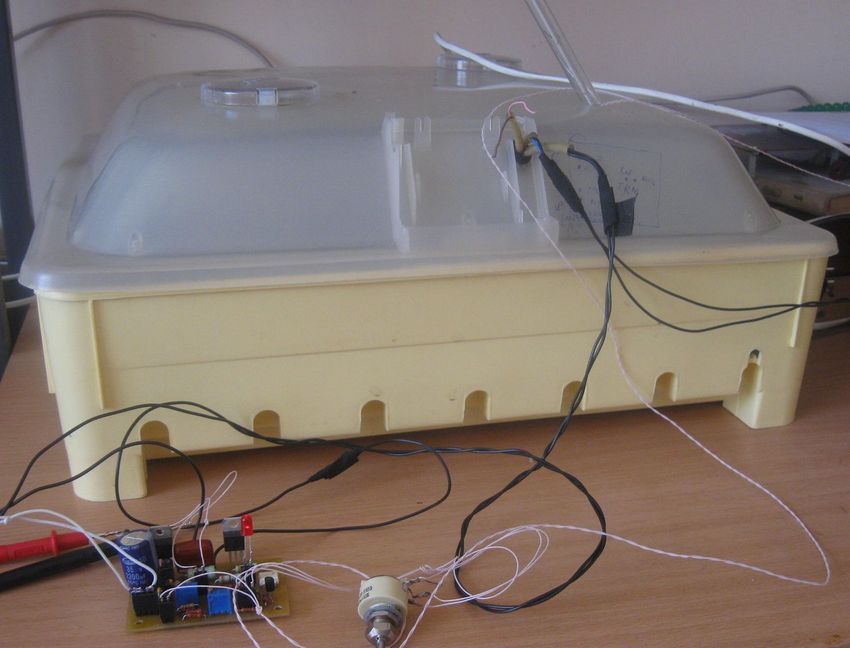
It is necessary to provide for the possibility of changing the temperature regime, because in the first days of brooding there is maximum warming. How to assemble a thermoregulator for an incubator with your own hands can be found on the website with detailed schemes and descriptions.
It is not allowed to under or overheat the eggs, because there is a slowing of embryo development or chicks die.
The humidity level is maintained at 40-60%, increasing to 80% just before hatching. The humidity is lowered to 60% for the selection of young animals. The presence of an automatic control sensor is necessary when setting up an incubator.
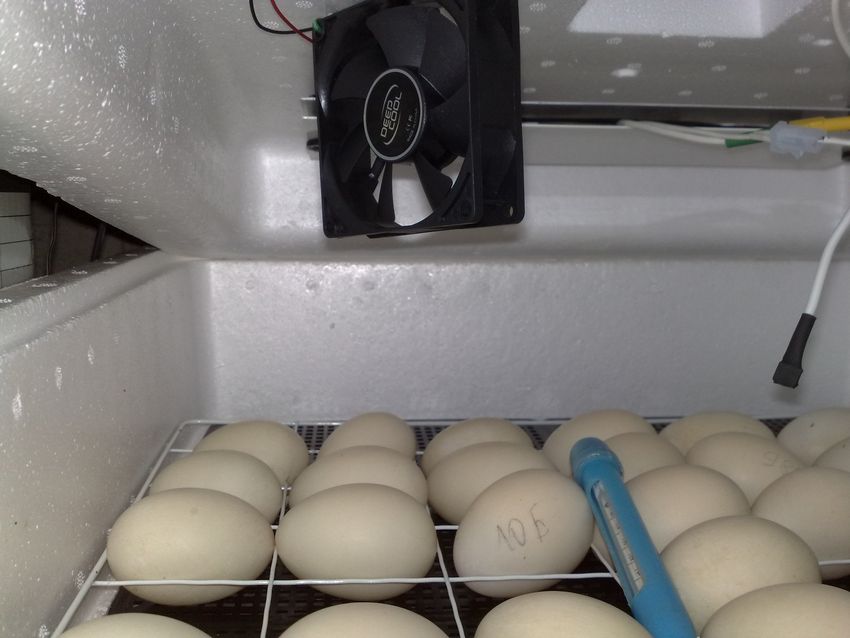
An obligatory factor would be to equip the device with a ventilation system that ensures air movement with a speed of 5-6 m/sec. Too powerful flow will dry out the shell, making it too strong, and will prevent the emergence of chicks.
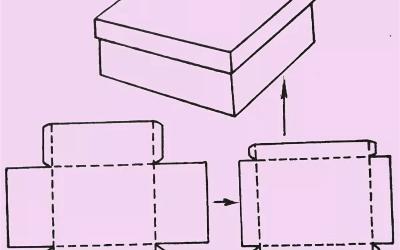
In order for the homemade device to be as effective as possible, an algorithm for design has been developed:
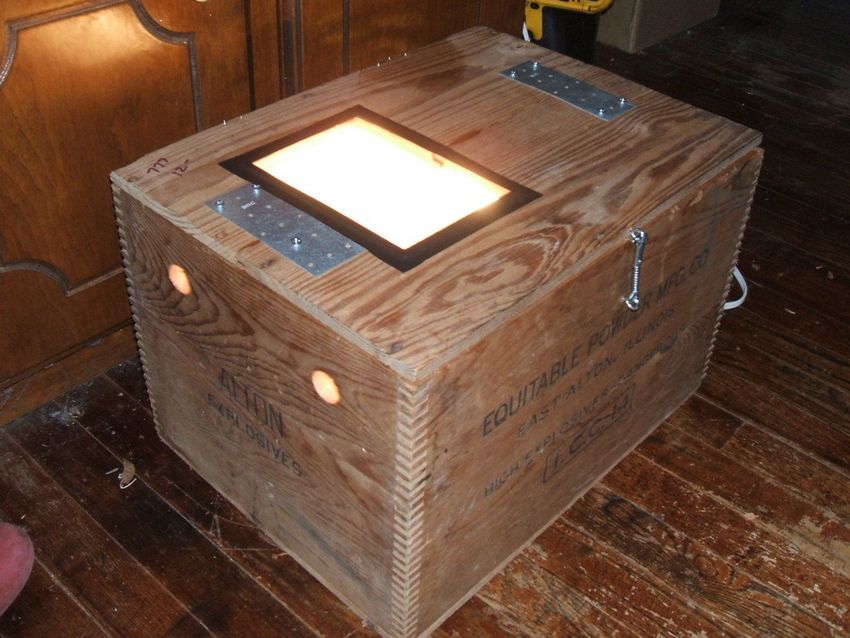
- Clean material without traces of mold, fungus, paint is used to make the outer box;
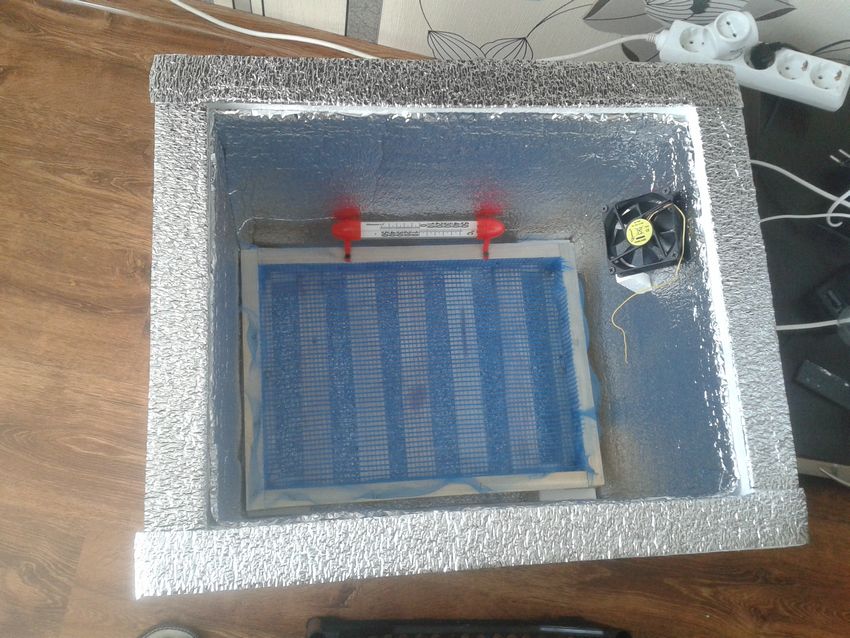
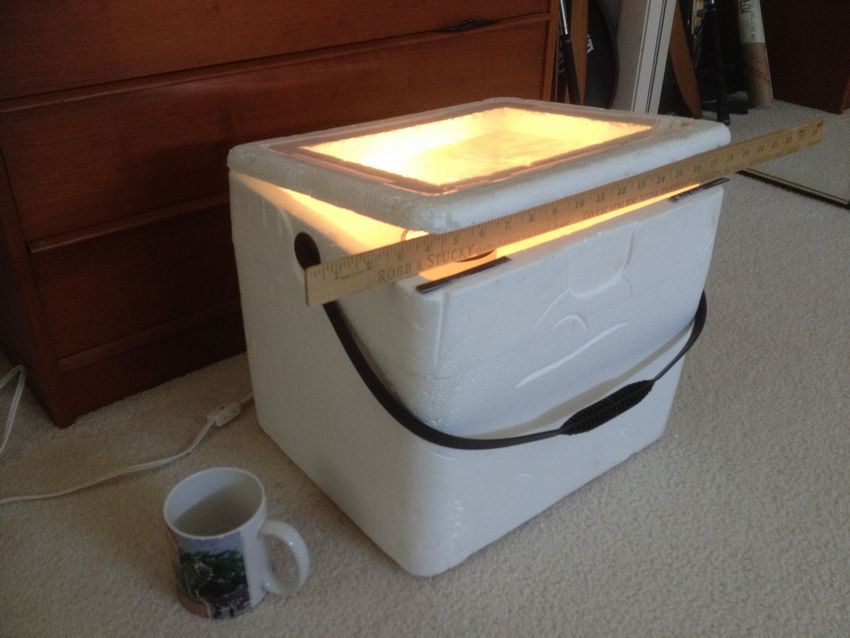
- The box must be hermetically insulated to avoid heat leakage;
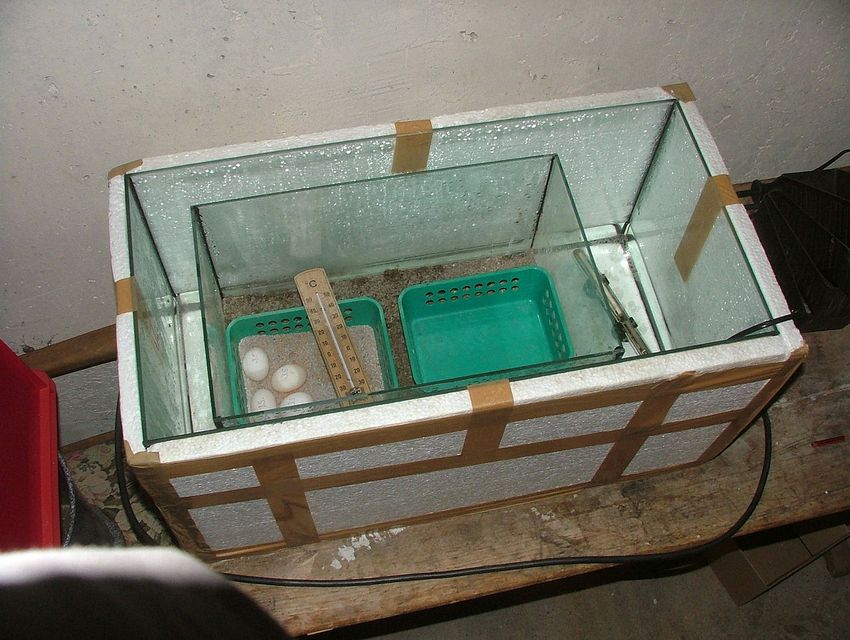
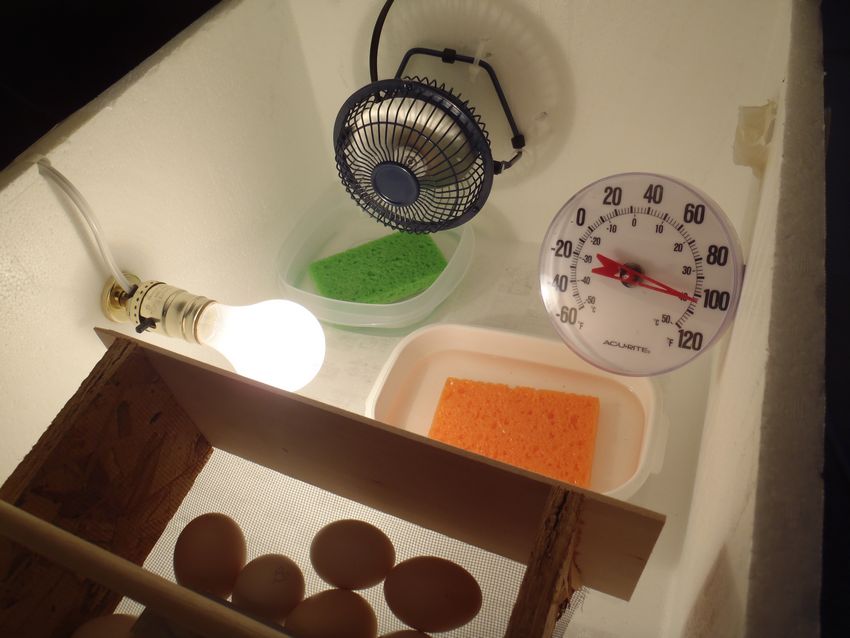
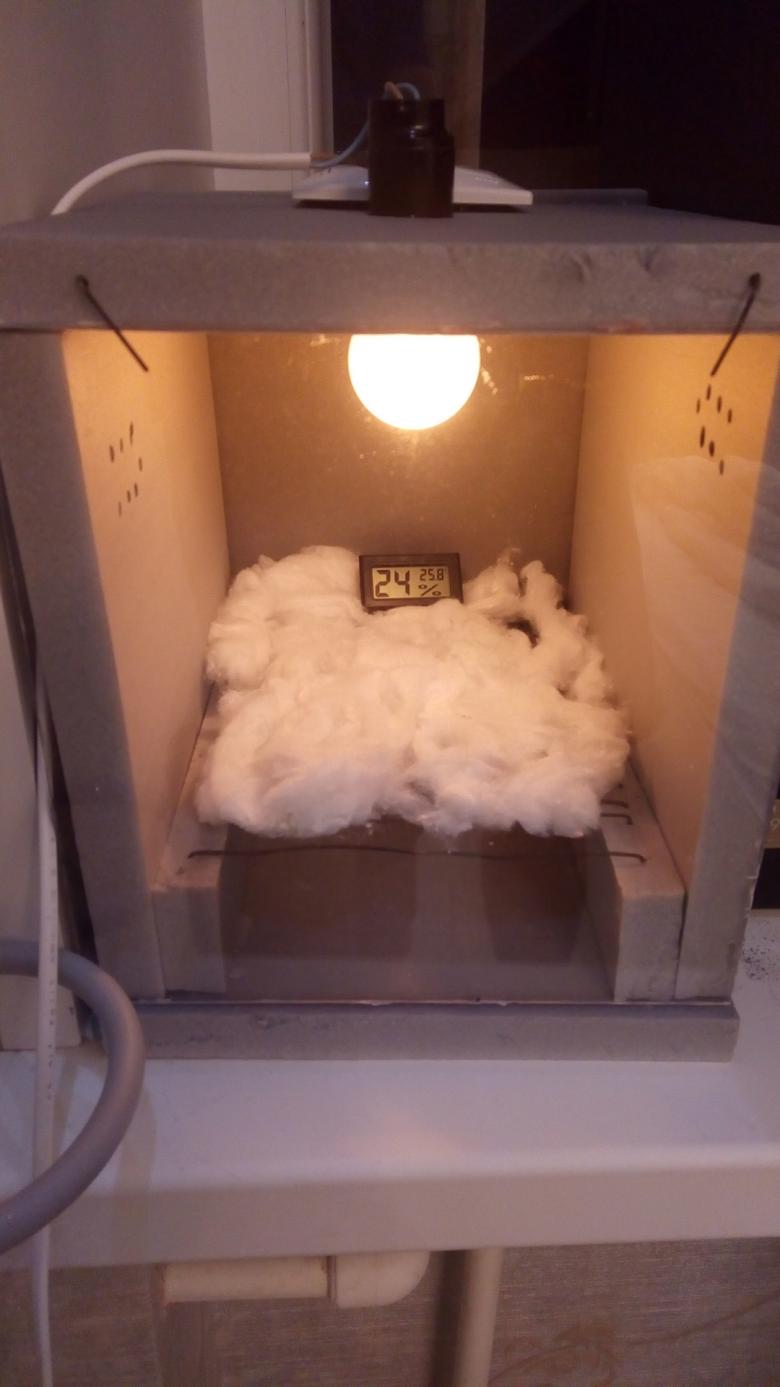
- To maintain humidity in the box set the vessel with water. It is necessary to provide space for it in the design;
- In the box are made openings for ventilation;
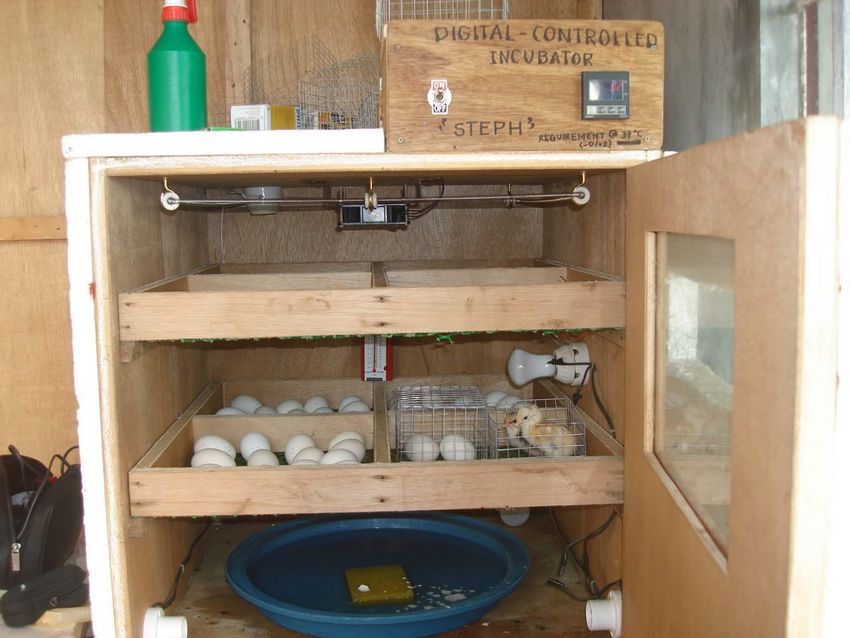
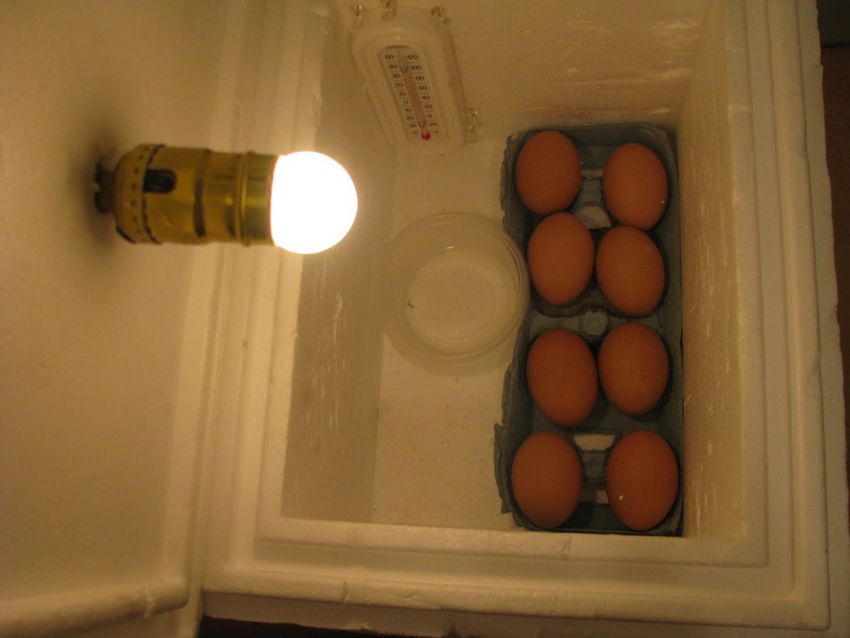
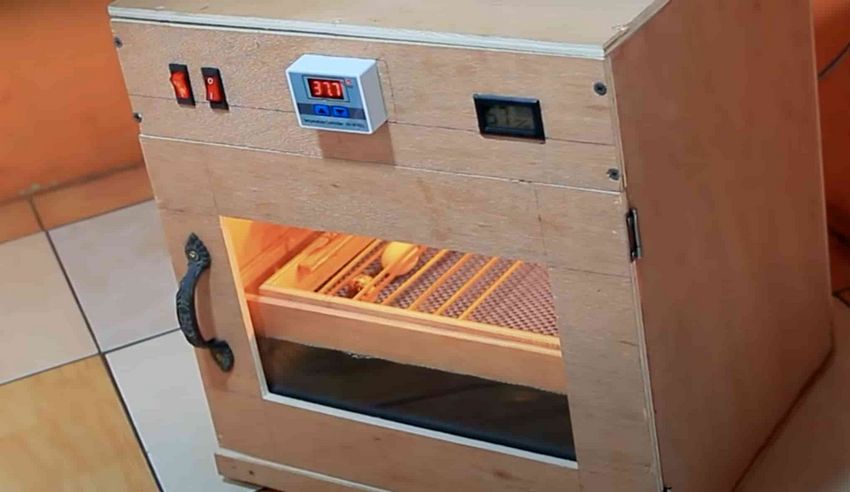
- For convenience, the device is equipped with an inspection window and a thermometer.
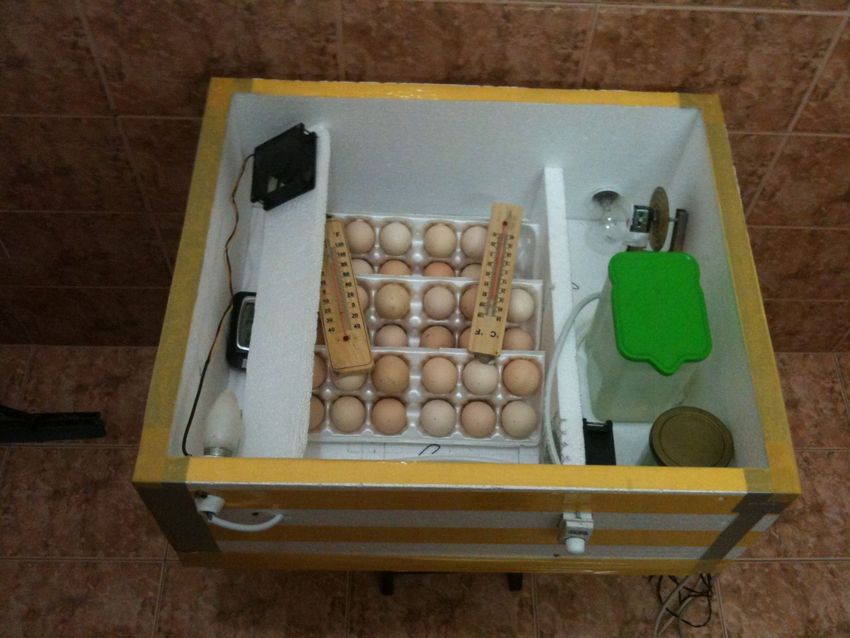
Materials and tools
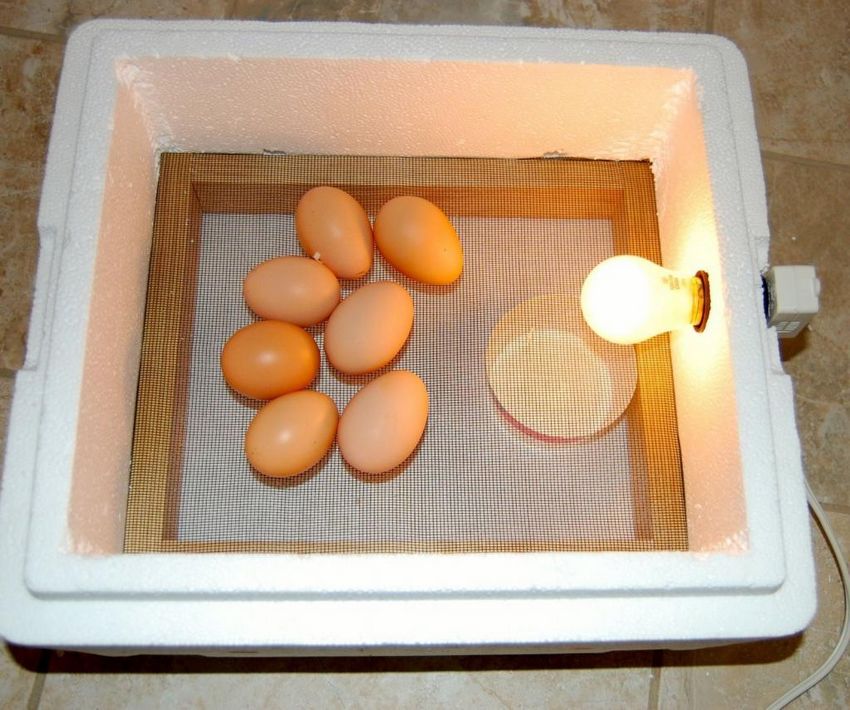
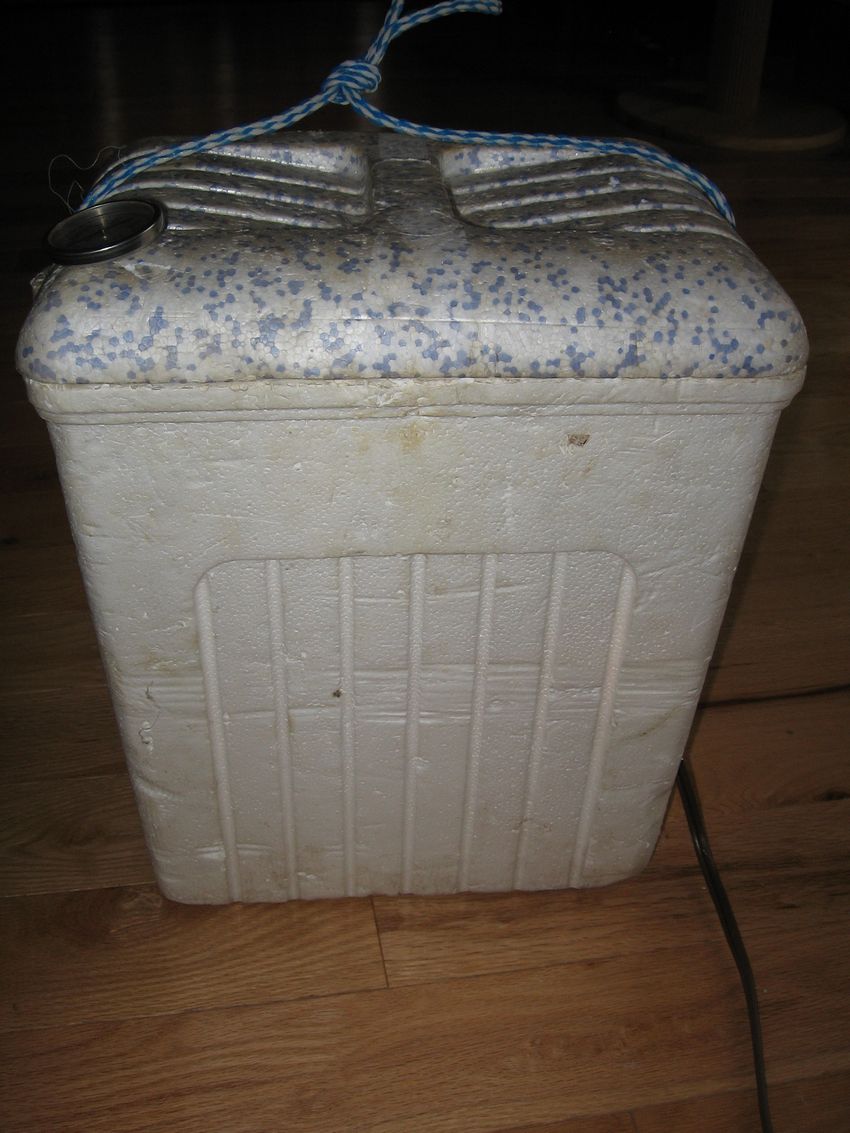
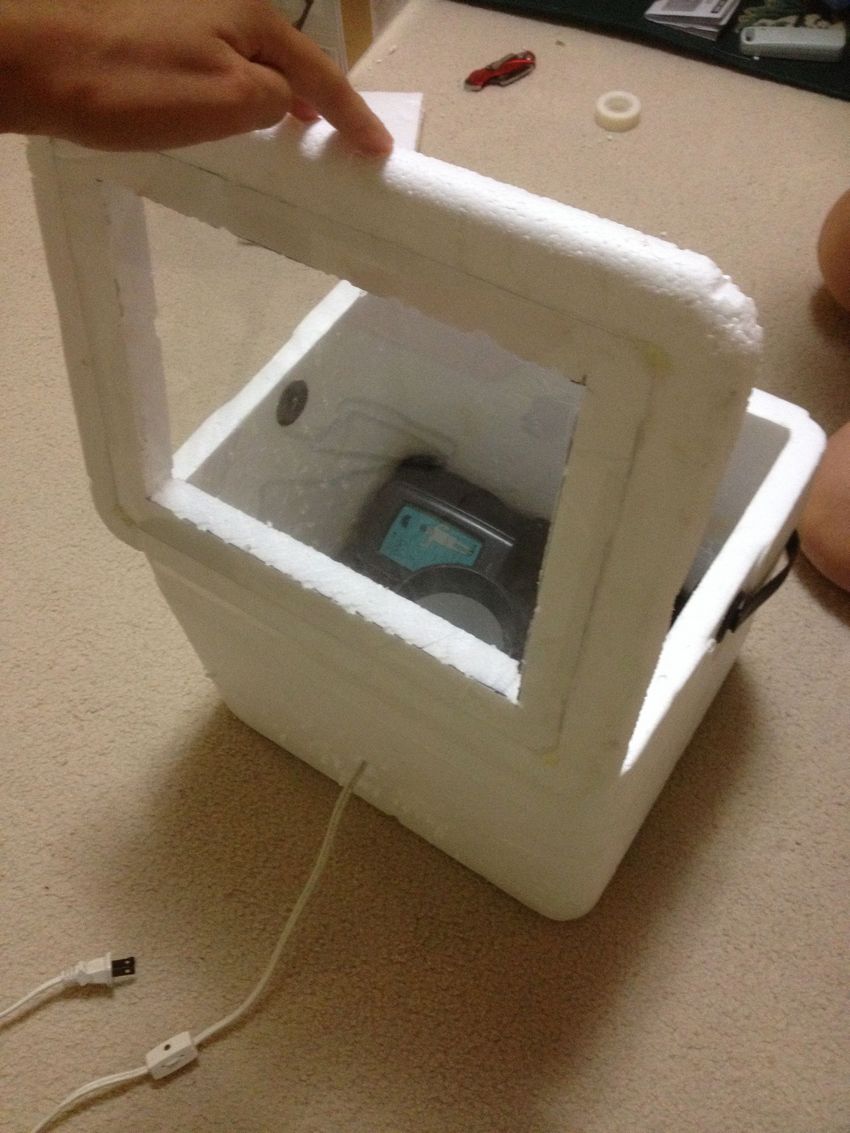
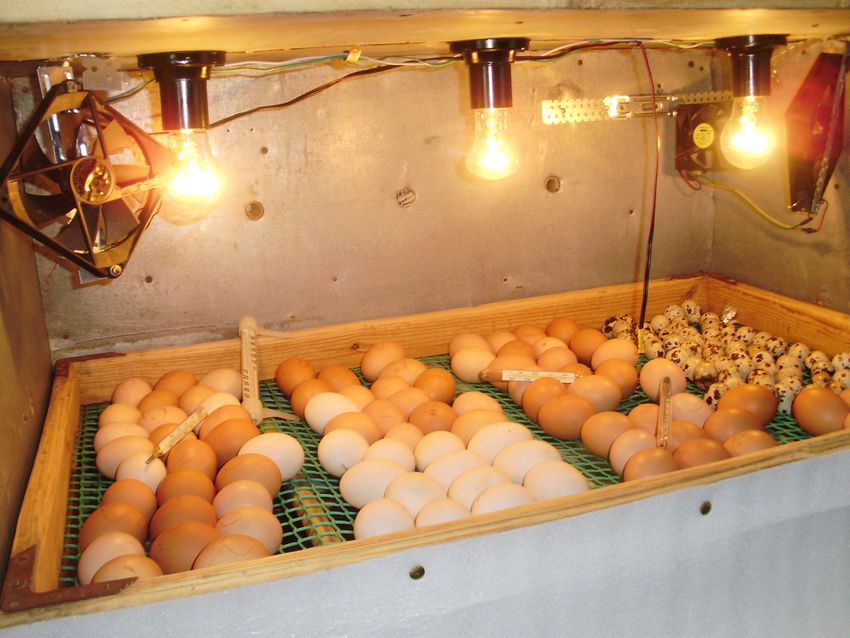
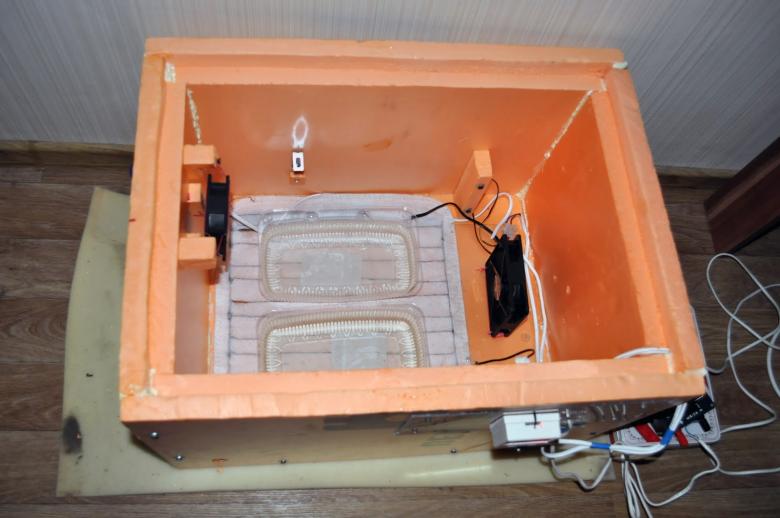
For a home incubator will do foam plastic, plywood, cardboard, an old refrigerator. We will need light bulbs, fans, trays. Of tools: screwdriver, drill, jigsaw, saw, pliers, knife, sealant, duct tape.
Step-by-step design
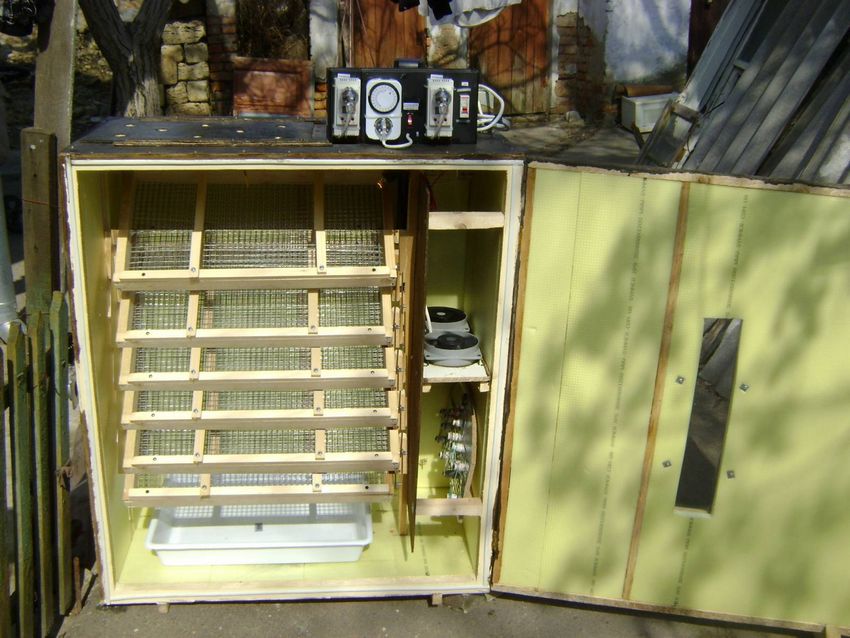
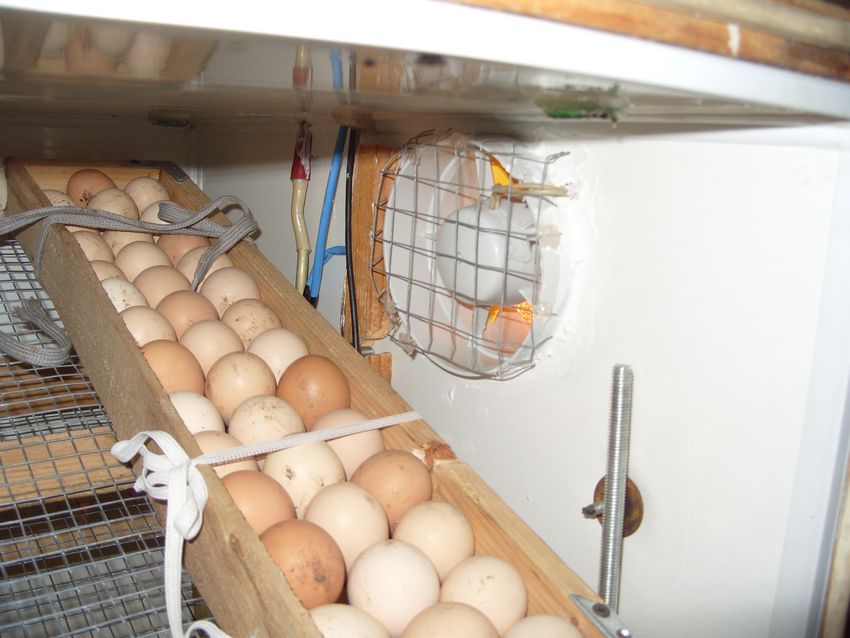
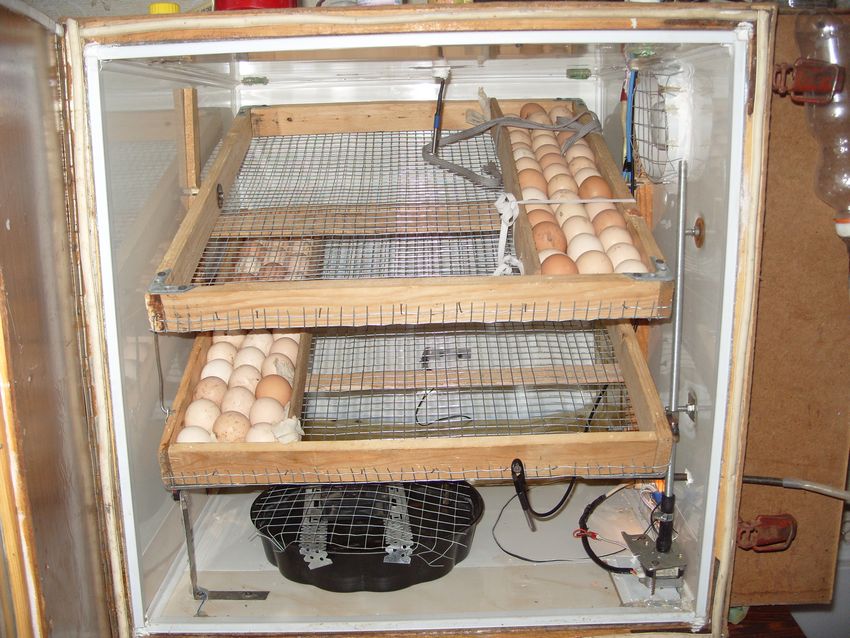
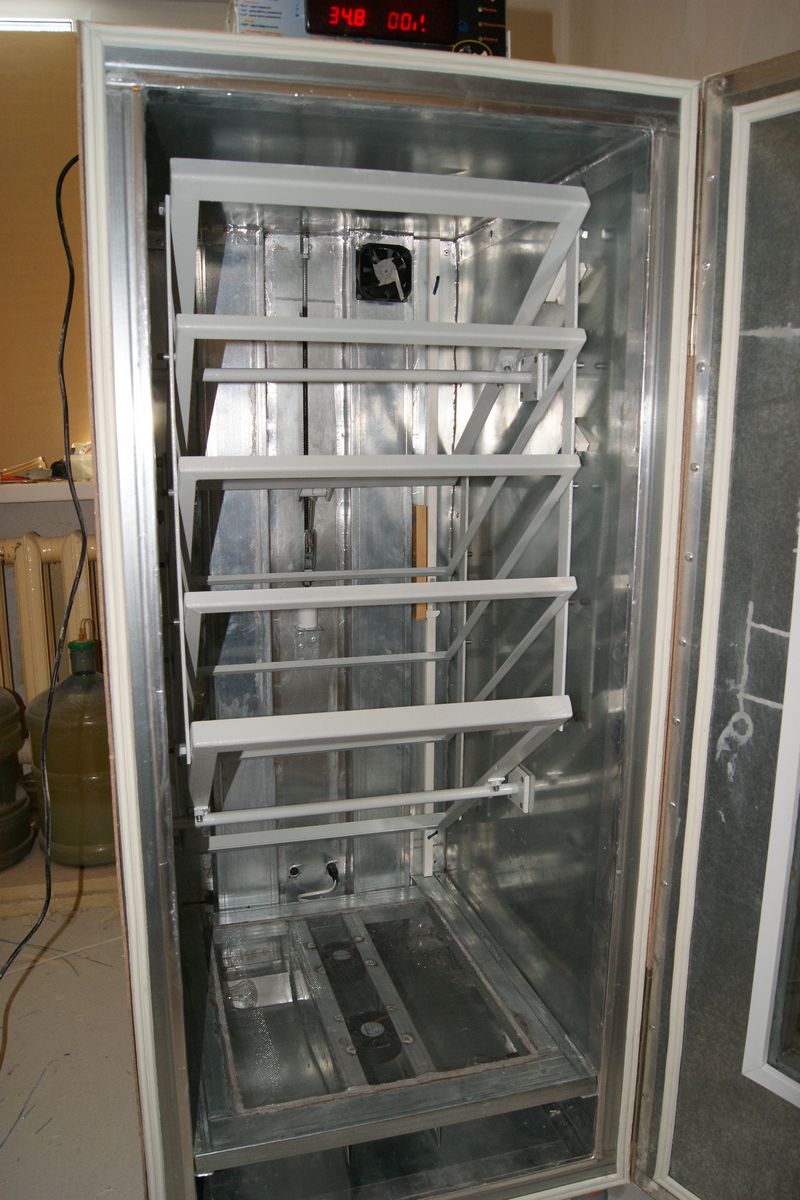
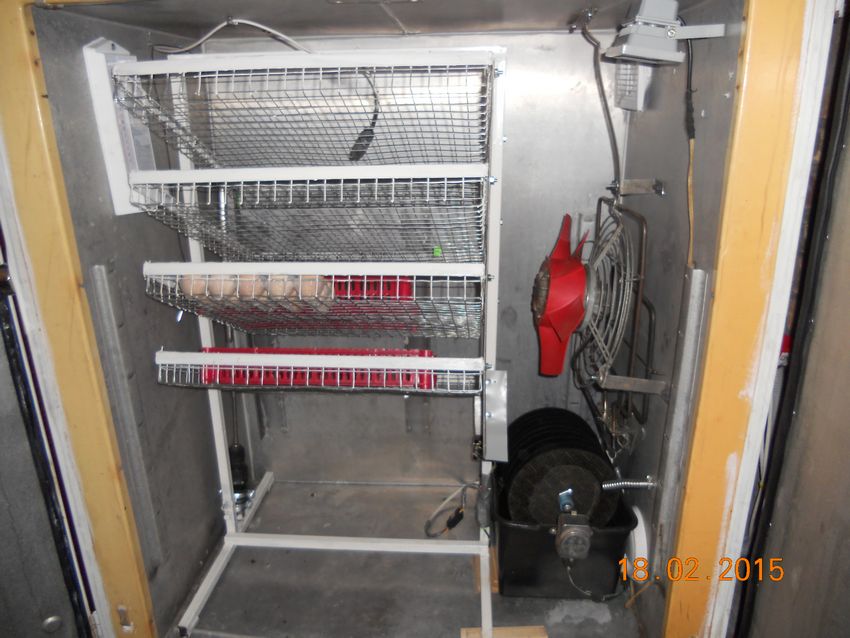
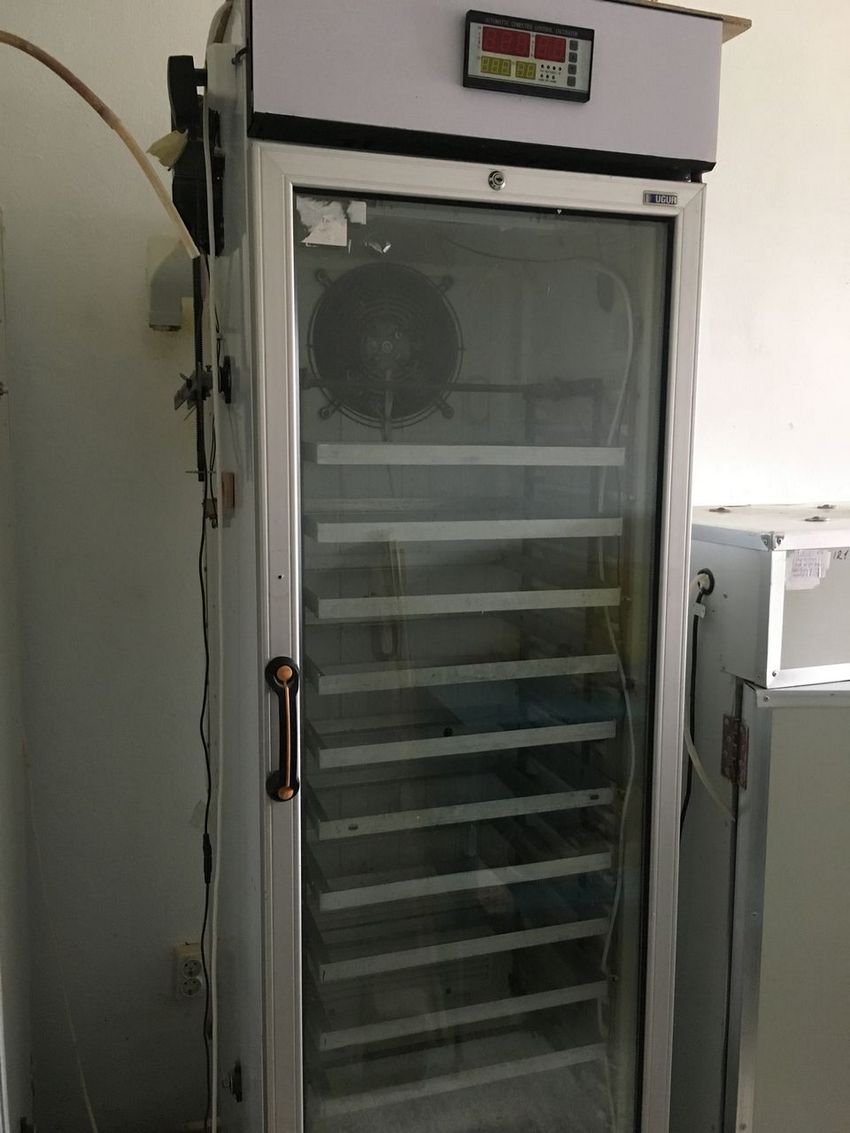
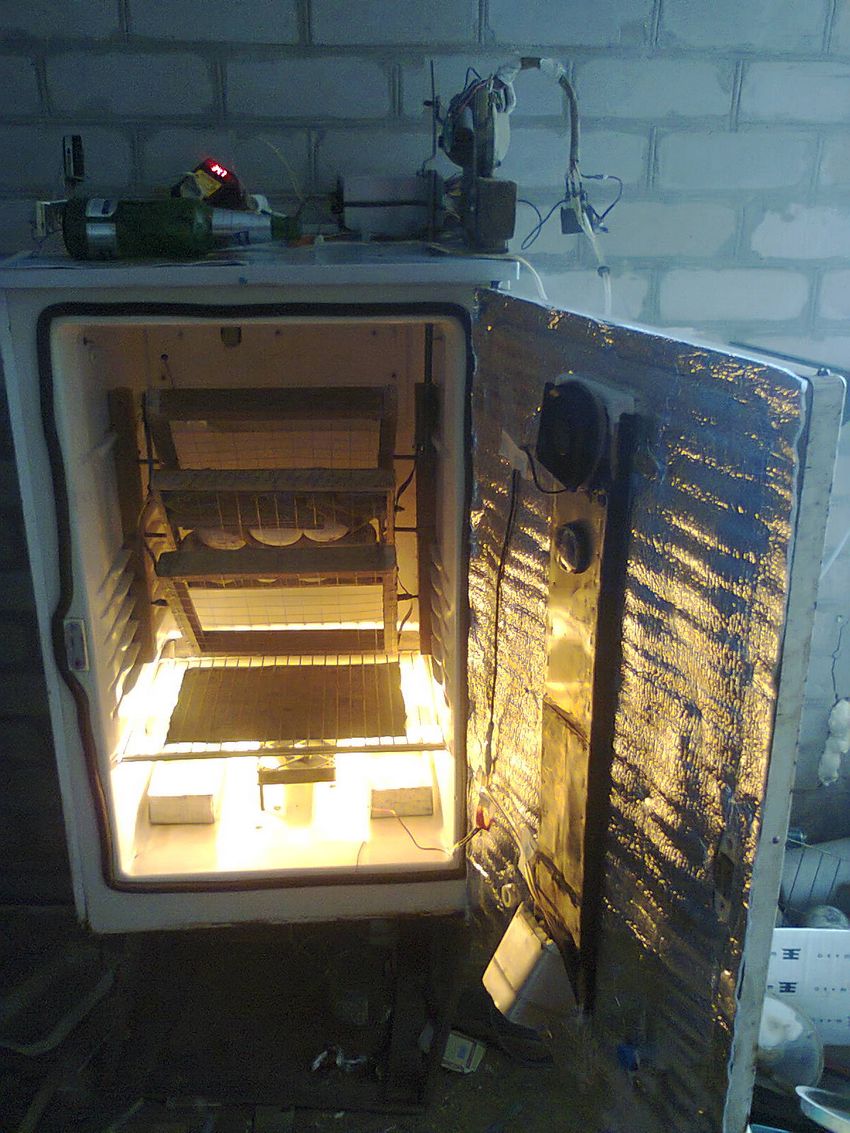
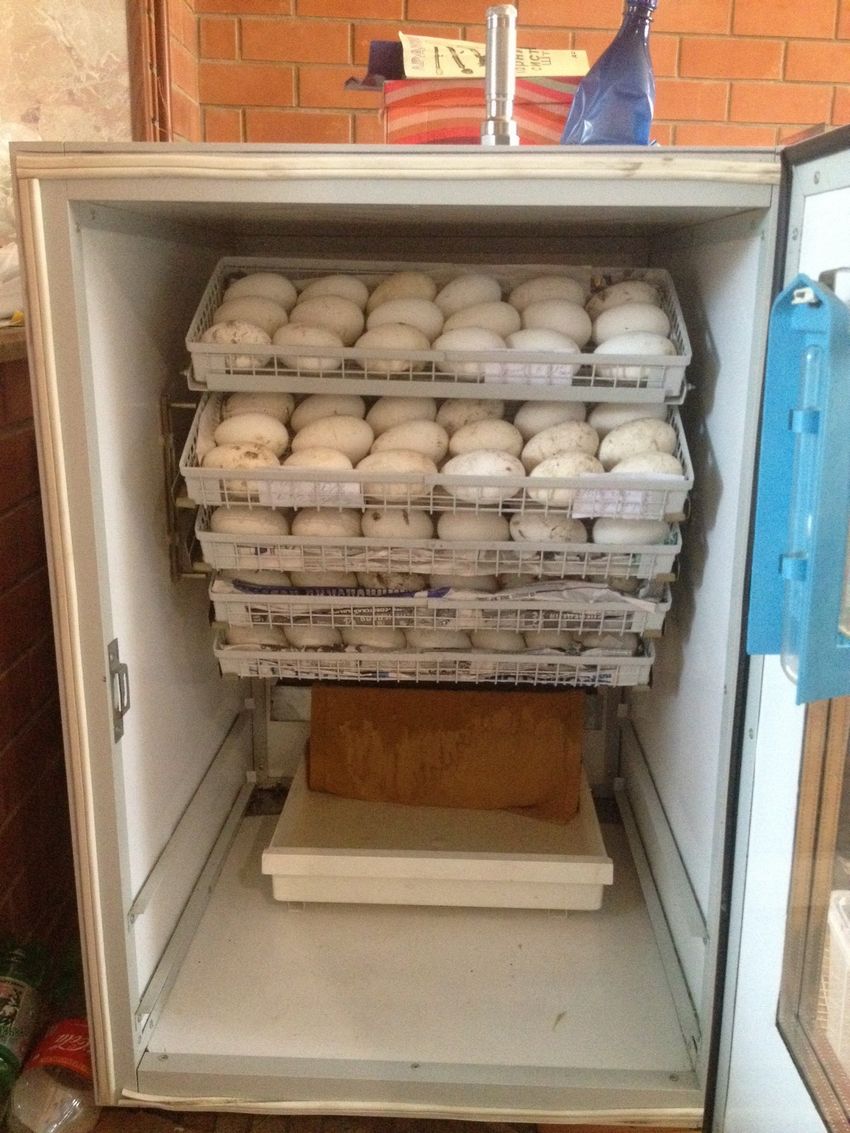
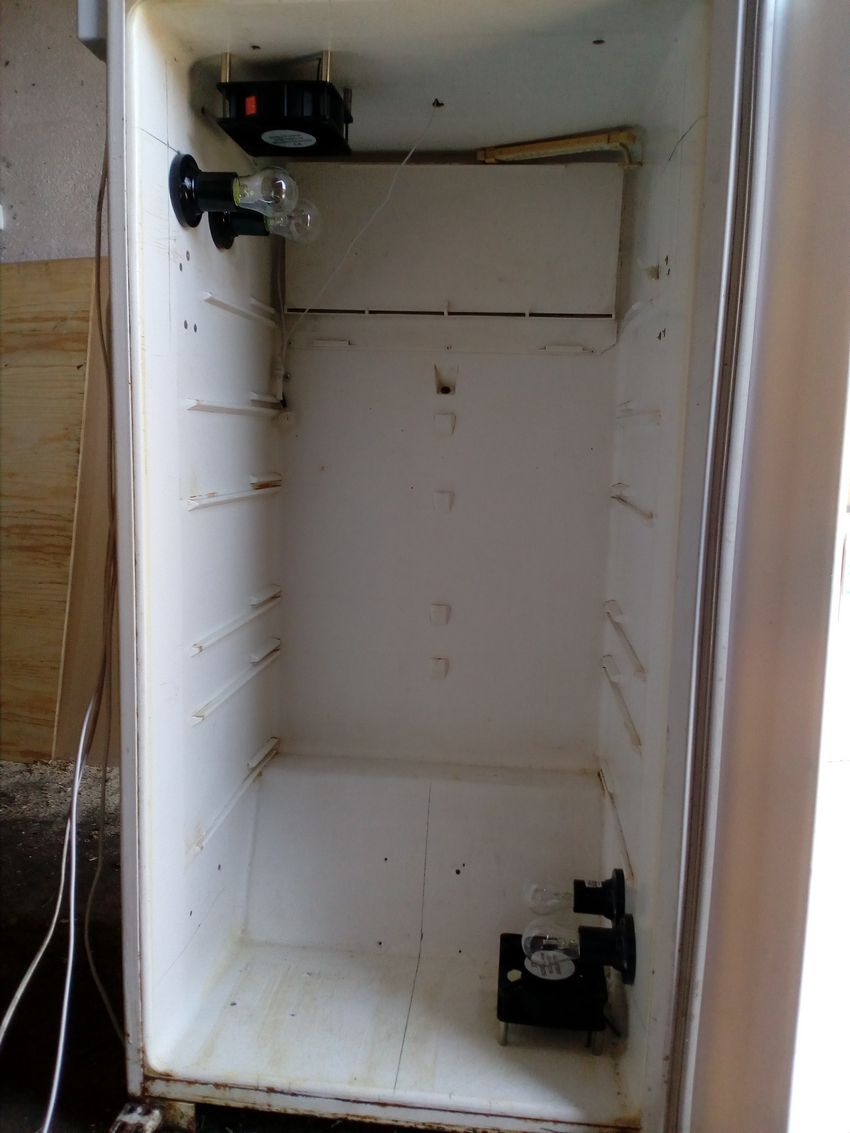
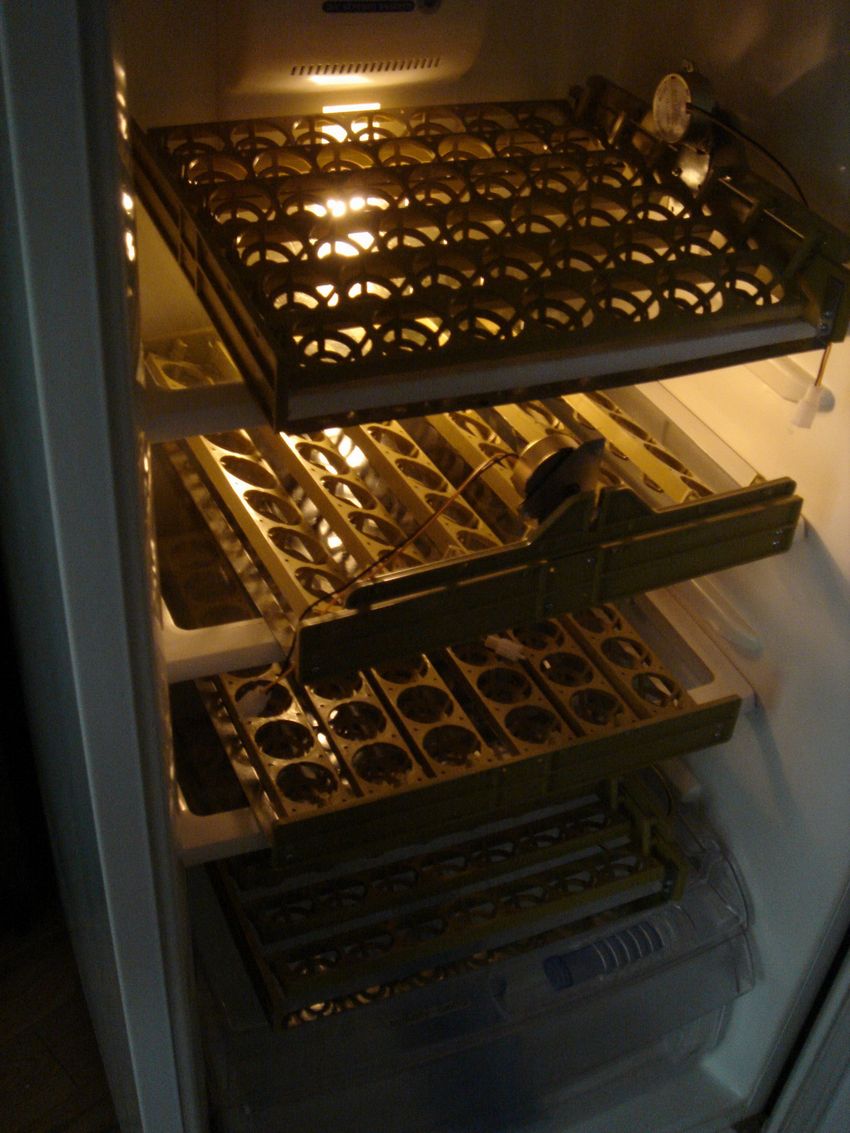
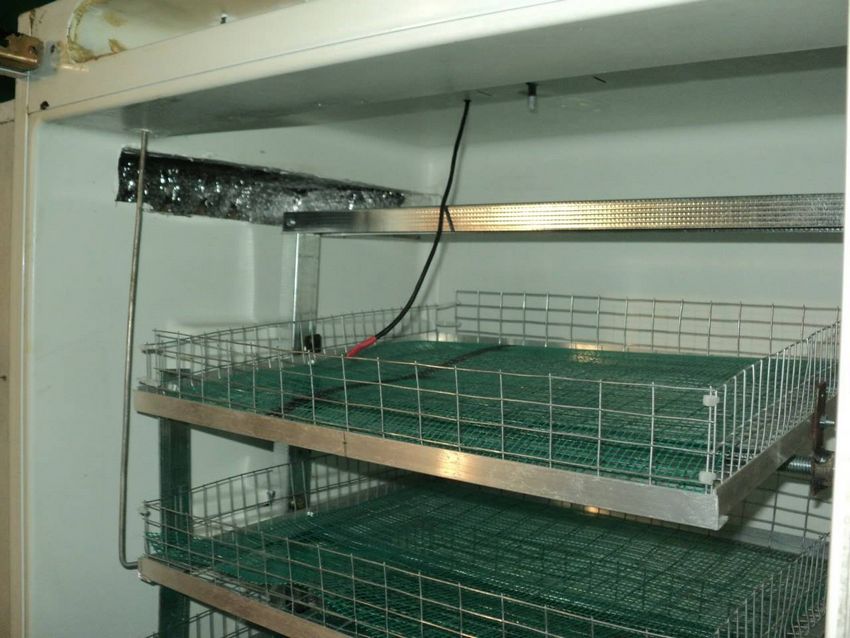
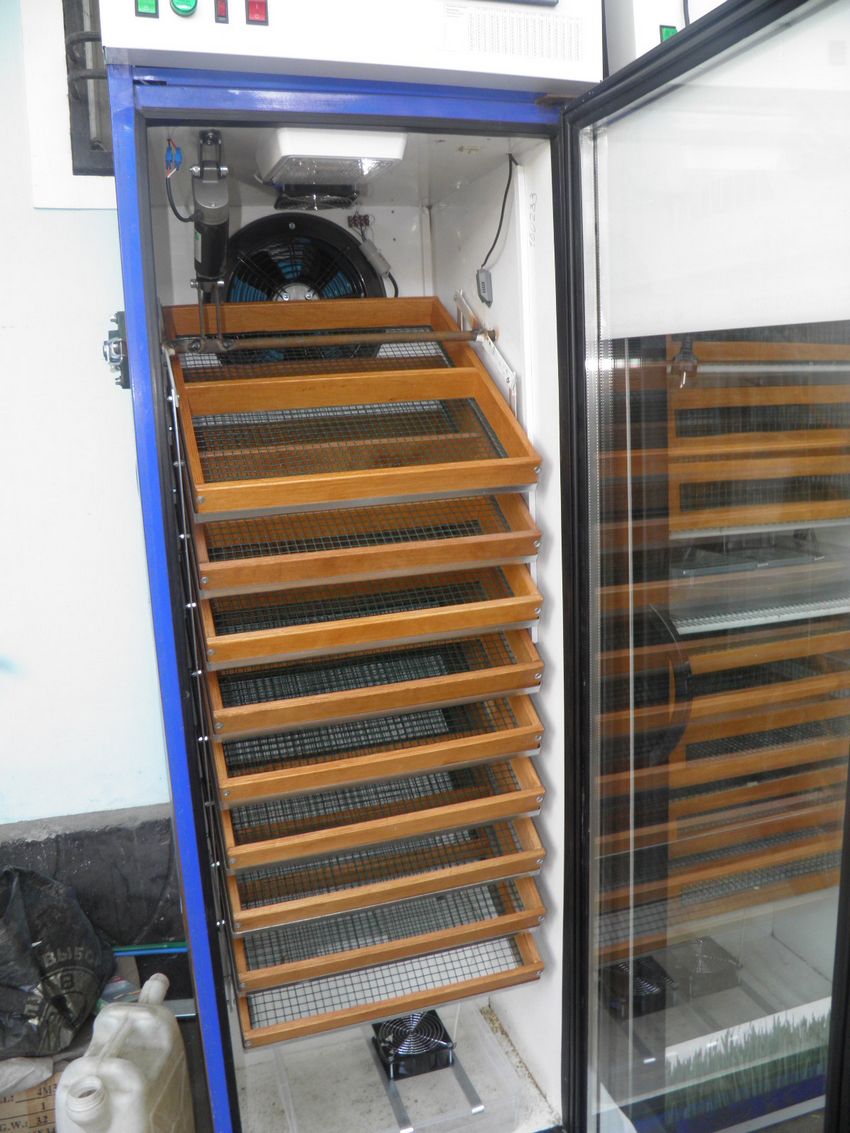
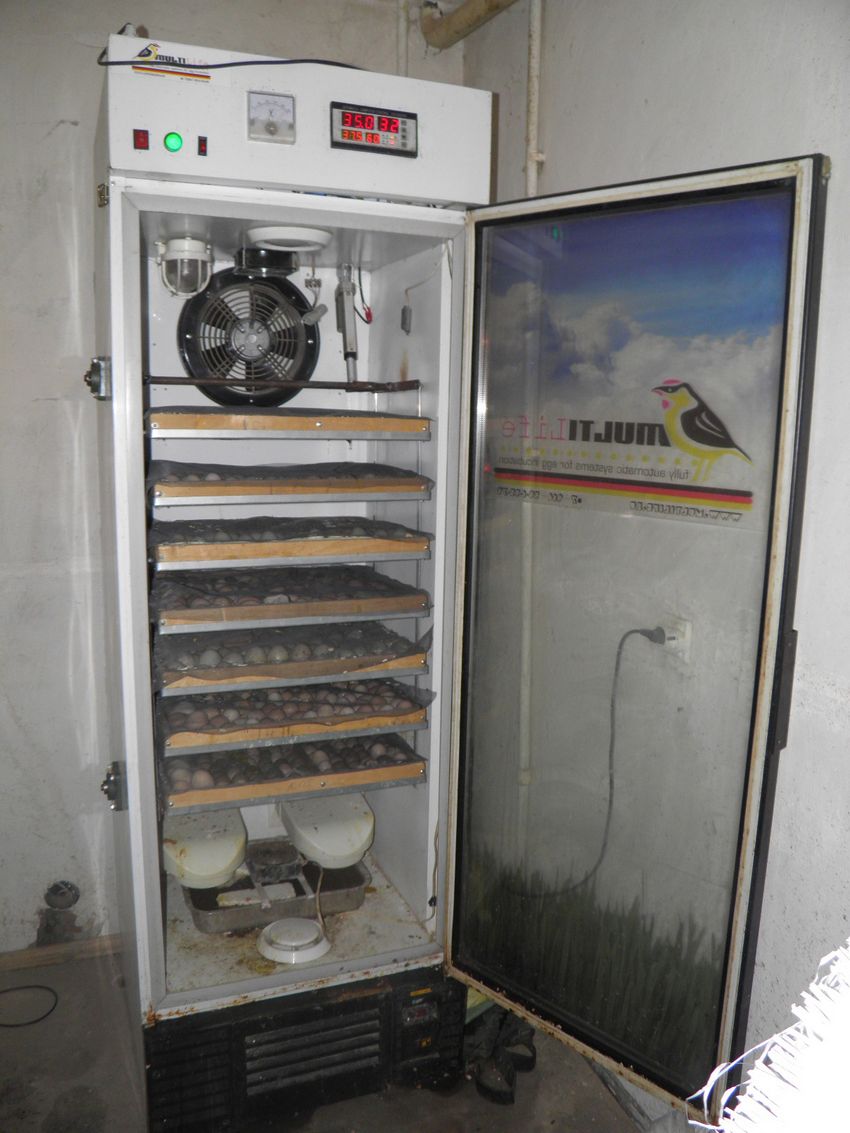
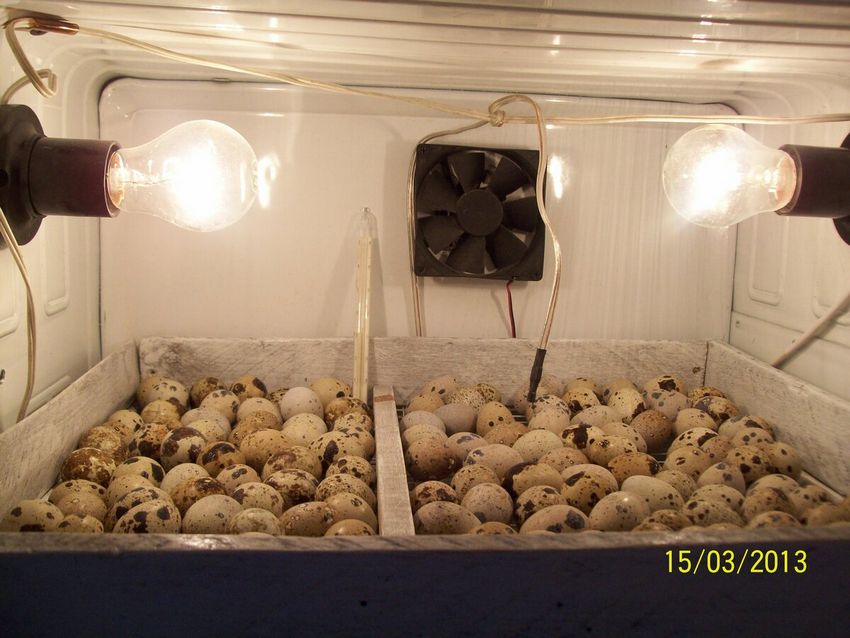
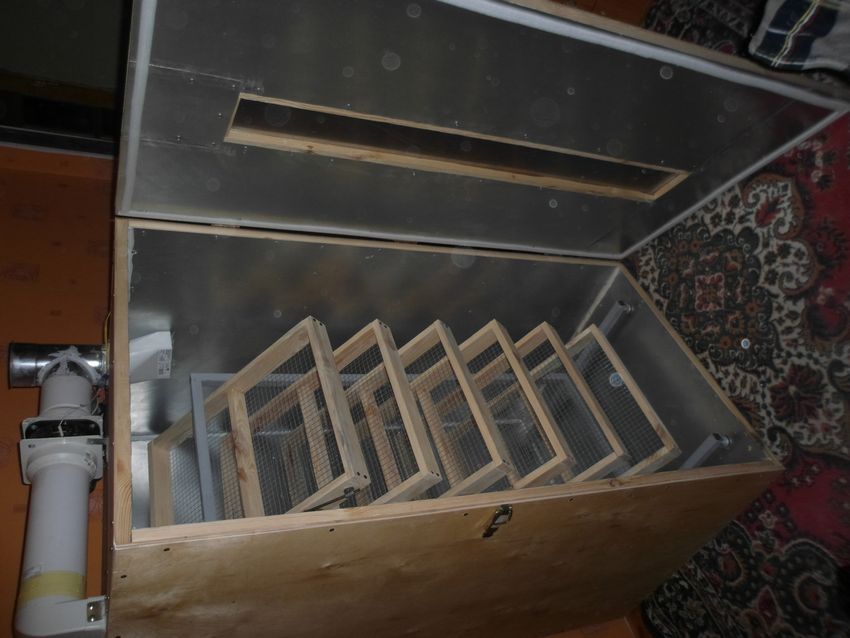
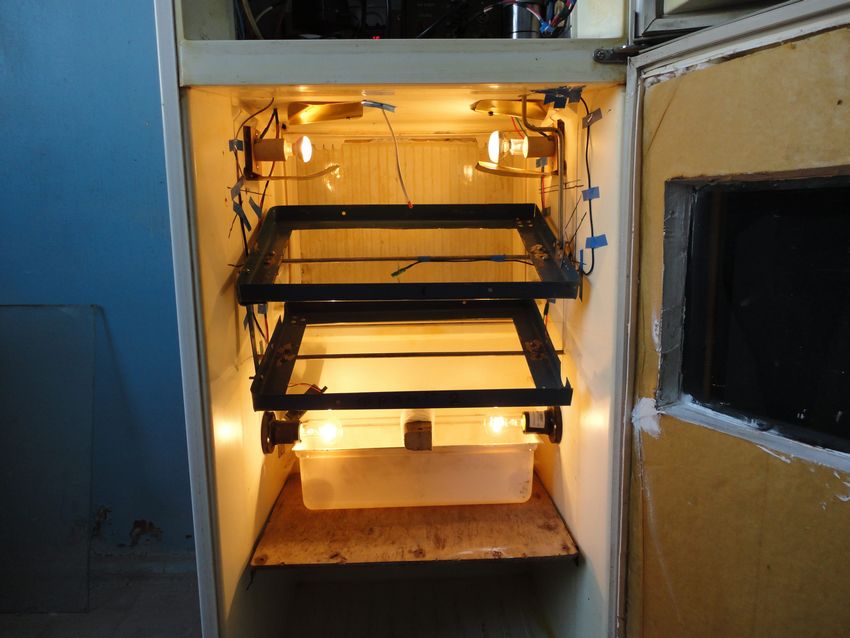
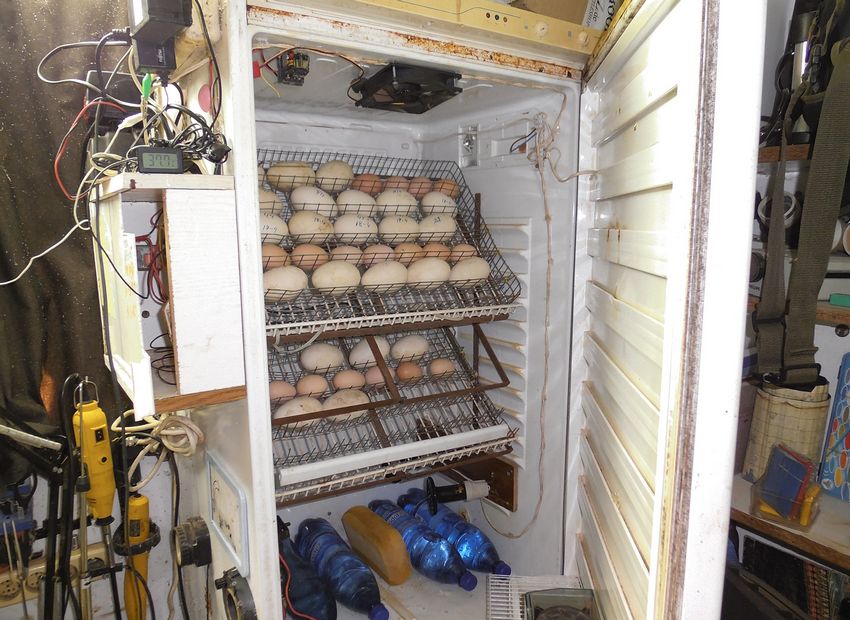
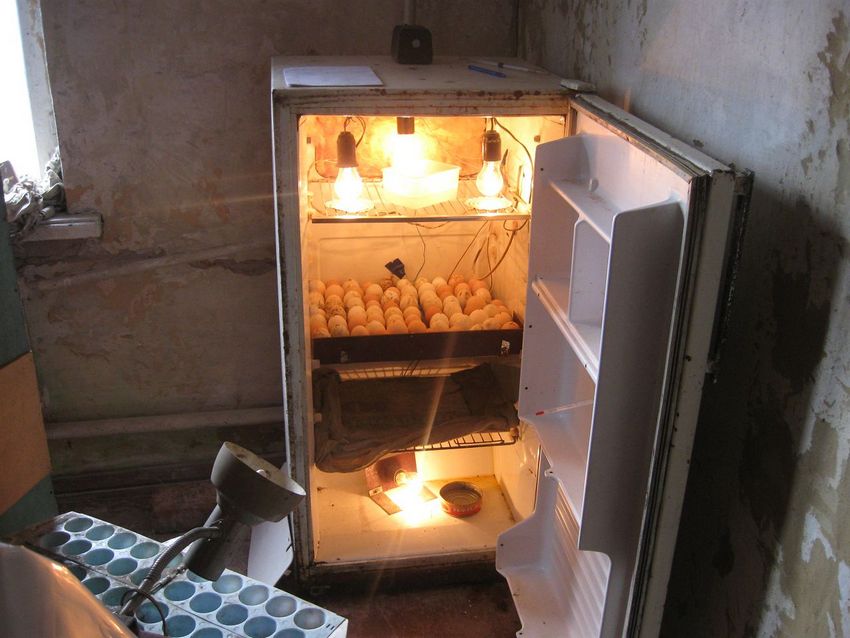
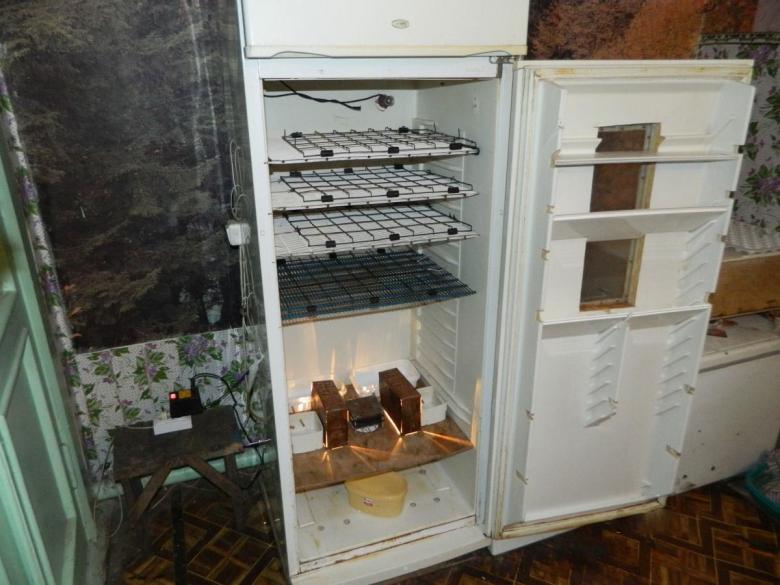
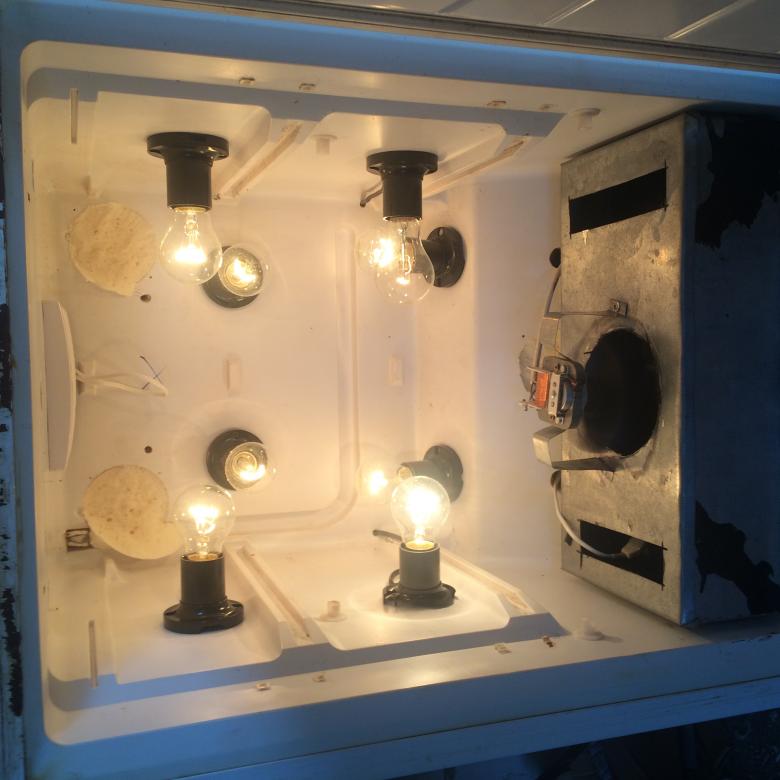
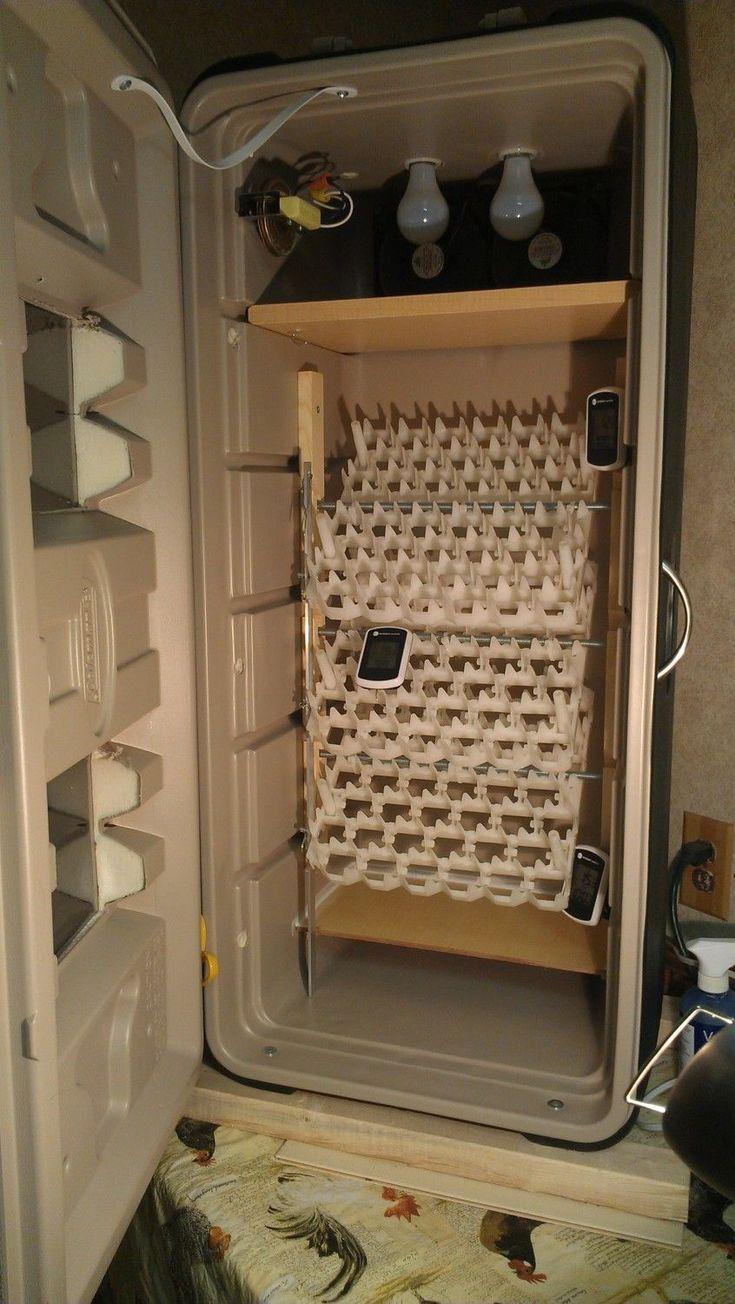
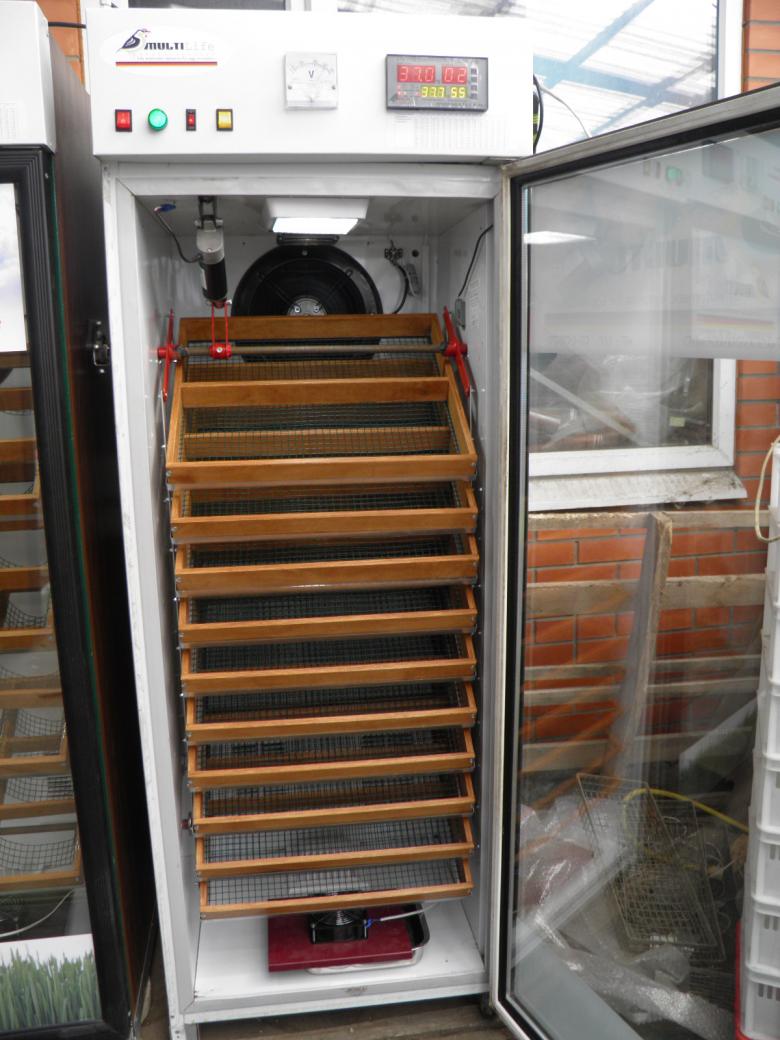
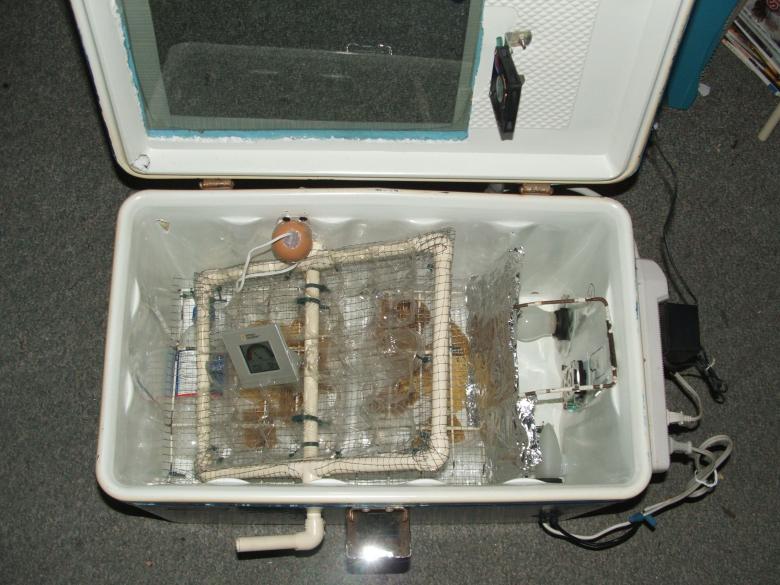
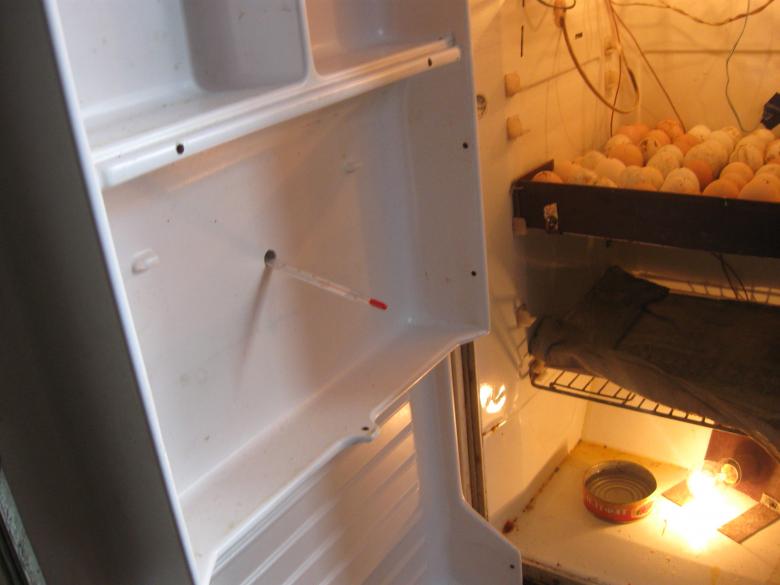
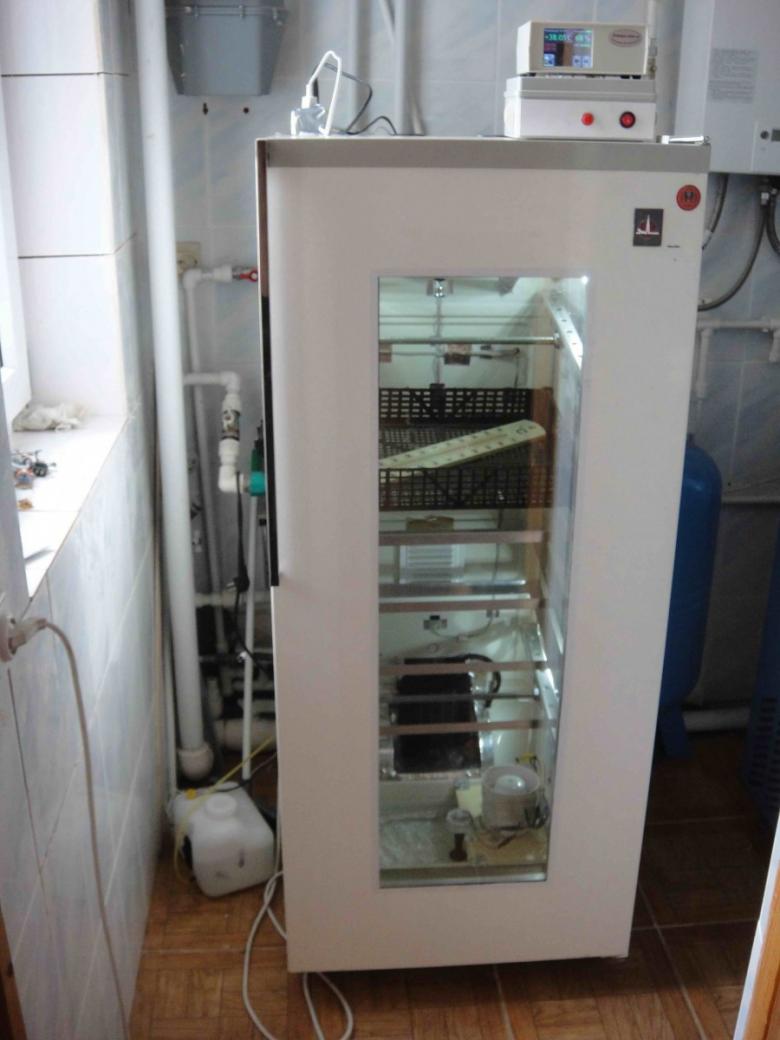
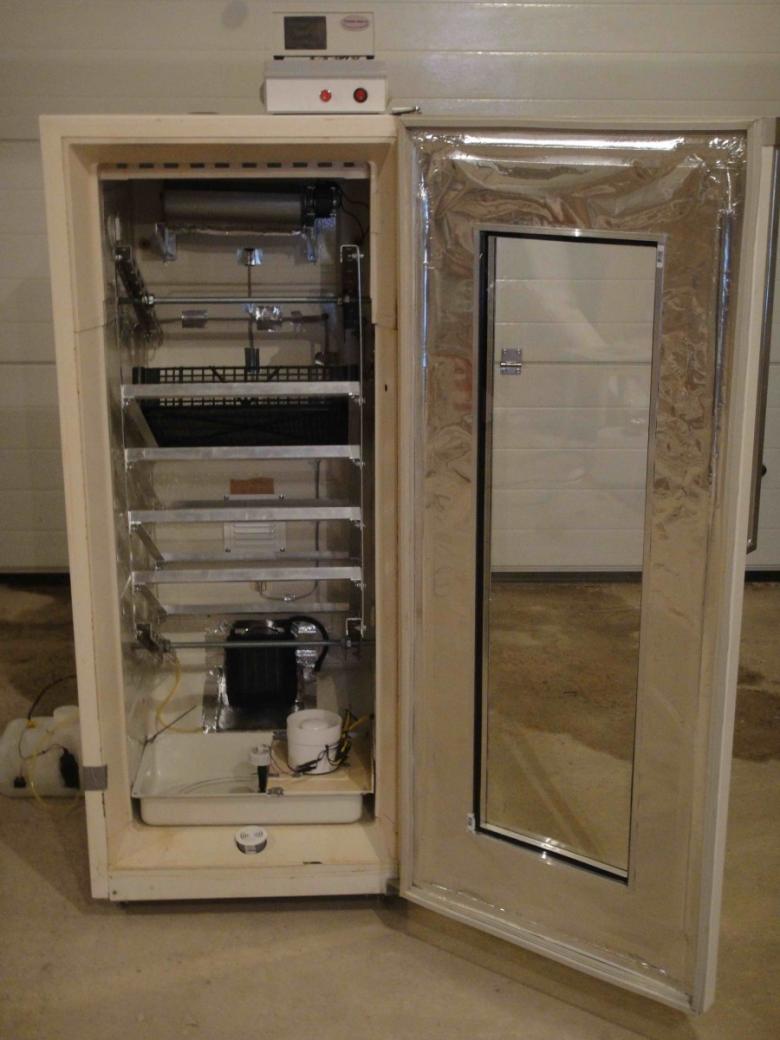
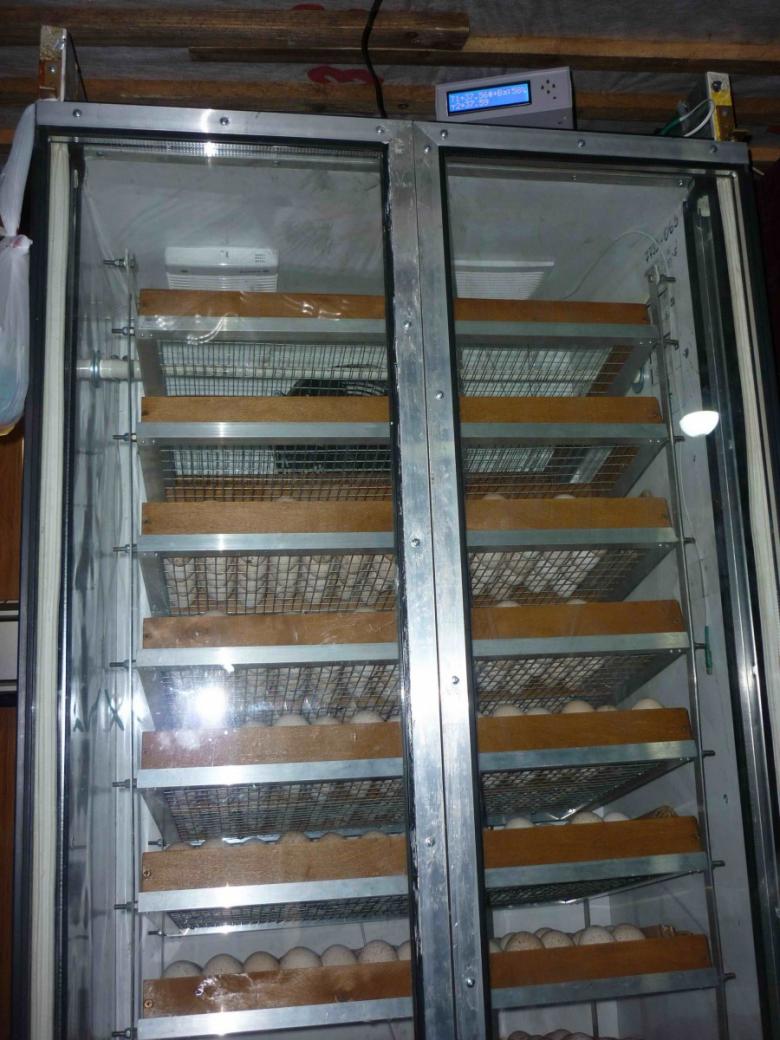
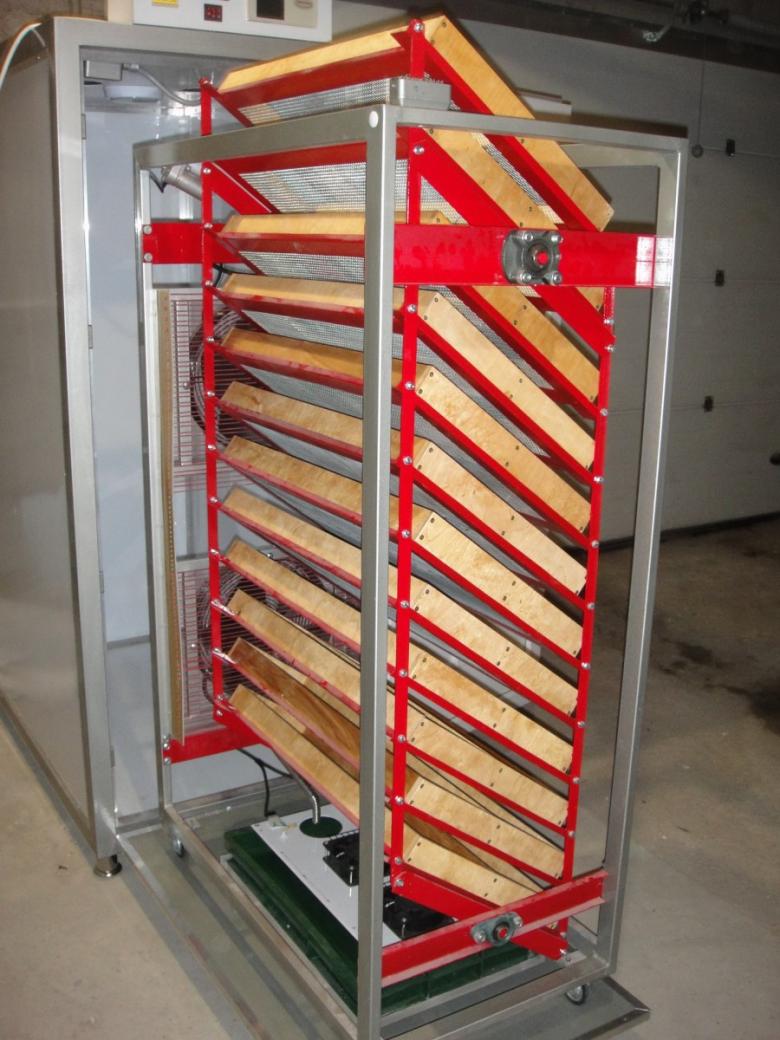
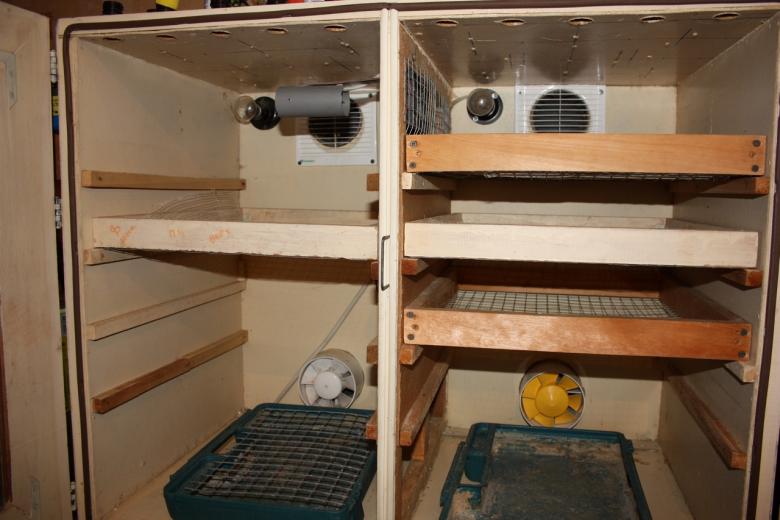
Excellent incubators for large offspring are obtained from old refrigerators. It is already a ready-made box with the possibility of laying several hundred eggs at once. Convenient placement of trays. It is enough to make small modifications and the device is ready for use.
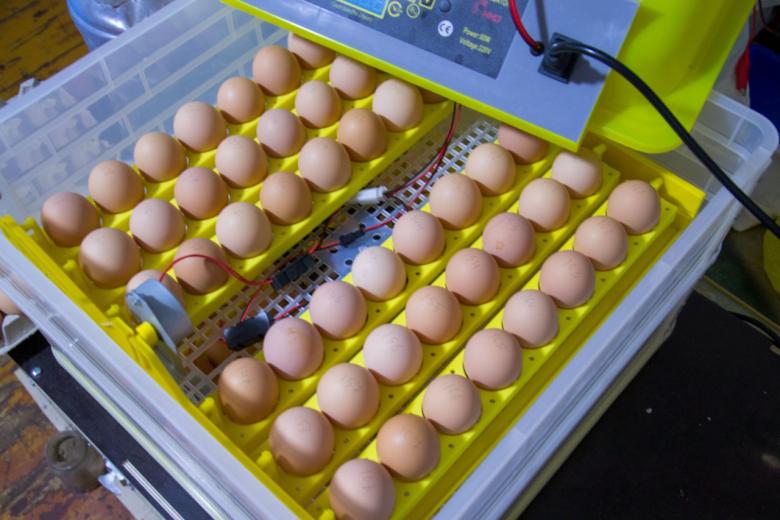
Important: only fresh eggs (up to 3 days) are used for incubation.
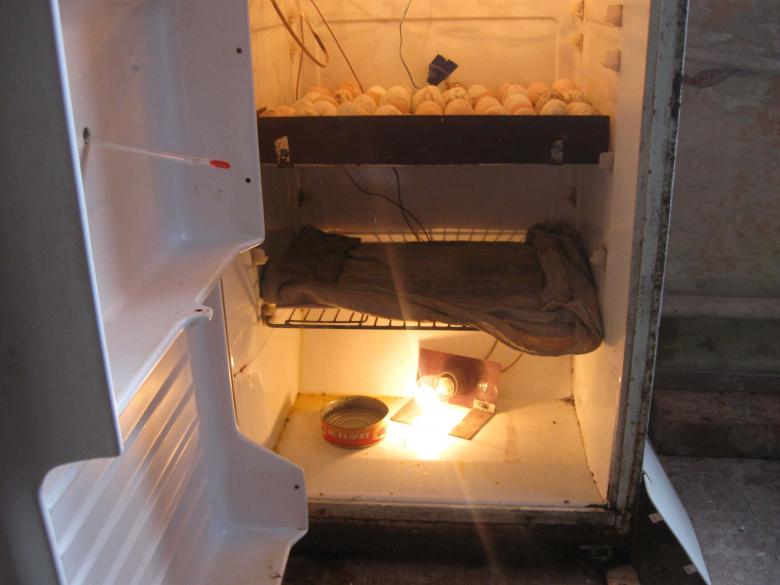
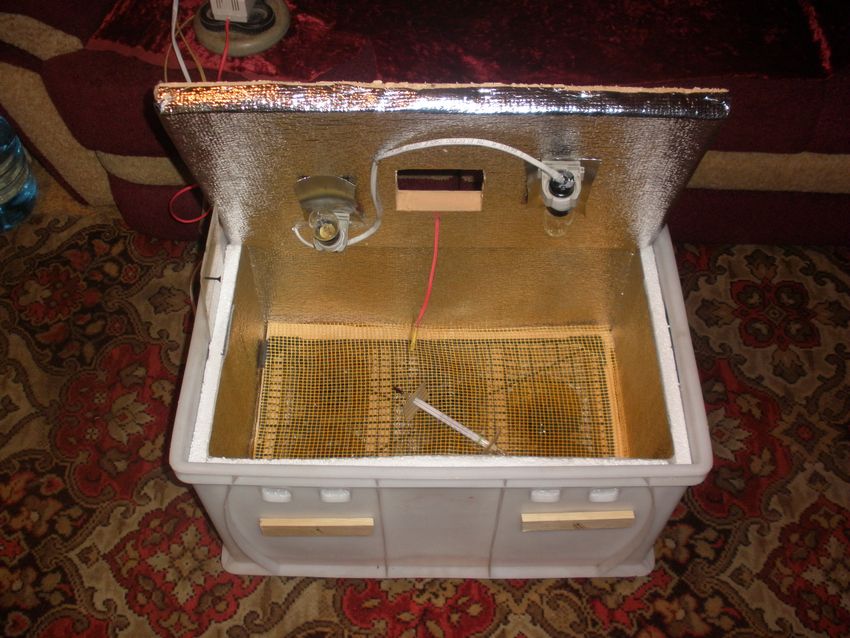
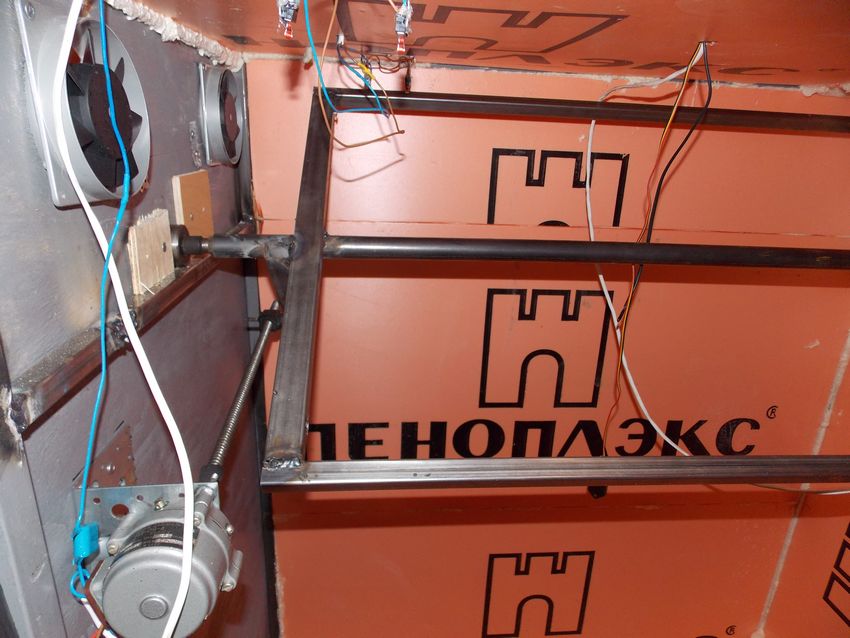
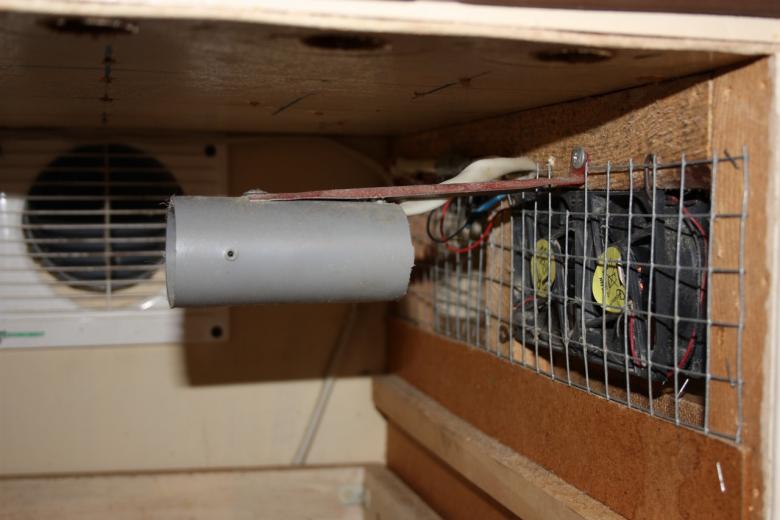
- For ventilation, holes are made in the top and bottom of the case, fans are installed. As a rule, it is enough to install one device at the bottom, which will provide an even circulation of air. It is possible to install several tubes along the enclosure.
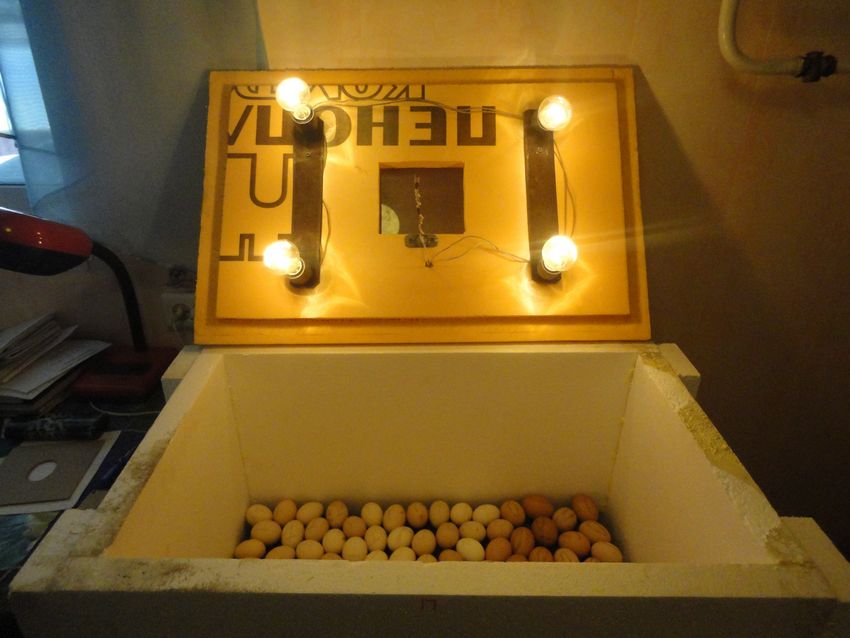
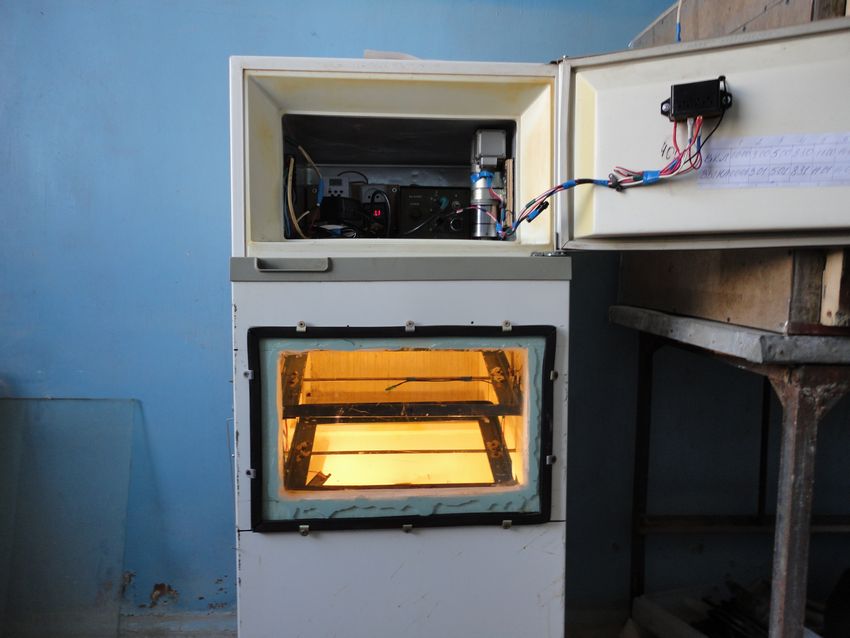
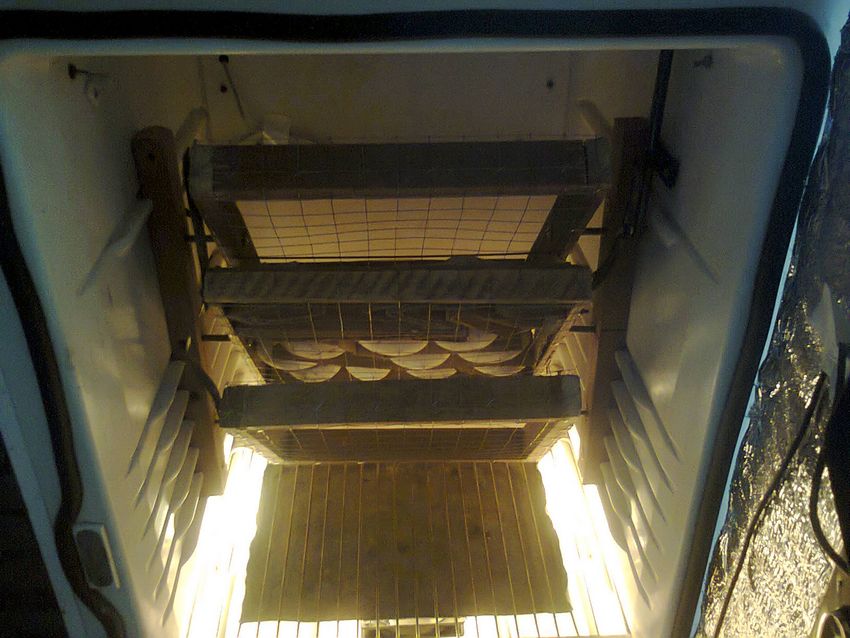
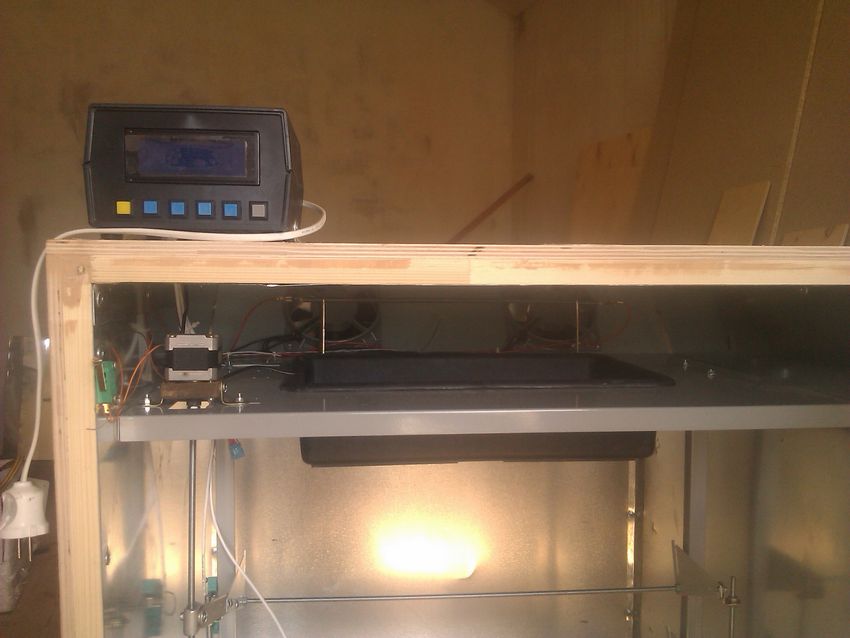
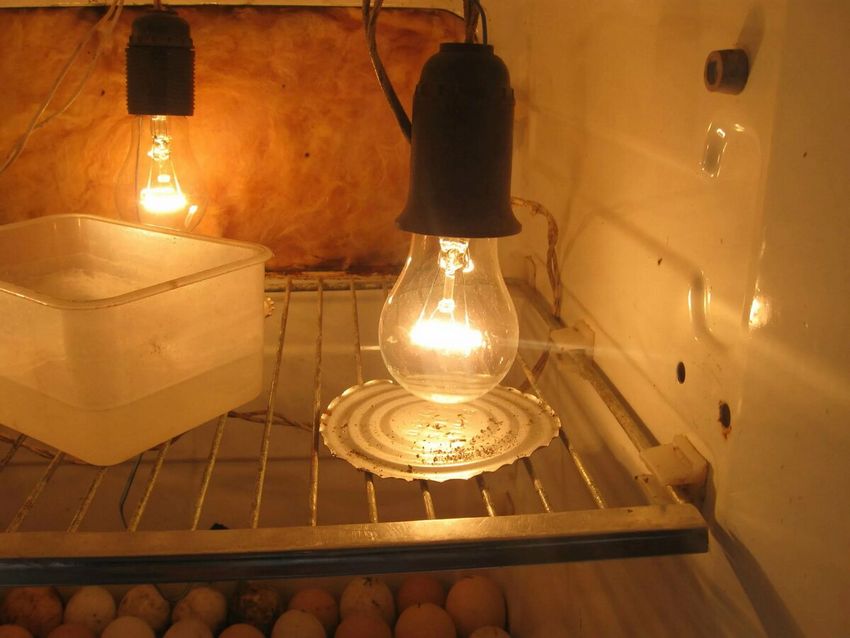
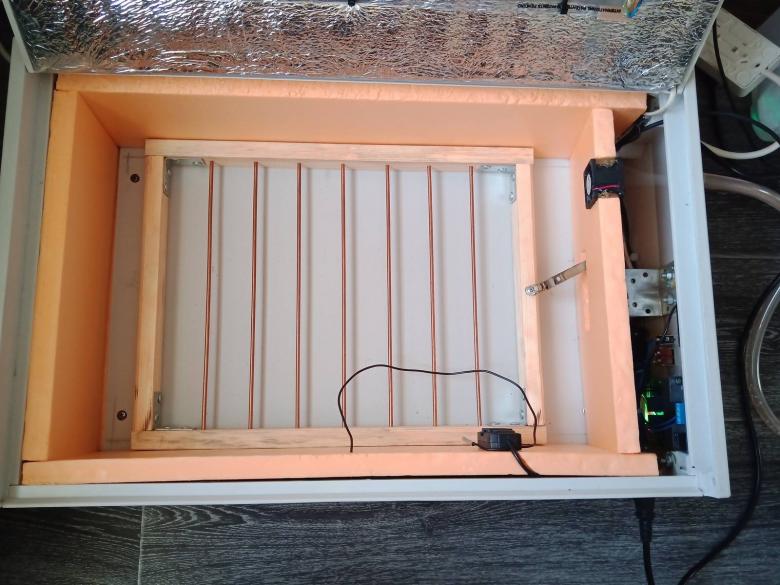
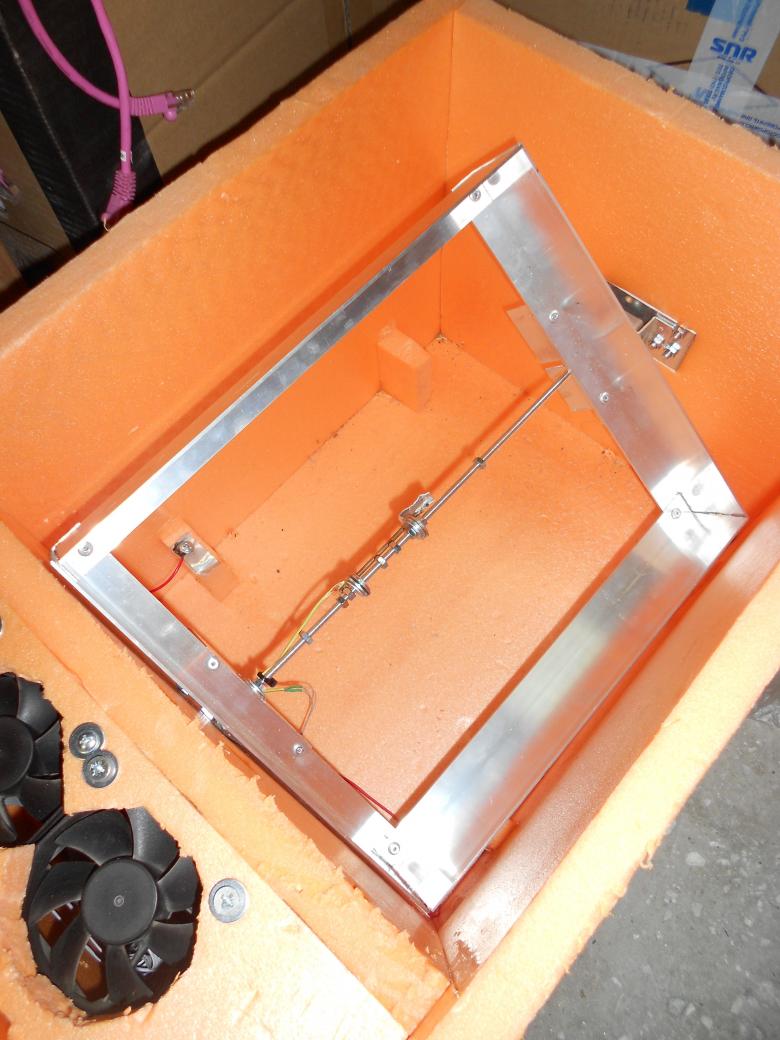
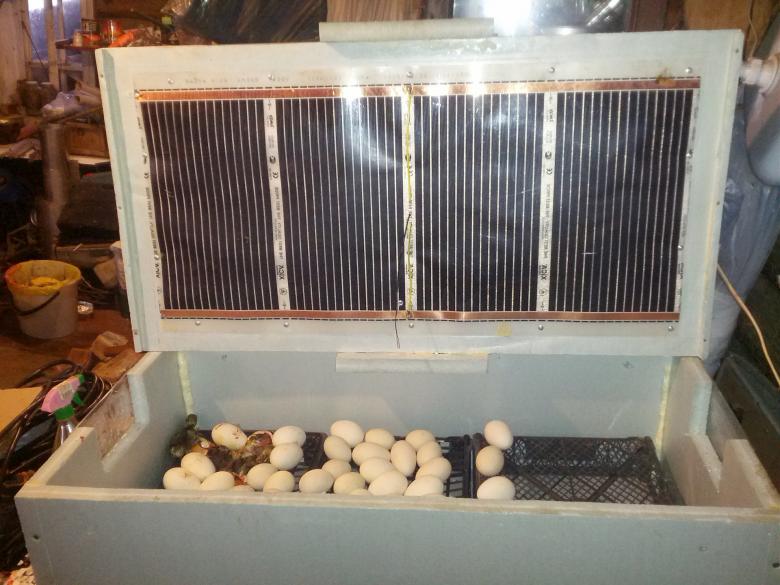
- Heating is provided by 4 incandescent lamps of 25 W each, installed evenly around the perimeter of the refrigerator. To maintain the desired temperature, metal plates are used (they can be removed when heavily heated), electro-sensors, which open the electrical circuit when the indicators increase. Inner walls are insulated with foam or glass wool.
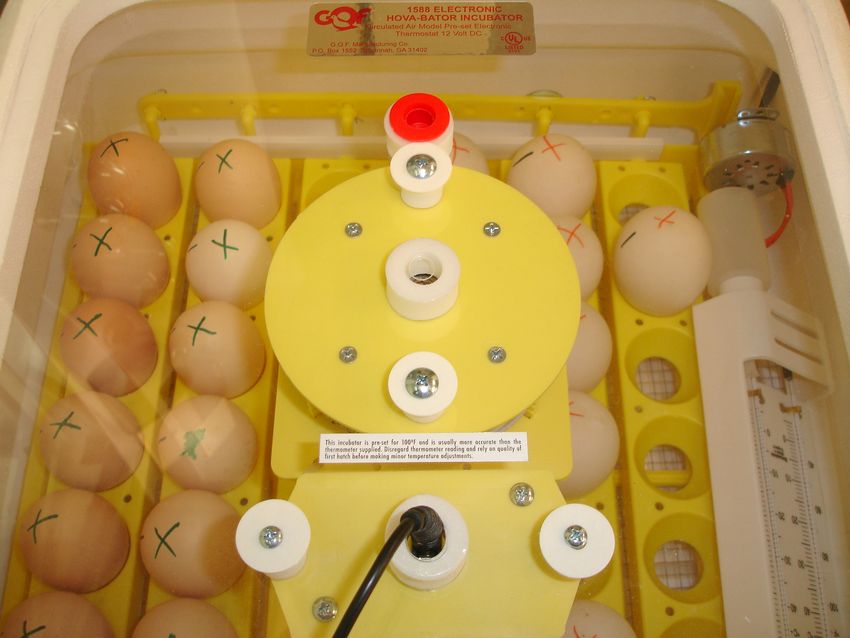
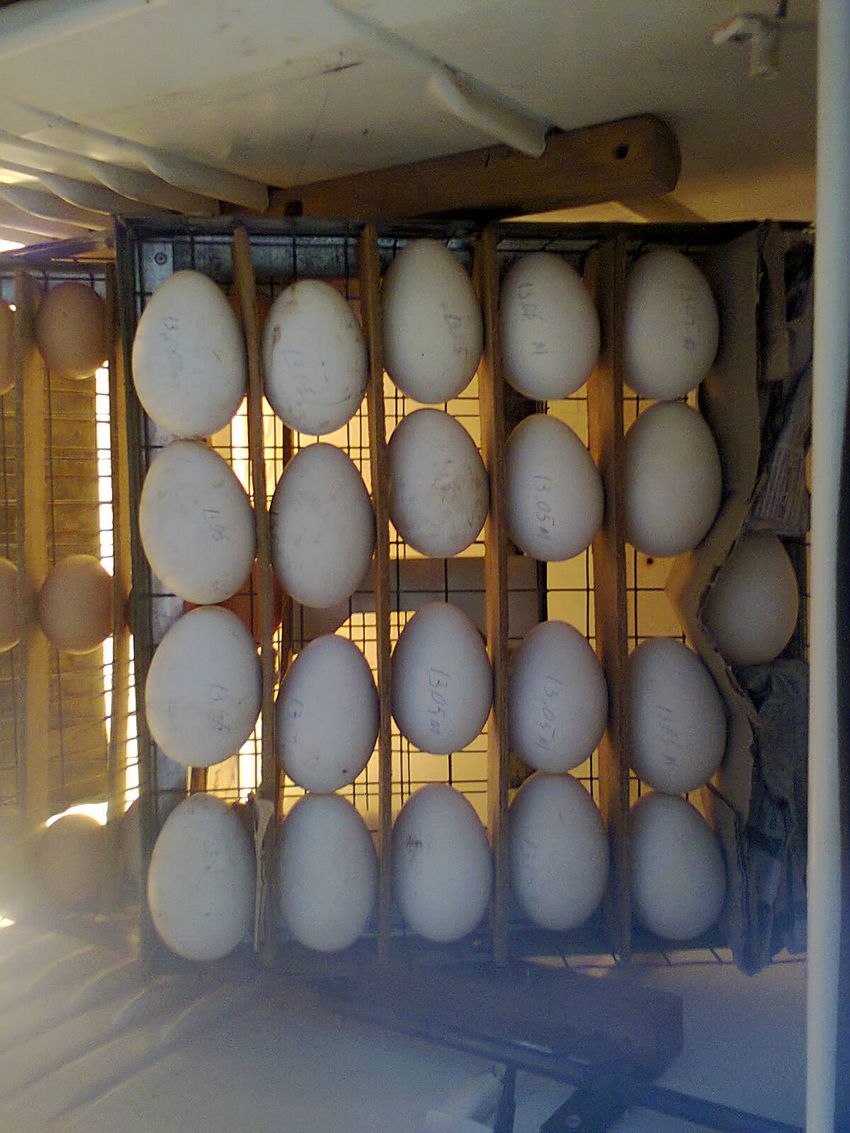
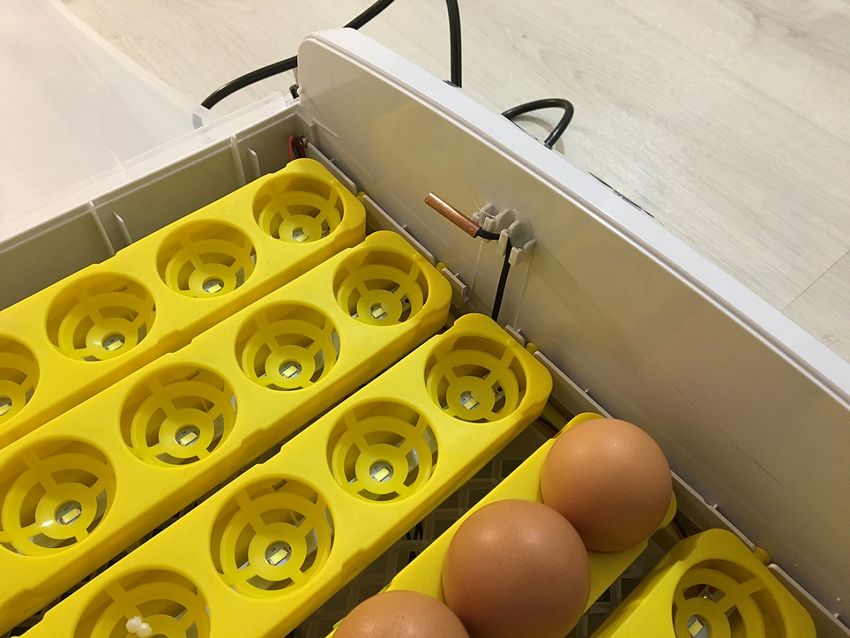
- Eggs should be turned 2-4 times a day. In an incubator, this function is performed by a special mechanism with an electric motor. You can buy a ready-made design or make your own hands.
- In the door of the refrigerator cut a viewing window.
Photo ideas of homemade incubators