How to make wings at home - tools, materials and a step-by-step description of making
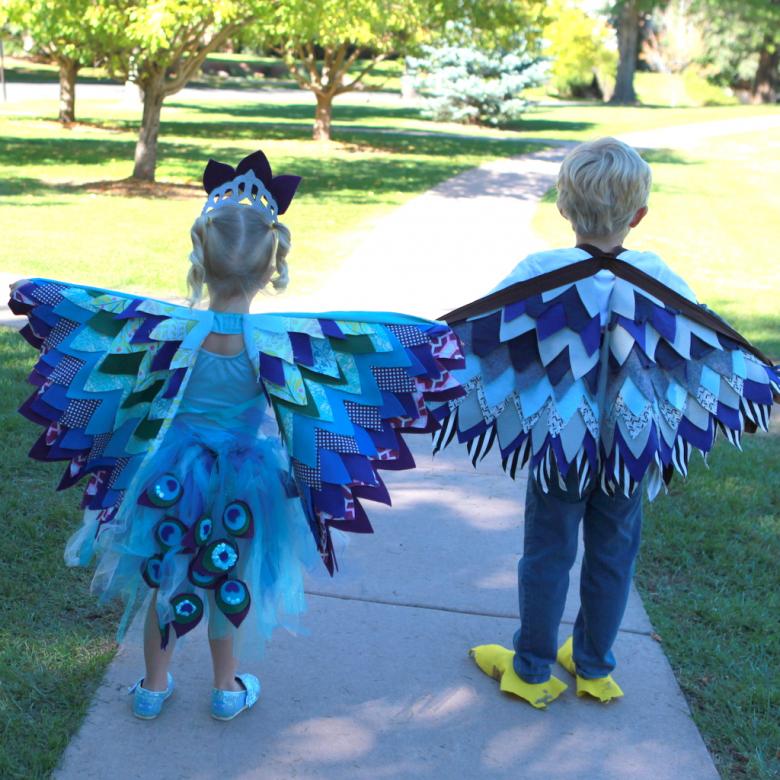
The angel costume is very common at both adult themed parties and children's matinees. Such a costume can look cute at a children's party and bold for Halloween. The main feature of the costume is undoubtedly the wings. At first glance, such a product seems complicated and time-consuming, but in fact, even novice craftsmen are able to make it.
Choosing the shape
There are a large number of workshops on how to make angel wings. Depending on the theme of the evening and the lifespan, it is worth making one or the other choice. Some products are designed for only one time, others are considered reusable crafts.
Before you start creating this accessory, you need to decide on three things: the parameters, the position and the style.
For a child will suit a small accessory, with a small weight and not interfering with the movements, for an adult party will need a design of larger size. If there will be dancing at the matinee, it should not bring discomfort. And the design depends entirely on the imagination.
They can be both folded and raised. For a matinee, a folded design will be more suitable, and for a photo shoot - unfolded in full swing.
The shape is chosen based on the imagination of the master.
Materials for work
They can be easily purchased in the departments of needlework. For the wings you need:
- Natural feathers.
- Fabric.
- Cardboard.
- Lace.
- Paper.
- Elements of decoration.
- Mastic.
- Isolon.
- Wire.
- Cotton disks.

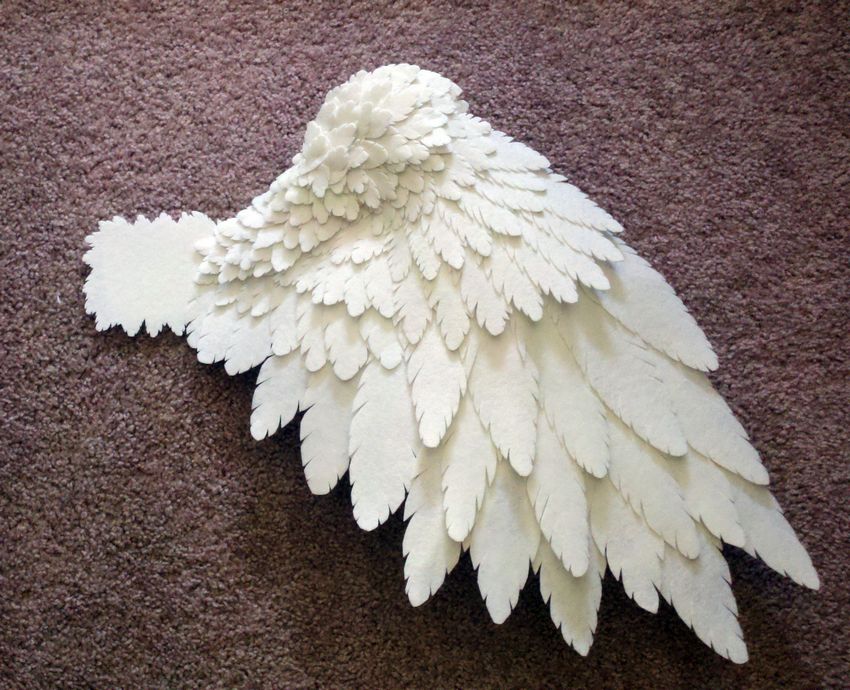
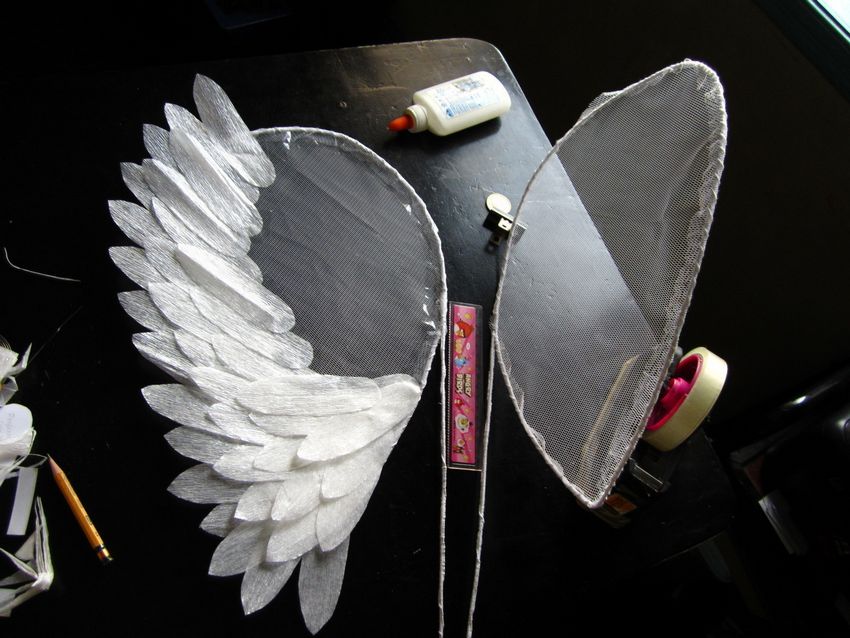
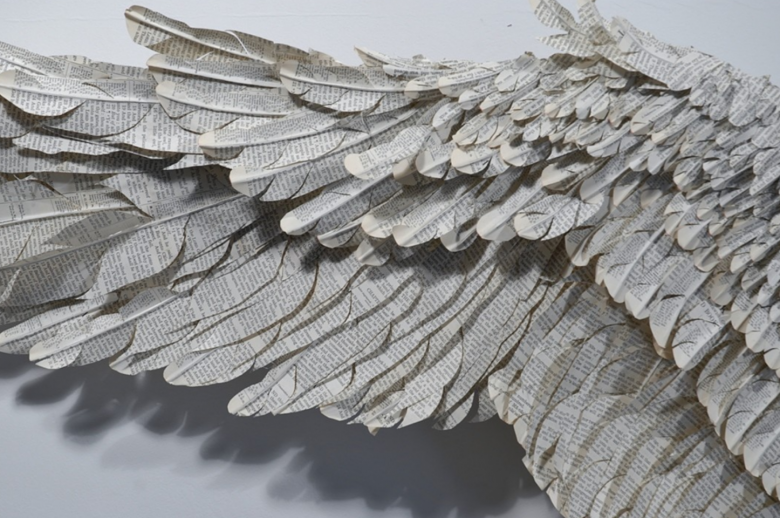
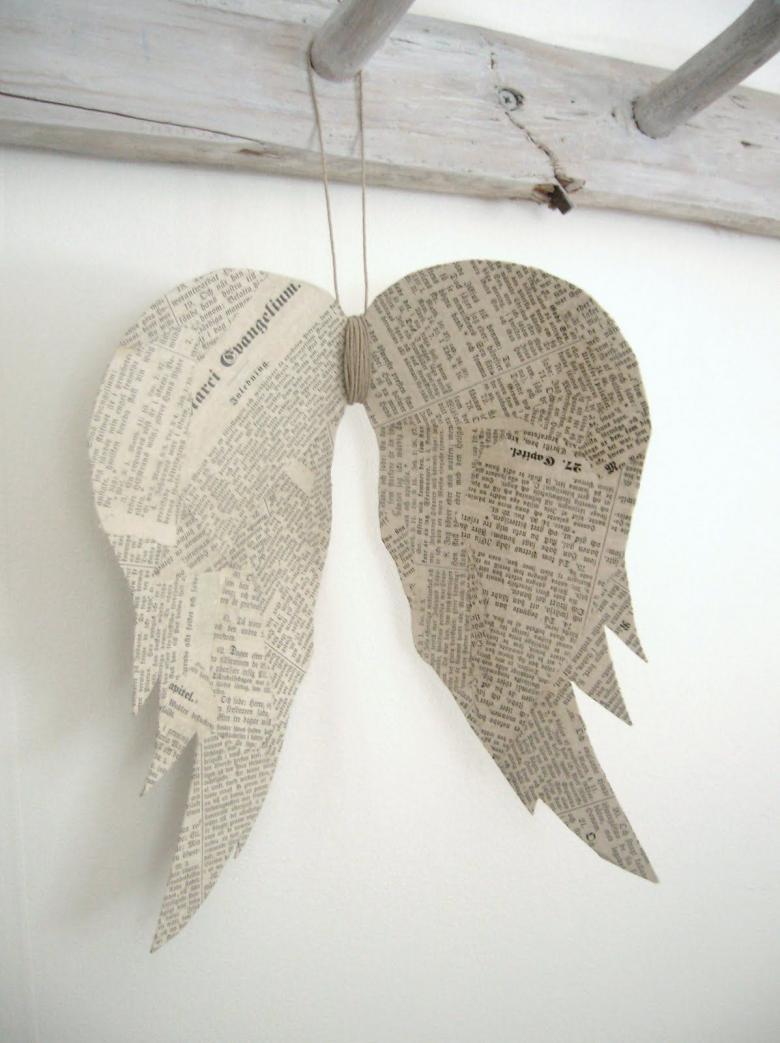
Paper wings.
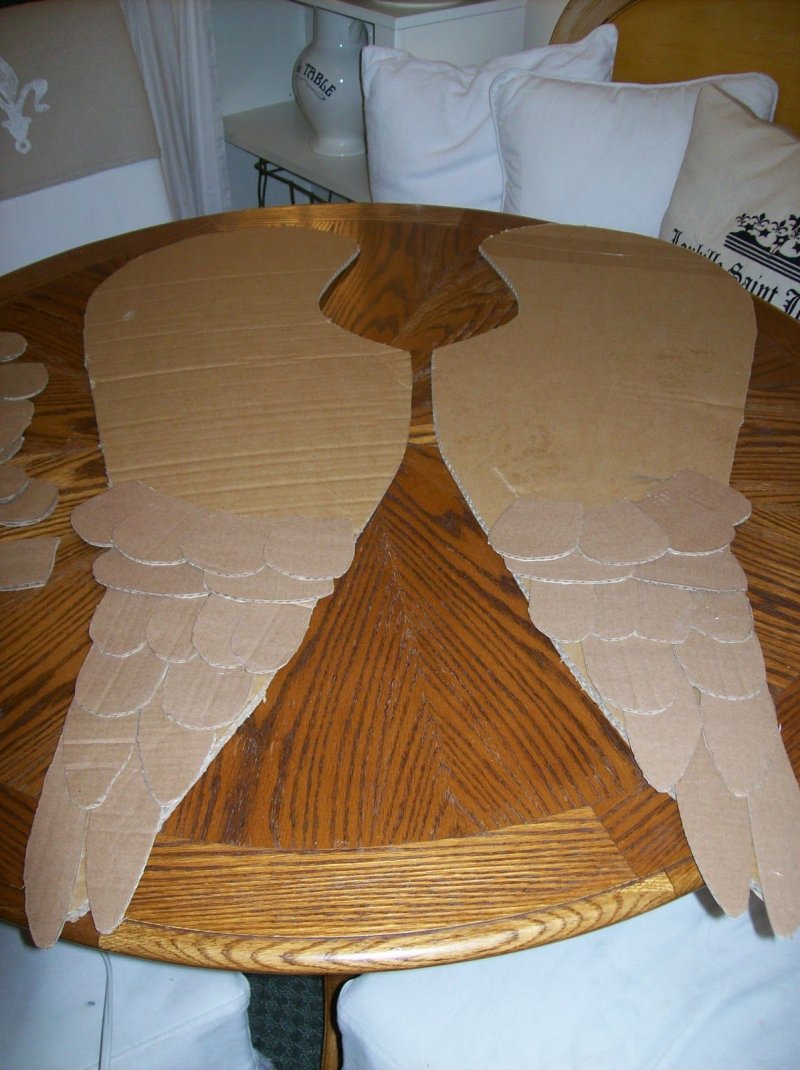
Paper, like cardboard, are common resources for creating this accessory. They are easy to use and have a low cost. However, it is quite a long process. Many pieces need to be cut out, which will eventually become like natural feathers.
The necessary elements are
- Cardboard.
- Paper of white color.
- Printer.
- Rubber band.
- Glue gun.
- A pencil.
- Scissors.

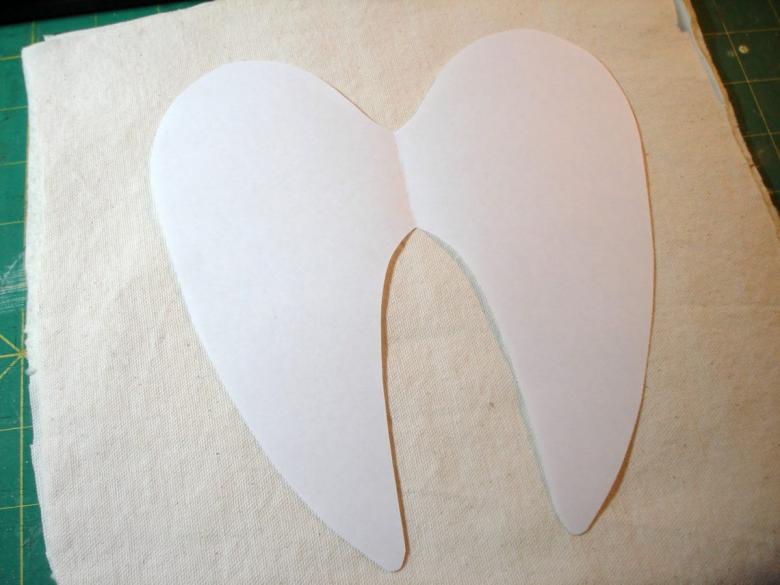
How to work
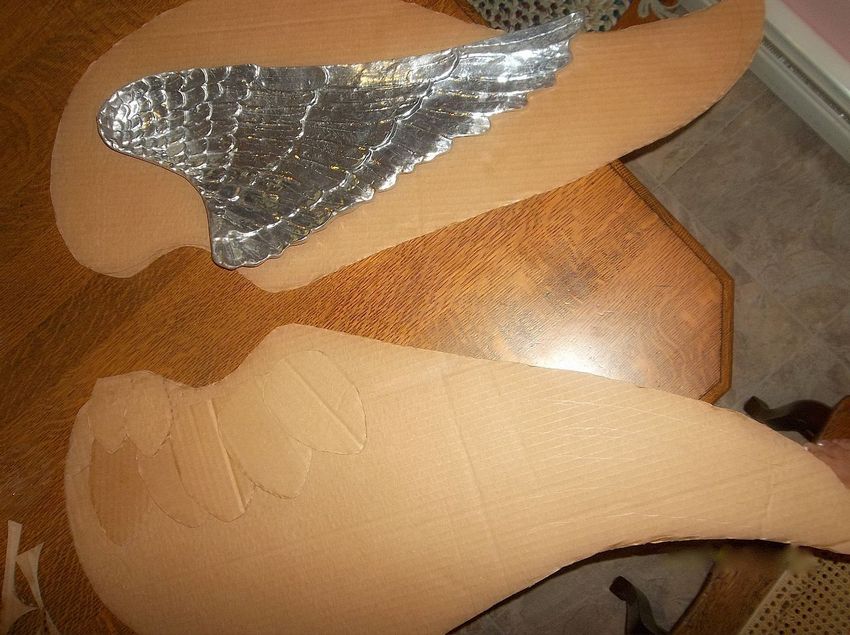
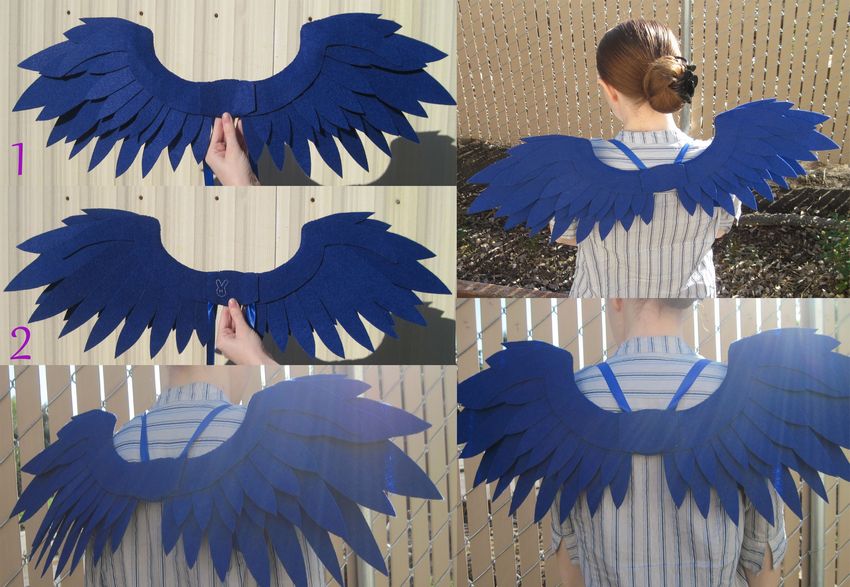
First you need to make a base. It is made of cardboard, on which feathers will then be attached. The contour of the basis can not be drawn, in any case, it will be carefully masked with feathers on the edge. It is necessary to attach a rubber band to the base.
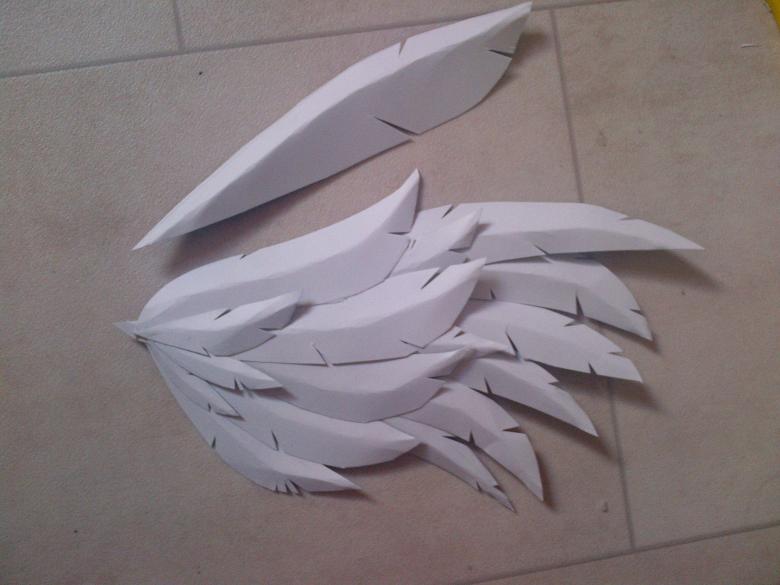
Then you need to make a blank feathers. For convenience, they can be printed out. It is better to glue the feathers from the bottom of the base, otherwise, the glue will not be visible and layers.
Feathers should be glued to the top, the bottom can be curled with scissors.

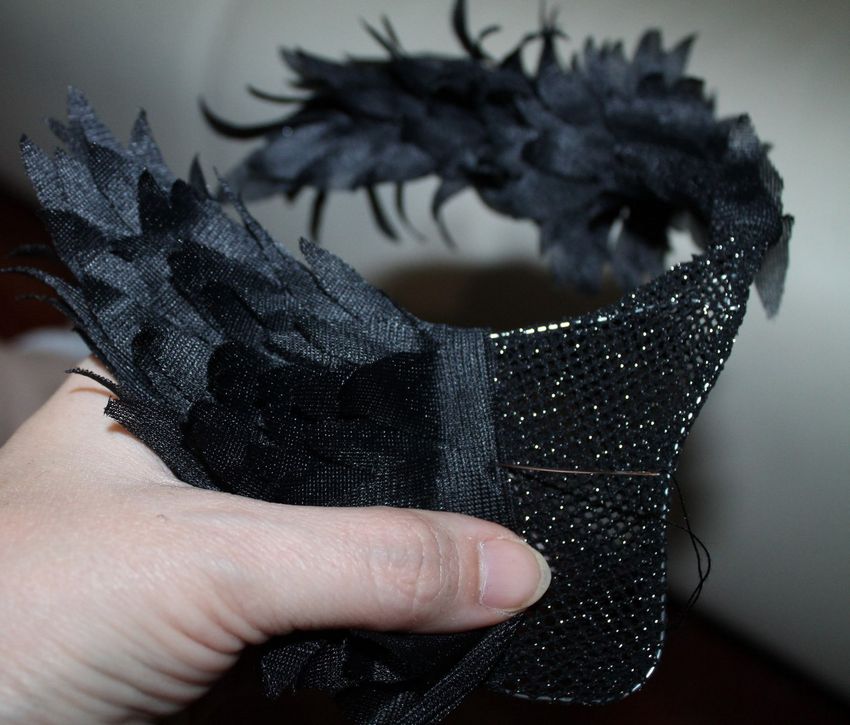
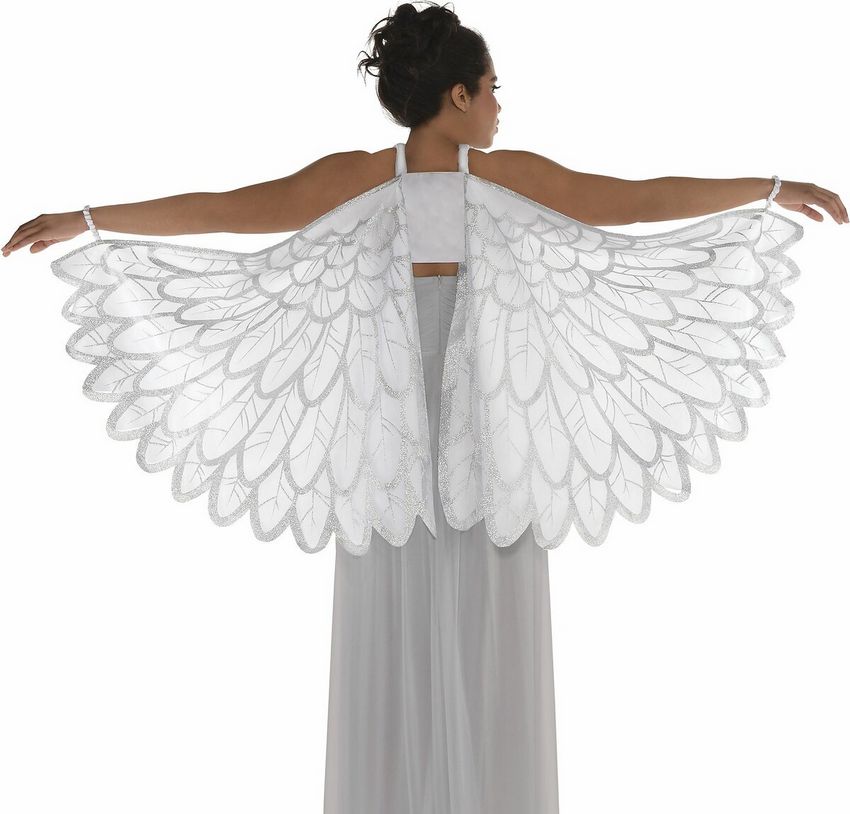
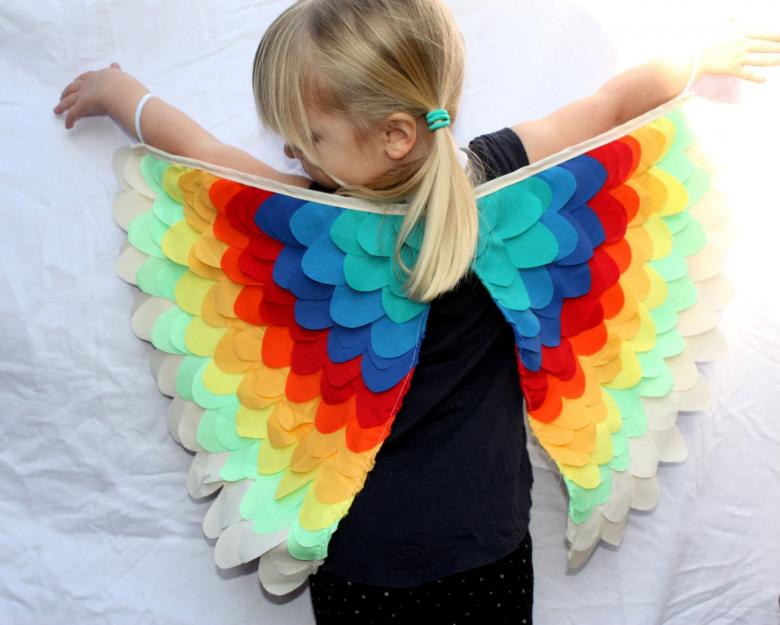
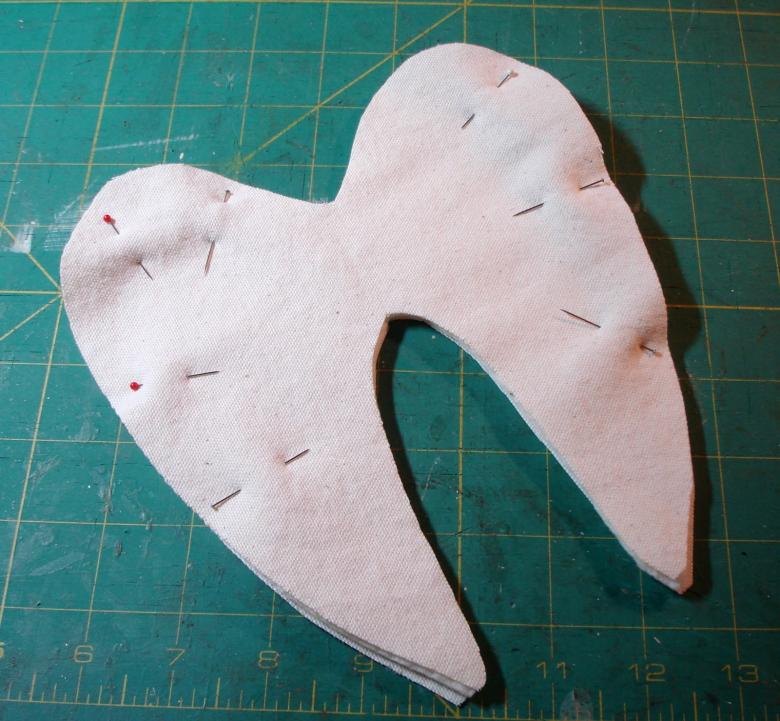
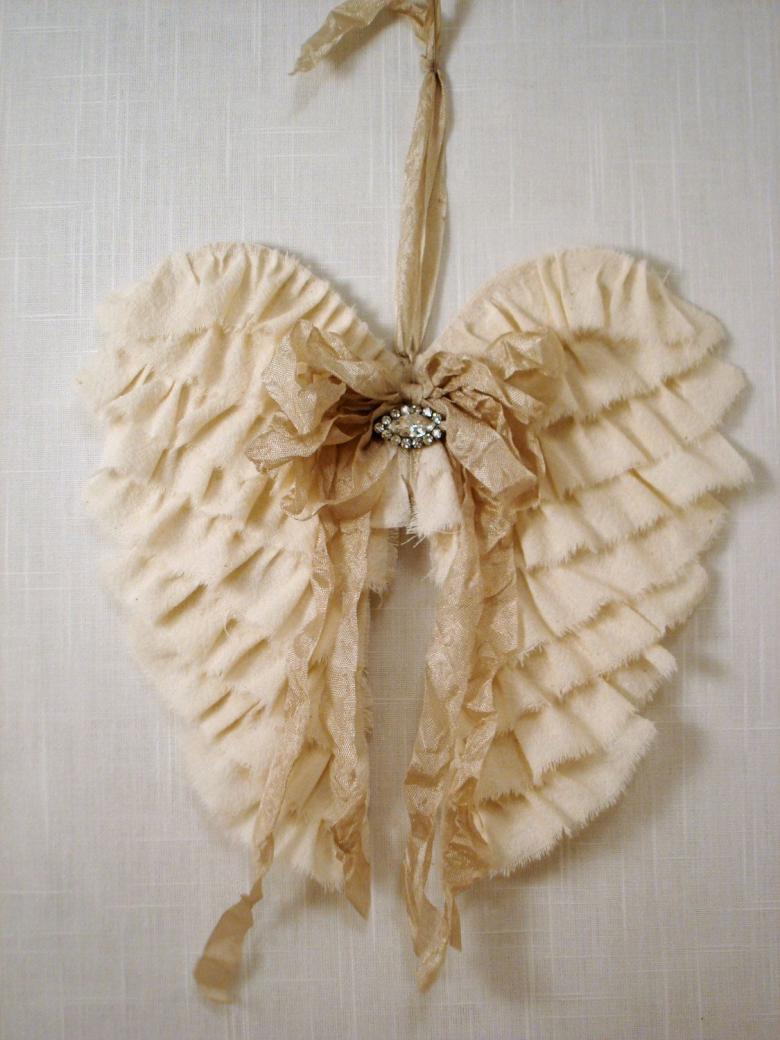
Cloth products
A product made of this material will last a long time and stand the test of time.
Materials and tools
- White paper or cardboard.
- Fabric.
- Rubber band with a fixer.
- Lace.
- Wire.
- Scissors.
- Duct tape.
- Satin ribbon.
Workflow
- On cardboard to draw the wings.
- Bend it with wire around the edge, connect the ends and wrap with duct tape.
- Wrap the entire work material, fix the cloth around the edge of the product.
- Attach a rubber band to the workpiece.
- Cut the fabric into strips of 10-15 cm.
- Sew on the feathers from underneath the workpiece. The feathers themselves are attached by the top, the bottom should remain free.
- To decorate the product fit lace, pearls, rhinestones.
Isolon wings
Isolon is used in construction, as a substrate under the laminate. It is a relatively inexpensive translucent element. Wings made with it will be very light.

Materials to work with
- Isolon.
- Wire.
- Duct tape.
- PVA glue.
- Scissors.
- Various decorations.

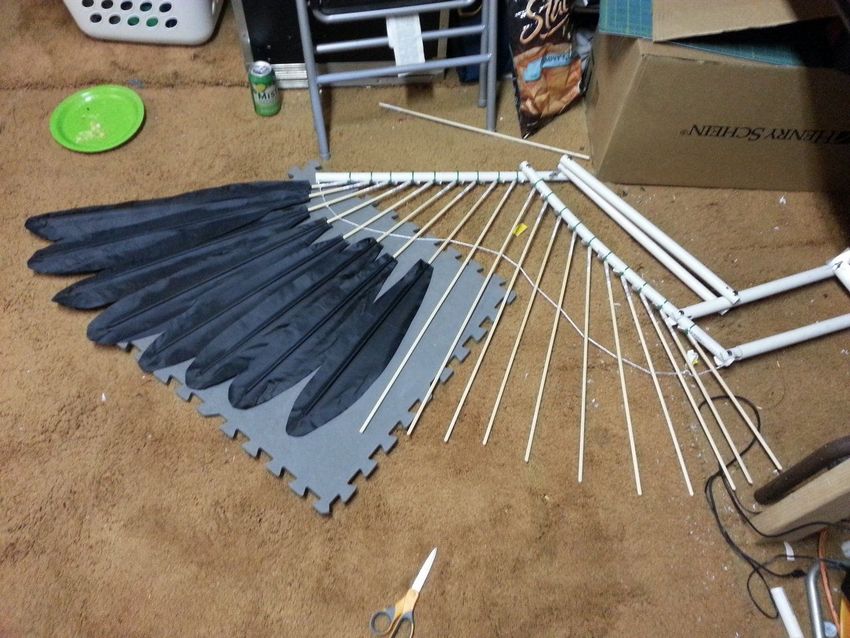
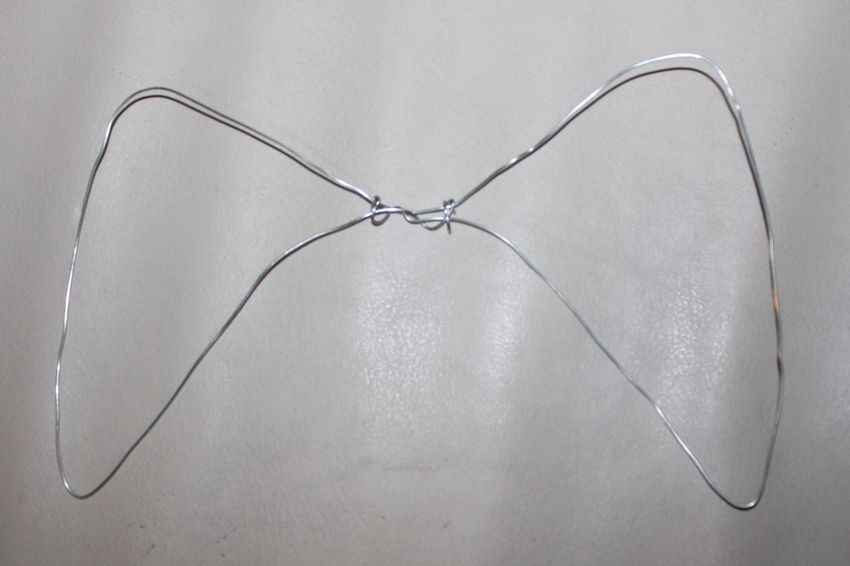
How to Make a Frame
- Make a frame out of wire and pull it over with duct tape. Carefully fasten the edges.
- Attach an elastic band to the base.
- From the material, cut feathers of various sizes, so that the future wings look natural. Use a glue gun to start gluing the feathers, starting from the bottom of the design to the top. Larger feathers should be attached at the bottom, smaller elements at the top of the design.
- Decorative elements can be added to the top of the design.
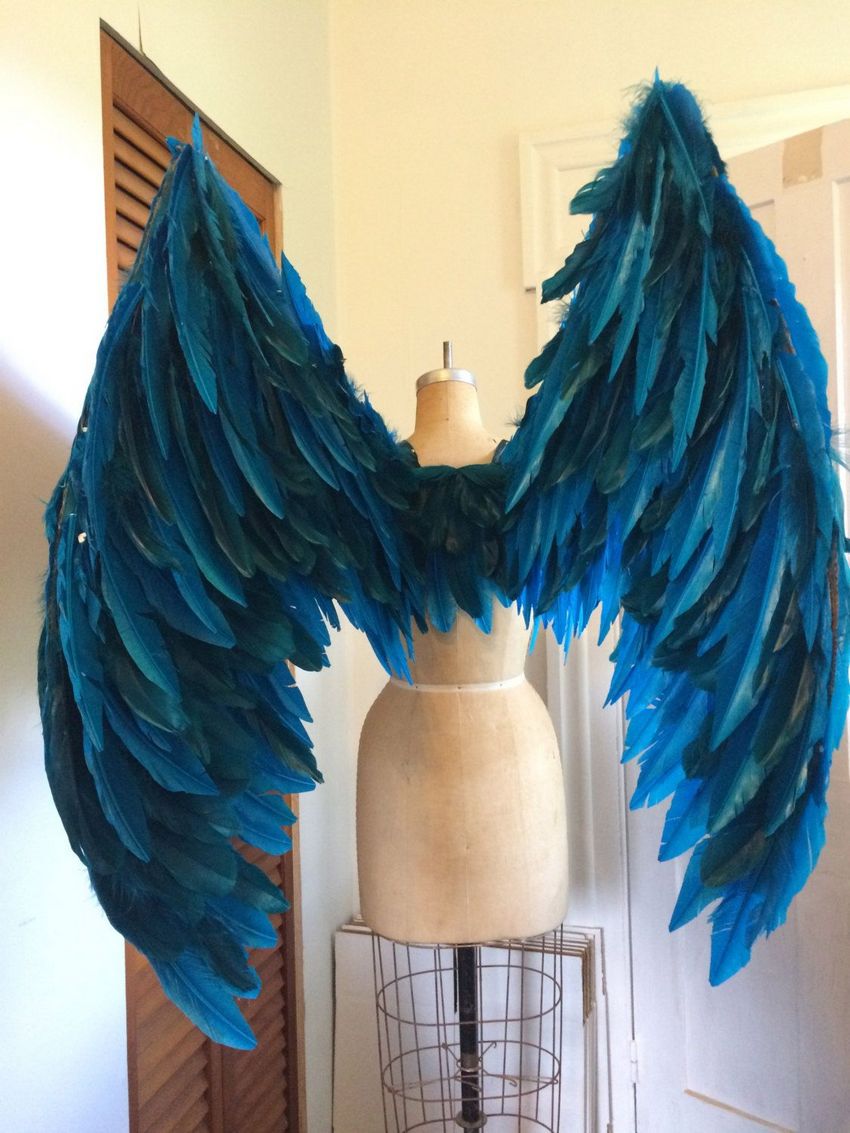
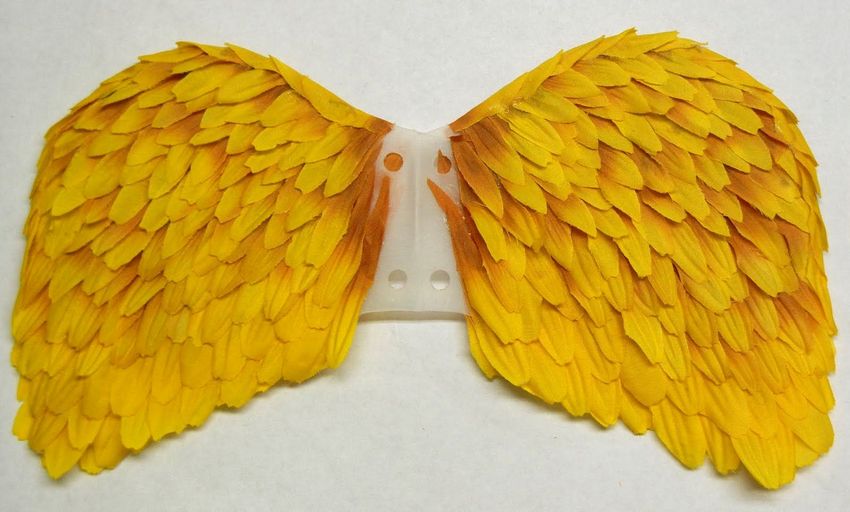
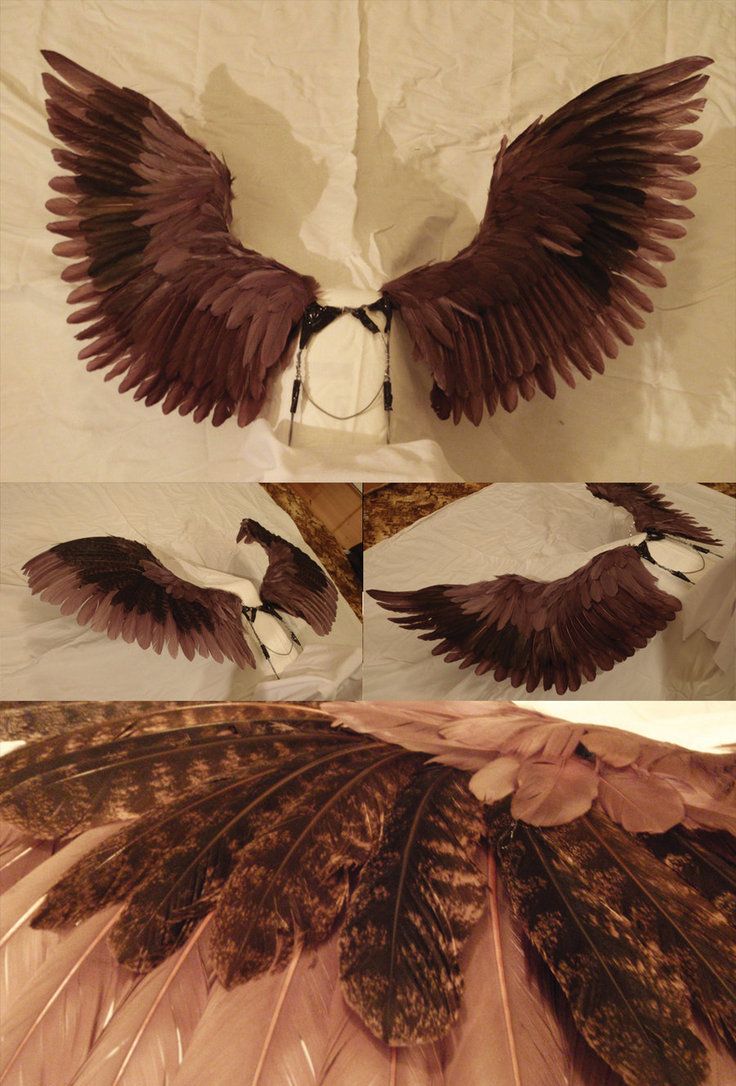
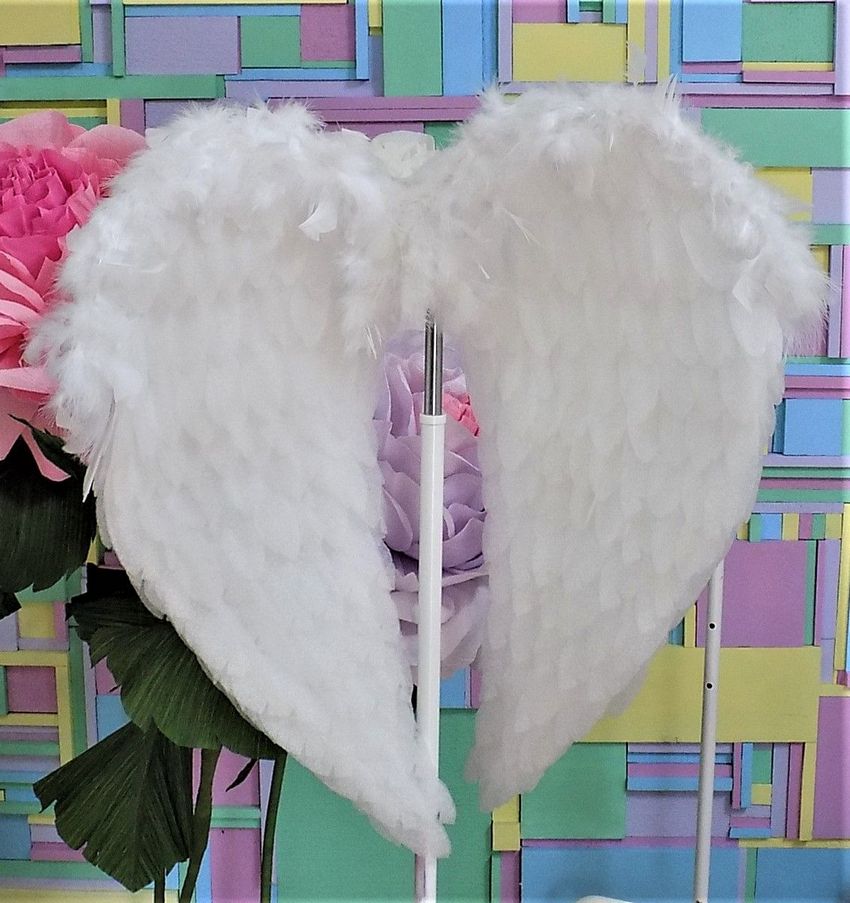
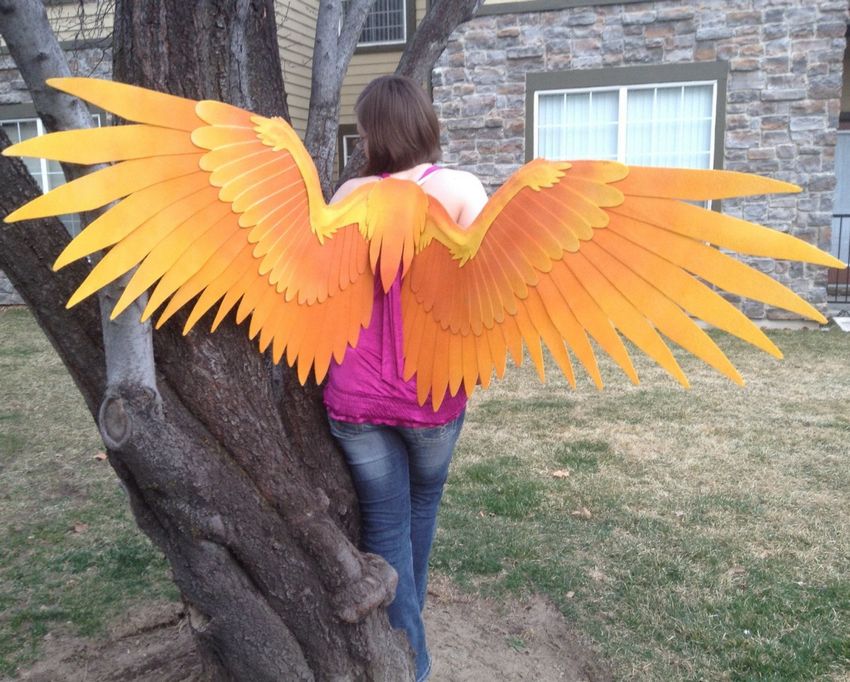
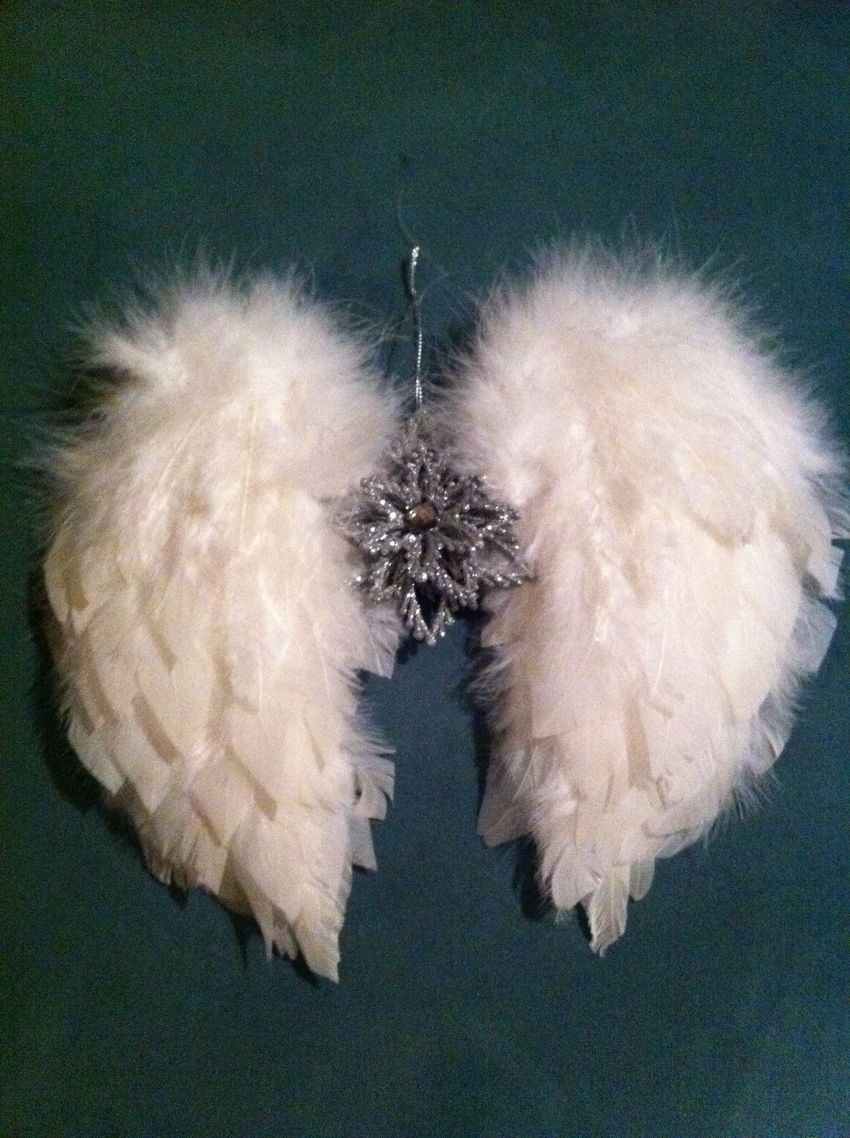
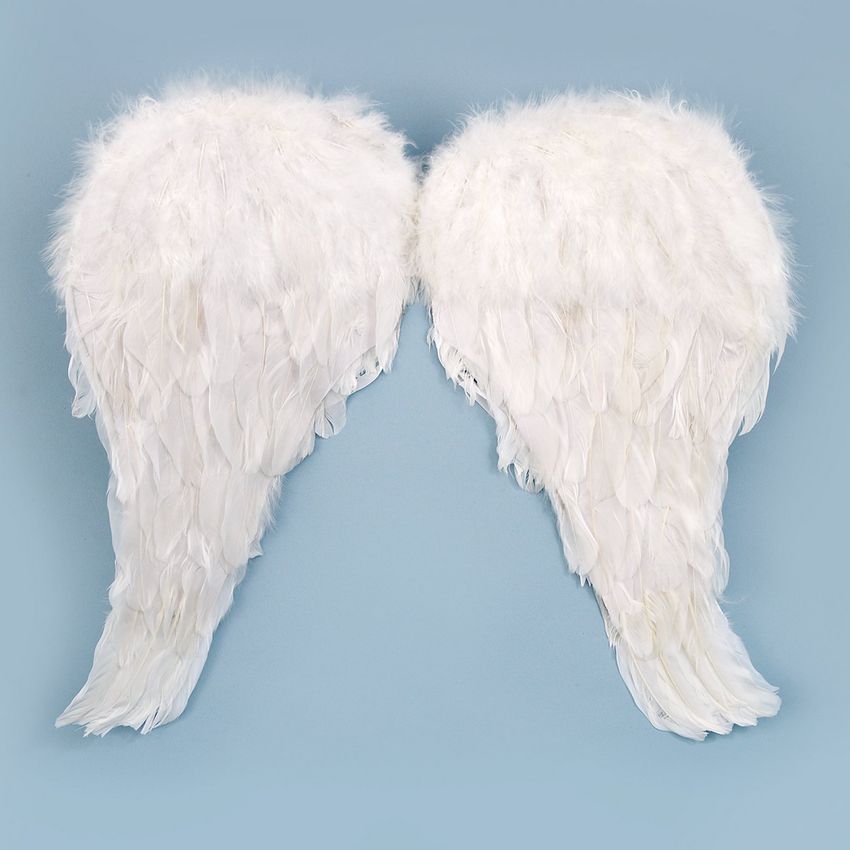
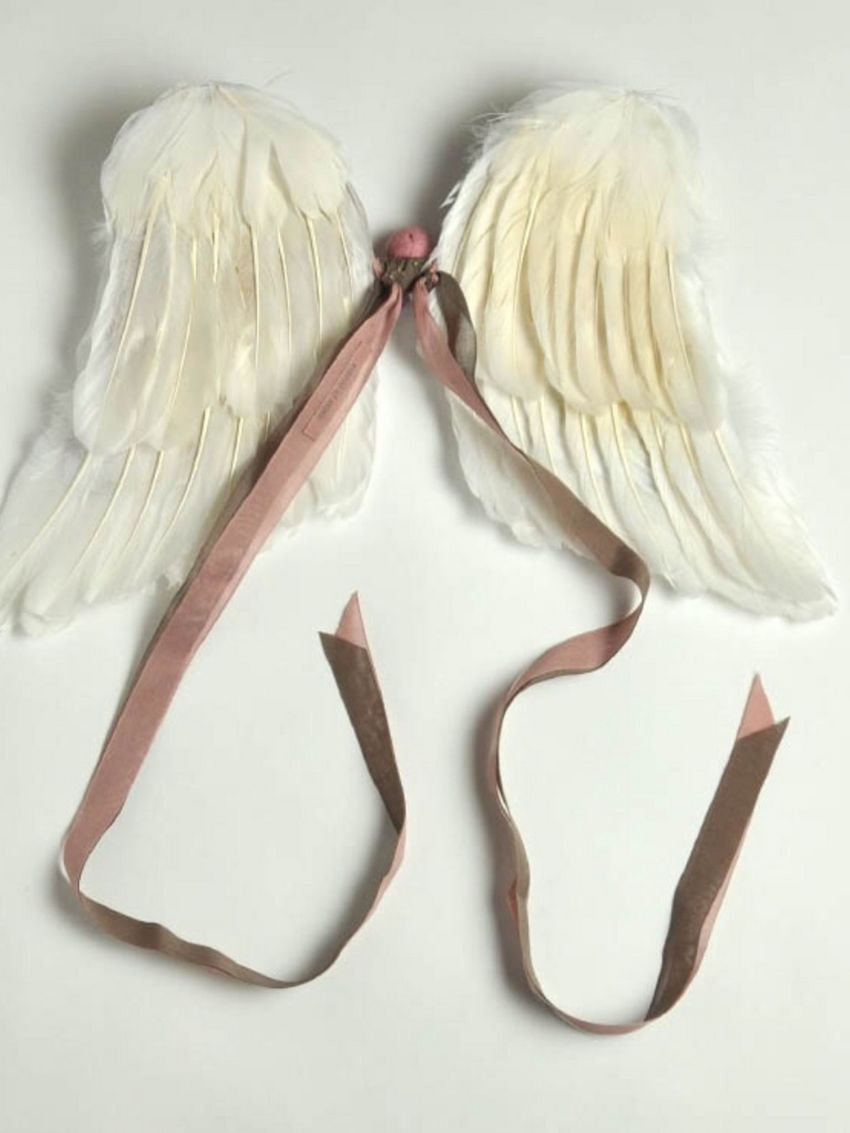
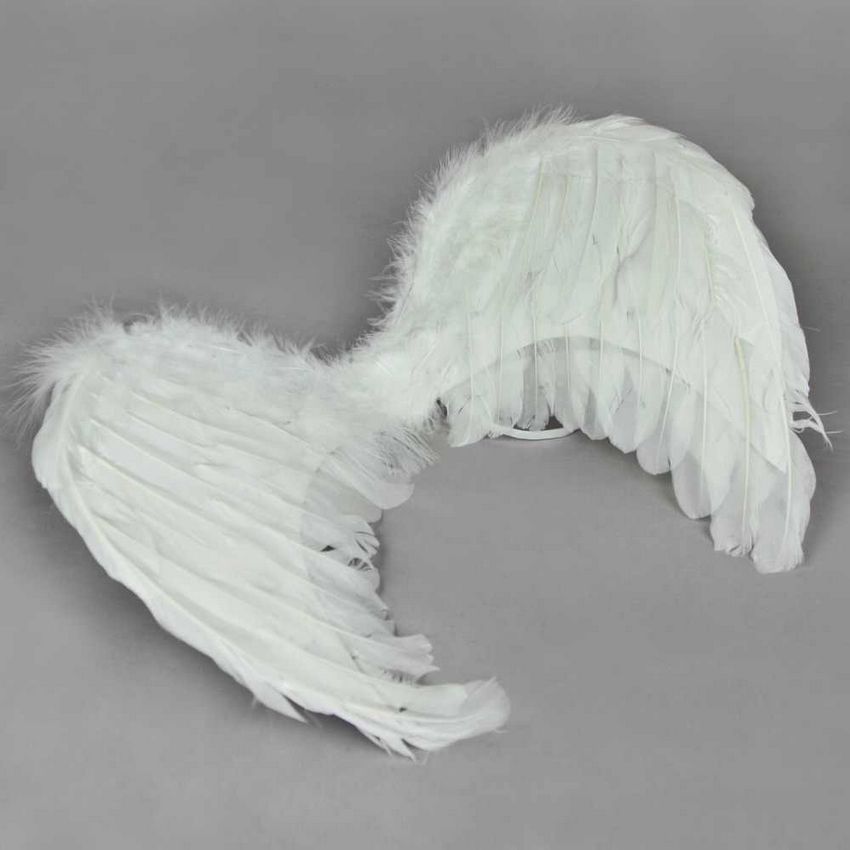
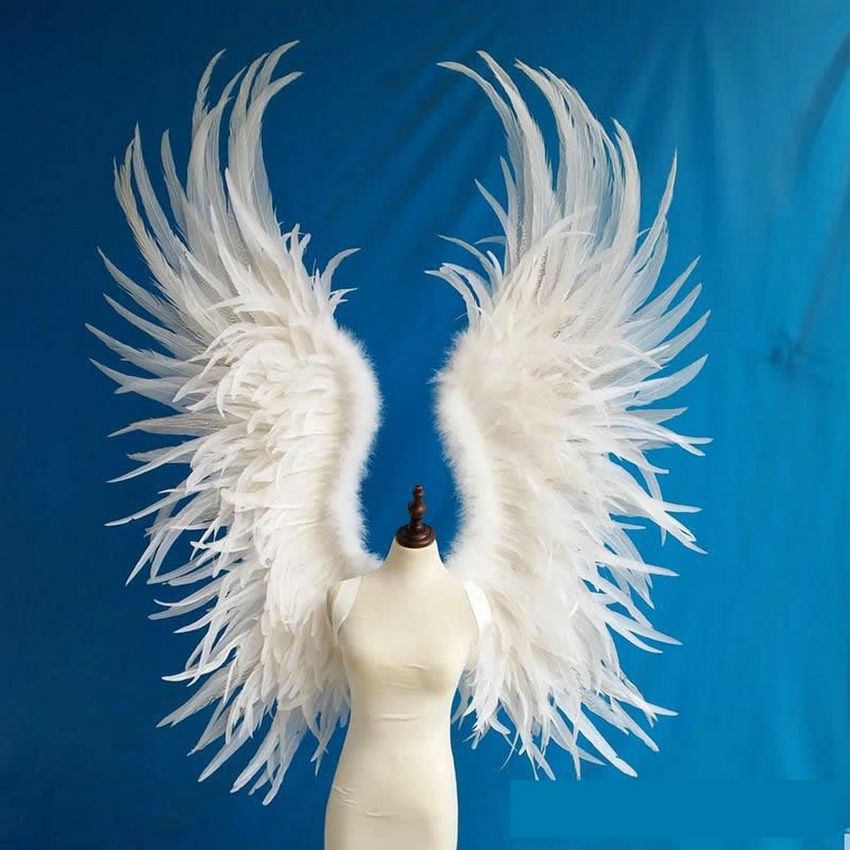
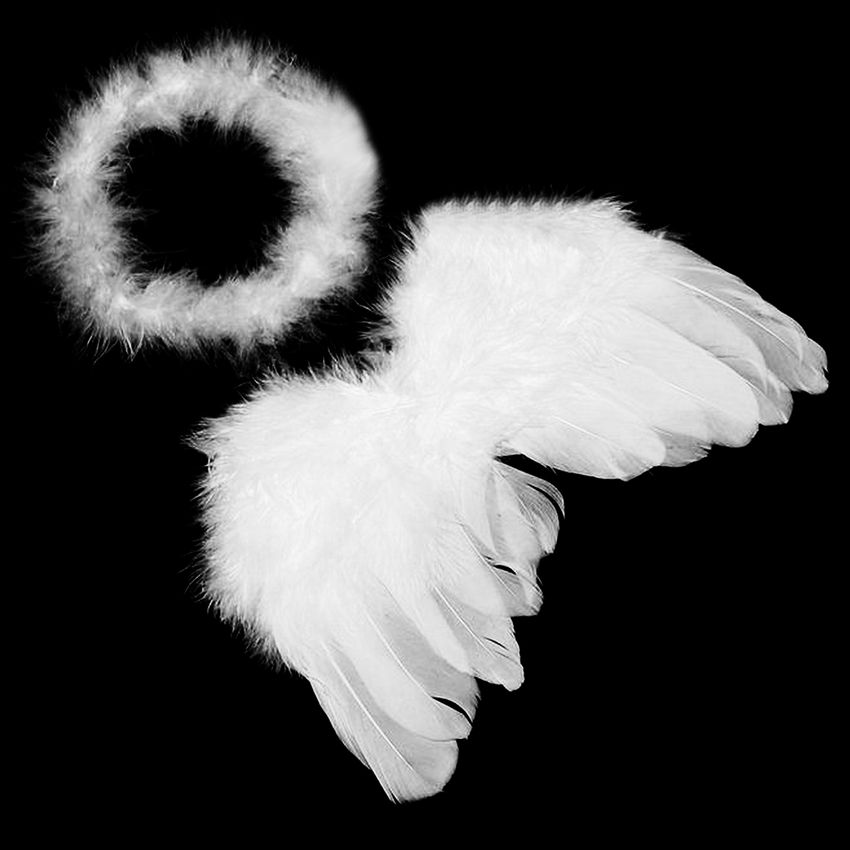
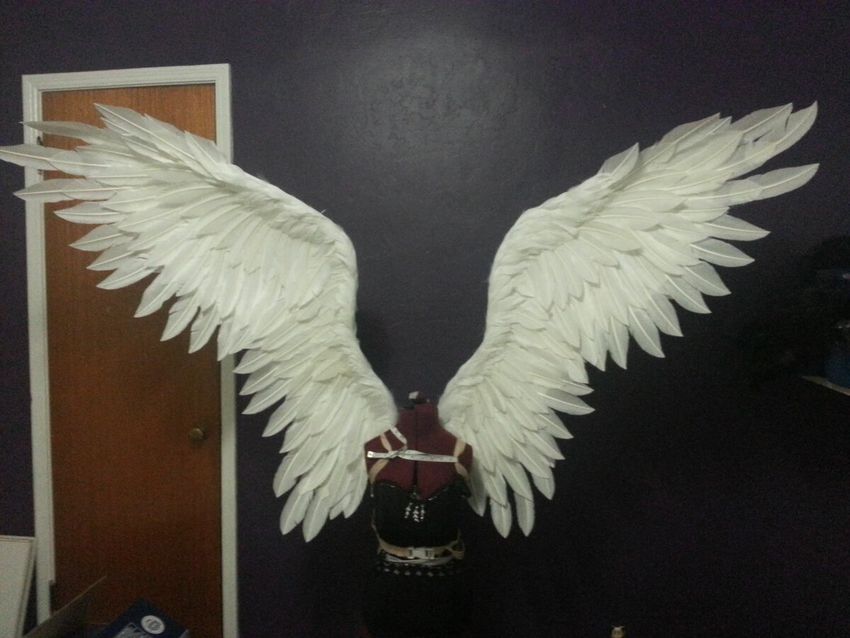
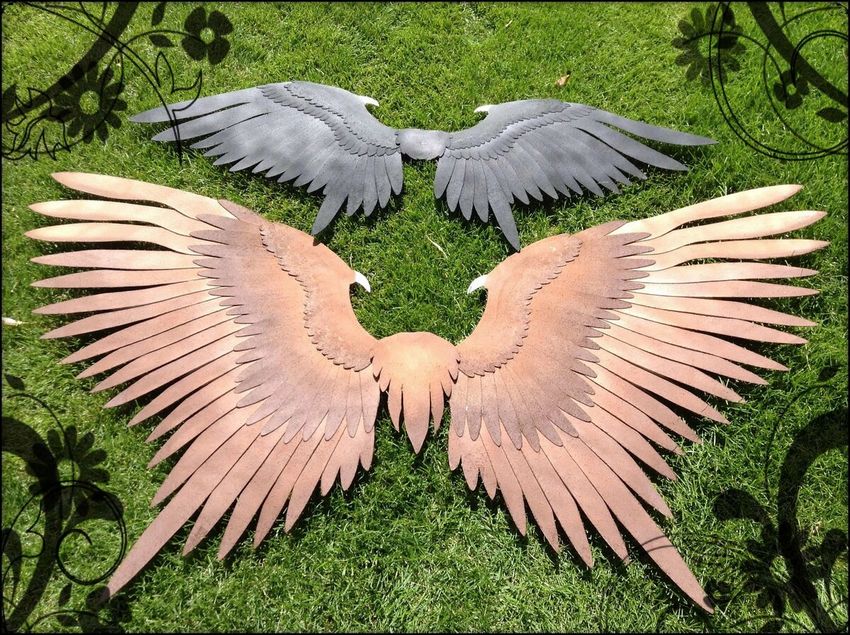
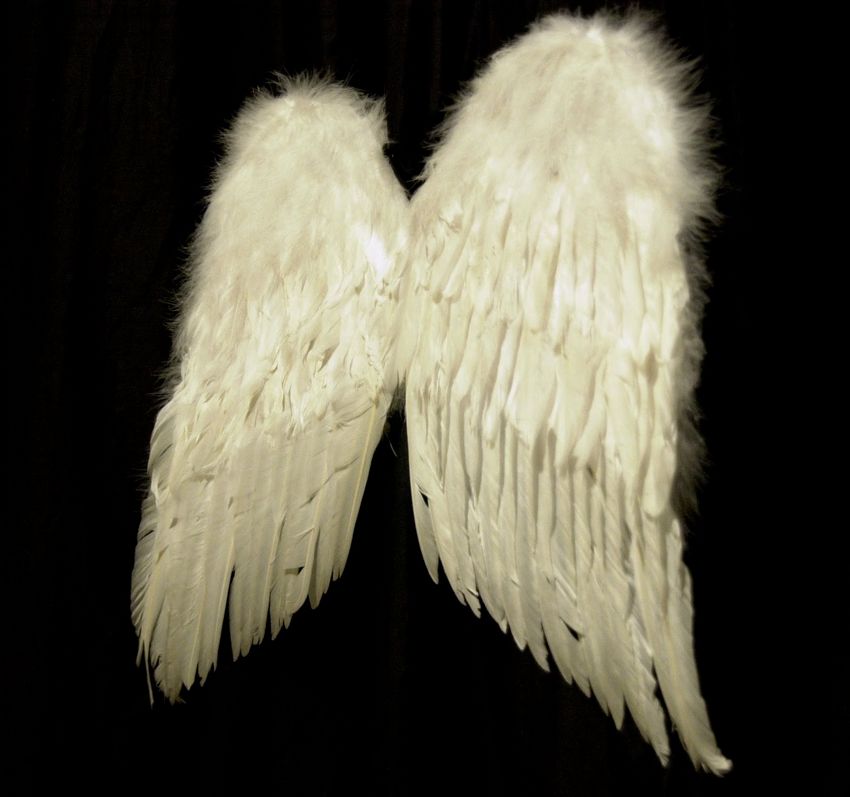
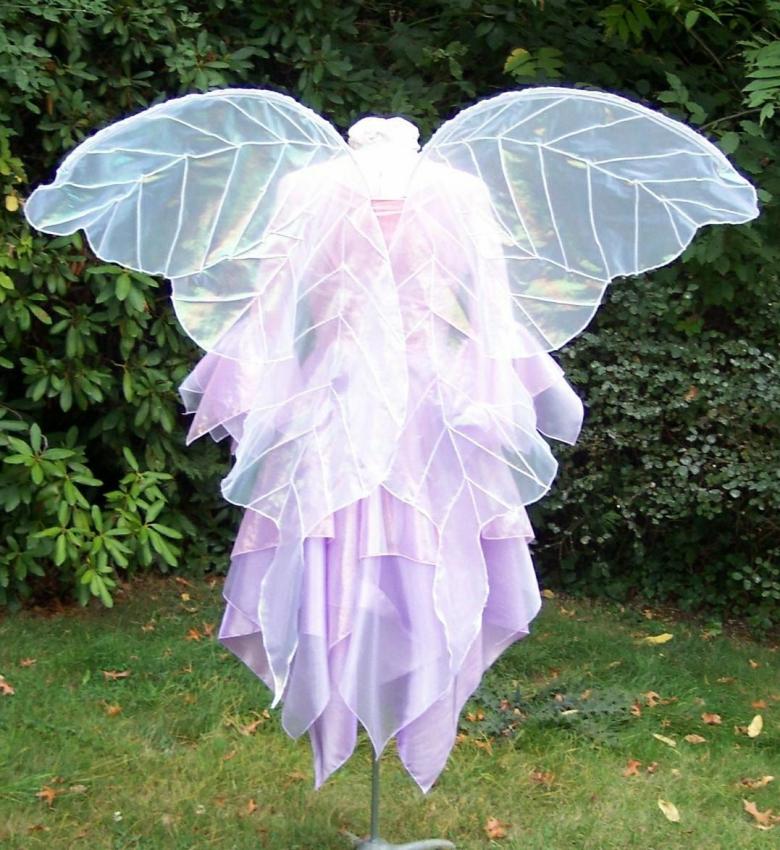
A feather accessory.
This is the most widely encountered option. Such a product looks natural in any costume.
There are many materials on the Internet, how to make angel wings with your own hands. Working with feathers is a labor-intensive process, but the final work will look natural.
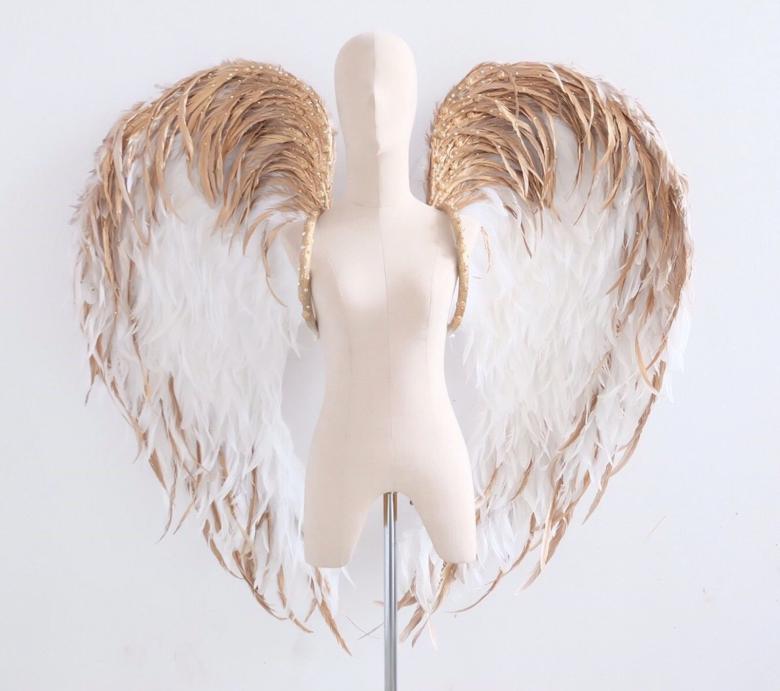
Materials for work
- Natural feathers.
- Fluff.
- Scissors.
- PVA glue.
- Cardboard.
- Paper napkins.
- Components for decoration.
- A pencil.
Workflow
- Make a blank of heavy cardboard. The workpiece must remain intact, do not cut parts from each other.
- Attach a rubber band to the workpiece.
- Attach feathers, the work should begin at the bottom. Glue the longest elements to the bottom, the shortest parts to the top. All elements are attached on the principle of scales.
- Decorate the finished product with rhinestones or lace.
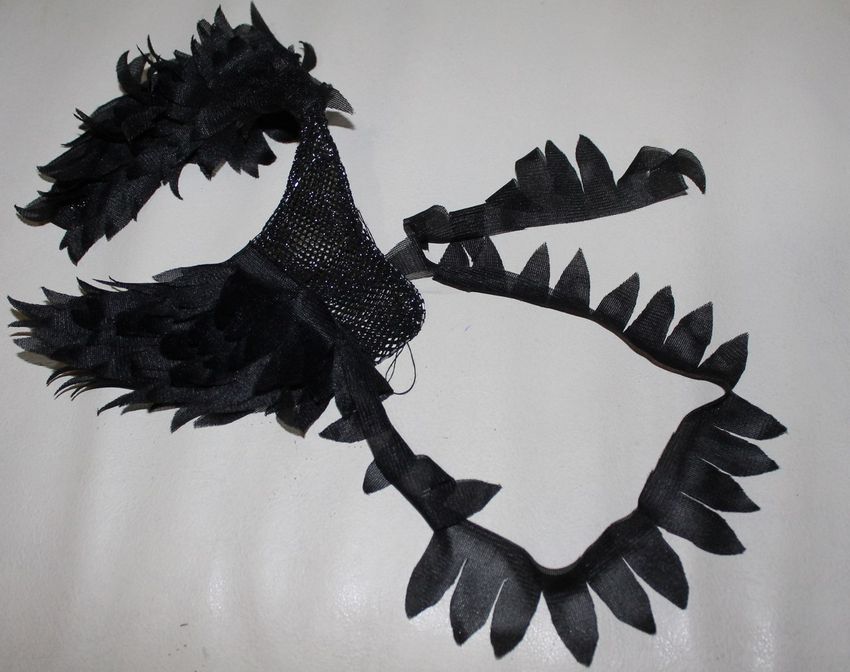
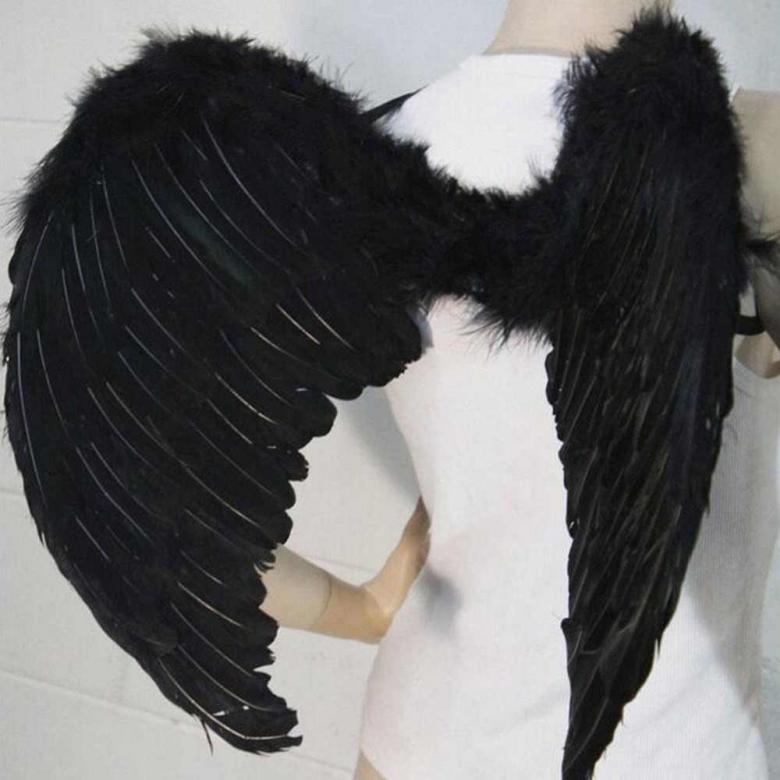
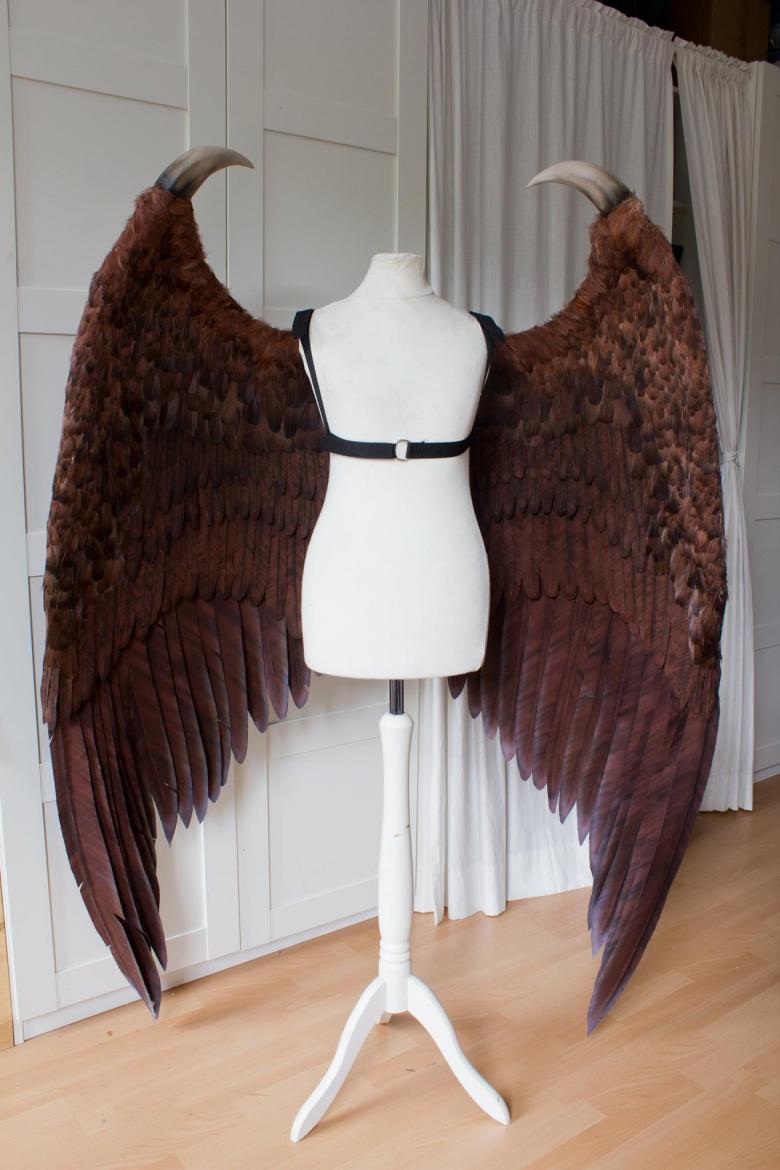
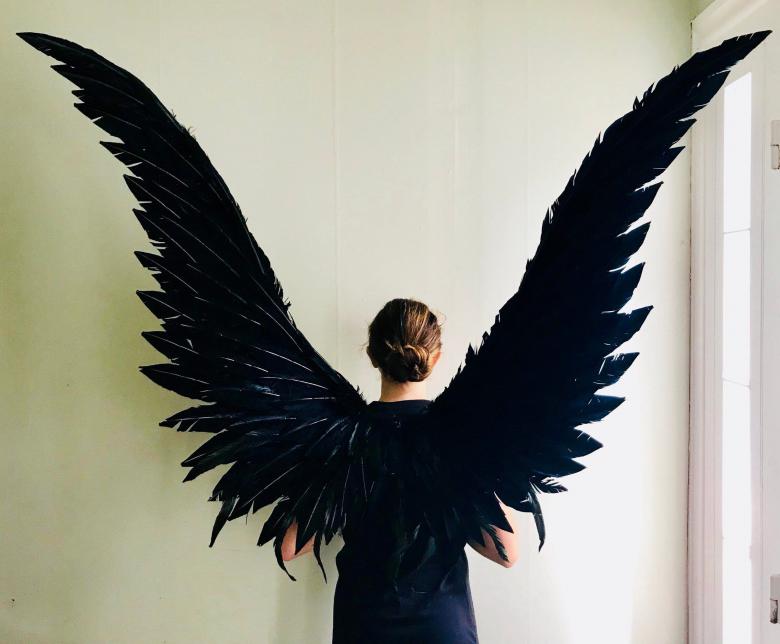
Black wings
To create wings as in terraria or fallen angel costume, you can use two options: either find black feathers, or paint them. In the second option, only water-resistant, high-quality paint should be used. The base under the feathers should also be painted black.
Tulle Wings
To create these wings, you will need tulle, two hangers of wire and thread.
How to do it
- Cut the hooks from the hangers.
- Give the frame the shape of a wing.
- Cut wing shapes from fabric and wrap the frame.
- Secure the result with threads along the edge of the frame.
- Connect the two parts to each other. This can be done with duct tape.
- Cut strips of fabric, 10-15cm long and of equal width.
- Sew the strips, forming them into pleats.
Wings from napkins and coffee filters
This luxurious accessory can be made from paper napkins. You need to obtain a large quantity of this material.
Materials you will need
- Napkins.
- Cardboard.
- A rubber band fixer.
- Scissors.
- Glue.
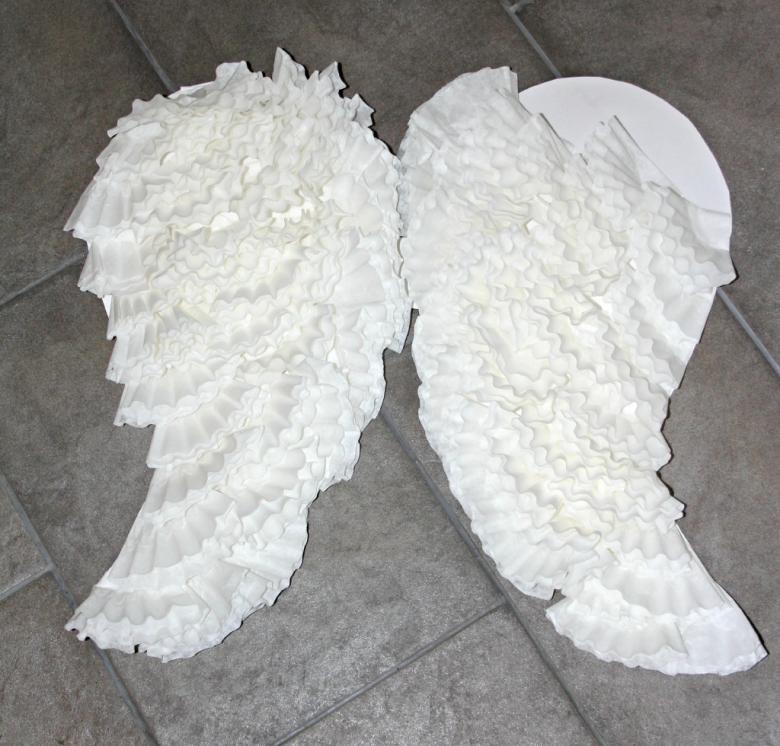
Workflow
- From cardboard to cut the template for the wings.
- Glue the cardboard with white paper.
- Attach a rubber band to the base.
- Cut the tissues into several pieces and fold into triangles.
- Start gluing triangles. They should be glued so that each successive row covers the previous one.
Fluff, satin ribbons or lace will work well for decorating the product.
Crafts from disposable plates
For this accessory, you can use a variety of materials, even such as disposable paper plates.
Materials and Tools
- Disposable paper plates.
- Rubber band or ribbon.
- Glue gun.
- Scissors.
- Cardboard.
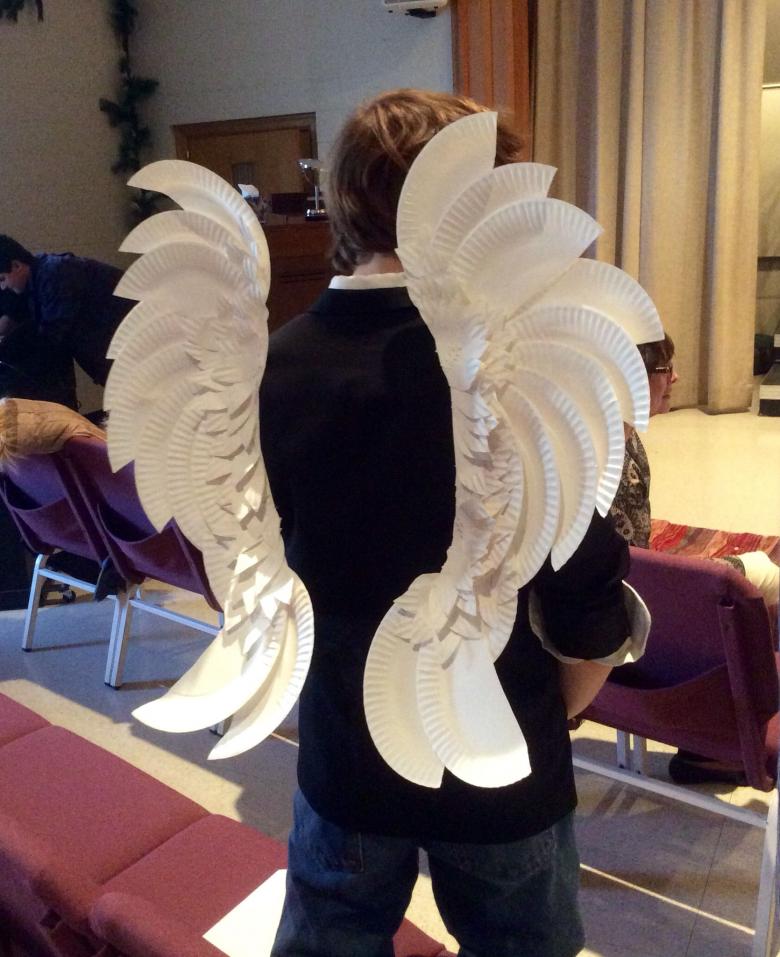
The workflow
On the basis of the cardboard glued plates cut into two parts. One row should go a little bit the previous row. The resulting product will not last long, so it is better to use it for a small production at a school holiday.
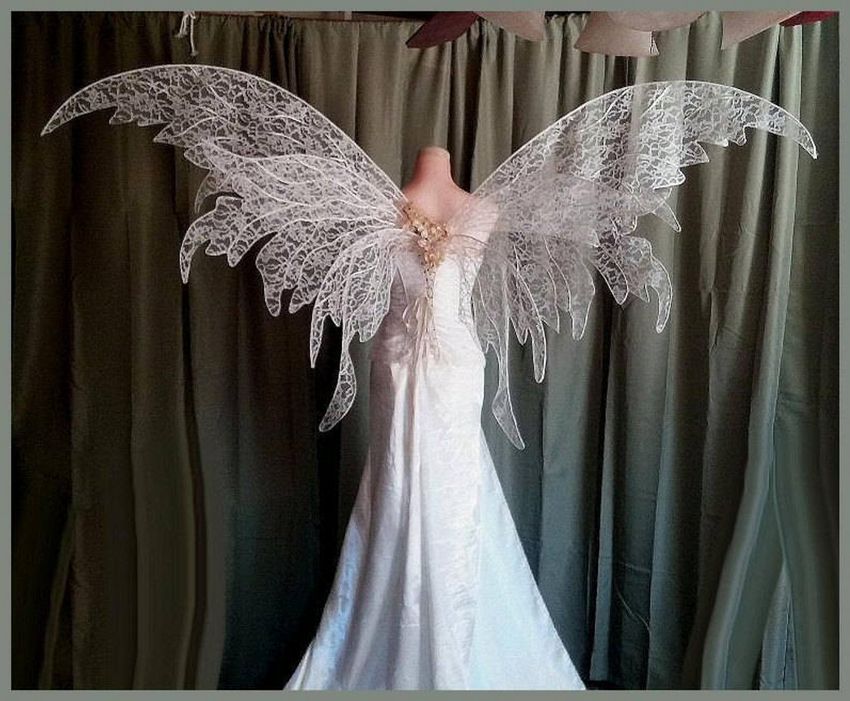
Lace accessories
To make this accessory, you will need:
- Lace.
- Wire.
- Paper.
- Gum.
- Fabric.
Creation process
For this version it is better to make folded wings. From paper or thick cardboard you need to cut a blank. According to its shape, bend the wire, connect the ends of the wire to each other and wrap the adhesive tape. The whole frame is covered with fabric.

The next step is to cut the lace into strips of equal width, 10-15cm. Sew the strips from the bottom of the top edge. One strip overlaps the other, thus hiding the seam of the previous row.
Decorate such a product can be decorated with a bow, rhinestones or satin ribbon.
Such accessories are quite easy to make with your own hands, but you need to invest a lot of effort, which will provide an excellent result.
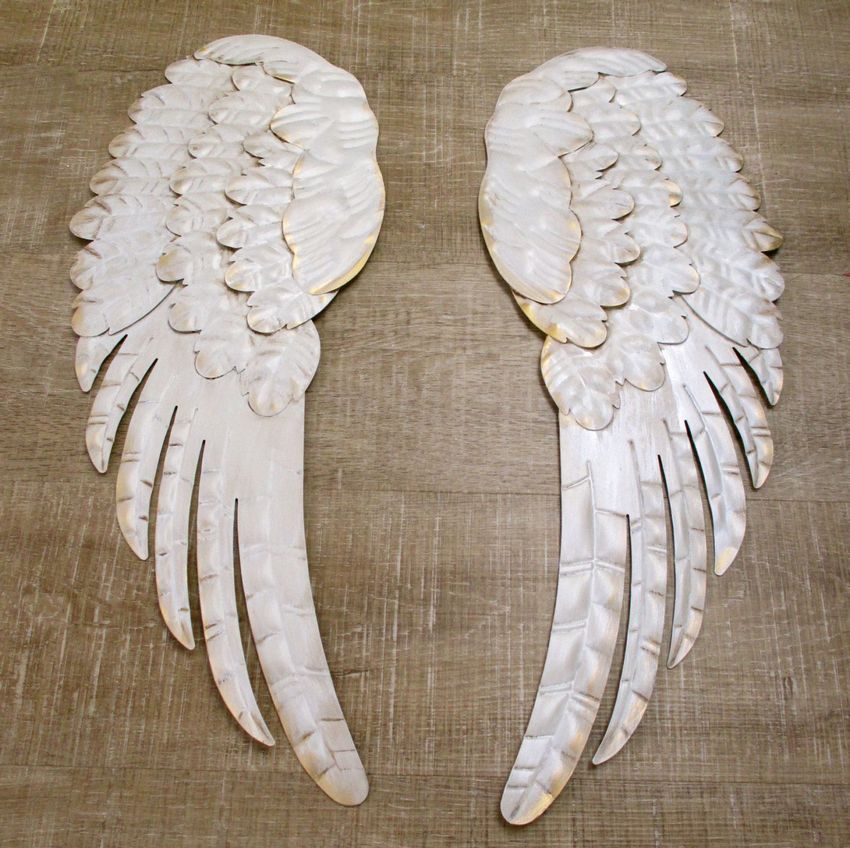
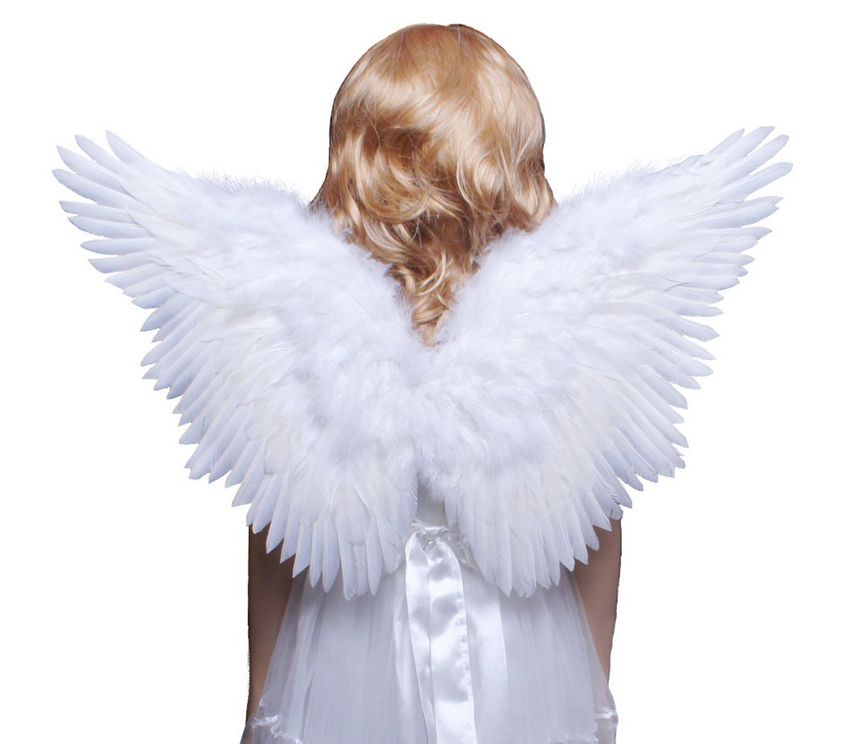
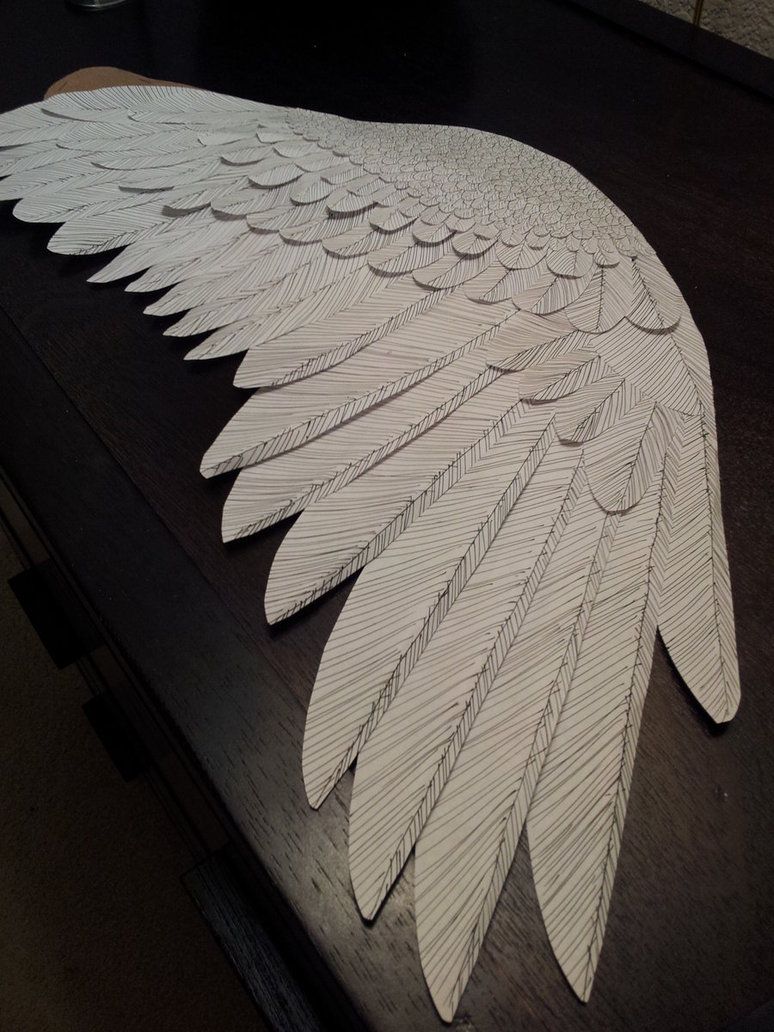
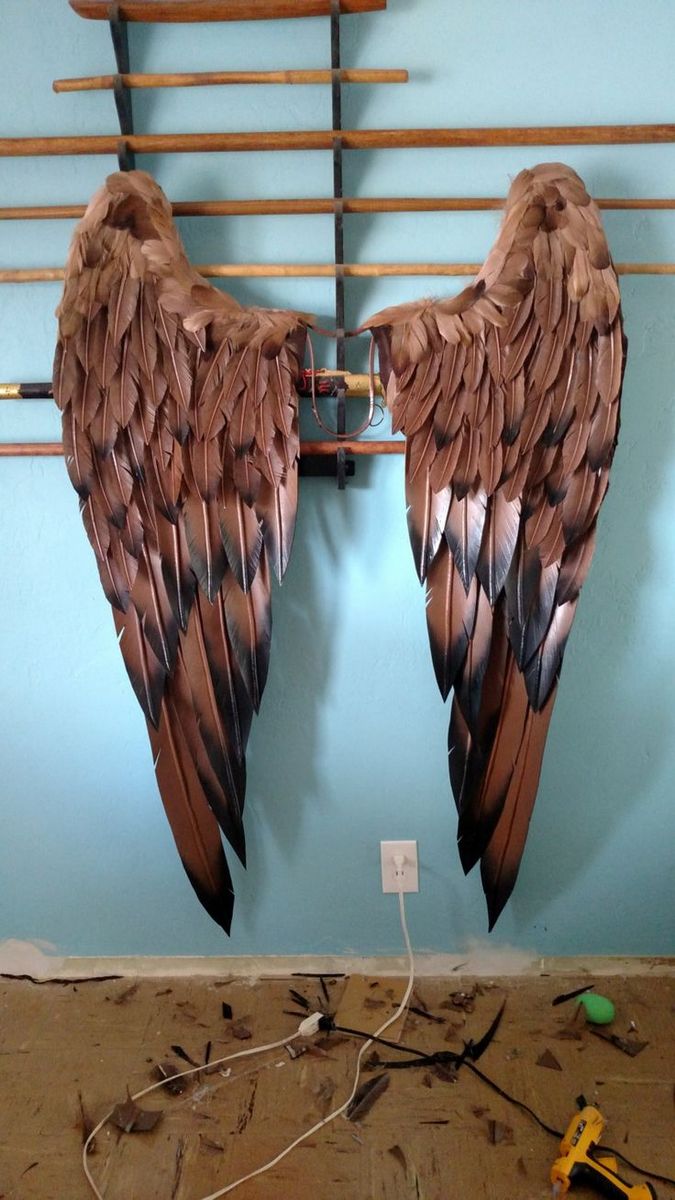
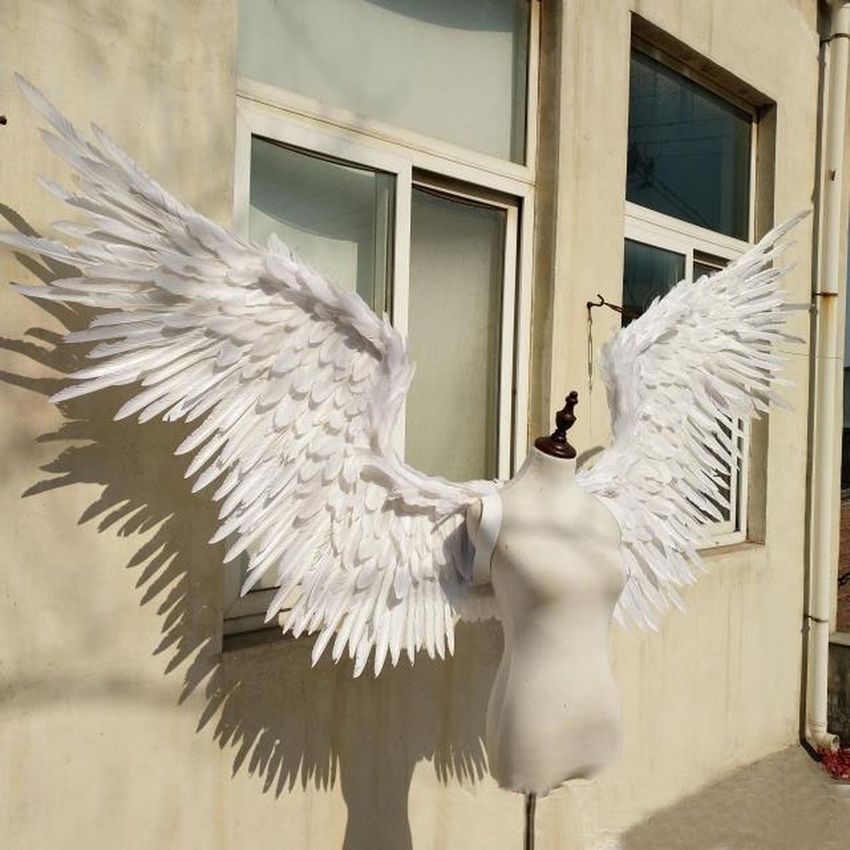
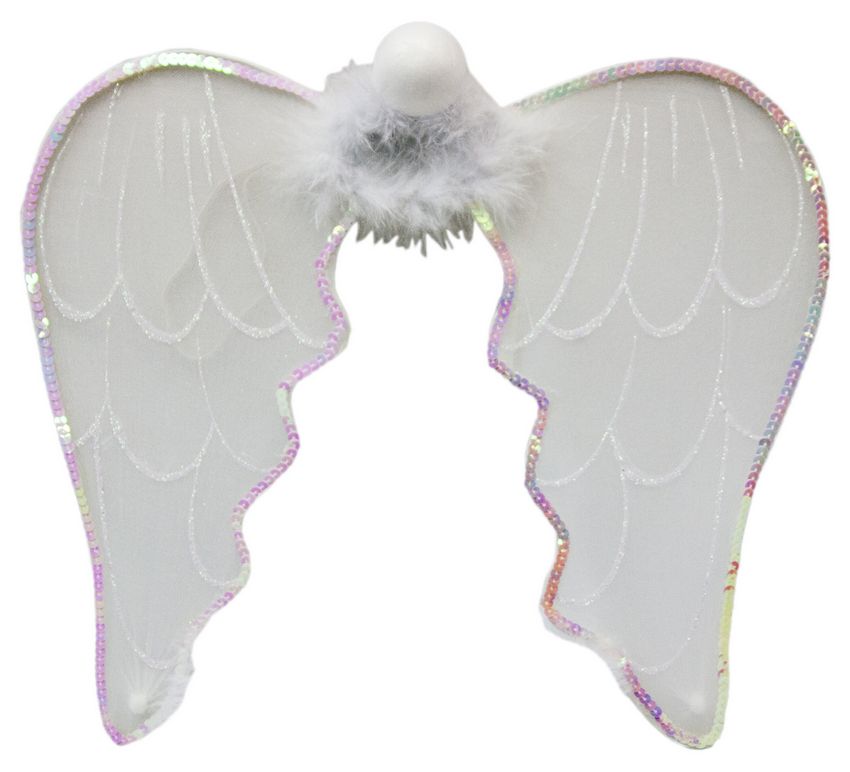
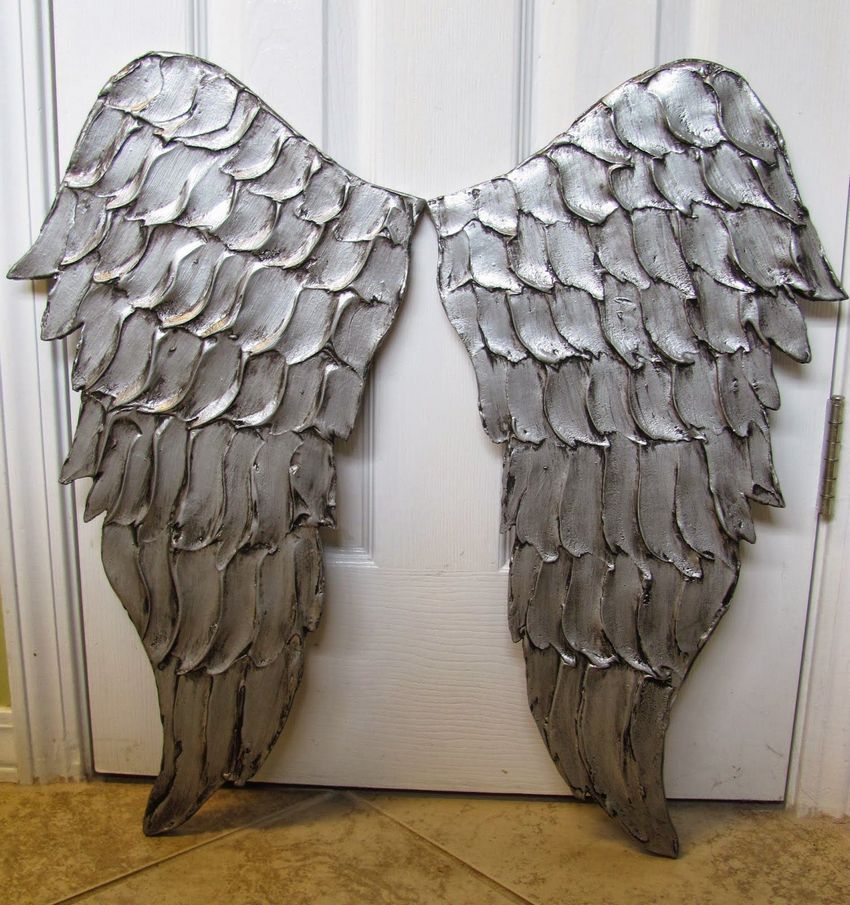
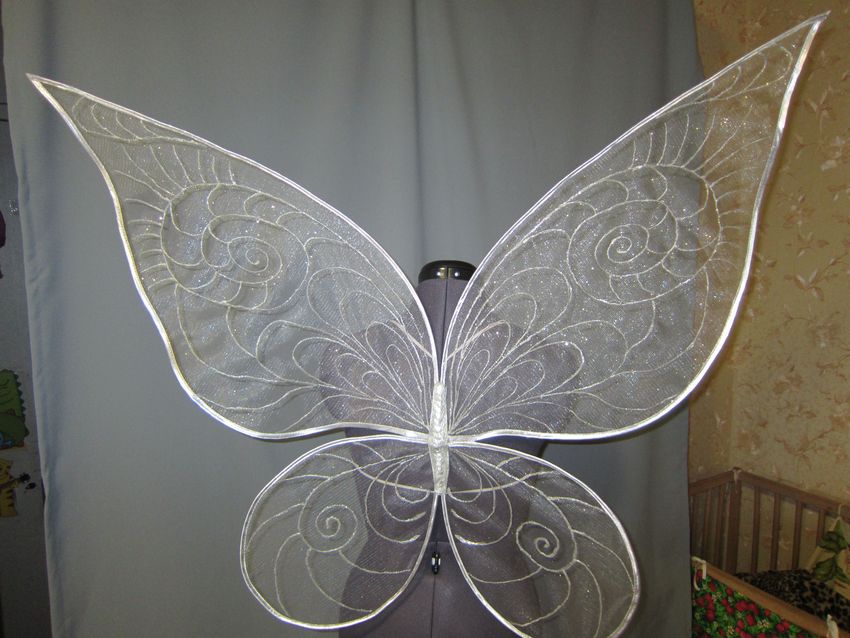
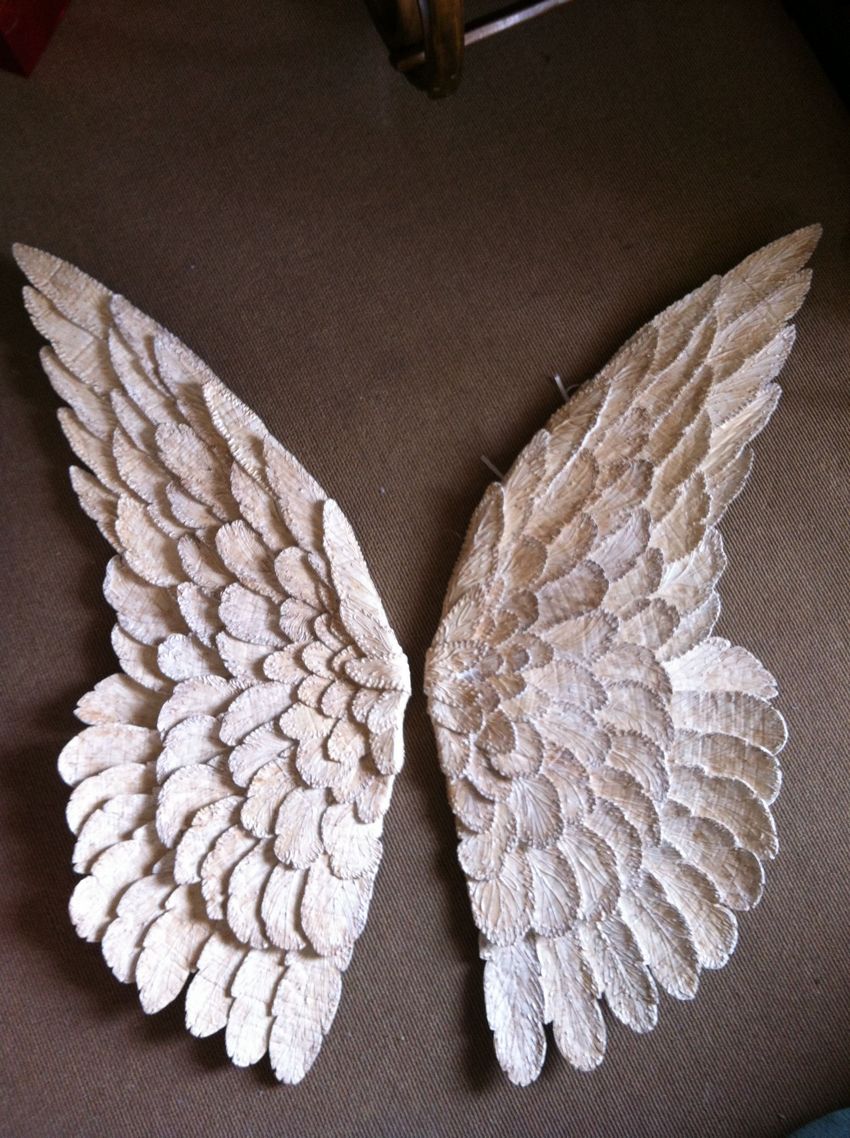
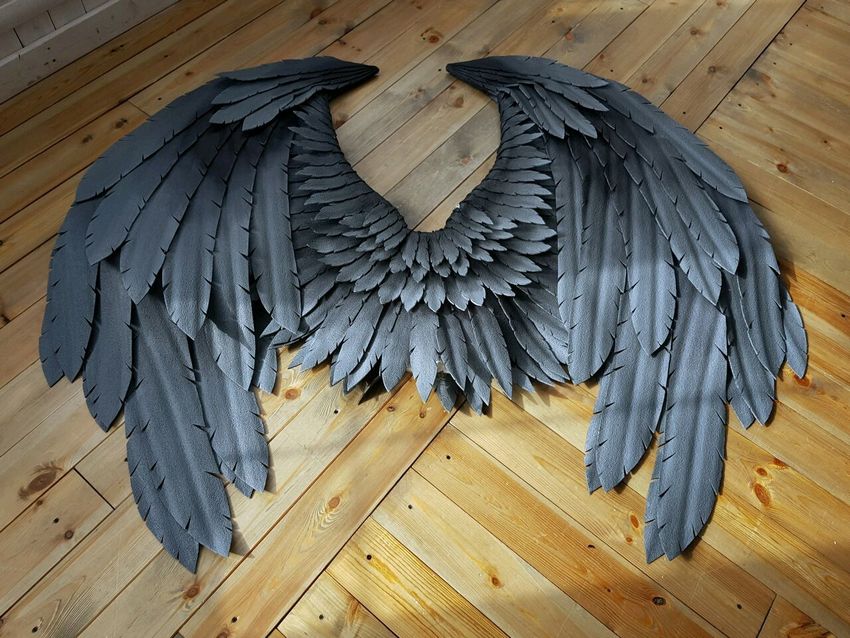
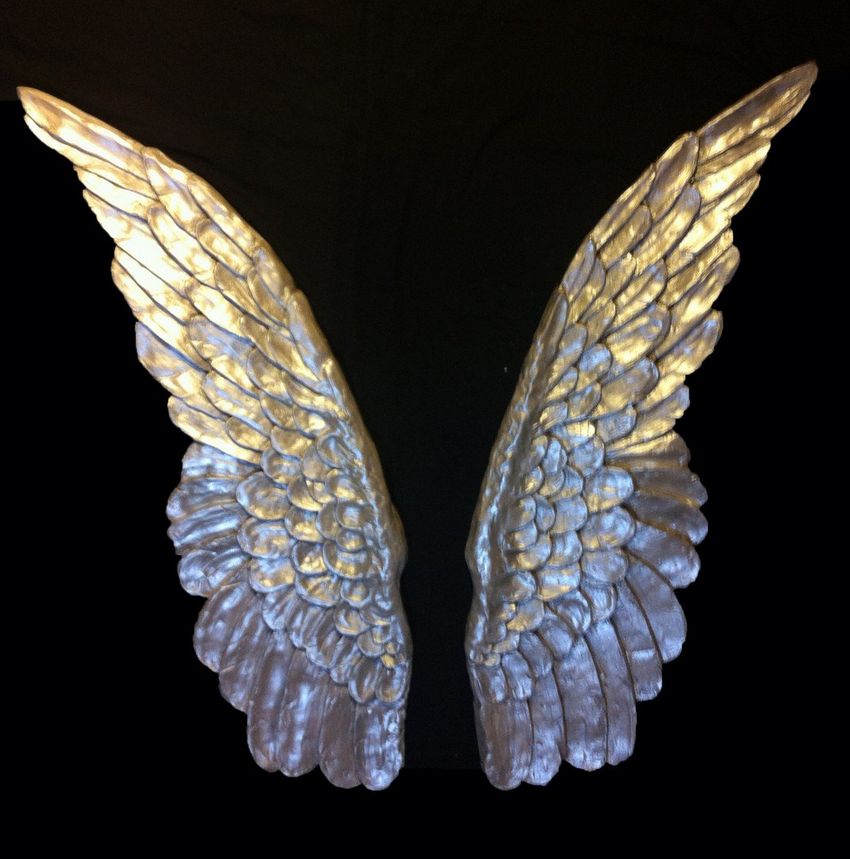
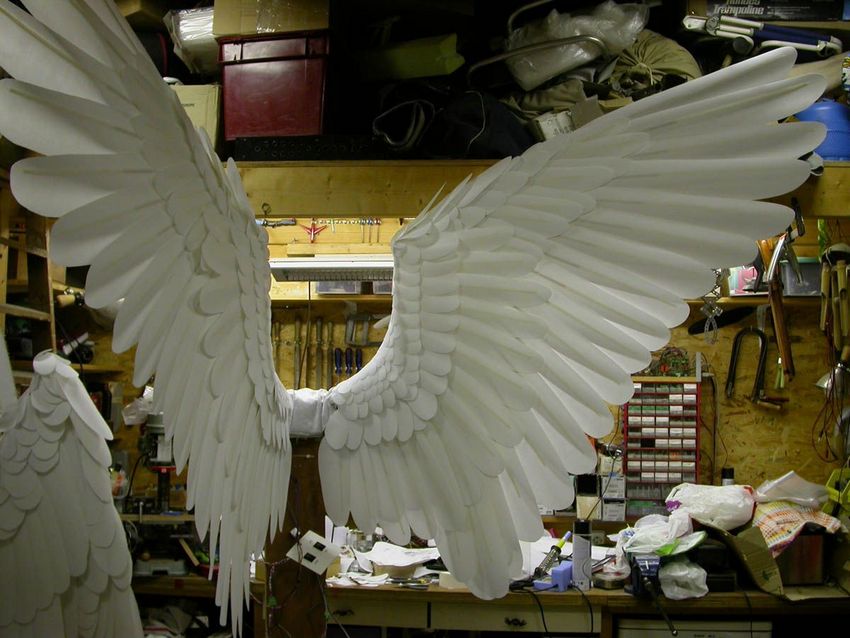
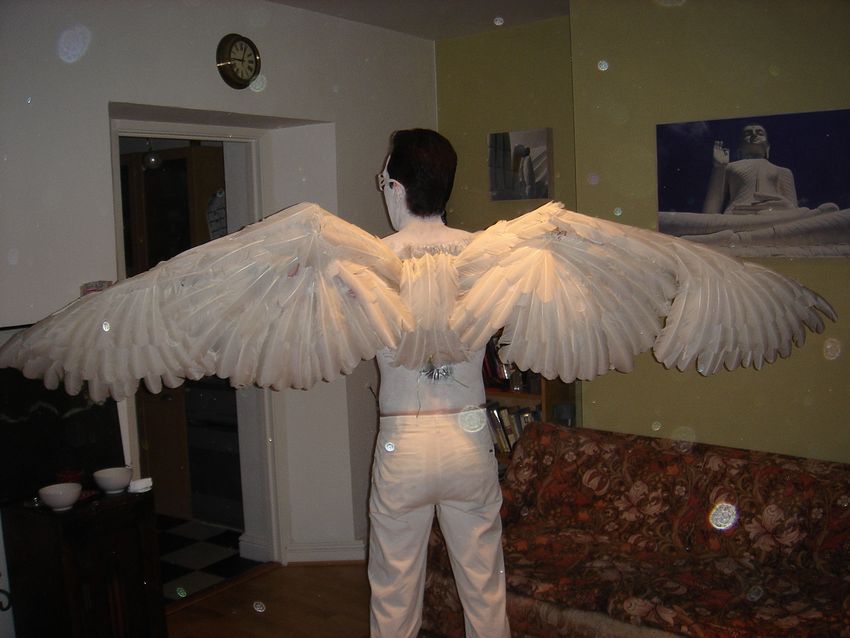
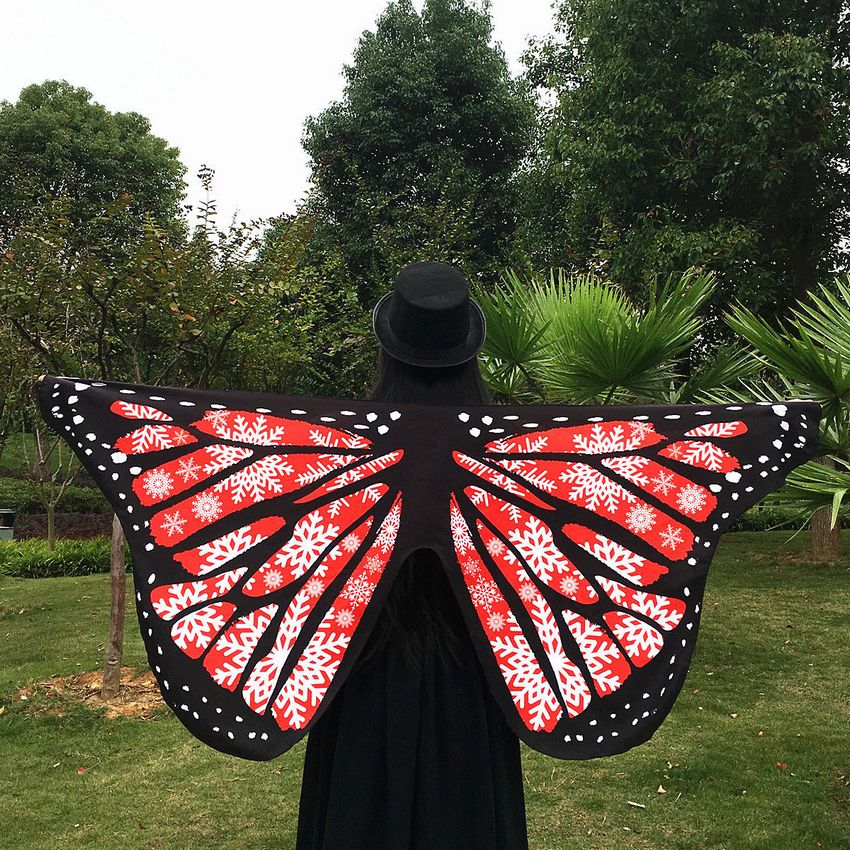
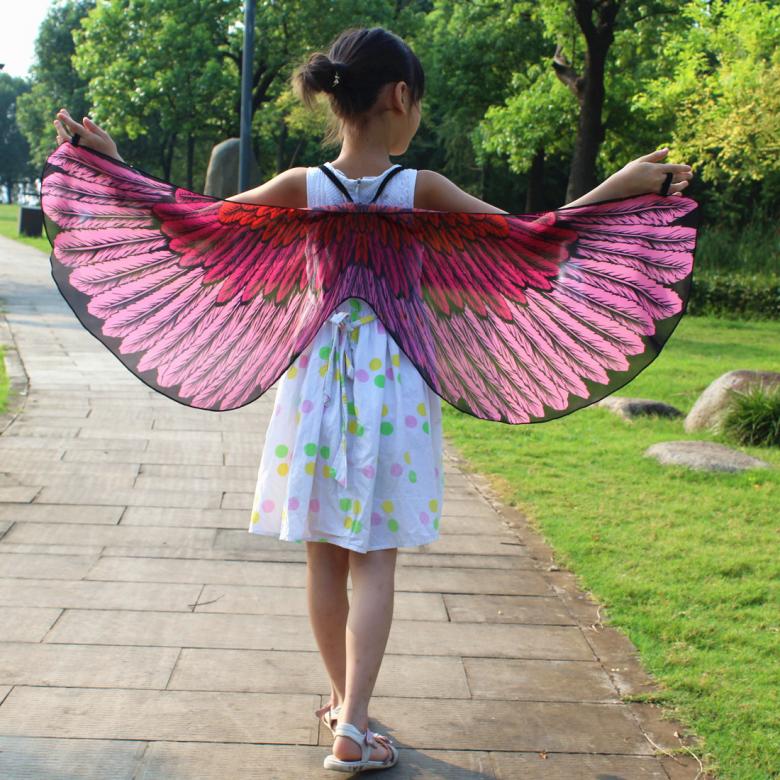
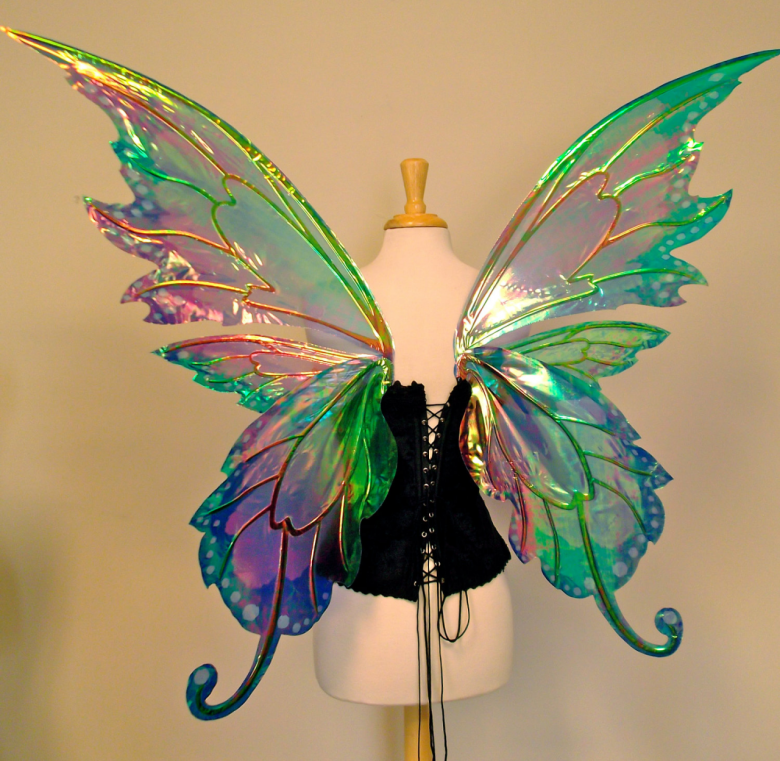
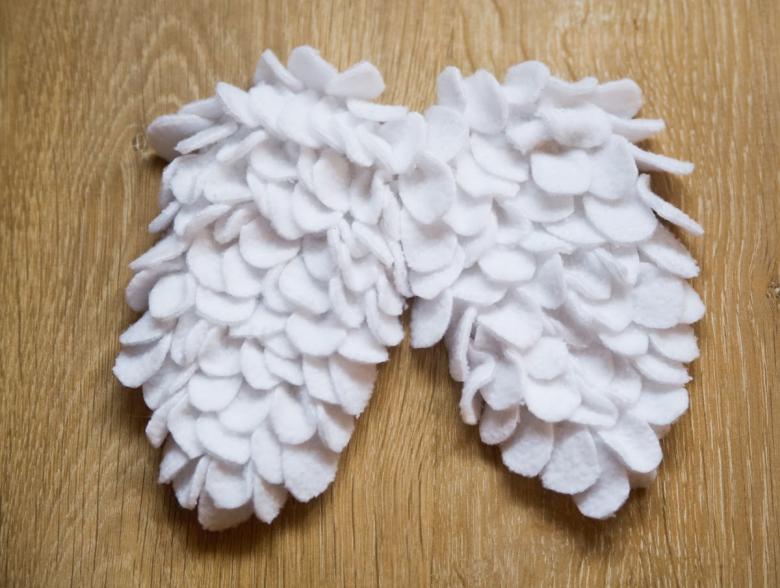
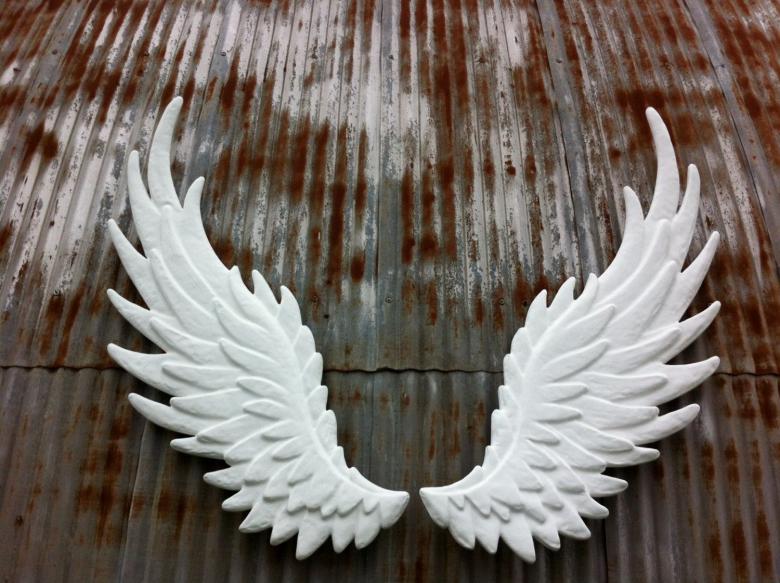
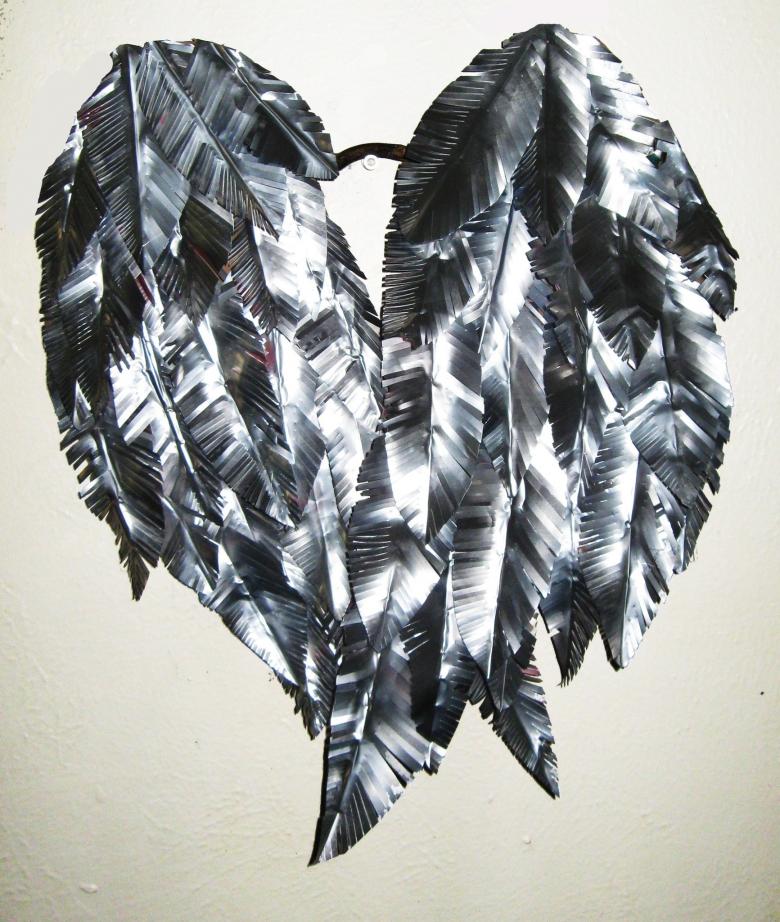
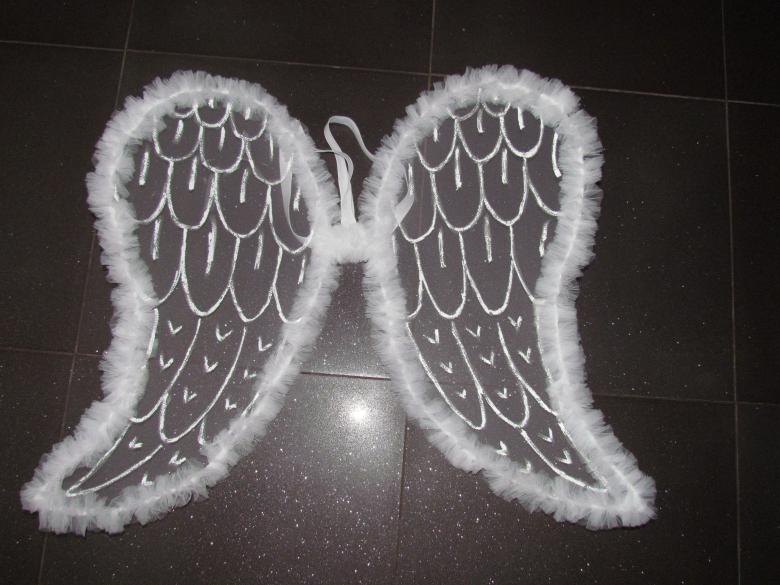
Photo ideas of homemade wings for the costume