How to Draw a Horse in Pencil Step by Step: Ways to Get a Realistic Image for Children and Beginners
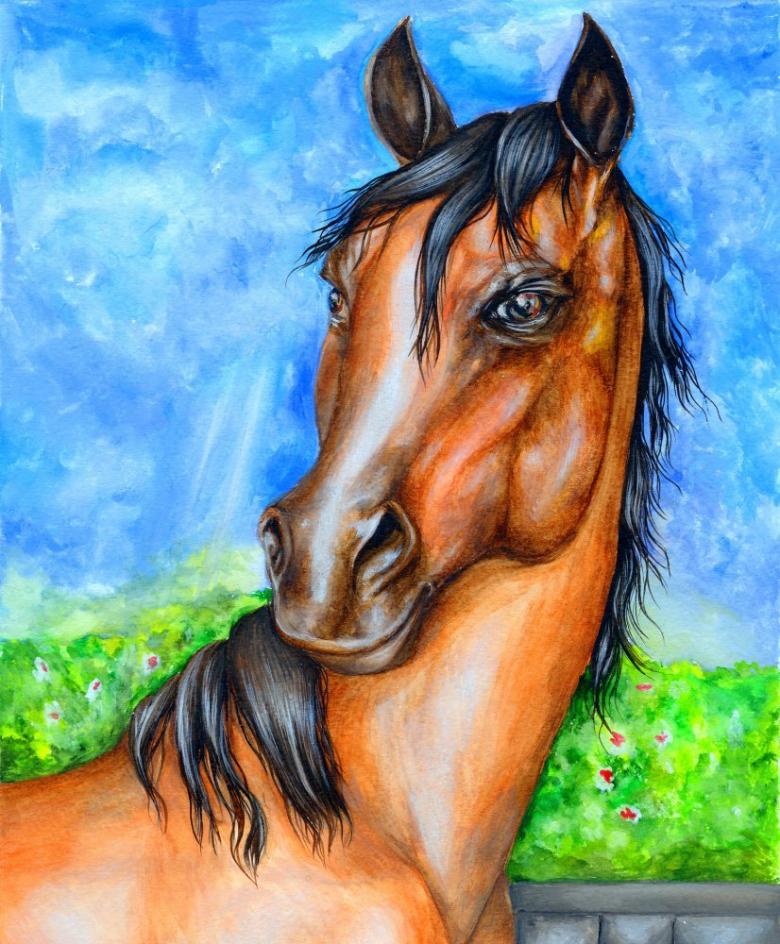
The horse is a sledding animal that was domesticated by man thousands of years ago. Many novice and professional artists have depicted these majestic and graceful creatures on battlefields, in illustrations for books, nature pictures.
To depict it correctly, you need to observe certain proportions of the head and torso, have a basic understanding of the anatomy of the animal. To understand the intricacies and nuances of drawing a horse step by step easily and beautifully will help this article, after reading which even a novice artist will be able to cope with the picture.
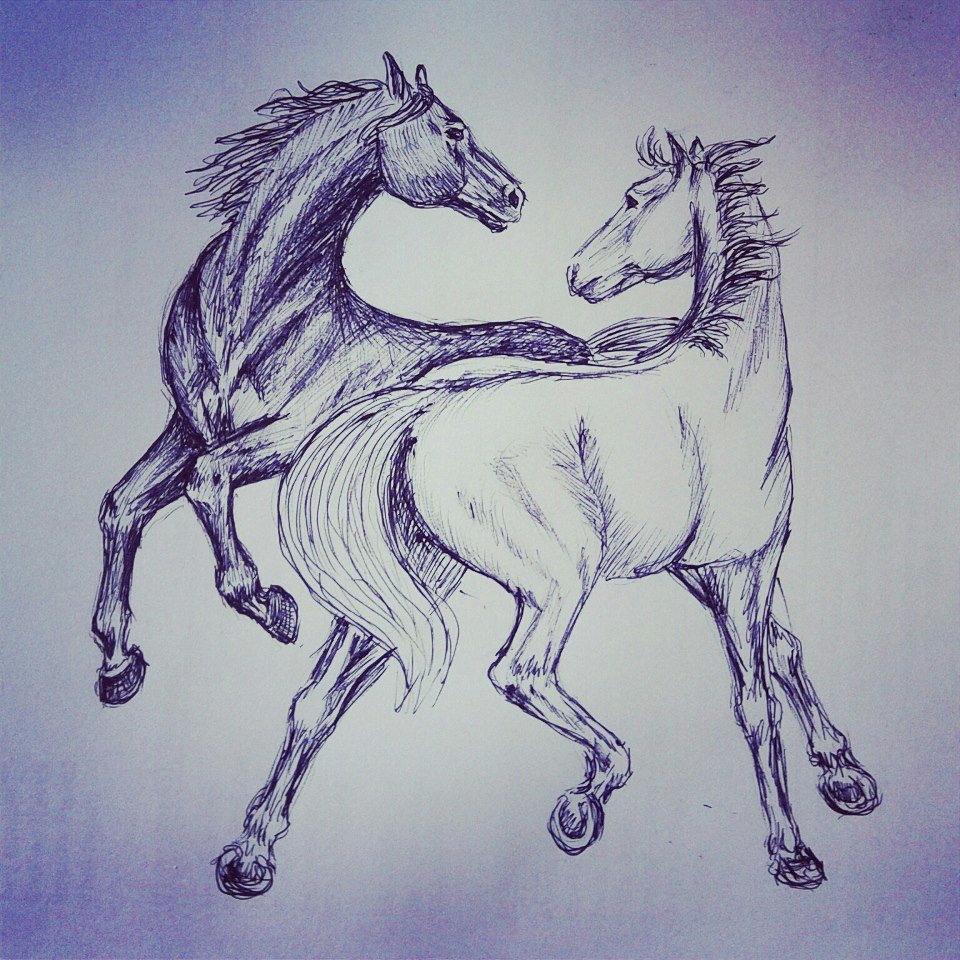
How to draw a horse in pencil step by step
For the first trials you will need a pencil and a sheet of white paper.
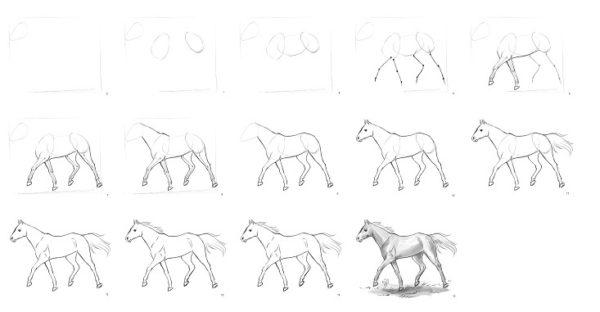
First of all, it is worth deciding where on the sheet the animal will be located, what pose it will occupy. The beginning is better to do with the help of sketches.
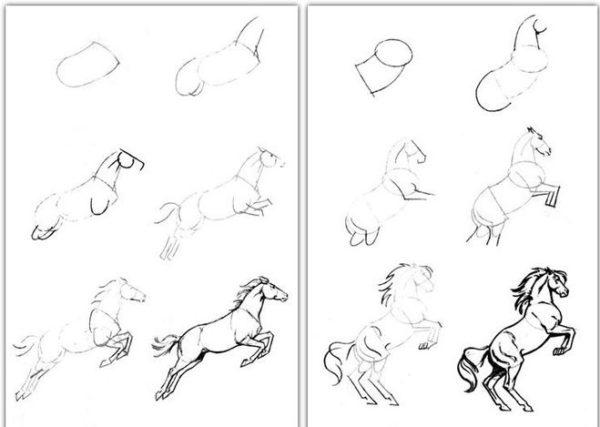
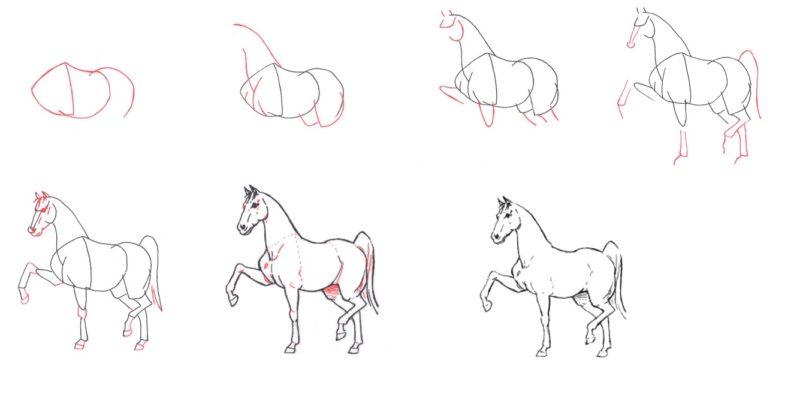
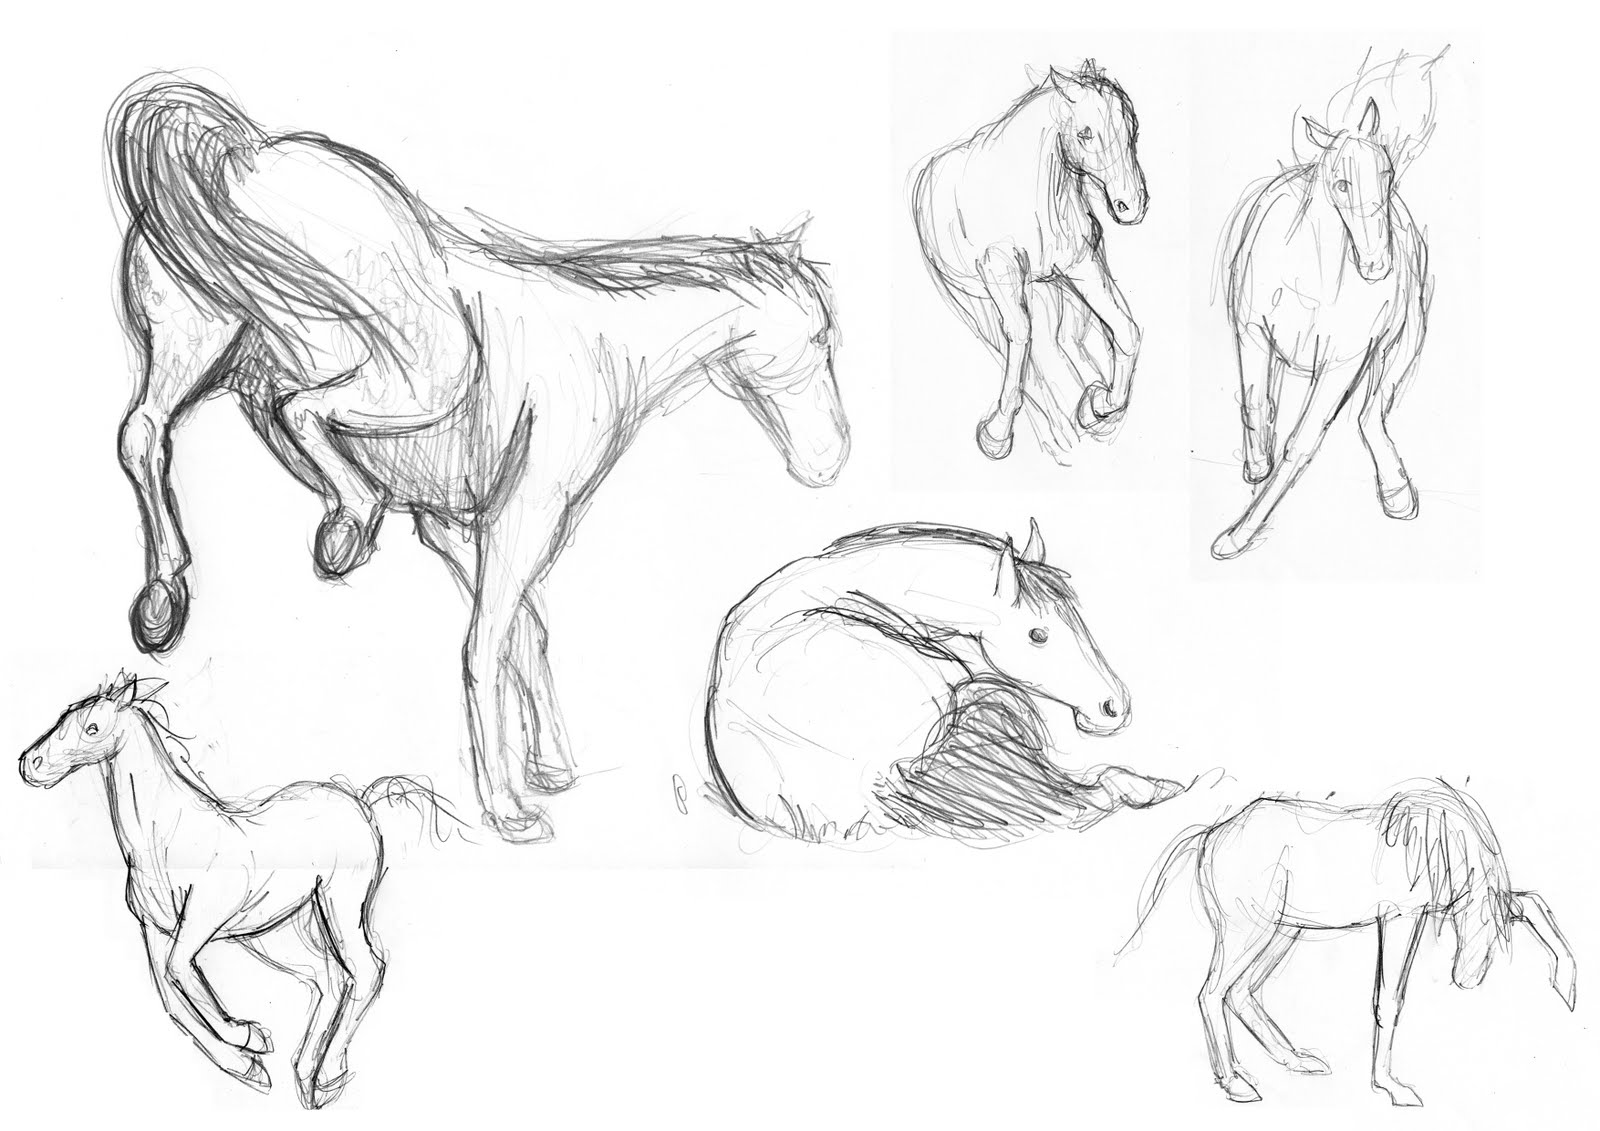
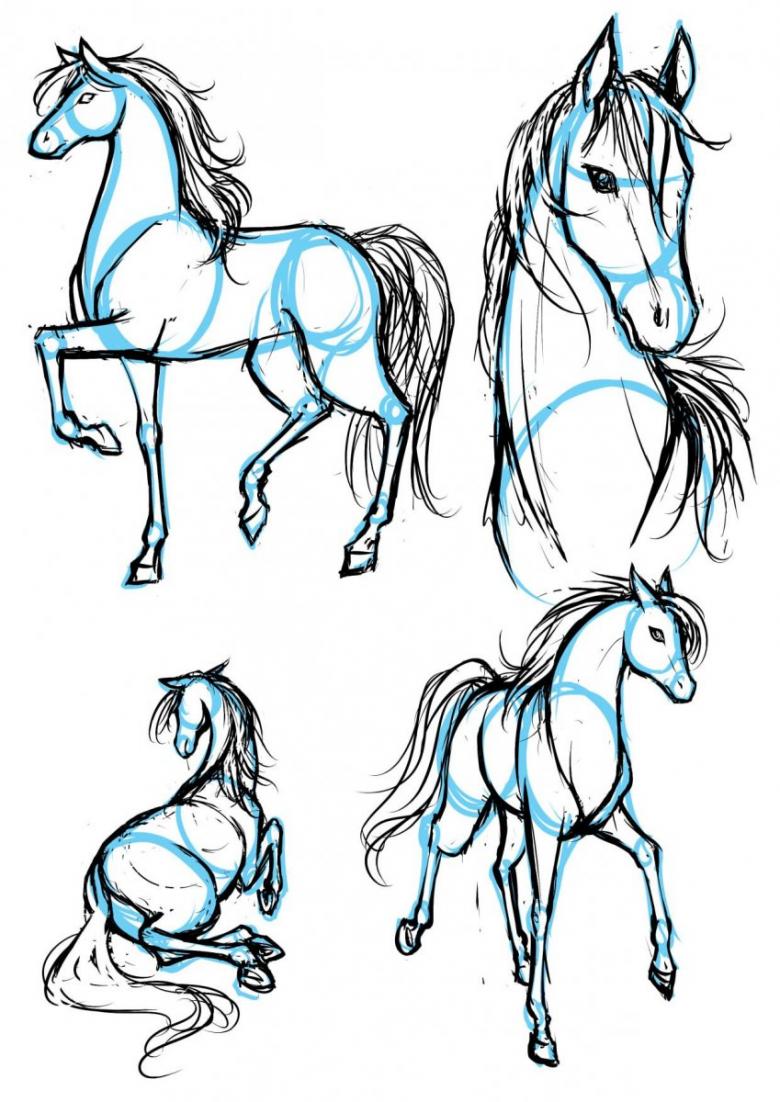
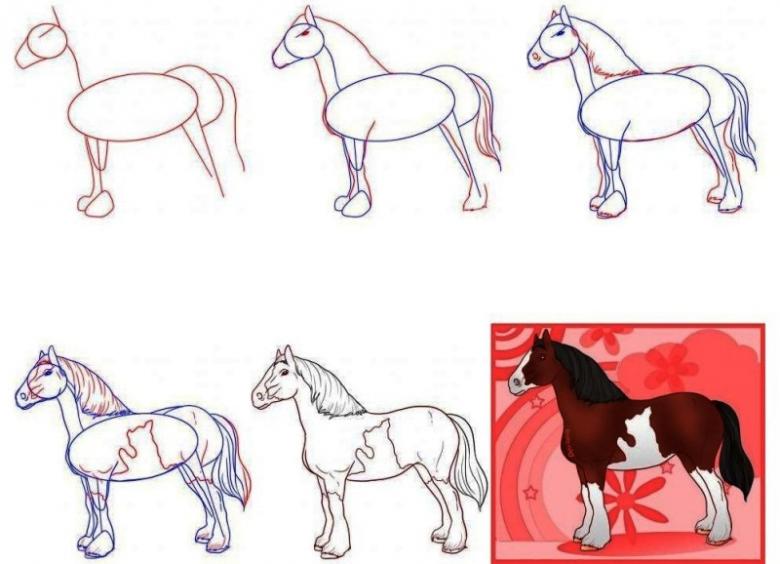
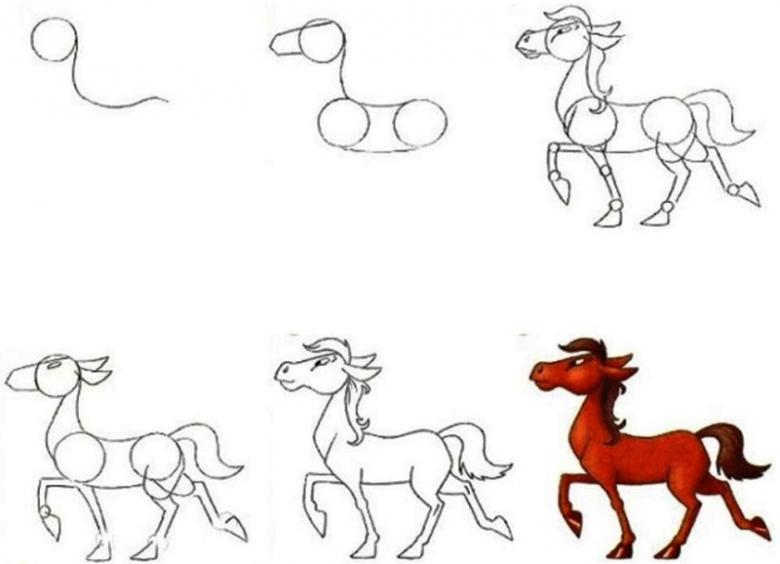
Stages of drawing sketches
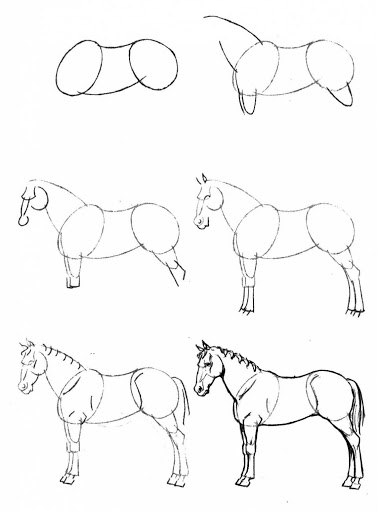
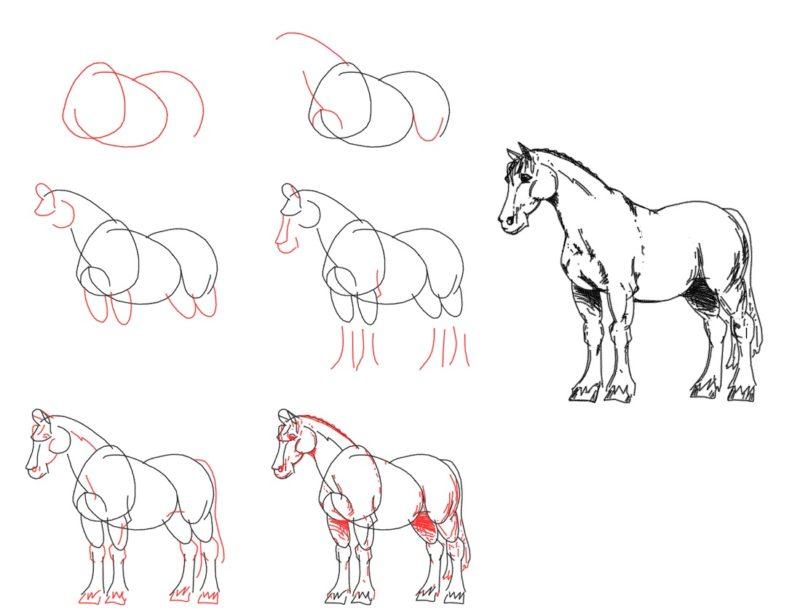
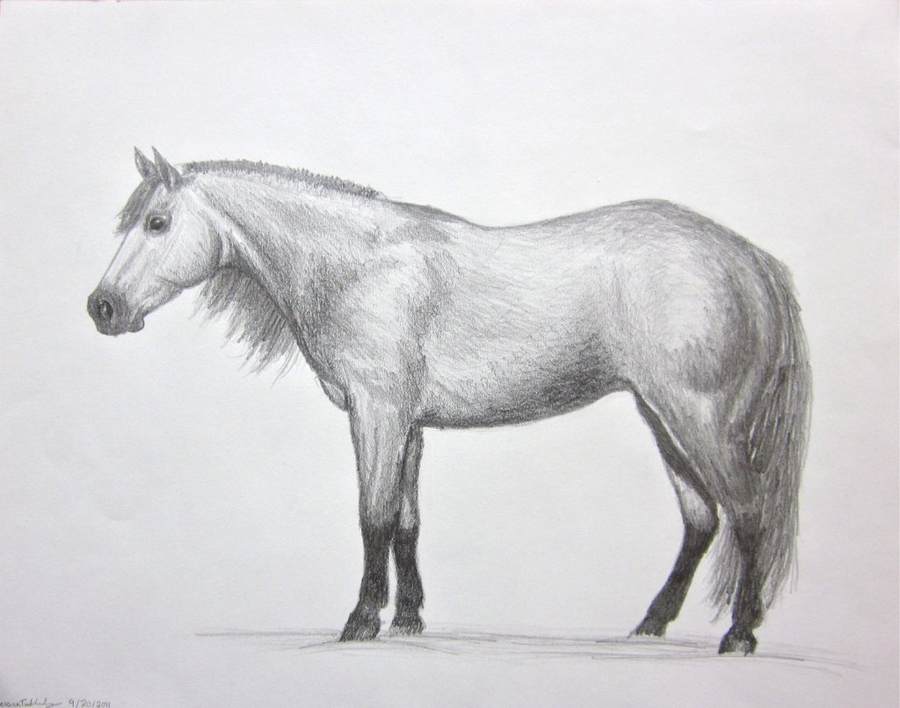
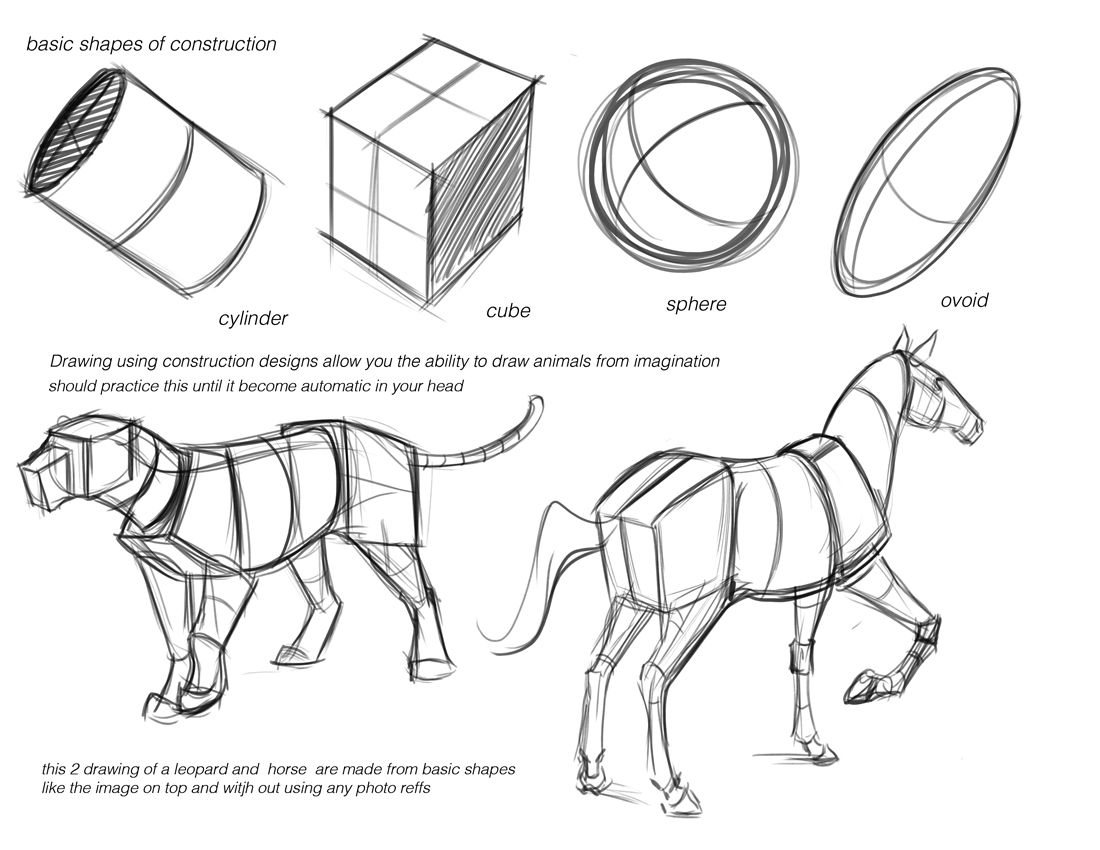
- You can draw, starting with the head or torso, at your discretion. If the image start with the top, you need to start by drawing a triangle with rounded edges.
- It is followed by the torso, consisting of a massive chest and the back of the torso, which are depicted at the beginning of the two ovals below and slightly to the side. The ovals are joined by smooth strokes to form the belly.
- The legs follow the torso. It is necessary to mark the points of the joints that make up the curves of the legs, connect them with straight lines. Knee joints on front legs are curved forward, they should be drawn cubic in shape. Hind legs on the contrary are bent back and drawn in ovals. Adult horse's knees are high enough that you should take it into account when drawing.
- To give an anatomic form to the limbs the upper part should be depicted in the form of a trapezium where the wide part will be higher than the narrow one. Also take into account that the hind legs have a bulkier top than the front ones.
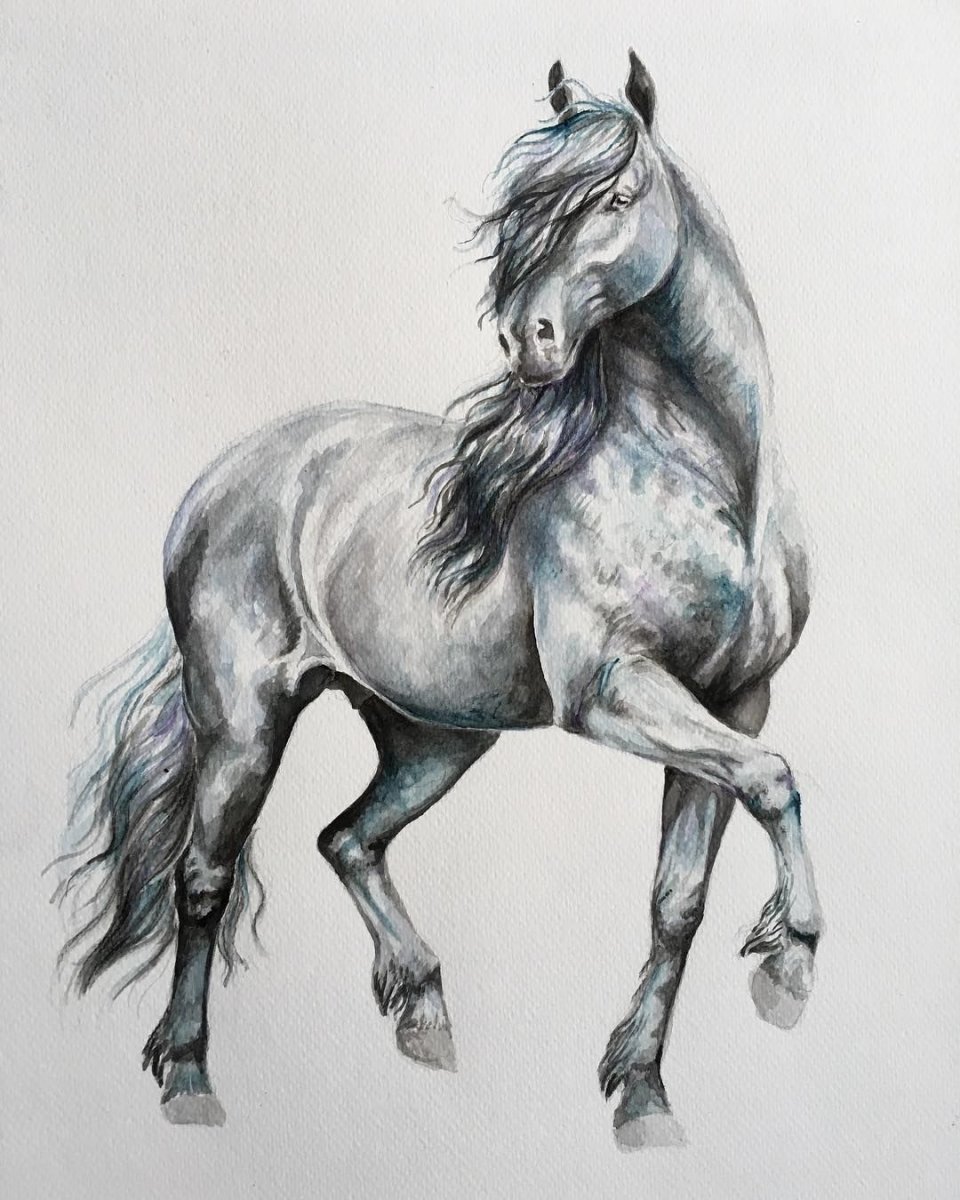
- The neck of the horse is graceful, which must be conveyed in the picture. Lines go smoothly, the volume of the neck decreases as it gets closer to the head.
- Once all the sketches are ready, you need to connect all the elements of the body with one line, removing all the auxiliary.
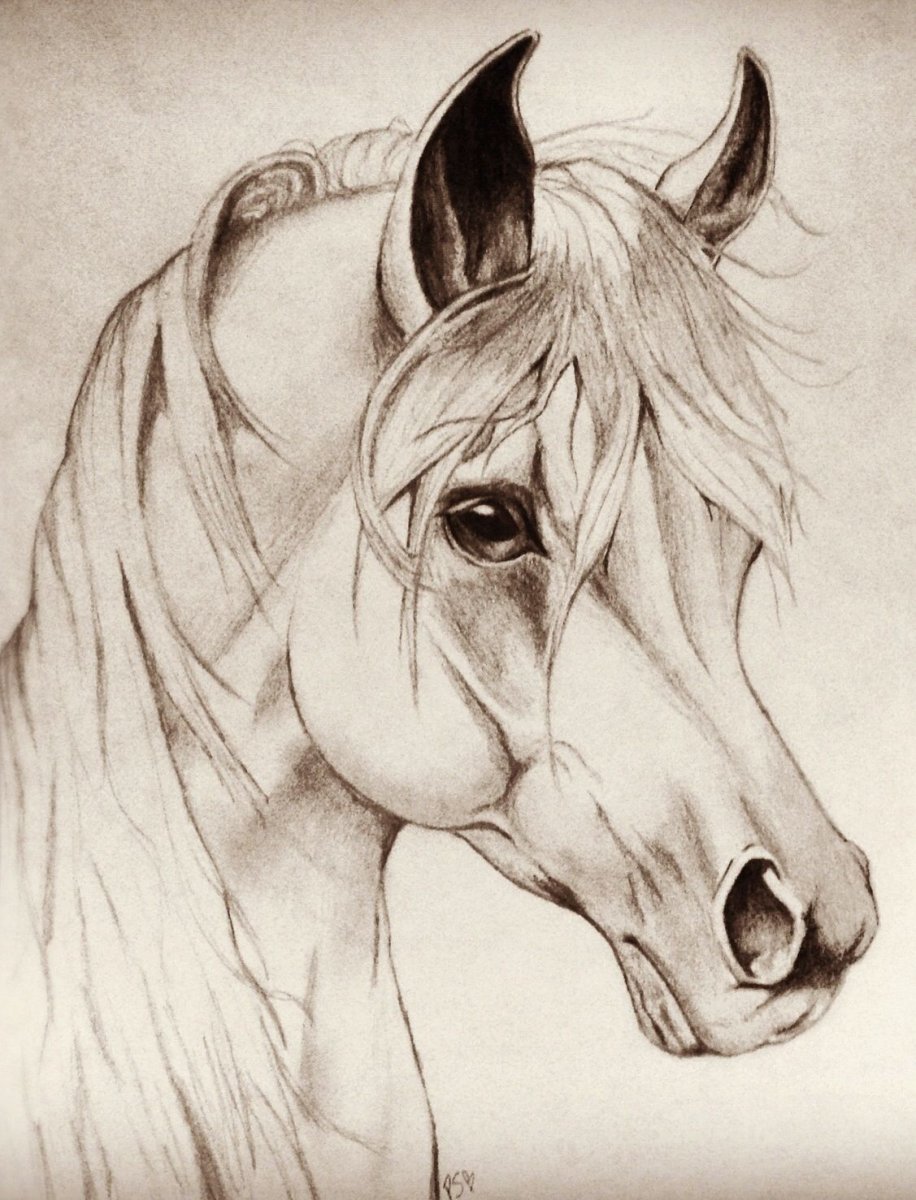
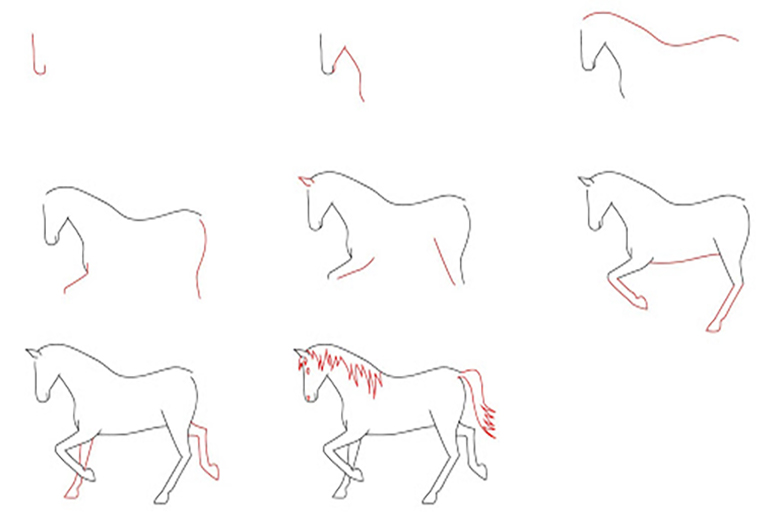
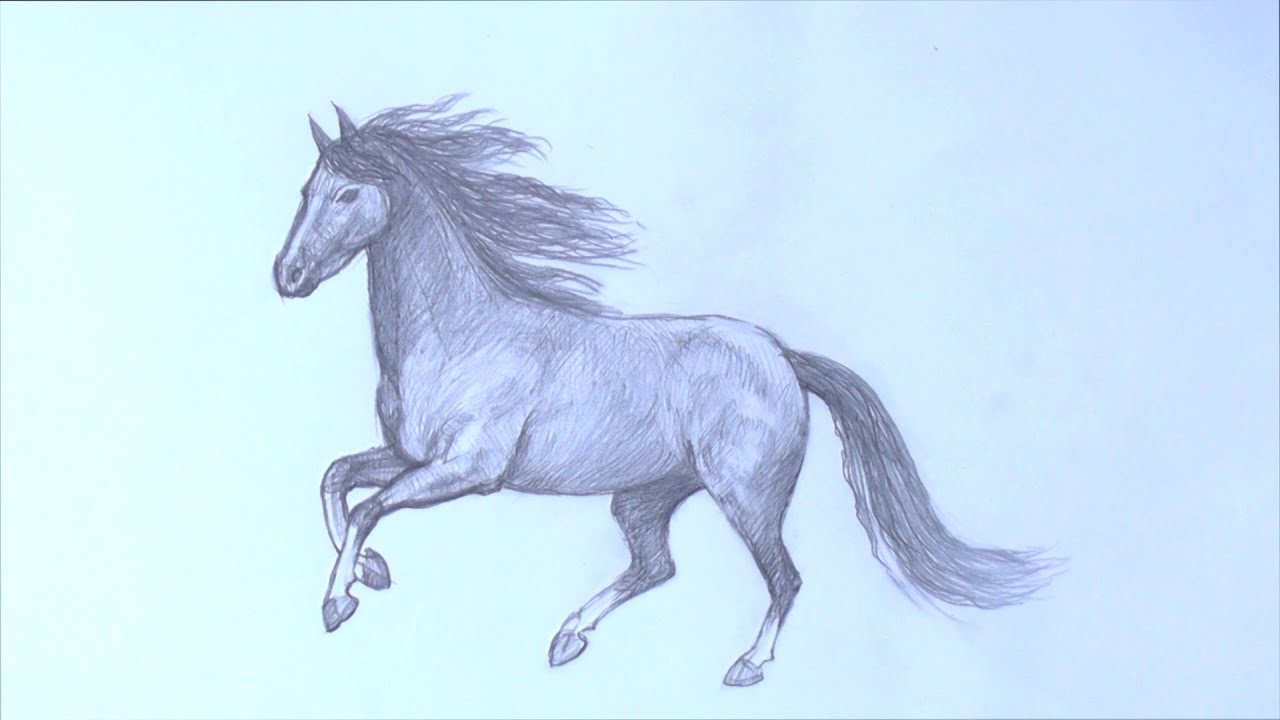
Final Drawing
- At this stage, you can draw small details - ears, nostrils, eyes, tail. The eyes should be relatively large, and the tail can be of various shapes, up to and including a braided braid.
- To draw the mane a straight line over the neck is used first, and strands are drawn underneath, which can also be braided or fluttering in the wind.
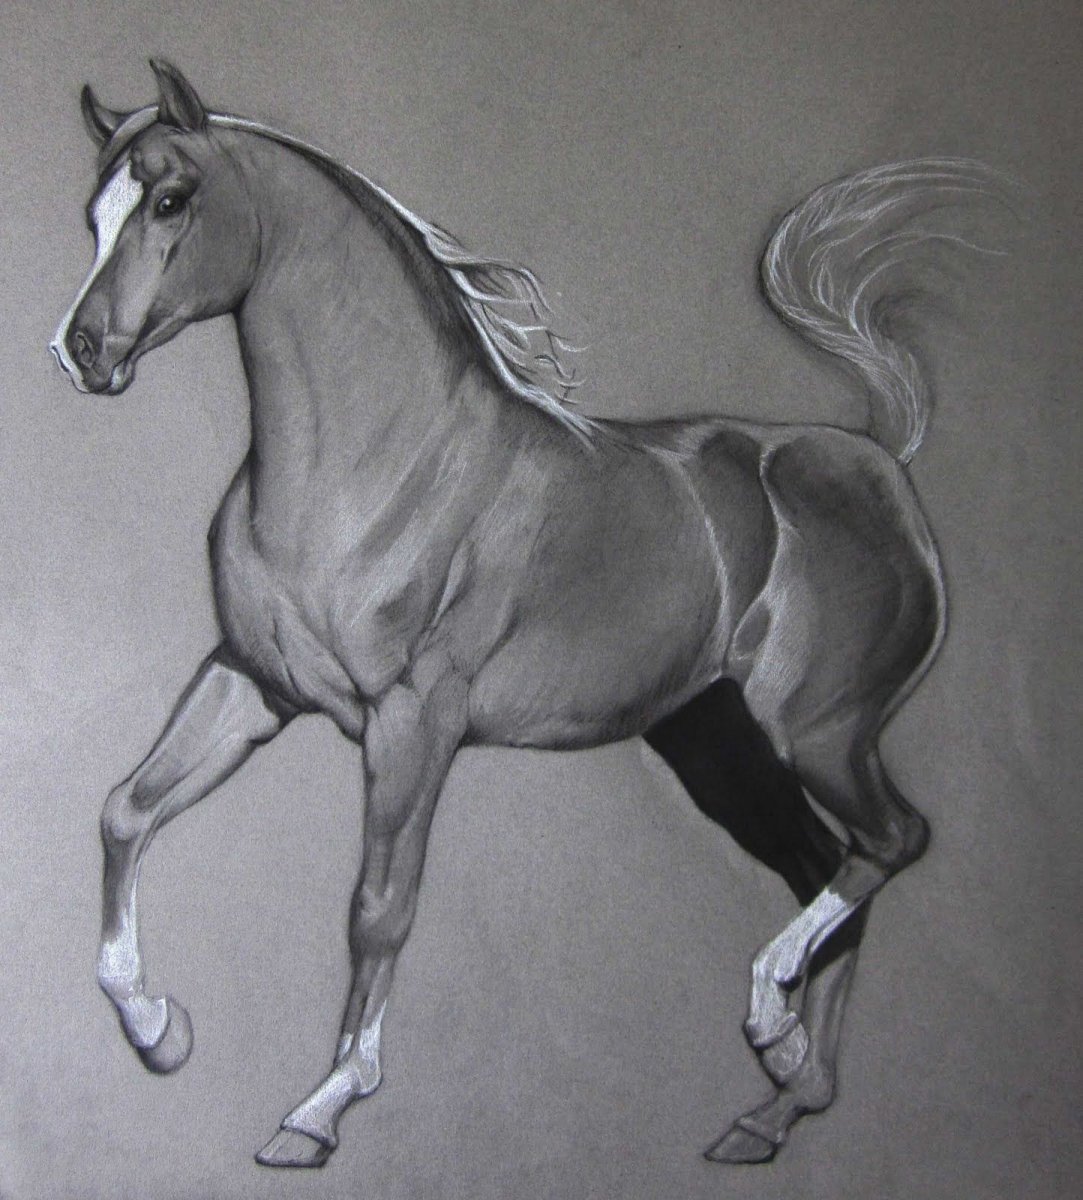
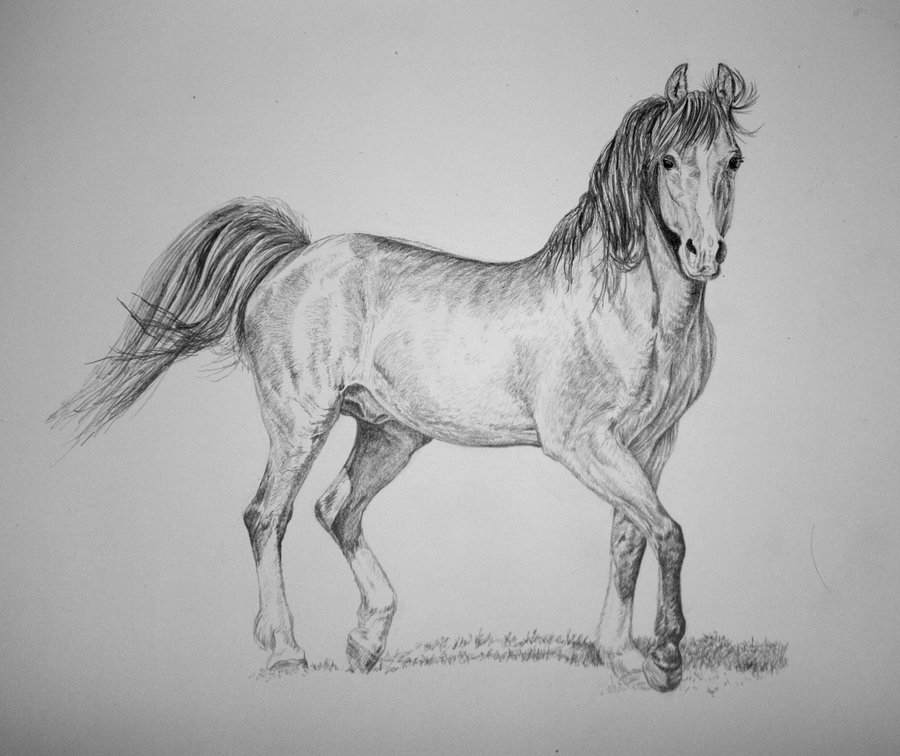
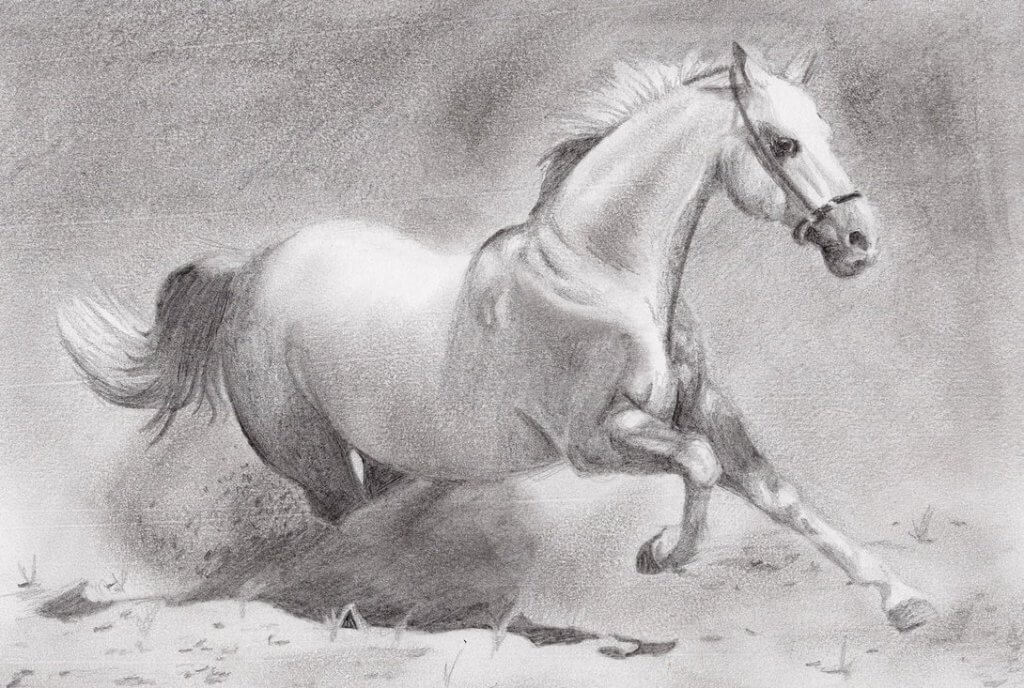
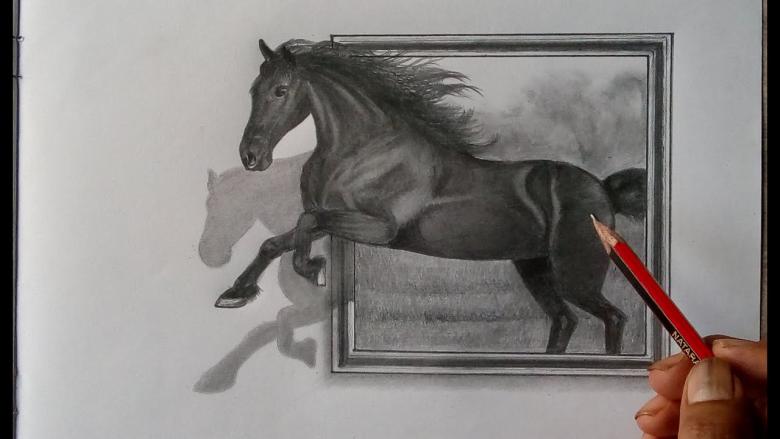
- For the final drawing of the muscles, you can draw from existing pictures or photographs of the horse, which can be found on the Internet.
- You can finish the work by showing light and shadow.
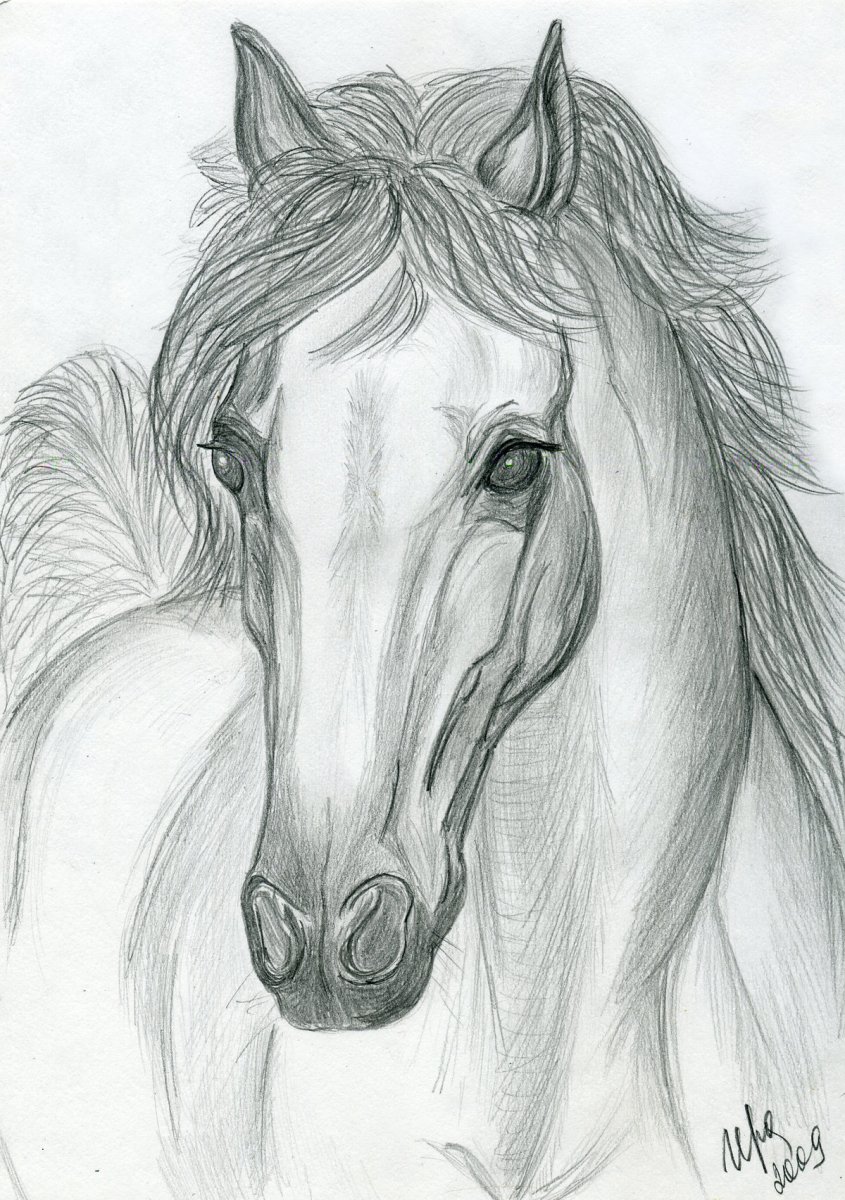
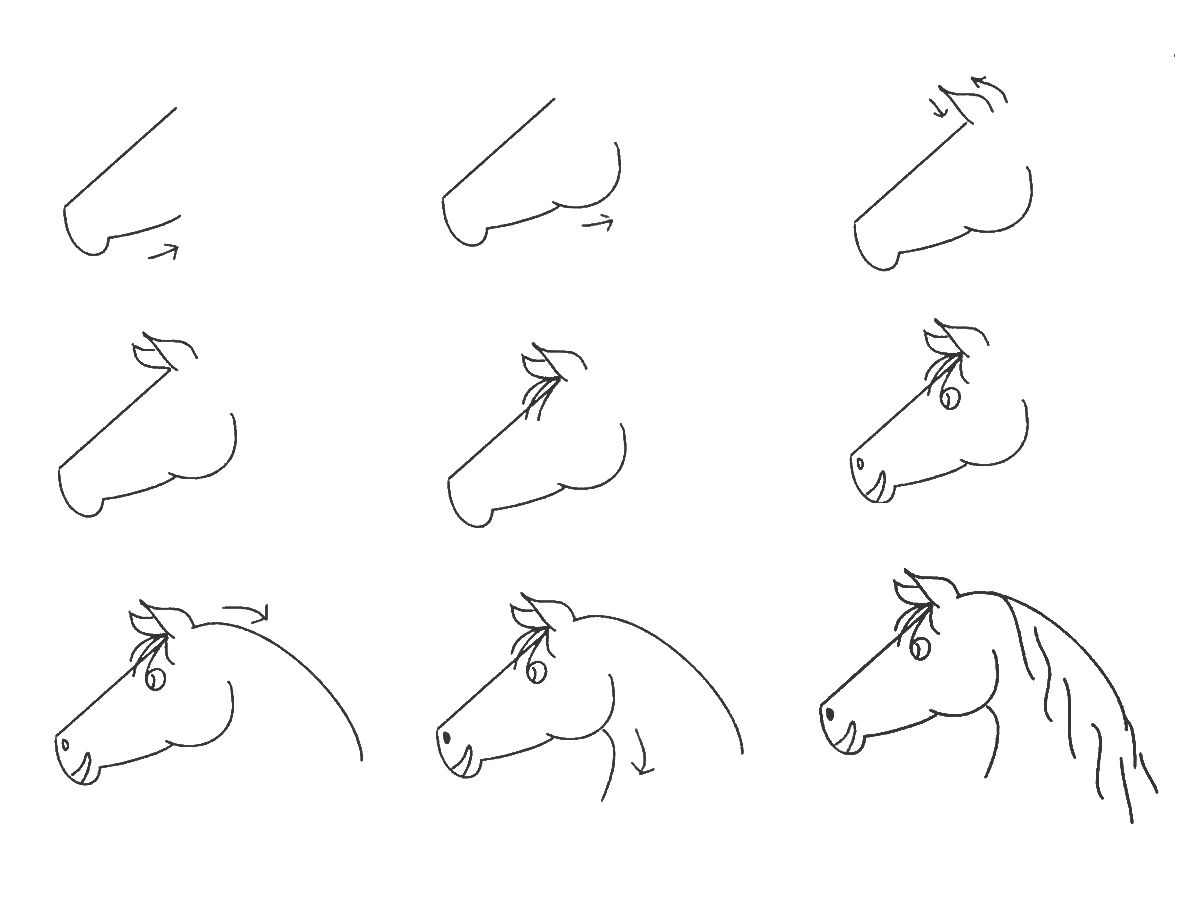
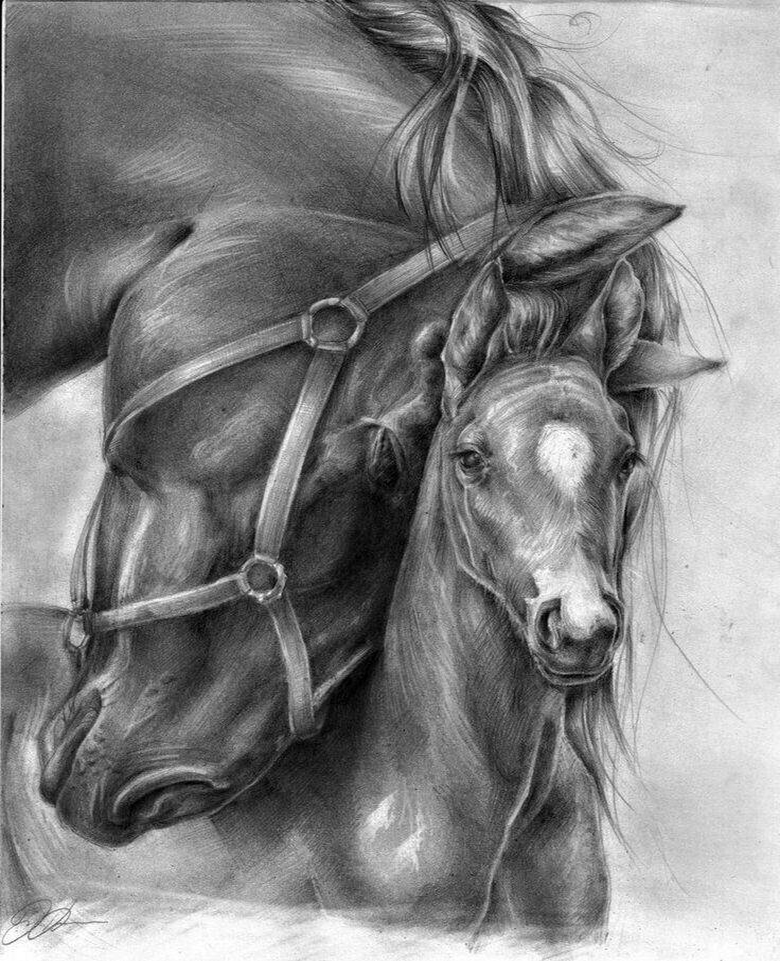
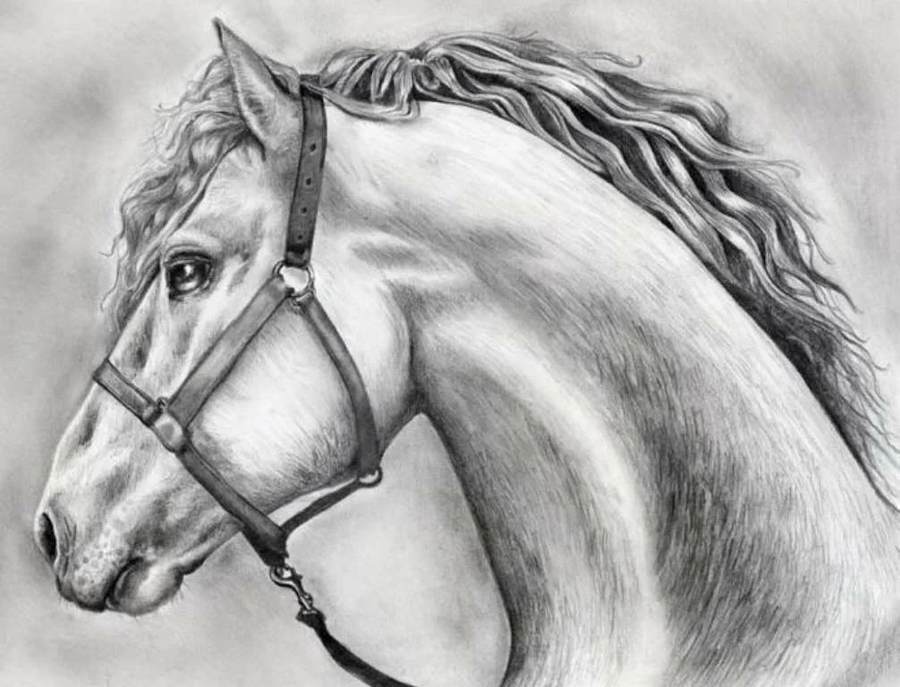
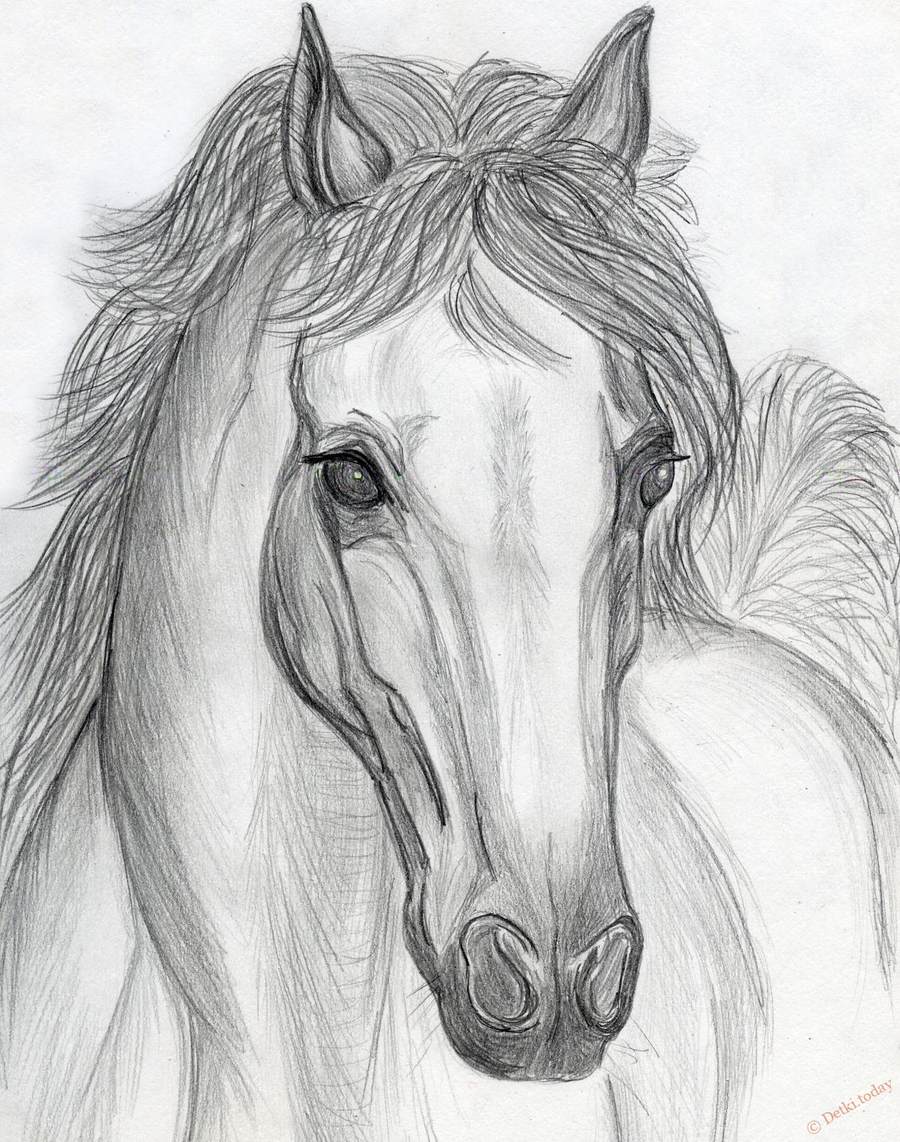
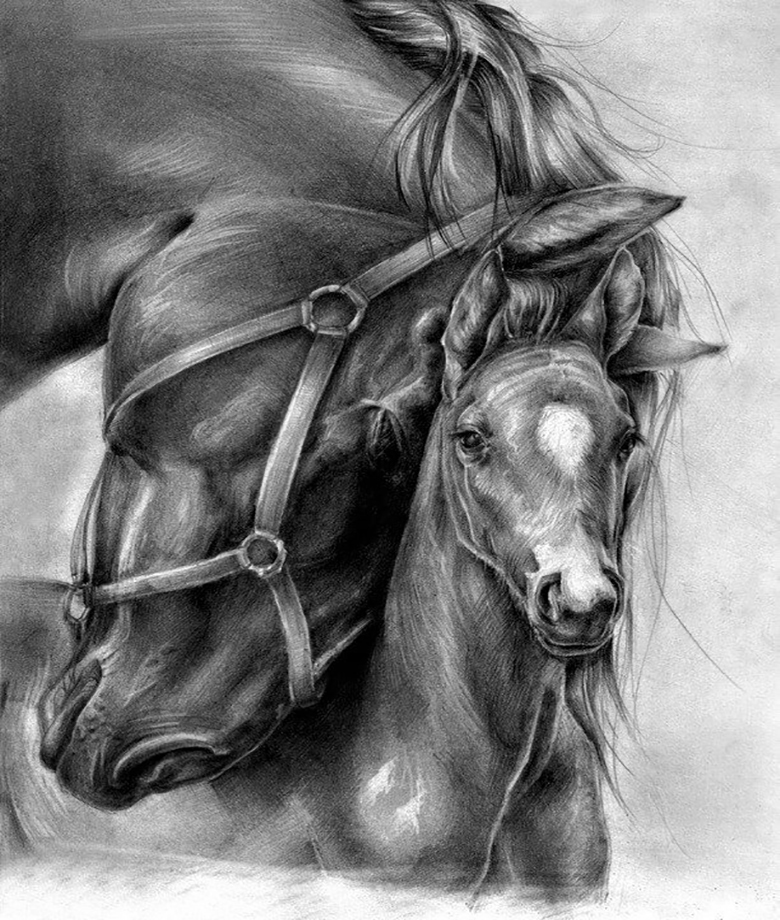
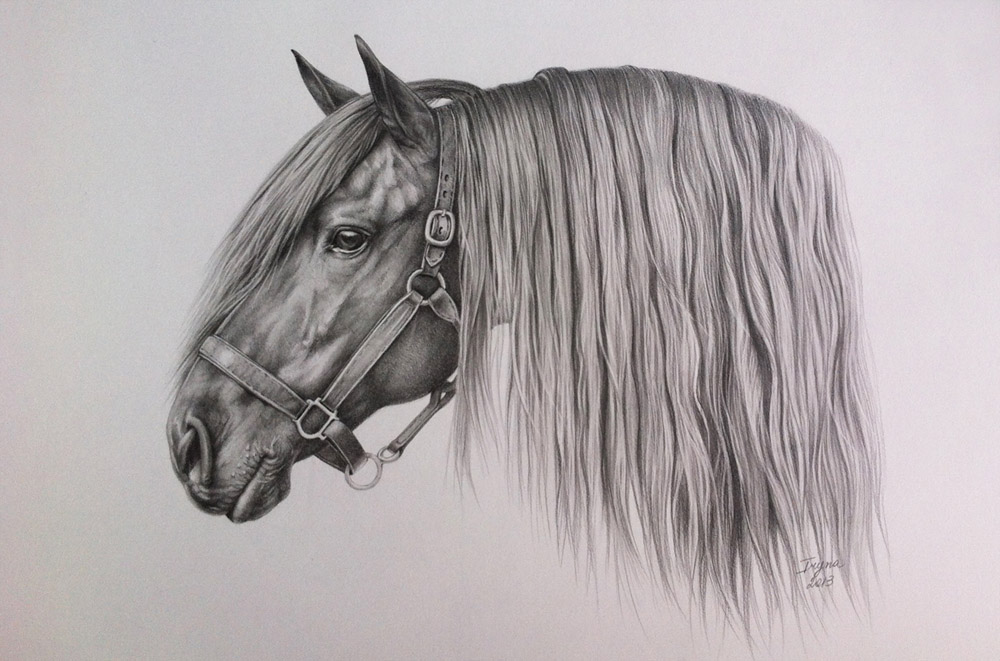
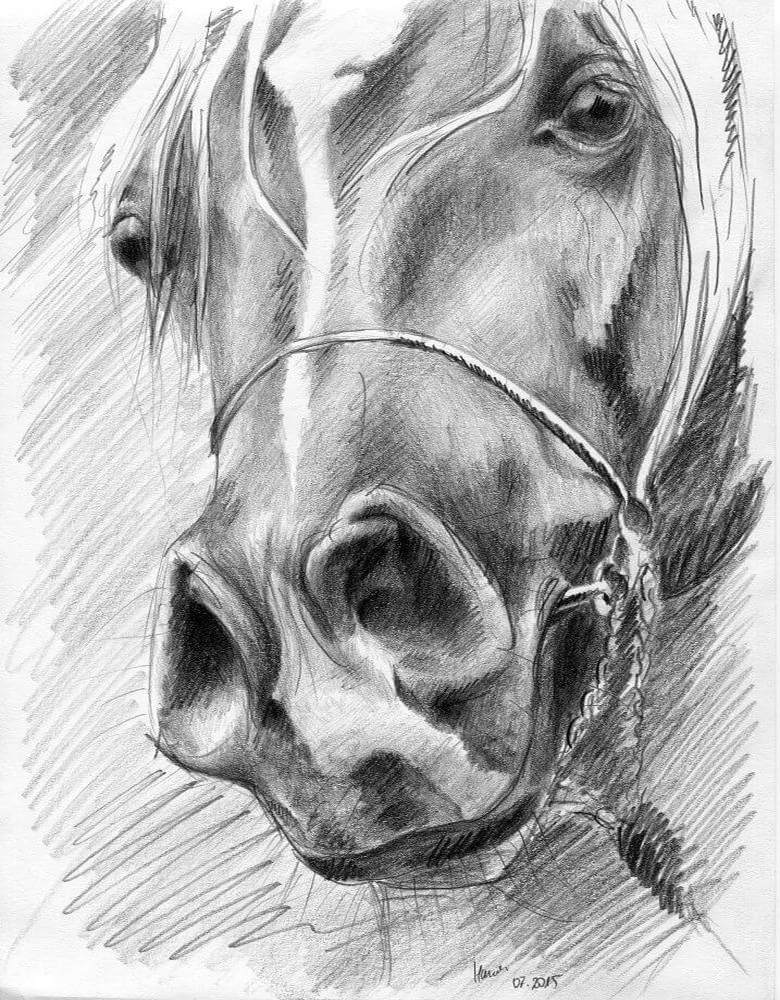
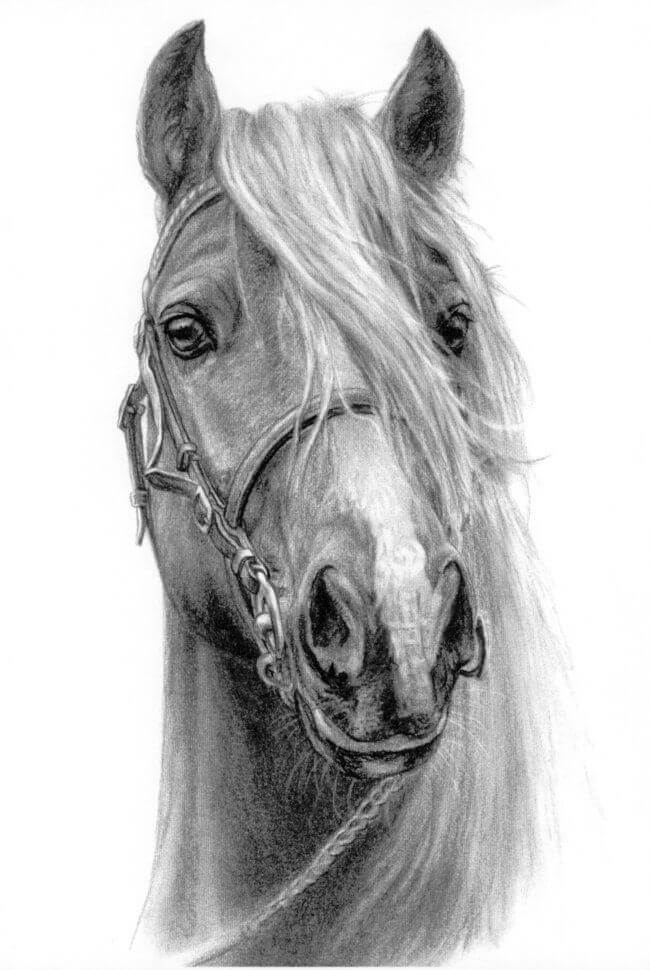
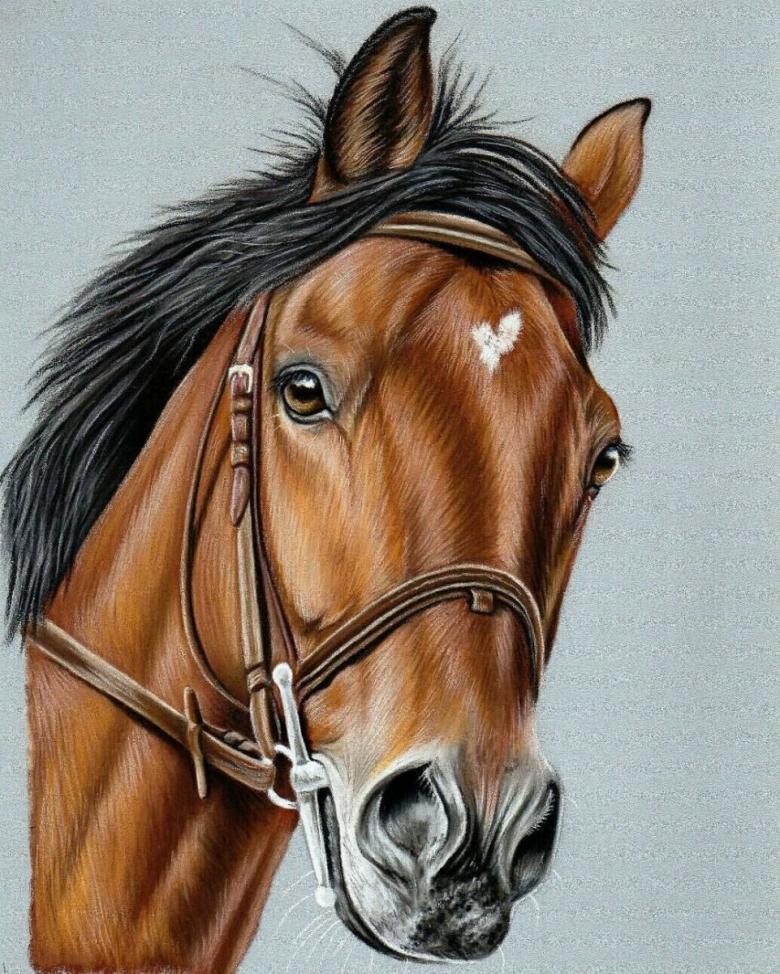
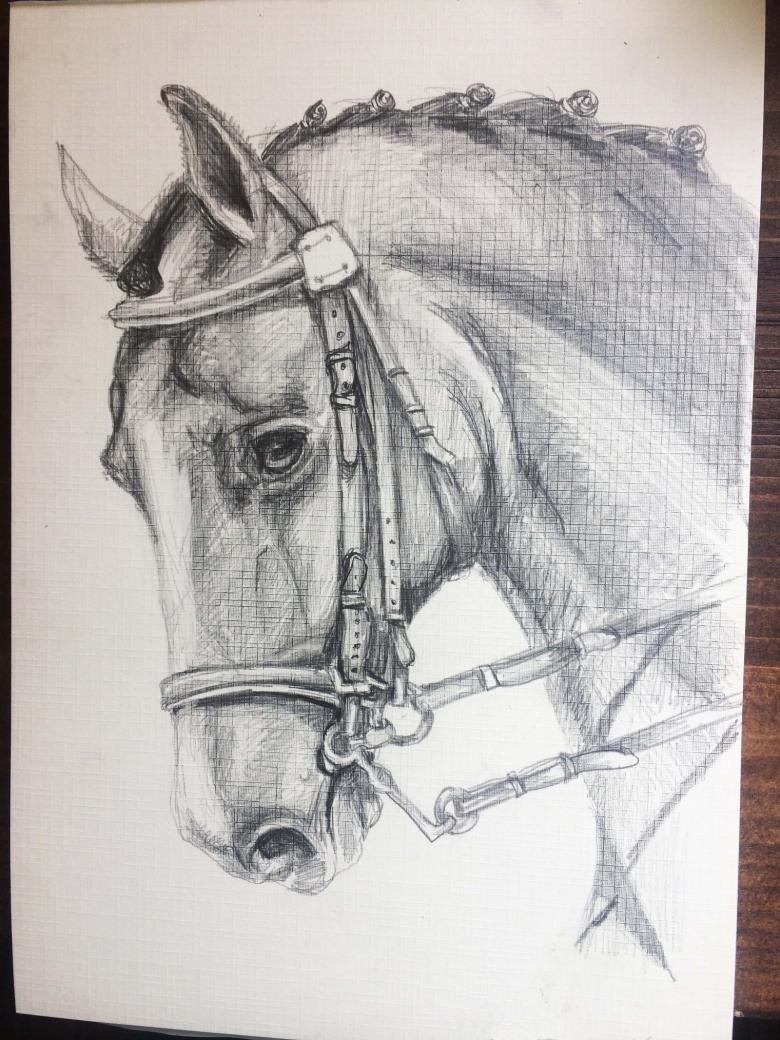
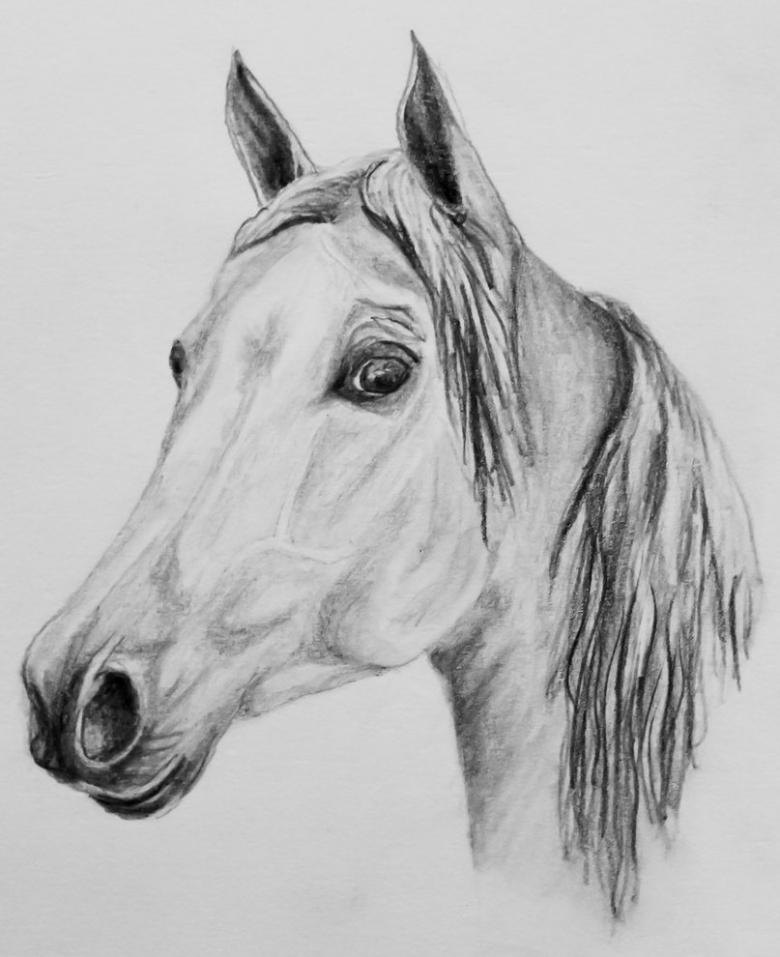
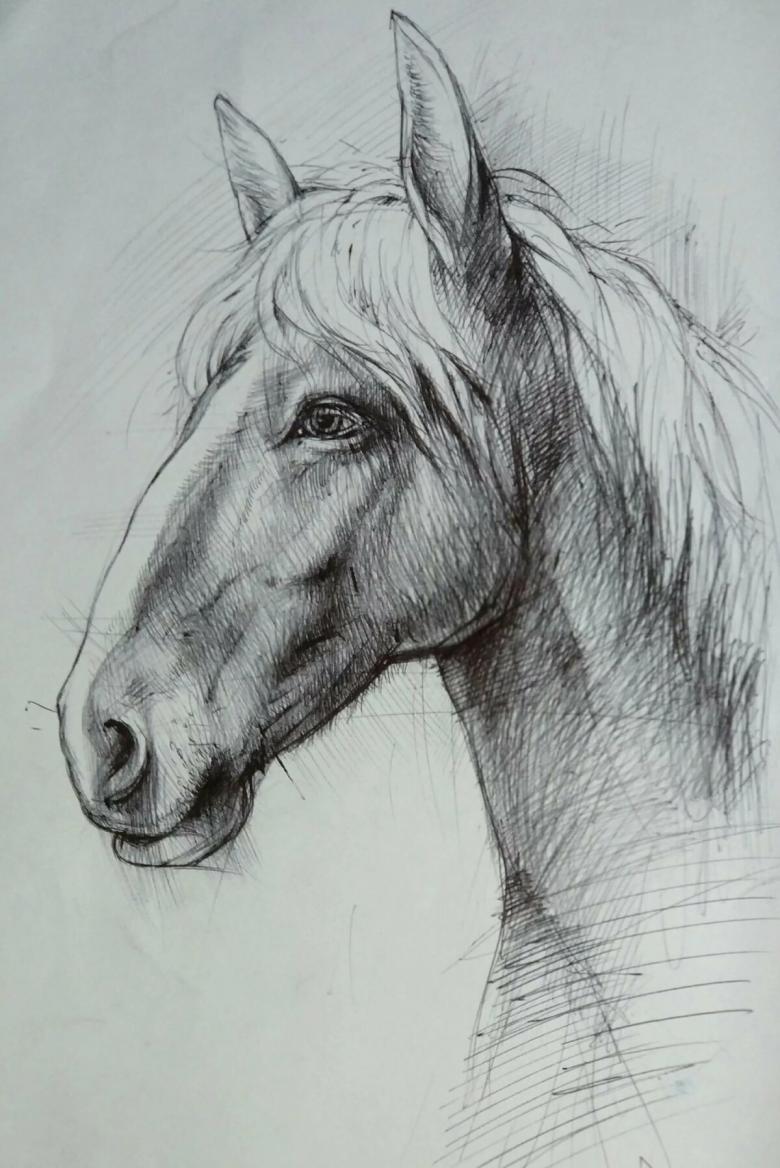
How to draw a horse's muzzle in pencil step by step
- To depict the muzzle, to begin with a rhombus is drawn, which has a slight slope along the central line. Its length is slightly longer than its width. The entire sketch is made with light elements, so that then it is easy to remove unnecessary parts.
- Then comes the base of the muzzle and cheekbones with dashed lines, setting aside about half the length of the rhombus. Eyes are created according to the slope of the rhombus.
- Next, the mane with its bangs, ears and neck are depicted, transitioning into a massive torso. The eyes and nostrils are painted dark, the eyelashes should be a little lighter than the eyes.
- The next step is to work with shadows. Shadows are applied near the eyes, in the middle of the face. When drawing the shadows it is better to use a soft pencil, using varying degrees of pressure on it.
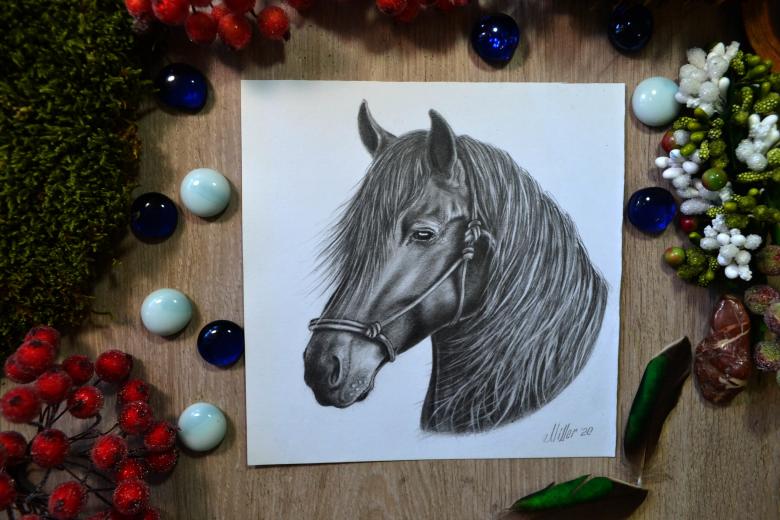
- The mane can be made voluminous and lush, having previously made a sketch with dim strokes. The shadow under the hair should be lighter than the hair itself. Hair should be wavy and to give them direction it is desirable to pass a soft pencil at the end of the main work.
- The work is completed by creating a background.

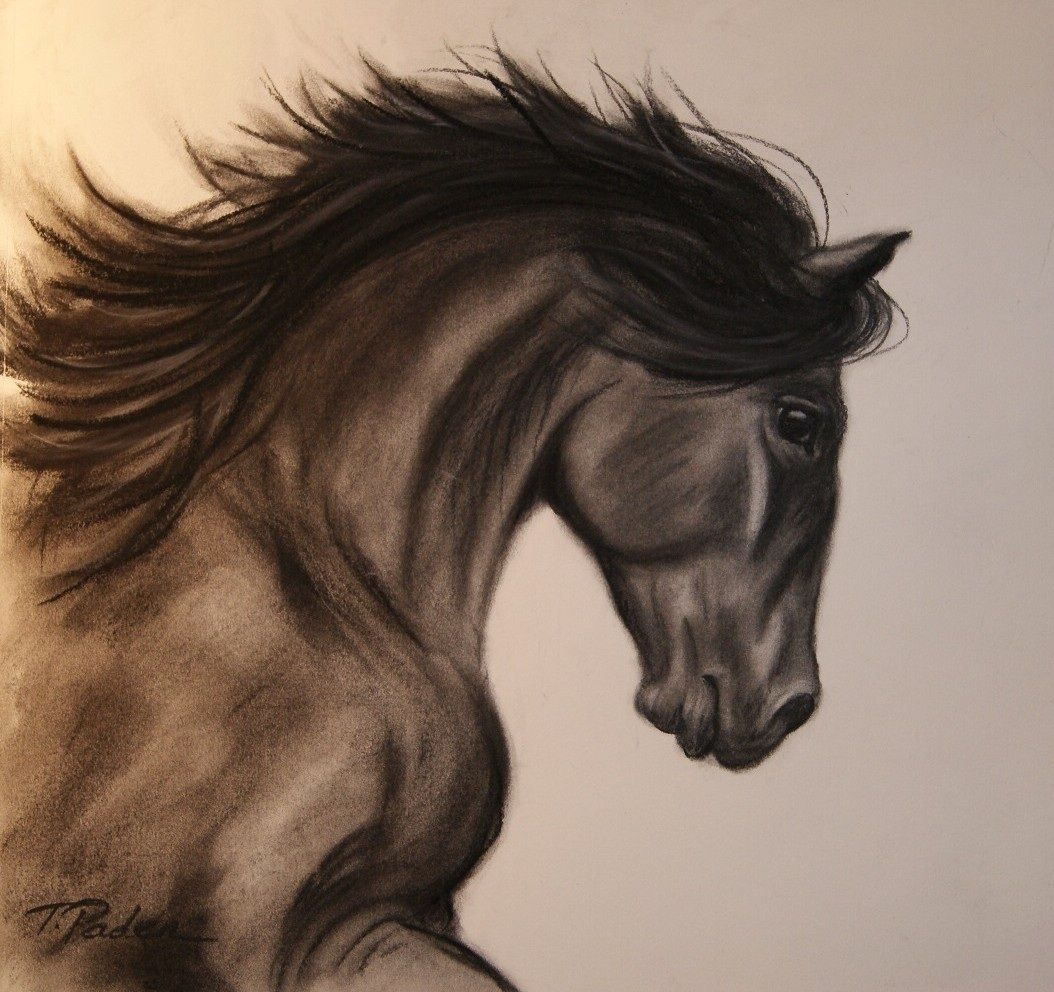
You can depict the emotion of the horse, such as consternation. This is not a simple work that requires practice. It is easier to use the method of sketching, paying attention to the details: open mouth, bloated nostrils, wide-open eyes perfectly convey the mood of the animal.
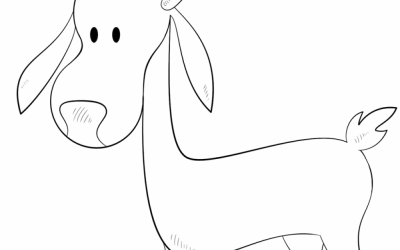
Drawing a horse for children
Children are very fond of animals and horses are no exception. But it is necessary to remember that it will be a difficult task for a child to recreate an animal taking into account its anatomy. It is easier to start with a simple and understandable image for a kid.

For children, as well as for adults, it is easier to start with a step-by-step drawing, using sketches. It helps to avoid distortion of proportions and features of the animal, simplifies the process of drawing and makes it more exciting.
For children of preschool and younger school age, you can use drawing characters from cartoons, books or toys as an example. This way, it will be easier for them to get into the process and more interesting to draw them.
If the example is difficult enough, it is possible to resort to the method of sketching; parents' help is also useful. It is easier for the child to draw such a character, which he or she sees more often.
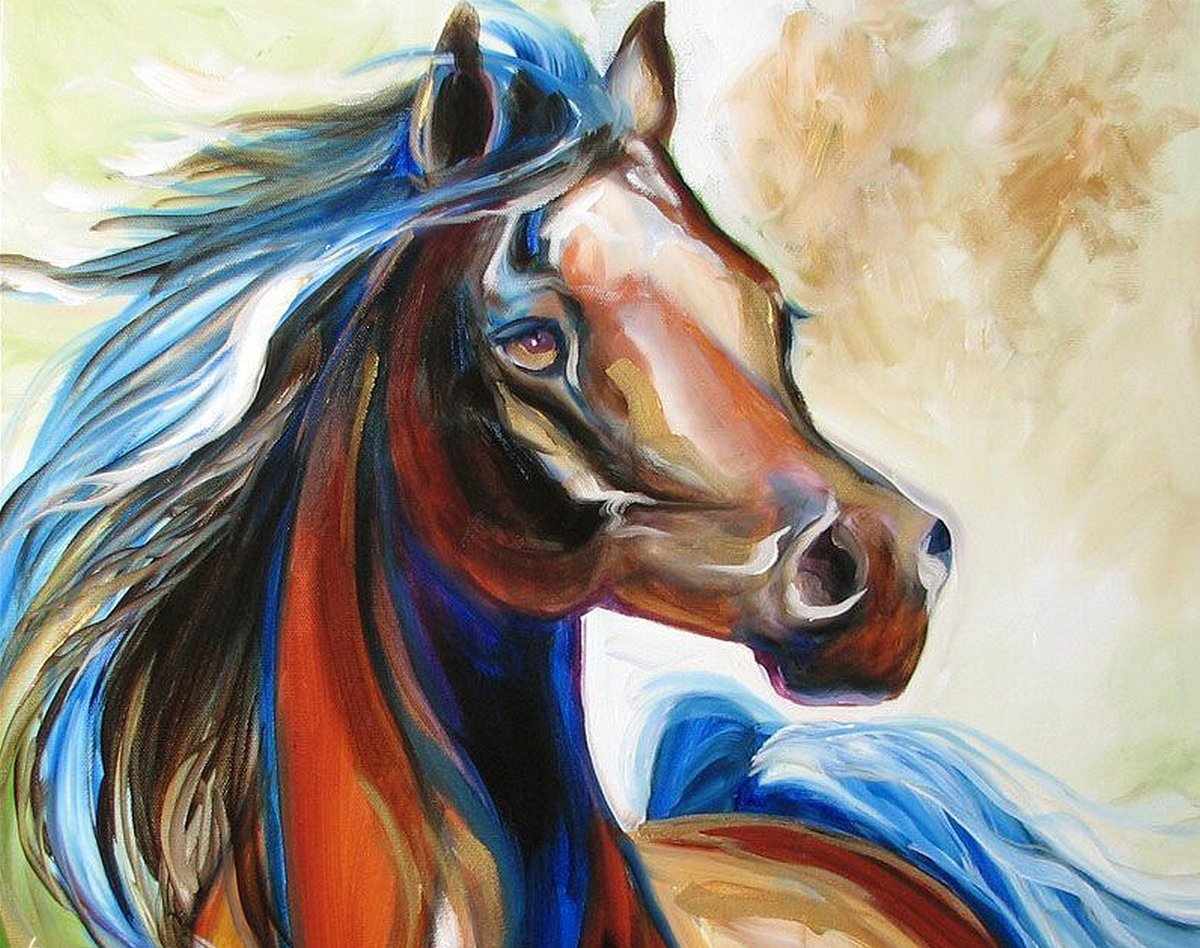
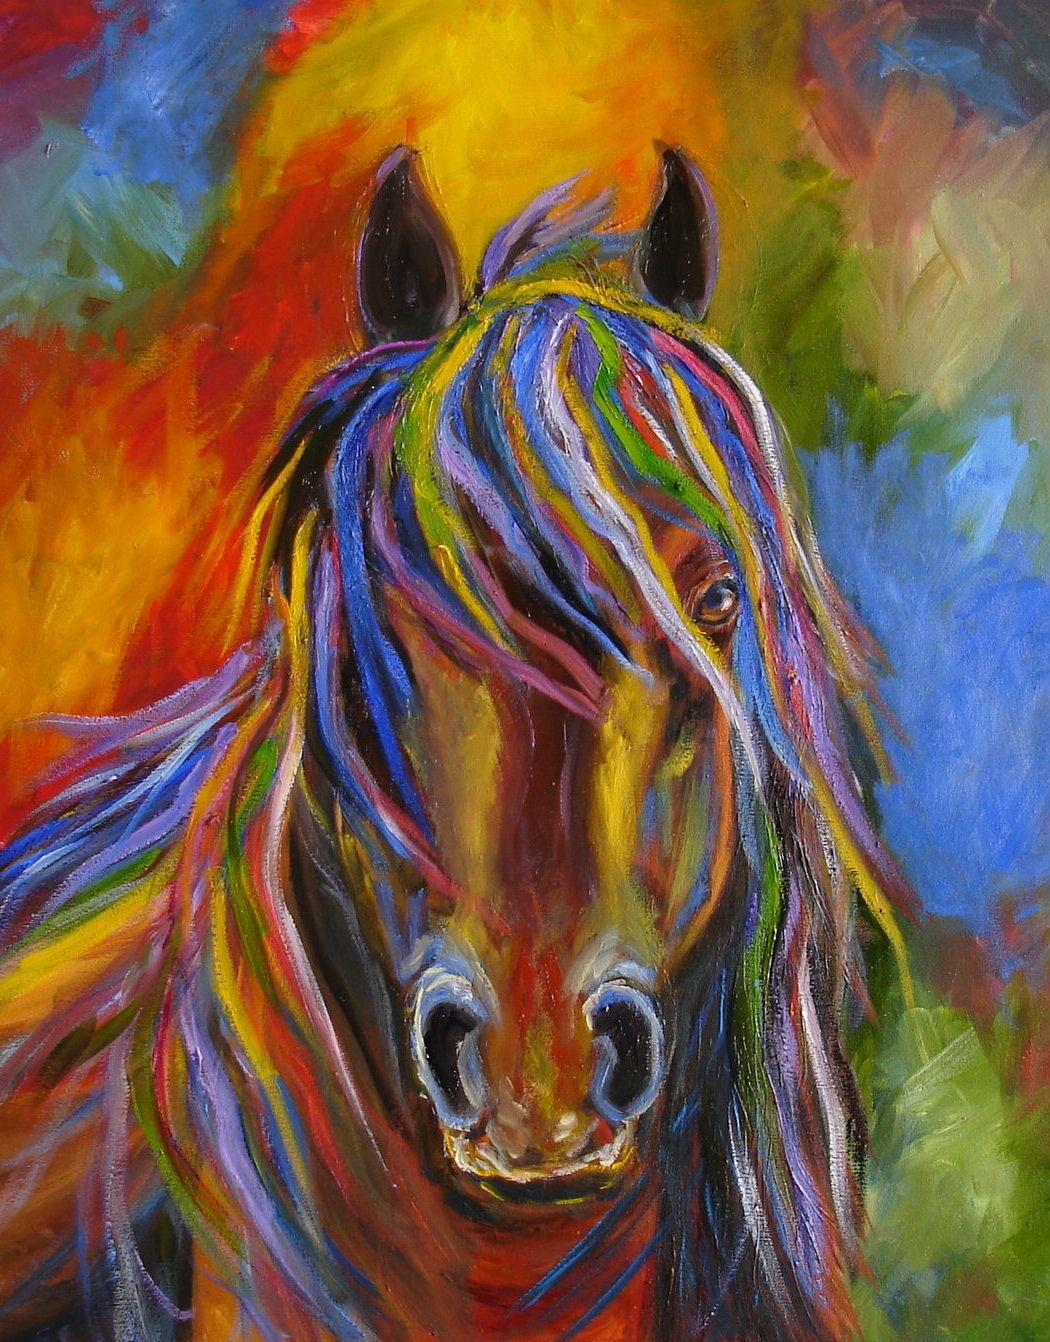
It is worth remembering that it is important for a child to color a picture, and not to leave it in black and white. The parent can draw the outline of the horse, and the child will then color it.
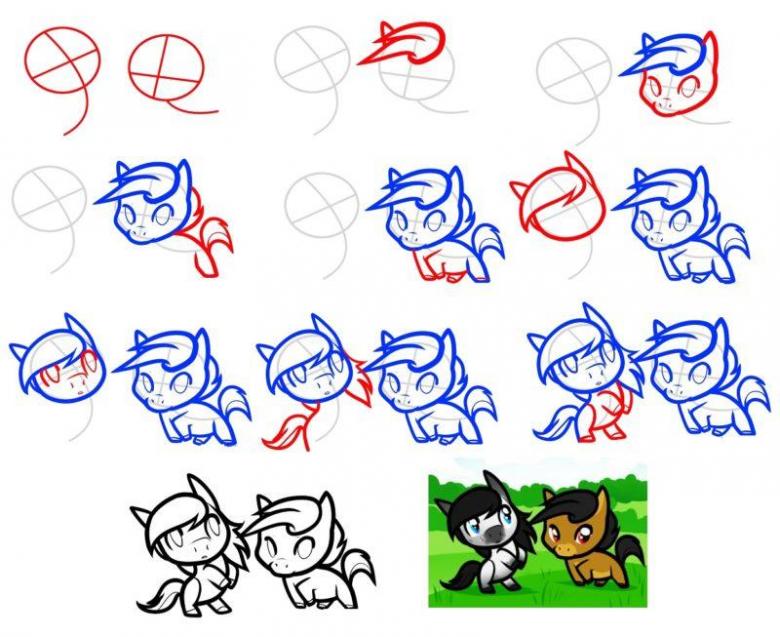
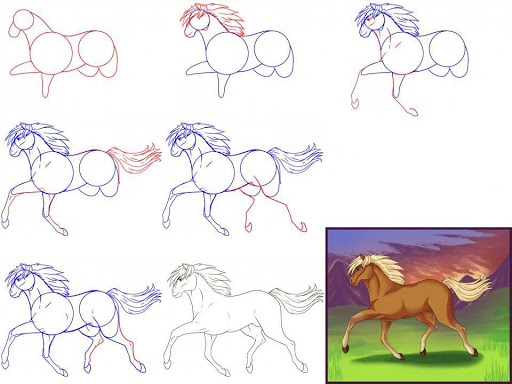
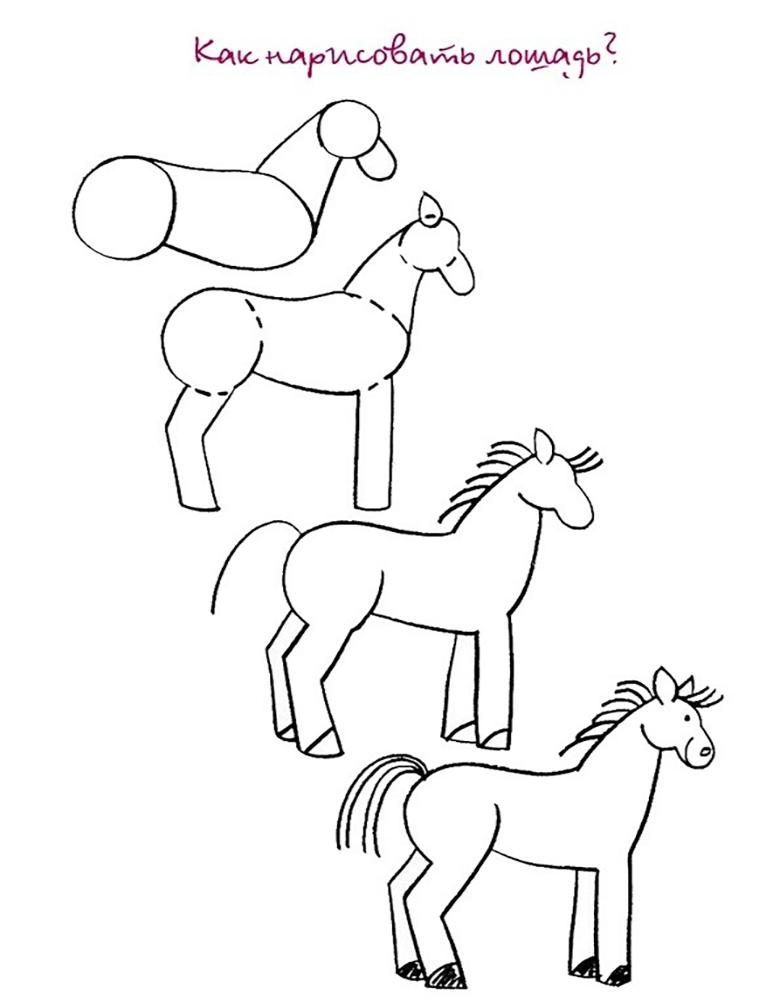
Stages of drawing for a child
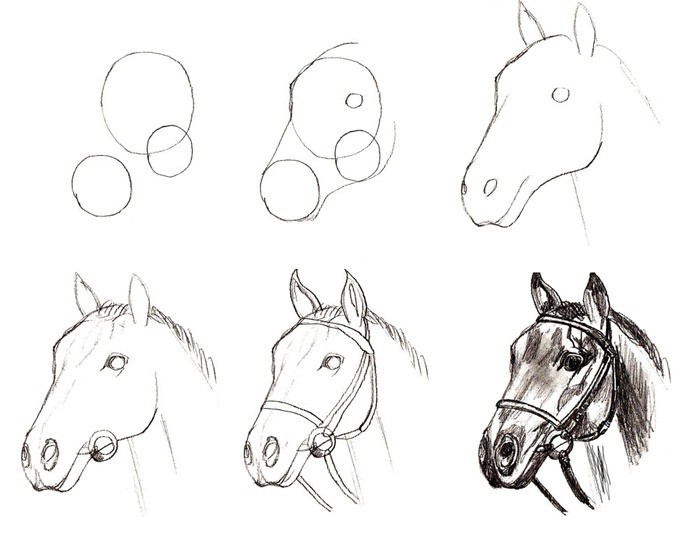
- First, the borders are marked. A rectangle is best for this task.
- First of all, two circles are depicted, one under the other at a small distance, with the upper one being larger than the lower one. Circles should be connected by a smooth curved line.
- The muzzle is drawn from the upper circle. Ears should be drawn, lush mane.
- Then big eyes and eyelashes are drawn.
- Small circle will be the basis for the croup. Croup is connected to the head of the neck, drawn with smooth strokes. From the croup go front legs with hooves.
- At this stage, finish drawing the body, hind legs, puffy tail.
- Auxiliary elements are removed, adding details at will and imagination.
- The drawing is colored, and colors can be used as desired by the child.
Drawing is a difficult but interesting process. Talent alone is not enough, because only a diligent and dedicated person can learn to draw well. You can draw at any age.
If parents want their child to develop fully, they should take the time to draw, but it is important not to put pressure on the kid, to give him room for creativity.
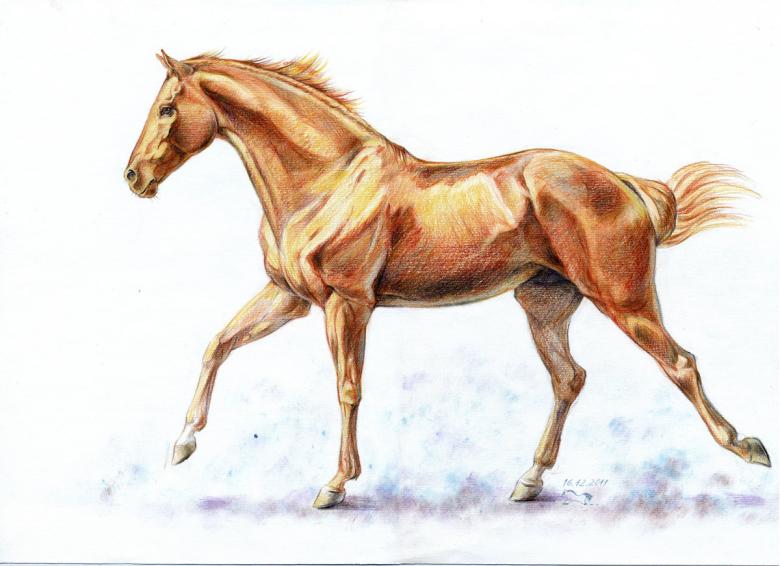
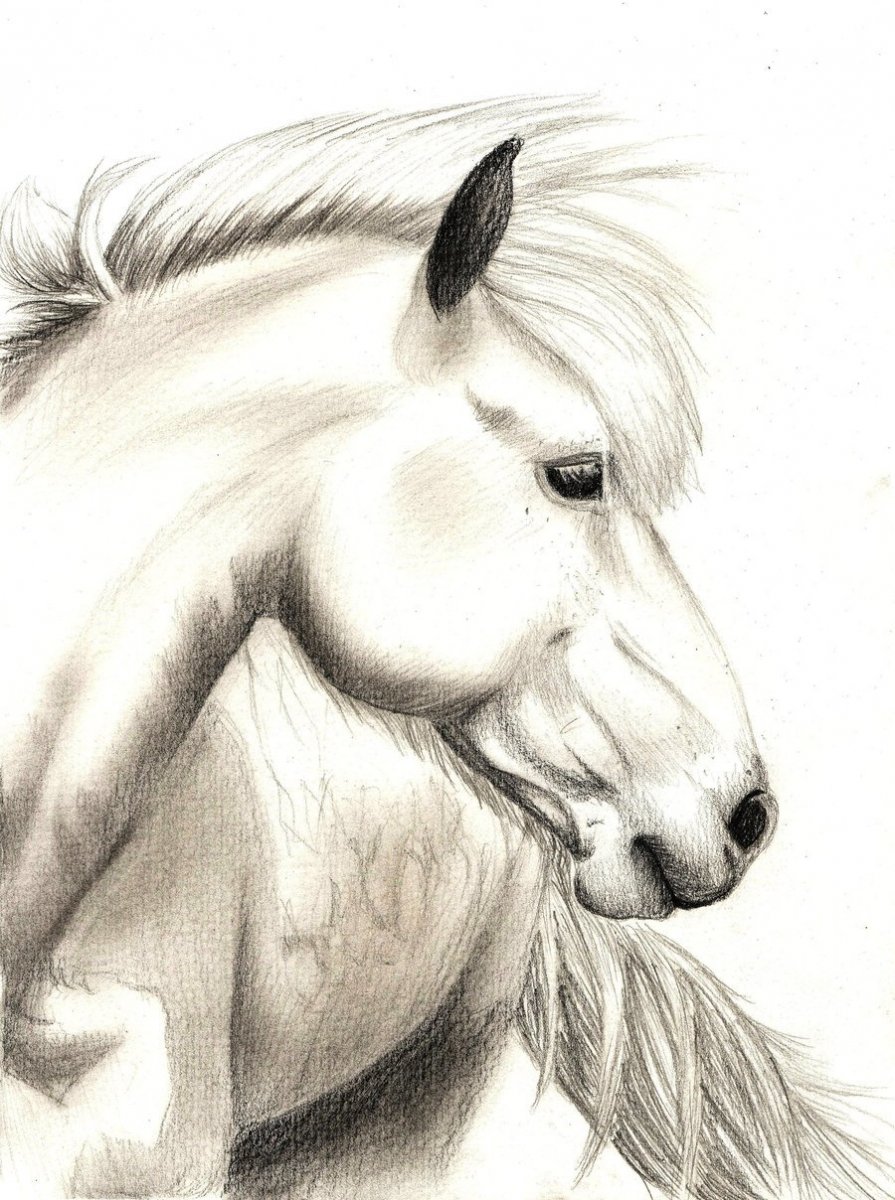
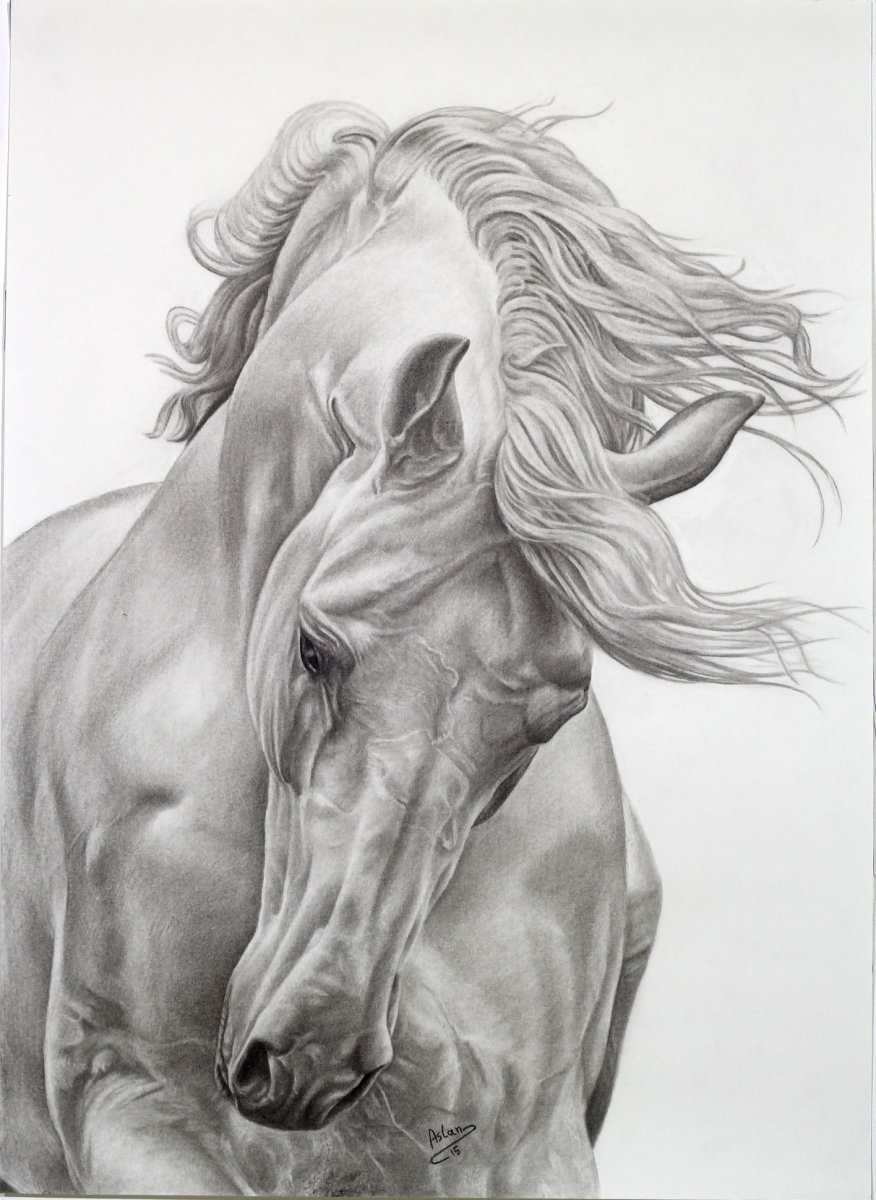
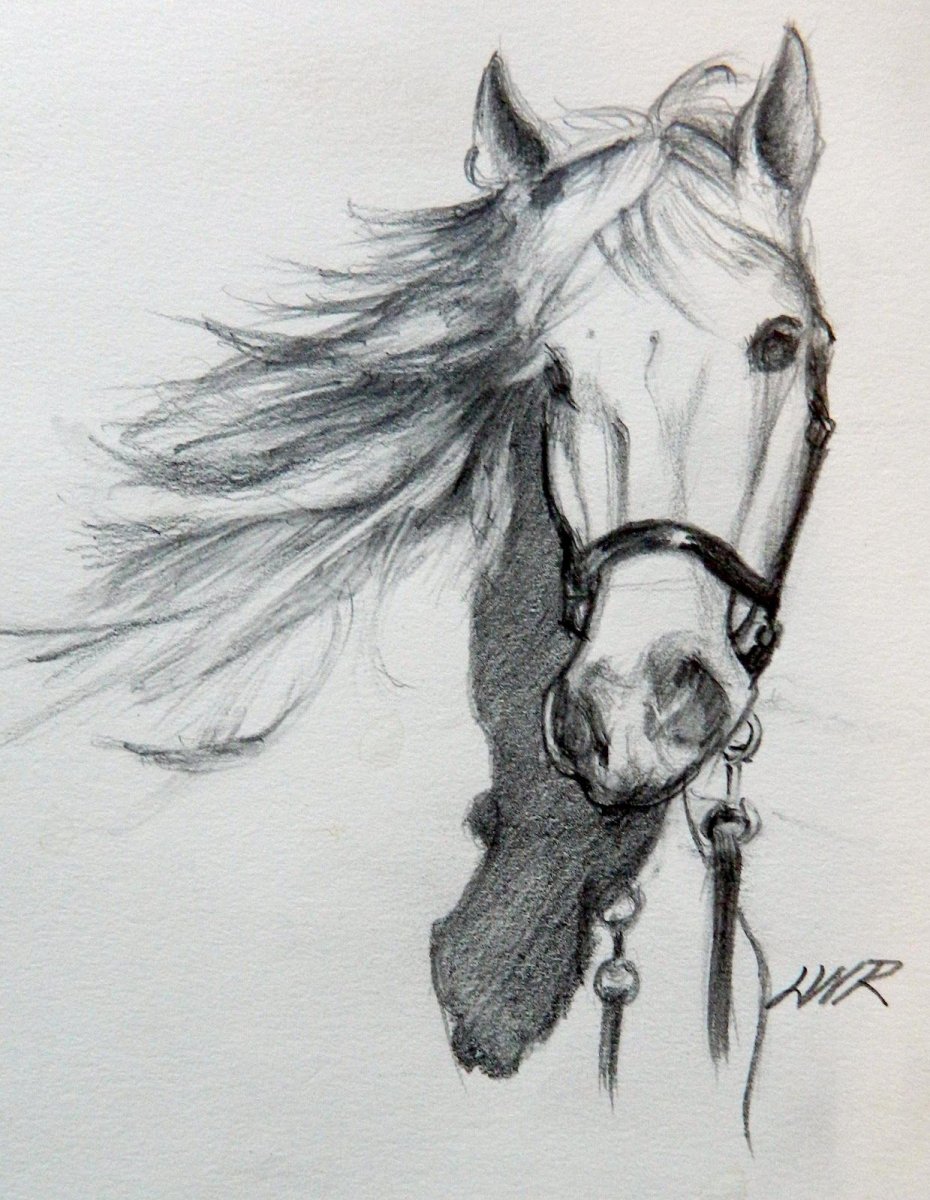
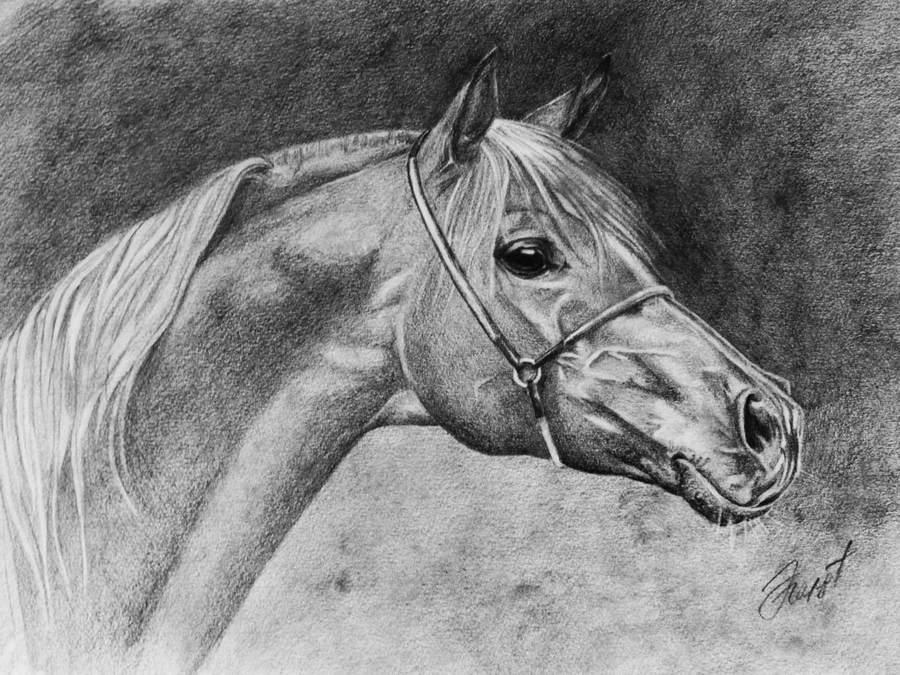
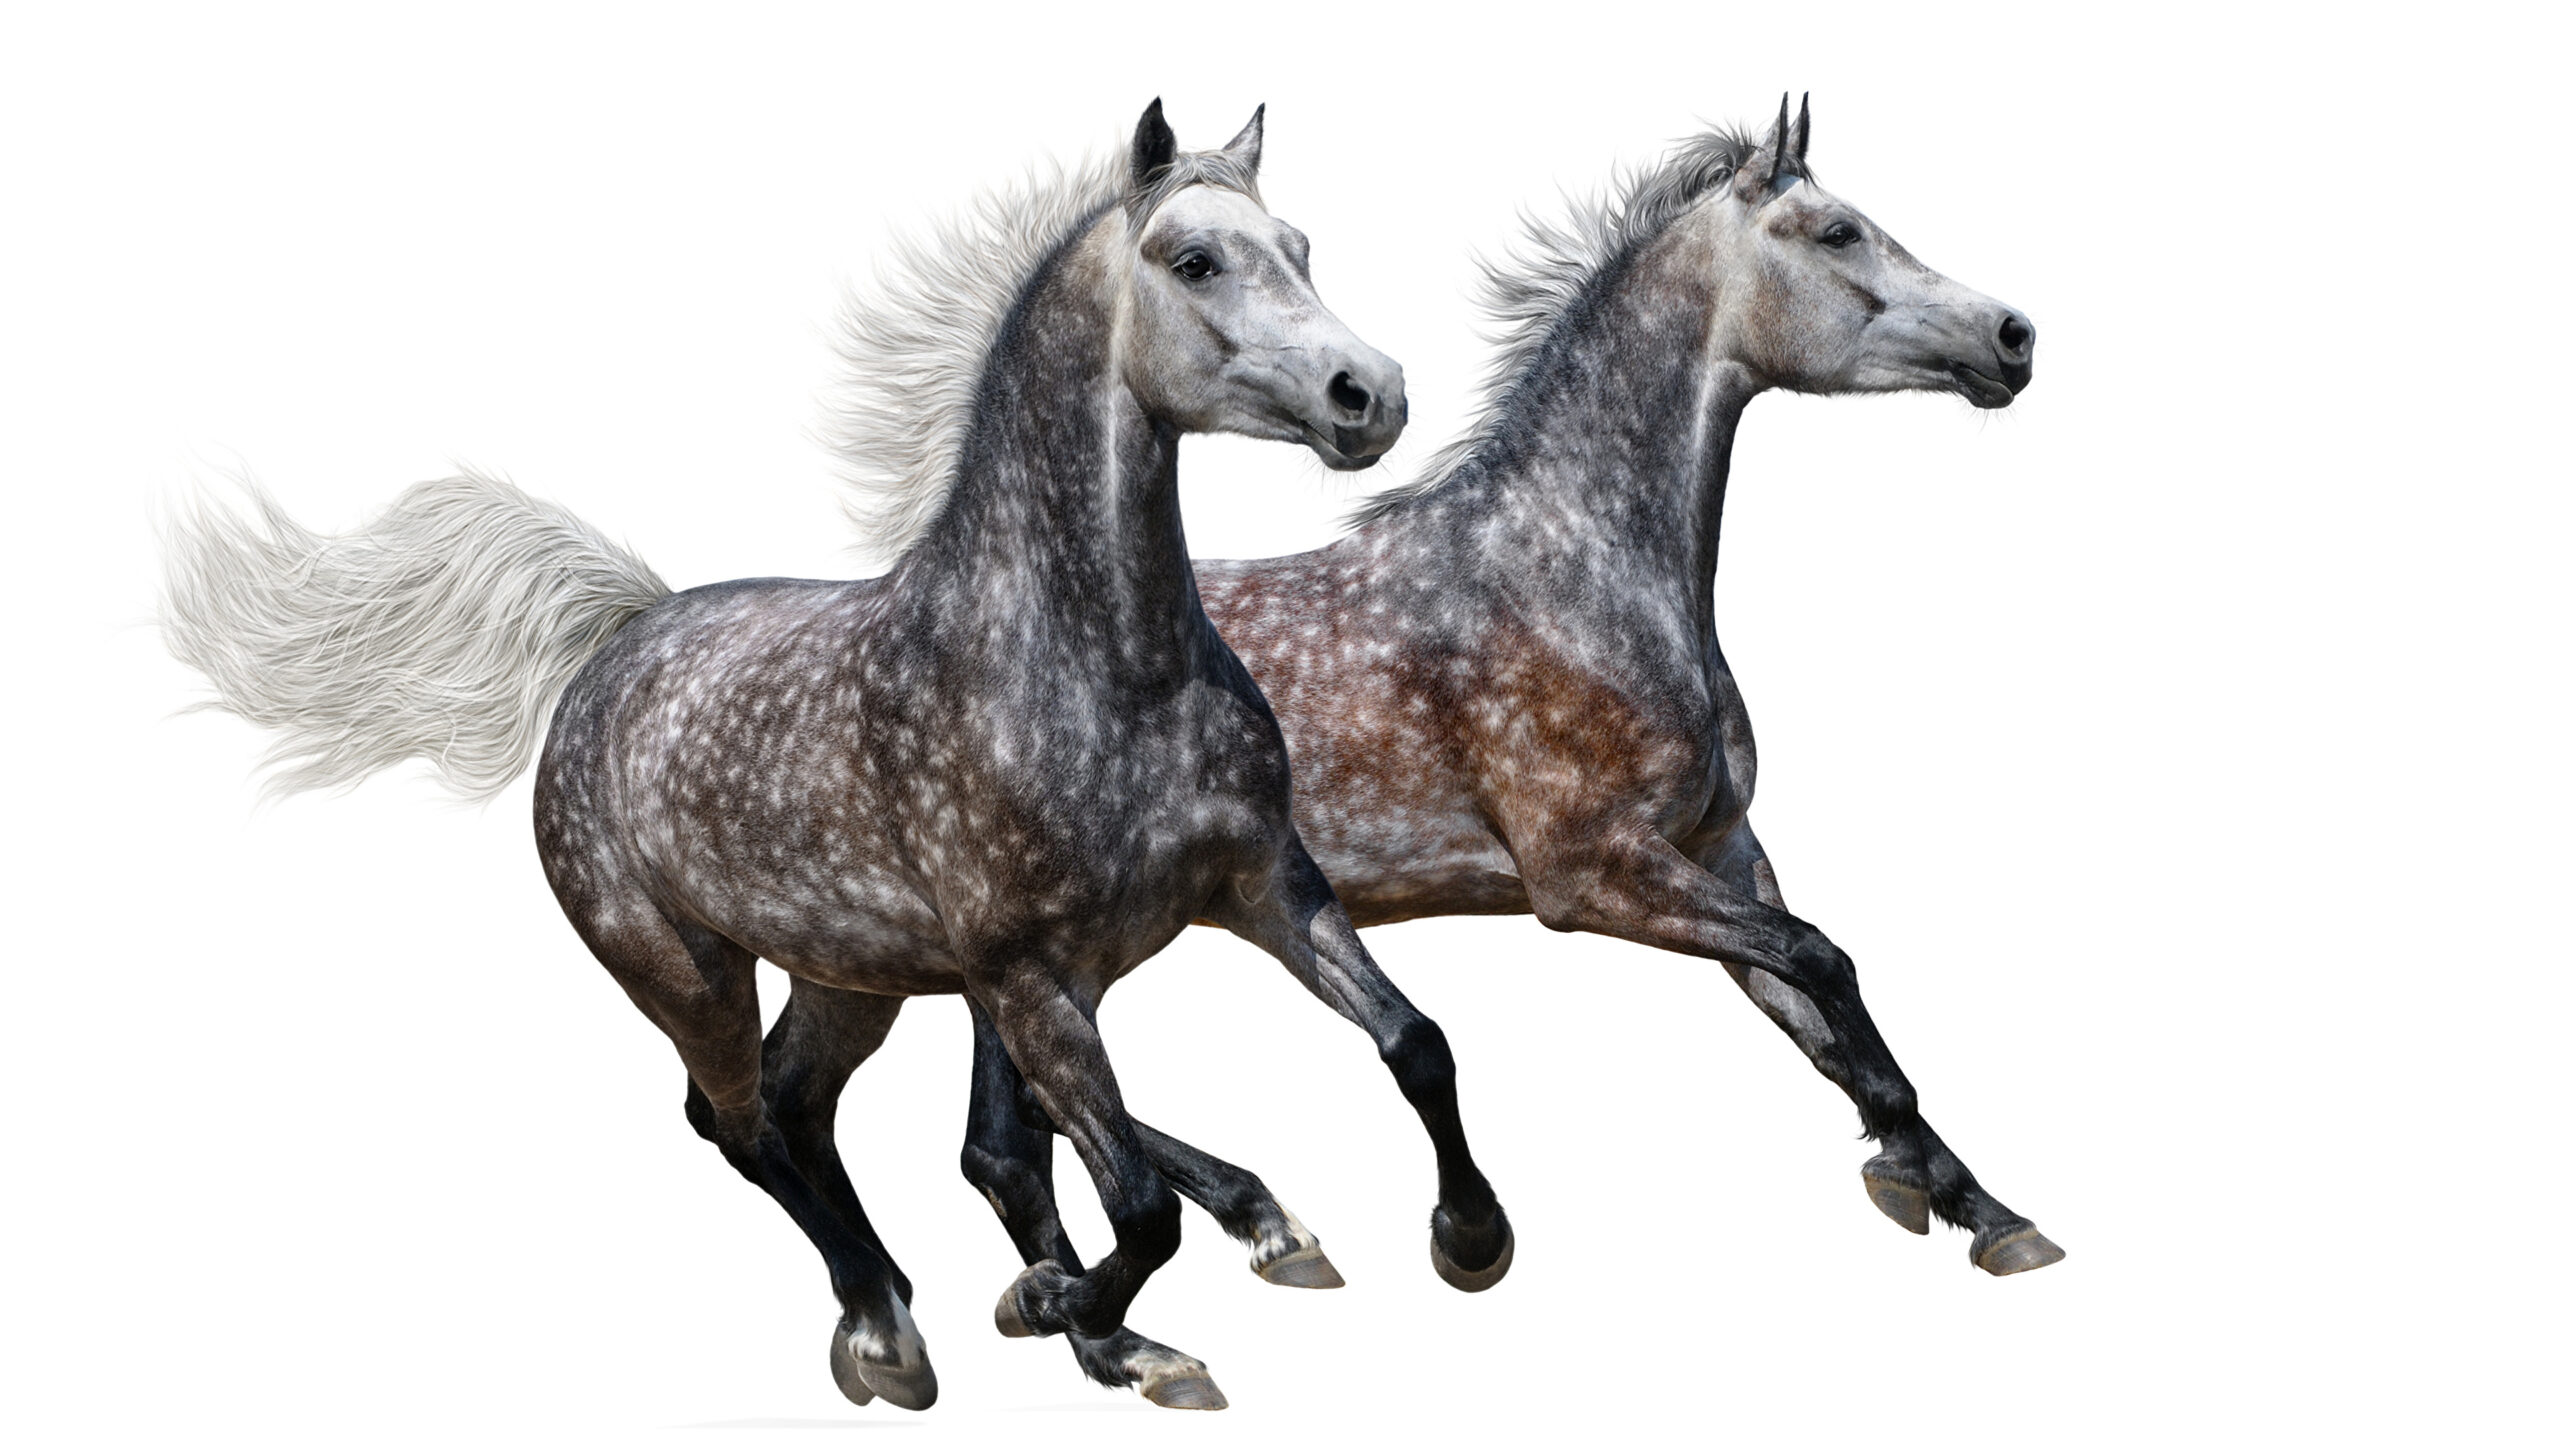
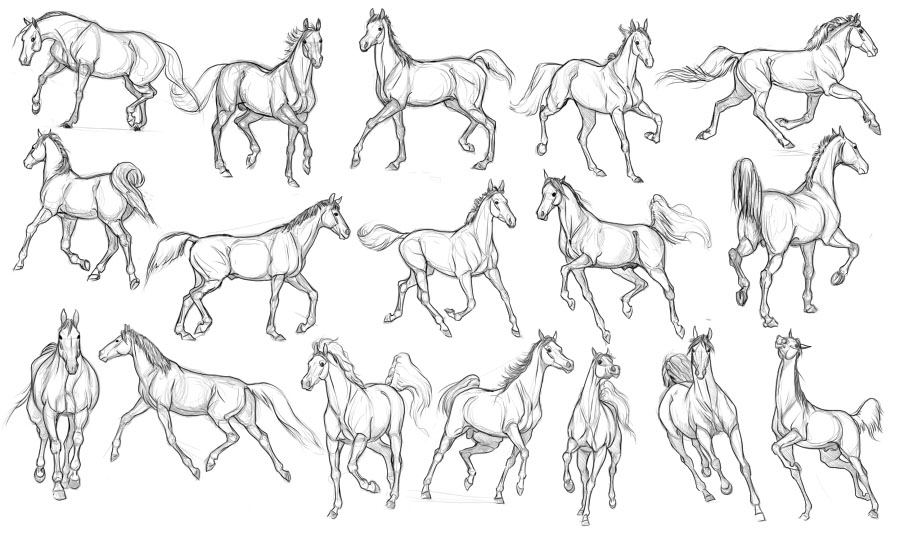
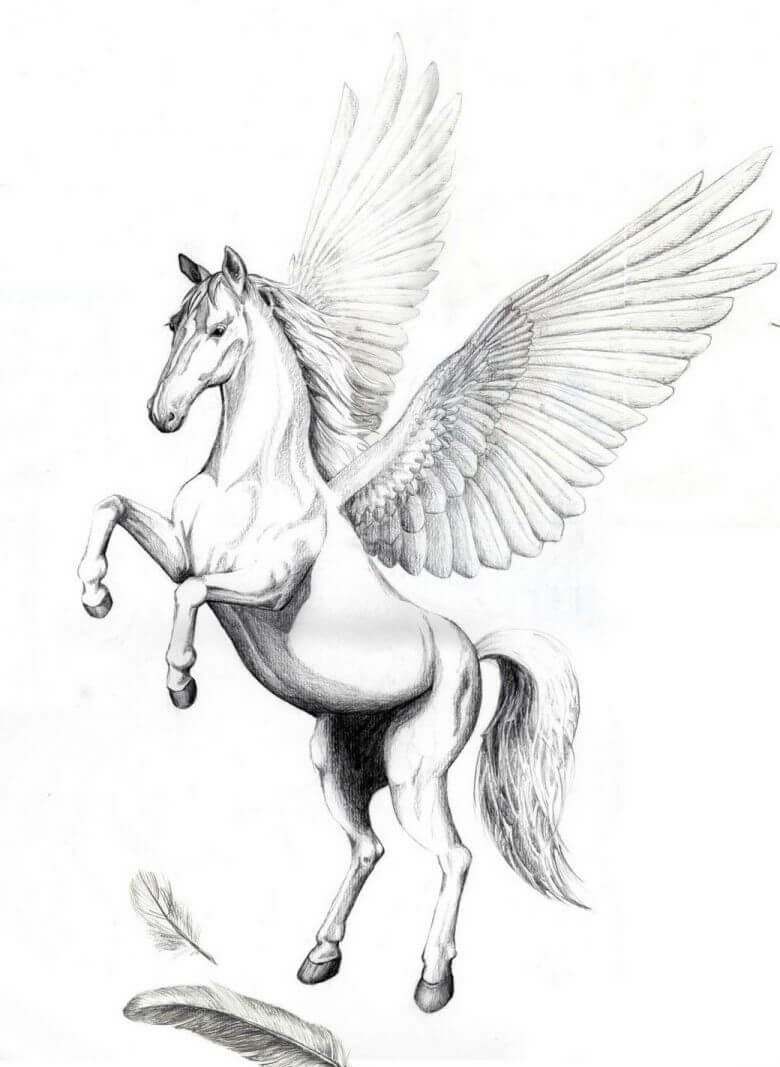
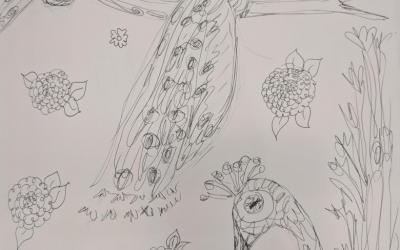
Pictures of horses for sketching in pencil