How to Draw a Peacock in Pencil: Step-by-Step Instructions and General Guidelines for Children and Beginners
Drawing, as well as many other types of creativity are not just fun activities for children. The various techniques used contribute to the development of fine motor skills of the fingers, develop memory and abstract thinking.
It is important for a child, or an adult in the rehabilitation process, to draw different shaped shapes and objects to simulate different areas of the cerebral cortex.
The peacock figure is the best way to actively train the fingers, allowing for the development of plasticity in the fingers. A classic drawing (not in composition) consists of several parts: body, head and tail.
Displaying the bird in different positions (profile, full-face) in the drawing promotes the formation of plot perception and abstract thinking, both in children and in adults.
Materials for creativity
Drawing requires concentration from the master, but at the same time, refers to an exceptionally creative types of activities. For the artist it is necessary to prepare an optimal place with a wide table or easel, a chair and an organizer. The following materials will also be useful:
- A set of plain pencils.
- Colored pencils or felt-tip pencils, which will give color to the bright bird in the drawing.
- Eraser.
- For some drawing techniques you will need a compass.
Of course, you should not forget about white paper and a photo of a real peacock, which will help the master to navigate in the creative process.
Step by step instructions for the master
Drawing a peacock is not so difficult, it is much more difficult to depict the bird at the right angle. To do this, the future artist should practice by drawing dashed lines, circles, and ovals on the sheet.
Always remember that the corner or subject or part of the body closest to the viewer's eye should be placed lower on the sheet. This technique is called setting the angle of view.
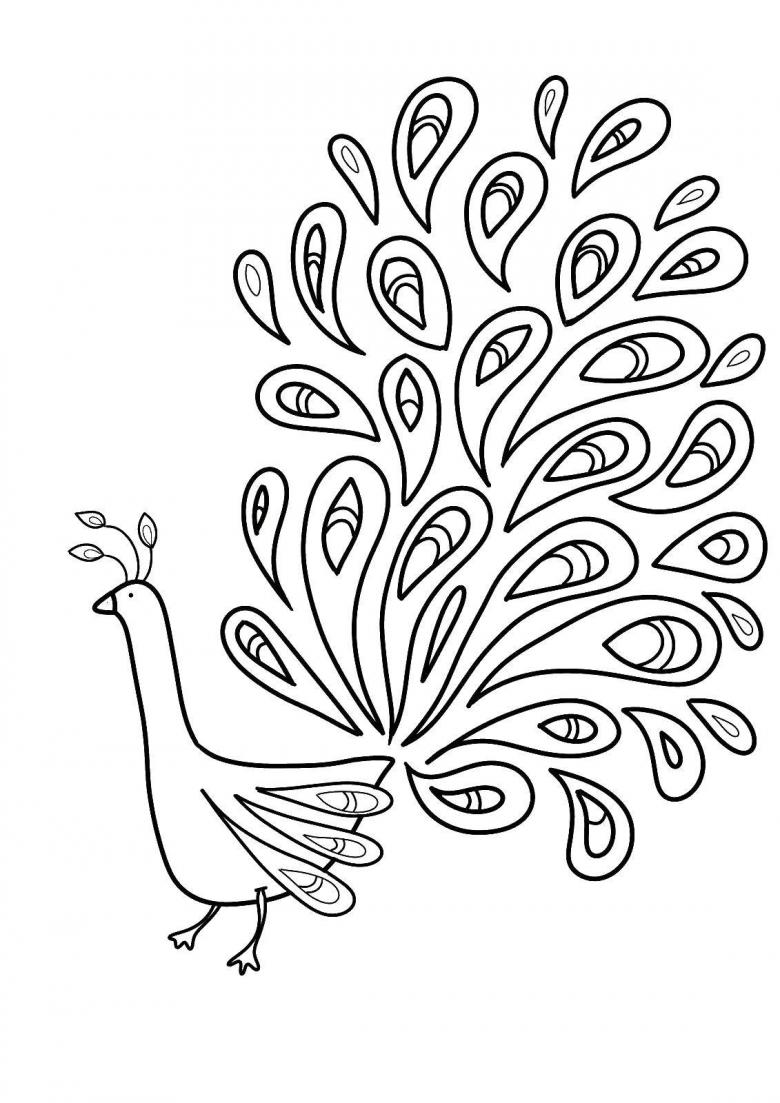
A simple peacock for children
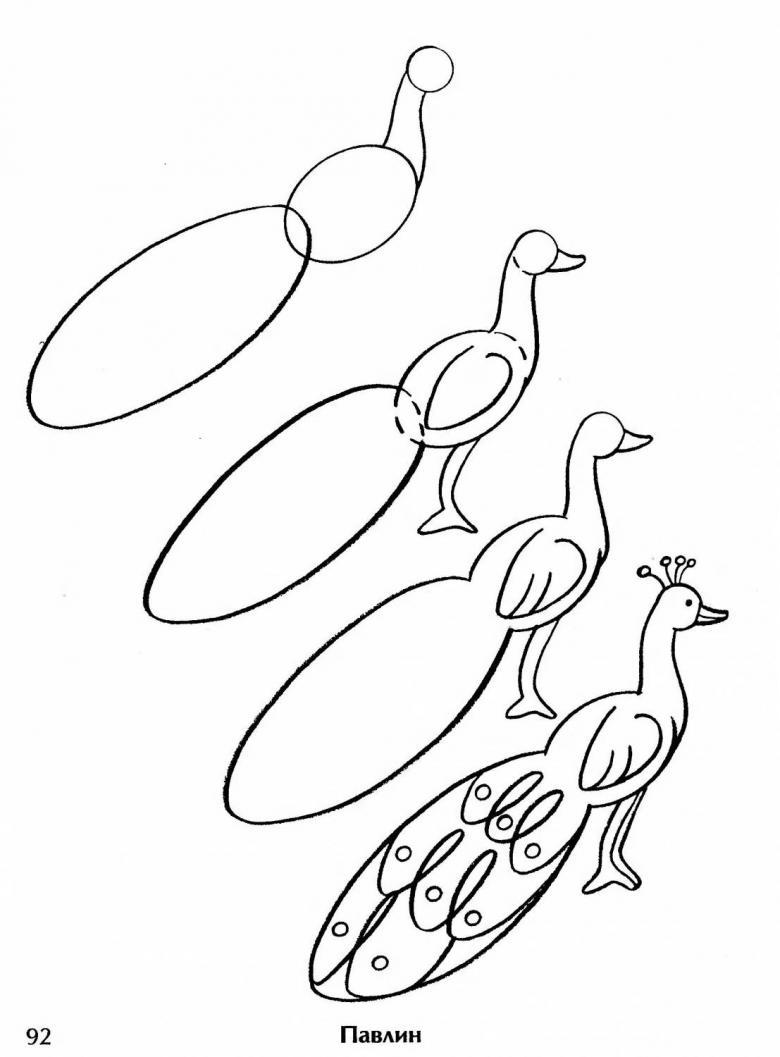
It is better to start creative activities with a child with the simplest projects. For this purpose, it is necessary to prepare a simple pencil, a sheet of white paper and an eraser. Instructions on how to draw a peacock for a child:
- Approximately in the central part of the sheet, one circle should be depicted, which will later become the head of the bird.
- An oval is drawn under the lower pole of the circle.
- The circle is divided into two equal halves, and using the wavy line connect it to the underlying oval.
- Inside the oval, which is the basis of the torso, mark the wing. The bird is depicted in the "side view" position, in a half-turn. From the oval downwards, two straight strips are directed, at the end of each of which there is a slanting line (feet).
- Next, work on the head of the peacock. Inside the circle wavy line doubled to get the neck. At the top pole slightly rounded double line to get a small head with a beak and eye (at this angle only one eye is visible).
- Around the whole figure should depict a large circle.
- With the transparent protractor or visually mark the bottom inside the circle angle of 120-140 degrees. Lines of the angle traced with a pencil, and the outer rim of the circle (located at an angle) erase eraser. Thus, the figure turned out a blank for the tail of the peacock.
- Stroke movements give the contour of the tail slightly wavy appearance. Inside draw a few vertical stripes, in the middle or at the end of each of them depicts a double oval.
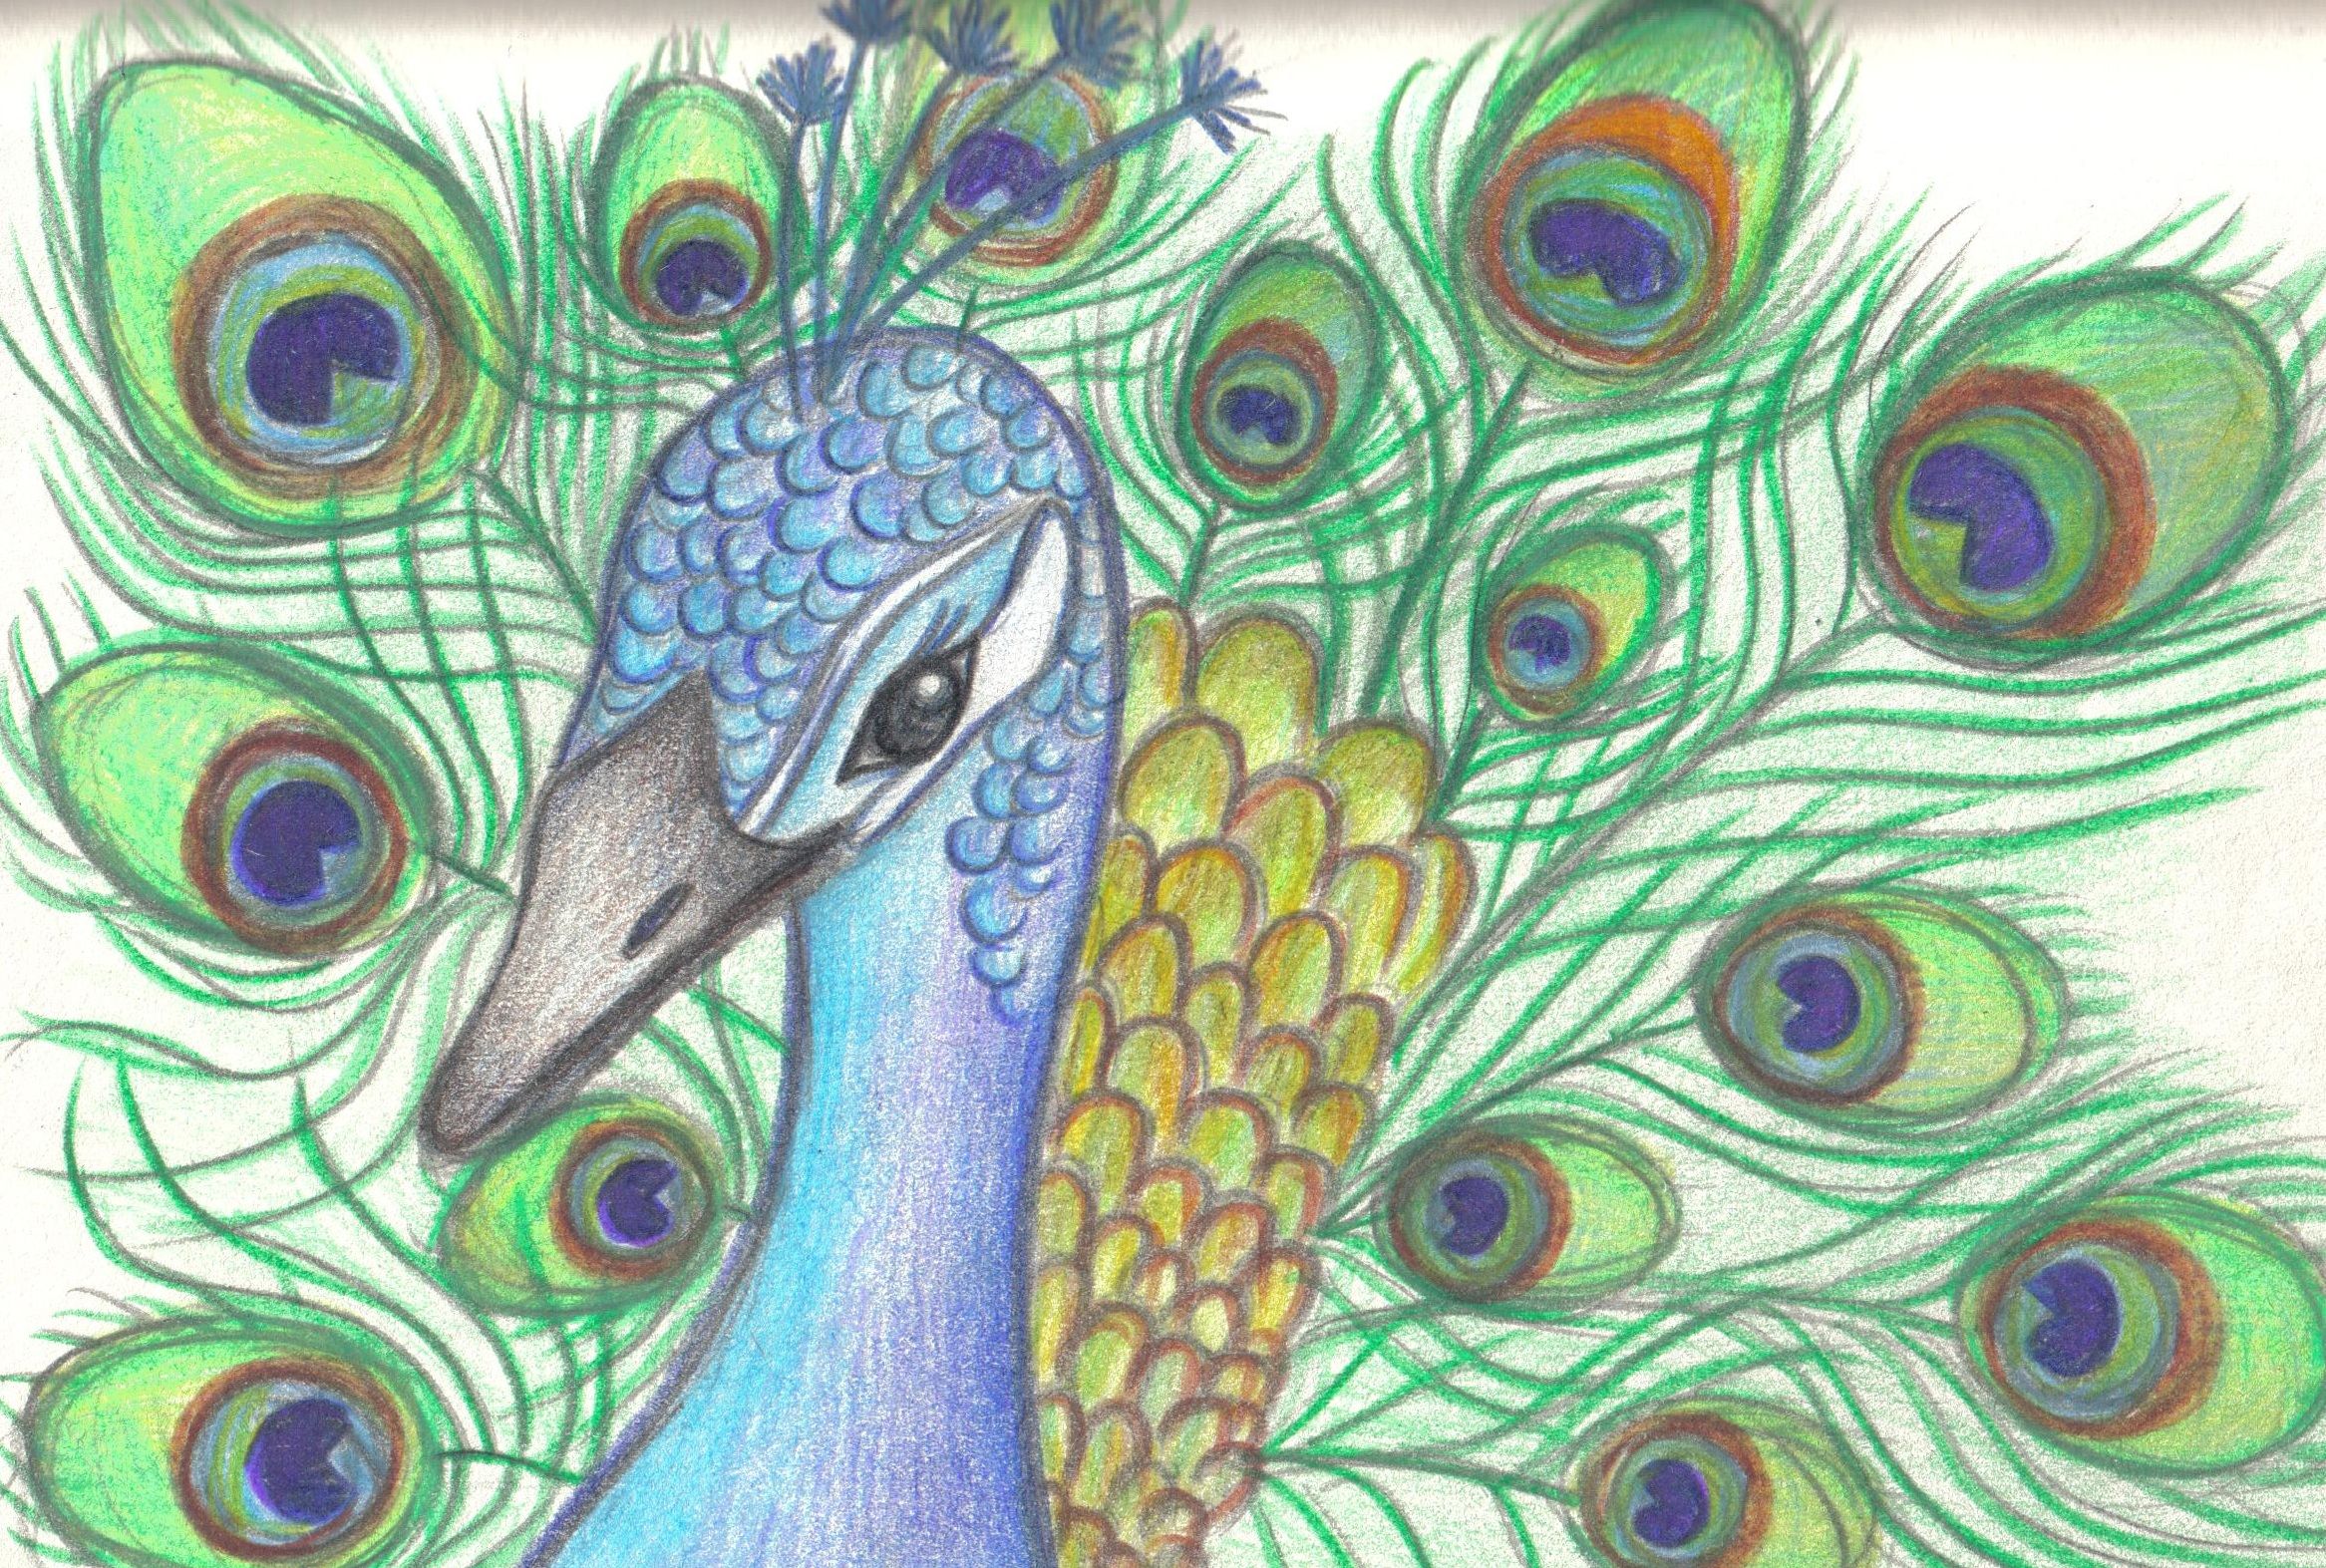
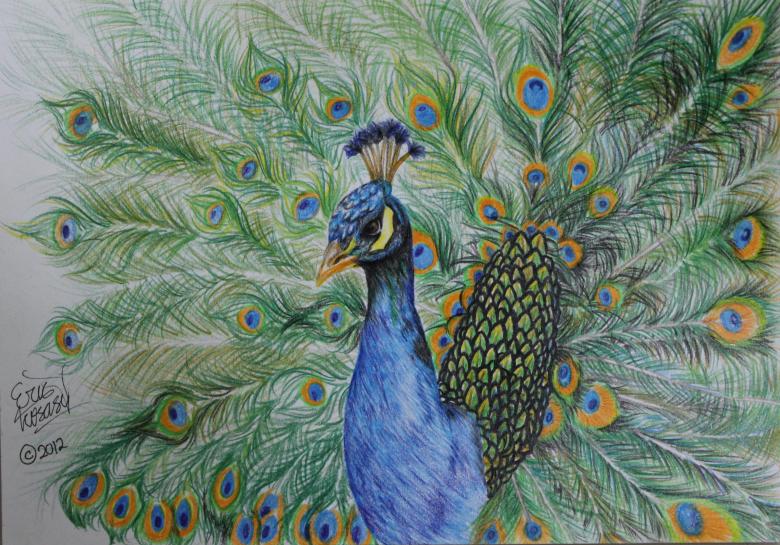
To paint the body and tail, use bright colors (green, yellow, orange, and blue shades).
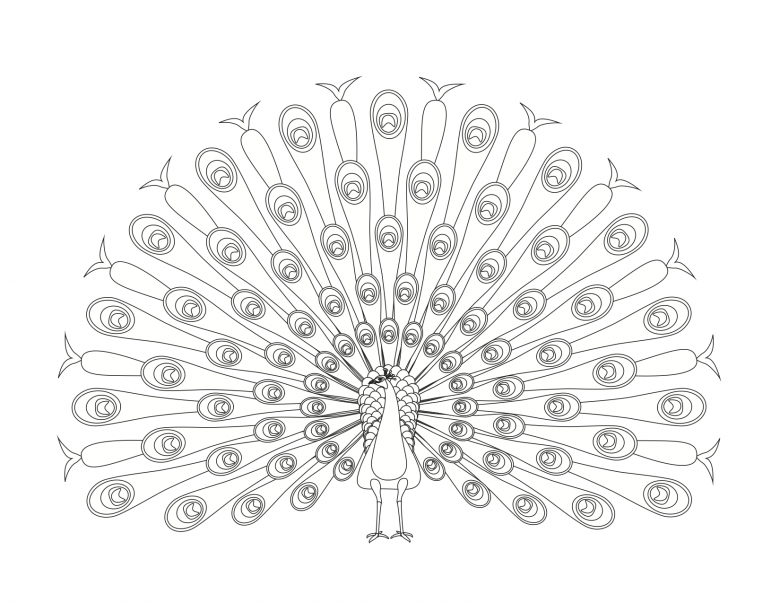
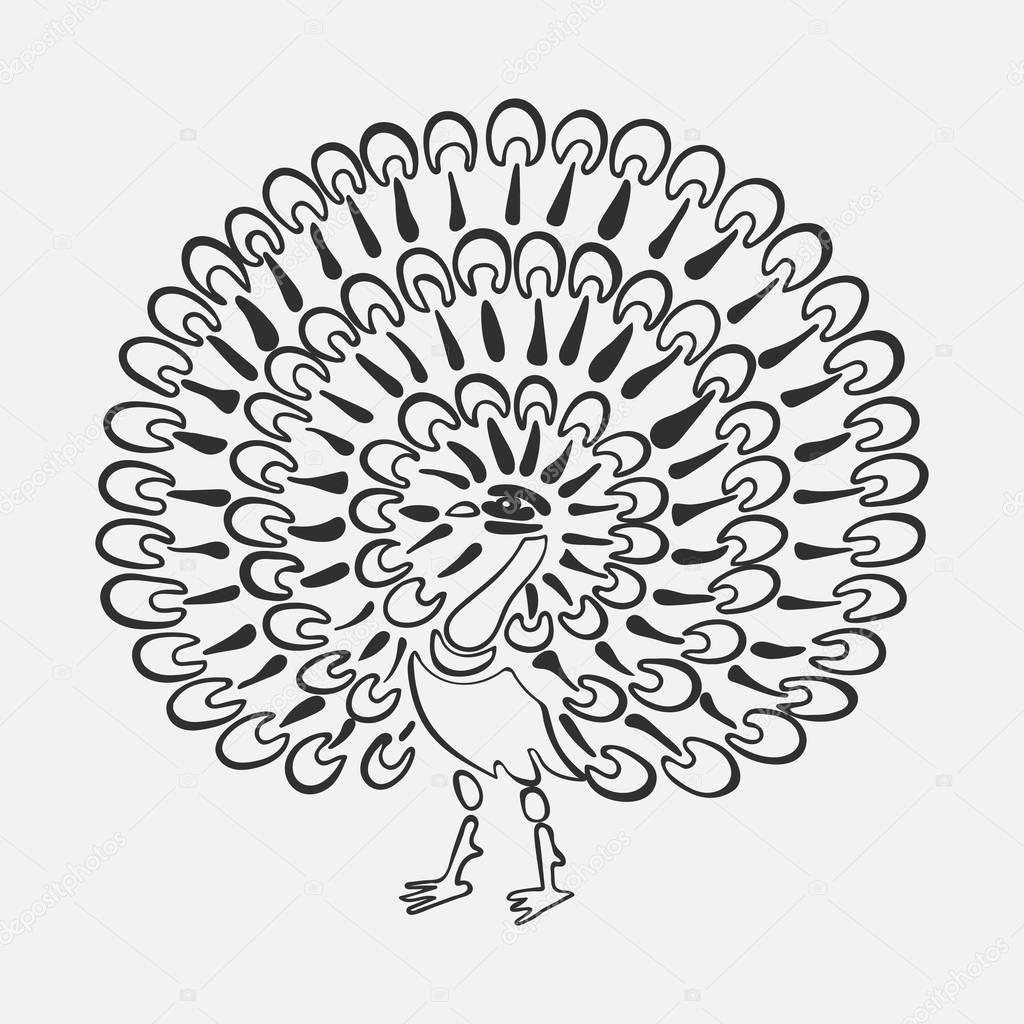
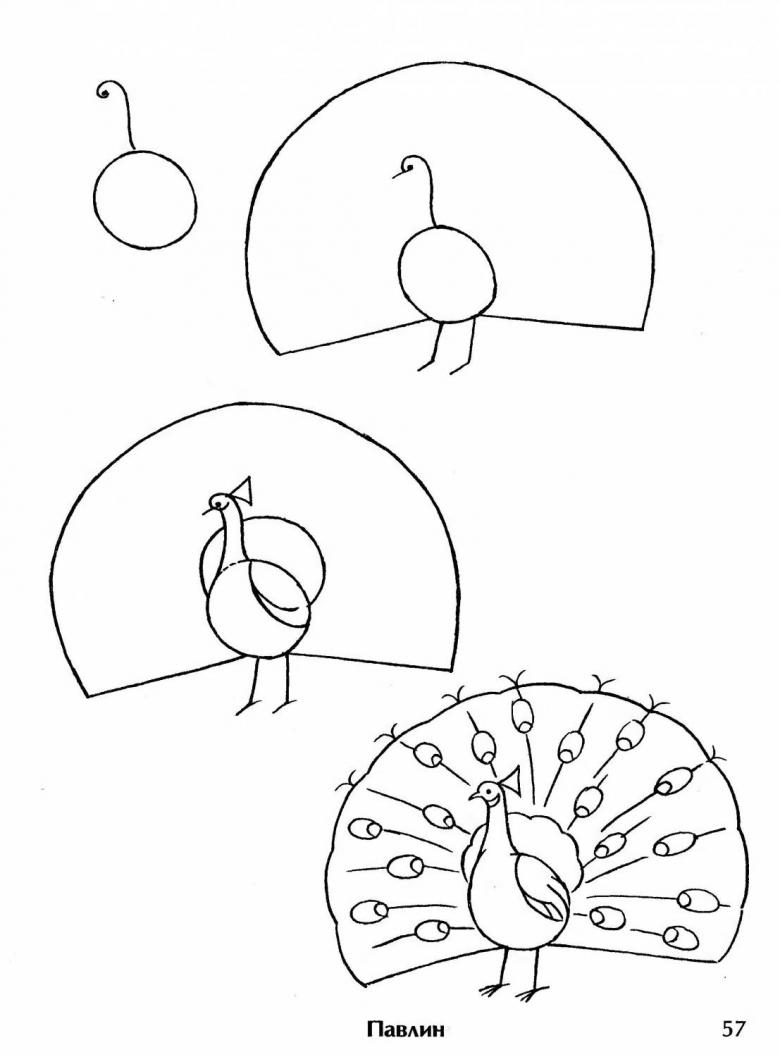
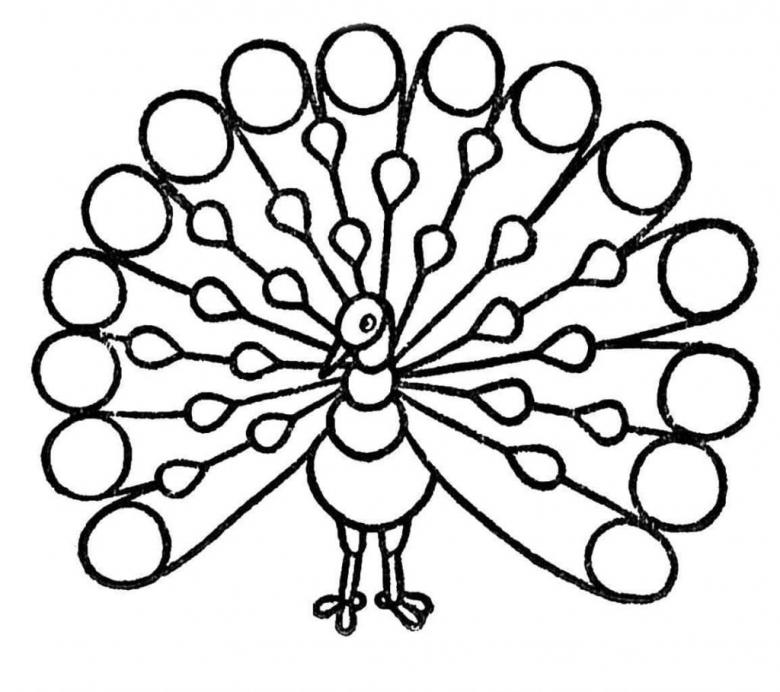
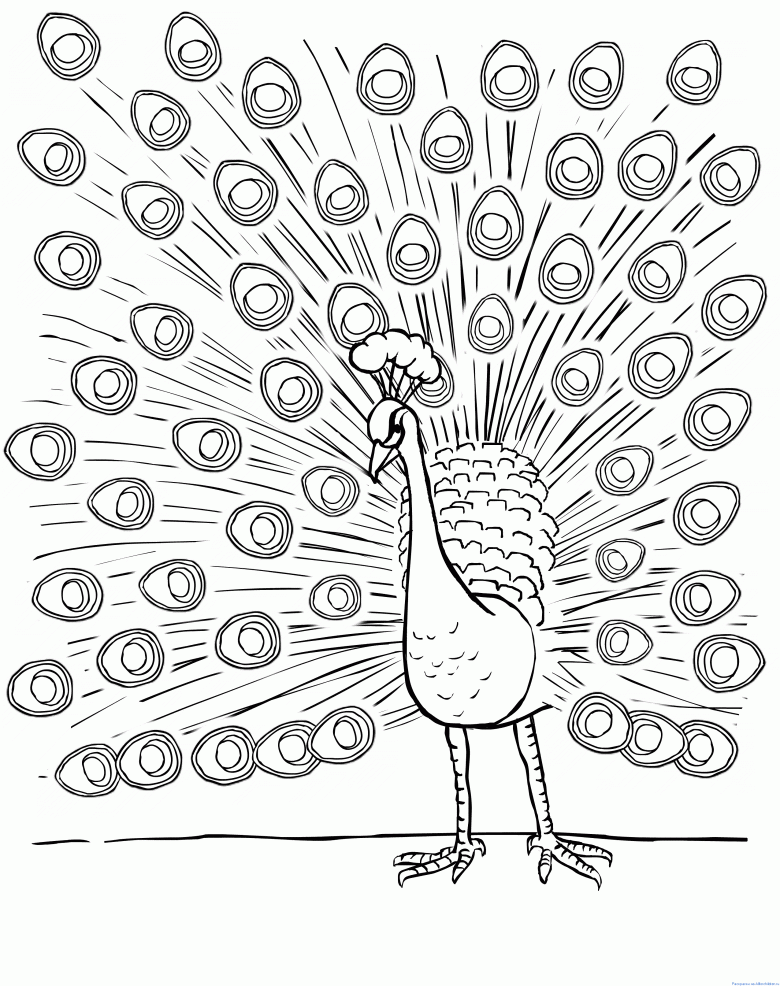
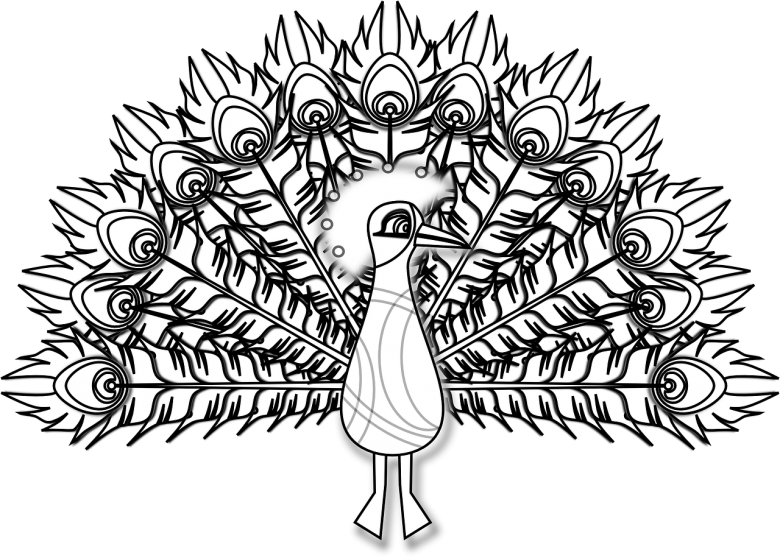
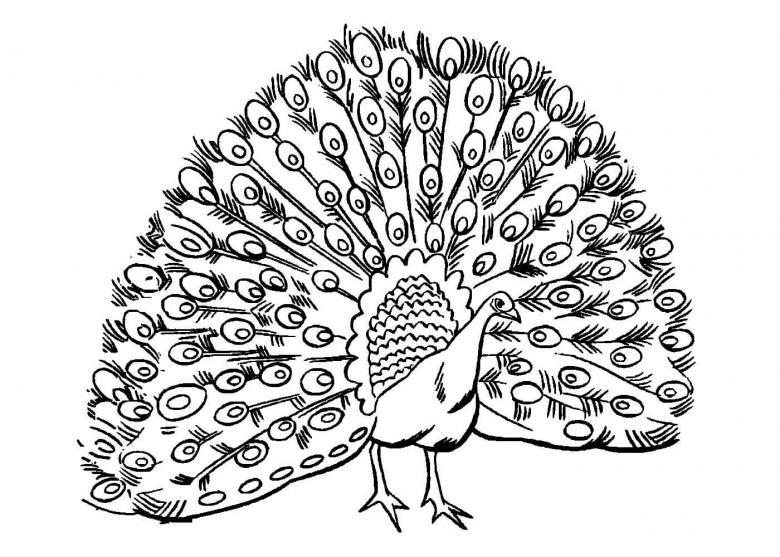
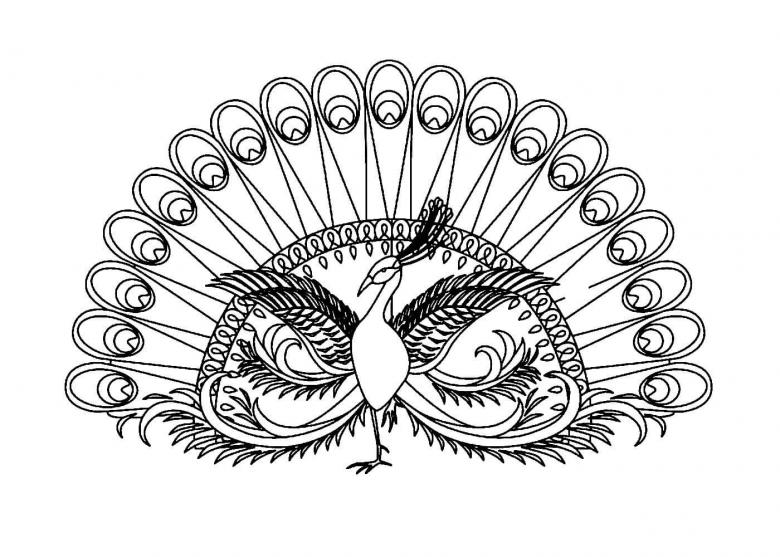
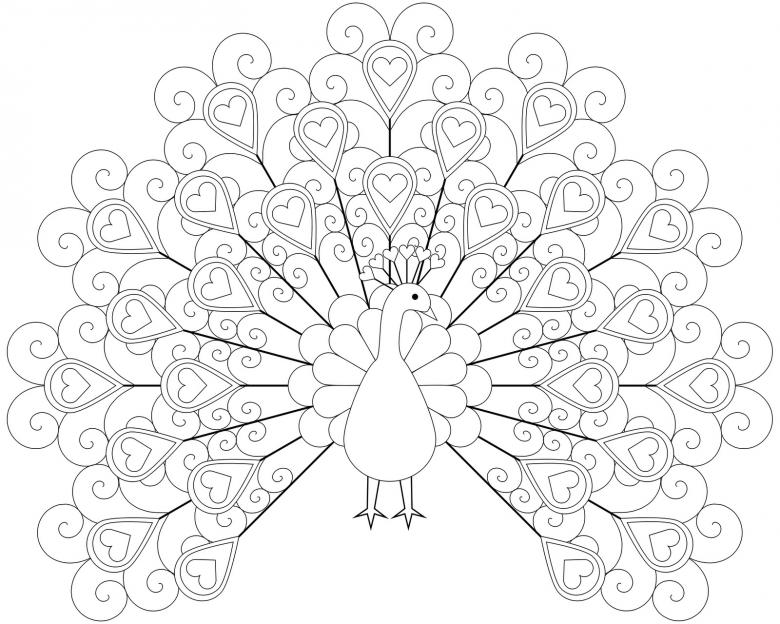
Peacock in full-face.
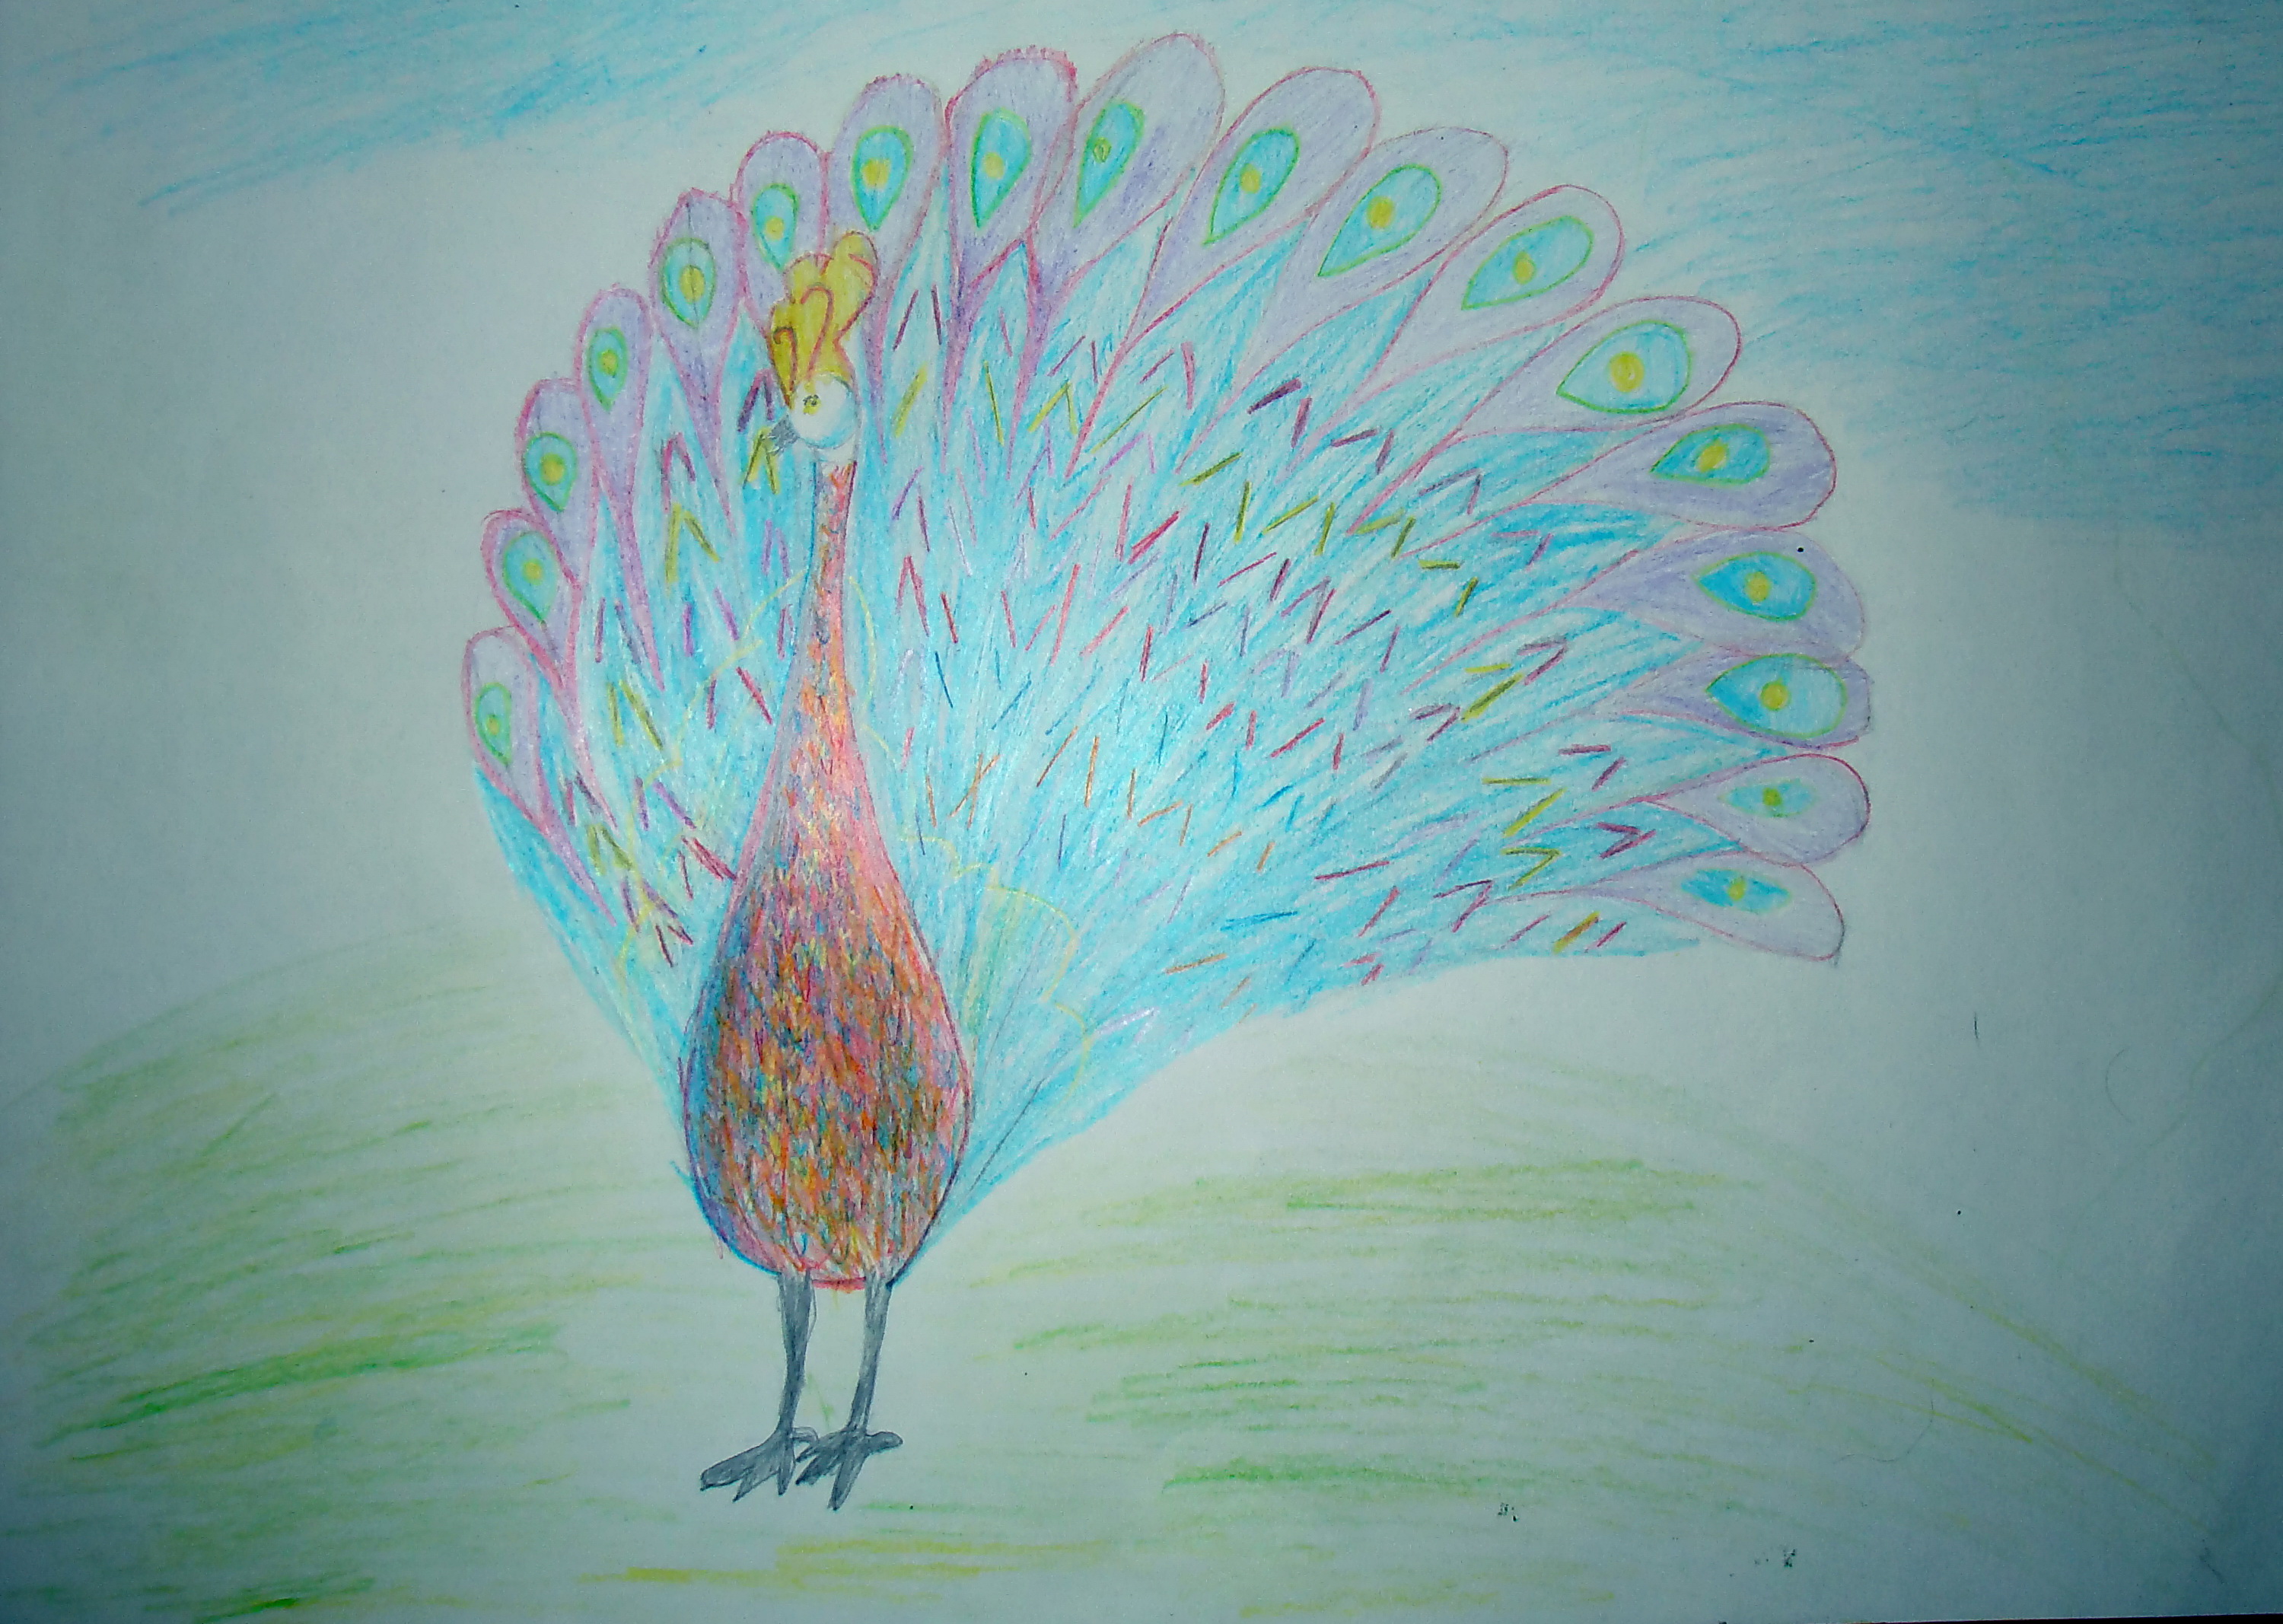
The next task for a child is to draw a peacock in full-face. This drawing can be used for a creative exhibition at school or kindergarten, or as a gift for a close friend. Instructions on how to draw a peacock with an open tail:
- A sheet of white paper should be placed in front of you on the table in the longitudinal axis.
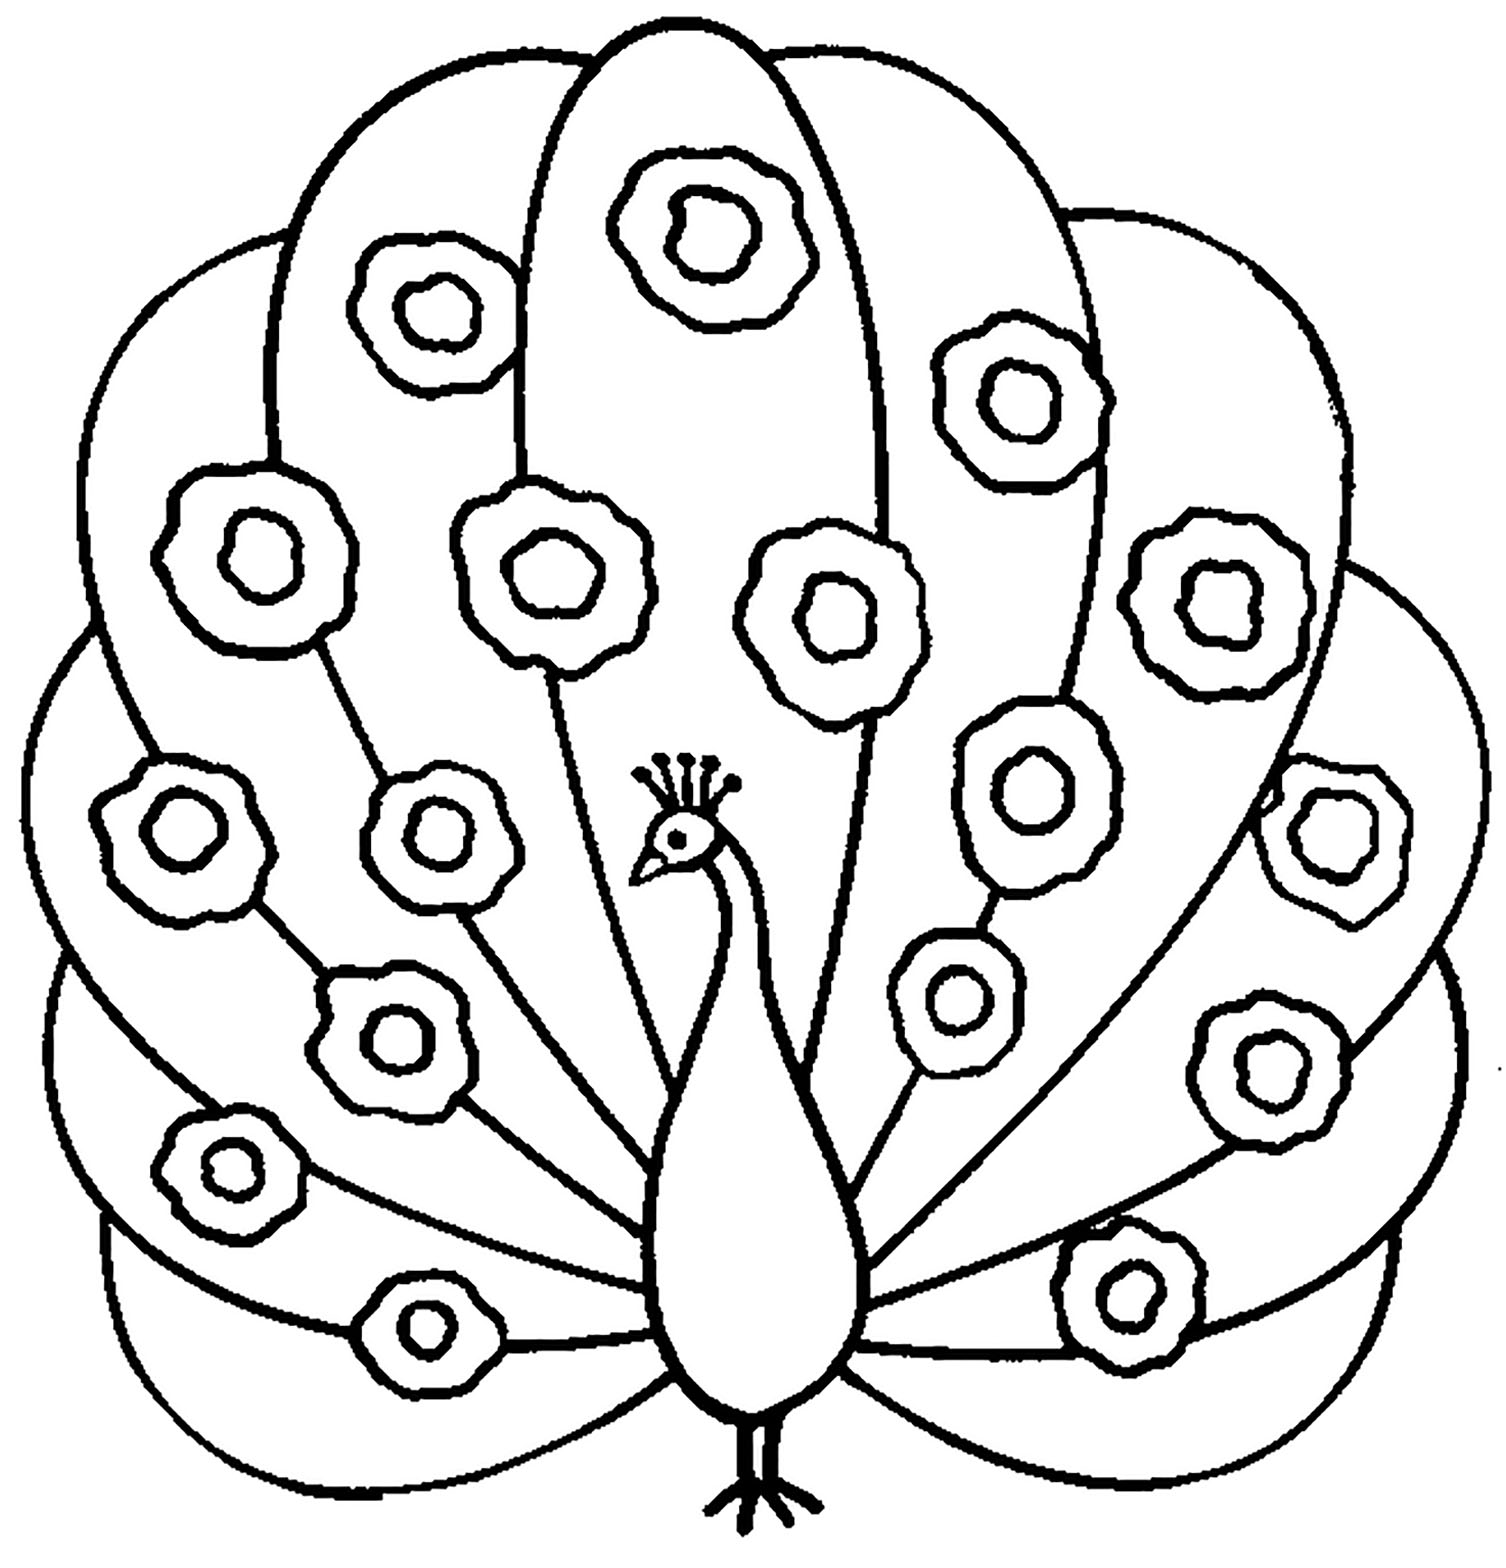
- Approximately in the center of the sheet, a drop-shaped figure is drawn, the sharp end of which is directed upwards.
- The bottom contour of the figure is slightly doubled, to give volume to the body of the peacock.
- The upper end is slightly rounded, to get the head.
- Down from the "drop" are two double strips, from the ends of which the sides of three fingers depart.
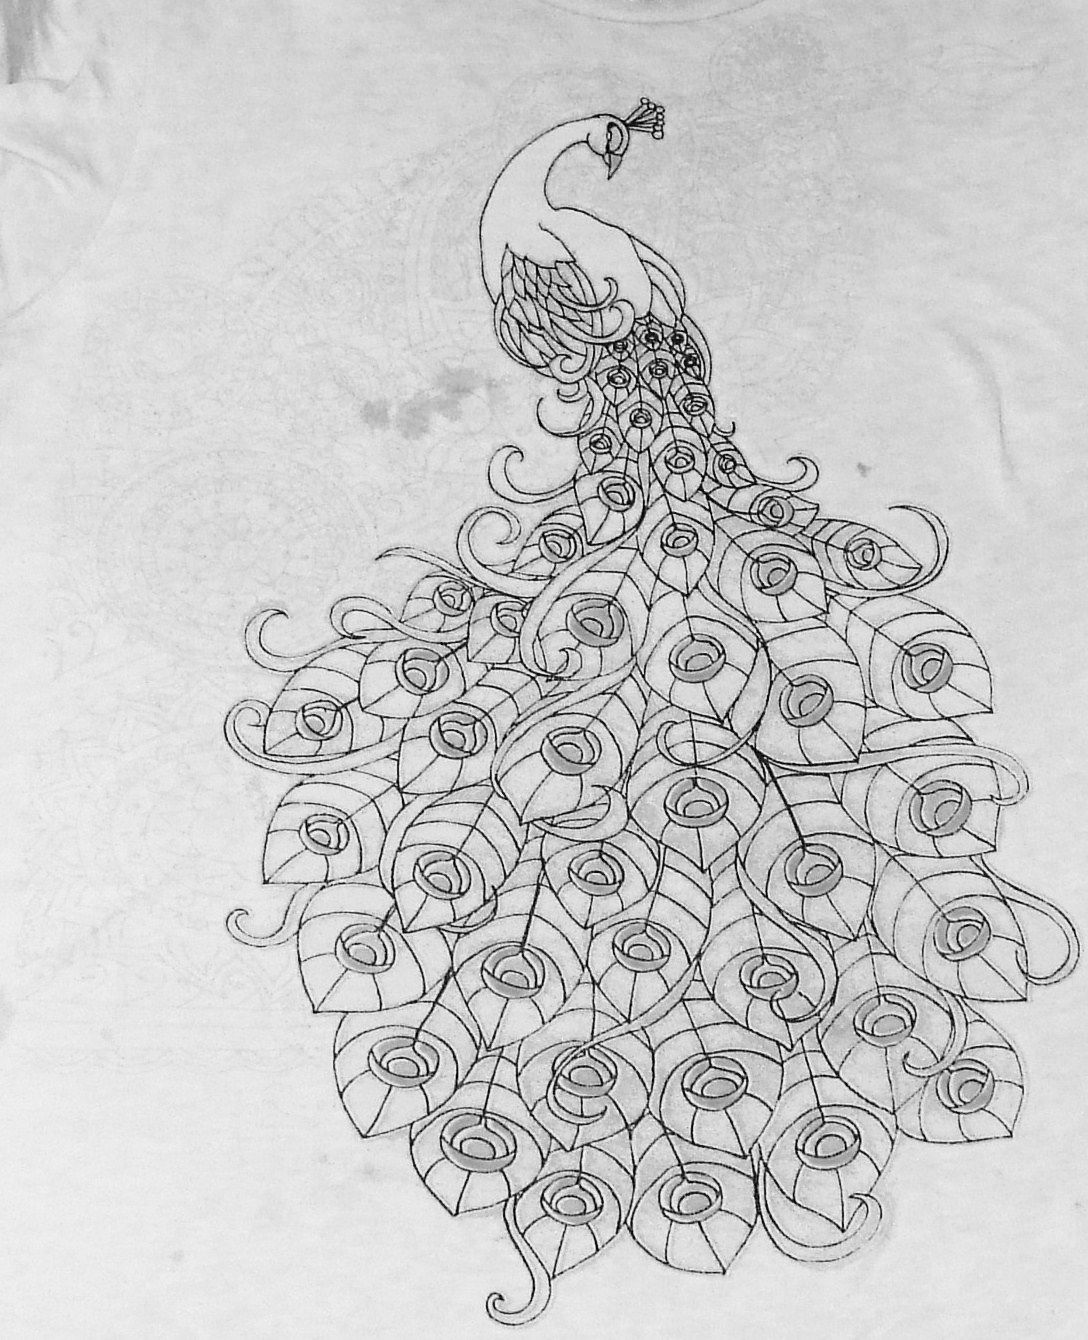
- Next, you need to figure out how to draw the tail of the peacock. To do this, around the drop-shaped figure begin to depict radial strips. Between some of them, at the ends, in the middle of some strips draw oval and round figures.
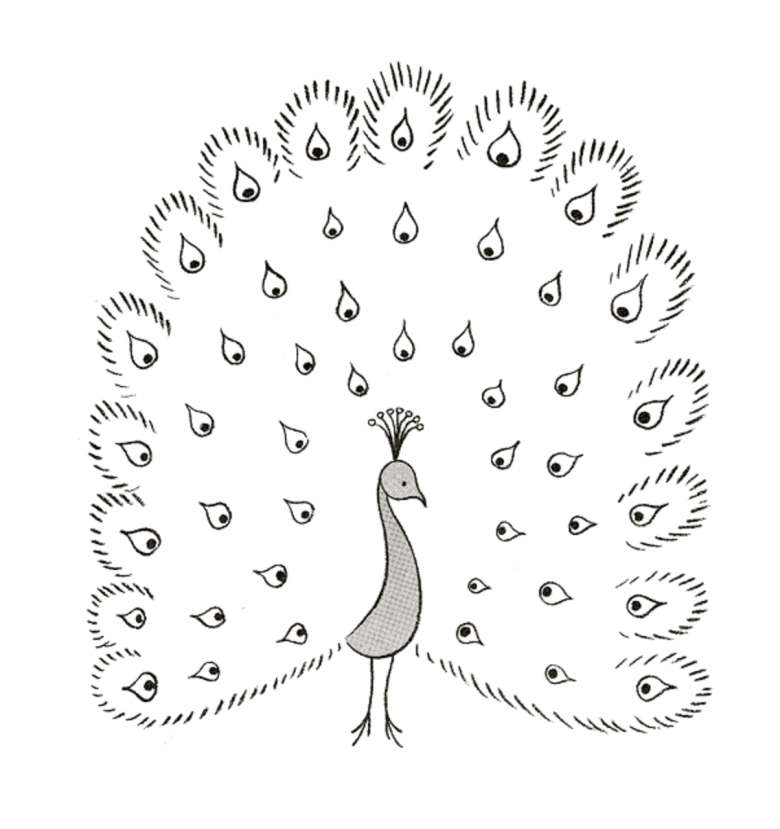
Next comes an equally important stage - decorating the peacock. The greatest attention is paid to the coloring of the tail plumage, for which blue, green, yellow colors are used.
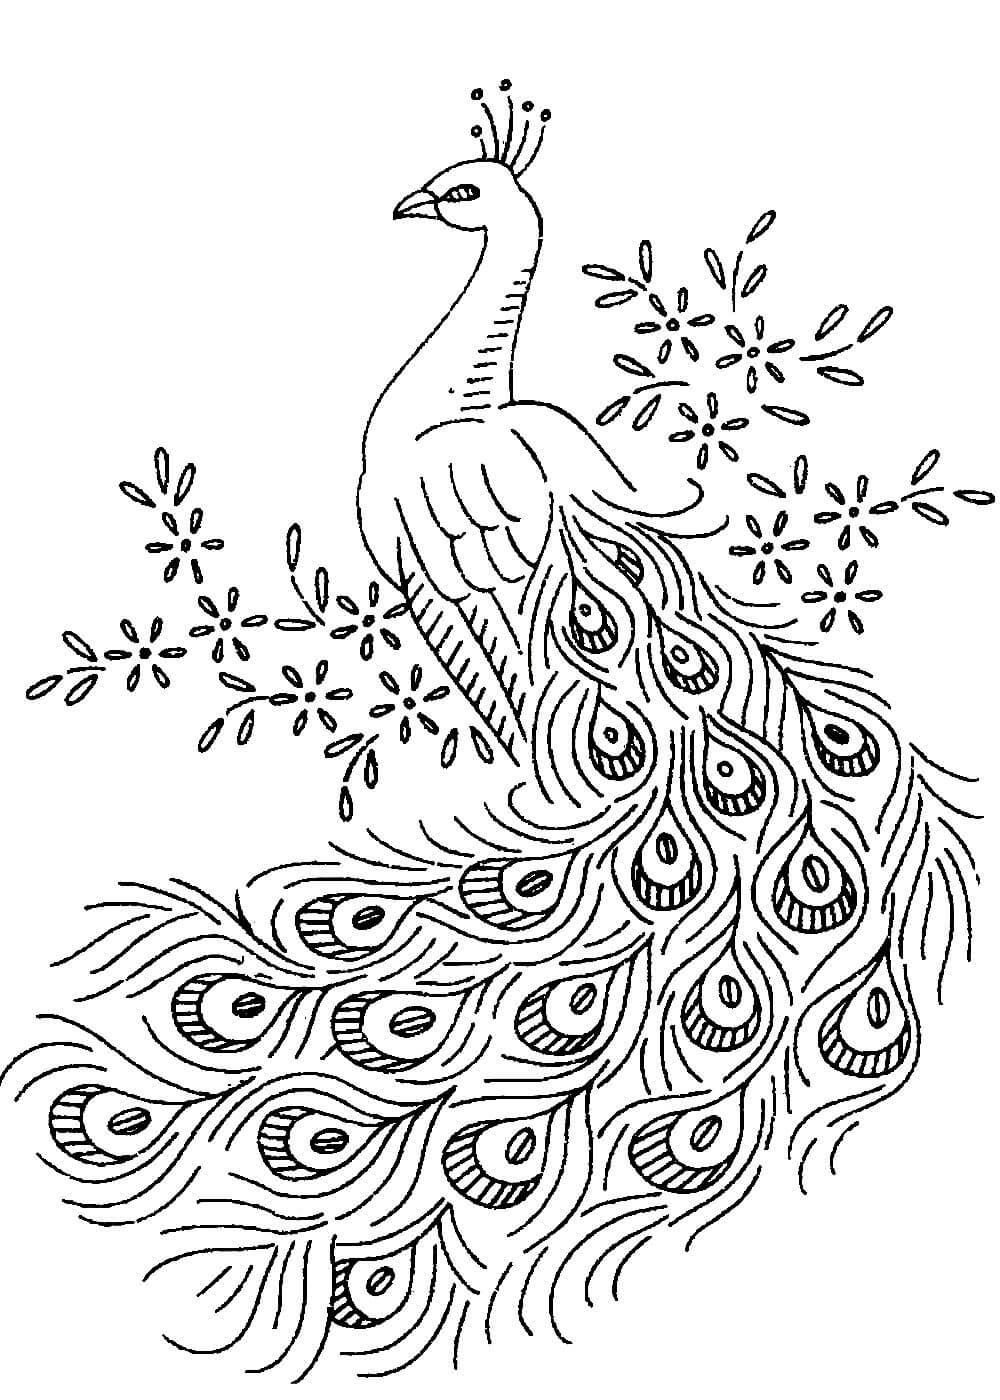
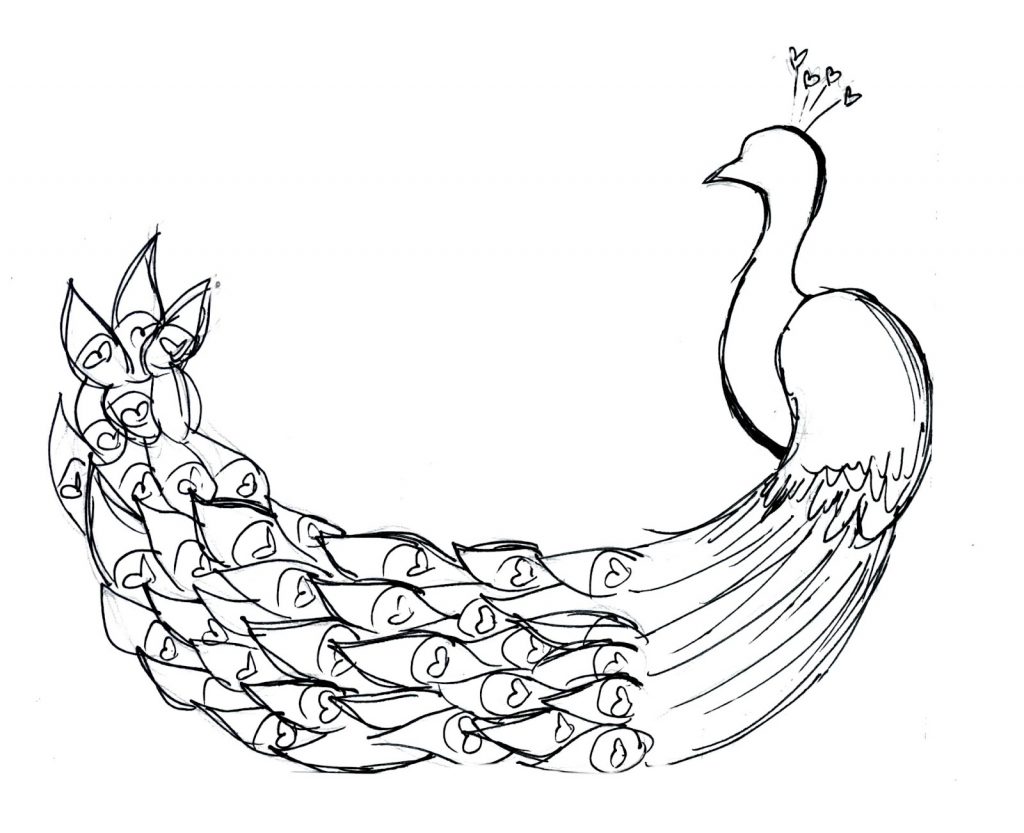
Picture of a bird in profile
Another option for drawing the peacock is the image of the bird in profile. This technique is also very simple, and available even to children. Instructions on how to draw a peacock step by step:
- On the sheet, in its right part draw a small circle (head).
- A little to the left depicts an oval, from which the head is a double stripe.
- Even to the left and below on the sheet draw an ellipse.
- On the head depict beak in the form of a miniature triangular shape.
- On the body (central oval) should display a wing in the form of a small ellipse with three longitudinal strips.
- The leg in this position is visible only one, and lead it in the form of a double stripe downwards.
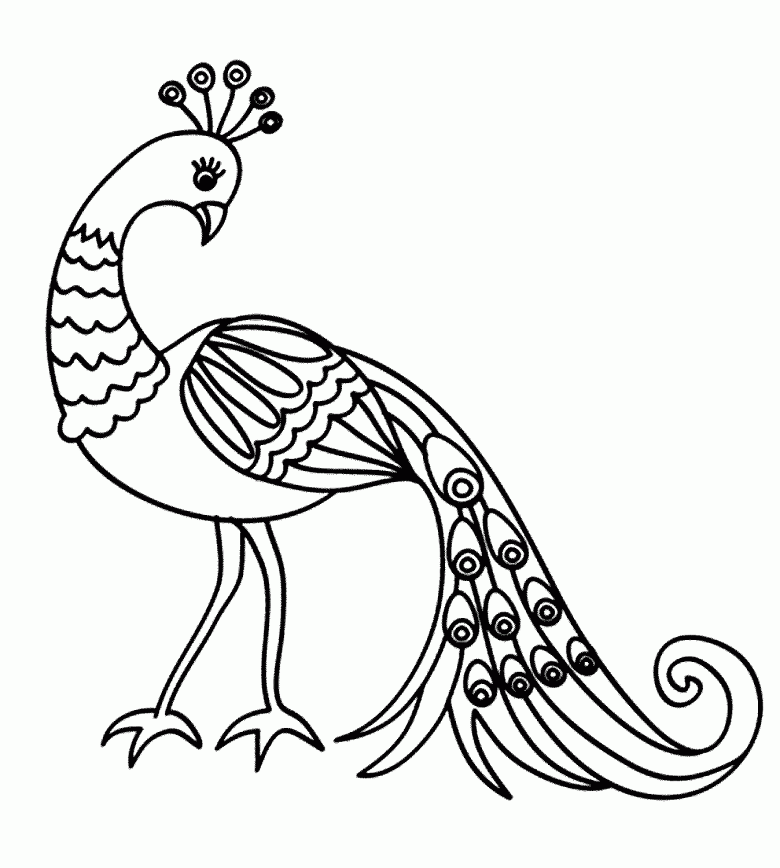
Maximum attention is paid to the tail part. Three wavy lines are drawn across the ellipse, on which small circles and ovals are alternately drawn. For coloring the tail also use bright colors and felt-tip pens.
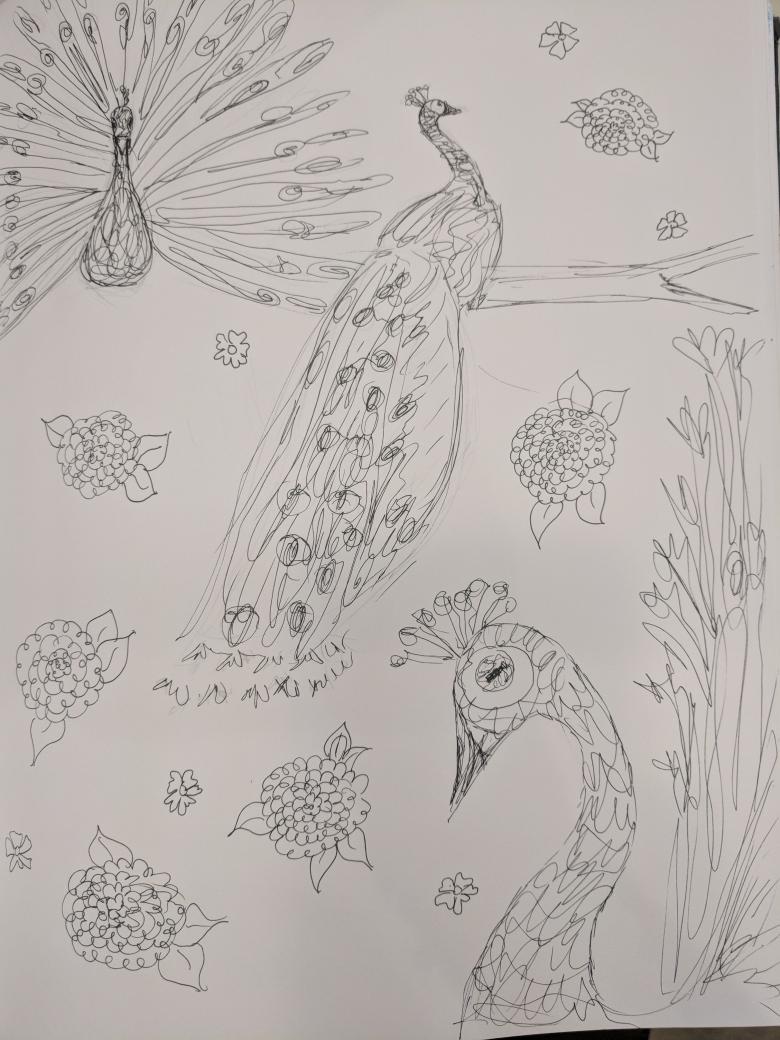
Drawing a bird in a composition
After a few simple drawings, you can proceed to more complex projects, for example, to depict two peacocks in a composition. Instructions on how to draw two birds:
- A sheet of paper is divided into two parts.
- On one according to the already known scheme, a peacock is drawn in full-face with its tail open.
- On the second part of the sheet it is necessary to represent the peacock in profile.
As additional details draw a waterfall in the form of wavy lines along the vertical axis. To depict a tree, it is necessary to draw several vertical lines that form the trunk. Rounded lines around the trunk form the crown of the tree.
The image of the peacock is used not only in creative exhibitions at school, kindergarten. Young artists will surely be interested in how to draw a peacock mascot for a sports team or for any other contest.
You can use not only a pencil, but also paints and your own palms to get the most realistic image possible.
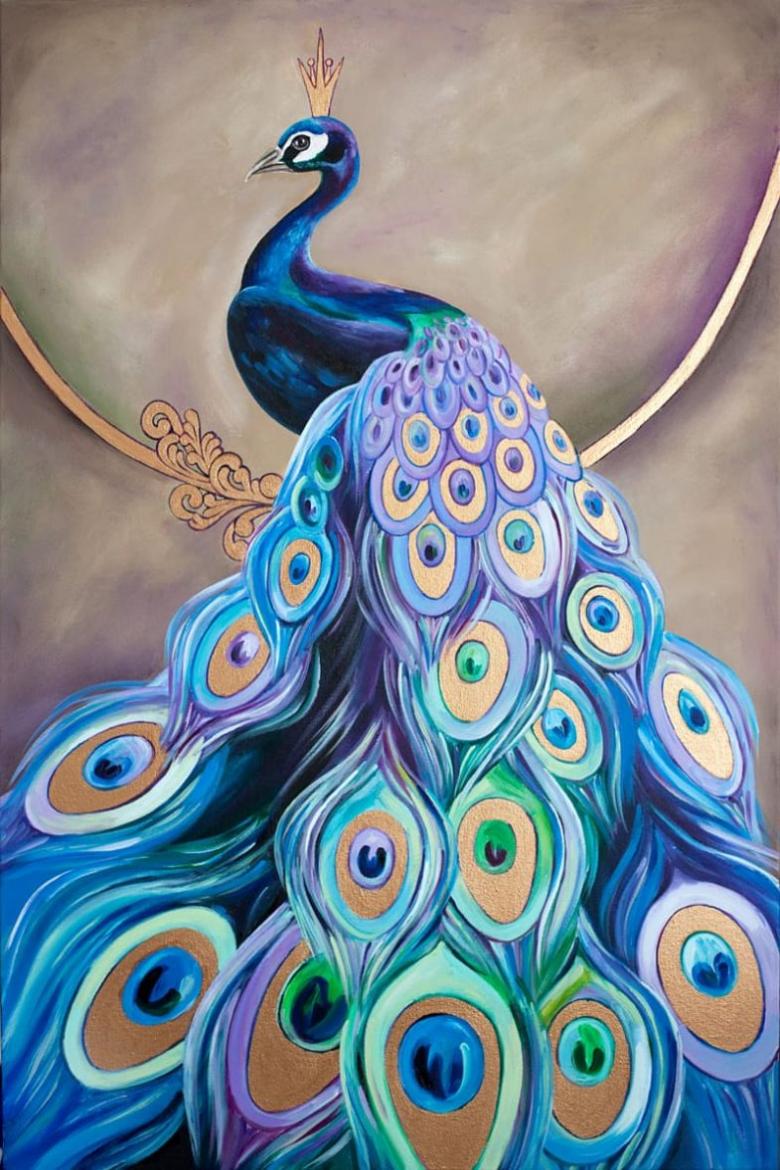
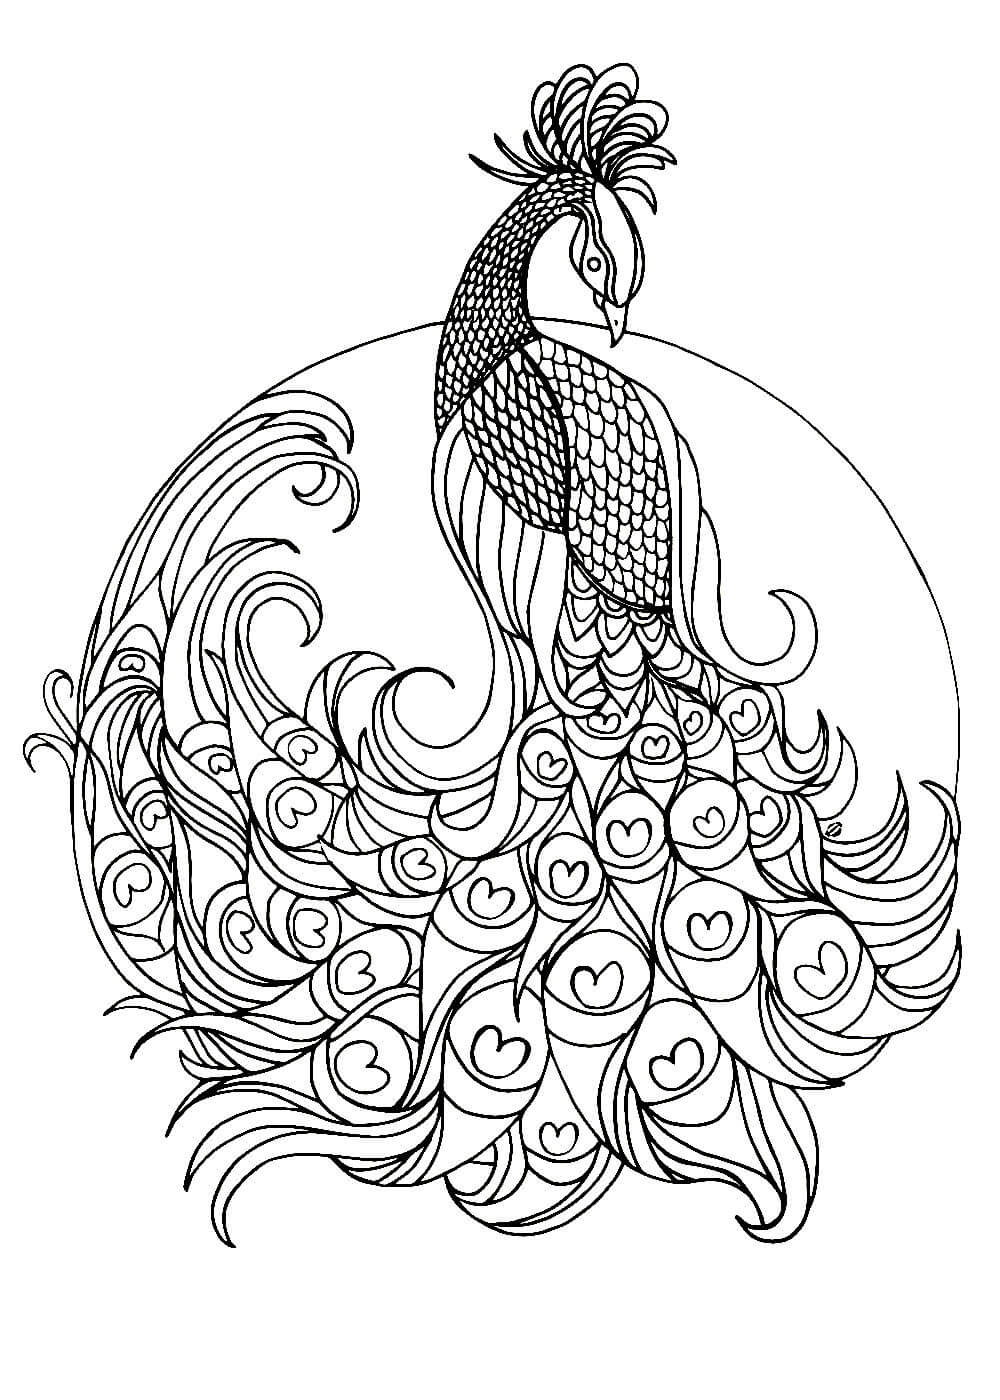
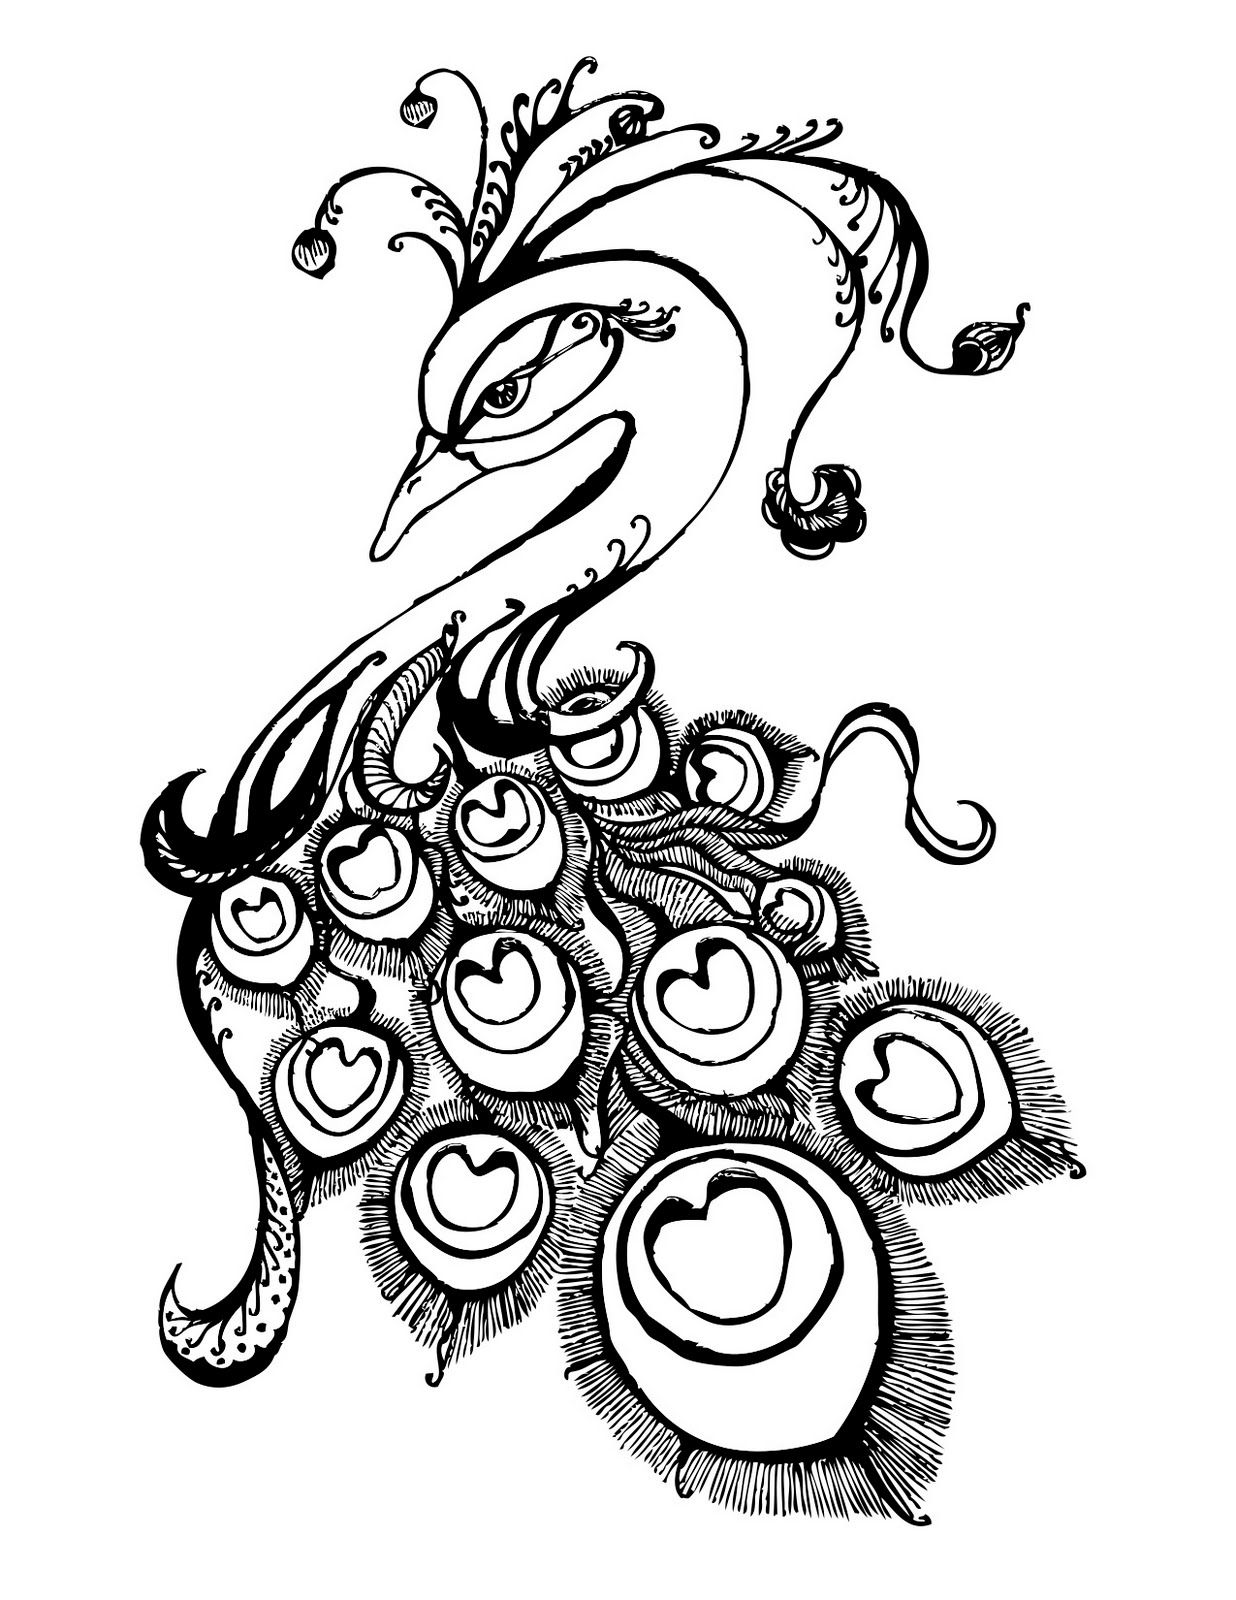
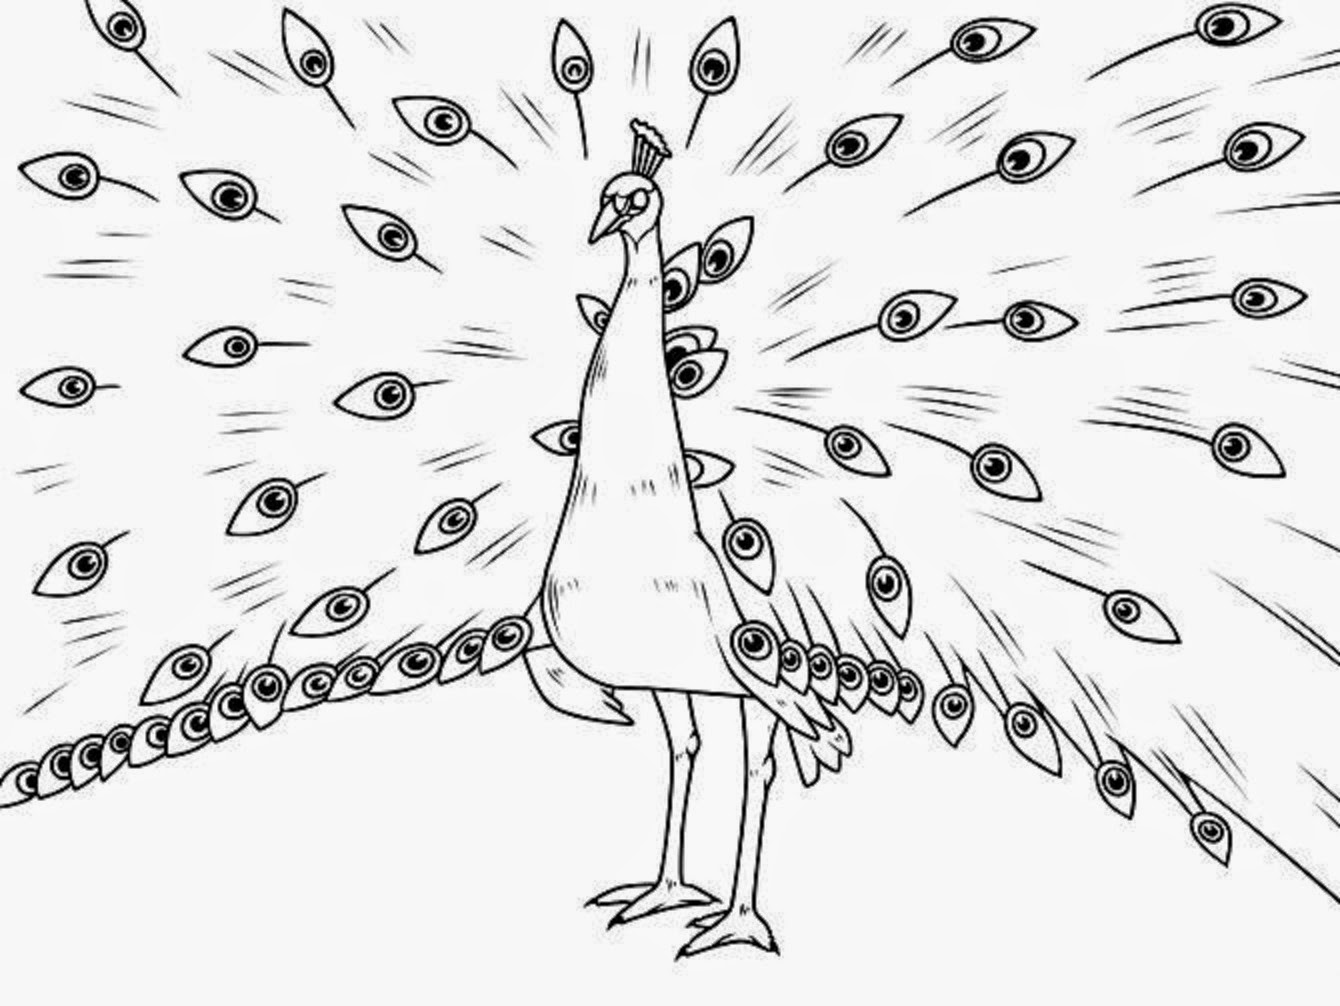
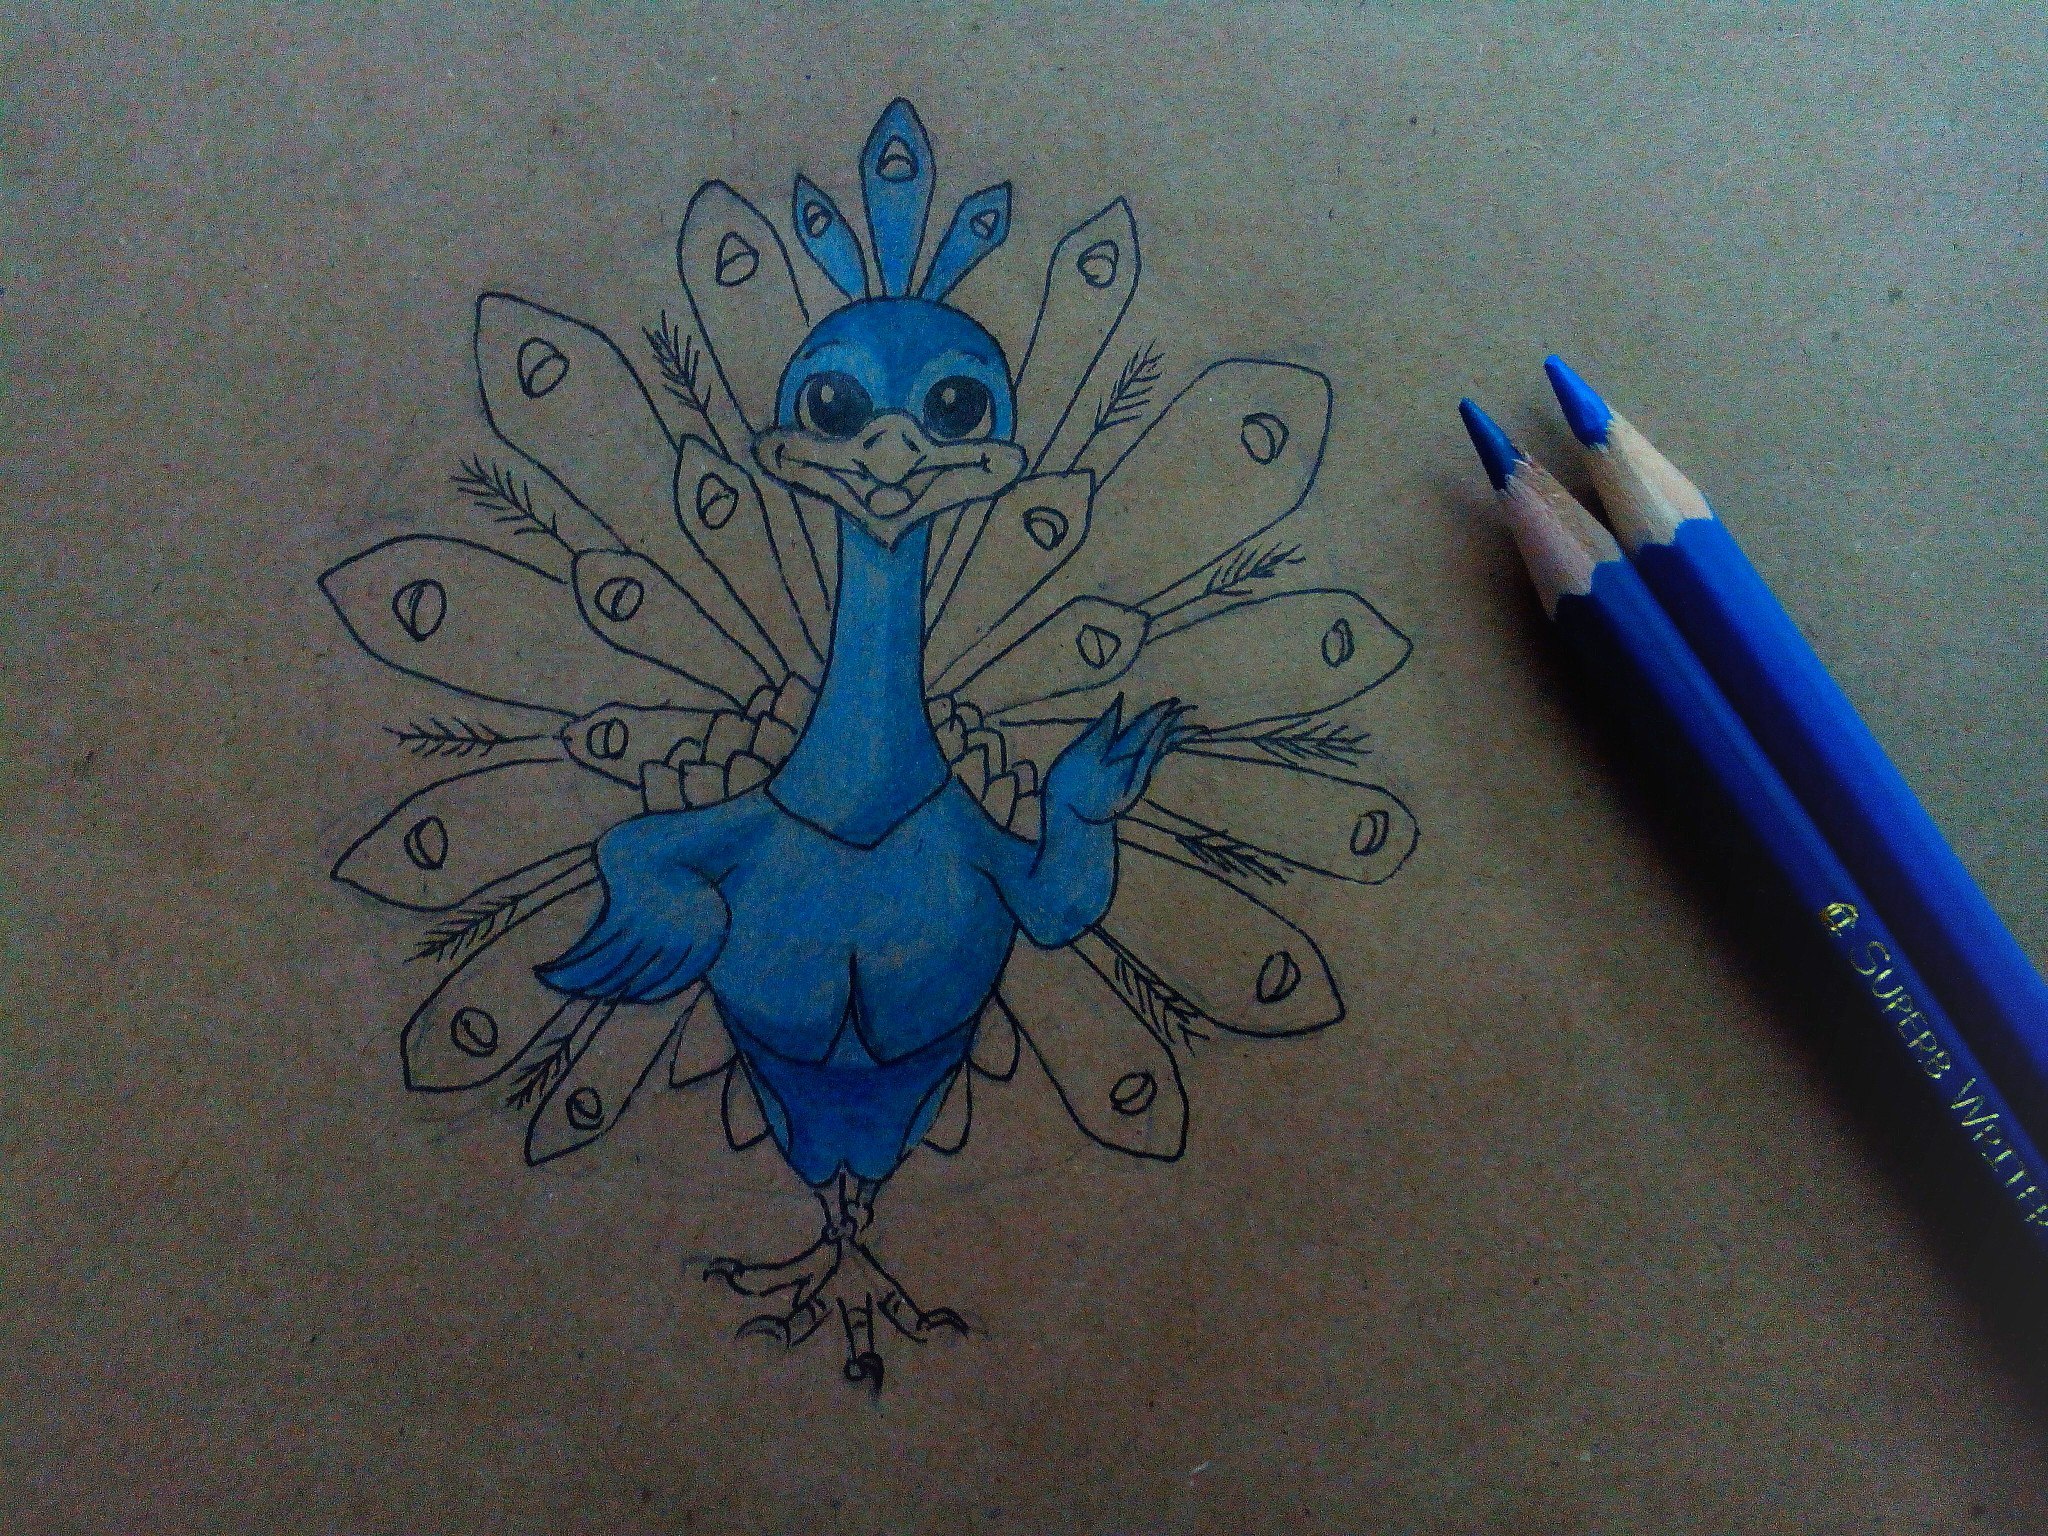
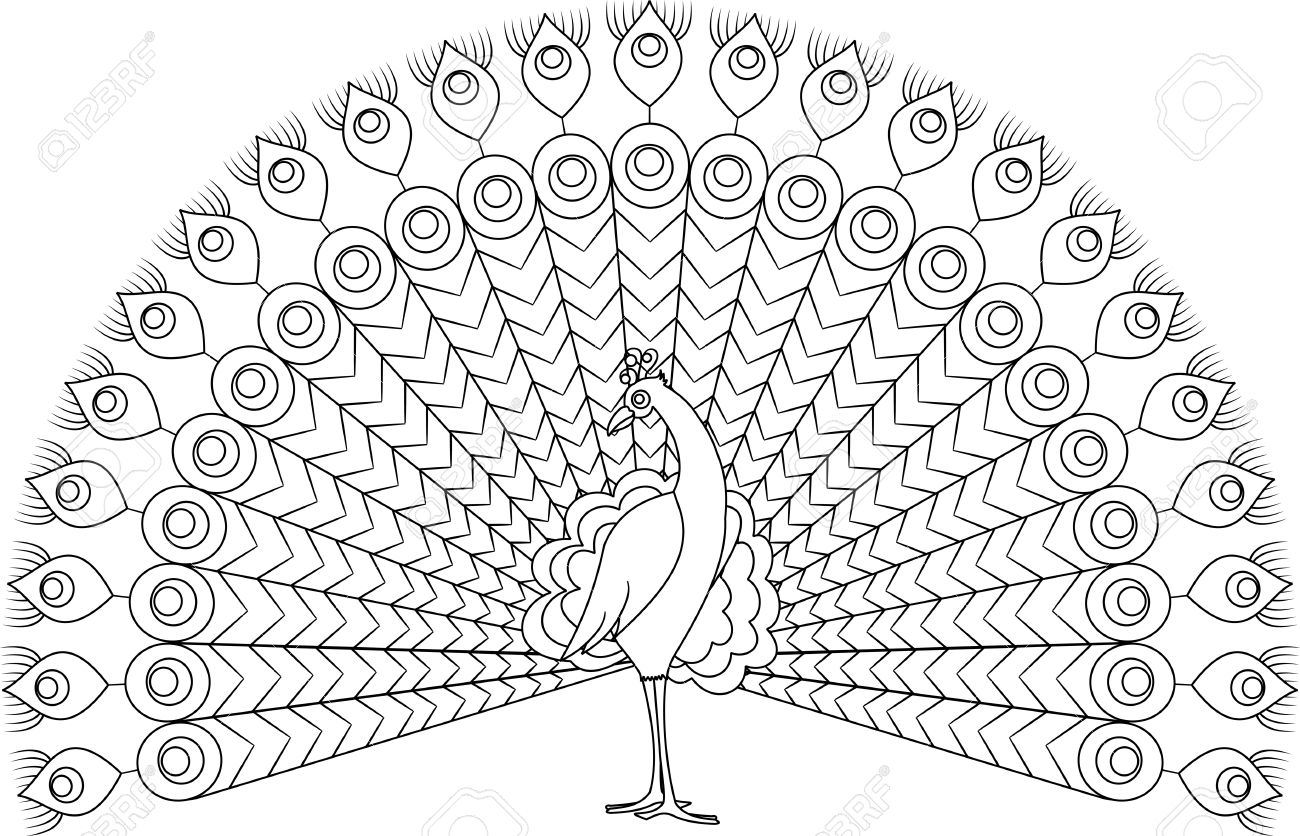
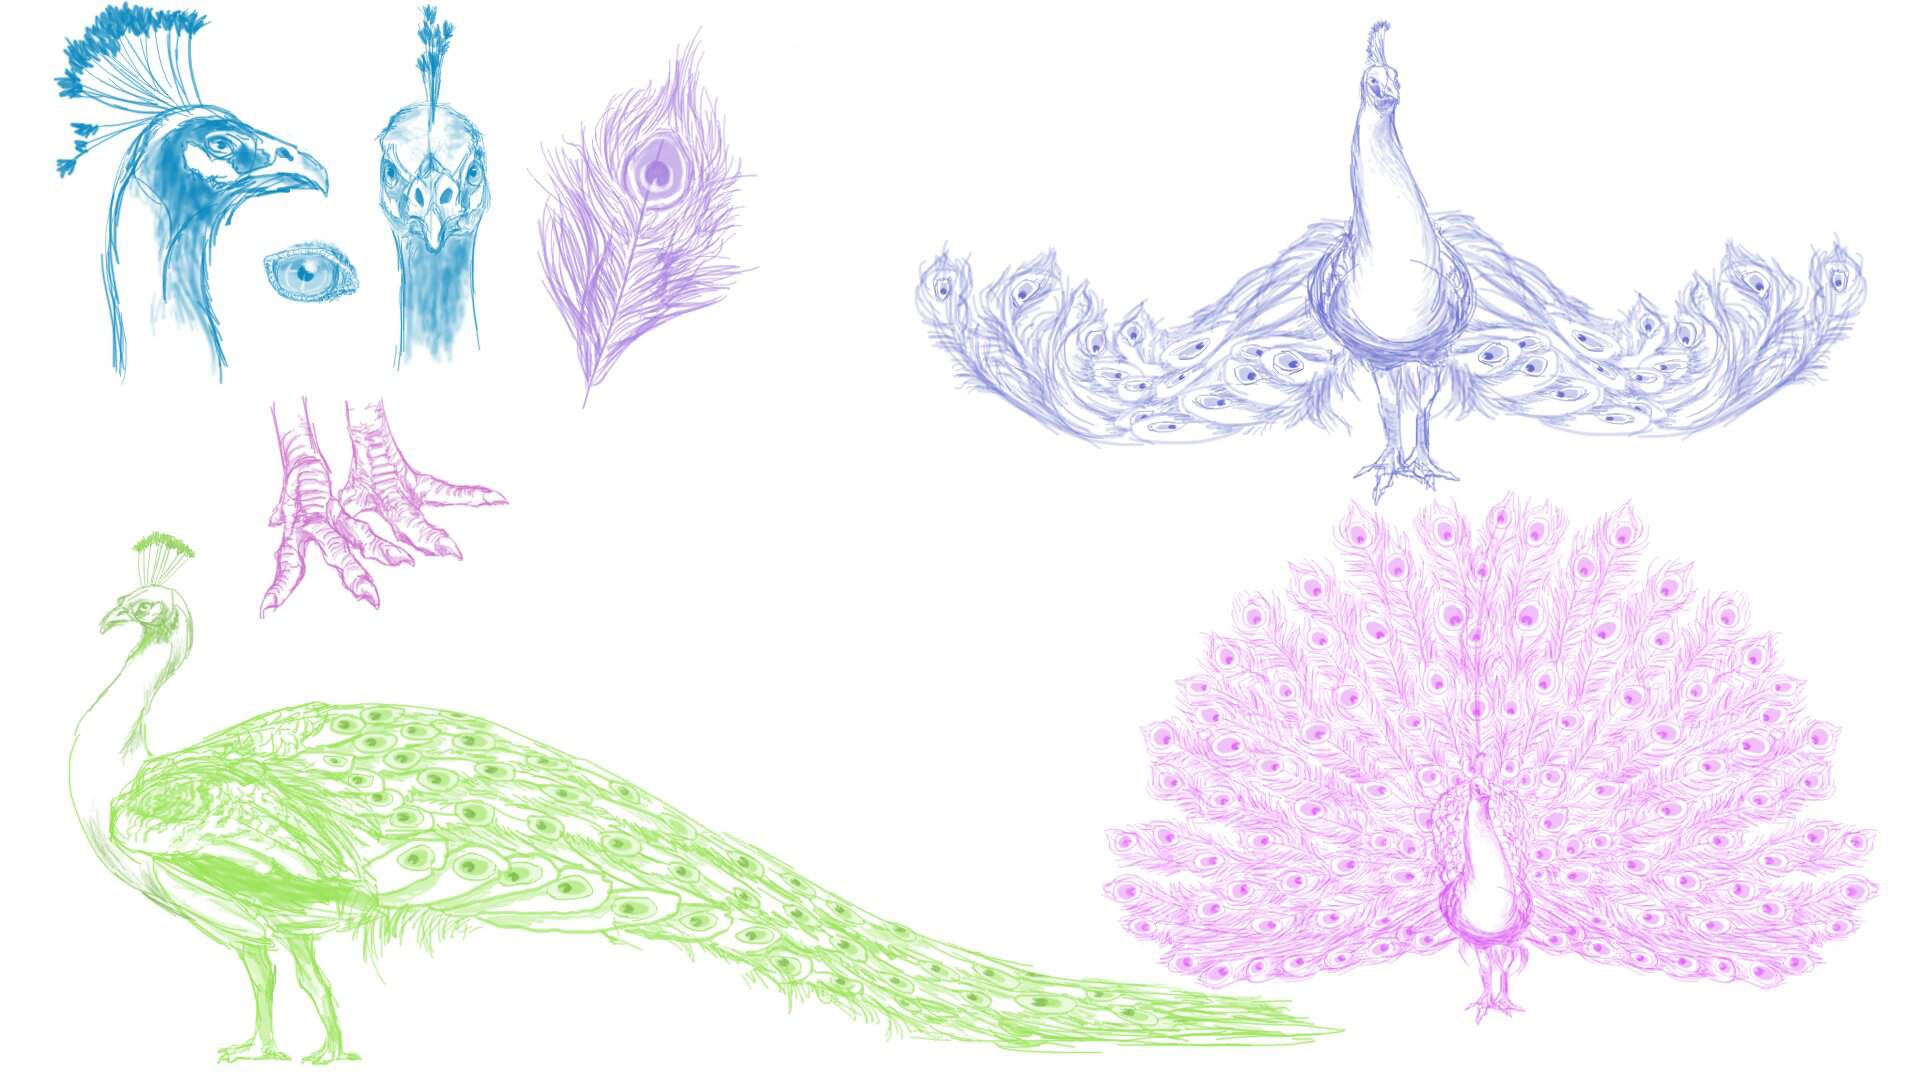
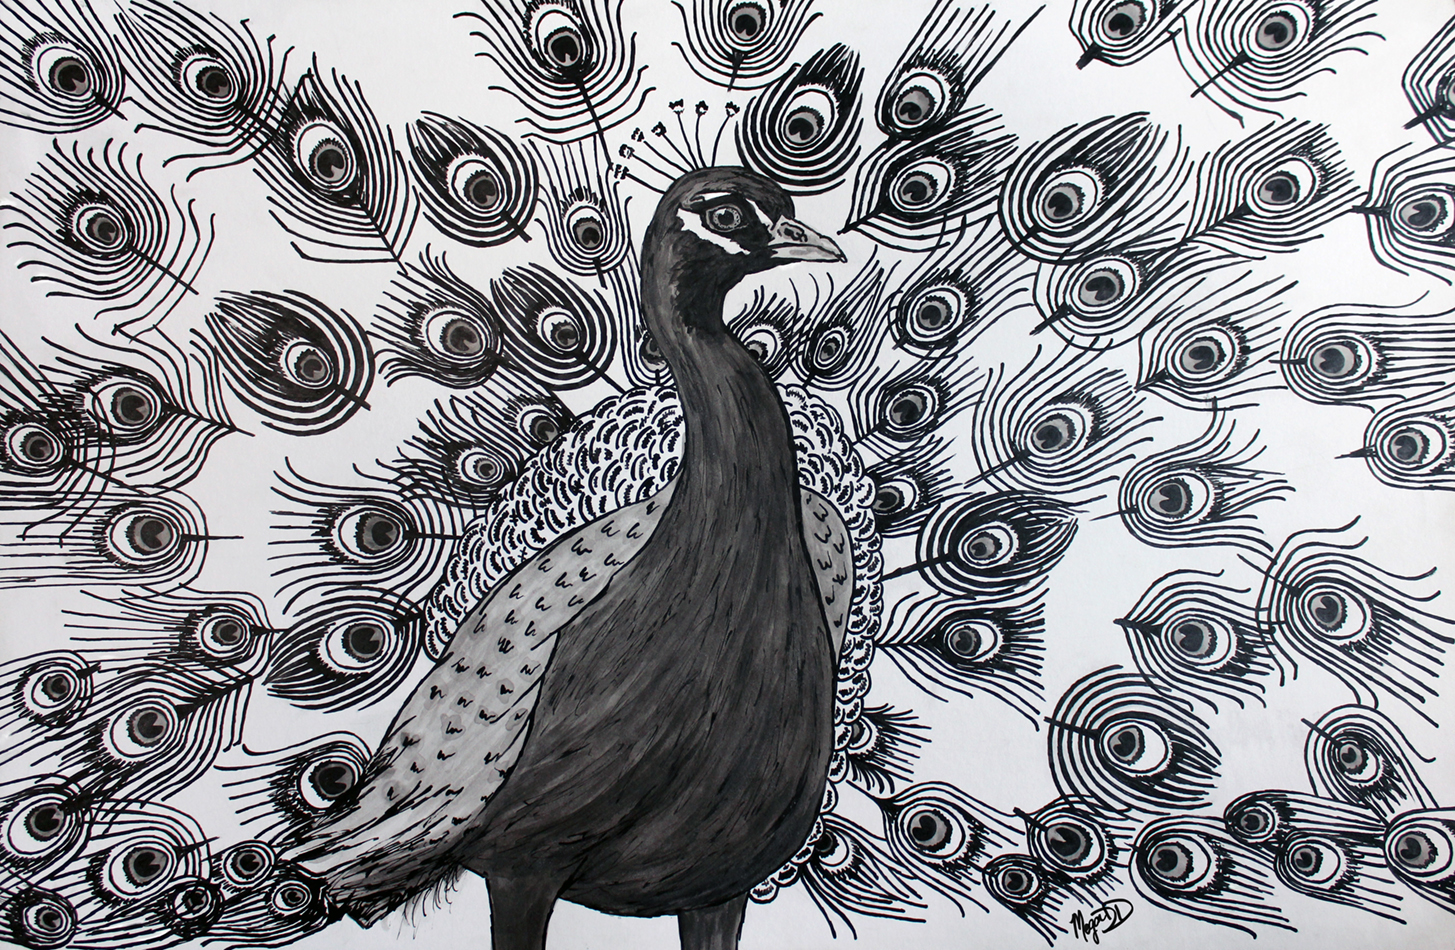
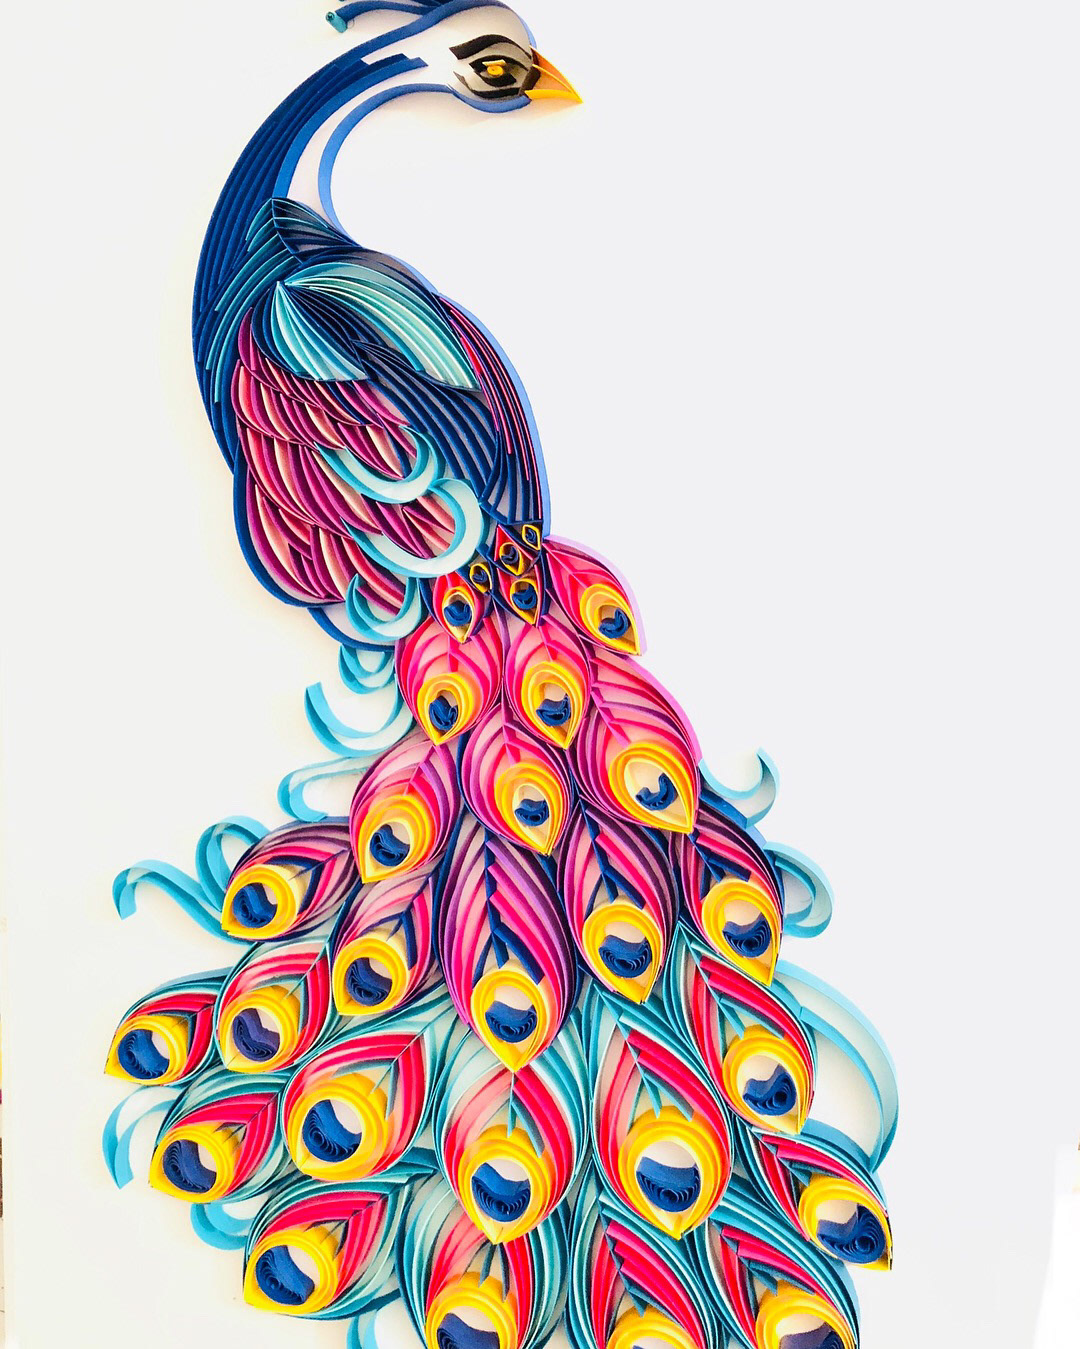
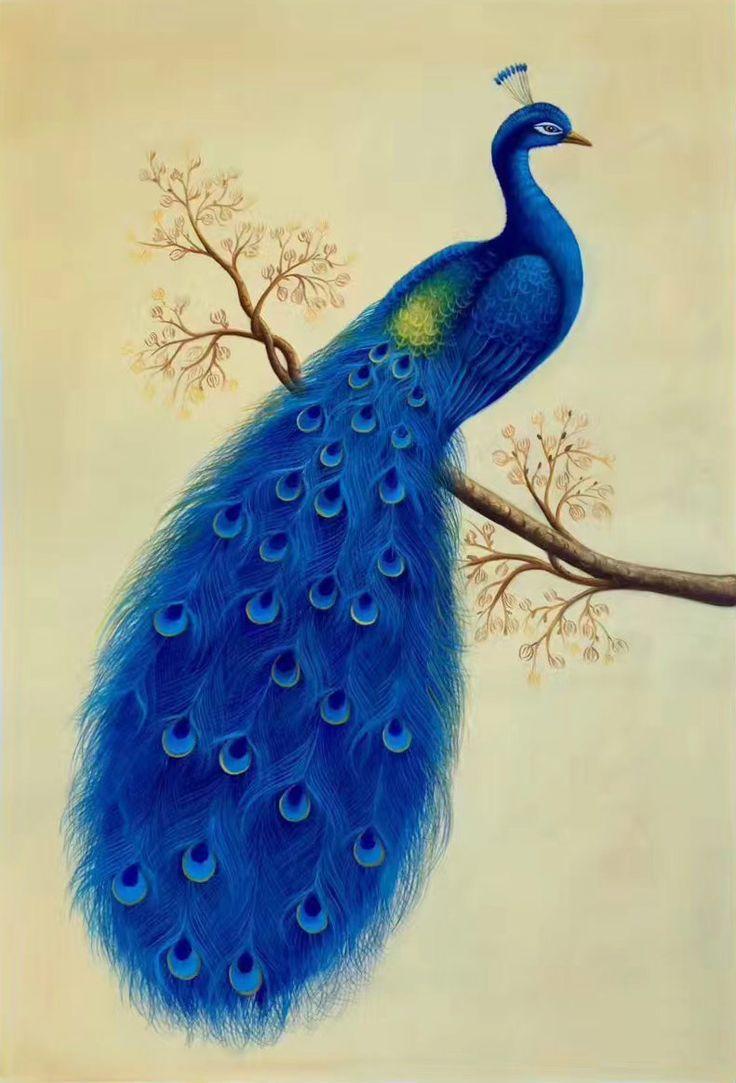
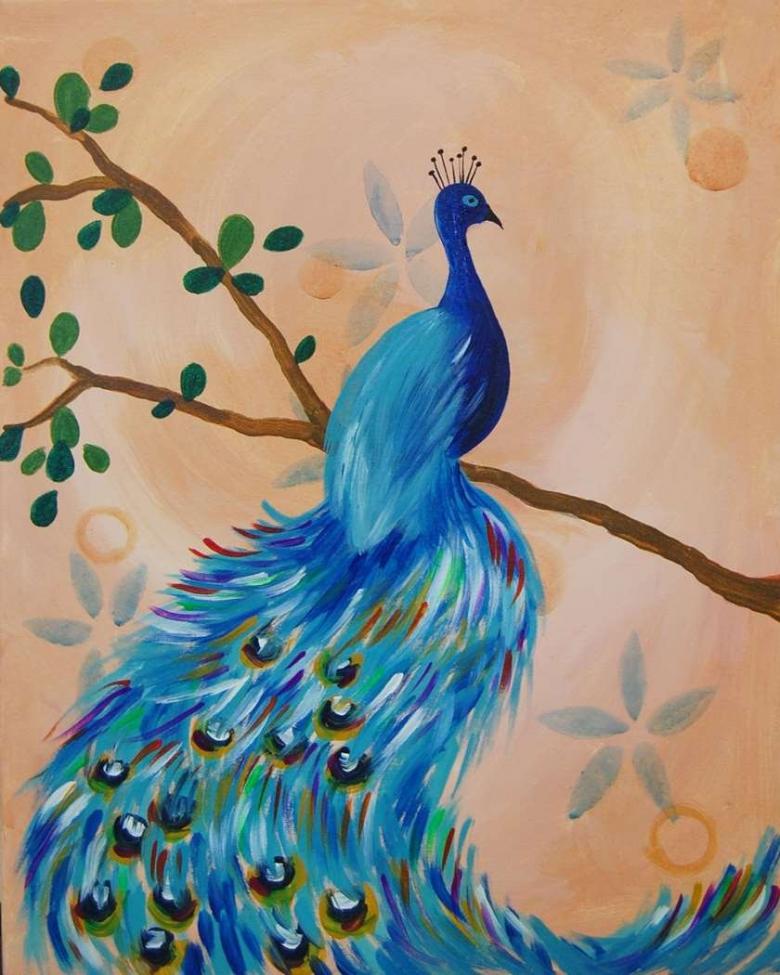
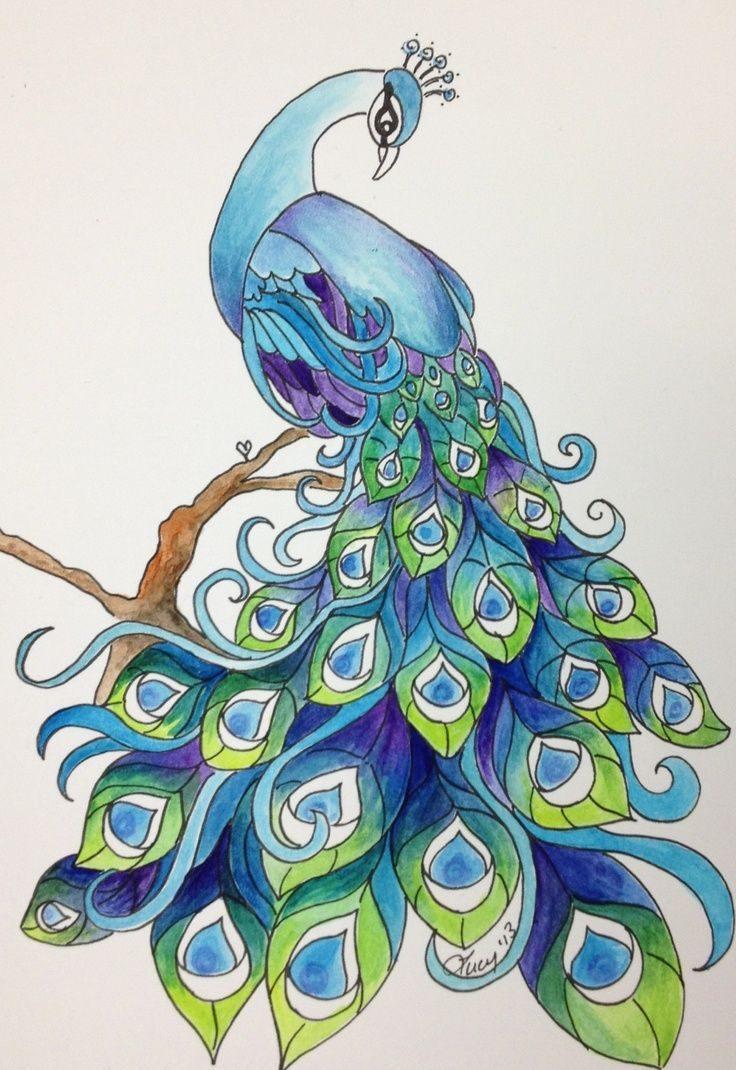
Pictures of a peacock for pencil sketching