How to draw a bird in pencil: transferring the body structure on paper easily and beautifully
Birds are an integral part of living nature. Beginning to comprehend the world around them, children first of all learn about feathered birds, which are found literally everywhere. Pigeons, sparrows - in the streets and parks, woodpeckers - in the woods, and swans - on lakes and ponds. They can be watched all the time.
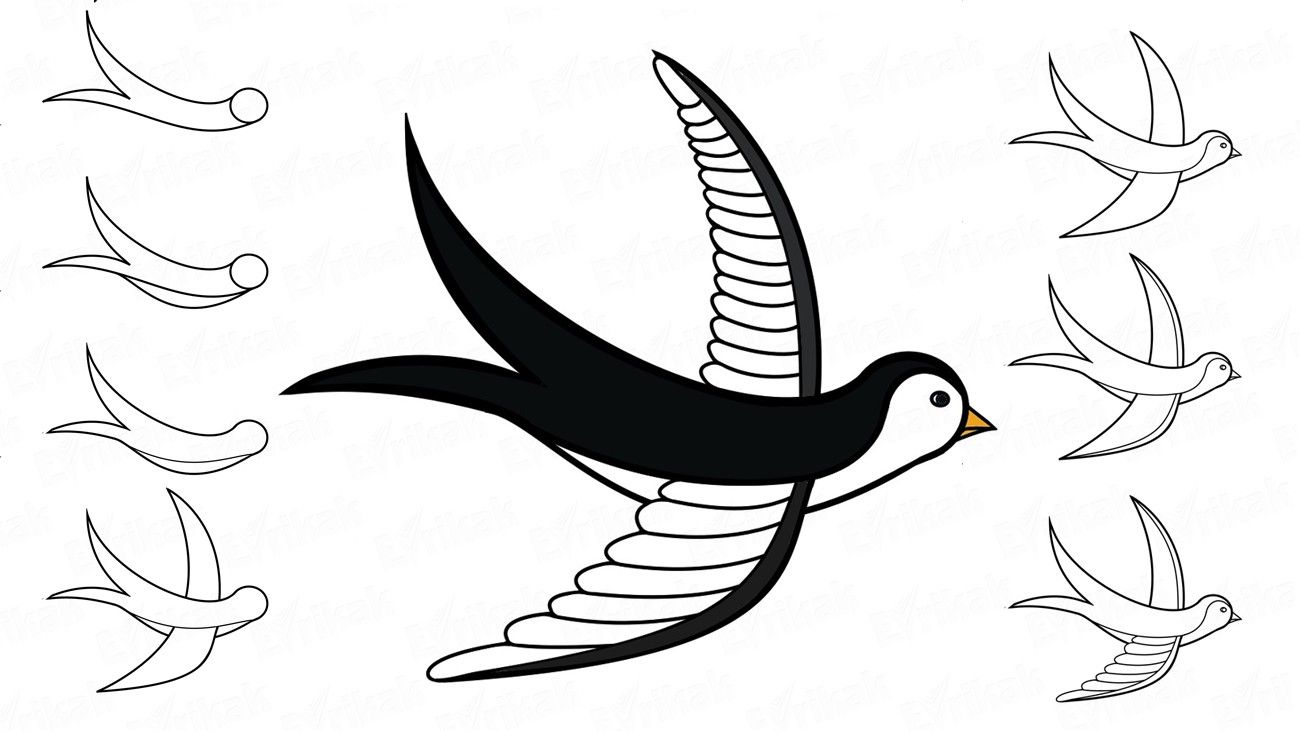
Some are associated with the seasons. Swallows herald spring and the onset of warmth, and in winter you may see bullfinches on snow-covered tree branches.
At a young age, a child becomes interested in how to draw a beautiful bird in a pencil step by step. Such an activity is fascinating and rewarding, but it is not easy. First it is necessary to get acquainted with the basic techniques and rules. The help of parents, who will explain the peculiarities of the image in different angles, will be needed.
Materials for work
It will be necessary to prepare in advance everything you need for the future process:
- Sheets of paper.
- A medium-hard simple pencil.
- Black liner for the outline.
- Colored, wax pencils or felt-tip pens.
- Eraser.
- A pattern in the form of a picture for accurate transfer.
Once the inventory is prepared, the components of the feathered should be studied in detail.
Body Structure
In order to avoid difficulties for children, how to draw a bird in pencil step by step, at the initial stage it is necessary to carefully consider each part separately.
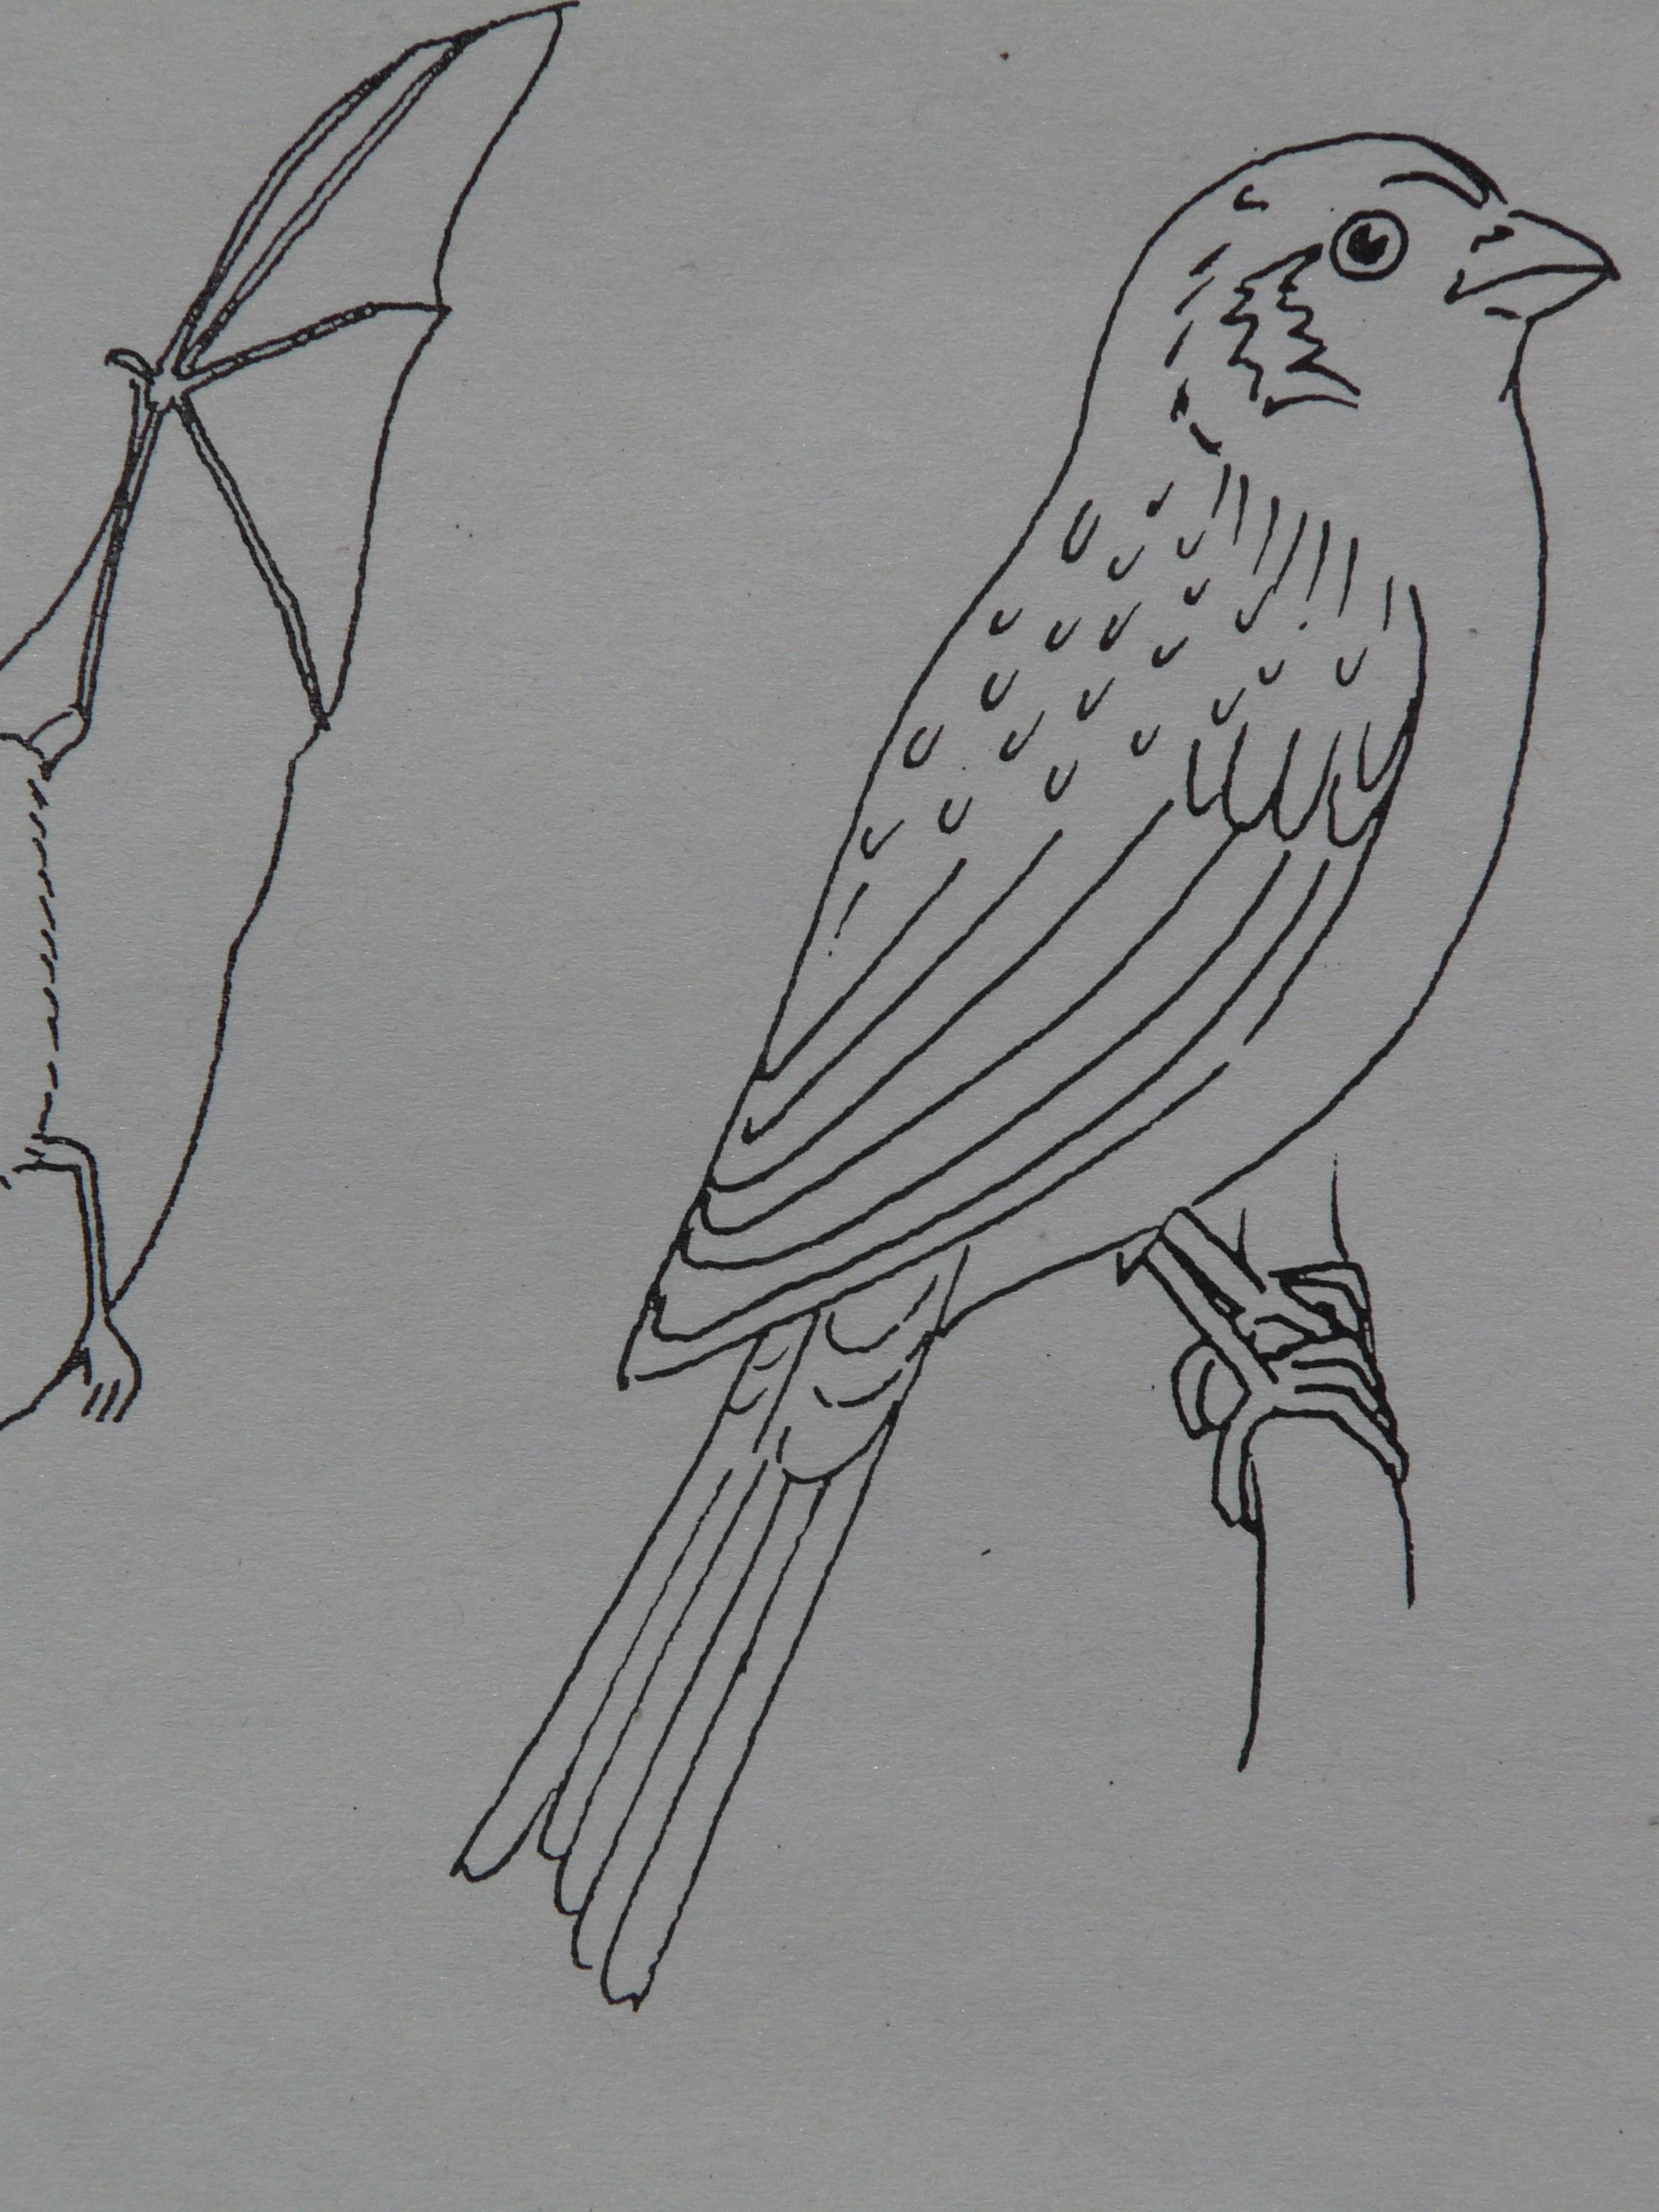
Knowing the anatomy and how the torso is arranged is the main task for the success of one's design. The main thing to pay attention to is the streamlined shape in all species, which is necessary for flight.
The structure of the skeleton is exactly the same, only the length and size of the different components of the pattern differ. Feathers, like tiles on a roof, must necessarily overlap each other. They start at the front of the vertex, going down the back to the tail.
The structure of the wing is identical to the human upper extremity - the shoulder, forearm, and wrist. The first feathers, called the wings, begin to grow in place of the "brush". The knees are not visible, they are covered with plumage. 3 toes of the paws face forward and 1 backward.
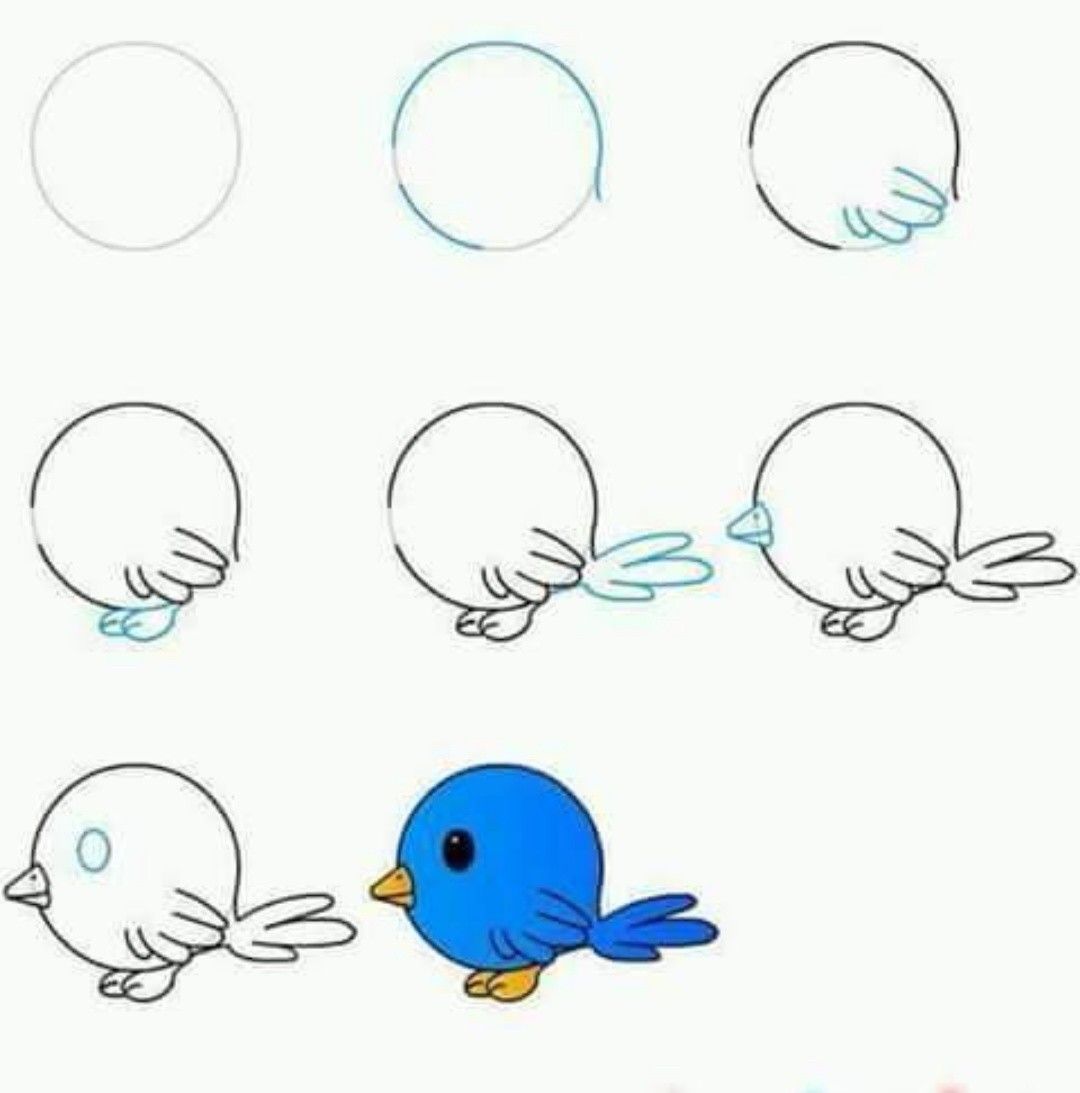
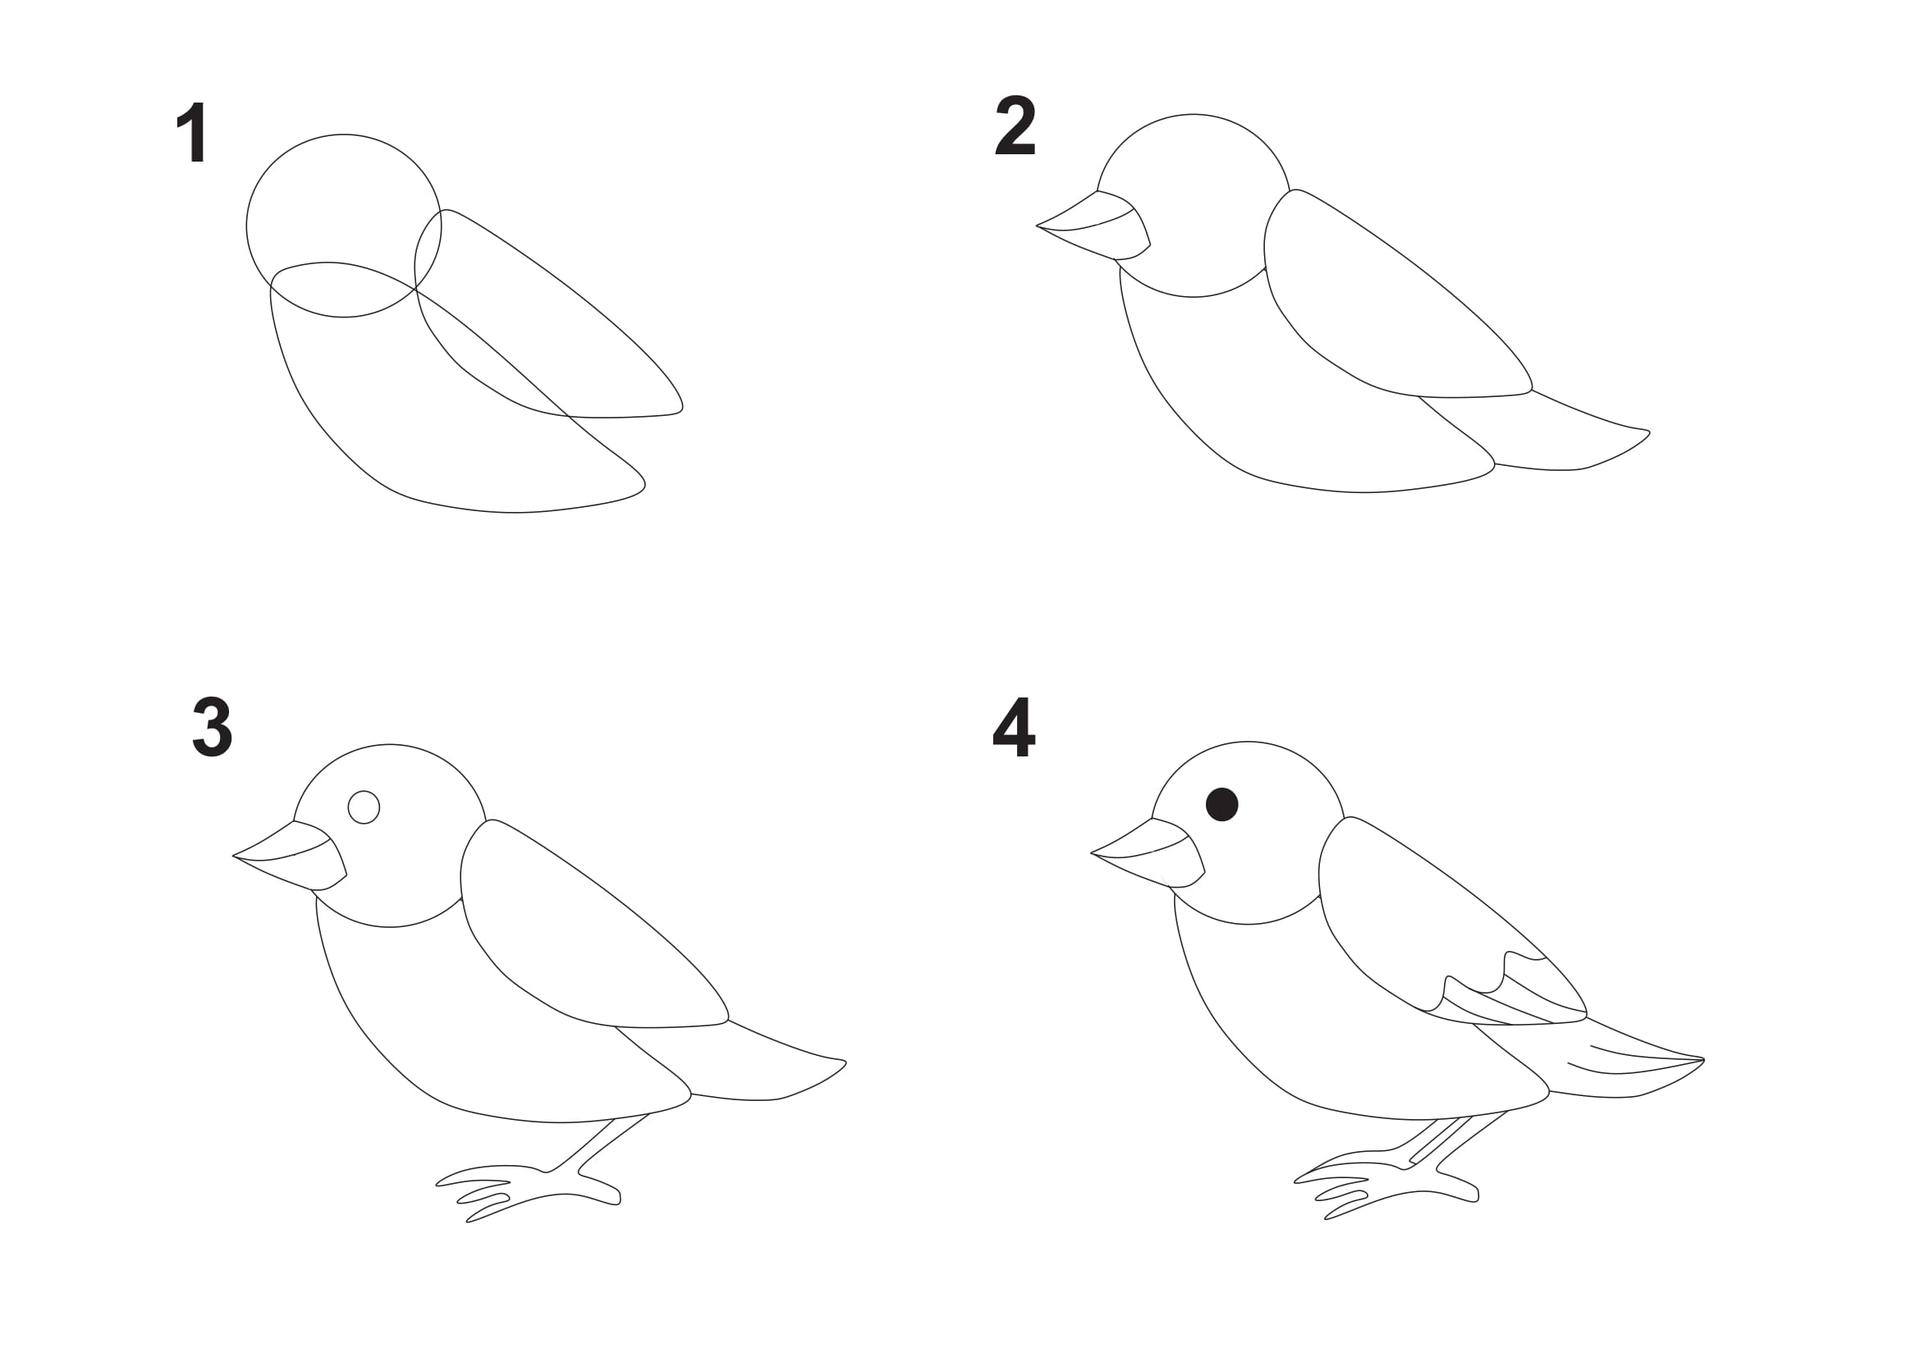
Beginning artists need to sketch. A few uncomplicated strokes will help determine the movement and convey the appearance, so even if they turn out not so perfect, there is no need to be afraid of it. Their goal is to prepare a simplified sketch for further creativity.
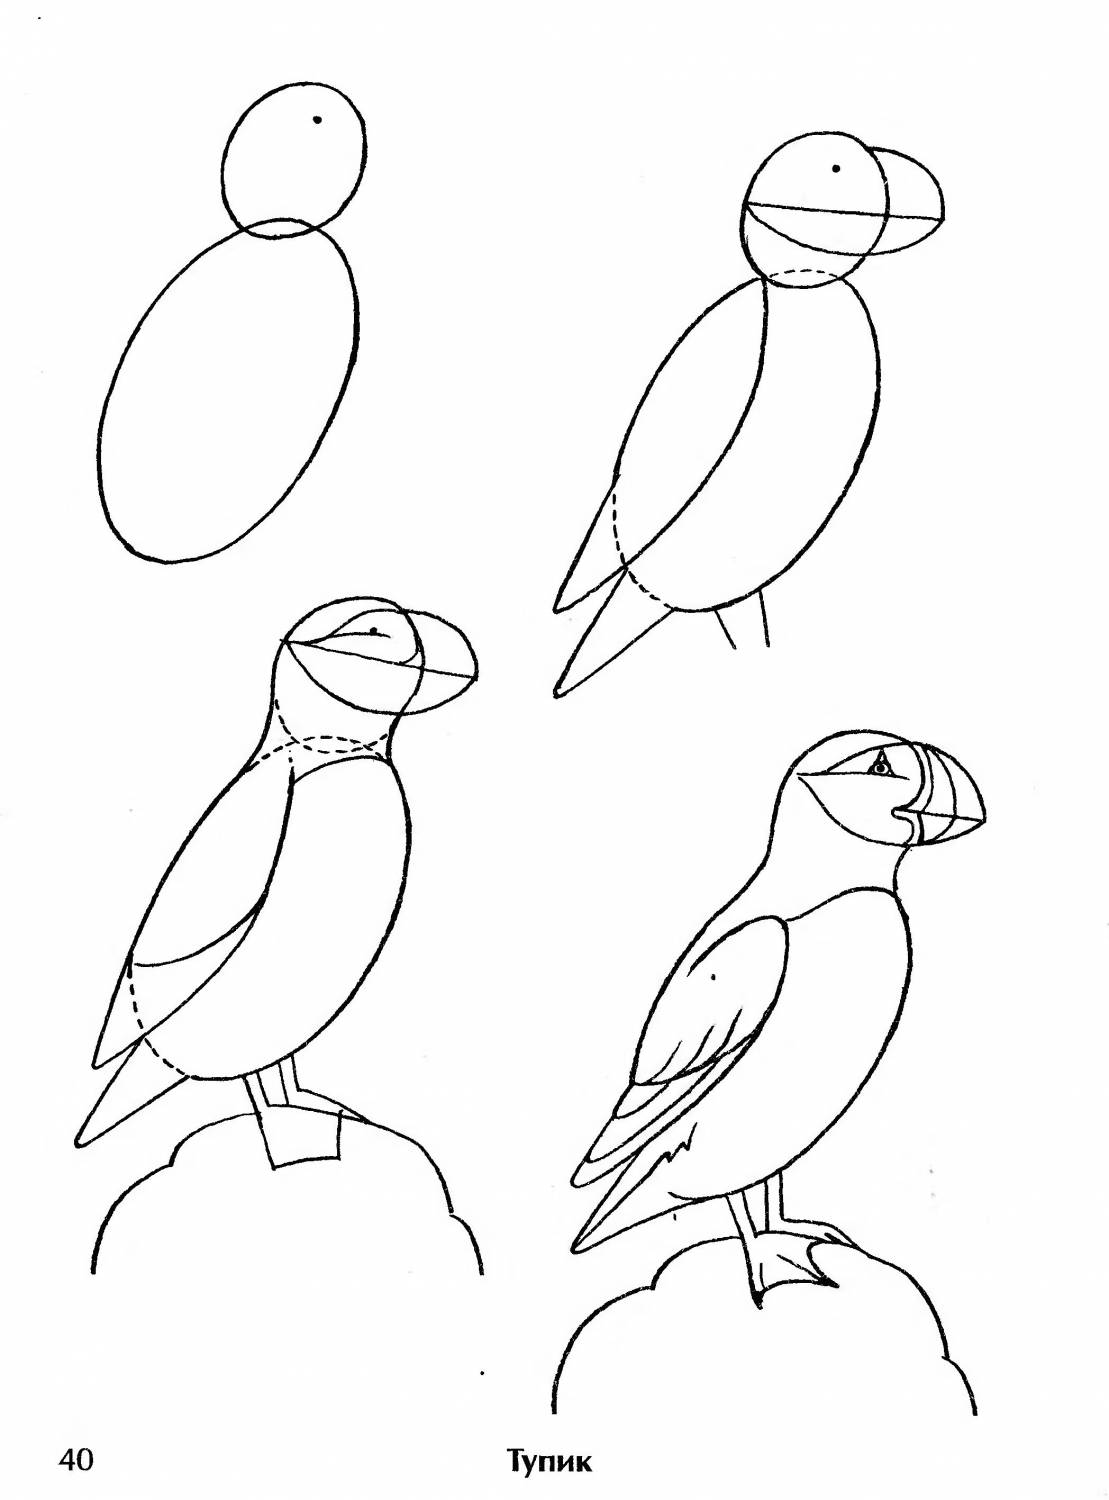
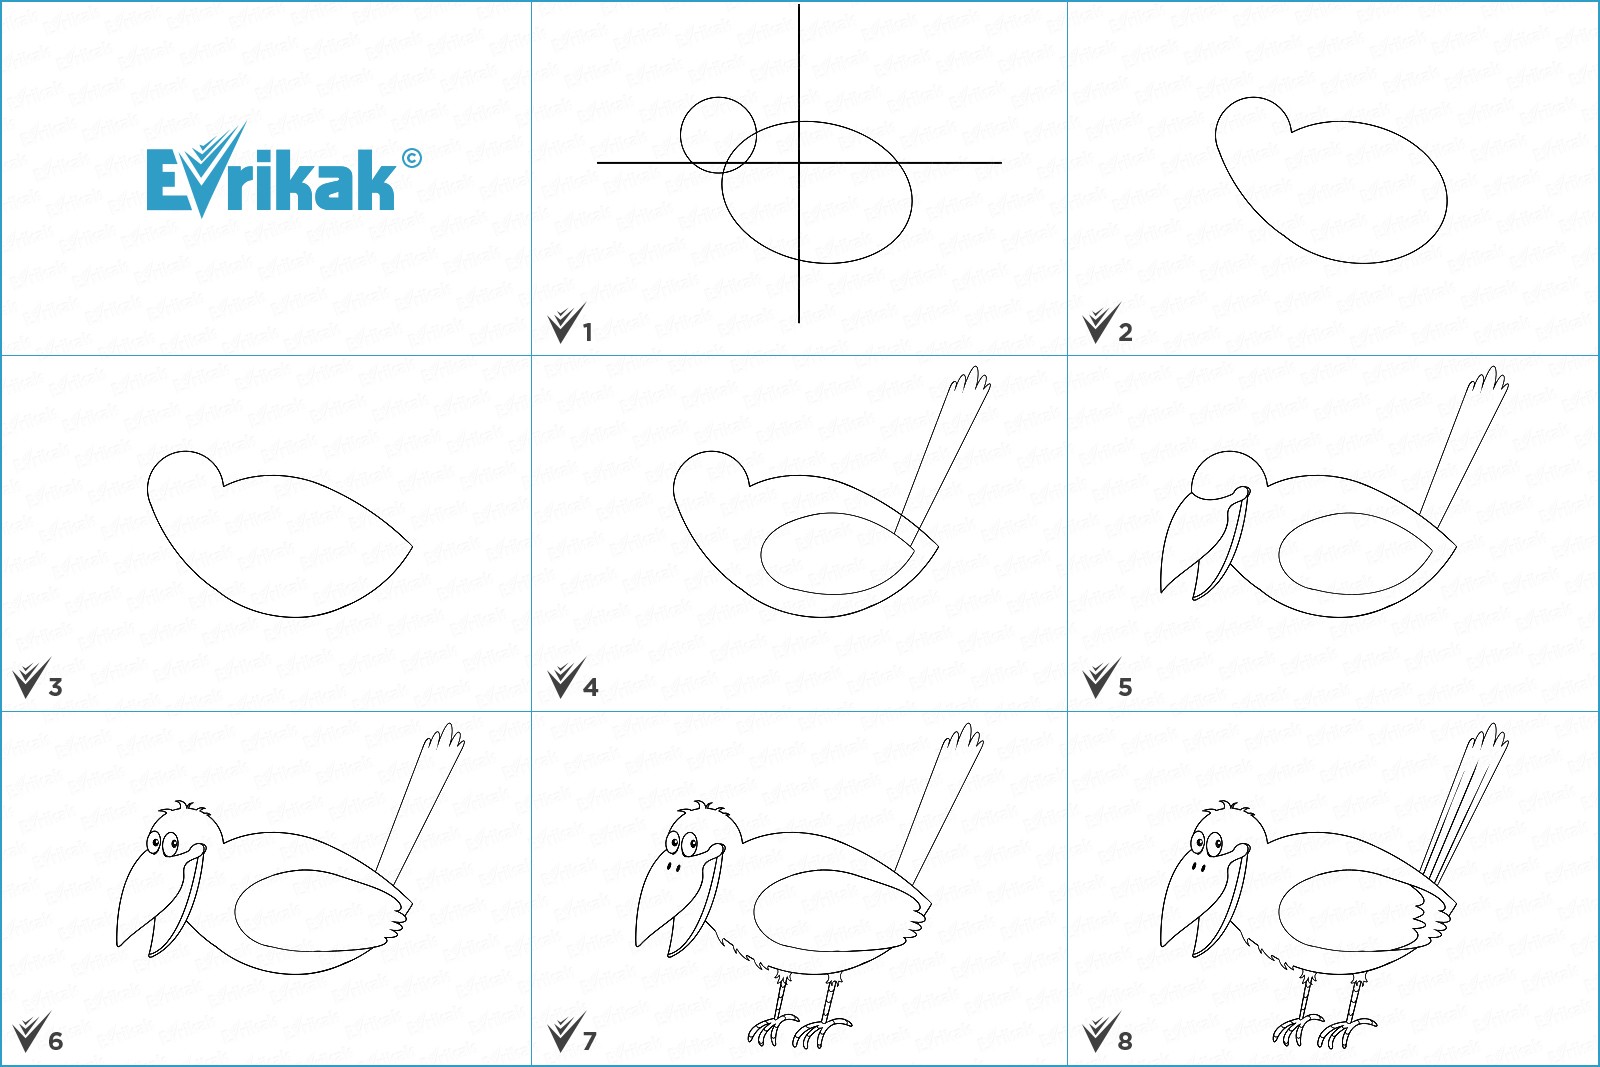
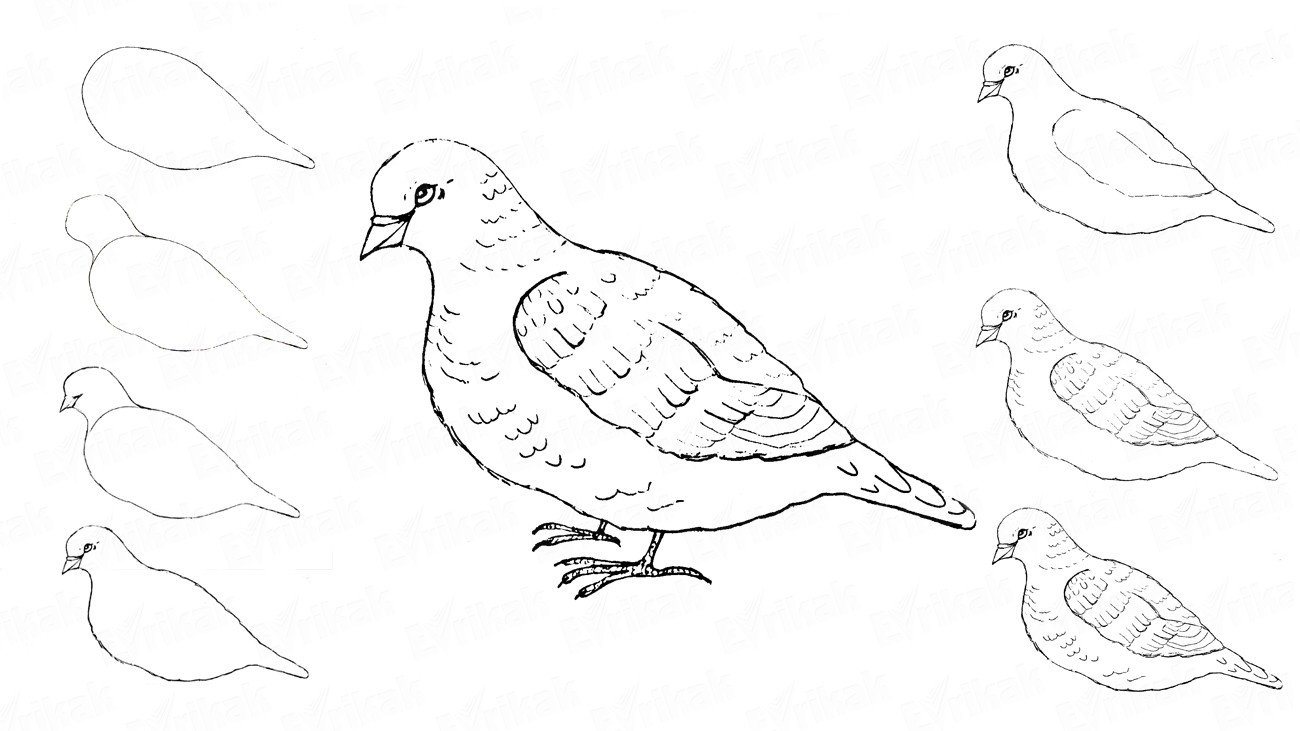
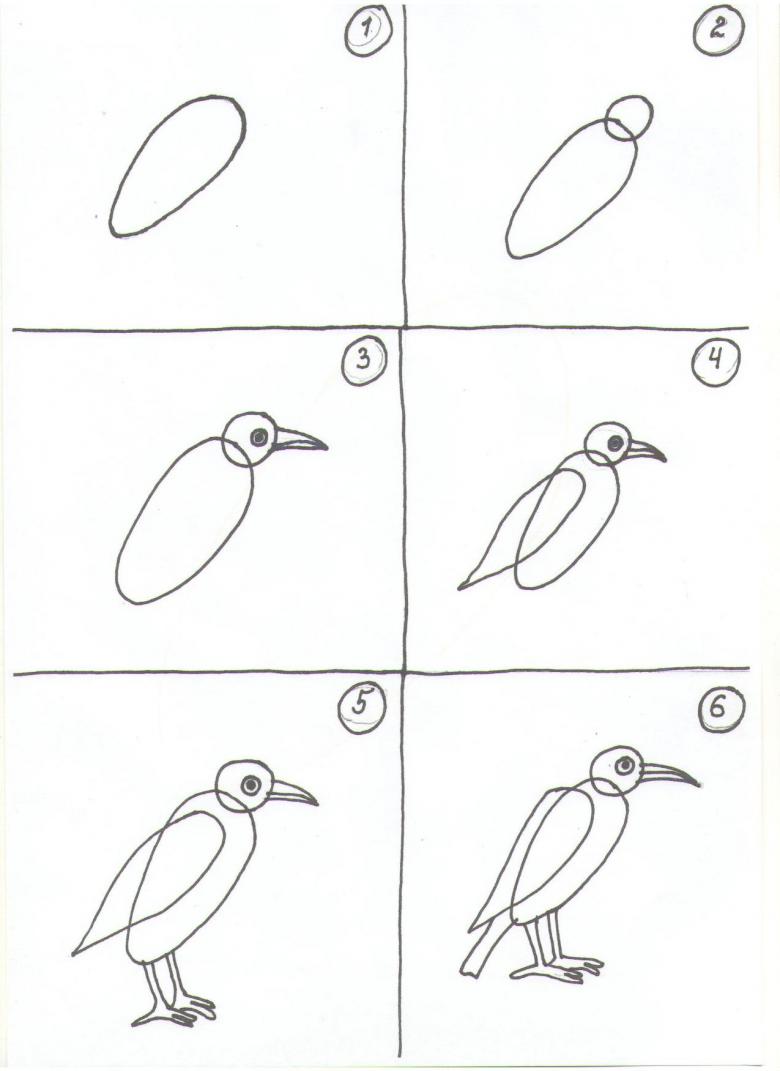
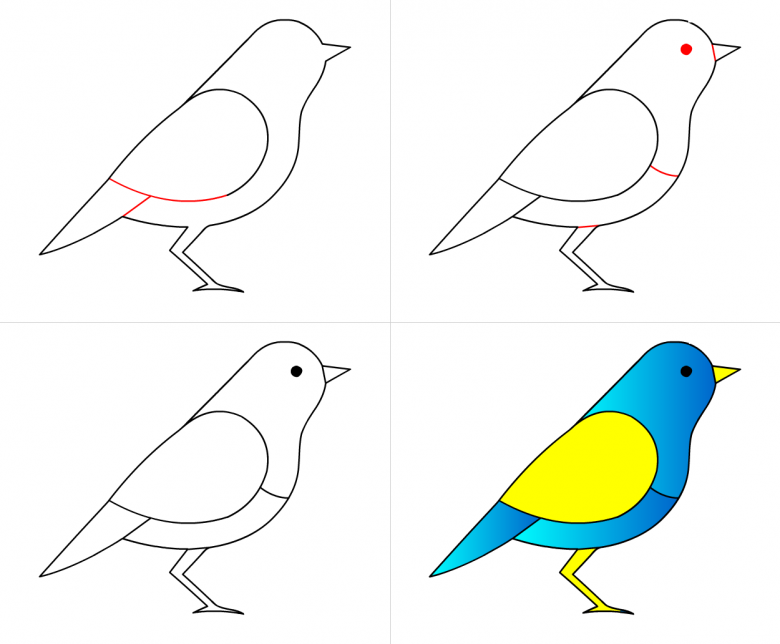
Drawing a pigeon
Considered to be the most peaceful bird. On this example, you can see how with the help of a pencil you can perfectly cope with the task. Often found in school wall newspapers created for Victory Day and May Day. He brings happiness and prosperity to the world!
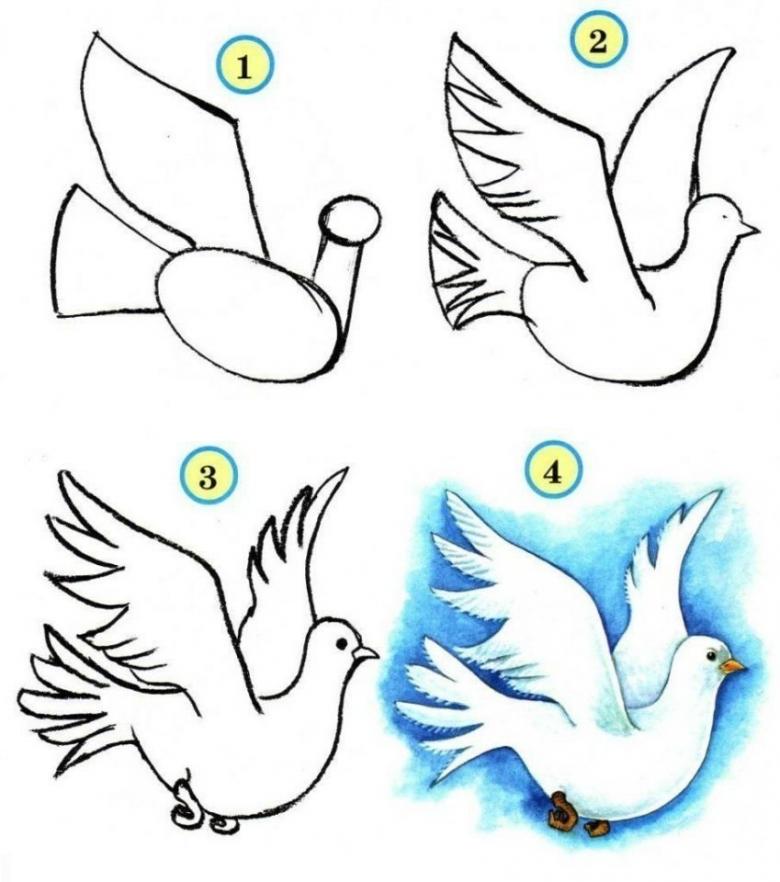
Step by step instructions:
- Create the main elements - wings, head and torso.
- Trace the head.
- From her lead sloping line for the image torso. In the case of a flying pigeon tail is drawn drawn drawn drawn down.
- The wings are marked with a "tick".
- Transmit the contour of the tail and the entire body.
- For the feet spend a short stripes.
- Draw an eye and a beak.
- On the wings and tail plumage.
- Next draw the legs.
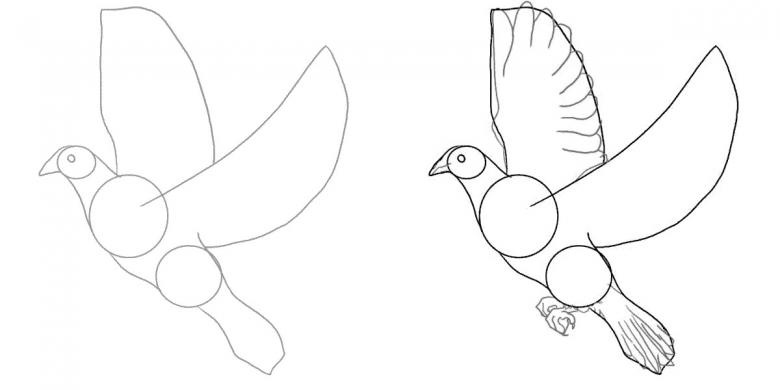
To make it easier to draw the wings - it's better to divide them into segments. The pigeon is ready!
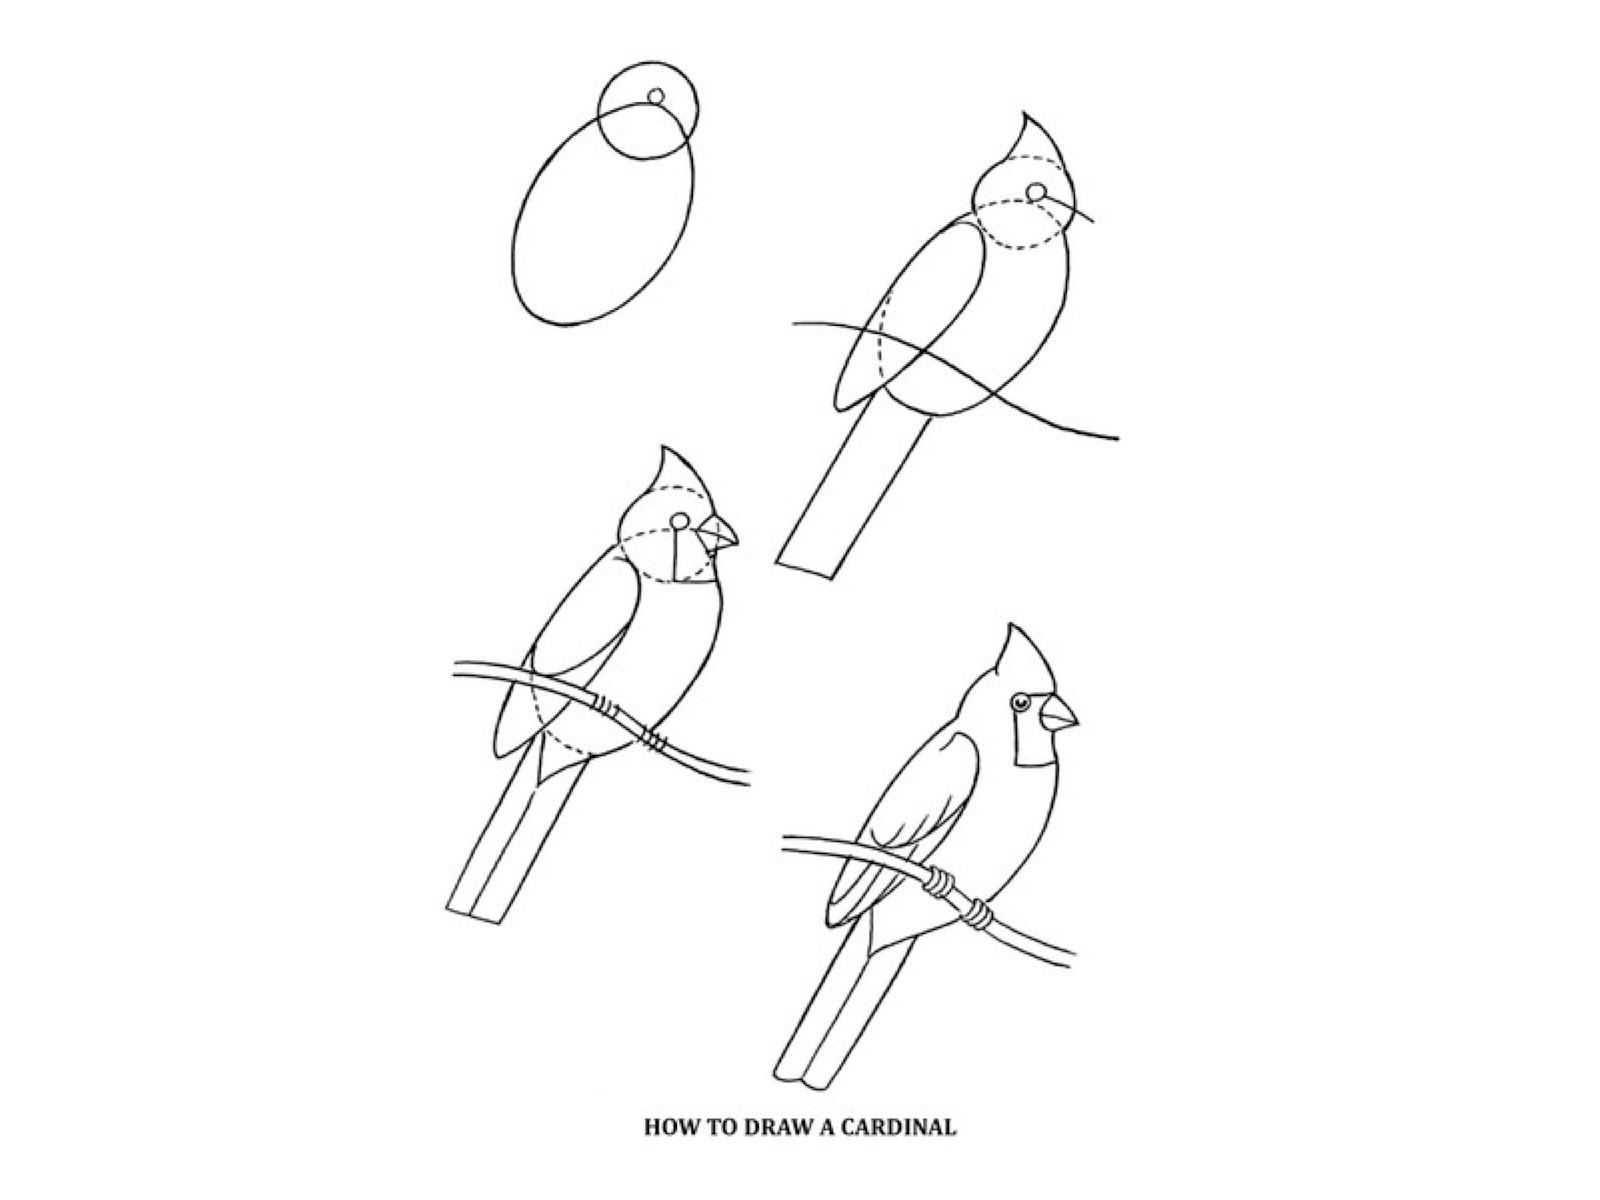
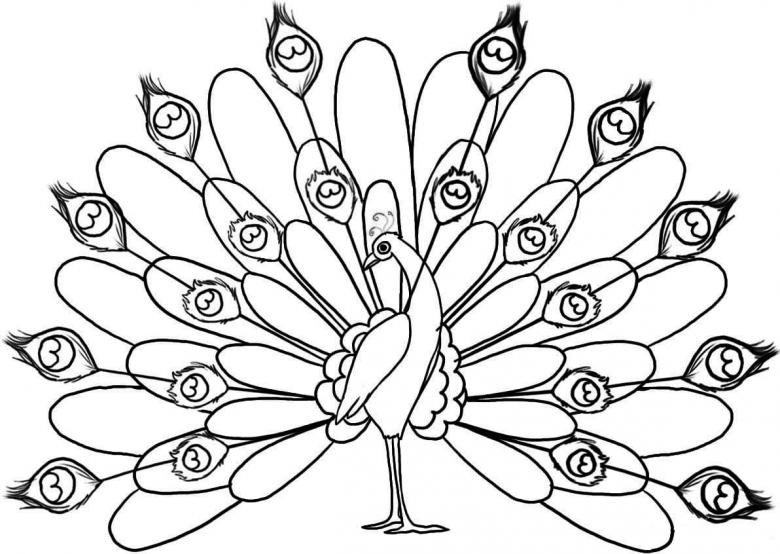
Fairy character
Before you get started, you should have all the necessary supplies in front of you, including a ready-made colorful image. Then there will be no problems for beginners, how to draw in pencil pencil a rooster bird.
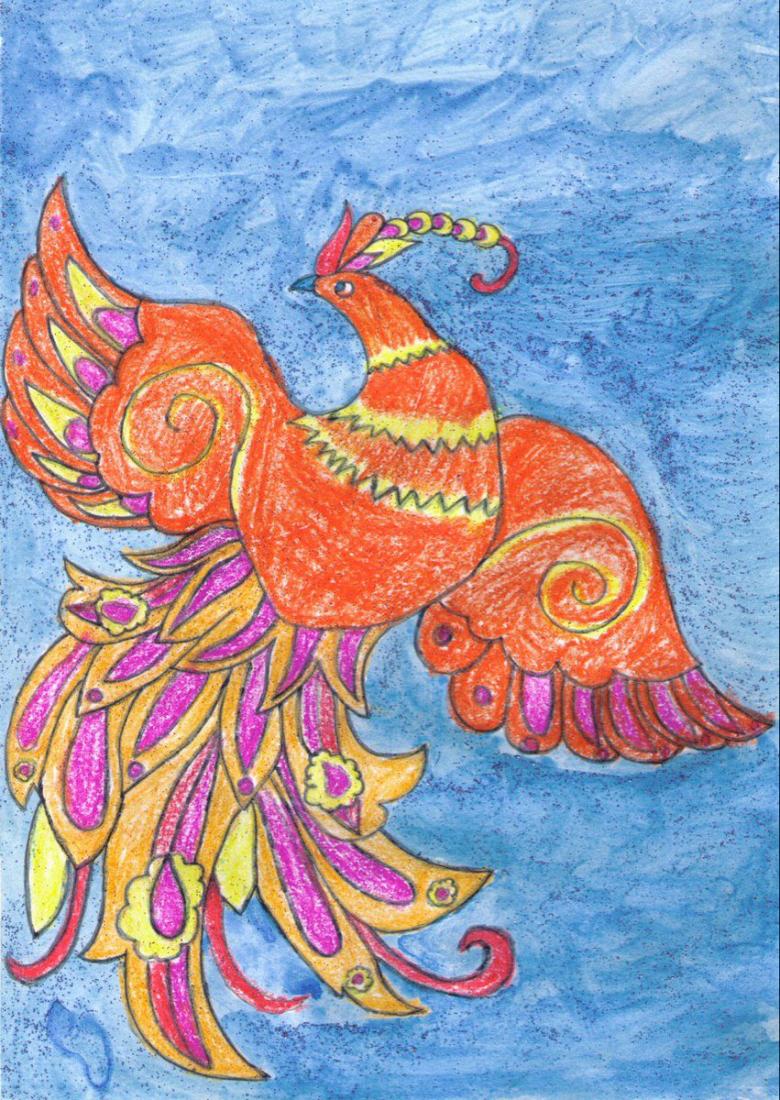
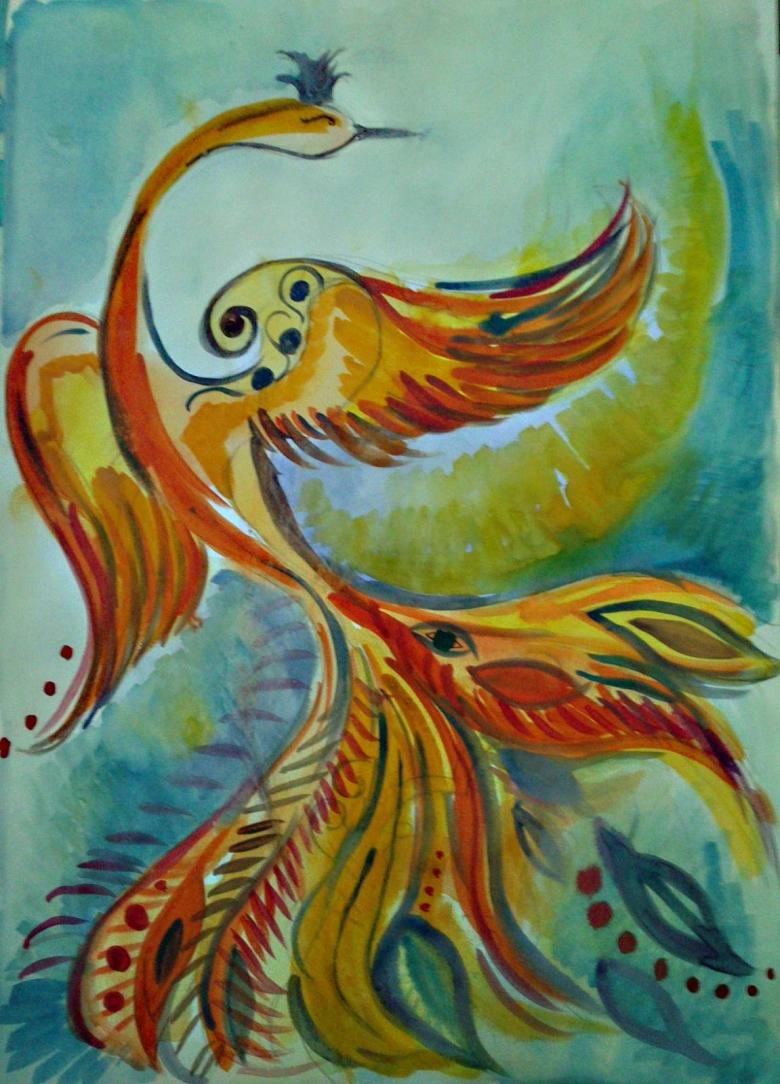
An important nuance to consider is that her feathers are feathery in different colors, glow and can burn. It looks like a Phoenix, but comes from a familiar peacock.
The process is divided into stages:
- Drawing the head as a circle, the eyes, then the beak and crest.
- Pass the form of the body.
- In that part of the drawing intended for the wing - lead a curved line, then depict the first layer of feathers.
- In the continuation - the 2nd layer of plumage and paws.
- For a very puffy tail draw wavy stripes indicating the location of the feathers.
- Drew feathers, drawing the eye to the tip of the feather, which looks like a tongue of flame.
Now you can admire the resulting image!
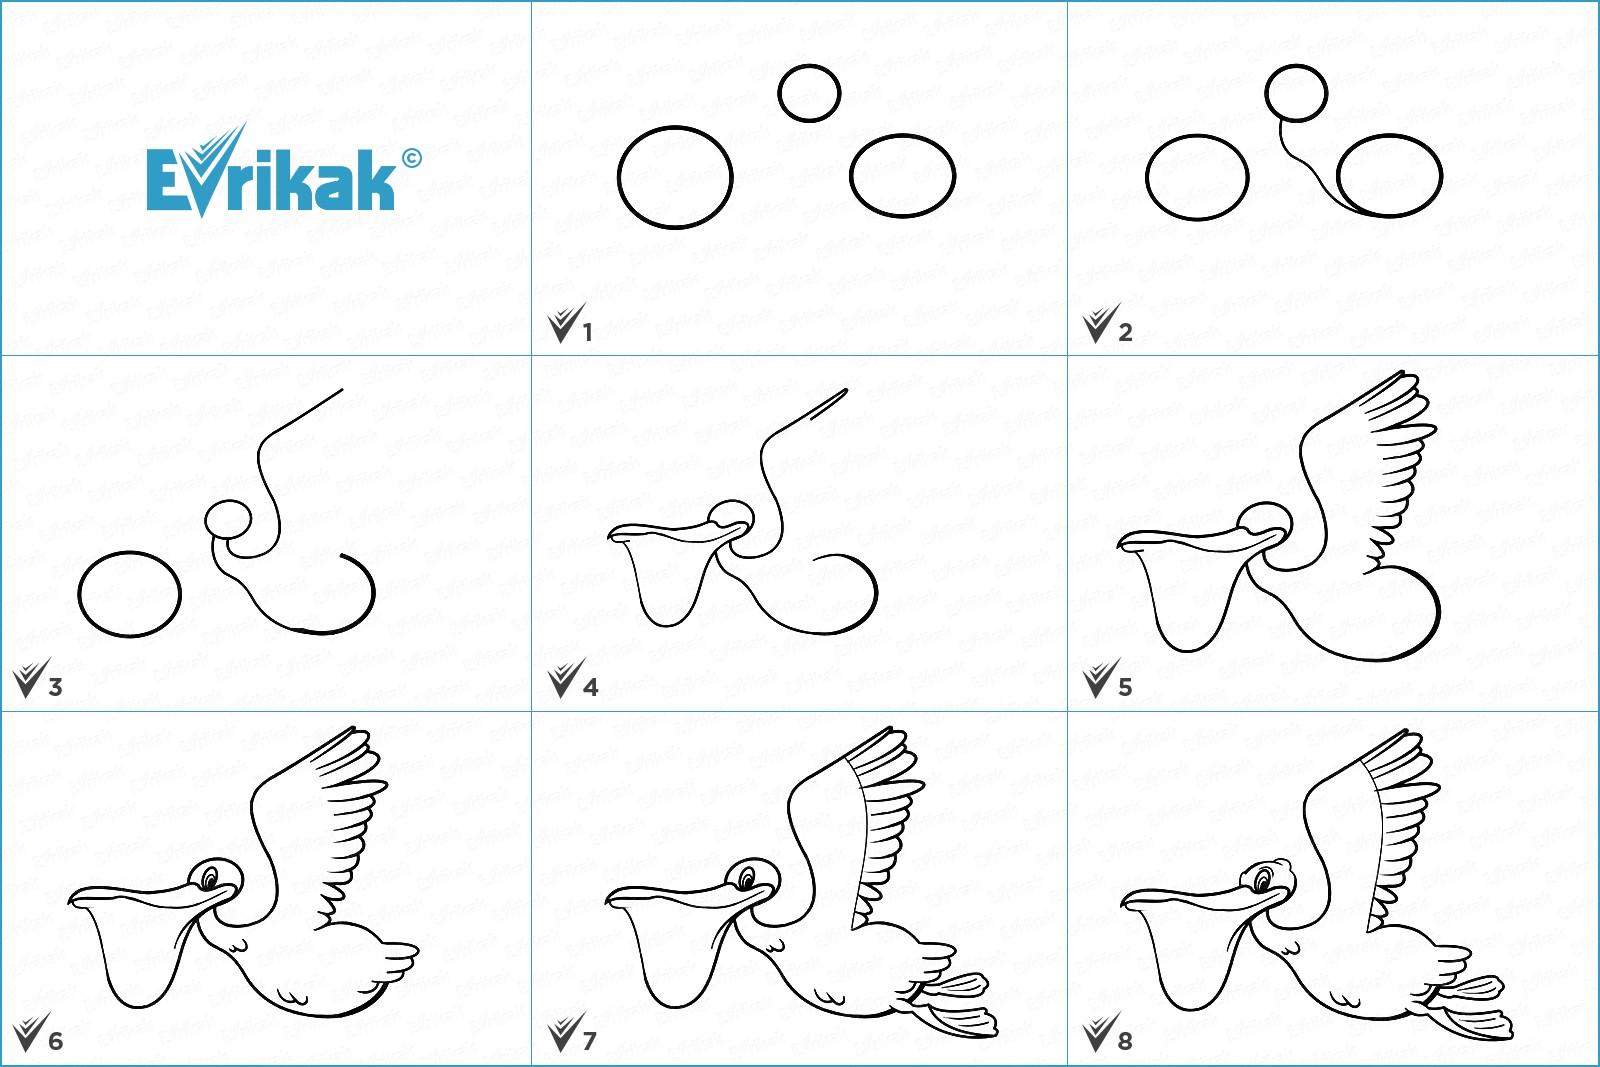
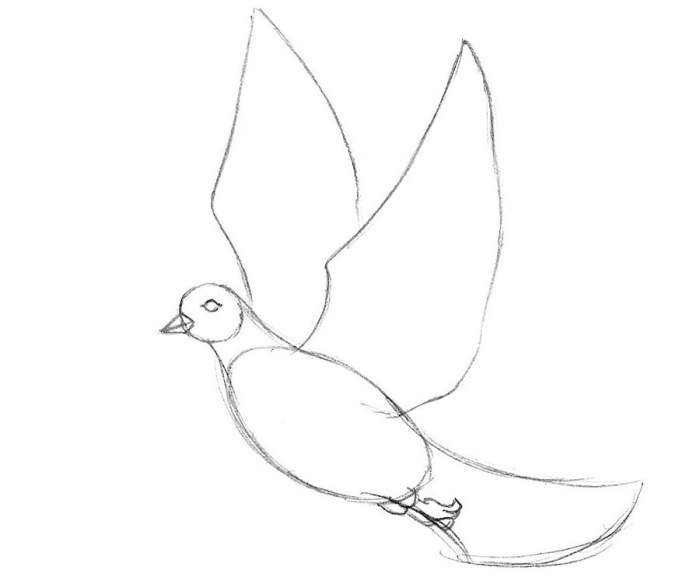
Capturing the moment of flight
The most obvious example would be a seagull. How to draw a flying bird step by step in pencil will be clear even for children. So simple is the process!
- The drawn circle is the basis for the head and body, the lower and upper parts pass slightly pointed.
- After depicting the eyes and beak, the outline of the circle should be removed with an eraser.
- Draw the wingspan and tail, as in flight. Located on the right edge of the sheet wing looks larger than the left, as well as larger in size in comparison with the entire body.
- Dorisovyvayut paws, folded together, then thighs, depicted by the line leading from the paw down.
- Draw the wings.
- Everything is decorated with feathers.
- Finishing detail - the tail.
To finish the work, eliminate flaws and unnecessary sketches. It is also important to pass the shadow with a dark pencil on the wings, in the direction from them and at the bottom of the image. Now you can assess the result!
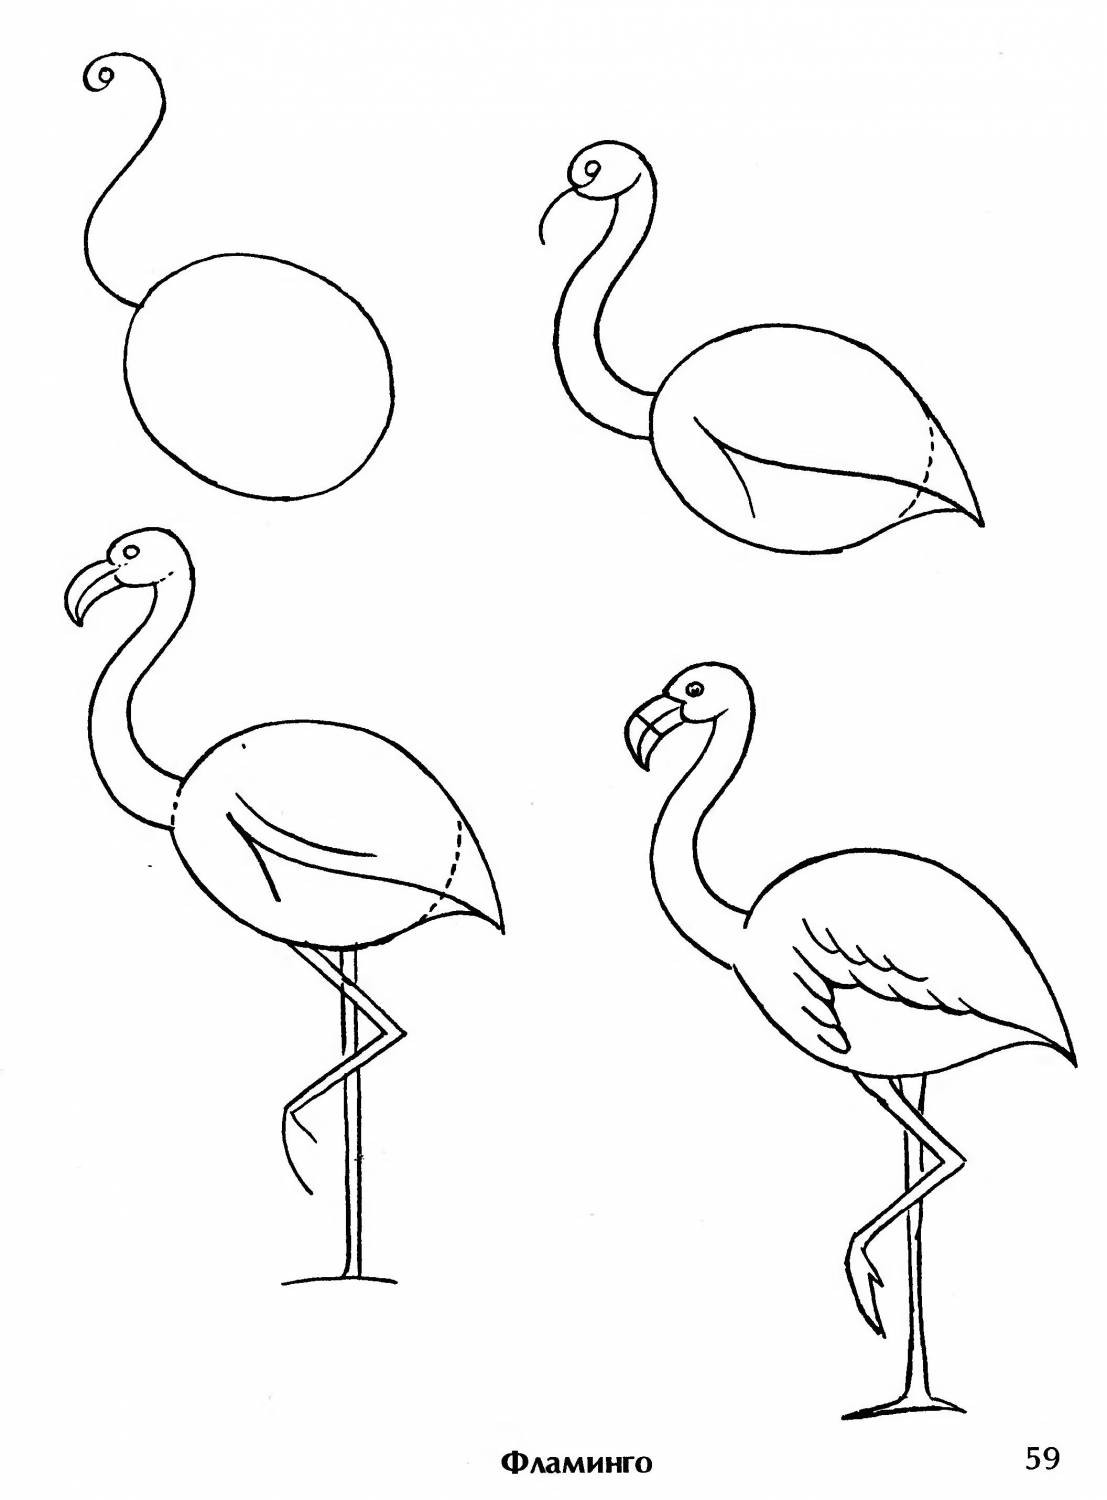
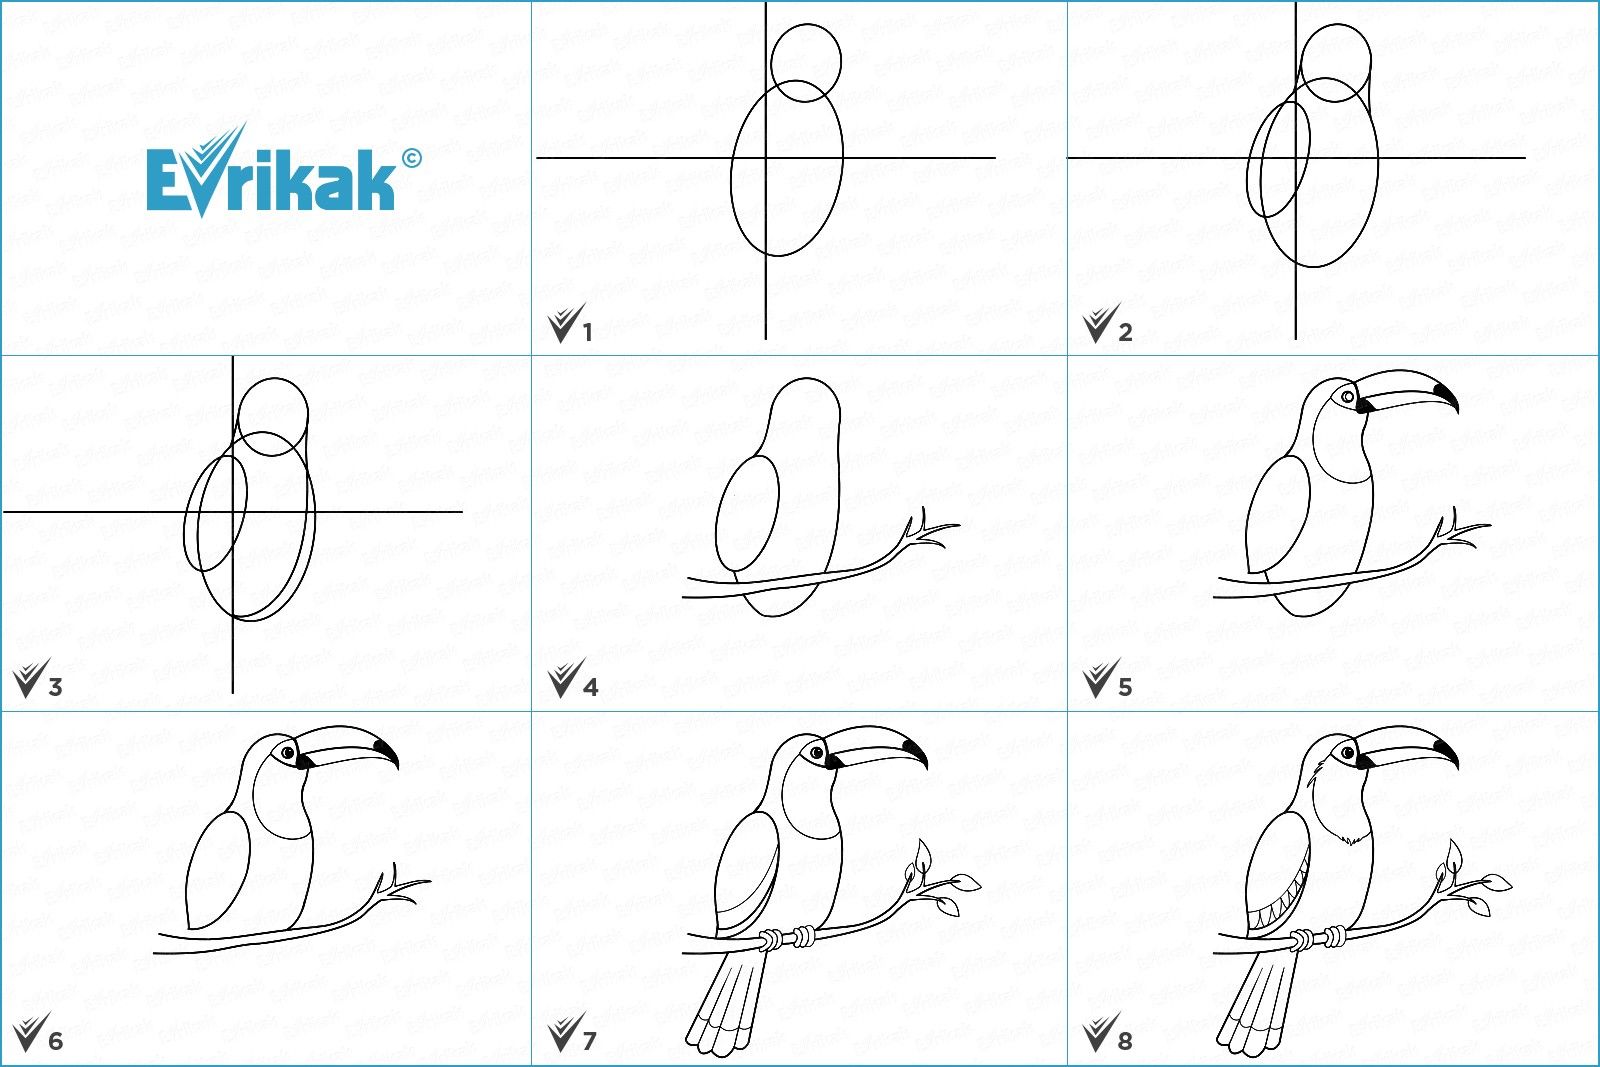
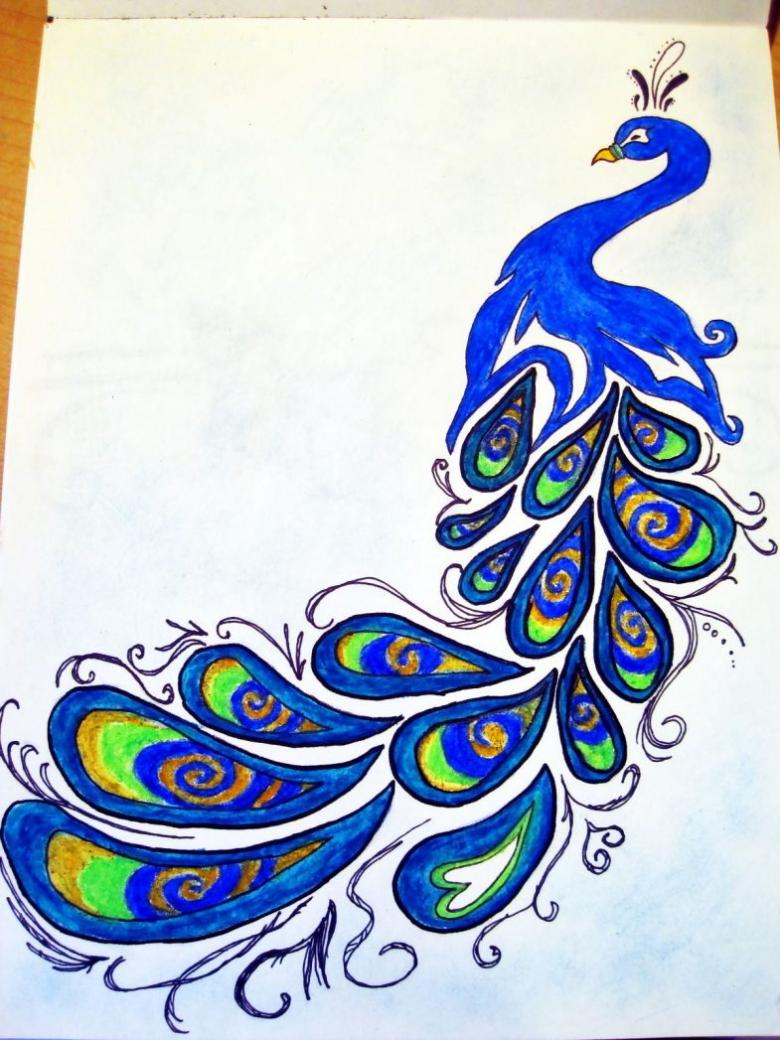
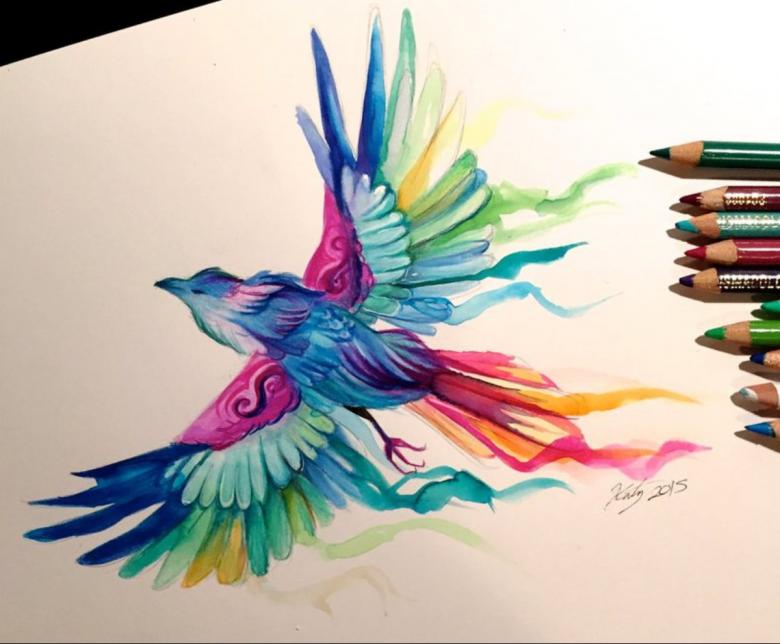
Rainbow Bird
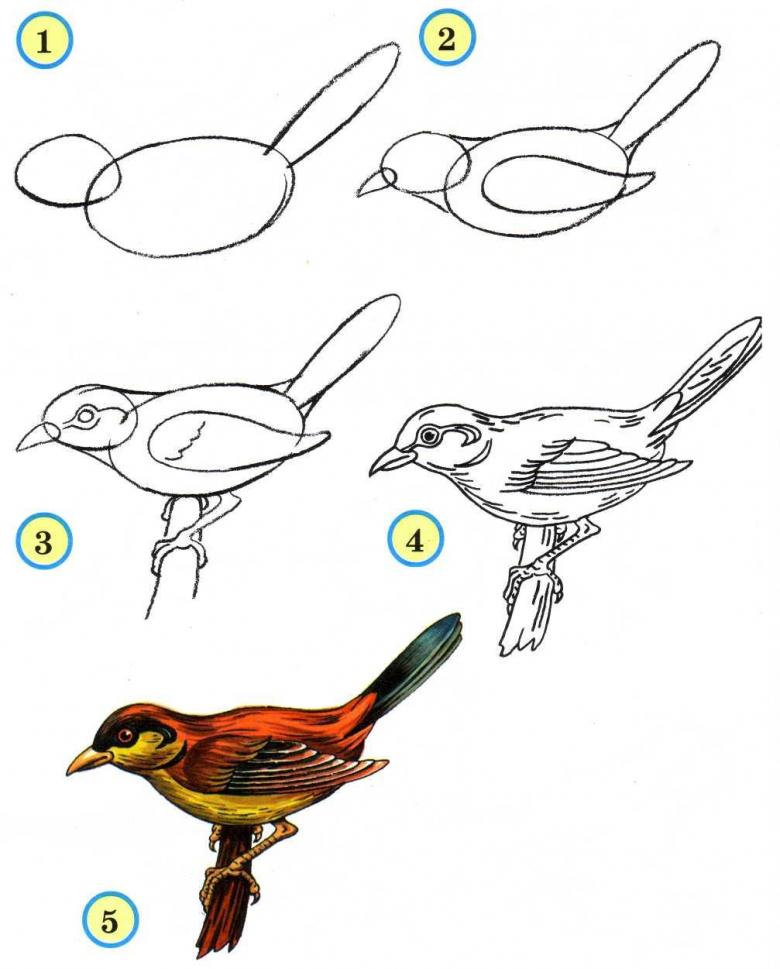
To understand how to draw a bird on a branch with a pencil step by step, it is better to take a parrot as a sample. It is he who accommodates all the available palette of colors. The detailed steps are as follows:
- Draw 2 ovals - the upper, smaller for the head, and the lower, larger, to convey the torso.
- From the big one downward lead 4 strips, representing the tail.
- Wings are added - over the body in the form of a considerable drop in size and only partially visible wing as half of such a drop.
- Traced beak, resembling a triangle with a bent downward tip.
- Compared drawn with the original, now unnecessary auxiliary stripes can safely erase.
- According to the plan - a parrot is placed on the branch, represented in the drawing by a wavy line. Small oval paws are drawn on top of the tree. Outwardly they look like a human fist.
- Picture claws.
- For the eye draw a few circles, one as if enclosed in another. The last one is black, remembering to leave a dot for the glare. The rest are not painted.
- To tail look plausible - sharpen the lines.
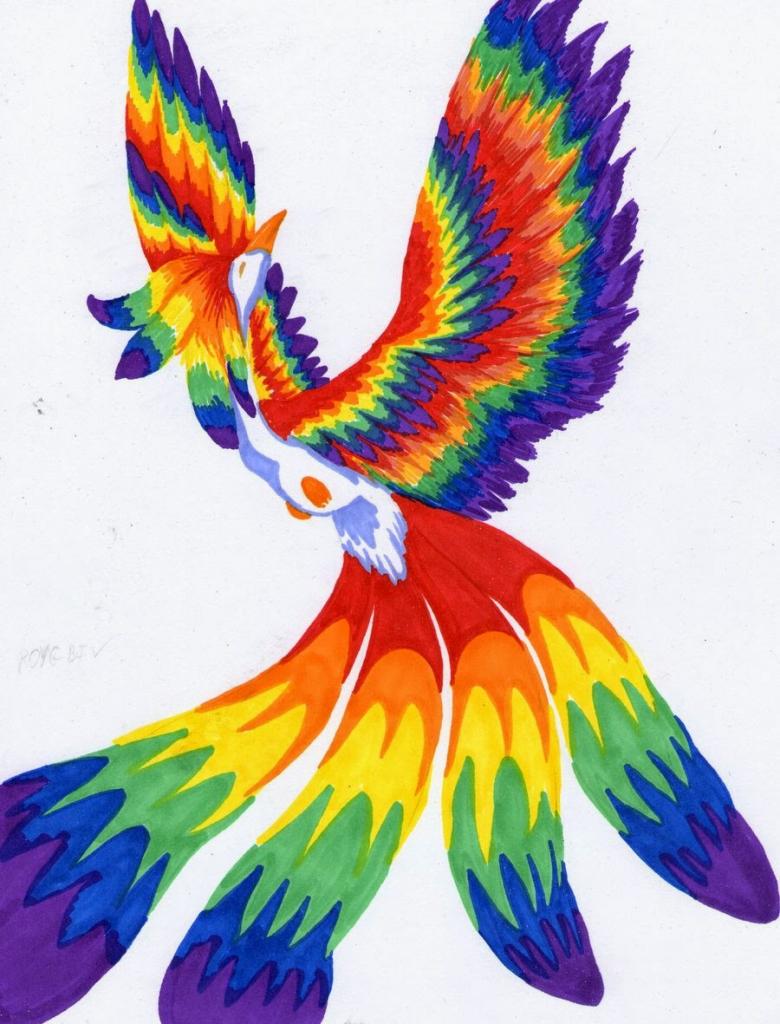
Now the bird can paint. Parrot Ara reddish hue with a yellow beak! For more mottled wings do orange. For a bright tail use the whole set of pencils. Truly, all the colors of the rainbow are represented here!
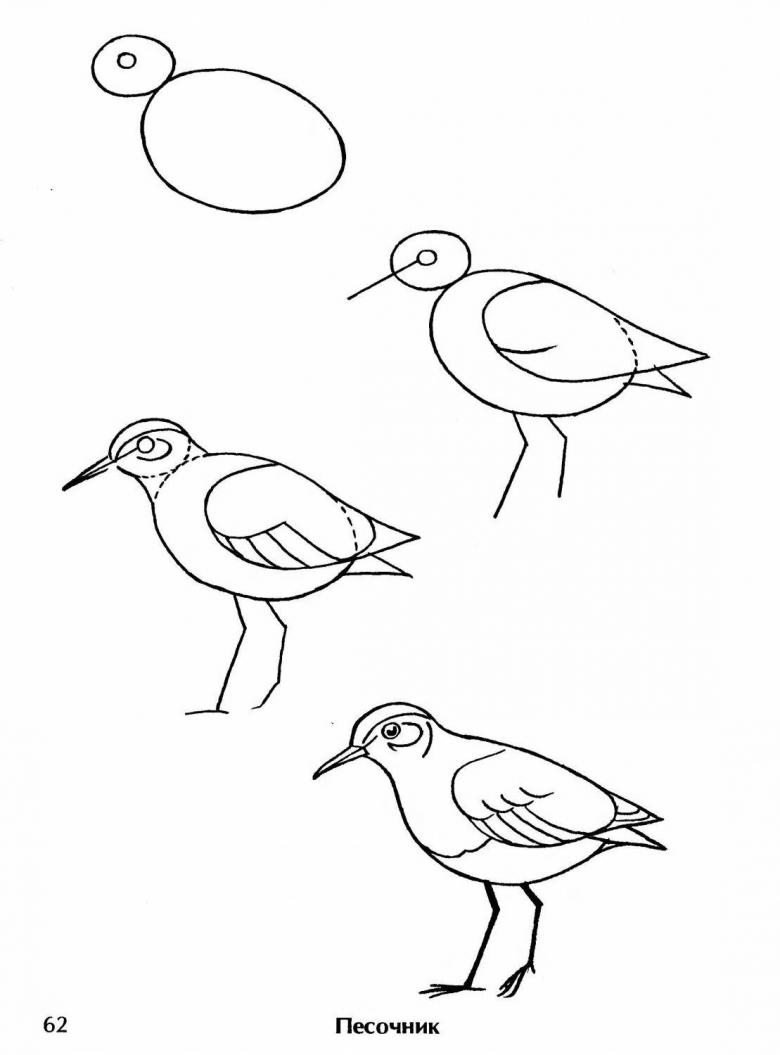
Children enjoy drawing different birds, as they strive to capture the contours they see on paper. Once you have mastered the basic skills, you can complicate the task each time, come up with new ideas, and achieve true perfection for any bird picture!

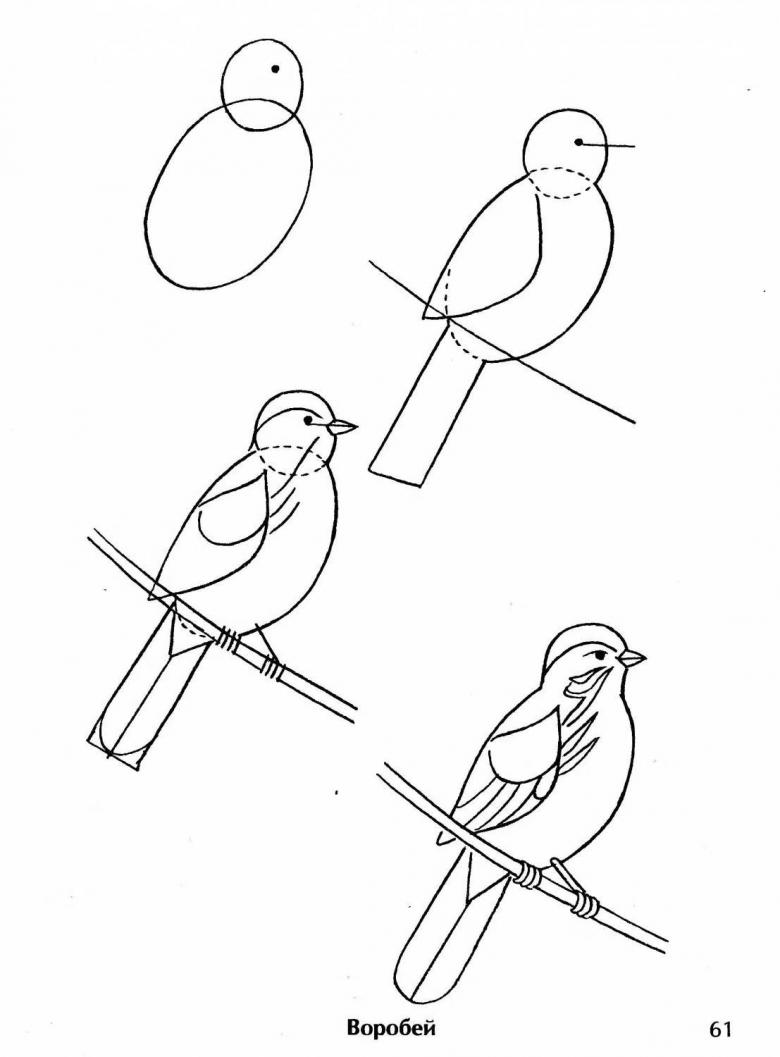
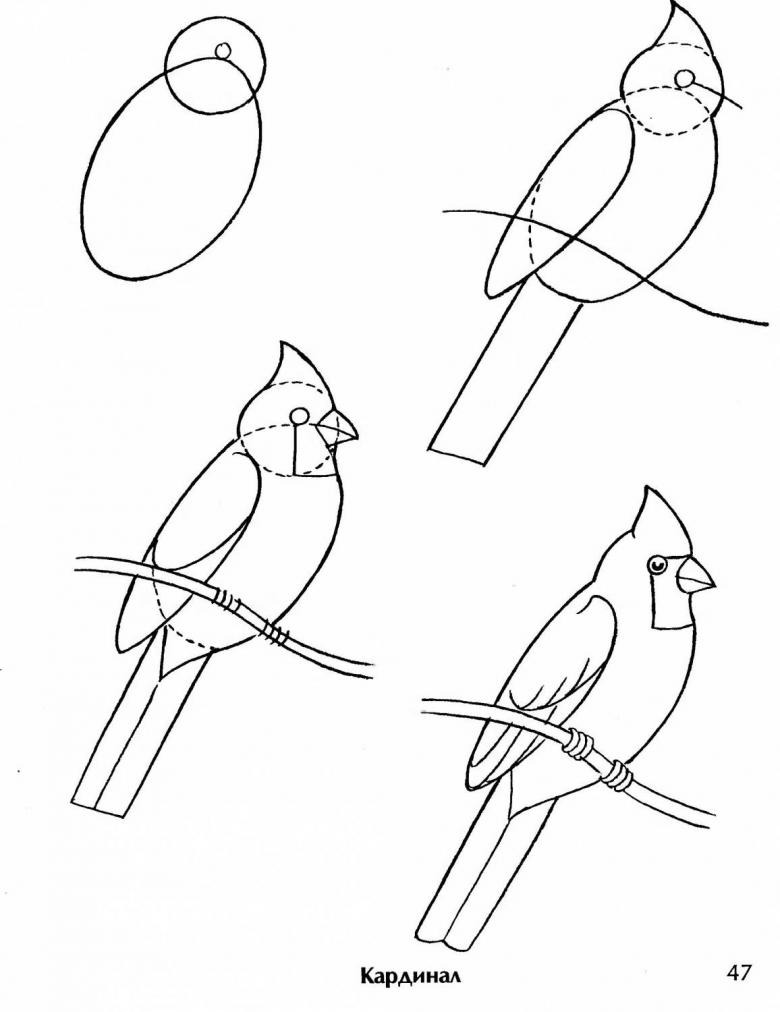
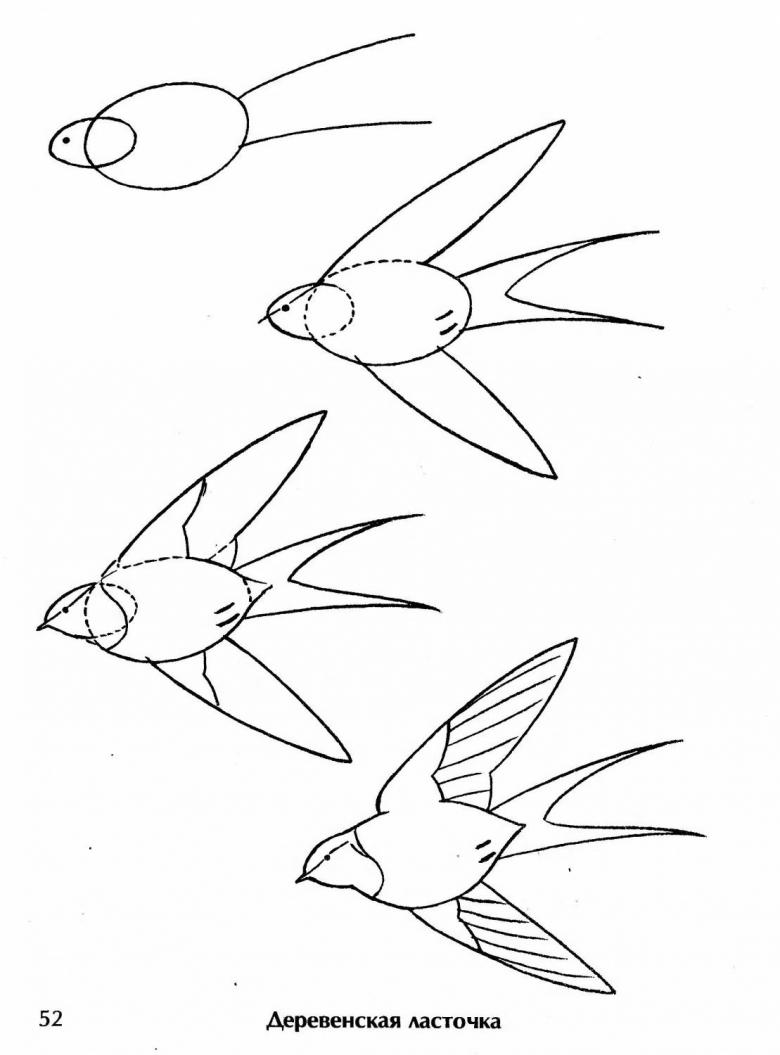
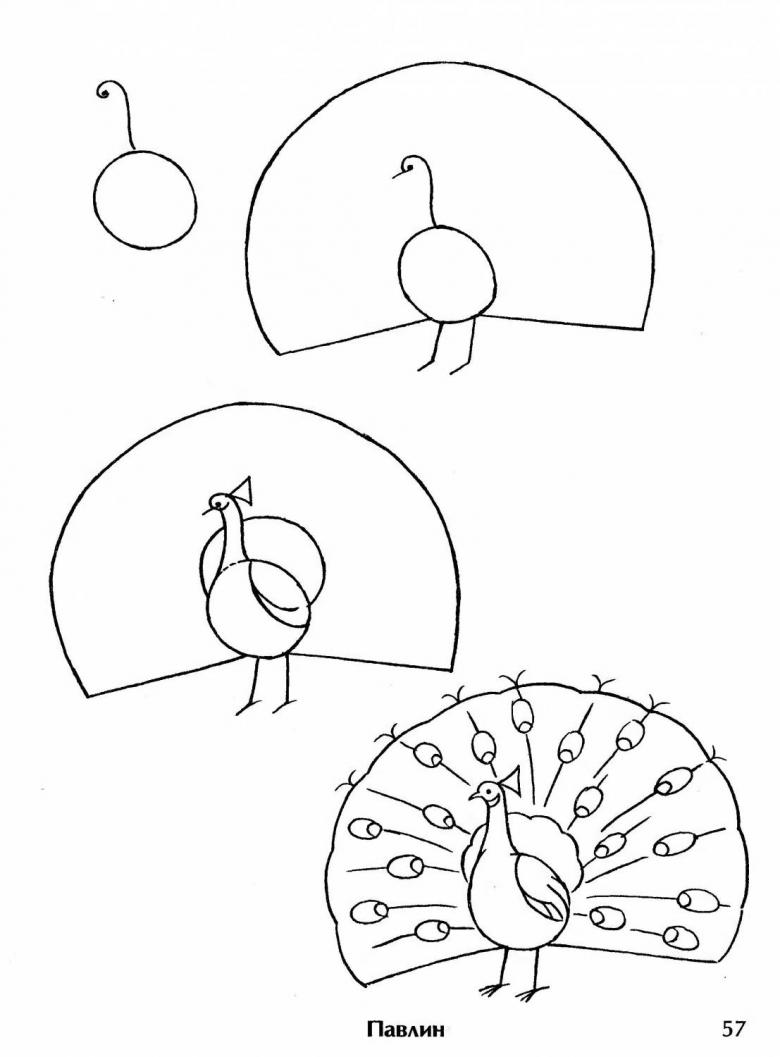
Pictures of birds for sketching in pencil