How to make a shed with their own hands - drawings, step by step guide on how to erect the supports and roof
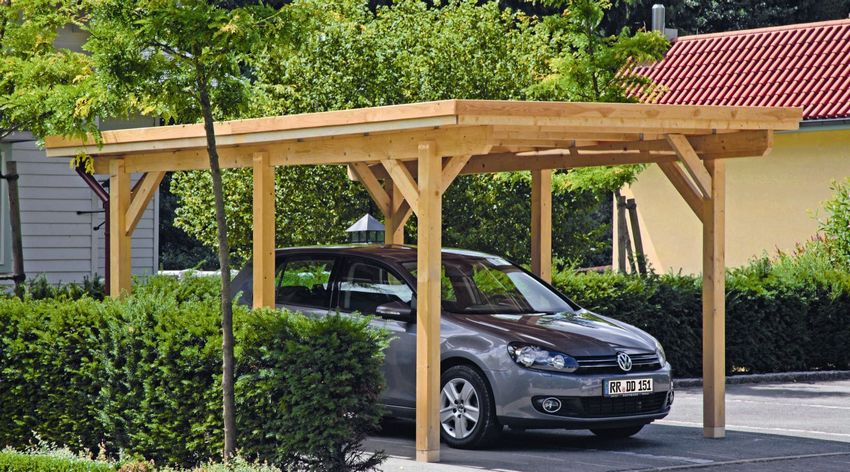
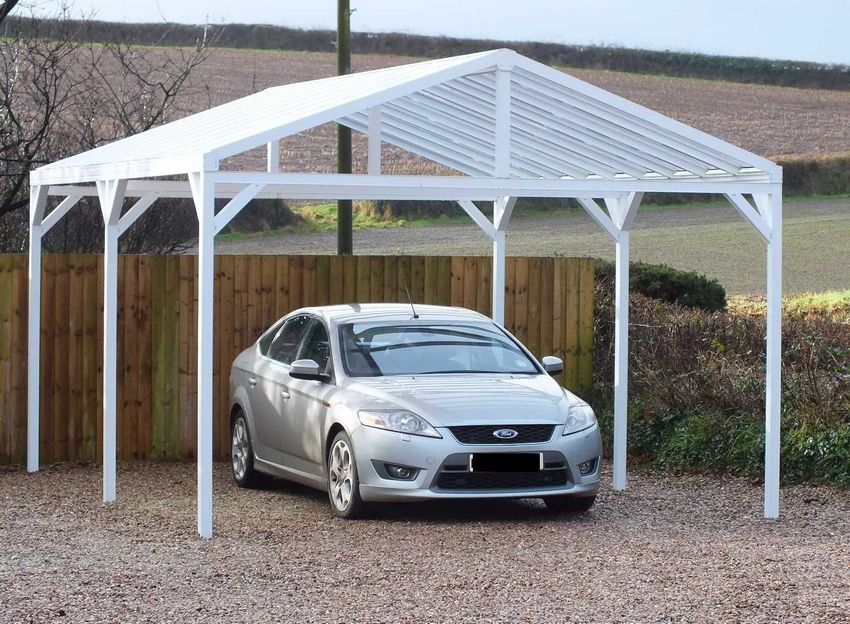
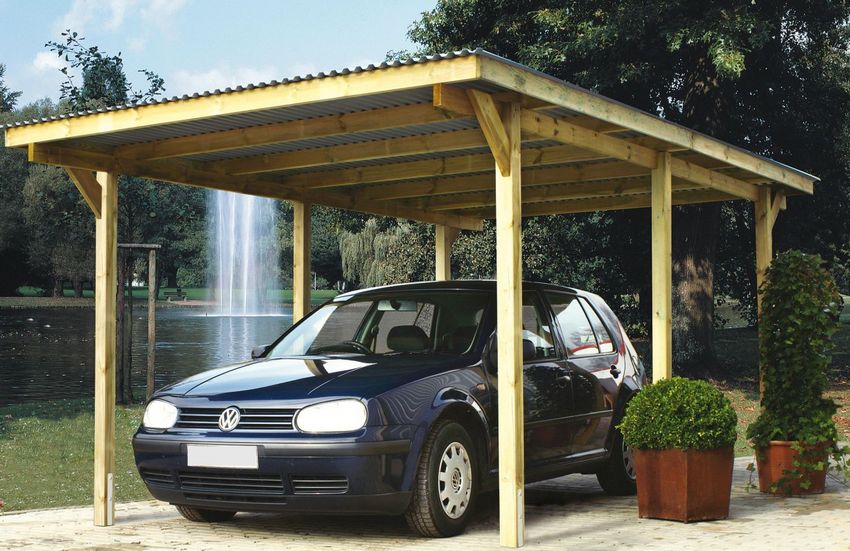
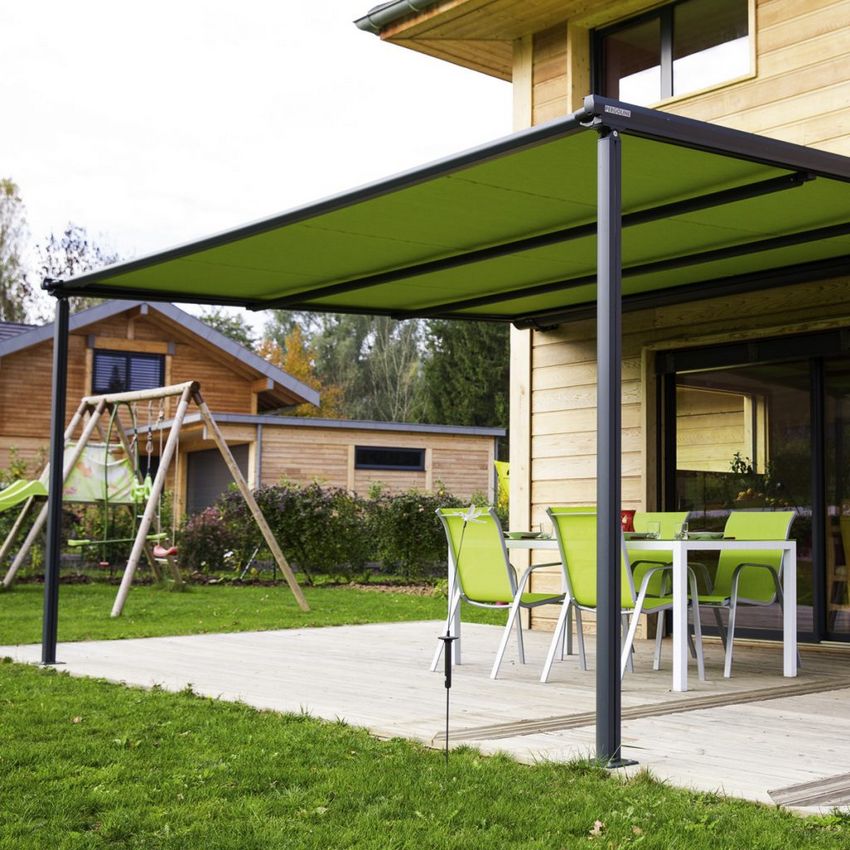
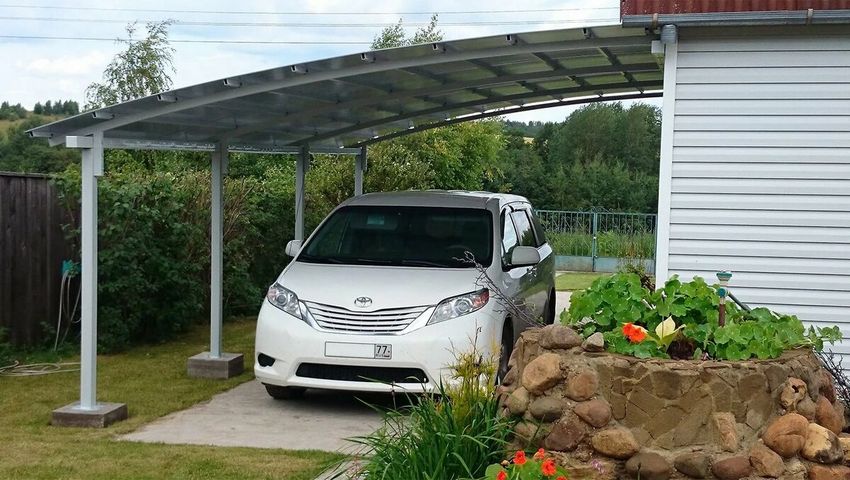
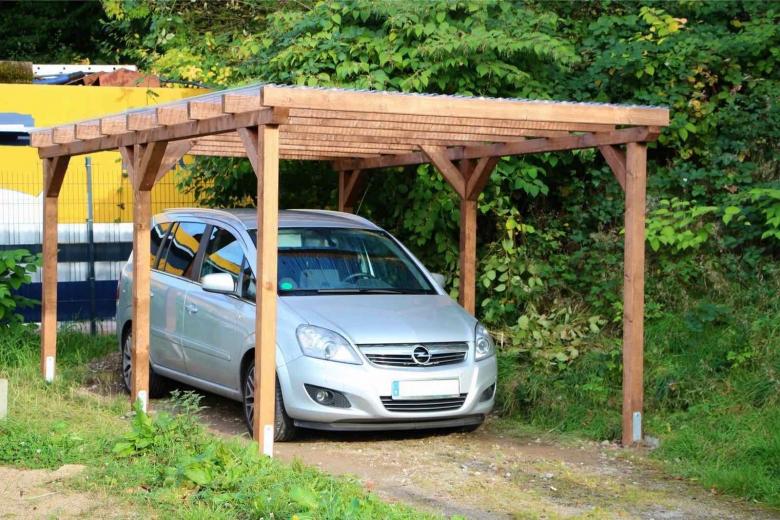
The canopy over the driveway on the site is very relevant. This type of design protects the car during the seasonal rains, snow and hail, helps to cool the metal surfaces during the active sun.
At the same time there are obvious advantages for the motorist: there is no need to leave the car or get into it in unsuitable weather conditions. In addition, awnings for the car, made his own hands, dramatically transforms the site and its interior.
Areas of use of the awning
Canopies can be used not only to shelter the car from the bad weather and the scorching rays of the sun. To date, there are several uses for awnings, especially in suburban and private plots:
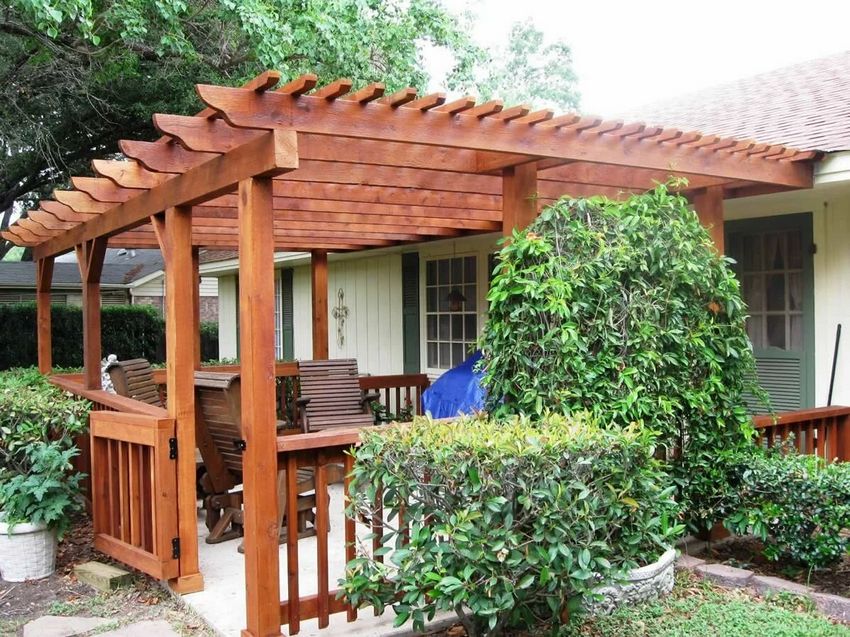
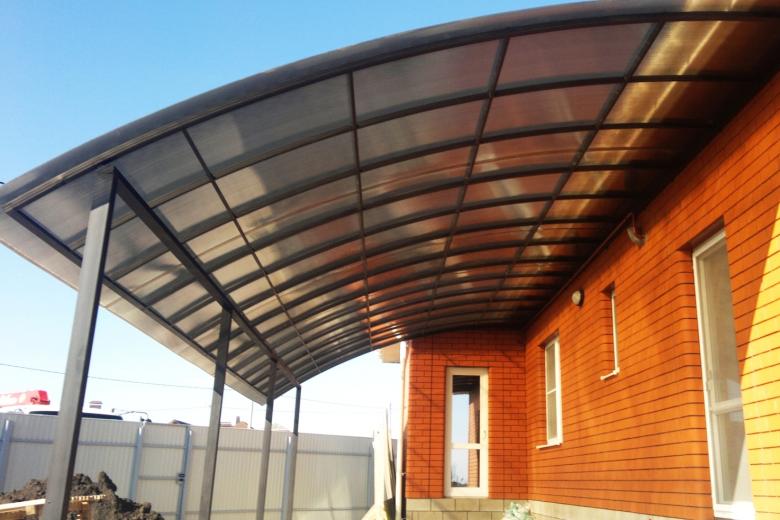
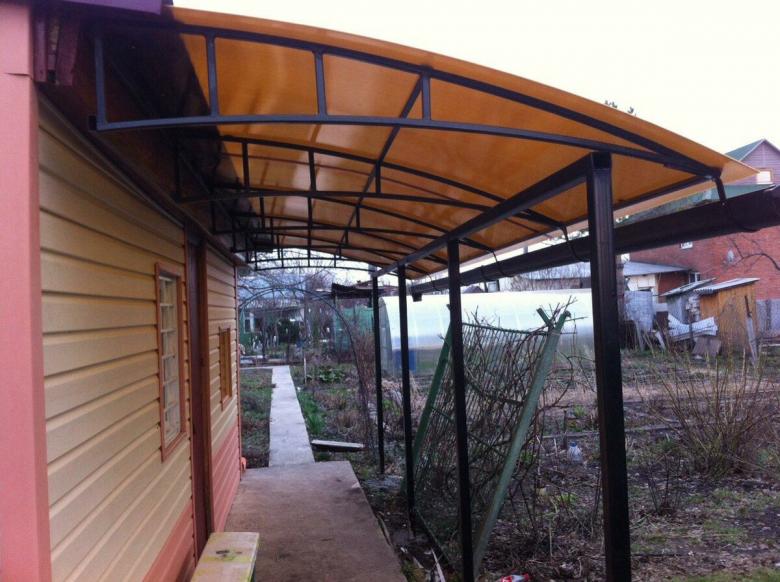
- The decoration of the walkway to the house. Many private home owners, especially in the southern regions, complement garden paths with a polycarbonate awning in the form of a narrow and extended dome.
- Decorating a children's playground. Sandpit and playground with mazes should be equipped with a reliable shelter from the sun's rays.
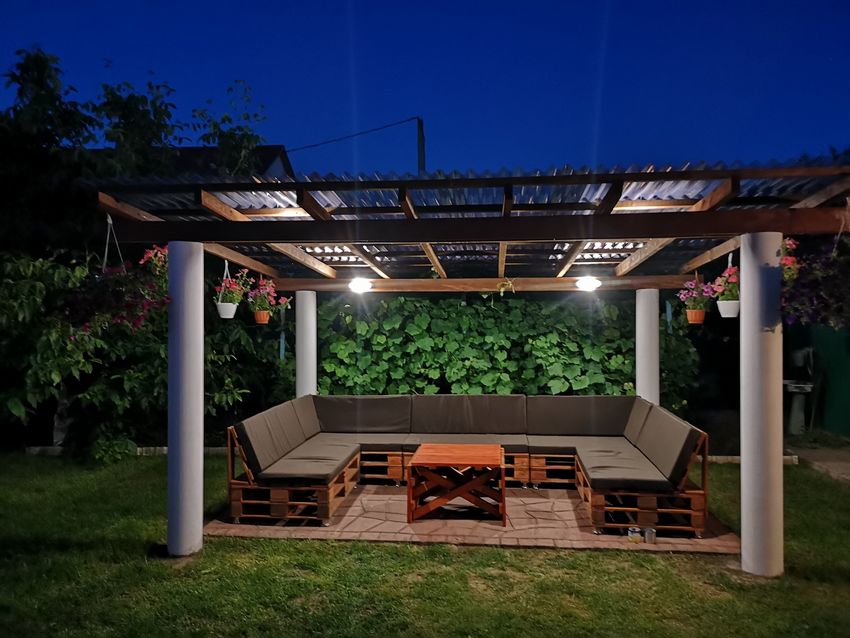
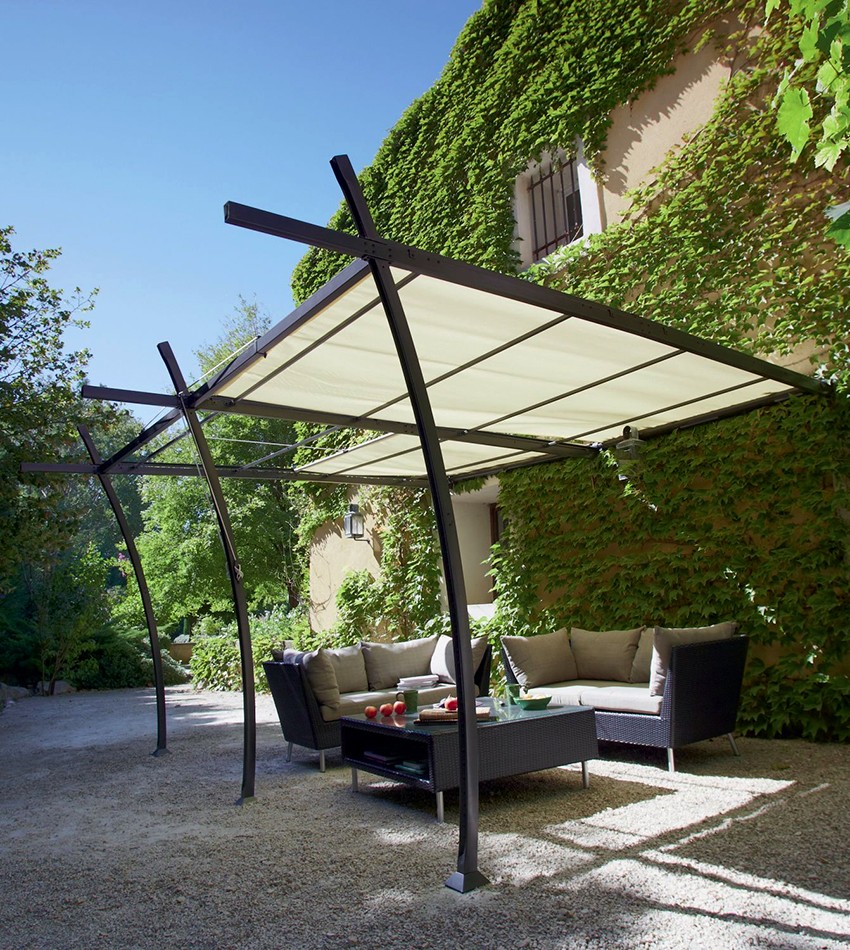
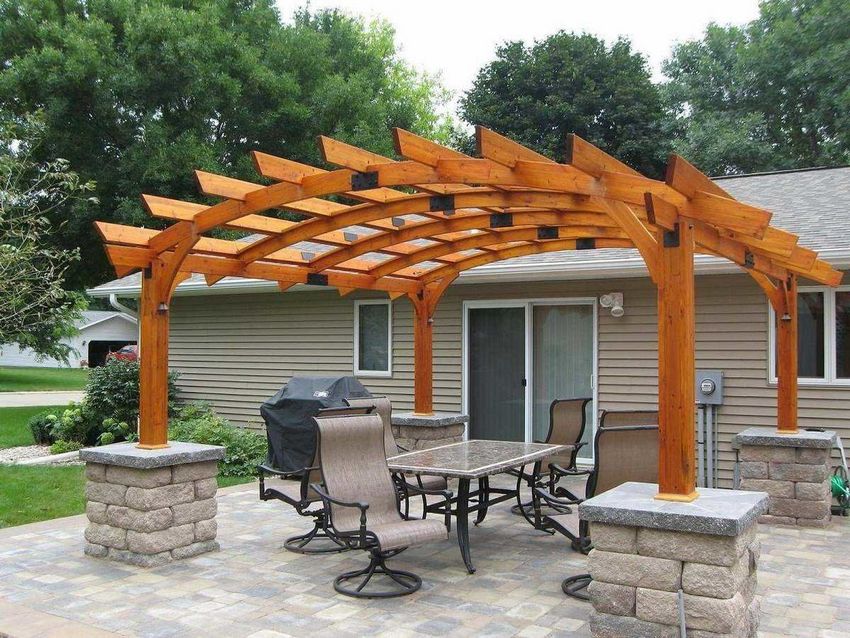
- Awning for the barbecue, built with their own hands, will serve as an optimal detail of the garden interior.

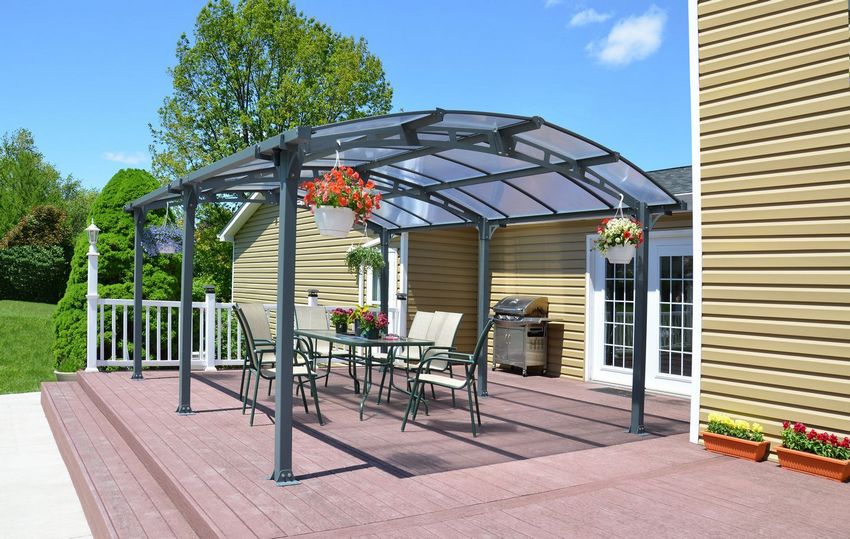
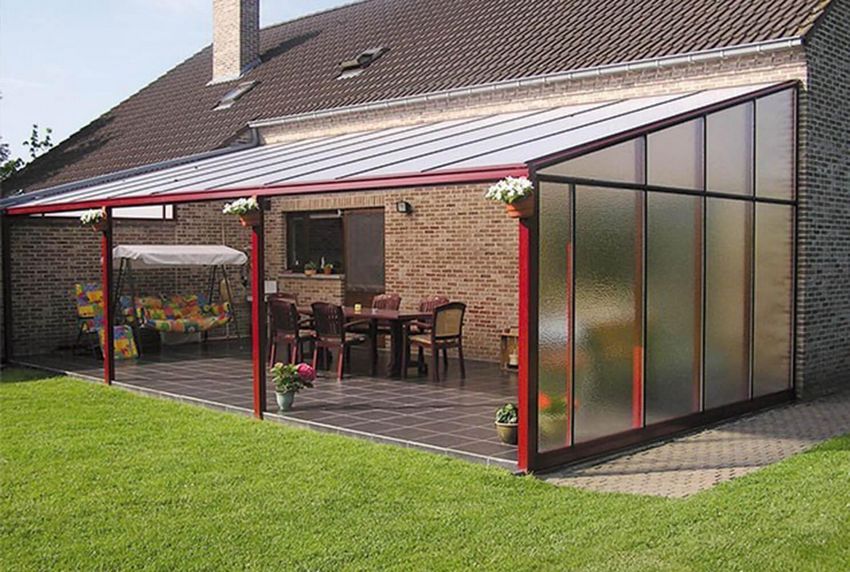
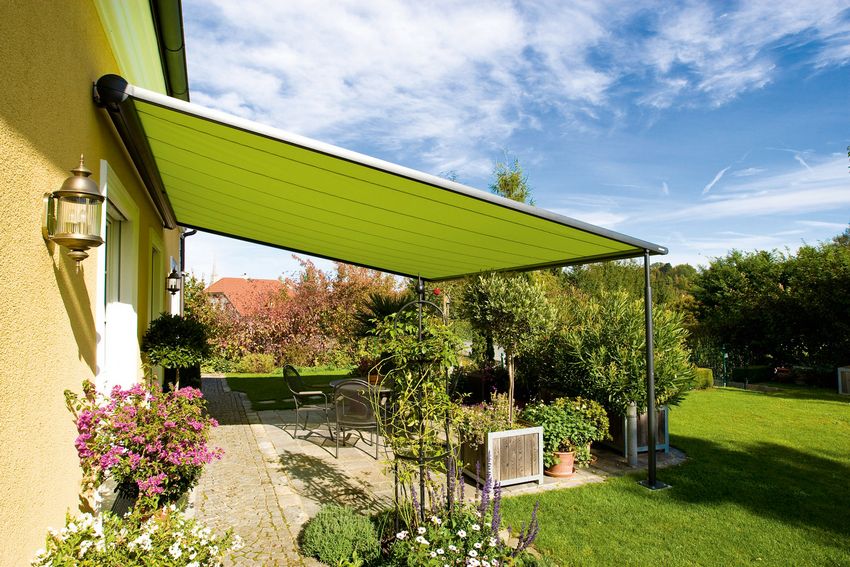
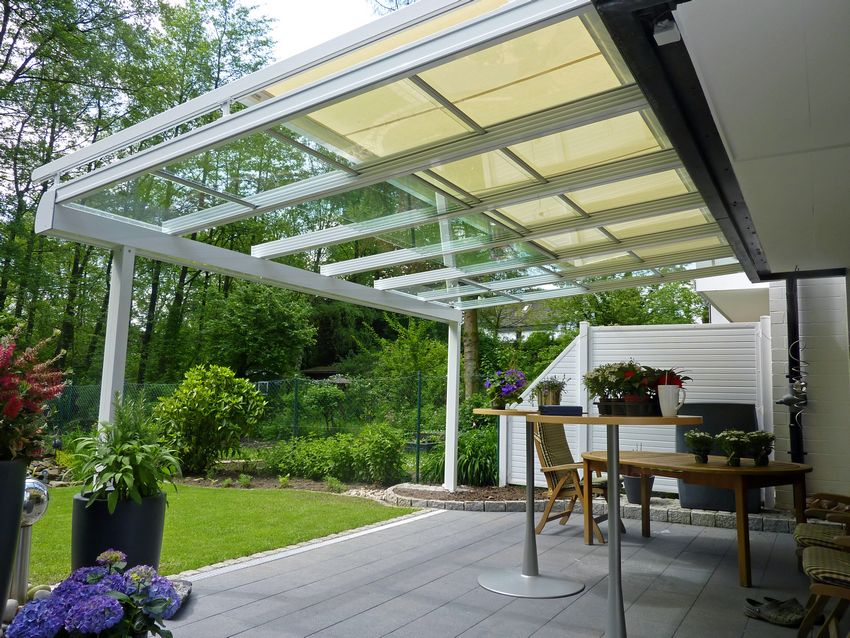
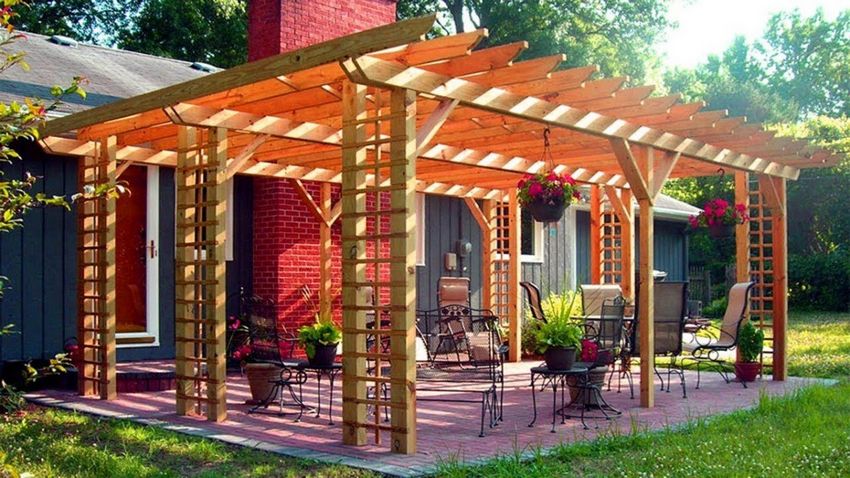
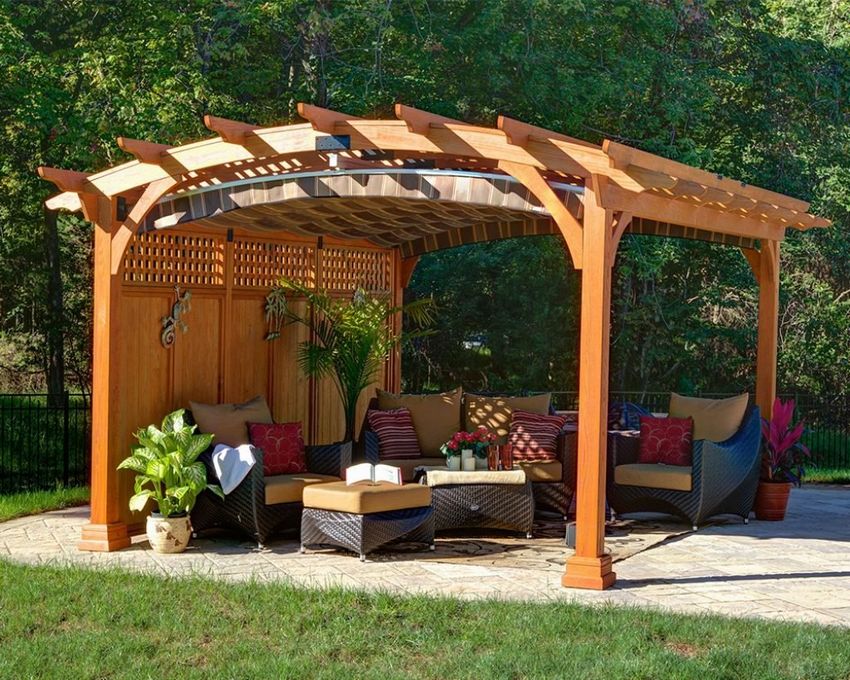
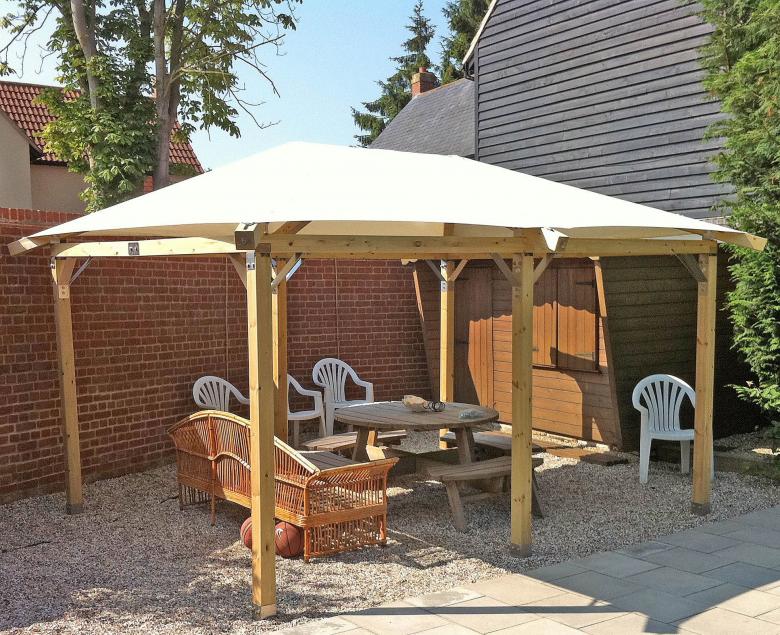
In addition, you can cover with a canopy not only the barbecue and barbecue stove, but also the entire recreation area. For example, a summer terrace, an area in front of the bathhouse, an outdoor sofa can be protected from rain and sun with the use of a quality canopy.
Choosing the material for the support
Any canopy, regardless of shape, size and purpose, has two parts: the support posts and the roof. When working independently, it is important to choose both one and the other part of the structure. The following materials are excellent for the support:

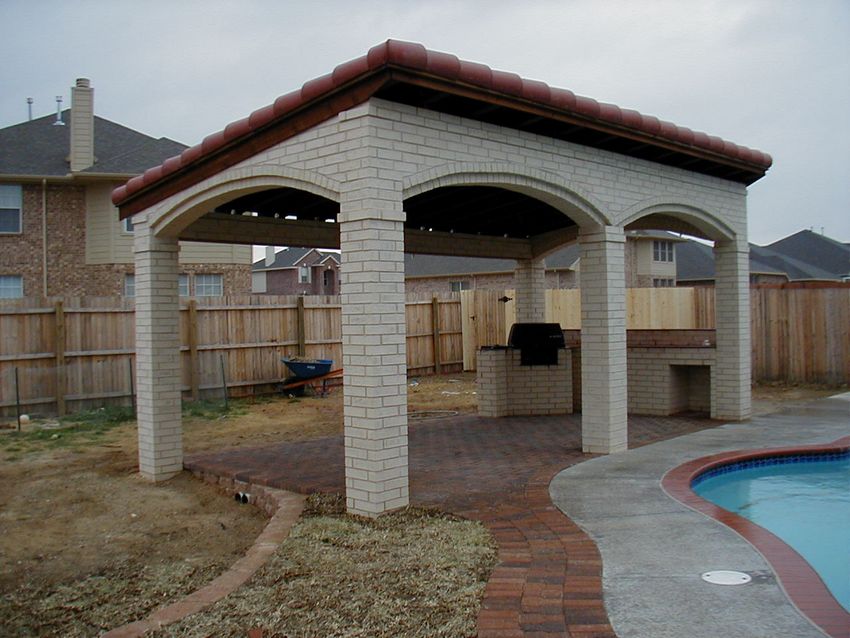
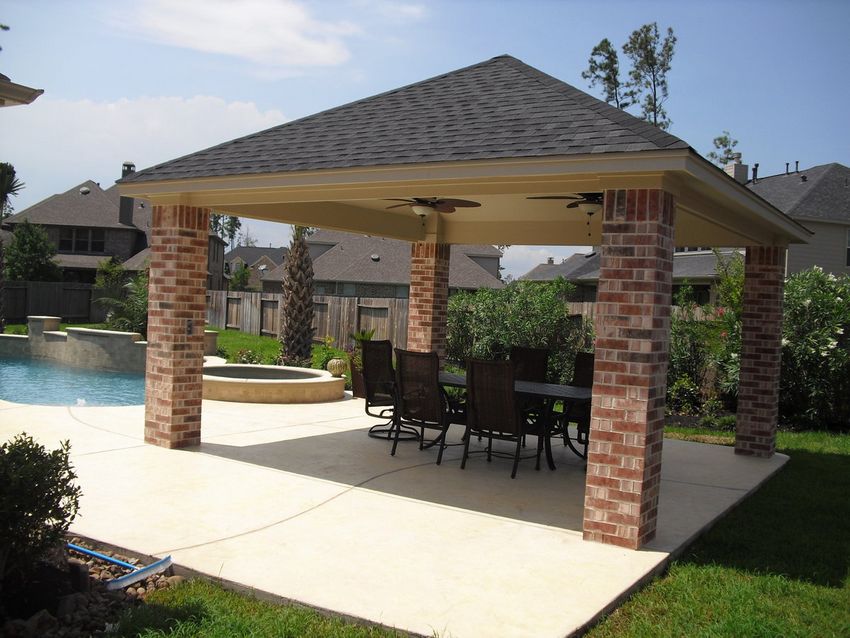
Brick
Strong enough and reliable framework made of brick masonry, which does not require special skills from the master, has a pleasant appearance.
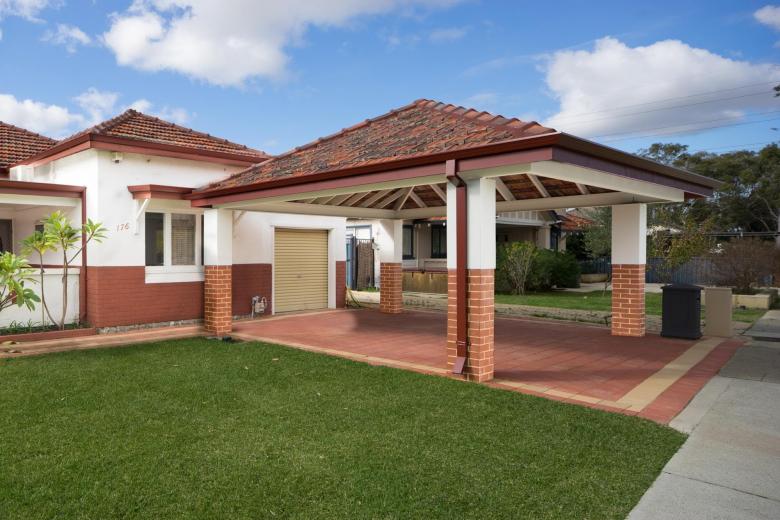
Stone
Stone masonry, for example, made of stone-plate gives the surface of the support posts an original design. Such a base is not afraid of rain, wind, thunderstorms and snow. With the right approach to the arrangement of the foundation and rafters, the construction will reliably serve for a long time.

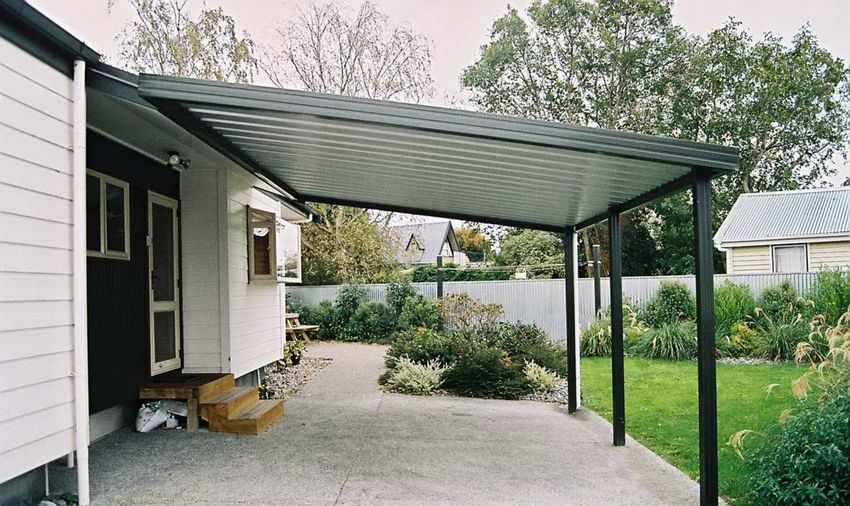
Profile pipes
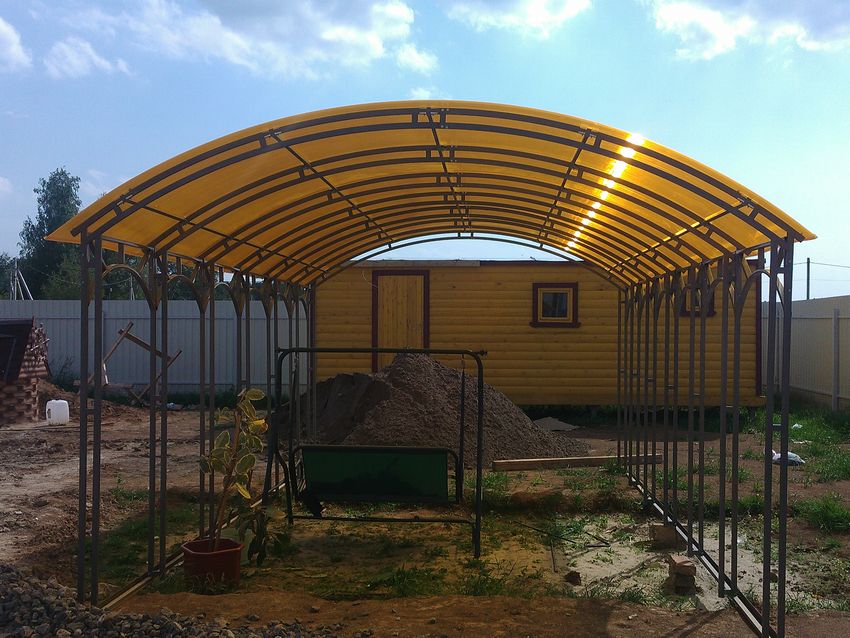
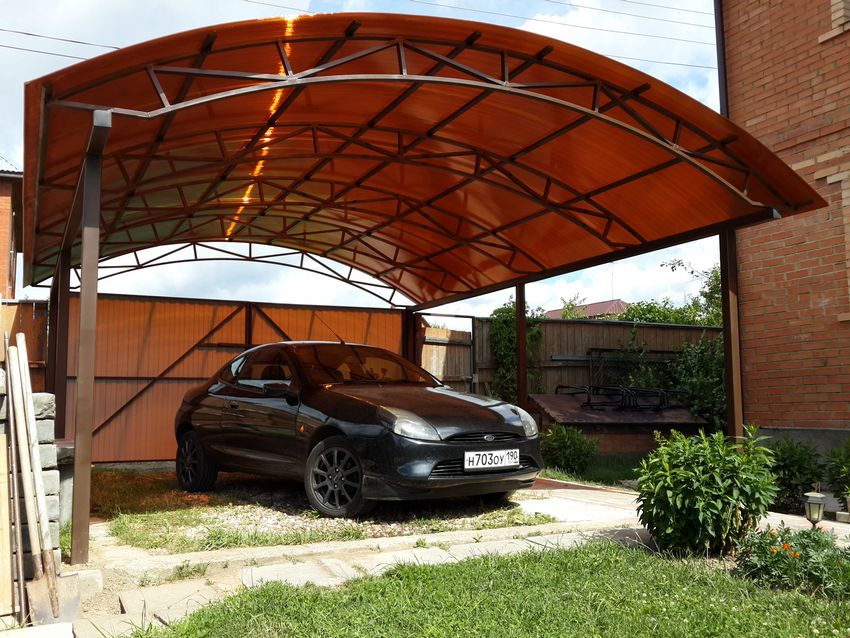
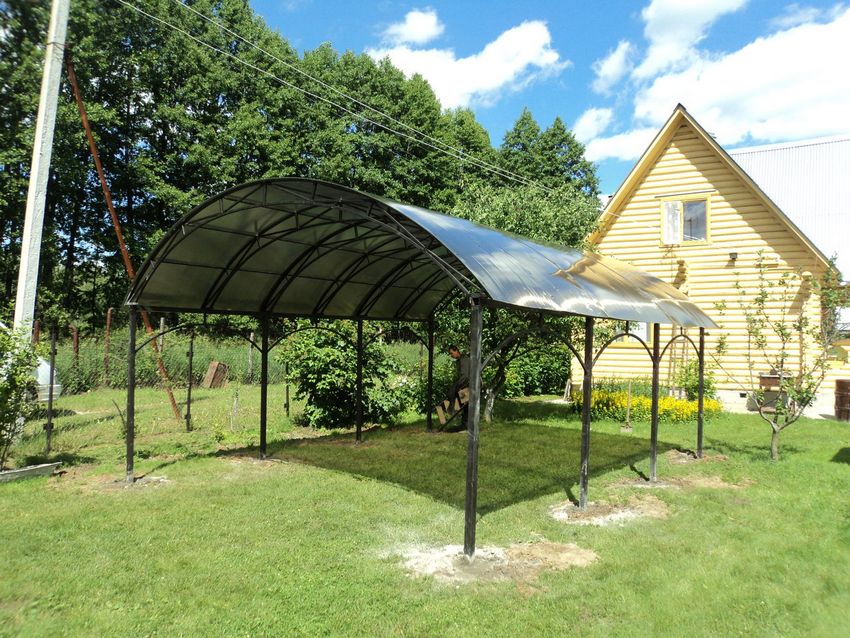
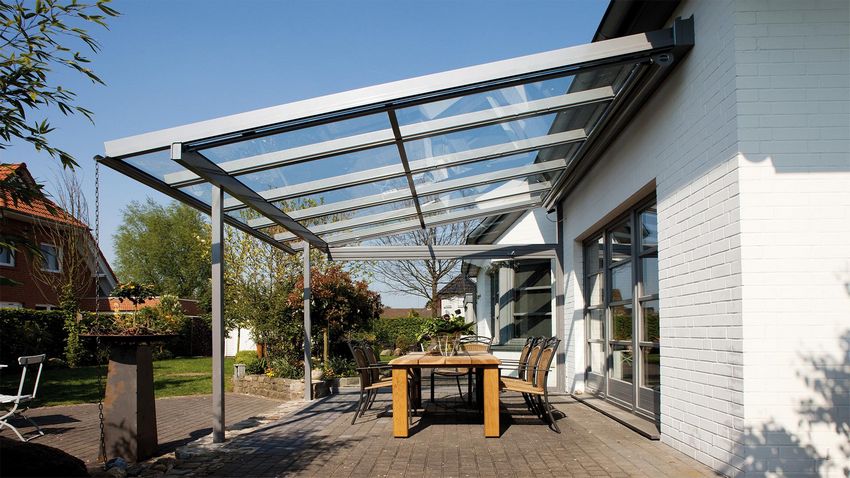
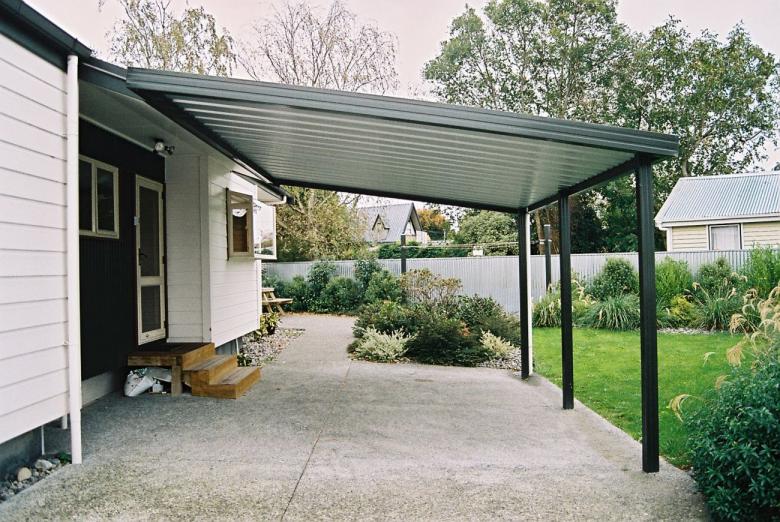
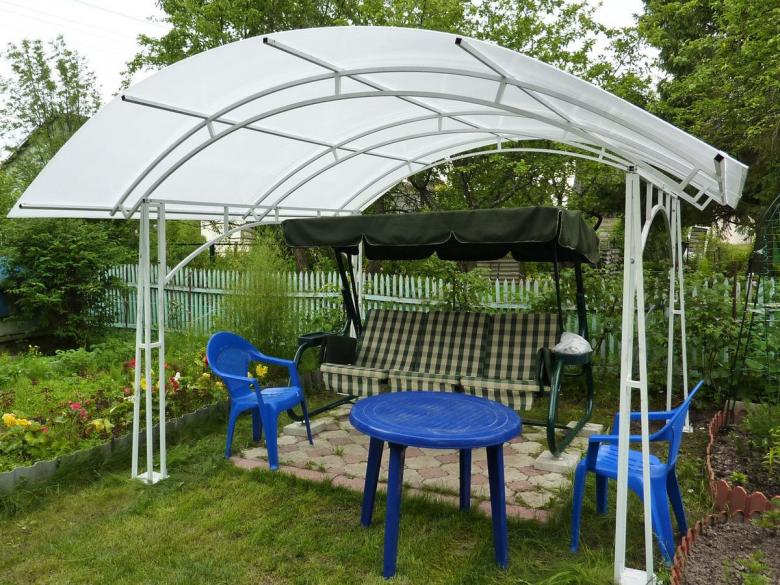
Profile pipes combined with polycarbonate are a common option for the arrangement of the canopy. Such a design is duly durable and convenient, does not require the use of special tools. From the master you only need skills in handling welding.
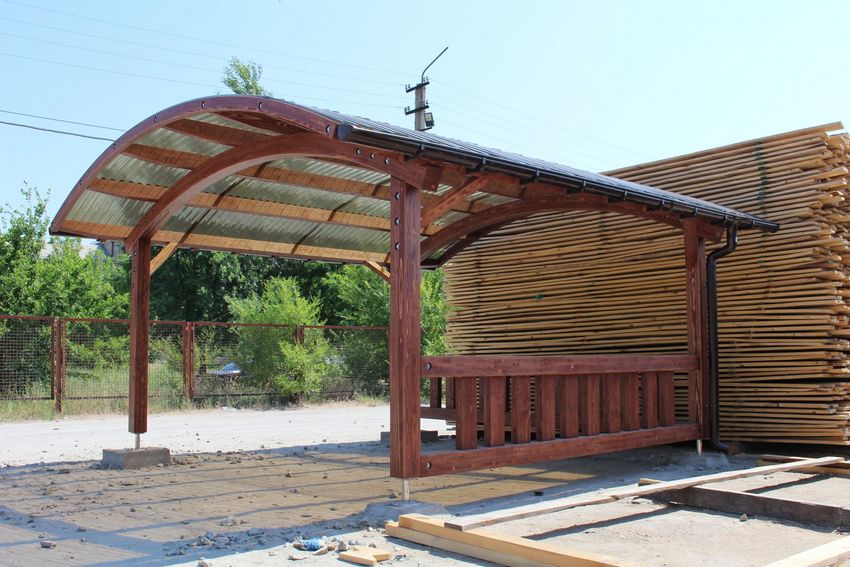
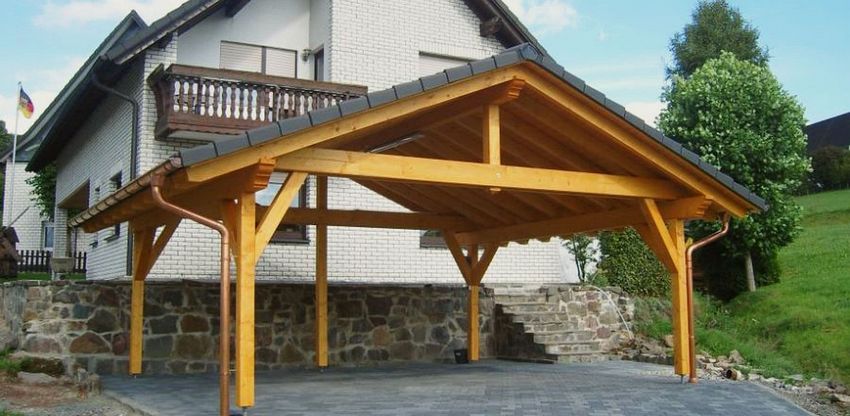
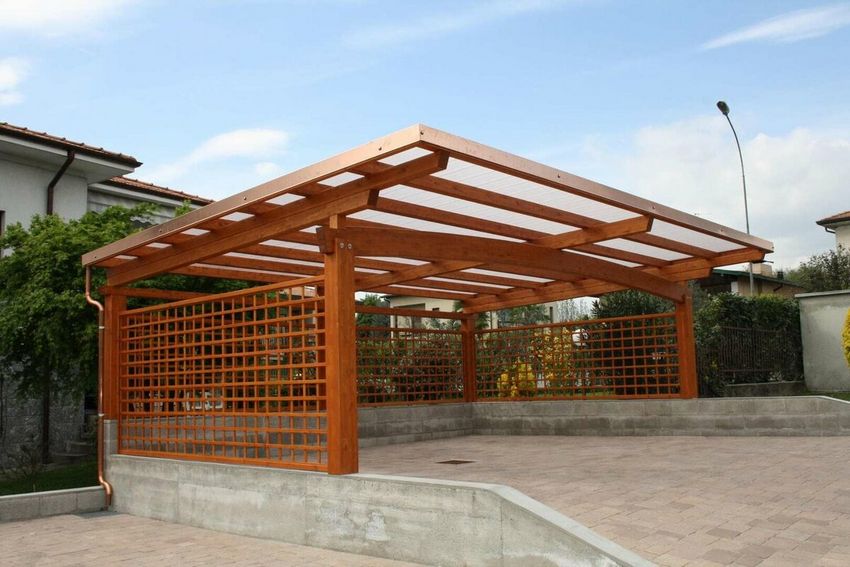
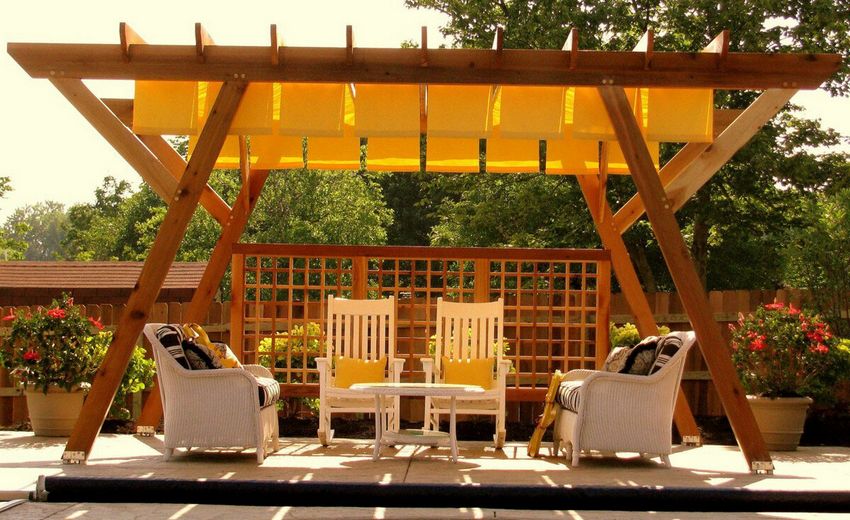
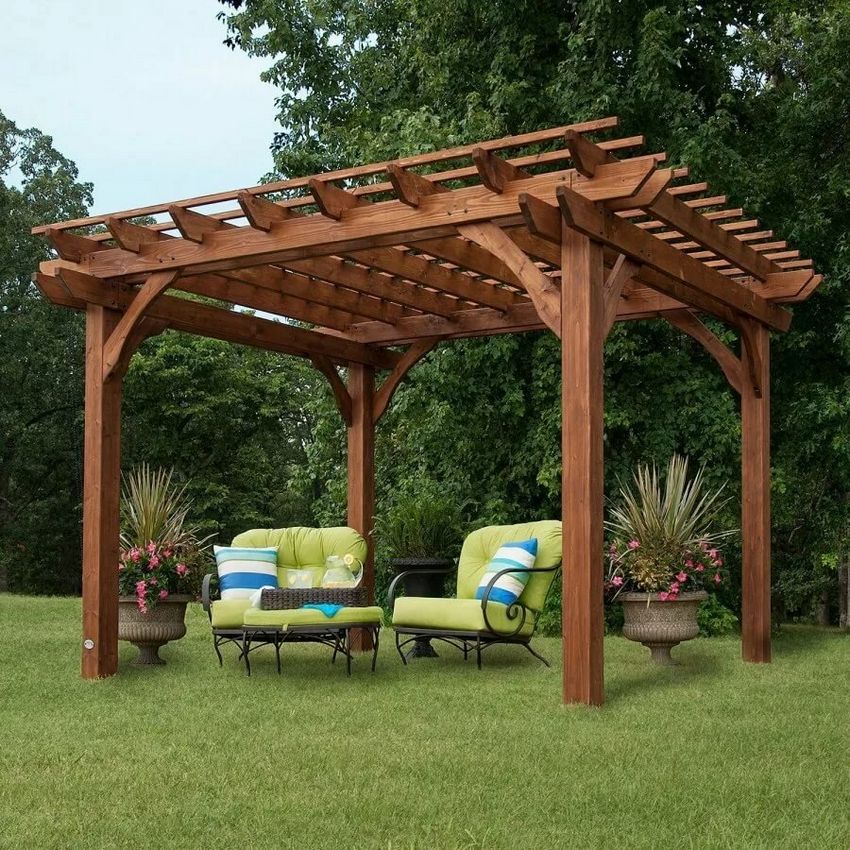
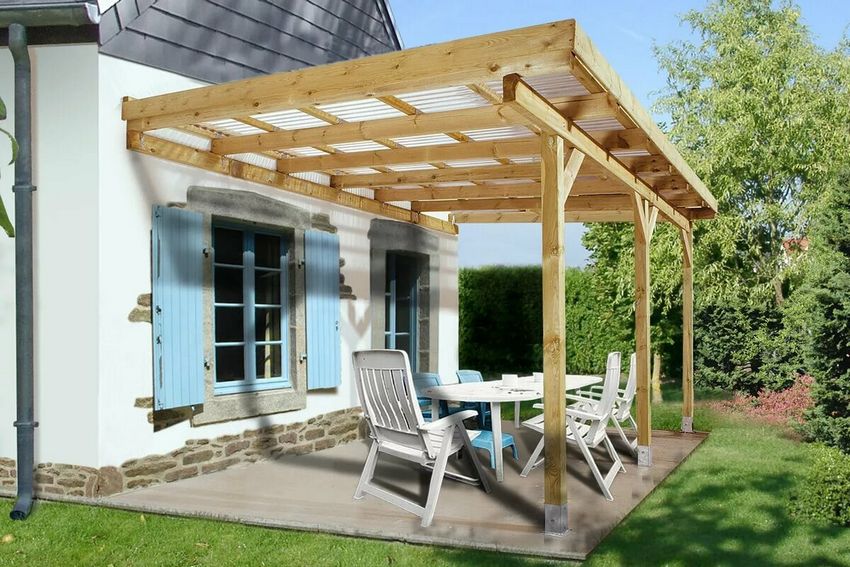
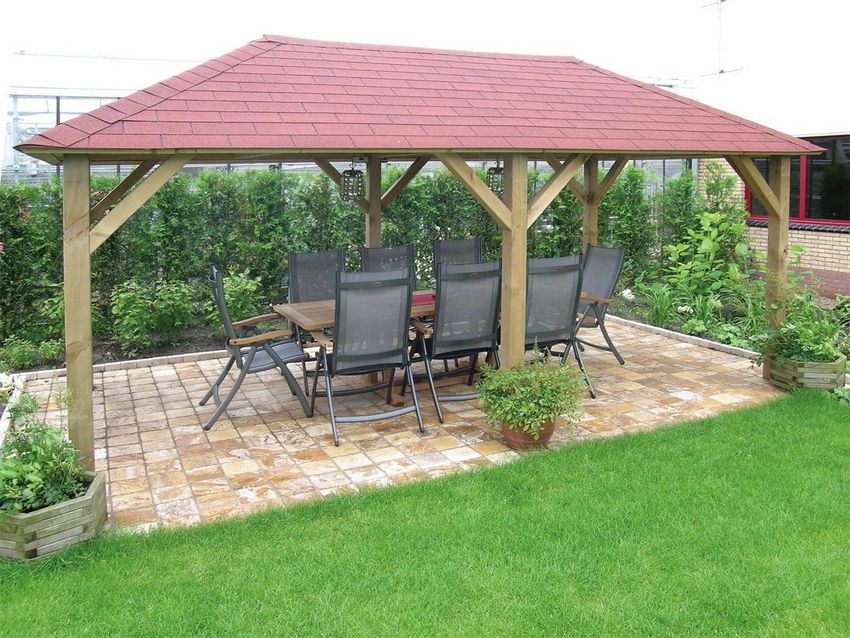
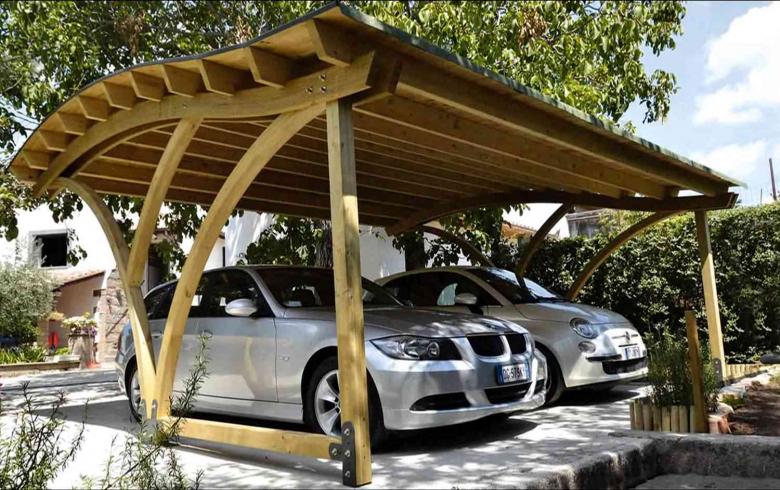
Wood
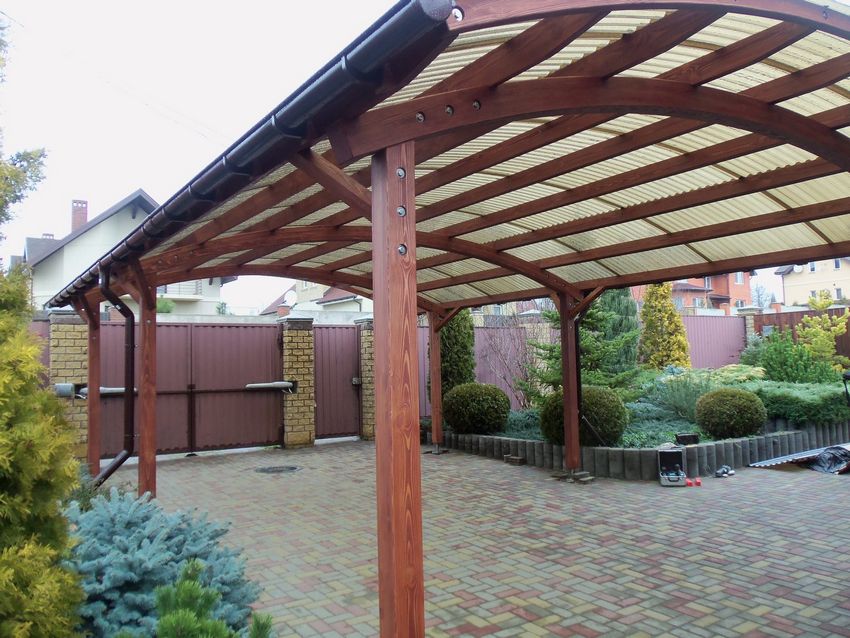
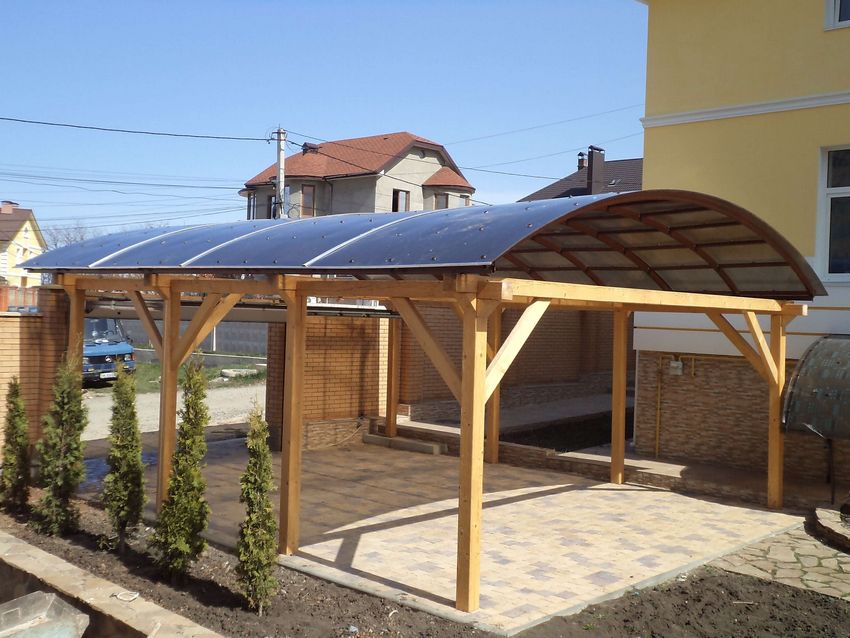
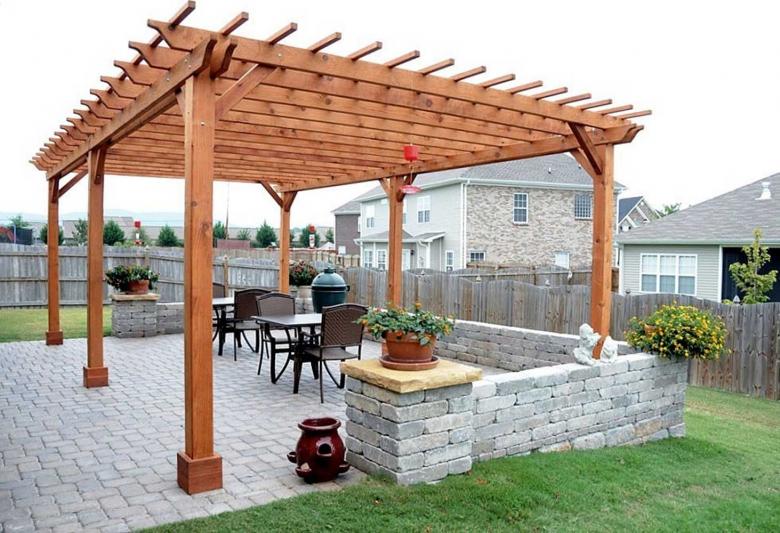
Wood always remains the leading material for making support posts and rafters under the future canopy. Wooden billets are much easier to work with, and the external decor pleases the eye of site owners. During construction work requires careful monitoring of the impregnation with special compounds that protect the structure of wood from rotting and pests.
The choice of material in each case depends on many factors: personal preferences of the owner, his construction experience, financial investments and the cost of supplies, location and purpose of the future building.
The choice of material for the roof
No less important task for the master is to choose the best basis for the roof. Today in stores of building materials can be found:
- Slate.
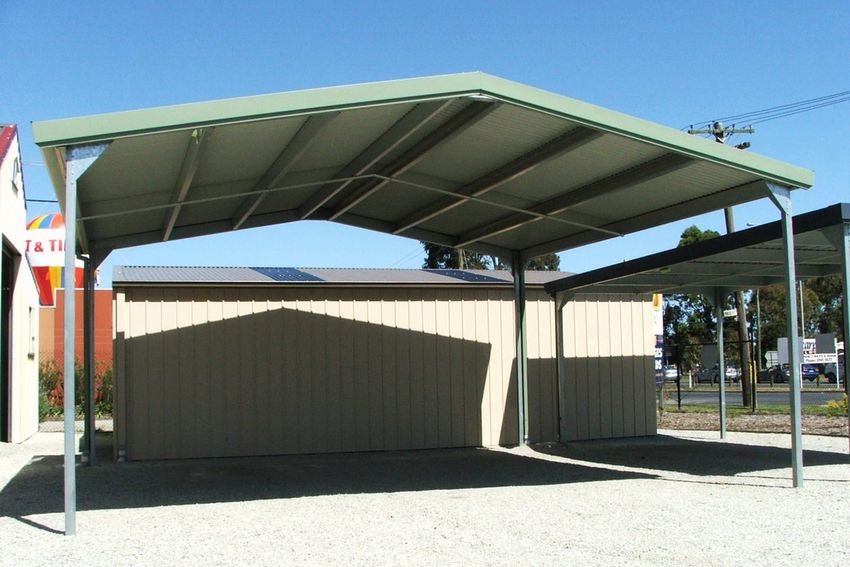
- Sheet iron or profiled sheet.
- Tile.
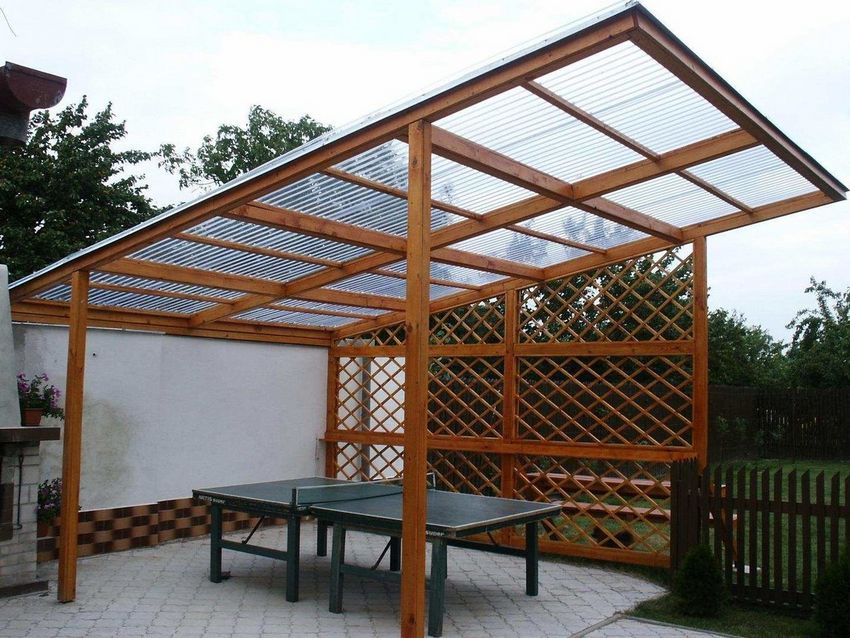
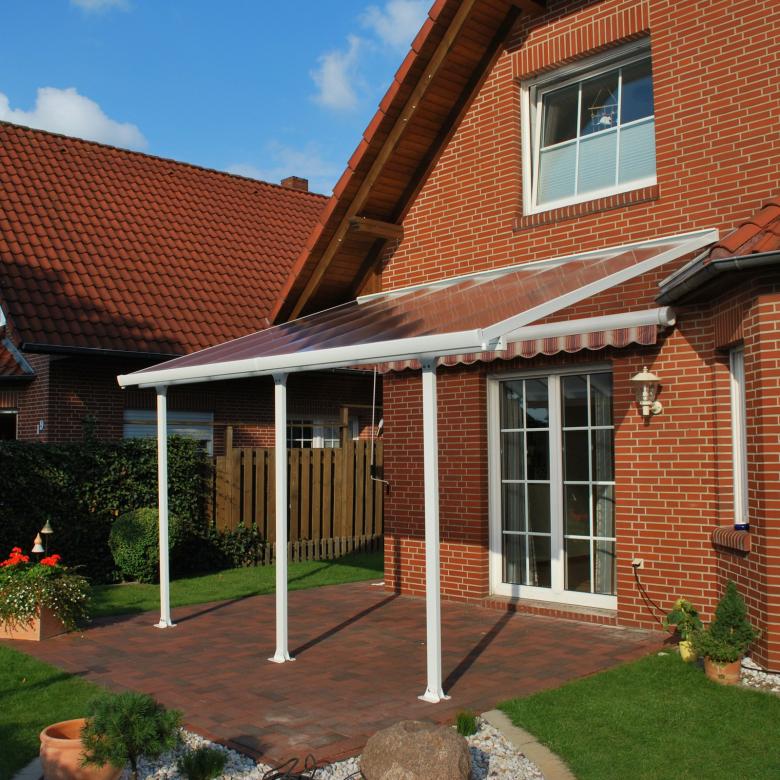
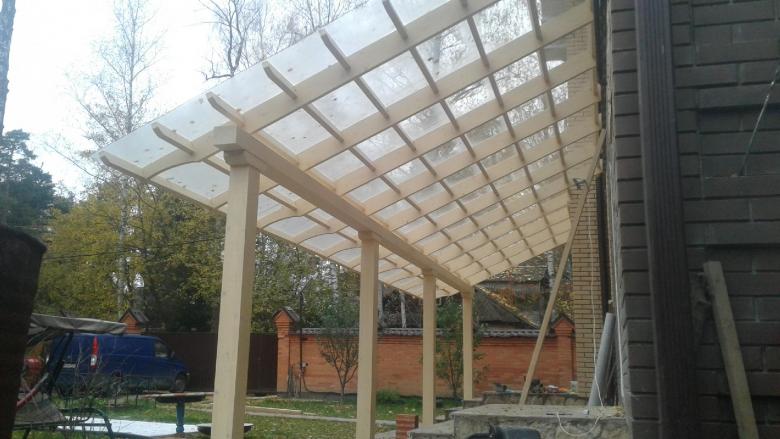
- Polycarbonate. Very often today you can find the original canopies of cellular polycarbonate, made with their own hands.

Today you can find both wooden roofs, and roofs made of other materials. However, it is these bases are the most durable, unpretentious in care and installation, meet all safety requirements.

Step by step construction of the canopy
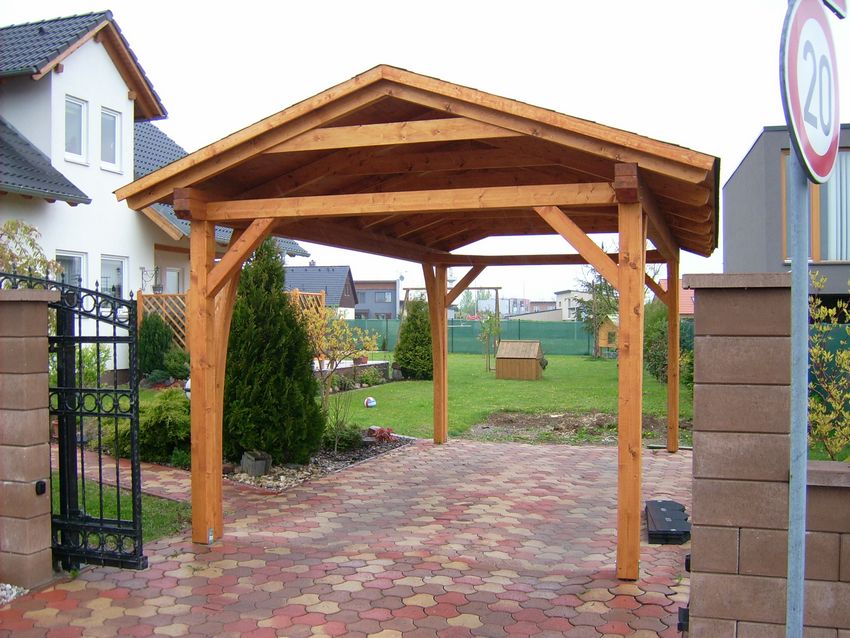
Begin independent work on the construction of a quality canopy should begin with the choice of model, type of roof (single or gable roof), basic materials. Also in the work need a drawing.
If you want to always be able to use ready-made projects, which are not difficult to find (any web resource for practical construction). A number of parameters should be displayed on the homemade plan-project:
- Type of foundation.
- The size of the site under the canopy.
- Type of masonry (for stone and brick posts), the structure as a whole for metal supports.
- Direction of rafters.
- The size and features of the roof.
On the scheme it is better to display the fasteners used in the work, so that further activity was promoted without gross errors and mistakes.
Casting the supporting pillars
Metal frames require a preliminary pouring of pipes. To do this, act according to the step-by-step instructions:
- Conduct a perimeter marking (using stakes and rope).
- At the planned points, digging excavations of a proper depth (depends on the expected load on the supports and the type of soil).
- First backfill sandy cushion and form lateral drainage channels.
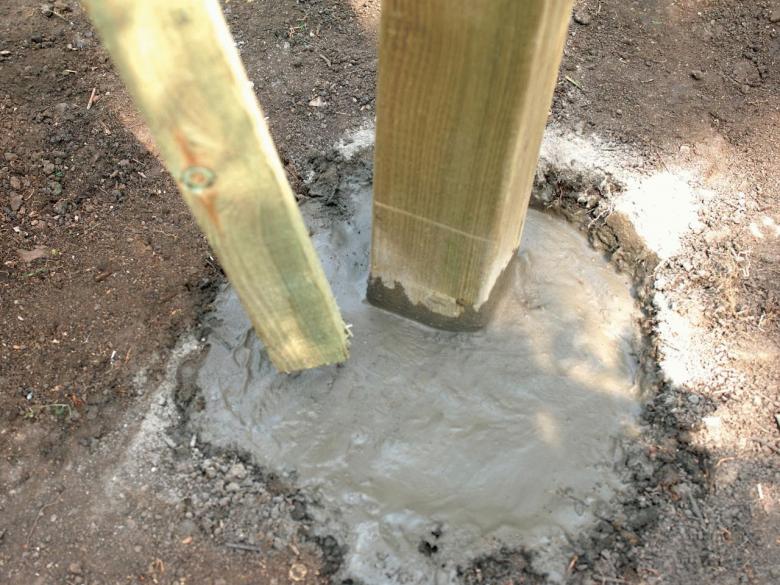
- Next, prepare the cement mortar. Exactly in the center of the excavation install a metal or profile pipe.
- Holding it in a strictly vertical position, pour the trench with the prepared mortar. During the curing of the composition it is necessary to wet the surface of the concrete with warm water to prevent the appearance of cracks.
If brick or stone masonry is intended, the pouring of support pipes is the first stage of the work. Next, on the perimeter of the prepared frames lead masonry, controlling the quality and direction of masonry with a building level.

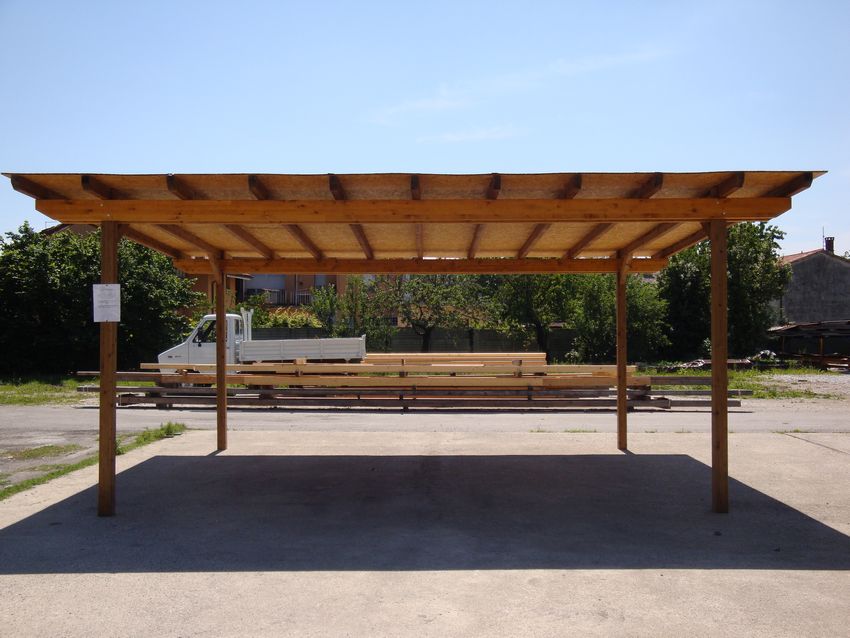
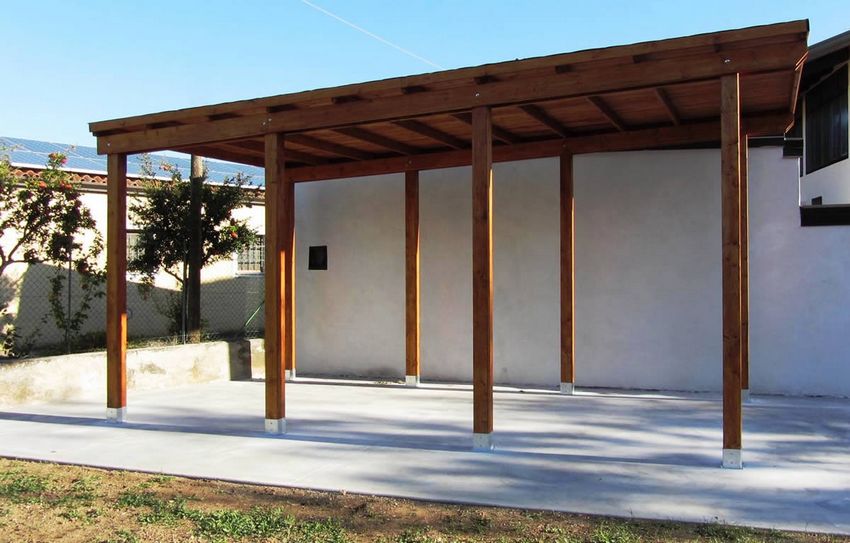
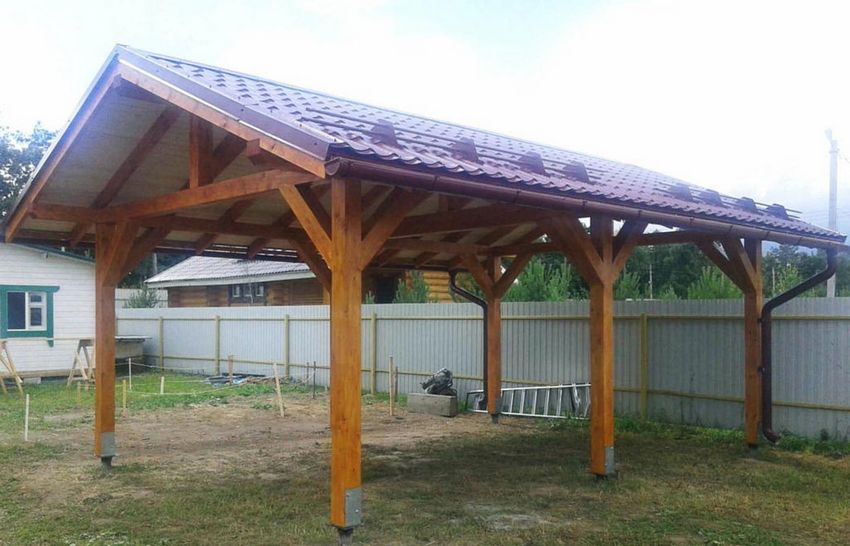
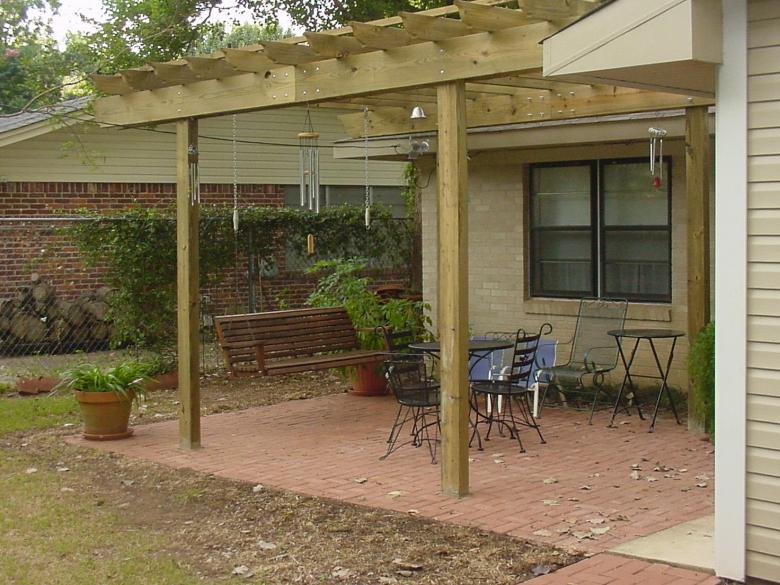
Forming the wooden frame
To establish a frame made of wood beams, it is necessary to install the bottom strapping, on which the wooden uprights are fastened. Parts for the structure is carefully sanded, impregnated with special compounds (antiseptic, antipyretic, moisture-proof and antifungal solution).
Fasten the sockets to each other by using self-tapping screws (on the outer contour) and metal corners on the inner surface. In addition to vertical racks required cross bars, which increase the resistance of the structure to mechanical stress.

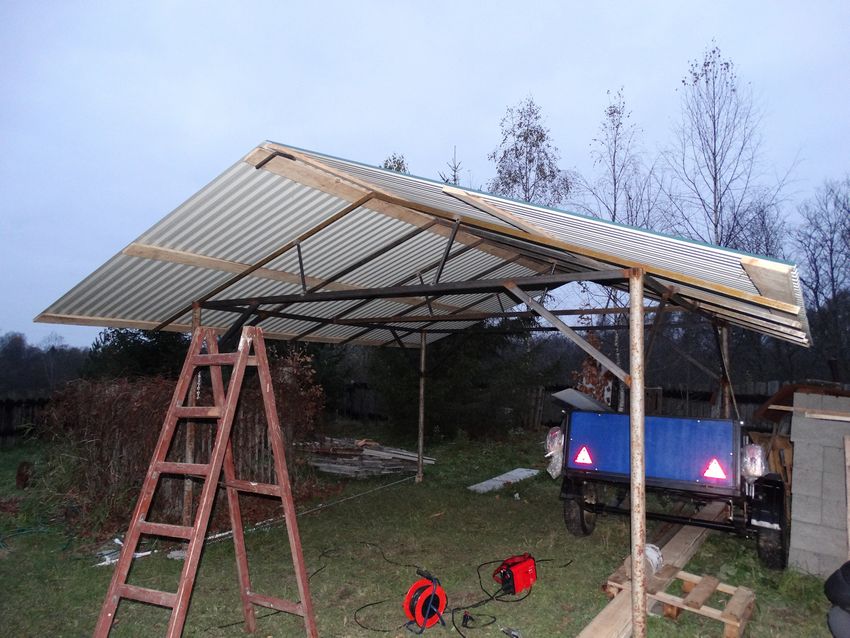
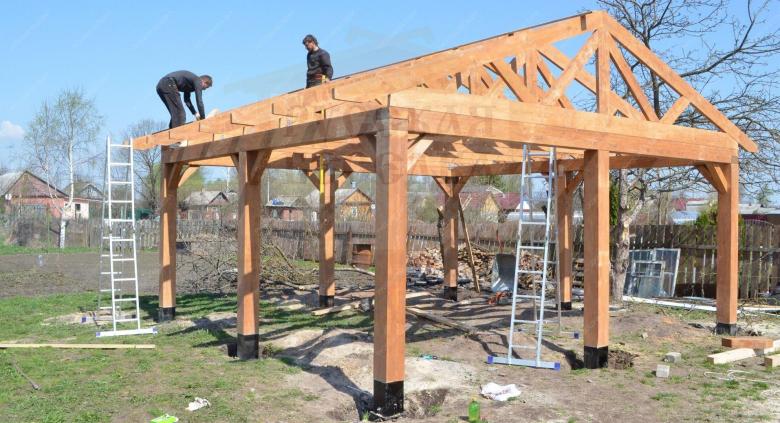
Assembling the roof
Immediately before laying the roofing material should be built rafters, which consist of a supporting beam and purlins. All details are usually made of wooden beams. Requirements for pre-treatment are applicable in this case, because the life of the building directly depends on the quality of each stage of the work.
Beams are placed on the supporting pillars by any known method. As fasteners use screws long enough. Next, the crate is prepared. The next step on the part of the master is the laying of a waterproofing layer, as well as quality closure of the joint between the wall and the roof itself.
Only after covering waterproofing proceed to laying the selected roofing material (tile, slate, polycarbonate, which can be mounted without the extra layer).
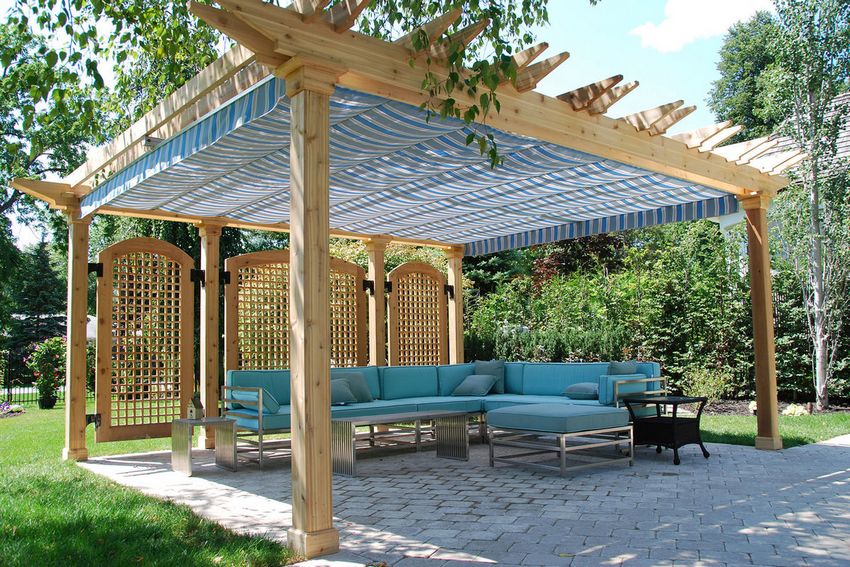
Photo examples of arrangement of homemade shelters