Origami Swan - how to make beautiful and original products in the form of swans
Origami is one of the most creative and ancient types of arts and crafts. It does not require many tools and materials, so it is considered a low-cost activity. To create origami need only be patient and do not hurry anywhere.
There are two ways to make a swan out of paper. The first way - a simple method that uses only one sheet of paper, the second - more complicated, it consists of several modular origami.
Materials and tools
To create a swan you will need only:
- A4 paper (it is not only easy to fold, but also holds its shape well; color is optional);
- scissors (preferably of medium size, since small ones will be inconvenient to cut the paper);
- A small amount of patience and neatness.
Also it is necessary to prepare a comfortable workplace. If all this is done, you can safely proceed to the work process.
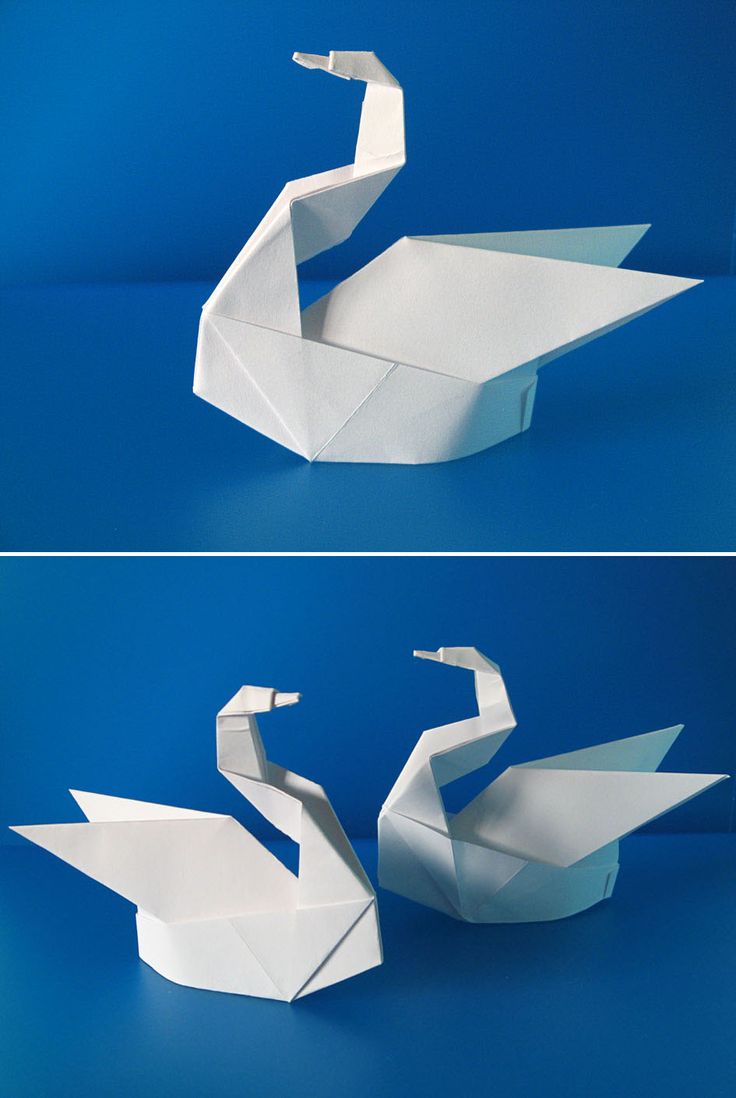
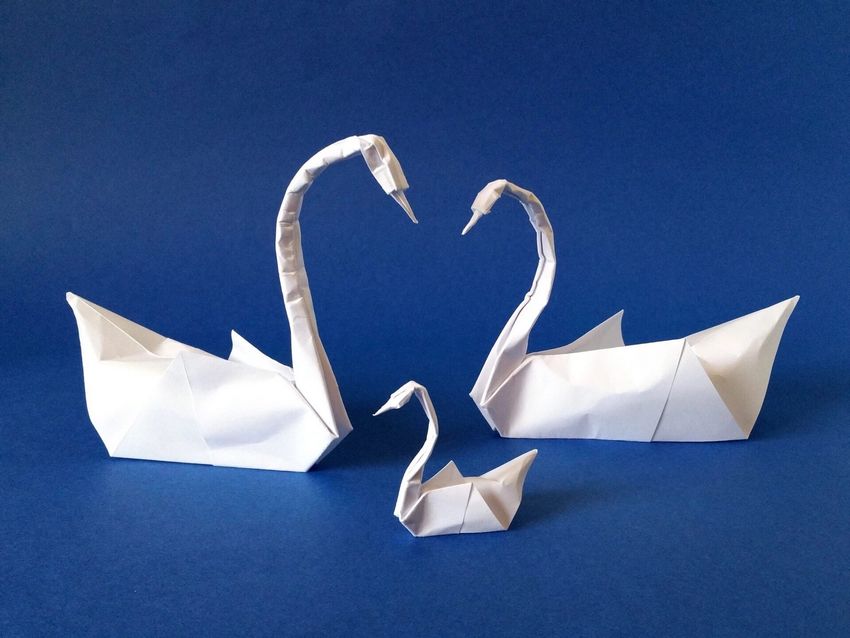
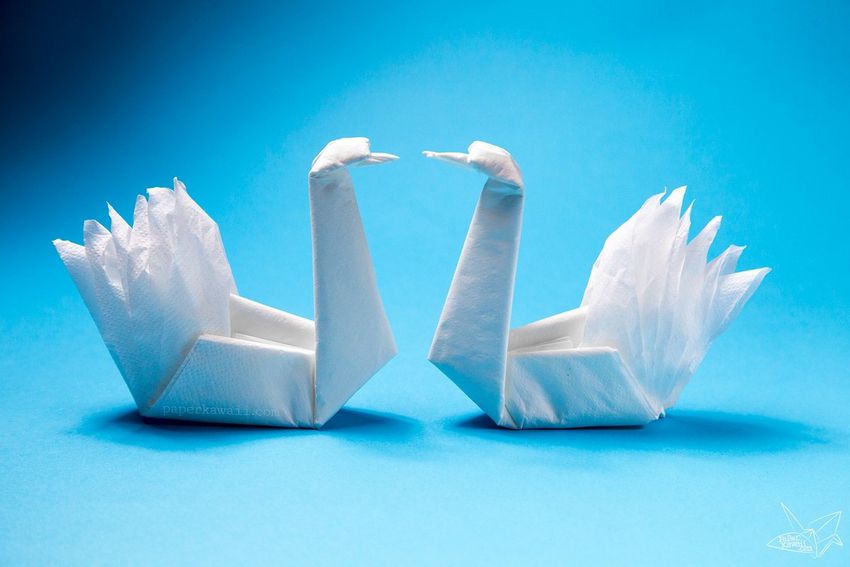
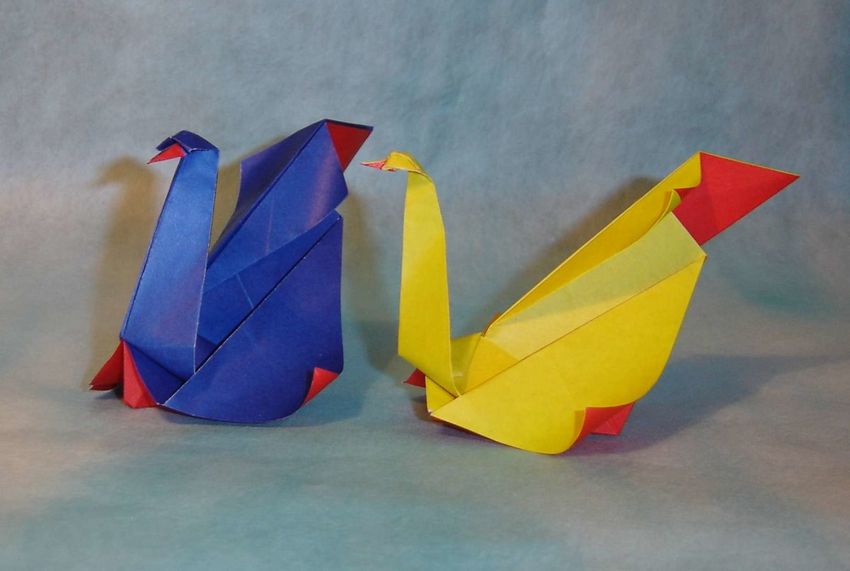
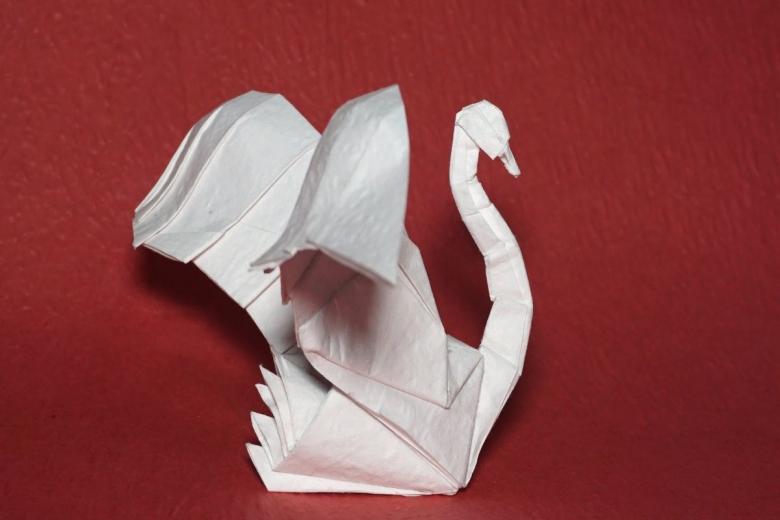
Creating a swan from a single sheet of paper
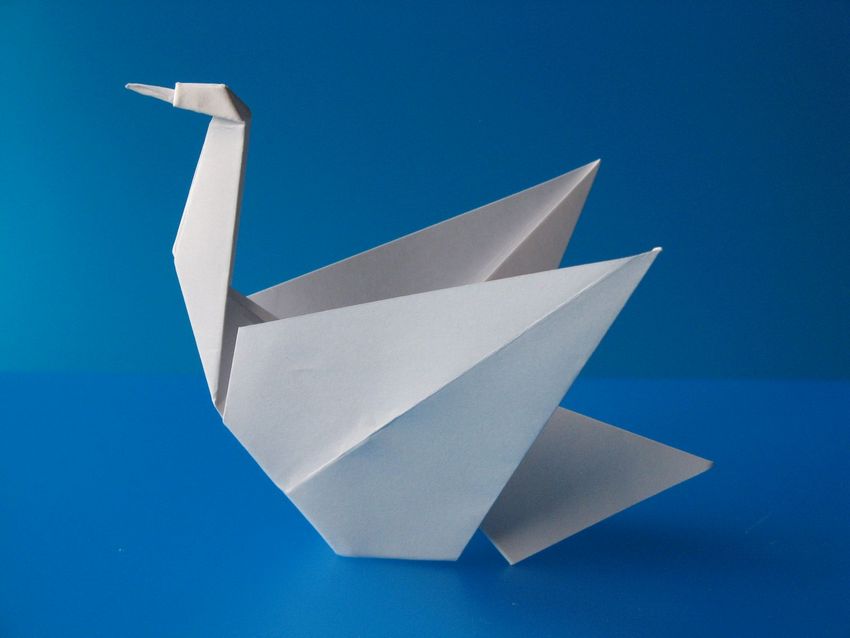
How to make an origami swan out of paper? The easiest option - it is to work with a single sheet of paper. There are many techniques of folding, but in this article will be considered only two basic simple variants of origami. Do not panic, because a similar creation of strength to do even a novice person.
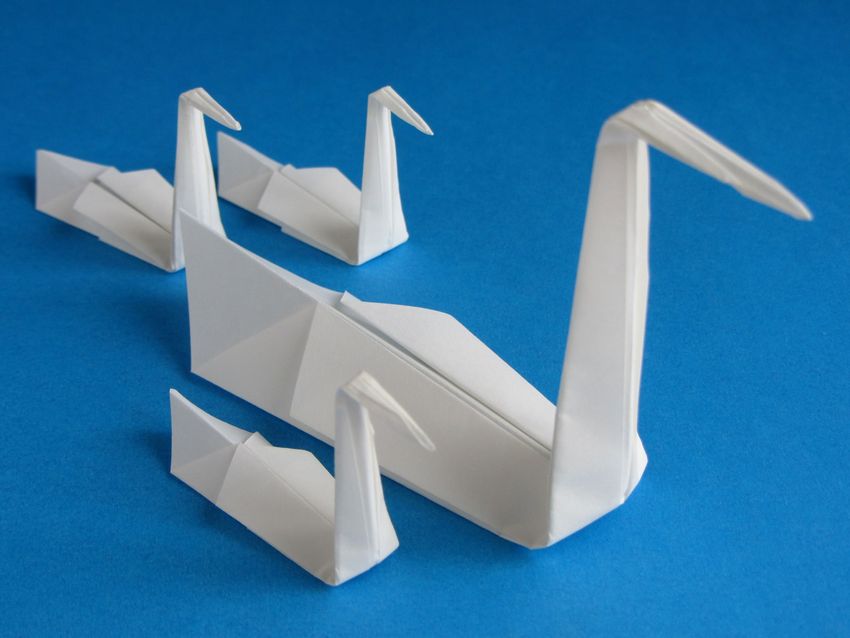
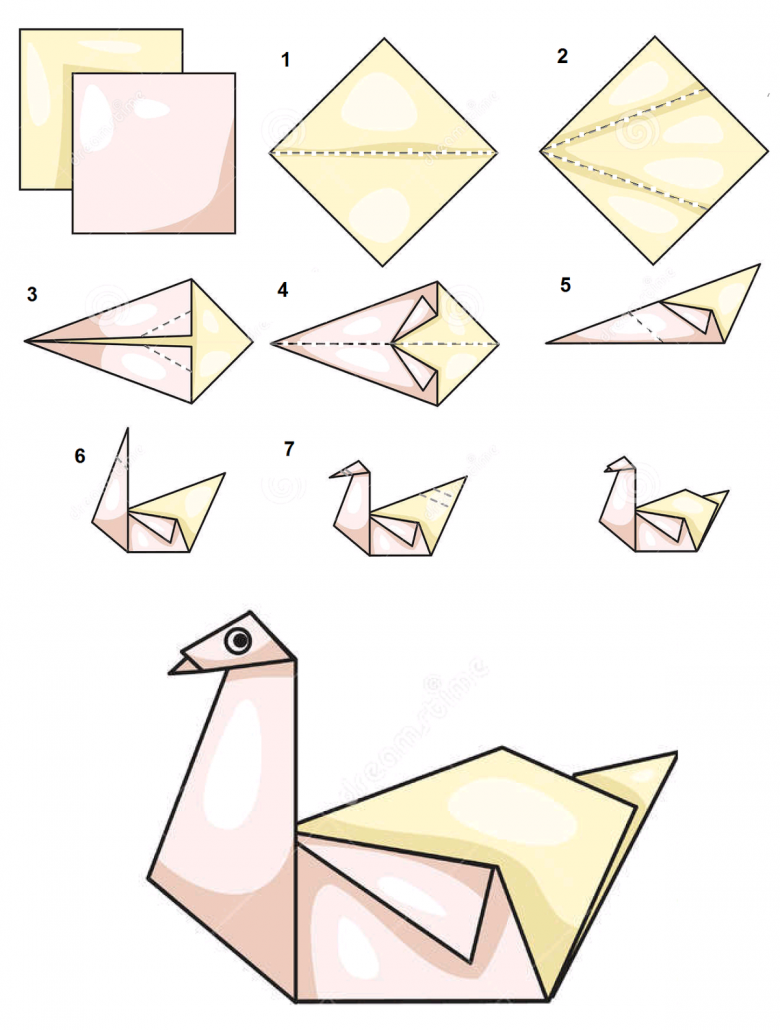
The first way
In order to make one swan from a sheet of paper, you need to follow the instructions below.
- On a square sheet should make diagonal folds along and across, folding the sheet in half;
- According to the resulting folds sheet folded into a triangle twice;
- The side triangle is bent to the center, forming a square rhombus (first perform this action with one triangle, then, flipping to the other side of the workpiece, repeat the same action with the other);
- On the square rhombus visualized triangle in the center of the figure;
- Then the apex of the triangle is pulled up (repeat the same steps on the other side of the workpiece);
- As a result, formed the figure of the elongated rhombus;
- Left and right sides of the diamond are again added to the triangles in the front and back of the workpiece;
- The resulting diamond with a lower elongated part visually divide in the middle and stretch the lower part first along the figure, then upwards;
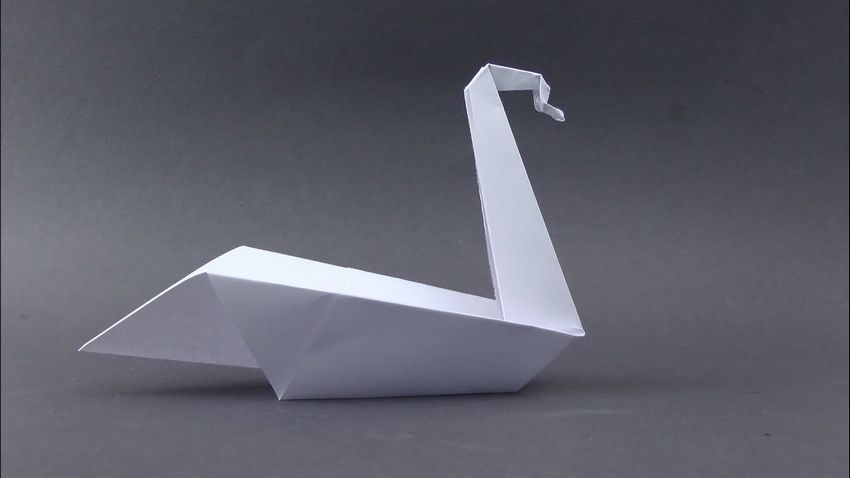
- From the left edge of the resulting triangle to create a swan head;
- The right edge of the triangle is the tail, "wings" are spread out on the sides of the figure.
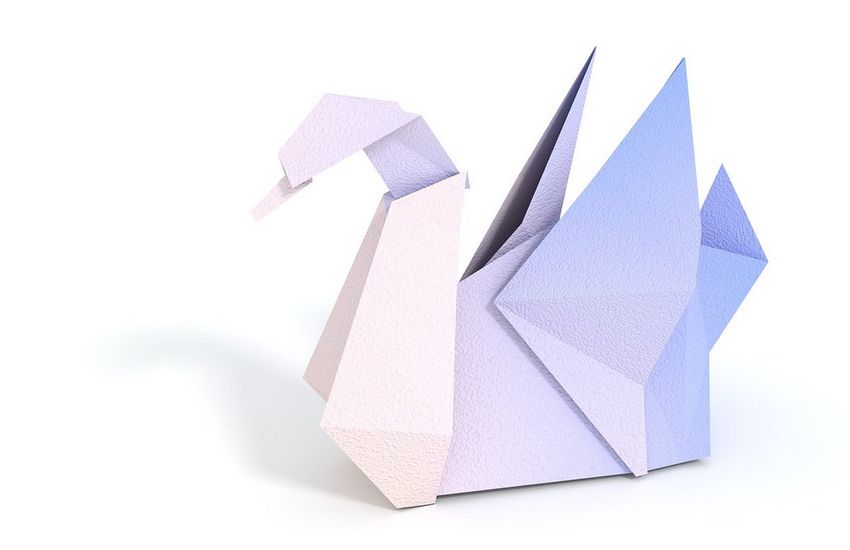
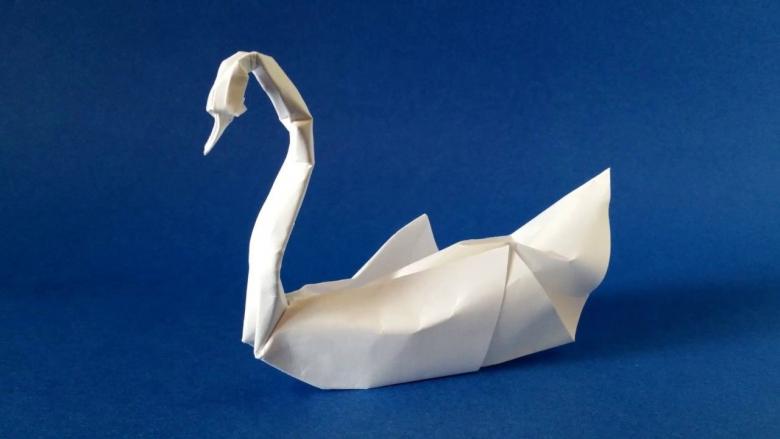
The second way
If the first method was given hard, then make origami swan from the paper step by step can be even easier.
- A square rhombus is bent in half from the bottom up;
- The resulting triangle is again bent at the sides to the center, forming a diamond with an elongated top;
- Next, the top of the diamond should bend to one side and then return to its original position, with the other side to do the same;
- According to the received bends pull the top of the diamond forward;
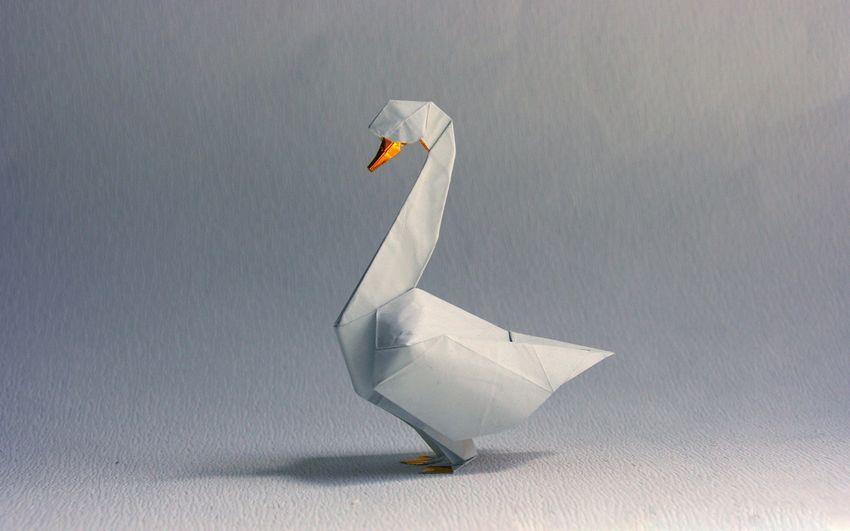
- Should create a head, bending angle of a triangle;
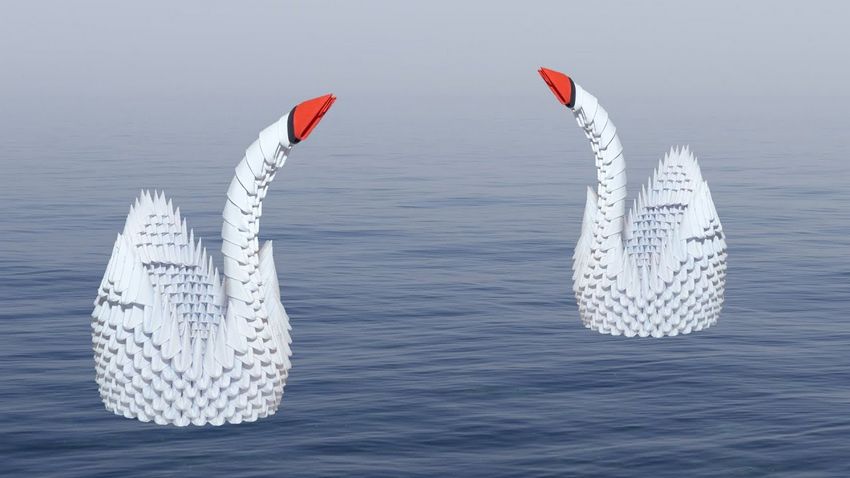
- The resulting origami can be placed in two positions.
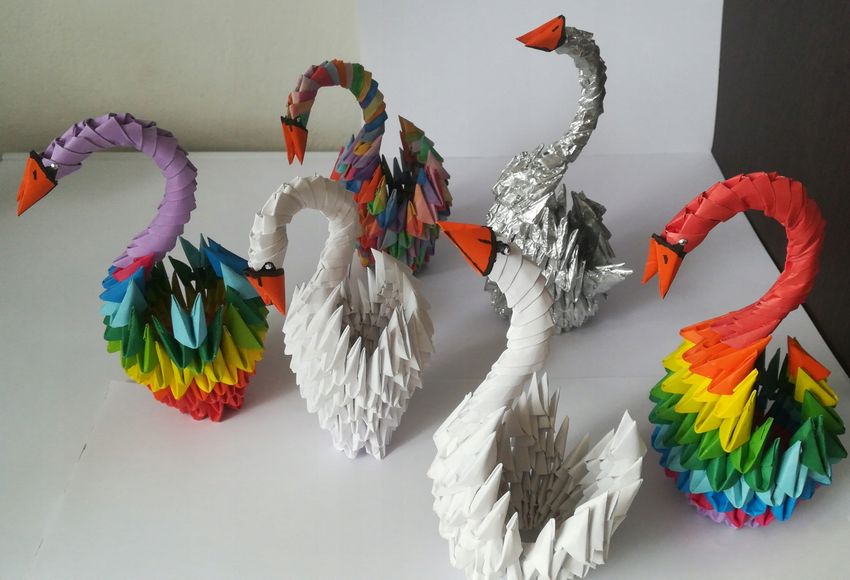
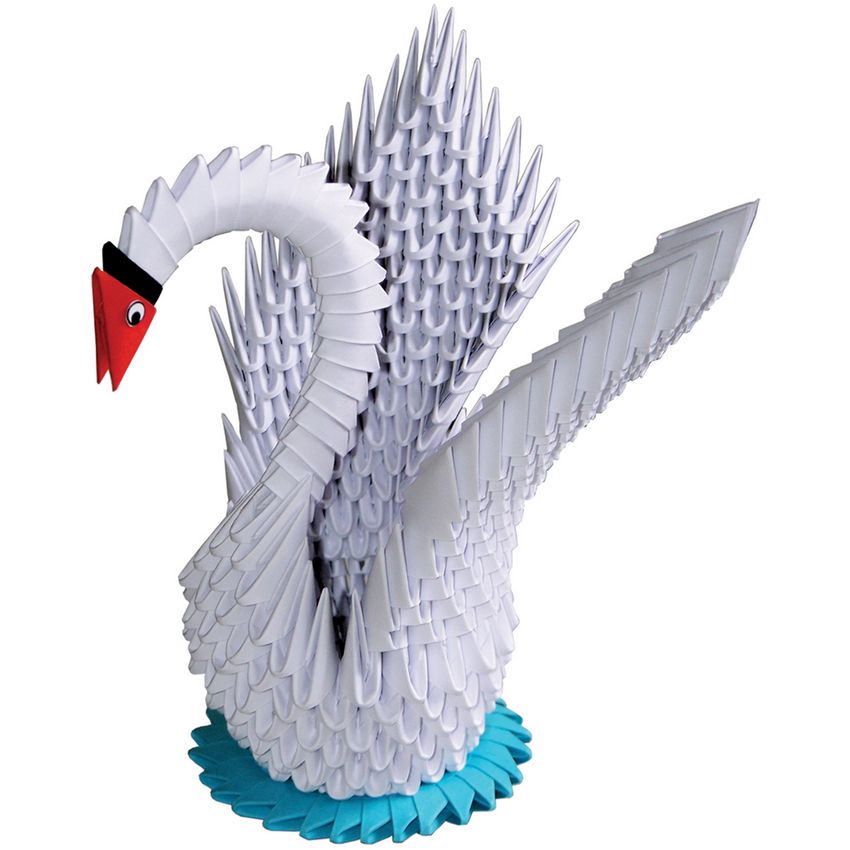
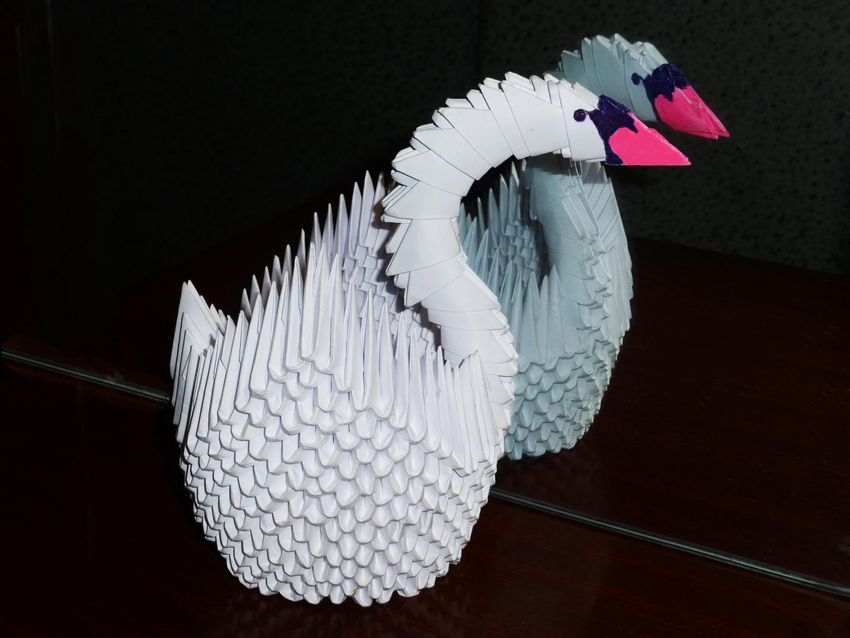
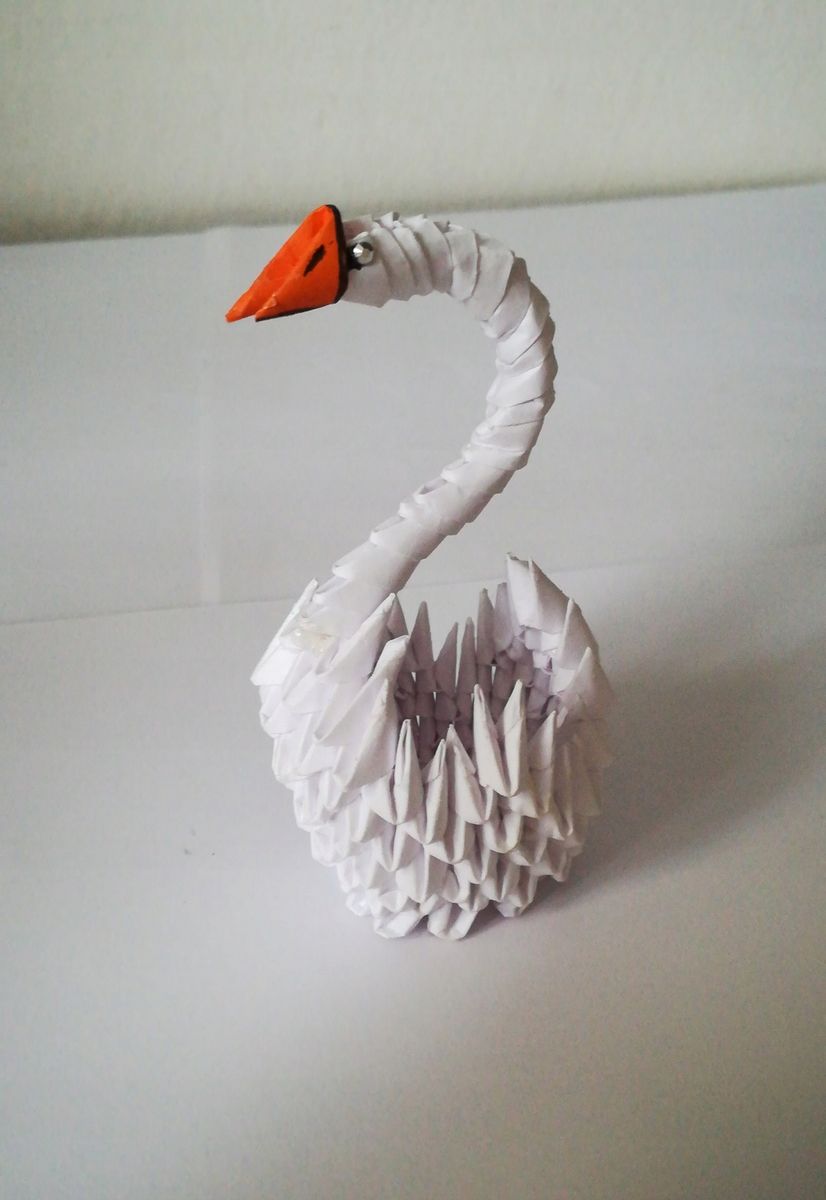
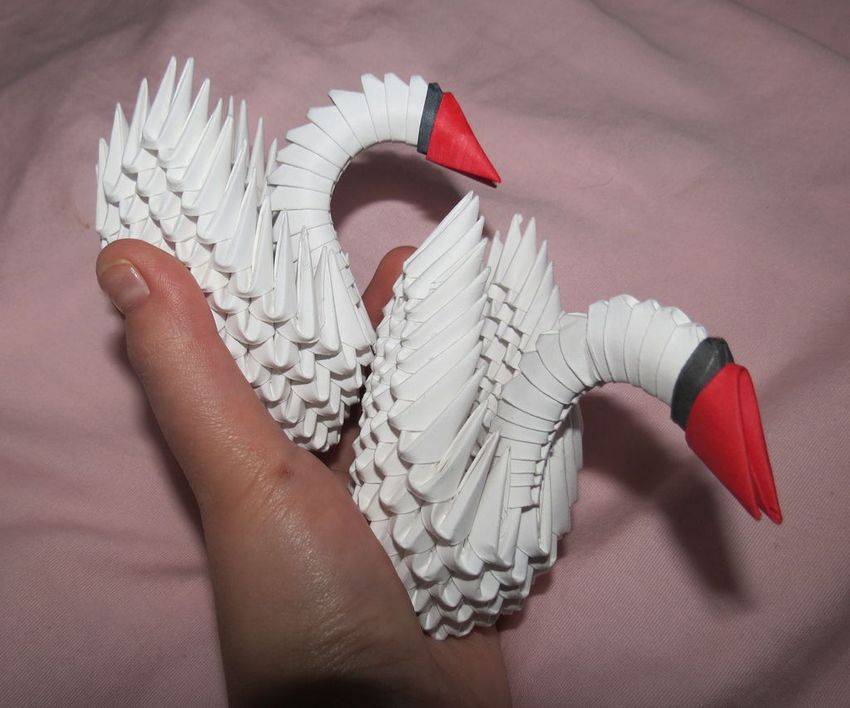
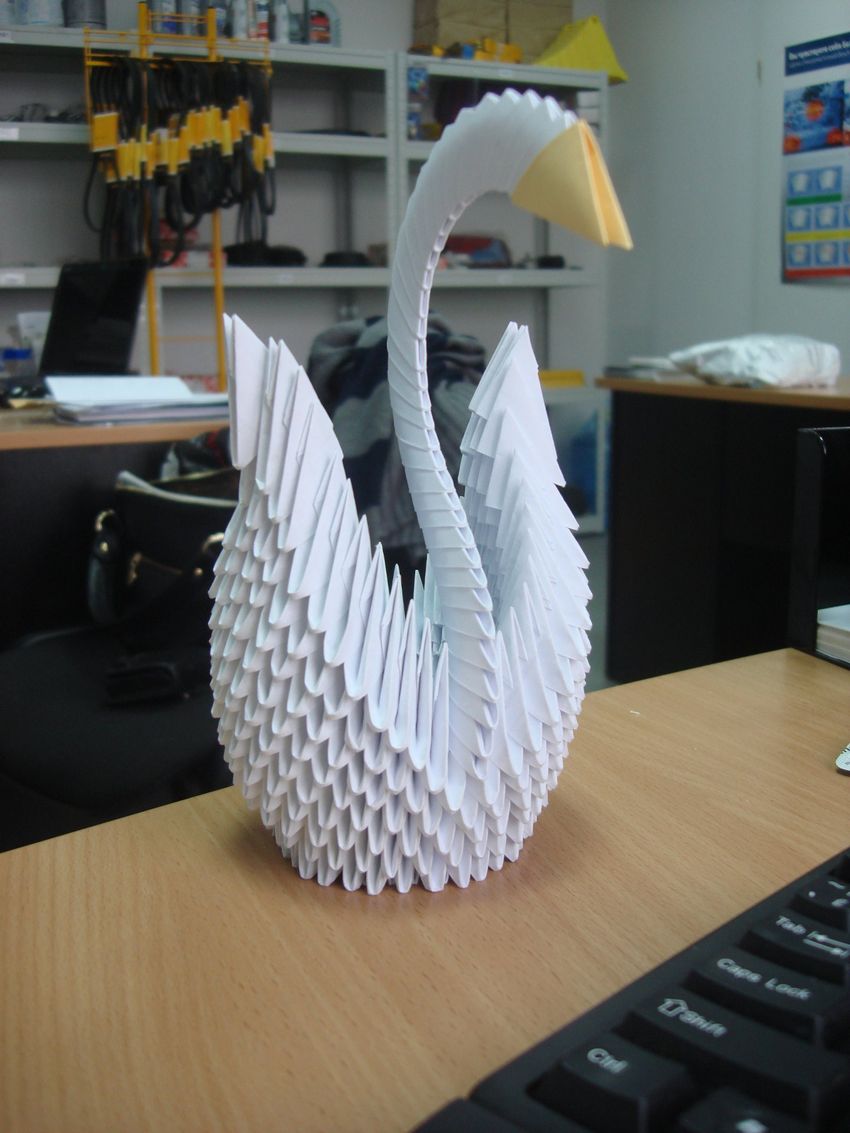
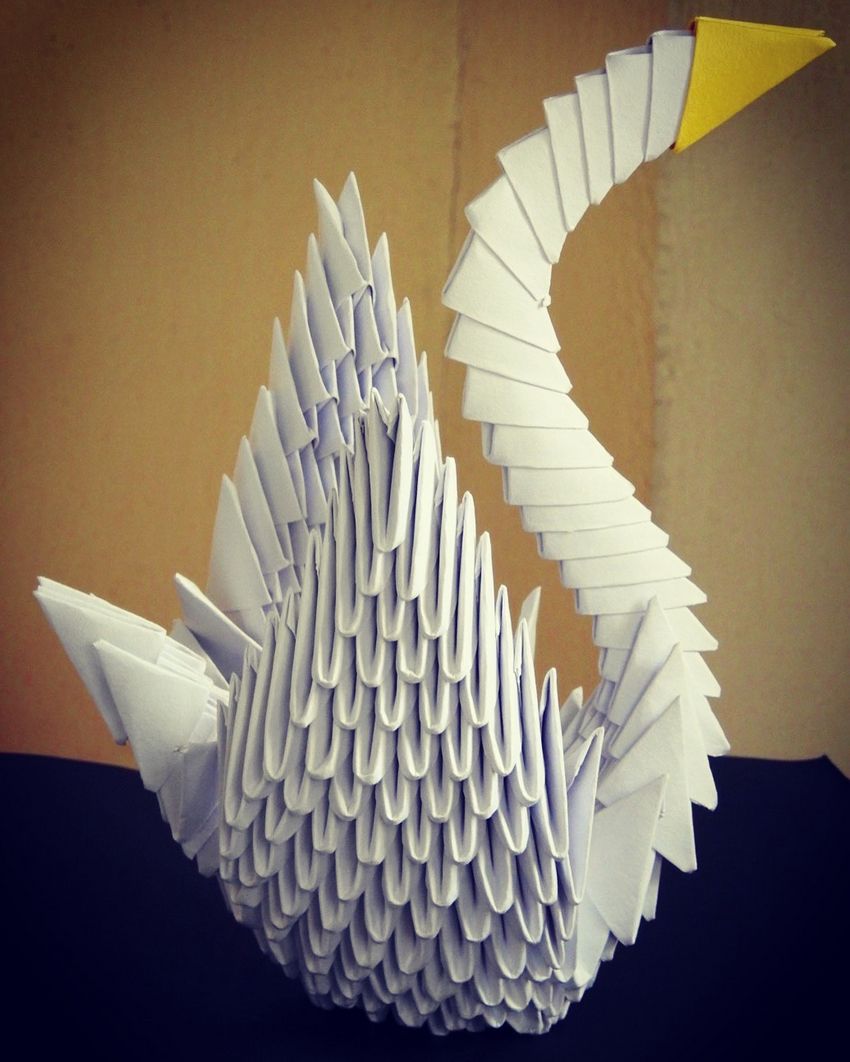
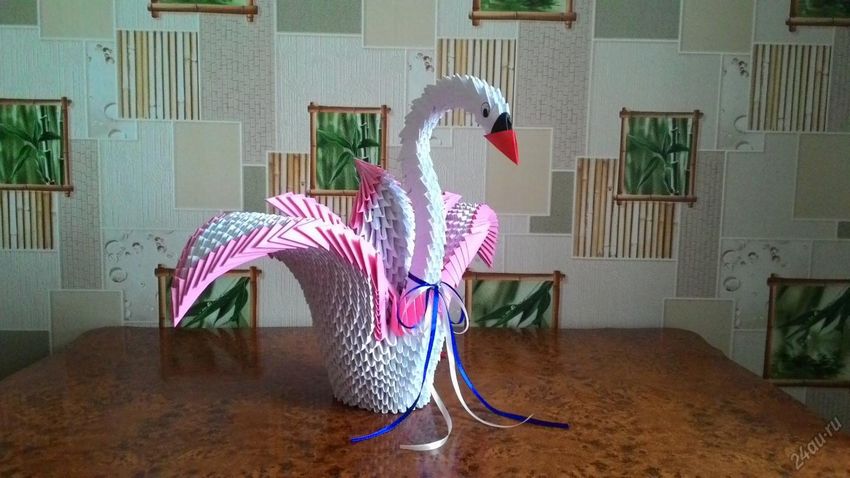
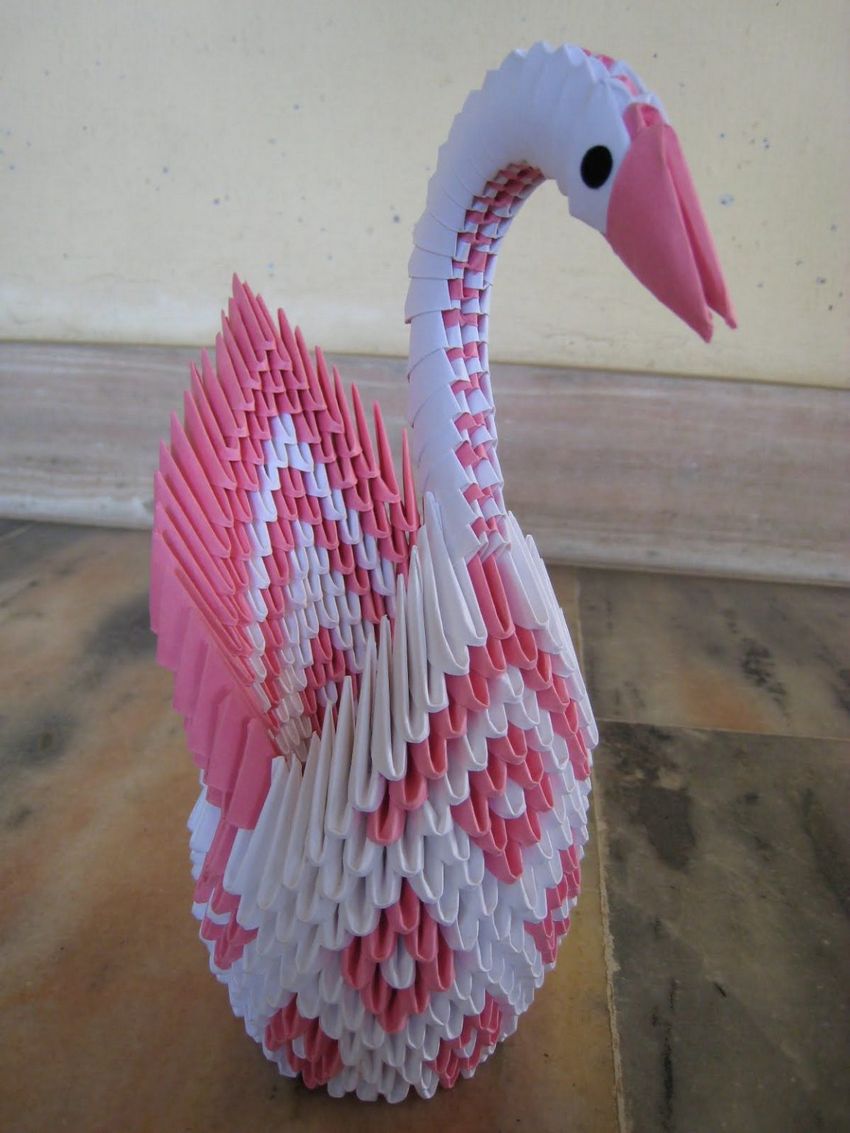
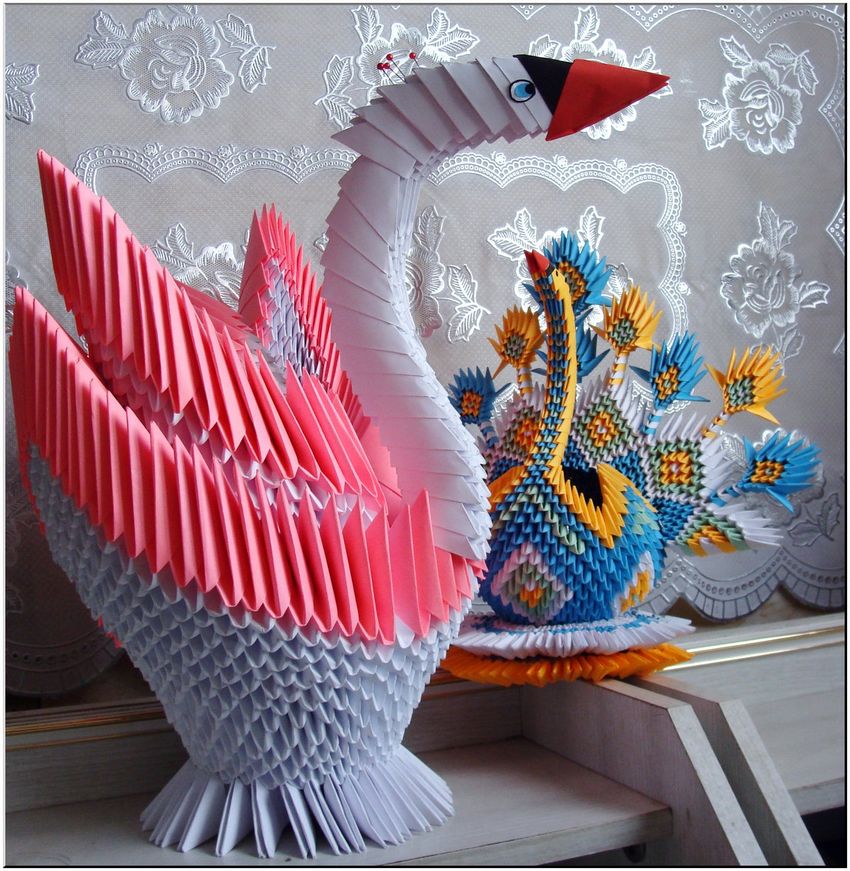
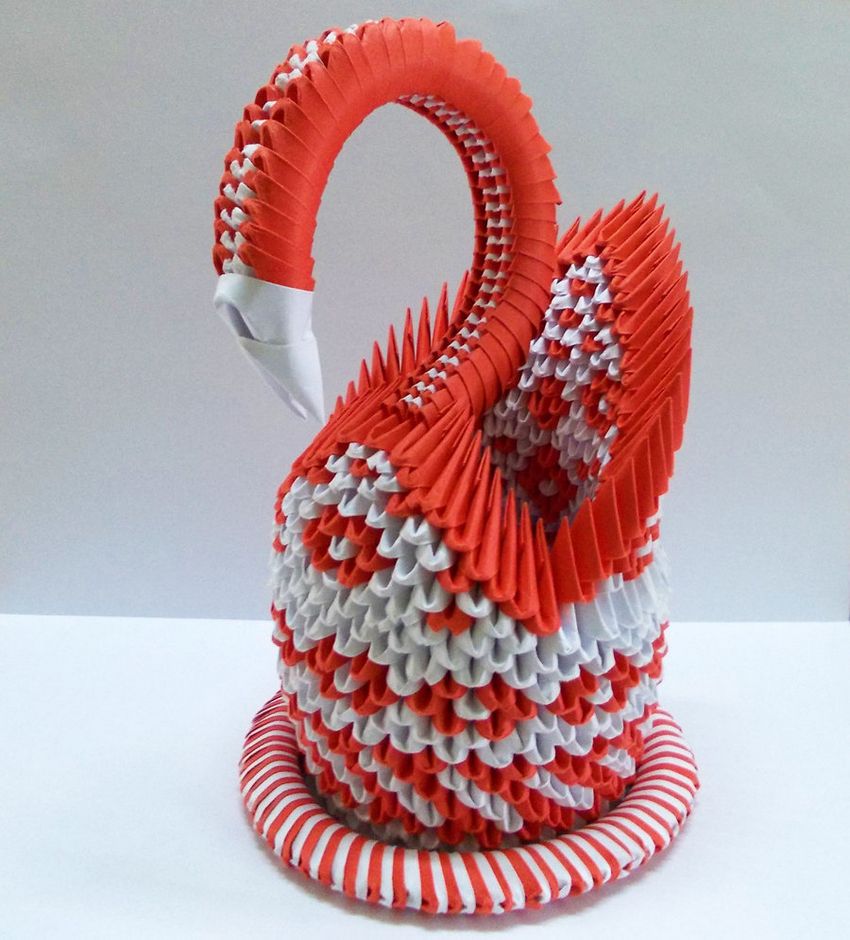
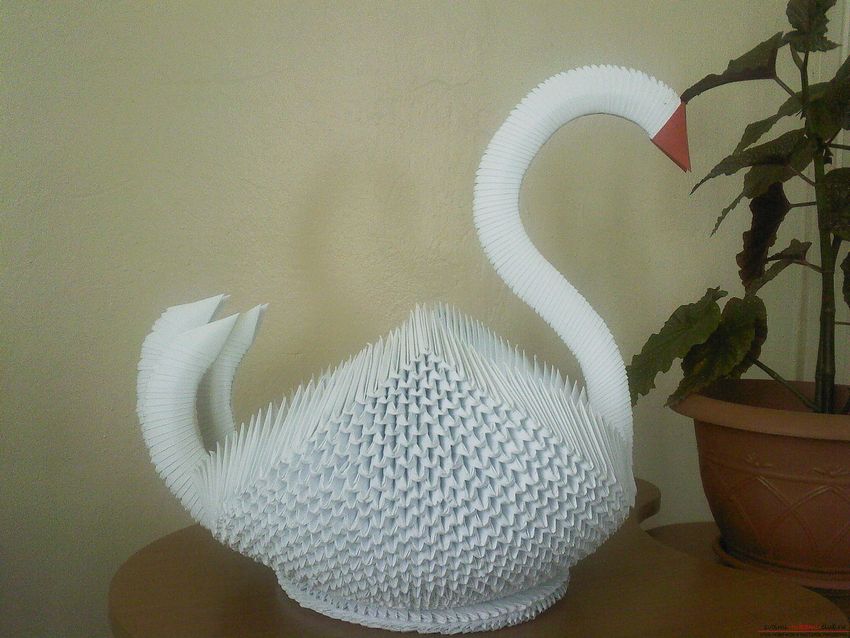
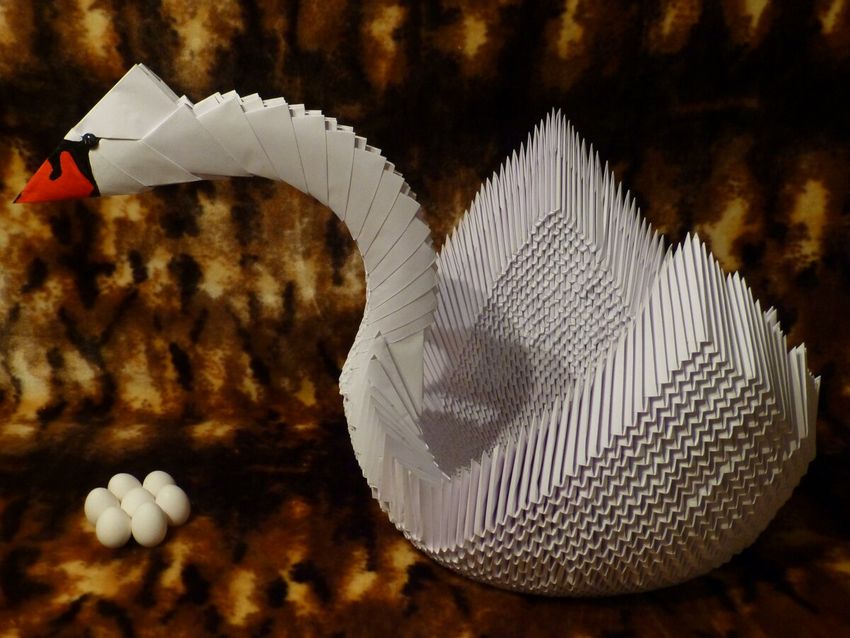
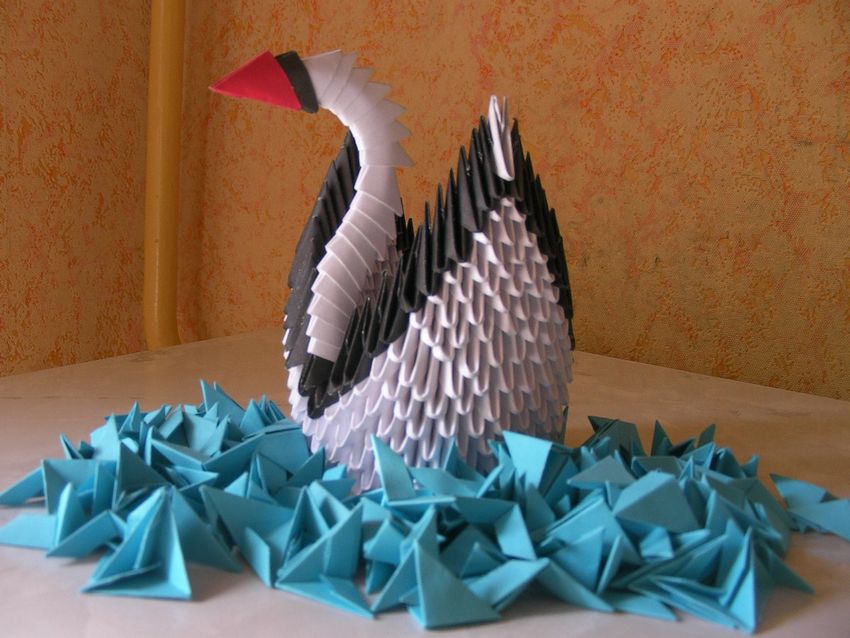
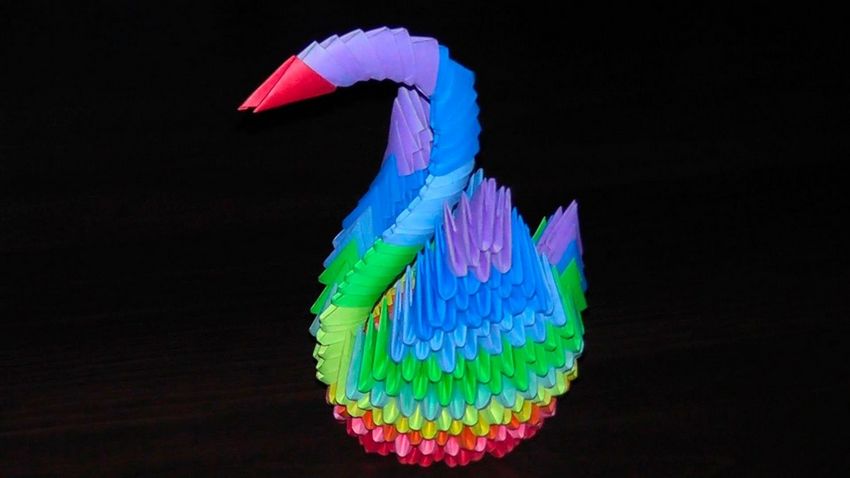
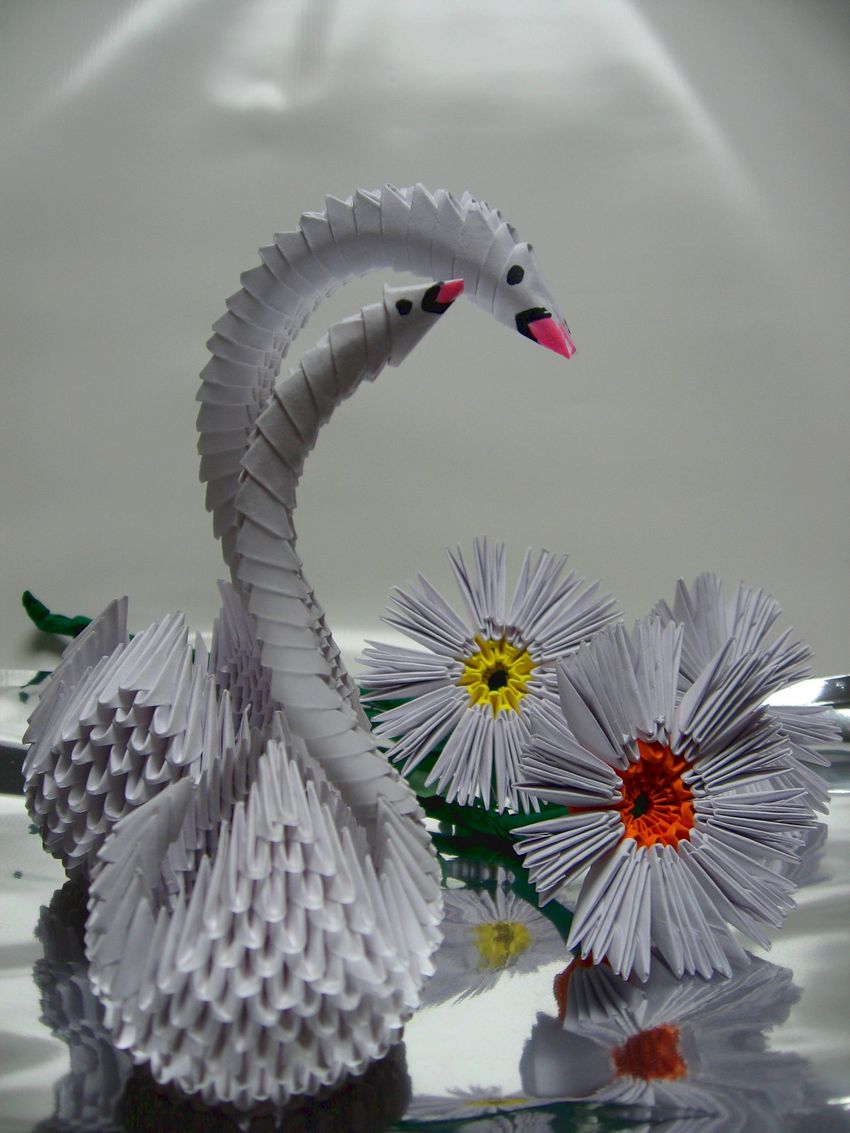
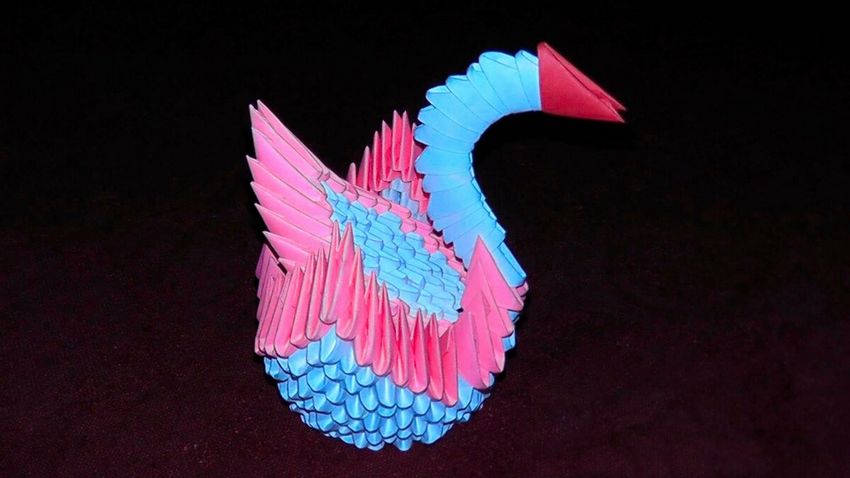
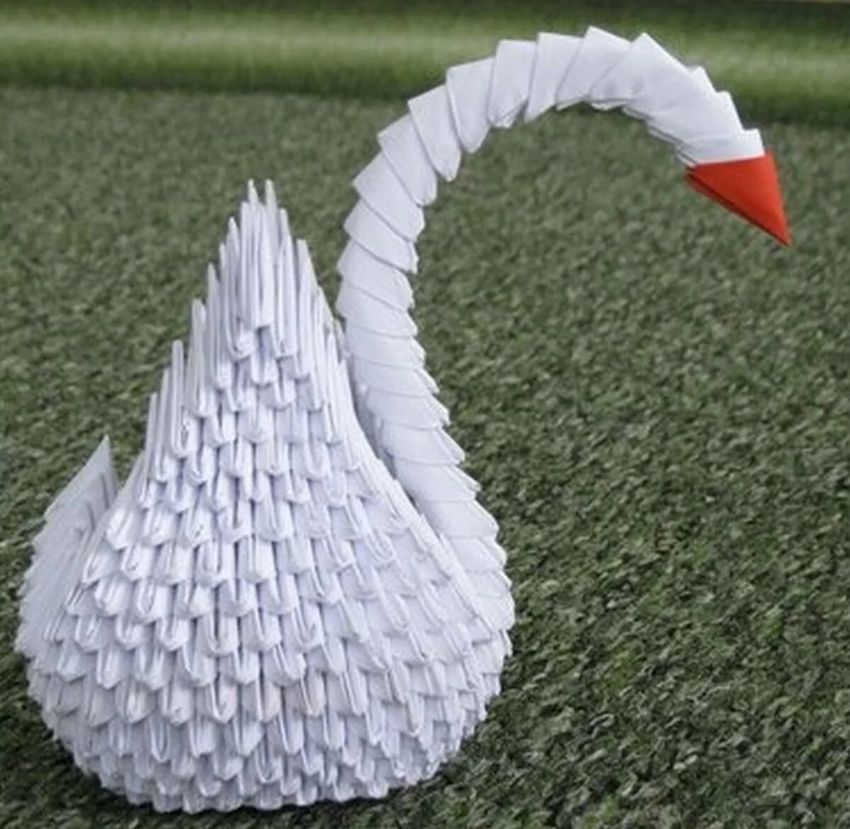
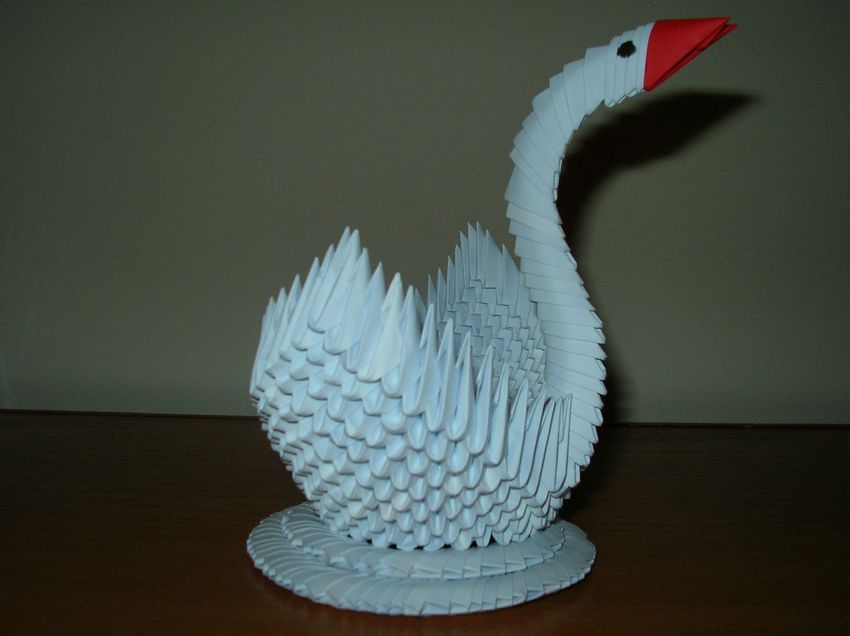
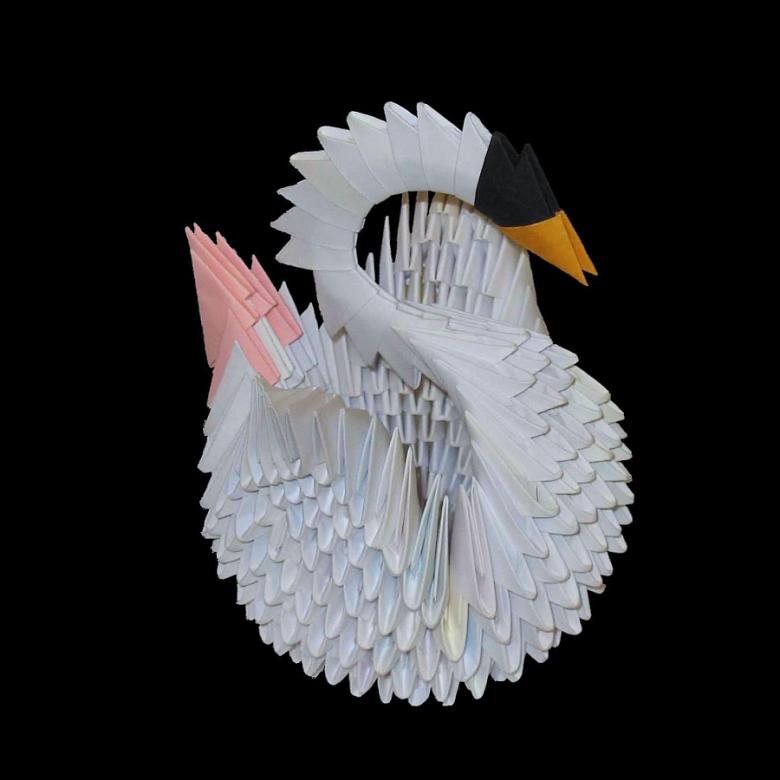
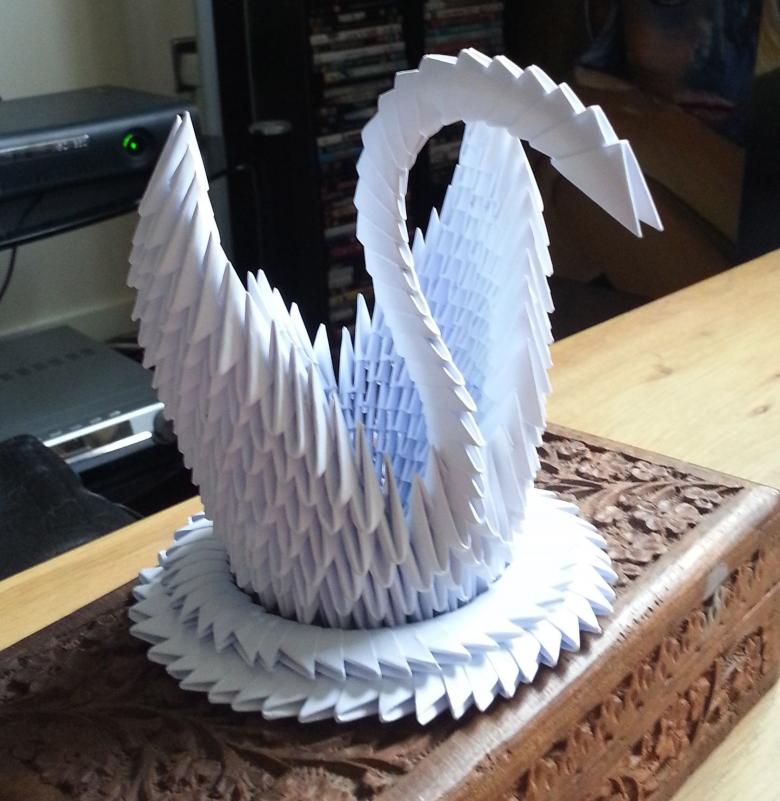
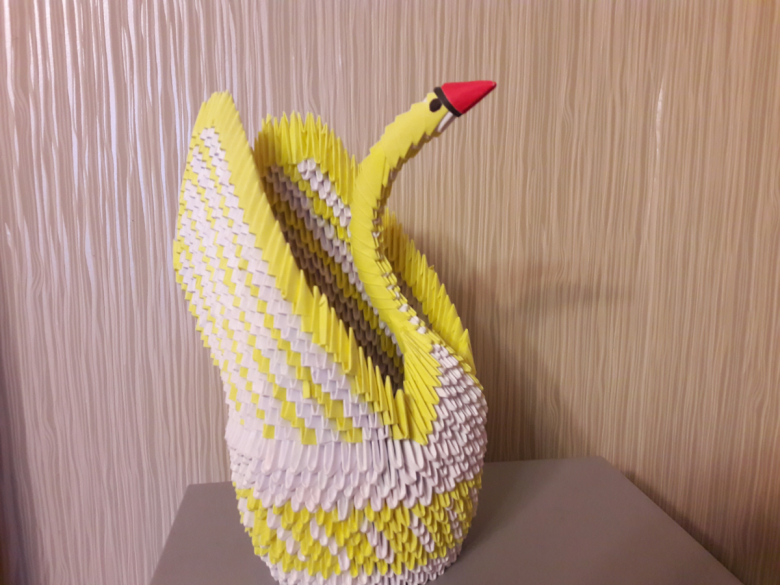
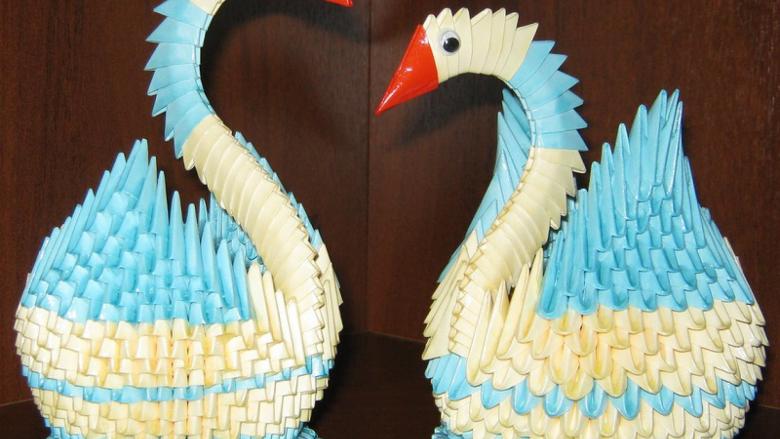
Modular origami swan
Creating a modular swan is a very beautiful creation. Looking at him, it seems that the performance of this design is almost unrealistic, but it is not. Such models in the technique of origami created easily, the main thing to have patience and perseverance, as well as follow certain rules.
Making modules
In order to get more complicated variation of a swan, you should start with the production of modules. Modules are the parts (parts) from which the entire structure is built.
Step by step instructions for creation:
- It is necessary to divide an ordinary sheet of A4 into 16 equal rectangles (if you plan to make modules larger, it is better to divide the sheet of paper into fewer equal parts);
- Of the resulting pieces of paper to add modules (the number of parts will depend on the size of future construction);
- Rectangular blanks should be placed horizontally and folded in half upward;
- Then you should perform the vertical fold from right to left and return to the original position of the workpiece;
- The edges of the rectangle is bent to the center and formed a kind of airplane;
- The "tail" of the airplane is first bent at the edges into small triangles, then completely;
- We get an inverted triangle with a bent edge on top;
- The resulting triangle is folded in half.
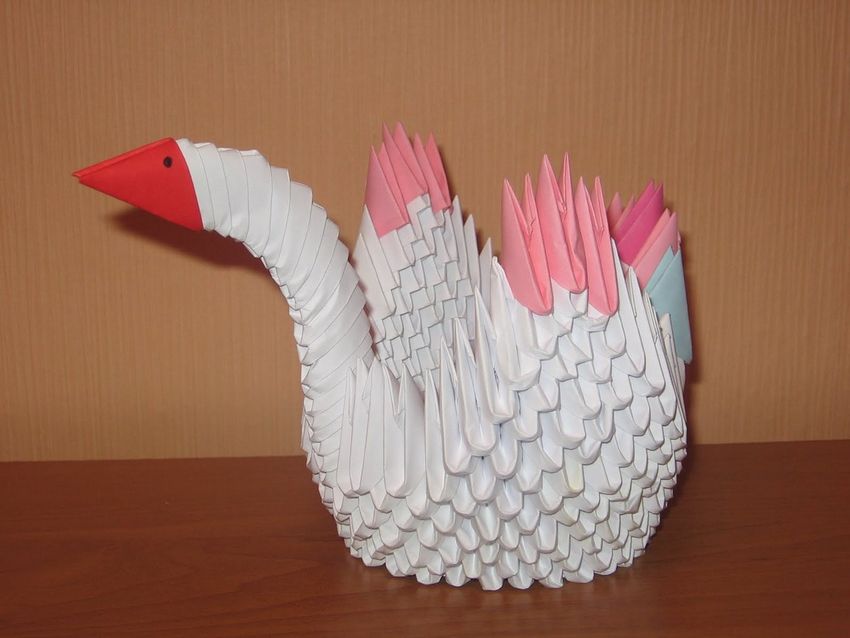
Swan assembly
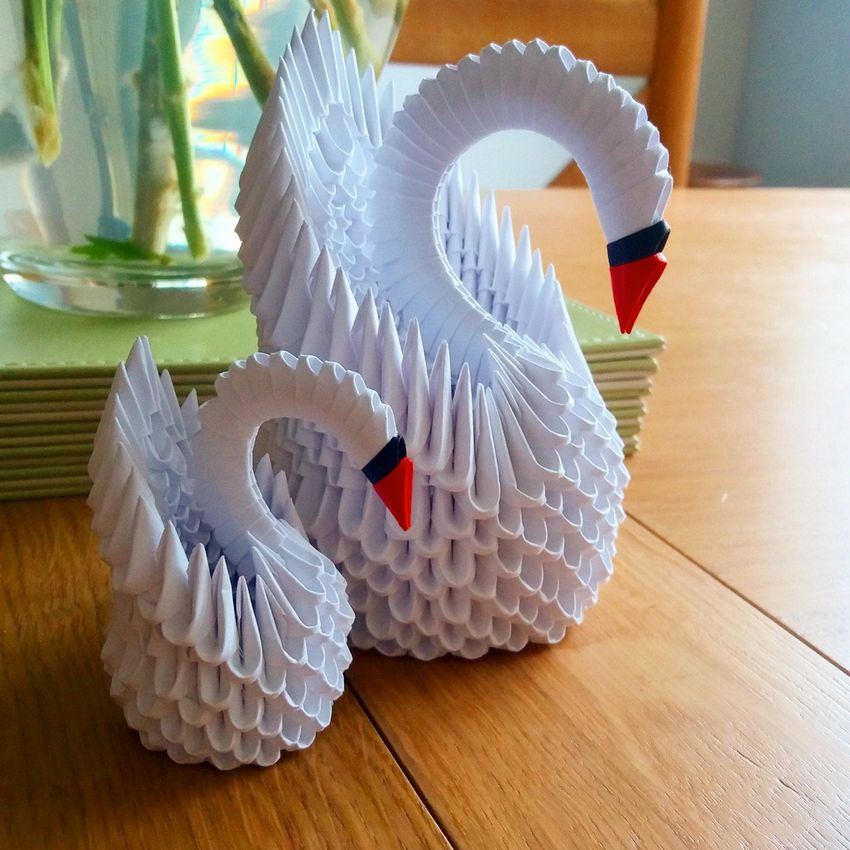
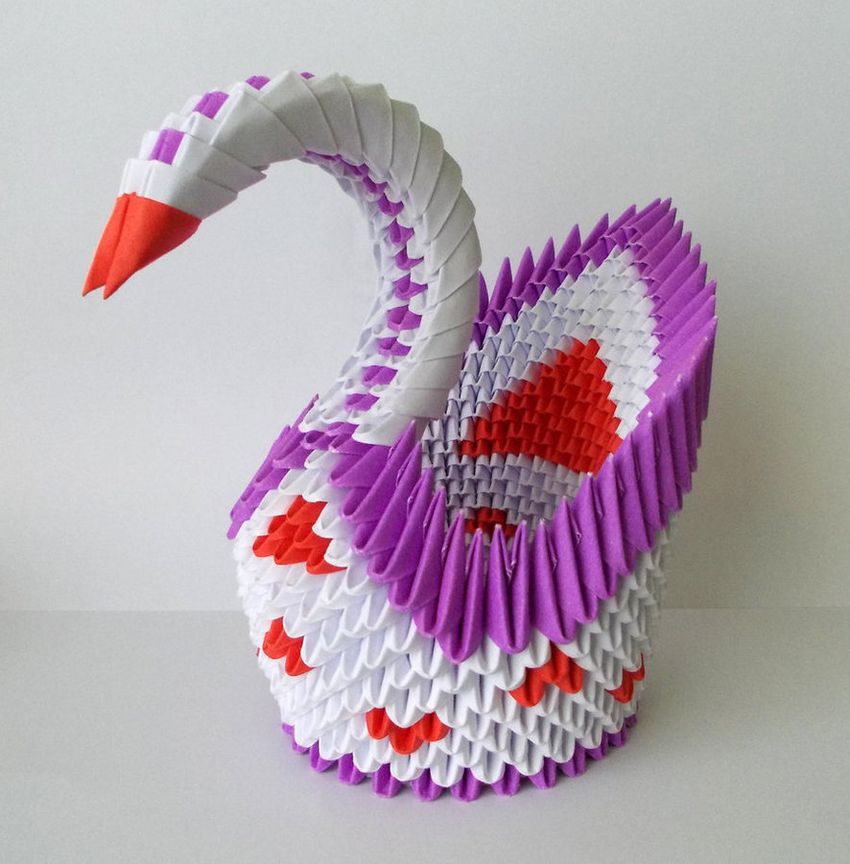
After a sufficient number of modules are prepared, you should move on to the assembly of the design. There are two ways: the first - with solid color paper, the second - with colored paper. In order to correctly perform any of these ways, you need to follow the step by step instructions for the assembly of origami swan from paper.
- Takes two ready-made modules, which are connected to each other by a third from the bottom.
- Then to the top row attached another module and also fasten another module at the bottom.
- As a result we have three modules in the first row and two in the second, which are fastened together another module from the bottom, we have a third row. This third row is mandatory, because it makes the resulting structure more stable.
- After completing the third row should get a semblance of a sun. The first row has thirty parts, therefore, rows 2 and 3 are increasing.
- Then the fourth and fifth rows are made in the same way as described above.
- The resulting structure should be slightly turned inward, forming a saucer shape with raised edges and a "hole" in the middle.
- After this action, continue making the sixth row.
- Proceeding to the seventh row, should leave room for the neck and tail of a swan. Putting twelve modules and skipped two (they are needed for the neck), then again put on twelve modules. The remaining space is allocated for the tail.
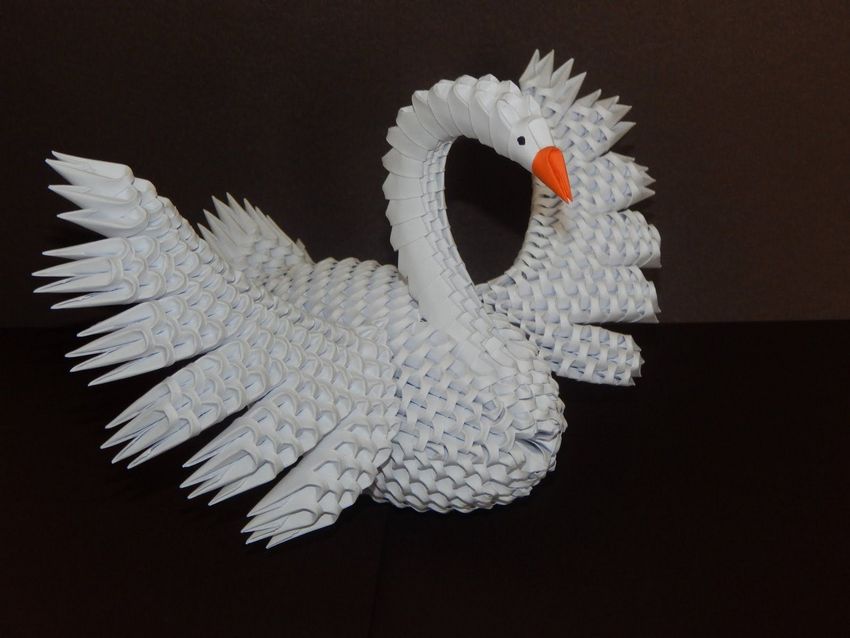
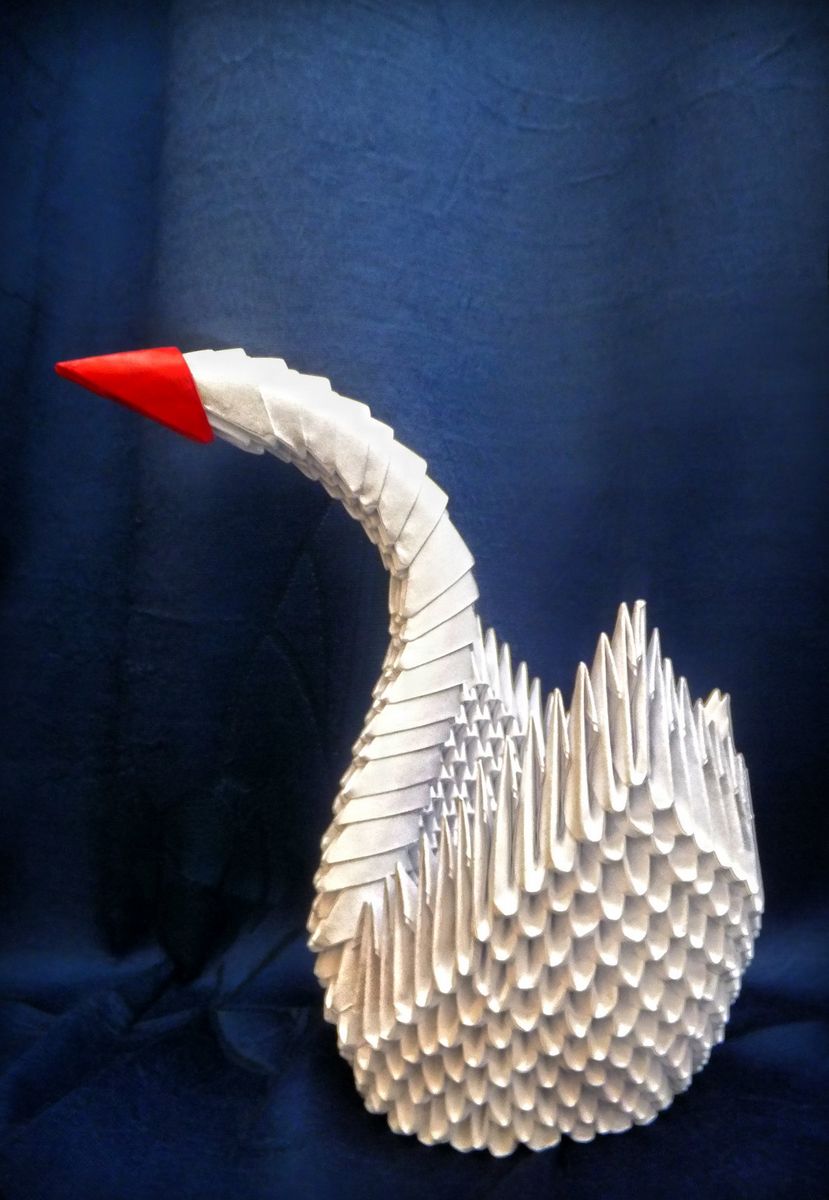
- If you look at the resulting figure, you can see the "basis" of the wings of a swan. Those same 12 modules that are attached on both sides. Starting with the ninth row, each wing should be reduced by one piece. The end result should be one module that will bind the resulting rows.
- Tail is made on the same principle, reducing each row by 1 element.
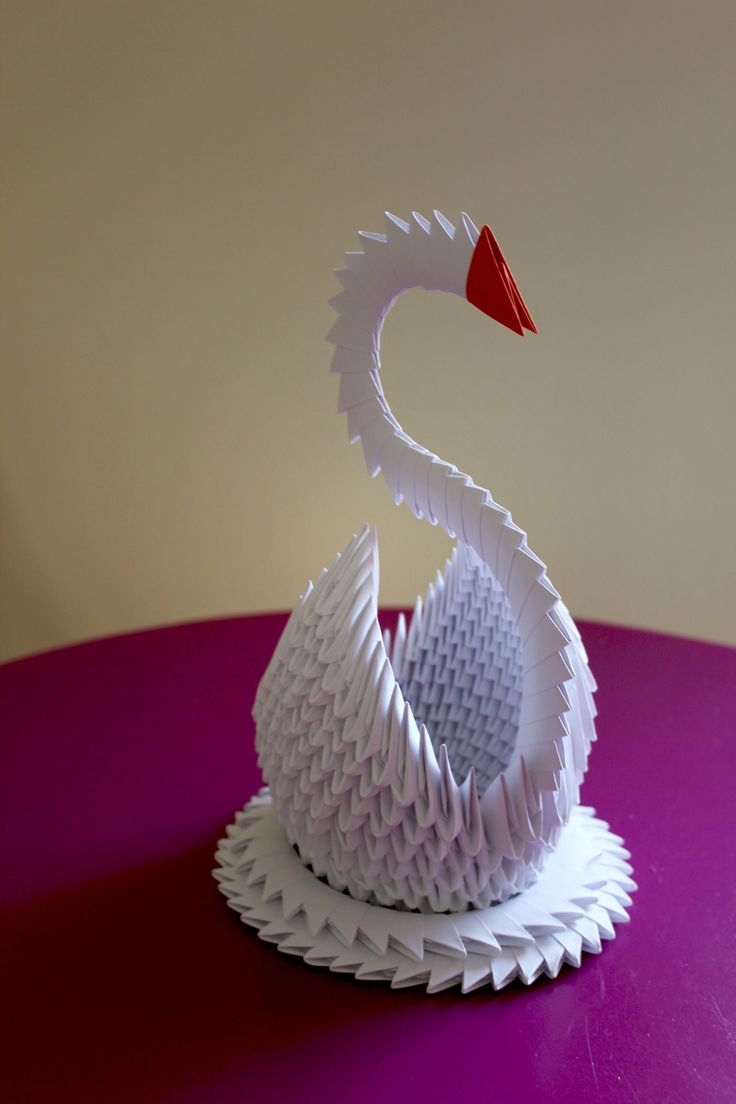
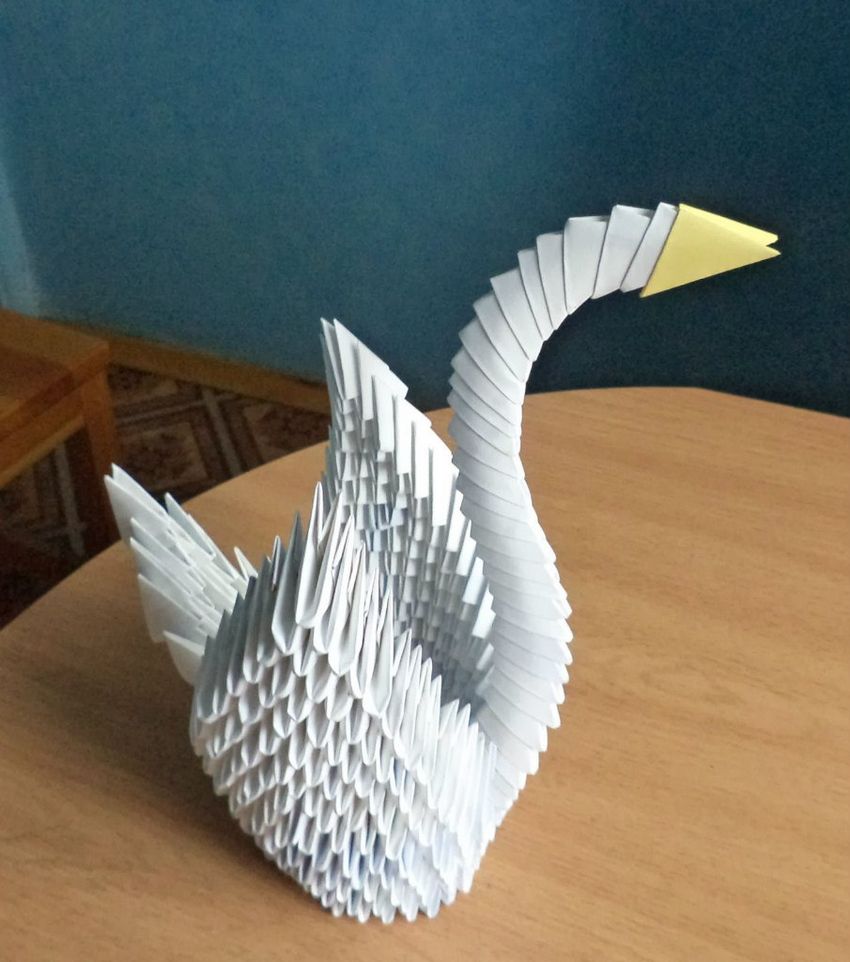
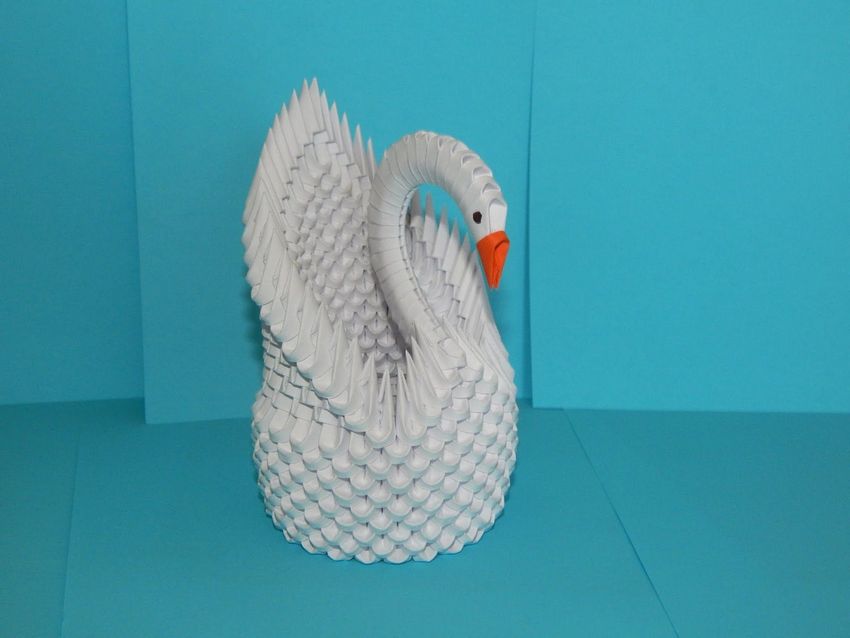
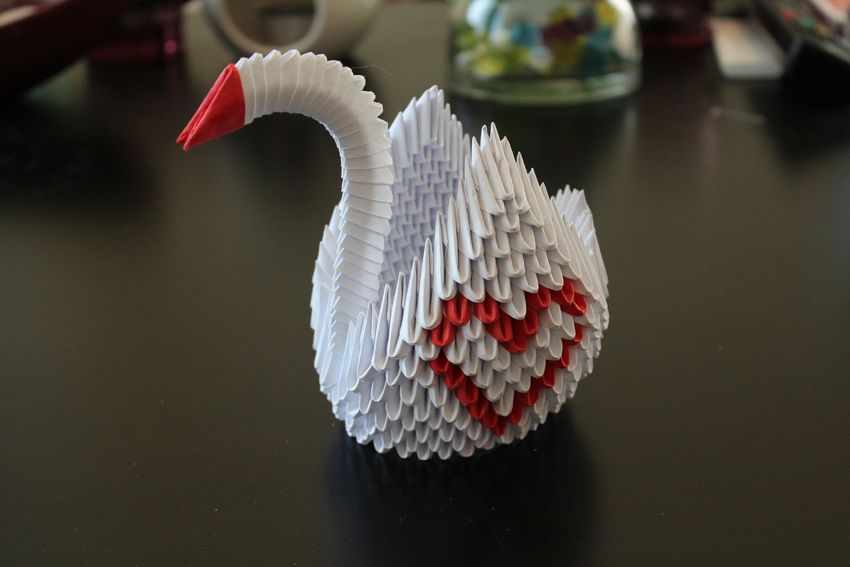
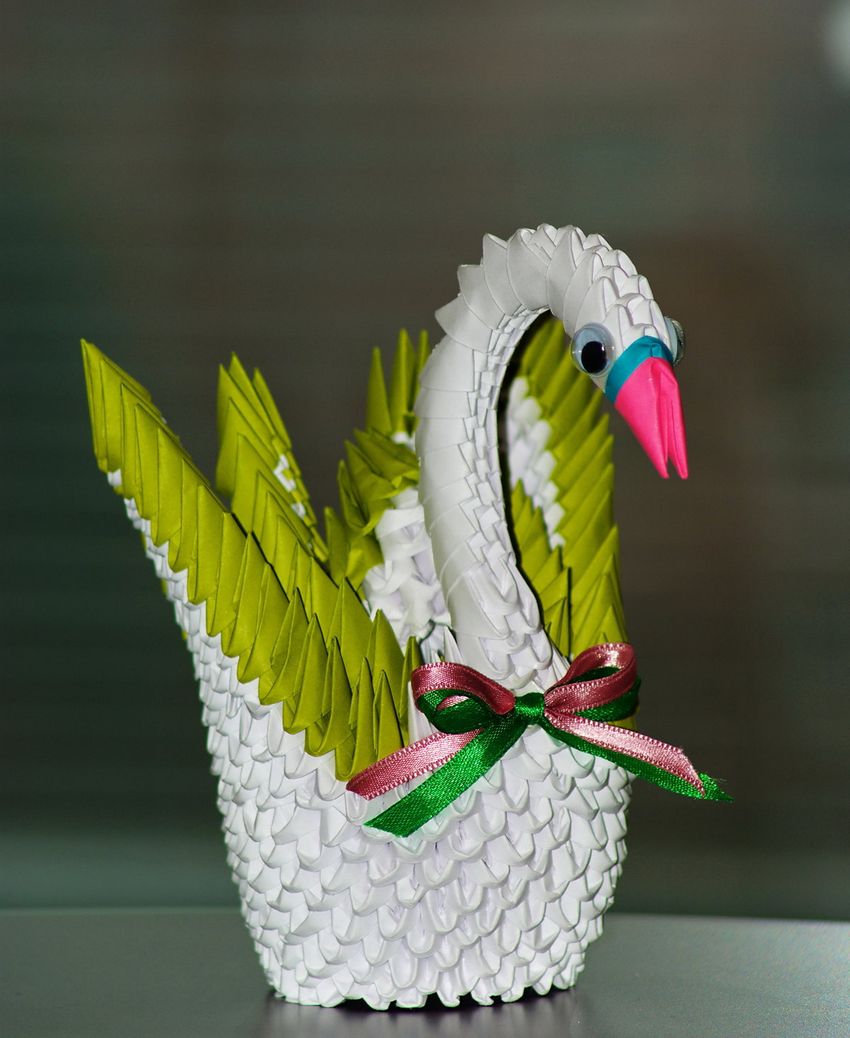
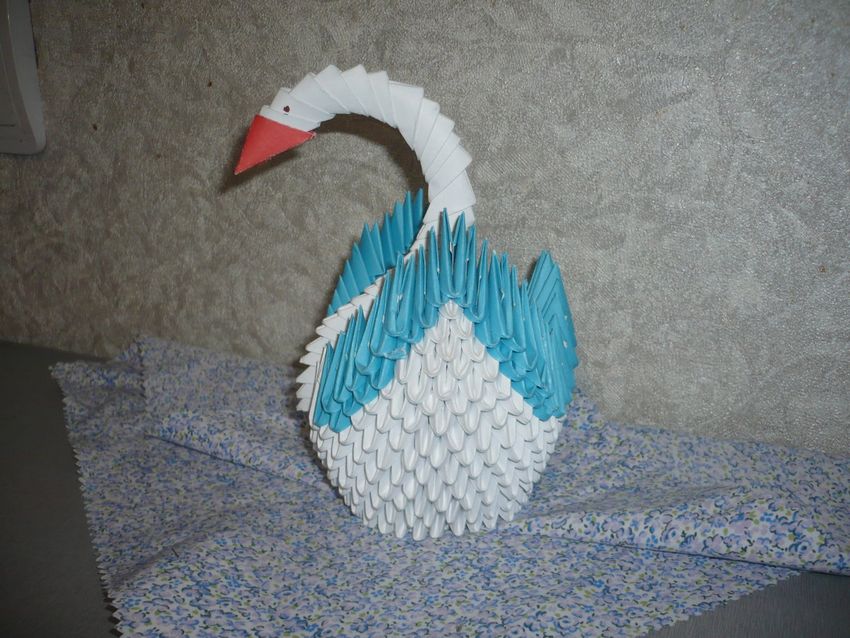
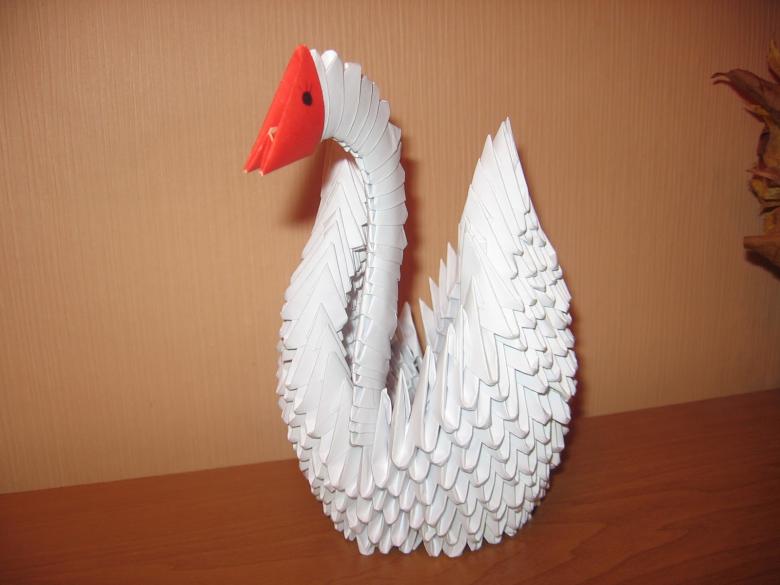
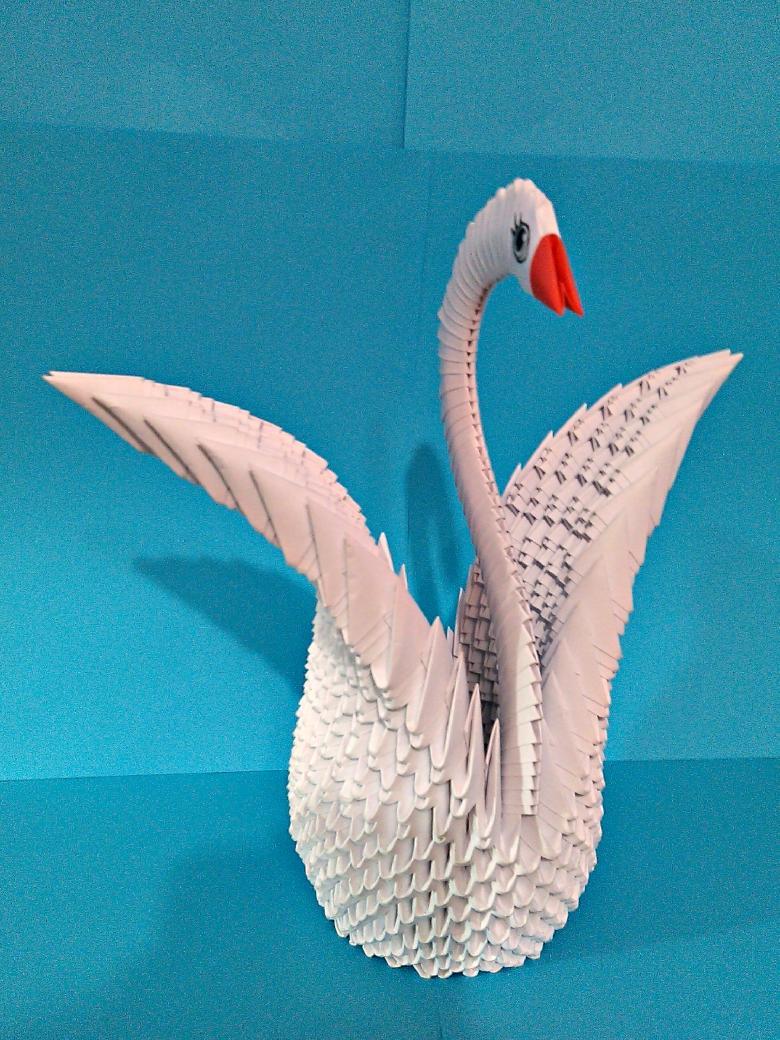
- To make the neck and head will require nineteen white and one red or pinkish blank. In the colored part should glue the corners, you get a swan beak. To assemble the neck, you need to insert each module into each other.
- The resulting neck is inserted into a finished design.
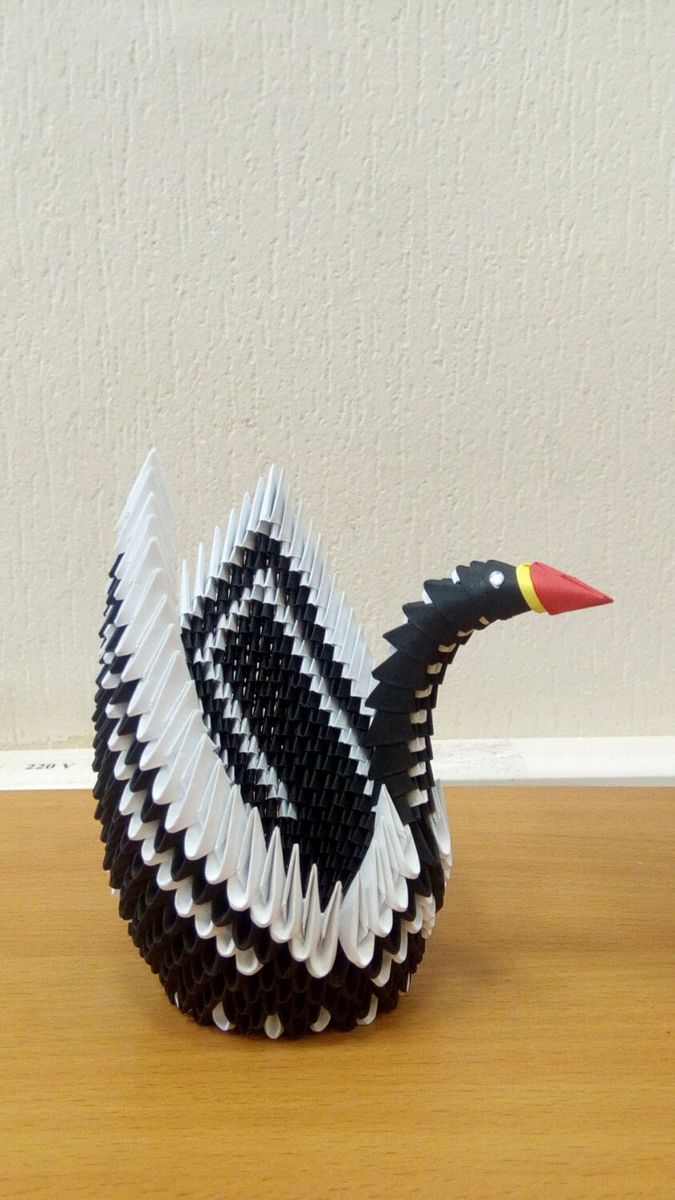
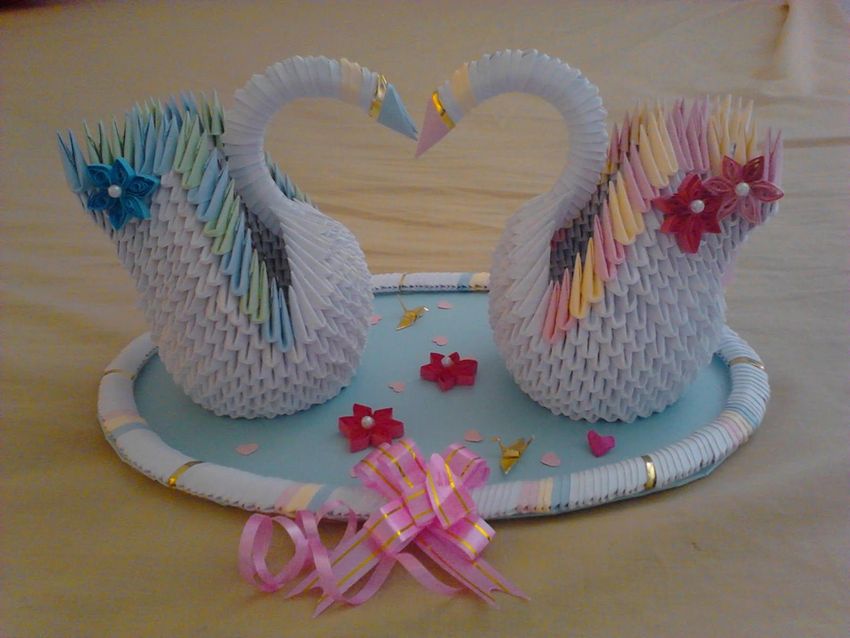
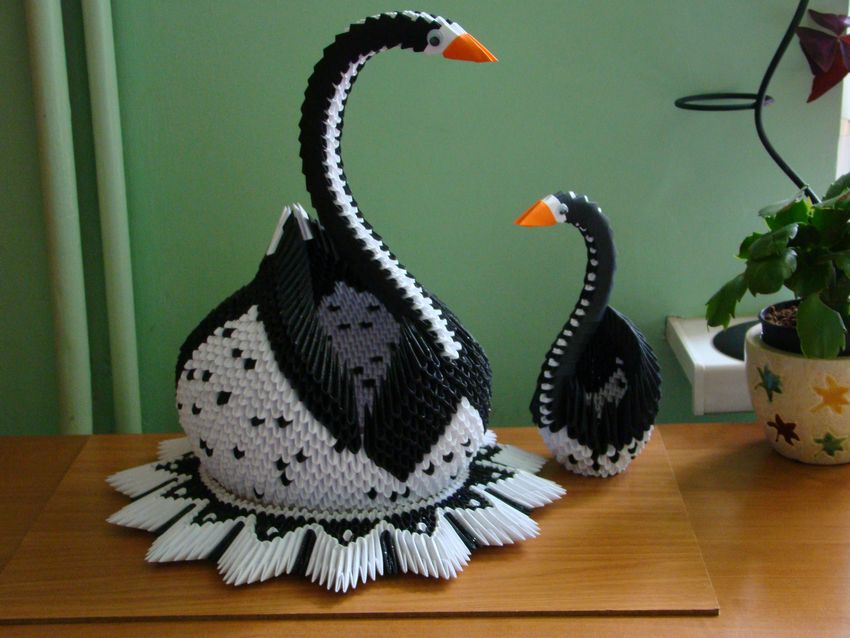
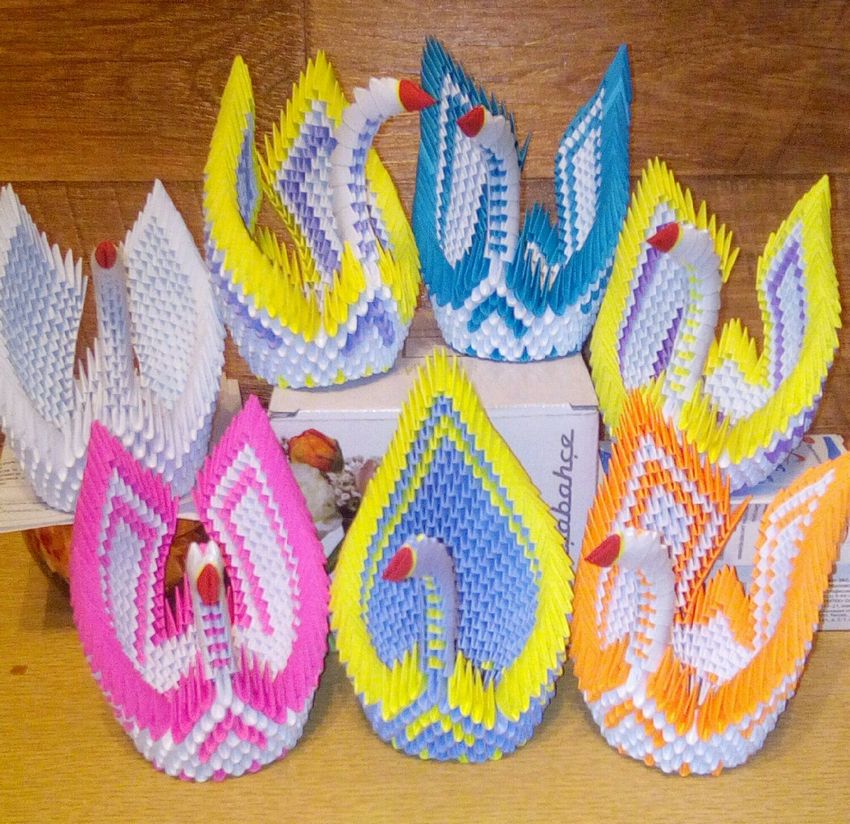
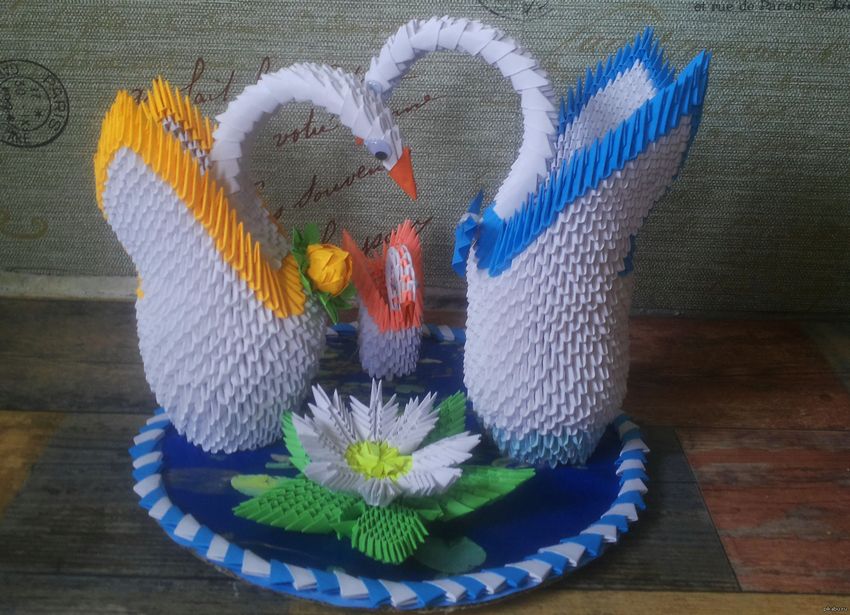
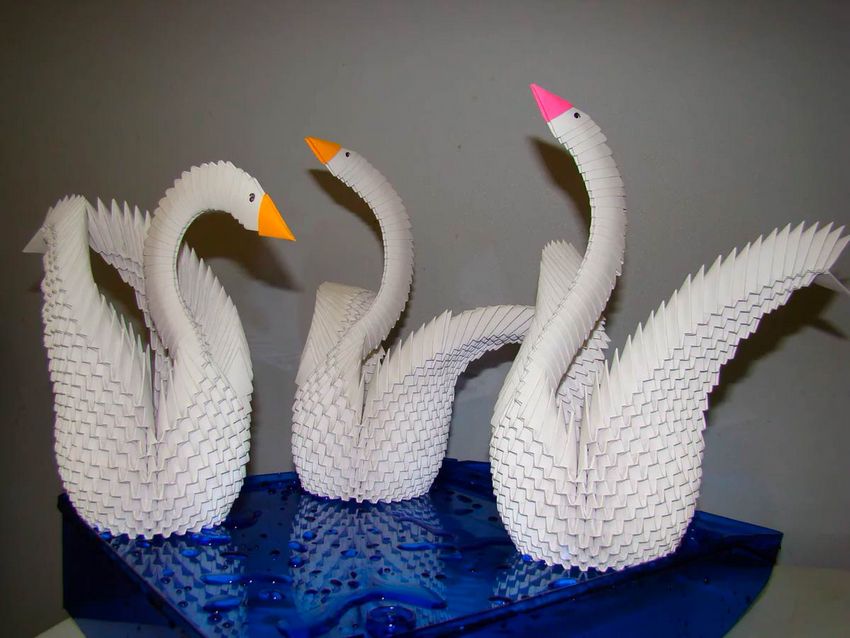
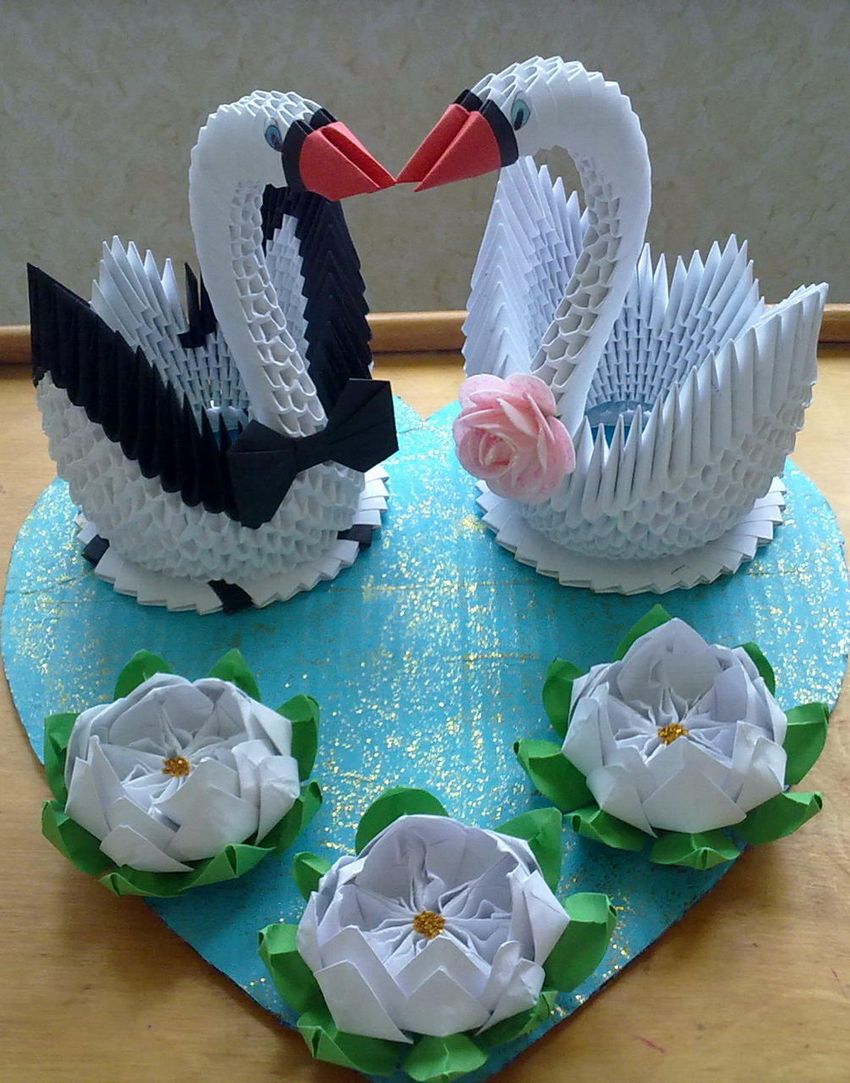
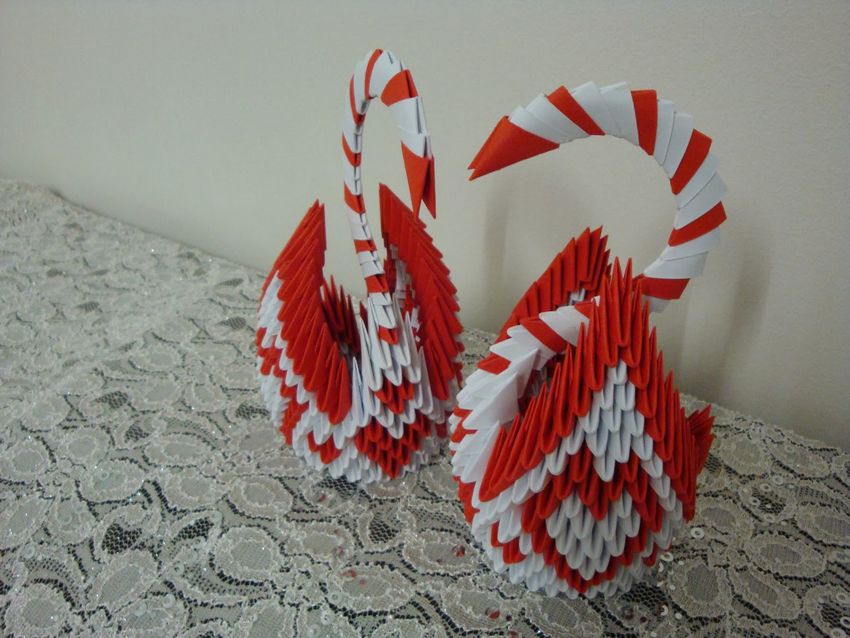
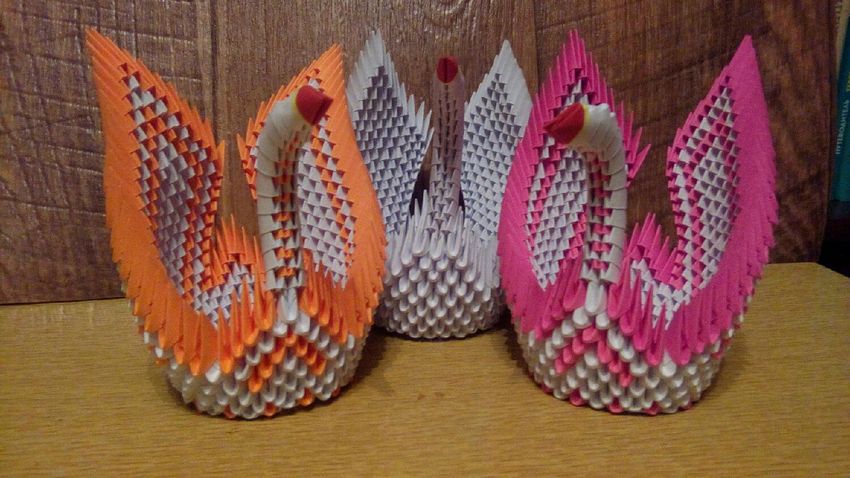
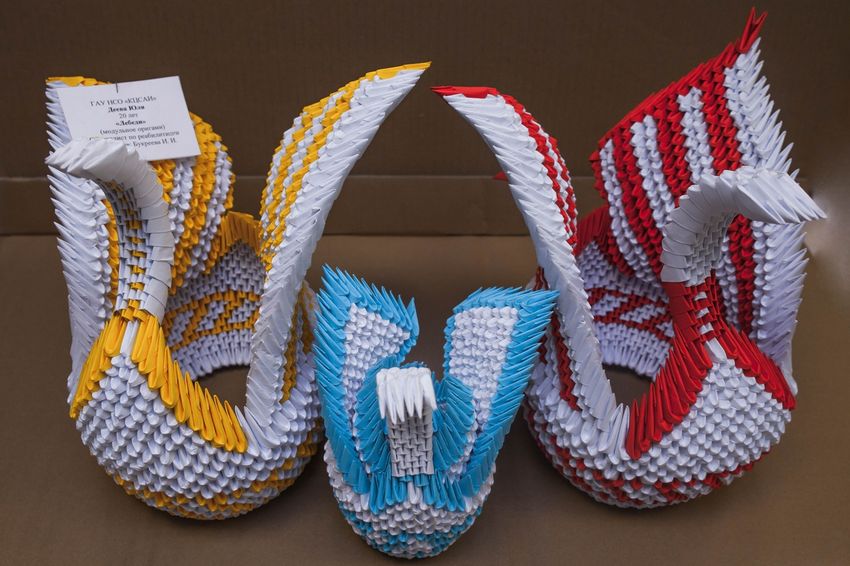
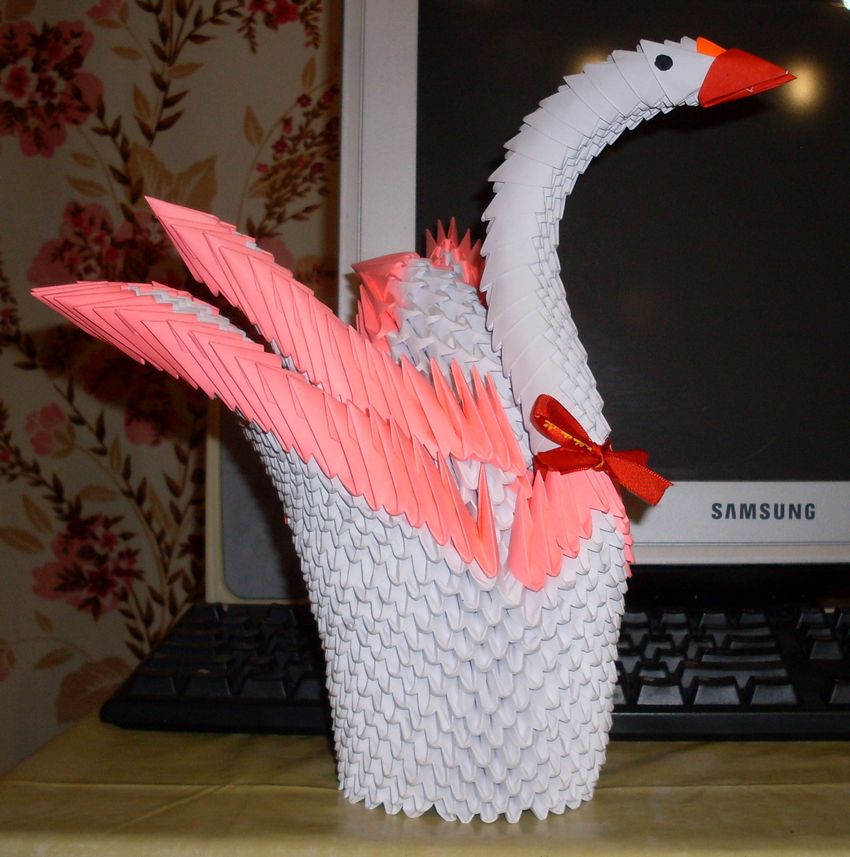
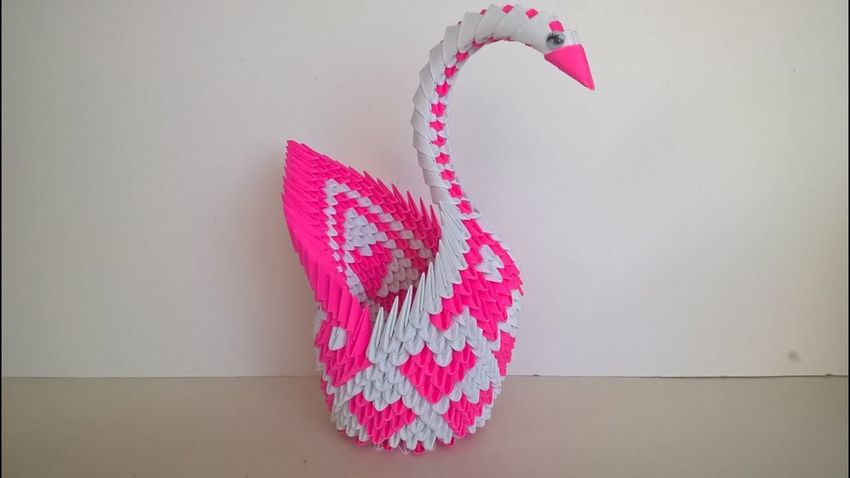
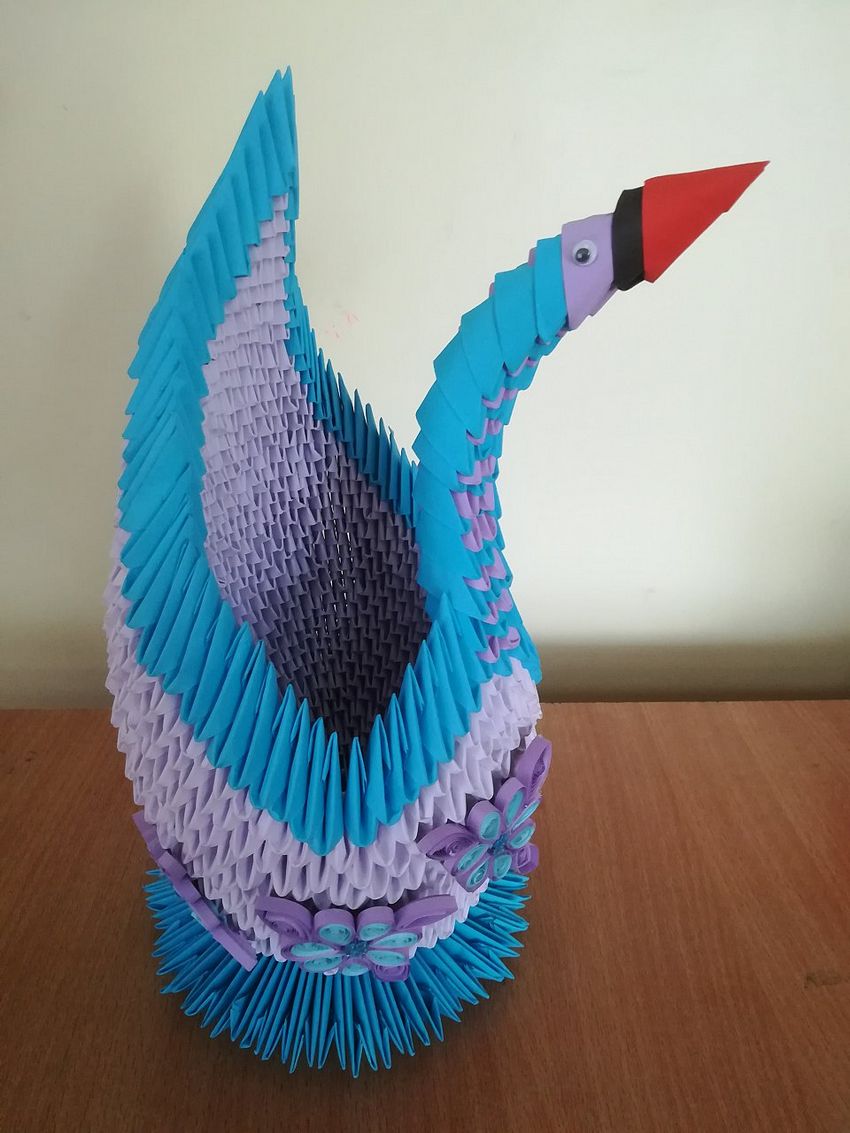
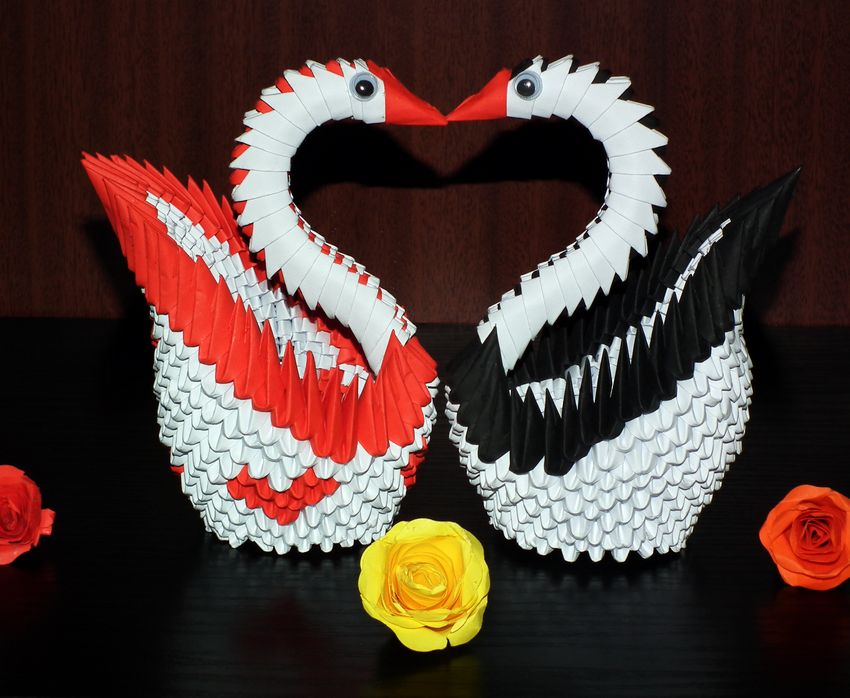
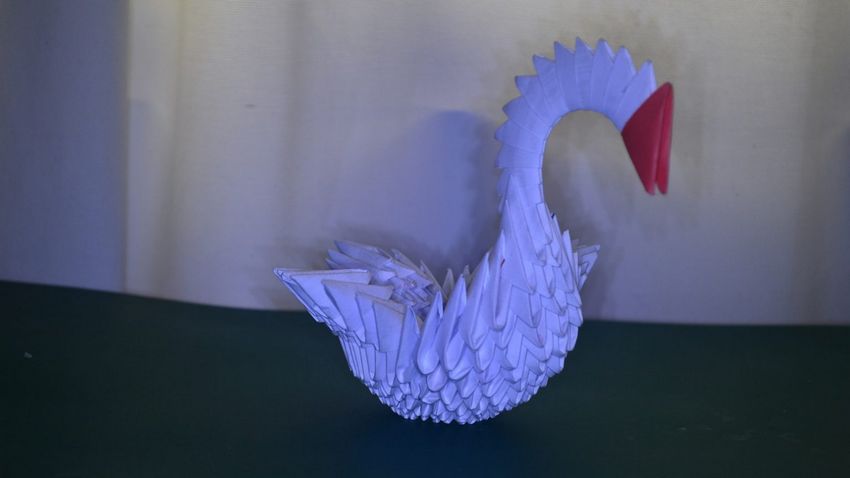
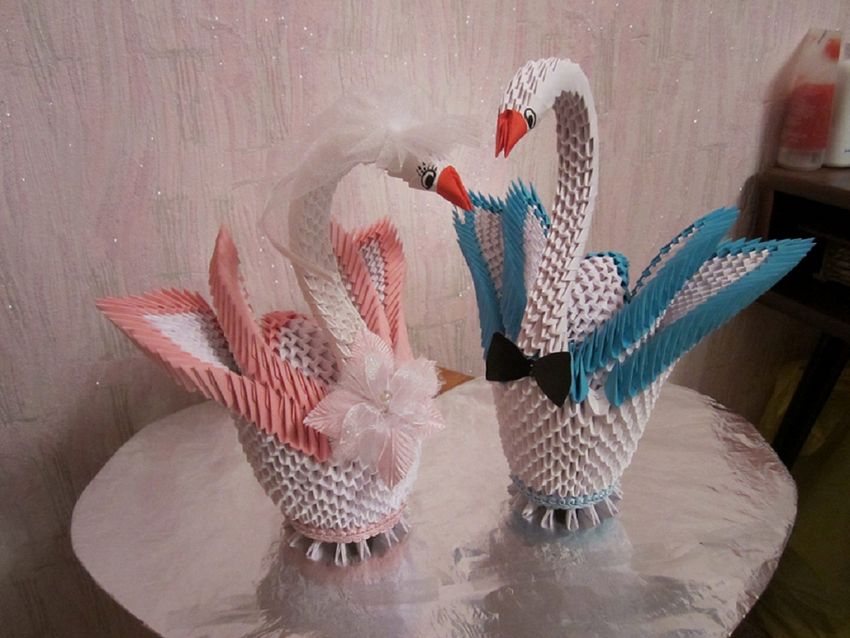
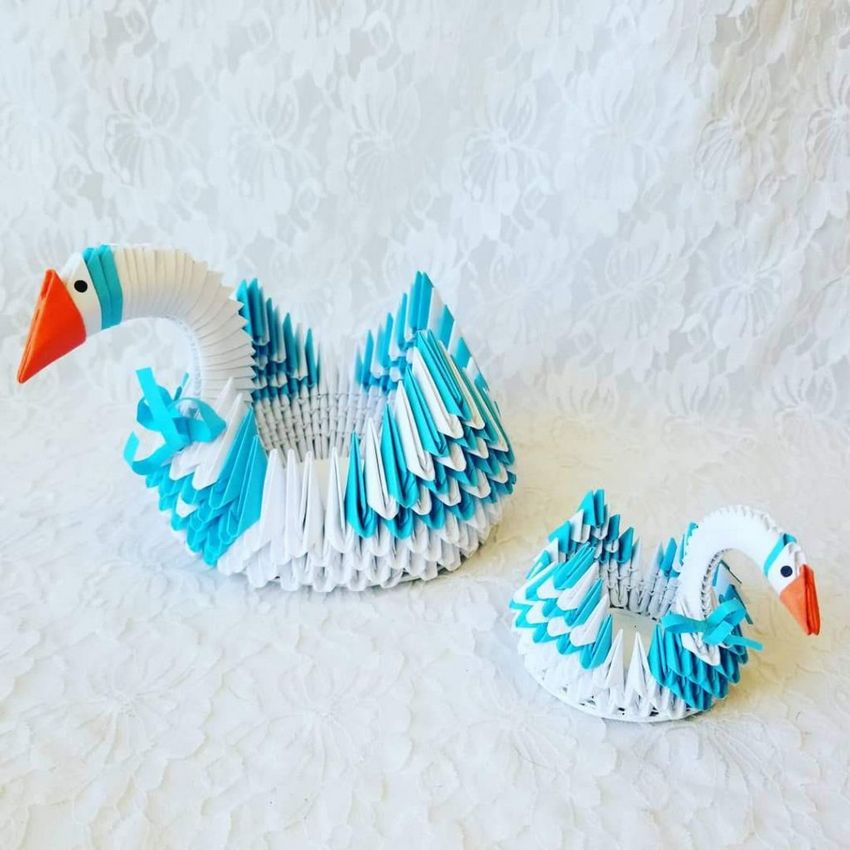
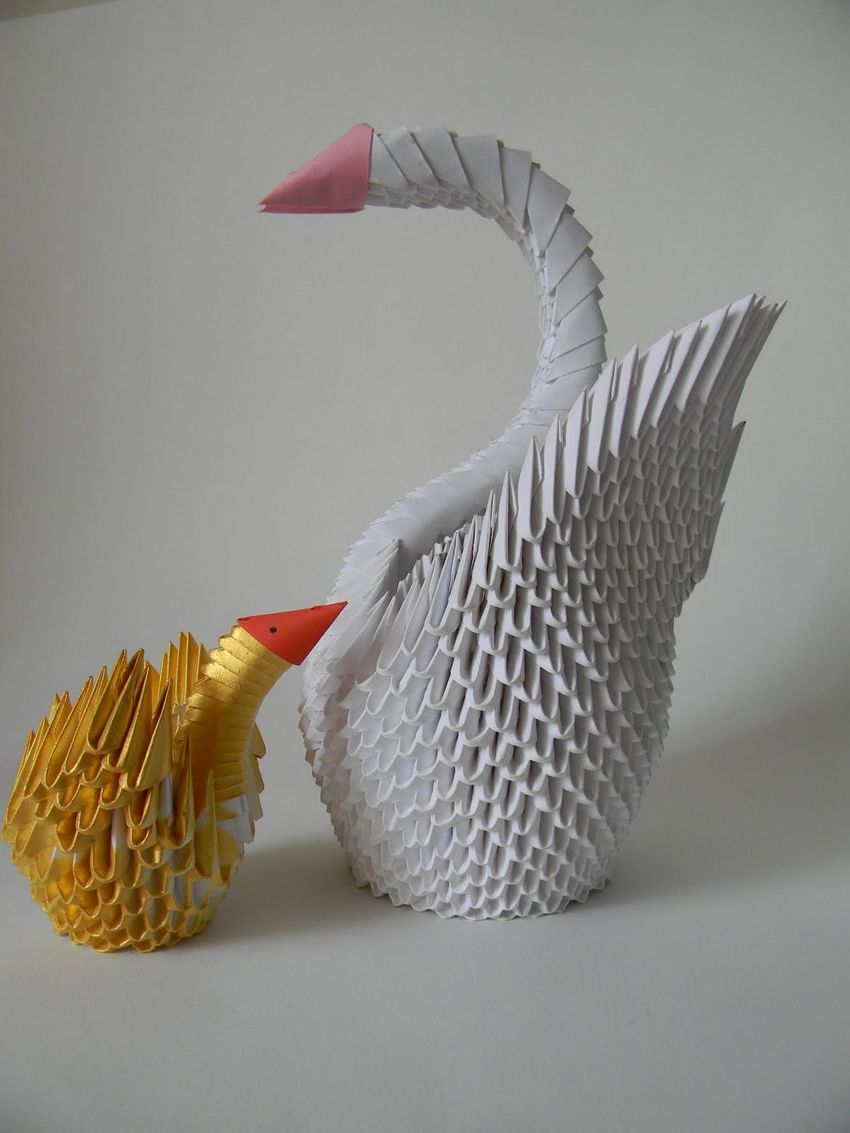
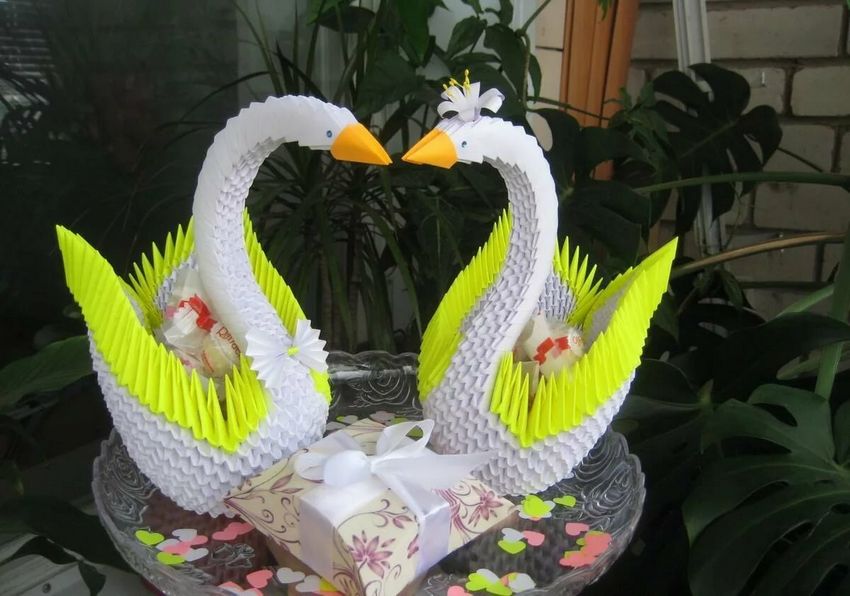
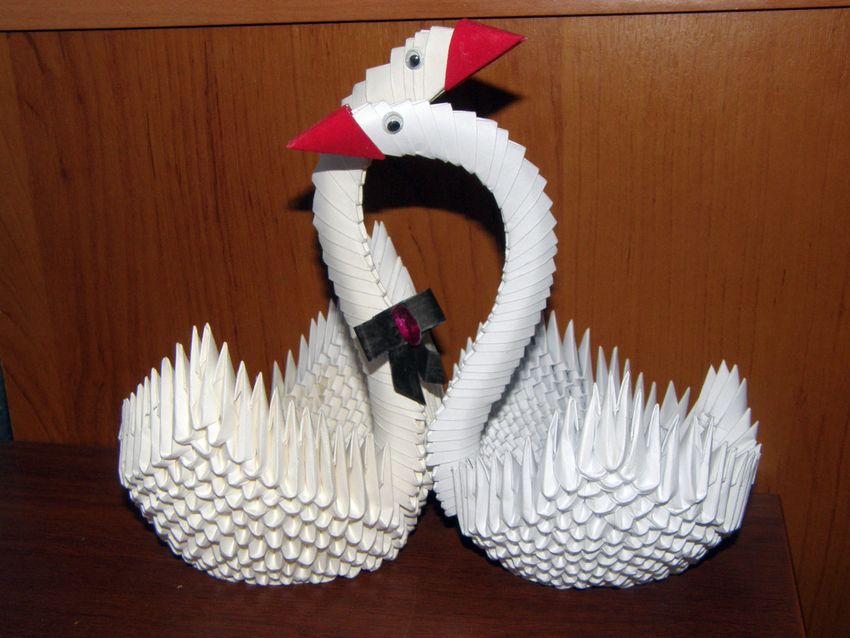
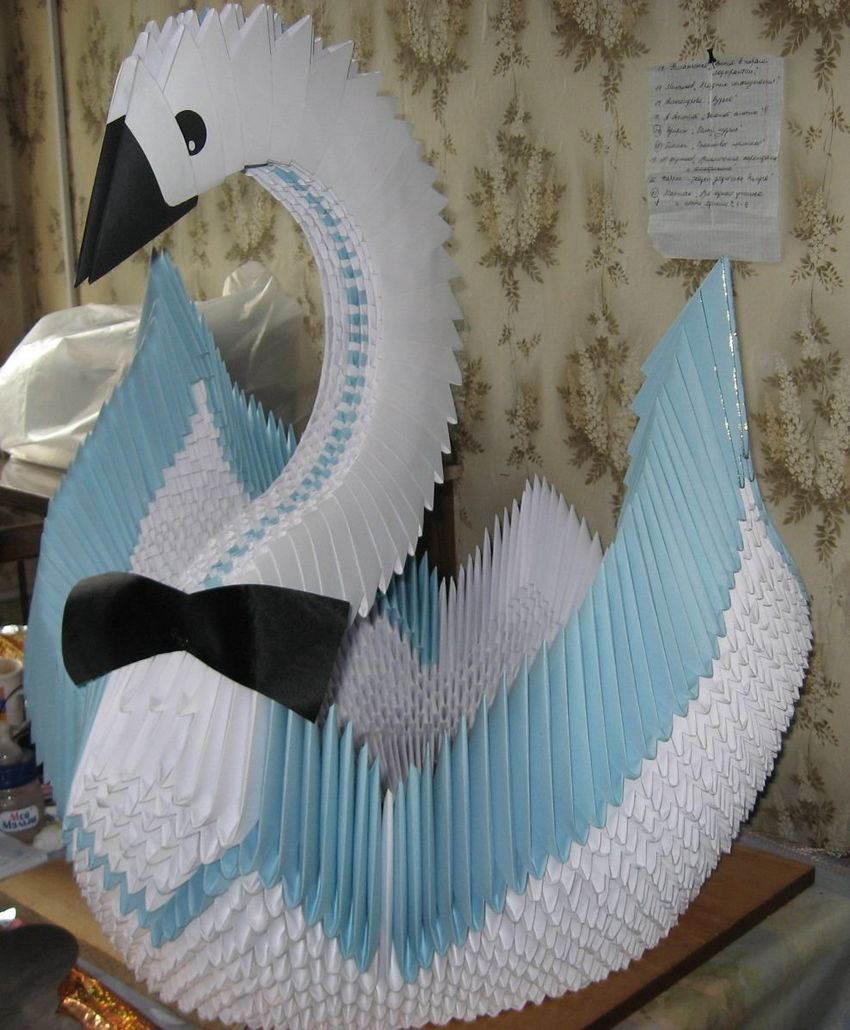
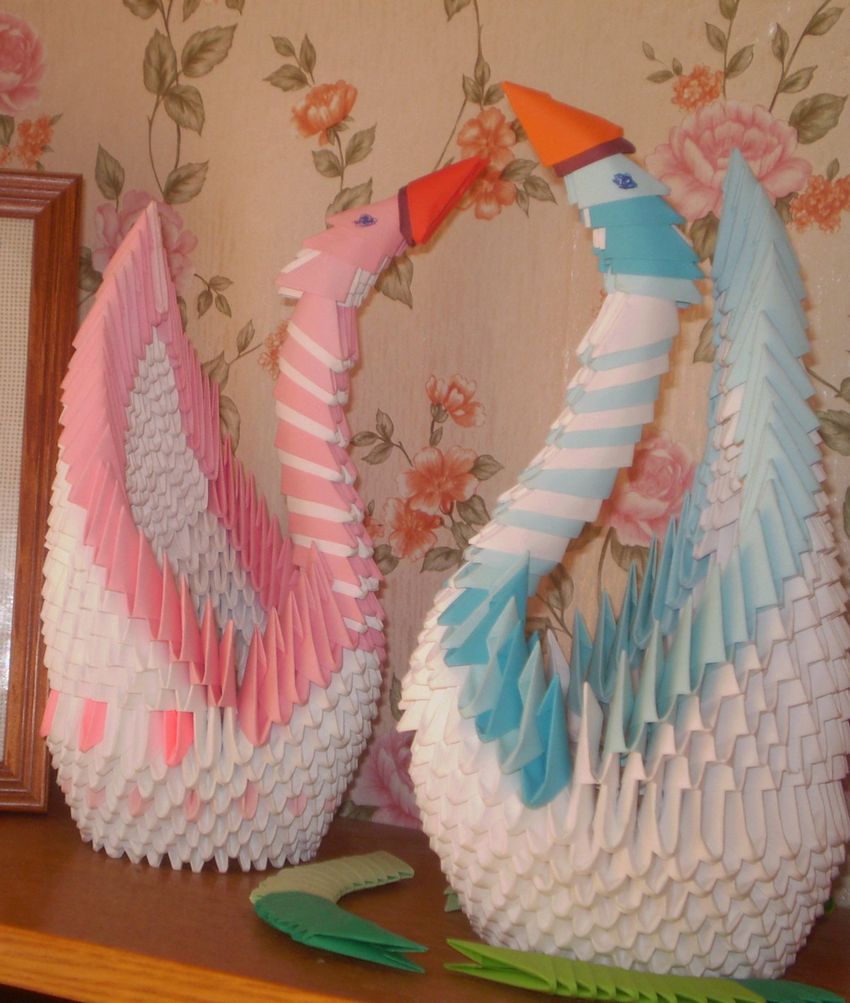
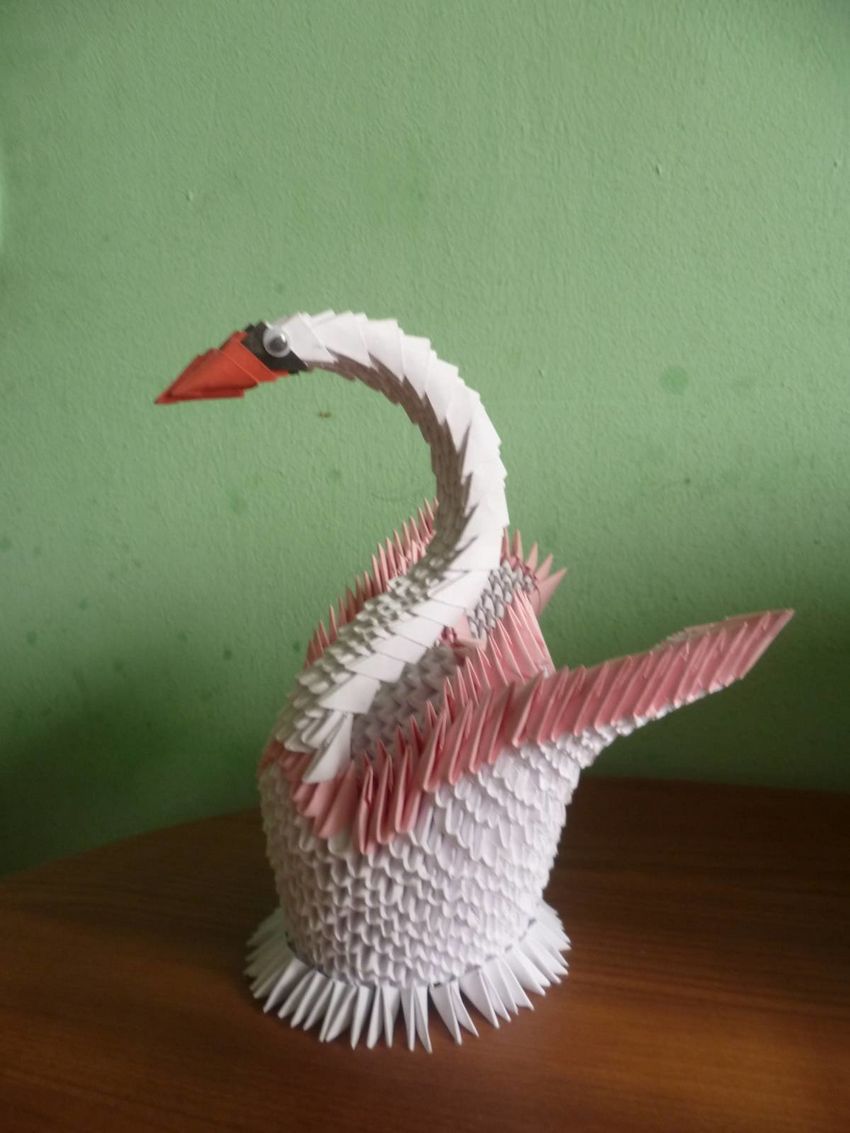
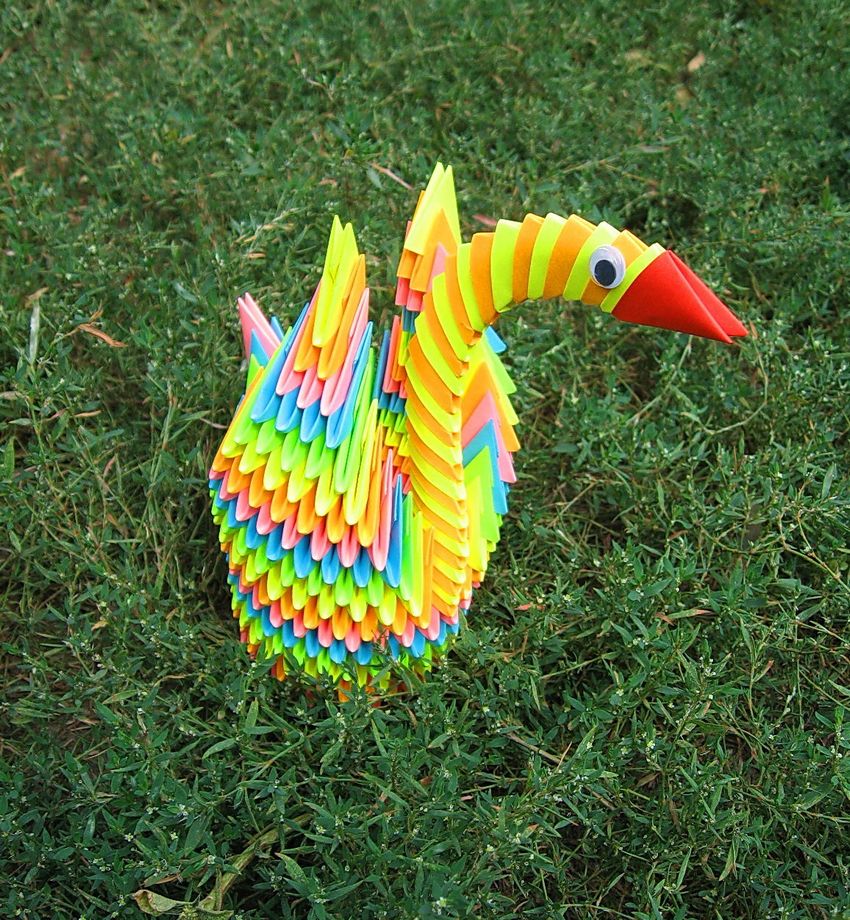
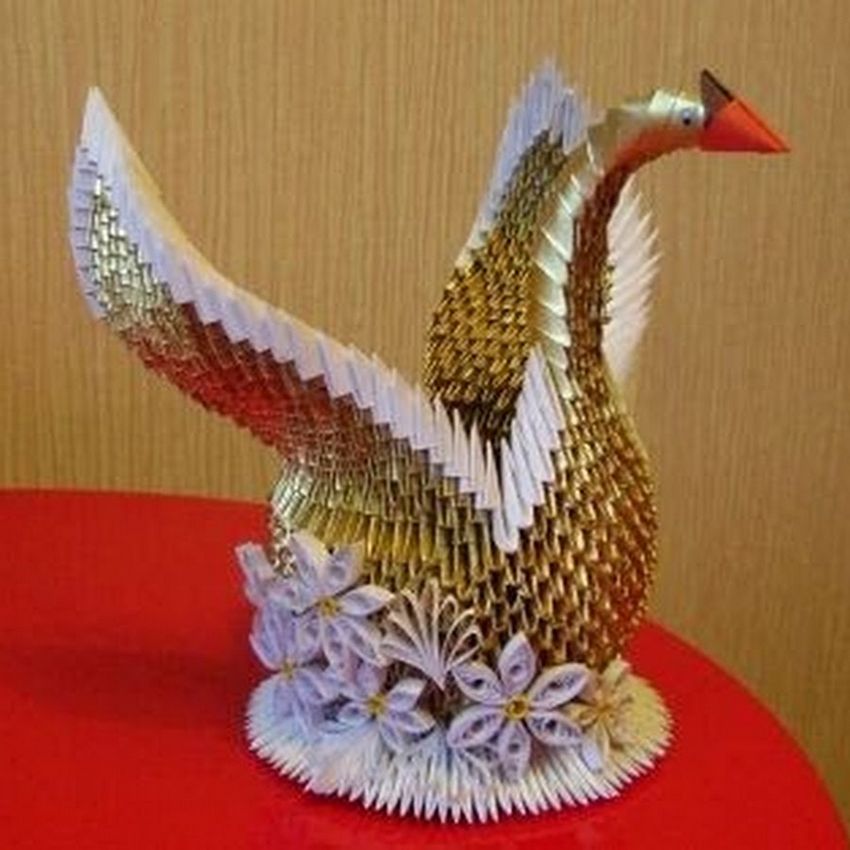
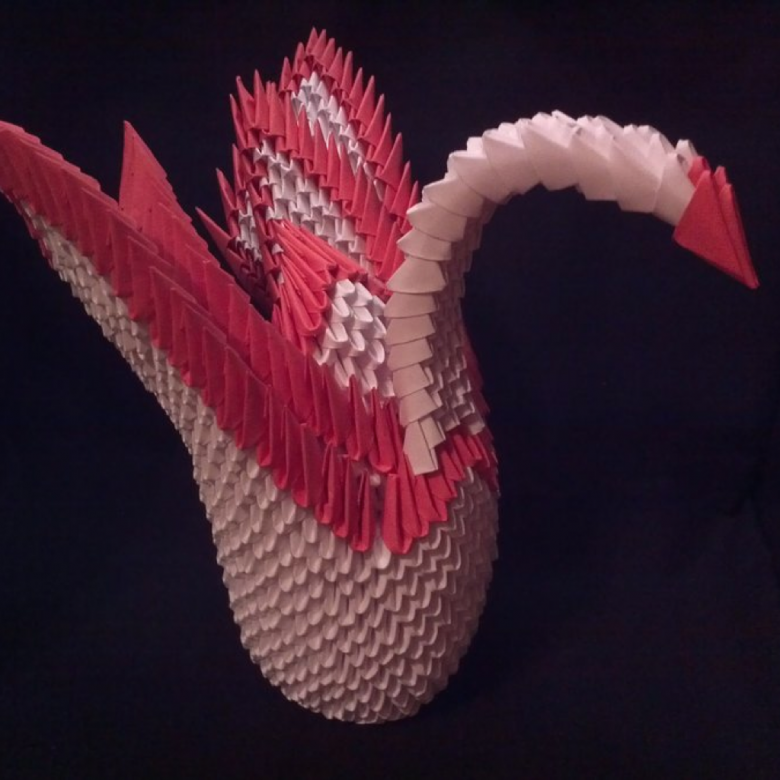
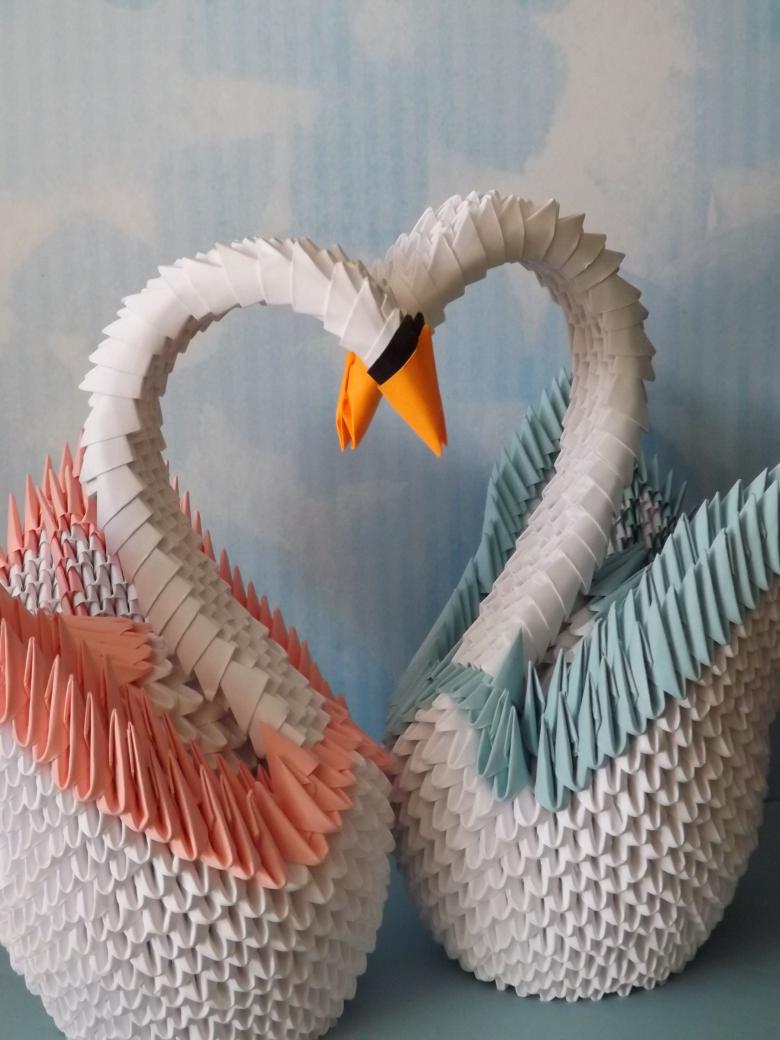
If you want to get a more colorful swan, then make a module of colored paper. Also very interesting models look in black and white.
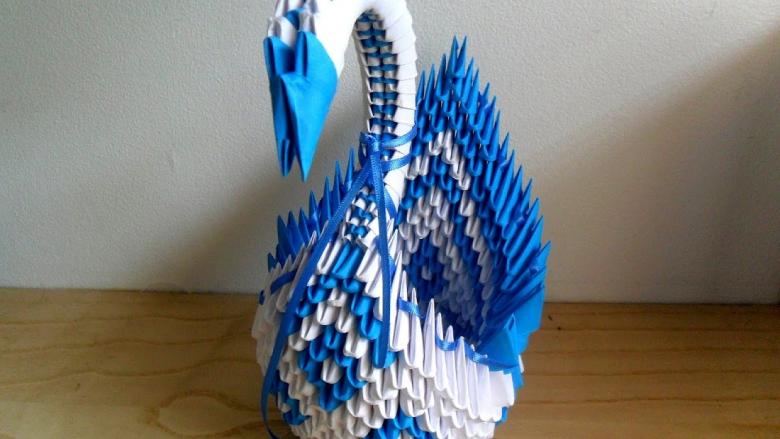
In general, imagination and skillful hands are your main helpers in this case!
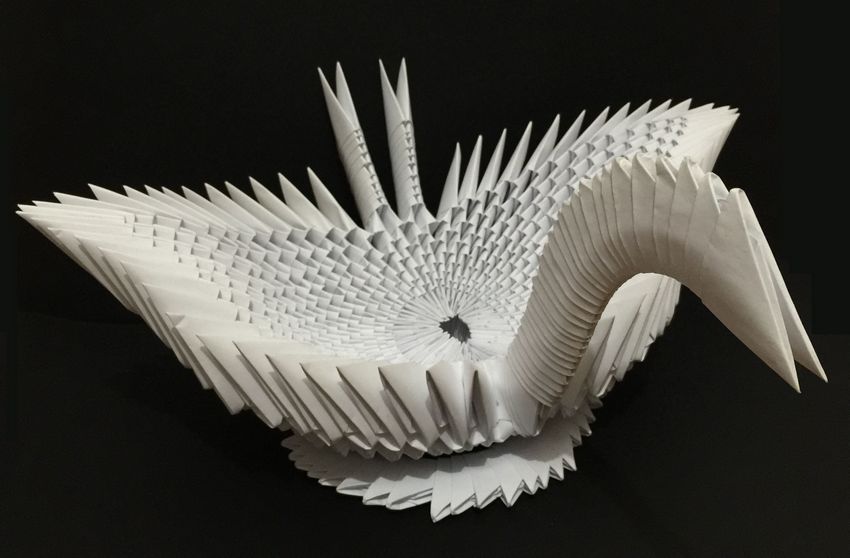
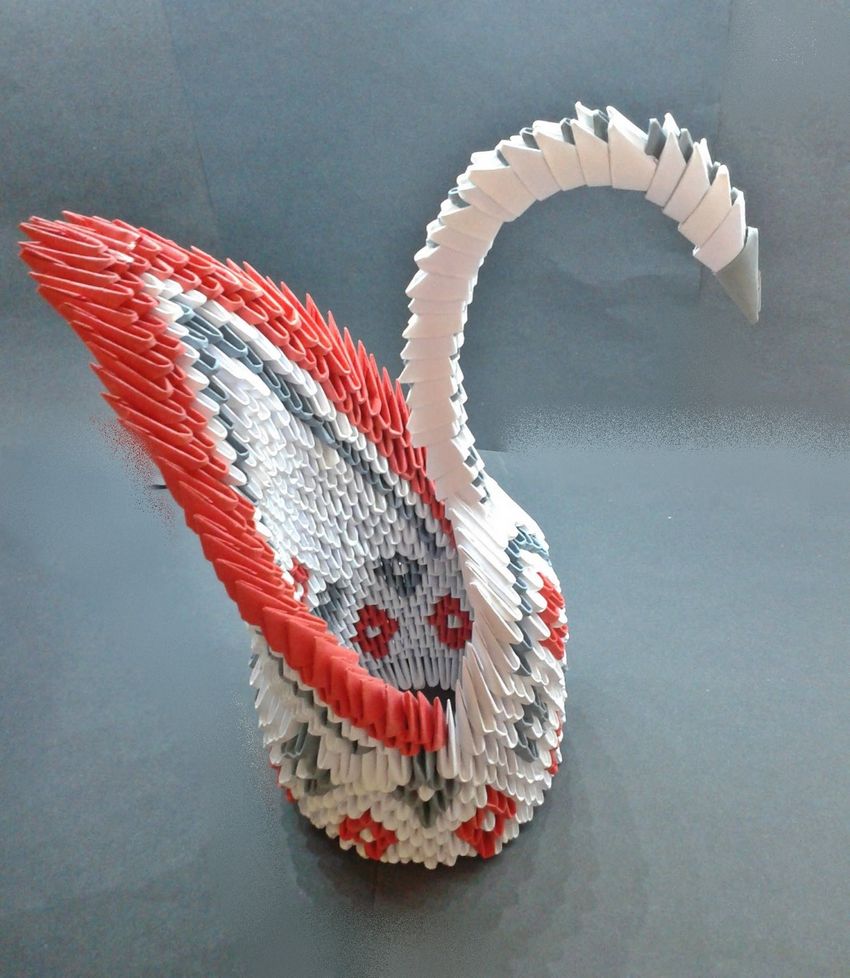
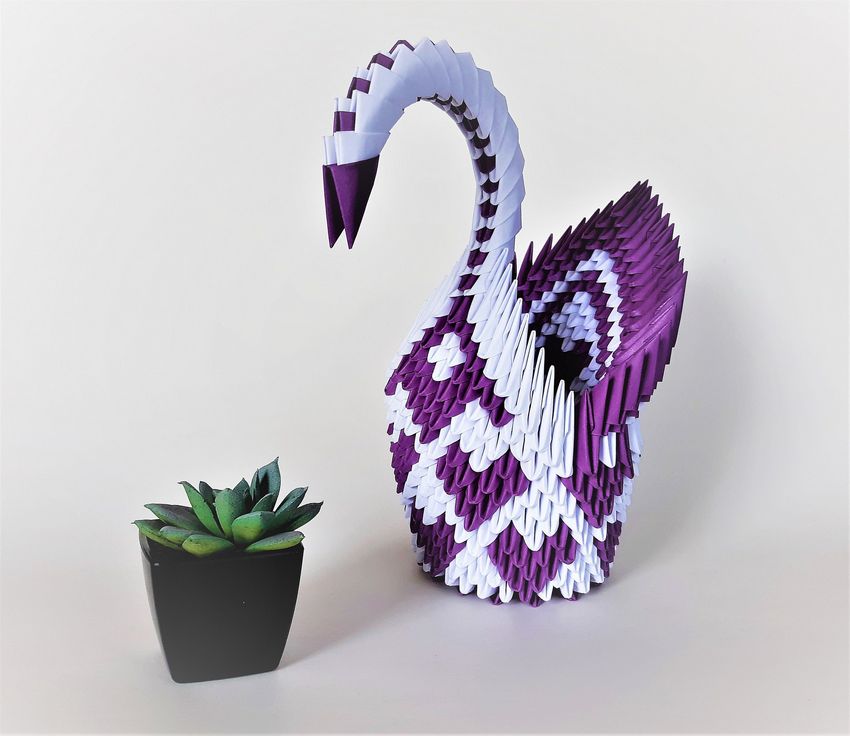
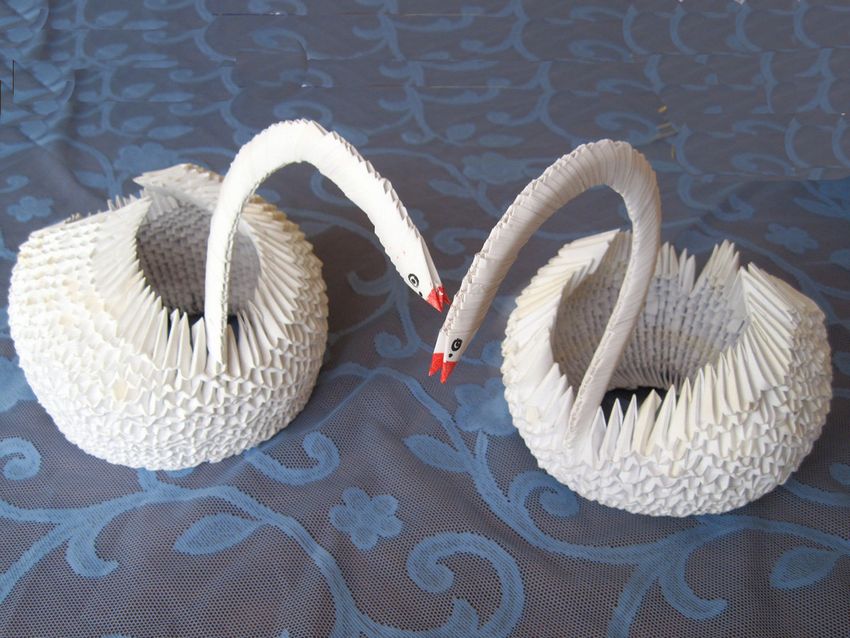
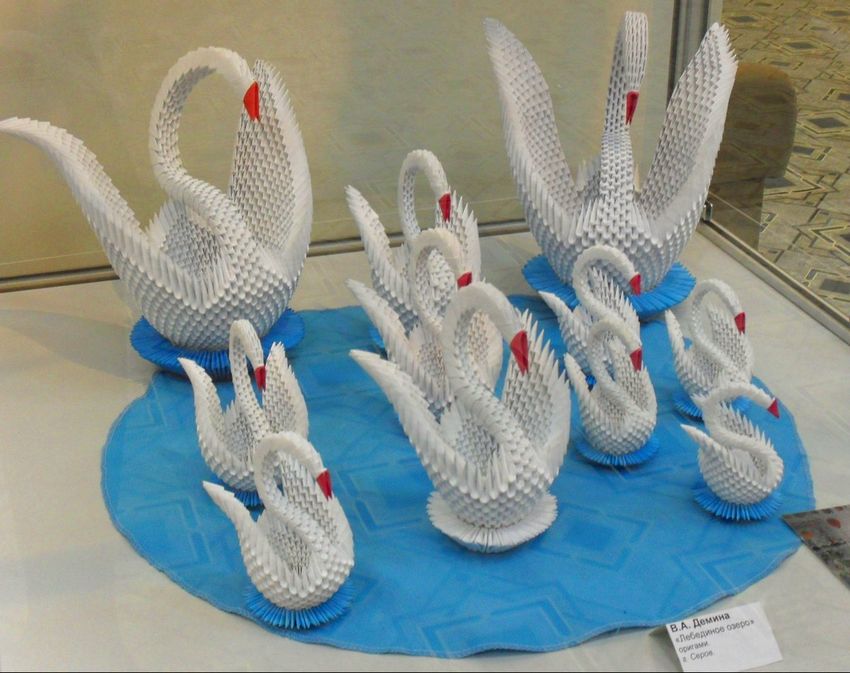
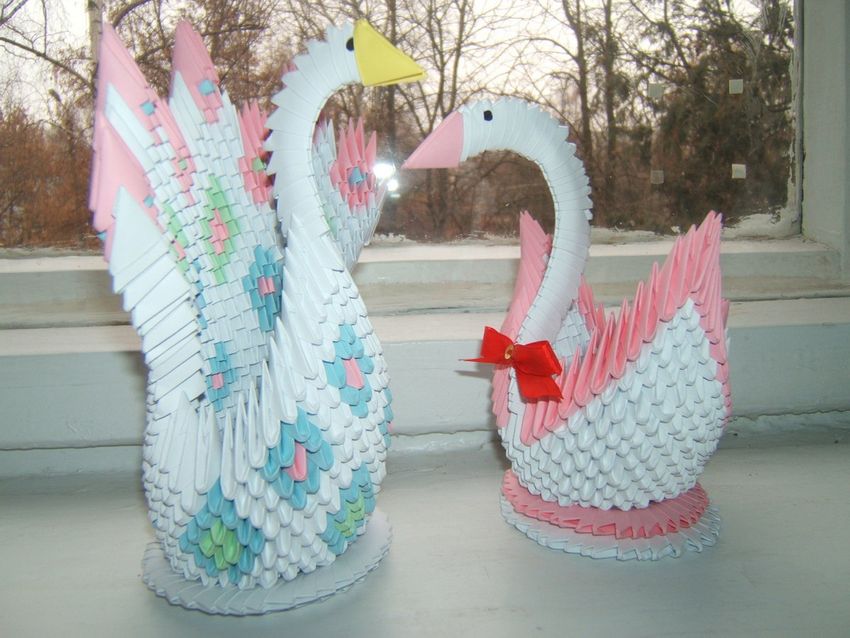
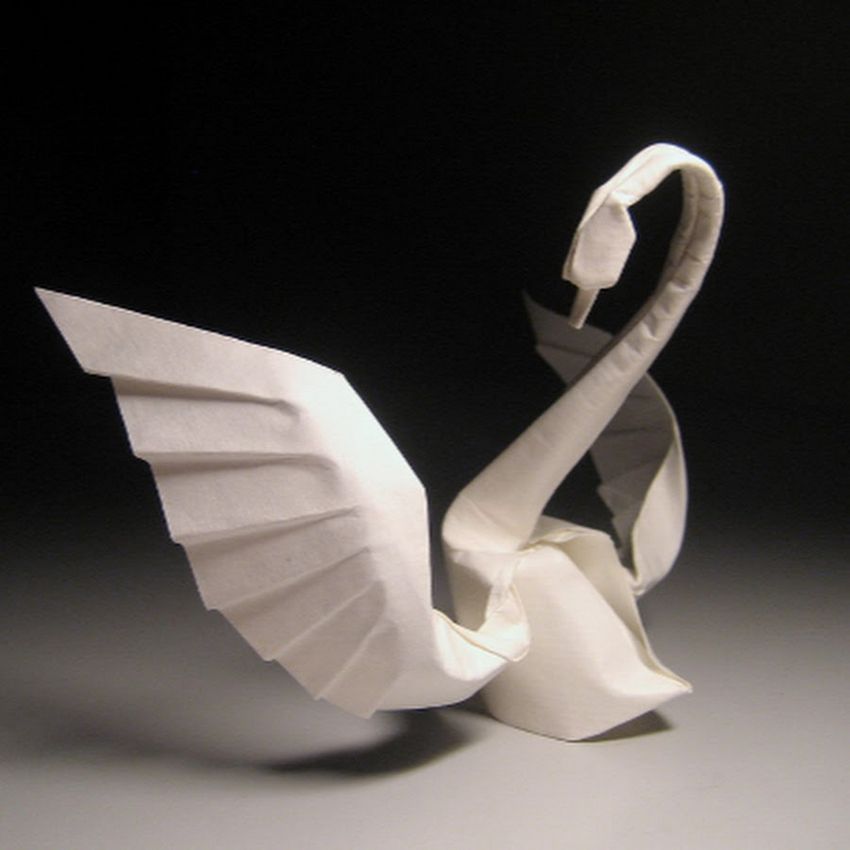
Photo ideas of homemade swan in the style of origami