How to make origami hare - the best ideas and options for the assembly of beautiful and original paper products
The store world is filled with a lot of toys for children of different ages, for girls and boys. Nevertheless, and children's crafts do not lose interest. Although toys are more attractive store, they can not replace handmade toys. In their manufacture, children acquire skills to work with tools, performing simple operations, which will remain for life.

Origami is the ancient Japanese art of constructing decorative things out of paper. Origami owes its origins to the invention of a Chinese dignitary named Cai Lun in 107 AD paper. However, the development of origami was not in China but in Japan. For the Japanese origami has become a kind of philosophy, it is associated with a lot of superstitions and legends.
Paper thanks to its manufacturability, low cost and security, more often than other materials are used to make children's crafts. It turns out beautiful things that children love and cherish then for many years. Consider a few examples of their making on the theme origami hare of paper.
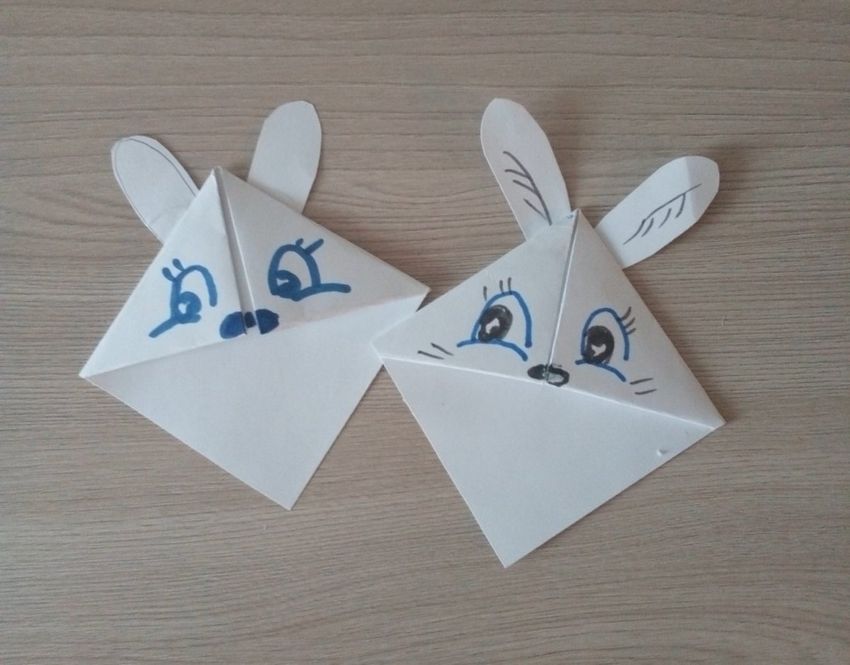
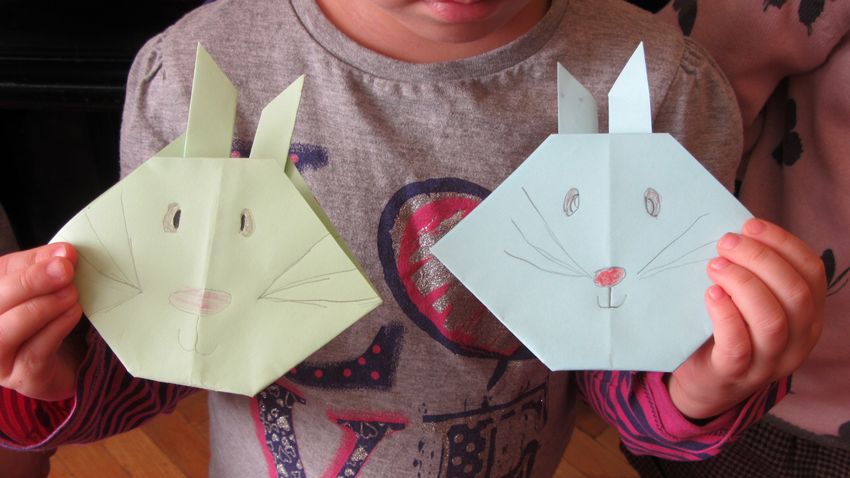
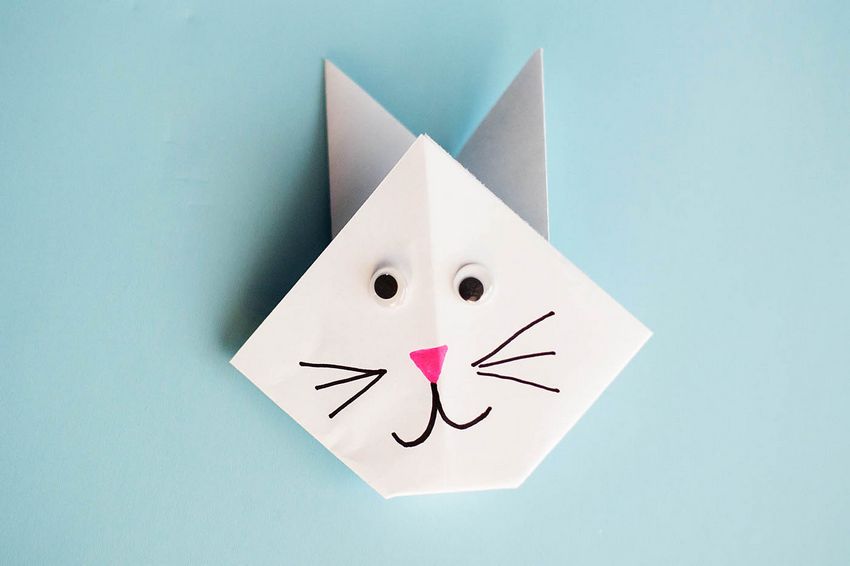
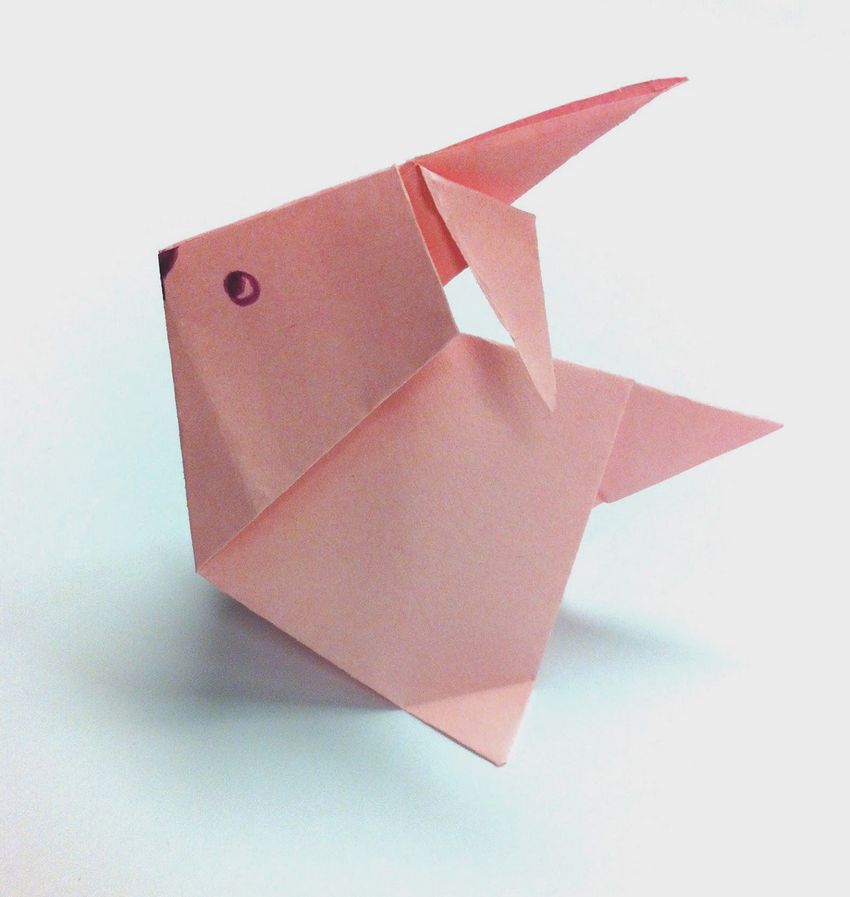
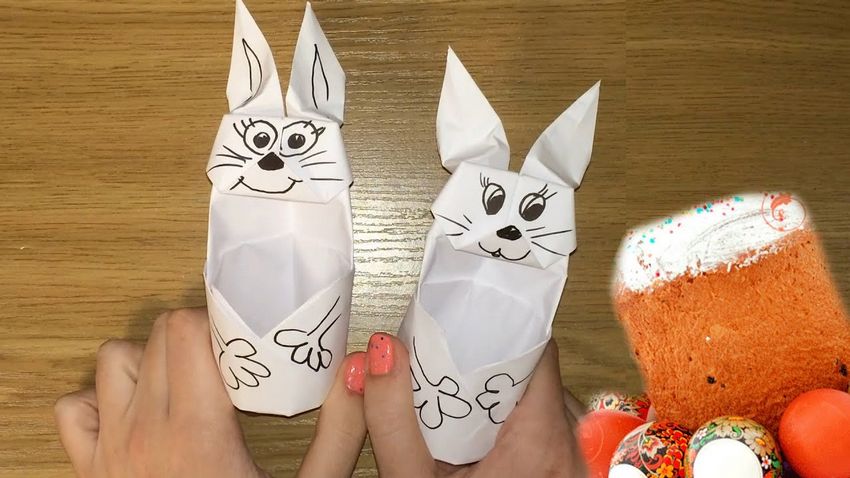
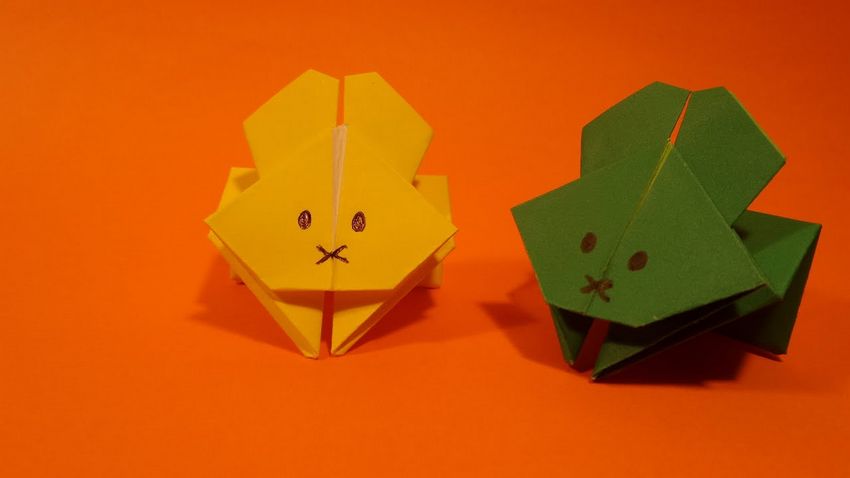
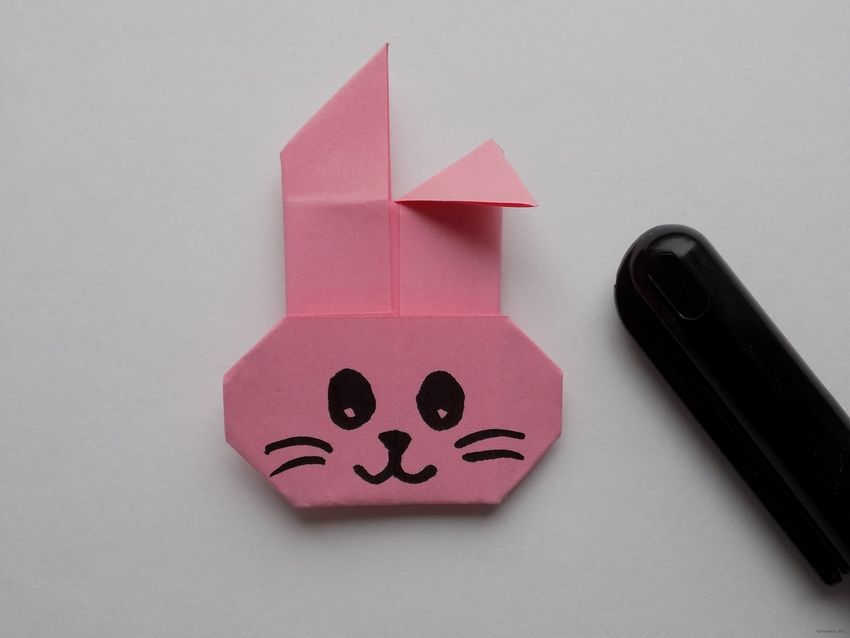
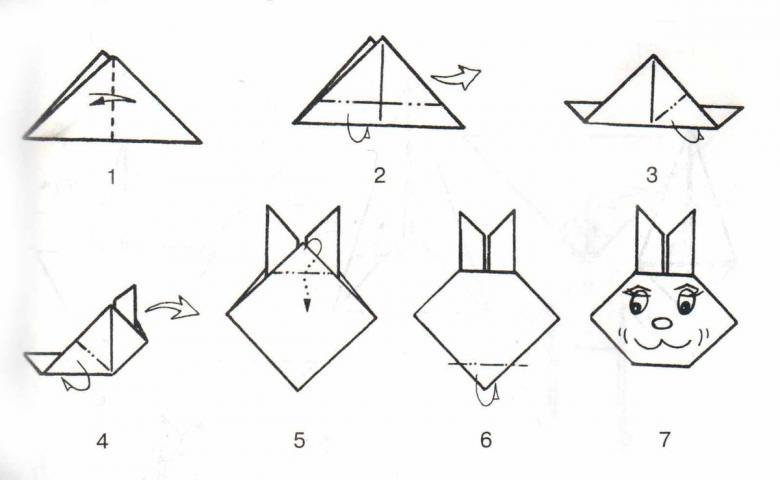
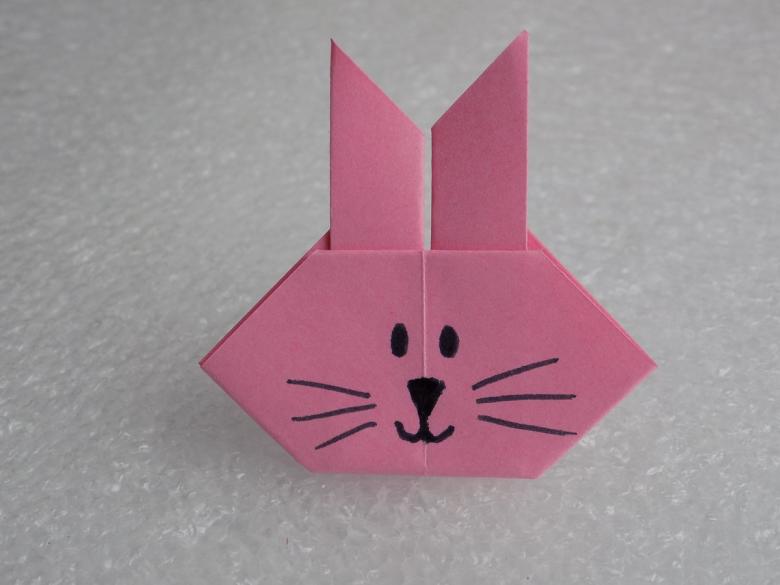
Funny hare face
This - a simple craft. It is suitable for young children in kindergarten. They are able to make a hare's face with the teacher. In elementary school, students can make this handicraft without assistance.
To arouse children's interest, the handicraft should be made in the brightest colors. For making it, you can use "kami" paper, or white sheets painted with the right color, or on a color printer. For work it is necessary to prepare scissors, pencils and paints.
Now take a square sheet of paper measuring fifteen centimeters. Put it with the background side down. Step back from the edges one centimeter and draw a square with a ruler, which will accommodate the drawing.
In the upper left corner draw a hare's face. Draw a line from the right corner to the left corner, and in the strip above it draw a pink part of the ears bunny. To make the handicraft impressive, color the sheet with a drawing with paints, pencils or with a stamp. Now, to make a toy, do the following steps:
- Fold the workpiece with opposite corners in half so that you get a triangle.
- Turn the workpiece on the top line, where the ears are drawn.
- Fold the "valley" along the central axis. With the drawing of the muzzle should be outside.
- Expand the handicraft.
- Right and left corner lift to the top of the triangle.
- Flip the bottom of crafts.
- Similarly, proceed with the upper corner.
Make a bunny ready. The toy can be as an independent souvenir, and decoration for a postcard or other items.

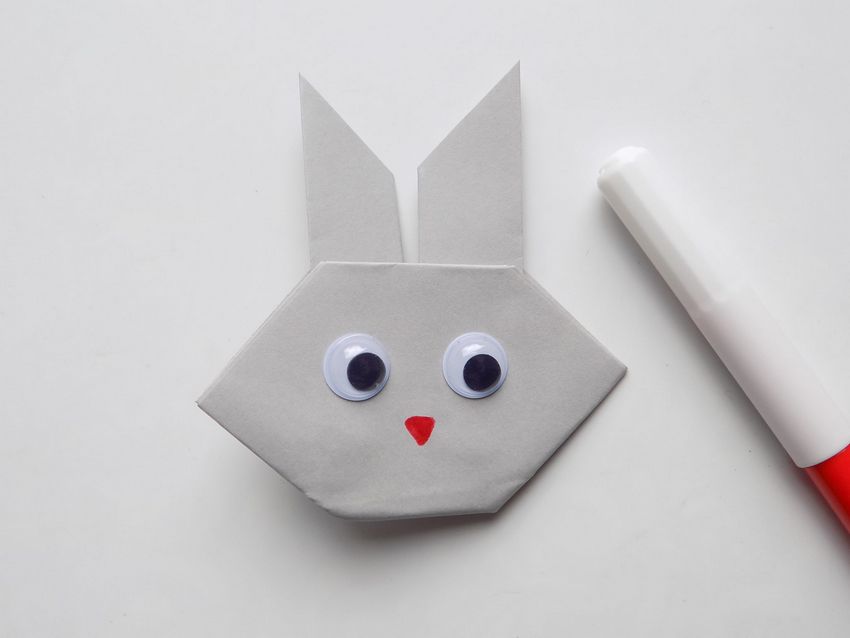
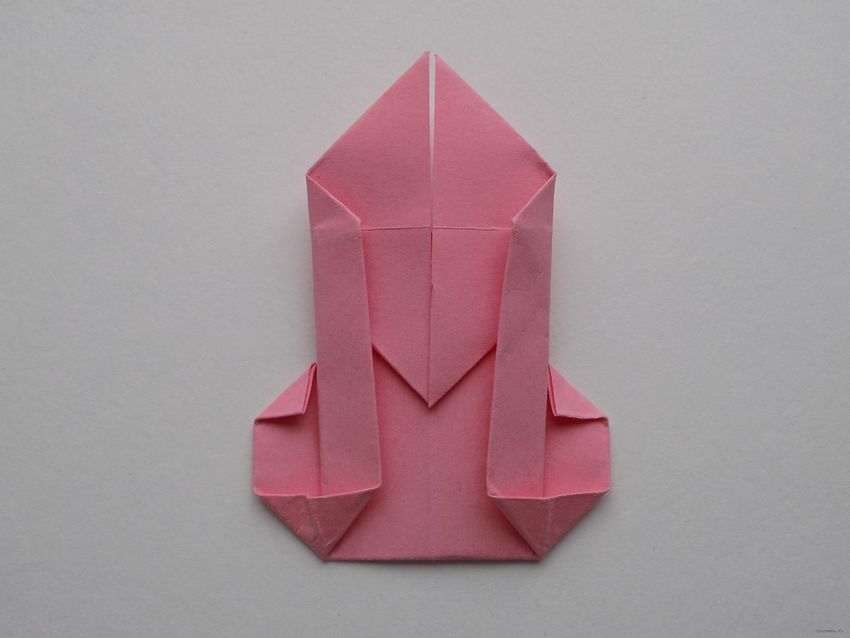
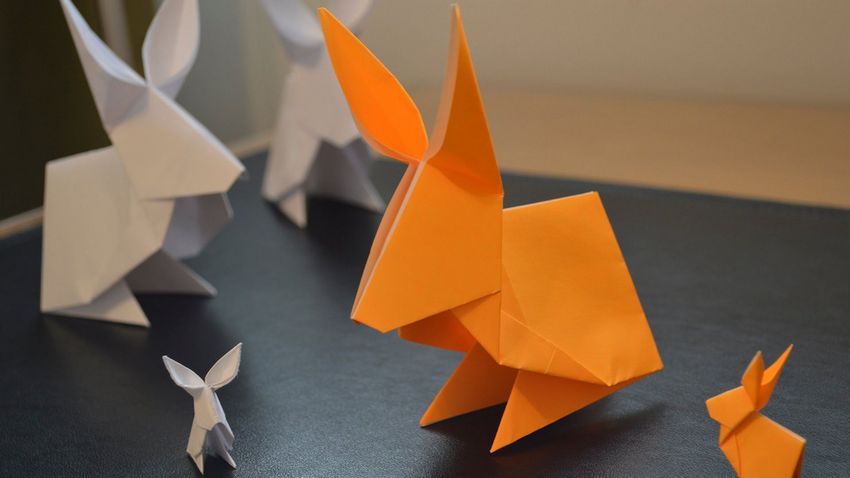
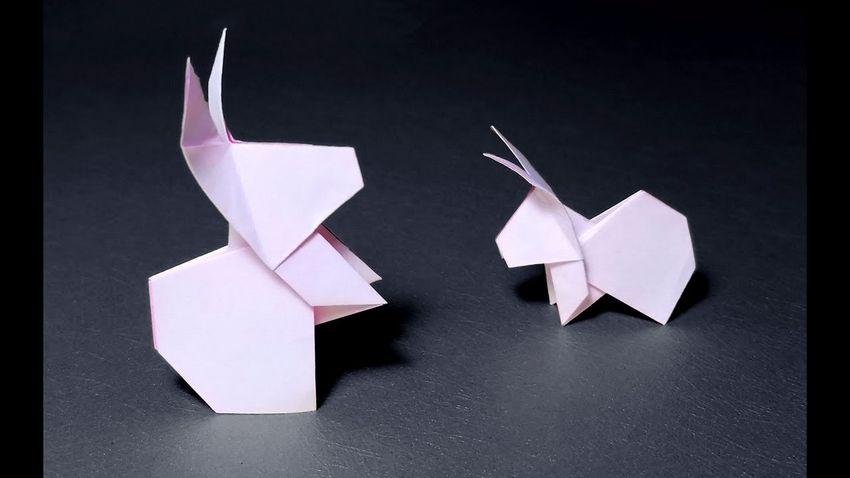
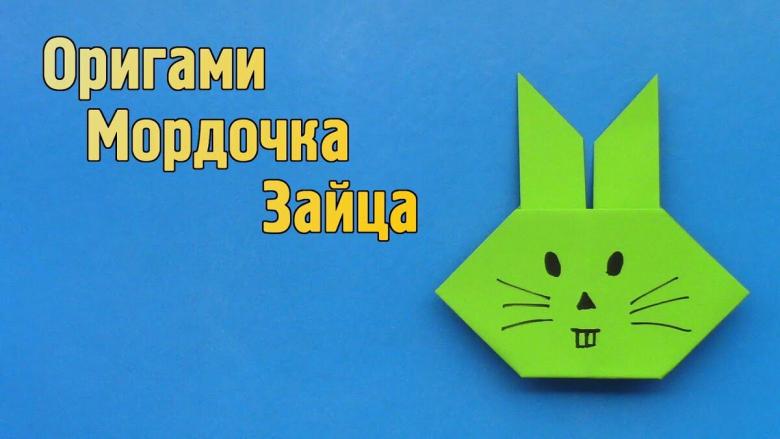
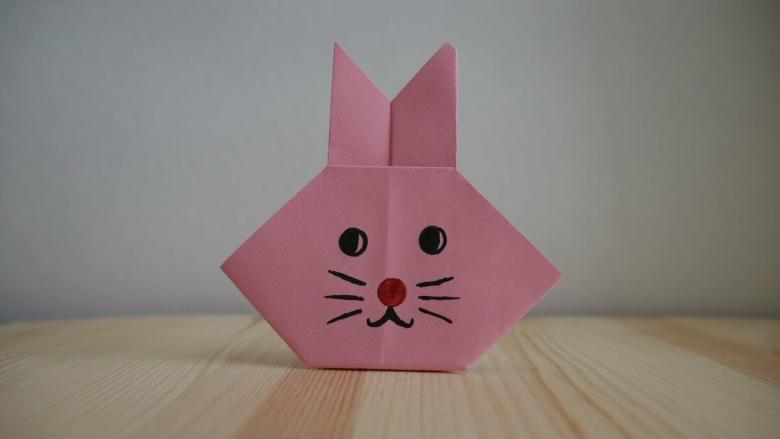
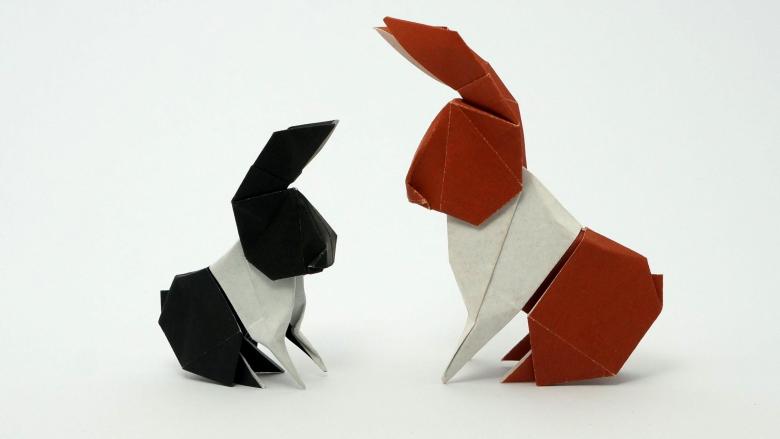
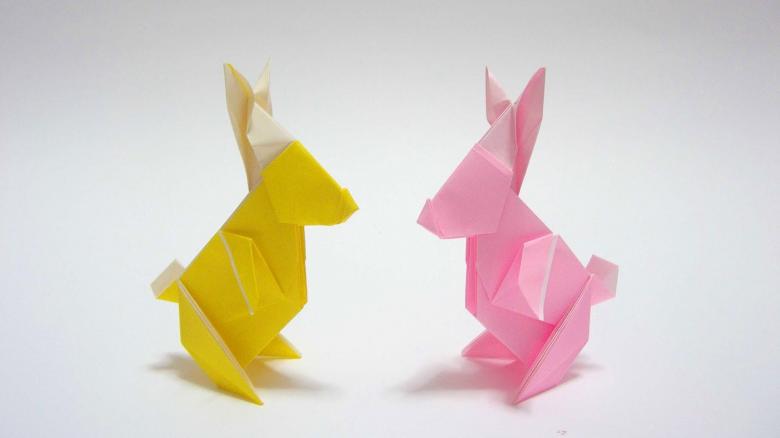
A simple model of a small bunny
To make a small origami bunny need sheet of paper 15 by 15 cm. If this size sheet does not appear, you can take a sheet of another size. If the sheet falls smaller, you get a small hare, but if a larger, then the hare will be big.

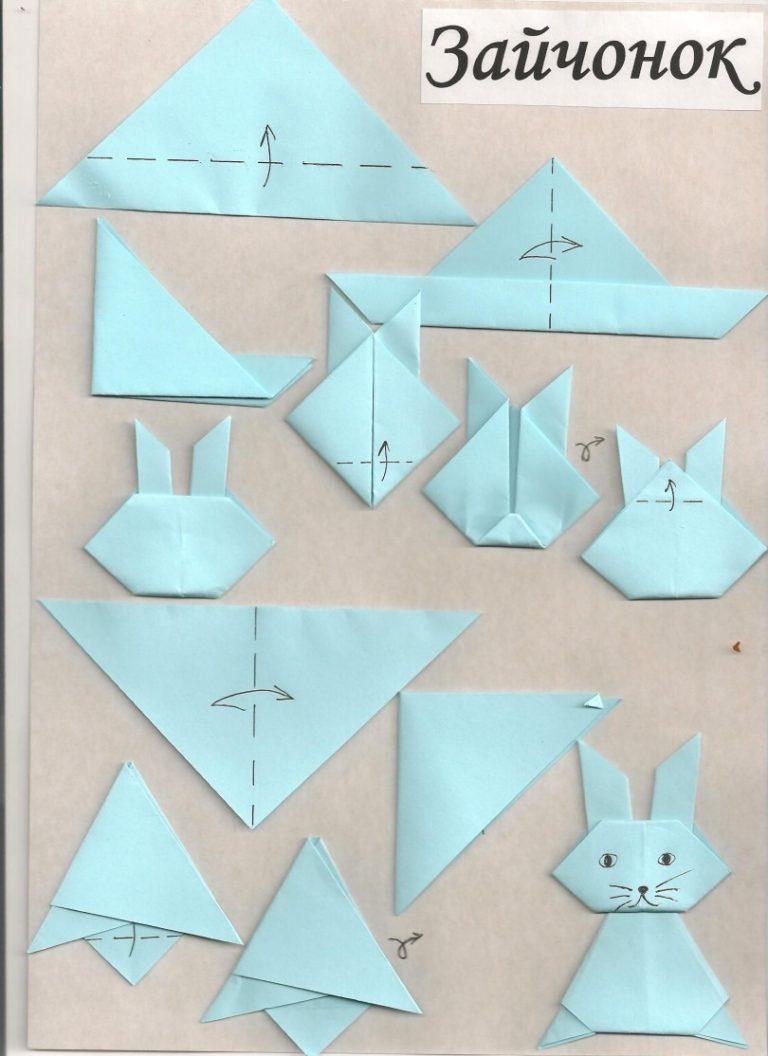
Put it askew at one angle to you. In this position the sheet is a geometric shape of a diamond. Then do the following steps:
- Fold the rhombus with two opposite corners, one opposite you, in half. You get a triangle. Spread the fold with the palm of your hand to fix it. Unfold the triangle, and return the sheet to its original position. Now fold the sheet so that the two sides to your right lie on the fold line of the triangle. The result will be a quadrilateral.
- Make an incision of three centimeters from the corner of the right along the line of the fold of the quadrangle. Now fold the figure along the line of flexure, so you get a triangle.
- Trimmed upper pieces are parts of hare ears, bend them up.
- Unfold the figure and fold the back of the triangle inside.
- Draw a hare eyes, muzzle, whiskers, and spread the ears. Handicraft ready.
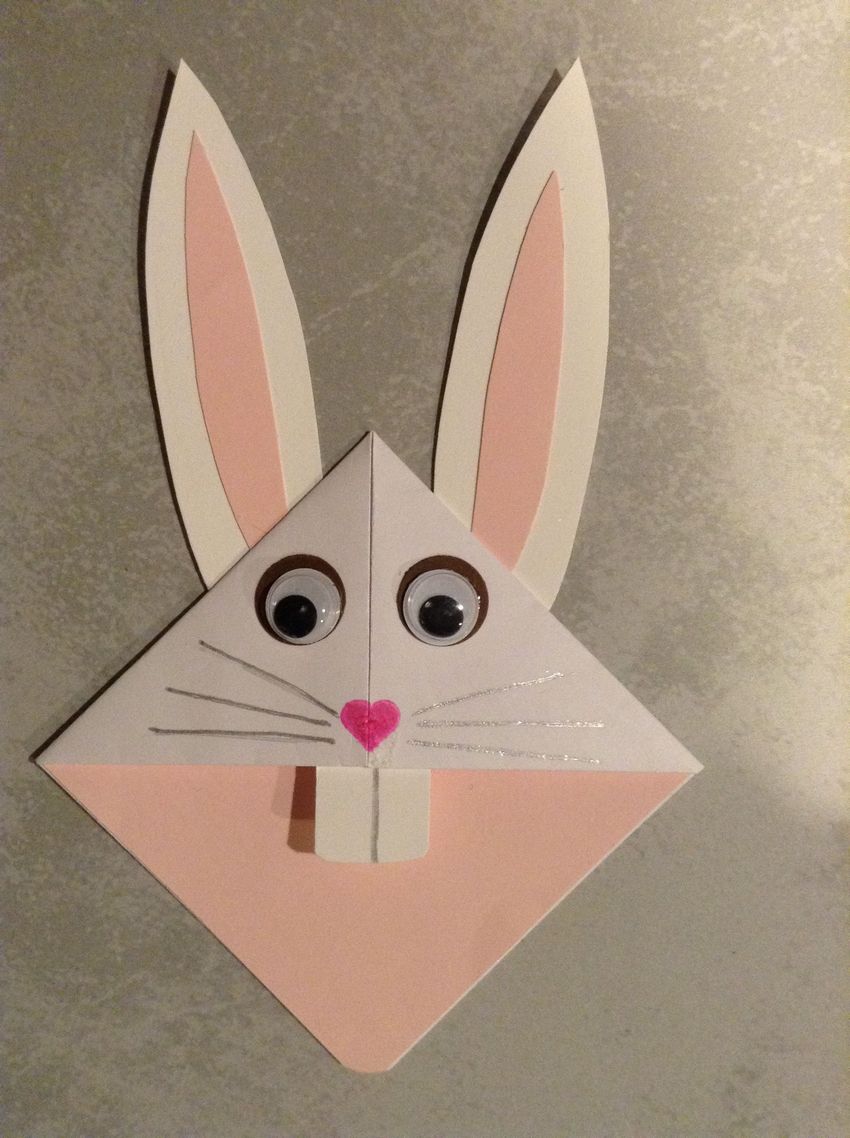
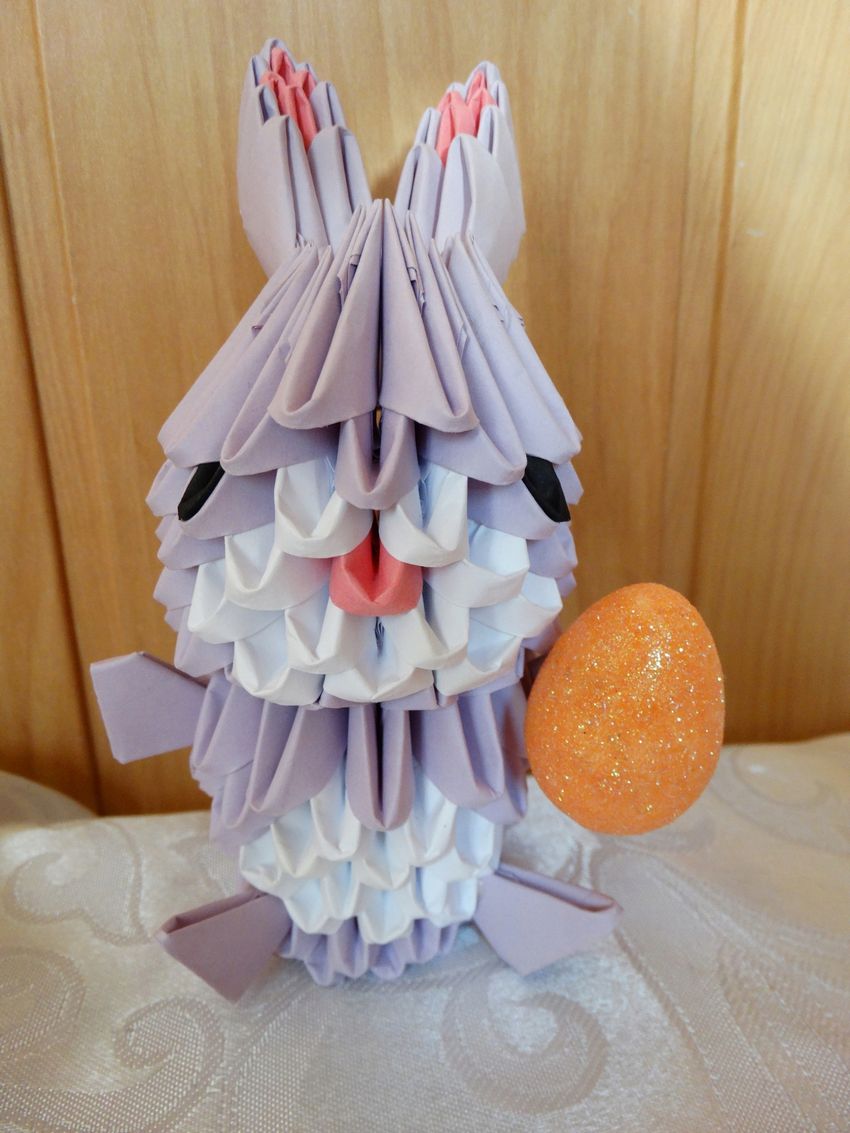
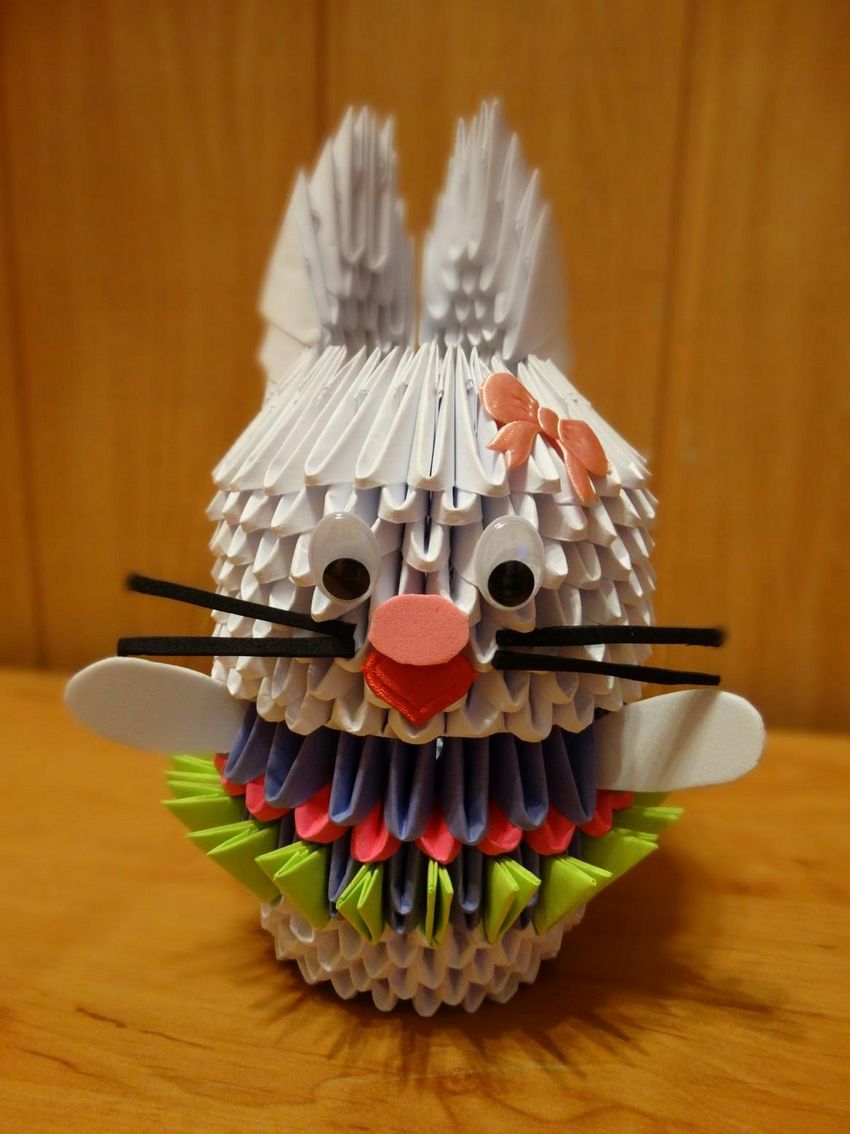
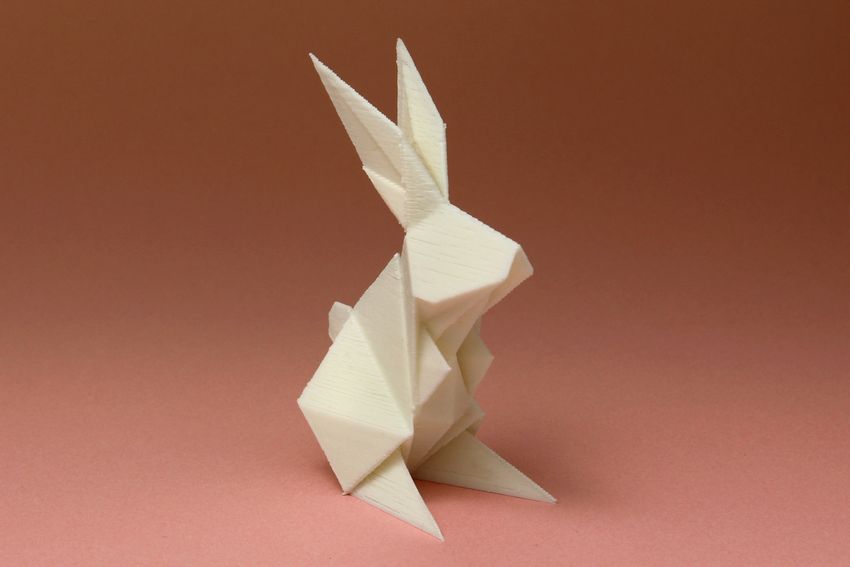
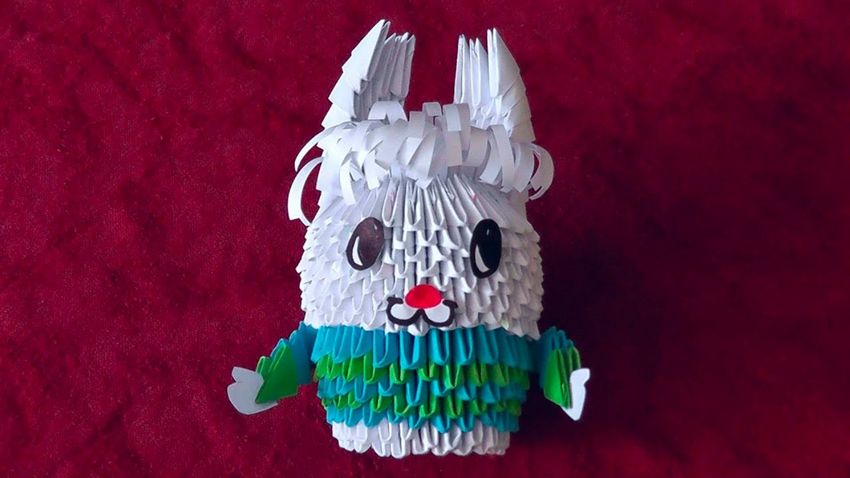
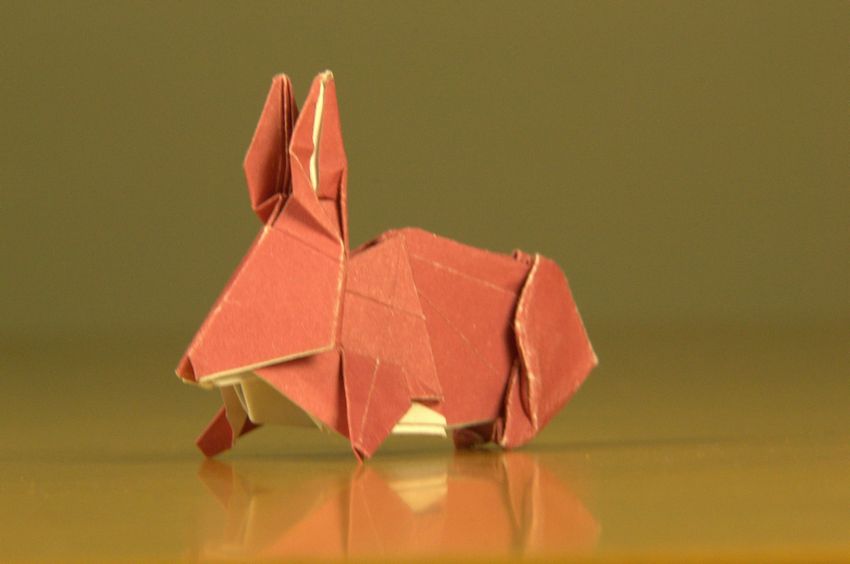
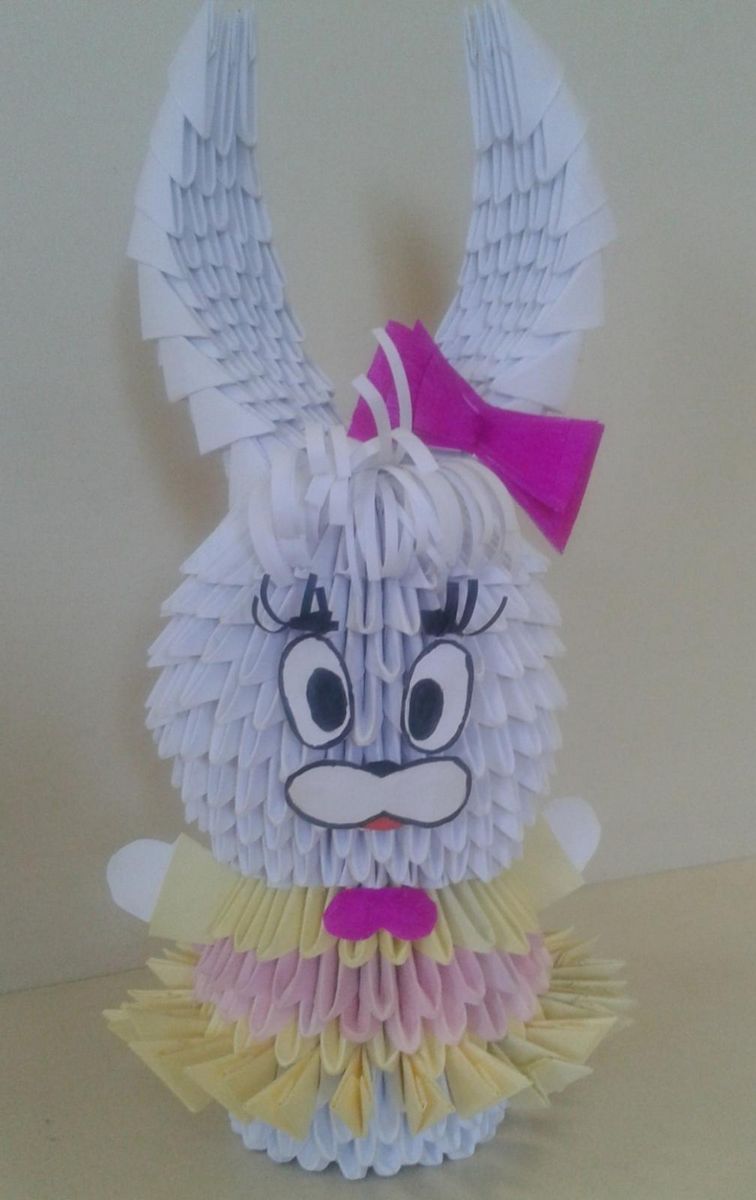
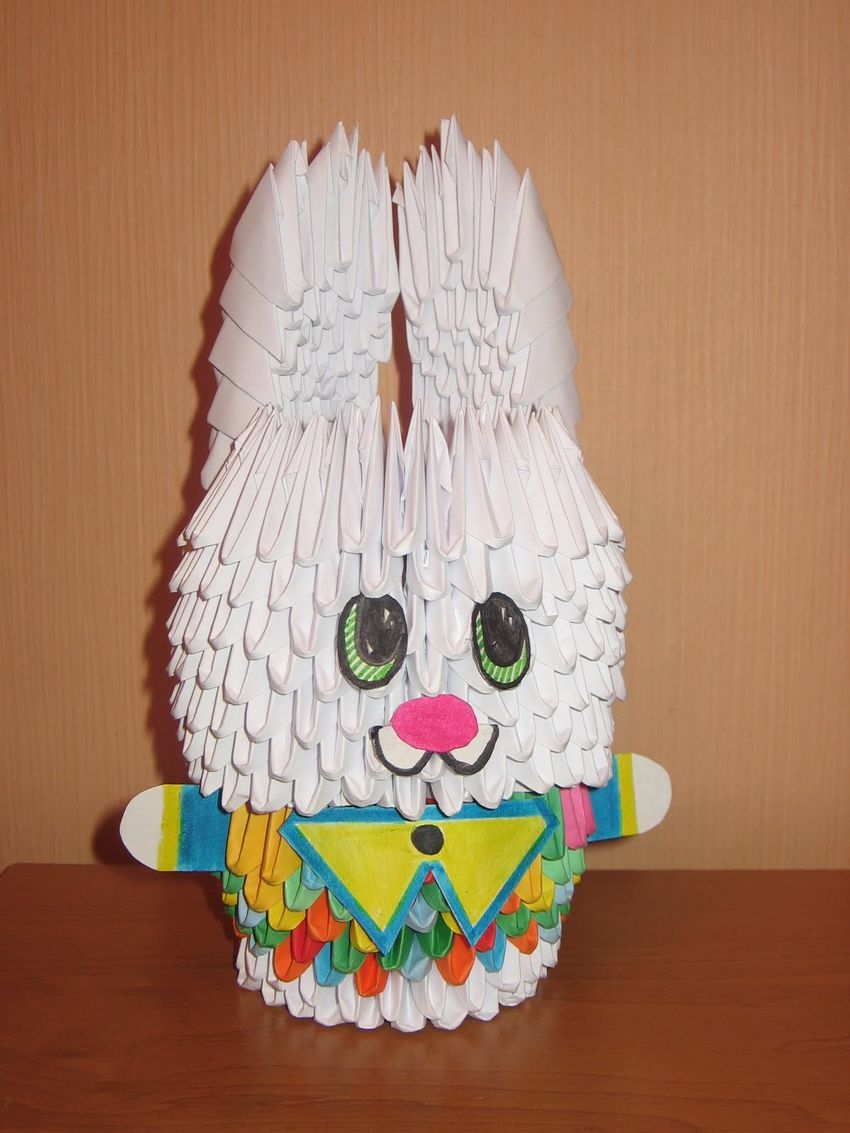
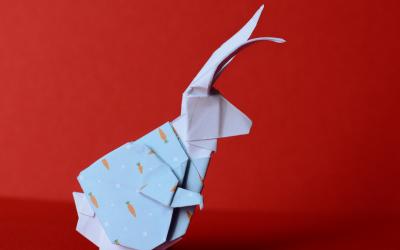
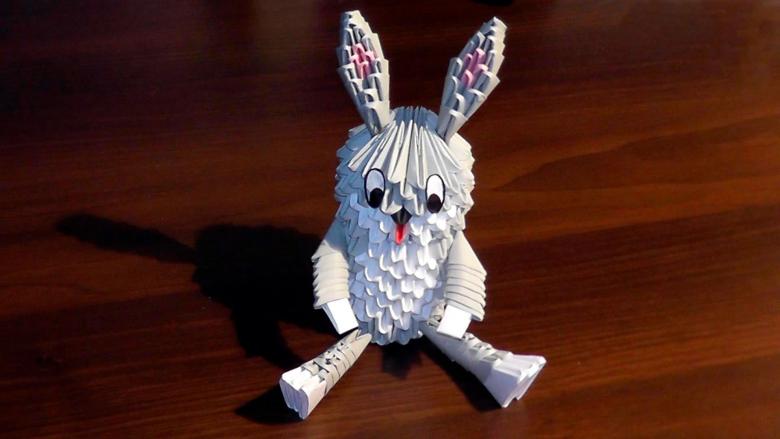
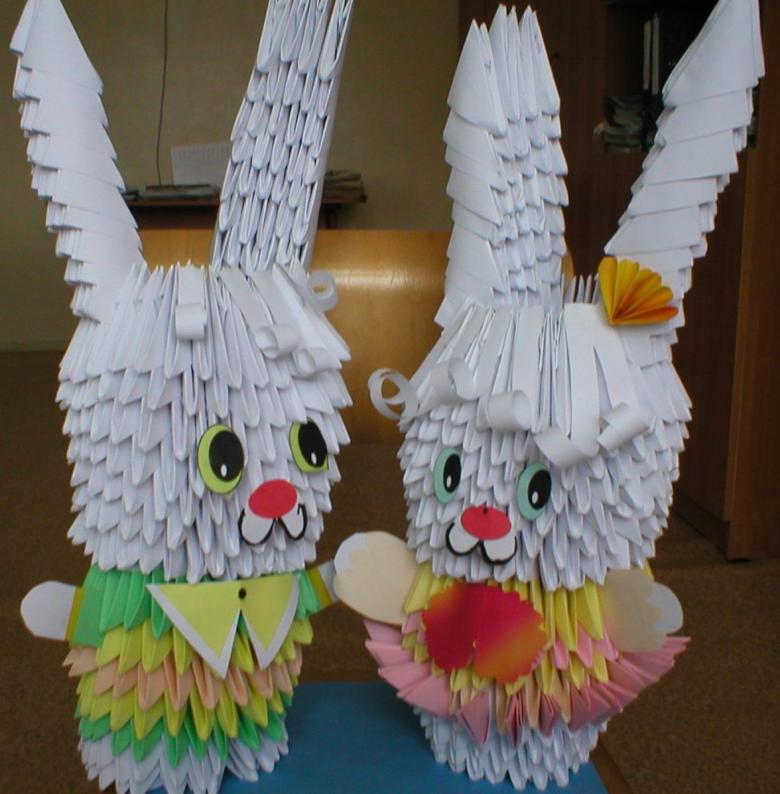
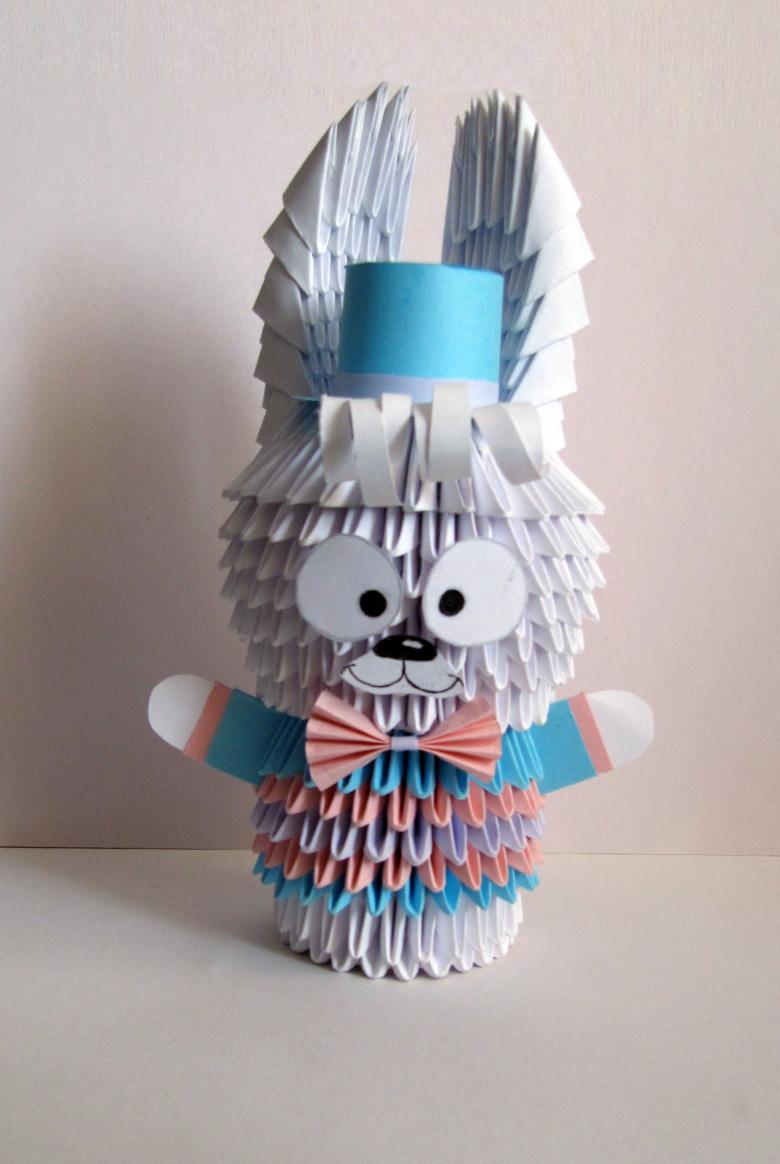
Origami hare volume crafts
This is the original craft. It is not only an attractive appearance, but it is even with a secret - inside the hollow, where you can put all sorts of presents: candy or some fun things, and then give the bunnies to friends or hang on the Christmas tree.
Our three-dimensional origami hare with step-by-step instructions, as its scheme is more complicated than previous models. To make a handicraft, take a two-colored paper with pink on one side and white on the other, 20 cm by 20 cm.
Place the sheet in front of you with the pink side facing up, fold it twice in half, then you get a square of side 10 cm. Unfolding the sheet, get the lines of inflection cross. Next, follow these steps:
- Fold the sheet with opposite corners once, you get a triangle. Fix the line of inflection with the palm of your hand. Then straighten the triangle and fold the remaining two corners and also fix the line of curvature.
- Straighten the sheet and put the white side up. You will see four curves. Two divide the sides of the square in half, sticking out an edge to you, and two divide the corners, sinking the edge inward. Sinking parallel to you protruding edge inward on both sides, so that touching recessed lines connecting the corners. The result is a triangle.
- Now lift each corner at the base of the triangle to the top up. The result is a rhombus.
- The diamond fold the outer corners of the left and right inside to the middle. Inside, they formed a pocket, and the top were free corners.
- Each corner of the bend on the diagonal and hide them in the pocket.
- Now flip the workpiece and lift the corners at the base, so that this side, too, turned into a diamond.
- Then, just as described above, bend the corners of the diamond to the center, but inside, for this:
- Turn the right half of the diamond on its left side, bend a corner to the right, and then turn back the right half;
- Left half of the diamond flip to the right side, bend the corner to the left, then the left half flip back.
- Here, by analogy with the other side of the corners are also free, they have to bend wide, they will be the ears of our Bunny.
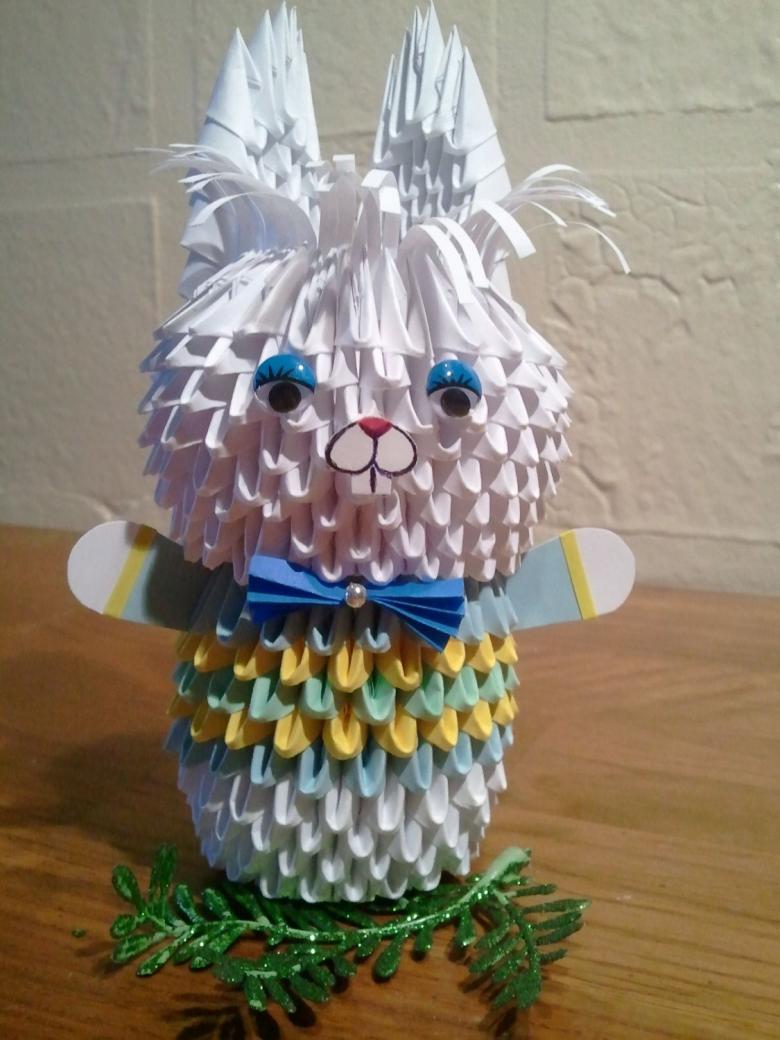
- Now we just need to "breathe" in the life of the rabbit, through the hole in the nose inflate the rabbit.
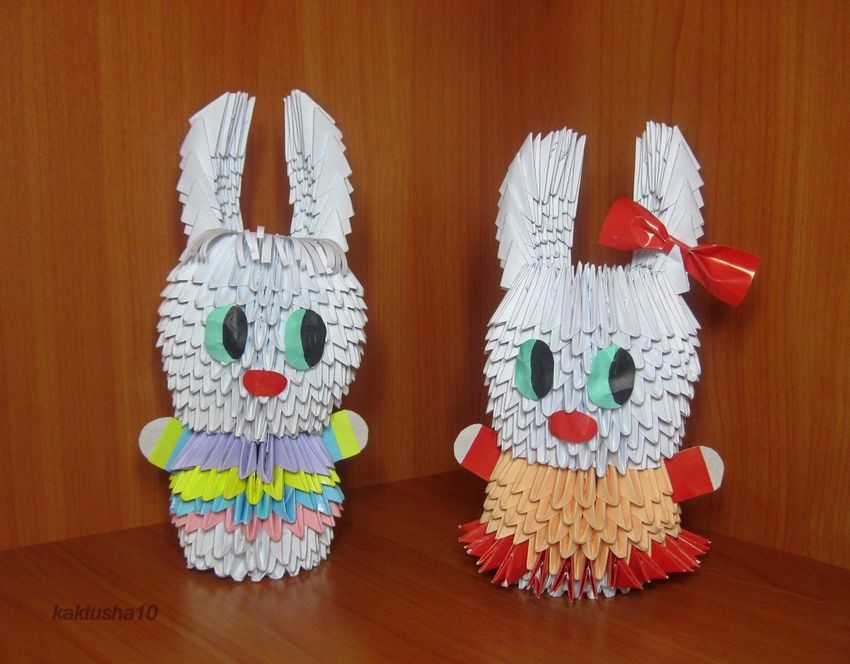
And at the end we have to spruce up the bunny a little. Spread his ears, the bunny is white and the ears in the middle are red. You can glue ready-made plastic eyes to the bunny or draw them with a felt-tip pen. Doris nose, antennae and handicraft ready to please kids and adults.
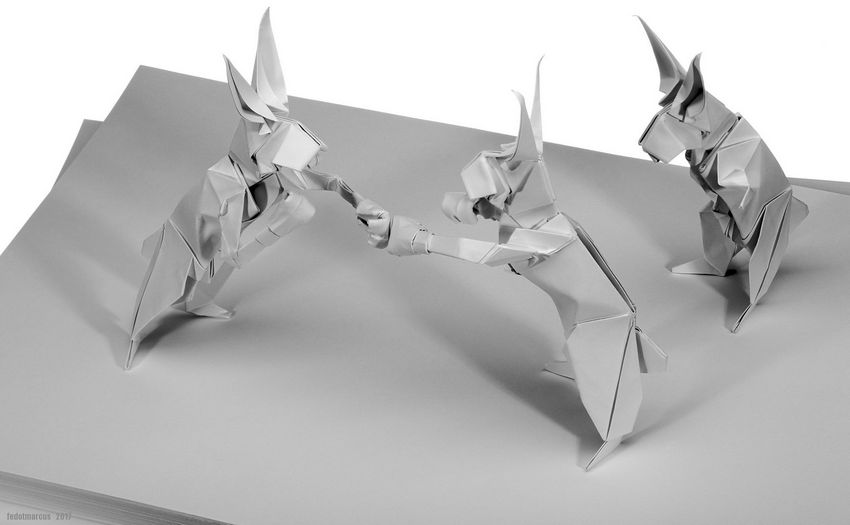
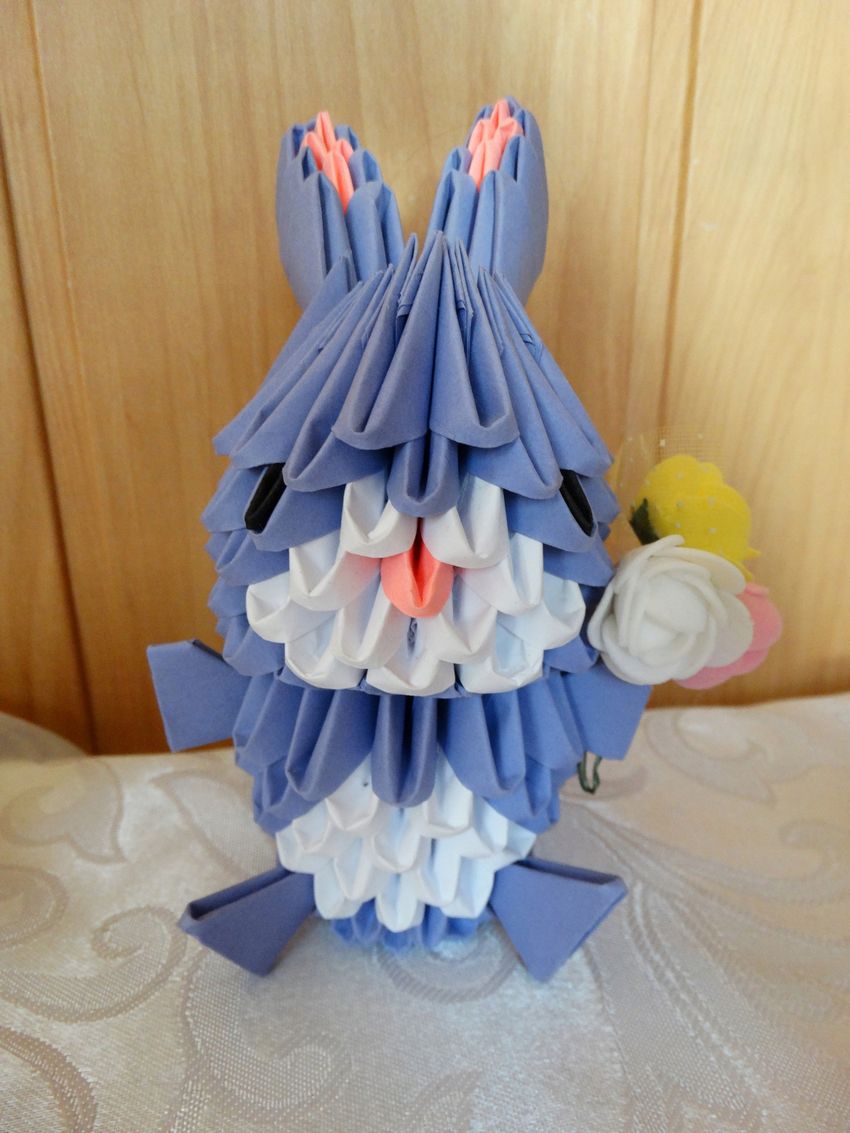
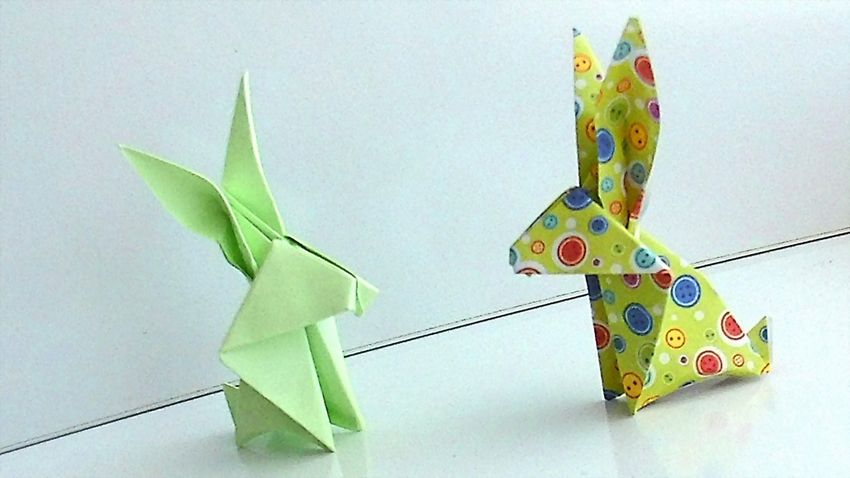
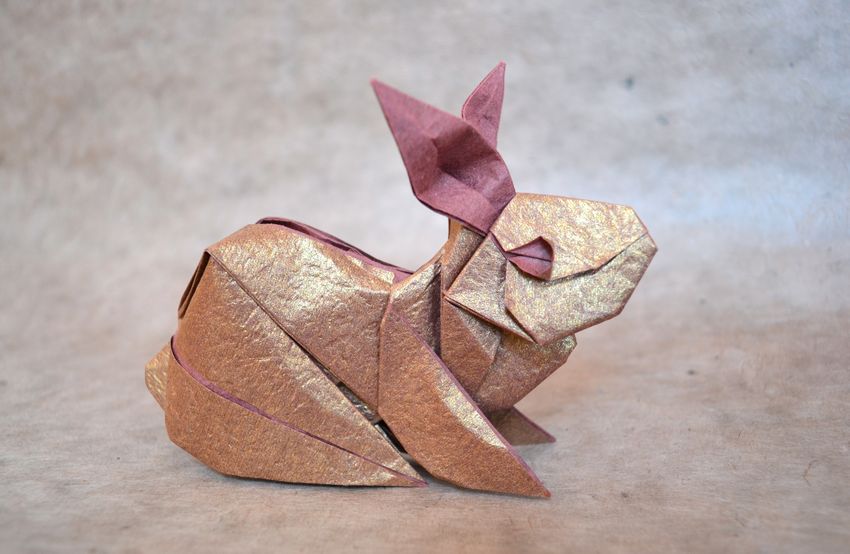
There are countless more complicated models of origami hare of paper, the scheme that came with them, of course, facilitate their implementation. But adults still need to explain these schemes for children.
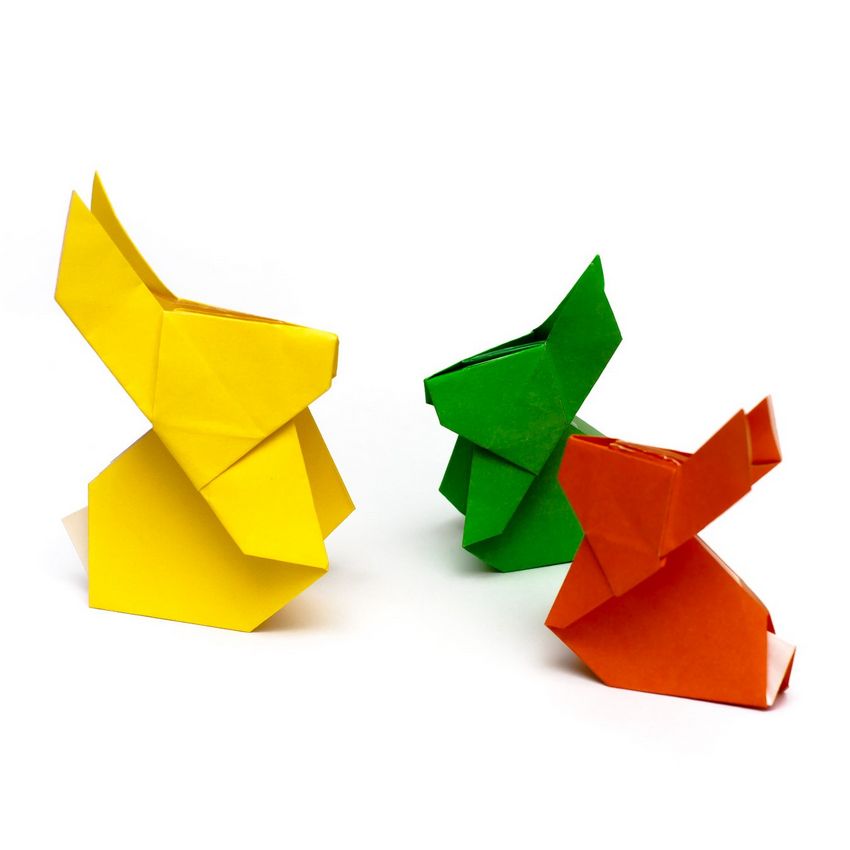
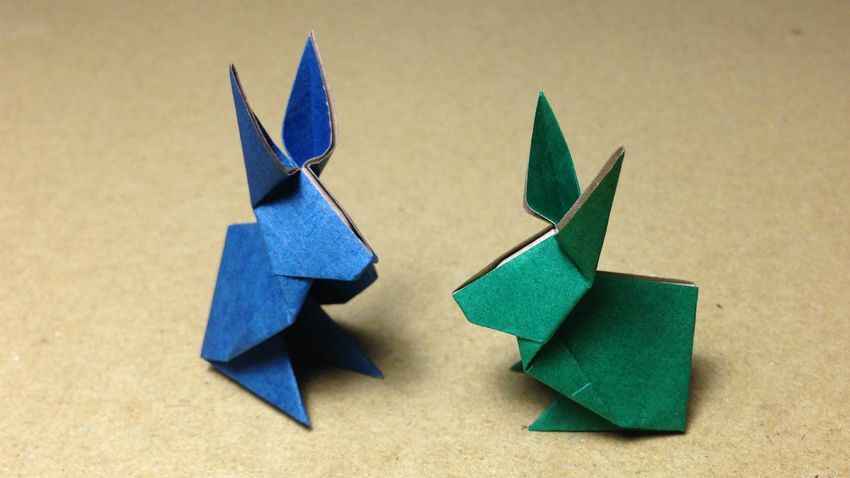
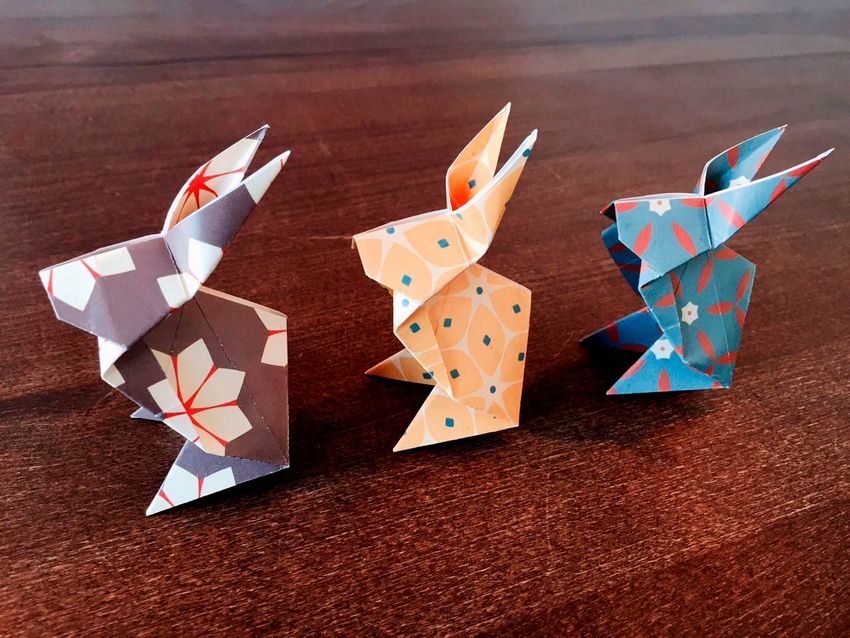
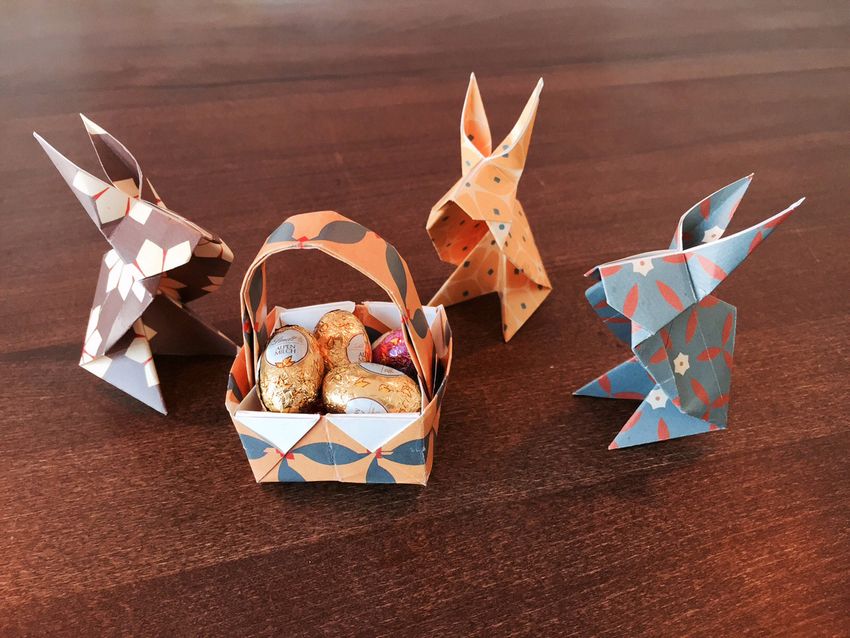
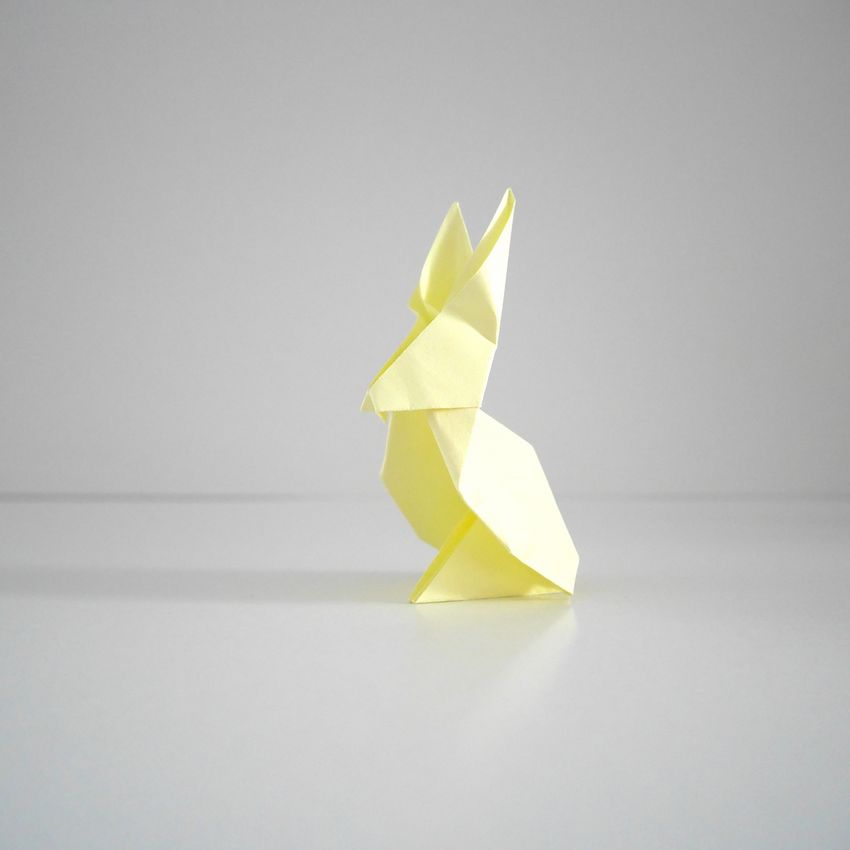
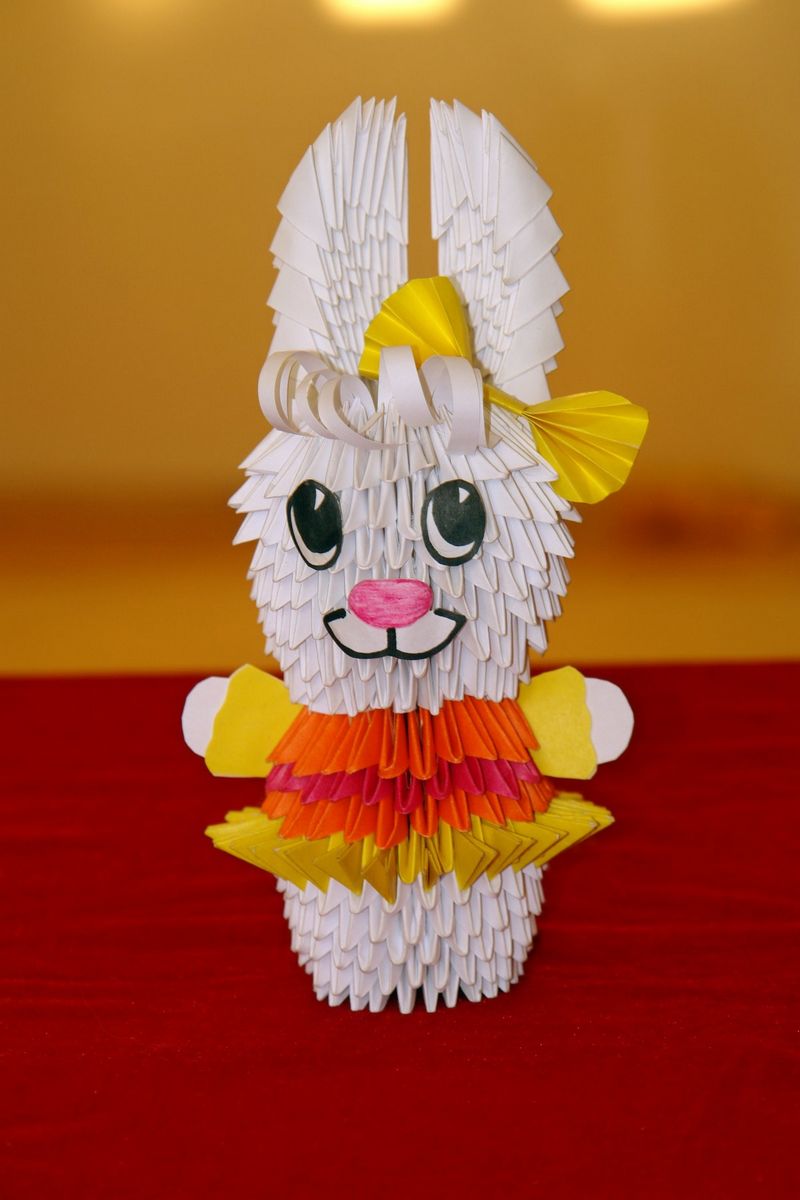
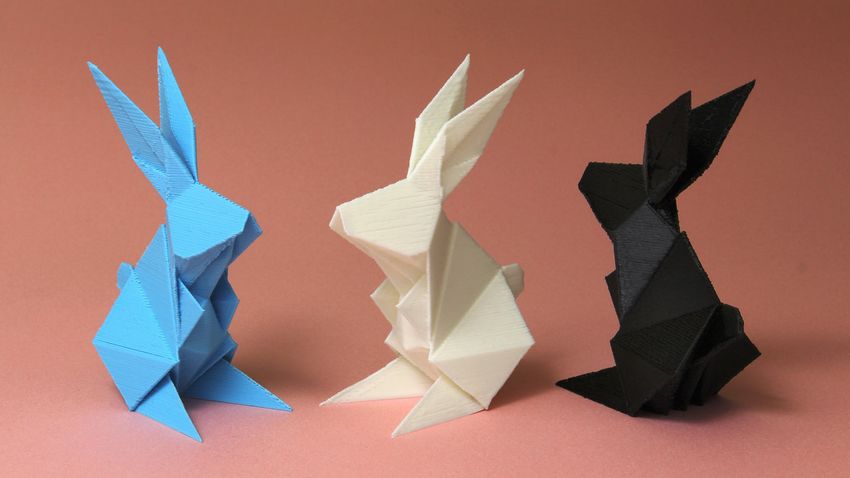
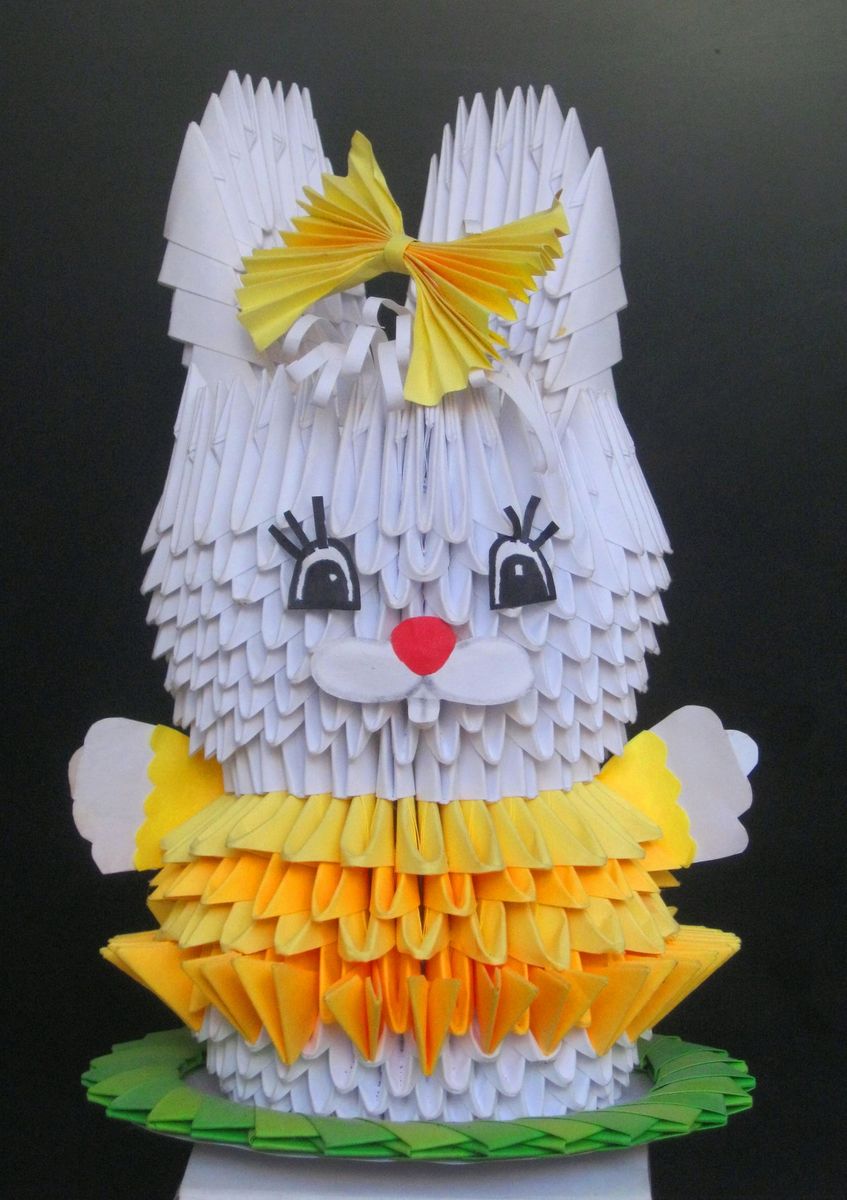
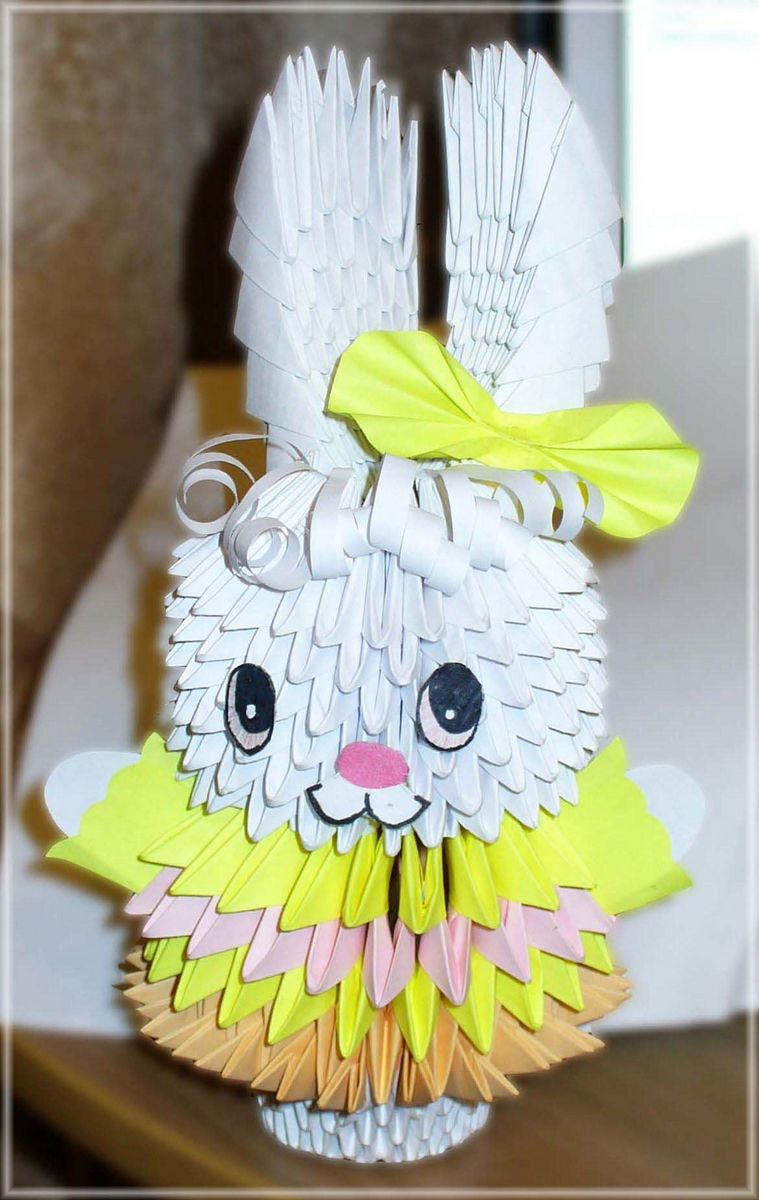
Photo ideas hare made in the style of origami