How to assemble a greenhouse with your own hands - types and stages of creation, projects and drawings
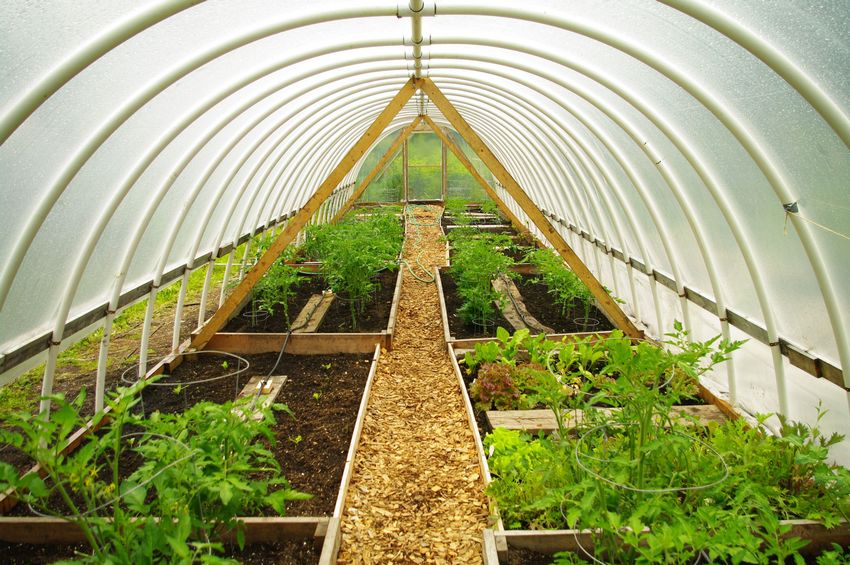
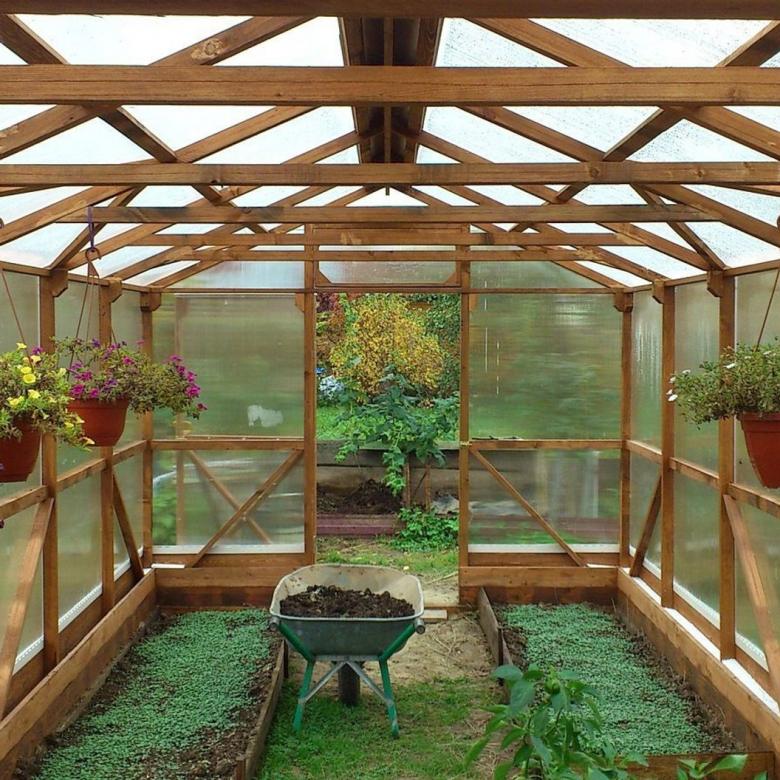
Unlike the greenhouse, the temperature in the greenhouse is maintained in a natural way, so the design is installed in a sunny, flat place. Greenhouses make a small height, sufficient for plant growth. Used for the season to grow seedlings, which are later transplanted into the open ground. Or for wintering of plants, prolongation of vegetative period, early harvesting.

Greenhouses do not have doors, artificial lighting and heating. The degree of plant protection depends on the type of greenhouse, for heat-loving seedlings it is better to use a deep greenhouse, because the ground in it is insulated, and the solar heat longer holds.
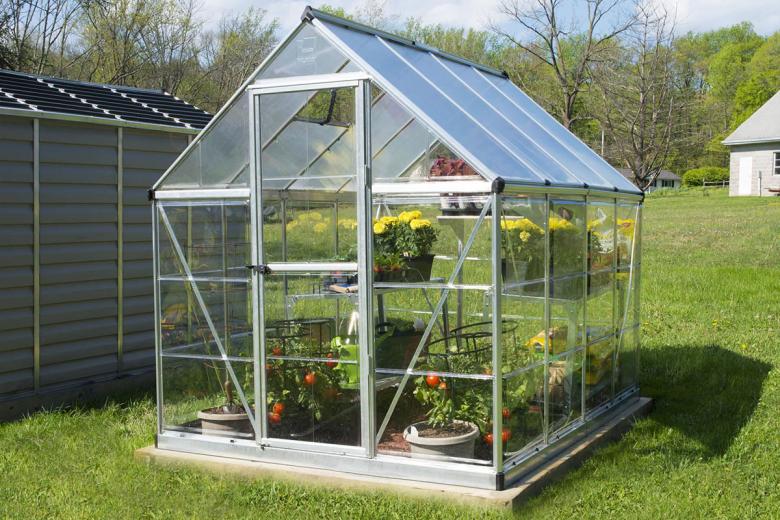
Greenhouses with their own hands on the best projects and drawings can be made as portable, and stationary.
Choose a place for the greenhouse
The place under the design must be level, if necessary, the surface is leveled, remove roots, stumps. Install at a distance from the building not less than 5 m, bath - 8 m, septic tank 25 m.
For the maximum amount of sunlight, place from east to west. If the plants need to protect from the midday sun, the greenhouse is installed from north to south. To grow tomatoes and cucumbers, you arrange two greenhouses, because the crops need to change places every year.
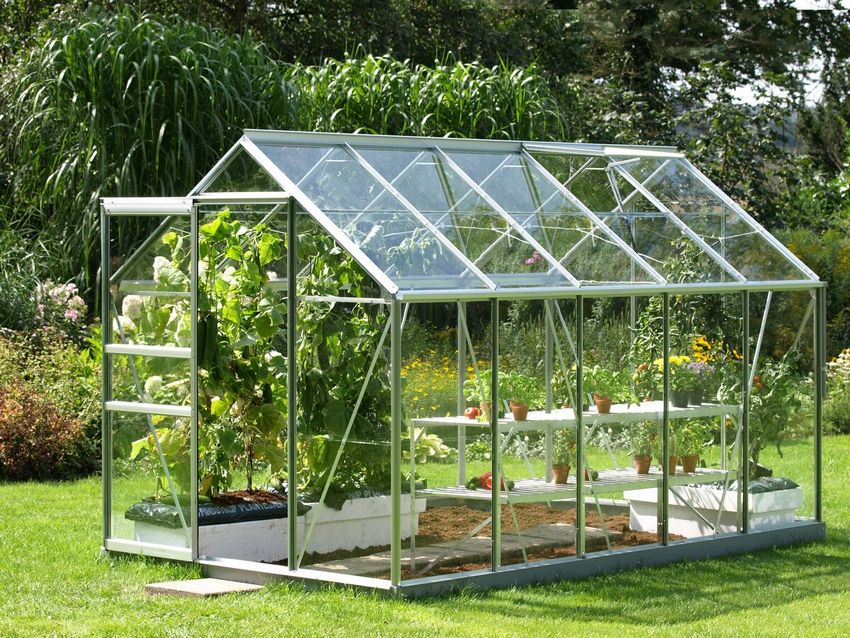
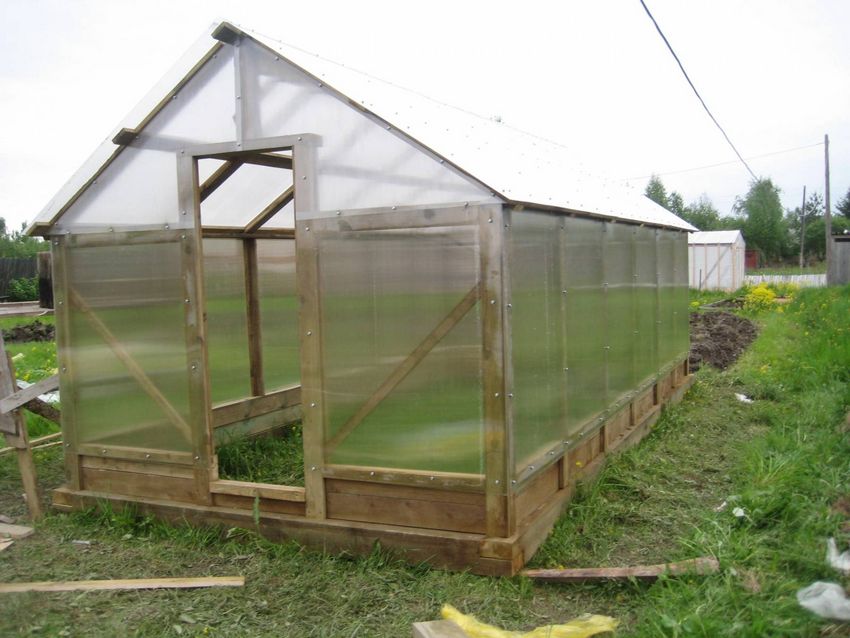
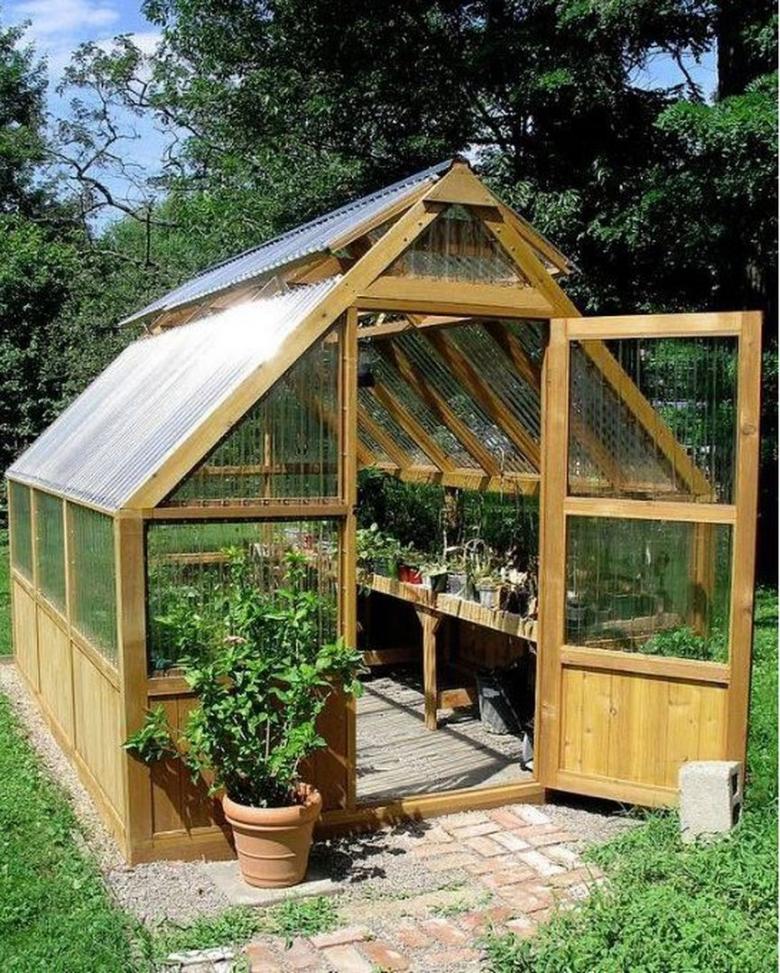
Wood, metal fittings, plastic, propylene pipes are used in making a greenhouse with their own hands. Greenhouses made of metal are strong, durable, but heavy. Wooden frames should be coated with a special compound to prevent bugs in them.
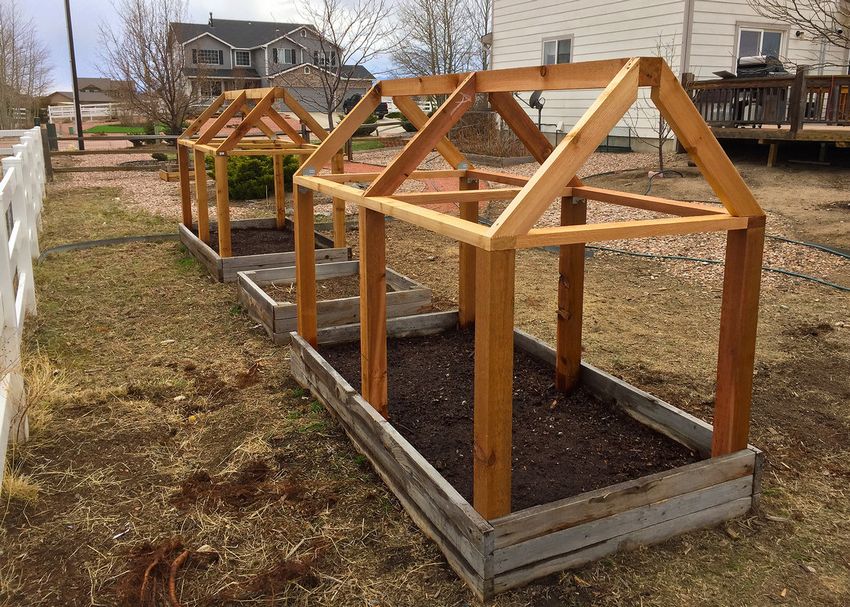
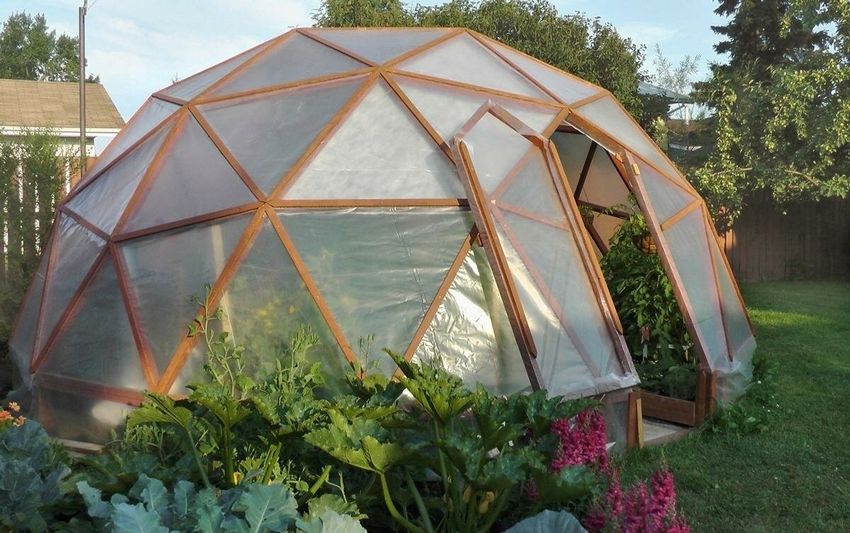
Plastic and polypropylene - lightweight and durable materials, but they do not withstand high loads, they sag and crack. Greenhouses are made in different shapes and sizes: arched, one-slope with a hinged lid, gable, "thermos" type, "breadbox", "butterfly". Designs can be upgraded, combining elements, using improvised materials, old furniture.

Arrangement of the greenhouse foundation
Dug a trench about 30 cm wide, 40 cm deep. A cushion of crushed stone and sand with a height of at least 10 cm is made. Then a brick is laid or a formwork is made, the space around the perimeter is poured with concrete.
The foundation of the greenhouse can be made portable, in this case it is made of wooden bars 150x150 cm. A trench is dug to a shallower depth, the bottom can be lined with bricks, and a stapled formwork is placed on top. If you fill both sides of the mowed grass, dry leaves, you get a natural heating of the greenhouse.
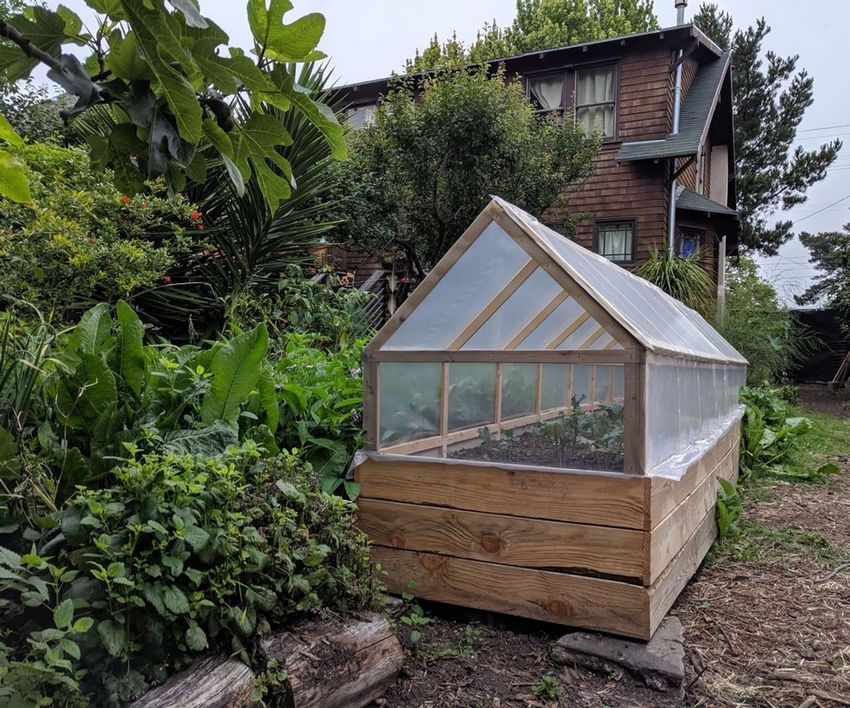
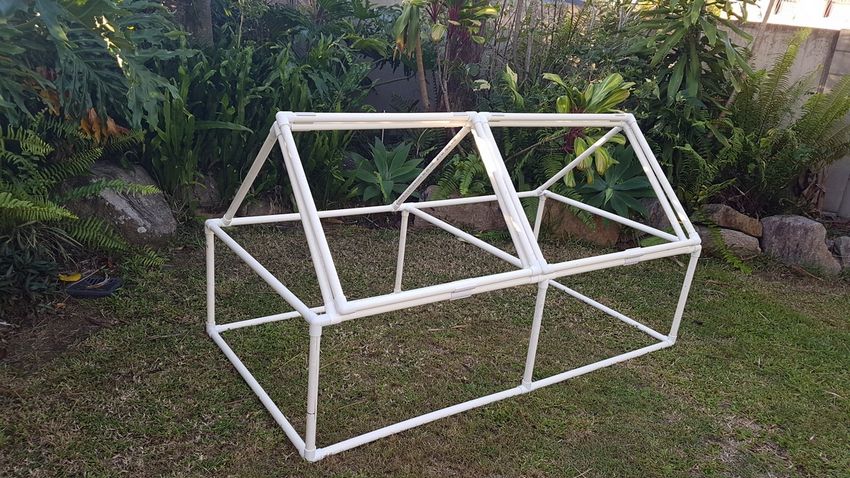
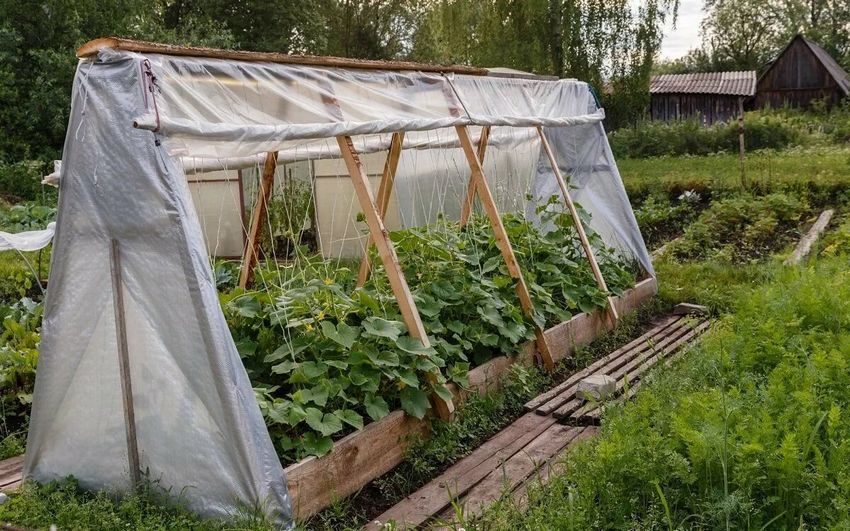
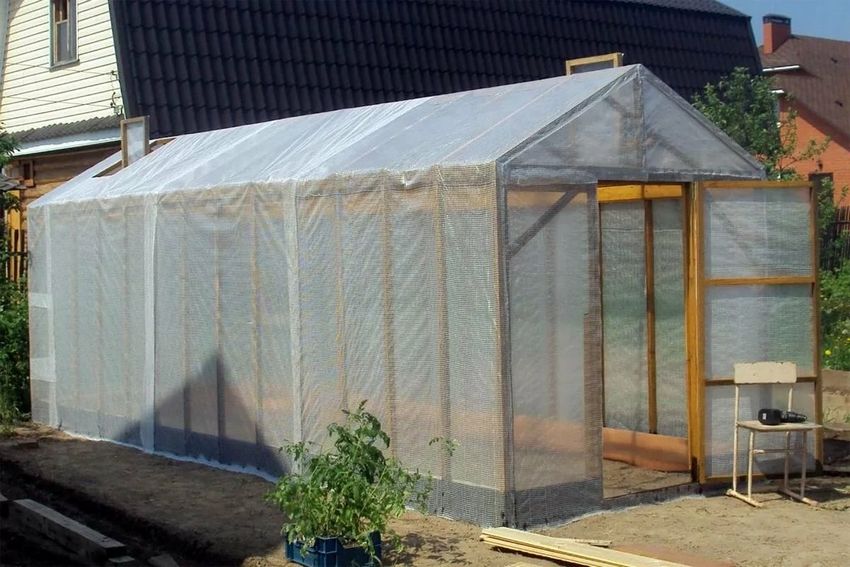
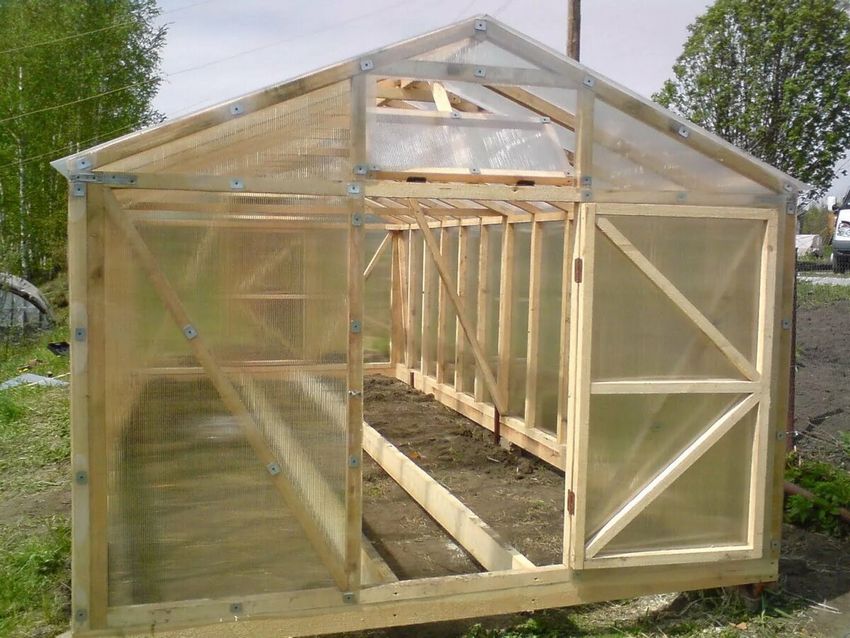
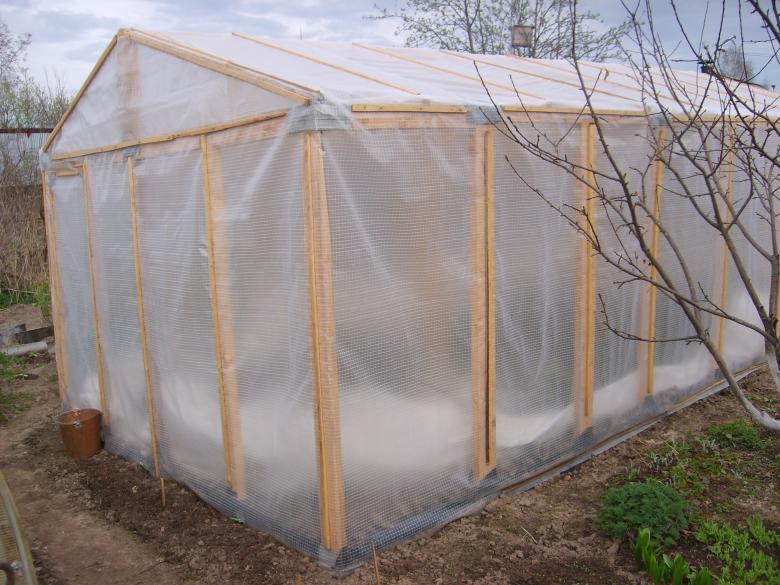
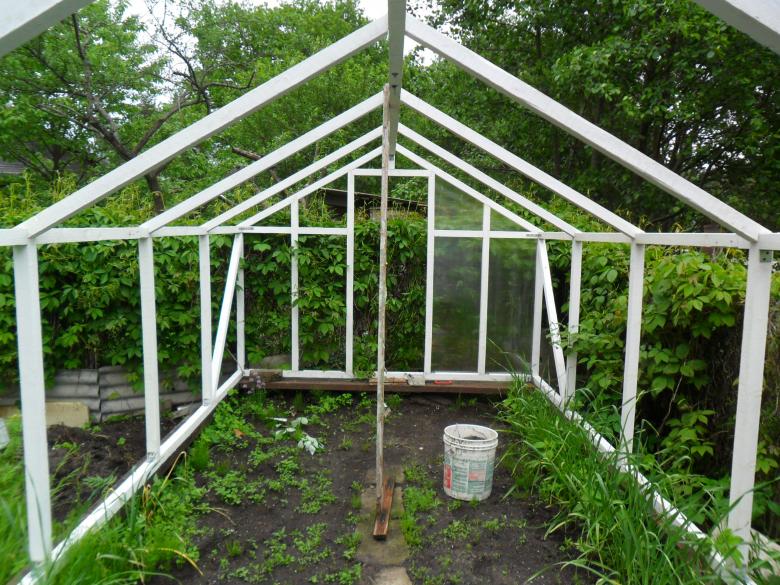
Greenhouse "tent" with their own hands
The principle of manufacture resembles the installation of a children's tent. Dimensions on the drawing are in inches, to translate into centimeters - multiply by 2.54. For the manufacture you will need a 2x2 bar, a board.

Dimensions can be any, first make a drawing, prepare the material. After that you can proceed to the assembly. The upper part can be made removable. Use a furniture stapler to fasten the shelter.

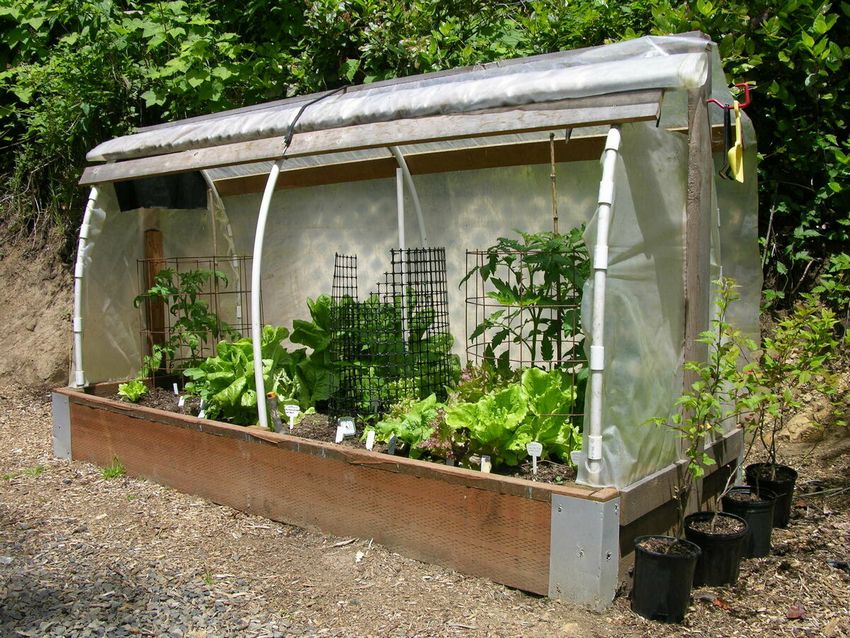
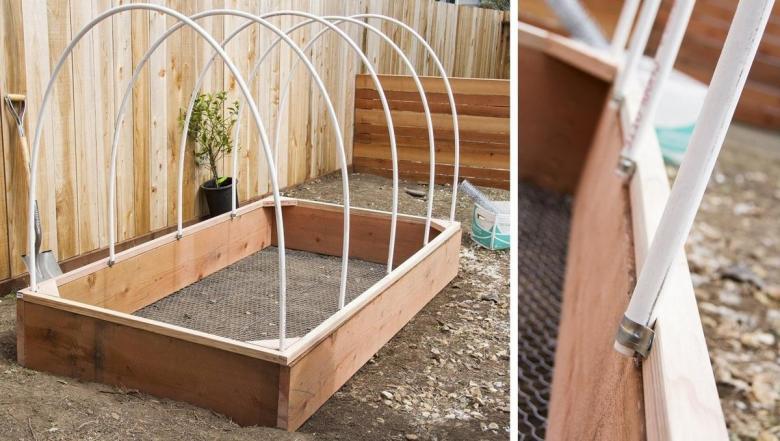
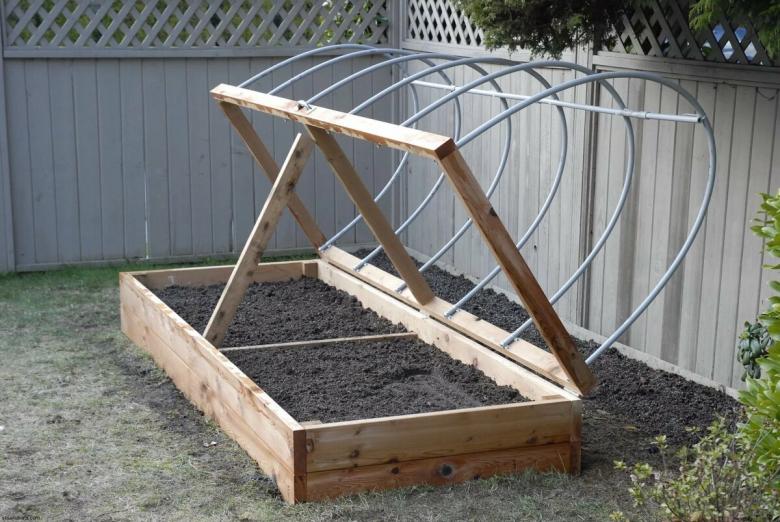
Arched greenhouse with your own hands
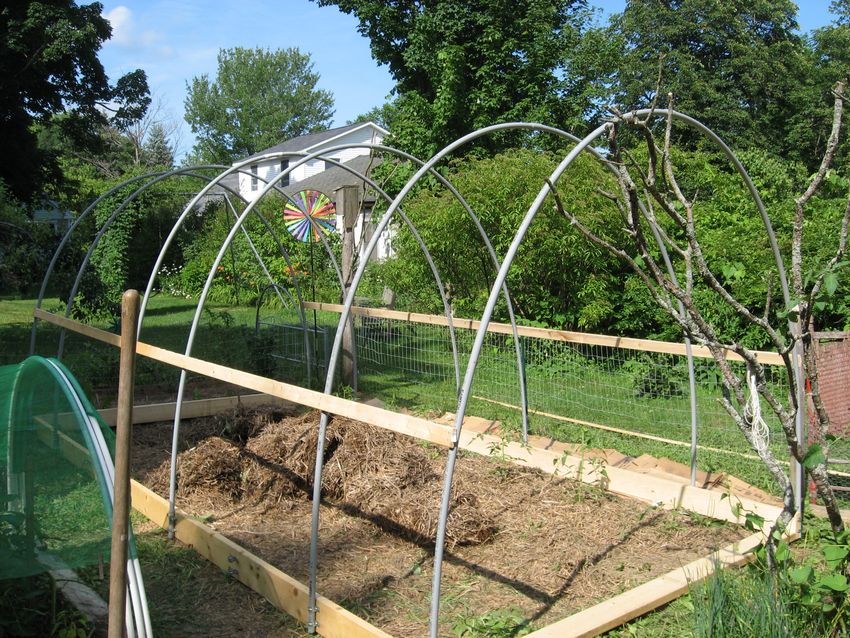
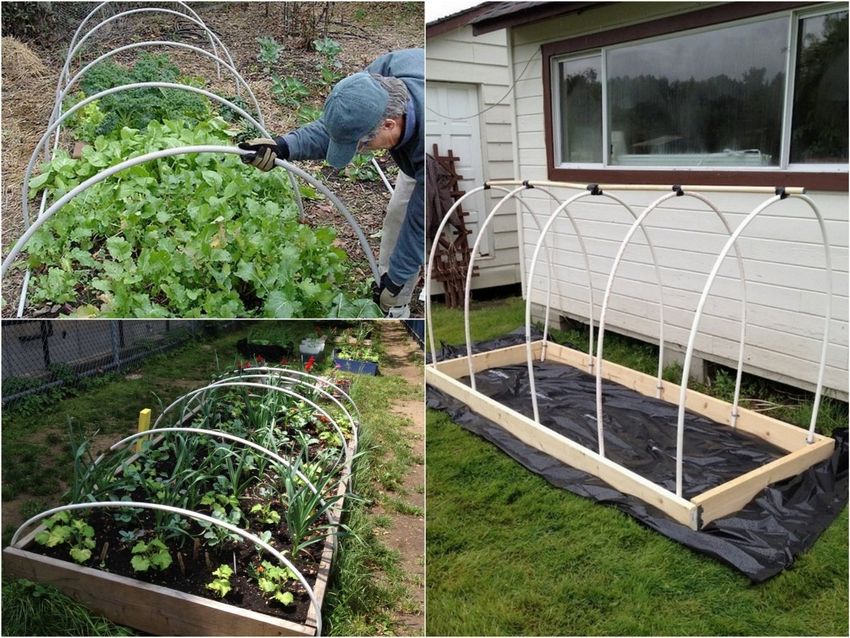
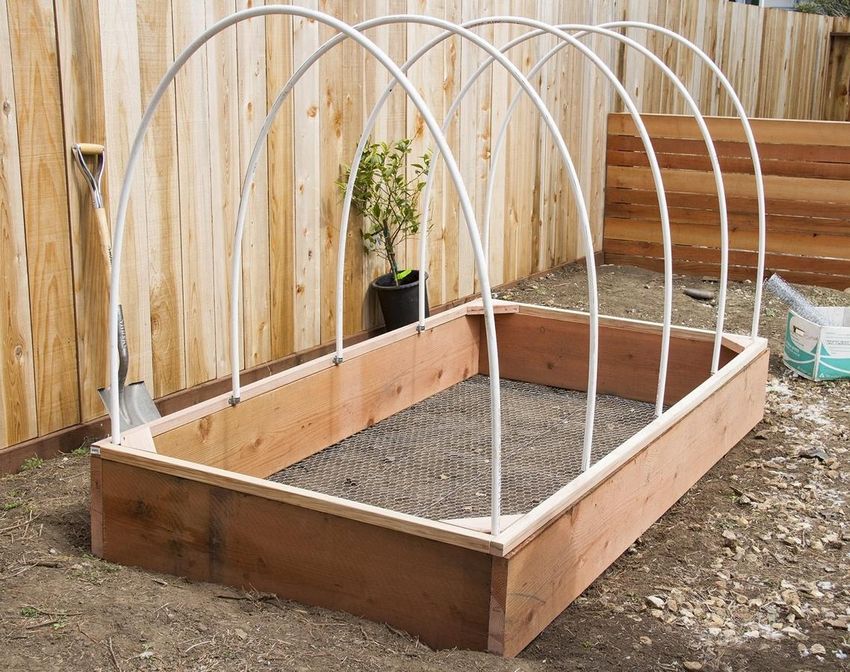
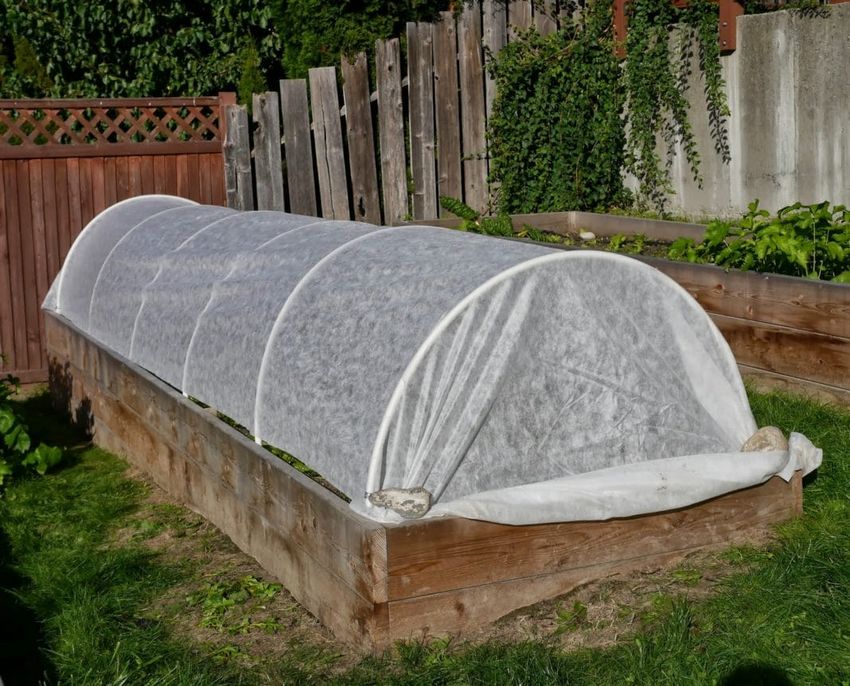
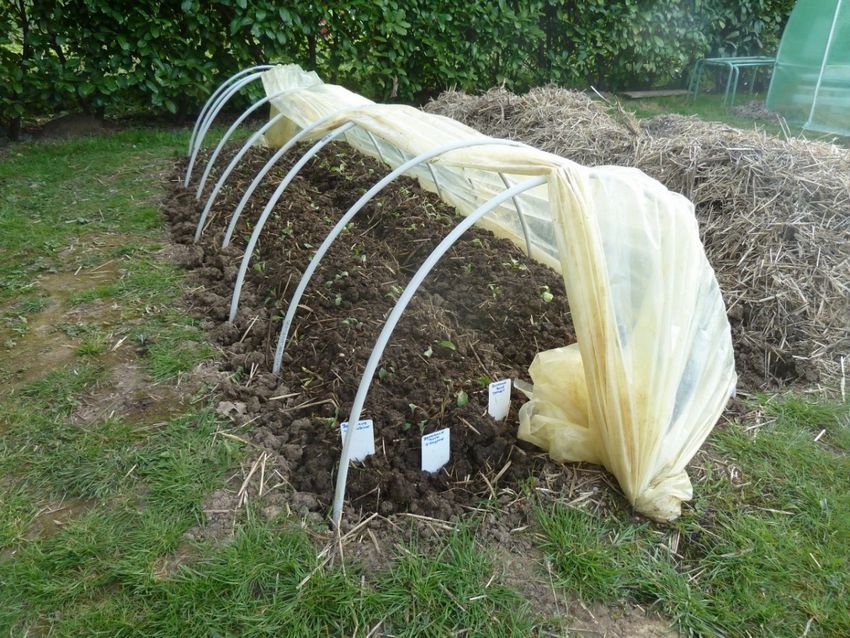
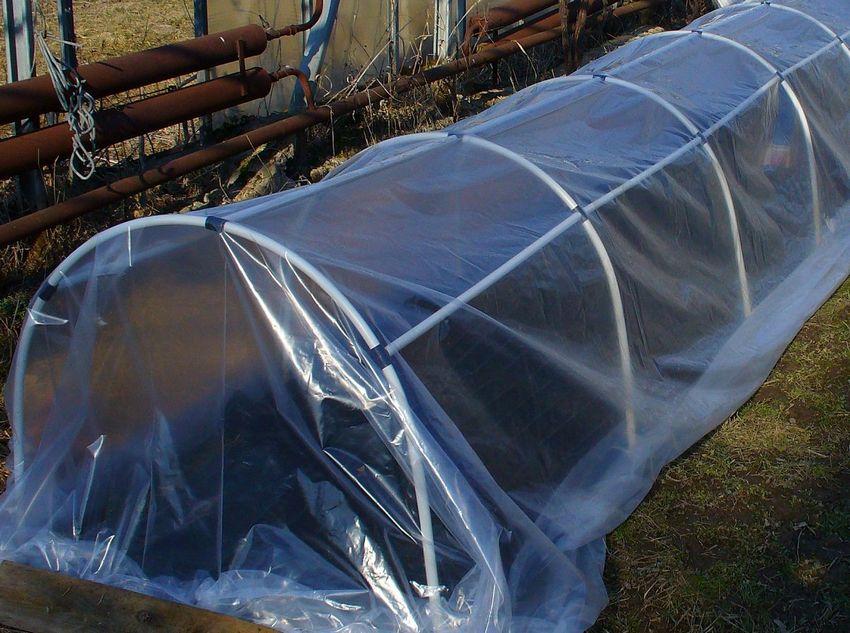
One of the simplest, inexpensive designs, heats the soil for sowing, protects plants from frosts in spring and autumn. Assembled from supporting arcs, pins, and shelter material. You can make a formwork of boards or use guide reinforcement.

Arcs are made of rigid wire or pvc pipes with a diameter of 15-25 mm. Tubes are bent into the desired shape, then put on the rods of reinforcement, previously hammered into the ground. You can also fix the pipes with brackets. Wire arches are fixed with U-pins. The structure can be of any size.

Before starting work, it is better to make a drawing on paper, calculate the amount of materials needed. For a greenhouse 90 cm wide, you need arcs 1,8-2 m, place them at a distance of about 60-80 cm from each other. After installing the arches, they are covered with a strong polyethylene film. It is attached to the arches with special clips, you can also stitch on the covering material special pockets and put the coating on the pipes.

Step by step video instructions
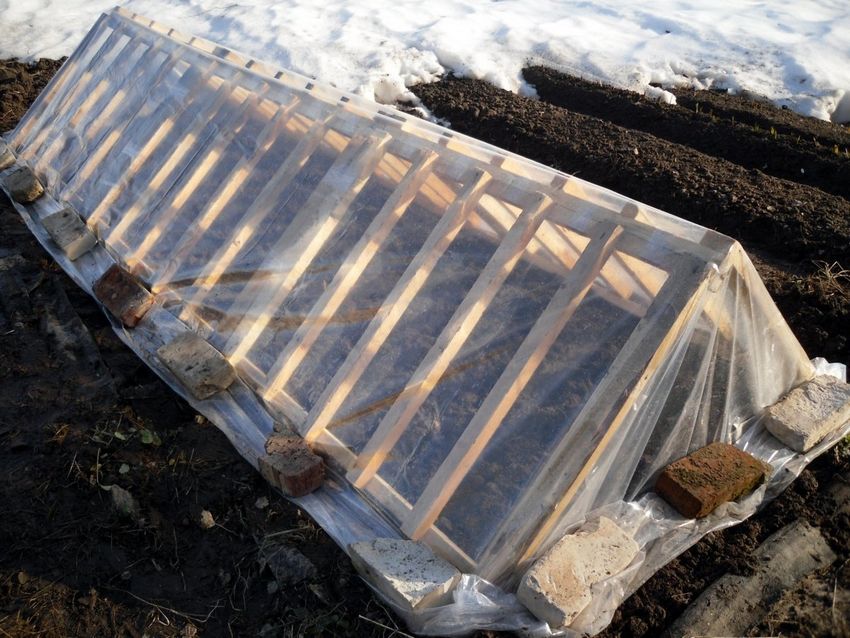
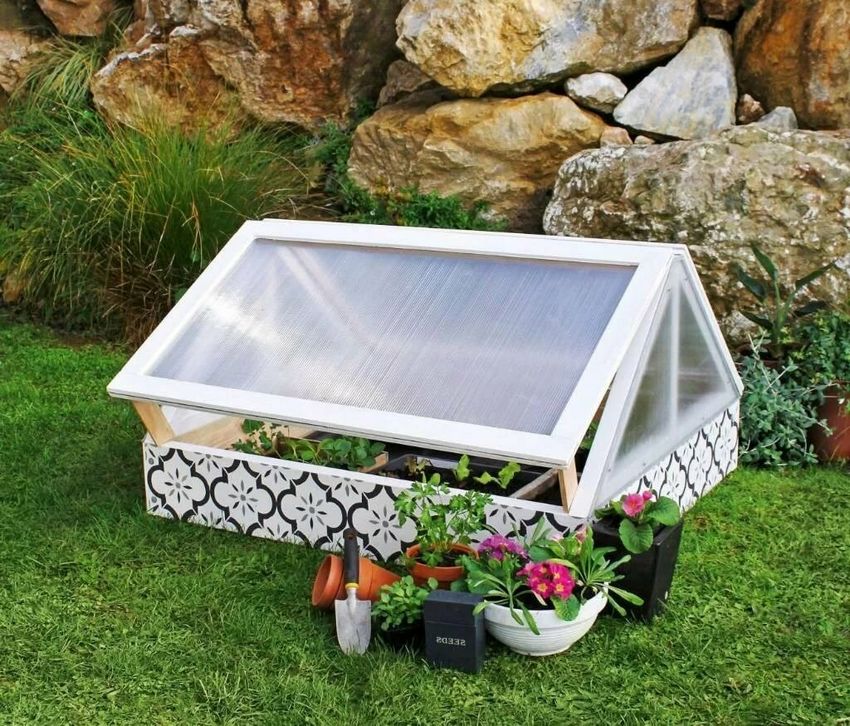
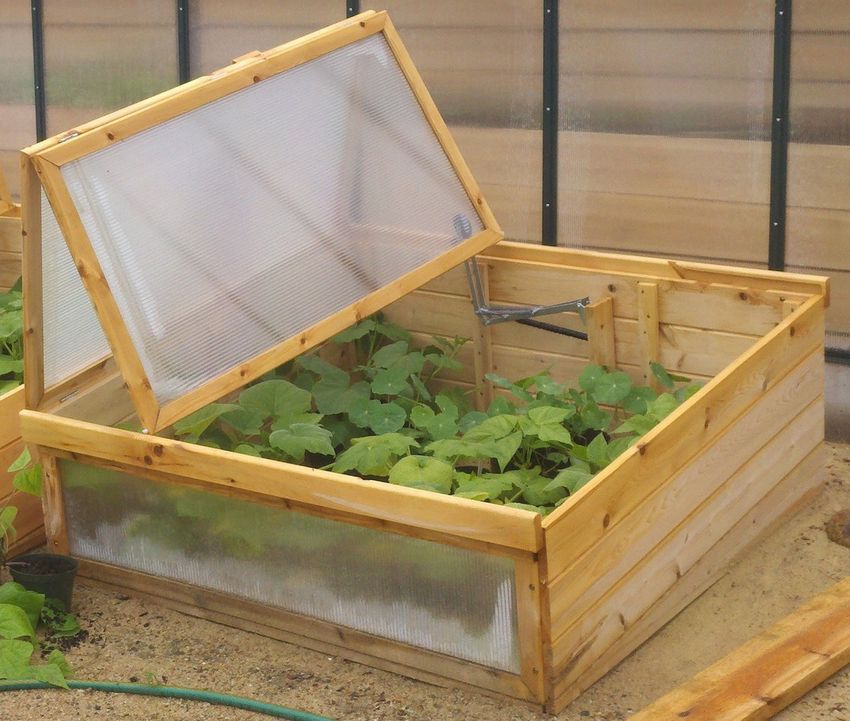
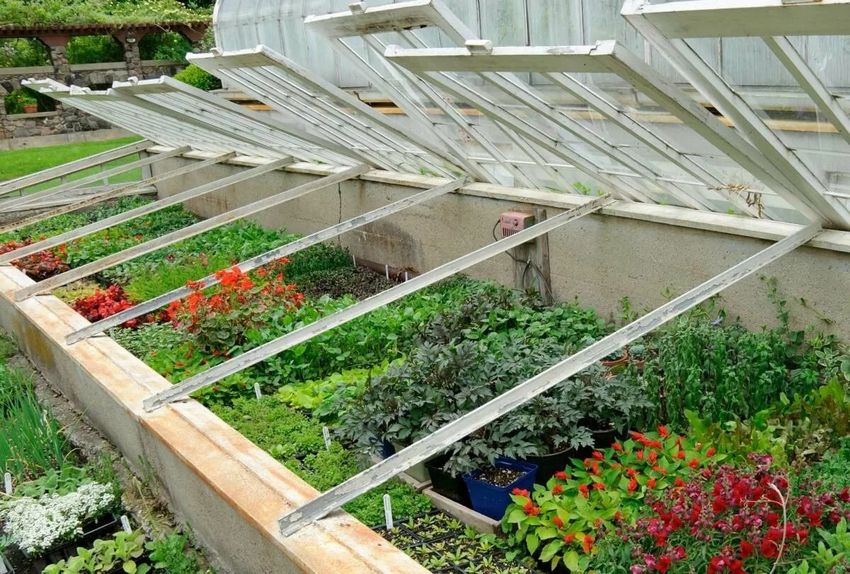
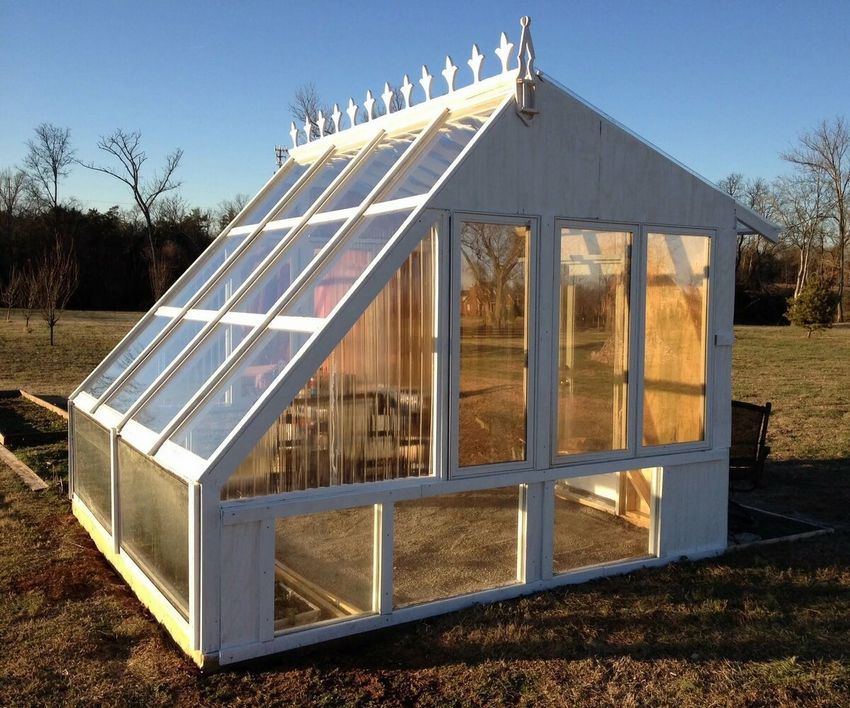
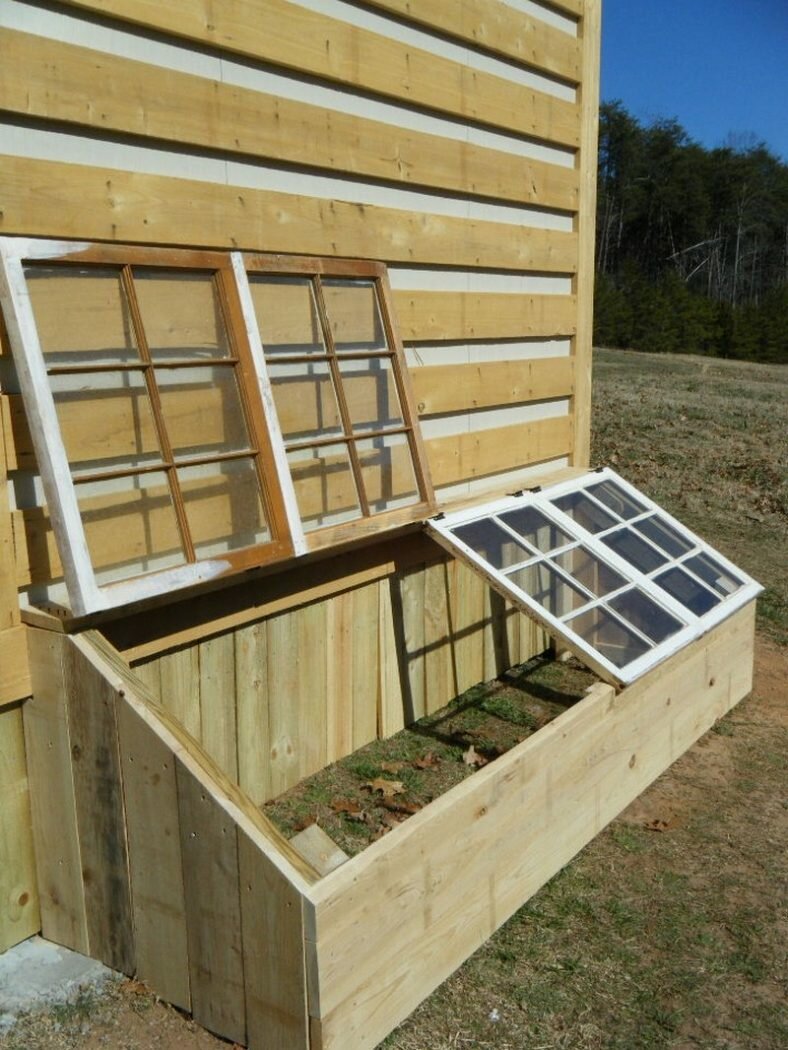
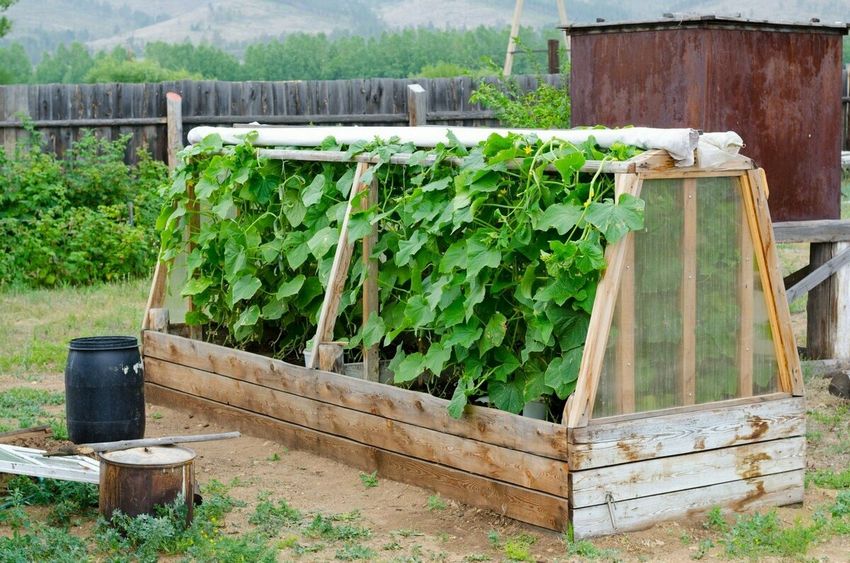
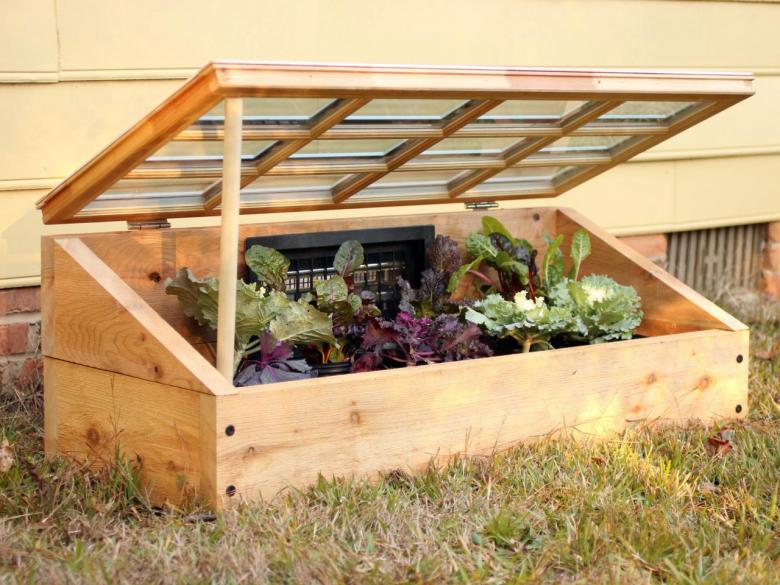
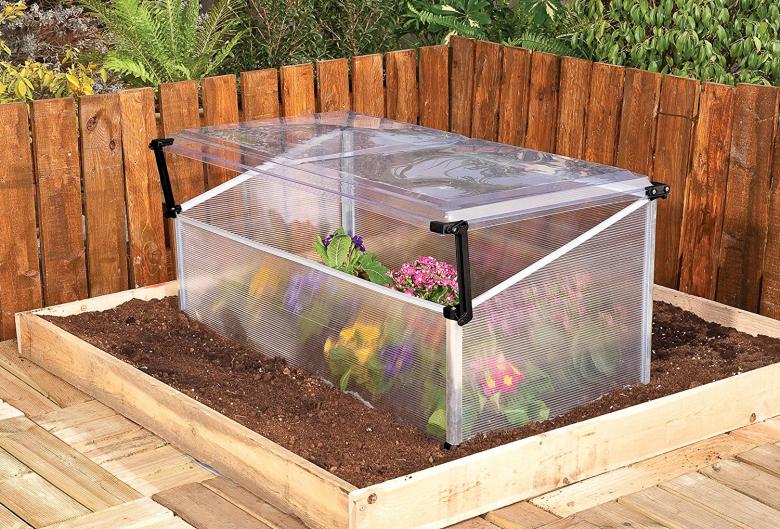
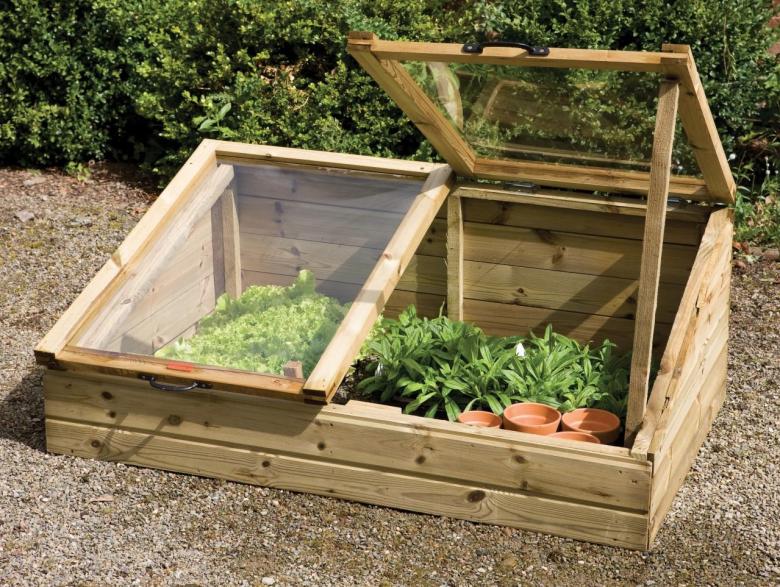
Single-sloping greenhouse with a hinged lid with their own hands
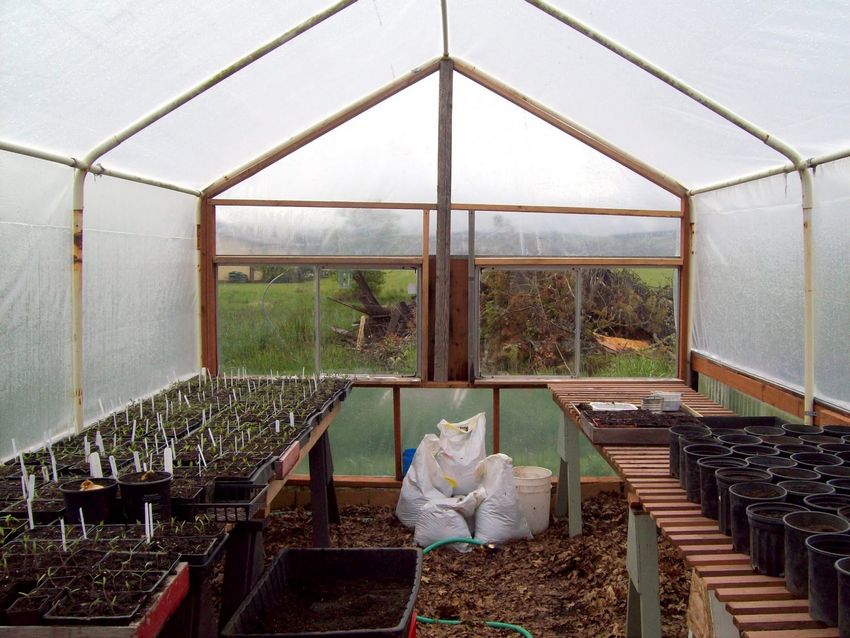
It is convenient to grow seedlings in such a greenhouse. Plants do not need to be constantly taken out into the yard for acclimatization. Seedlings are planted as soon as a few leaves are formed. Start opening the lid of the greenhouse during the day, gradually increasing the time. If the leaves darken, the plant grows, then the acclimatization process goes well.
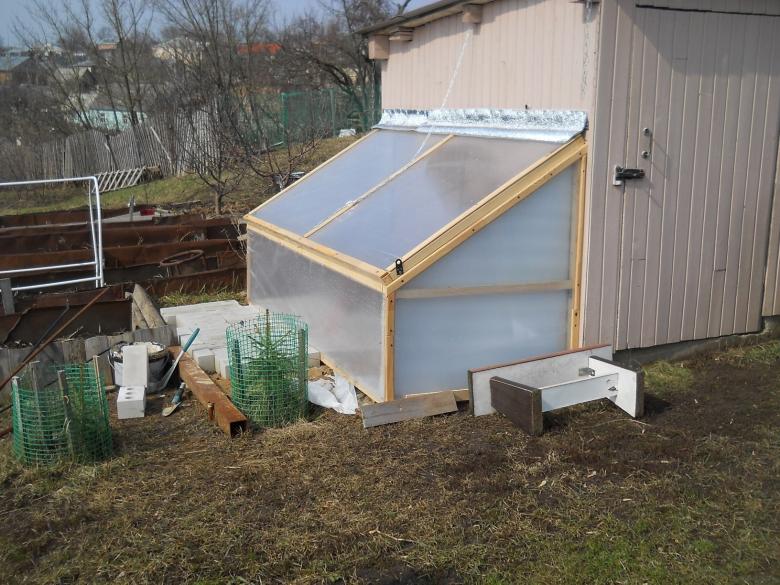
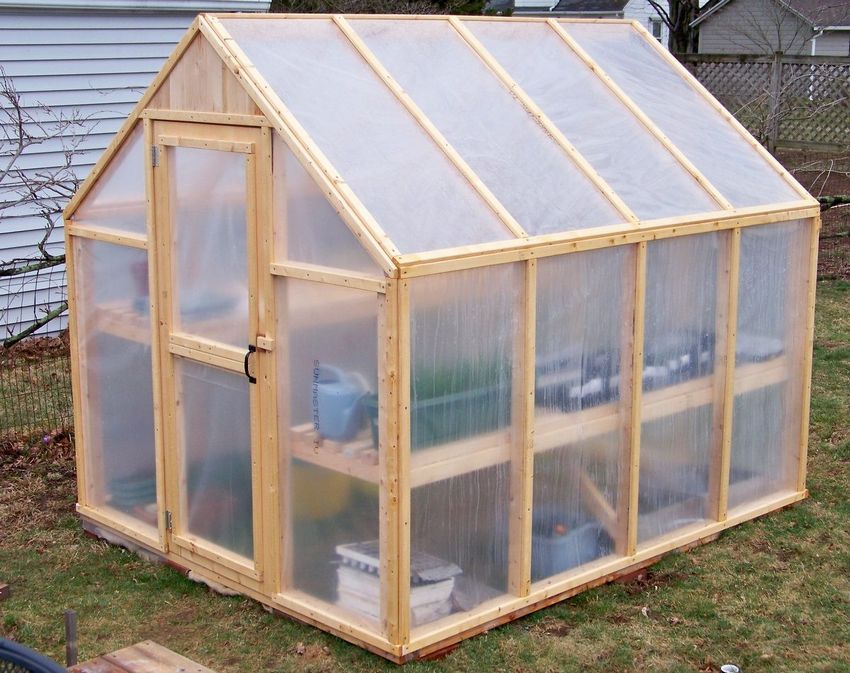
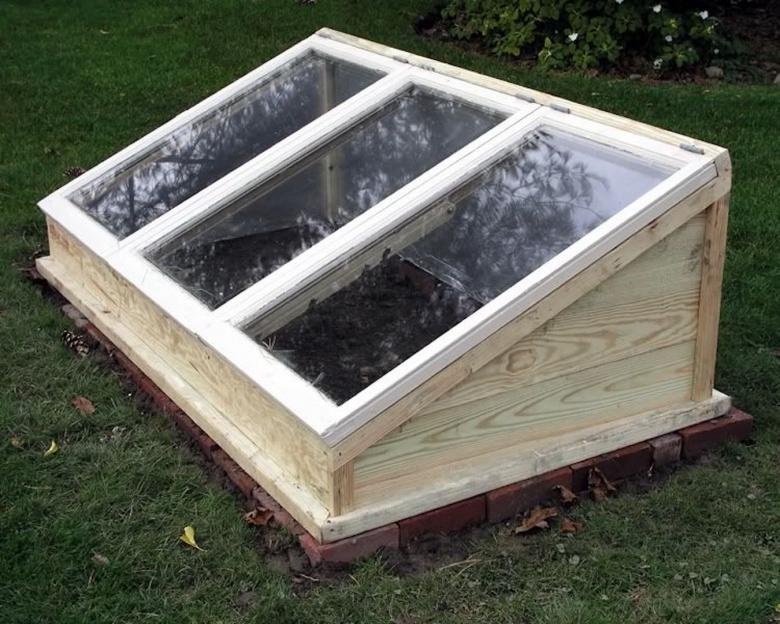
To make a greenhouse we need 2x2 bars for the corners, 1x6 boards for the lower rungs and 1x4 - for the upper. The ends of the crossbars are cut at an angle of 750Make a drawing with your measurements, prepare everything you need to assemble the greenhouse in advance.

The design can be simplified by changing the dimensions, making one cover. The standard board is 2.5 m, so it is more convenient to make a square greenhouse with a side of 1.2 m. Make the base of the greenhouse from a 2x2 bar, when it deteriorates from dampness, it can simply be replaced, keeping the entire construction. Fix the top of the greenhouse with a lath.
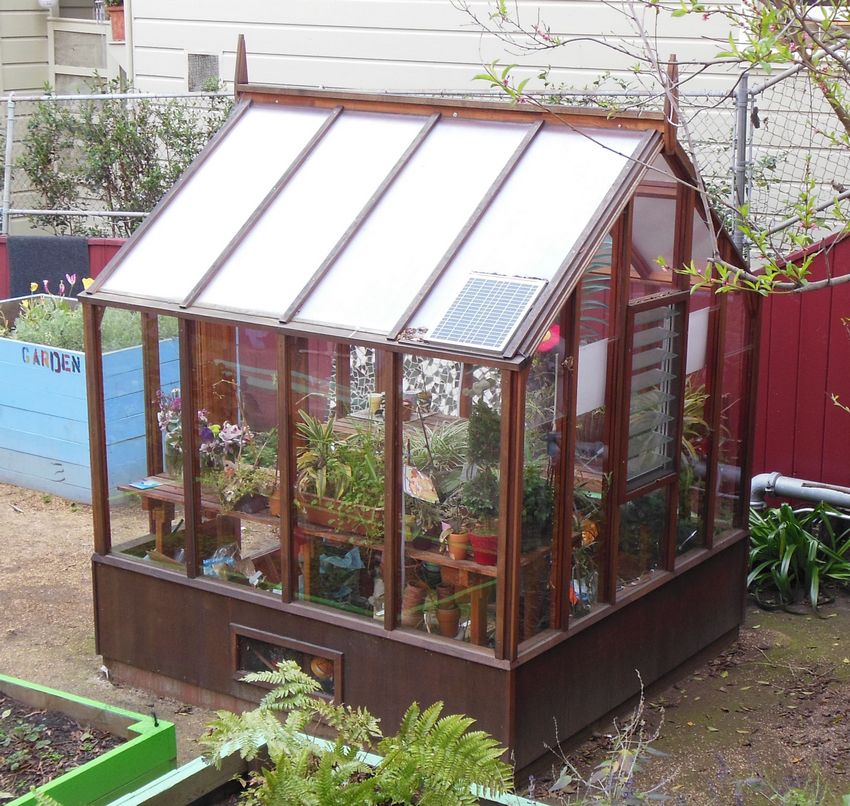
You can use old window frames when making a greenhouse, they will work well as a lid.
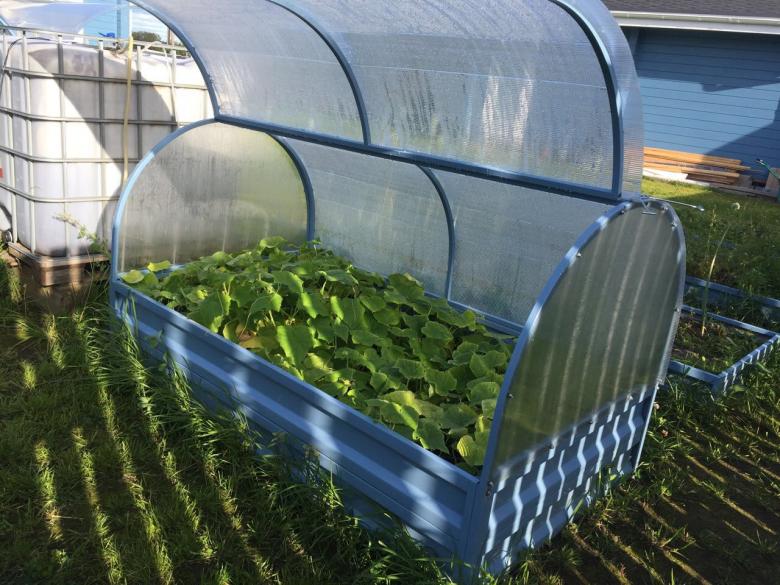
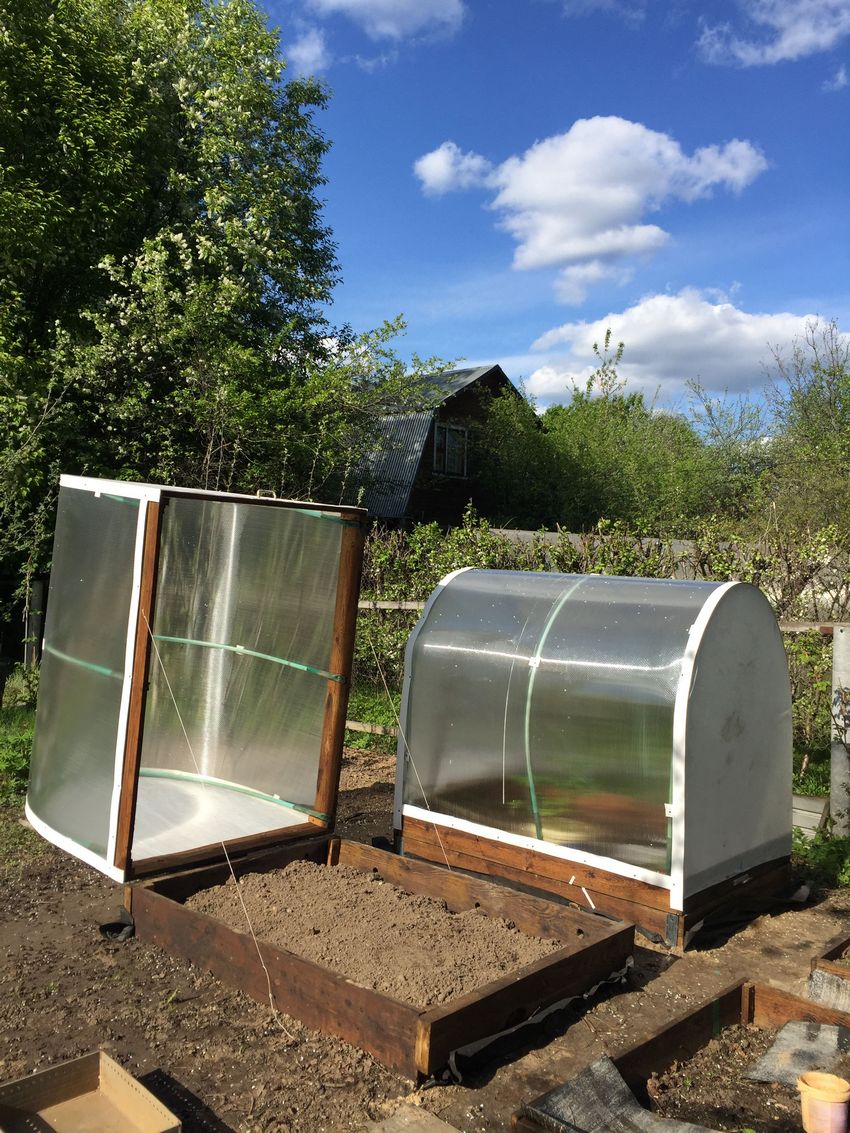
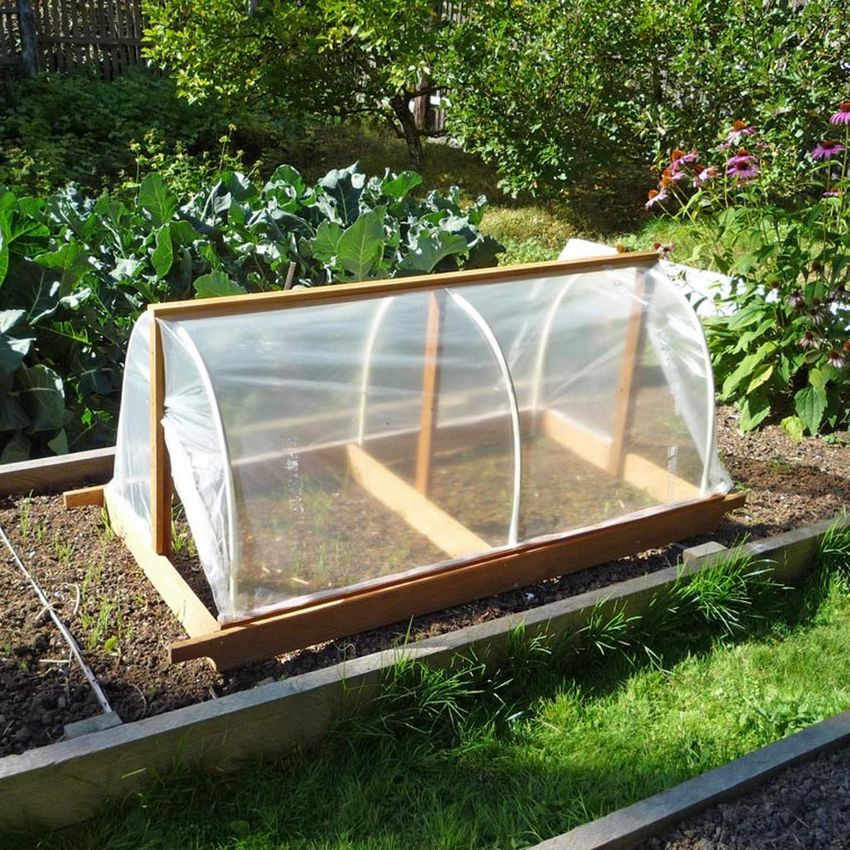
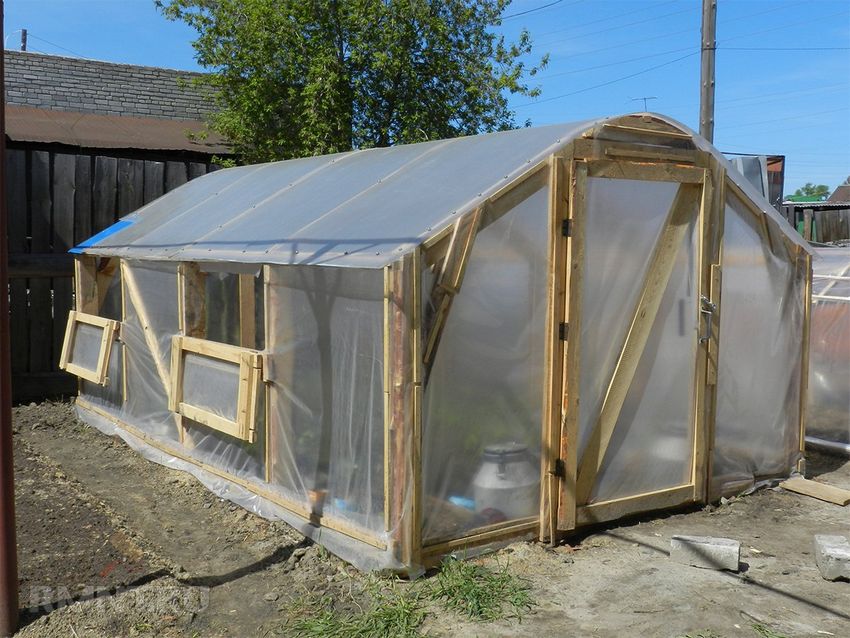
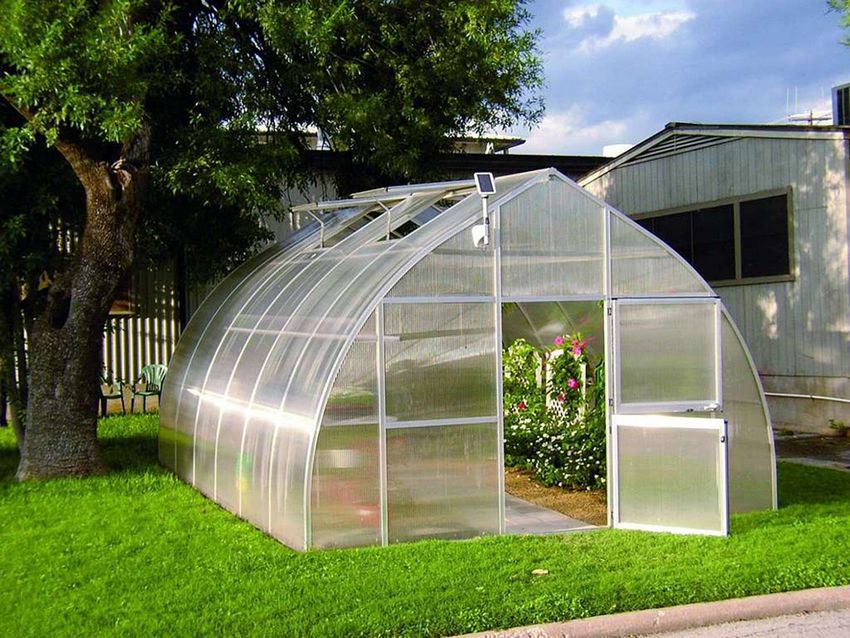
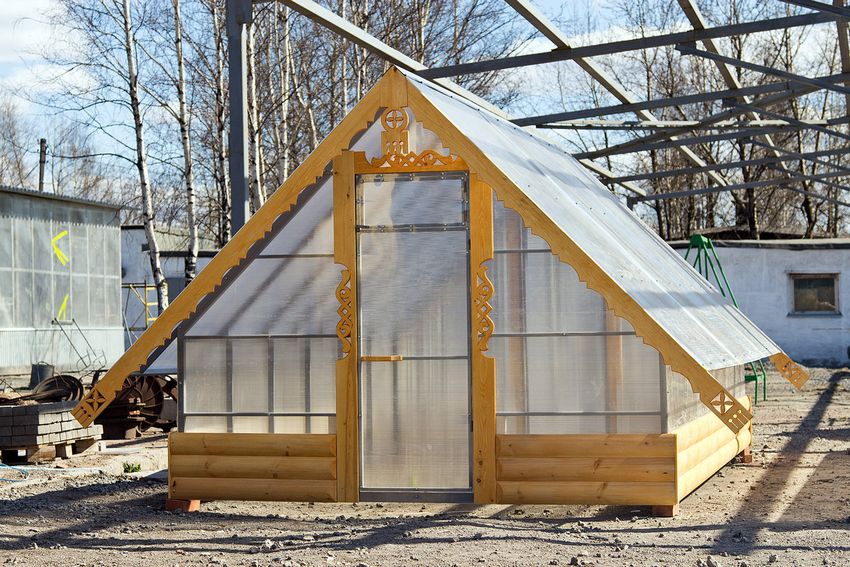
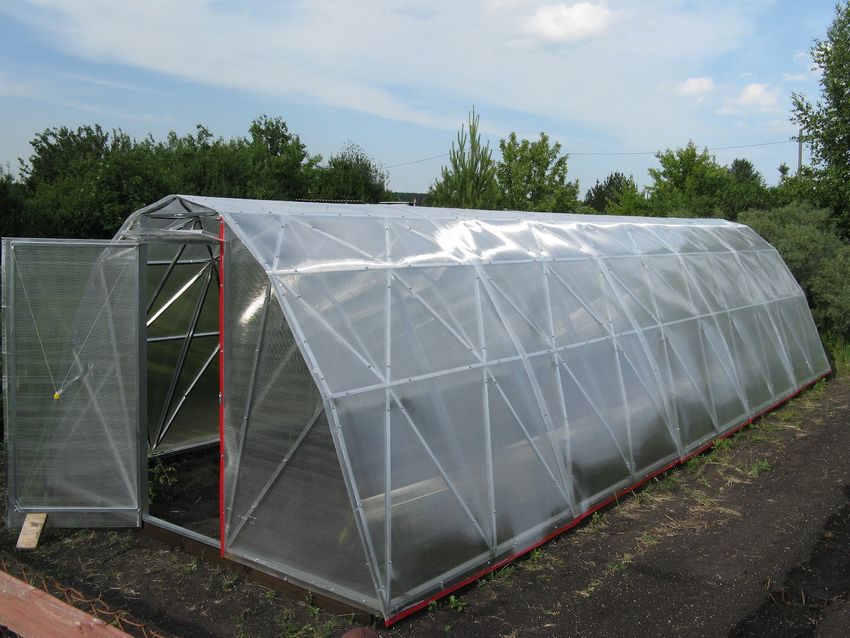
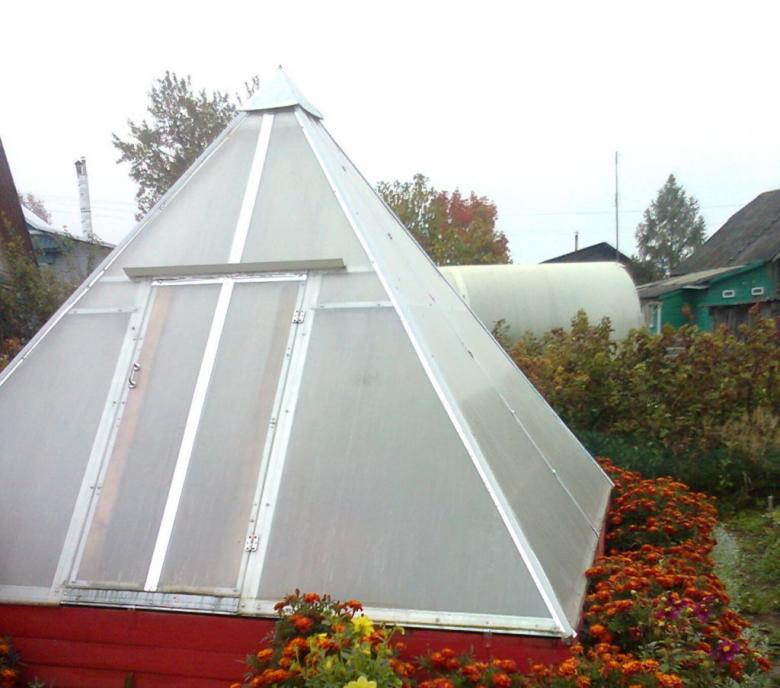
Greenhouse "breadbox" with their own hands
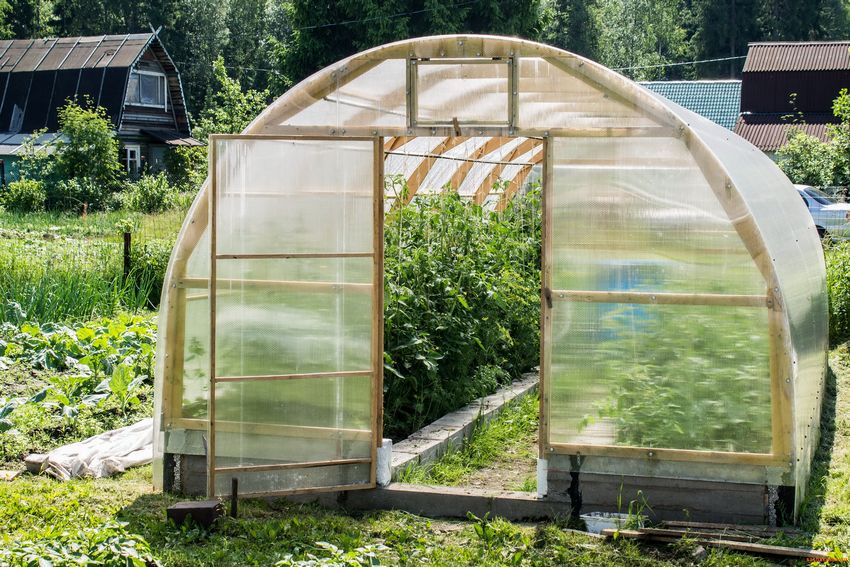
This design got its name because of the mechanism of opening the upper part. The product looks stylish, brings not only useful and early harvest, but becomes a decoration of the dacha. It consists of a frame, sides and a roof. Favorable microclimate is created thanks to the arched shape.
Like other greenhouses, the "breadbox" can be made in different sizes, it all depends on the space available. Usually make a length of not more than 4 m, otherwise you will need special mechanisms for lifting the roof. The height is selected under their own growth. The higher, the heavier the product, the classic height of 0.5-1.3 m. The width with one opening sash - no more than 1.3 m.
Manufacturing requires special skills, tools. If you want to make a frame of metal, use a pipe thickness of 1.5-3 mm. As a covering material for making a greenhouse with their own hands use polycarbonate or thick film spunbod. Such a design requires a preliminary drawing, calculation of the necessary material.
First gather the bottom frame, you can not do the legs, then the sides are attached to it. Arches are bent with a pipe bender, mounted at a distance of half a meter from each other. Arcs are made so that they do not interfere with each other and docked at an angle of 900С.
To open the cover set a special hinge mechanism. Under the hinges holes are made on the outer side. Weld seams are well grinded, the design is painted with a special paint that protects the product from rust and environmental influences.
Polycarbonate is pre-cut, attached to the frame first in the corners and then in the middle. The most comfortable in such a greenhouse feel lettuce, green onions, parsley, carrots, beetroot, stunted tomatoes and other low crops.
Photo examples of homemade greenhouses