How to make a child's sandbox with their own hands - the choice of materials and shapes, making the frame and lid, decoration
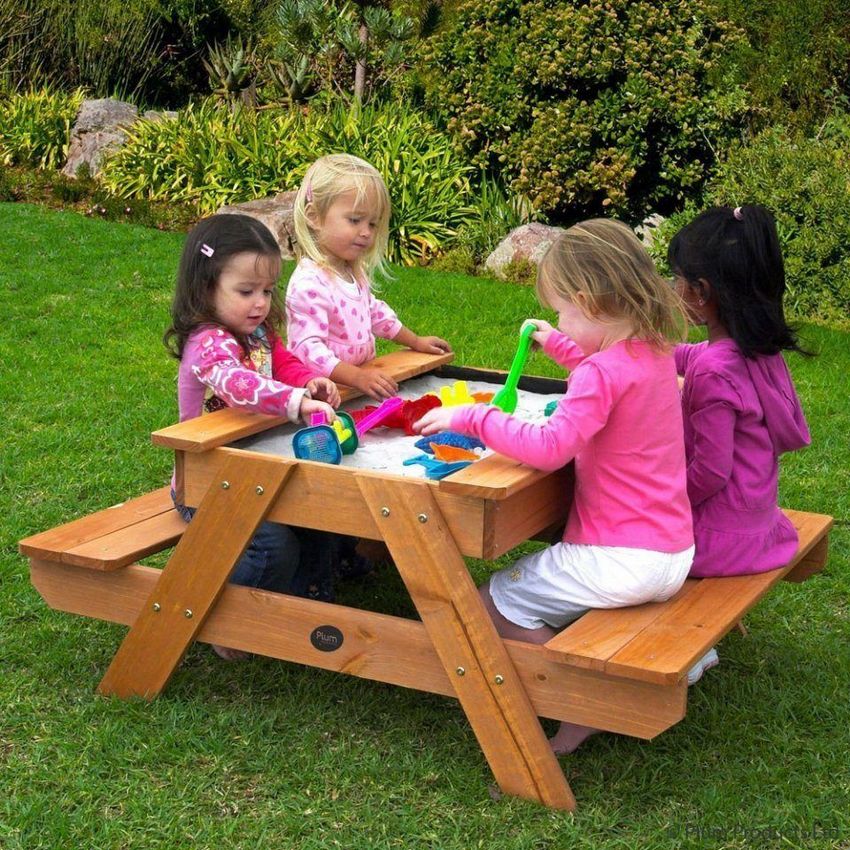
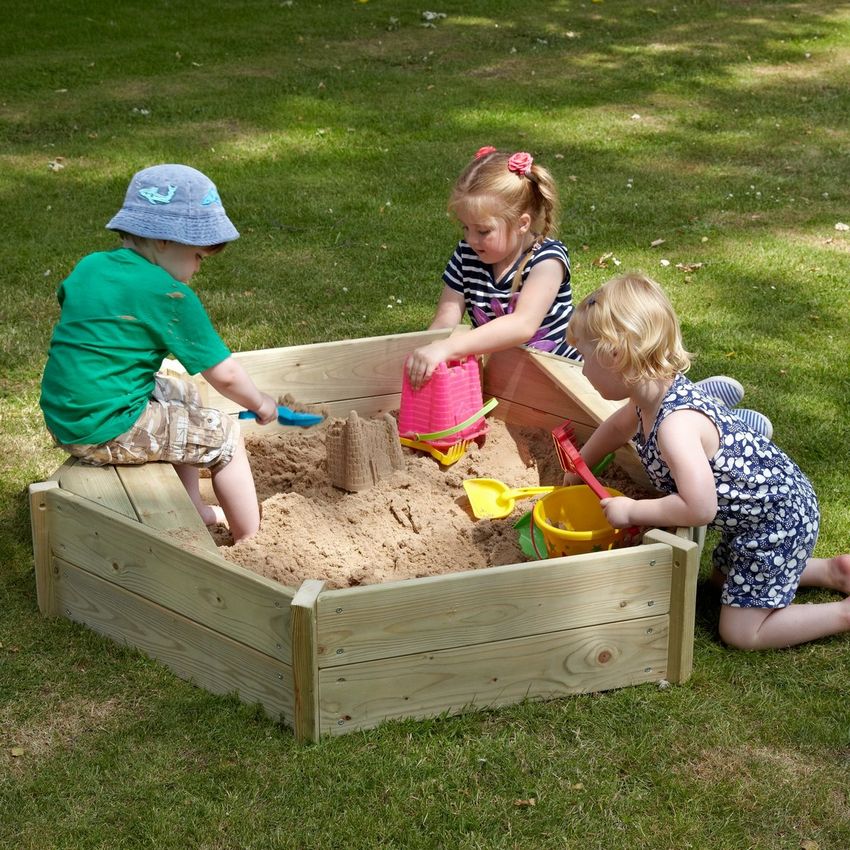
Almost all children love to play with sand, building castles, houses and whole story compositions. Sand is an excellent material for modeling, and the modeling process takes full attention of the child and stimulates fine motor skills of the fingers, story perception, logic, and memory.
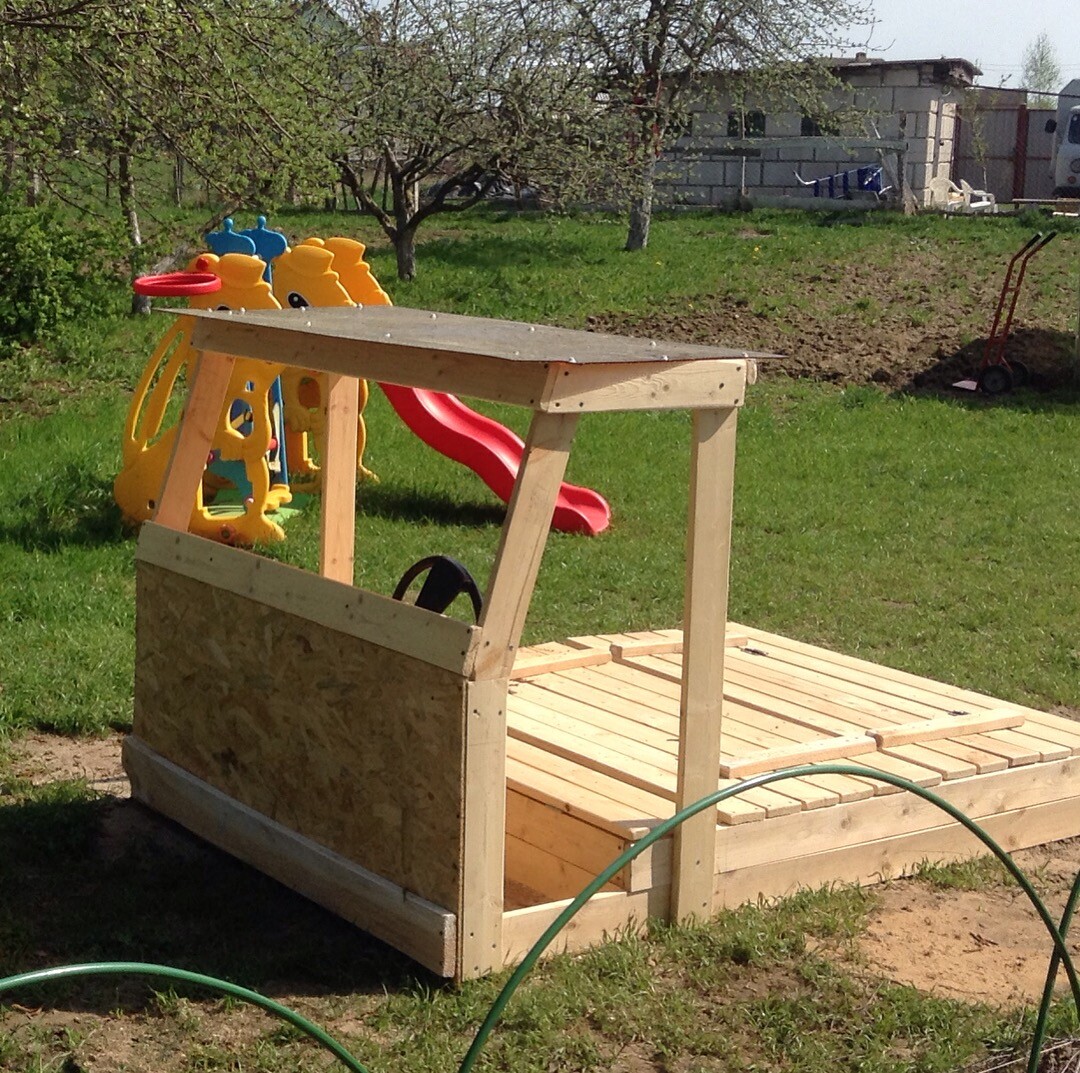
Building a children's sandbox with your own hands is not very difficult. All you need is to have a good command of a planer, a jigsaw (for wooden structures) or welding with an angle grinder for metal structures. In this case, the shape of the sandbox can be the most unusual: from a child's car-truck to a mushroom with a cap.
Requirements for a homemade sandbox
Despite the apparent simplicity of independent work, you should always remember about the safety of the child and the design. The sandbox must fully meet a number of requirements:
- Locate the construction should be away from the roadway, entrance gates, places of waste.
- For the construction should be particularly careful to choose the material, environmentally friendly and safe for humans.
- All wooden surfaces must be impregnated with antiseptic, antipyretic, moisture and antifungal composition. Metal structures need to be coated with an anti-corrosion composition, which will significantly extend the life of the product.
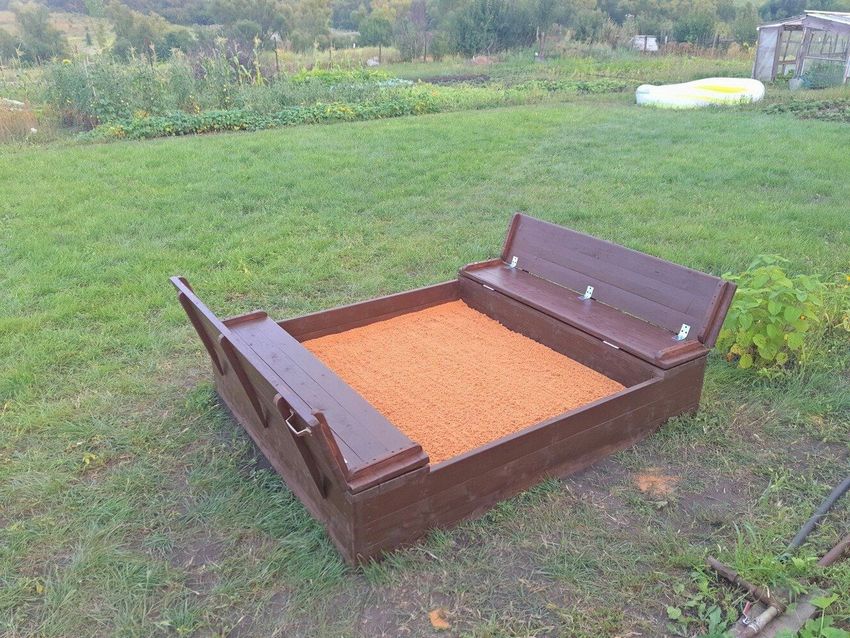
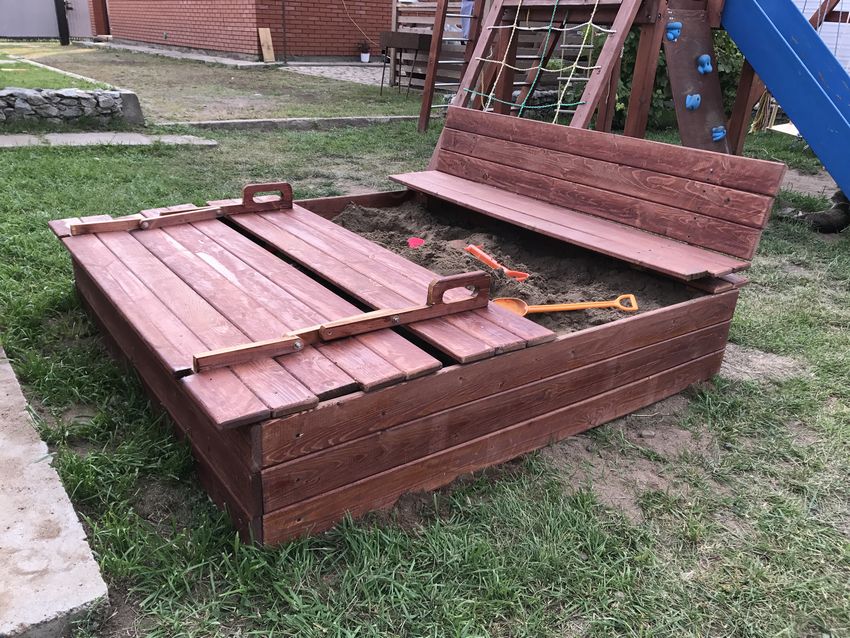
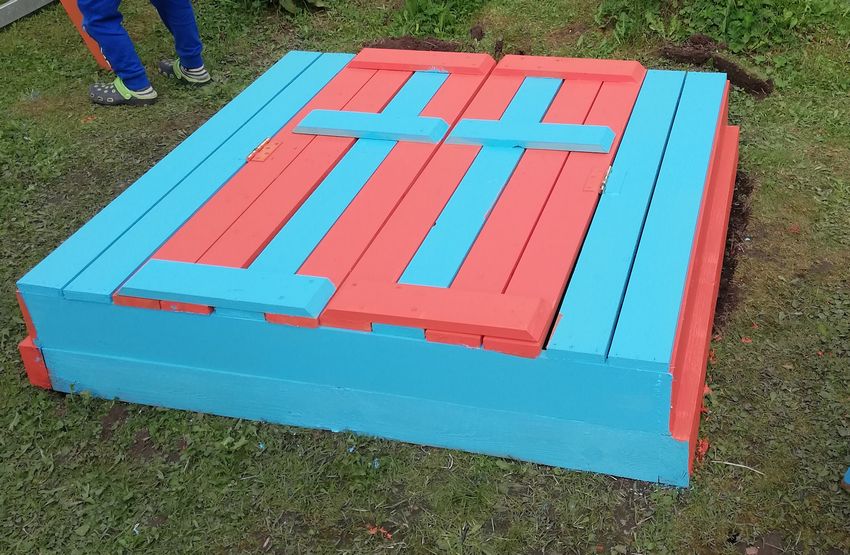
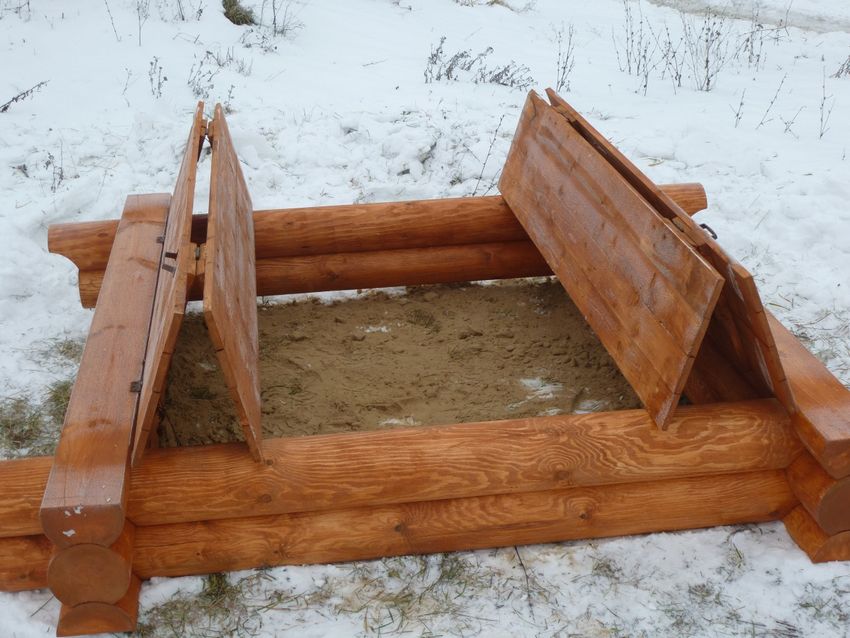
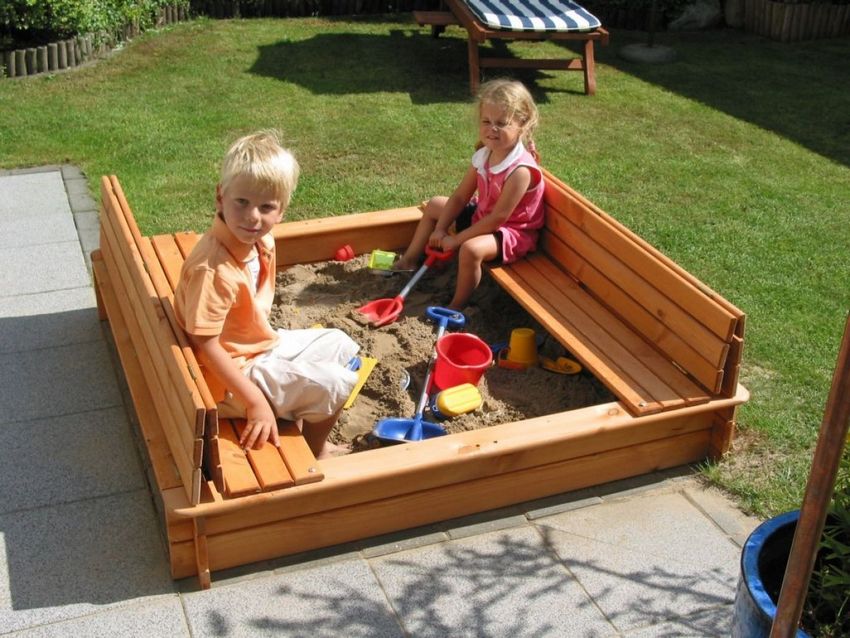
- The sandbox should always be equipped with a lid with a lock to prevent access to the sand by animals and insects. Larvae, debris, eggs of flies can be a source of worm infestations, fungal diseases of the respiratory system and skin. A sandbox with a lid can easily be made with your own hands, using ready-made drawings and designs.
- Sand before filling the sandpit must be sifted to clean it from debris, sharp barnacles and accidentally caught metal parts.
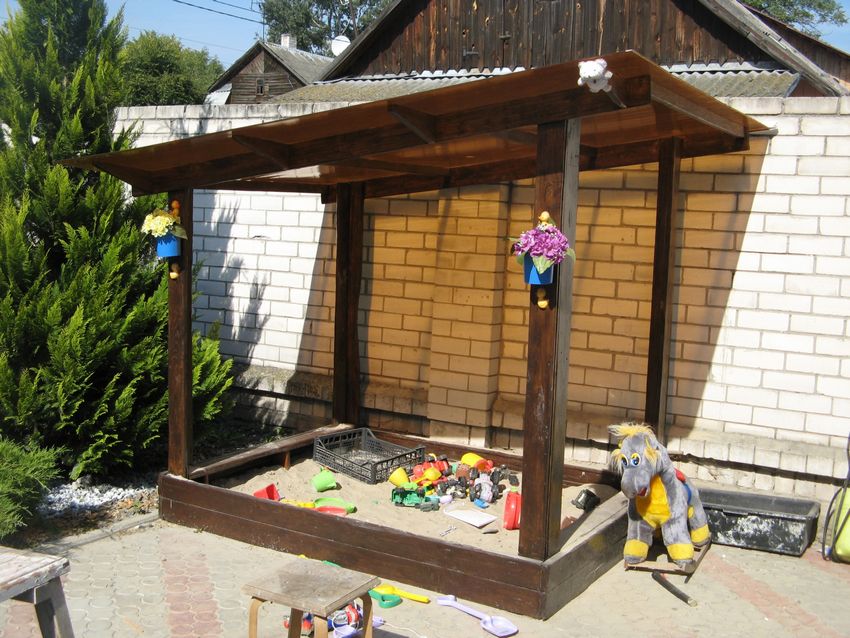
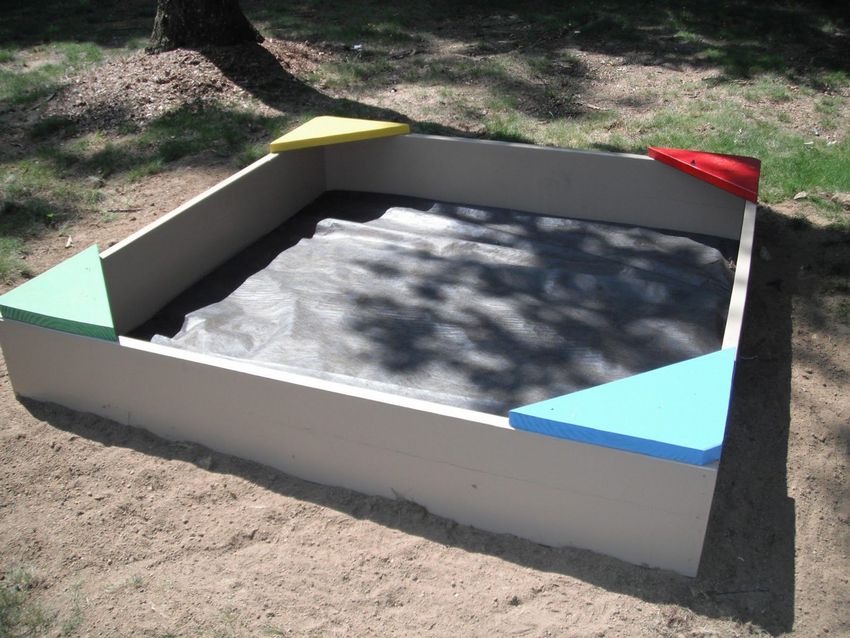
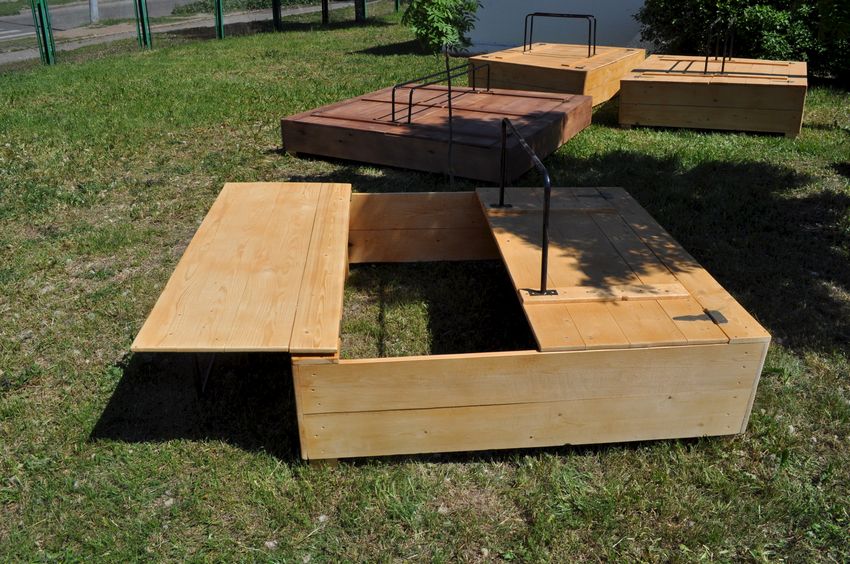
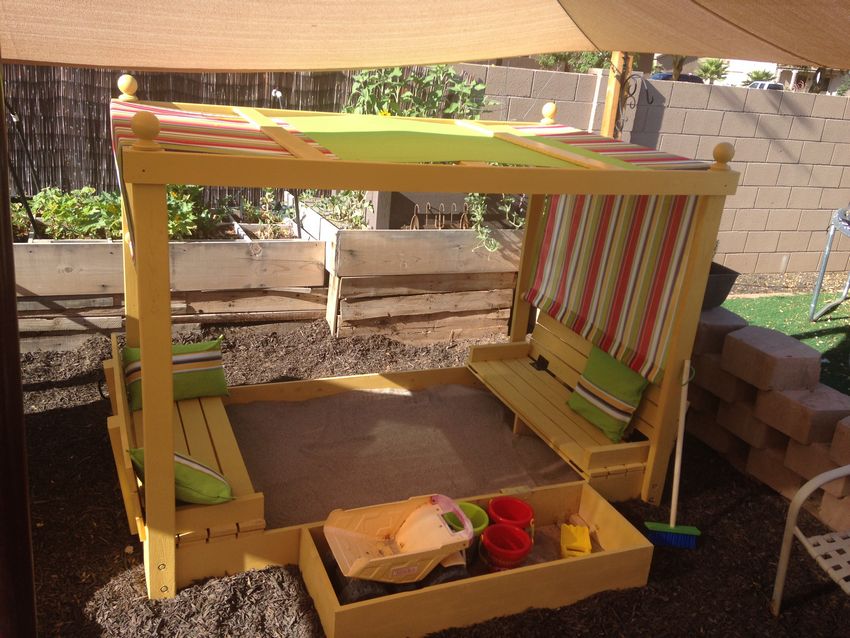
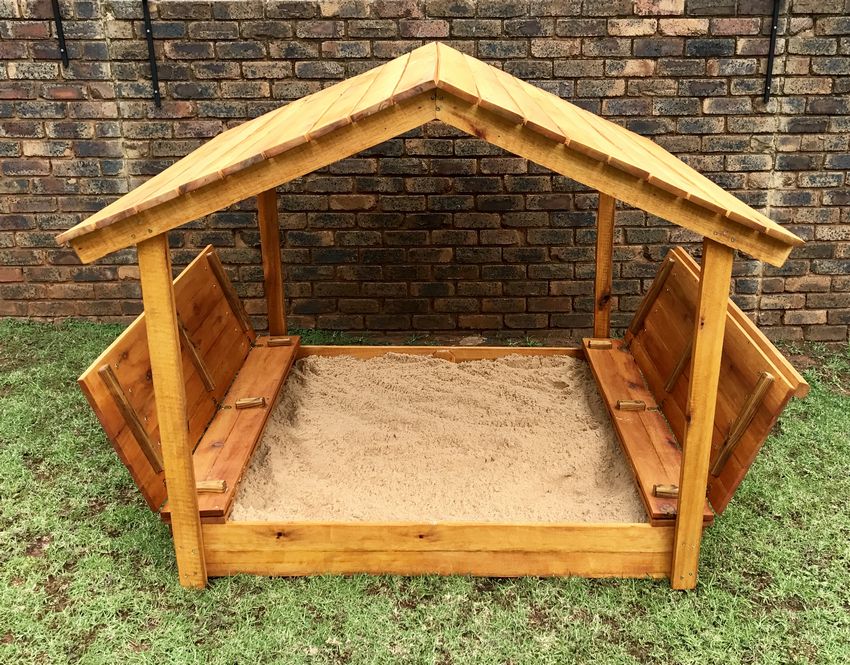
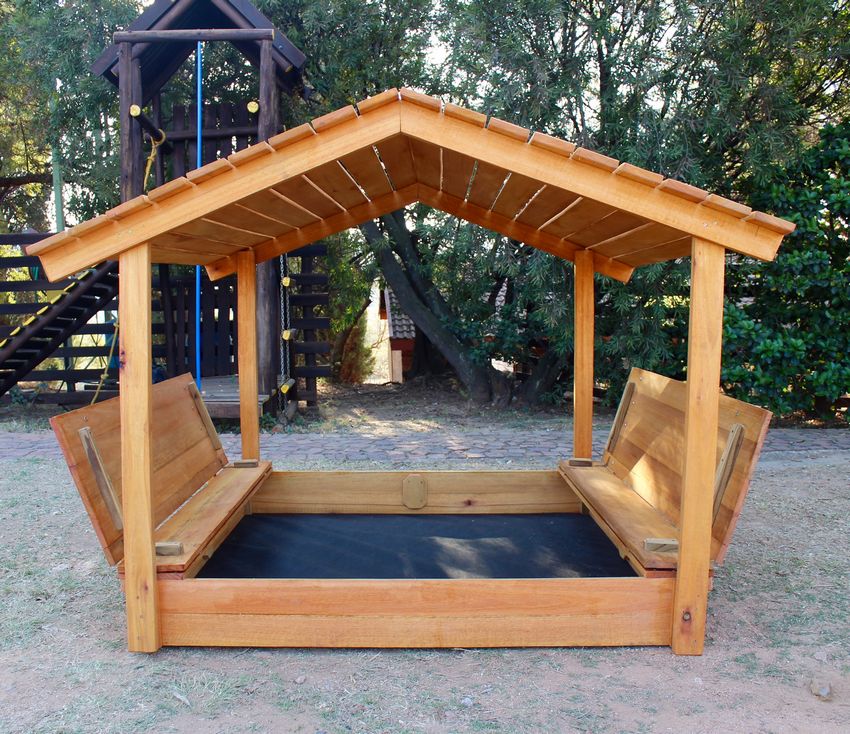
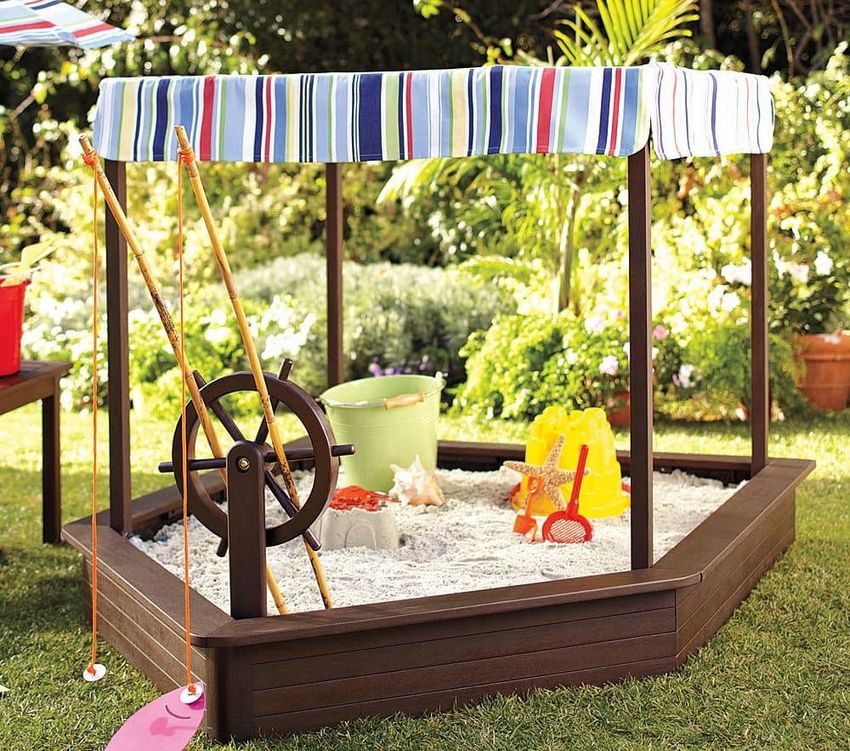
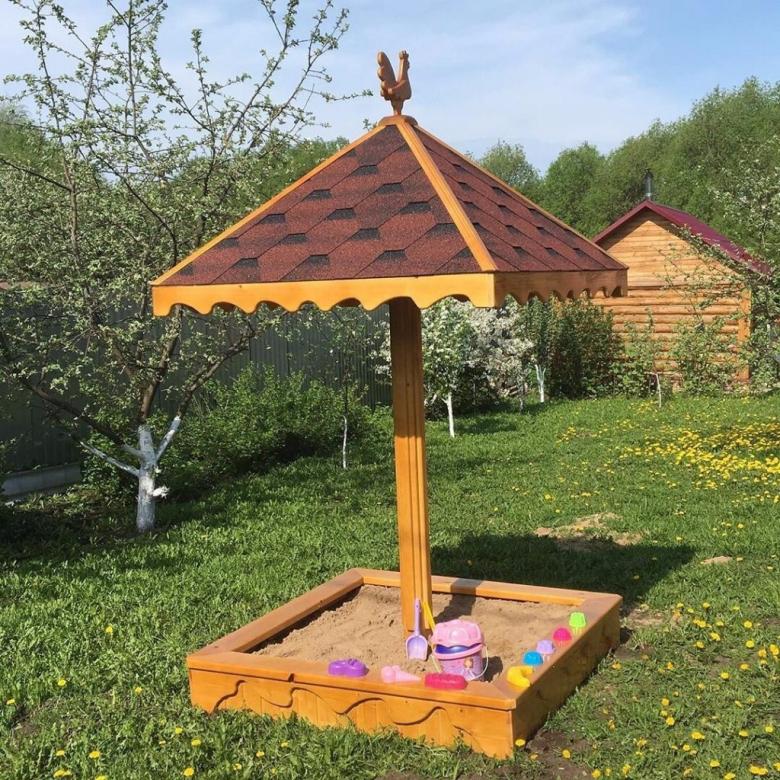
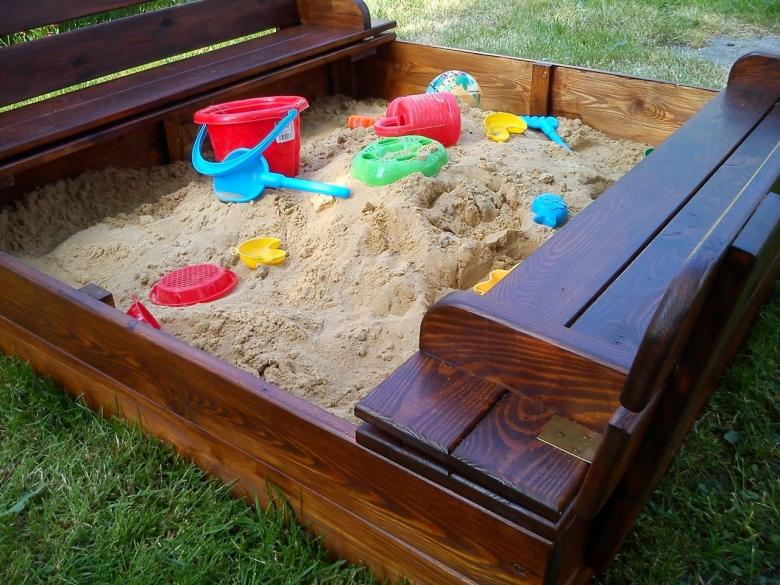
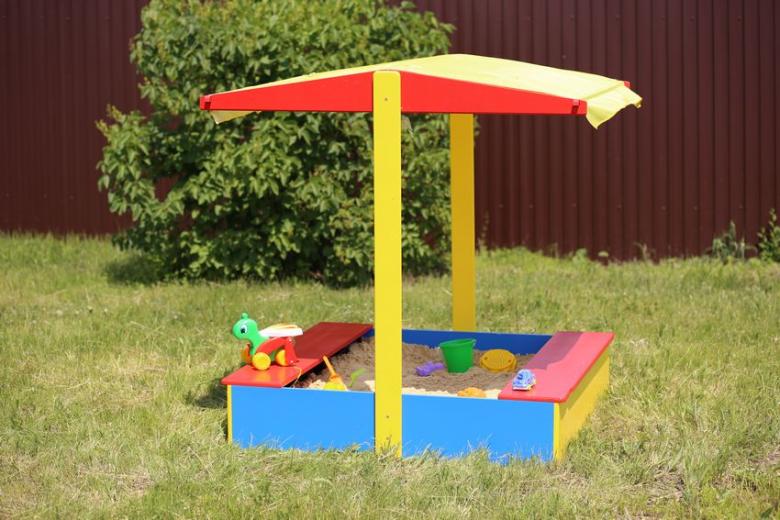
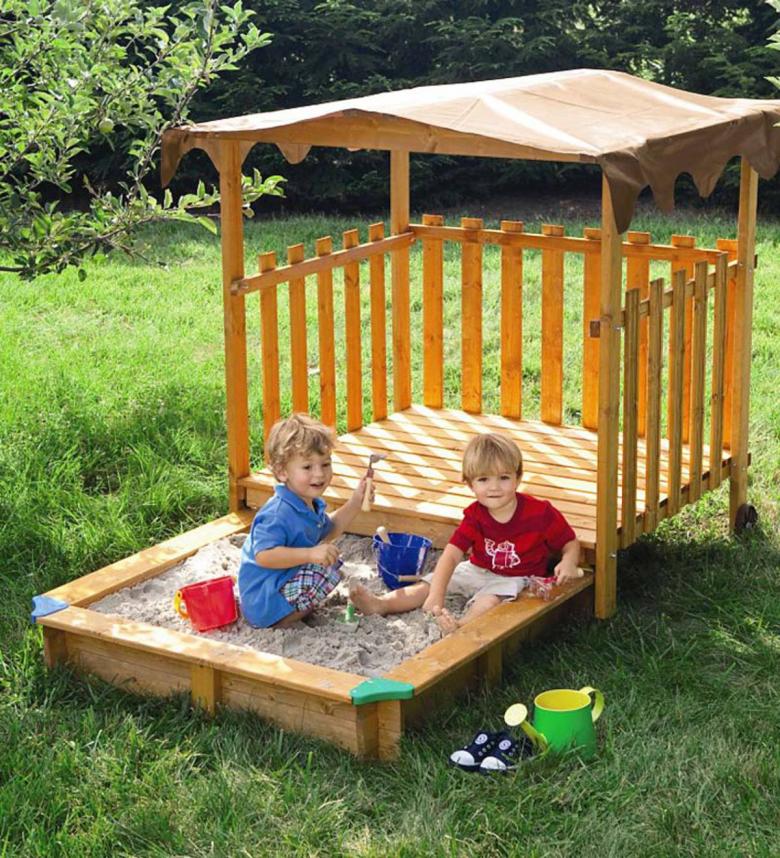
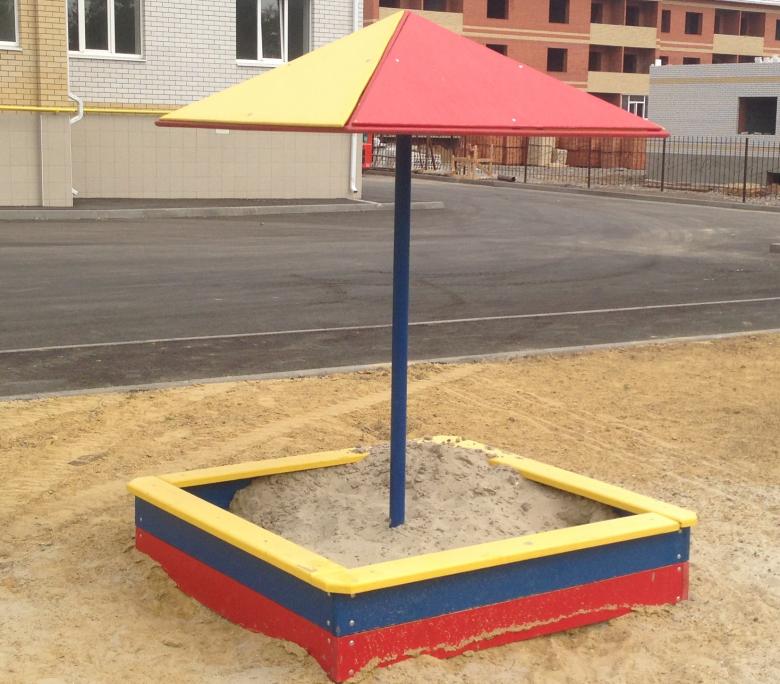
- For outdoor areas, it is better to think in advance about a small canopy or shelter that protects the baby's head from the sunlight. For adults who may also spend their leisure time here (looking after the child) you can equip a bench or chair.
For the outflow of excess moisture should think about a quality drainage system, which consists of sand, gravel or gravel.
How to choose a sandbox shape
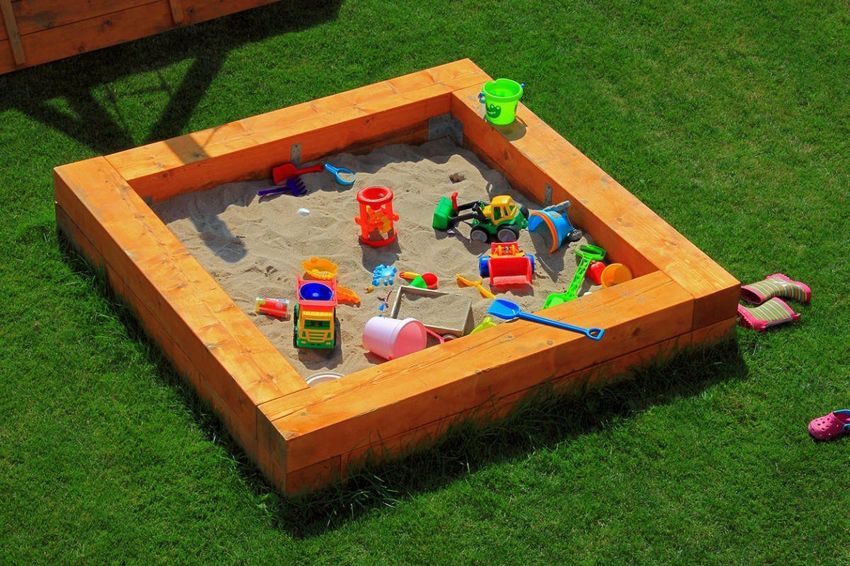
A sandbox is a complete playground for any child. Therefore, the shape and decorative finish of the outer frame is of no small importance.

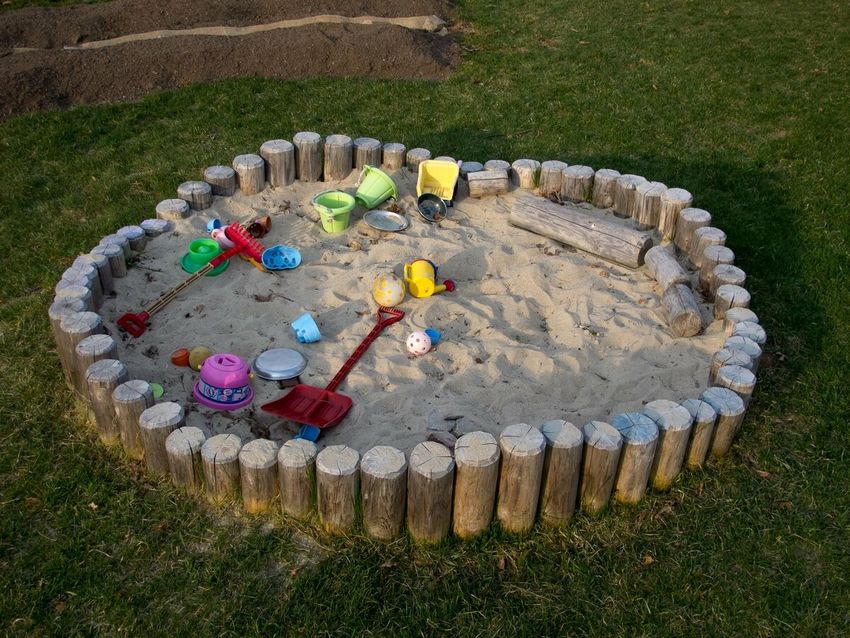
The choice of shape depends entirely on the skill of the craftsman, the degree of mastery of tools (jigsaw, planer) and, of course, creative skills for painting the surface. In addition to the classic square shape, the sandbox can be presented in the following variations:
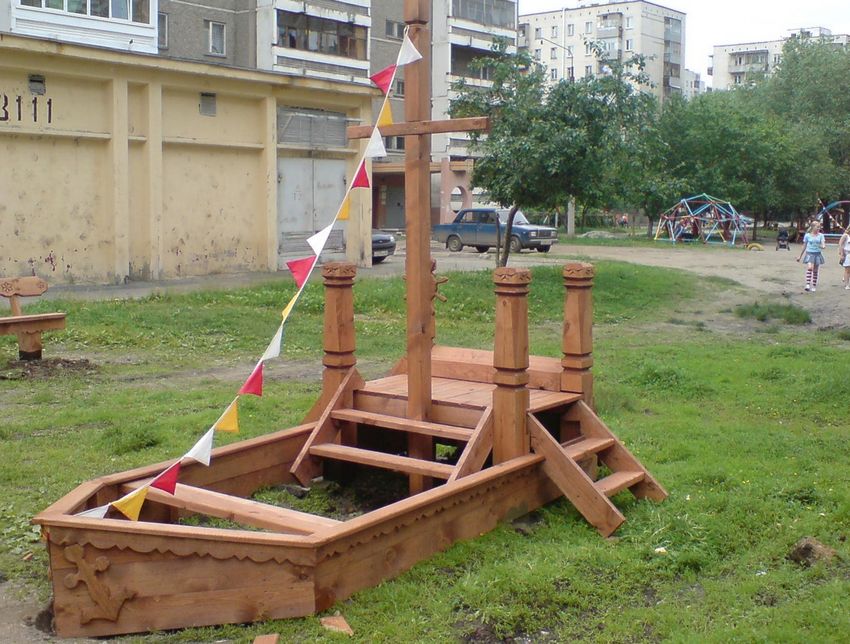
- Carloader, in which the sand is located in the body.
- Duck, where the torso is presented in the form of a tank for sand.
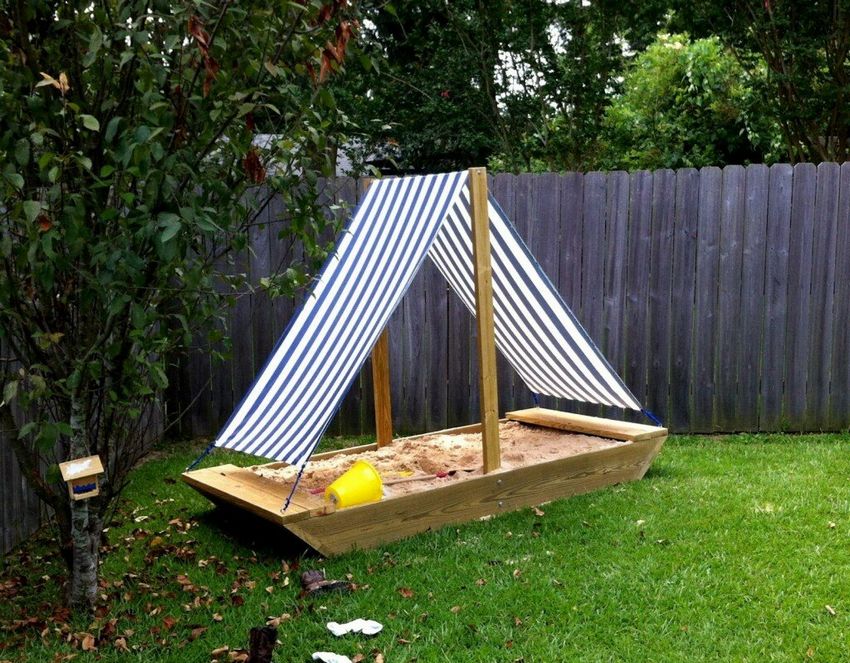
- Boat, which can be originally decorated with oars, life buoy.

Many more possible options are available for independent work, and step by step instructions for making a sandbox are freely available thanks to the Internet services.

Choosing the material for the frame
The main material is selected, based on its technical characteristics and the skill of the master. Metal structures are more durable, but iron heats up quickly under the scorching rays of the sun.
Wood requires more detailed impregnation and sanitary treatment, but is the optimal material for building children's structures. Sometimes bricks or natural stone are used as a consumable material, which also gives the structure a stylish look.
It is better to weld the lid to cover the sandbox from sheet iron, so that the bar was one piece and sealed the sandbox.
Step by step sandbox making
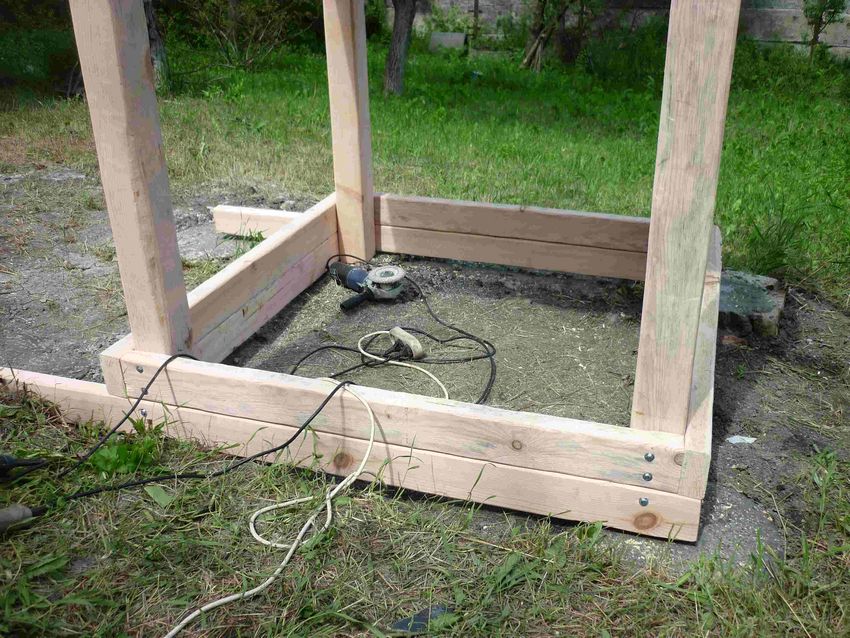
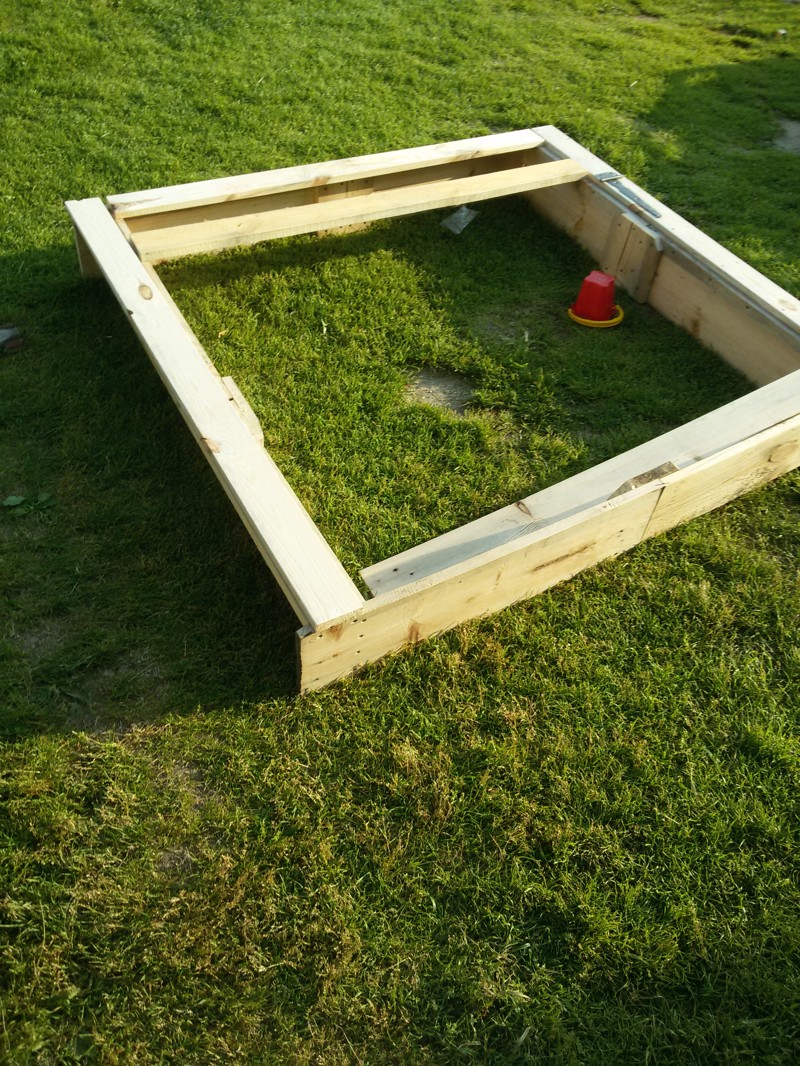
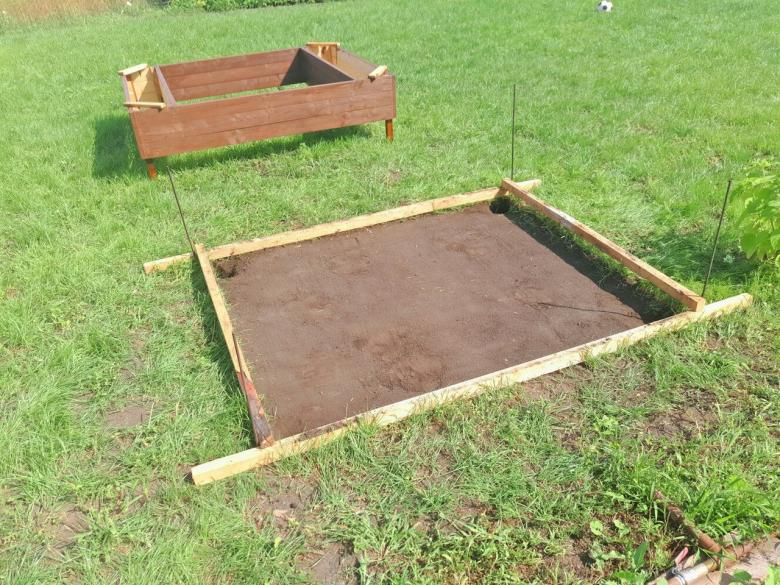
The entire process of making a children's sandbox from wood with their own hands can be divided into several stages, each of which is of paramount importance. First of all, it is necessary to optimally choose the site for the future construction.

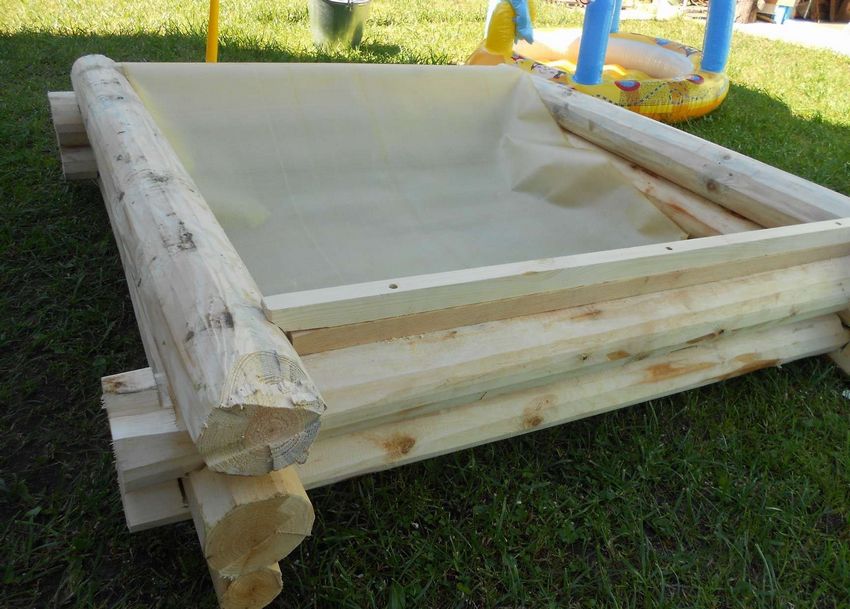
After assessing the state of the soil (the presence of karst cavities and nearby groundwater), you can begin to prepare the base. An excavation should be dug in the soil, the bottom and walls of which should be leveled. Then lay a sand cushion, a layer of gravel or crushed stone. This approach will ensure the optimal outflow of moisture from the sand, which acquires the proper flowability.
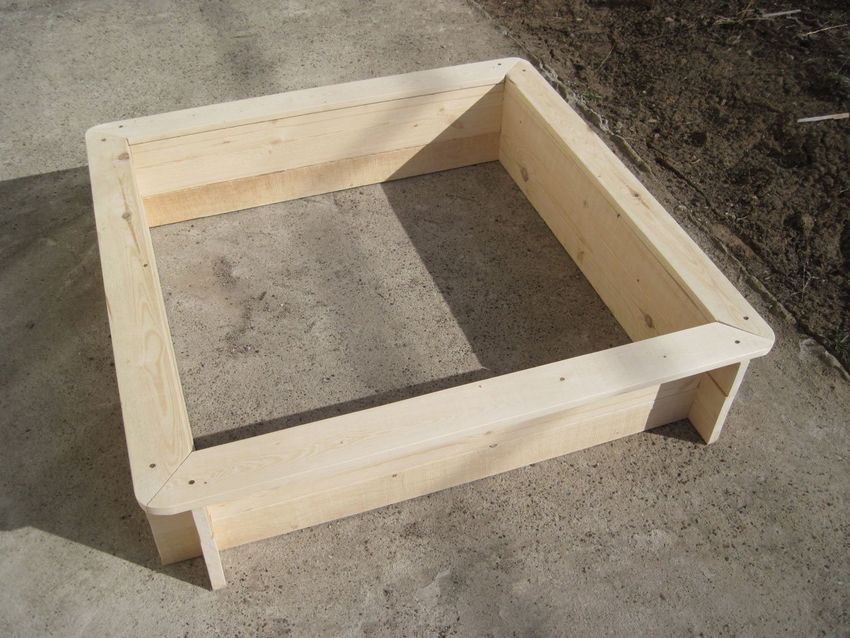
Preparing parts for the frame
After choosing a form for the sandbox, proceed directly to the work:
- On a wooden sheet or sheet of plywood, mark the boundaries of each part, using a building pencil for this purpose.
- Jigsaw blanks are cut, carefully sanded edges and sharp cuts. A child in the process of playing should not damage the delicate skin of random nicks and knots.
- Next, pretreatment with special compounds (antiseptic, antipyretic, moisture and antifungal solution) should be carried out, let the products dry out.
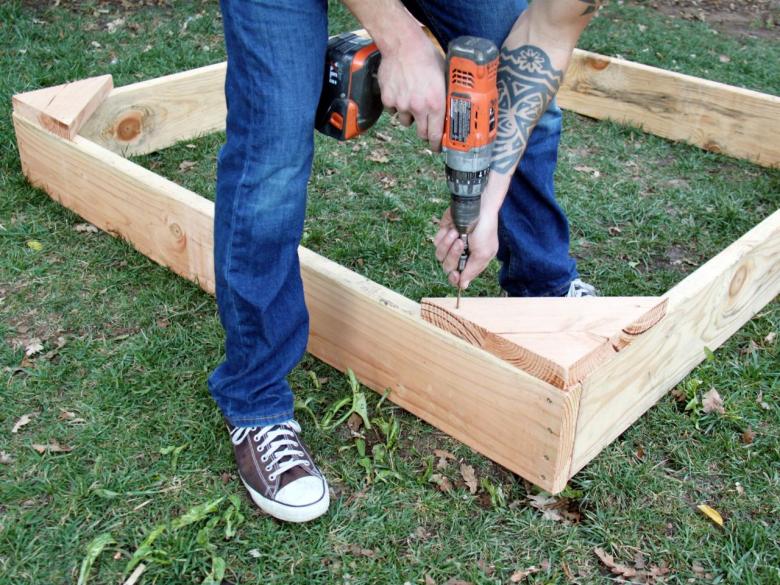
To fasten the parts to each other it is better to use safer methods: metal corners on the outer surface of the frame, dowels - on the inner contour. For safety reasons, it is undesirable to use pointed screws, self-tapping screws and nails.

The frame is installed on the bottom strapping, secured with dowels. Along the contour of the curbs you place the rotary fittings for the future cover. The points of location of the fittings should be shown on the pre-prepared drawing.
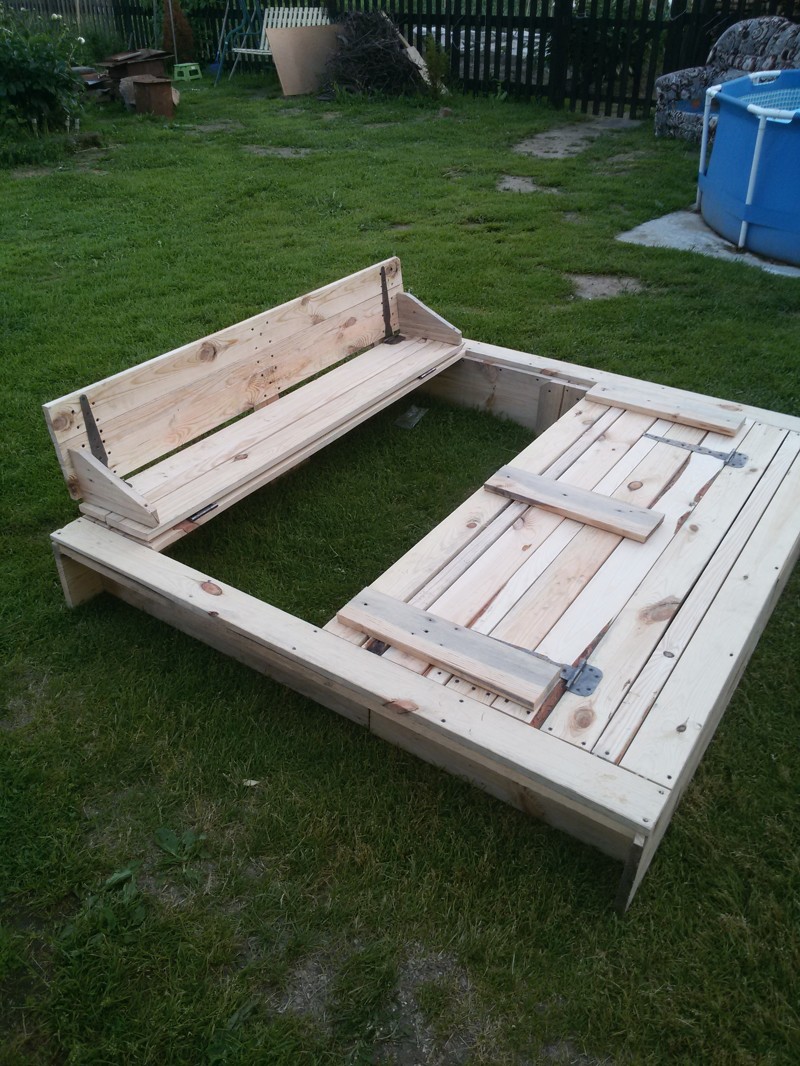
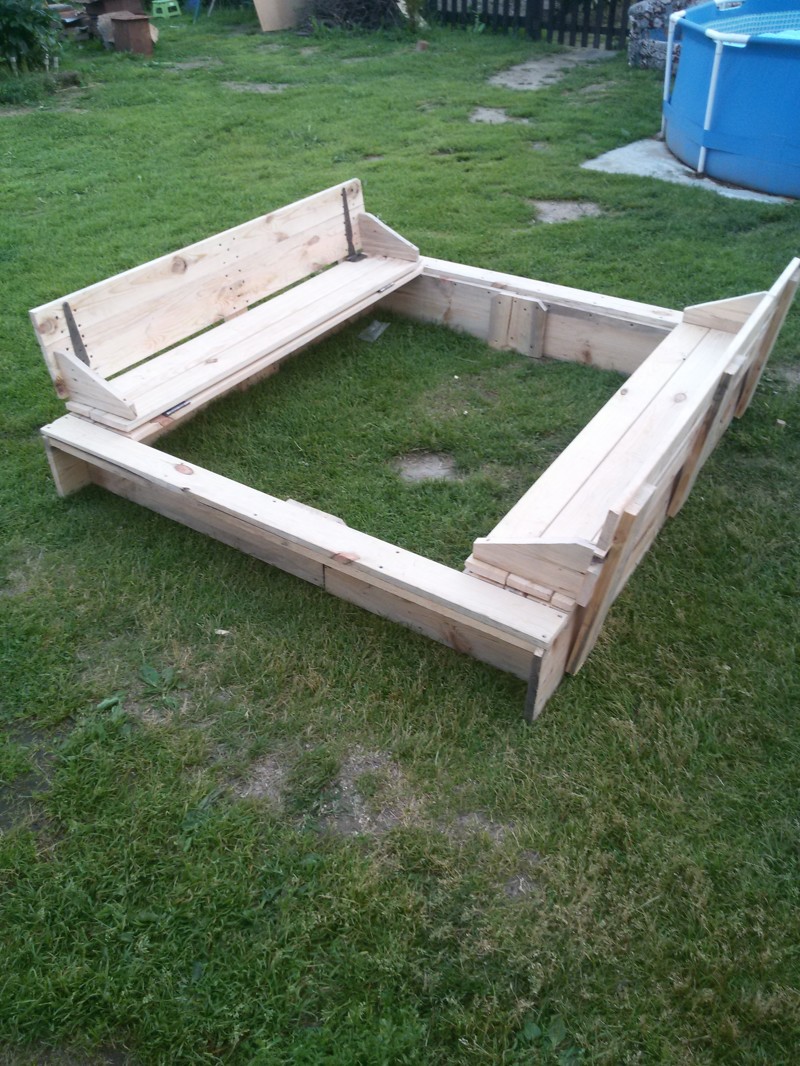
Fabrication of the metal cover
The next and very important stage of the work is to make a cover for the sandbox. For this purpose, it is better to take sheet iron, which is solid and strong in its structure. You will also need the following kit:
- A construction pencil.
- A tape measure.
- A trowel.
- Welder.
- A lock or pawl.
- Anticorrosive compound and paint for decoration.
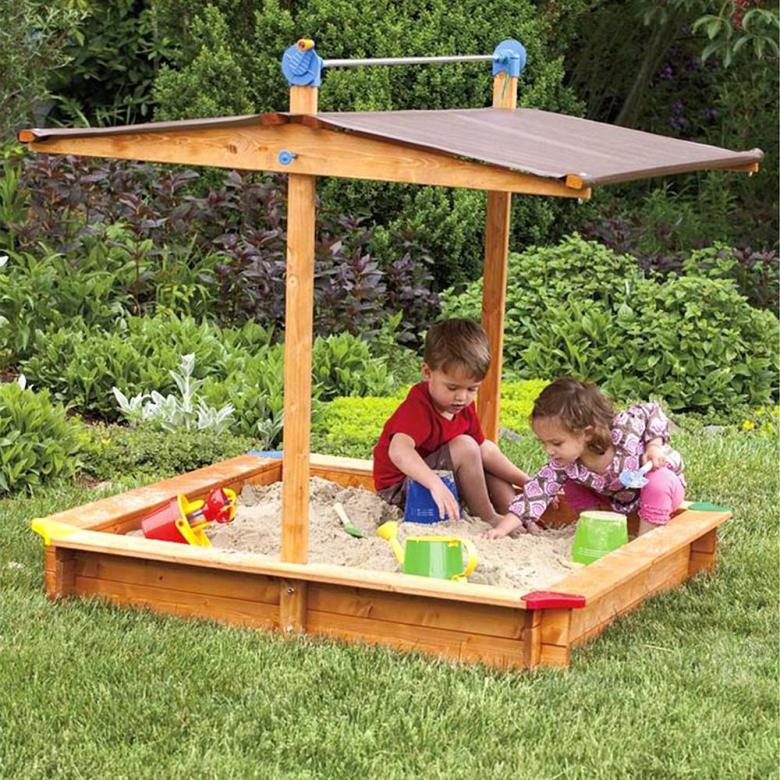
On the metal sheet mark the boundaries of the future cover, carefully measuring the dimensions of the wooden frame. Grinder (necessarily with the use of personal protective equipment) cut the metal. Grind sharp cuts, remove burrs. A small rim and a pair of handles are welded around the outline of the sheet to hold the lid in place.
For strength, you can weld two metal strips crosswise on the outer surface of the cover. Mount the other half of the pivoting hardware directly on the sheet and attach it to the wood frame. The type of design for the cover can be presented in several variations: from the simplest hinged to the more intricate sliding panels.

Decorating the sandbox
No less important stage of independent work is the decoration of the frame. The child is interested in bright, but not harsh shades and plot drawings. For this reason, you can use stencil painting, acrylic paints, special PVC films with different images.

The master has the opportunity to decorate the sandbox in a marine manner: shells of plaster on the outer side of the frame will complement the image.
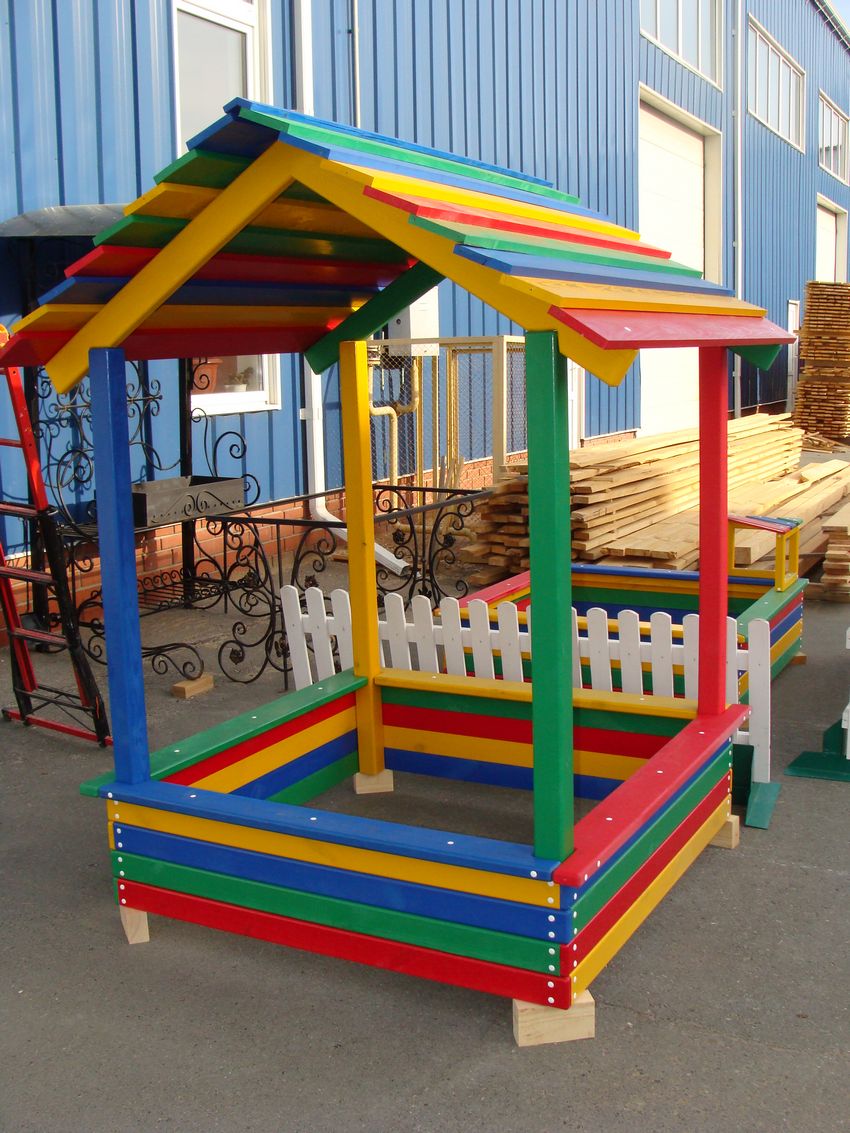
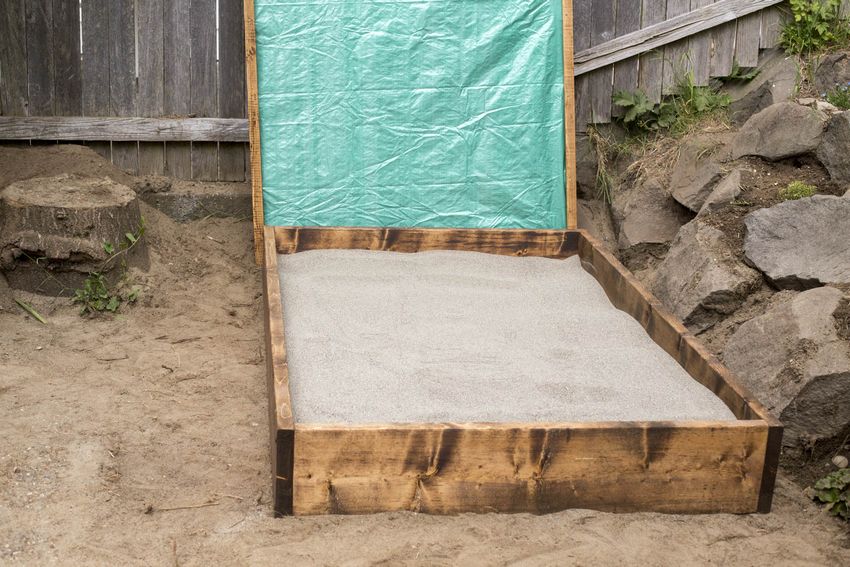
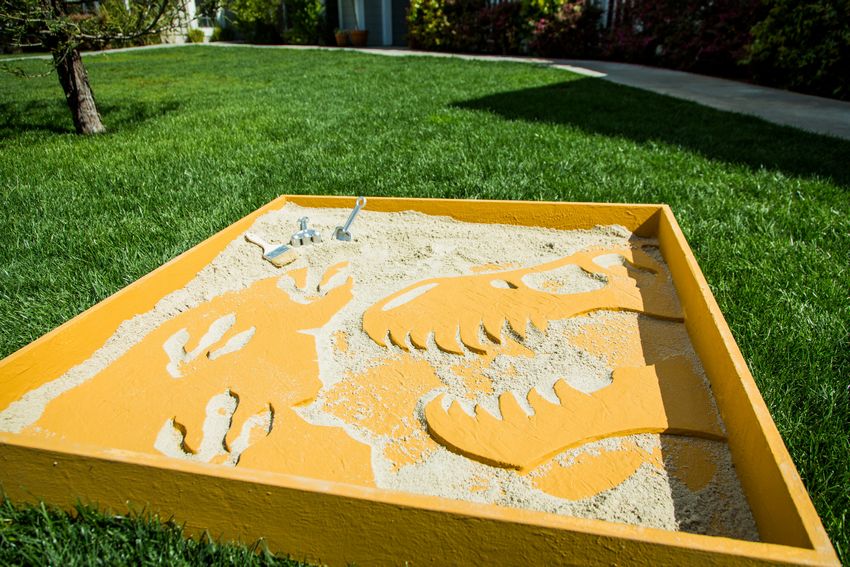
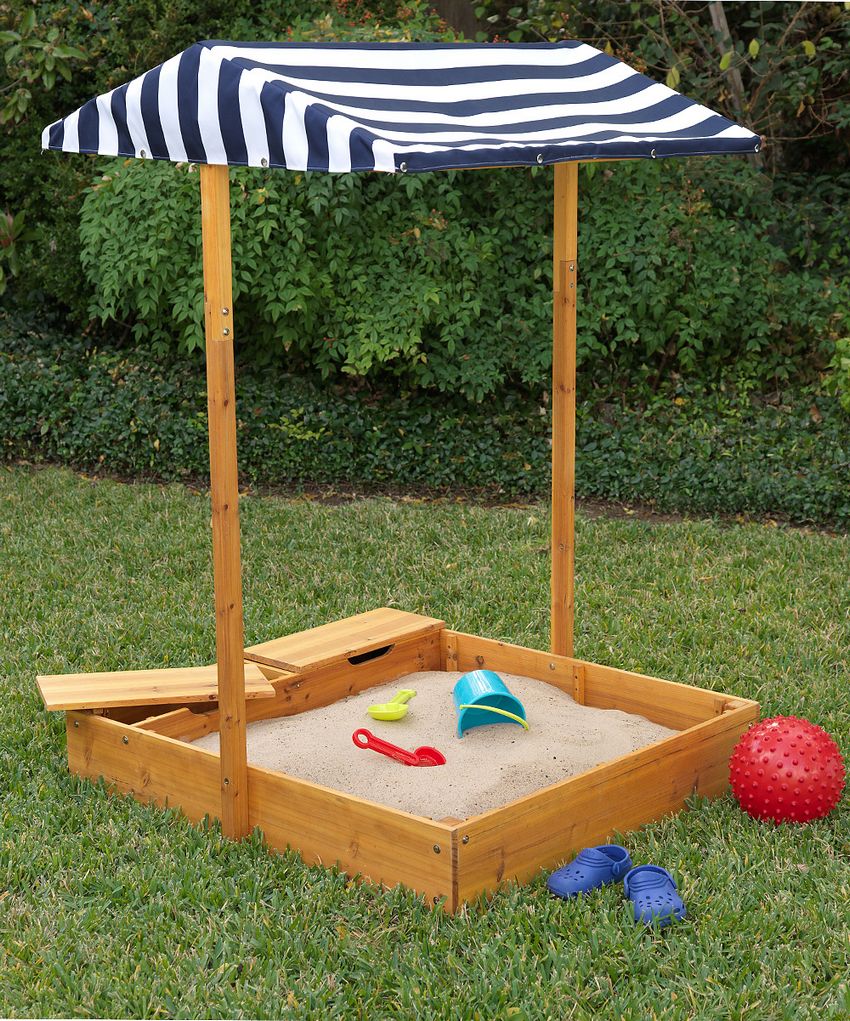
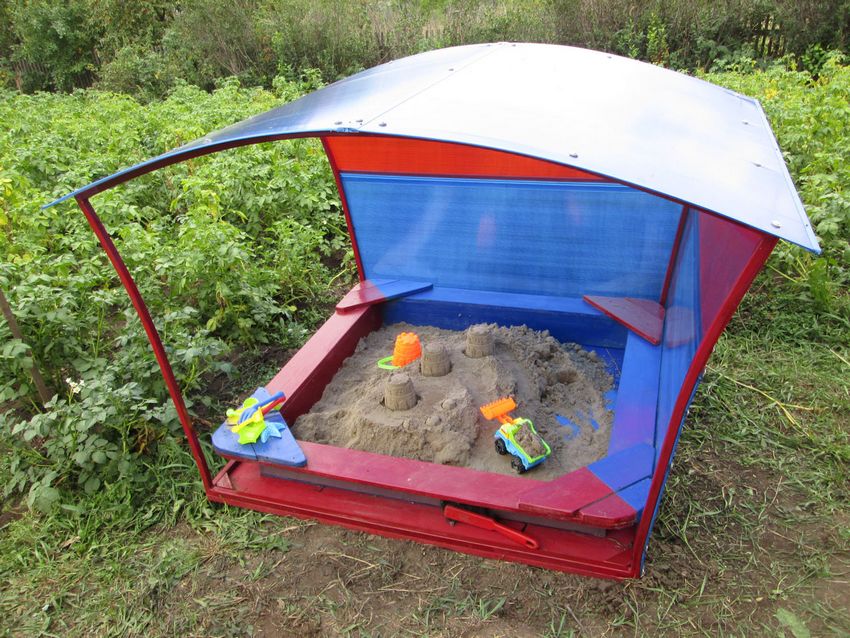
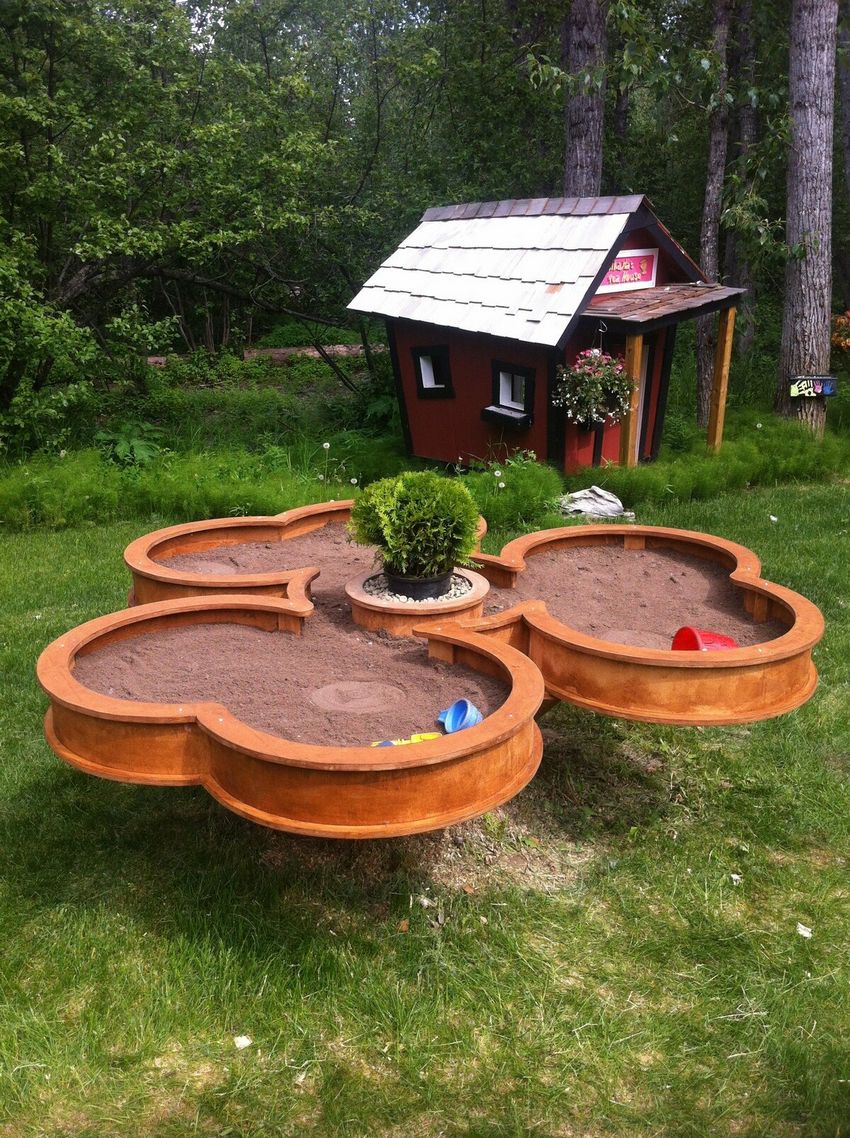
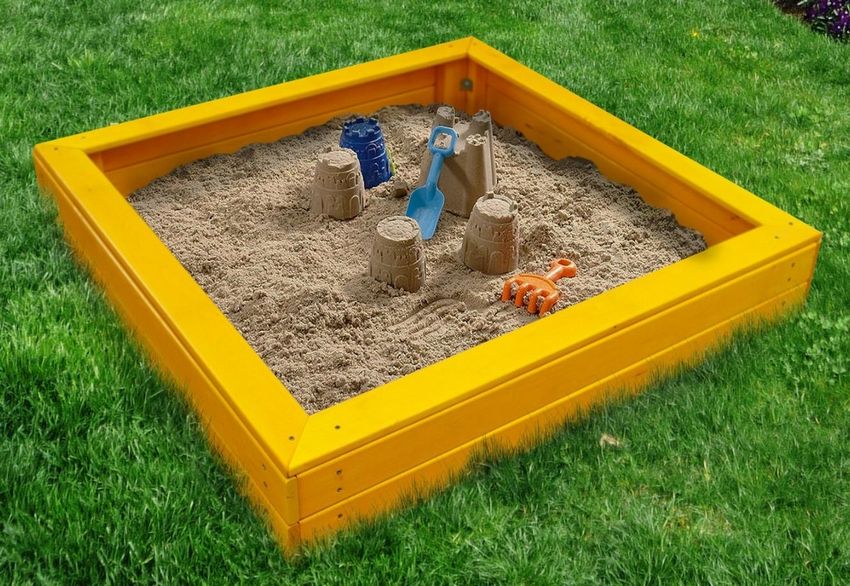
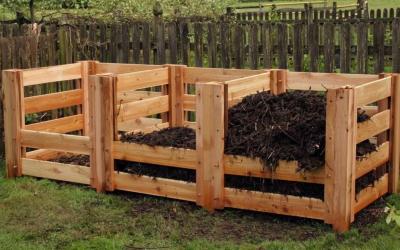
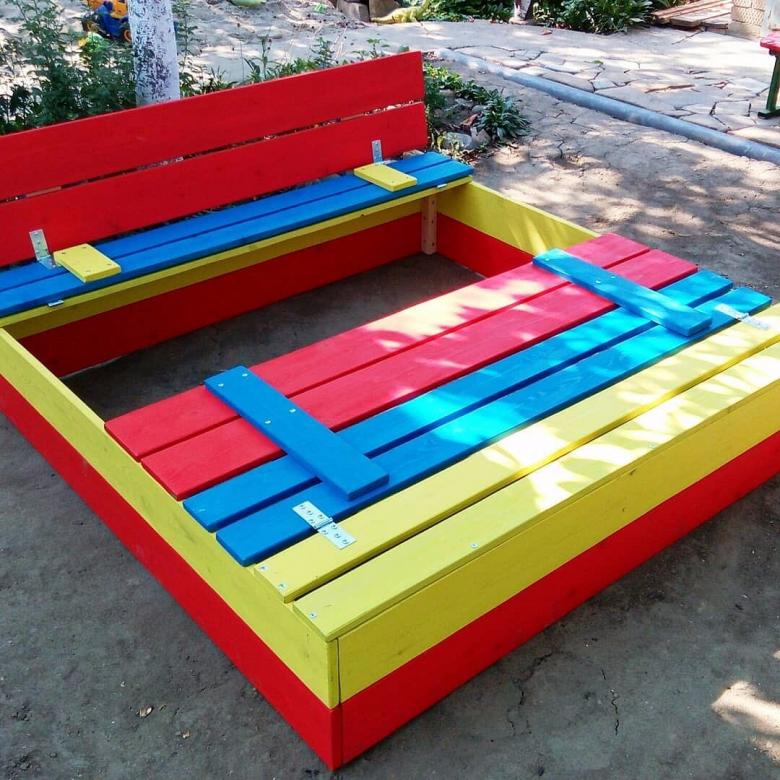
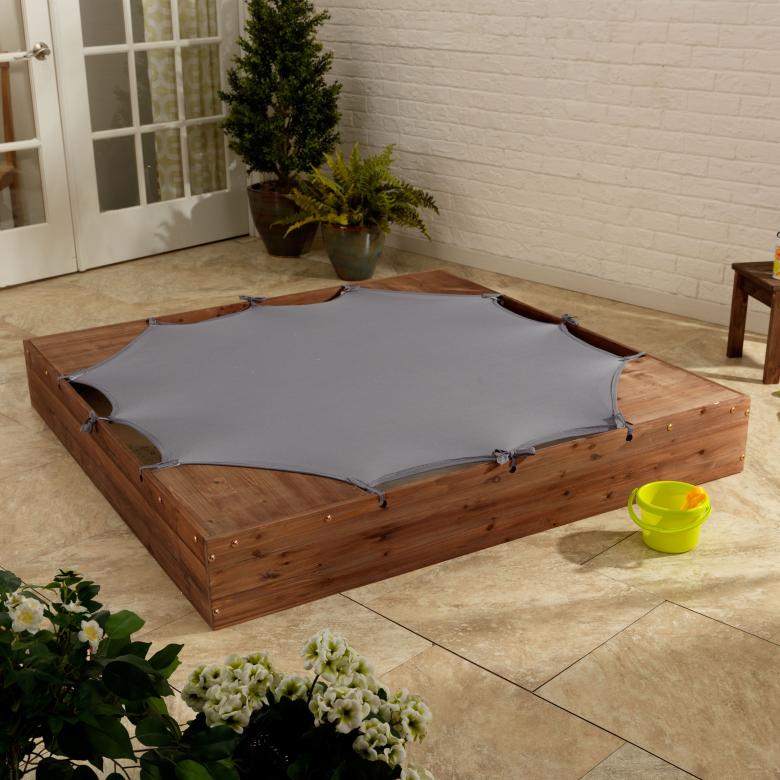
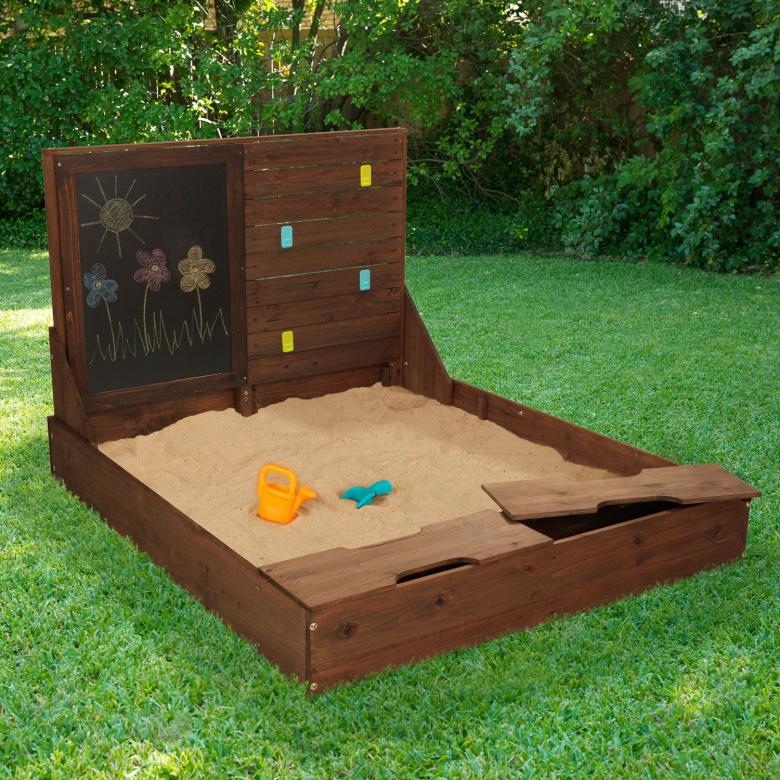
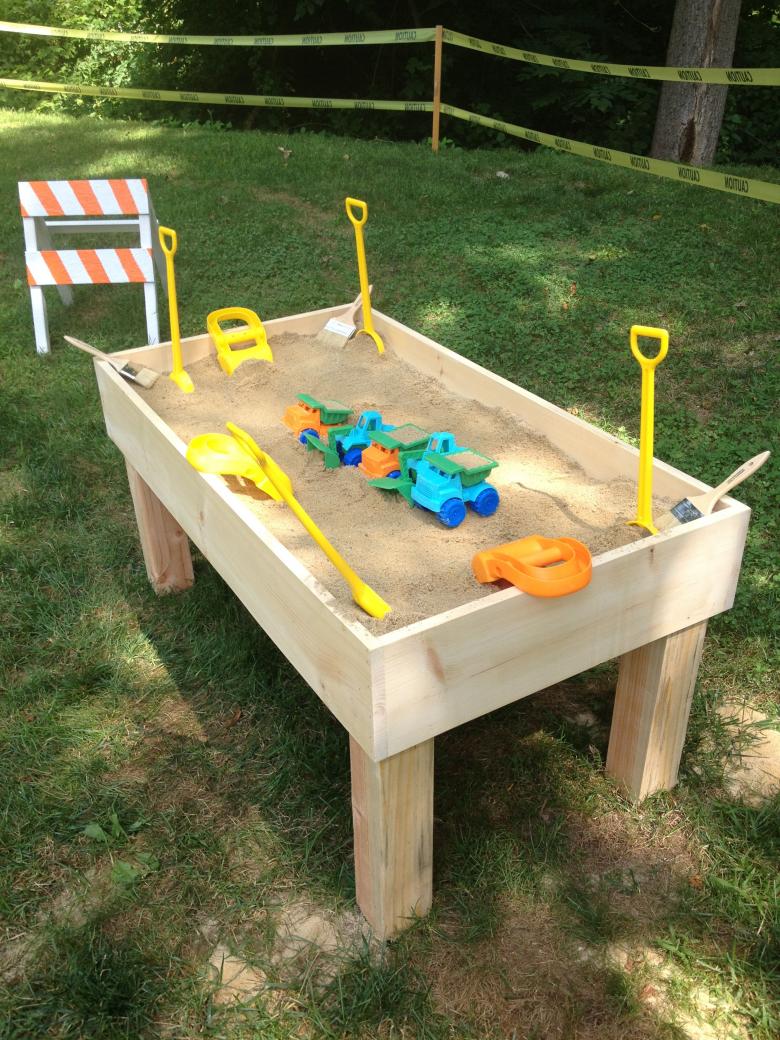
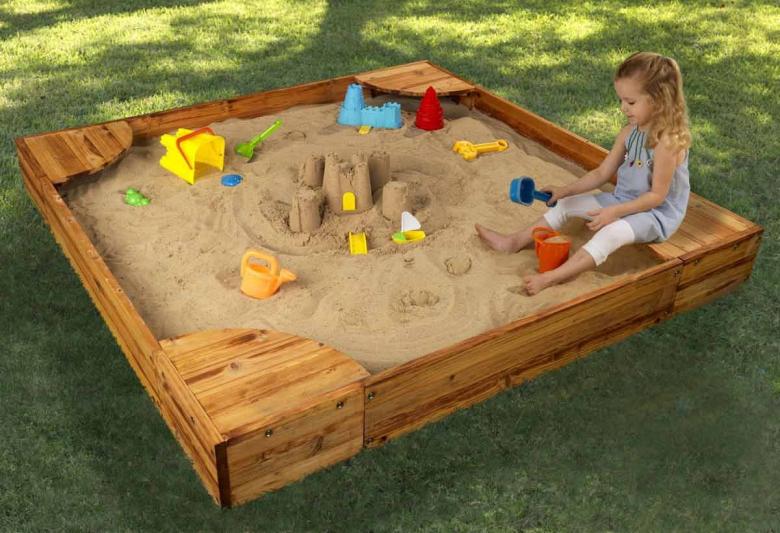
Photo examples of beautiful homemade sandboxes