The knitting pattern with a knitting needle - knitting advice and description of the knitting needle with knitting needles and crochet
The arsenal of needlewomen has a lot of patterns that are well done with needles. Already have experience using different patterns? Getting a new, original decoration is much easier.
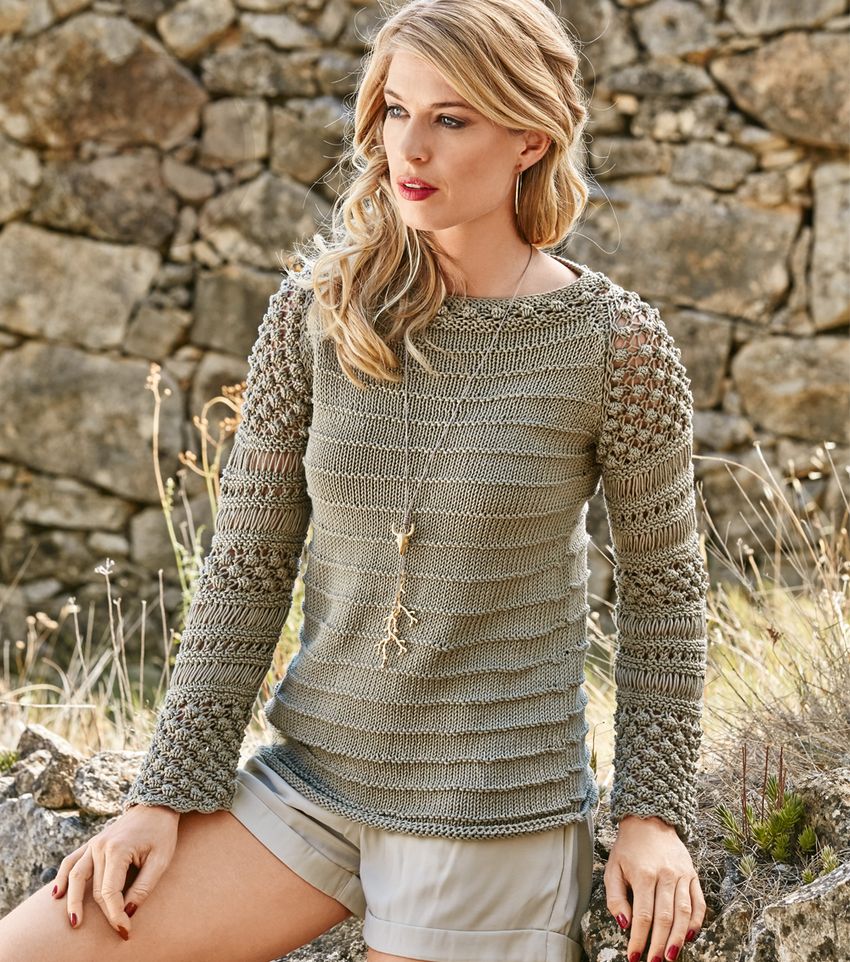
Patterns can be made using a variety of techniques. Patterns can be made with openwork, relief, various so-called "lazy" patterns consist of different, alternating loops.
Using in different sequence of front and back loops, you can make a variety of patterns on the knitted product. Using different repeating elements: waves, cells, cells.
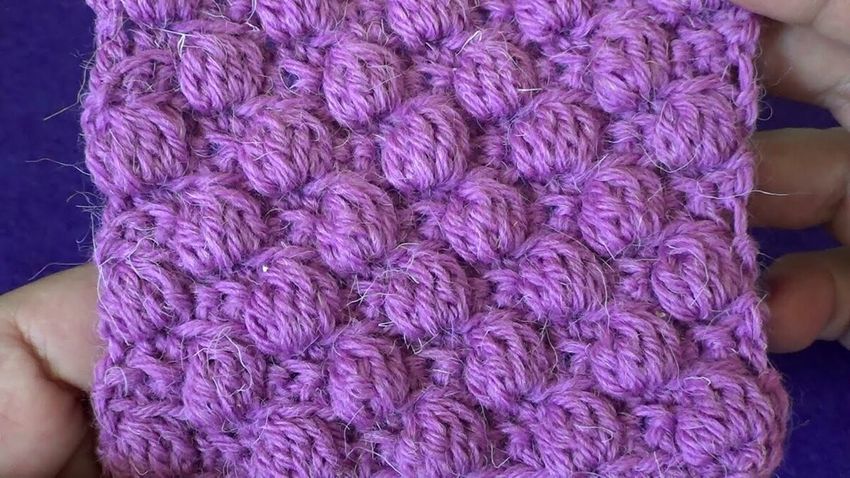
Already knit such elements on automatism and imagination can no longer help, using them to create new original things? Try to learn new patterns. In this will help you crochet a scheme of knitting cones pattern. For example, a pattern called "cones".

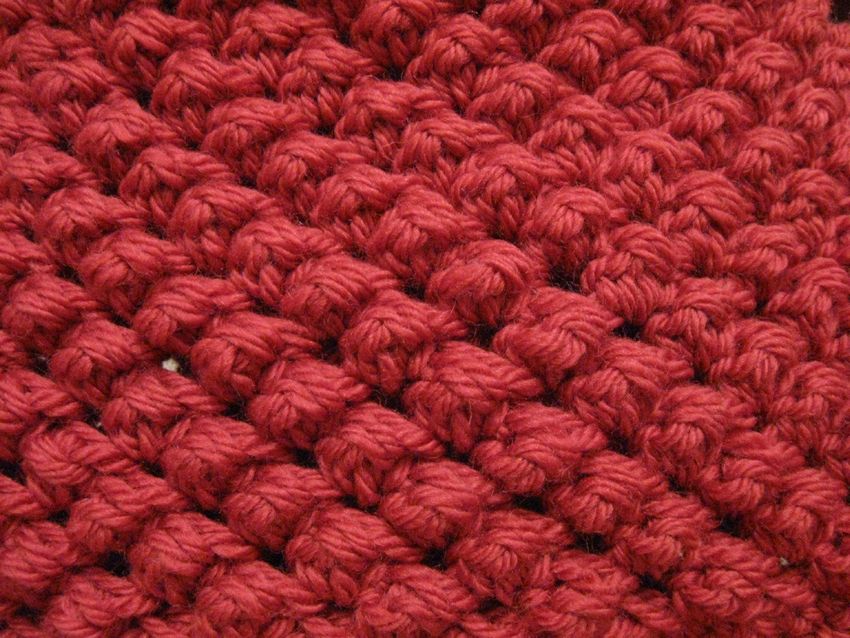
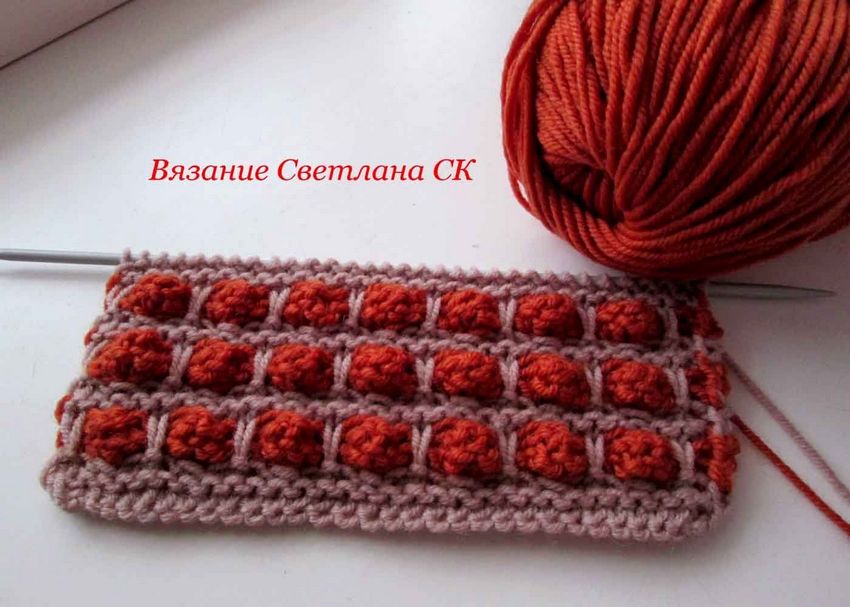
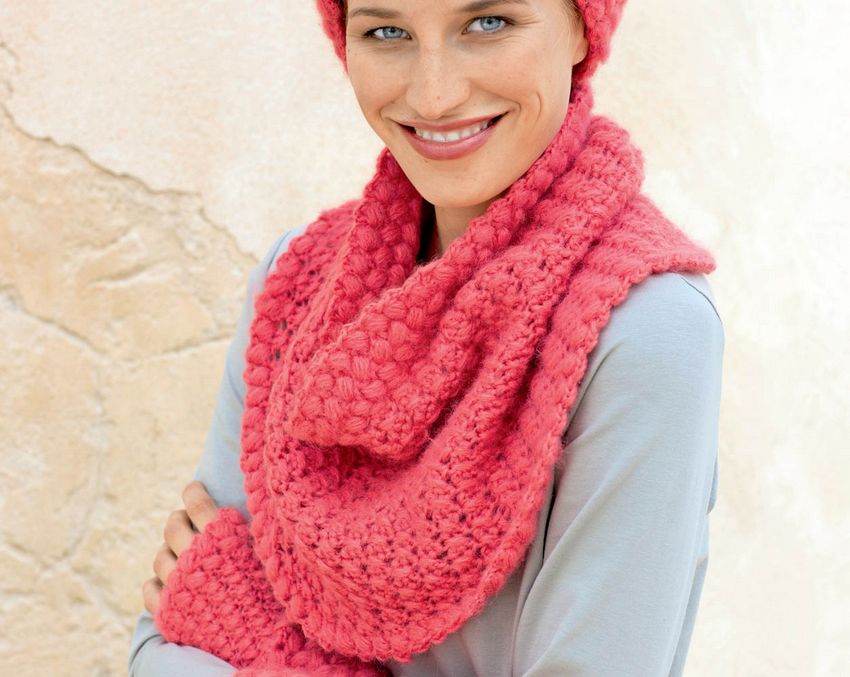
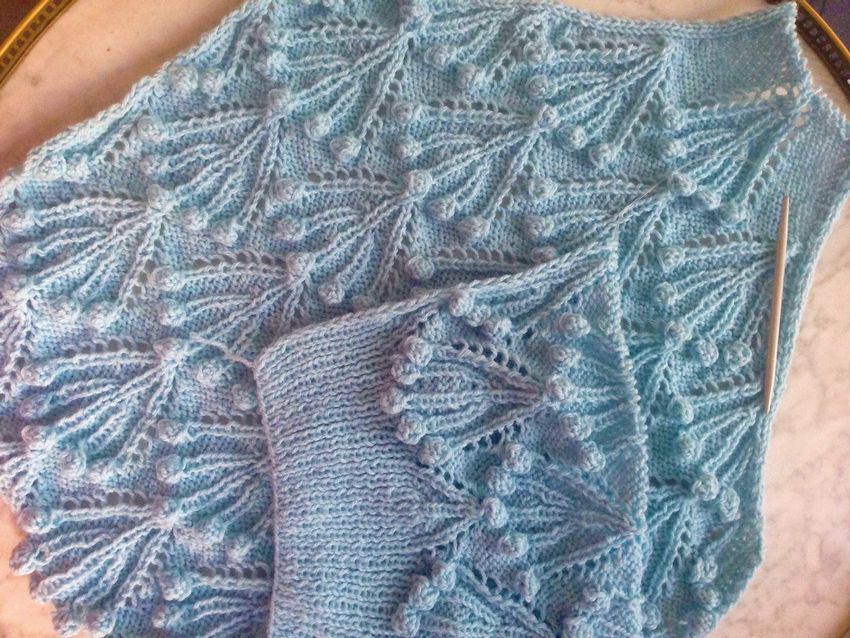
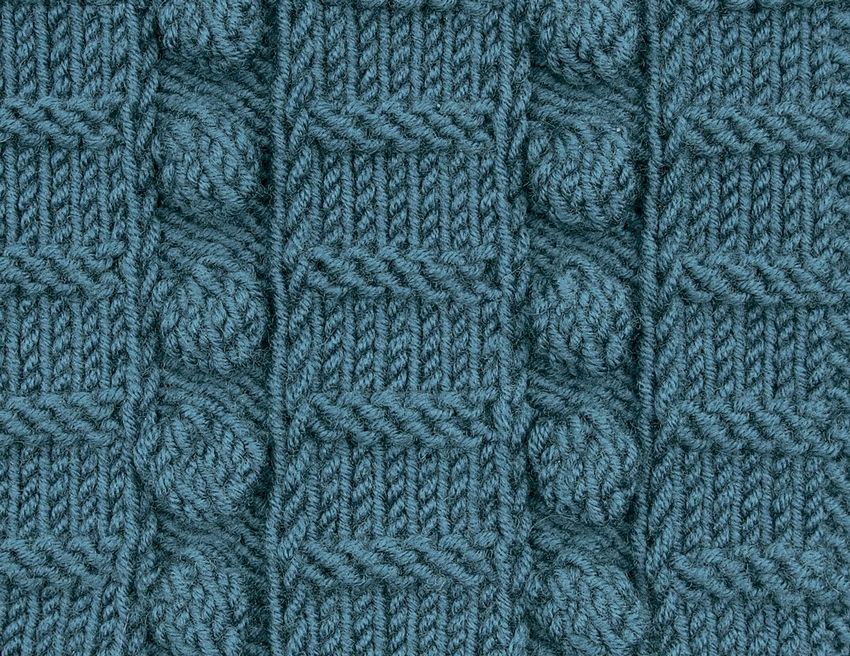
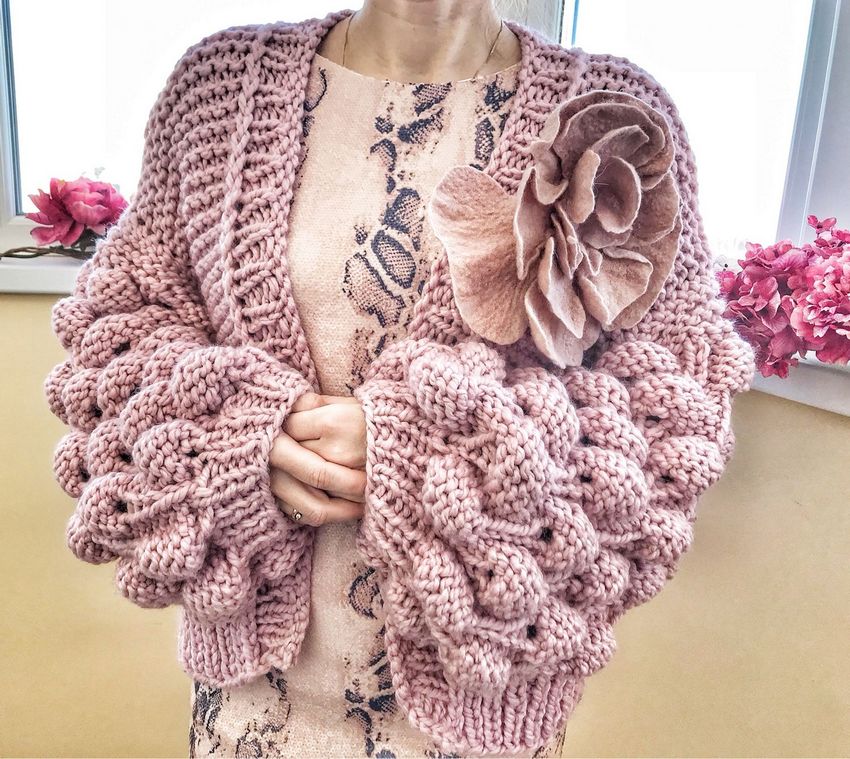
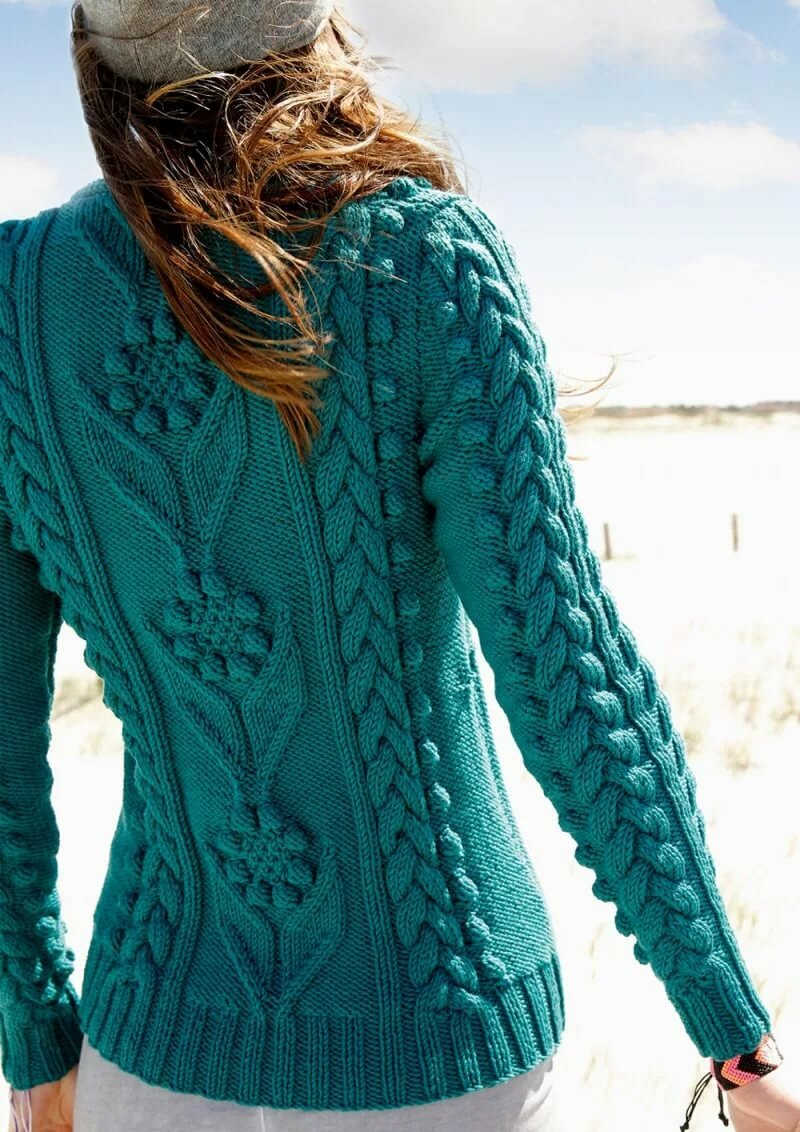
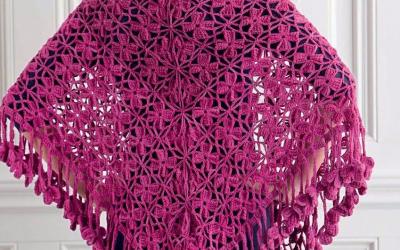
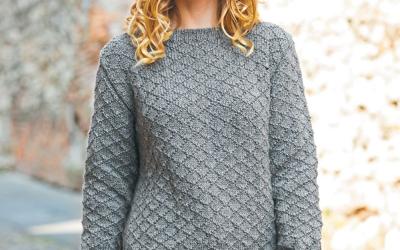
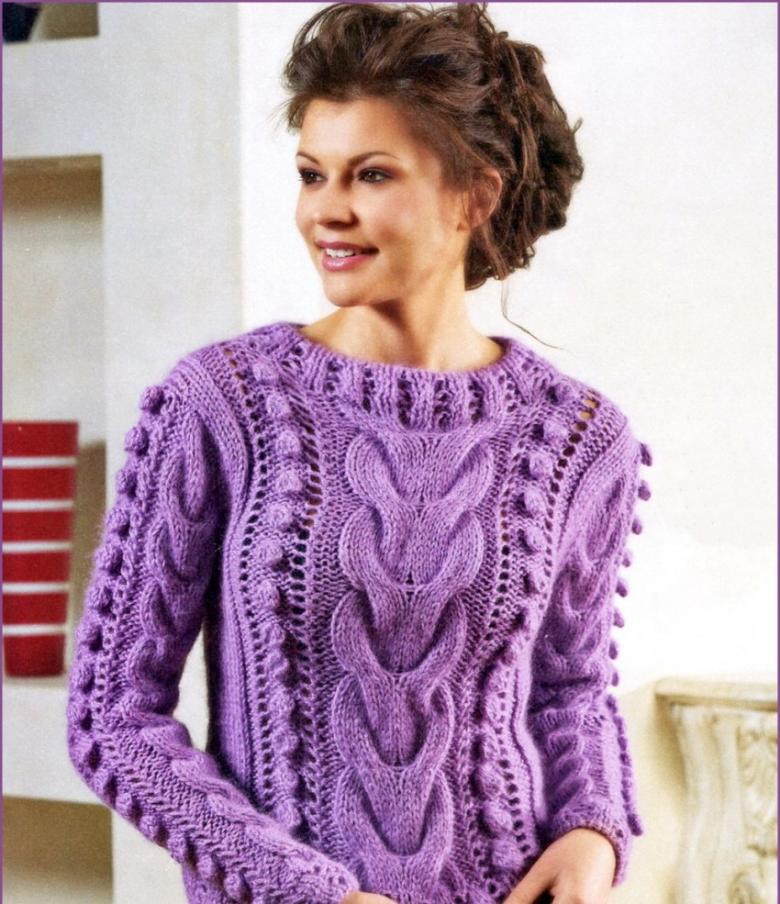
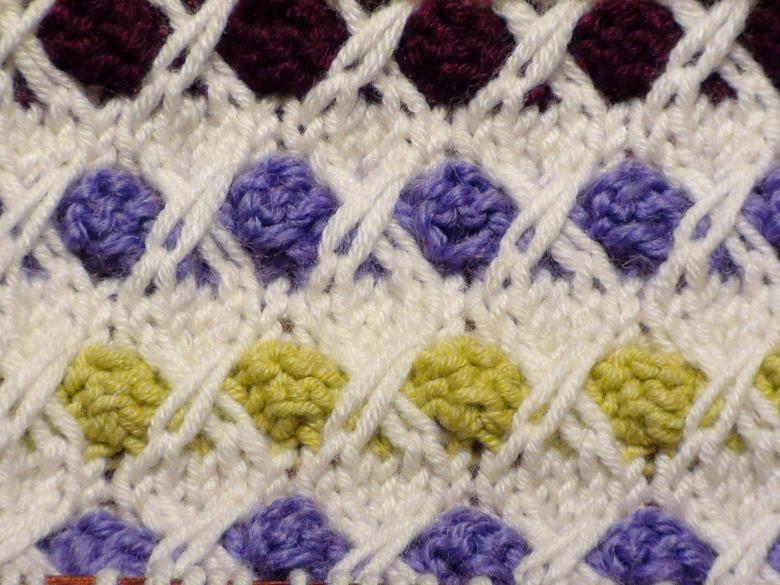
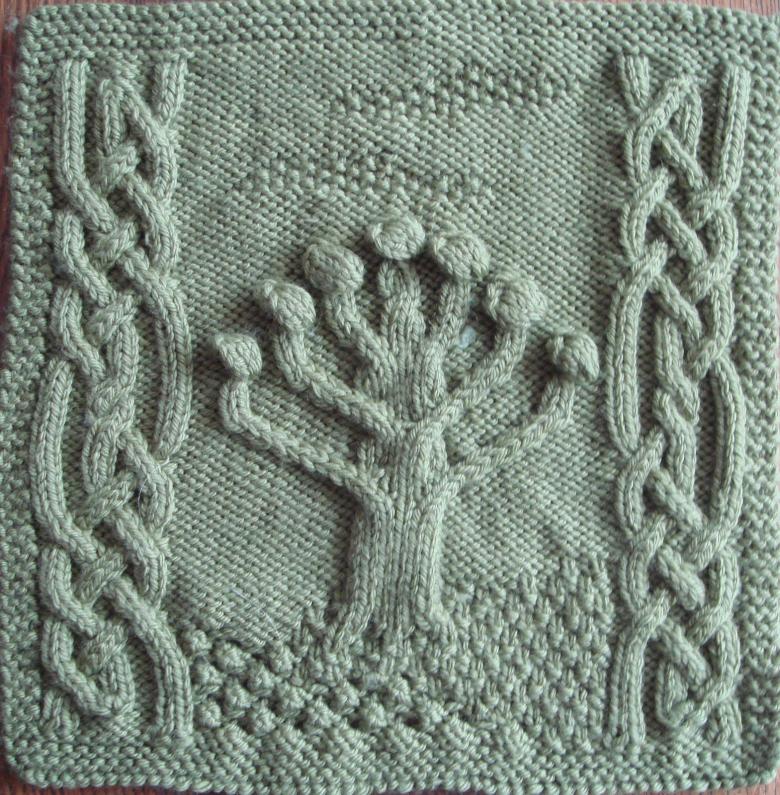
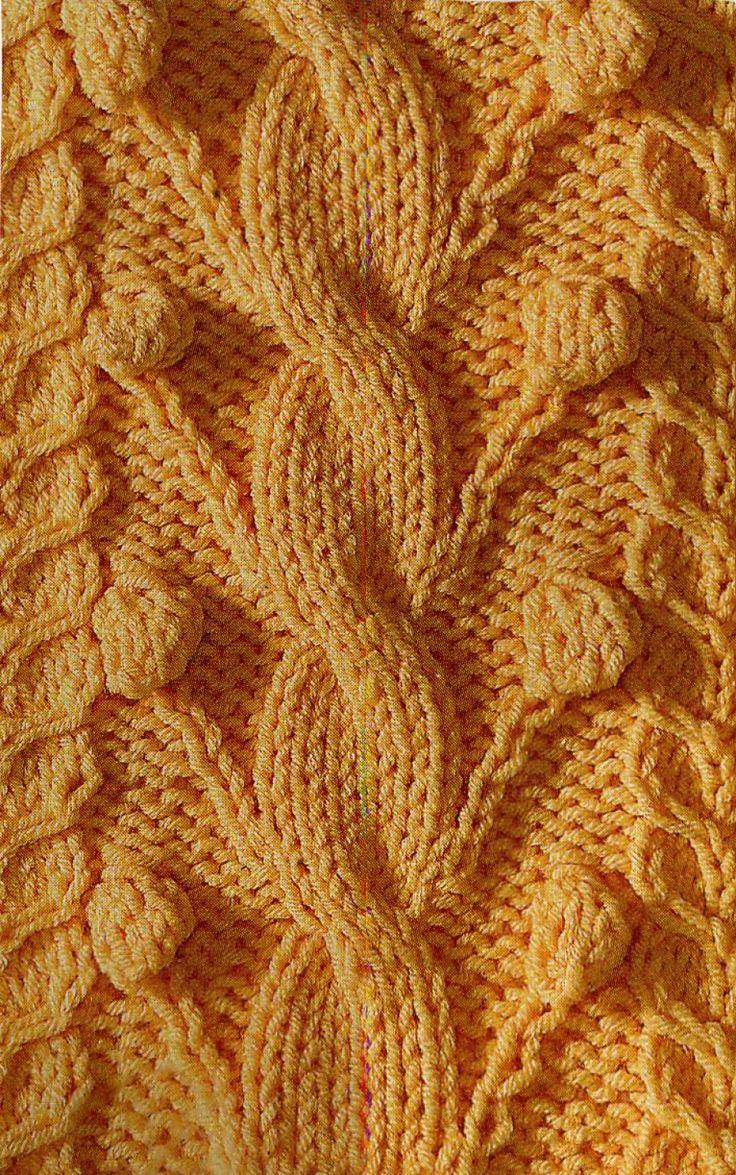
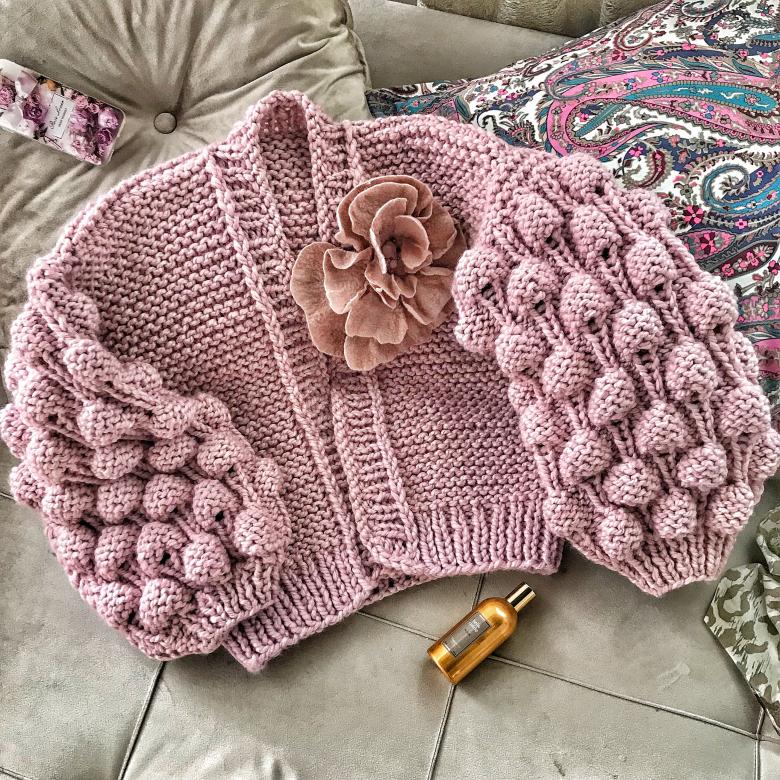
The pattern represents the convex parts of the fabric, which create a variety of patterns, sometimes these elements can make up very interesting patterns.

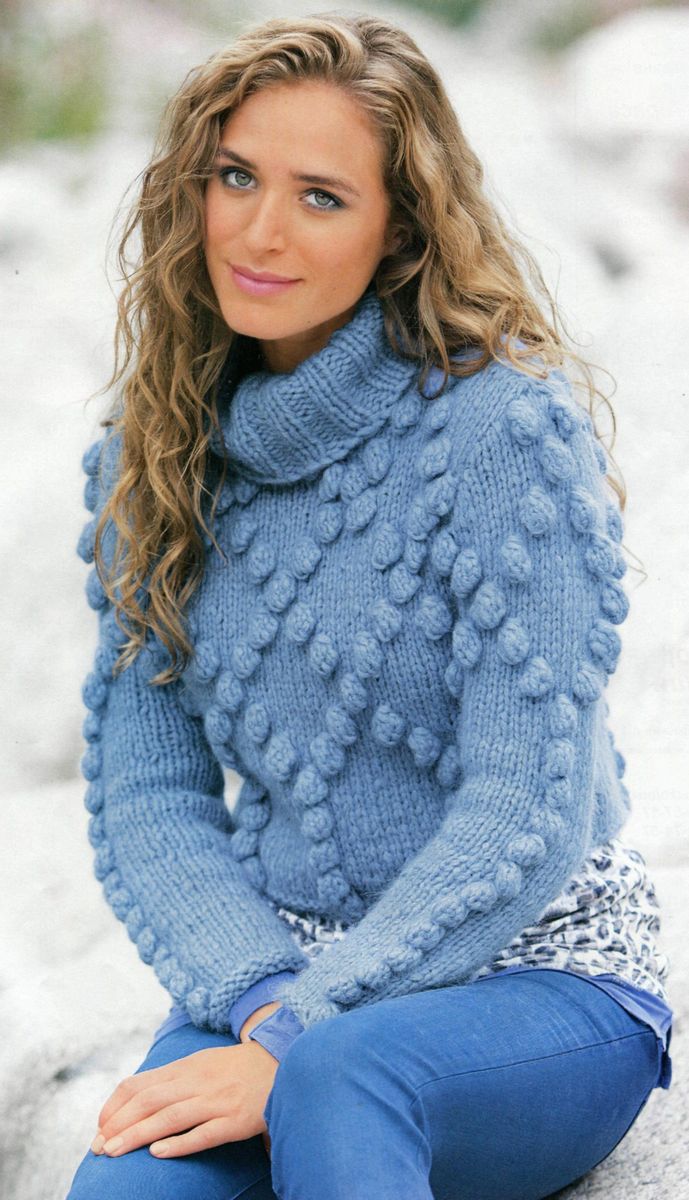
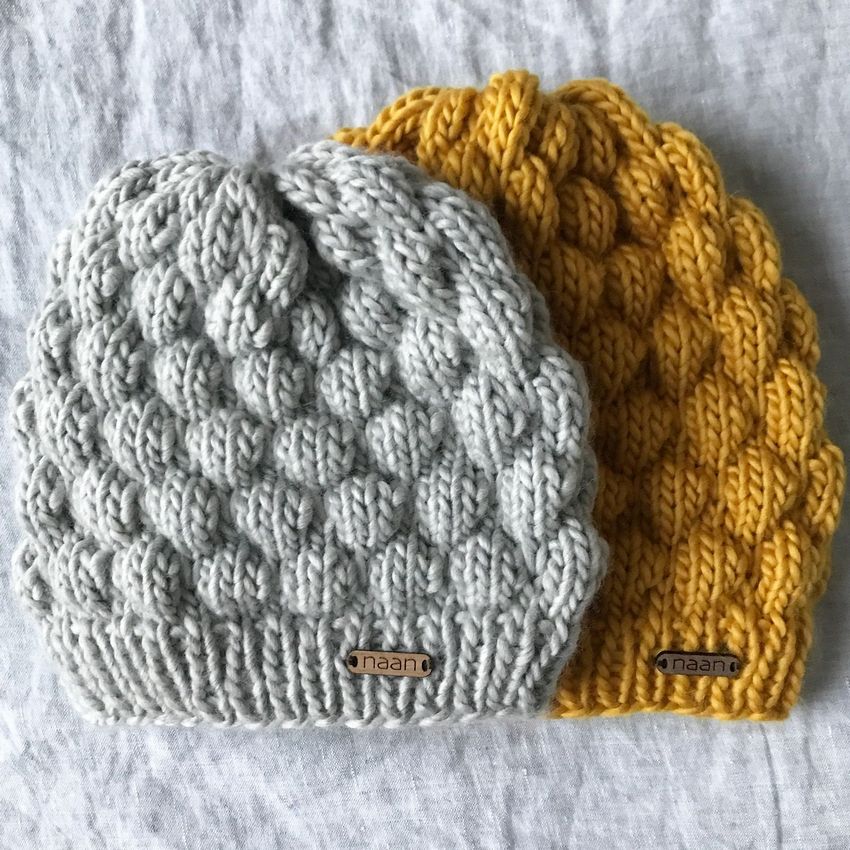
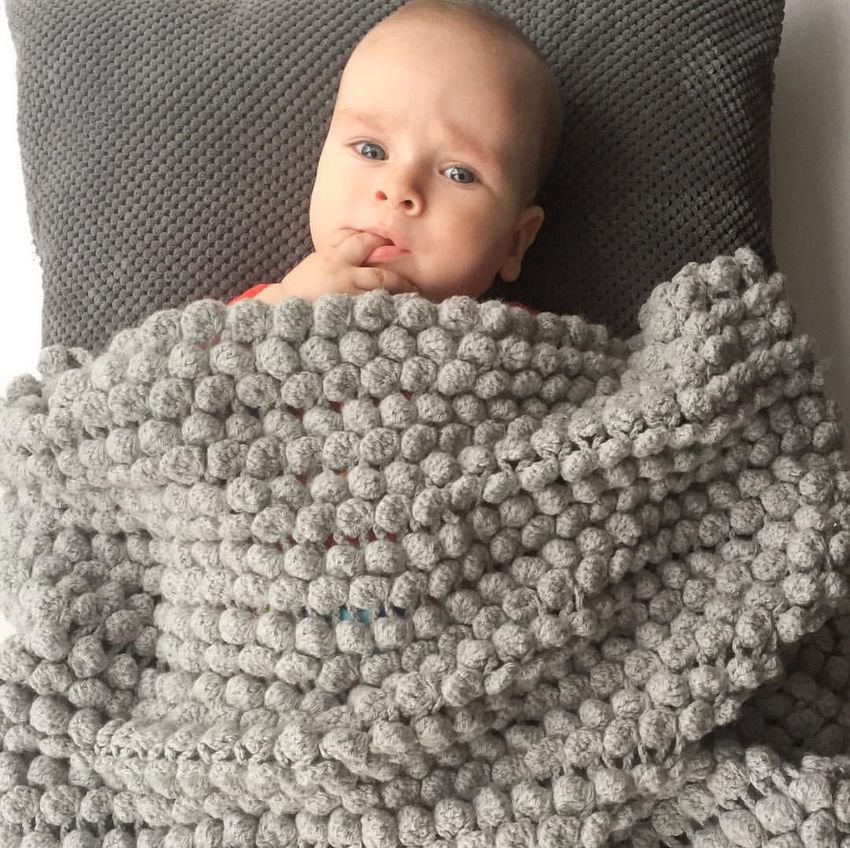
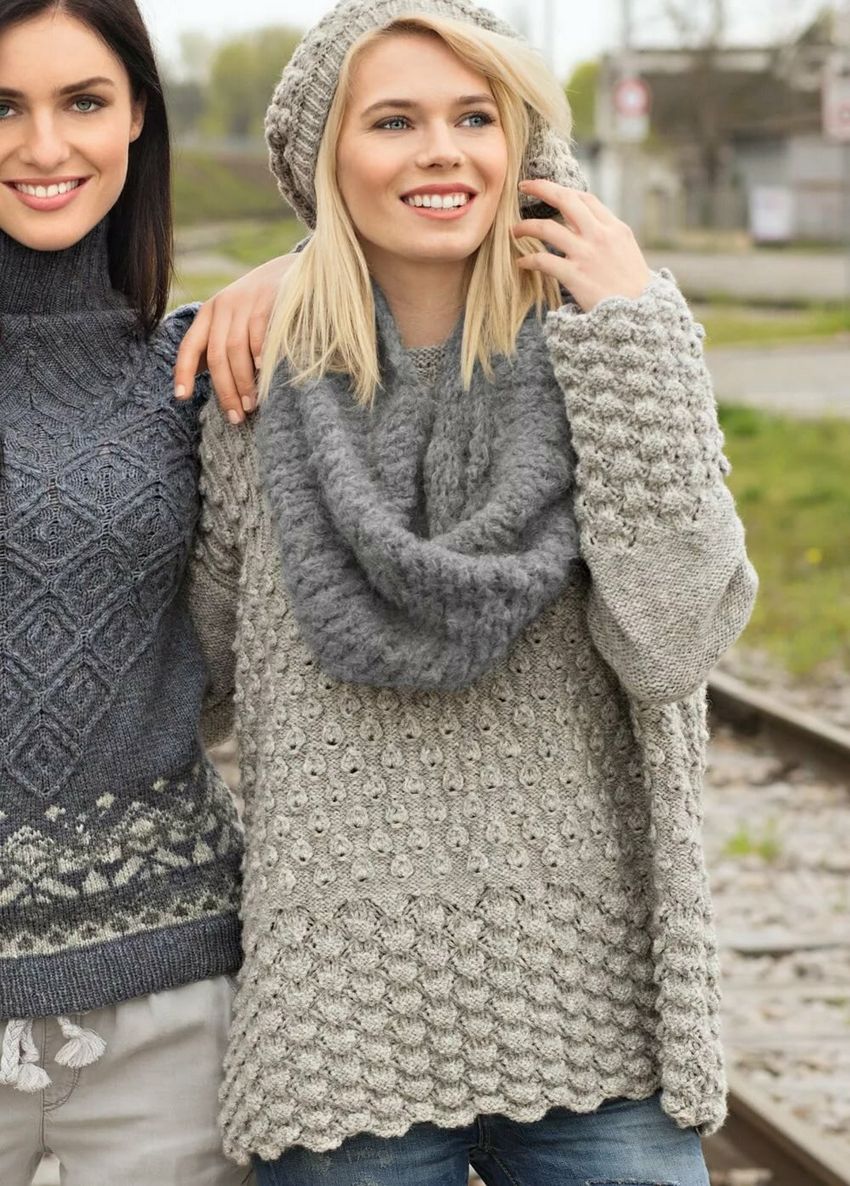
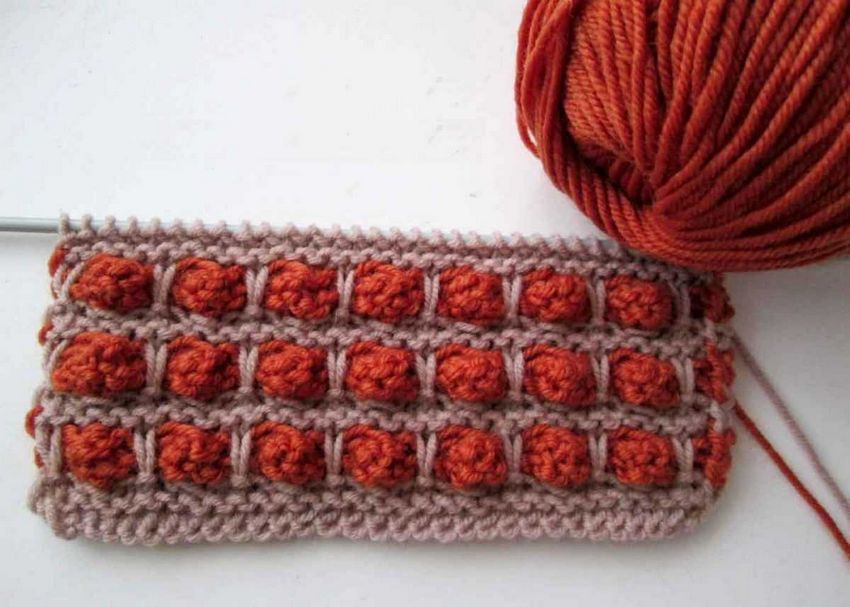
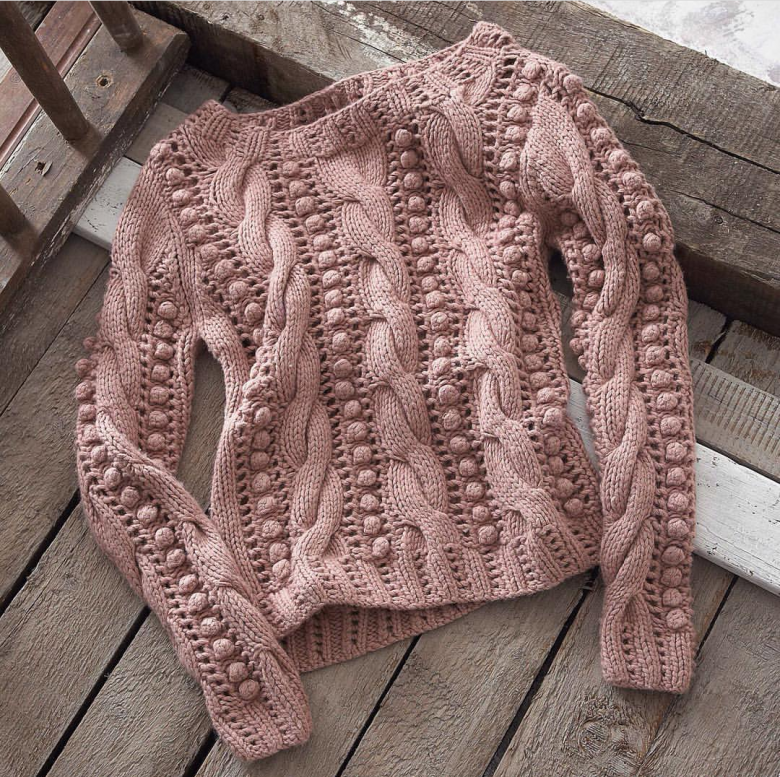
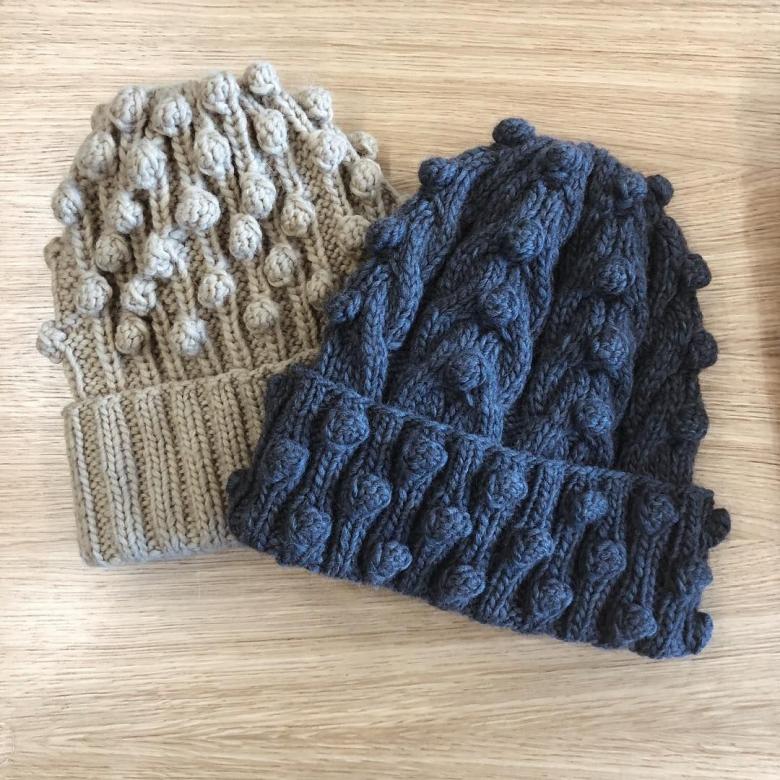
And if the things designed for adults arrangement of elements is quite similar and "correct", and they are usually performed in the same color, the things designed for children may well be allowed to do literally "everything", for example, you can build a specific pattern. Or do them with different colored threads.

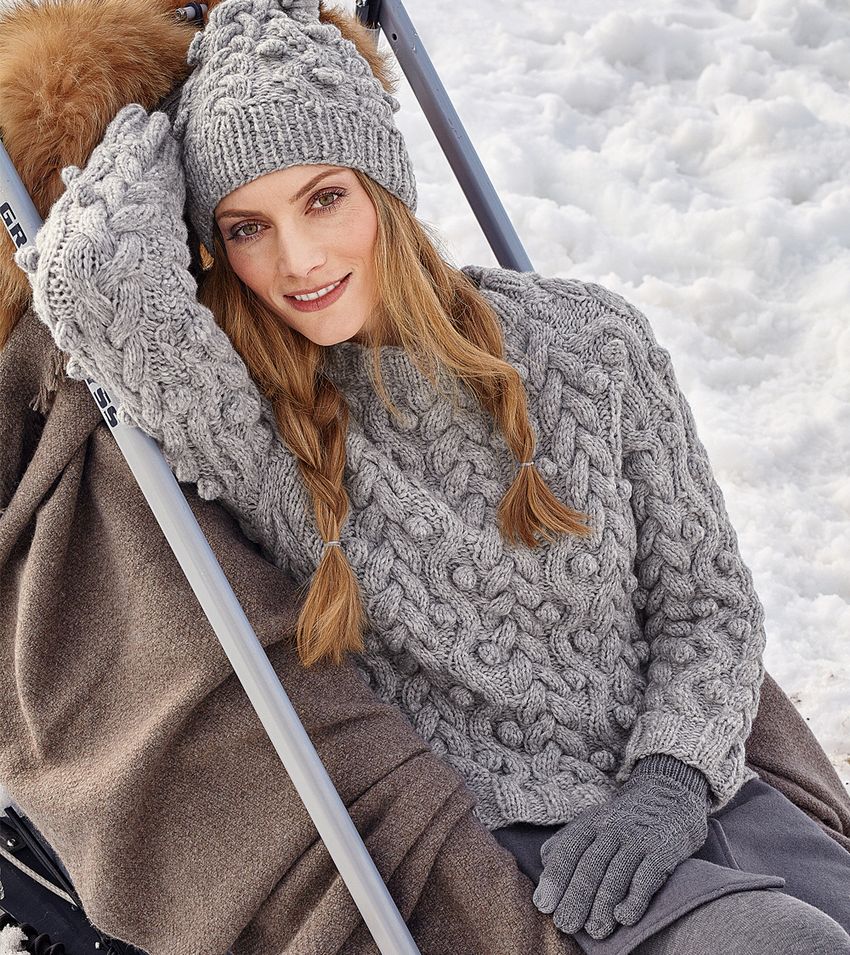
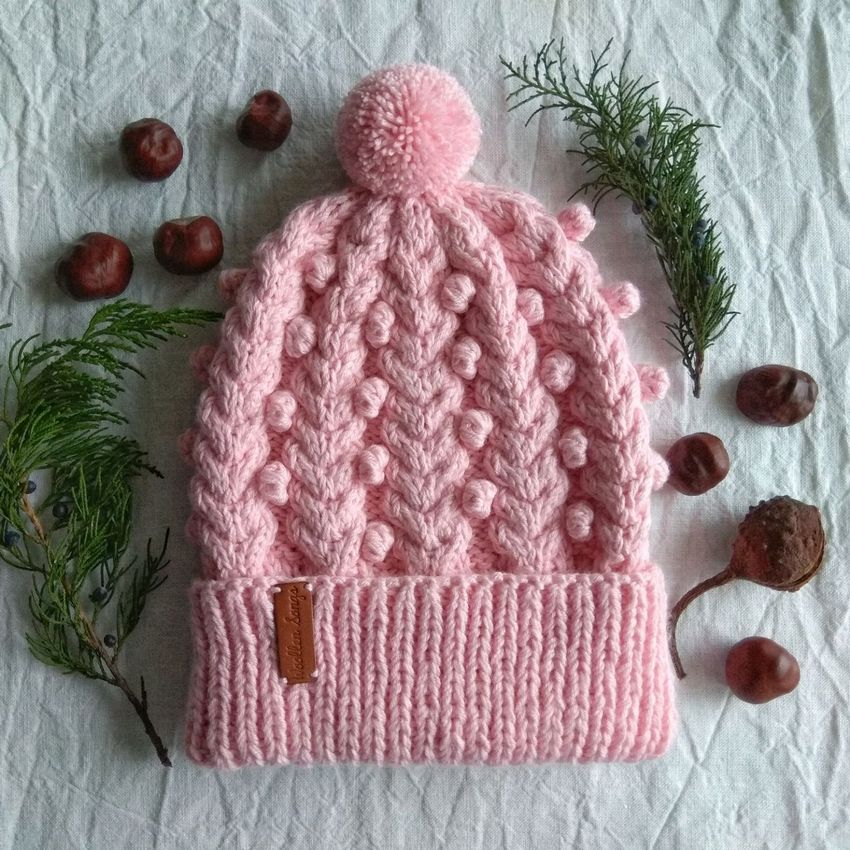
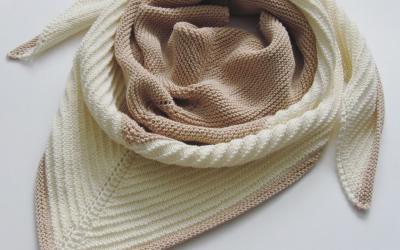
Pinecones of different colors look great, for example, on a cap made for a child.
Description of the "cones" pattern
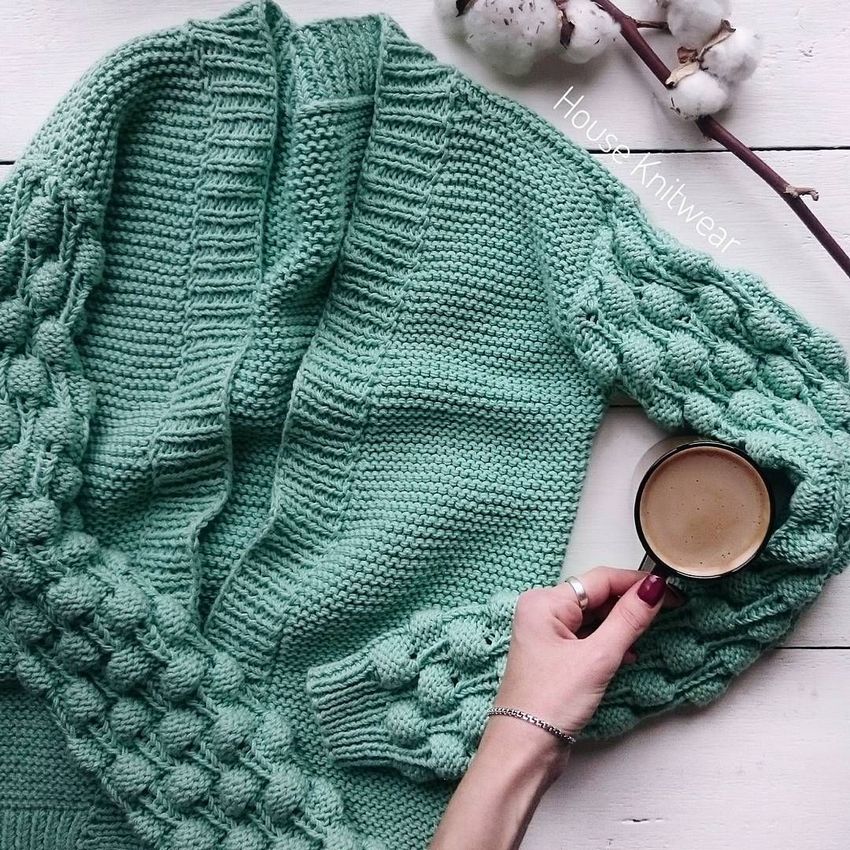
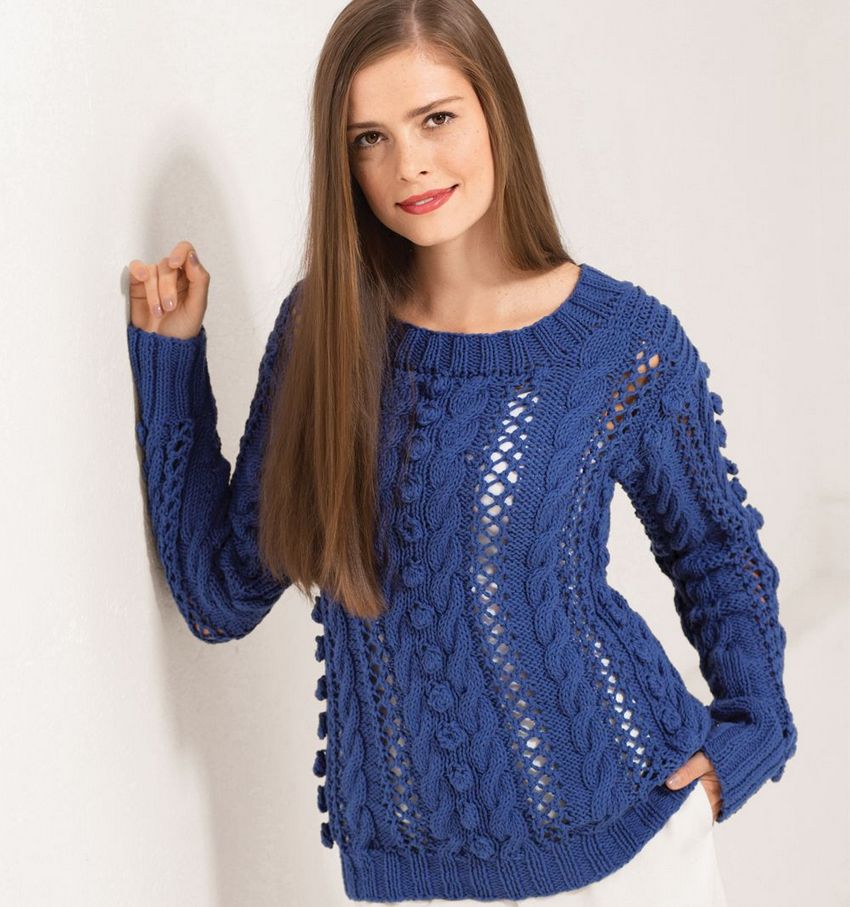
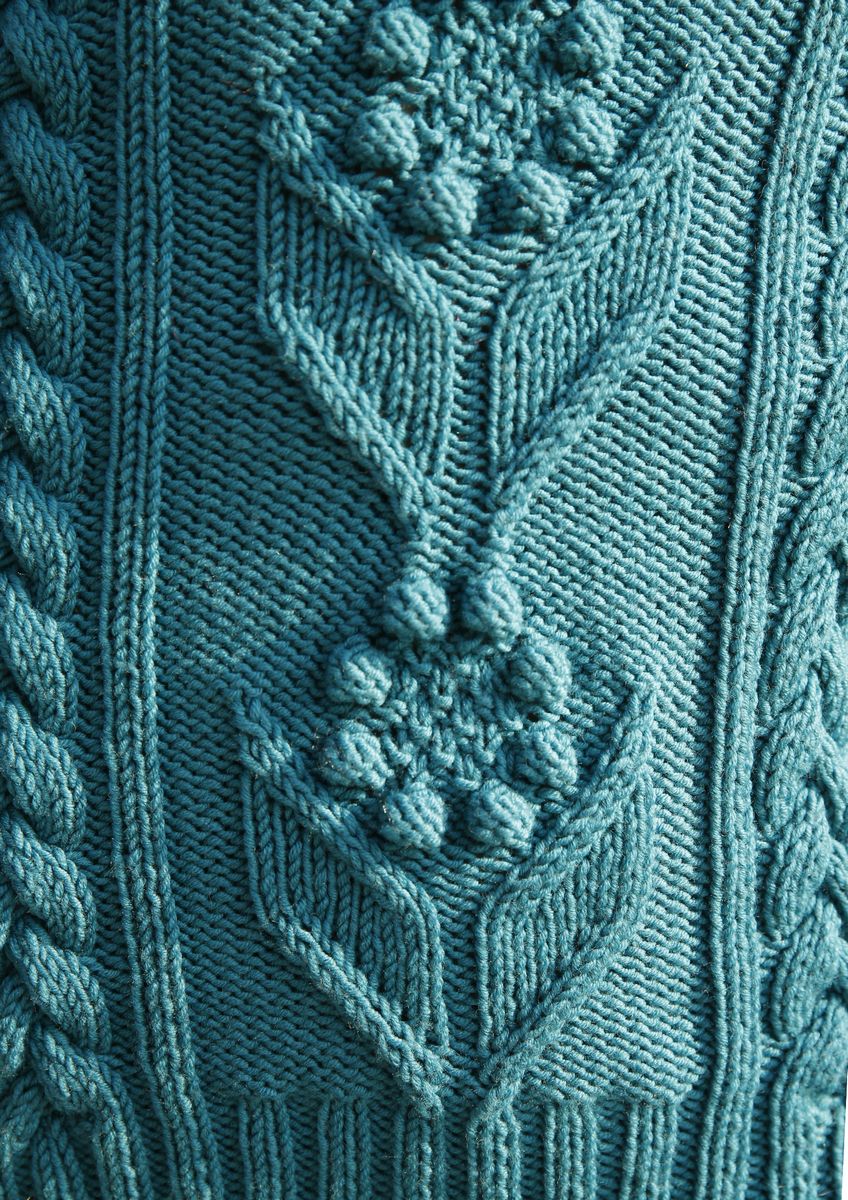
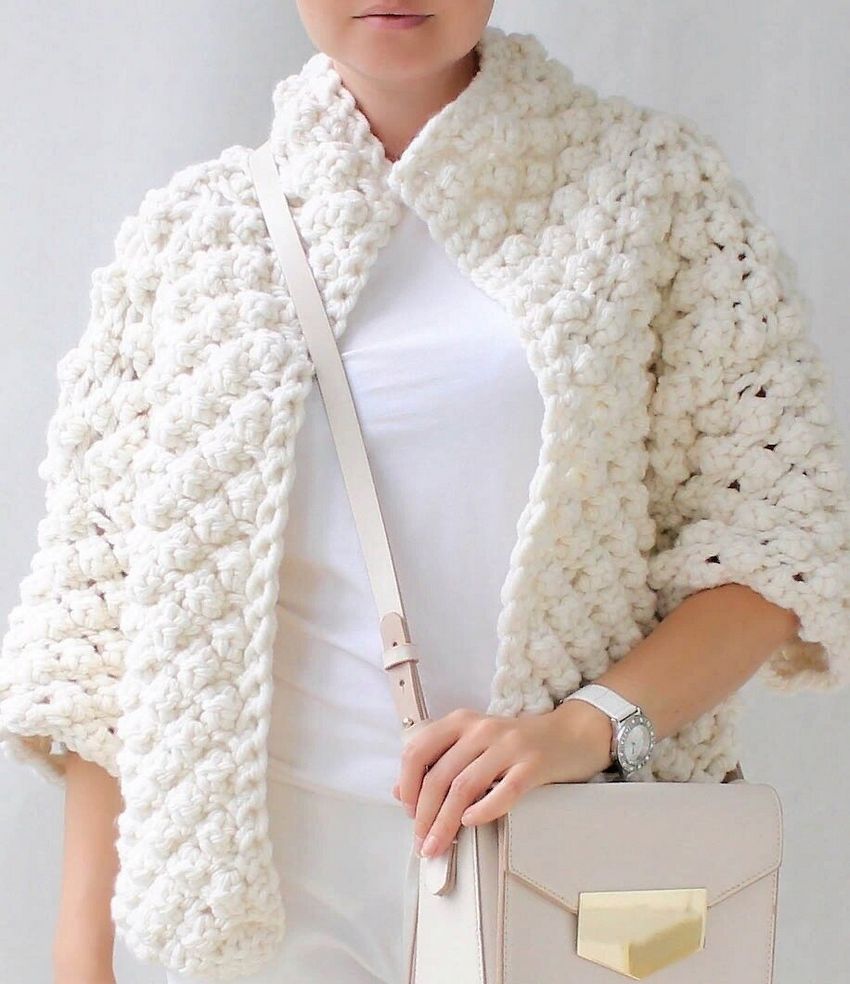
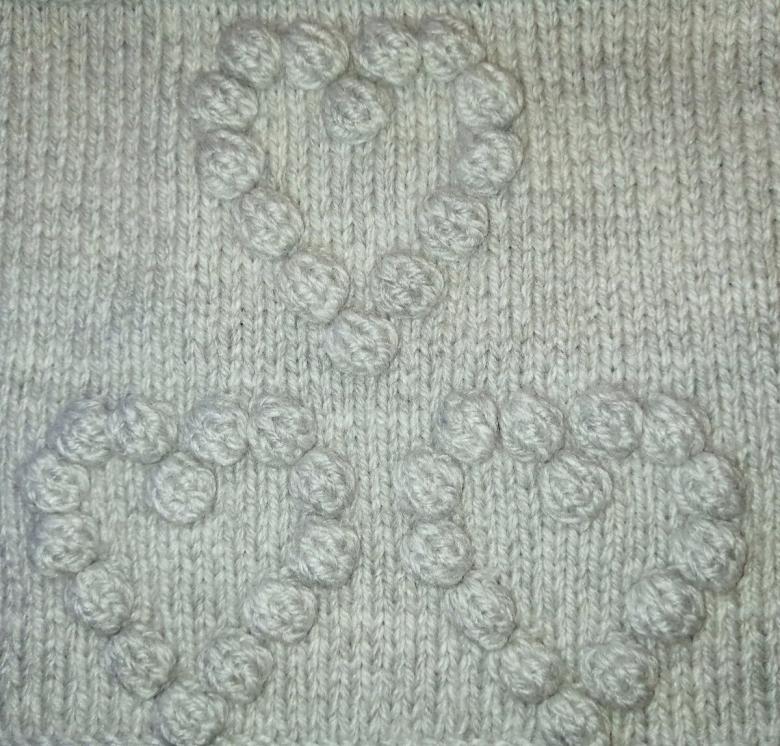
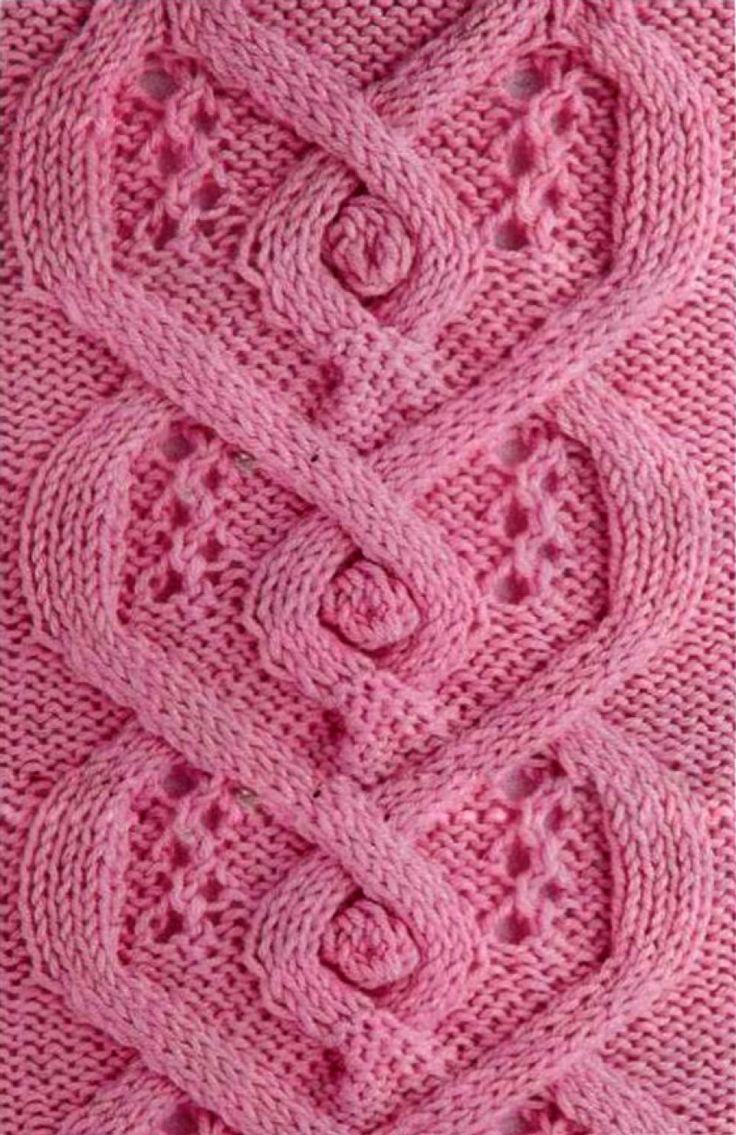
Using the "cones" pattern can help in many situations. With their help, it is easy to create an additional pattern on a thing. Often, they are able to depict as a permanent independent pattern. They can be placed on the entire surface.

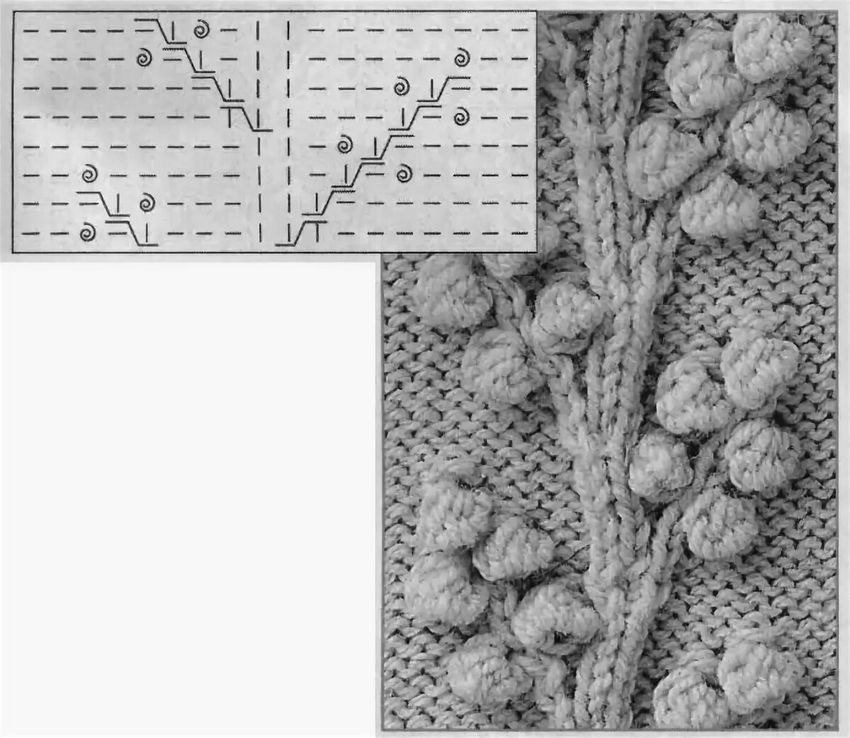
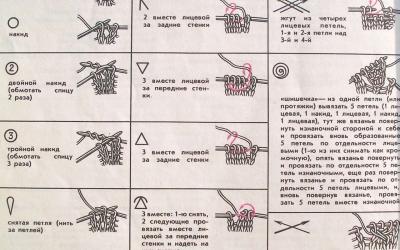
Naturally, to perform any pattern using such elements, you need to confidently navigate the basic varieties of loops used. If you have not had a chance to perform a knitting needles pattern, you can help the scheme.
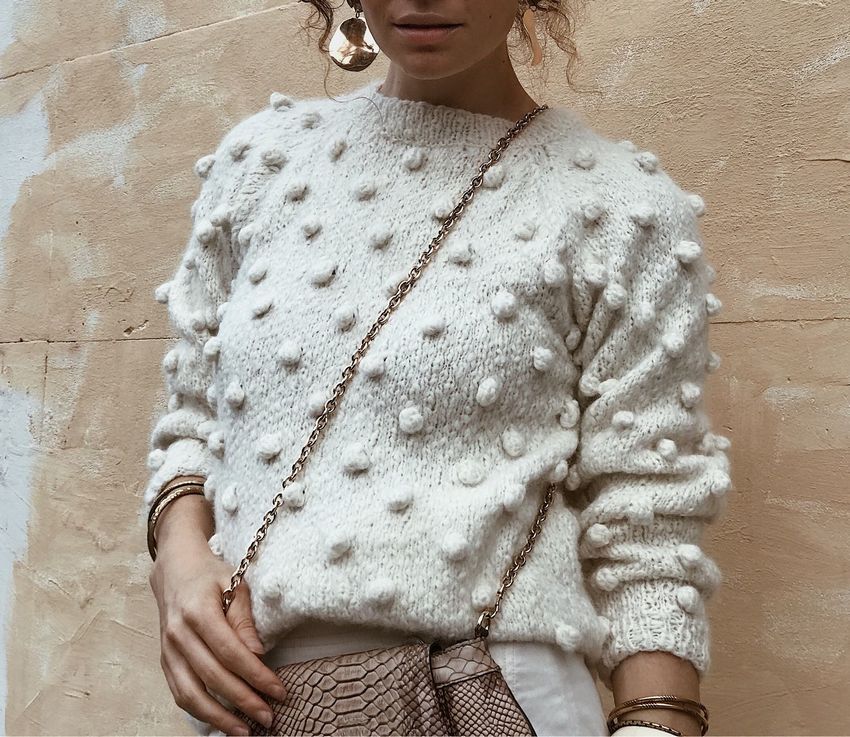
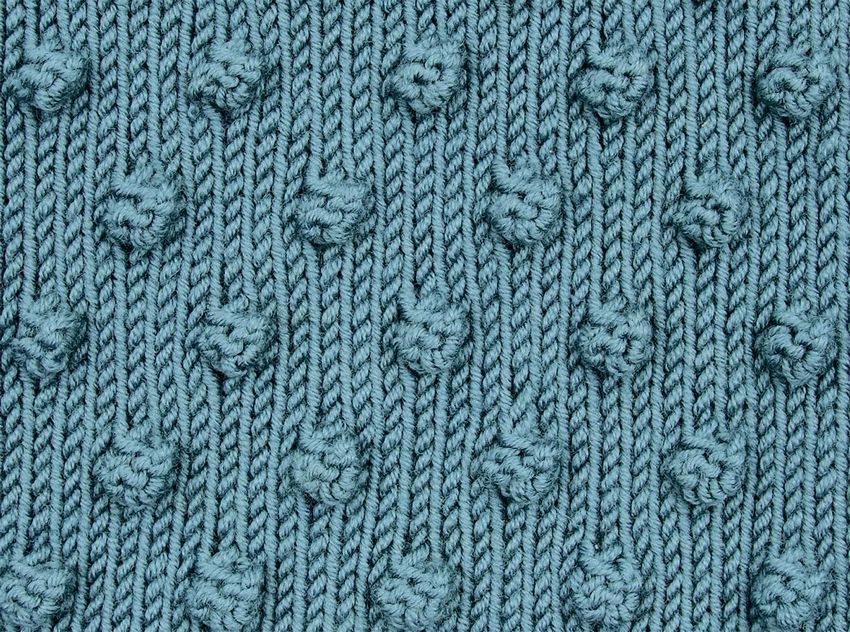
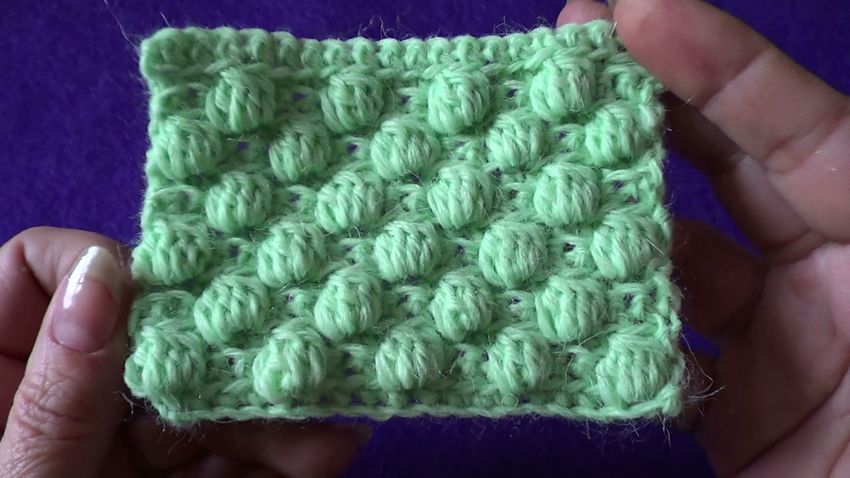
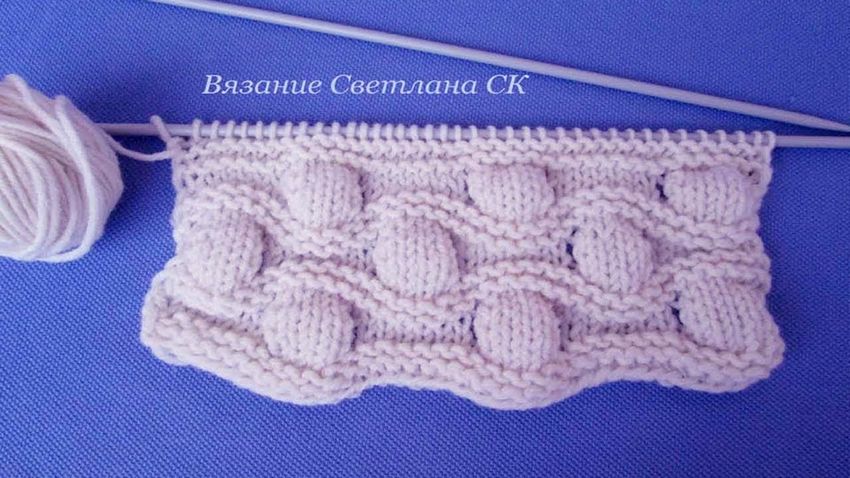
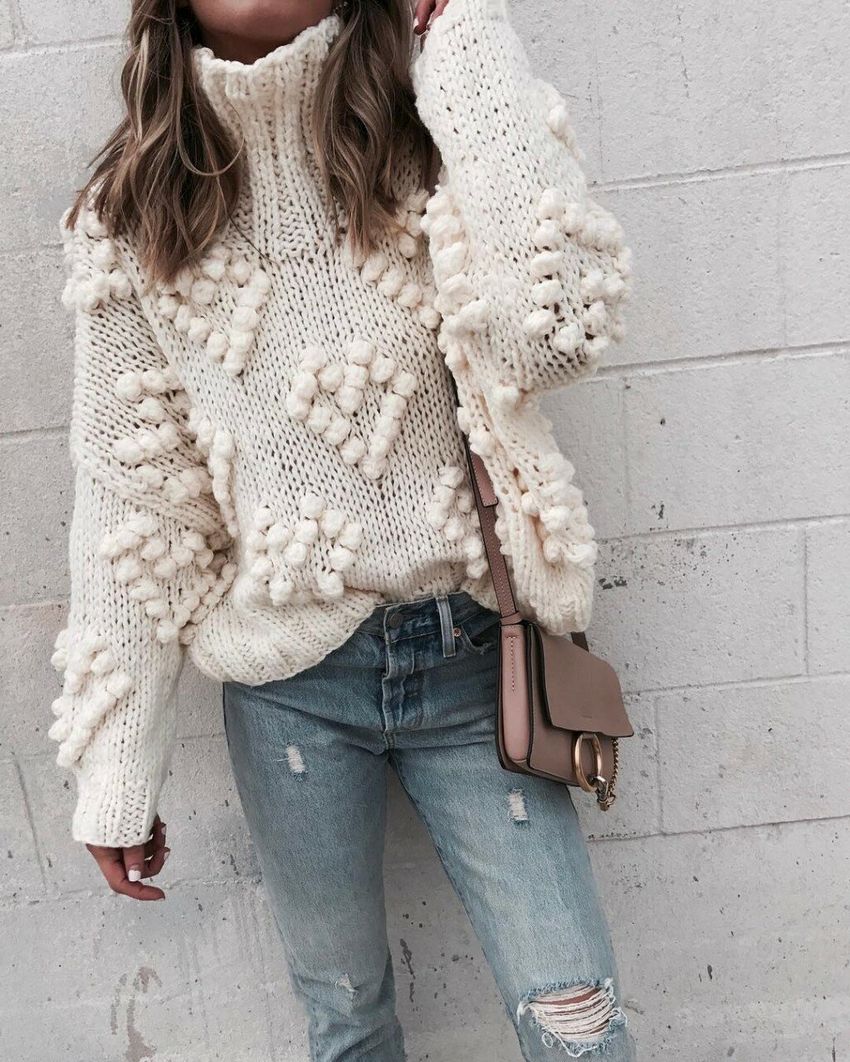
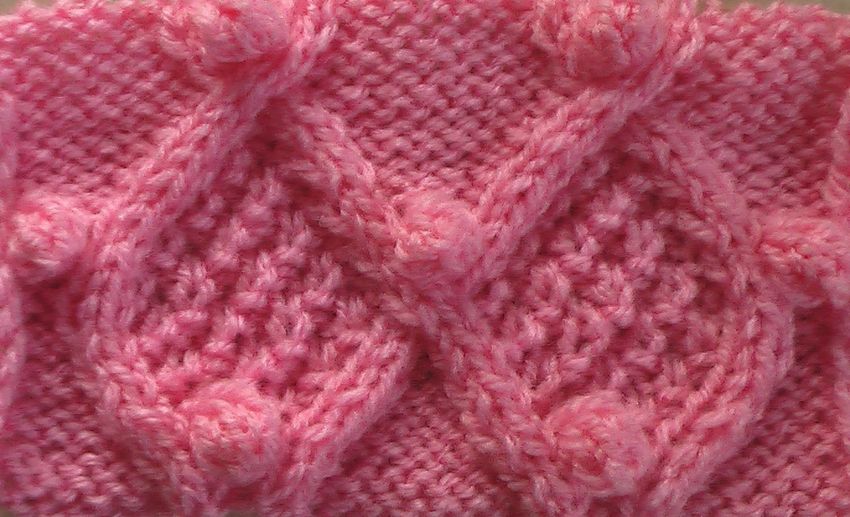
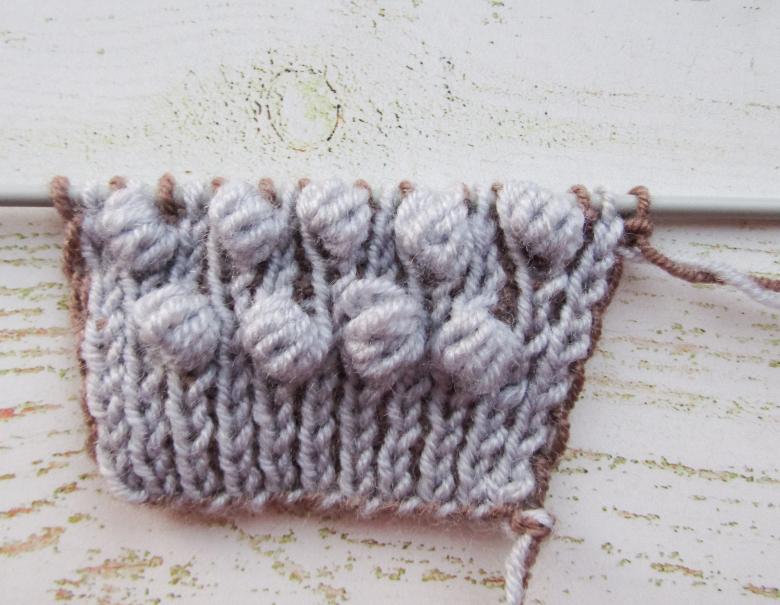
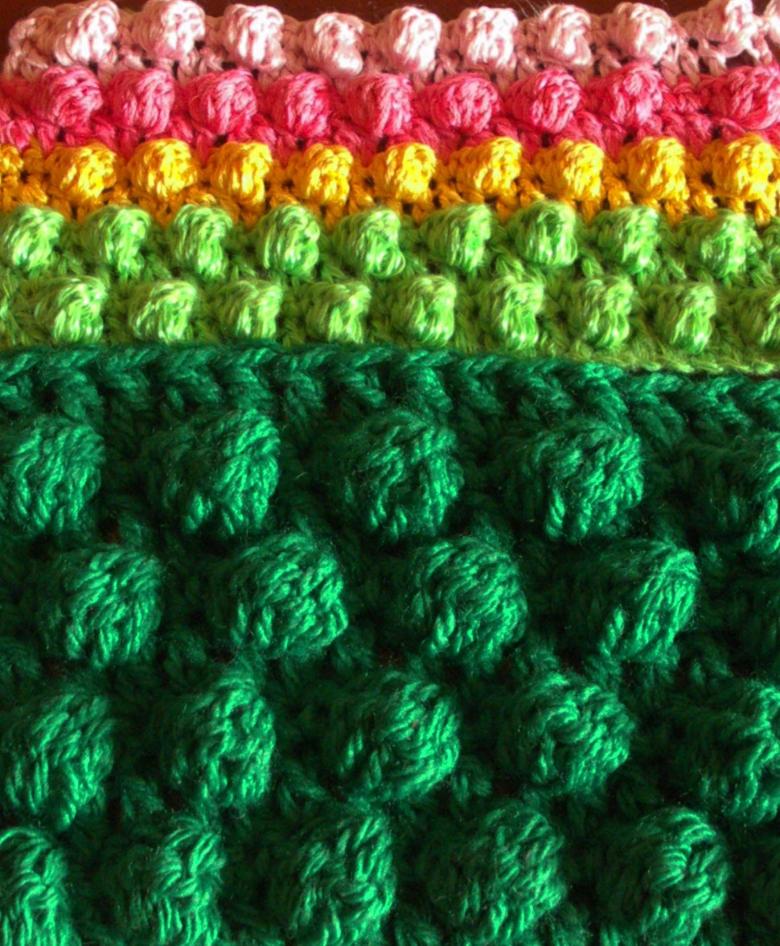
"Pine cones" small.
Such cones are small. They look like miniature knots. As a rule, they are performed as an additional decoration, which gives some flavor to the main decoration, usually made in a completely different technique. Then large cones are not used, because they will only overload the pattern and look out of place.
Knit these cones-babies so:
- Insert that needle, which is in your right hand, into the loop. Make a front stitch, but don't take it off the needle in your left hand yet.
- Make a straight cast on, but don't take it off yet.
- Make a new front stitch on your working stitch. Only then transfer the stitches to your right needle.
- Turn your workpiece over and knit these three stitches using the back stitches.
- Flip the piece over again and join the three stitches together in a common left-hand stitch.
- Continue knitting the row to the end, just as you did before you formed the piece.
Congratulations! One baby bump is complete!
These knotty bumps look small and neat elements.
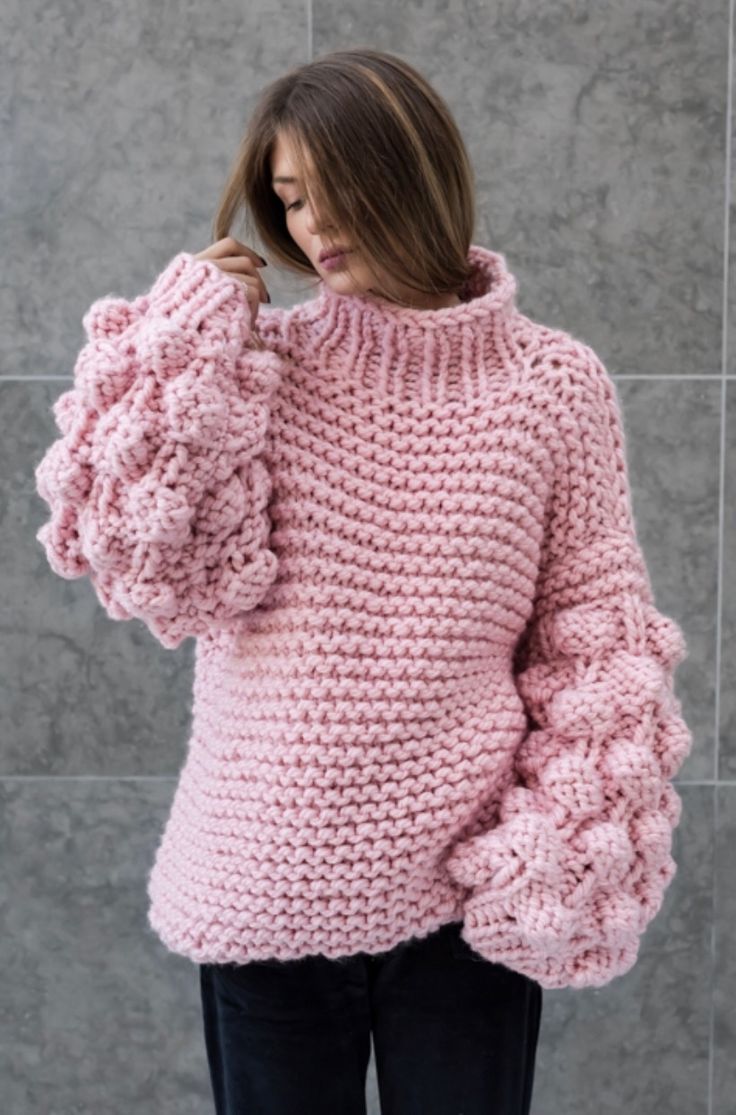
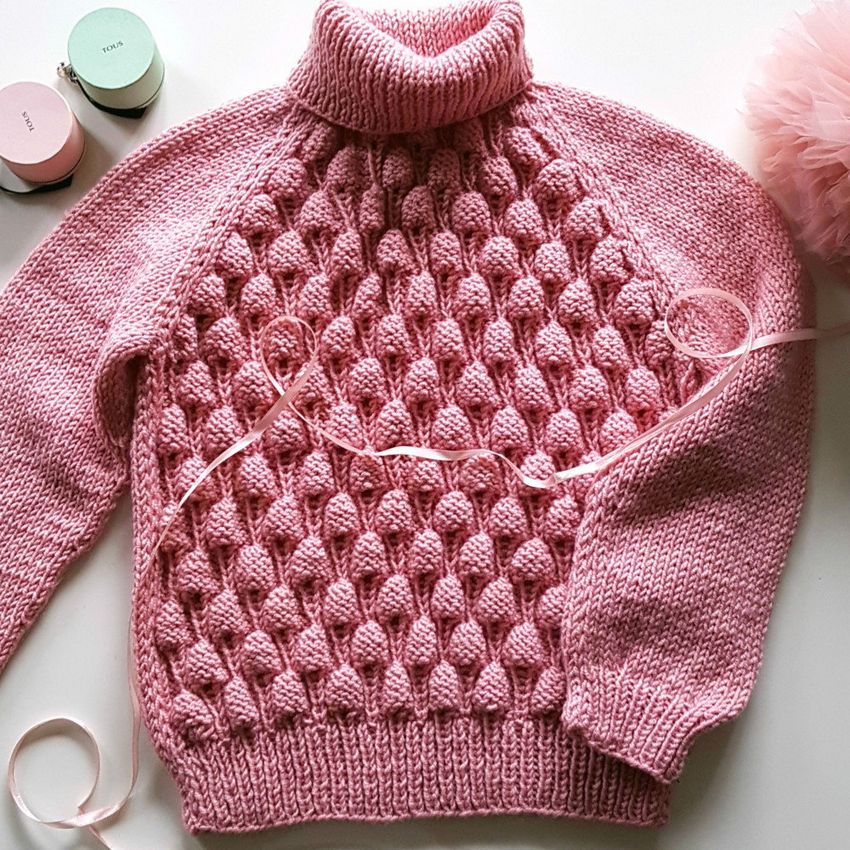
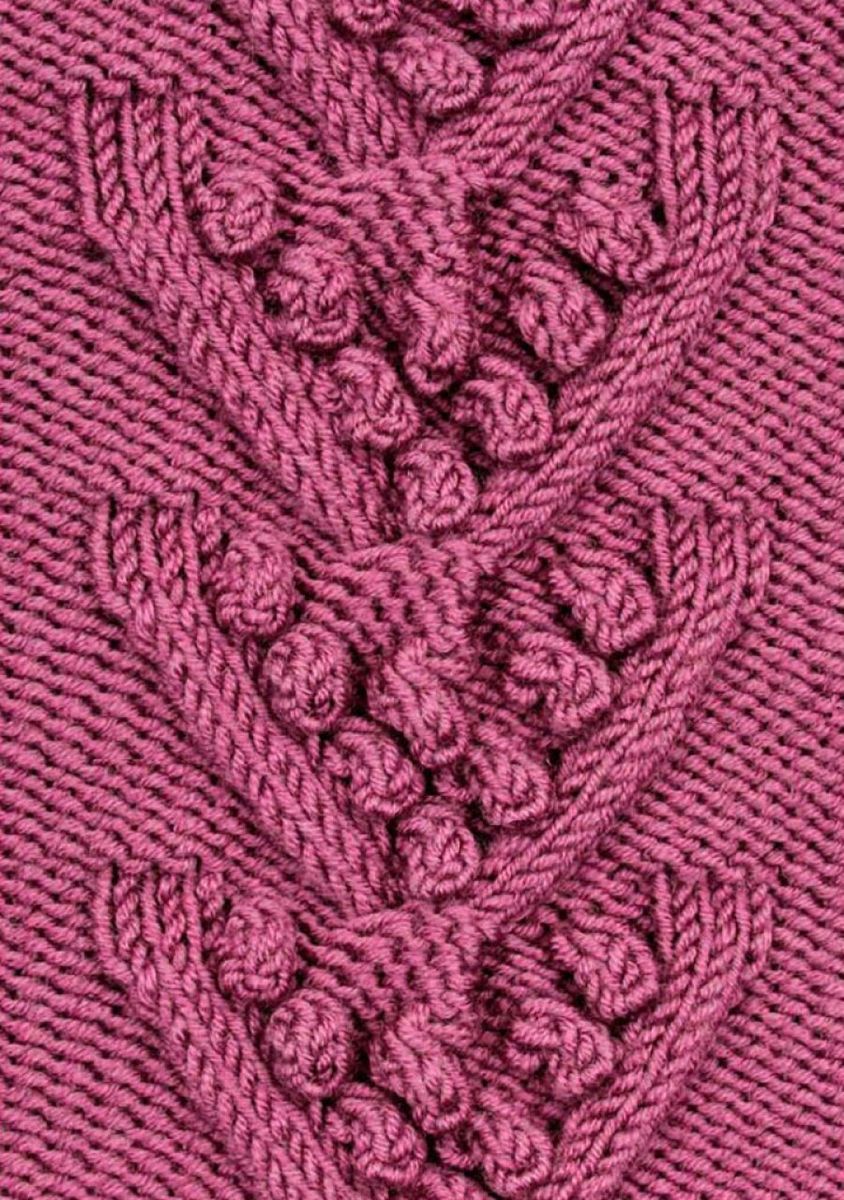
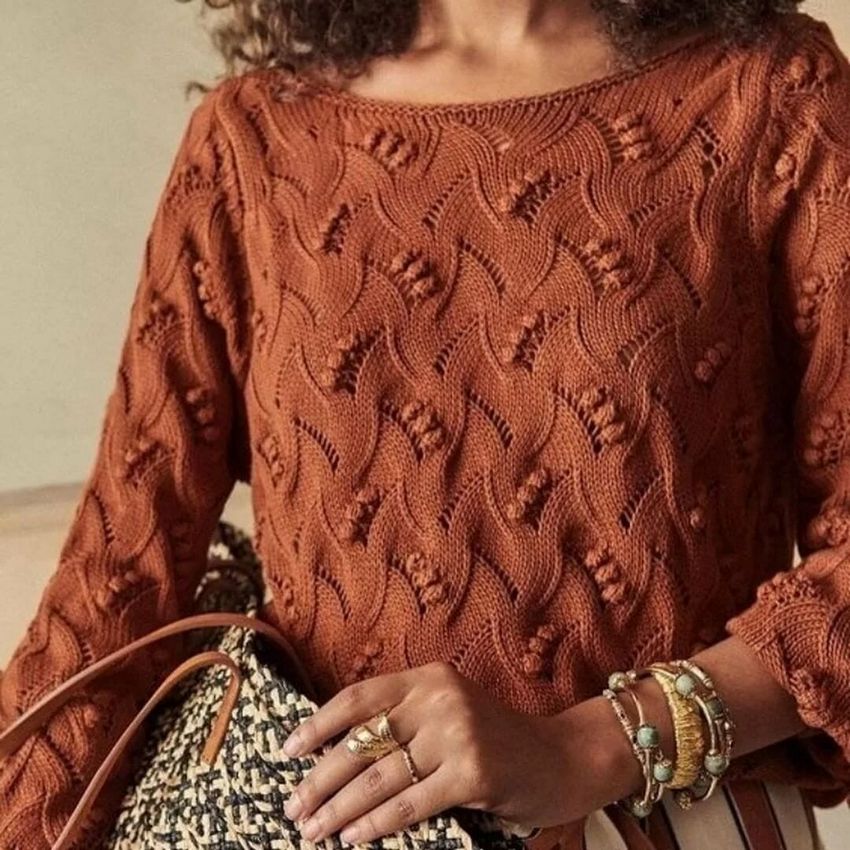
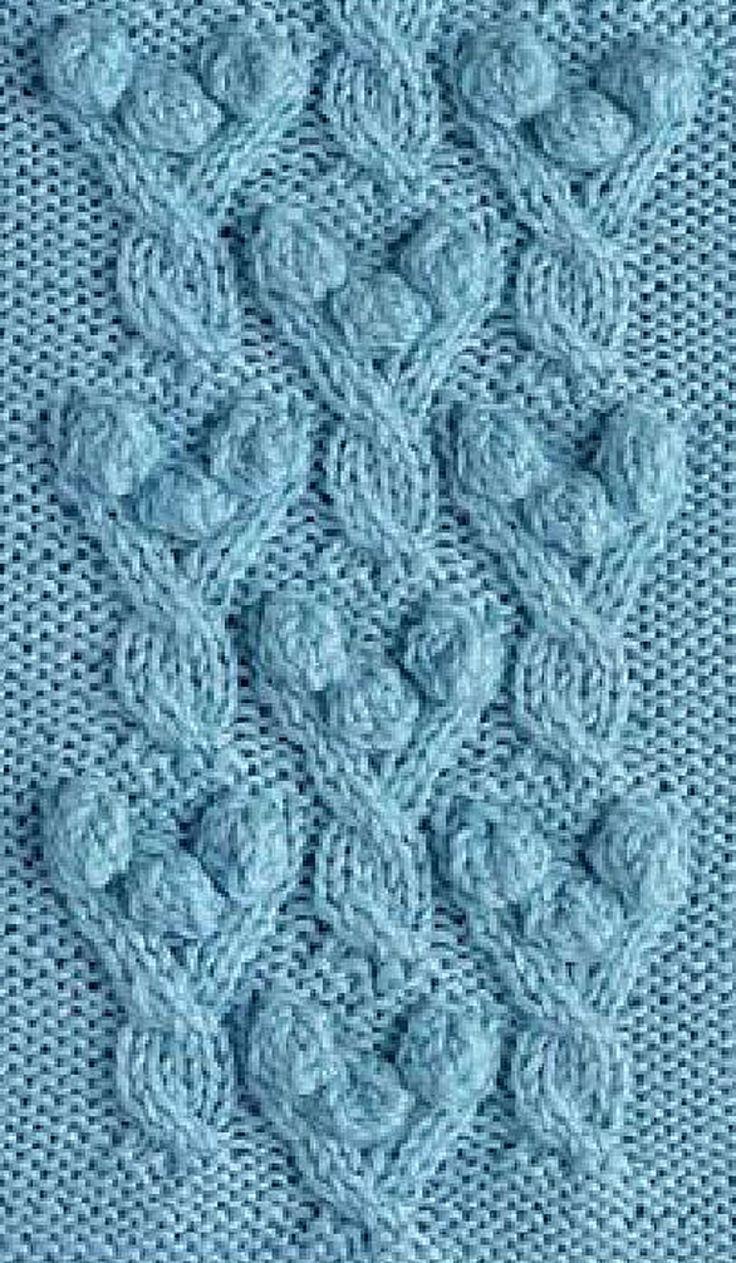
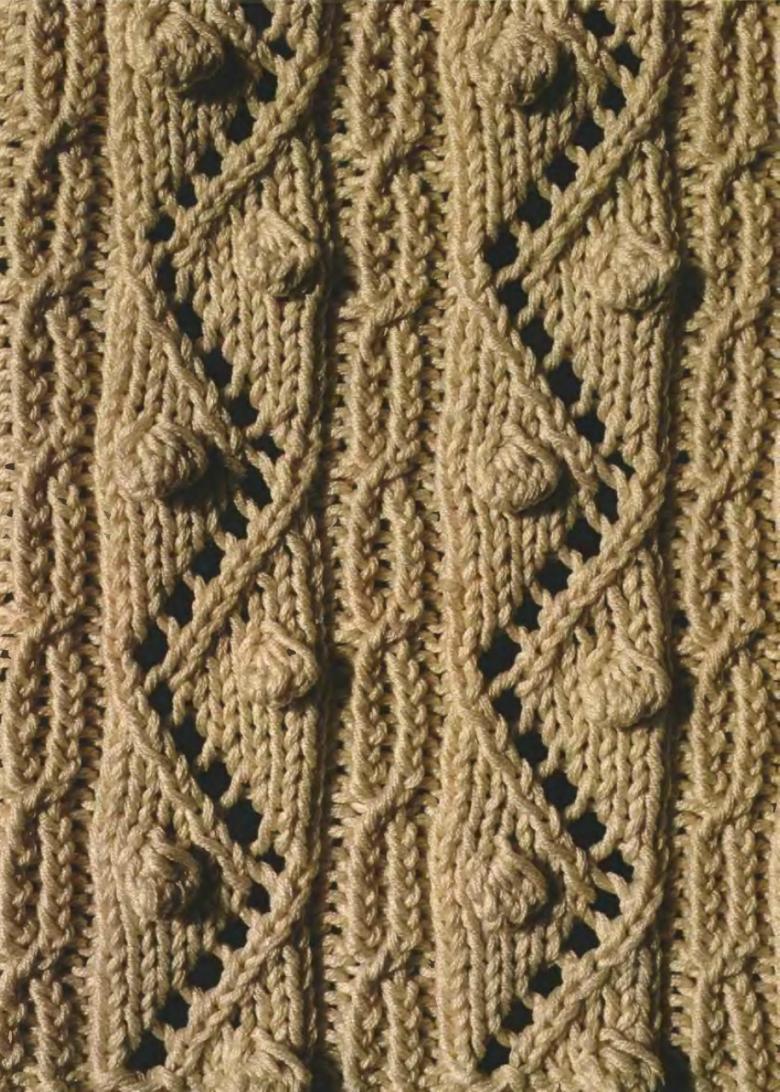
"Pinecones" are big.
To make large cones, instead of three loops take their larger odd number, 5,7,9 or more, the larger number you take, the larger cone you, respectively, will get.
Bigger bumps - the first way
As an example, let's take a bump of five loops.
- As in the knitting of our baby bump, you have to take turns making loops and stitches. We do it this way. You knit a front stitch, then a back stitch, then a front stitch again, then a back stitch. Finish with a front stitch.
- On the wrong side of your piece, you will finish the five stitches with the wrong stitches.
- From the right side of your piece, knit them with the right stitches.
- After that, turn the thing once again on the wrong side, and again knit the future bump with the wrong stitches.
- Then, once again flip them over and stitch them together with one big front stitch.
- Finish the row the same way you did before you created the bump.

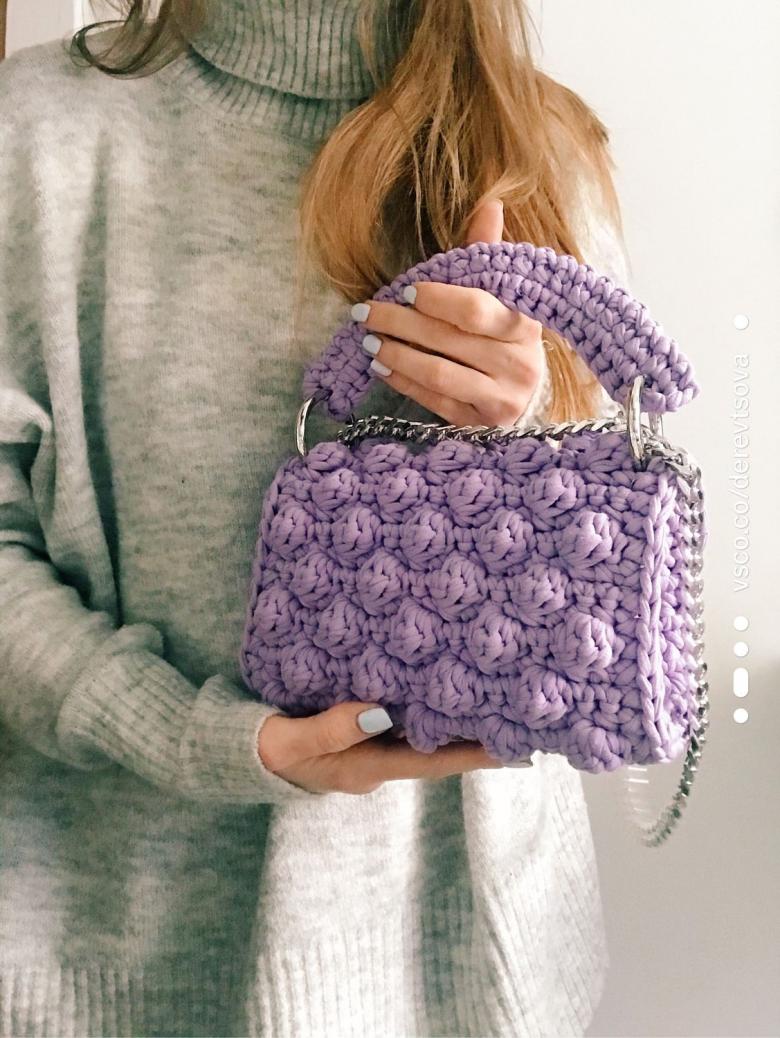
Depending on what you want to end up with, cones can range in size from small to large. The size of a small pompom.
This is how you make a cone with front loops on the "face," but you can achieve the same result in a different way, by making the front loops on the wrong side and the back loops on the right side.
Then the last step in making this element is to join all the stitches with a common buttonhole. In this method, the cones are much more relief, but denser than in the first method.
Pattern with cones for knitting needles when performing various patterns of such elements as cones, often used in a variety of schemes with descriptions.
Large cones - the second way
If, for some reason, it turned out to be inconvenient to work with the buttonholes, you can form "cones" using only the front and back loops. In this case, instead of a stitch, a back stitch is given. With this method of formation of bumps, you should use an even number of loops.
Start with a front stitch and end with a back stitch. They should be alternated in the same way as in the case with the use of the stitches.
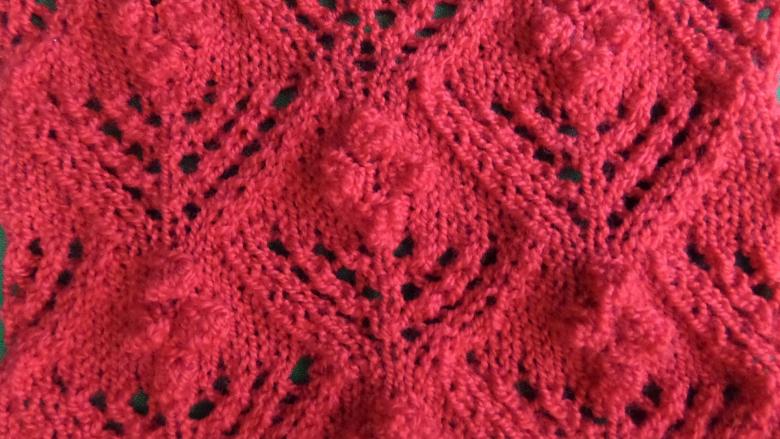
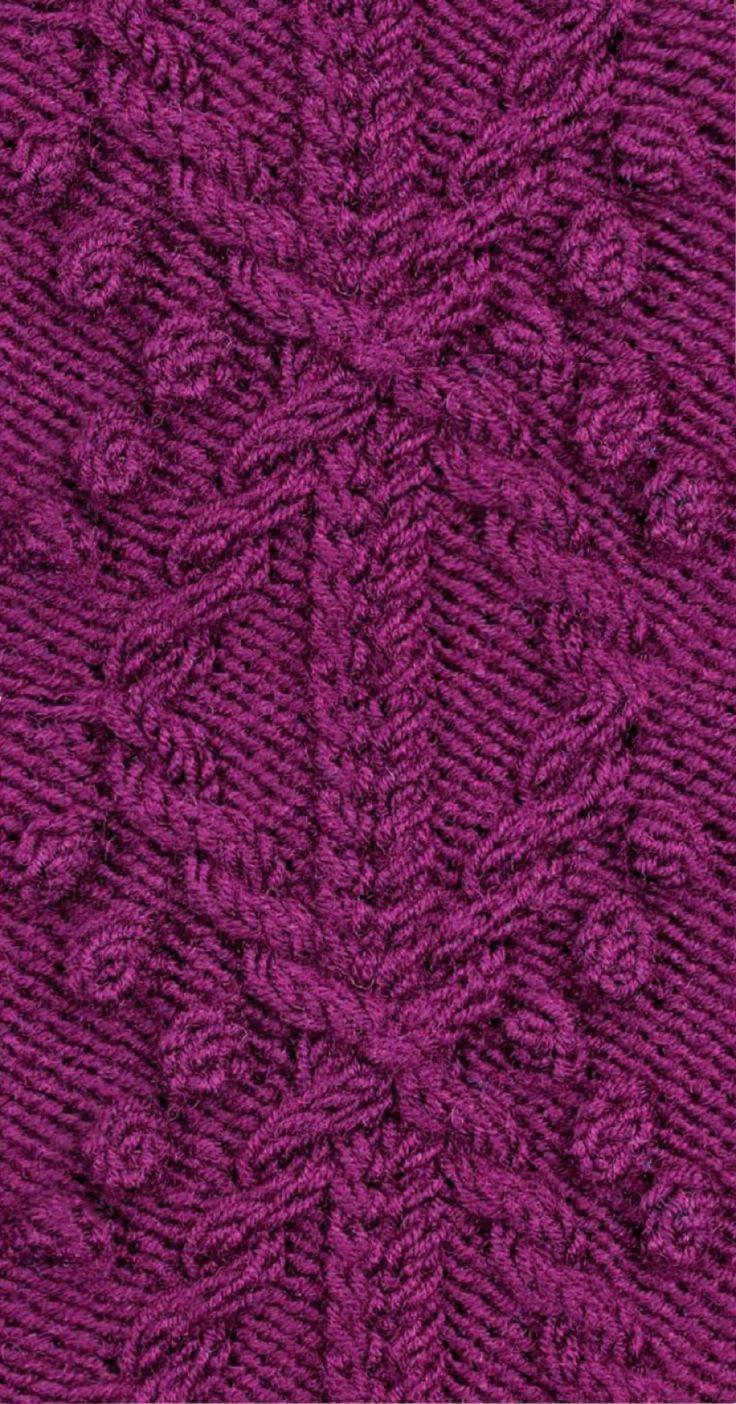
Oval cone
Such a cone will not be as convex as the cones made by the methods described above, but it looks very attractive.

When creating it, in comparison with other versions of these elements described above, you should take into account one difference, namely, it is knitted similarly, but by performing a new row of cones it is necessary to finish it completely, having completed the entire row.

The cone is made with a winding.
Such an element is made using an extra needle, with this method of execution "bumps" is not necessary to slit the loops separately, as previously described This element is created differently.

Using an extra needle from the left needle transfer the designated number of loops. After that, wrap them with the working thread in a counterclockwise direction. On the diagram should be indicated, the required number of windings them. Then transfer the stitches to the back and continue knitting. Here is such a simple way to make the element "cone".
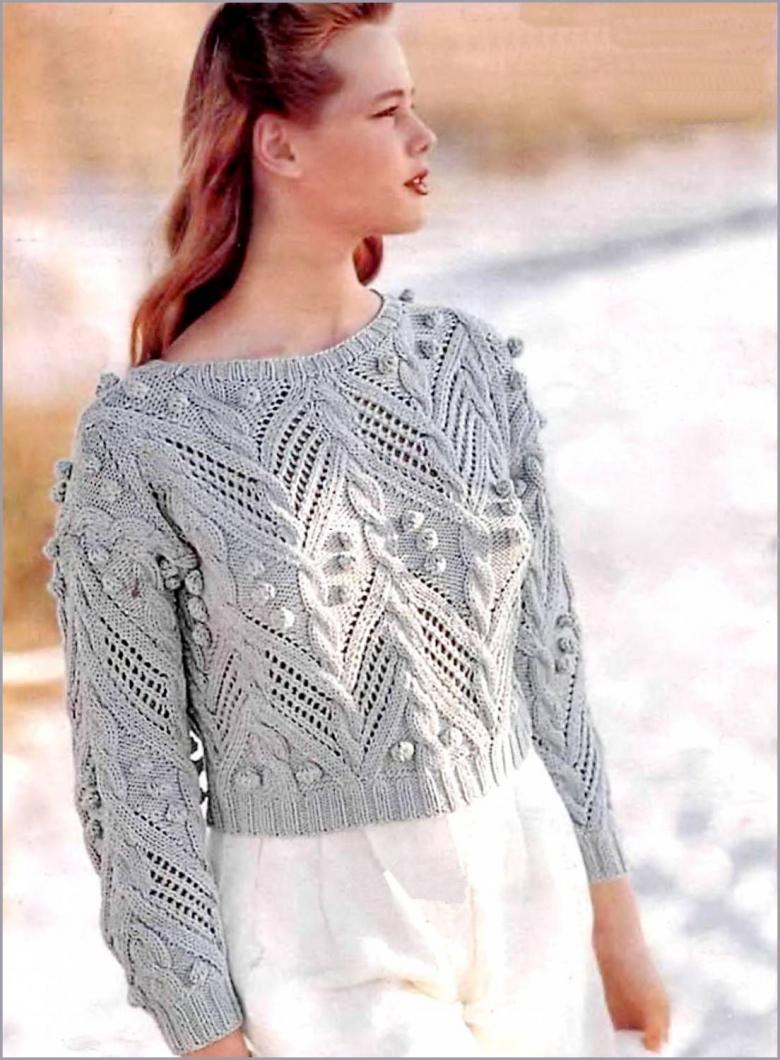
From the above it follows that creating such an element as cones on knitted things is not difficult at all. Today you have mastered several ways of making these elements. With the help of such elements you can easily diversify the pattern on things.
Drawings made in such a technique are especially liked by children. But also on things connected for adults, they look attractive. The main task is to keep and not to exceed a sufficient size and quantity of details. A sense of style along with a sense of taste will help. Without a doubt, such helpers, any endeavor will make a success.
Photo examples and diagrams of the cone pattern