How to make a fountain with their own hands at home in the country - the stages of creation, types, cool photo ideas
Already created a comfortable terrace, it is filled with aromas of flowers and blooming gardens, on the table hot herbal tea, but the eye turns to the free space in the yard, what would place there? It clearly lacks moisture on a too hot summer day.
This is a good place to build a fountain with their own hands, as it fits into the design of the dacha, and the process of working will be an excellent opportunity to test personal capabilities, acquire new skills, and get rid of boredom.

But it is not critical if it is done by professionals. It does not matter who provides the beautiful movement and gurgling water. Although the fountain with their own hands at home is not so difficult to call people from the outside.
Especially if there is a lot of free time. For a successful construction will only need to go into some details, and buy the necessary materials, tools. If there is such a desire, then the author relies on the step-by-step instructions.
How does a home fountain work?
He is not particularly different from the municipal property or fountains in summer cafes, restaurants, shopping centers. Its task is to raise the water to a certain height and create a free-fall effect or spray jets on the sides. The design is not complicated, because the fountain with his own hands will be able to offer identical functionality. It is based on two fundamental conditions:
- A source of water pressure.
- Receiver for the diversion of water.
But the principle of any fountain is divided into two versatile groups:
Circulation fountain.
Functions thanks to a closed cycle of water movement. Comes from a tank based on the power of the pump goes through a pipe, returns to the source. But a filter is used to purify and disinfect the liquid. This technology is typical for indoor, small fountains for cottages.
Flow-through fountain
Connected to the sewage system, the tank is not used. It is used in large areas of the garden and park territory.

But for the diversity of the jet of the fountain are used numerous nozzles, additional elements of design.

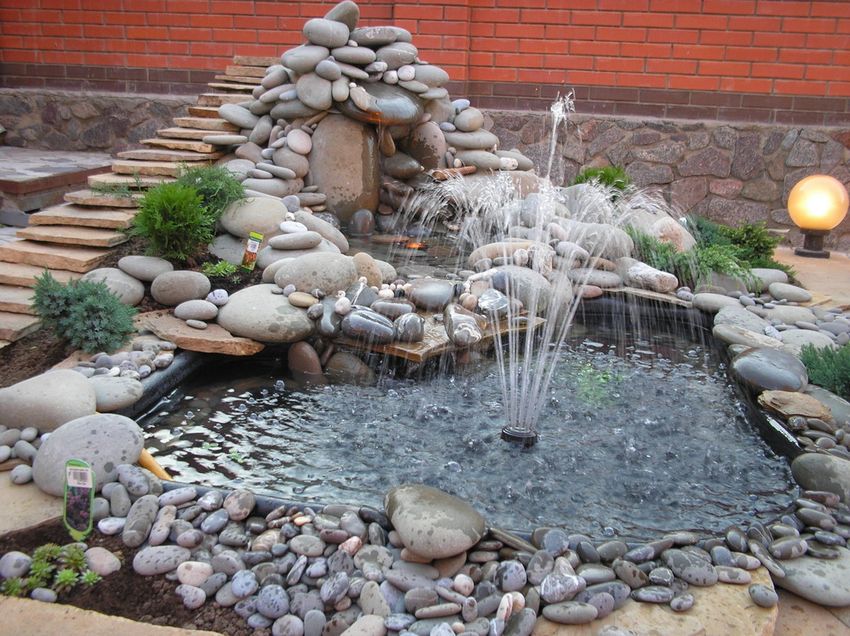
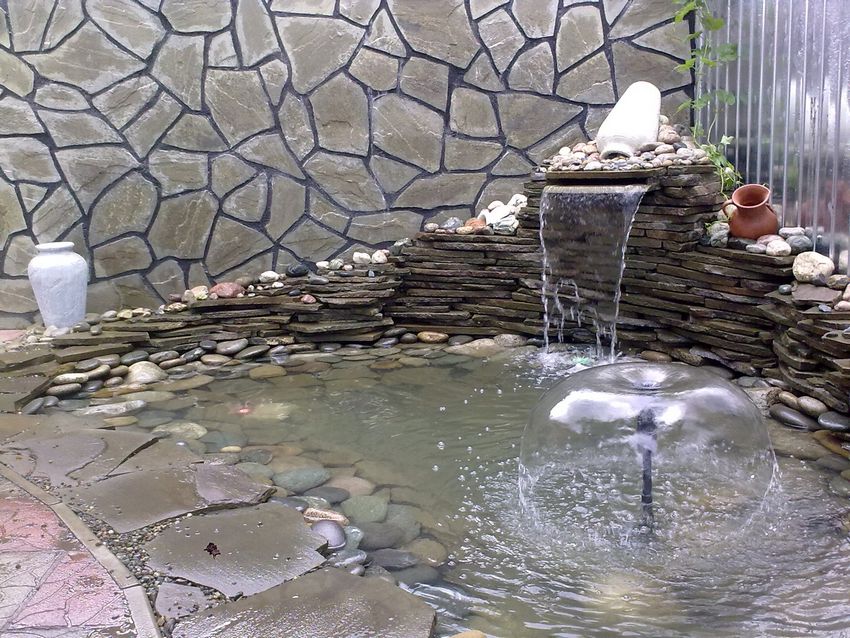
Self-made fountain for the country house
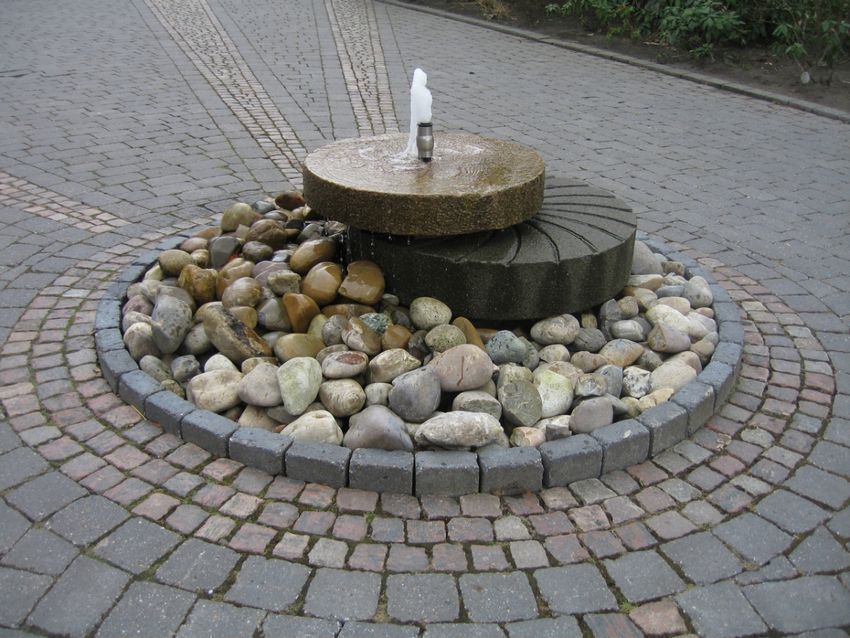
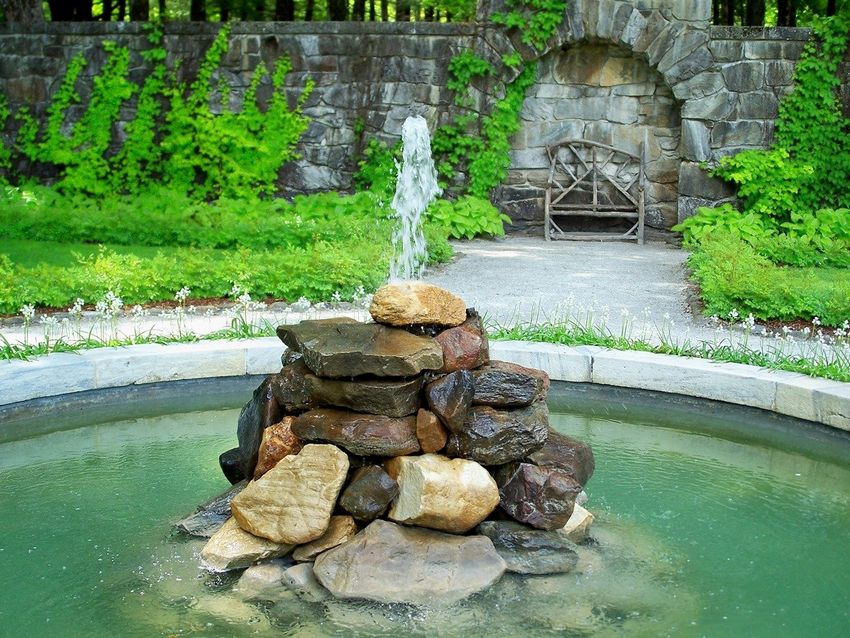
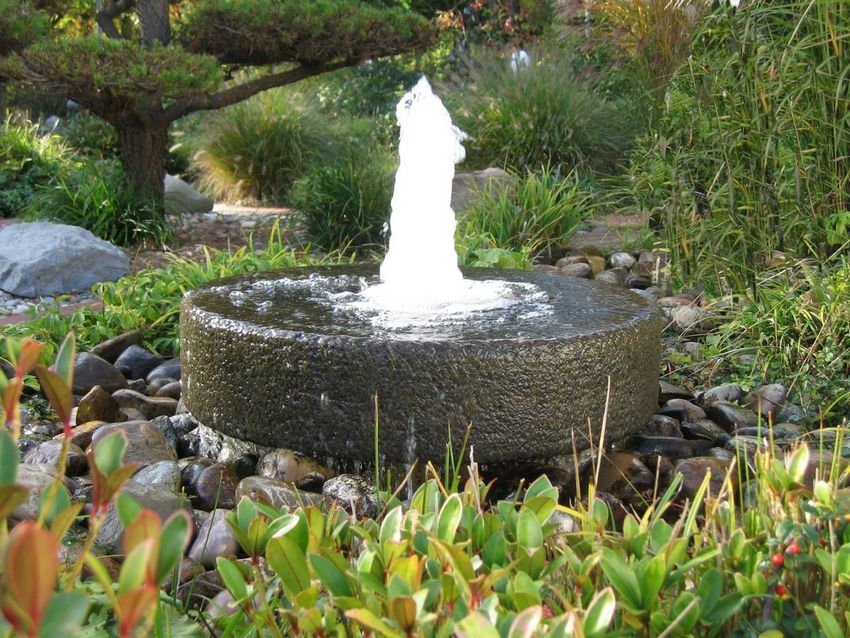
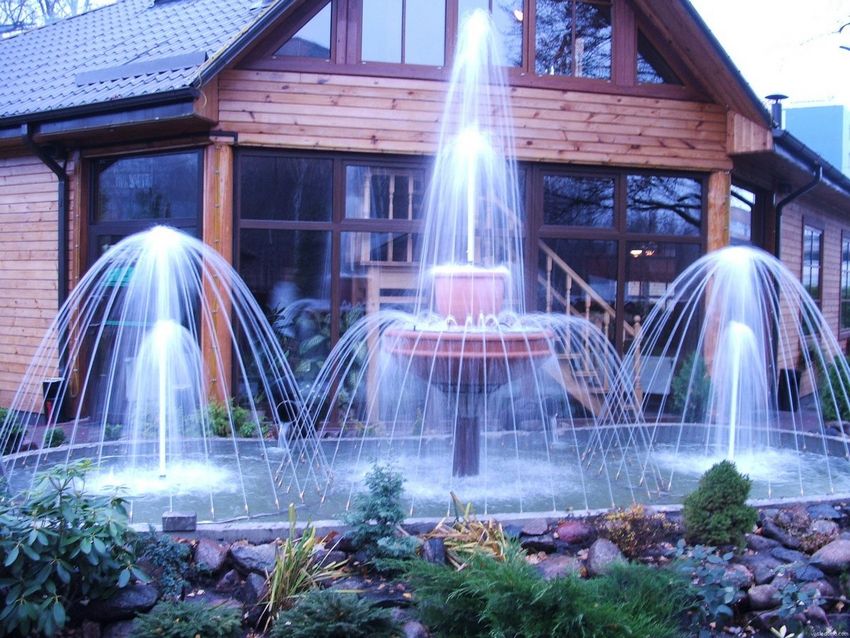
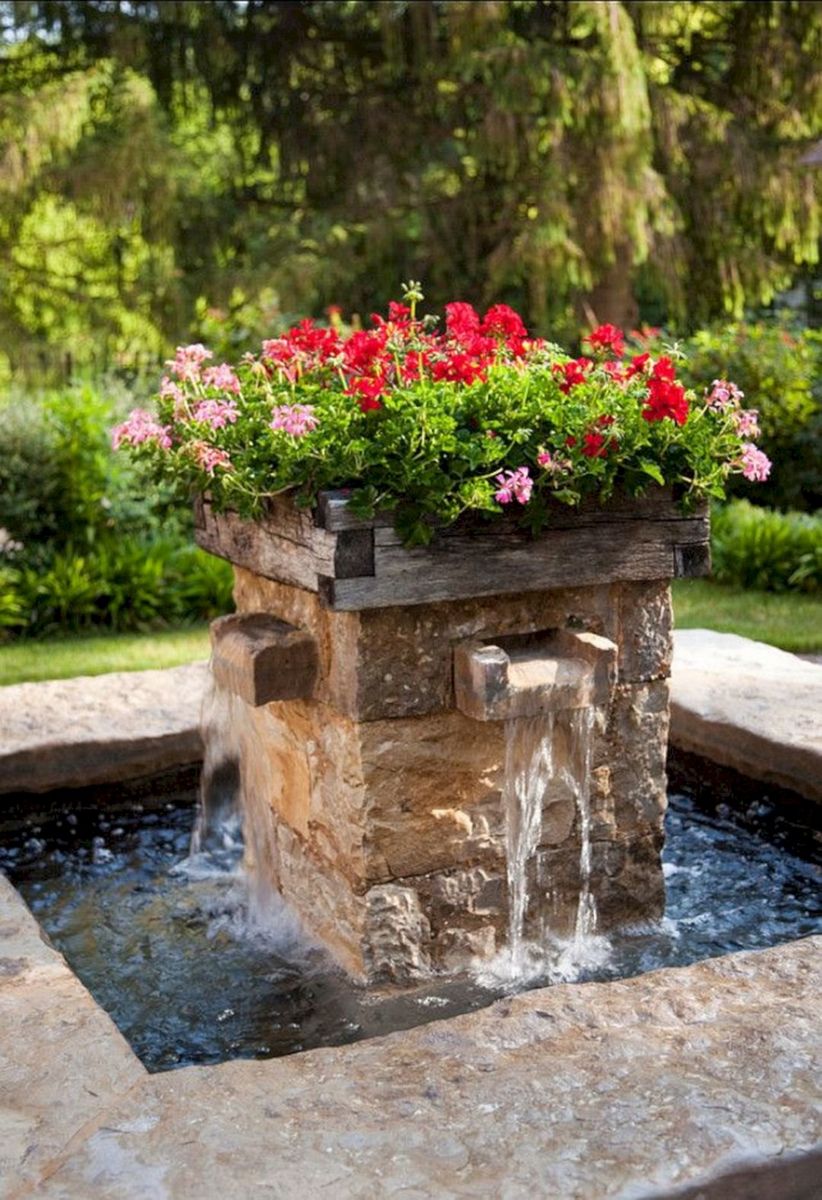
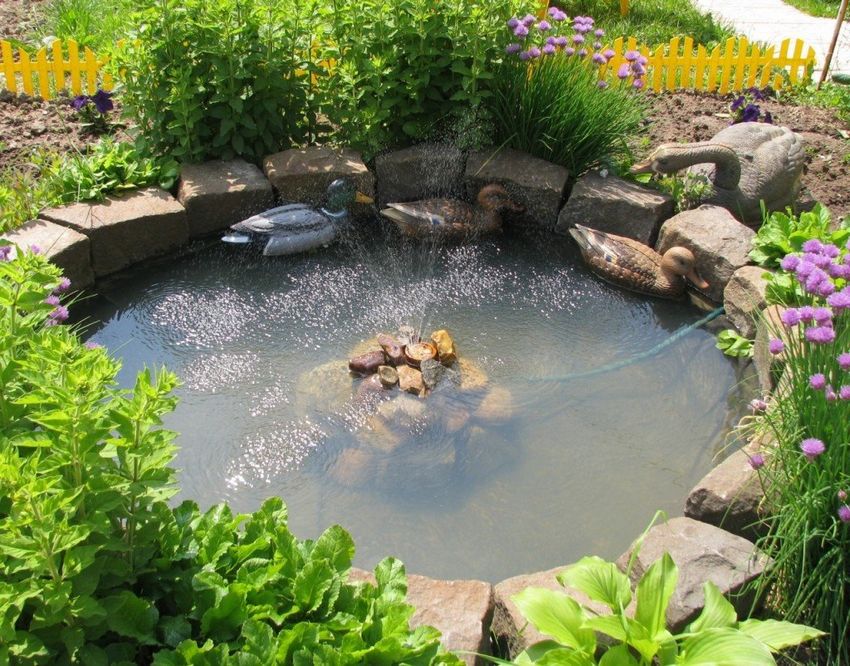
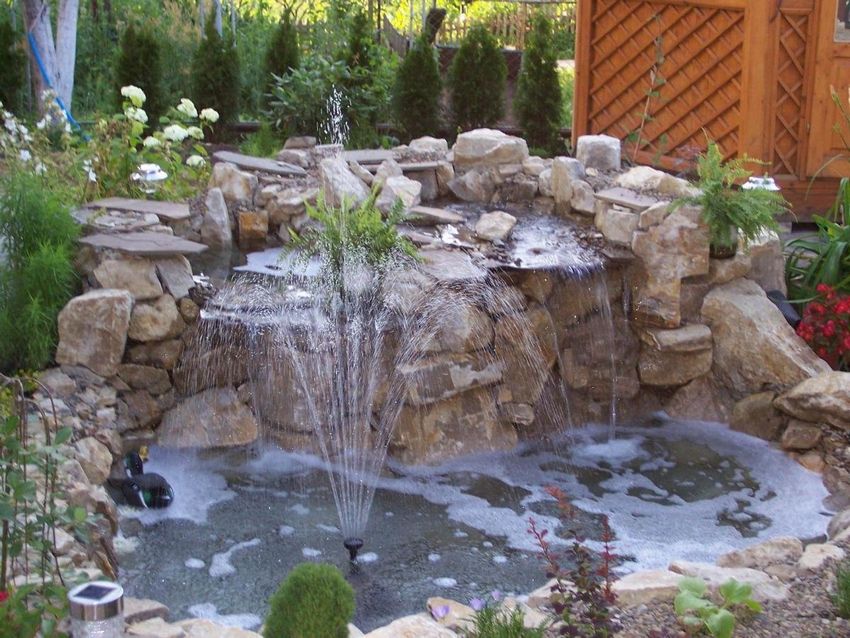
It is possible to create a fountain on the dacha with their own hands on a simple scheme - differs in compactness, reduced costs for construction and maintenance or multilevel design on the basis of illumination, a variety of distribution of jets. But we will consider a not complicated option, which has a decorative effect, and does not require a large investment:

Preparing the fountain bowl
Starts with the development of the shape, design and size of the reservoir. In advance, the optimal place is chosen. After that, a marking is carried out, thanks to the marking on the ground. Next, the work is done according to the instructions:
- A hole is created according to the contours of the marking with a depth of up to half a meter. But this is purely individual, to whom it is more convenient. There are meters and more fountains, much depends on additional decorations.
- The walls and the bottom of the pit are carefully aligned, so that the waterproofing covers its entire area.
- At the bottom, a layer of sand cushion is laid on the base with a thickness of at least 5 cm. The sand is leveled and tamped.
- A polyethylene film with increased strength is placed on the sand. The edges go beyond the marking of the recess. The walls should be completely covered. If it is difficult to find a solid piece, then several strips are used. But they are laid with an overlap of 15 cm. If the film is thin, then it is folded in several layers. This is necessary to increase the reliability of sealing the pond. The material is temporarily pressed with stones along the edges and walls.
- On top of the film is poured small crushed stone or gravel. It should not meet the admixture of soil, clay, as it will spoil the water, you will have to change it. In the area of installation of the fountain elements there is no need to cover the film.
- Water collector is formed thanks to a plastic bucket with a volume of 10 liters. Appropriate holes are created on the sides.
- The blank is mounted on the film on the basis of the horizontal position. This is necessary to achieve compliance, because the jets of water will be directed at a certain angle.
- To improve the external perception of the reservoir, large stones are laid along the perimeter. The cobblestones are washed thoroughly before use. Get rid of excess soil, clay layer and other debris, as it will mix with the water and form a puddle does not look like a nice pond.
- Another row of stones is added on top. The excess foil is cut off. The gaps are closed with small stones.
- The film should not look out from under the mound. If you want, you can add medium-sized stones to decorate the pond.

Mounting the fountain equipment
After the preparatory phase, you need to stress a little bit to complete the job. To realize how to make a fountain with your own hands it is necessary to go through all the points of the master class. Direct installation of the equipment is carried out:
- To strengthen the design of the homemade water collector, in its cavity is dosed with crushed stone on the basis of a layer of 6-8 cm.
- The pump is placed in the bucket. Conditions for easy movement of the equipment are created, no resistance should be felt. Otherwise, the performance will be significantly reduced or the equipment will break.
- The end of the equipment wire extends beyond the pond area, but it extends across the bottom of the pond without tension. Before use, the insulation coating is examined for reliability, as it will be exposed to water.
- The water collector together with the pump is covered with stones. Only the nozzle is visible.
- Connection of pumping equipment is carried out. A switchboard is used, and a trench is dug from it for the cable. This is necessary to insulate the wire so that it does not interfere with the movement of people. For this purpose, it is dressed in additional corrugated protection.
- Test water is supplied. The hose is directed toward the water catchment, as small rocks may be washed out.
- If the water flows normally into the reservoir. No problem areas are identified, then the fountain is tested.
To decorate the fountain, it is allowed to install additional equipment. Most often used illumination for the night time of the day. The easiest way to mount the lantern light is with a cable installed in the same trench as the pump power supply.
To adjust or replace the pump, it is necessary to remove the top row of stones covering the bucket.

The dispersion of water is easily changed thanks to an appropriate nozzle. They are sold in abundance in stores.
Some people let the fish into the pond. But this is not the best idea if a cat or cat lives in the house. For normal breeding of ornamental fish too little space is not suitable water, because it is better to use an aquarium lock and similar elements for decoration. Although you can do without them, because the main thing is a well-made fountain.
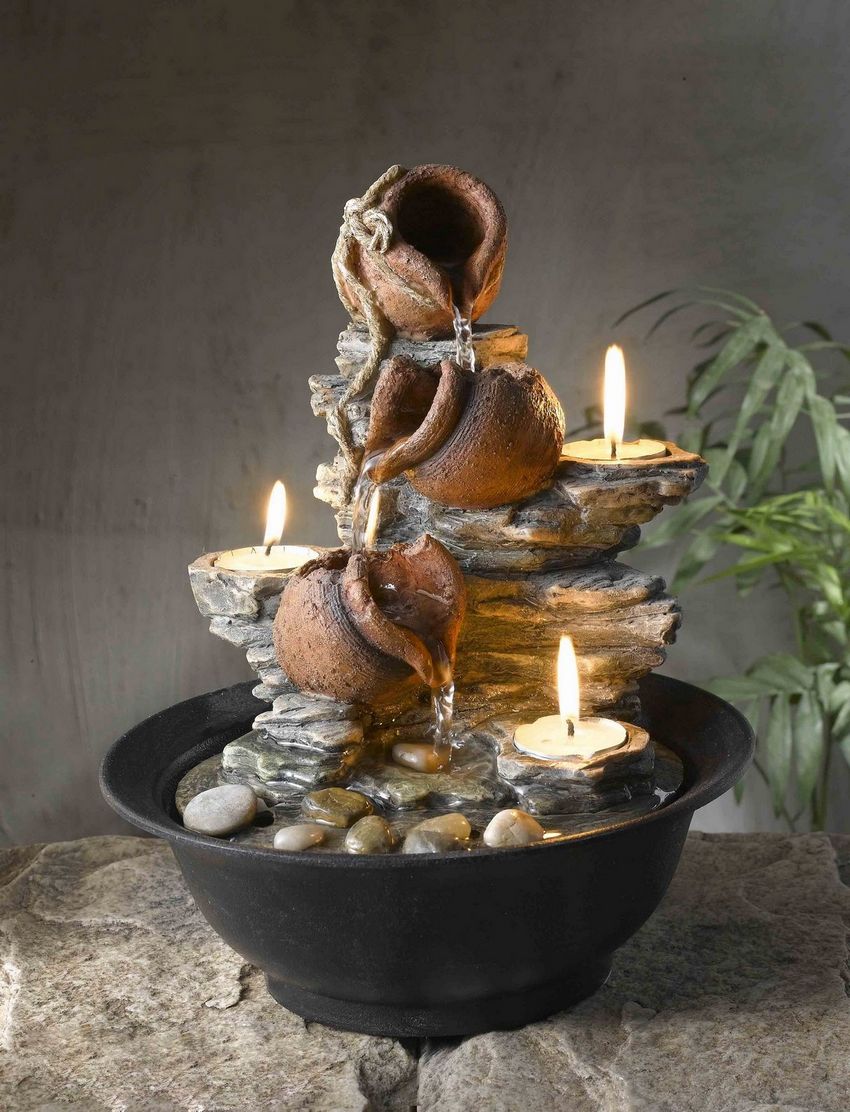
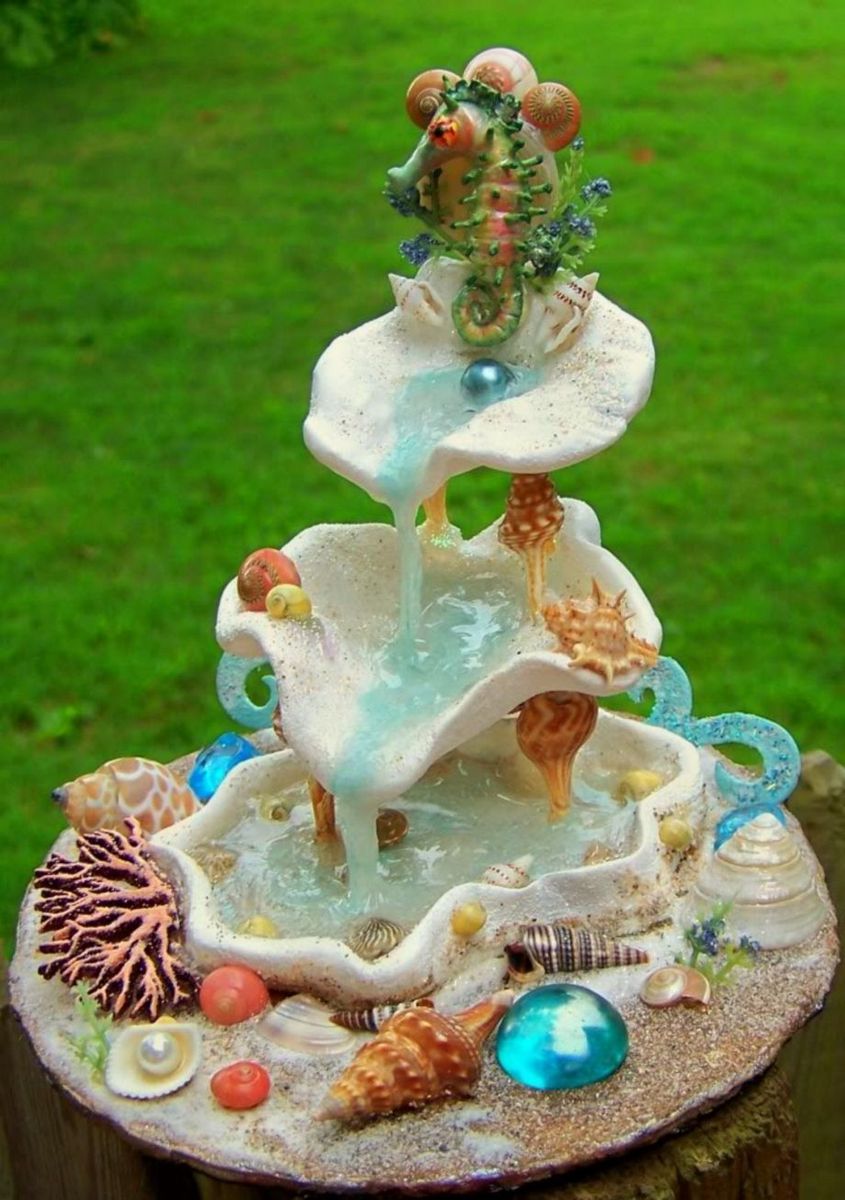
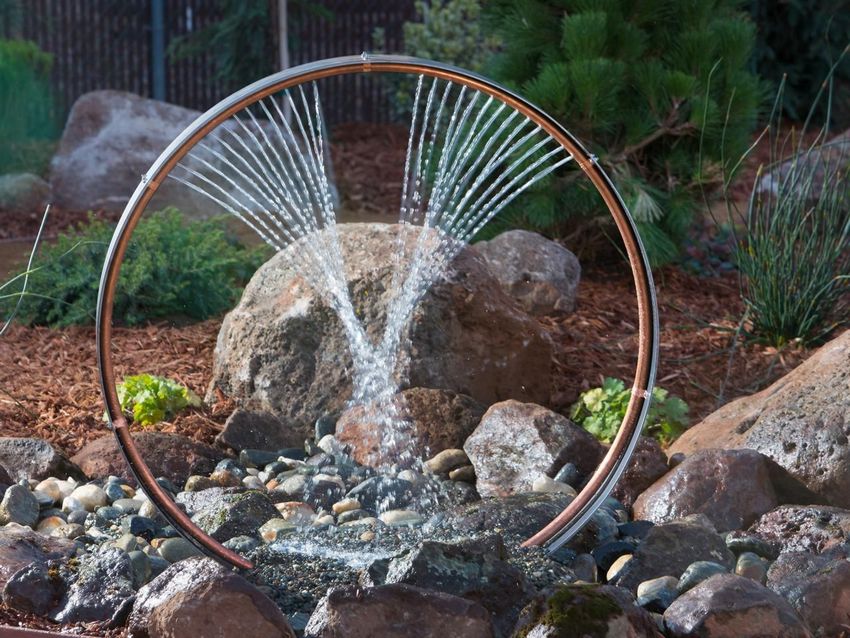
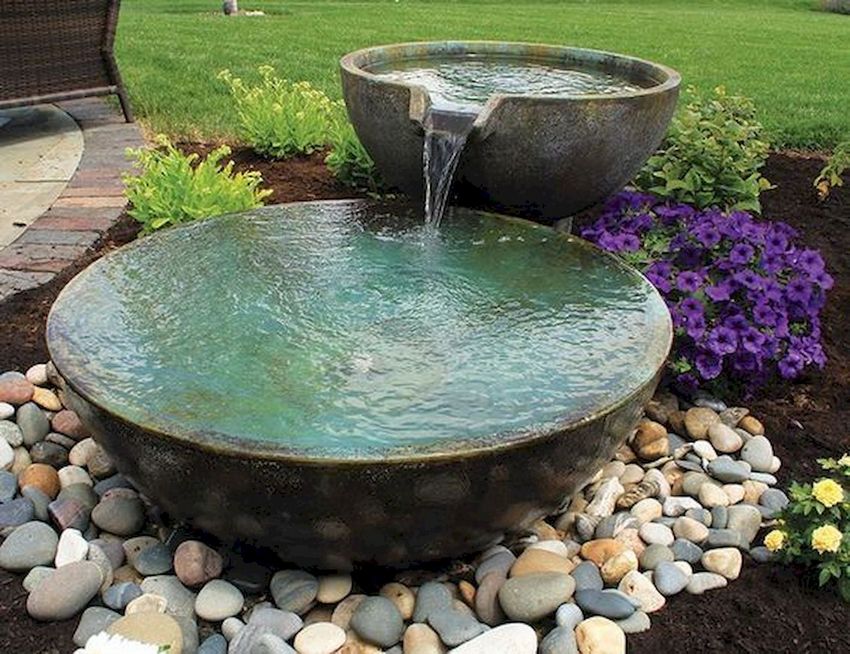
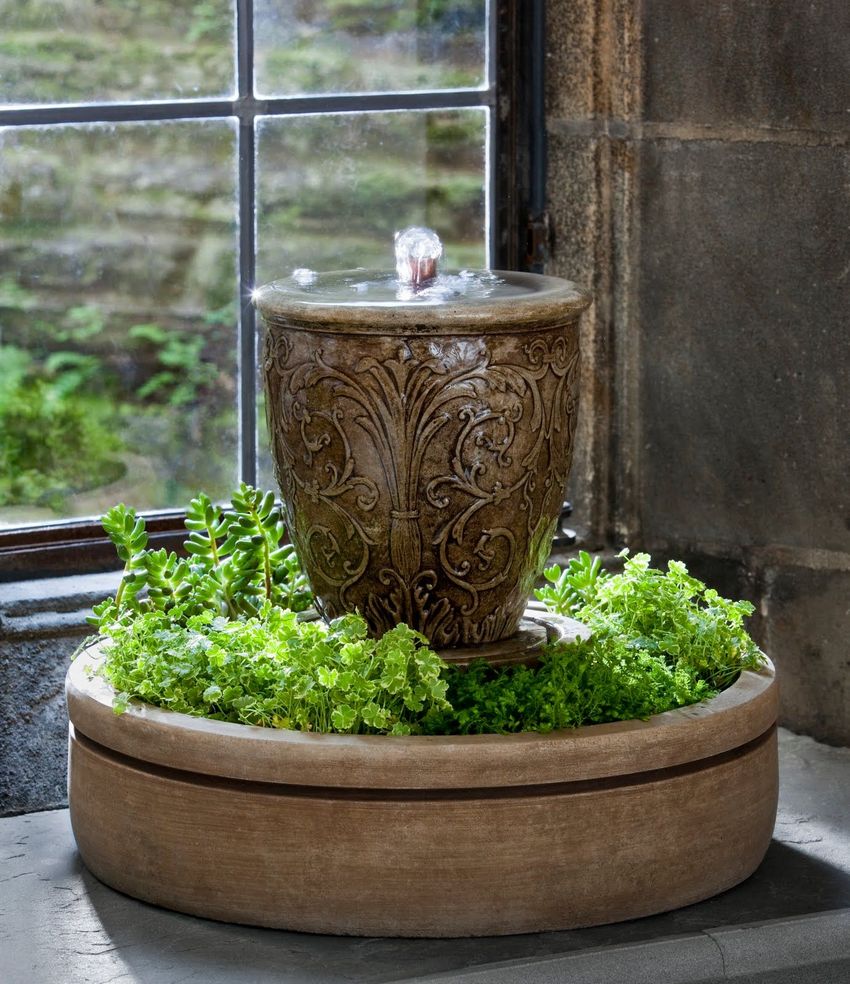
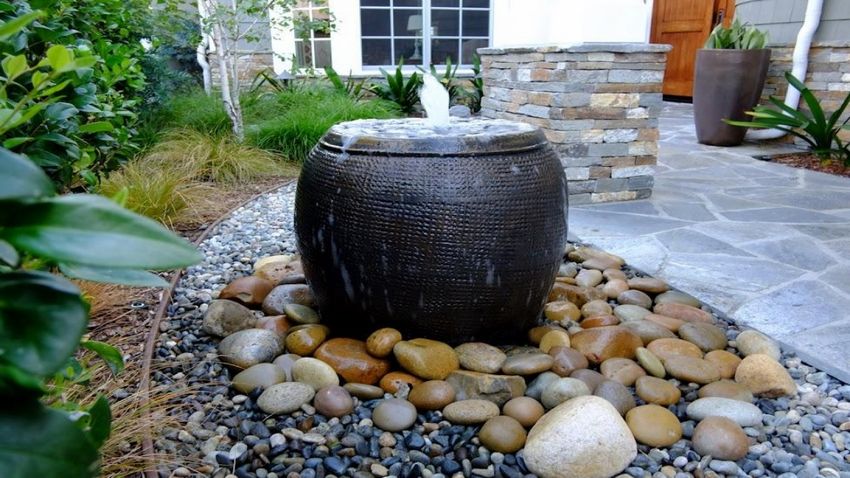
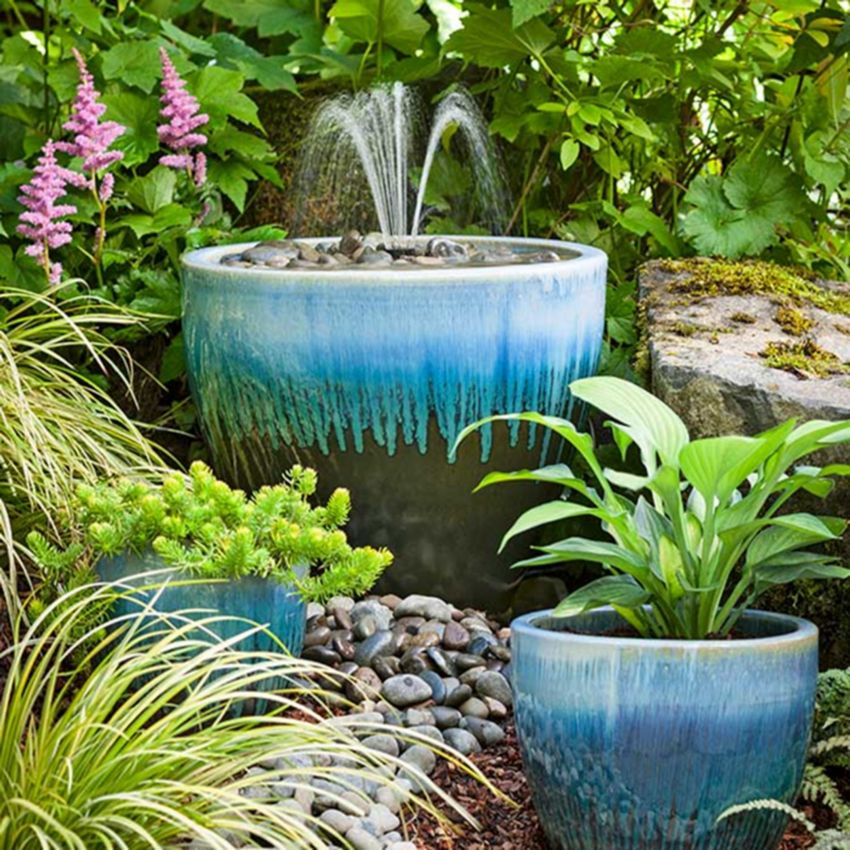
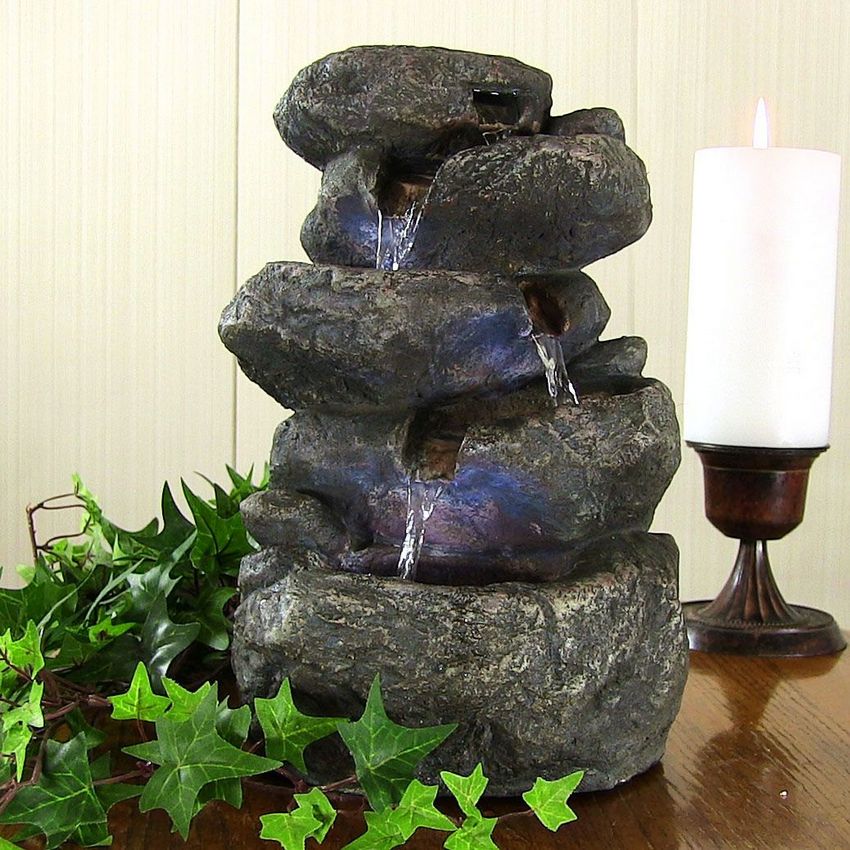
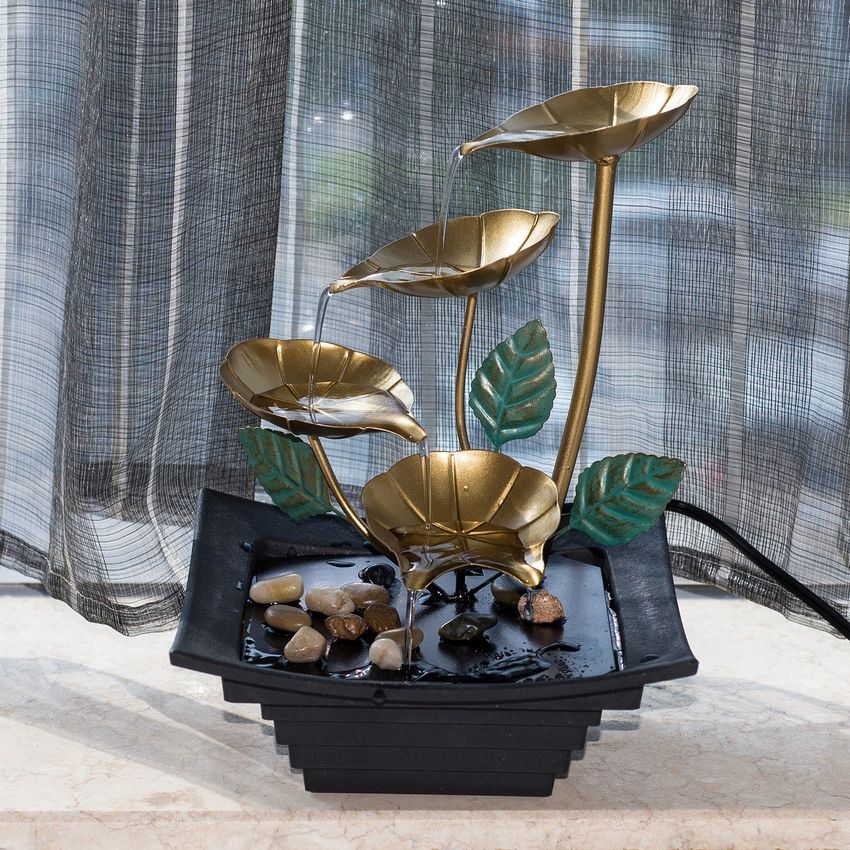
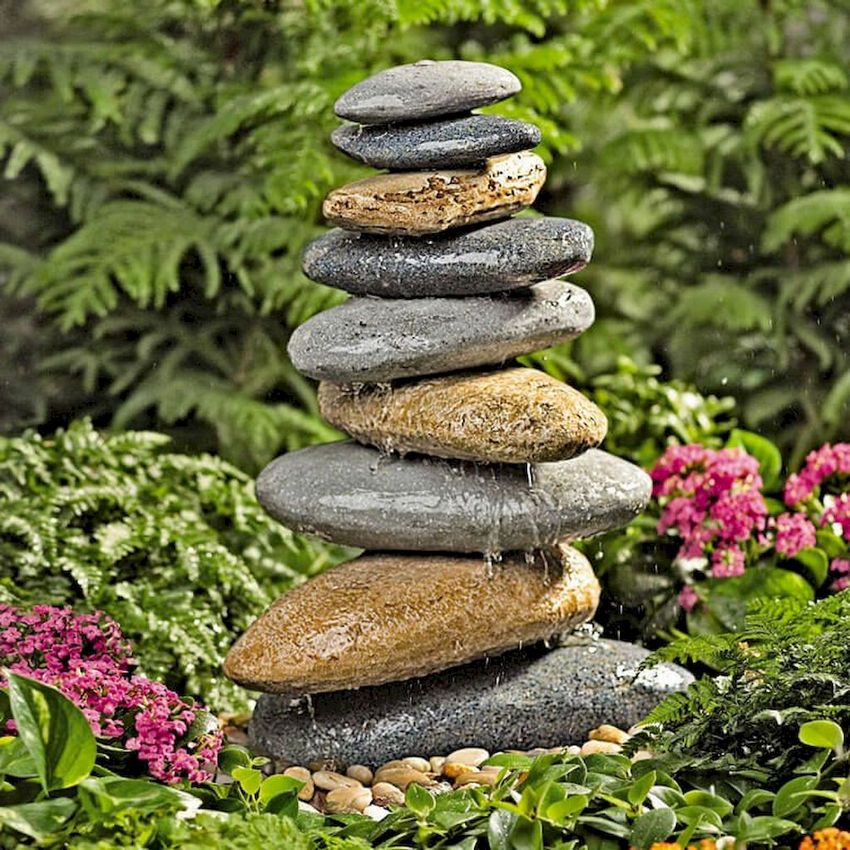
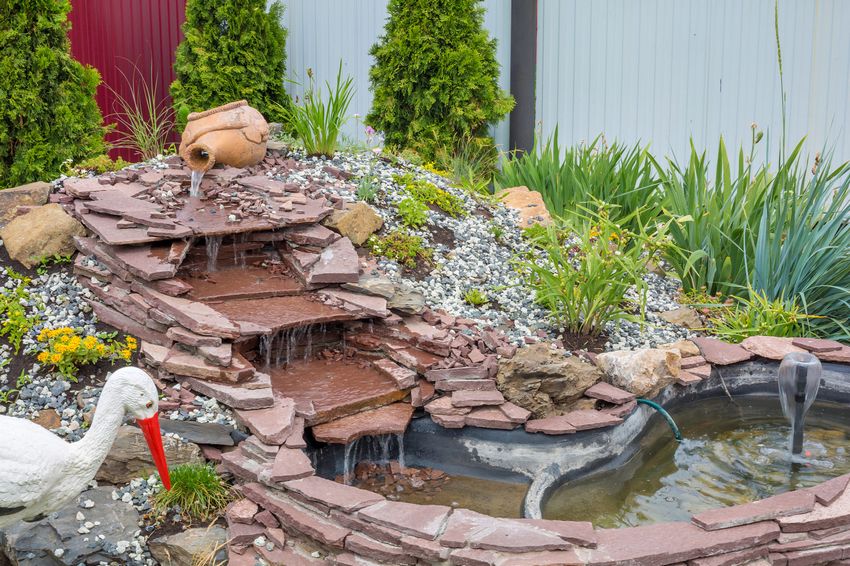
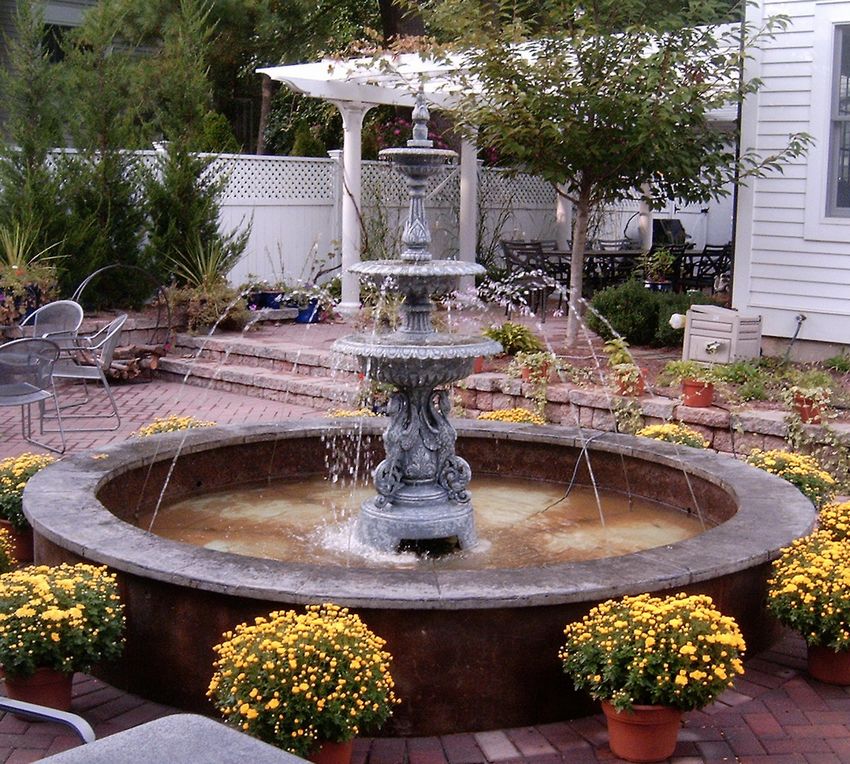
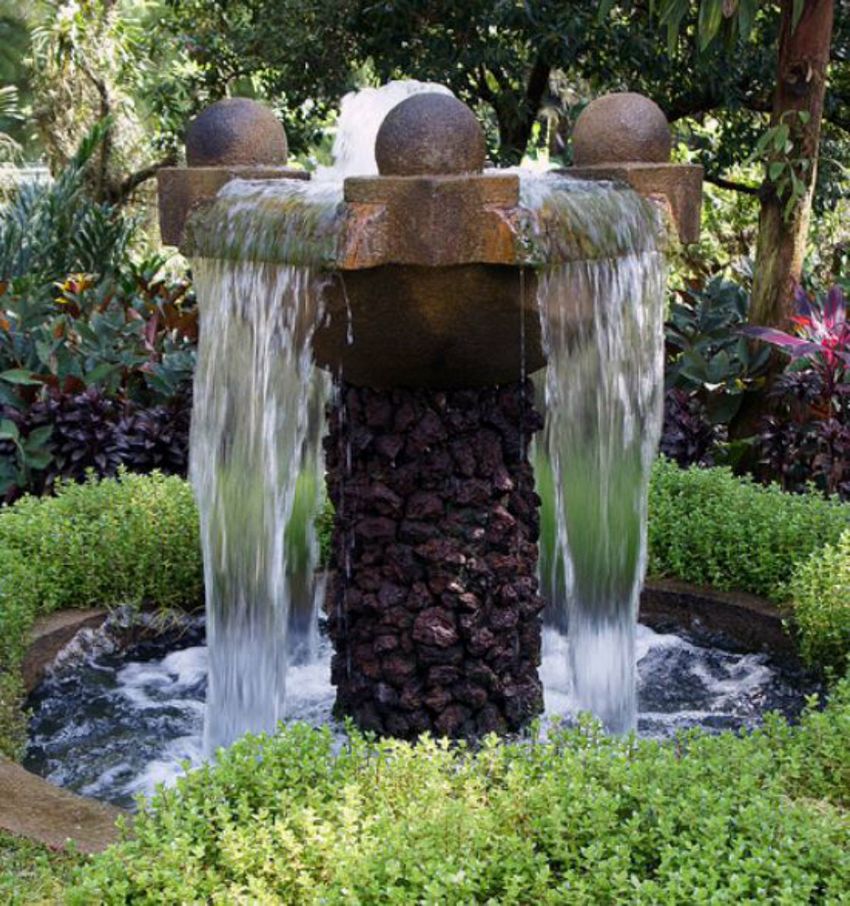
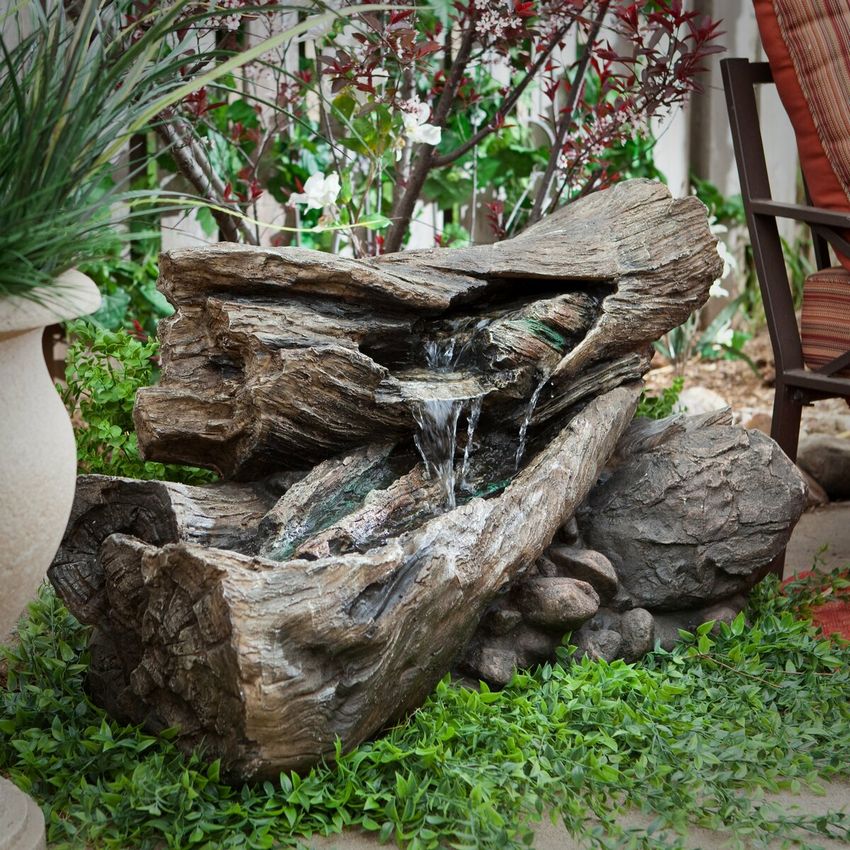
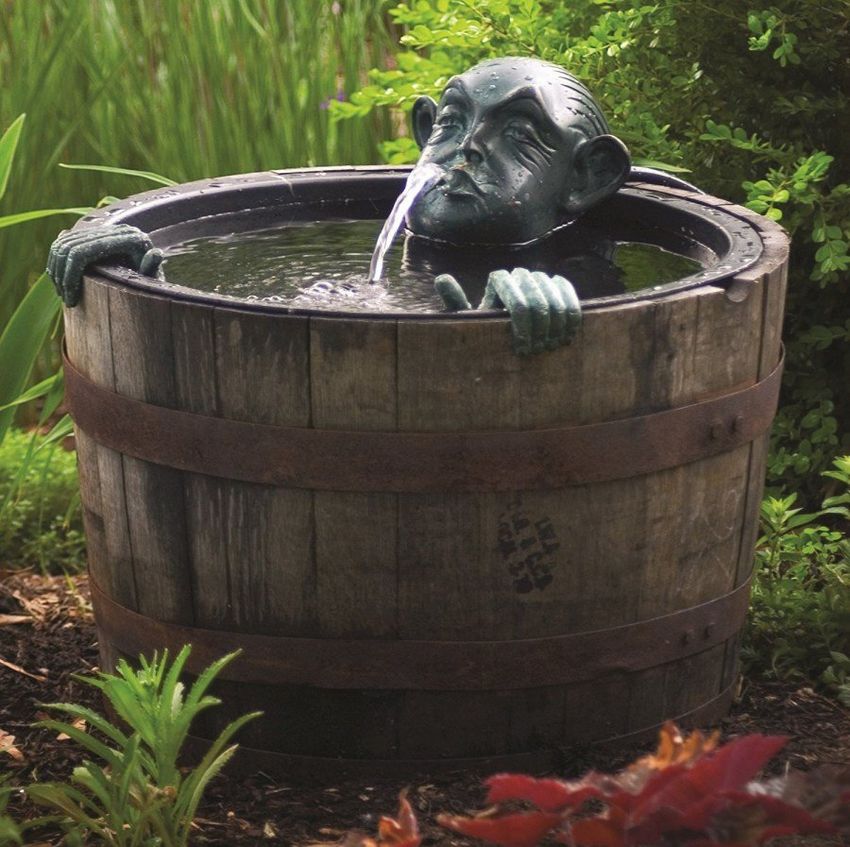
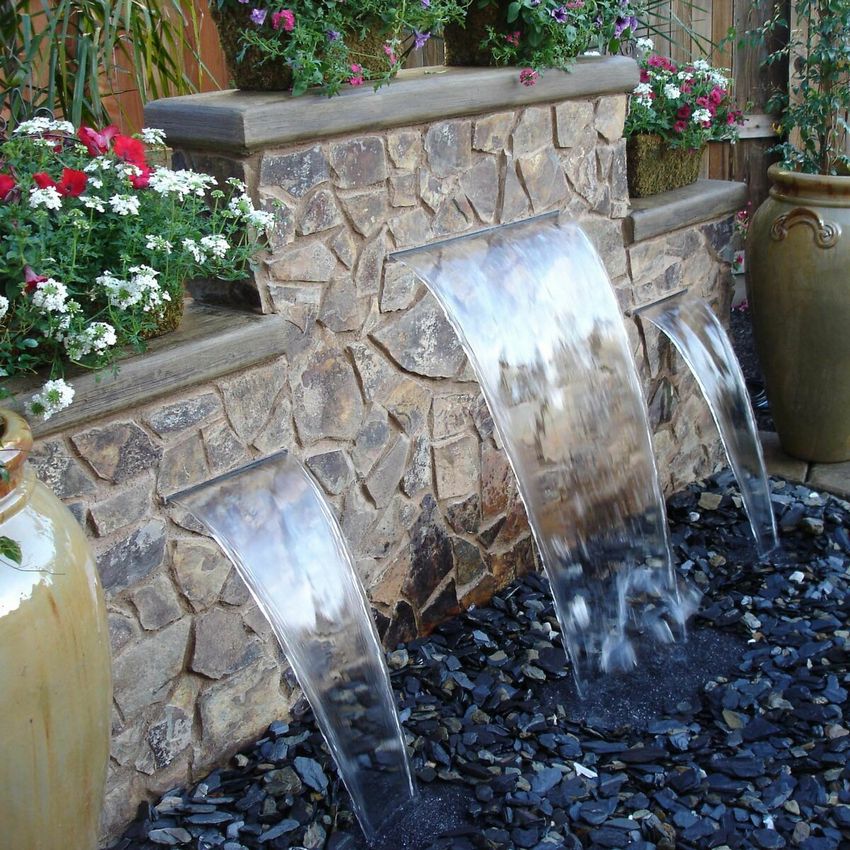
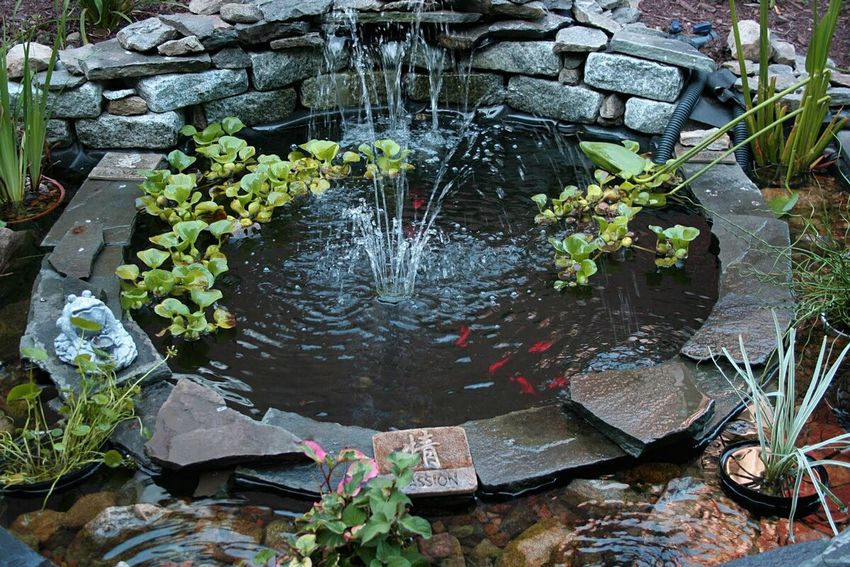
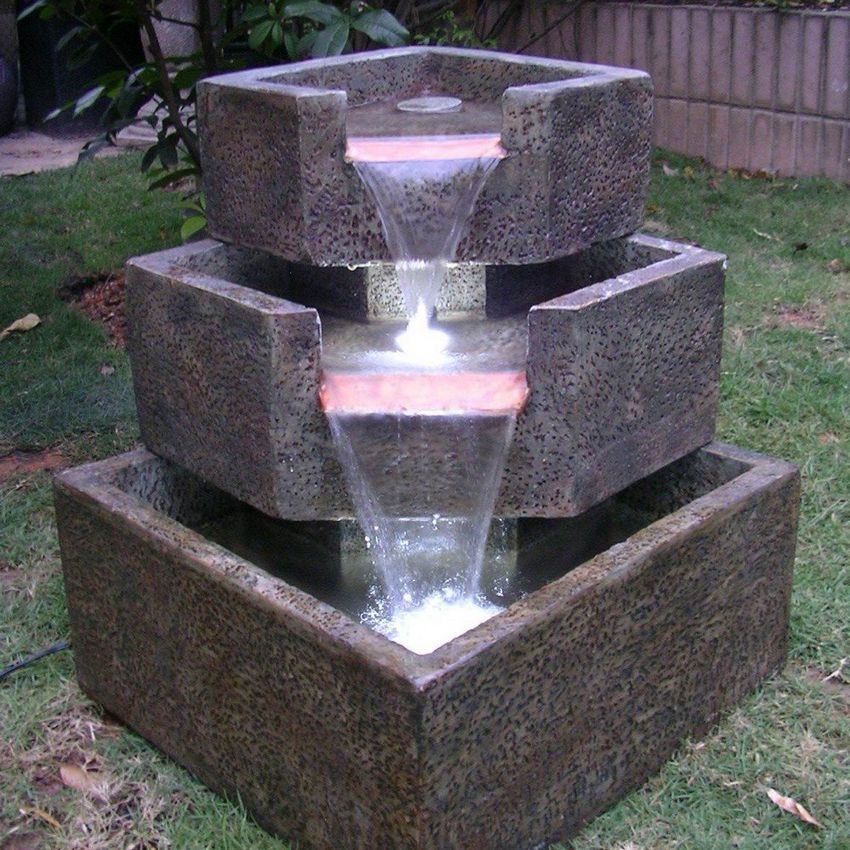
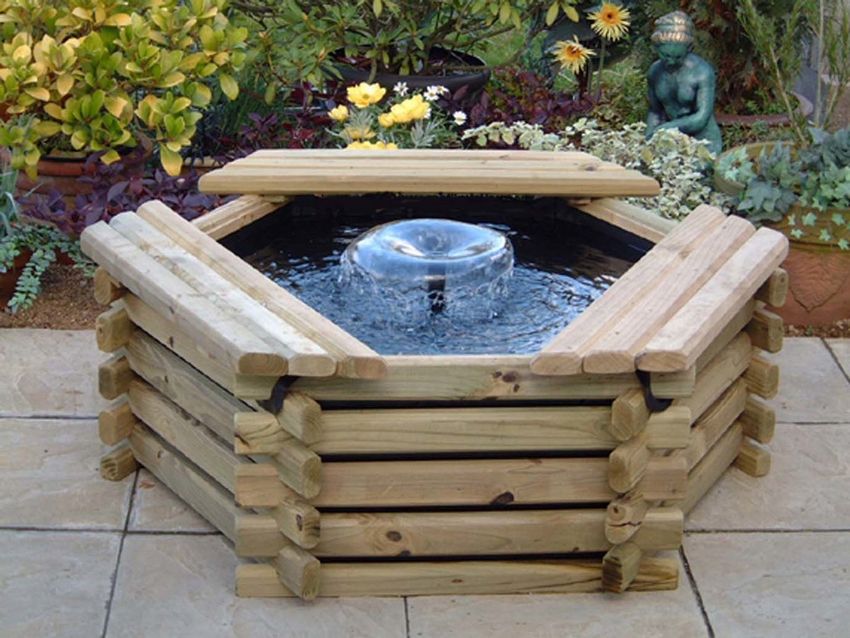
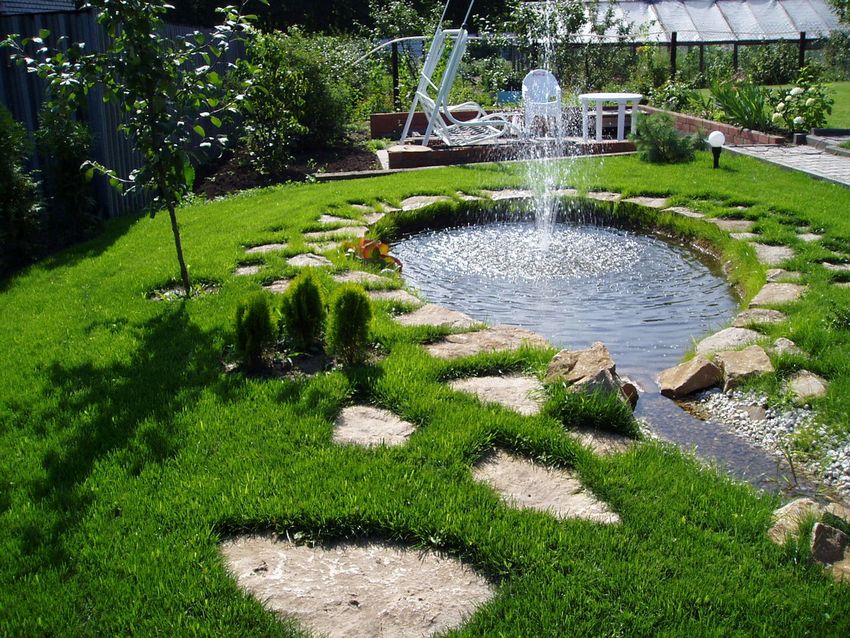
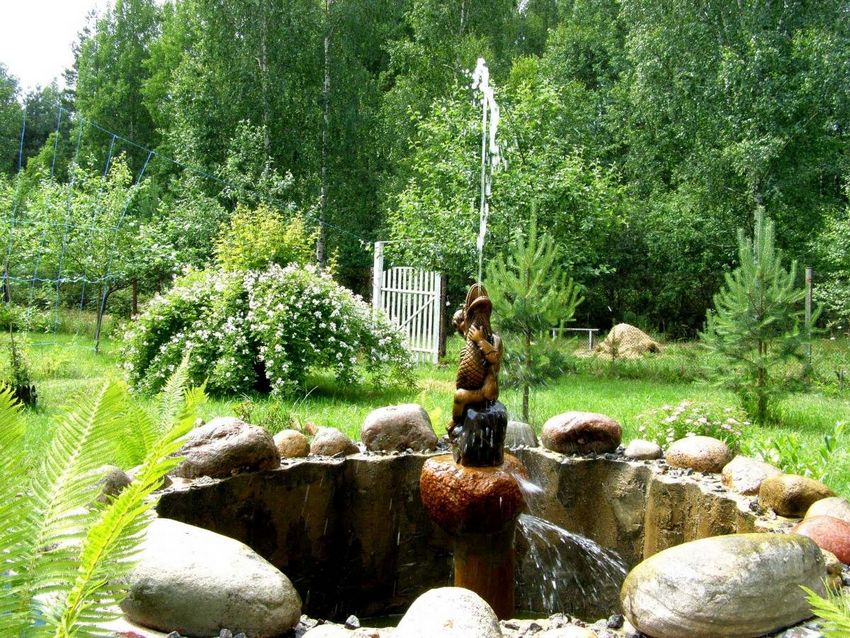
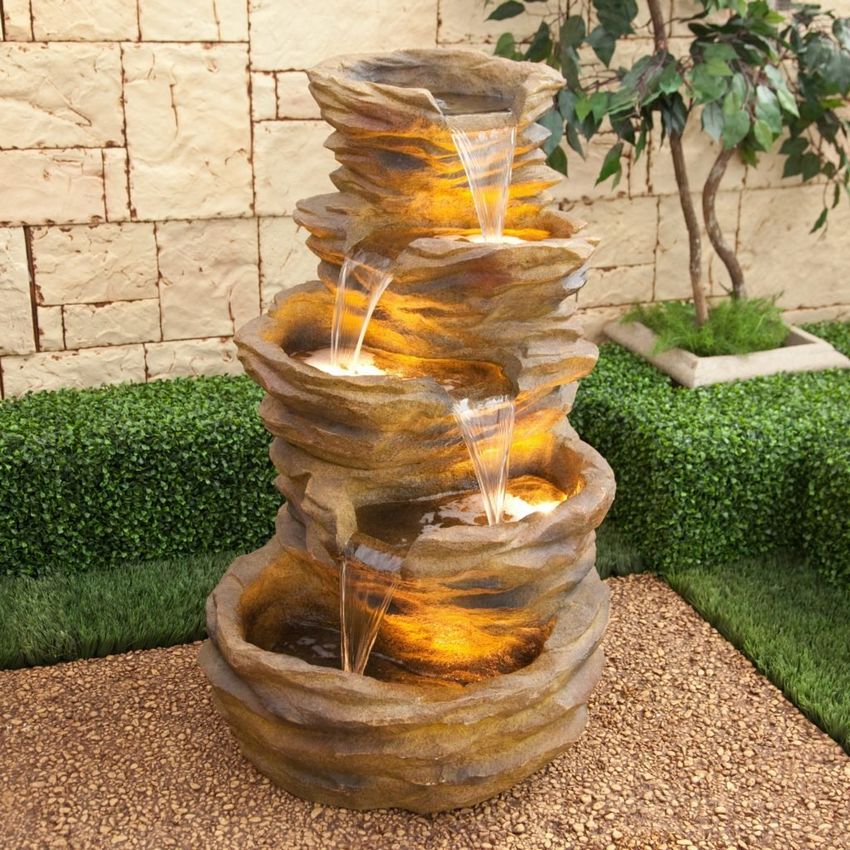
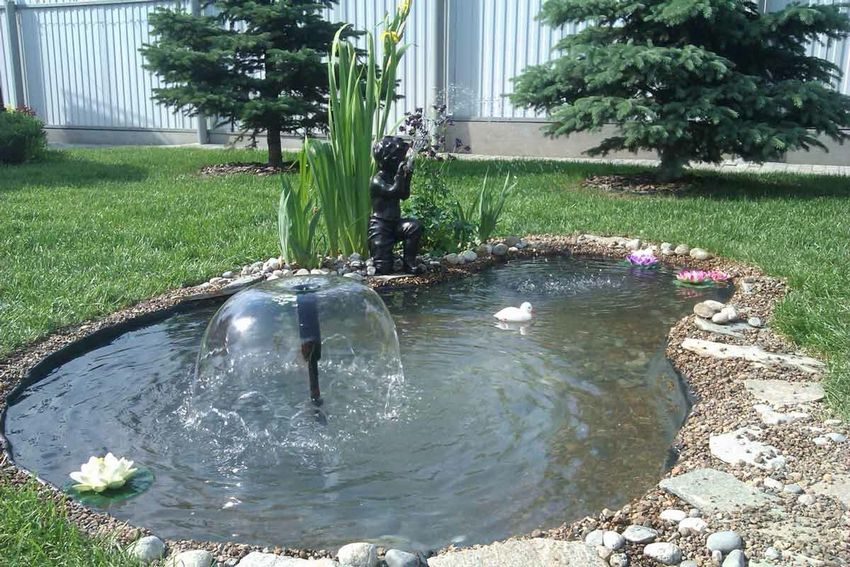
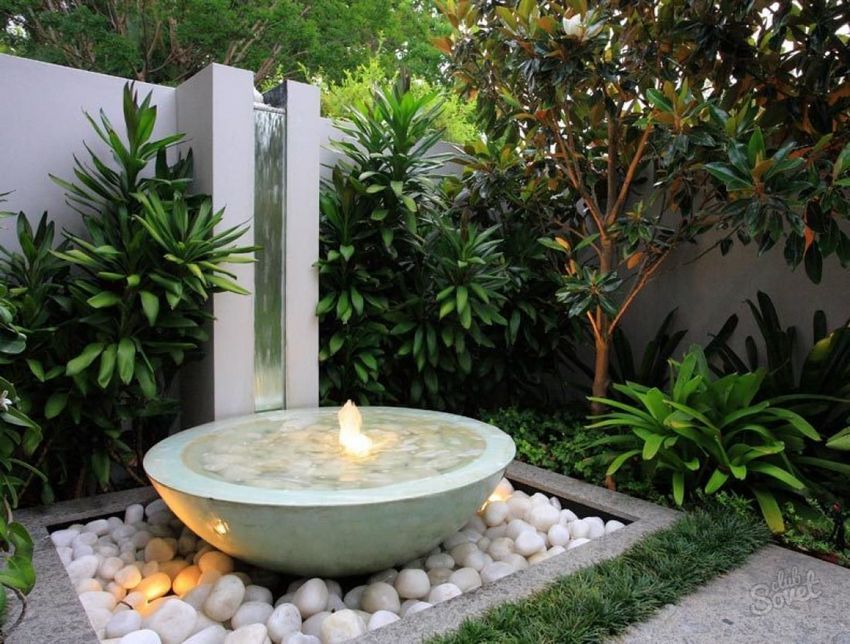
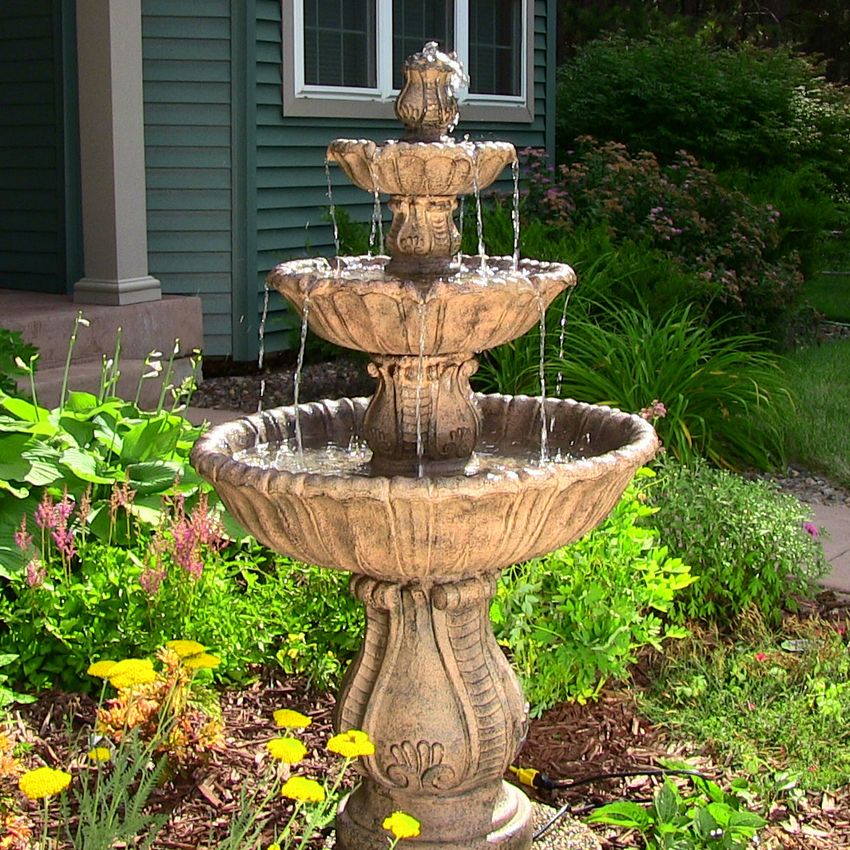
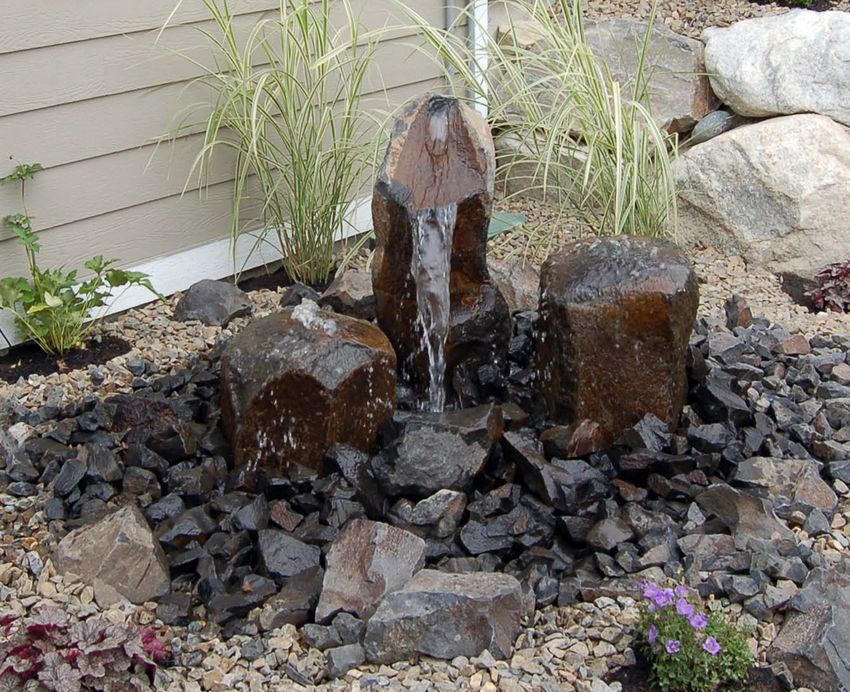
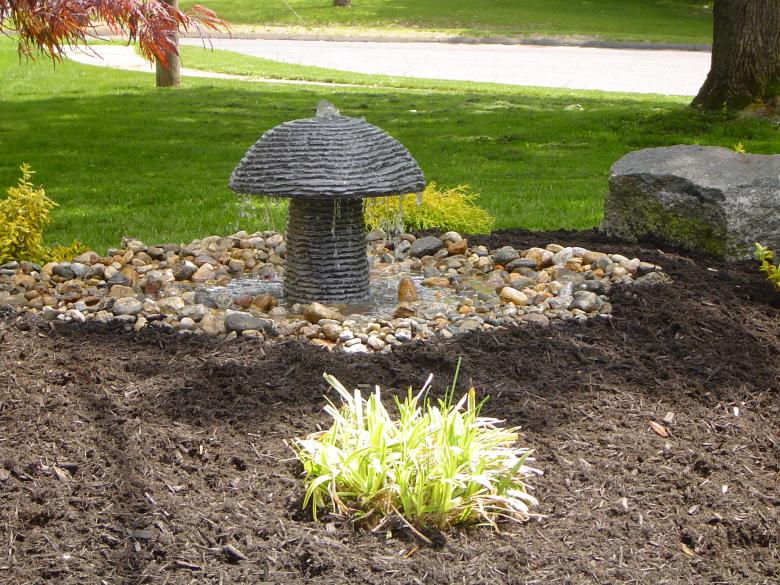
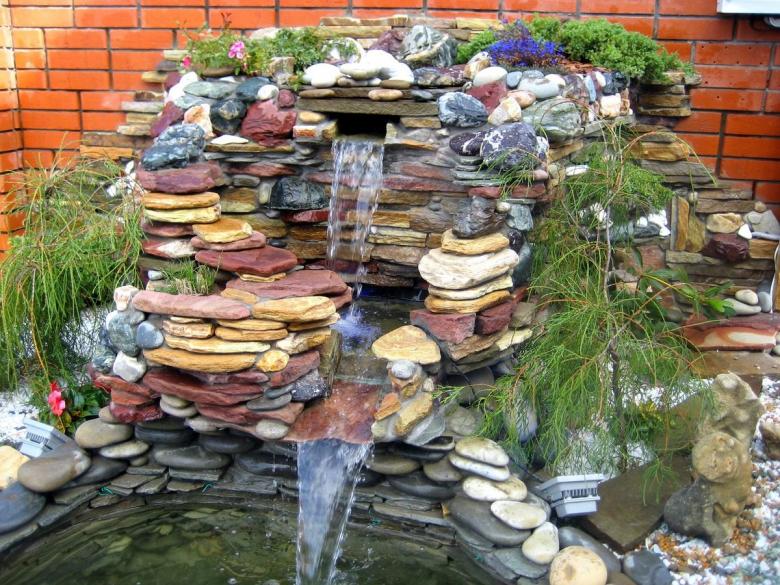
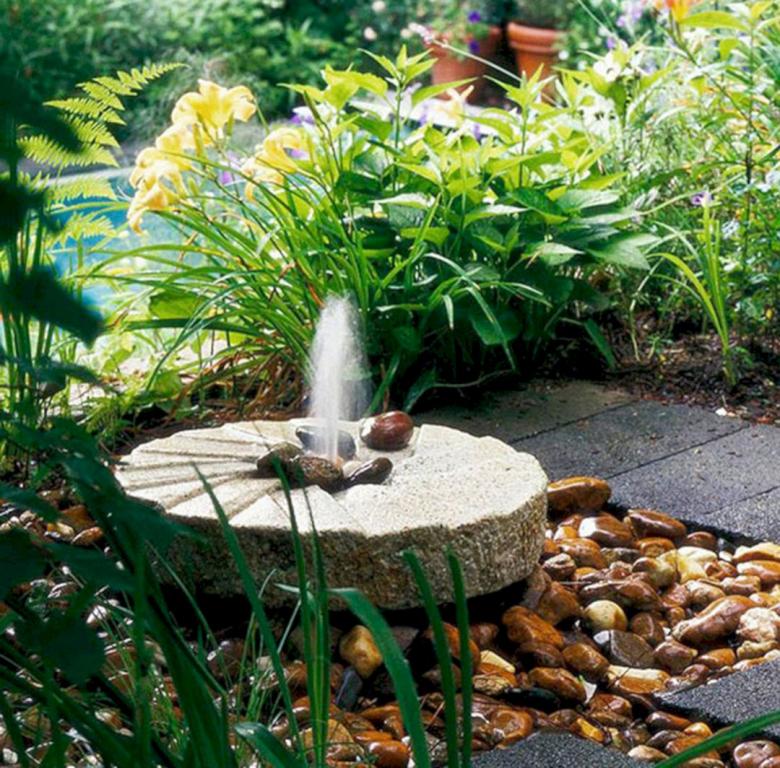
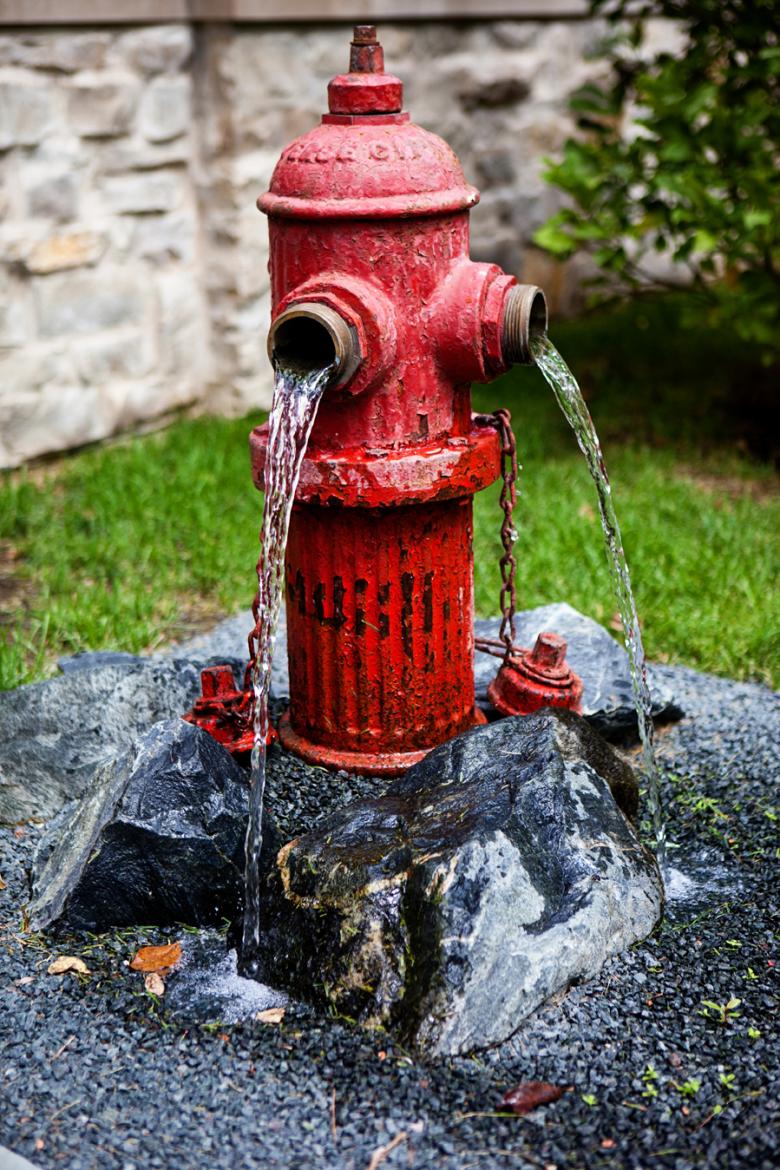
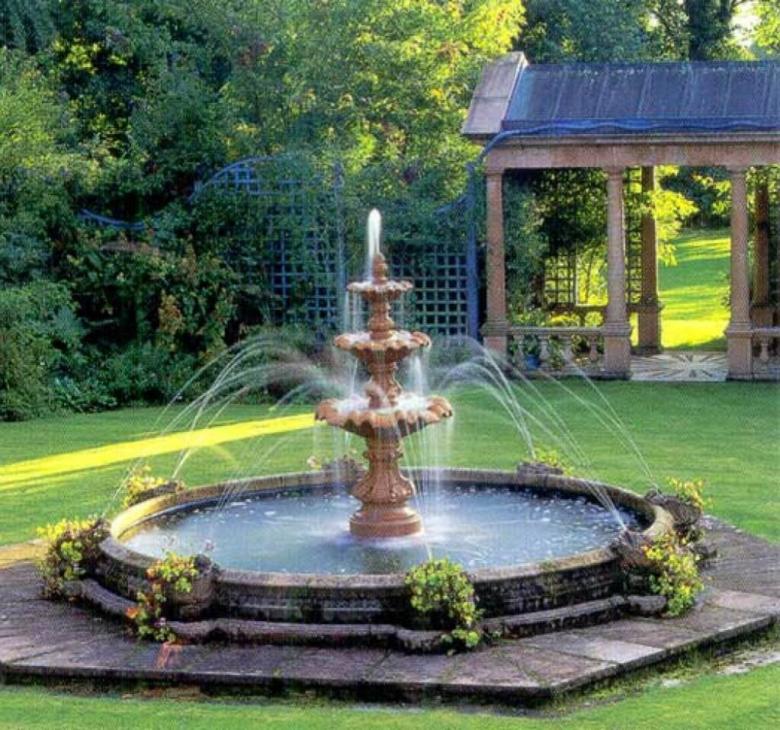
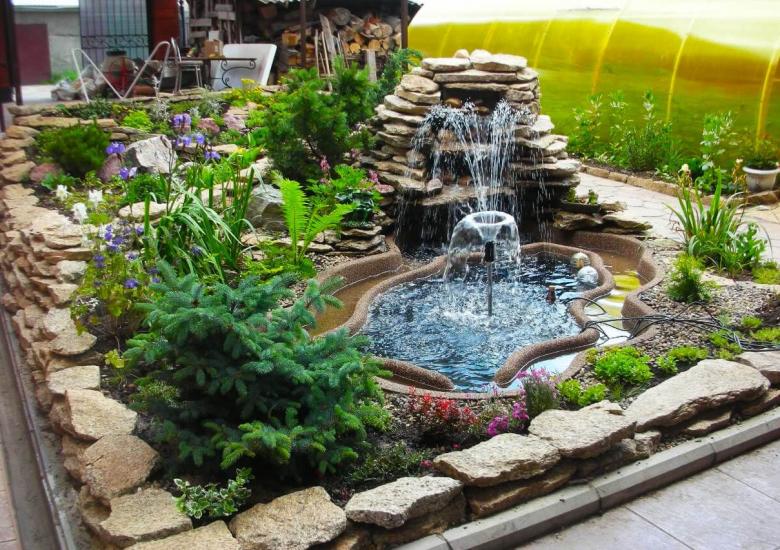
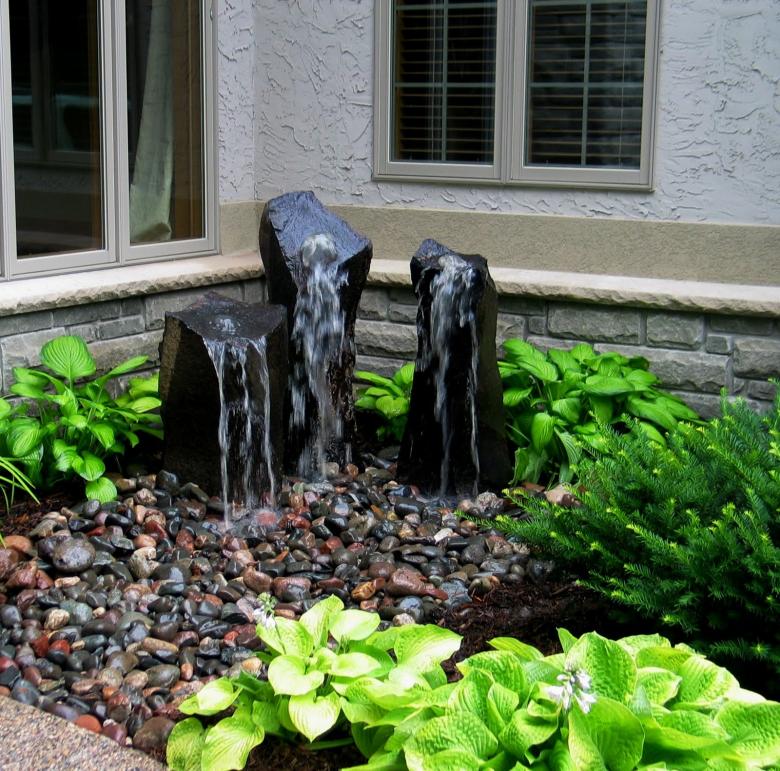
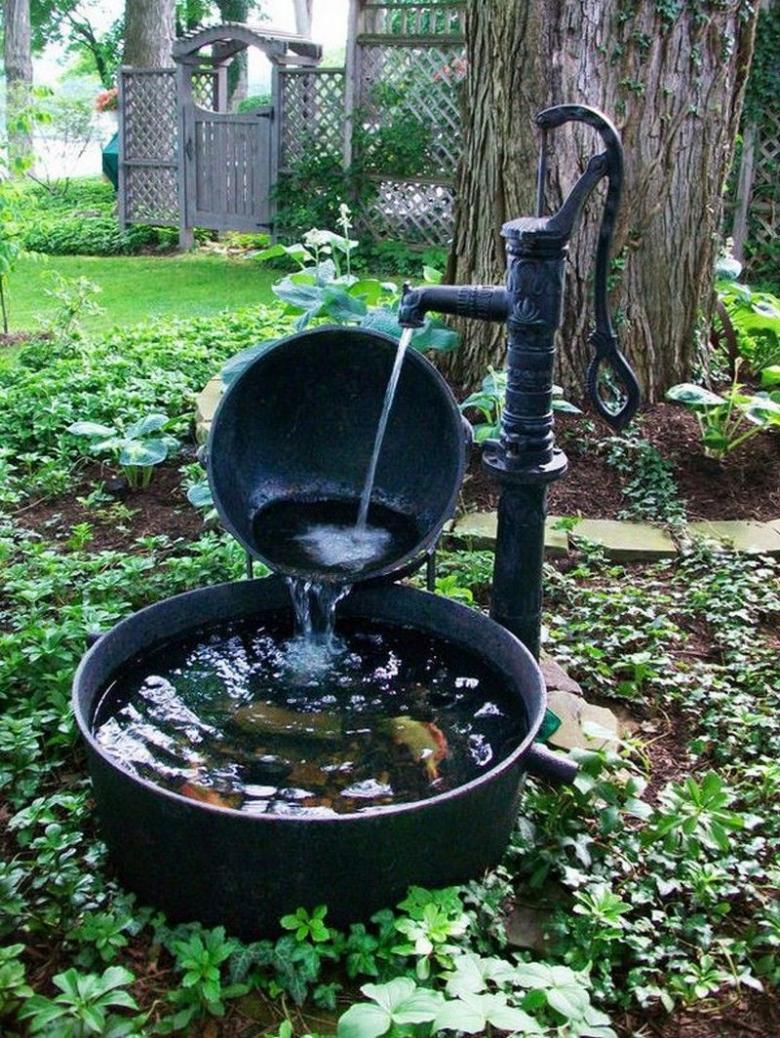
Photo ideas of beautiful suburban fountains