How to draw a swan step by step with pencil and paint: beautiful design options and easy master classes
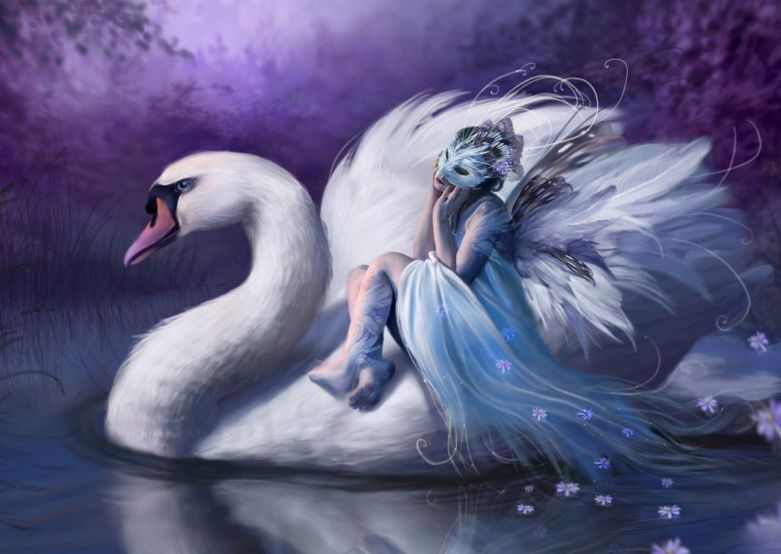
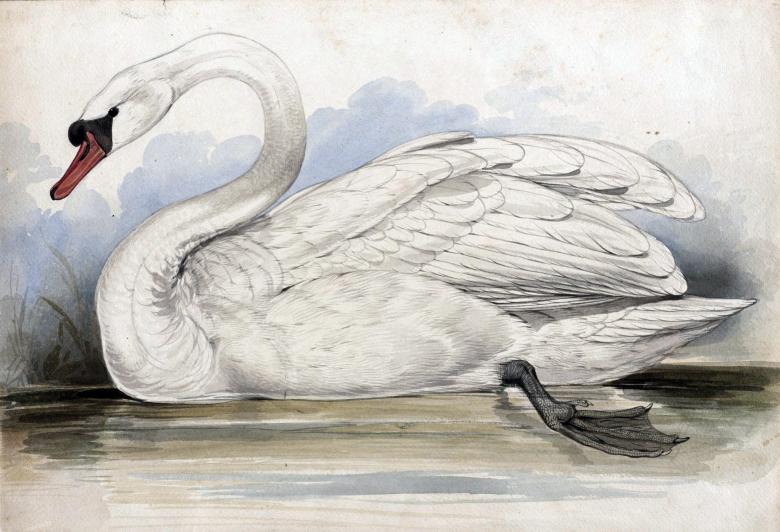
The swan is a beautiful, graceful, beautiful and incredibly charming creature. Such wonderful birds live near bodies of water, as well as in the zoo. Children may also know them from fairy tales, such as "The Princess Swan," and often want to draw them on paper.

However, it is not easy to do this. To make it easy for a child to figure out how to draw a swan, here are several ways to do it in detail.
What you'll need for the work
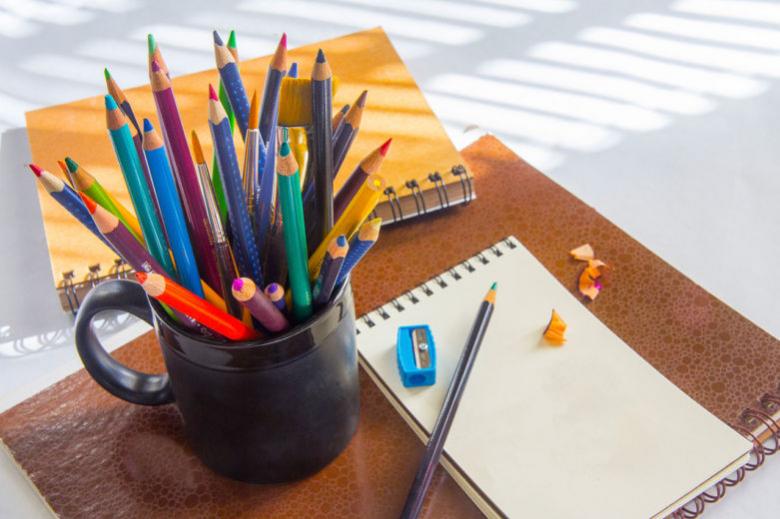
Before you start the process itself, of course, you need to prepare for it. Namely, to find and prepare the following materials:
- A simple pencil for a light sketch or a full-fledged picture;
- Sheets of paper on which the bird will be depicted as a result;
- An eraser to remove flaws;
- Coloring materials, such as colored pencils, watercolor or gouache paints and the like.
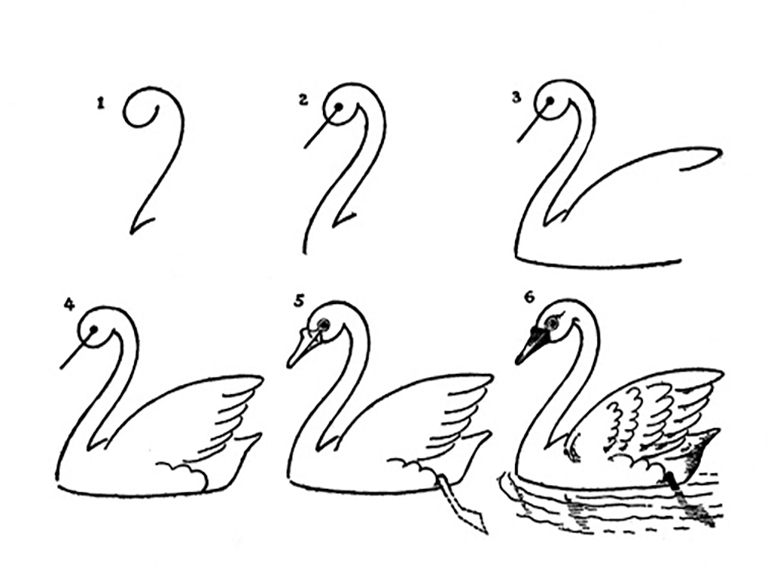
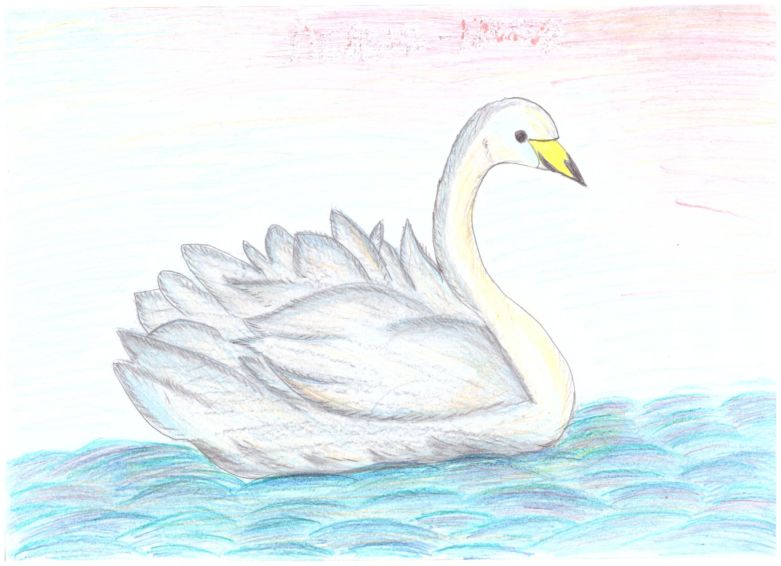
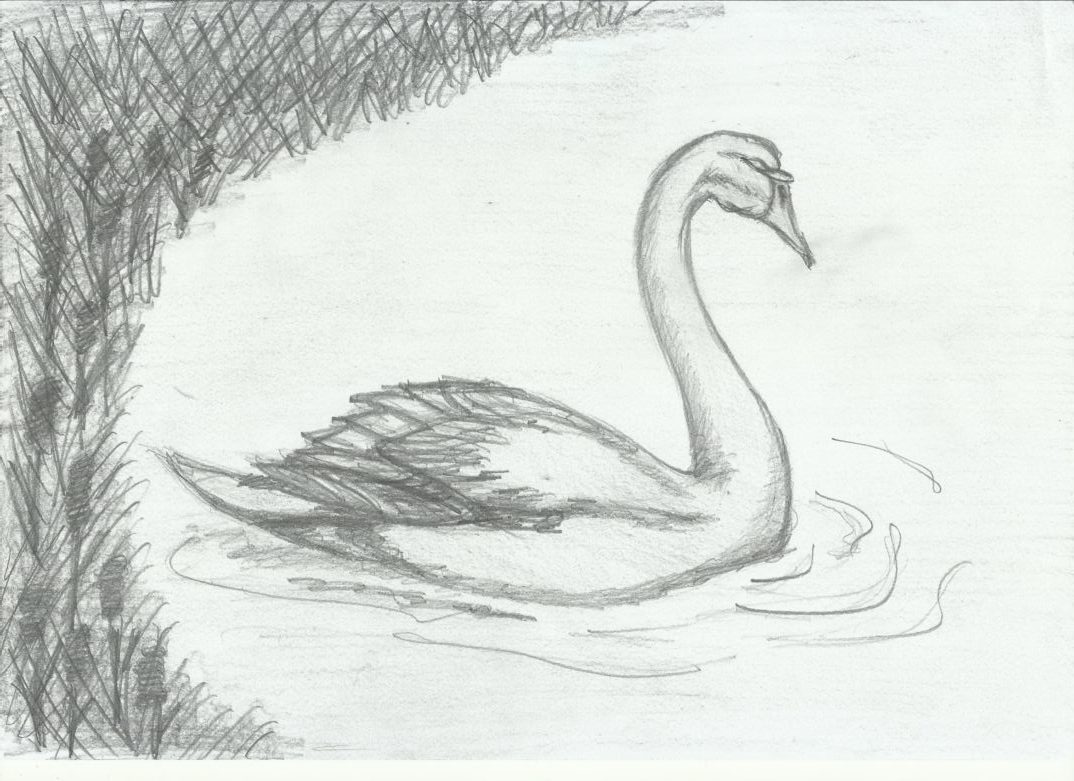
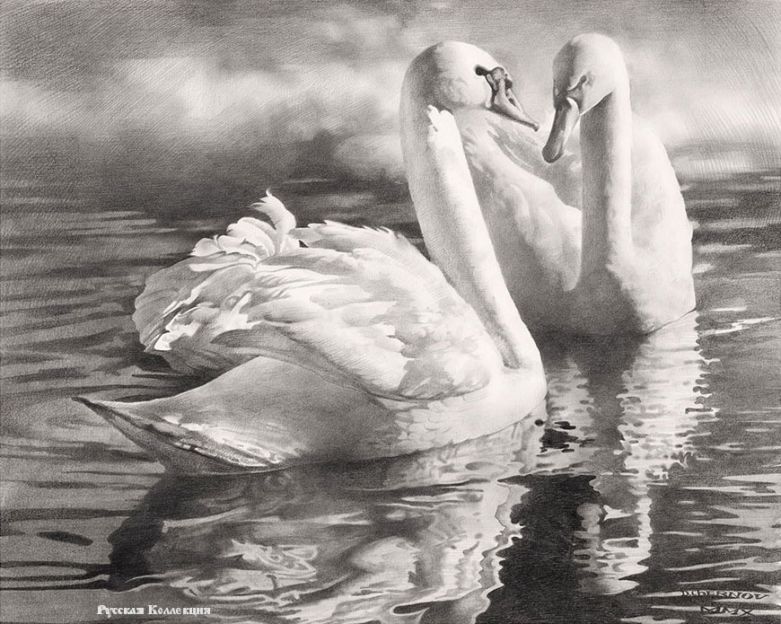
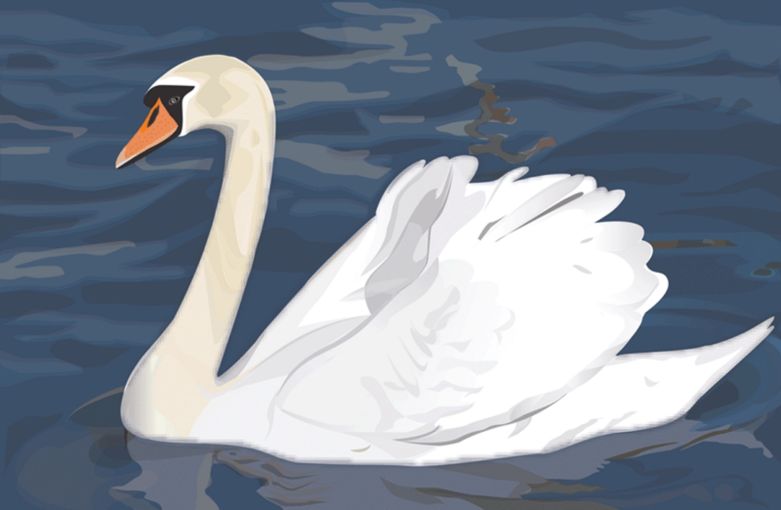
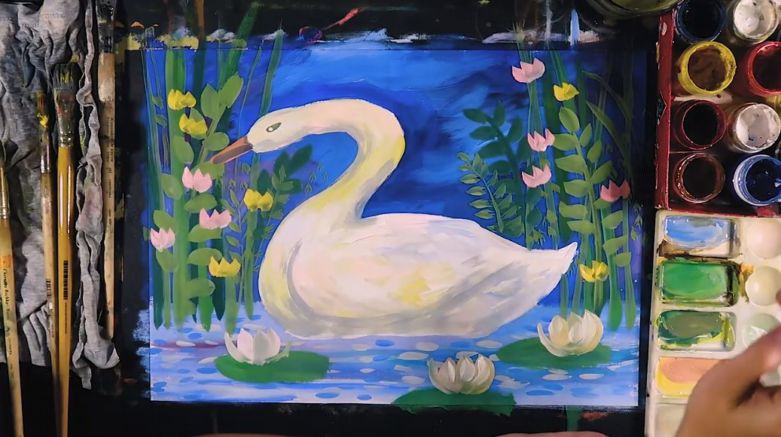
Pencil Swan
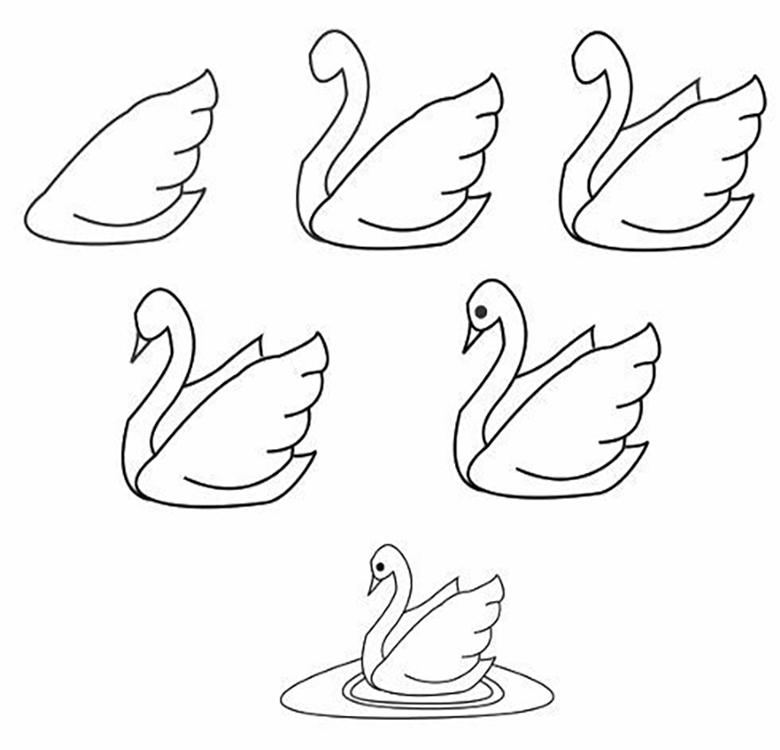
In order to draw a swan, you do not need to be a professional artist. Such a picture can easily cope with a simple child. To do this you need to do the following:
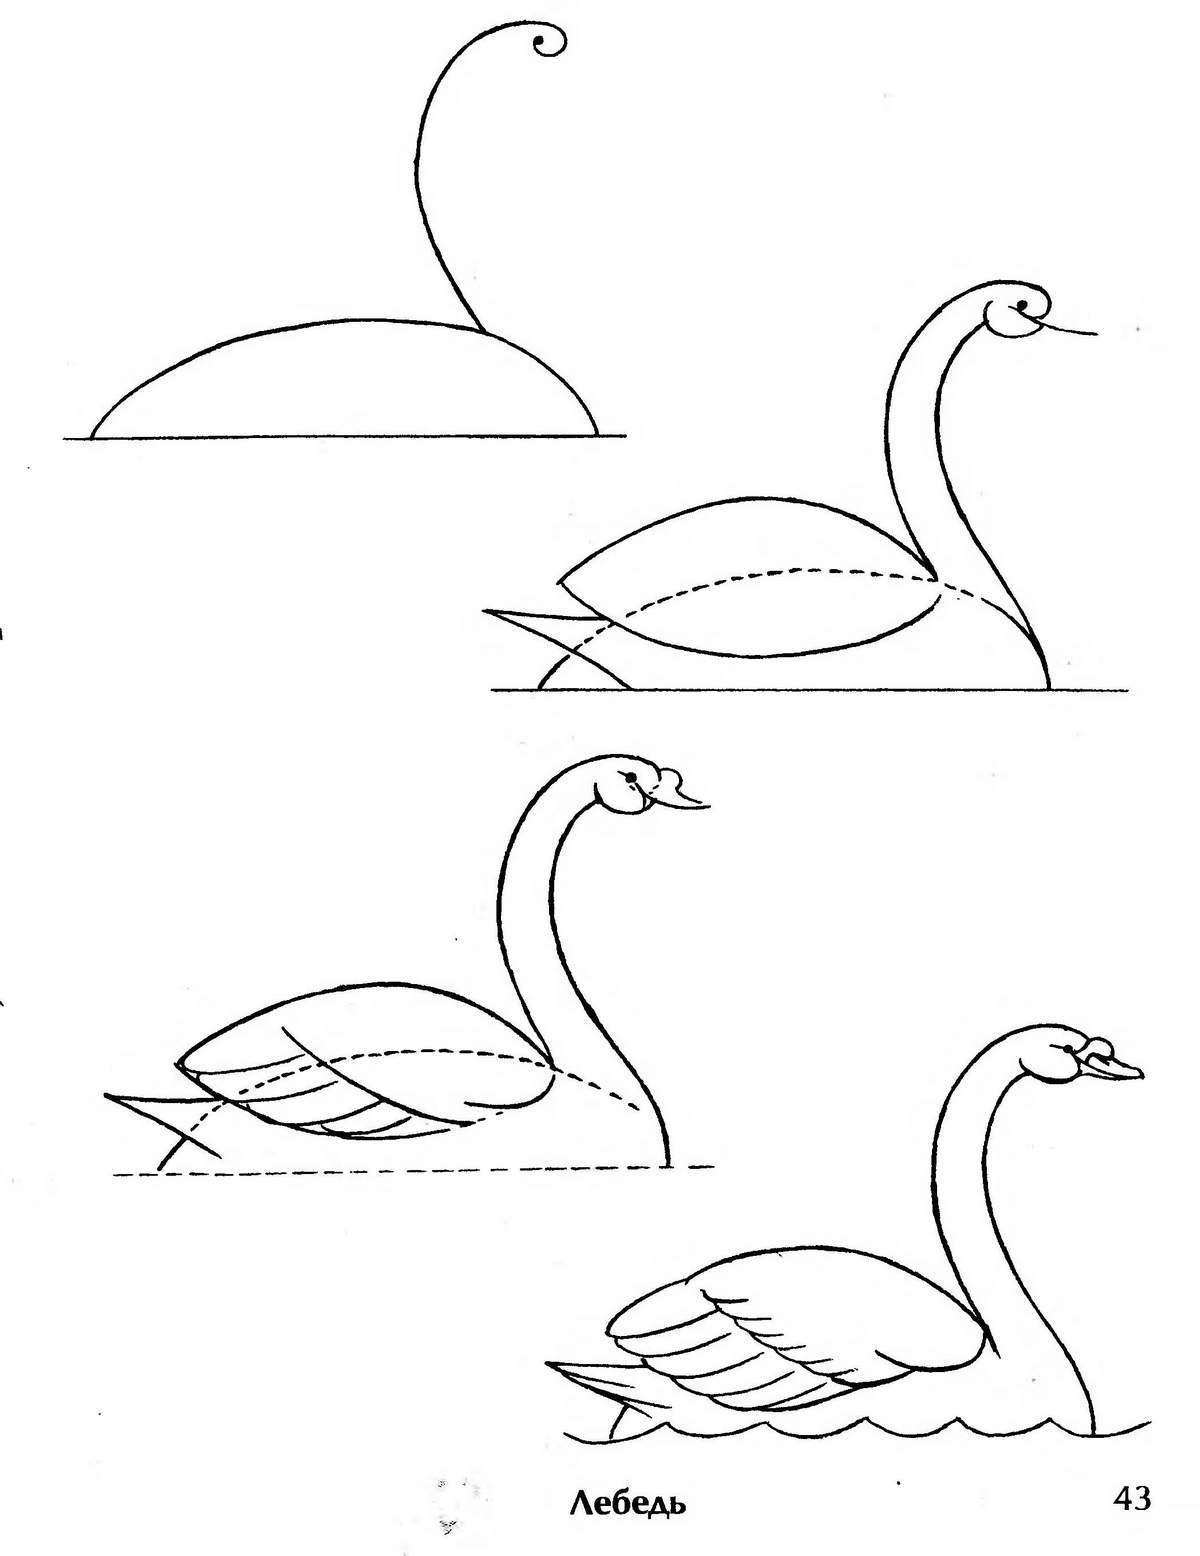
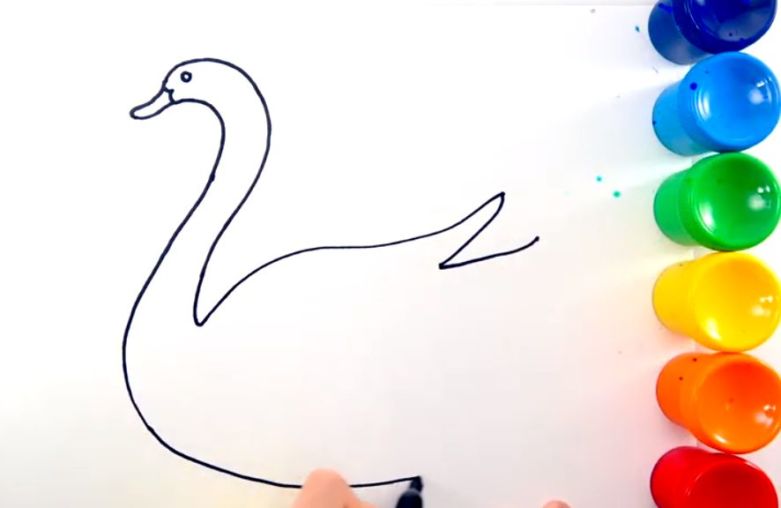
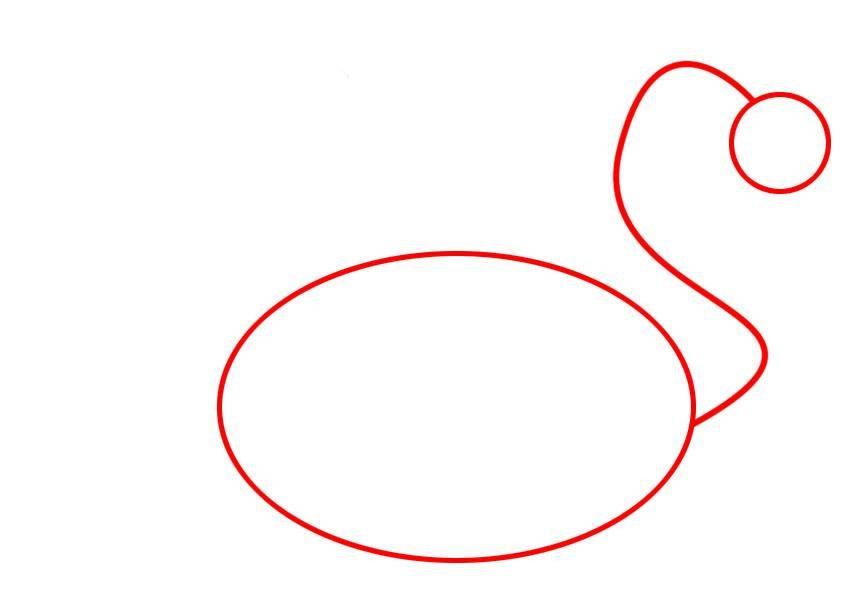
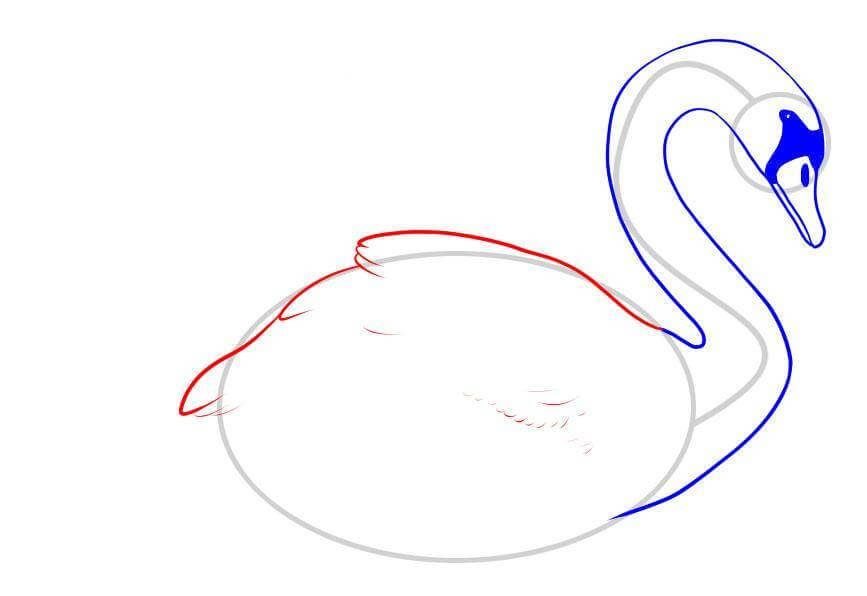
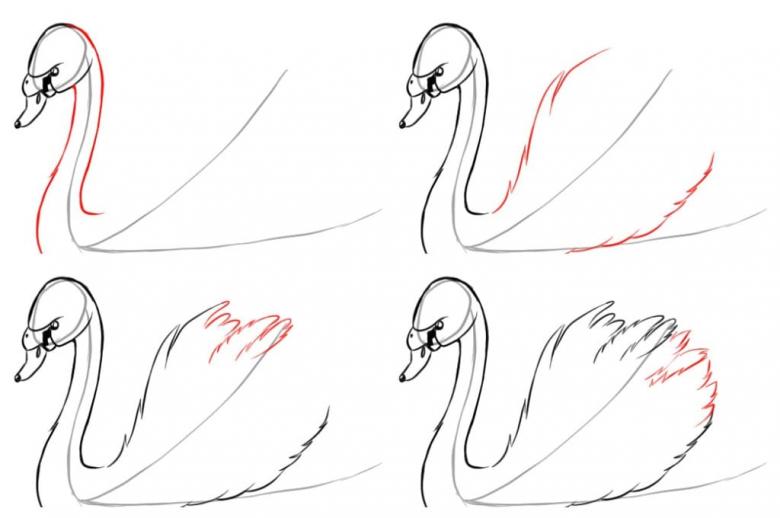
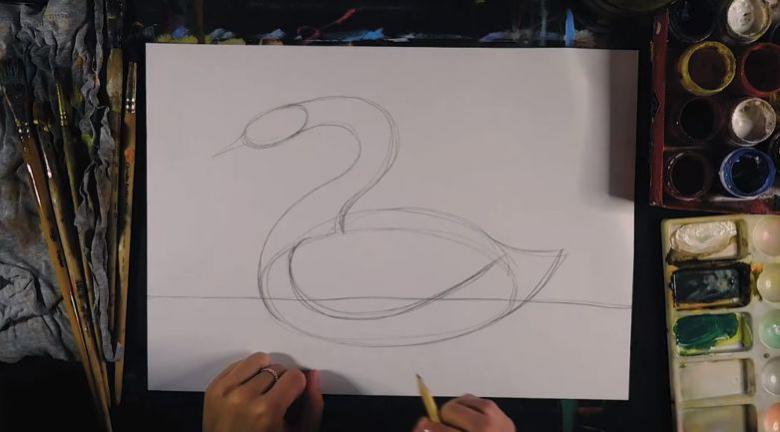
- Mark a small oval on the top right side of the paper. From there now it is necessary to draw a small curved line to the left top of the sheet. And from the bottom there will be another line - horizontal and slightly raised to the end. The result should be a sketch of the future neck.
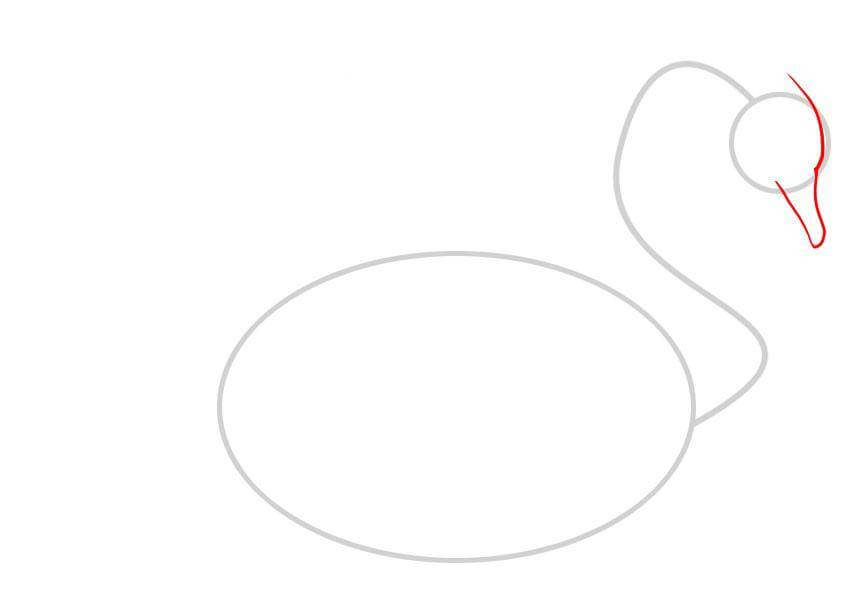
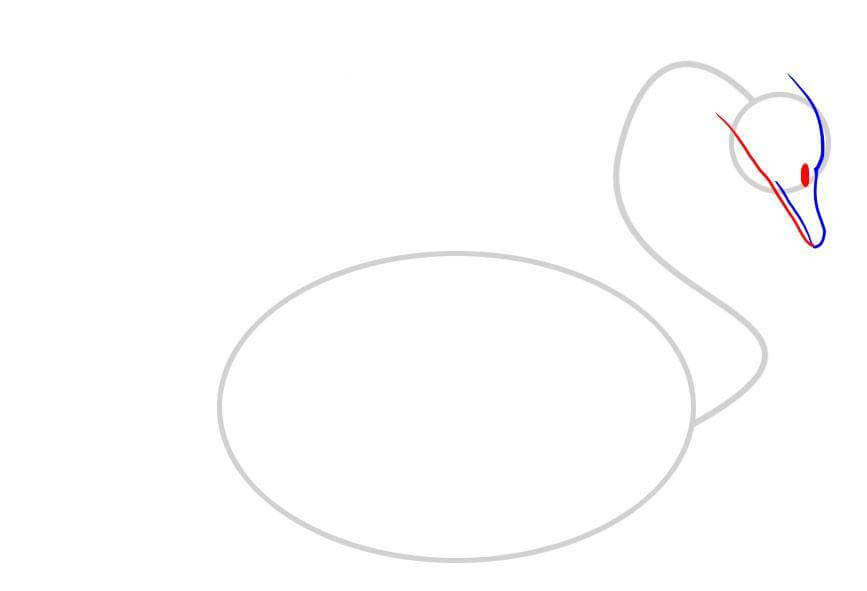
- When all the steps described above are done, you can start detailing the resulting sketch of the upper part of the swan. The oval will turn into the head of the bird. To do this, you only need to draw a small eye, and a small beak, which consists of a pair of elements.
- Next detail the neck. It is, by the way, the most important feature of this kind of bird. Swan neck is not like the others. It has certain proportions, moderately long and smoothly curves.
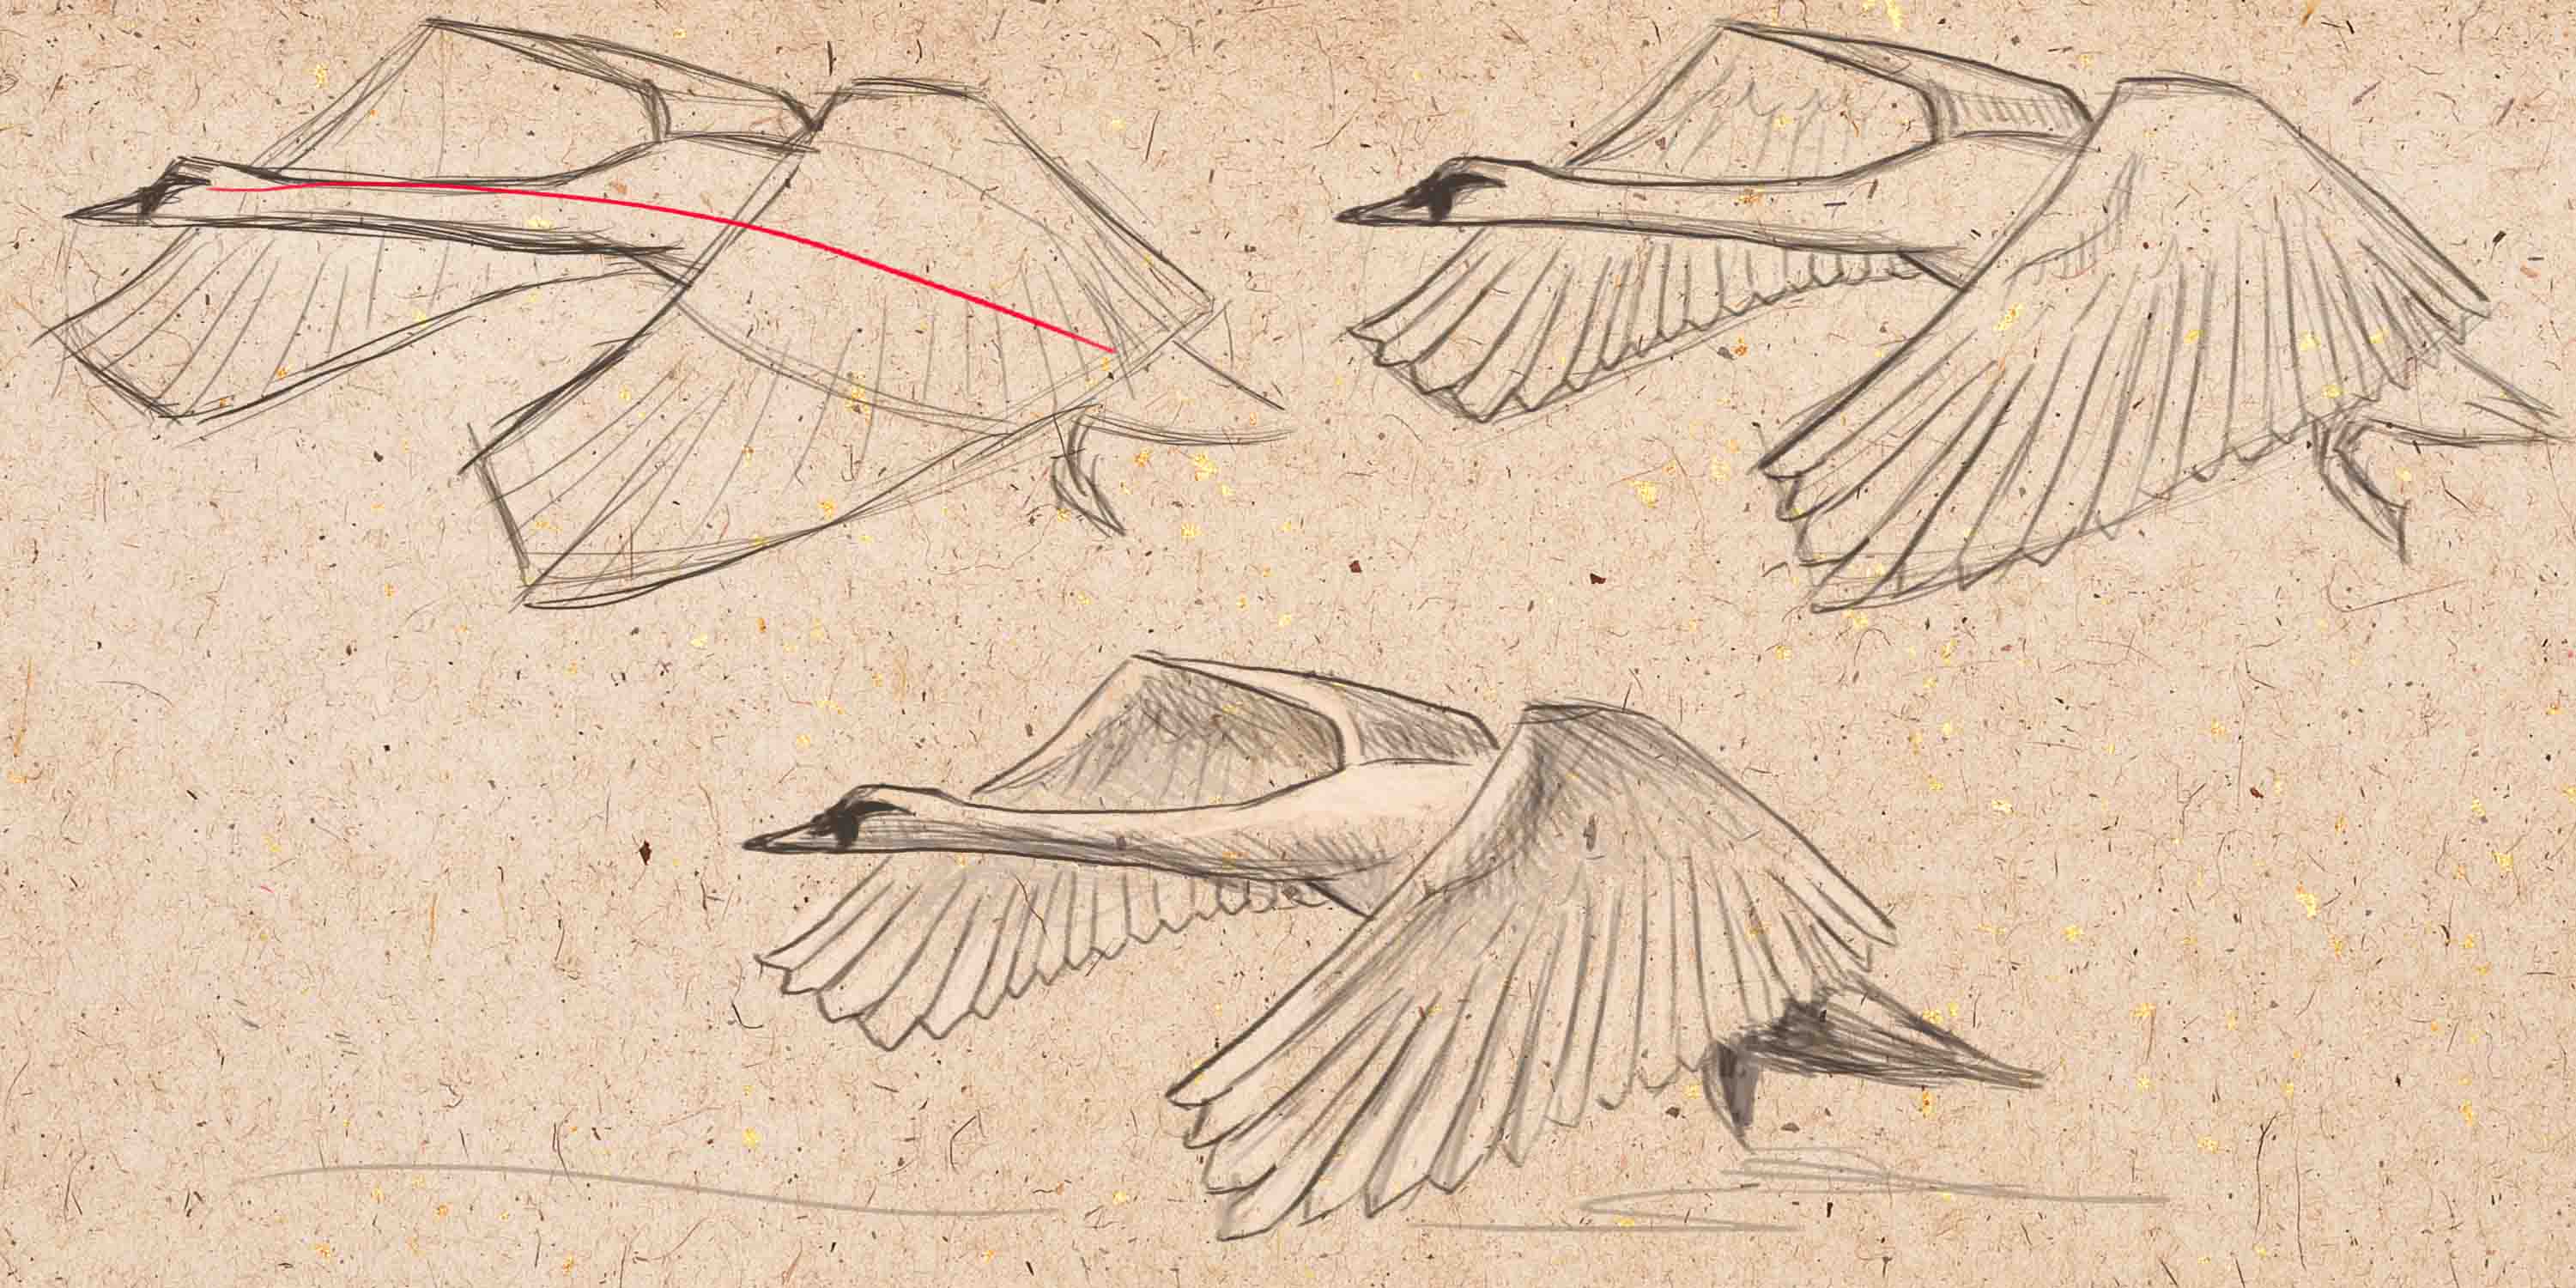
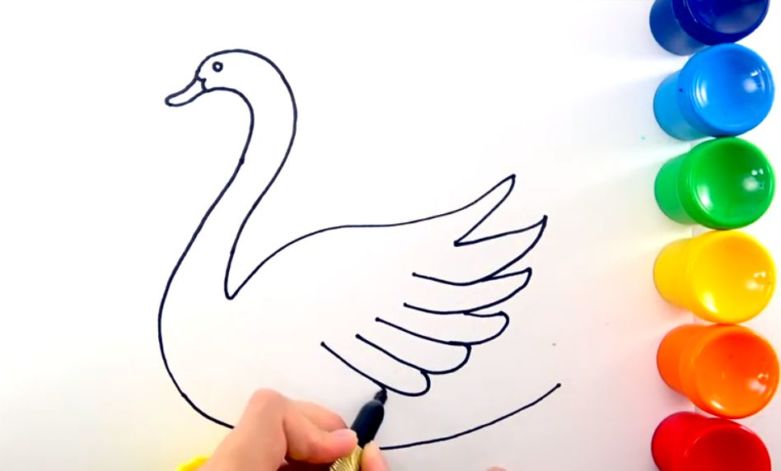
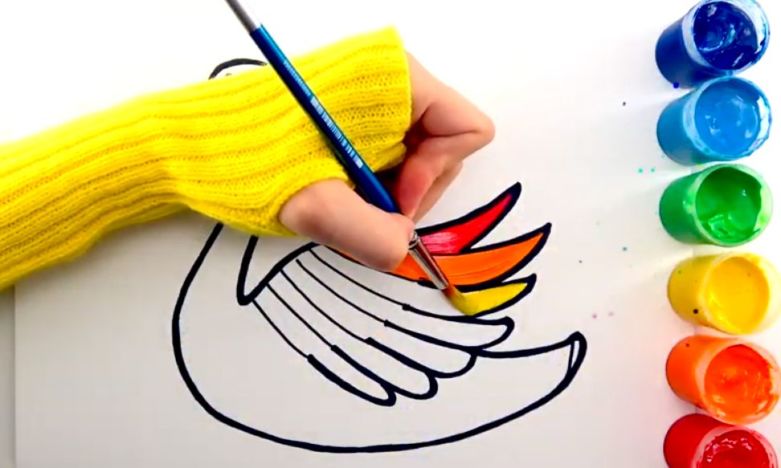
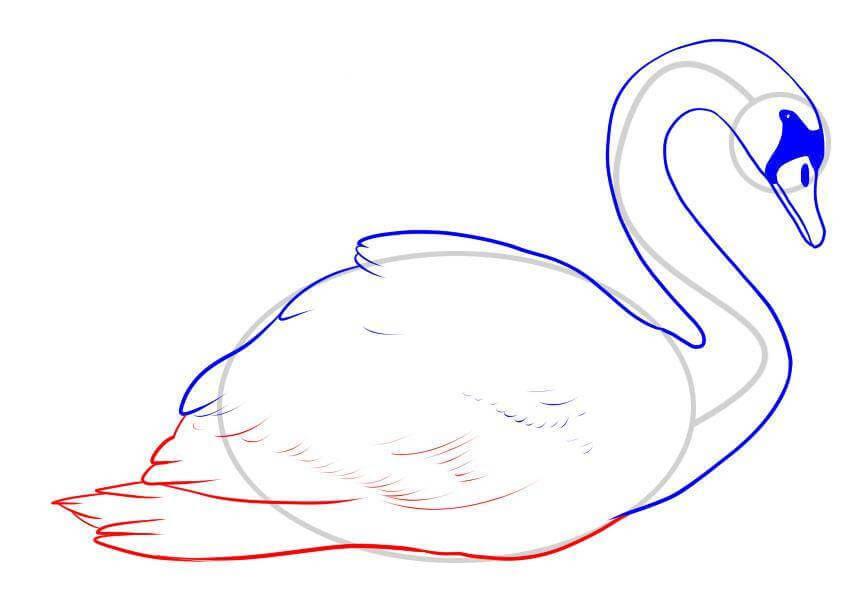
- Next, what needs to be drawn, will be the feathery wings and tail.
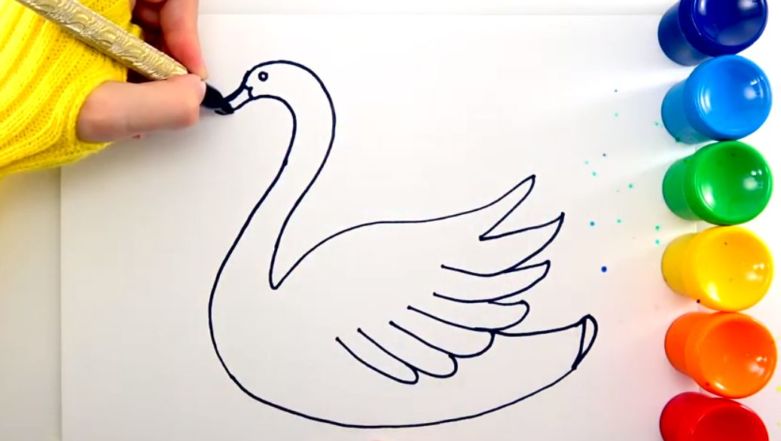
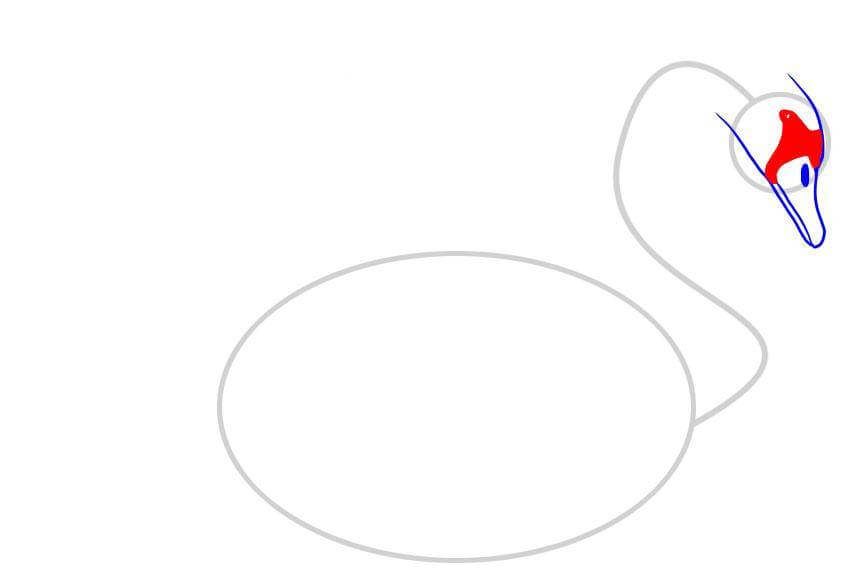
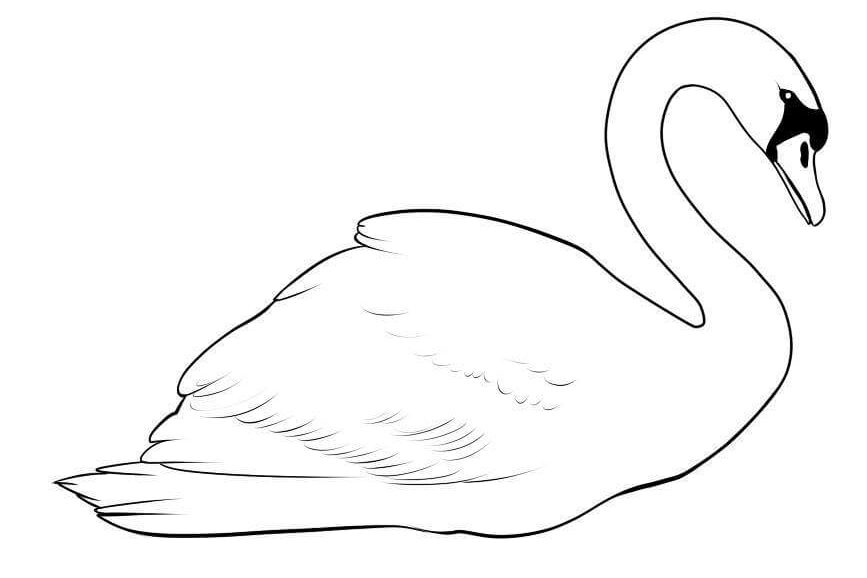
- At the very end, after tracing the entire sketch around the outline, should begin coloring. Swans have orange beak, and besides, they have a small spot of black, which is located just between him and the eye. The body can be made a little bluish by adding shadows.
Understanding how to draw a swan in pencil, a child can cope with the creation of other similar pictures.
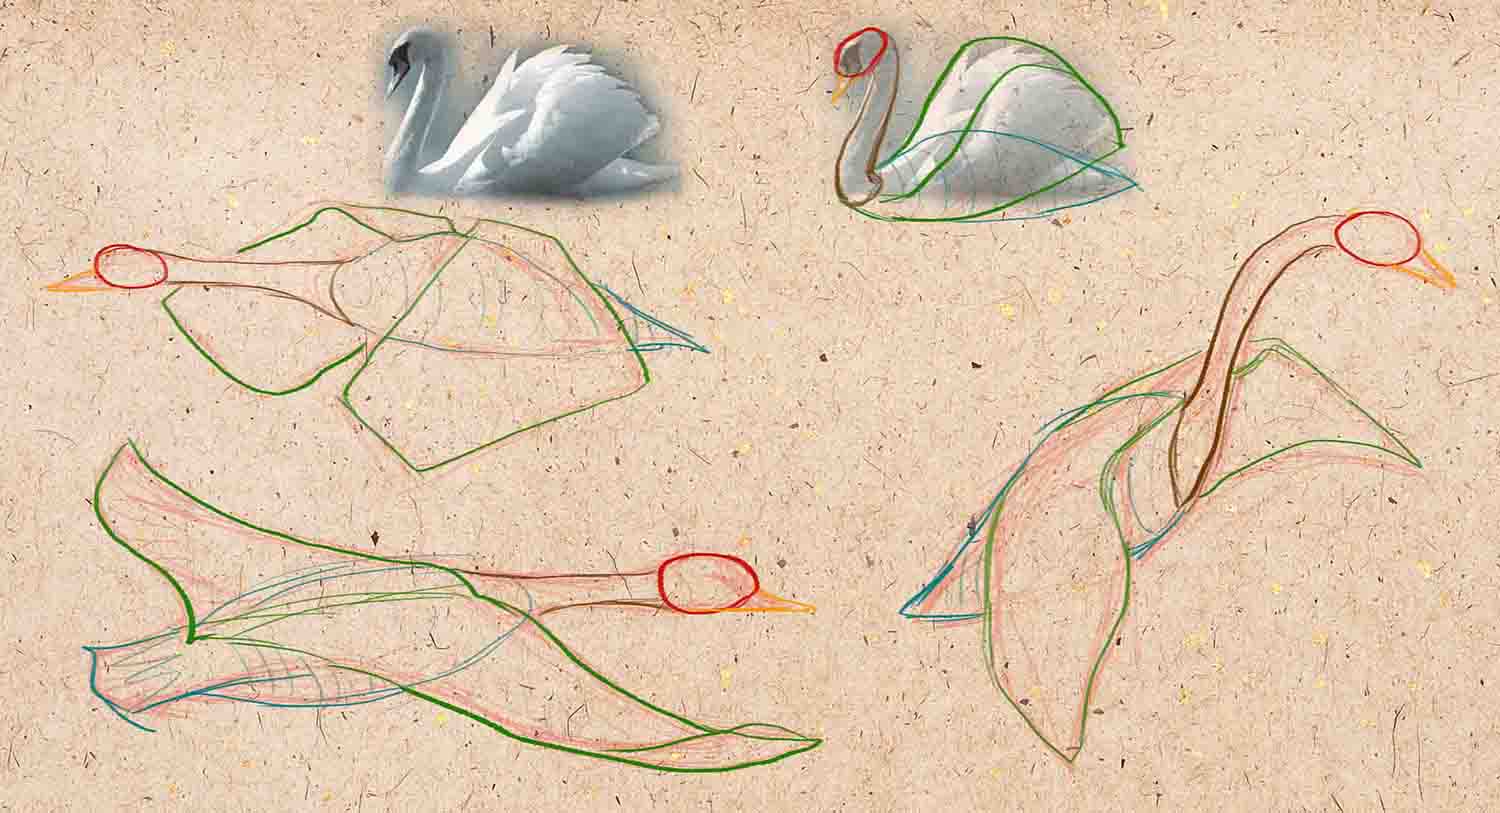
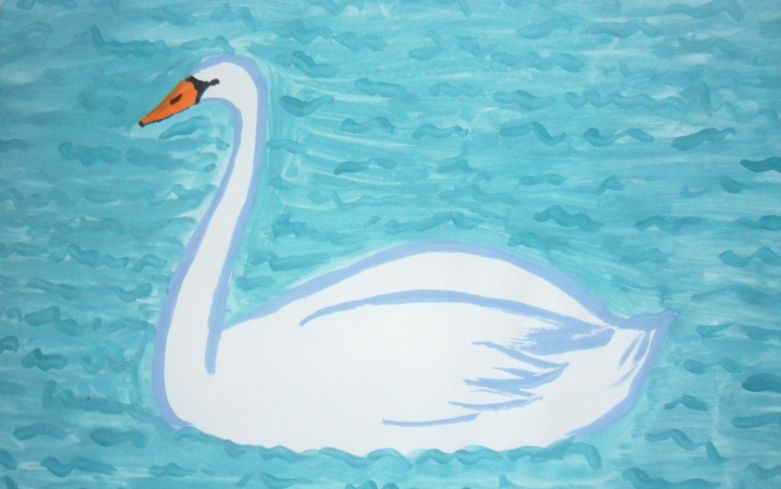
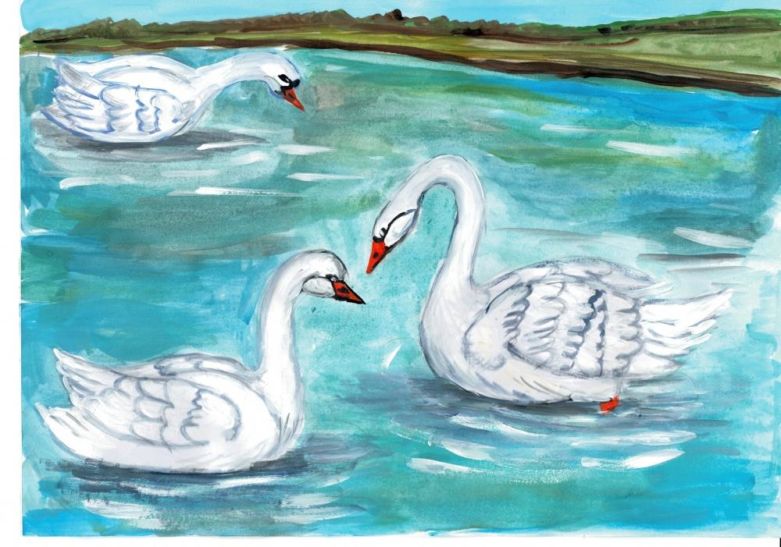
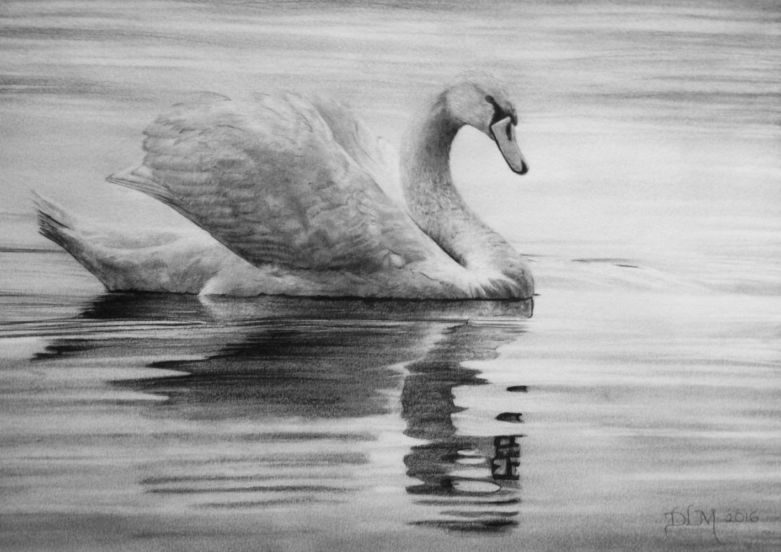
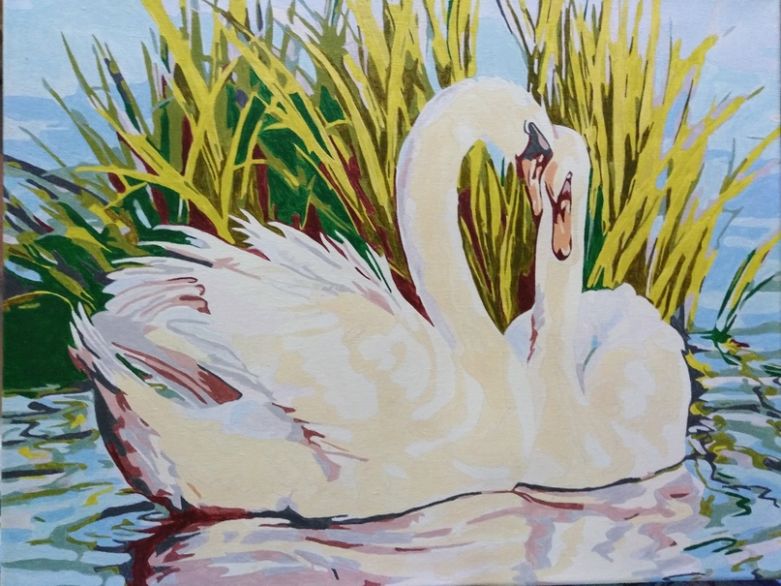
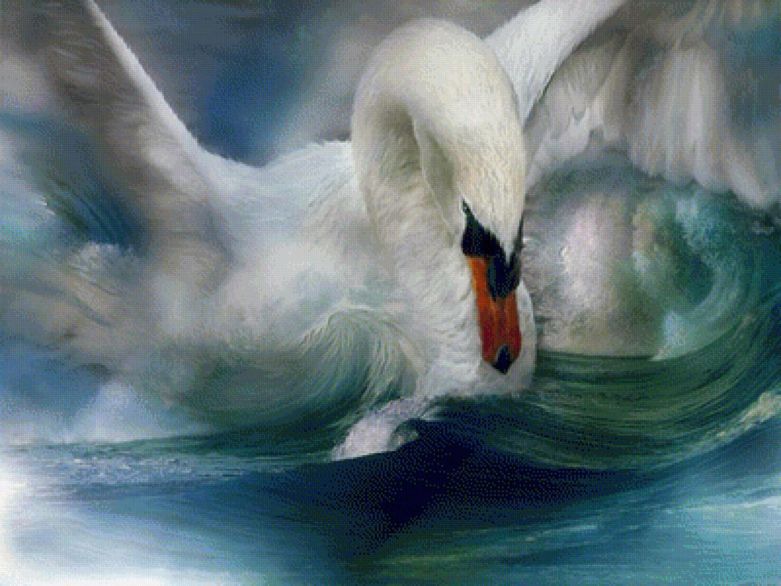
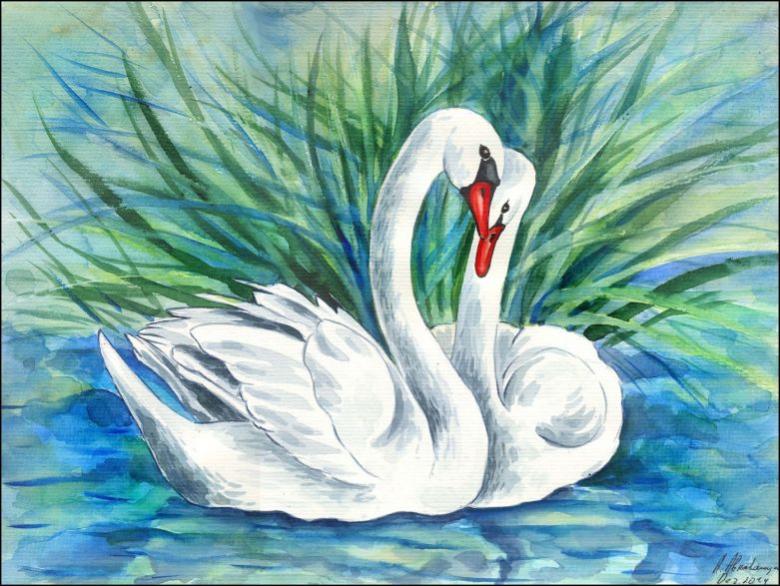
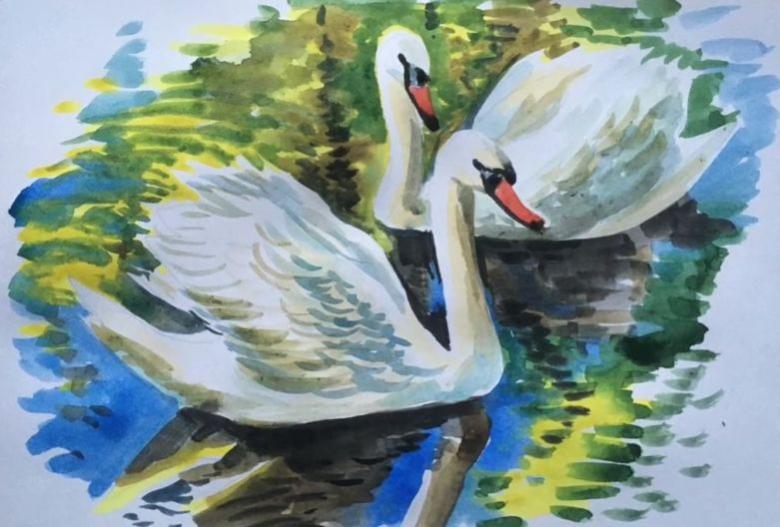
Swan Floating
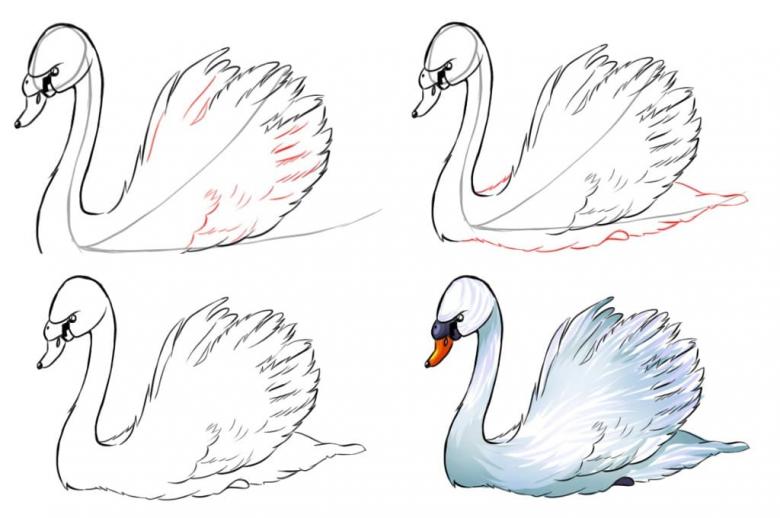
The swan is distinguished by its long neck with a smooth curve. Because of it, the bird even looks something like a double:
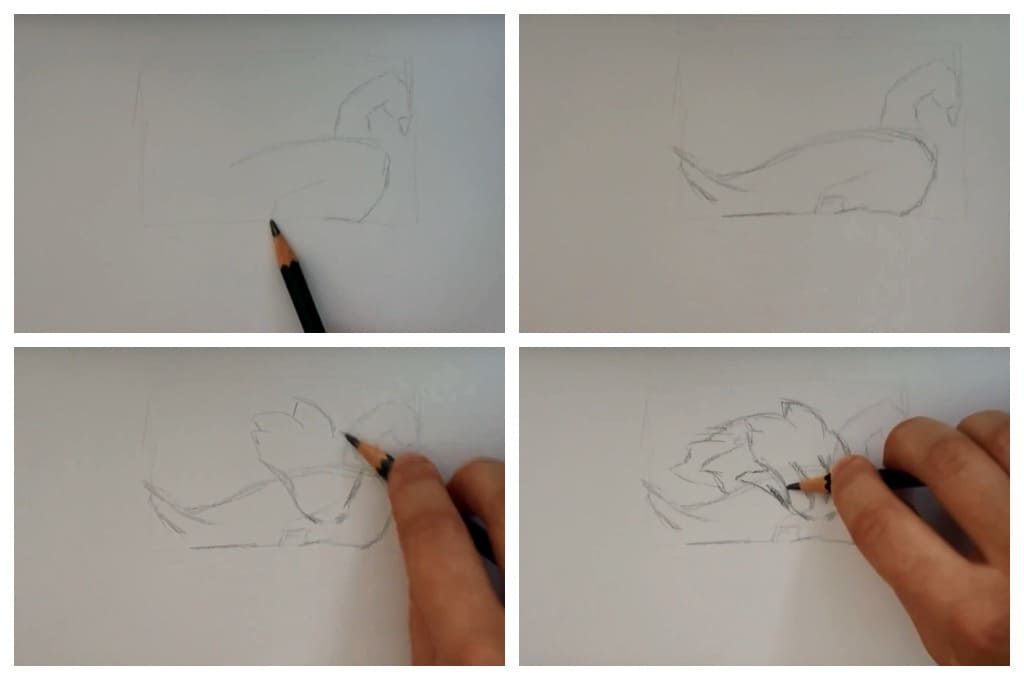
- The first thing to do is to sketch the approximate location of the bird.
- Then, using small and short lines, traced the outline of the future picture.
- Next, it is necessary to draw the neck. It shouldn't be very long, but also not very short.
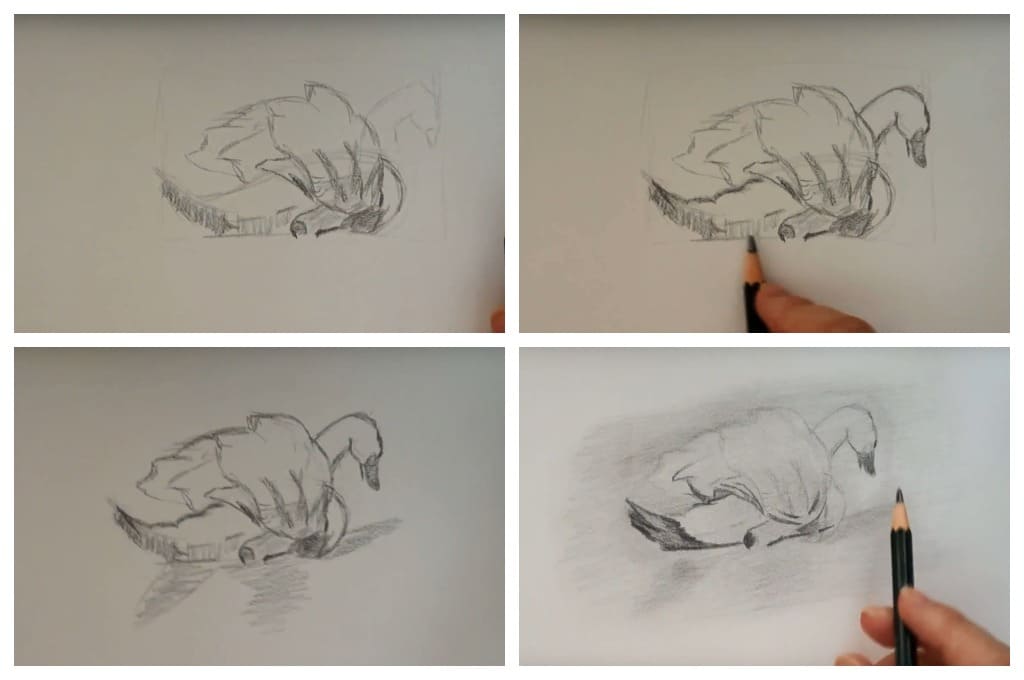
- Now you need to clarify the rest of the silhouette of the bird, as well as to indicate the feathers in several places.
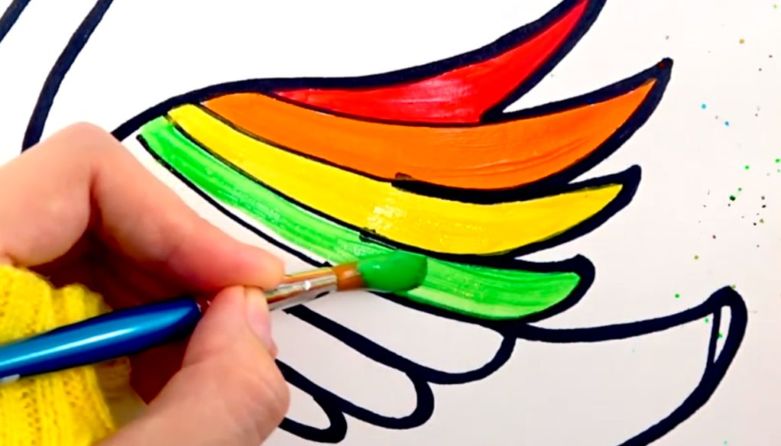
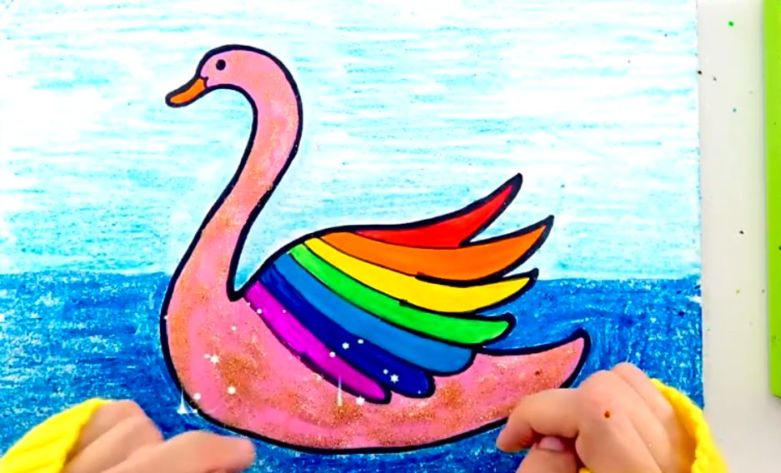
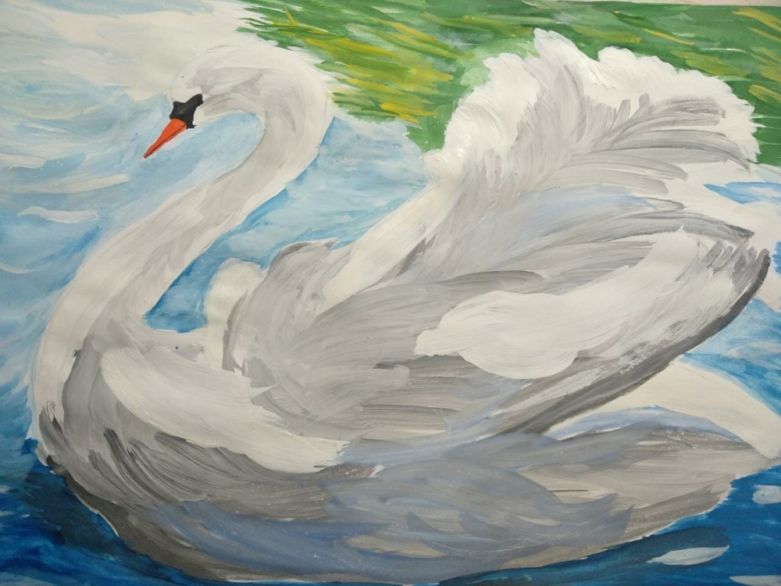
- At the very end, after detailing and adding a variety of additional elements, as well as the image of water, it is worth to start painting. Use for this you can absolutely anything you want. Particular attention is paid to water. To make it as realistic as possible, it is best to use blue, green and black colors. You can draw waves and the reflection of a bird in the water. The dark blue shade can shade some areas to make the picture more three-dimensional.
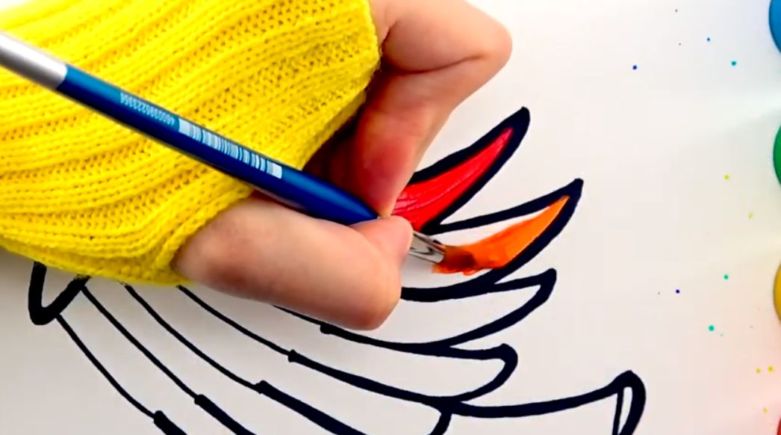
- The swan's body is elaborated with a yellowish hue. The use of warm colors will make the drawing more interesting and contrasting. The beak is painted in orange and, slightly, red.
- By the end, using a black pencil, marker or pen, outlined the entire silhouette. It is better to make broken lines instead of solid lines.
Black is also suitable for waves - with its help it will be possible to give a little effect of rippling water.
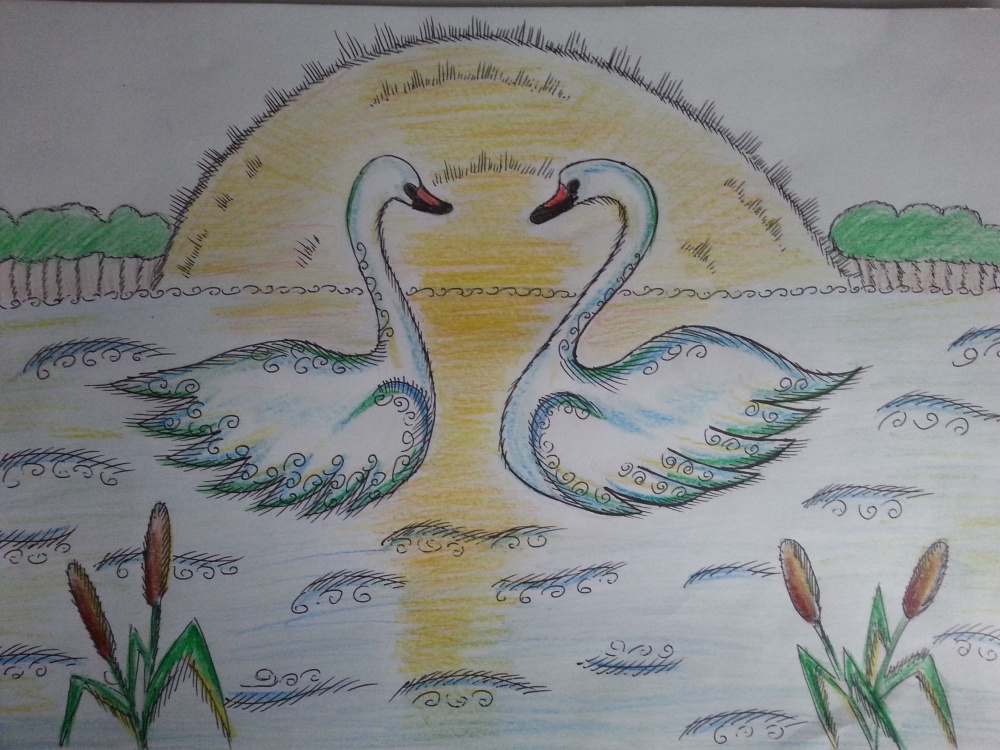
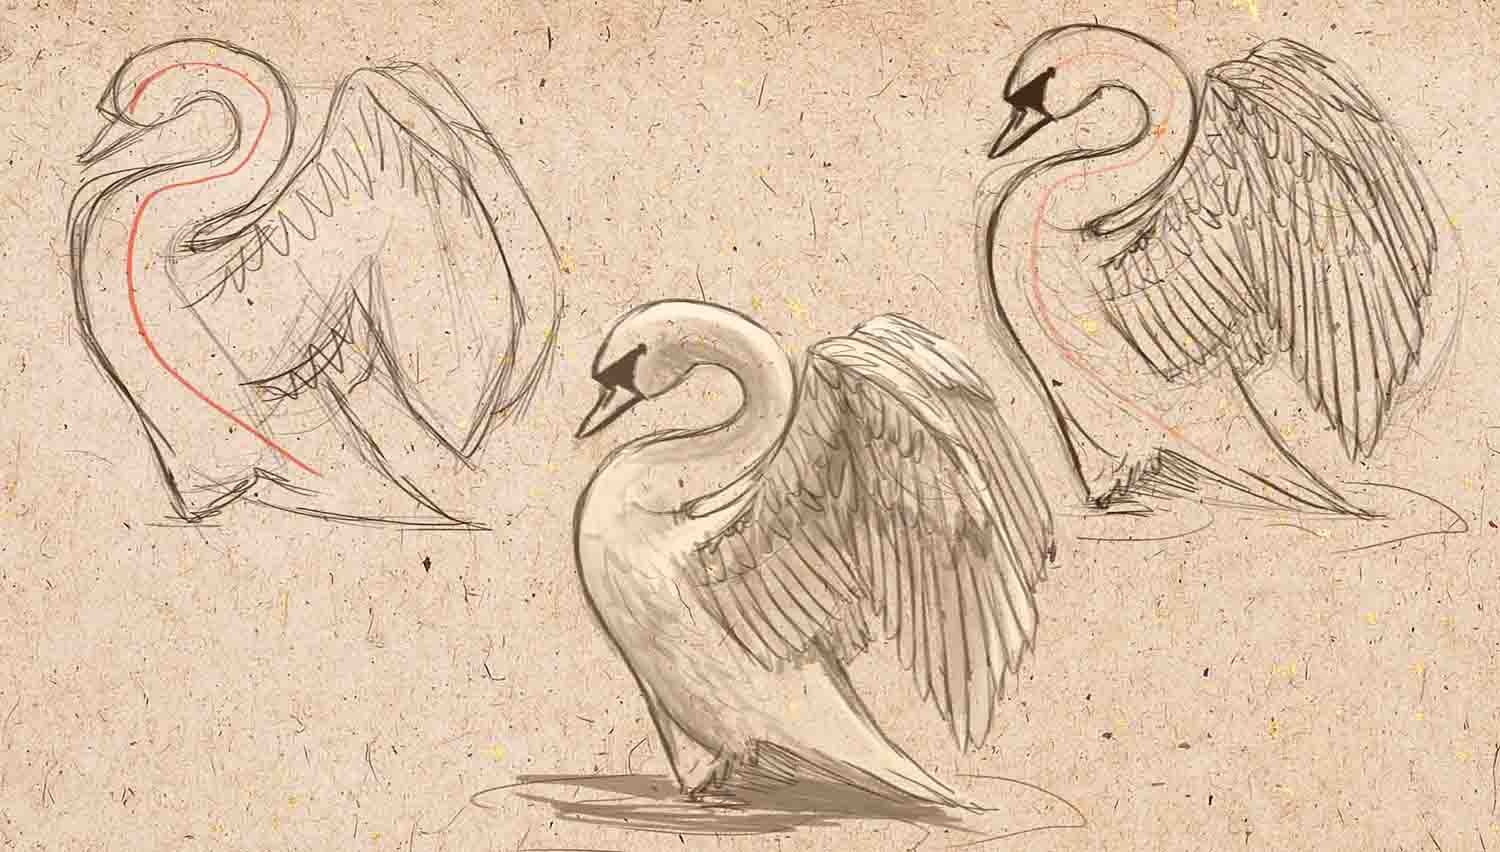
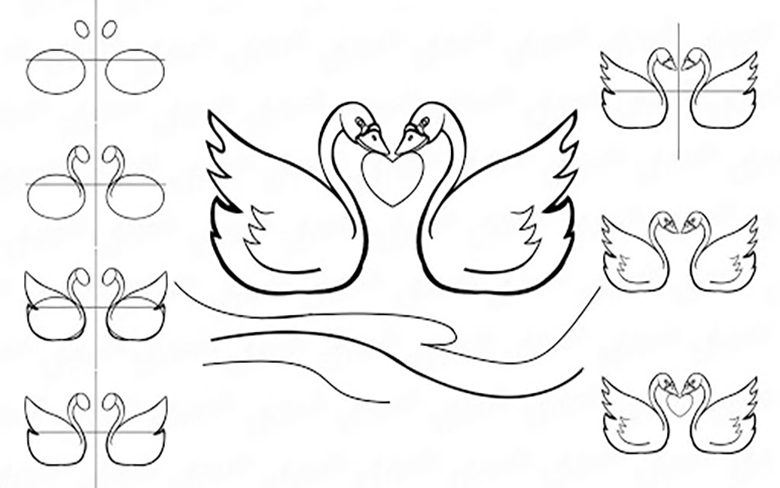
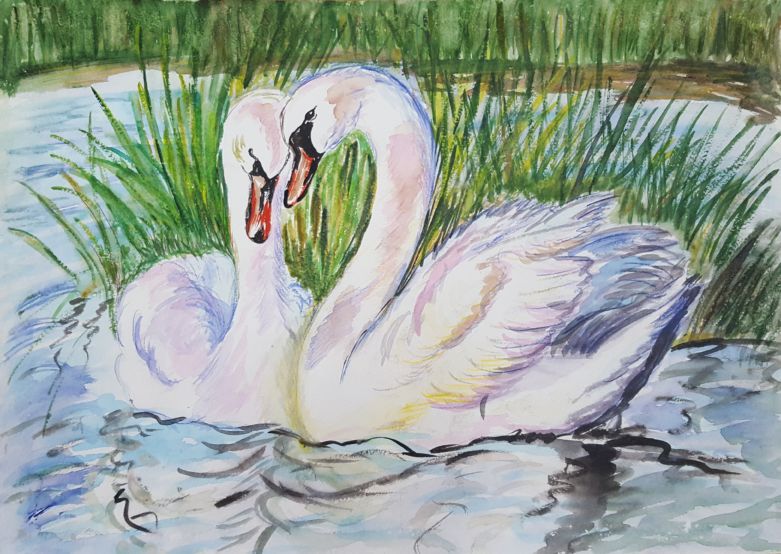
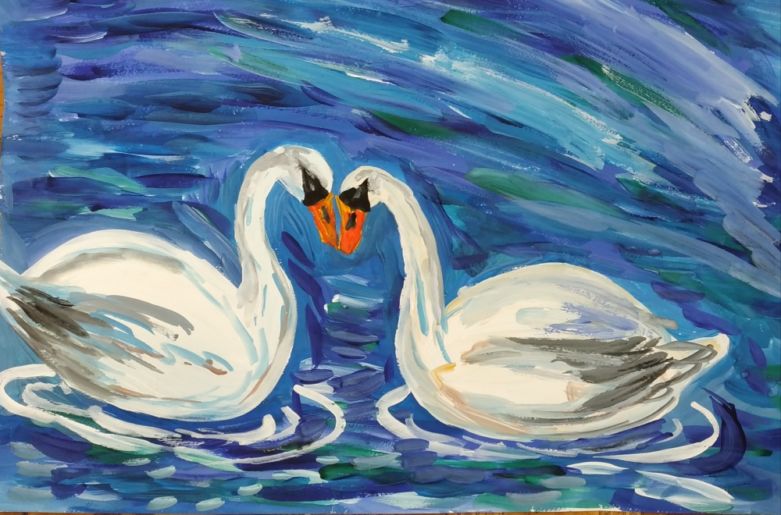
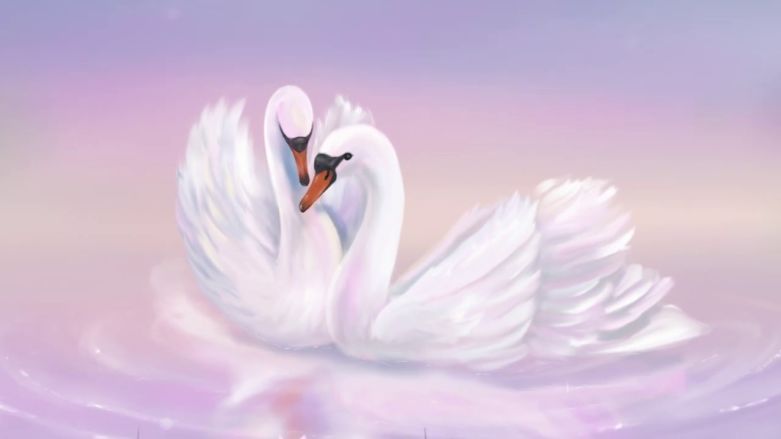
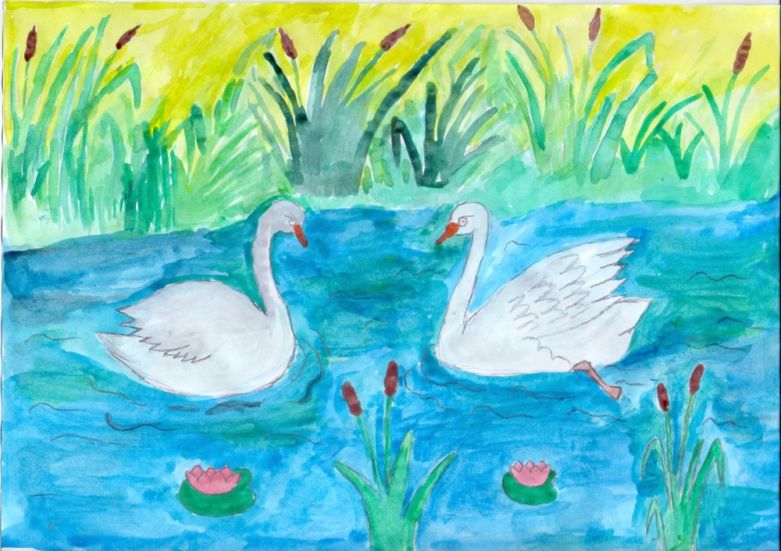
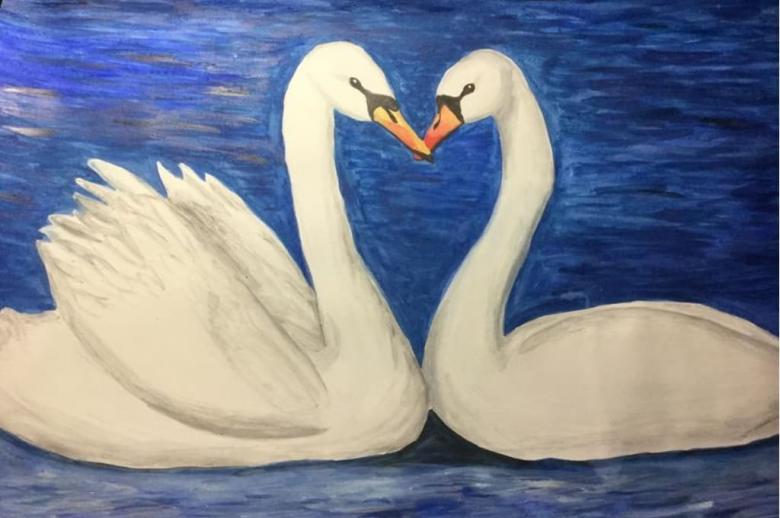
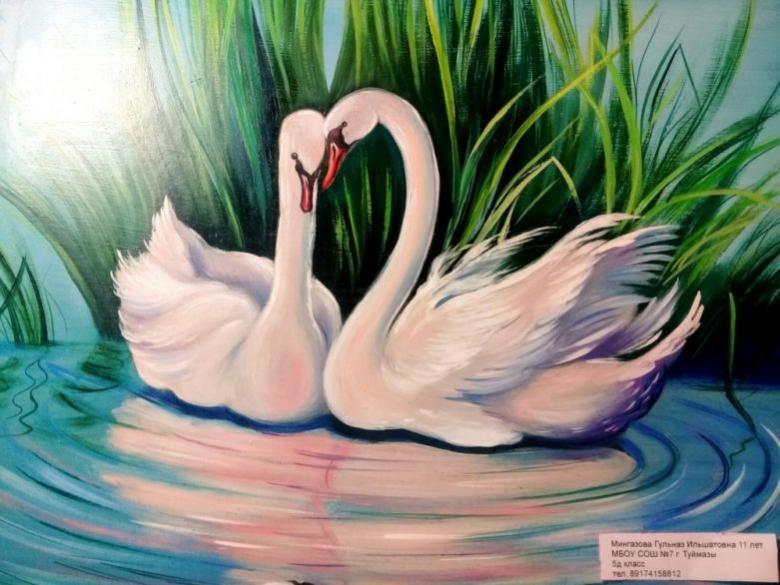
A pair of swans in love.
Two small ovals are drawn close together. Lines with a curve denote the shape of the necks of a pair of future birds. In doing so, the resulting should resemble a heart.

Draw the body of birds, and then the eyes and beaks. Black spots are painted near the eyes of swans. Both of them, and the other will need to carefully trace.
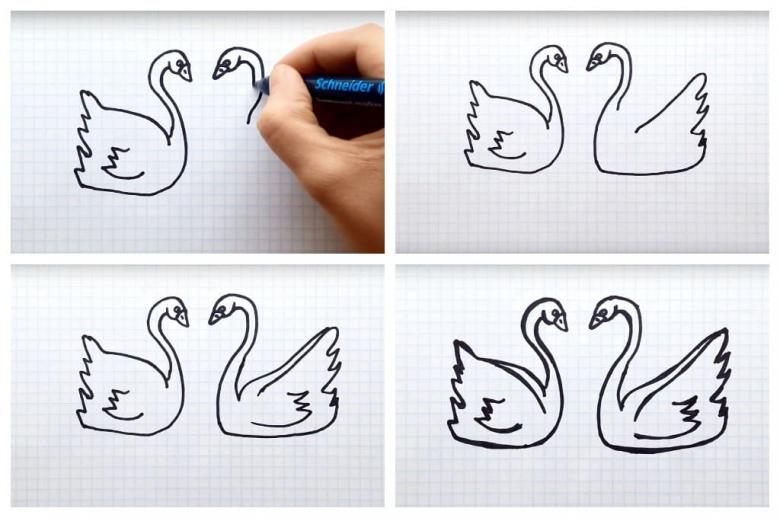
Now you need to draw the swans neck and feathers on them. One of the birds can make a wing raised. So the image will be more interesting and original.
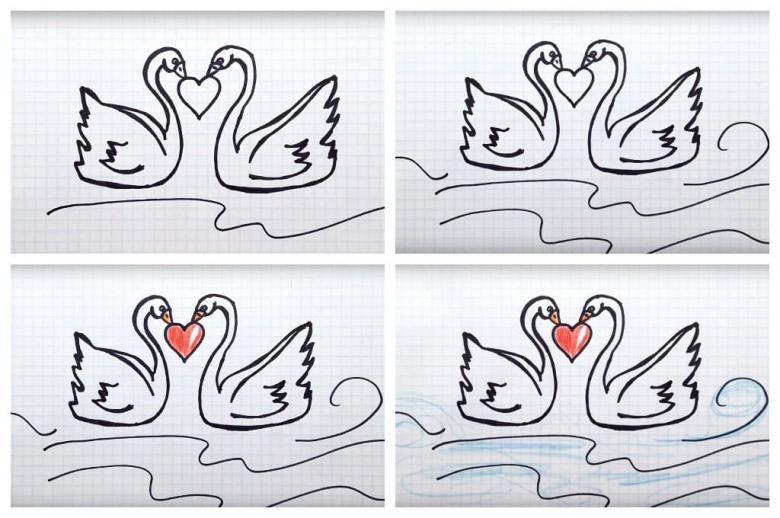
All that's left is the coloring of the picture. It is possible to add a floral arch at the top of the sheet and other unusual details to the background.
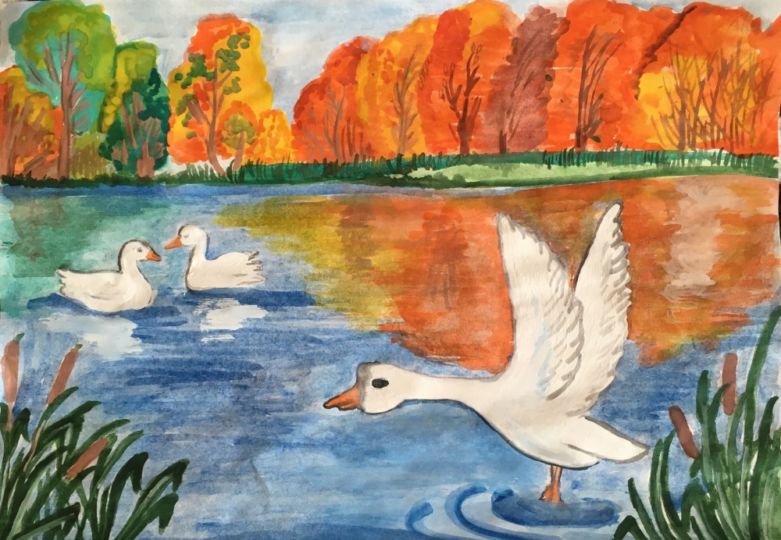
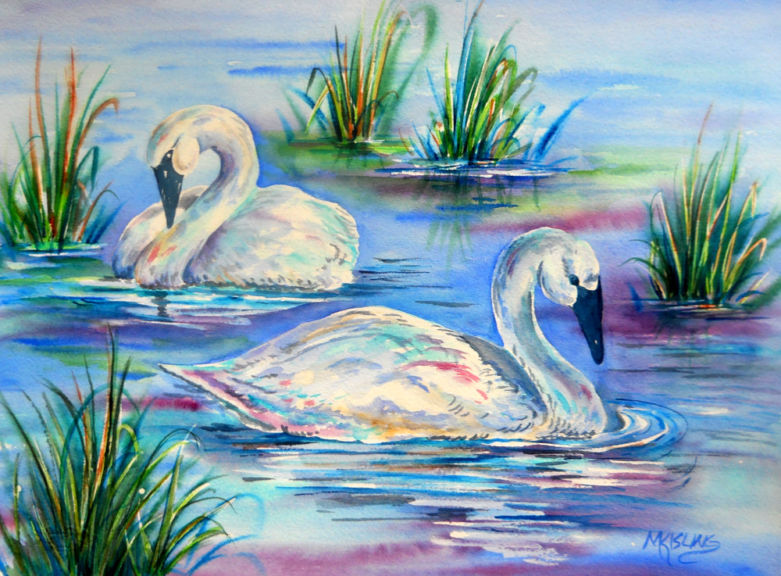
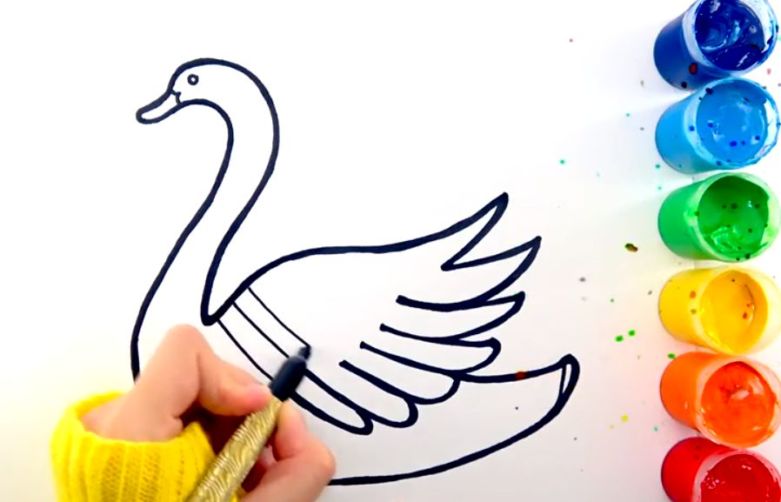
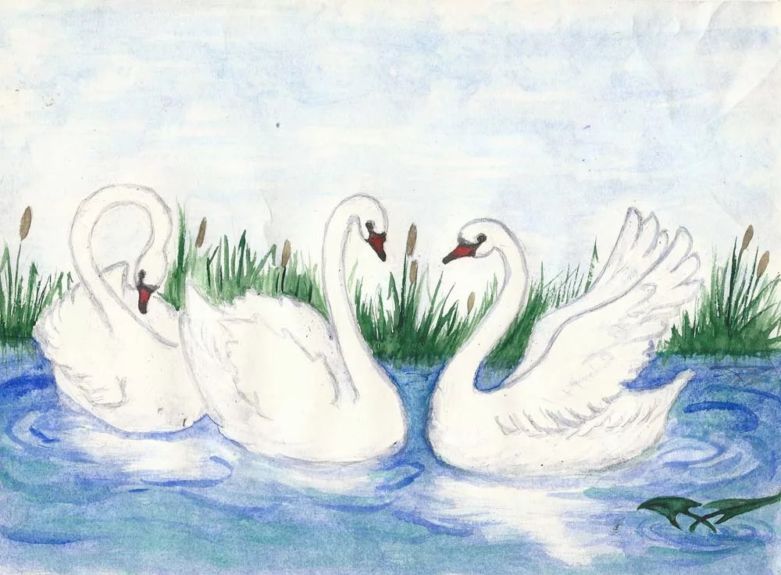
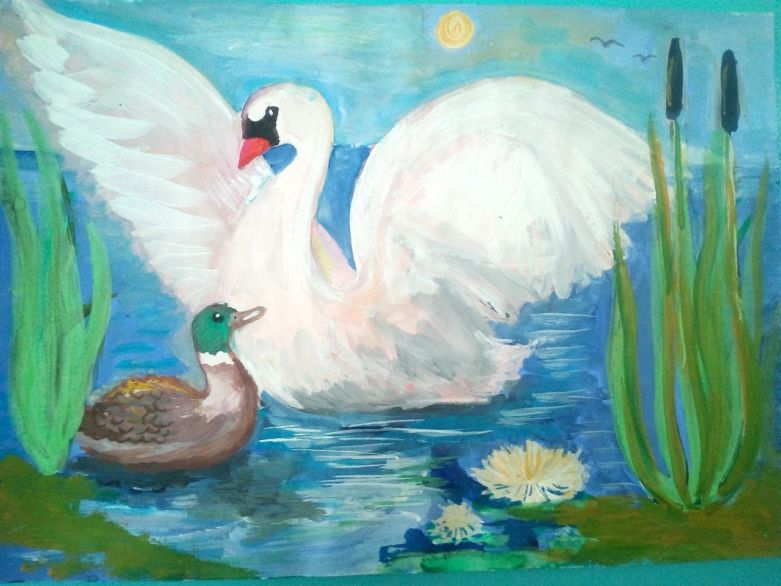
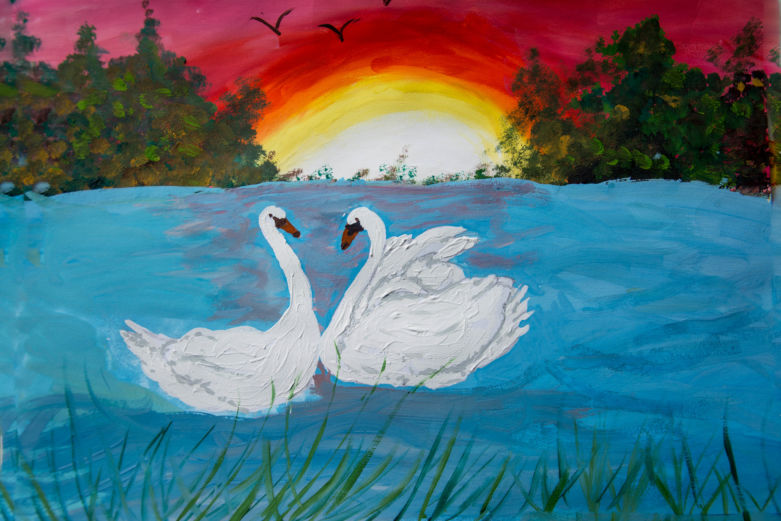
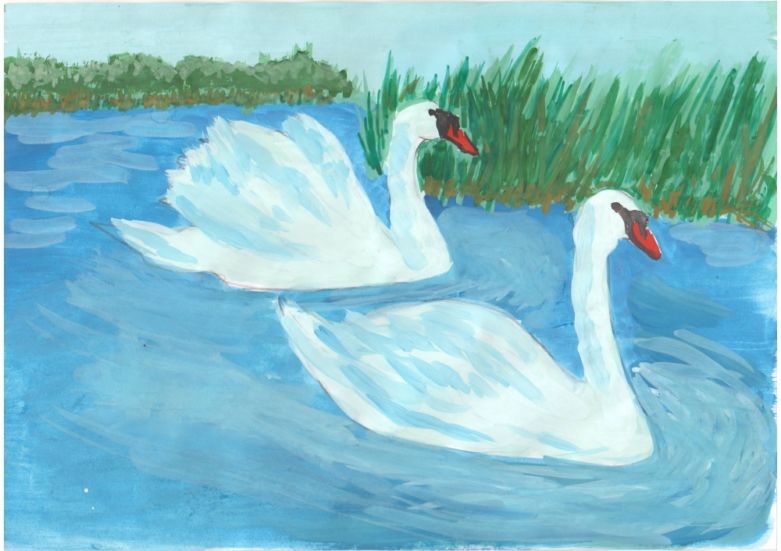
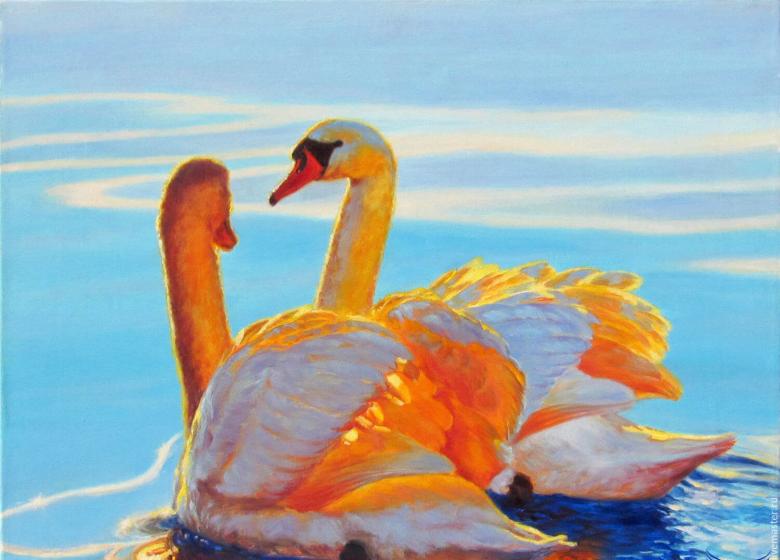
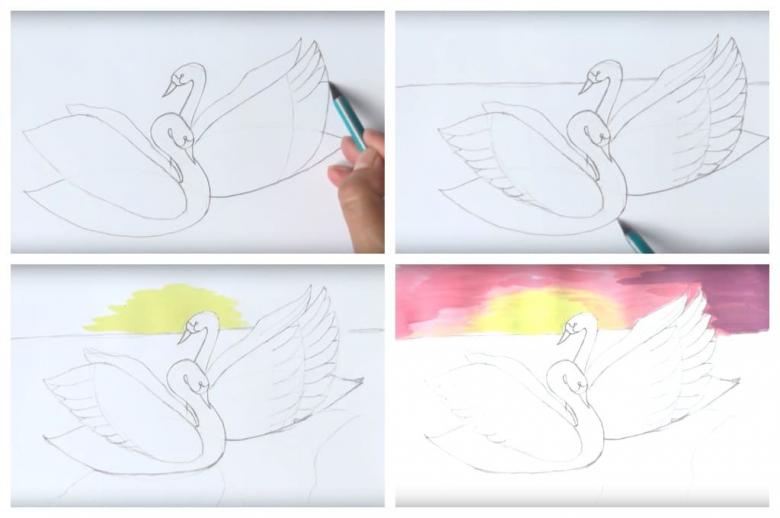
Painting a couple of swans in paint
It gets a little more difficult when using paints to paint, and especially when you do it for the first time. But the following instructions on how to draw swans step by step, using paints, will help not to encounter difficulties in the process and get as a result a delightful, wonderful creation.
First, the strokes indicate a sketch. It is better to do it with a pencil, so you can erase mistakes with an eraser, if any. To start drawing it is necessary with a line similar to a deuce, which is slightly longer on the right. Docherchivaetsya oval element at the bottom and a little sharpened on the right.
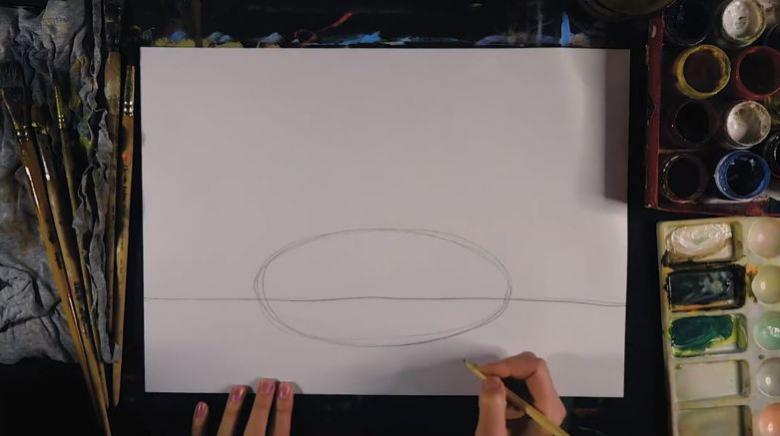
Then draws the head with a beak, starting to deduce the neck, slightly widening at the approach to the body.
When drawing the second bird, everything is repeated. Next comes the detailing: necks, feathers, heads, and everything else.
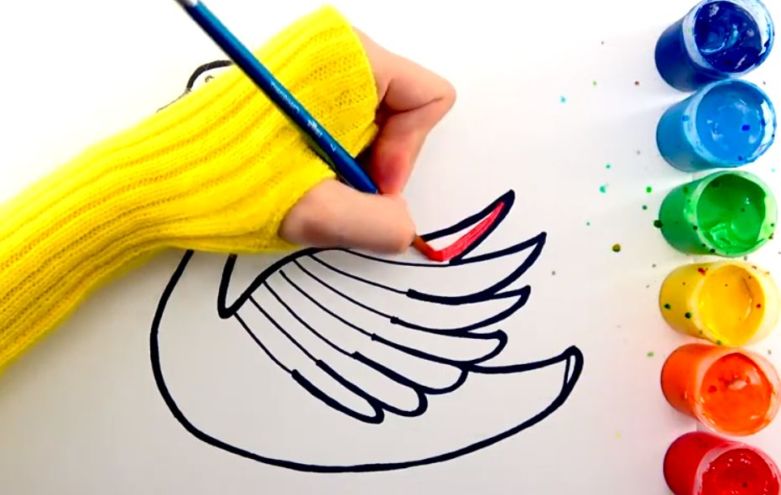
Last, the wings and the horizon line are drawn, and, if desired, the background as well. This concludes the sketch, and we can get down to the fun part.
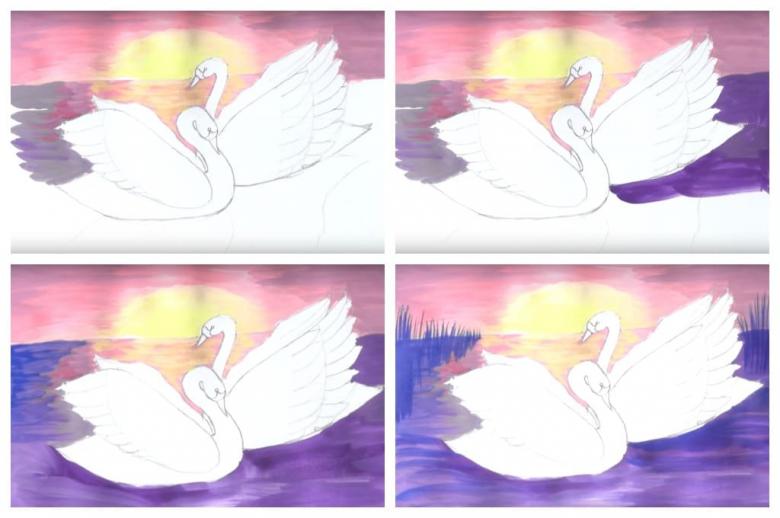
Using yellow paint creates the sun, half-hidden behind the horizon. Then, using pink and, very slightly, white, the sky is painted. And then you can take the color purple and finish drawing the top of it.
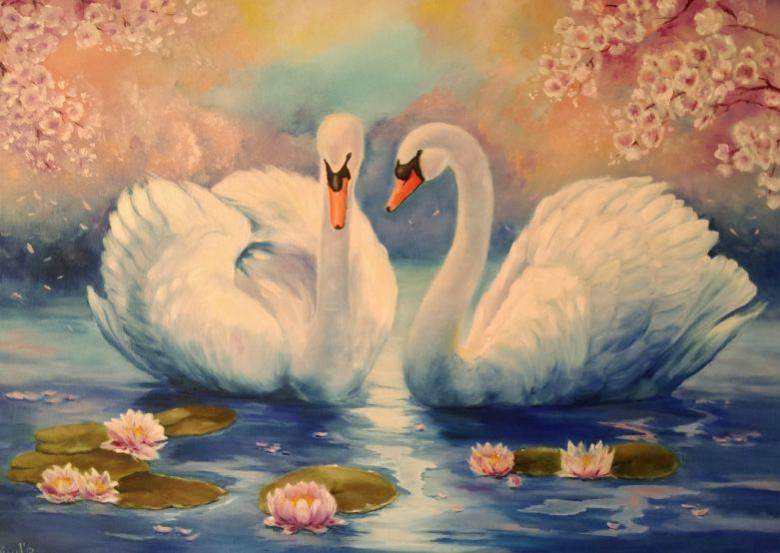
Again dialed pink, and now begins to work through the upper part of the water next to the birds. This is where the reflections of the sun on the surface of the water are indicated. For this purpose, a yellow shade is taken. The rest of the water is colored in purple. In the background, you can draw reeds, using dark blue.
With the help of bluish and violet colors are darkened some areas on the silhouettes of the swans. The rest is drawn in pure white. This is how both swans are painted.
Taking a dark color, you can paint over the eye, as well as a black spot on the head. And the beak is done in red. At the very end it is worth to proceed to the shadows, which are marked on the water surface grayish color. Green tones painted parts of bulrushes, located at the bottom of the picture.
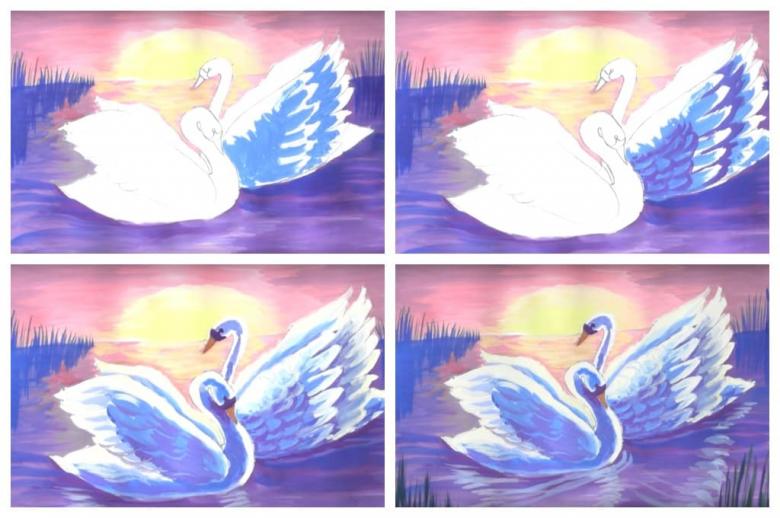
Now the child will know how to draw wild swans, and be able to do it on their own. As you can see, it's not at all difficult. The main thing is just to want to and enjoy the process. And that's when the result will be a delightful and unusual picture.
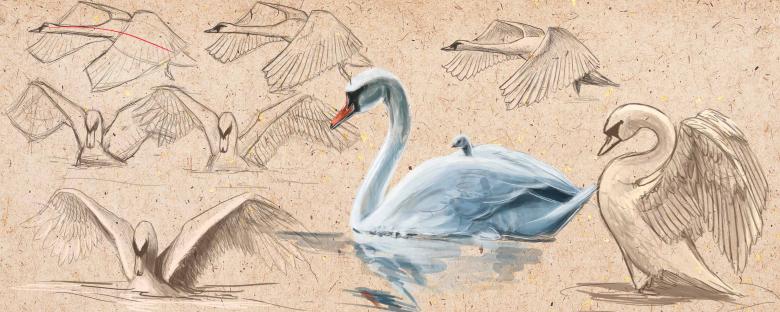
Swan pictures for sketching in pencil