How to Draw the Sun: a bright drawing with pencils and paints step by step
Mothers often call their babies sunshine, because the little man is associated with sincerity, kindness, love. And the very first drawings of the child is also a sun: round, smiling, affectionate and warm creature. Many people probably remember their first baby steps in the visual arts. In the corner of the sheet half-circle was drawn, painted in yellow and the lines were rays. And it was beautiful.
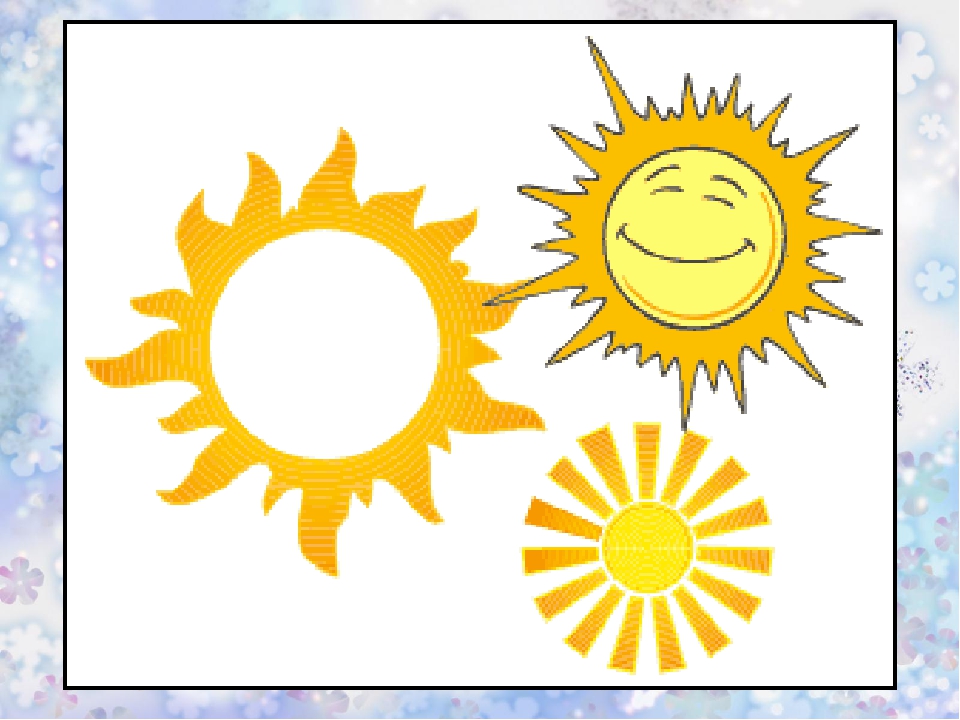
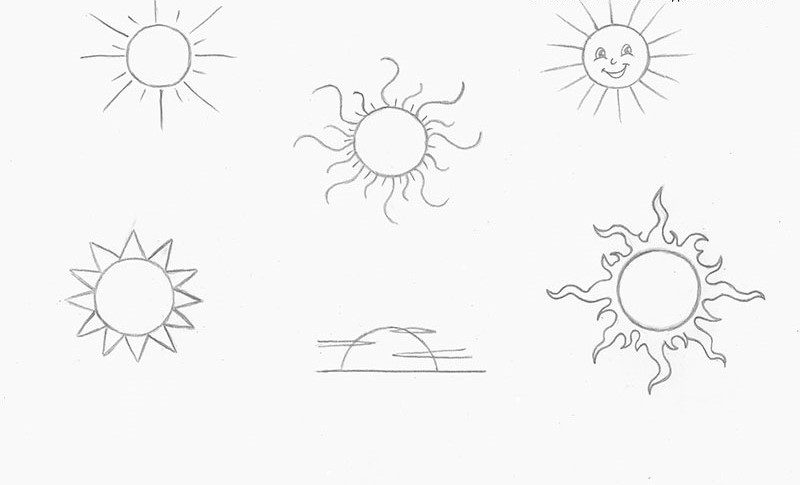
Several options for a beautiful sun and how to draw it are offered. Drawing can be done with a simple pencil, different paints, chalk on the pavement. The one thing that will unite all the drawings is positivity.

Sunshine in Pencil
The preparatory stage is simple - a sheet of paper, pencils (plain, yellow, orange, red), eraser.
Several options are recommended for how to draw the sun in pencils step by step. They can be used by both a child and an adult.

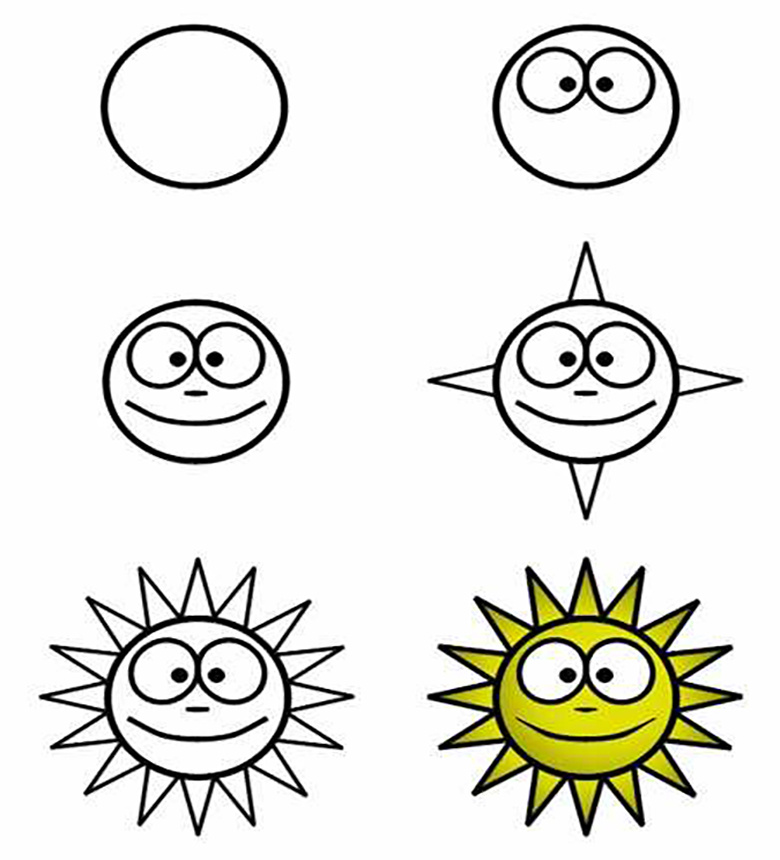
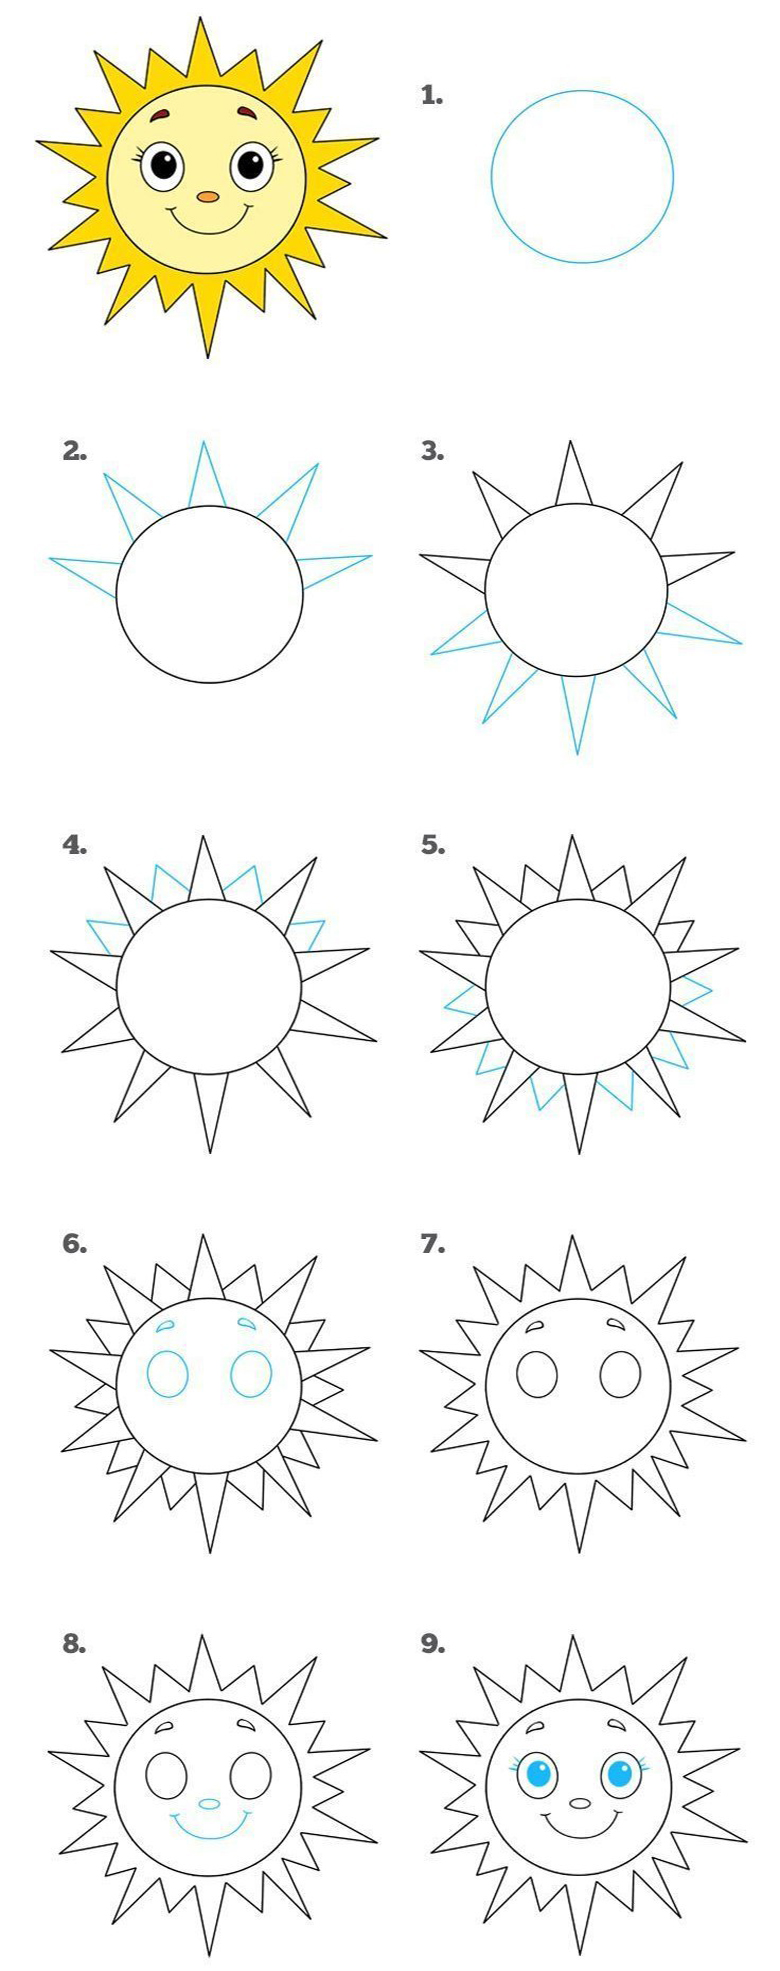
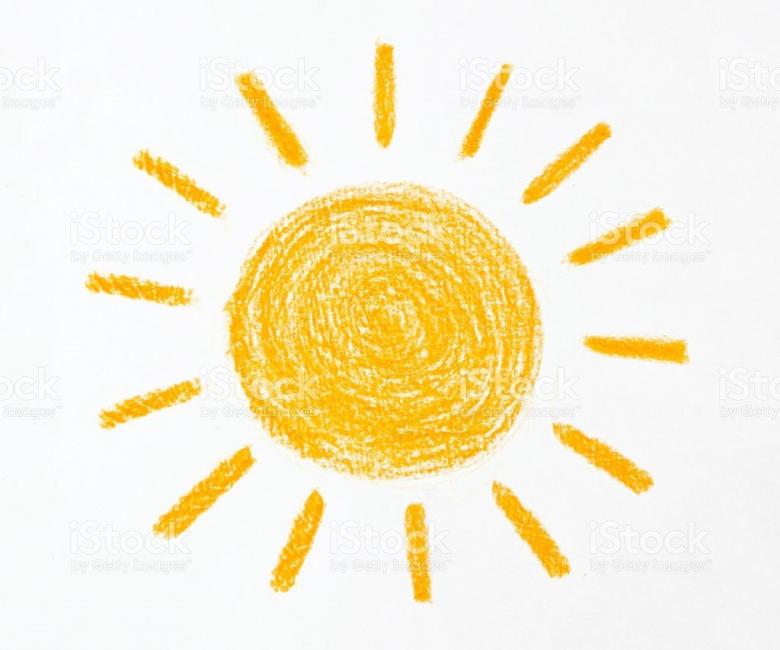
Option one
- Draw a circle of the desired size. For a child, it is possible to prepare a circular stencil, which the kid will trace with a pencil.
- On the outside of the circle depict the rays. For novice artists, it is better to stick to the following order:
- straight in the middle - vertically and horizontally;
- then rays between them of the same size;
- Then, between the big lines, draw smaller lines - to create the effect of a flickering sun.
Such a sun can be drawn in the beginning with a simple pencil in very thin lines, and then apply clearer rays with a sun-colored pencil. The circle is painted with the same color.
Variant two
The child will love the smiling sun. Again a circle with rays is drawn. But in this case, the lines are drawn in a chaotic order, as many as you want and of different sizes.
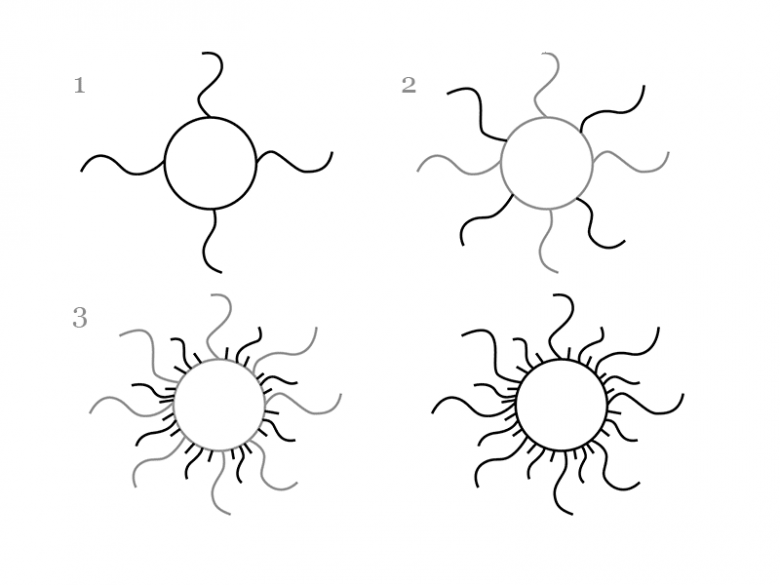
Sam itself the sun is left to draw eyes, nose and wide smiling mouth. You can leave in black and white or you can paint. Absolutely easy.

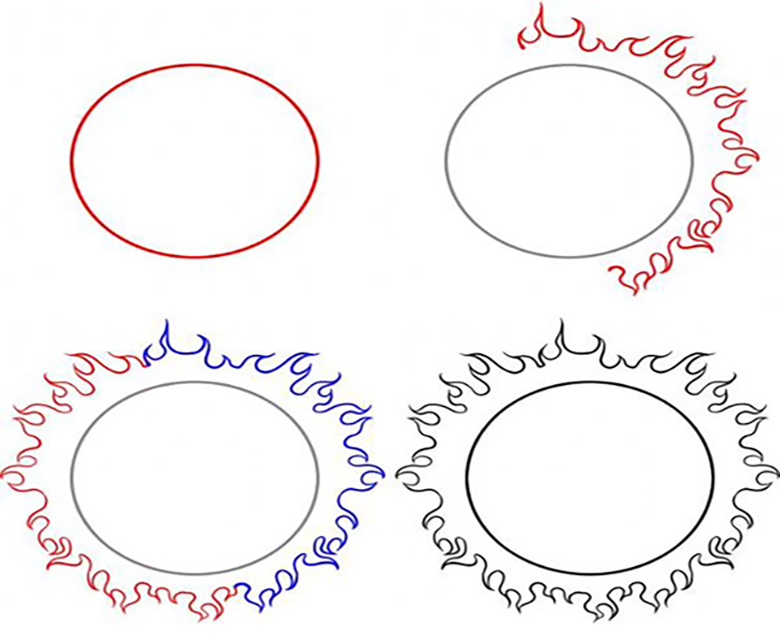
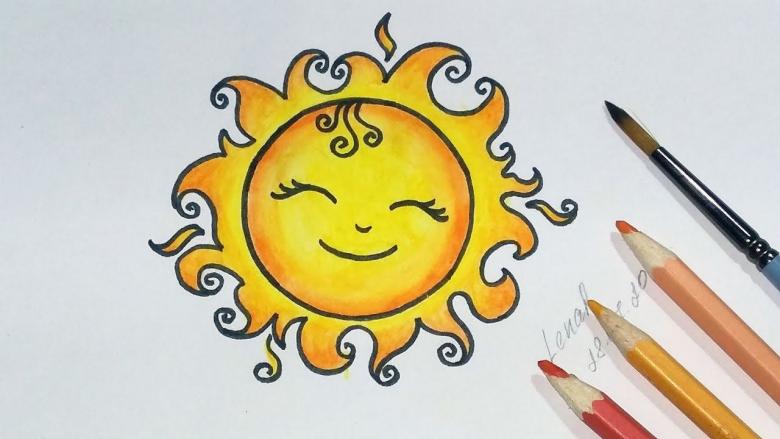
Option three
The technique is similar to the previous options, but with slight modifications:
- Draw a circle (you can with a "face", you can without it).
- Also draw lines representing the rays of the sun. But in this variant, all the big lines are drawn with curves.
- Between the curved segments are depicted rays with straight lines.
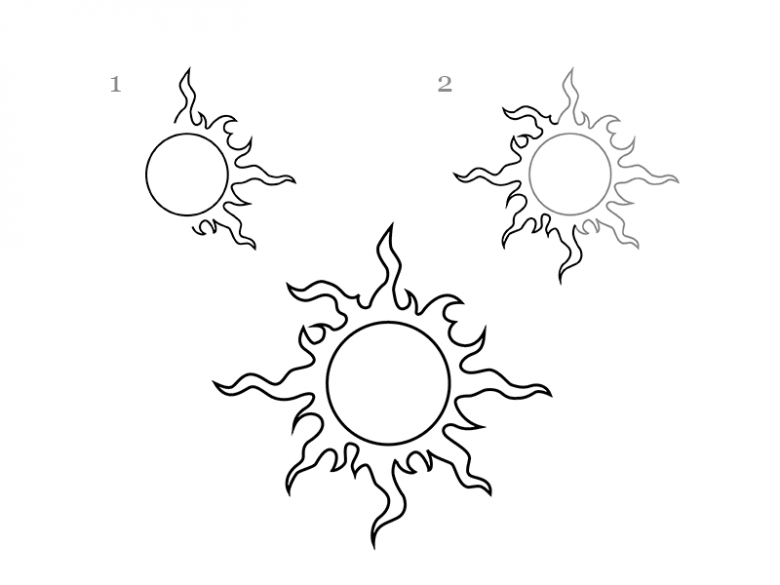
A sun drawn this way will look like a mischievous and friendly friend.

Option four
Here, you will most likely need a ruler.
- Draw the base of the sun as follows: the first smaller circle, located in the larger circle (you can, on the contrary, first draw a large circle and place a smaller figure inside).
- Divide the big circle with two straight lines (perpendicular to the middle), drawing the lines should be very thinly with a simple pencil.
- Now the rim of each quarter of the circle should be divided into three equal parts.
- Then small triangles (the size of the rim) are drawn inside the rim with the top at the base of the larger circle.
- All auxiliary lines erase and paint the sun.
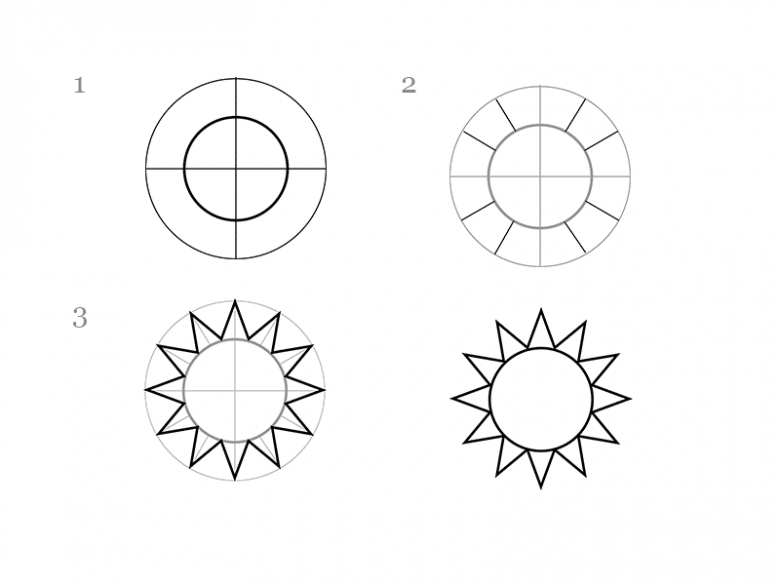
Very similar to the fairy tale character.

Option five
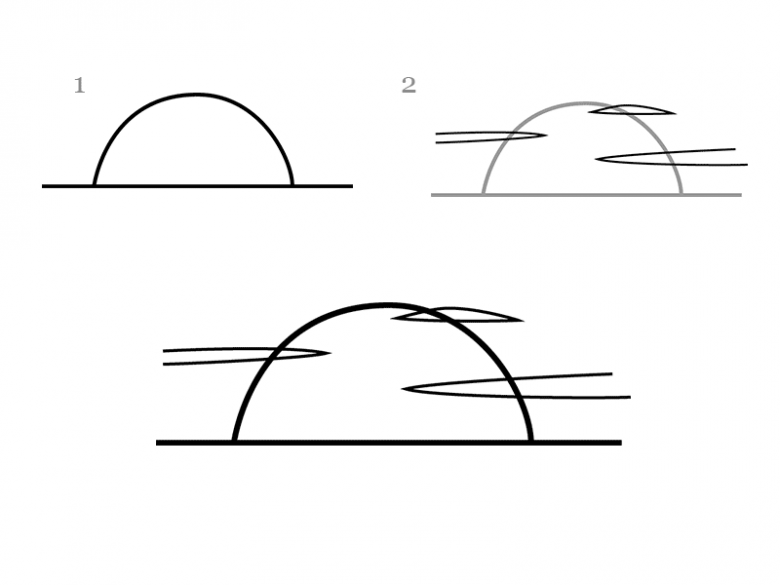
It is quite simple to draw a sunrise or sunset. A straight line is drawn on the sheet, and above it, a semicircle (it must necessarily connect to the straight line). Such a sun is drawn without rays, but light clouds and a little haze are added.
All these options suggest how to correctly draw the sun with a pencil. This is the basis of any drawing of the sun.

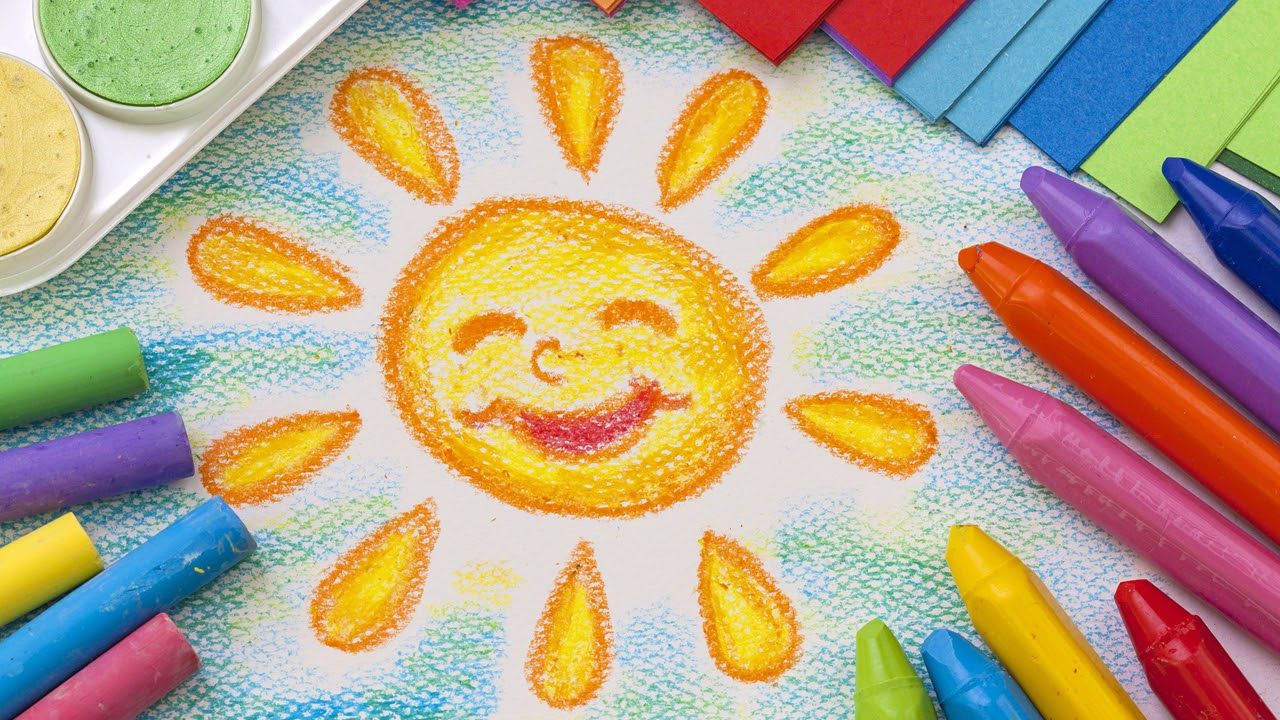
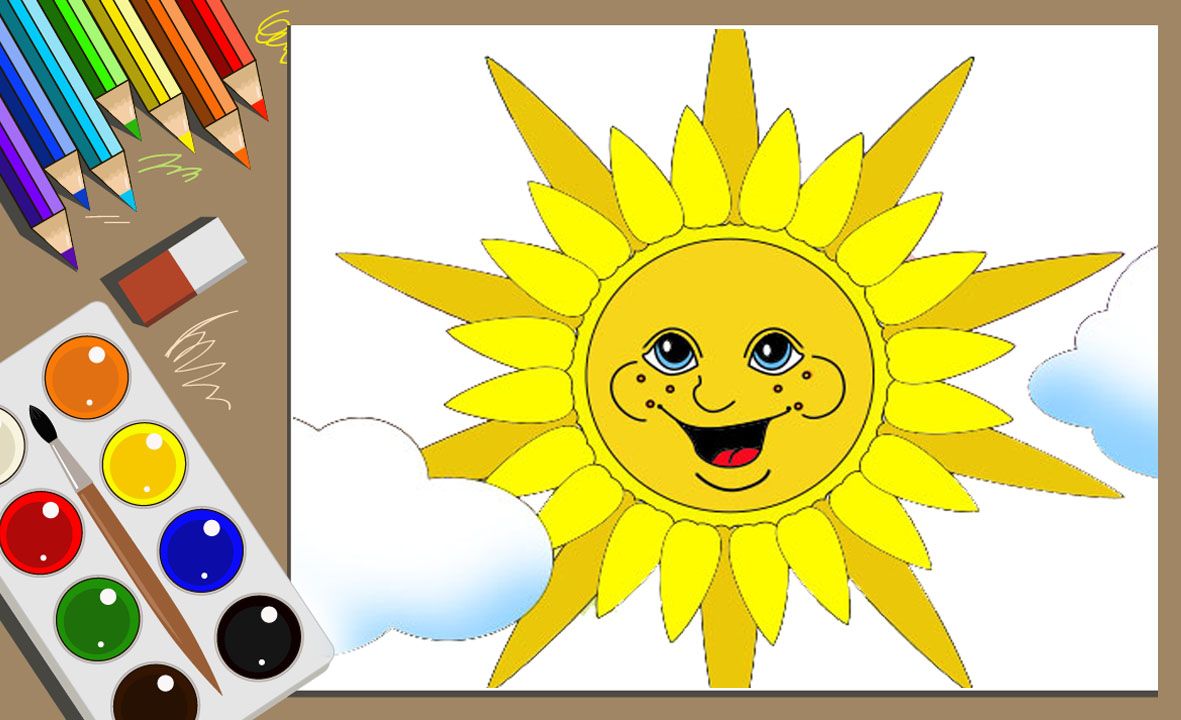
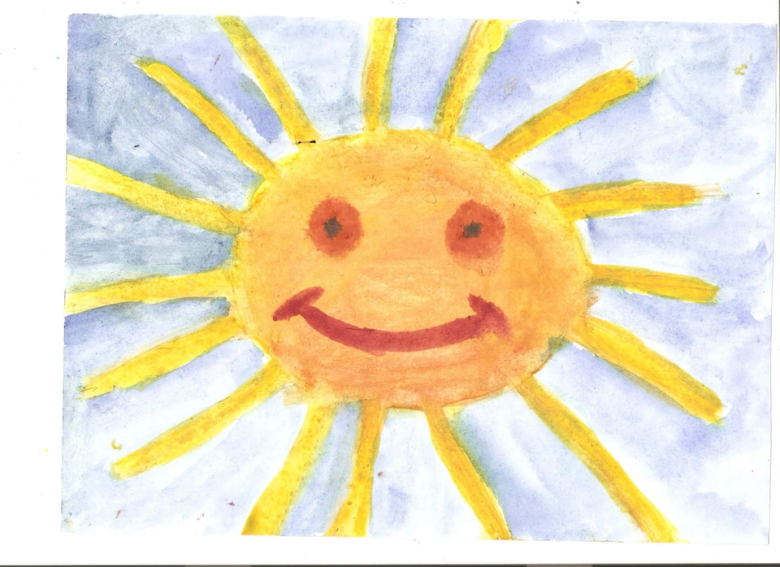
Drawing with paints
A variety of paints can be used for drawing. In this process, it is possible to teach a child to mix different colors to achieve an interesting result. It is also possible to use paints of a certain color (without mixing). Here it is important to see the true glow of the sun.

The original sun.
This tip will suit those who want to understand how to draw the sun in gouache.

You will need paper, a simple pencil, yellow and orange gouache.

Stages of drawing:
- In the center of the sheet, draw a circle;
- sketch rays in the form of waves with pointed and rounded tips;
- fill in the circle with yellow gouache;
- rays are depicted in an orange hue.
During the drawing of such a sun, it's desirable that the child hears light, pleasant music, and then the sun will be very musical.

The suggested technique is also useful in drawing the sun with acrylics or watercolors. Do not forget that there are still differences, so it is better to attend a master class of a professional.
Sunset on the sea
This work is worth trying to do in watercolor.

What you need for the work:
- paper for painting with watercolor;
- Paintbrush, brush, pail of water, napkin.
Step-by-step performance:
- The sheet for such a drawing should be placed horizontally.
- Below the center, the horizon line is drawn.
- On the left, yellow paint is drawn the setting sun.
- The sky is painted with orange (it is possible to offer a child to mix yellow and red paint). This step is done with a broad brush, using horizontal movements on both sides of the sheet. The silhouette of the sun should remain unpainted.
- The sea is drawn with yellow paint and the outline of the sun is traced.
- A thin brush is used to draw the rays that diverge from the sun. White paint is used for this. The rays themselves are intermittent, long strokes.
- Dilute the sun with red rays. The same strokes of red add to the sea horizontally, slightly curved.
- In the sea, paint a reflection of the rays, adding similar dashes of orange, as well as dark green and yellowish-greenish shades.
- Use a white paint with a thicker brush to draw the reflection of the sun in the water. The strokes are quite thick at its base, but closer to the edge of the leaf they are thinner.

When painting with watercolor paints one must not forget that after each stage the colors must be allowed to dry, so that there is no undesirable mixing of colors.

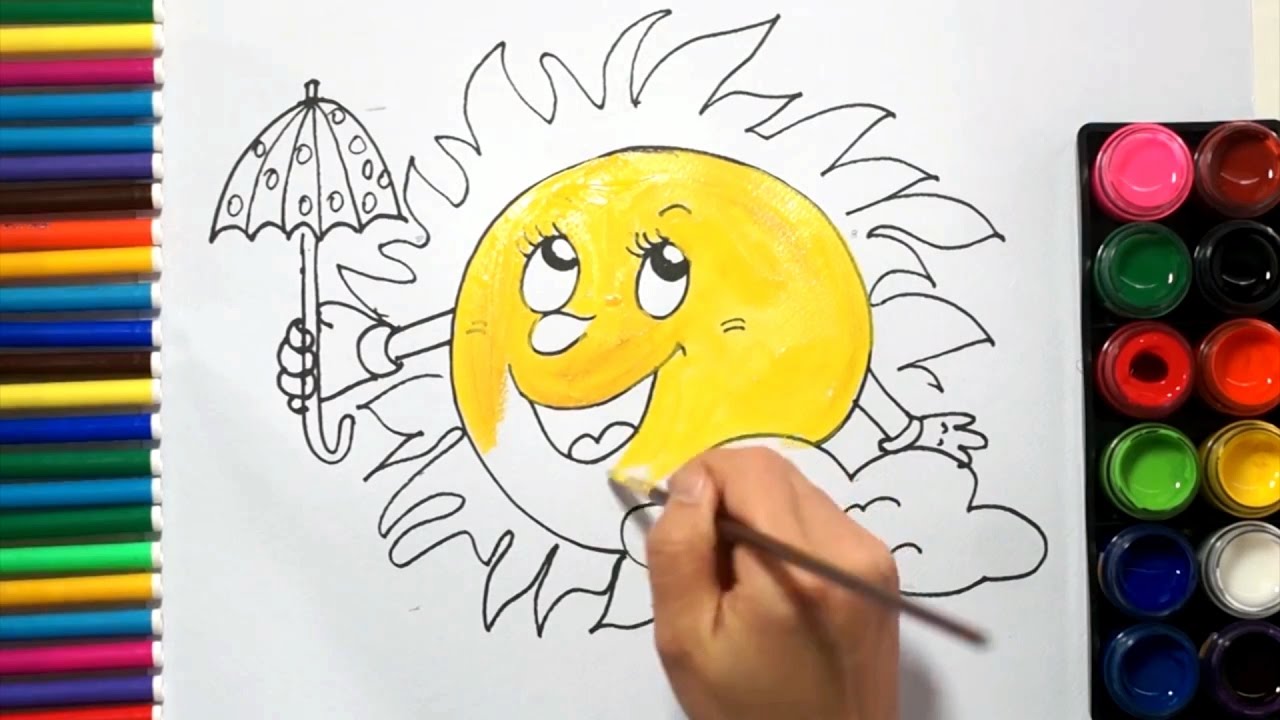
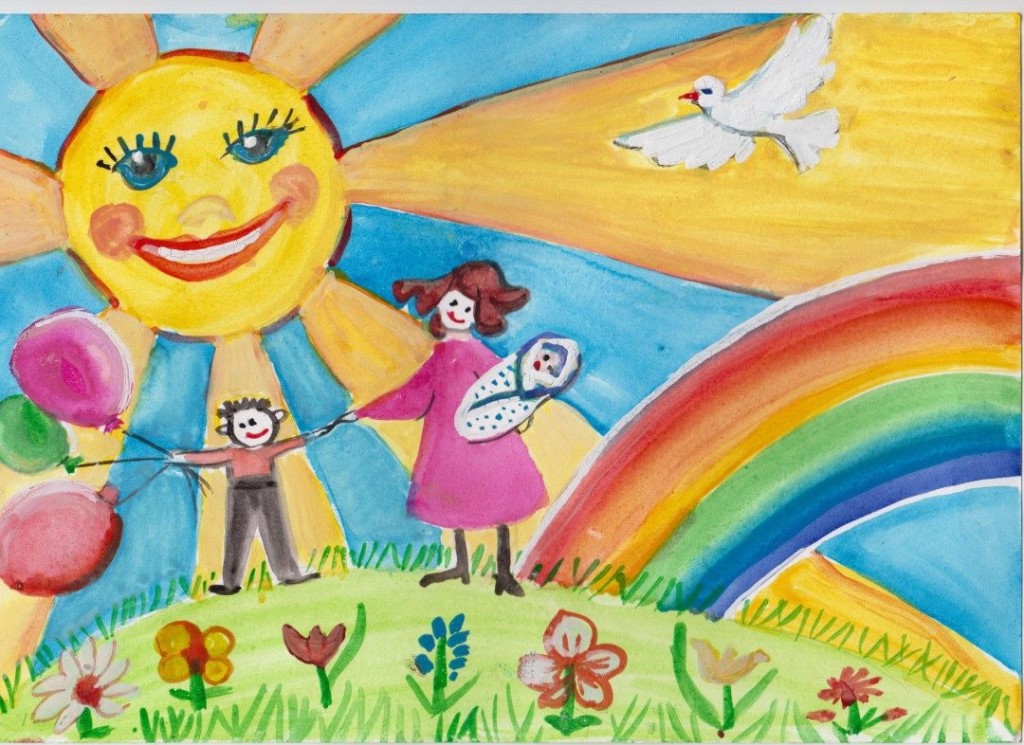
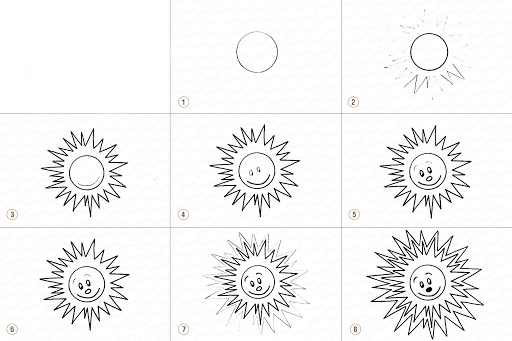
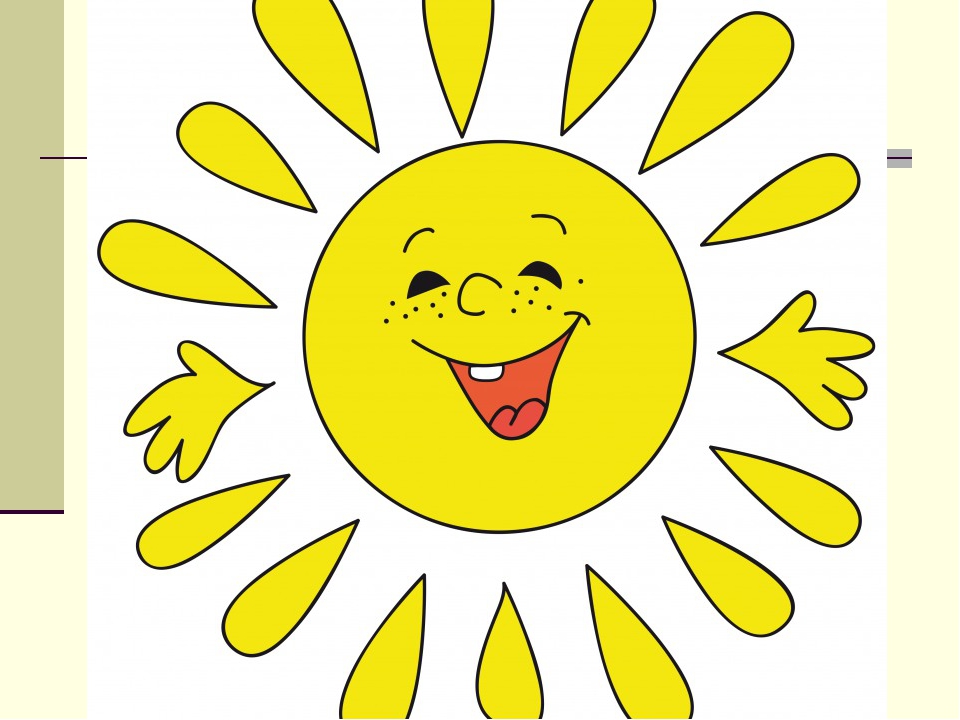
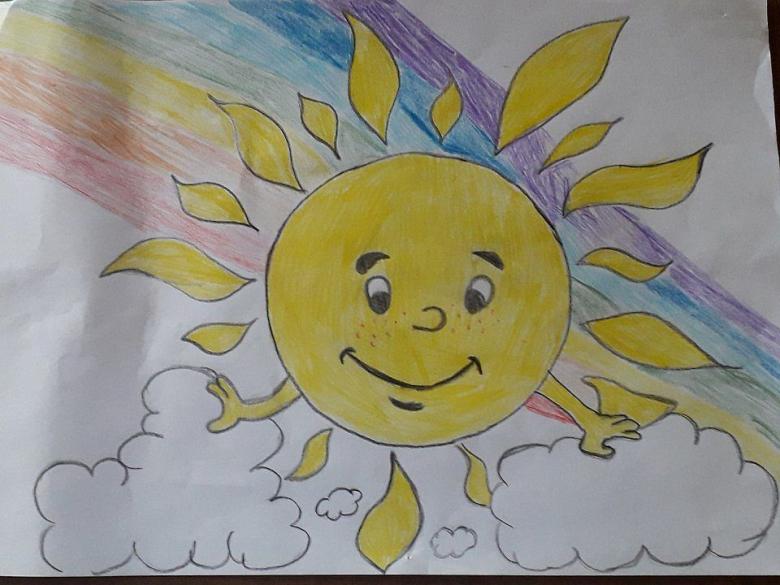
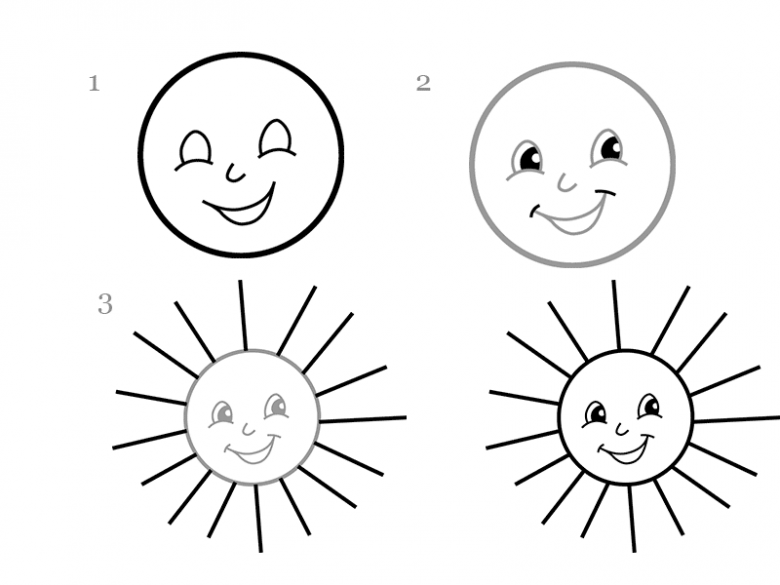
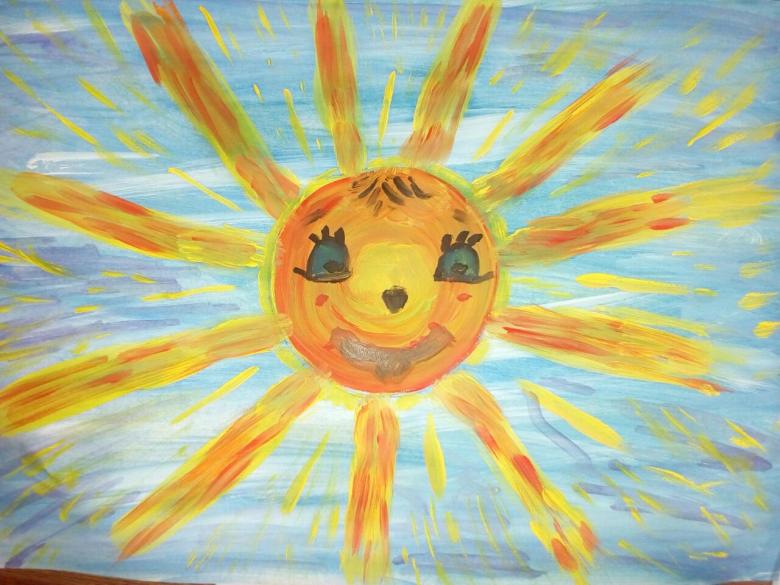
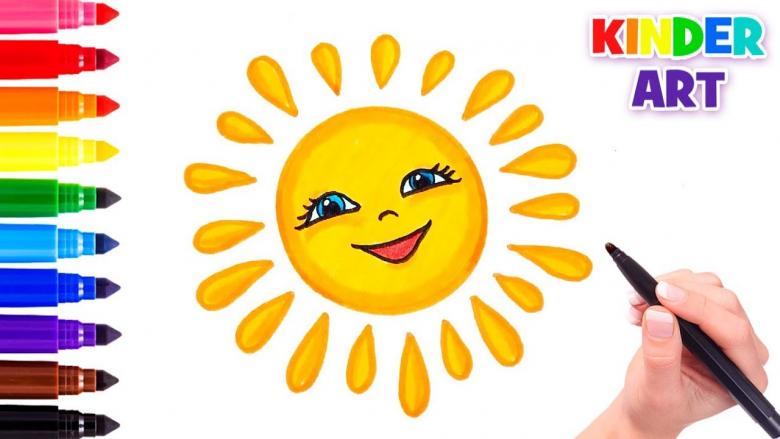
Children like fun and cheerful drawings. Therefore, there are different ways to learn how to draw the sun with a smile.
Method one. The mischievous sun
- Draw the basis - a circle.
- To draw a cute face, you need to leaf through various children's books, remember cartoons and fairy tales with this warm character, and you can come up with an interesting appearance yourself. Eyes, nose, smile, cheeks blush are drawn.
- The next step is rays. The best option for such a sun - rays in the form of a crown around a sun circle.
- A child can be asked to paint the sun.

It is always more fun to paint together.

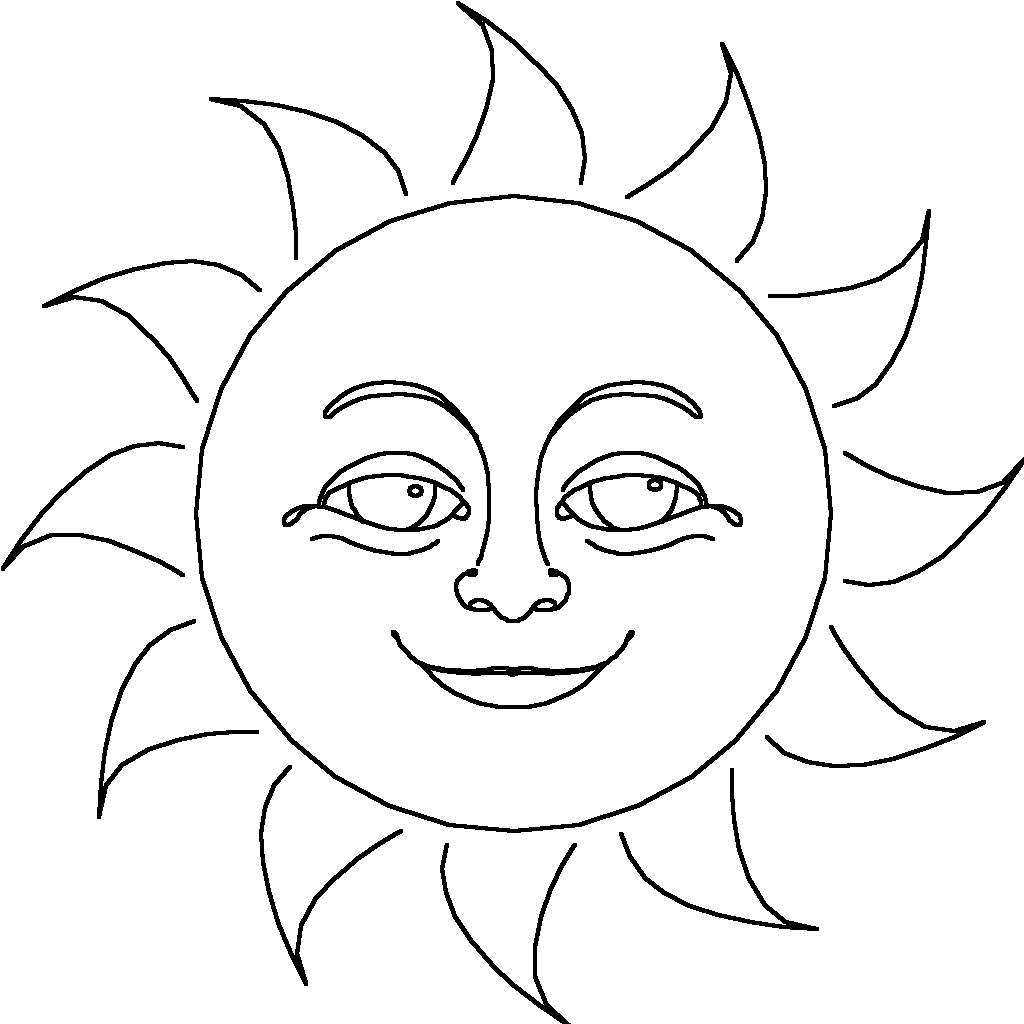
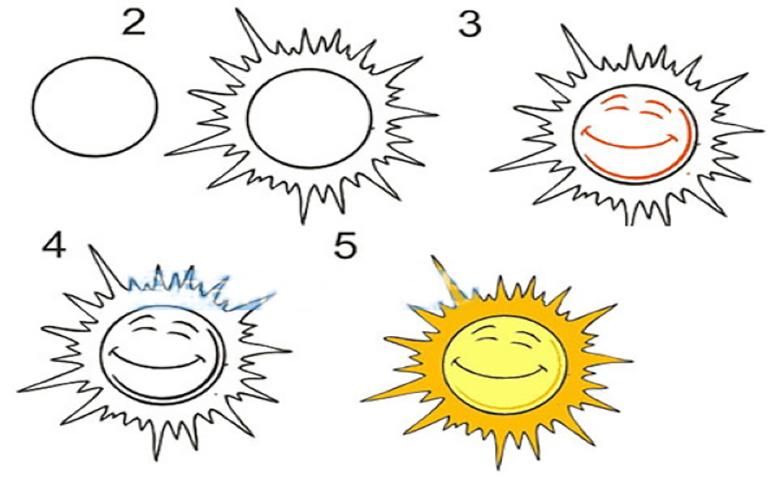
Way number two. Surprised sun.
This style is suitable for drawing the sun with a pencil. A circle is depicted, preferably as flat as possible. An older child can also try to draw a regular circle.
Therefore, it is necessary to prompt the child that it is necessary to draw with a simple pencil very easily, not pressing down on it. Since the first time an even circle may not turn out, and thin lines can easily be erased with an eraser.
Draw rays in the form of triangles (but without first dividing the circle into segments). In conclusion, draw a pretty face - eyes in the form of dots, a cute smile and small circles on the cheeks of the sun.

Quite simple and very cute.
Invite a child to fantasize and draw a picture of the sun as he or she imagines it.

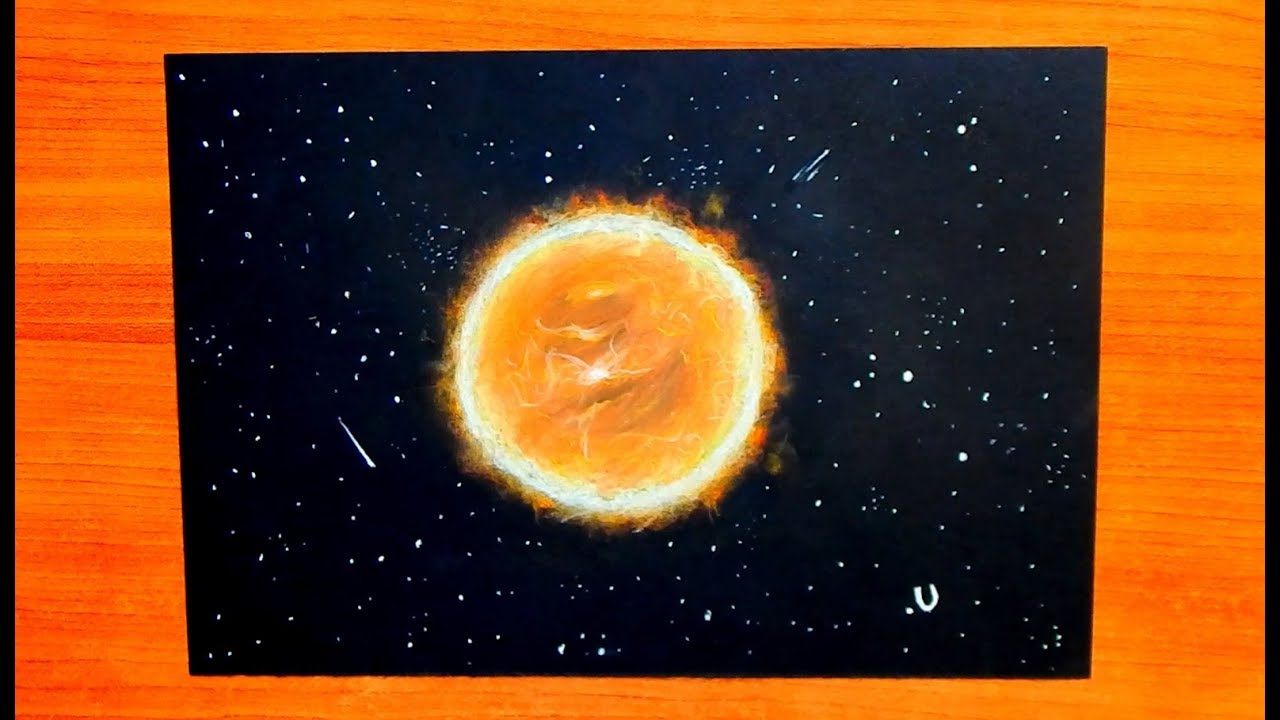
Pictures of the sun for sketching