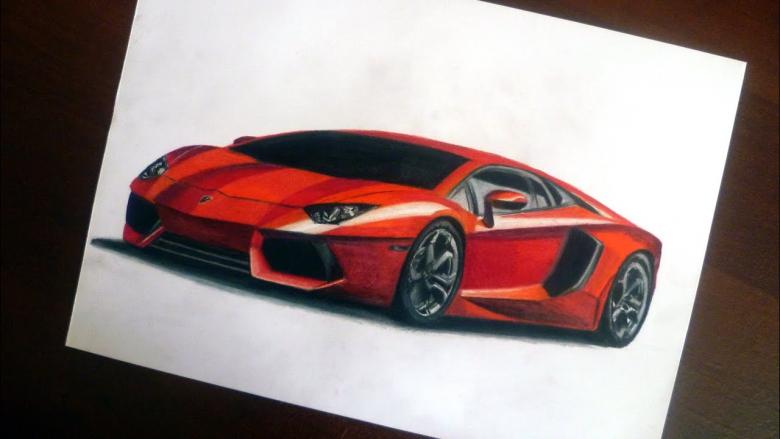
How to draw a car in a pencil step-by-step drawing: easy master classes and examples of drawings for sketching
Through drawing, children express their perception of the world. Most often they draw what they like. Little boys and girls love to play with different machines. But there are so many models that you need to constantly replenish his toy collection, and it is not cheap.

And to be the "owner", for example, hound car really wants to. There is a solution - to figure out how to draw a favorite car pencil easily and beautifully. Collecting a fleet of drawn cars is much more interesting. You can feel like a design engineer.
A simple car
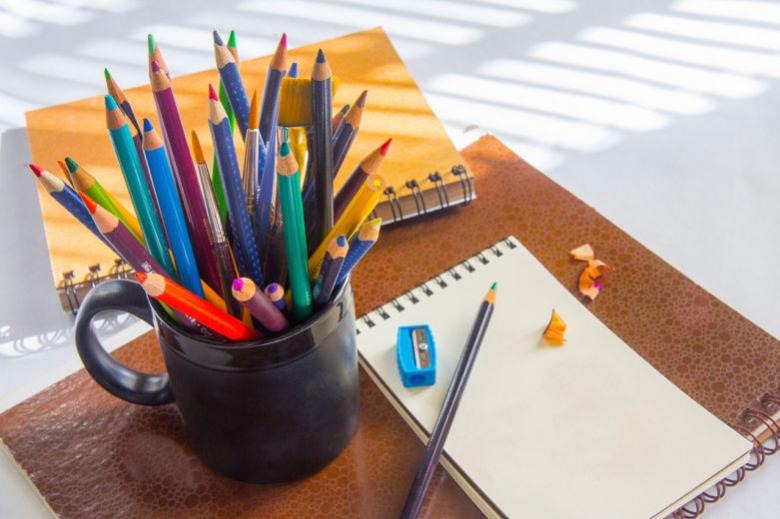
The first drawing should not be complicated in order to interest the child. Before drawing a car with a pencil step by step for children, a familiar model for them is chosen - a passenger car. The young artist is given a sketchbook and a simple pencil.
Step by step instructions will help to cope with the task faster:
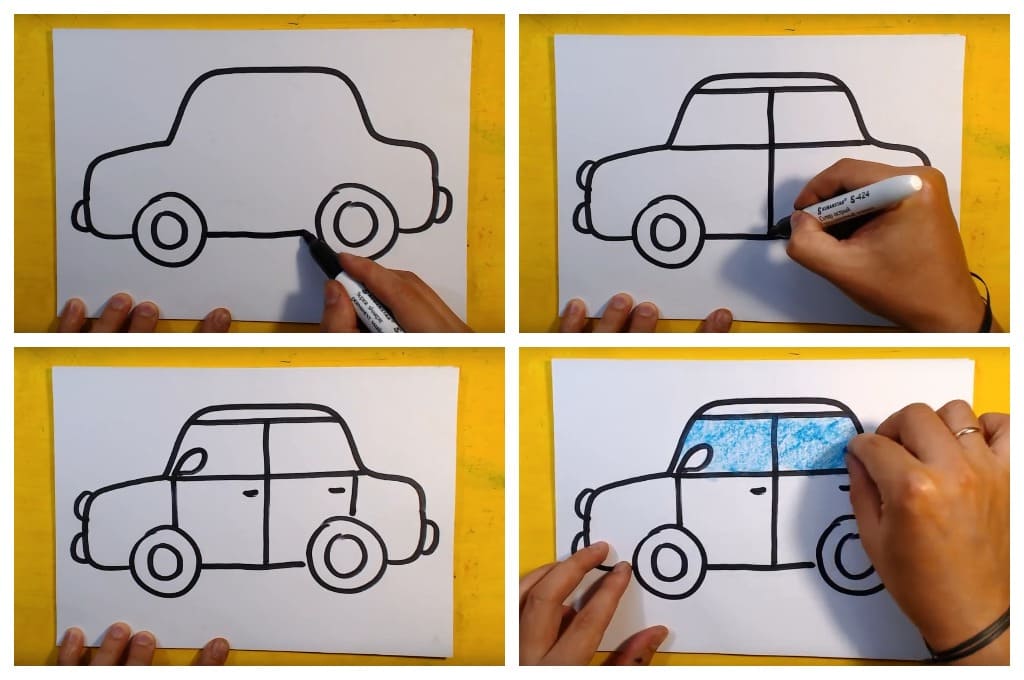
- In the center of the sheet, the main part of the car is depicted with a rectangle.
- A trapezoid is drawn on top and closer to the right side of the rectangle. The wheels, of course, will be round.
- Above the wheels half rings are depicted arches. If the top left corner of the rectangle beveled and rounded, it will outline the line hood of cars. Soften the corners of the trapezoid. The line of the rear of the car above the rectangle. Dorisovyvaetsya bumper next to the wheel.
- The face of the car are the headlights and grille. Sketches windows: in front (windshield), rear, side (on the doors). A small touch is added between the wheels - the side panel.
- At this stage, the lines of the template are wiped: rectangle and trapezoid.
- It's time for the details. The border of the hood, doors are outlined with simple lines. To the headlights in front are dorisovyvayutsya more swivel and rear. Any car is equipped with mirrors.
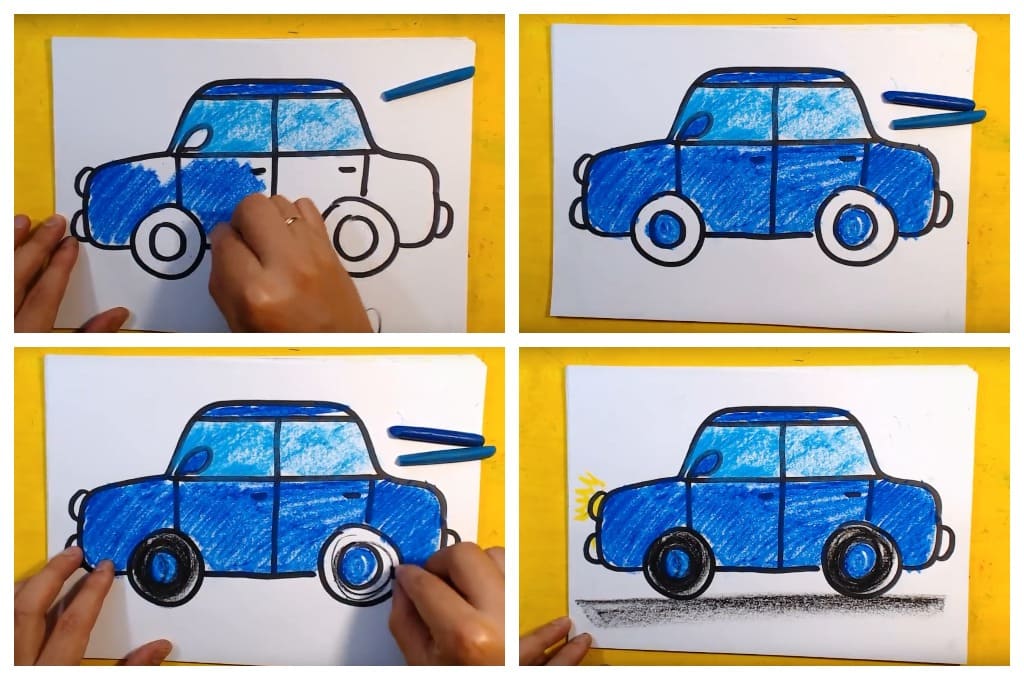
- All previous steps for beginners and teaches how to draw a car in pencil step by step. Complementing the drawing with the following details is performed already more experienced young artists. On the doors appear handles, rims on the wheels. They come in a large number of models. Connoisseurs of wheel rims choose any of them for the drawing.

The first drawing of the car in pencil is ready. Next included in the work of colored pencils or felt-tip pens.
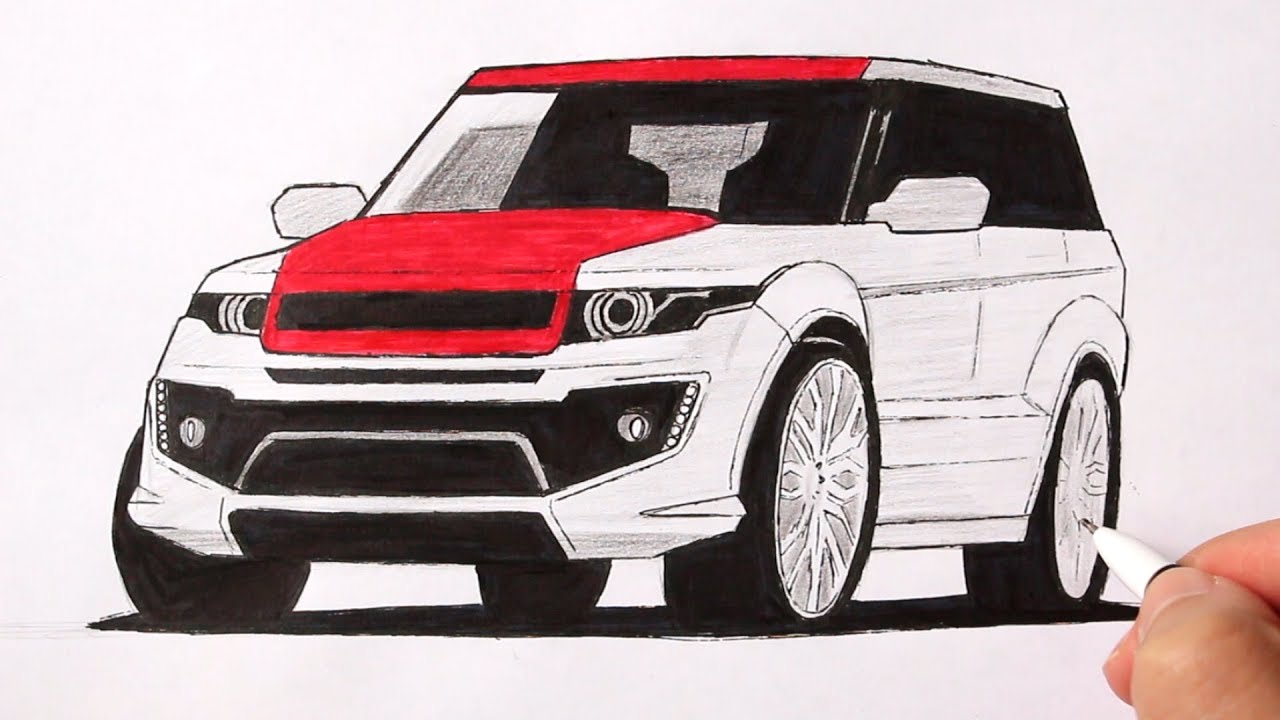
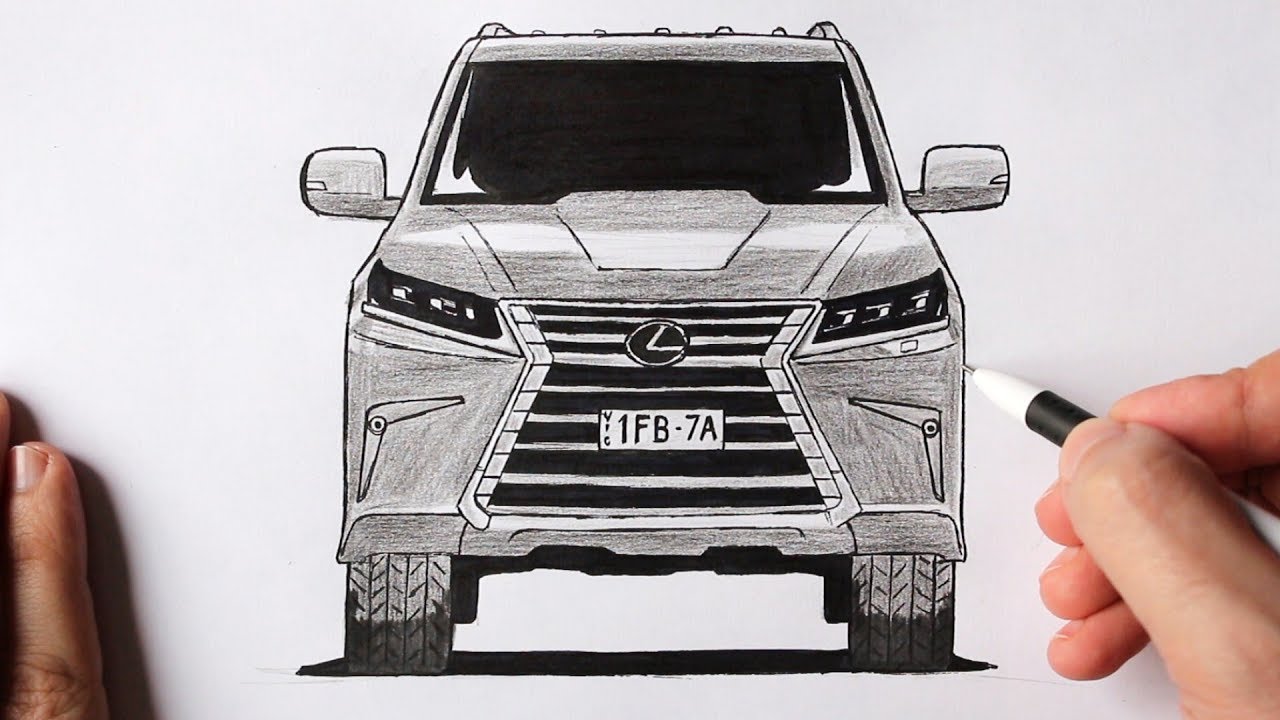
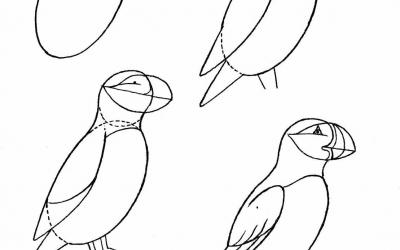
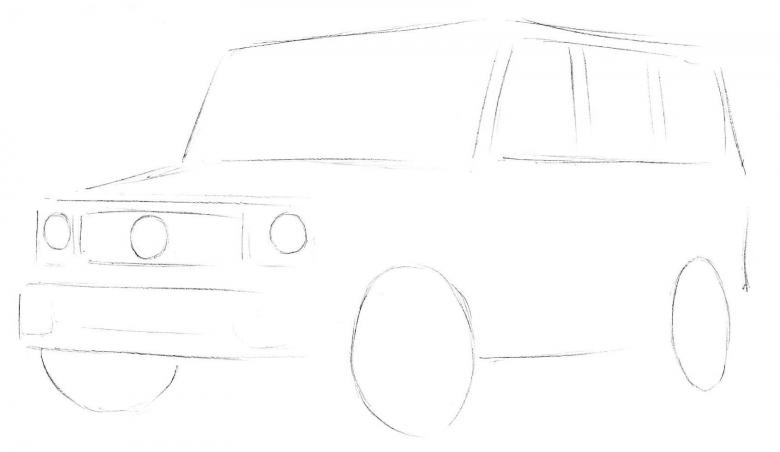
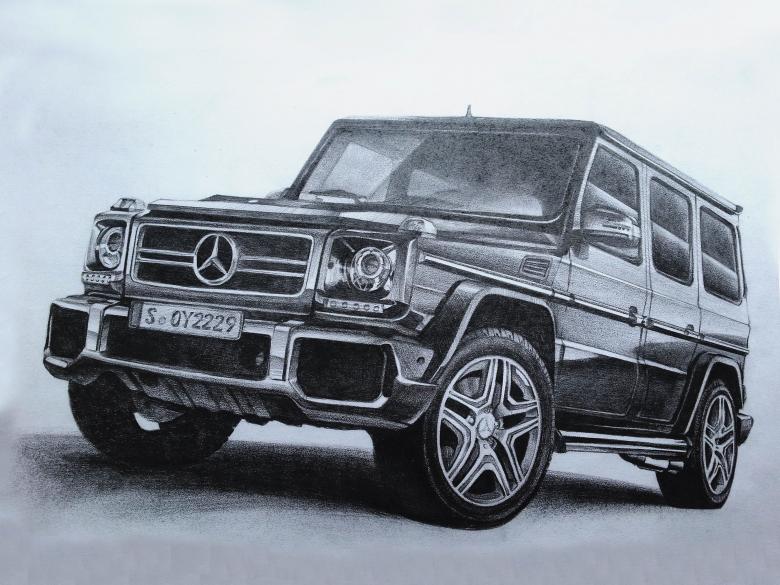
Mercedes Gelendwagen step by step pencil
At first glance it seems that it is difficult to figure out how to draw in pencil step by step luxury car Gelik. But if you do everything step by step, the sketch of the SUV will be in the collection of the young artist.

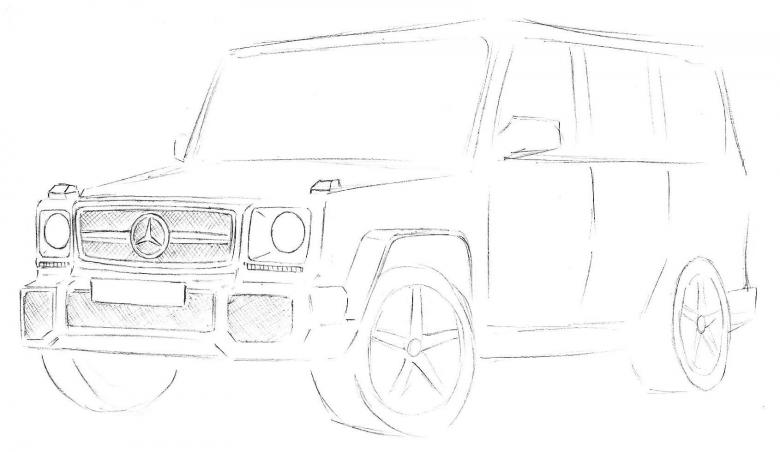
On a sheet of paper, straight lines of the car body are drawn. Moreover, the contour of its front part is drawn in parallel lines. The circles are the patterns of the wheels.

The main features of the "face" of the Helik are drawn: the headlights and the bumper. The radiator grille with a circle in the center is outlined between the headlights. Already at this step the contours of the windows are traced.
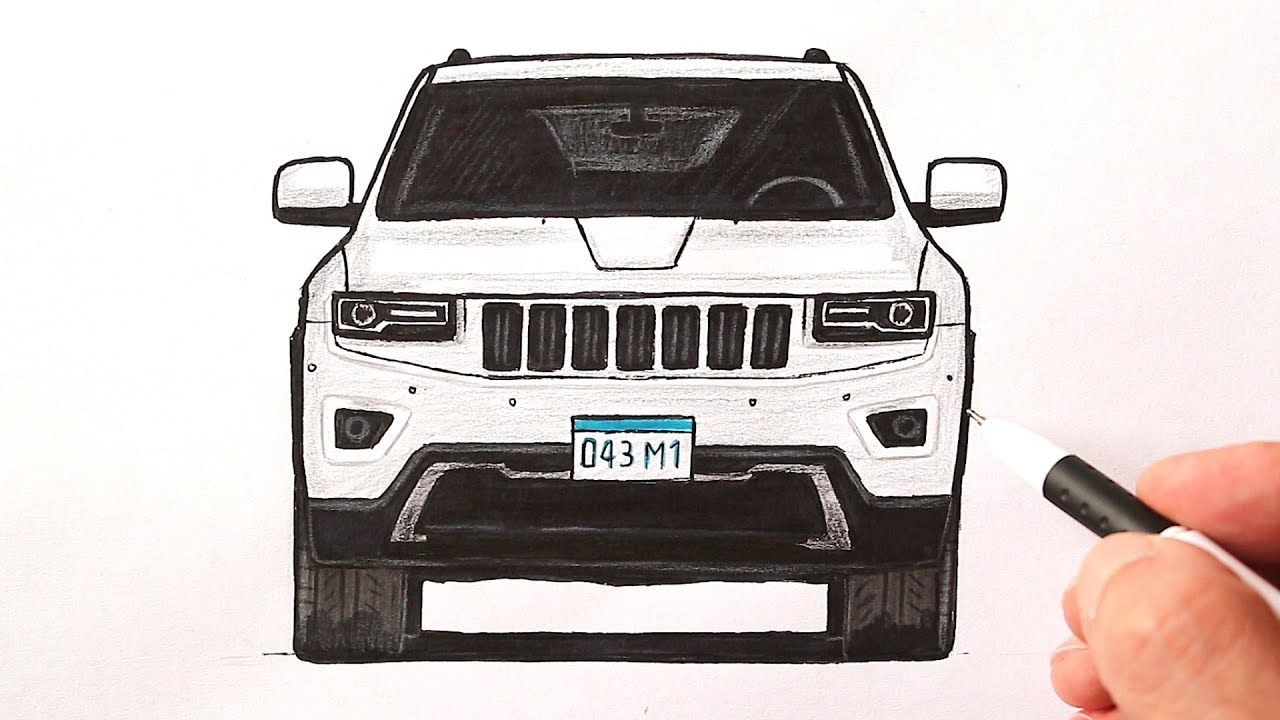
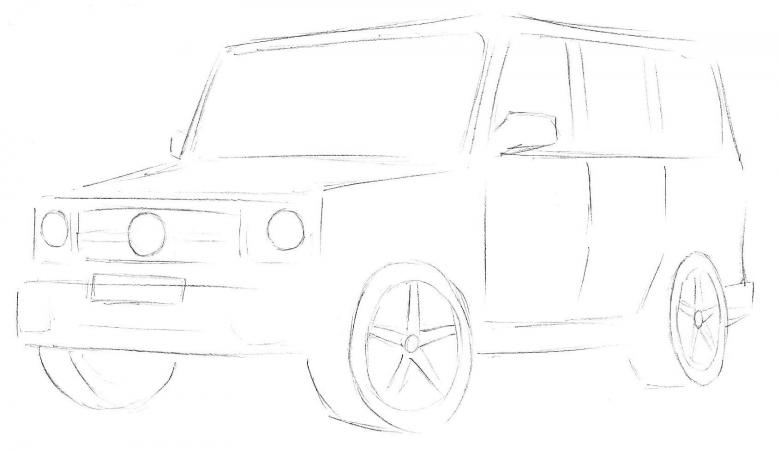
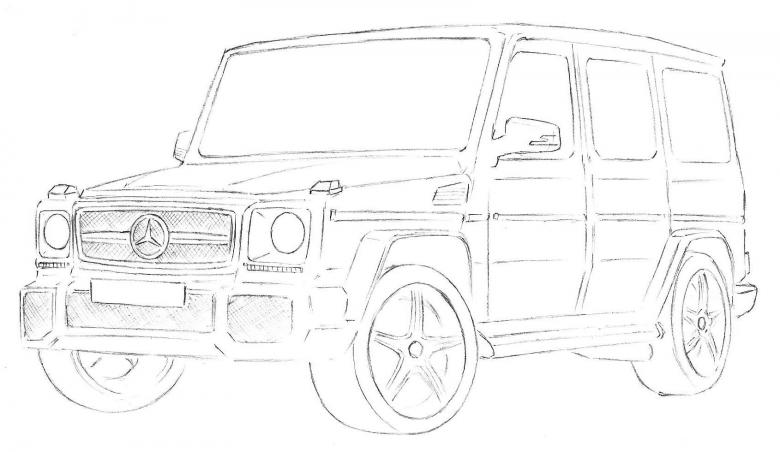
The drawing is complicated by the details of the model. Side mirrors appear, wheel width, wheel pattern, door lines are outlined. A real car can't be without a license plate in front.
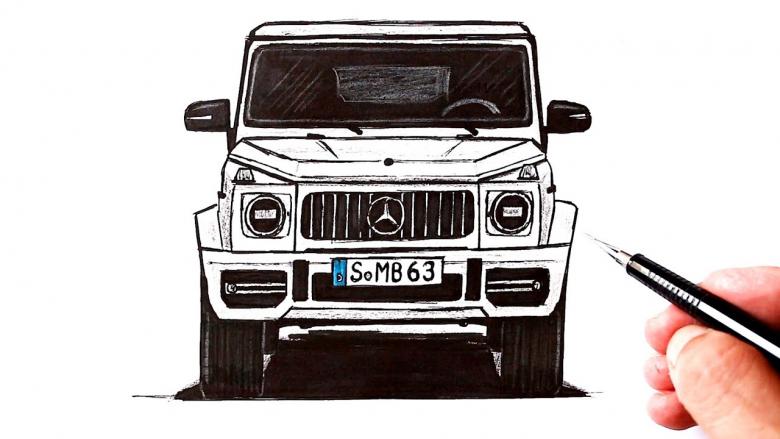
The radiator grille is outlined with crossed thin lines as in the picture. There is no need to put any effort on the pencil. And the center circle on it is decorated with the logo, which is known all over the world. The logo and the lattice are framed with a thin border. In the center of the grille, horizontal parallel lines are drawn.

On the hood, the Helik has turn signals with even edges. The headlights are complemented with details. They are placed inside rectangles with soft corners. The right headlight should look recessed inside.
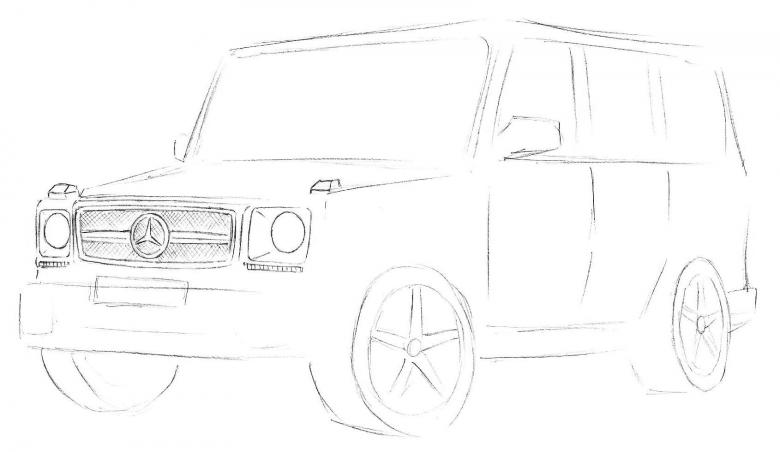
To achieve this effect, a rectangle is drawn so that its right side is closer to the round headlight. The inside edges are added on the left side. They will strengthen the deepening effect.
Car's face becomes even more masculine, when bumper with lower rectangular grilles is completed under the central radiator grill. A place for license plate is left.

A fender is outlined above the wheel. The side of the car is drawn only with straight, even lines. No smoothed corners are visible in the drawing.
Rim is decorated glass in front, dorisovyvatsya mirrors on the sides.
Back to the planned lines of the doors. At this stage, their contours are drawn more clearly. Three windows are drawn with rounded corners. A Helic is not only an SUV, but also a comfortable car for its owners. It has an important detail for tall cars - a step for passengers. It is drawn between the wheels.
The last step is the complete design of the wheels. The drawing of the wheels resembles a star. It is formed by curving lines with soft angles. Not to forget about the wheel on the left side. Drawn its inner part as in the image.

Step-by-step work on the drawing is completed.
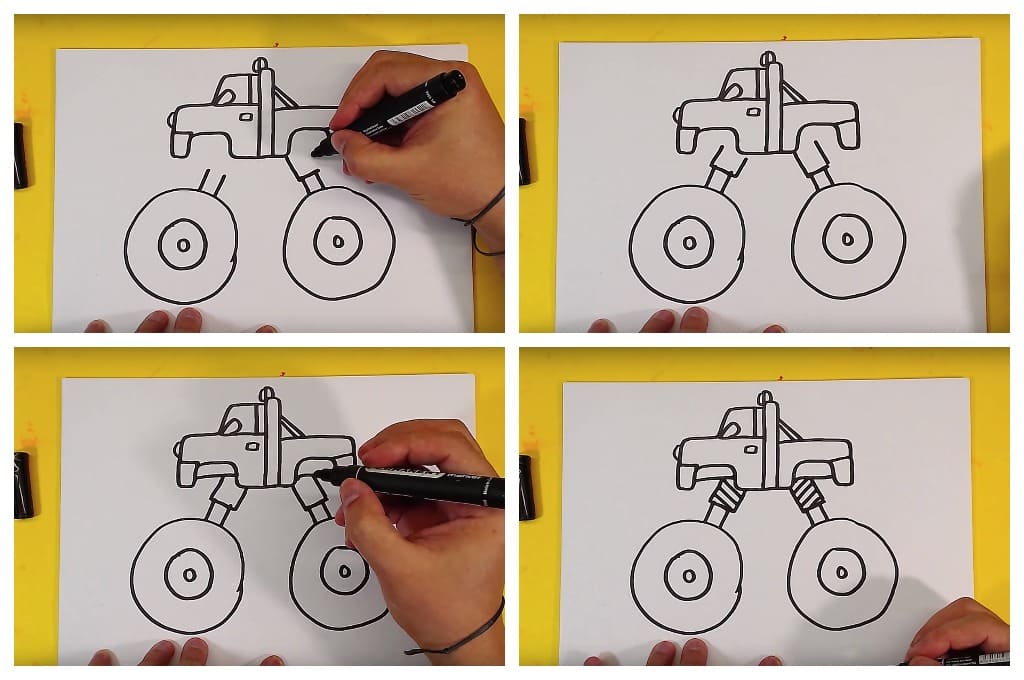
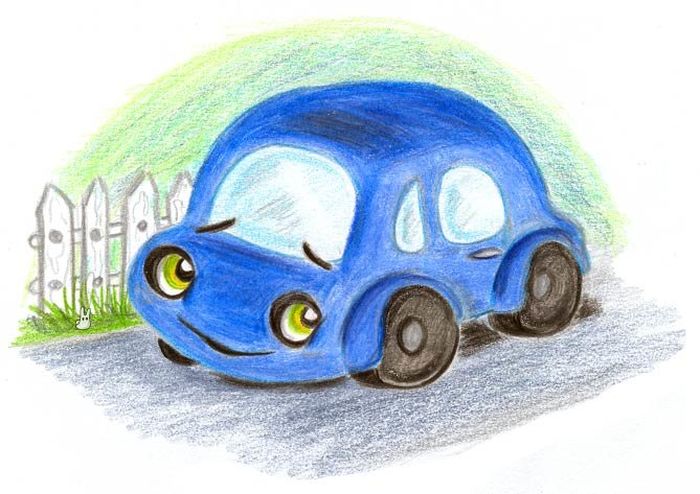
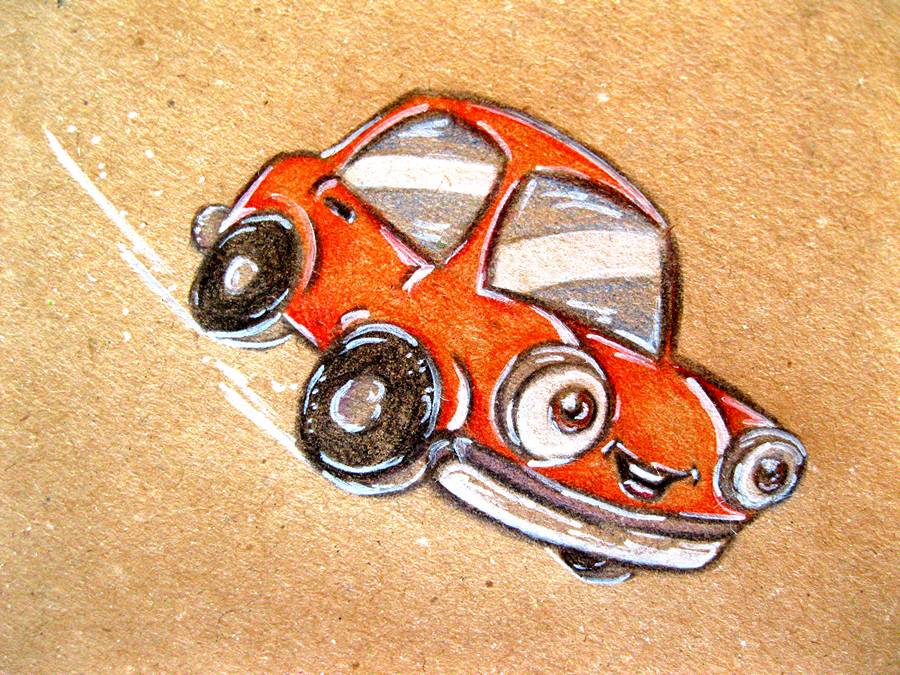
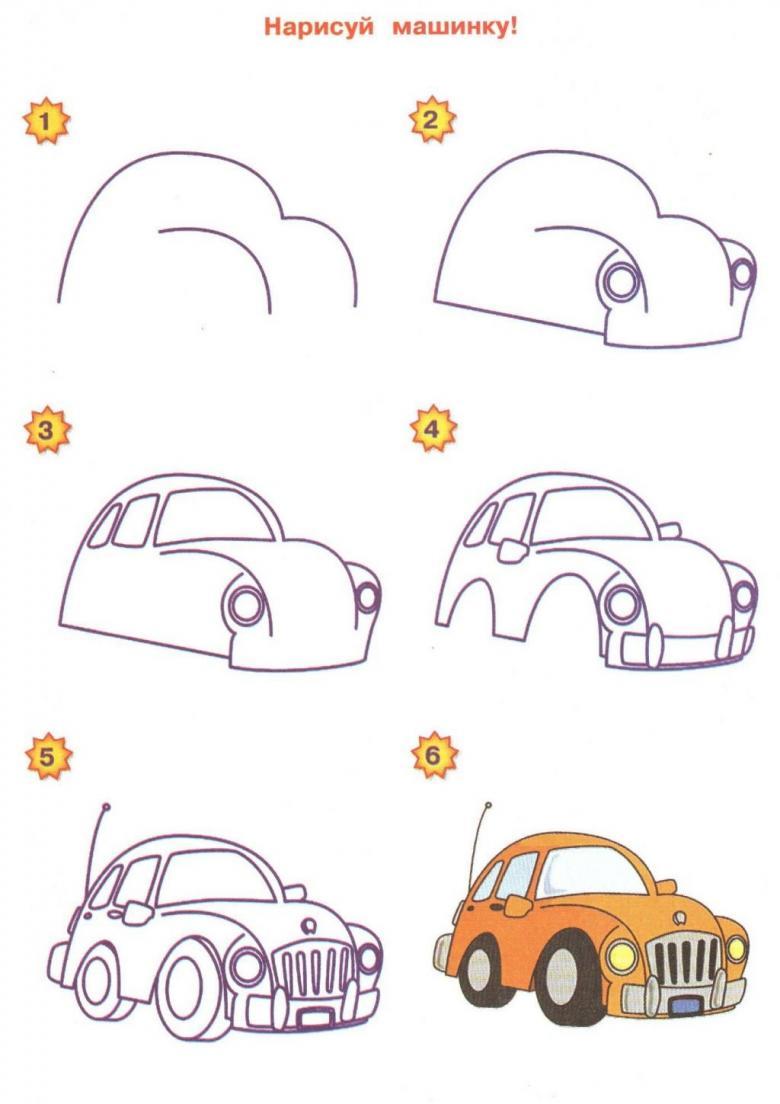
Cartoon car
You do not always want to be serious. The cartoon image of the car will cheer up both the kid and the adult.
- The first curved line is drawn.
- A second line with a big curve is drawn on top, connecting their ends.
- To the left of the connection point a short curved line is dropped, and to the right of the other point a second longer and more bent line is drawn.
- The lower points are connected by a line curved downward. The pattern of the body is drawn.
- A short horizontal segment falls on the body line.
- Two semicircles at the bottom left of the body is the contour of the wheels.
- Wiped out the connection points of the bottom and top lines of the car, as well as the contour of the wheels at the bottom.
- At the top, the windows are drawn with semi-arcs.
- Reflections on the windows are created by two parallel lines that are drawn across each window.
- Wheels are drawn on the left side in full circles, and one half-circle - the far wheel.
- Wheels are given volume. Behind dorisovyvayutsya bumper.
- Inside each wheel a small circle depicts hubcaps.
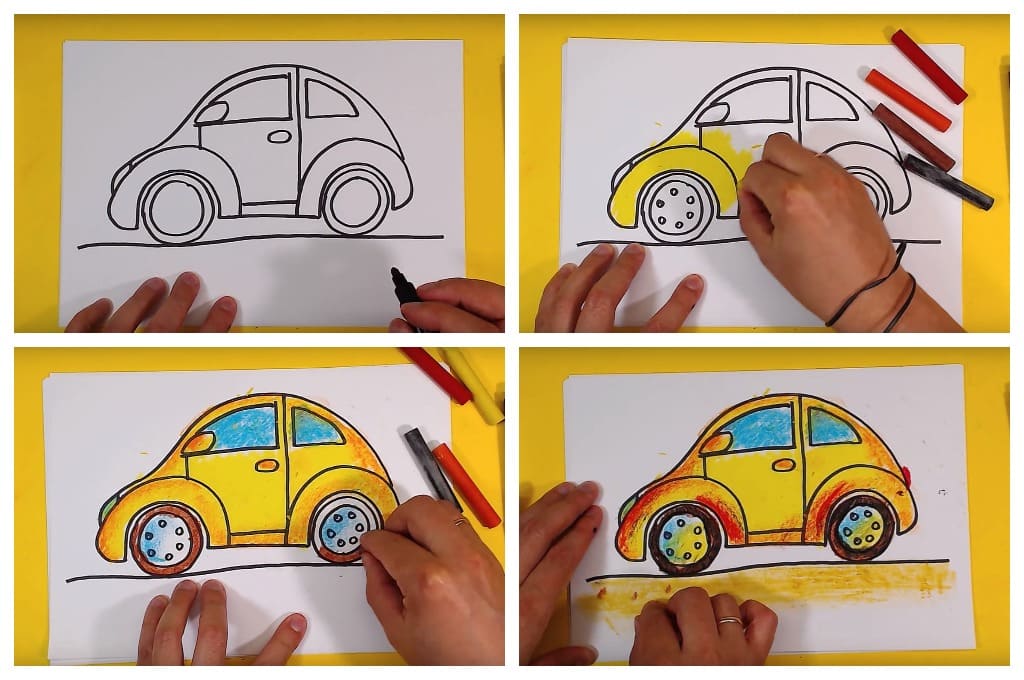
- Small strokes of the windshield on the body, the lines around the wheels make it volumetric. The outline of the hood appears. Curved lines from the windows are the outline of the doors. The door handles are depicted as two drops.
- A rounded rectangle is the outline of the front bumper. Excess lines are erased inside.
- Above the bumper, two round headlights are drawn.
- Smaller circles are placed inside each headlight. A long line across the horizon and a short vertical line creates volume to the bumper.
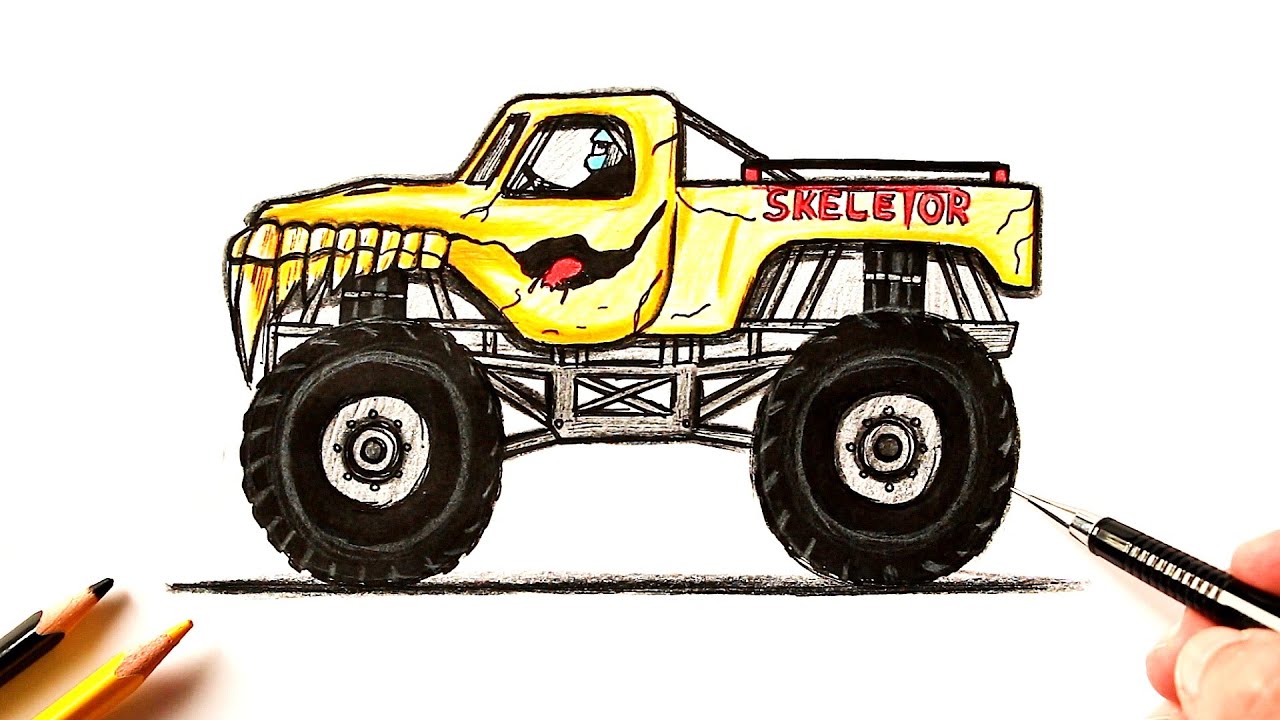
- Imagination is involved. Eyes are made with headlights, and a mouth is drawn between them.
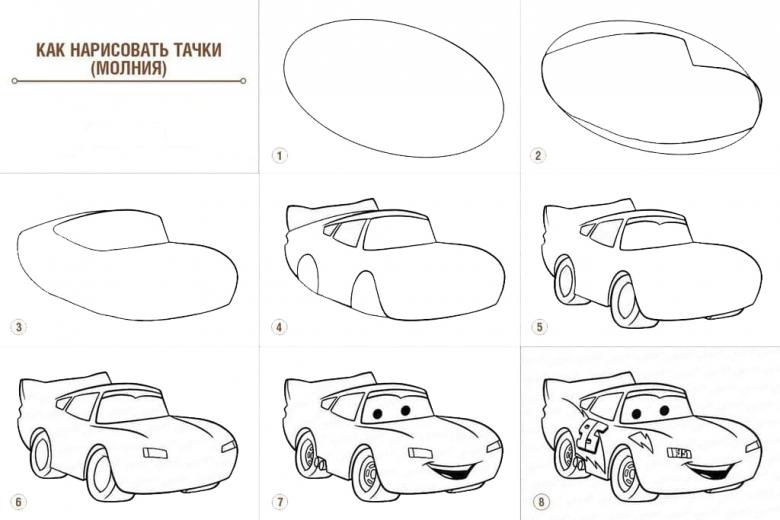
Cartoon character is ready for coloring.

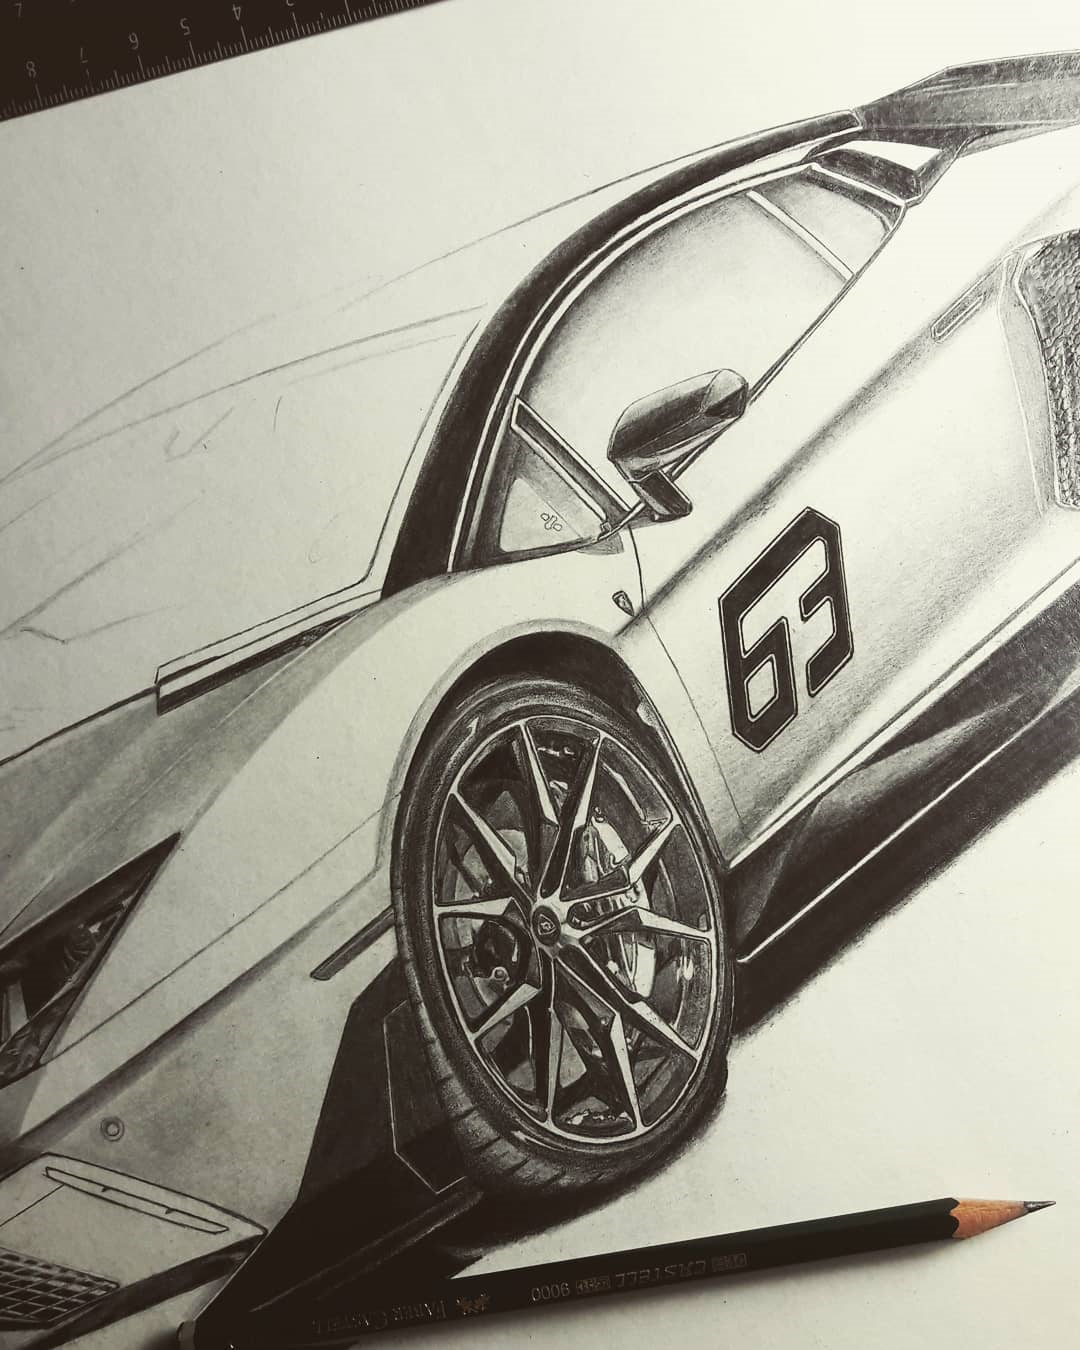
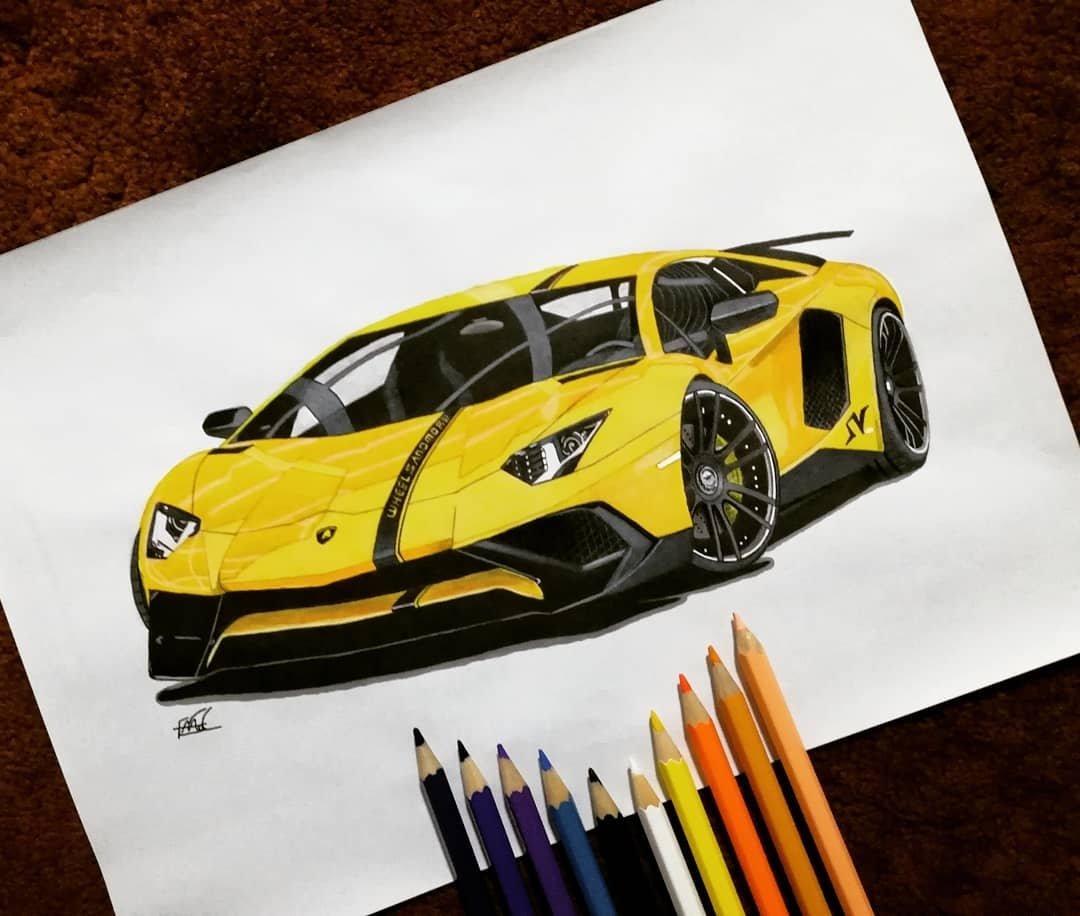
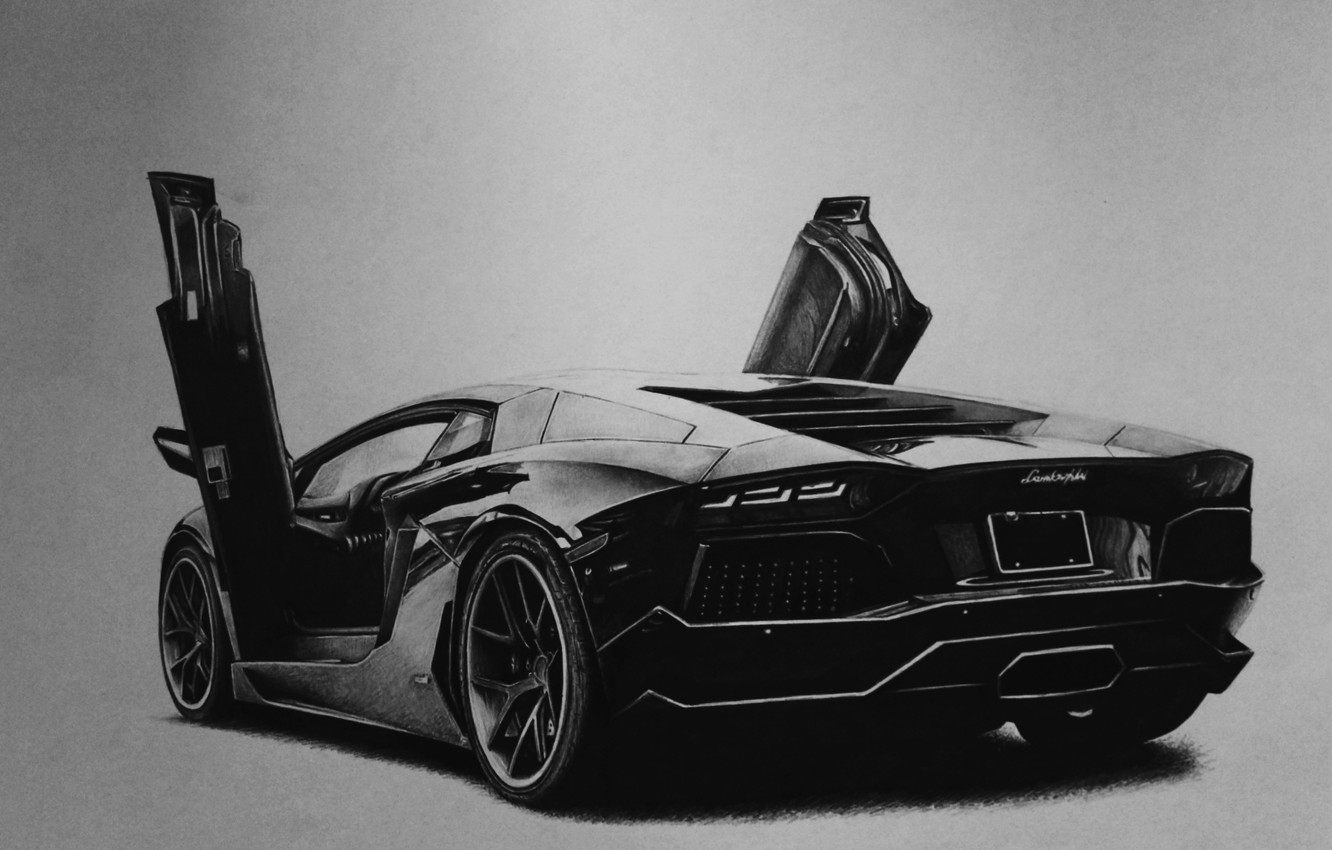
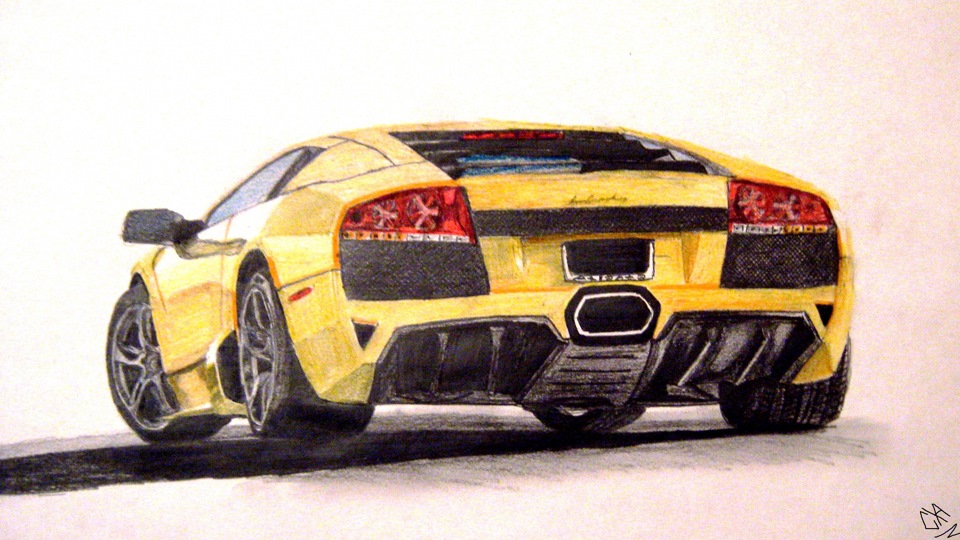
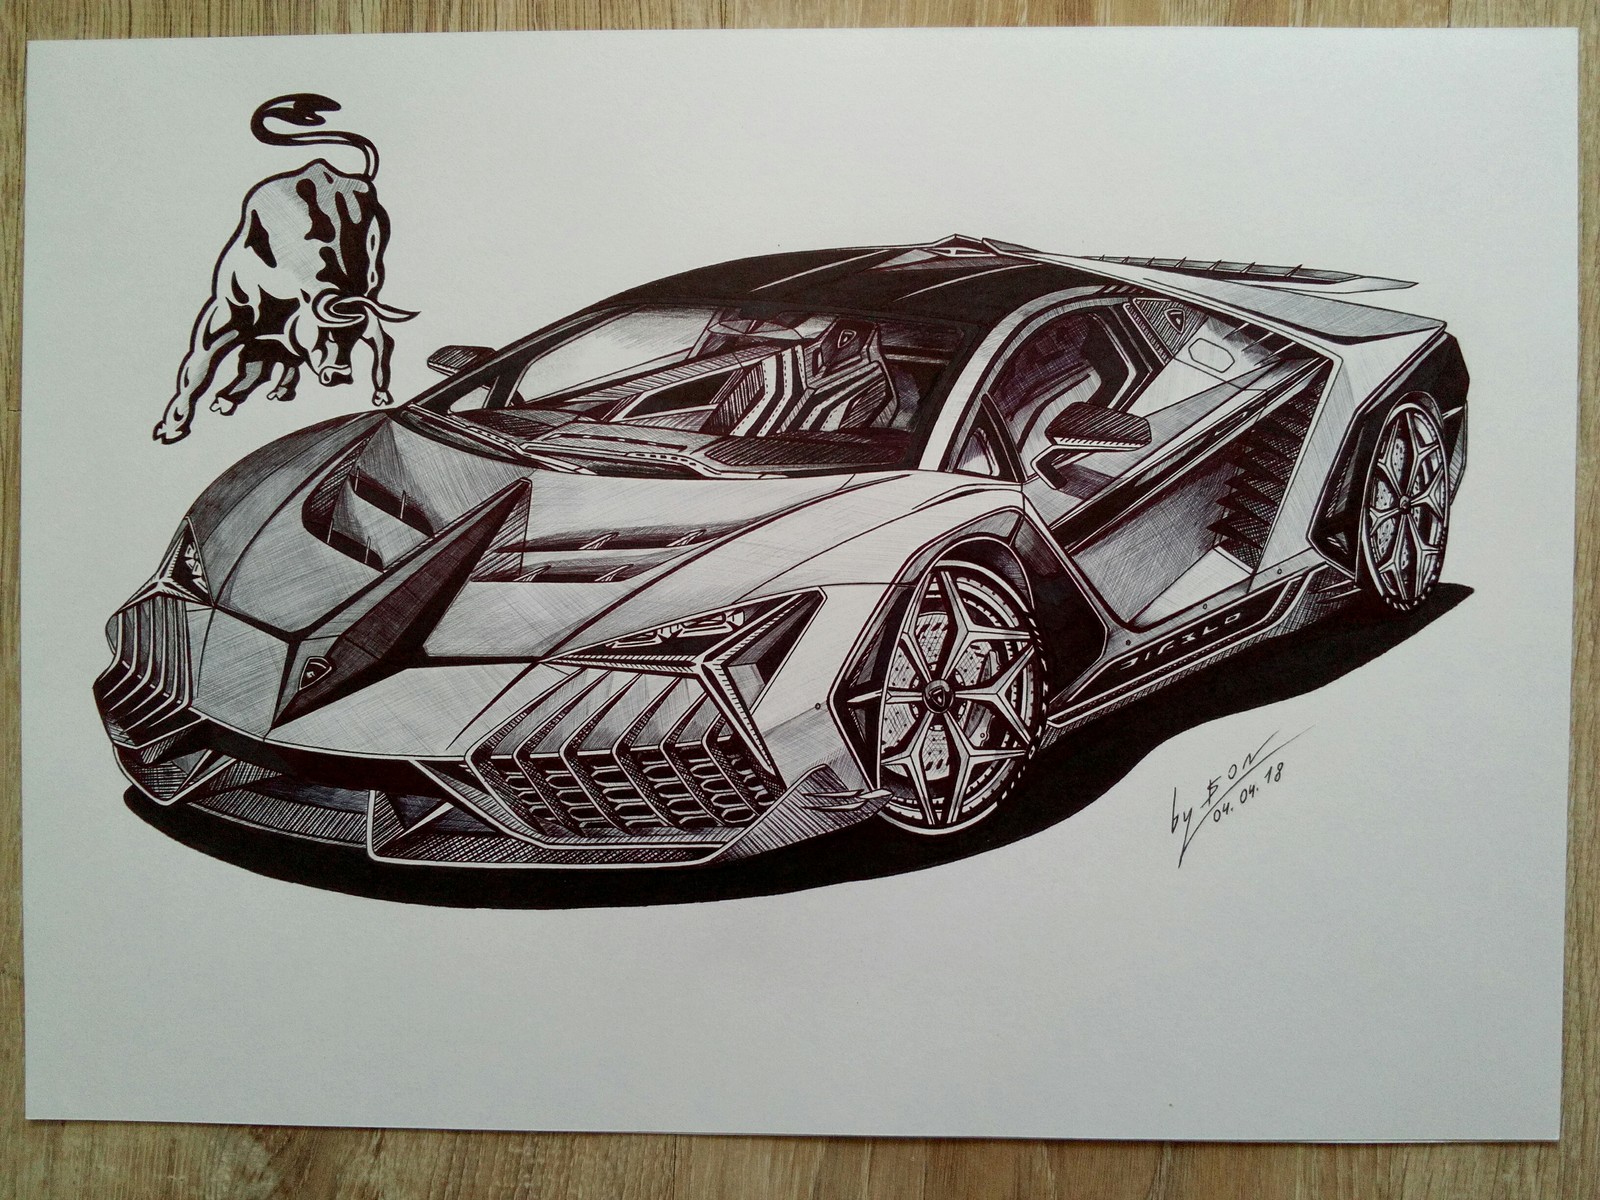
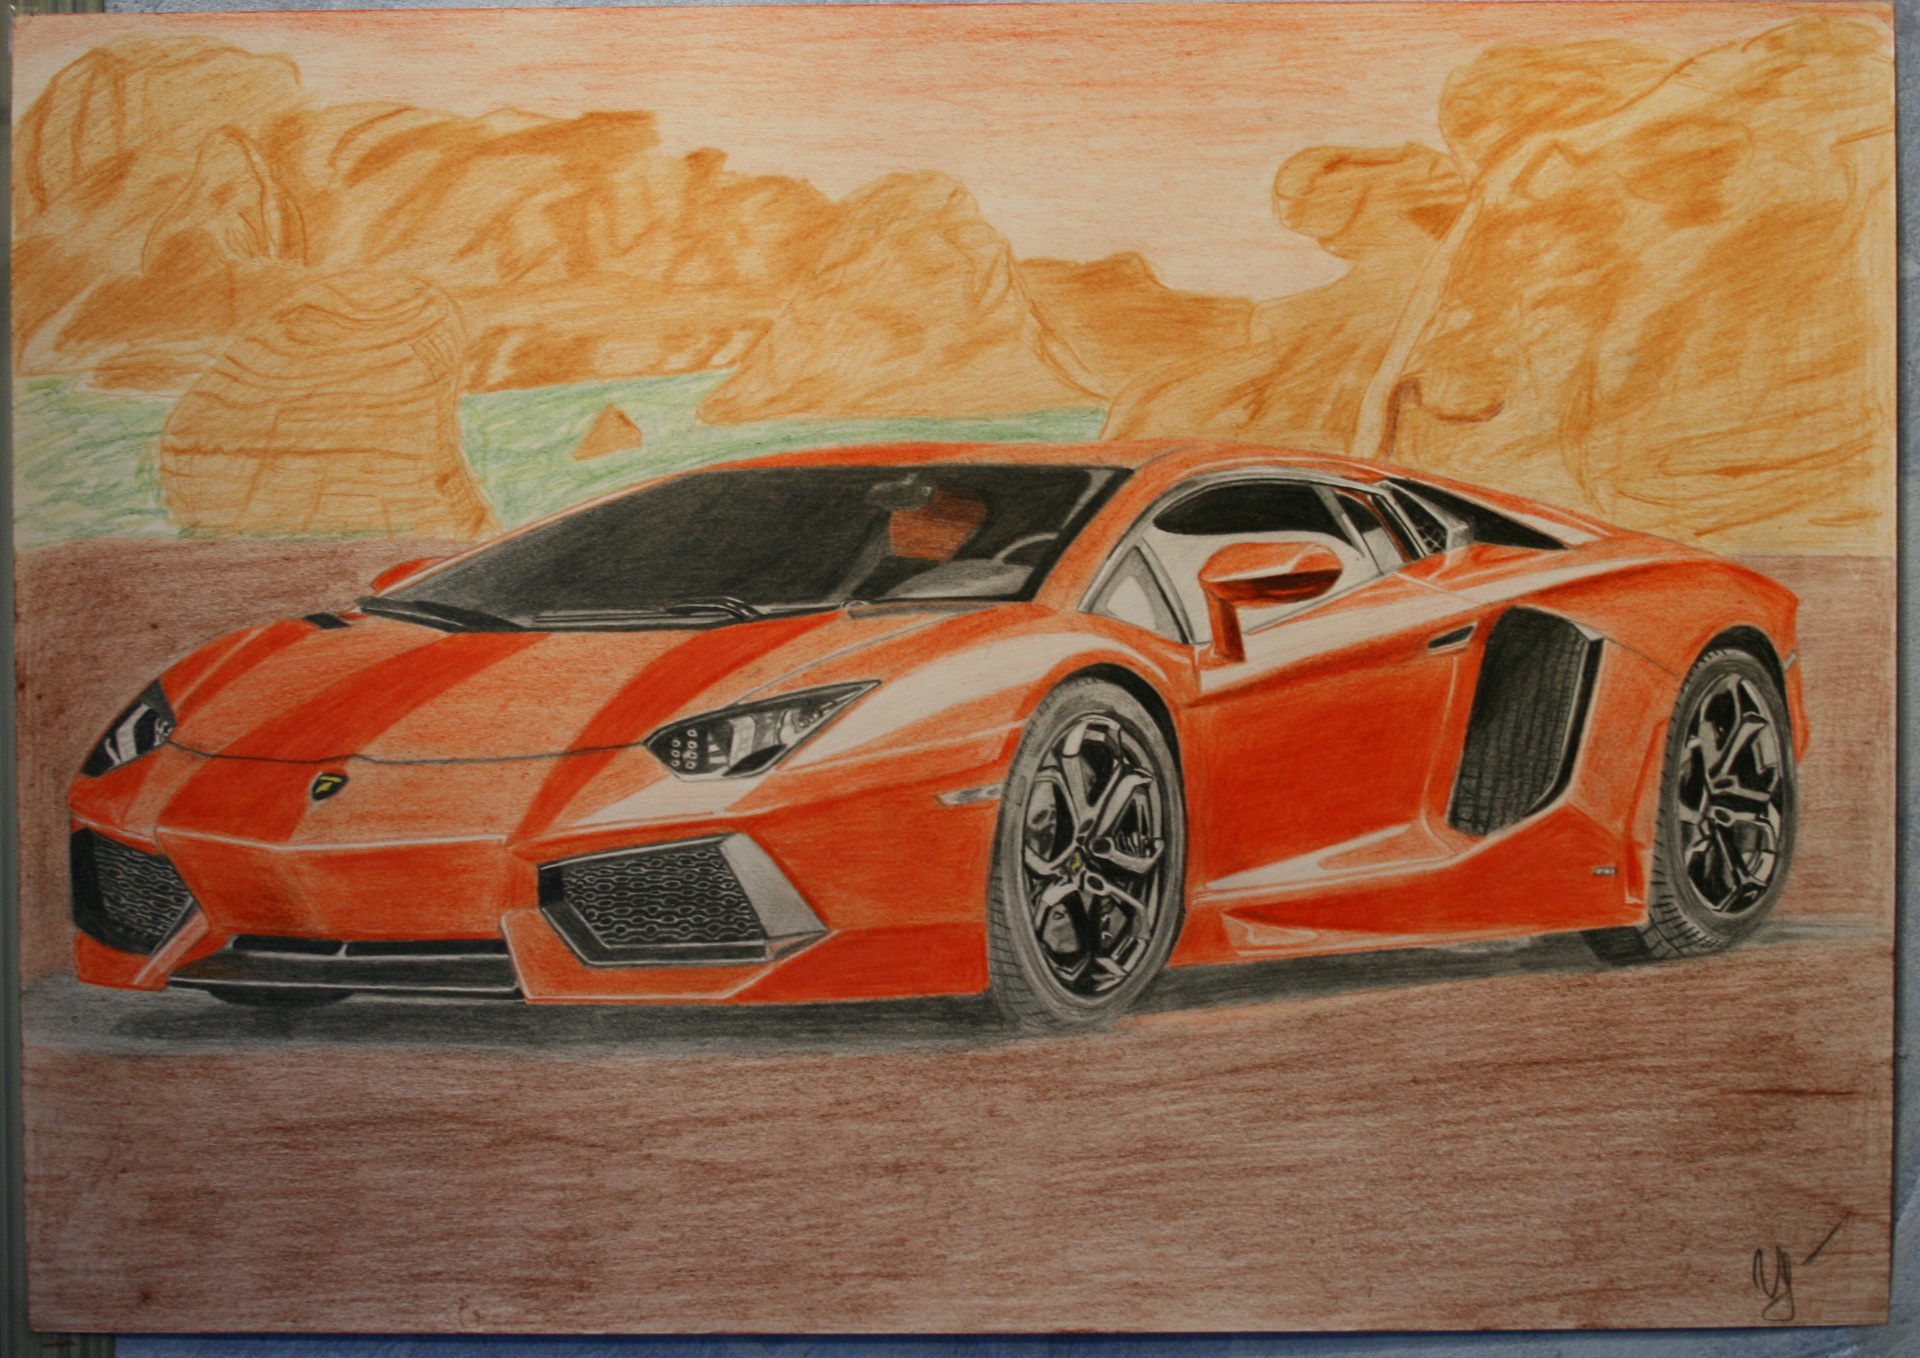
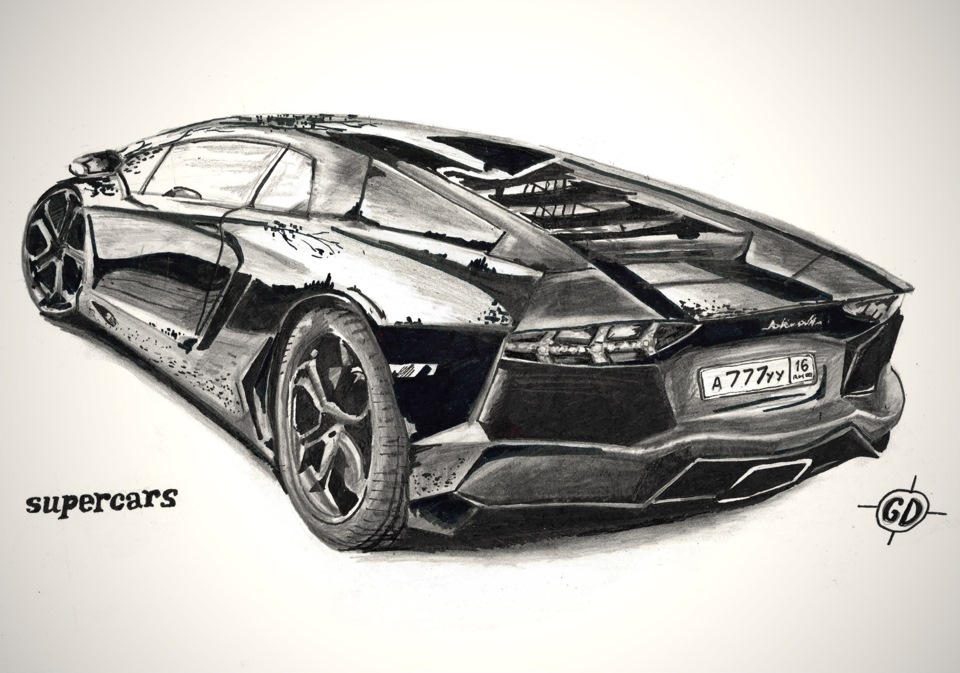
Pictures of cars to draw in pencil