How to draw a deer in pencil: the easiest drawing techniques for kids and beginners
Most beginning artists love to depict a variety of animals. For children's initial training, it is especially helpful to create images of various animals. It is not as difficult as drawing people, but also not as easy as drawing inanimate objects.

Let's try to learn how to draw such a graceful and beautiful animal as a deer. Its beauty and grace is worthy of depiction in painting. Drawing this animal can give you the skills you need to depict more complex subjects.
Ways to draw a deer
- Drawing with geometric shapes.
- Drawing with squares.
- Drawing with flowing auxiliary lines.

Drawing tools
- Sketching paper, notepad, checked notebook or sketchbook with thick sheets.
- Pencils: a hard and a soft pencil (H and B). If you want to get a more vivid picture, you can take paints (watercolor, gouache), colored pencils or crayons.
- An eraser to erase unnecessary elements.
Let's look at several options, how to draw a deer in pencil step by step for beginners in the field of drawing and painting.

The most simple drawing techniques
Drawing with geometric shapes
Most likely, this will be the easiest way for learning people without skill.
- To begin with, you need to draw two ovals of different sizes. The first will be the head of the deer, and the second will be its torso. The second oval must necessarily be five times larger than the first.
- The next step is to draw four lines that will represent the legs, with hooves in the form of small triangles at the bottom.
- Then we must depict a long elongated nose, ears, one horn and a small outline of a second horn at the back. Next, connect the torso and head with two smooth lines - the future neck.
- The next step is to shape the torso, to make a slightly curved shape. Outline of the legs outline with two lines. On the back we draw a little tail.
- Then you can draw shadows, for example, horns and legs, located on the other side of the viewer to make a little darker.
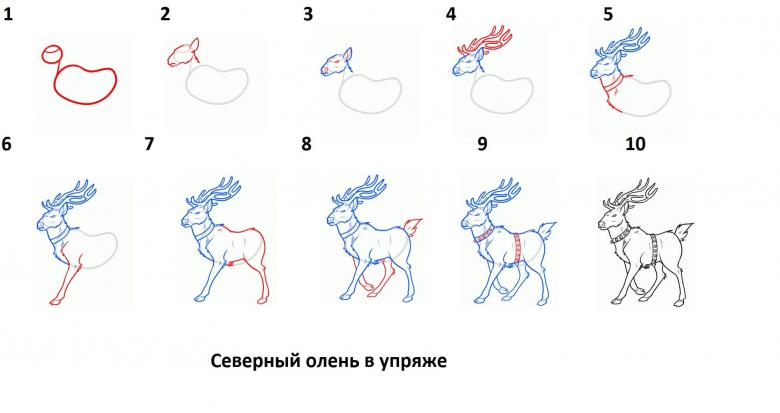
Drawing a deer cell by cell.
Another option how to draw a deer with a pencil step by step for children is a drawing on the cells using an ordinary notebook.
- To begin with you need to take a notebook page in a cell.
- It is better to start drawing from the center of the sheet.
- It is desirable to take a photo or a drawing, which you can rely on when drawing.
- Now you need to draw a jagged line - it will be the front of the deer's head. From the bottom it will be necessary to round it, to get a jaw.
- The bottom of the first line is a thin line in the opposite direction, to get the chin and lower jaw.
- On top of the head to portray an elongated oval eye.
- Even higher is drawn ear with a pointed edge.
- On top of the head traced horns, focusing on the drawing of a deer, or his picture.
- From the ear line a curved line is drawn - the future back of the deer, it is depicted up to the hind legs.
- Next draw the belly from below with a convex arc.
- Now the front and hind legs are drawn, focusing on the sample.
- Behind it is necessary to draw a small tail, optionally add variety to the drawing with colored crayons or pencils and add shadows.
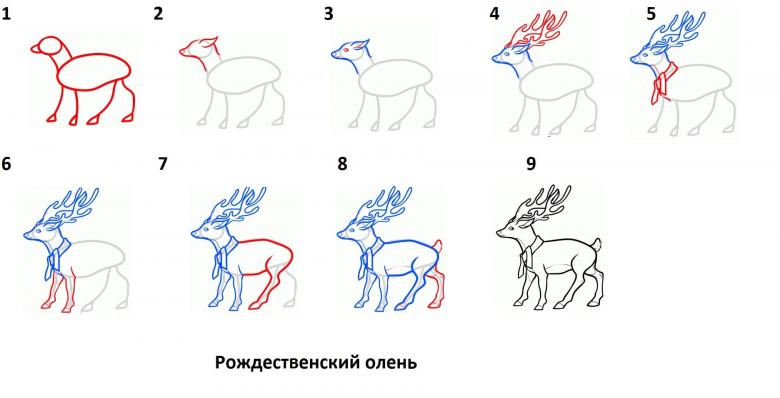
There is another uncomplicated method, how to draw a deer step by step in pencil easily and beautifully.

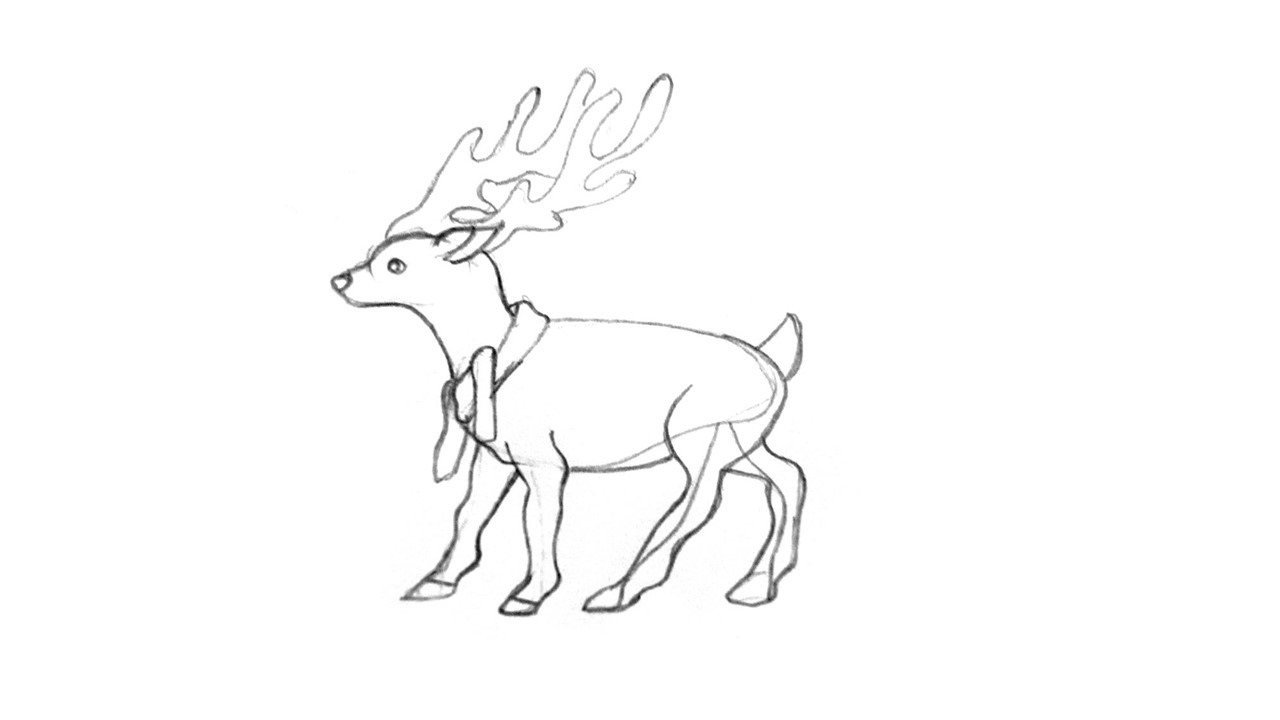
Drawing with flowing lines
- It is useful to take a drawing or photo of a deer for the basis and be guided by it.
- In the beginning, a reference schematic drawing is depicted. The drawing starts with the head, then a trapezoid is drawn. The trapezoid will then become the torso of the deer.
- Next, it is necessary to draw the contours of the animal in more detail. Draw head, ears, neck and legs of the animal.
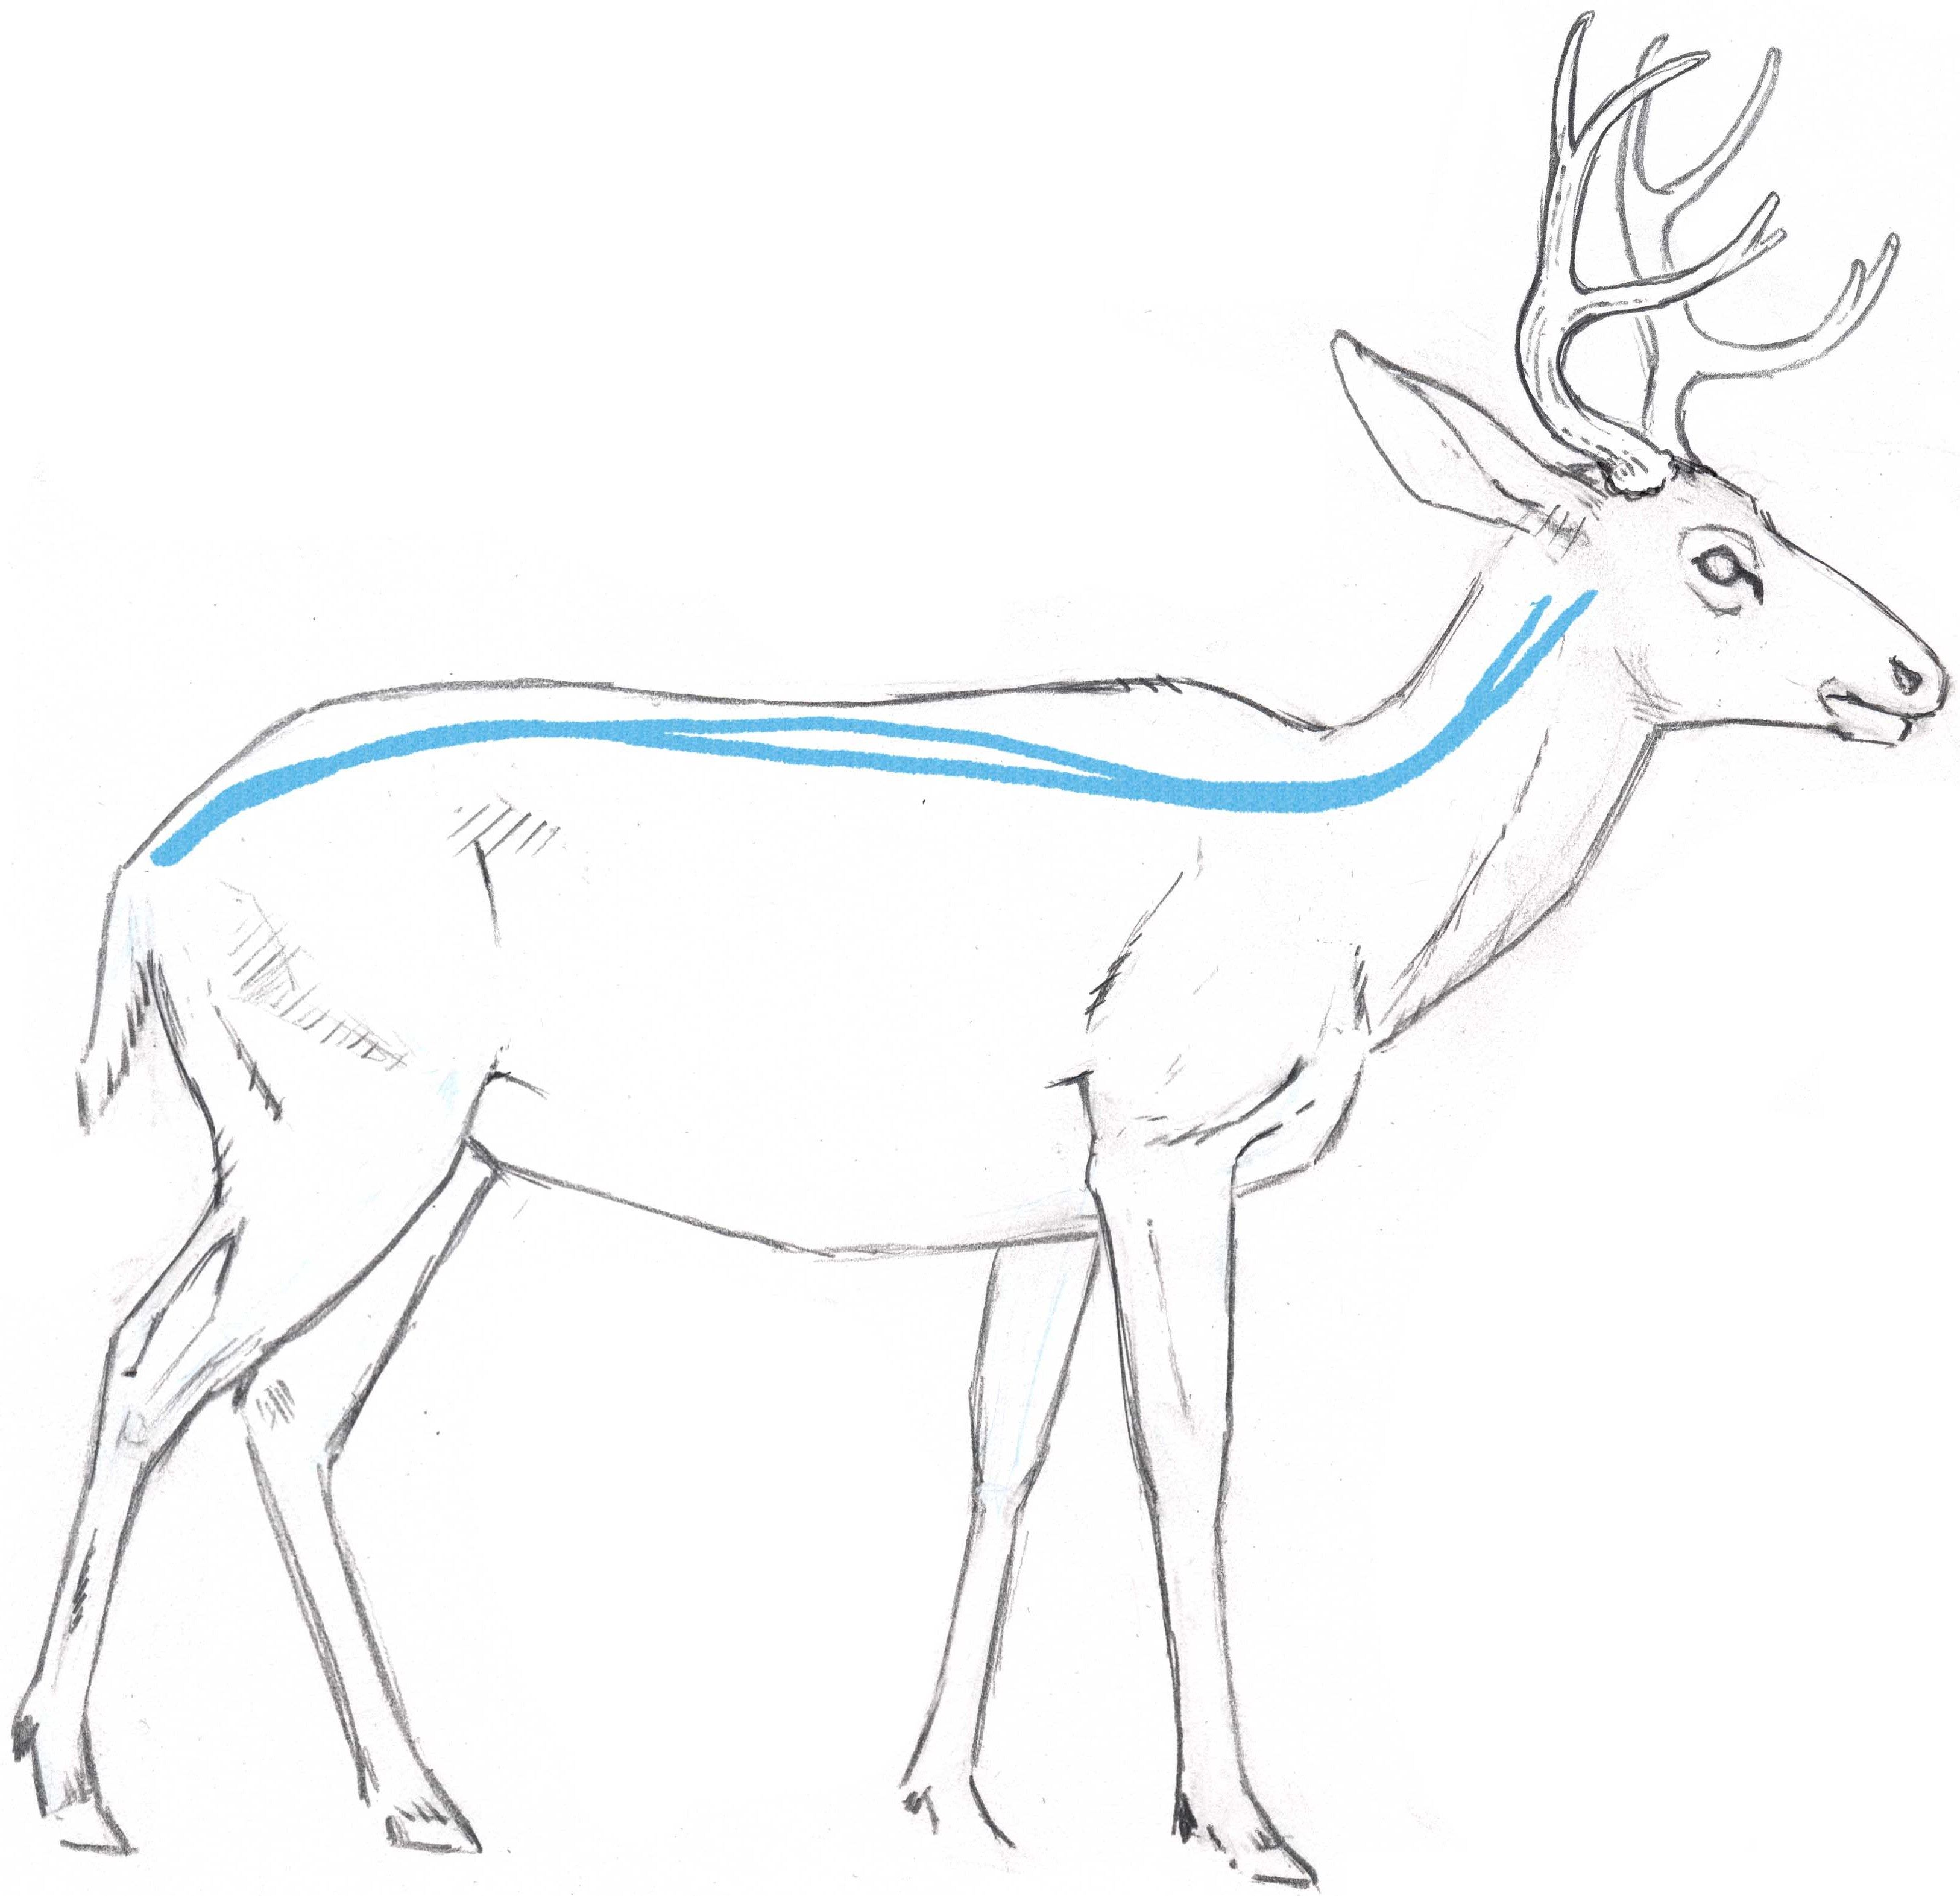
- Then it is necessary to trace the contour of its back, to draw a convex abdomen and daughters hind legs.
- Next, you need to erase unnecessary contours, highlight the muzzle of the deer, the nose and trace almond-shaped eyes.
- Then the horns are drawn, as shown in the sample. It is possible to highlight the shadows with a darker color and add volume to the drawing.

Master classes on drawing animals in pencil
For many creative beginners, especially for young children and schoolchildren it will be interesting and useful to take part in a master class "How to draw a deer step by step in pencil".

In such events, the leader or teacher shows and tells in detail each step, and participants repeat all the steps. This gives a certain creative motivation and helps to quickly remember the materials used and the order of operations.
Information about master classes can be found on thematic websites, social networks, art studios, schools, children's parties or on advertising banners.
Good advice for artists
- In addition to the usual graphite pencil, you should also use colored pencils. The drawing will turn out more lively.
- For the convenience of teaching young children to draw, you can use a stencil with a silhouette of a deer. It should be circled.
- Also, for a more realistic image, you can draw a beautiful background or landscape on the back.
- You can combine several materials, such as watercolor paints and a gel pen to decorate the picture. It all depends on your imagination.
- For those artists who have already mastered basic skills, you can take on a more complex technique of drawing, a more detailed drawing of the background and small elements of the picture, a detailed depiction of shadows and highlights, finish drawing wool.

This article suggests several different ways to draw a deer step by step. This is one of the beautiful and noble animals. Images of deer are often used in Christmas cards or posters. In drawing this animal you can develop imagination and motor skills of hands, and apply different techniques for decorating the image.
For example, to paint it with colored paints, or decorate it with glitter, mold details with plasticine together with children, if you want to make a beautiful handicraft, or an unusual gift.
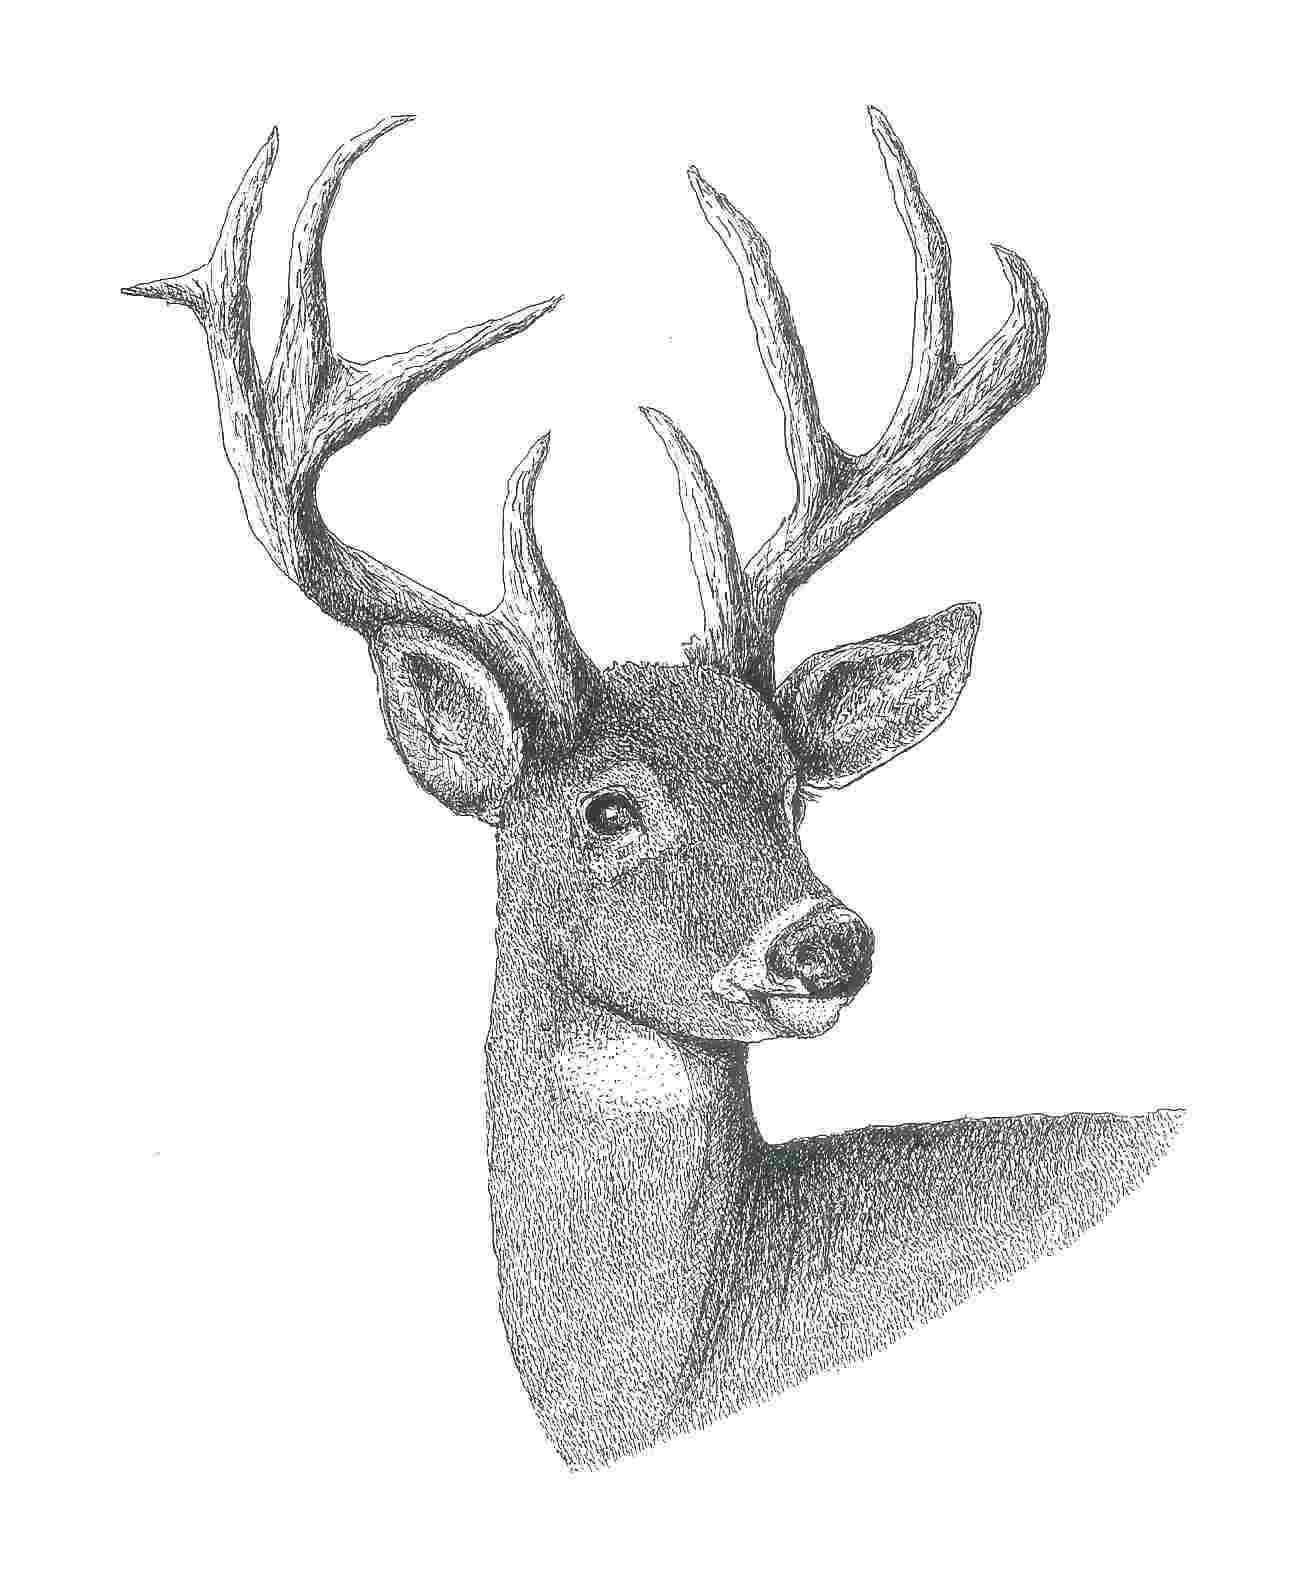
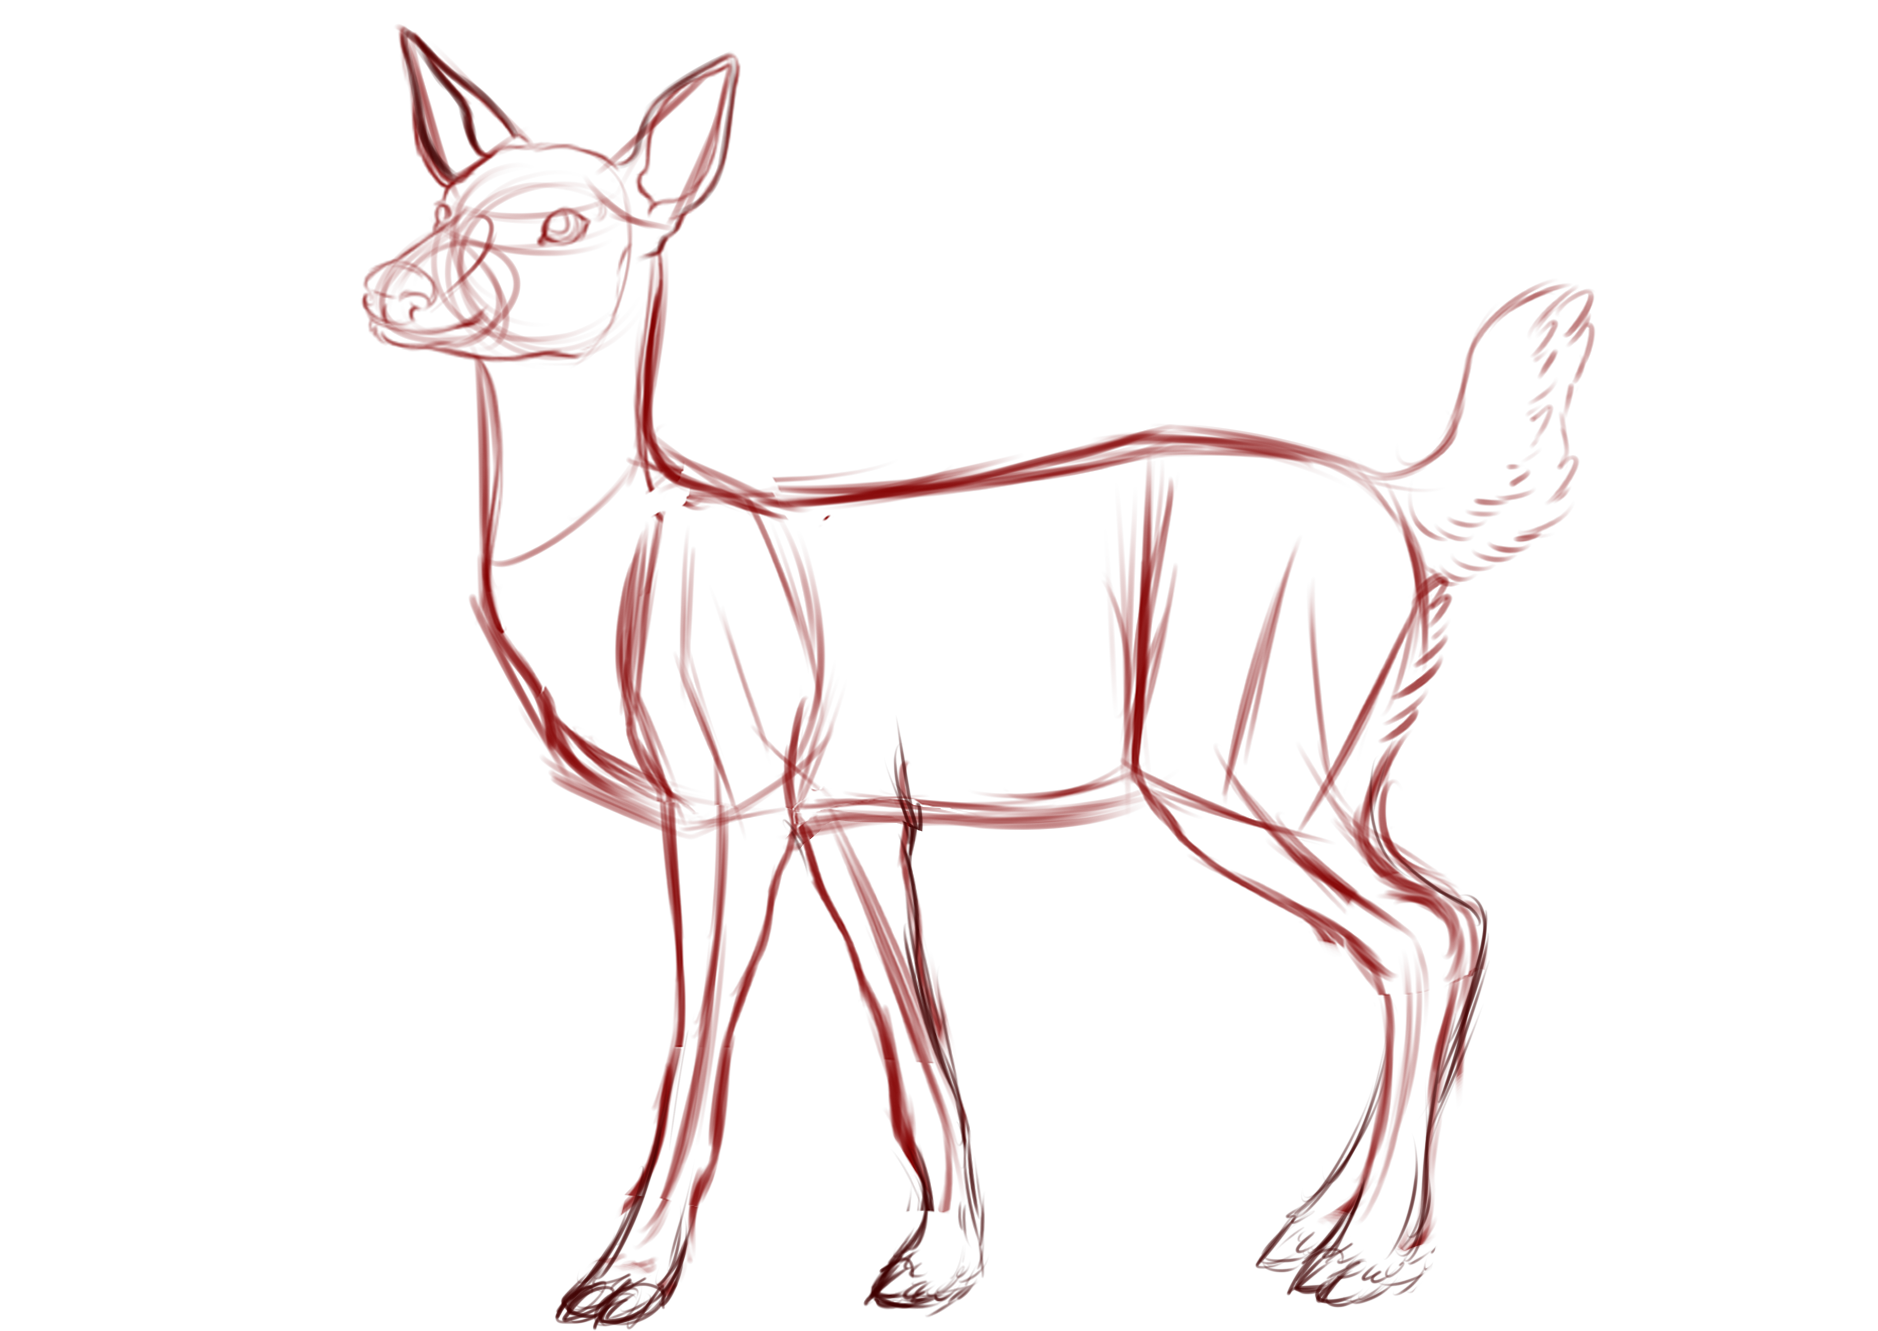
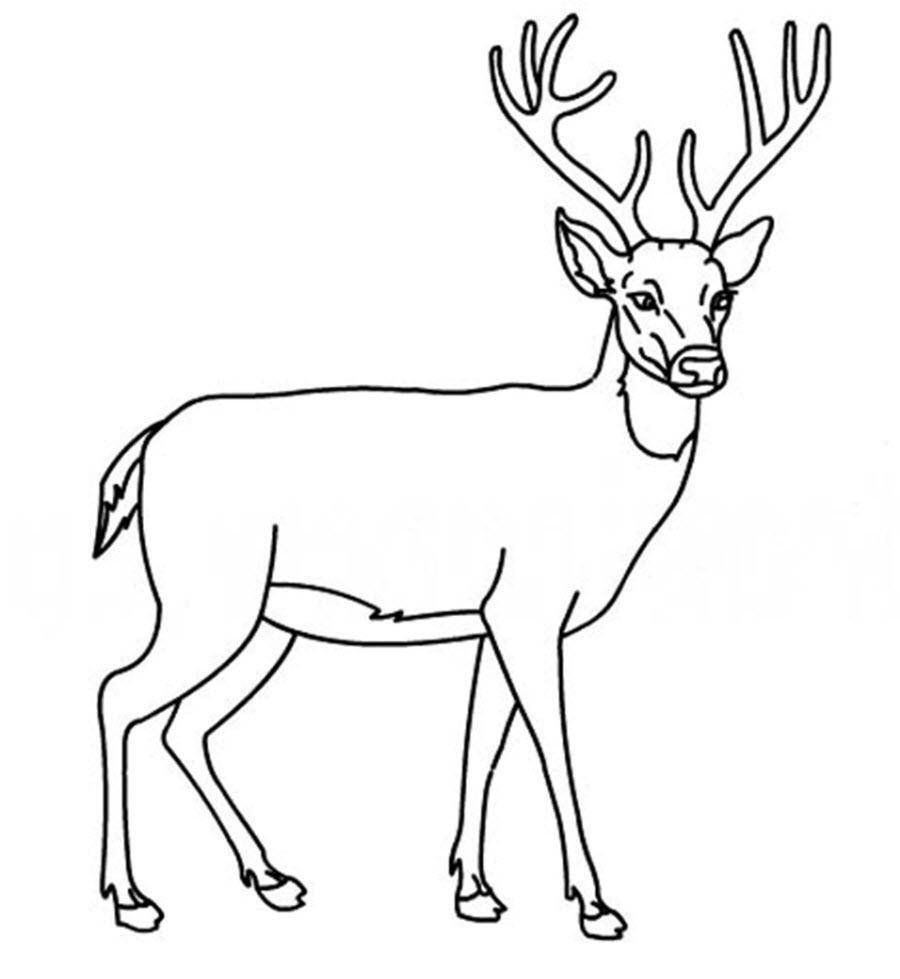
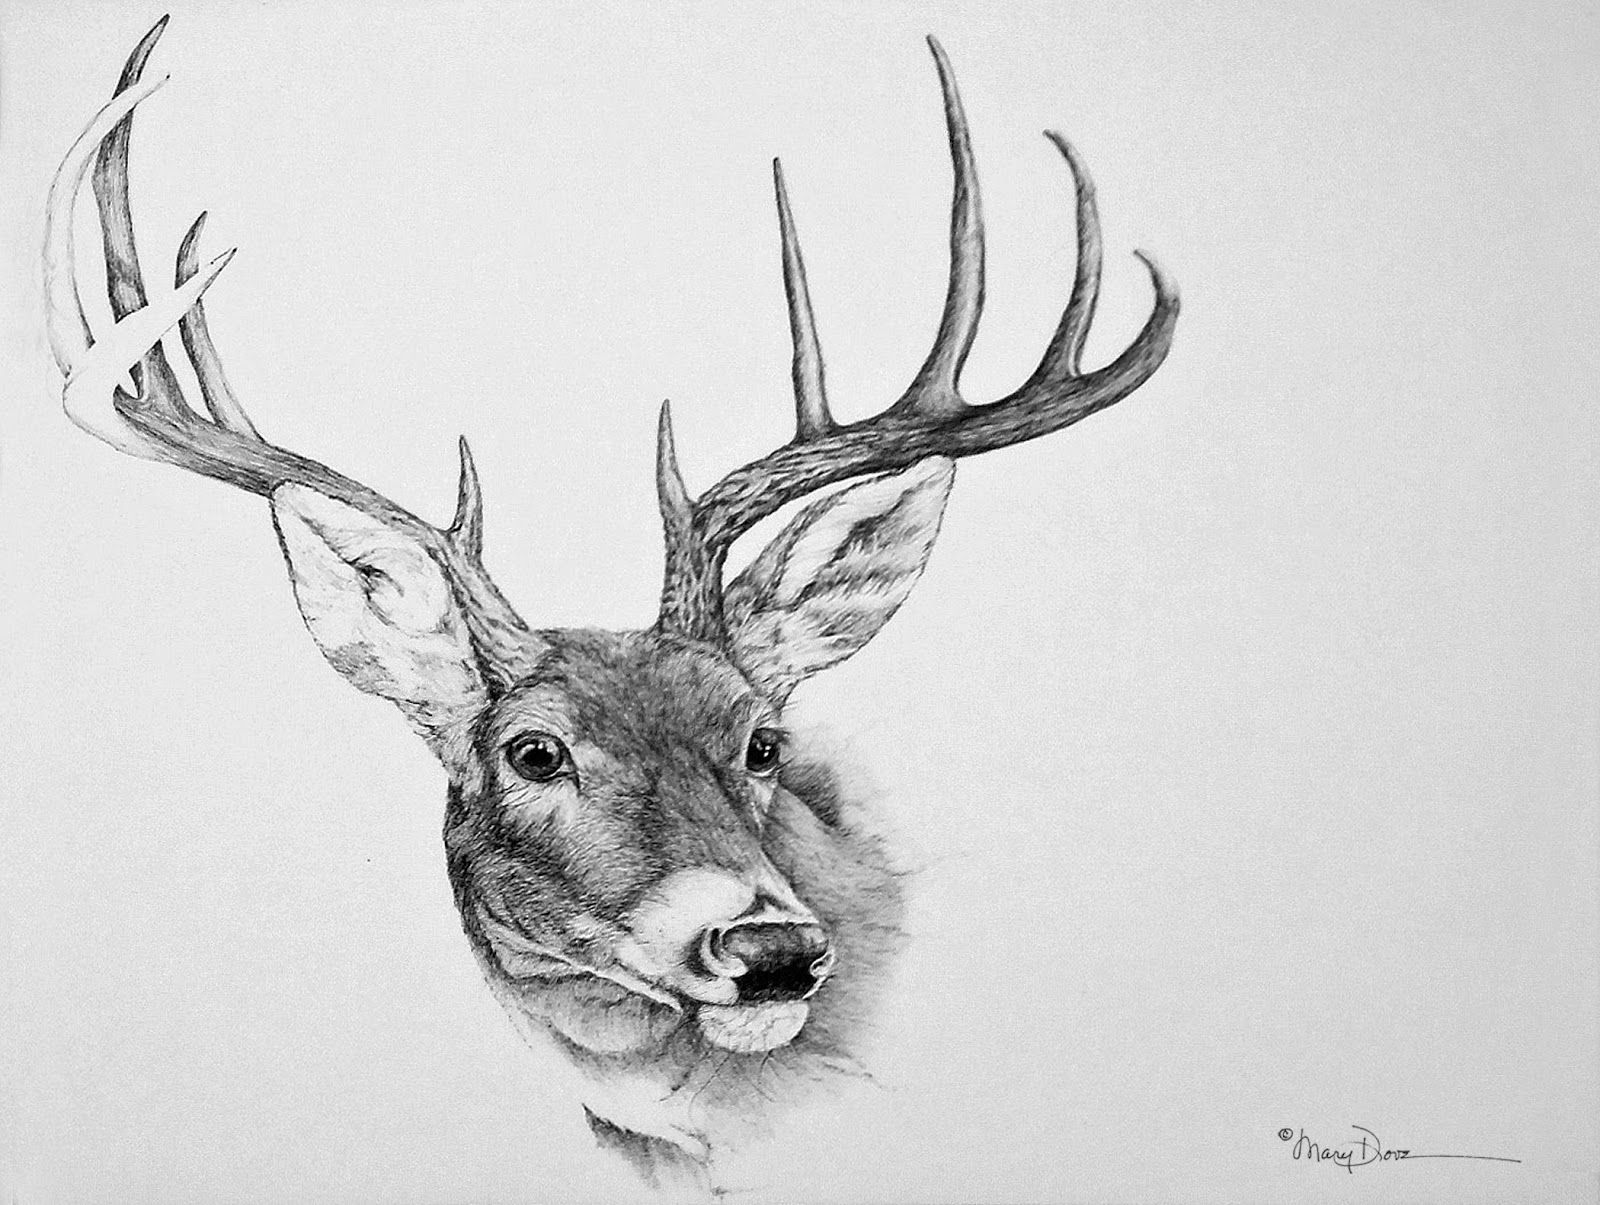
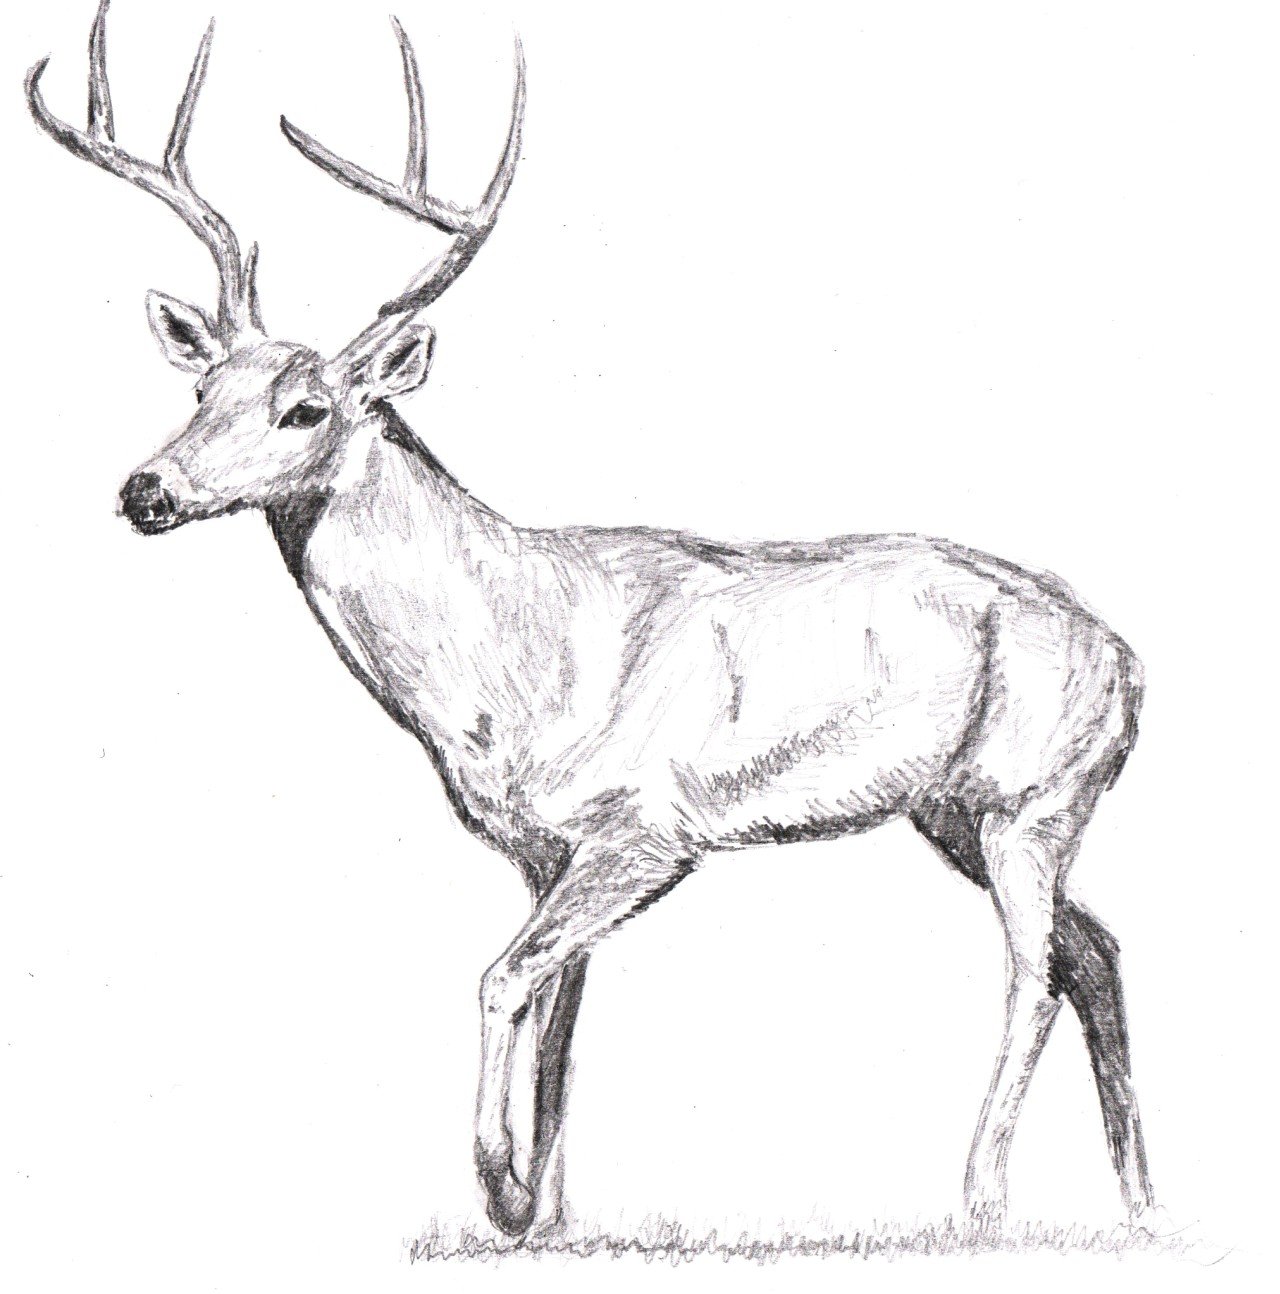
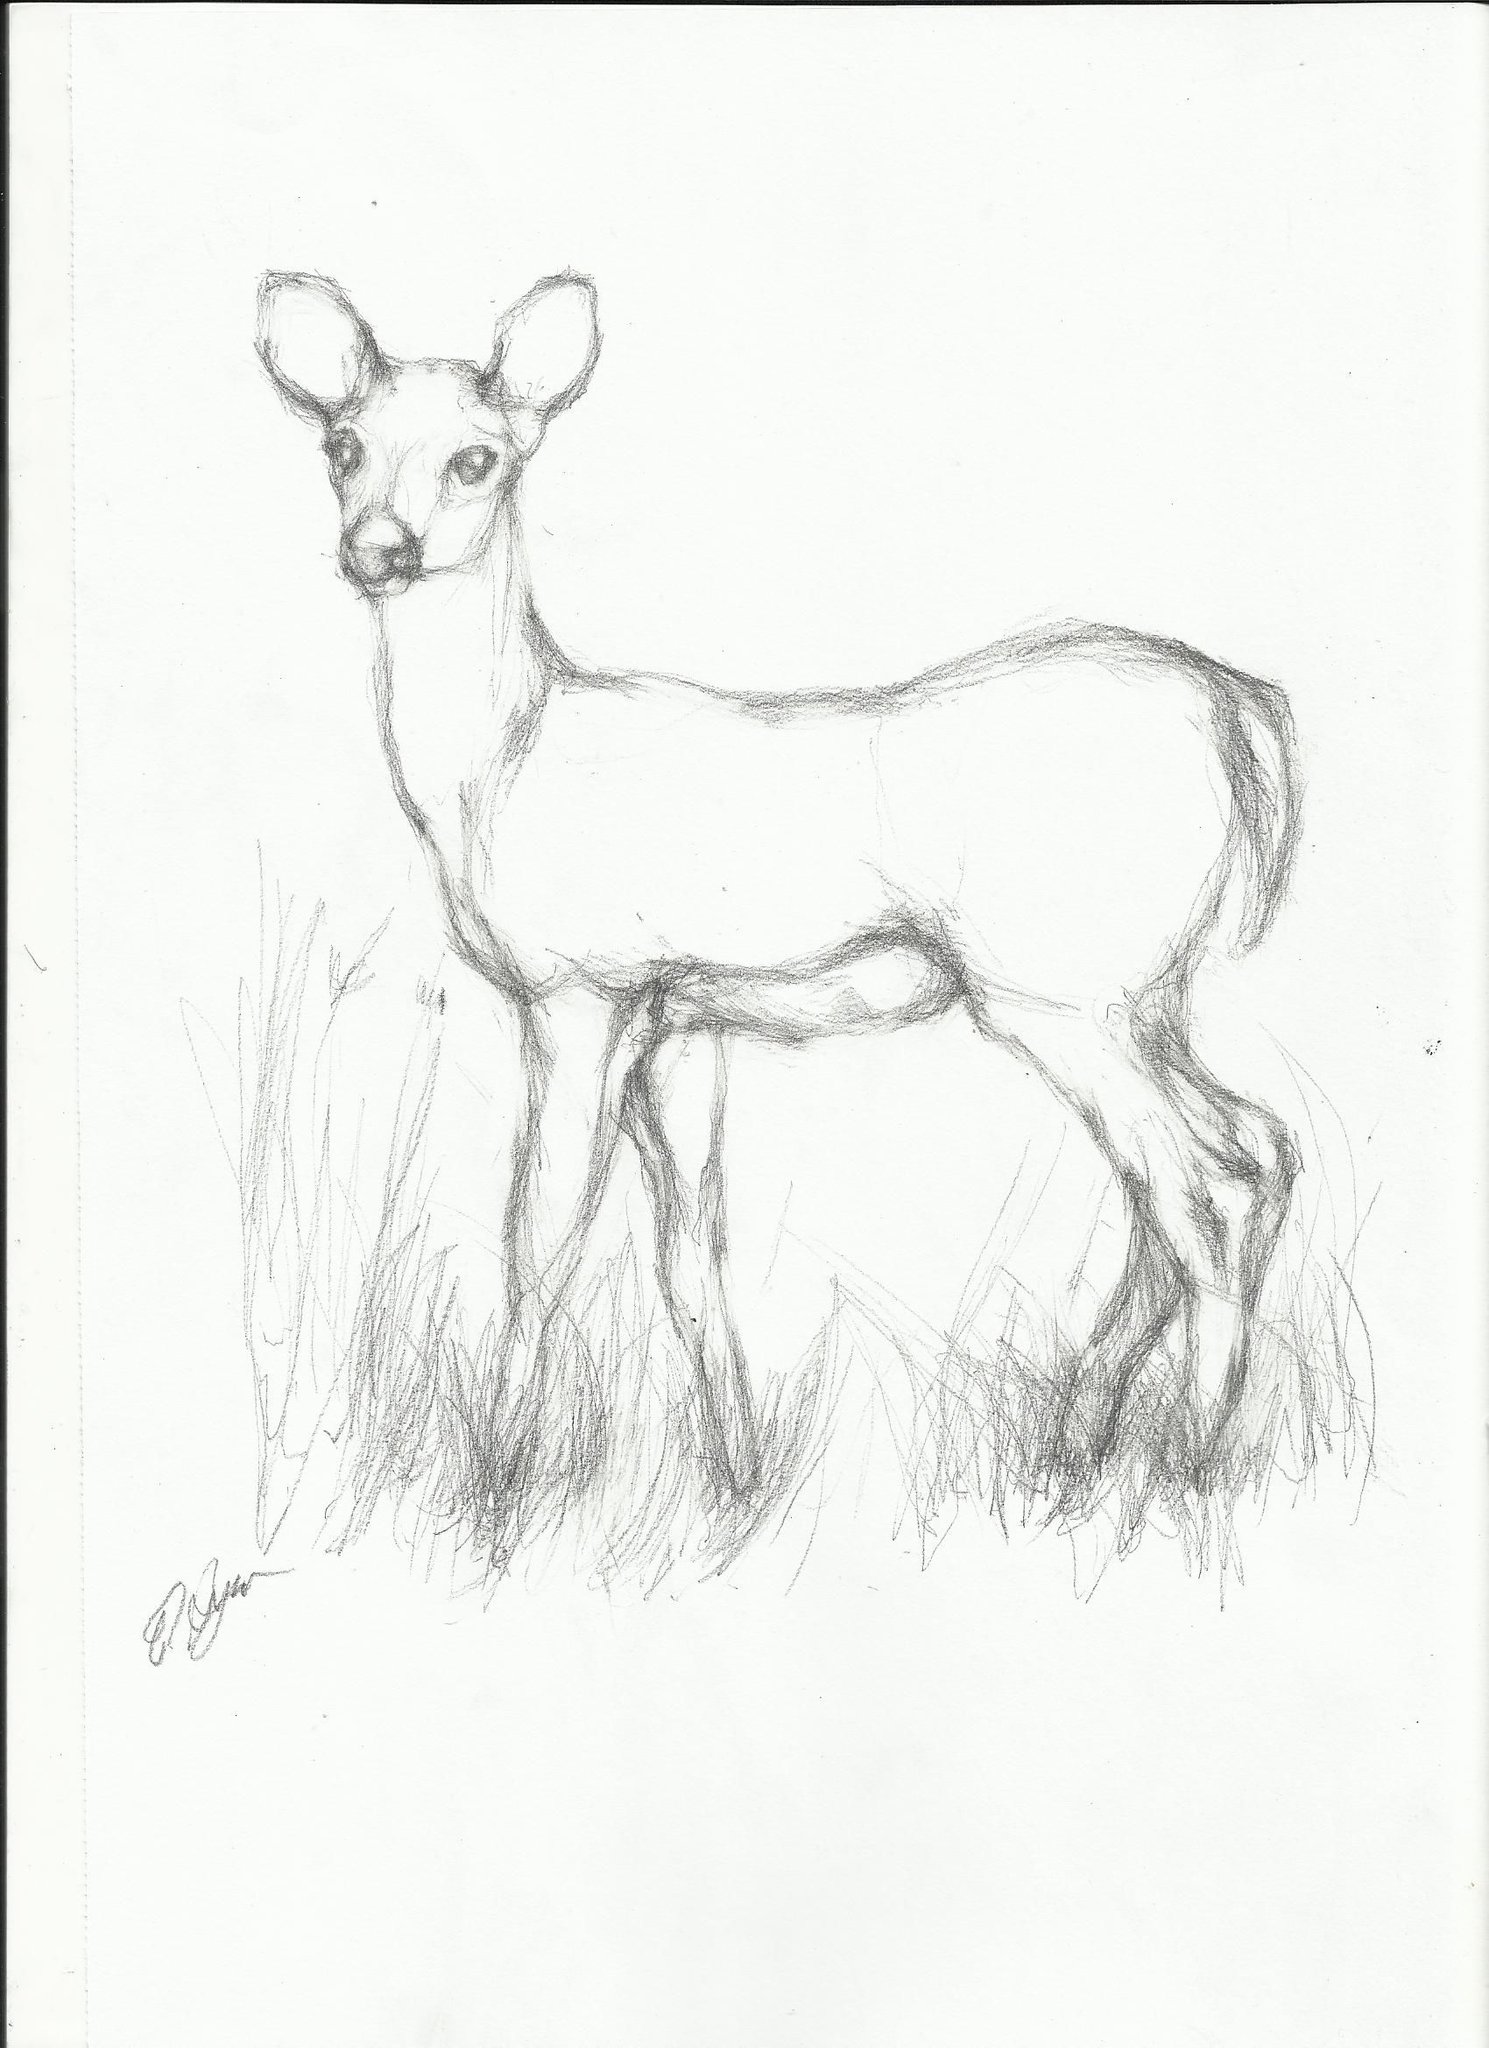
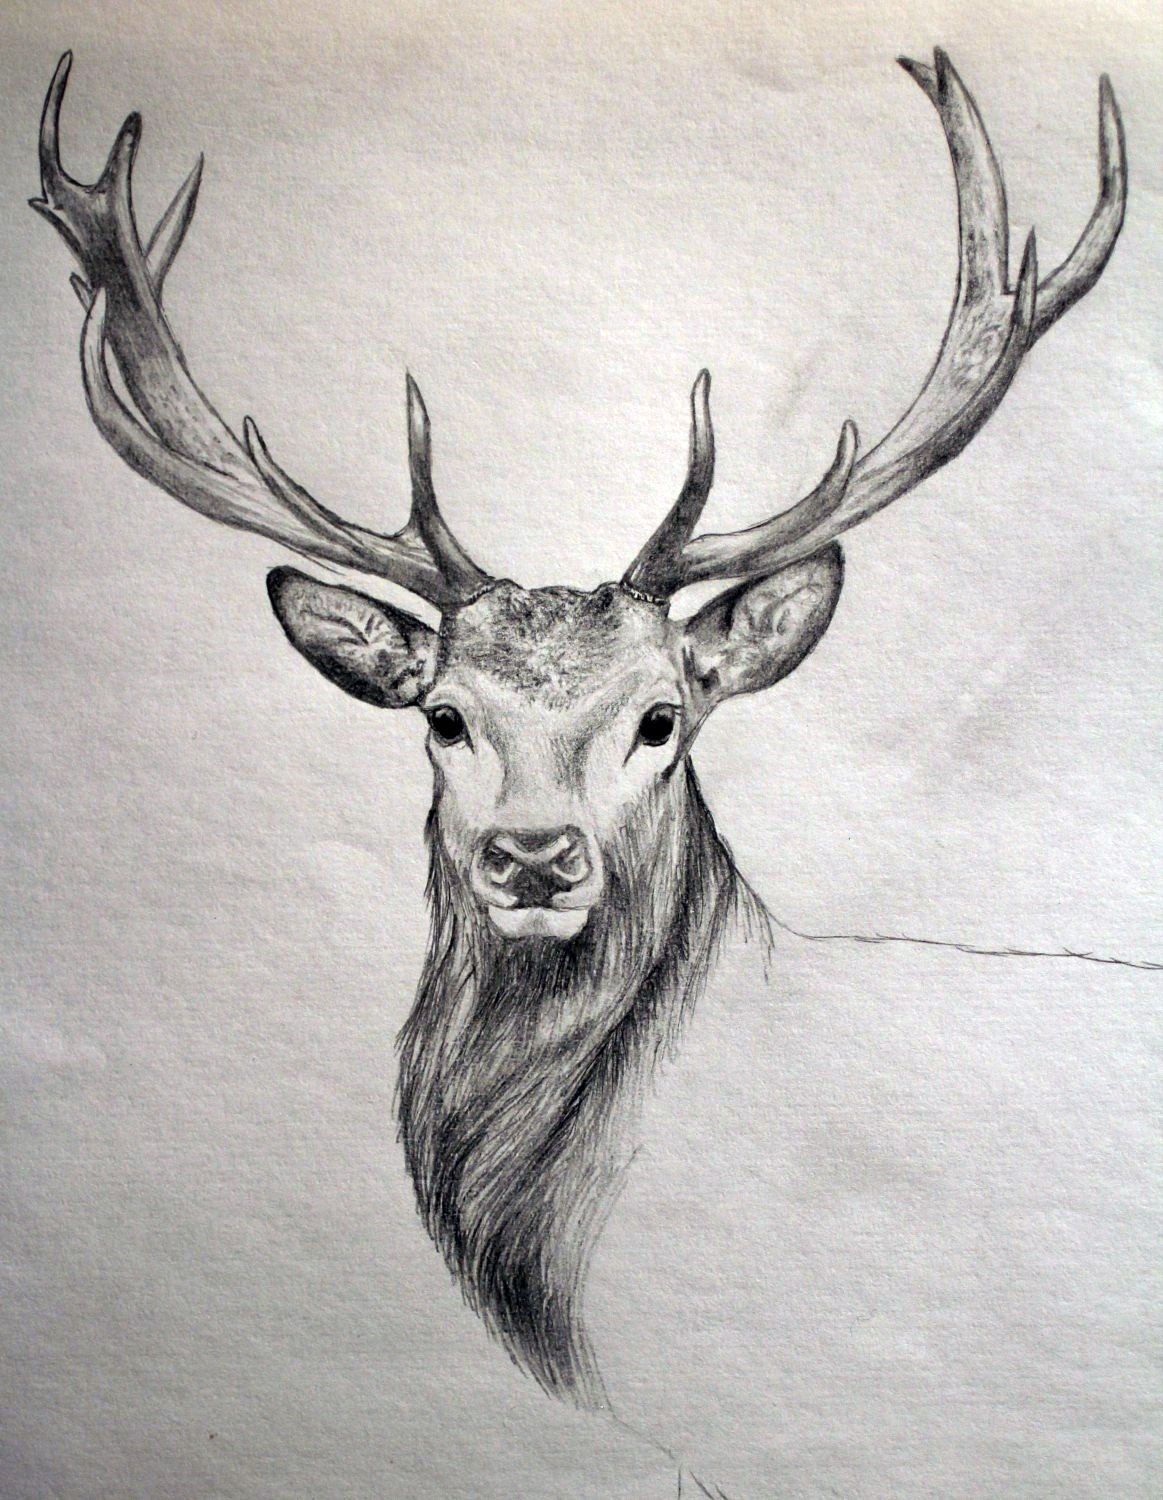
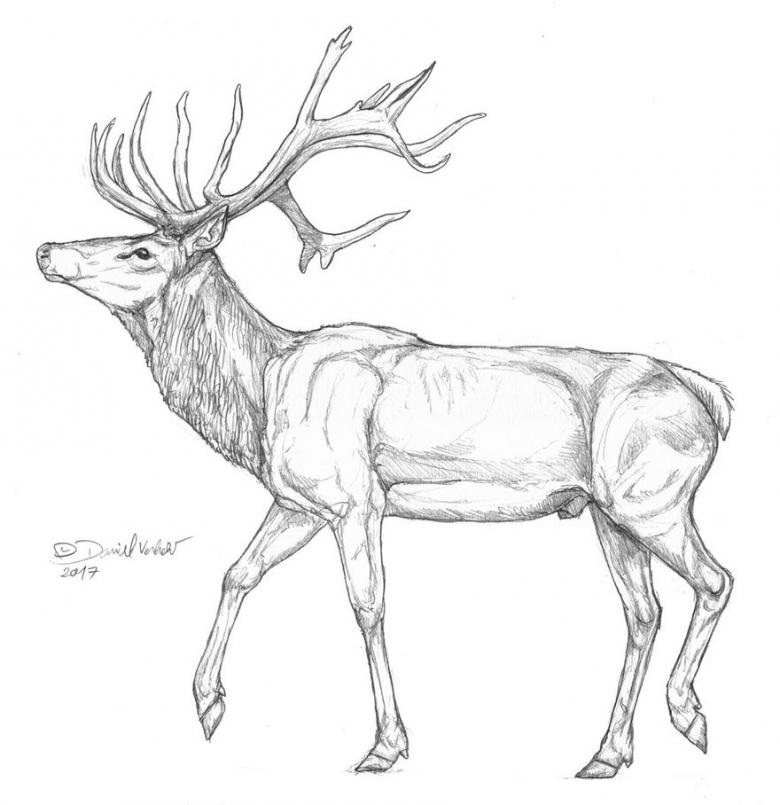
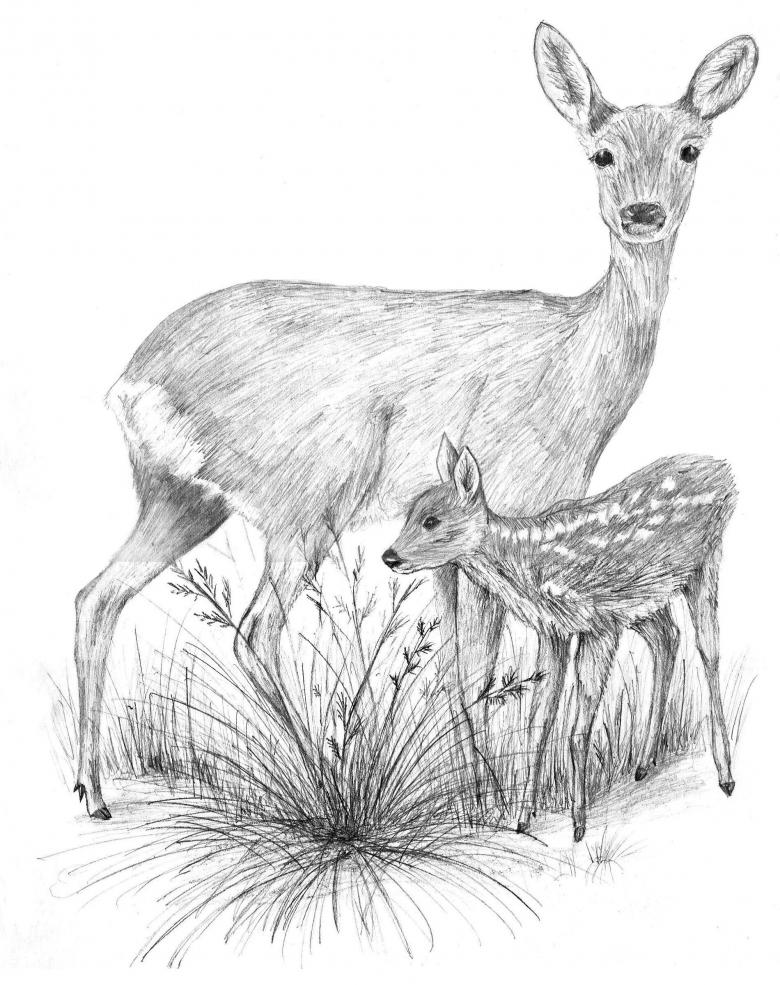
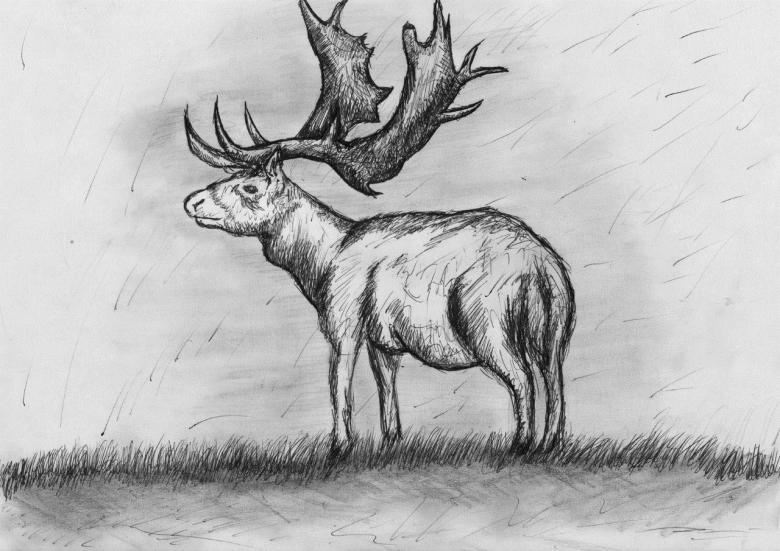
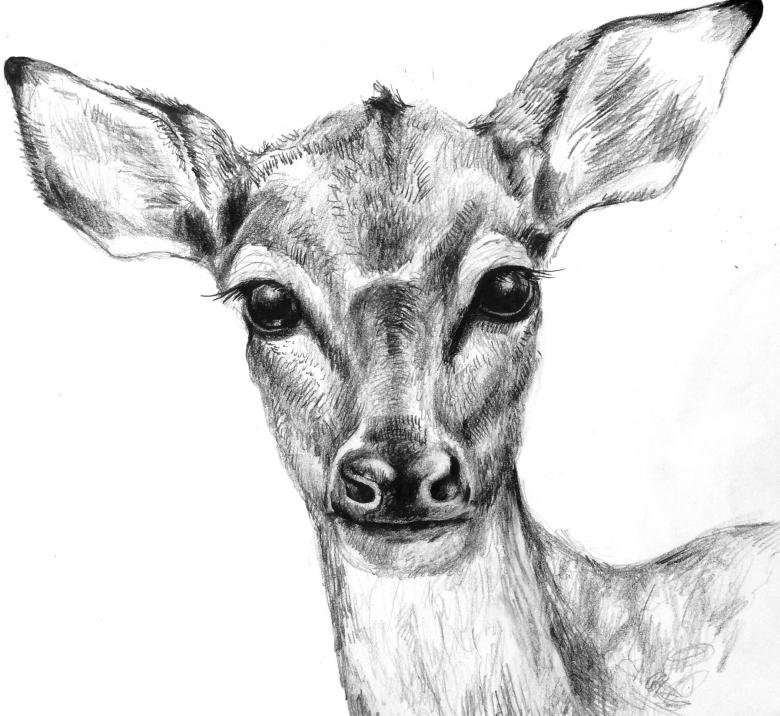
Pictures of a deer to sketch in pencil