How to Draw an Apple with a Pencil - Step-by-Step Sketch with Illustrations for Children and Beginners
It is believed that drawing an apple is not difficult, because you can always work with nature, which makes the work easier. But the young artist does not always have an understanding of how to draw an apple step by step, where to start, how to show the volume of the fruit, the fall of light on it.
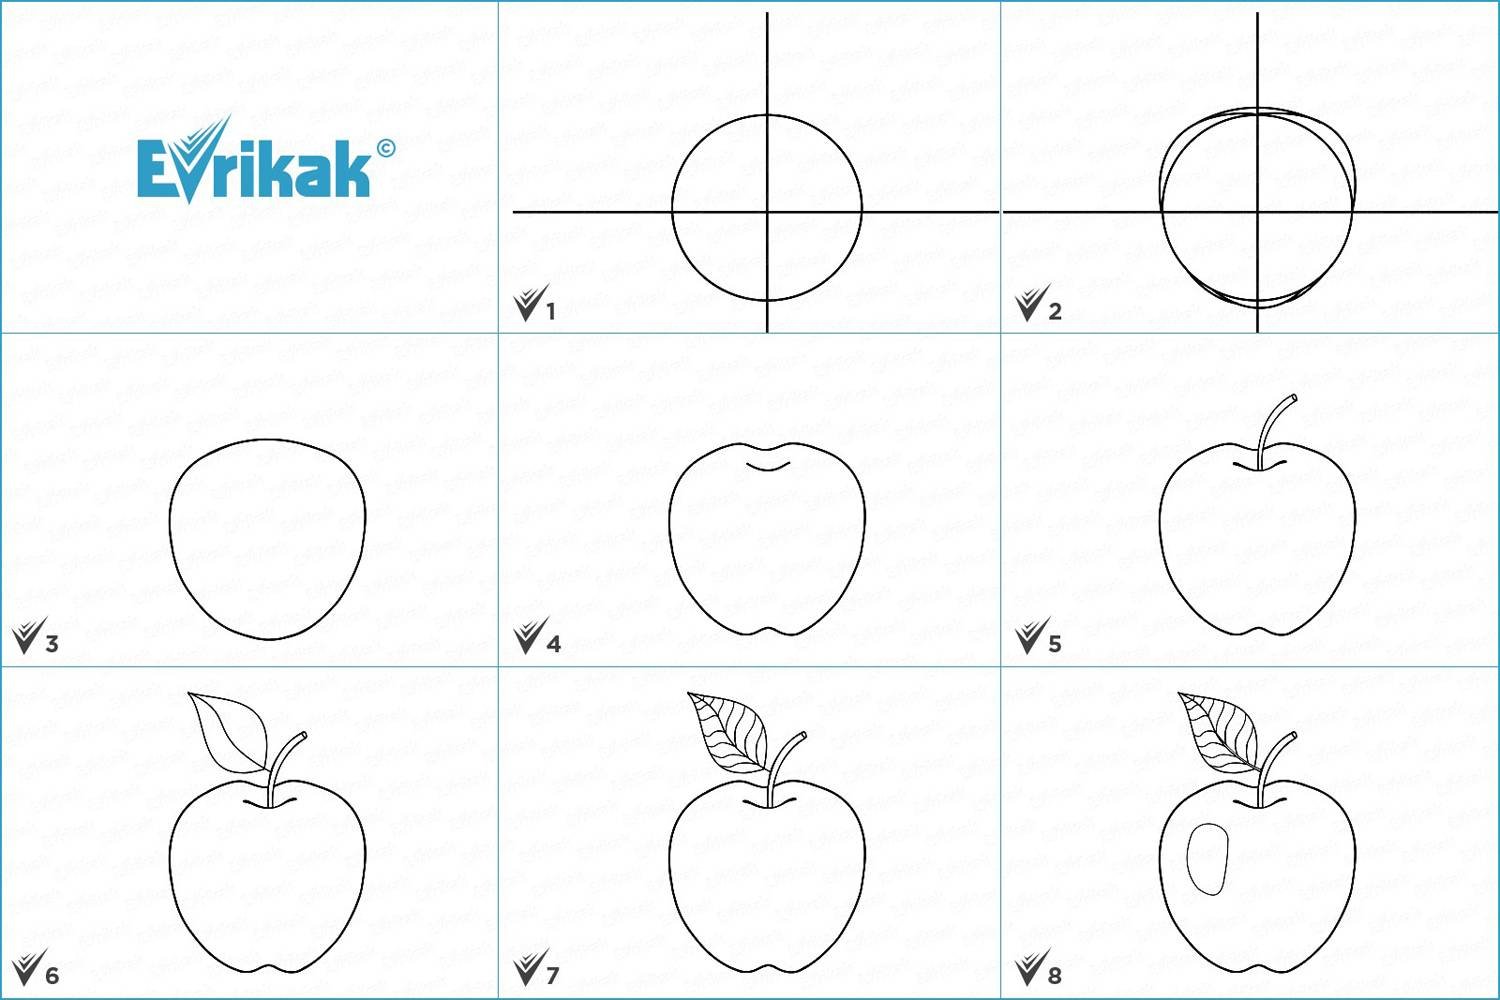
Simple steps to a linear depiction of an apple
Drawing a beginner is better to start with a soft simple pencil. For beginners, the master class on how to draw an apple in pencil is broken down into steps. They make the task easier and allow you to get an image close to the real thing, even a person who has just begun to learn to draw.
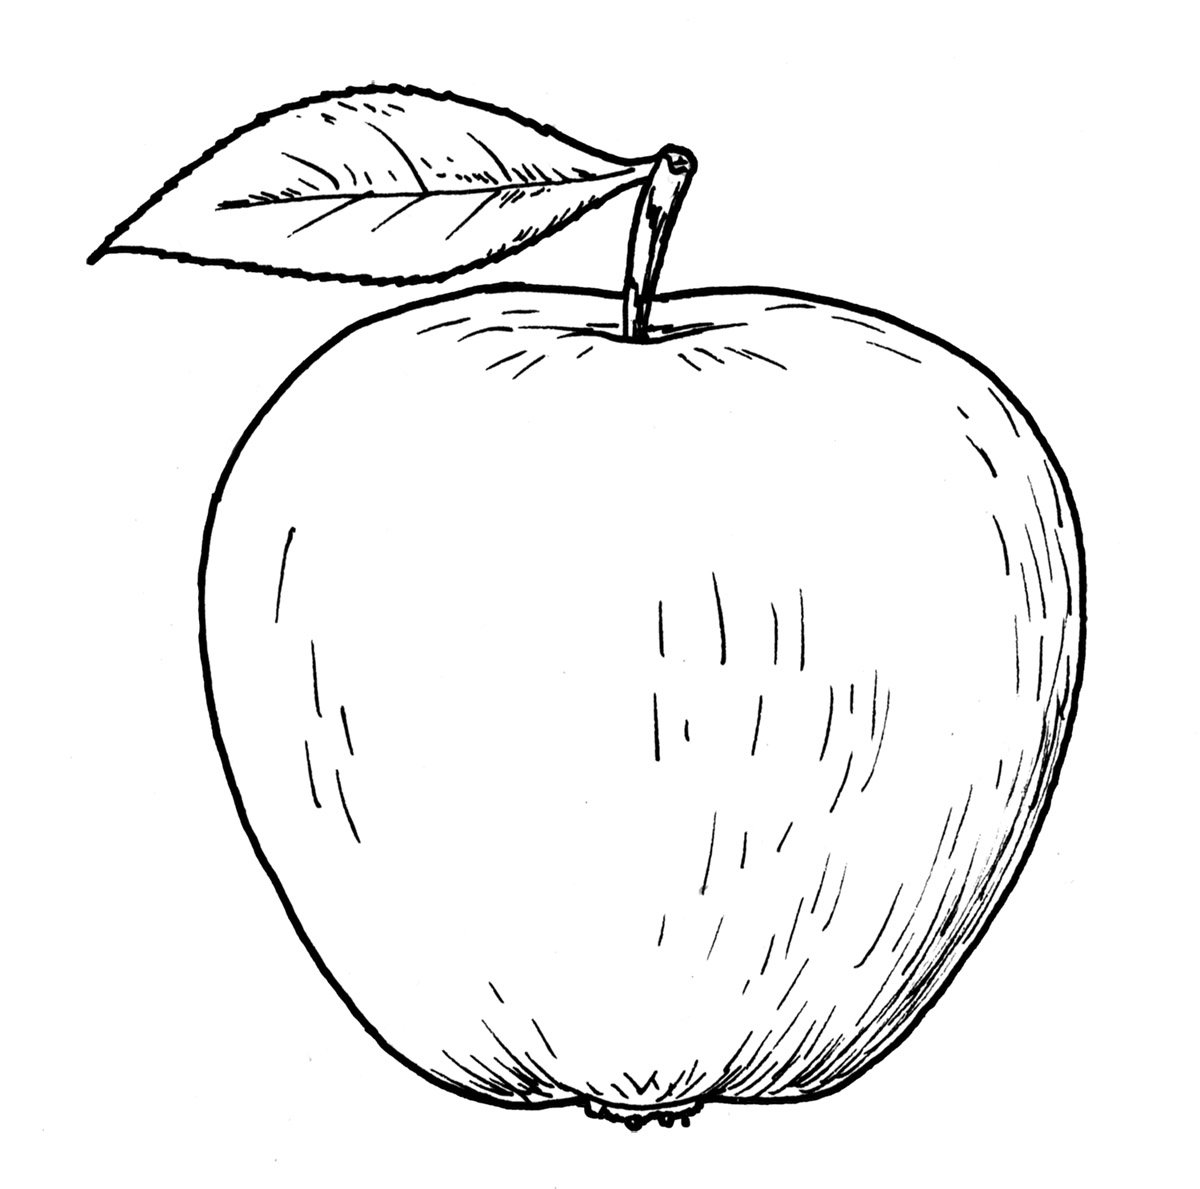
- The shape of an apple is close to an oval. An oval is drawn with a "glass" submerged in it. It is in contact with the side walls, but does not reach the bottom.
- The lower part of the oval is extended to the base, and its contour is drawn with the letter "W".
- The contour of the upper part is drawn curved.
- The depression on the apple, where the stem grows, is depicted by a small curved line at the top.
- The stalk itself is a small figure resembling a bean and two downward sloping lines.
- The image of the leaf consists of three elements: a curved line, a small oval, a triangle with a sharp top.
- The main contour lines of the leaf are drawn.
- On the right side of the apple is drawn flare in the form of the letter "D".
- Linear drawing of the fruit is completely ready after it will be outlined with thick lines.
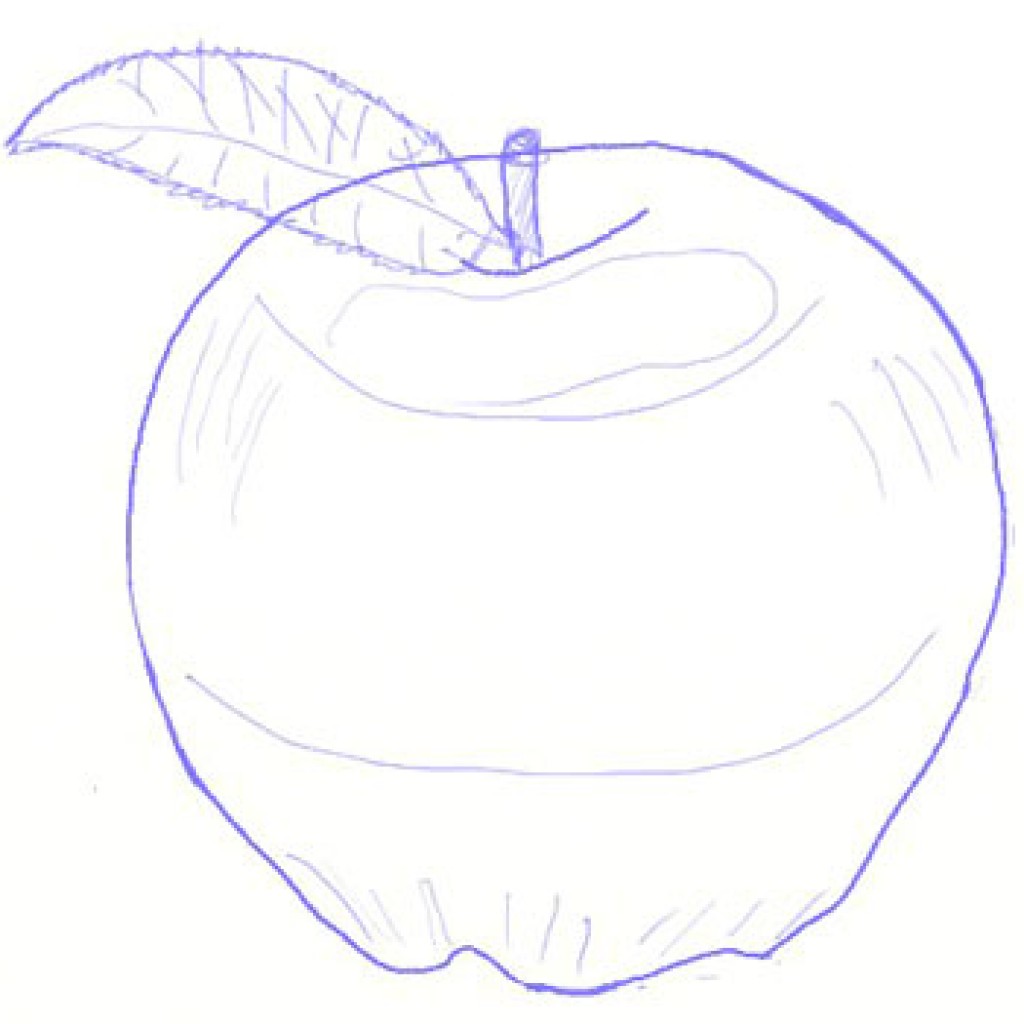
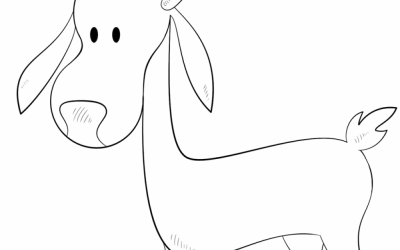
A kid can also draw such an apple. There is another tip on how a young artist can easily and simply draw an apple of the right size.
Tip: On a piece of paper you draw a square, for example 8x8. The outline of an apple is drawn inside of it.
- Dorisovyvaetsya wand with leaves.
- Wiped lines square and the remaining auxiliary lines.

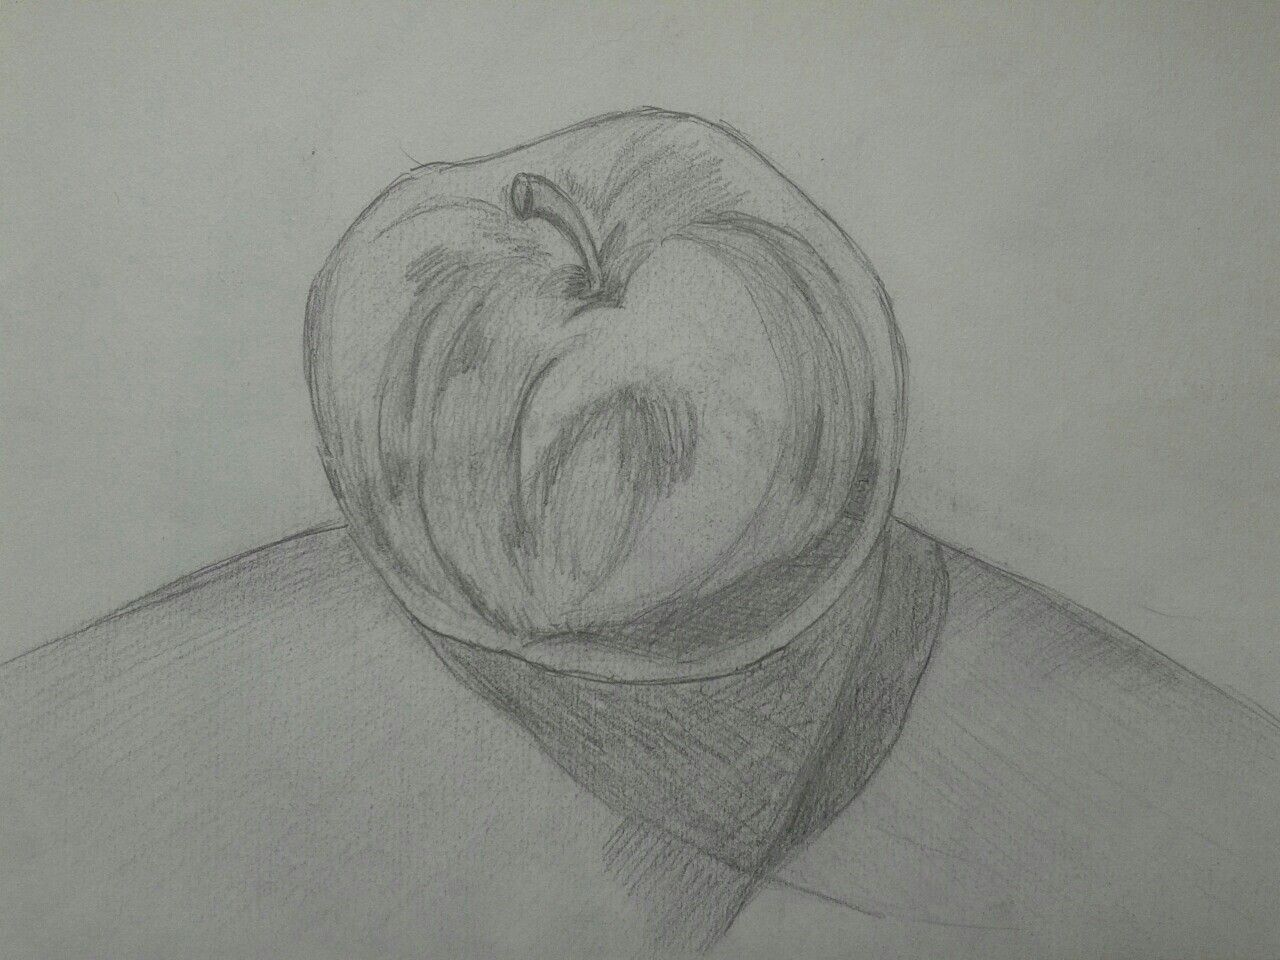
Volumetric apple
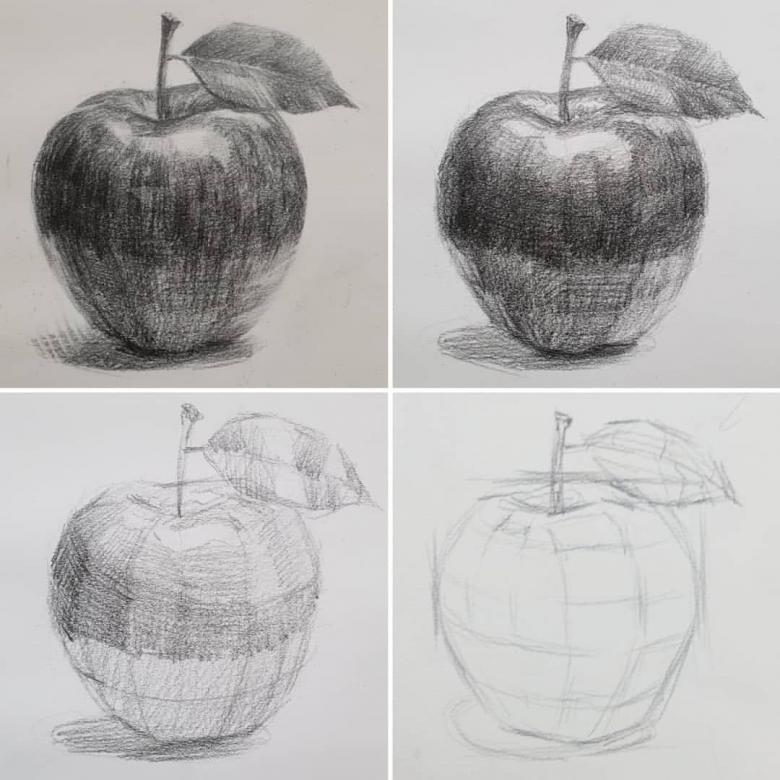
The second part of the master class is the steps that teach how to draw an apple in pencil with shadow.
Applying shadow to the apple
- On the apple with a pencil without applying force, the dark areas are applied.
- Already with a strong pressure on the pencil, new lines are drawn on these dark areas so that they extend and the transition of colors is respected.

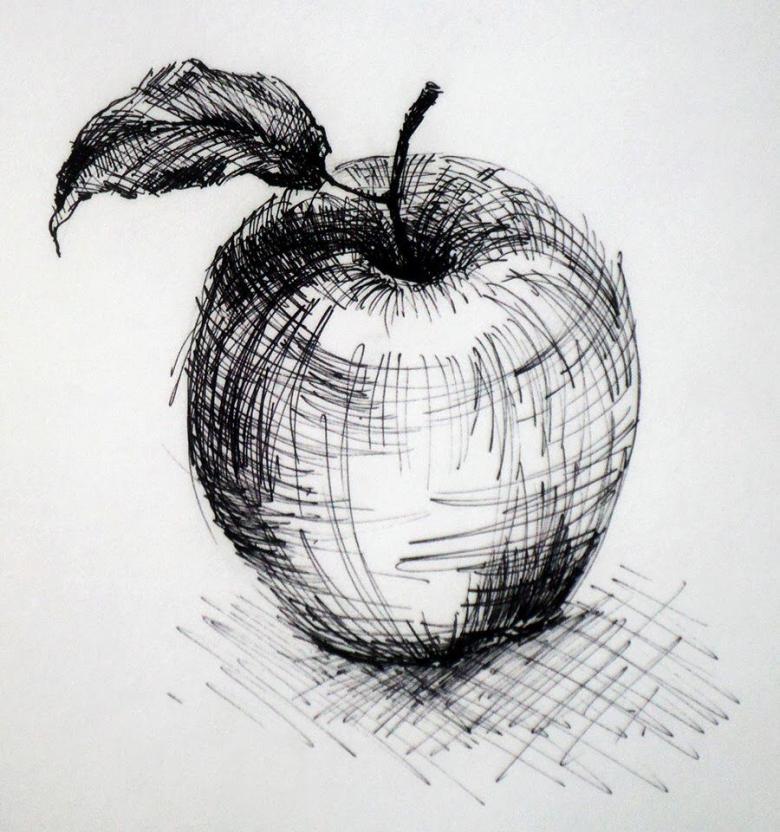
Hatching crosswise to cross as in the picture "a" is used to darken the area. The dark background is created when the short parallel lines are applied first, and then they are covered with long lines, as in the picture "b".

If more darkening is needed, then perpendicular lines are added, picture "c". The "d" shading is a liquefied version of the "c".
This is the technique that is used to convey the shadow of the apple and the leaves.
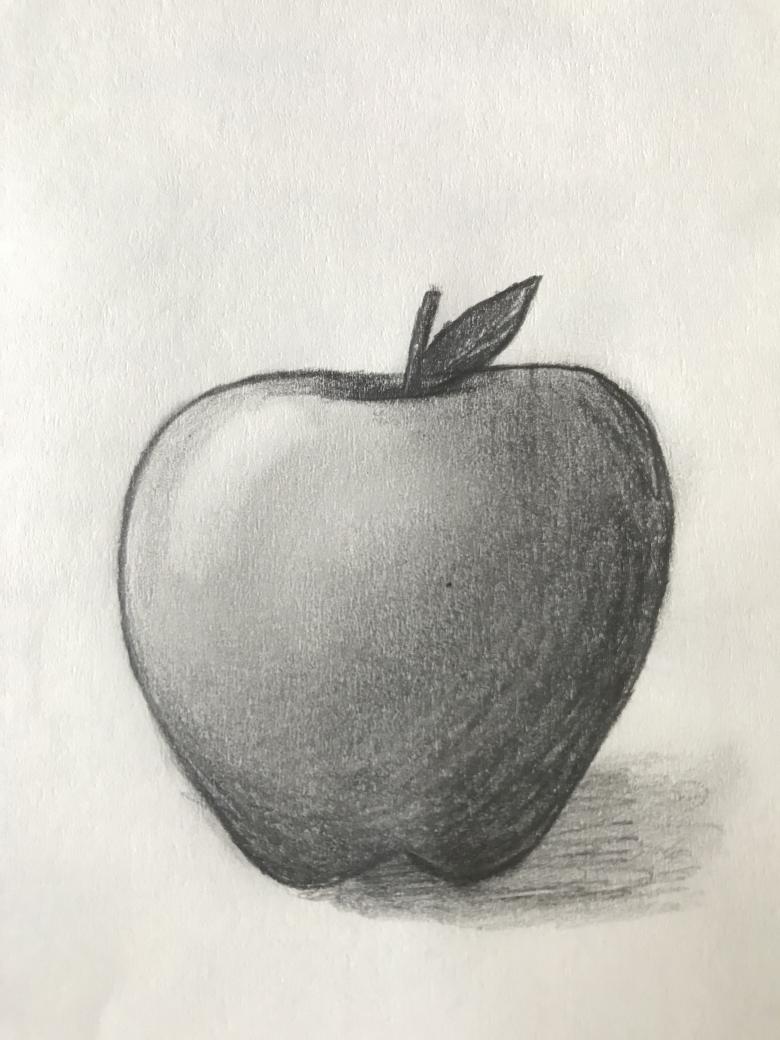
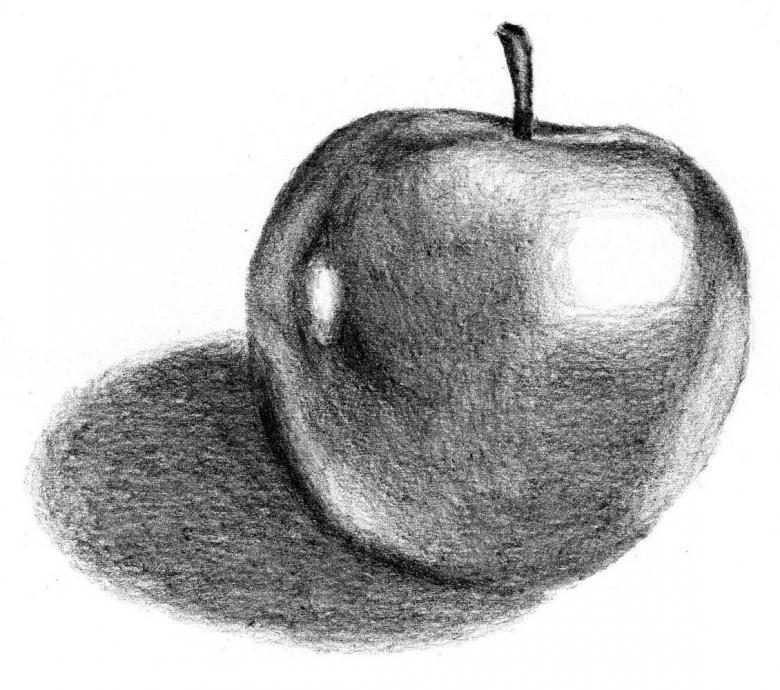
- The bottom part of the apple and its sides are painted darker. Straight, weak lines are drawn in the middle of the apple. Thus the illusion of light falling on this part of the apple is created.
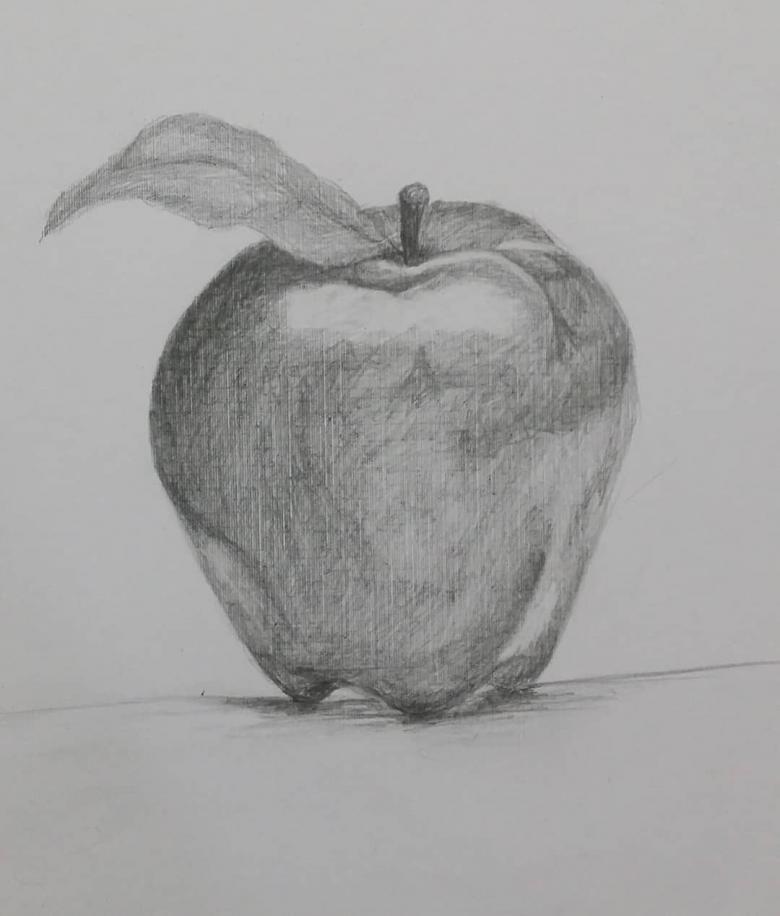
- Without touching the leaf and the stem, all the lines on the apple are smeared. This can be done either with a cotton ball or a finger. A homogeneous mass of fruit is obtained. Dark places before the blurring are repeatedly darkened with a pencil. Again shading is smeared with a finger. And so the actions are repeated until you like the transition of shadows.
- Flares are made on the apple with the grater. As a continuation of the flare, you can use the grater just below the light spot to make more straight lines and then rasterize them.

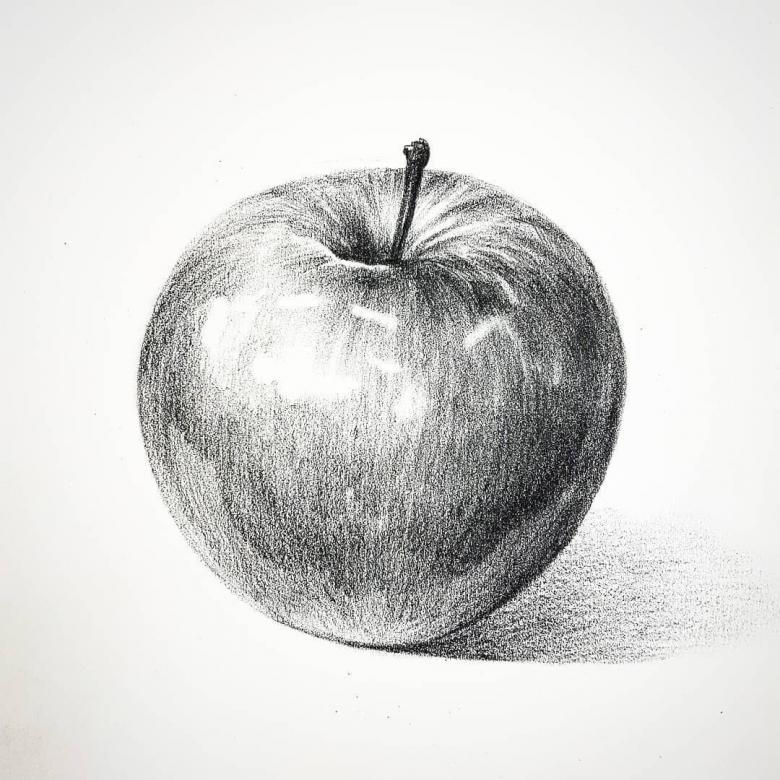
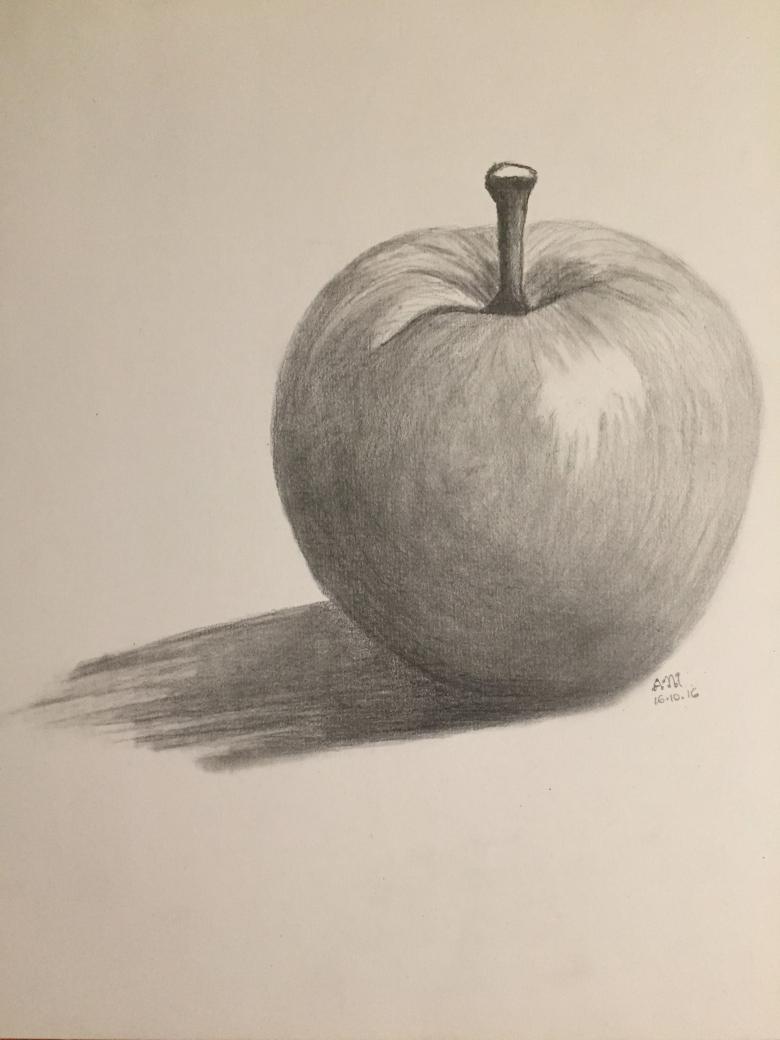
The drawing is completed with an image of the shadow falling from the apple. Horizontal strokes are applied without pressure on the side of the slate. In general, it is not necessary to press the pencil near the apple, in the middle of the shadow is applied thickly.
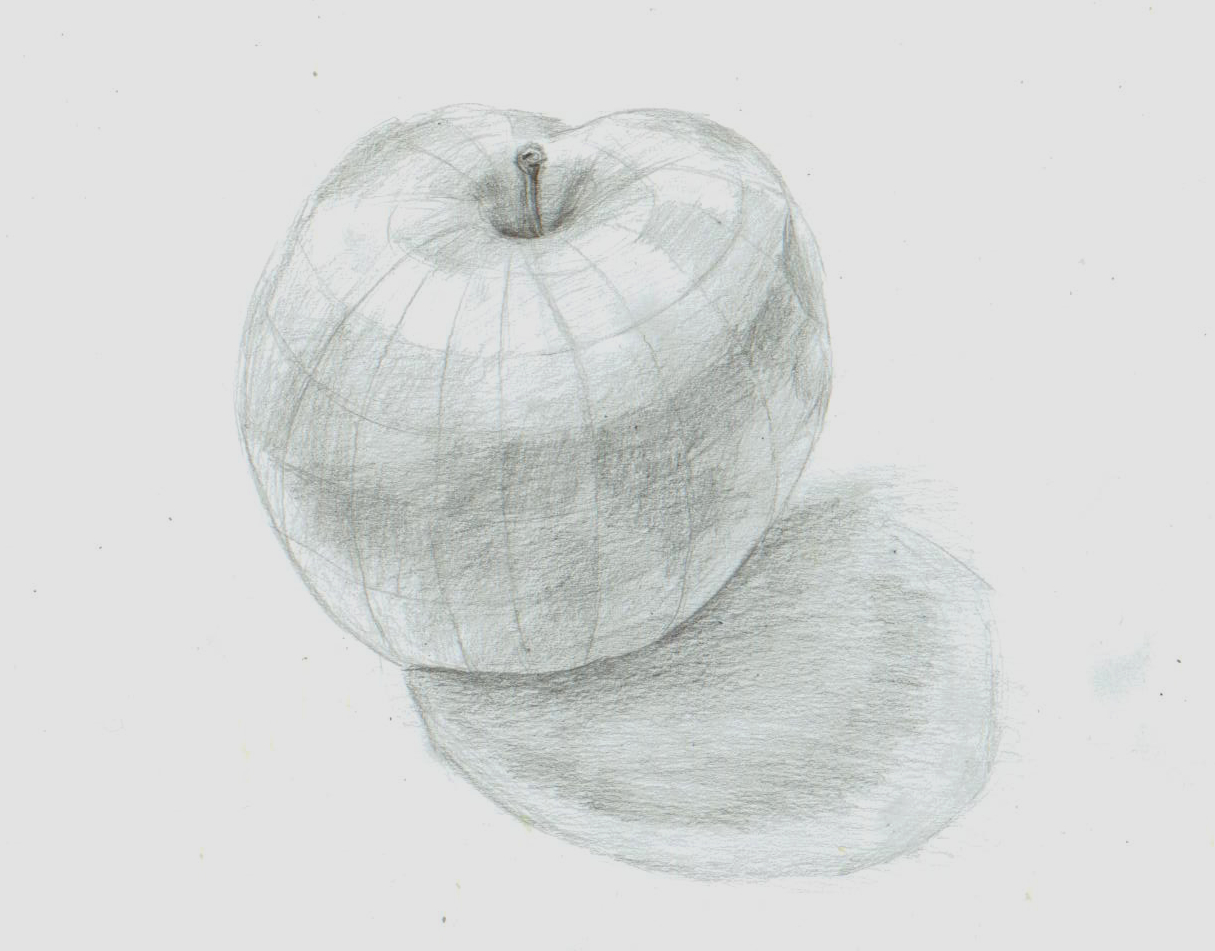
Show the volume of the fruit
Linear drawing is only able to show the shape of the fruit.
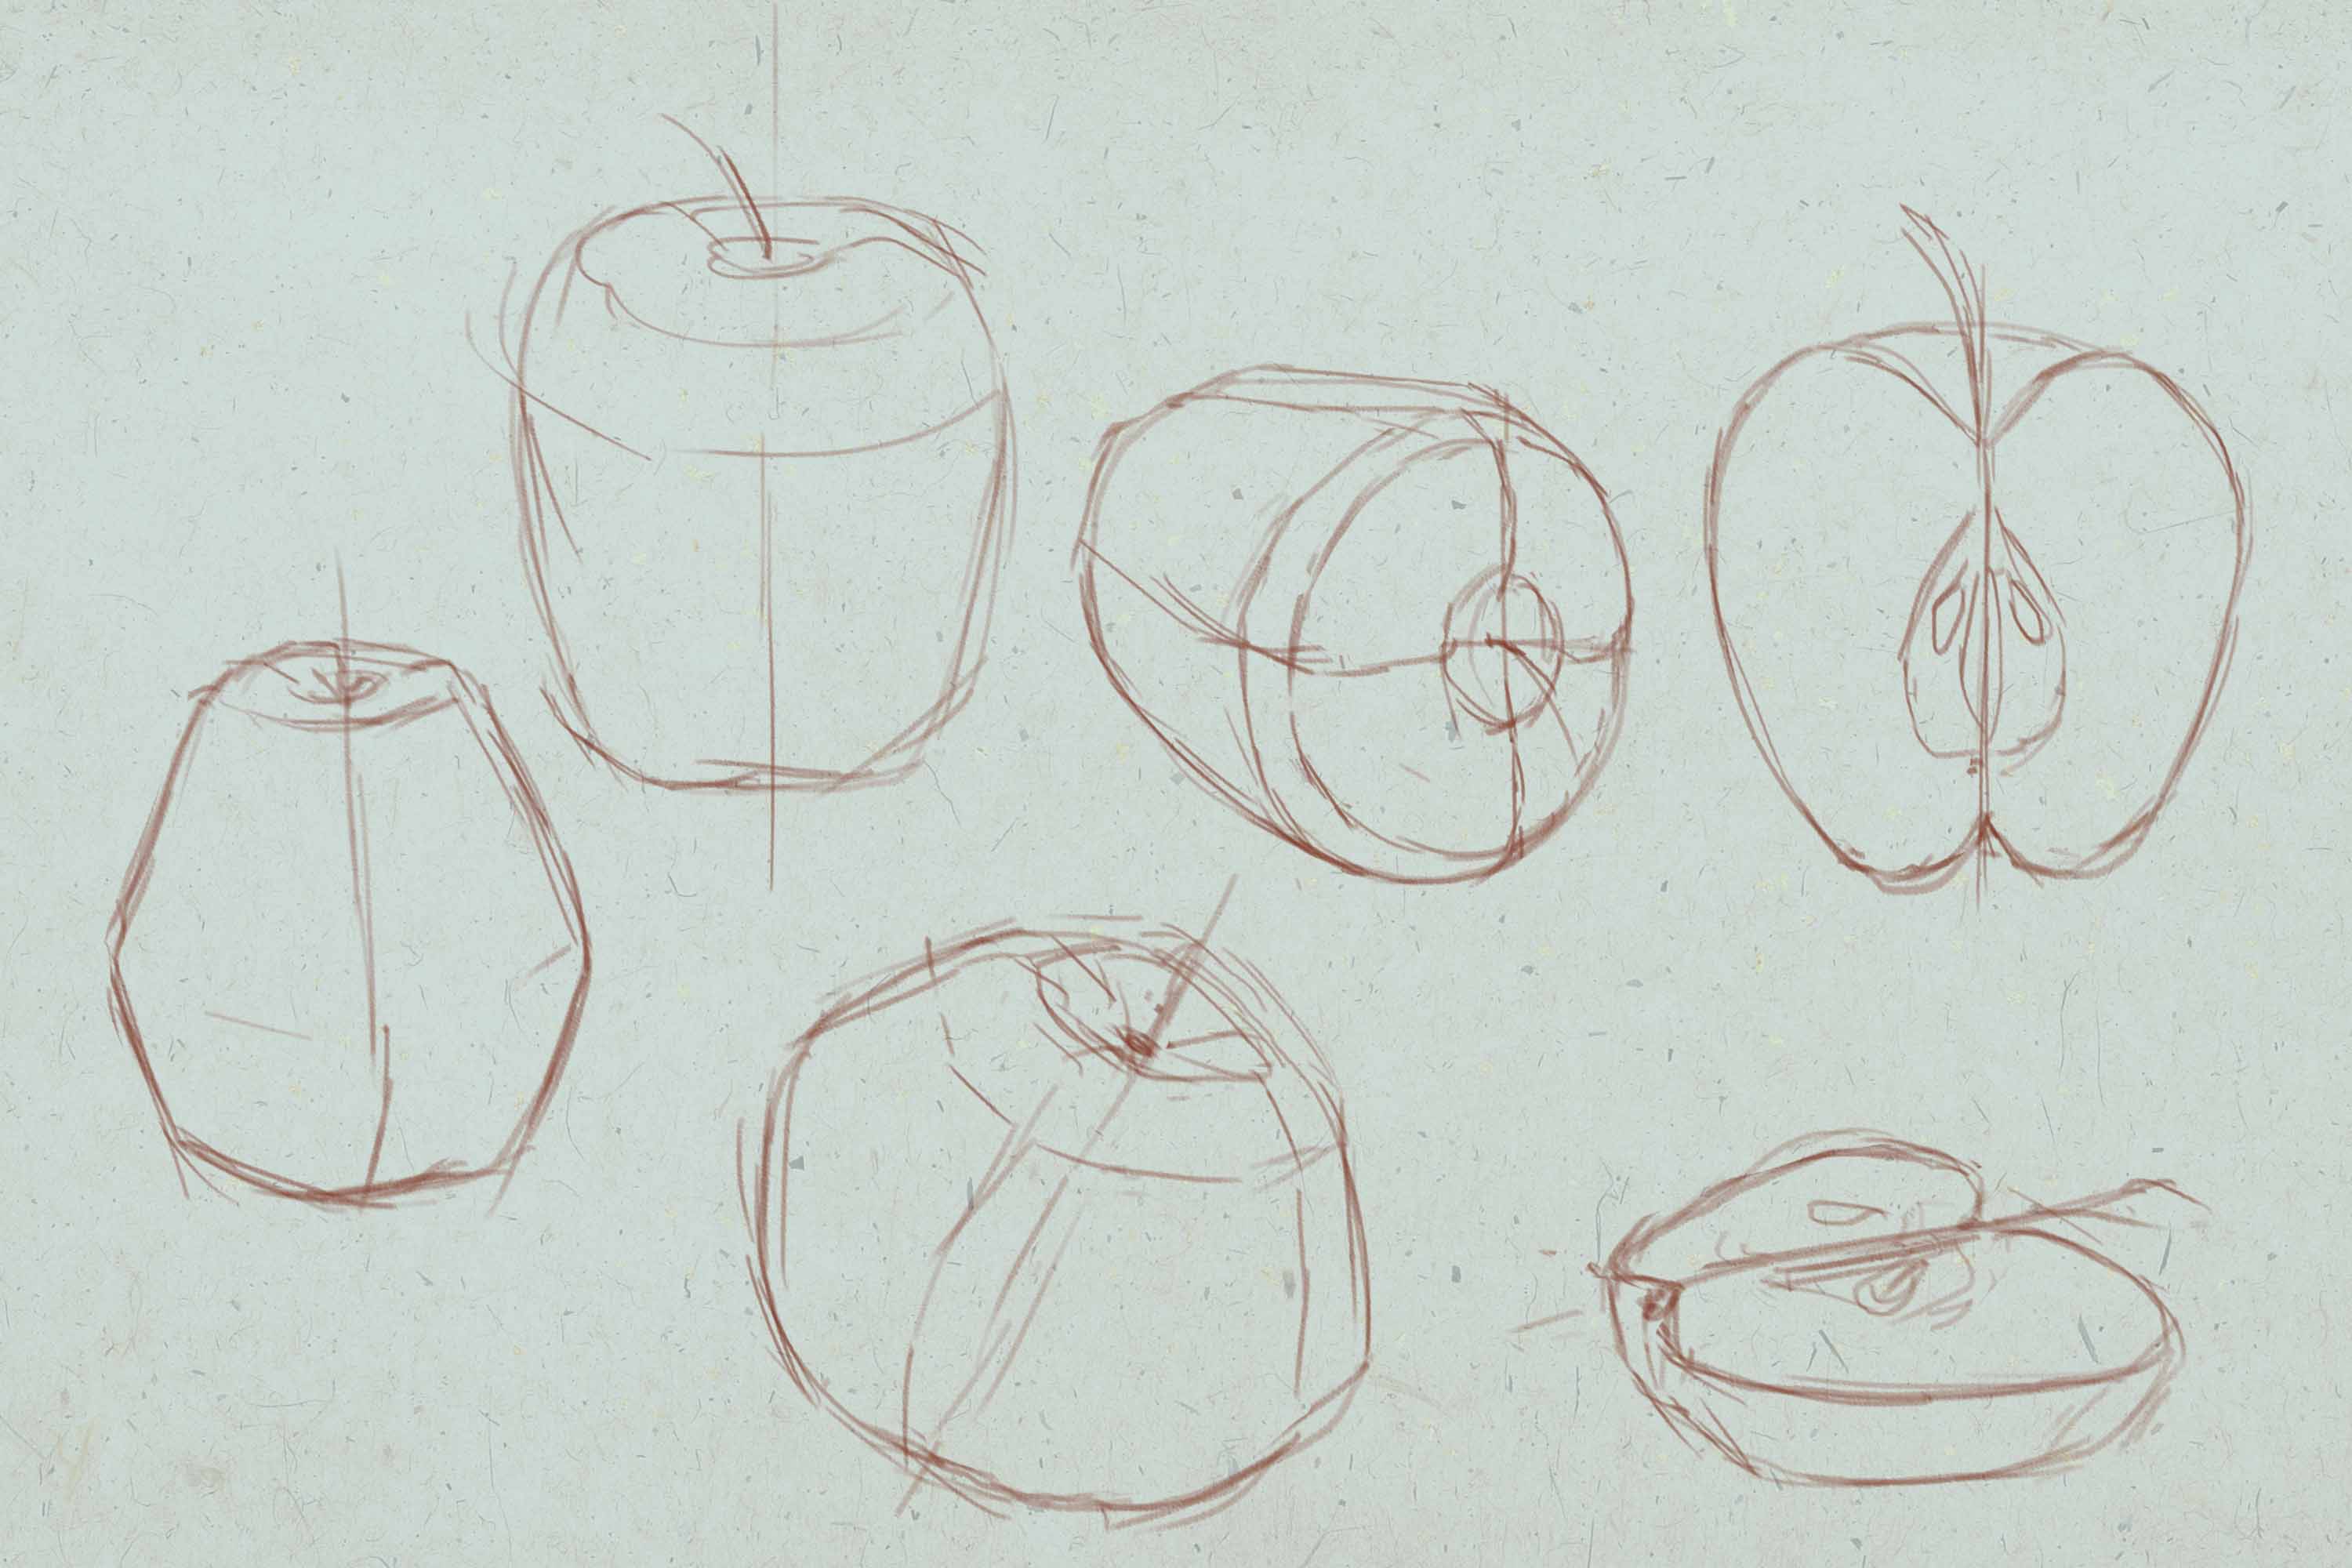
To understand how to draw a three-dimensional apple, you need to remember that most fruits have a symmetrical shape.
- Symmetry lines are drawn vertically and divide the fruit in half. Sometimes it is also necessary to draw a horizontal axis.
- The construction of the apple begins around these auxiliary lines. In the first steps, the line of the figure can be angular. Rough shape of the apple is built. It is corrected with a smooth line. At this stage of drawing, the apple has a smooth, streamlined shape.
- Curve lines are drawn as in the picture to give volume to the shape.

The shading runs along the red lines. This is a clue in what direction to move the brush.
It is the angular curve lines that give volume to the apple and fix the place where the hatching is applied.
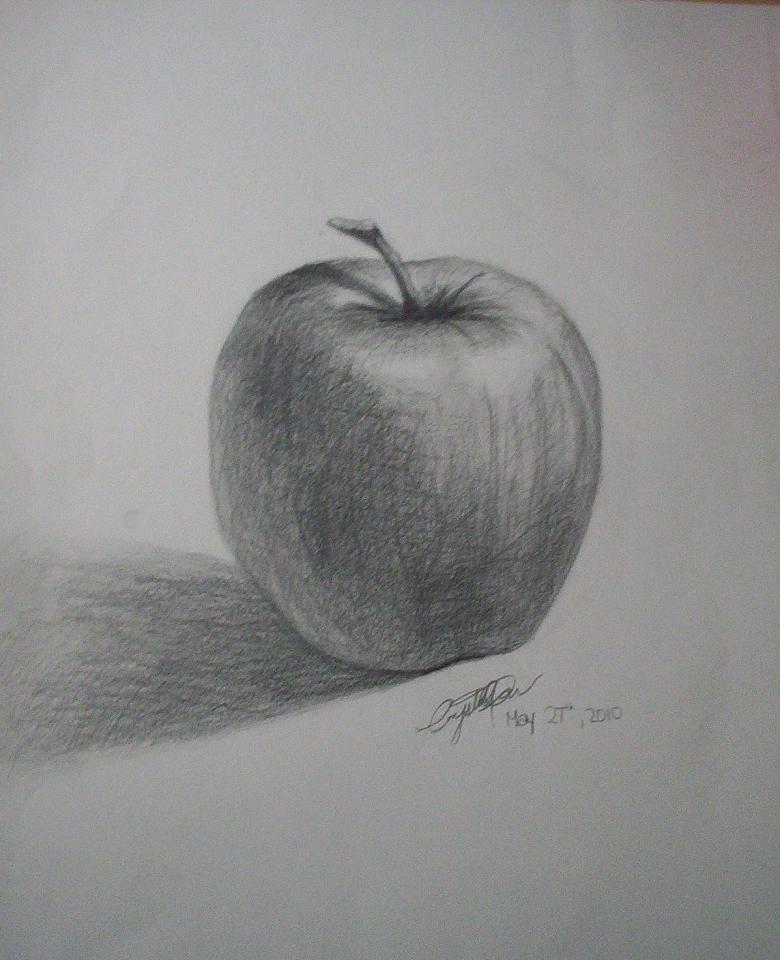
In a simple version, to show the volume of the fruit, it is enough to apply the darkest parts of the shadow and a slight transition to the penumbra. Sometimes it is enough to shade only the shadow. The light areas in such a drawing are perceived as the well-lit side of the apple.
Important: The pencil is held in the hand like when writing, when working on the contours of the object. It is applied as a solid line, but if there is not enough experience and does not work out, it is possible to apply and small strokes. It is not necessary to make a strong pressure at once to make it easier to remove a wrong line.
The pencil in the hand holds freely, when the strokes of the shadow are applied. It is necessary to work with the flat part of the slate and use the sharp tip to draw the contour lines.
And so, in order to convey the volume of the apple, the young artist should pay attention to individual points:
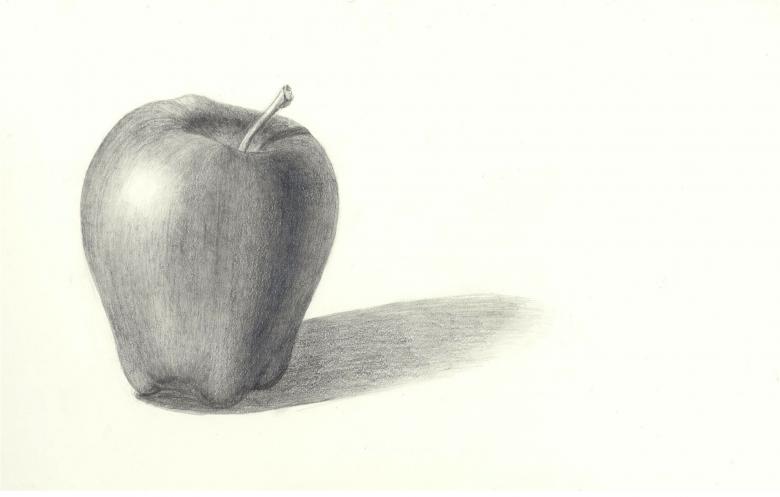
- The small recess area to the right of the twig is shaded with thick lines. They are drawn close to each other.
- The highlights are not shaded at all. This shows where the light falls. This area can get dirty while you are working on your drawings. It is cleaned up with an eraser.
- Frequent shading is necessary in places where you want to show the darkest areas. The saturation of tone is carried out gradually. It is from this painstaking work to a greater extent depends on the correct transfer of the volume of the object, in this case the apple.
- The side of the slate is used to represent the shadow of the apple. The pressure on the pencil eases as the hand gets closer to the apple. If it is assumed that the light falls on the object from one point, one clear shadow is drawn.
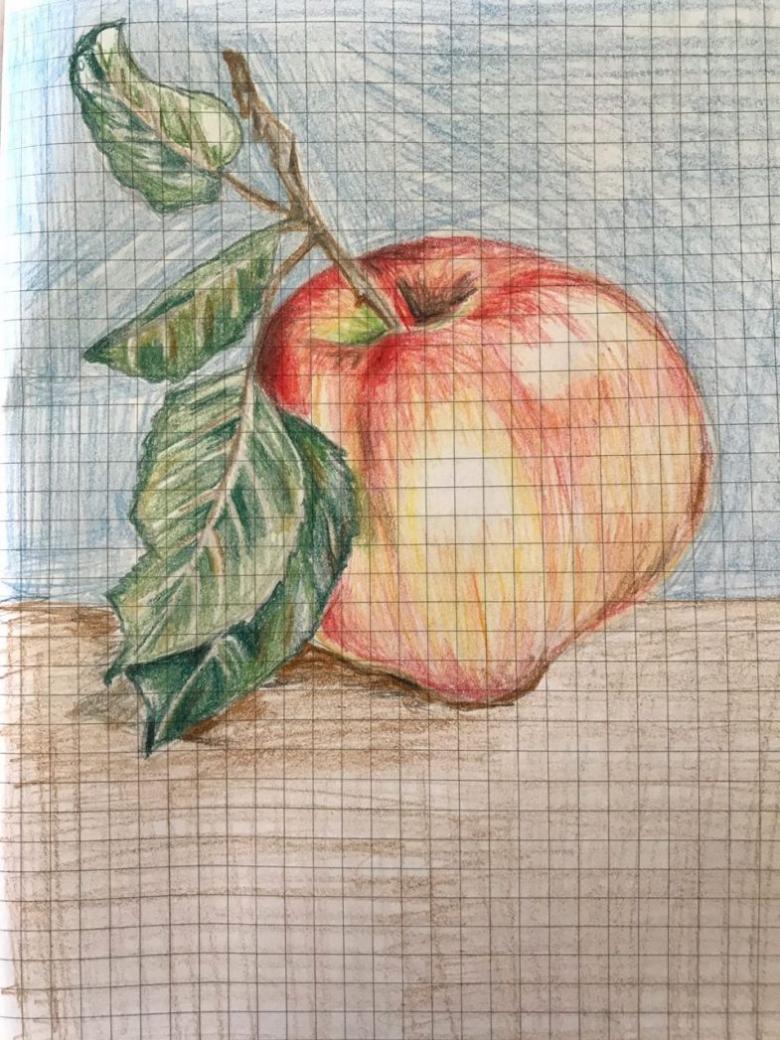
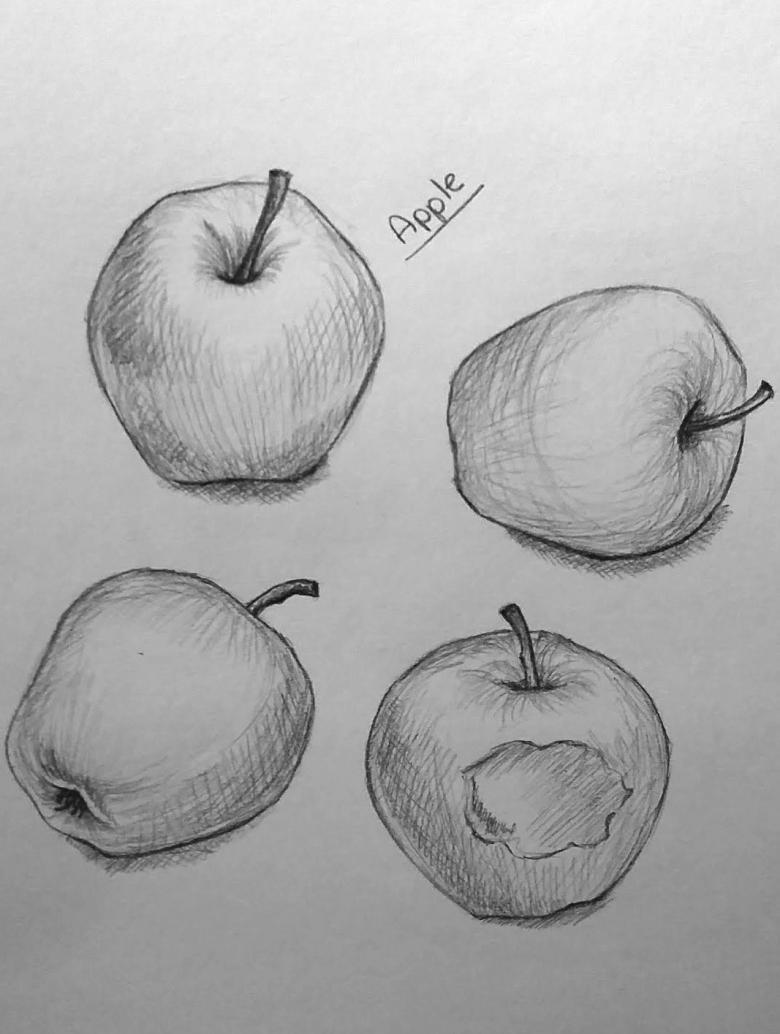
It will be easier for a beginning artist to draw a single apple or several fruits if the sheet is grid or a scrapbook sheet is ruled into squares.
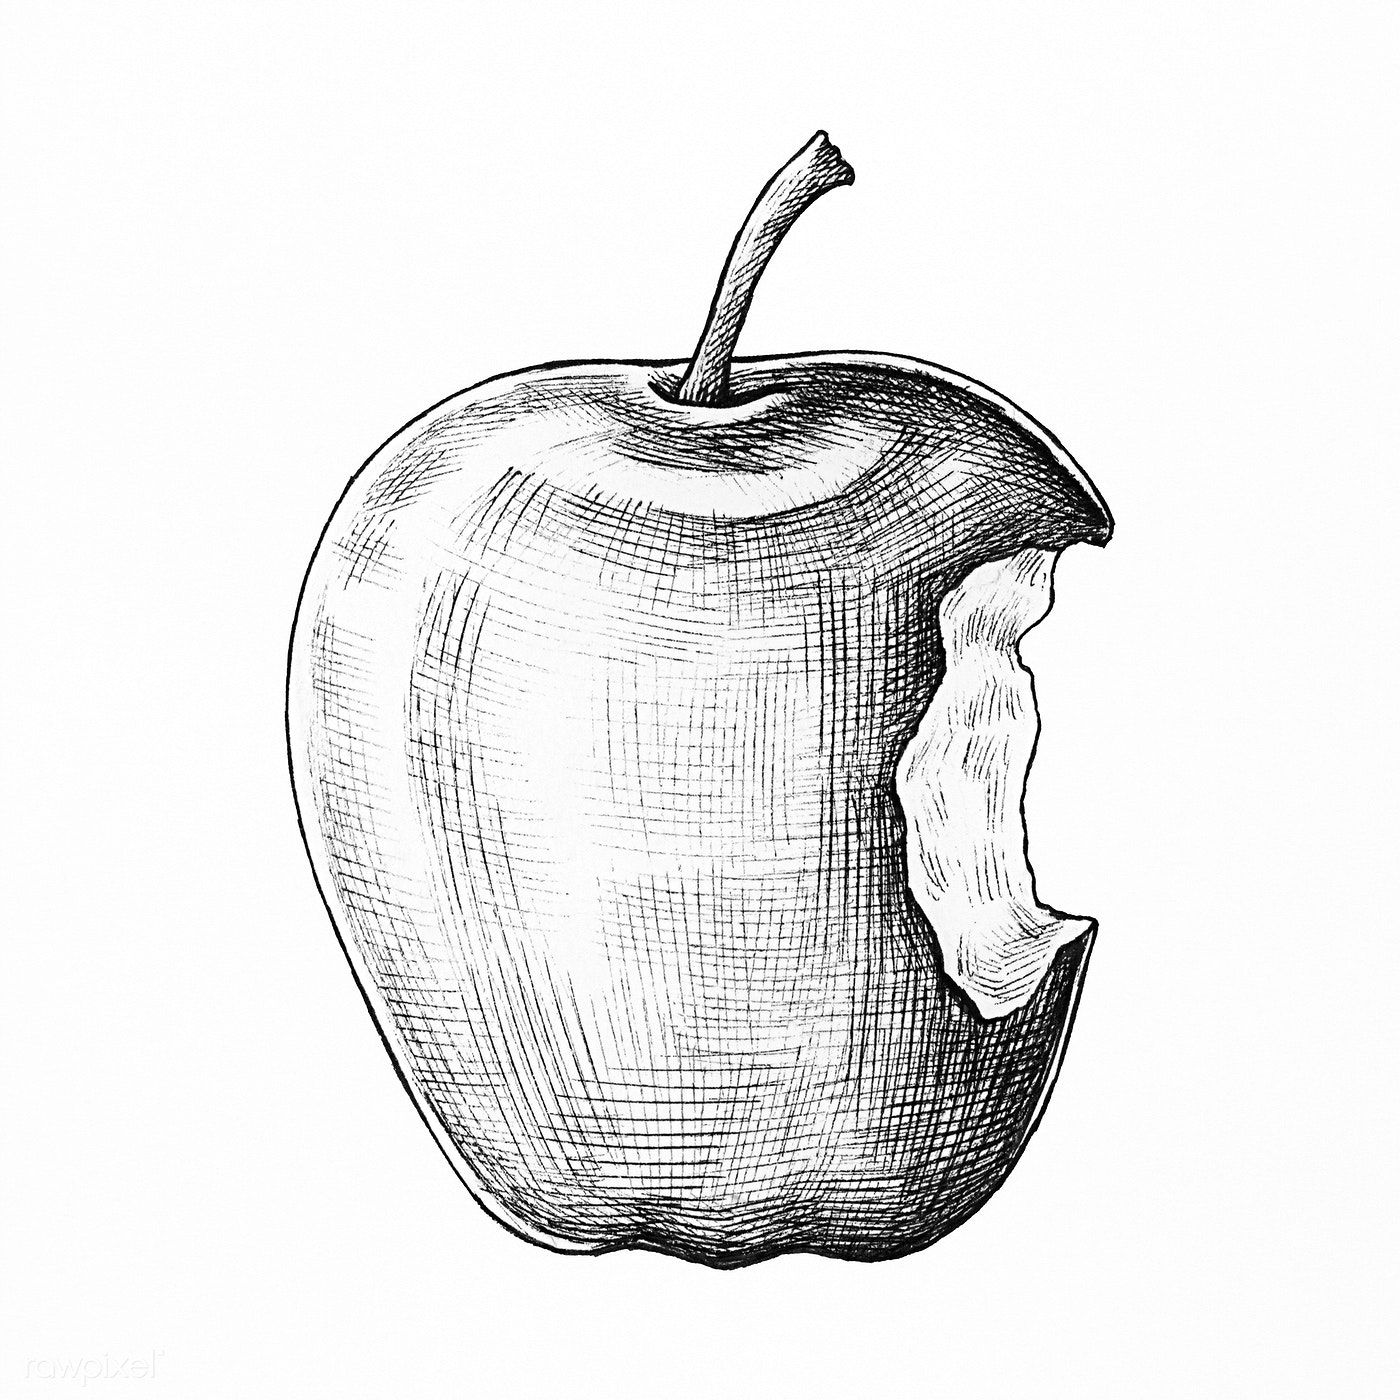
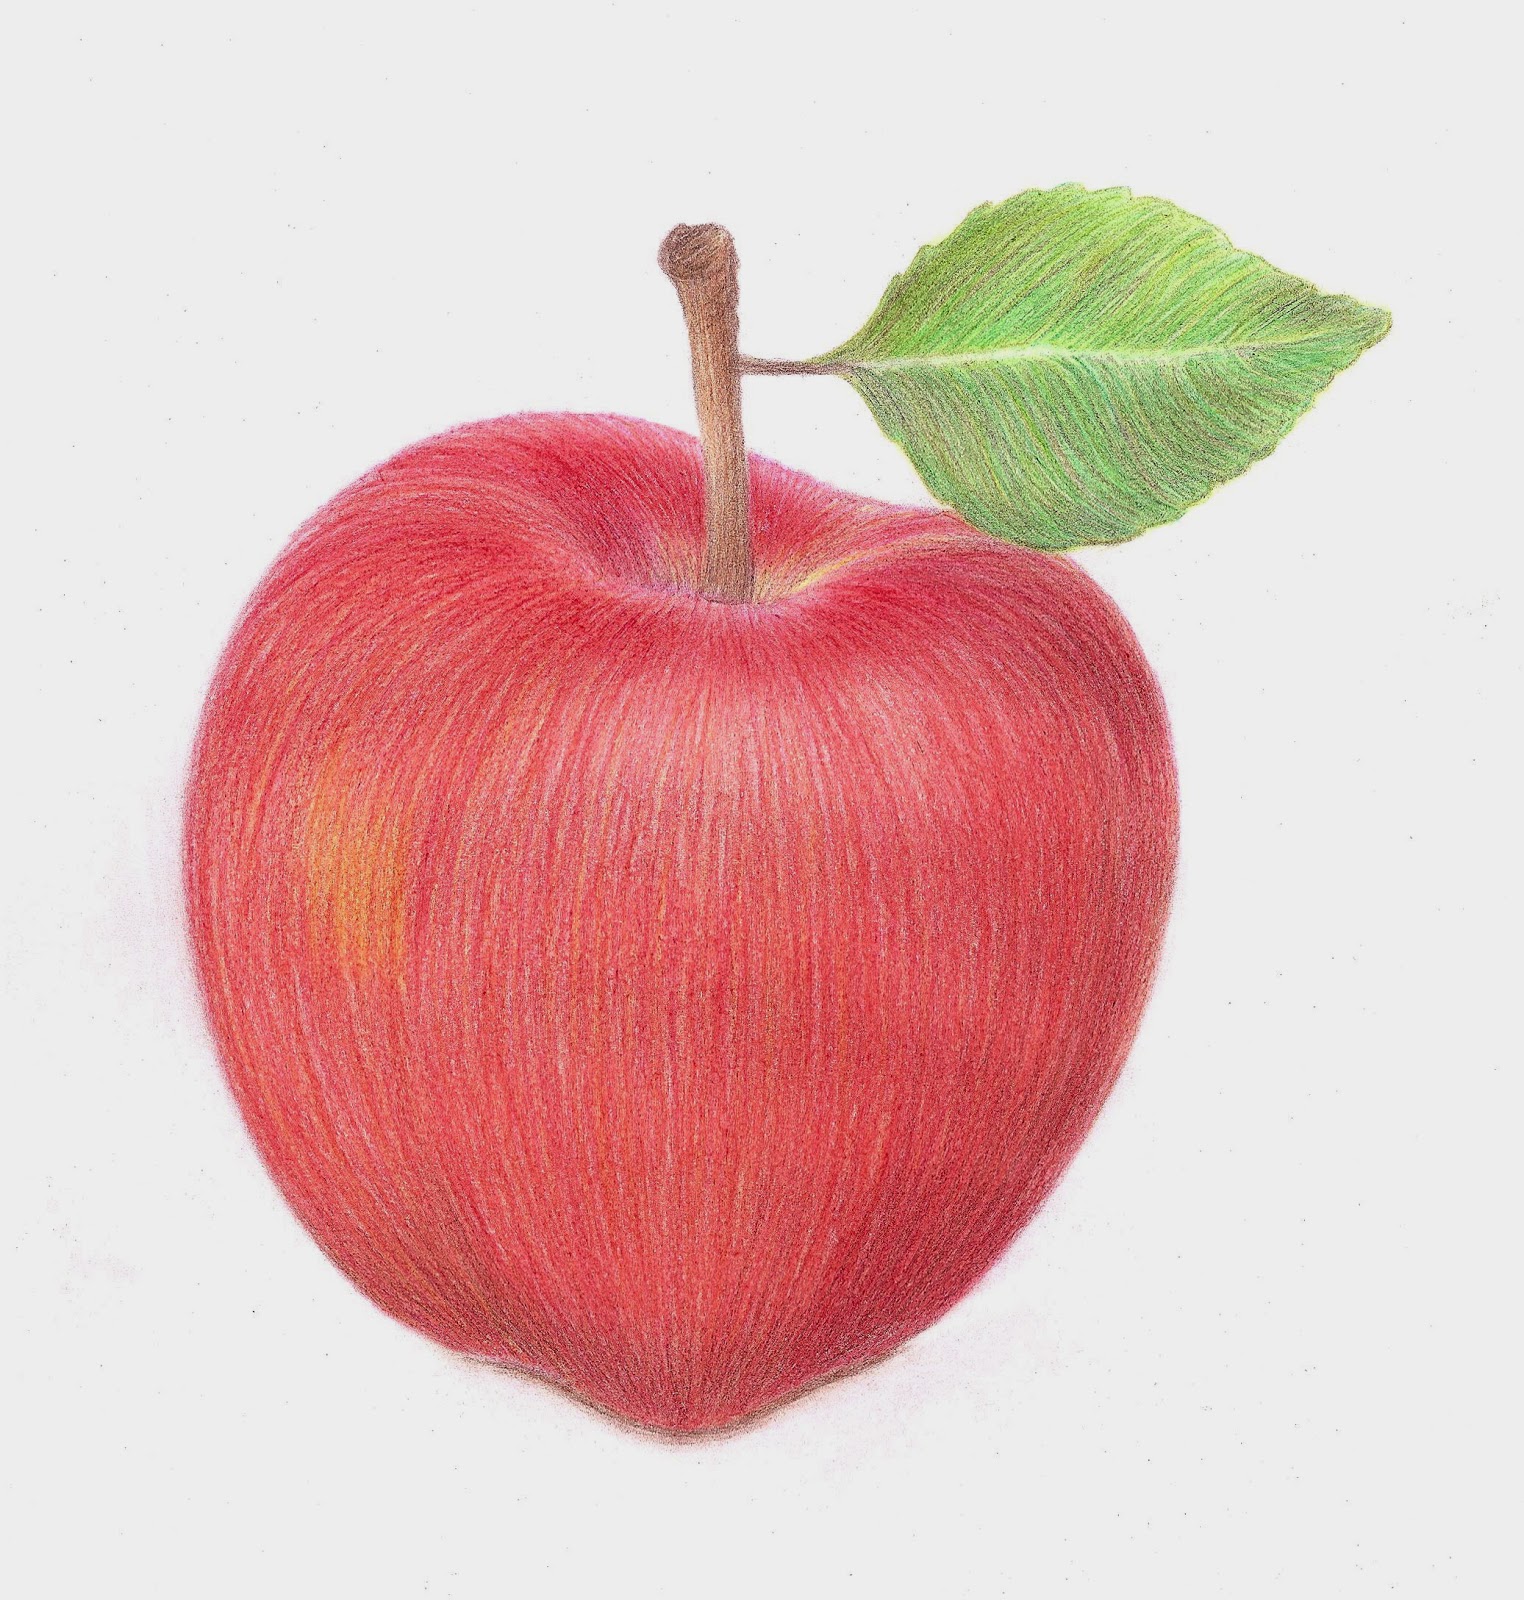
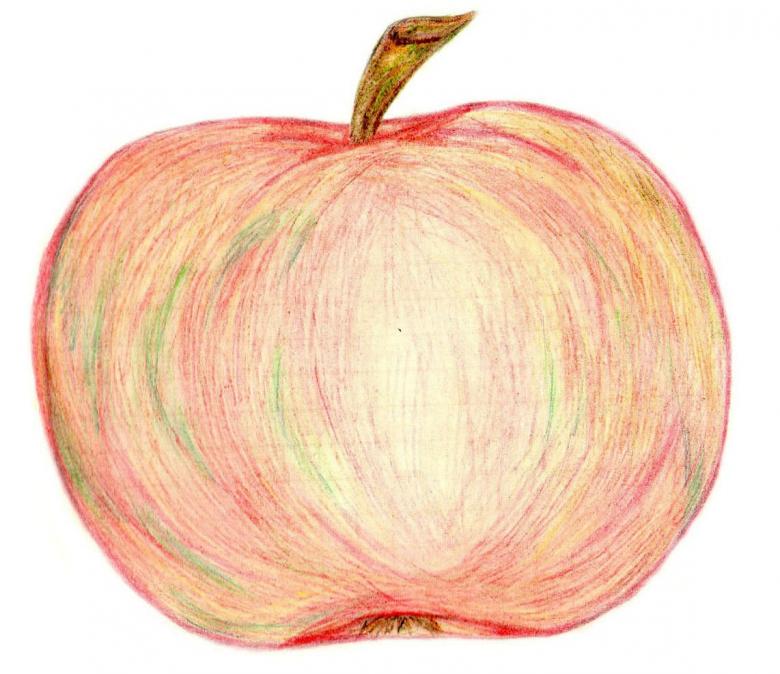
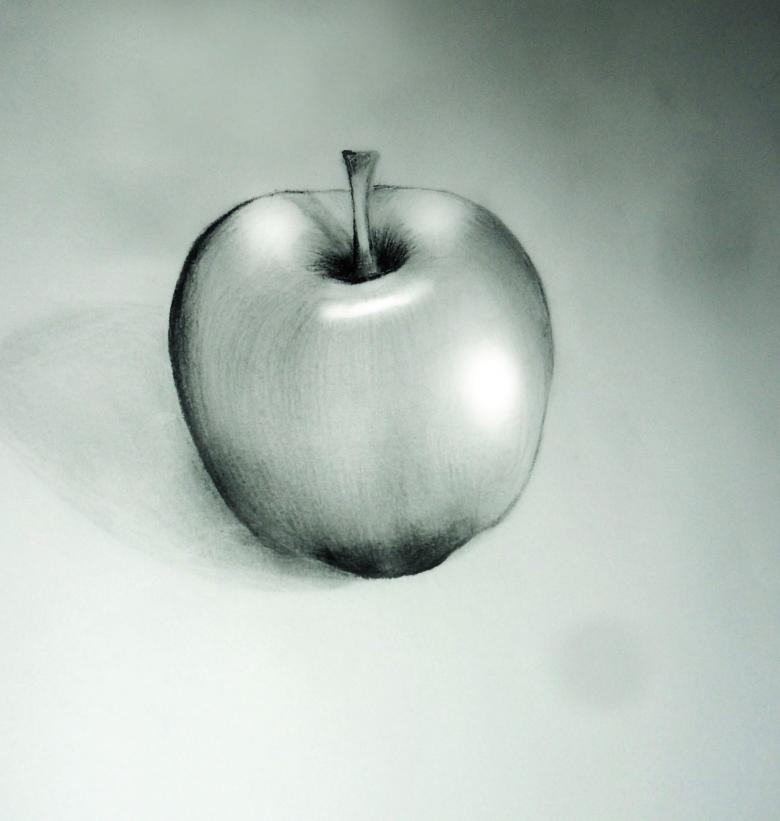
For the beginning artist, drawing an apple is an opportunity to learn how to apply shadows and create volume on a flat sheet. It is an opportunity to draw beautifully and realistically.
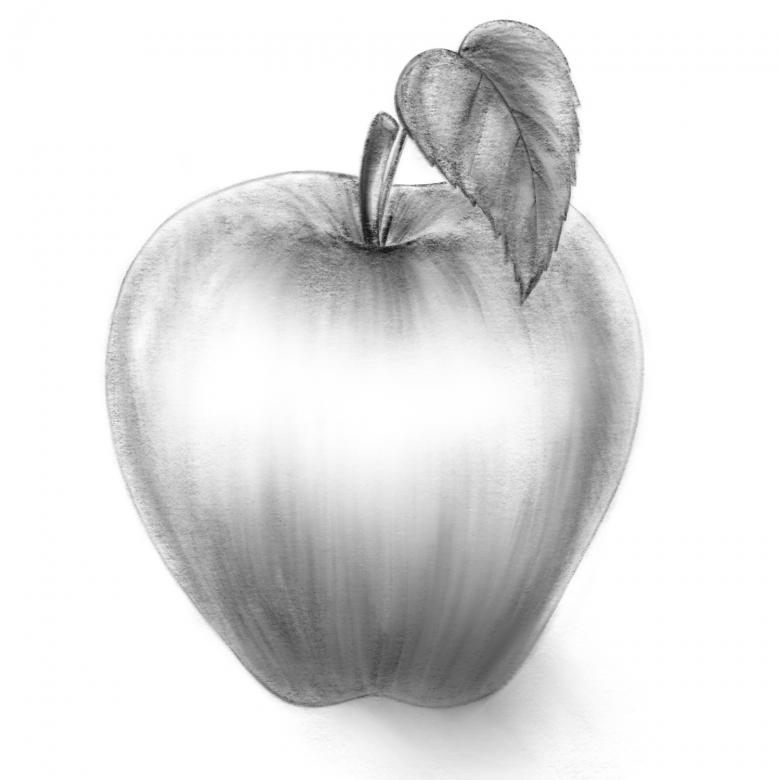
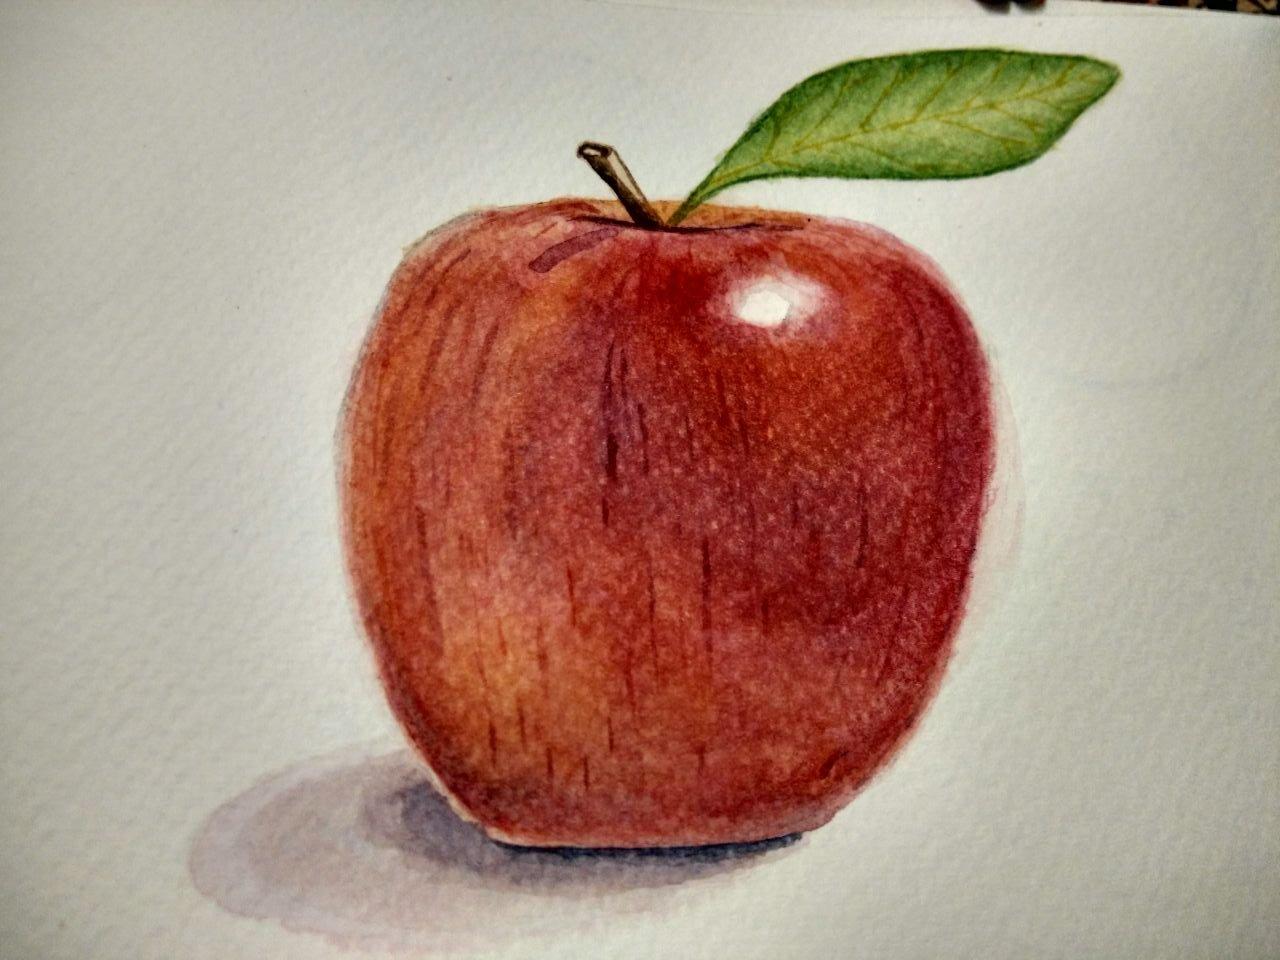
Pictures of drawn apples for pencil sketching