How to Draw a Fox in Pencil and Paint: Detailed and Easy Instructions for Children
The love of drawing appears in most children in early childhood. Strangely enough, children are very fond of depicting various animals. This is due to the fact that it was animals - the main characters of children's stories and cartoons.
Drawing helps a child to develop. And parents can teach a child to draw. Today you will learn how to draw a cute little fox and teach it to your child.

Preparing for a drawing class
Obviously, before you teach your child to draw a fox, you need to learn how to draw it yourself. Only after you understand yourself how to make at least an elementary sketch of a fox, you can teach it to children.

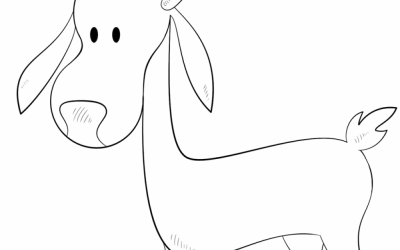
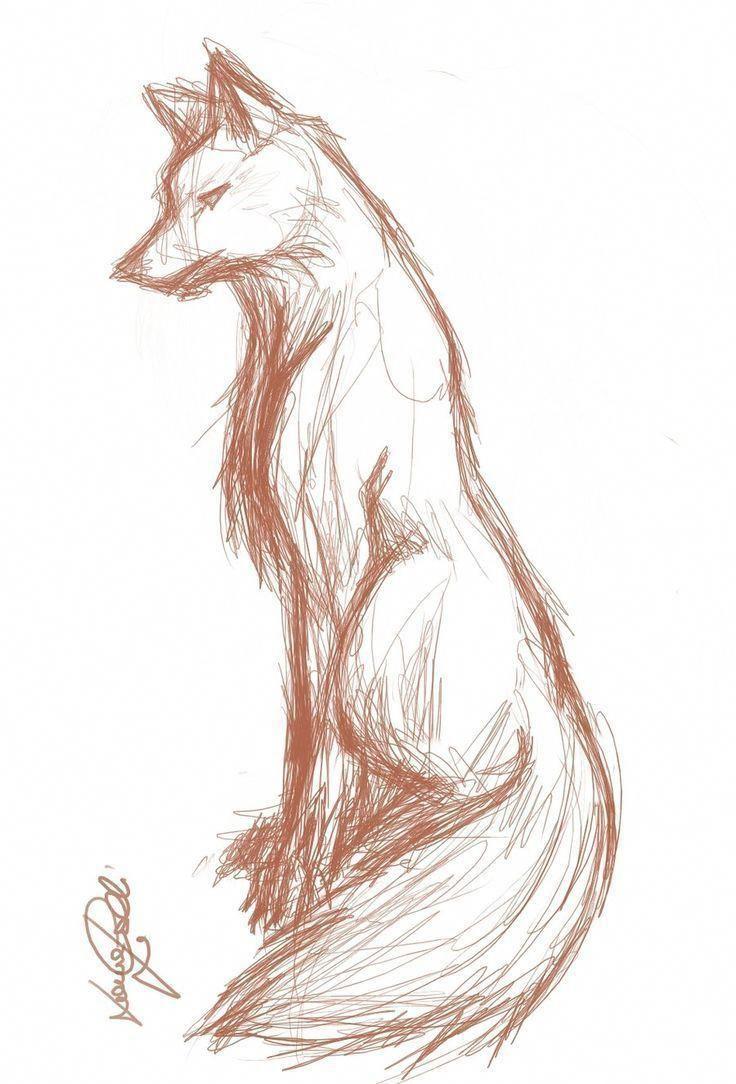
Drawing absolutely any animals (and not only them) starts with the gradual creation of outlines, definition of shapes and proportions.
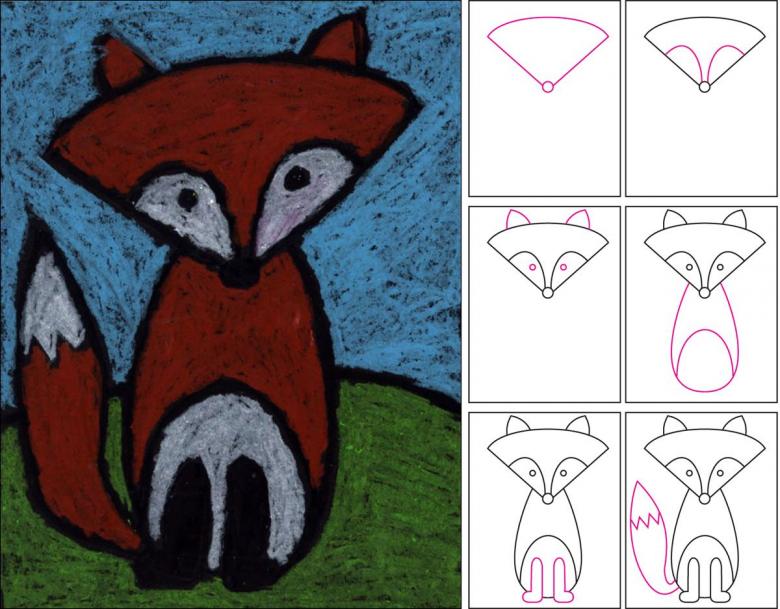
In order to qualitatively perform the drawing, it is necessary to apply simple geometric shapes. Head, body, tail, paws - ovals. Ears, nose - triangles. Eyes - circles, etc.
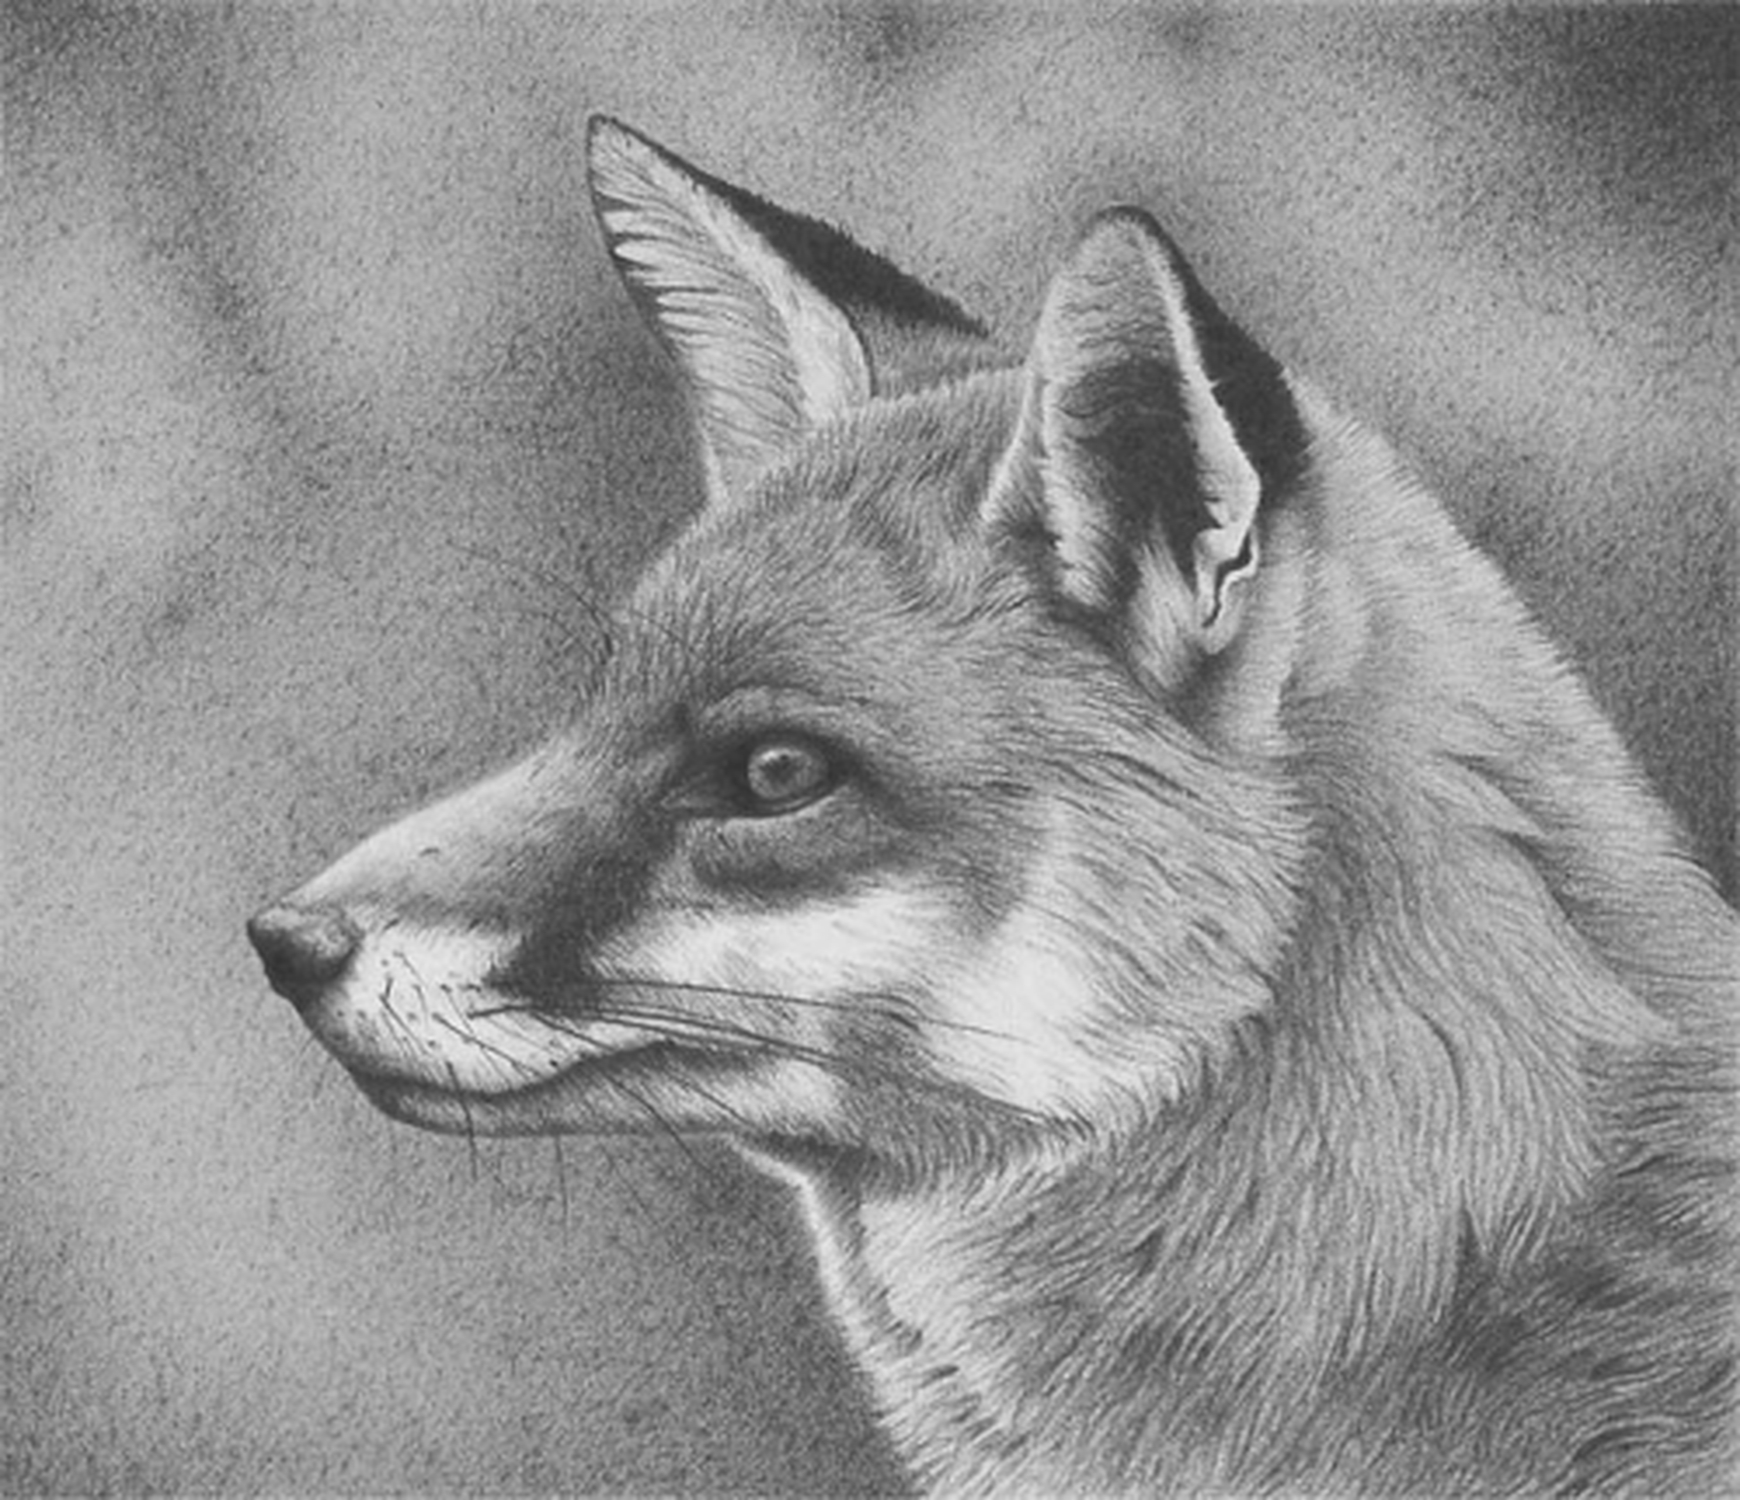
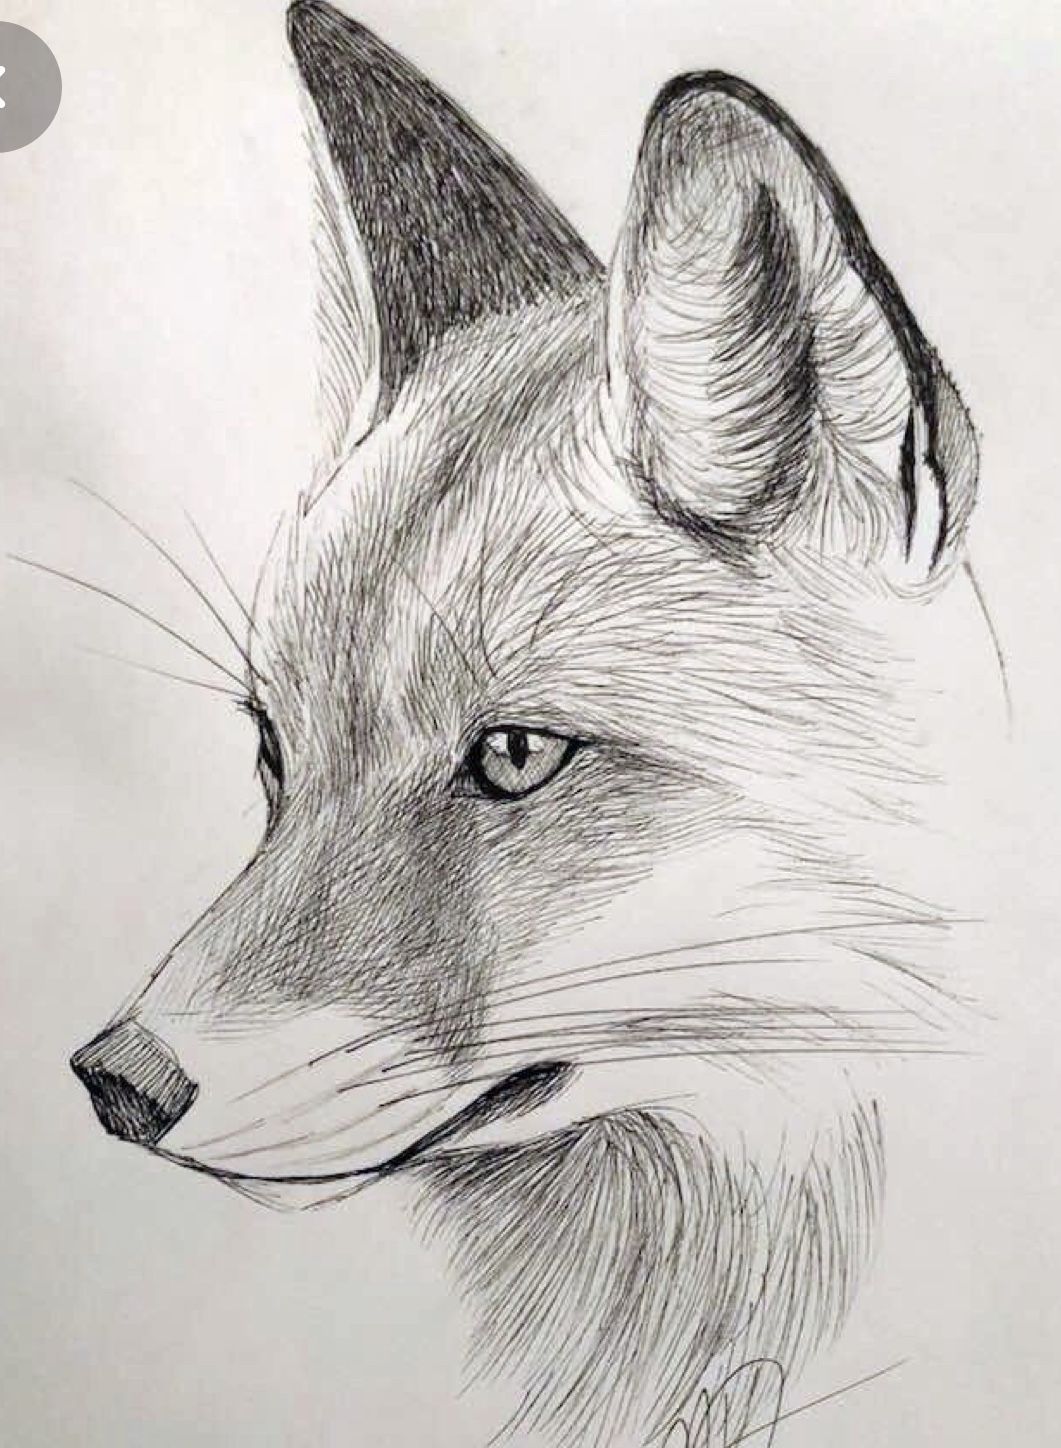
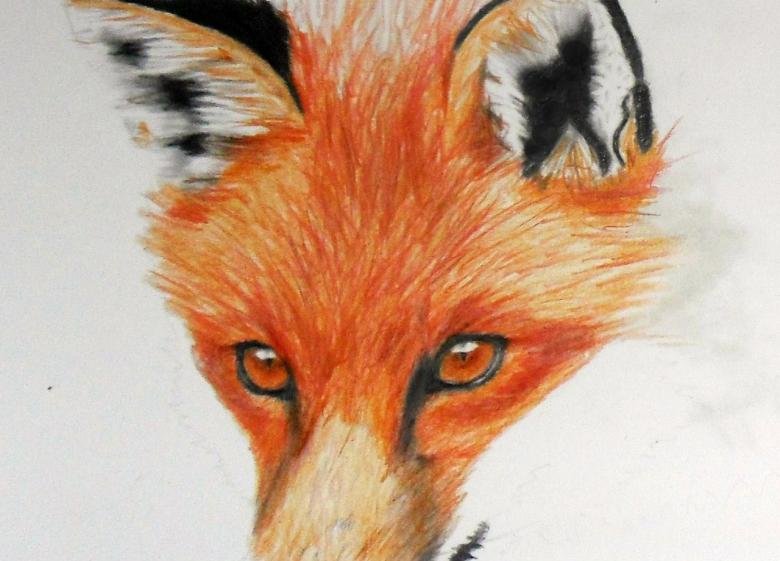
While drawing all these shapes, relate them to an example. You can use a picture of a fox.
After you have made geometric shapes, connect them with smooth lines in order to outline a more precise structure of the beast. Doris some details, and at this point your sketch will be ready.

What materials do I need to make a drawing?
- A white scrapbook page;
- a simple pencil to sketch with;
- an eraser;
- Water colors or pencils.
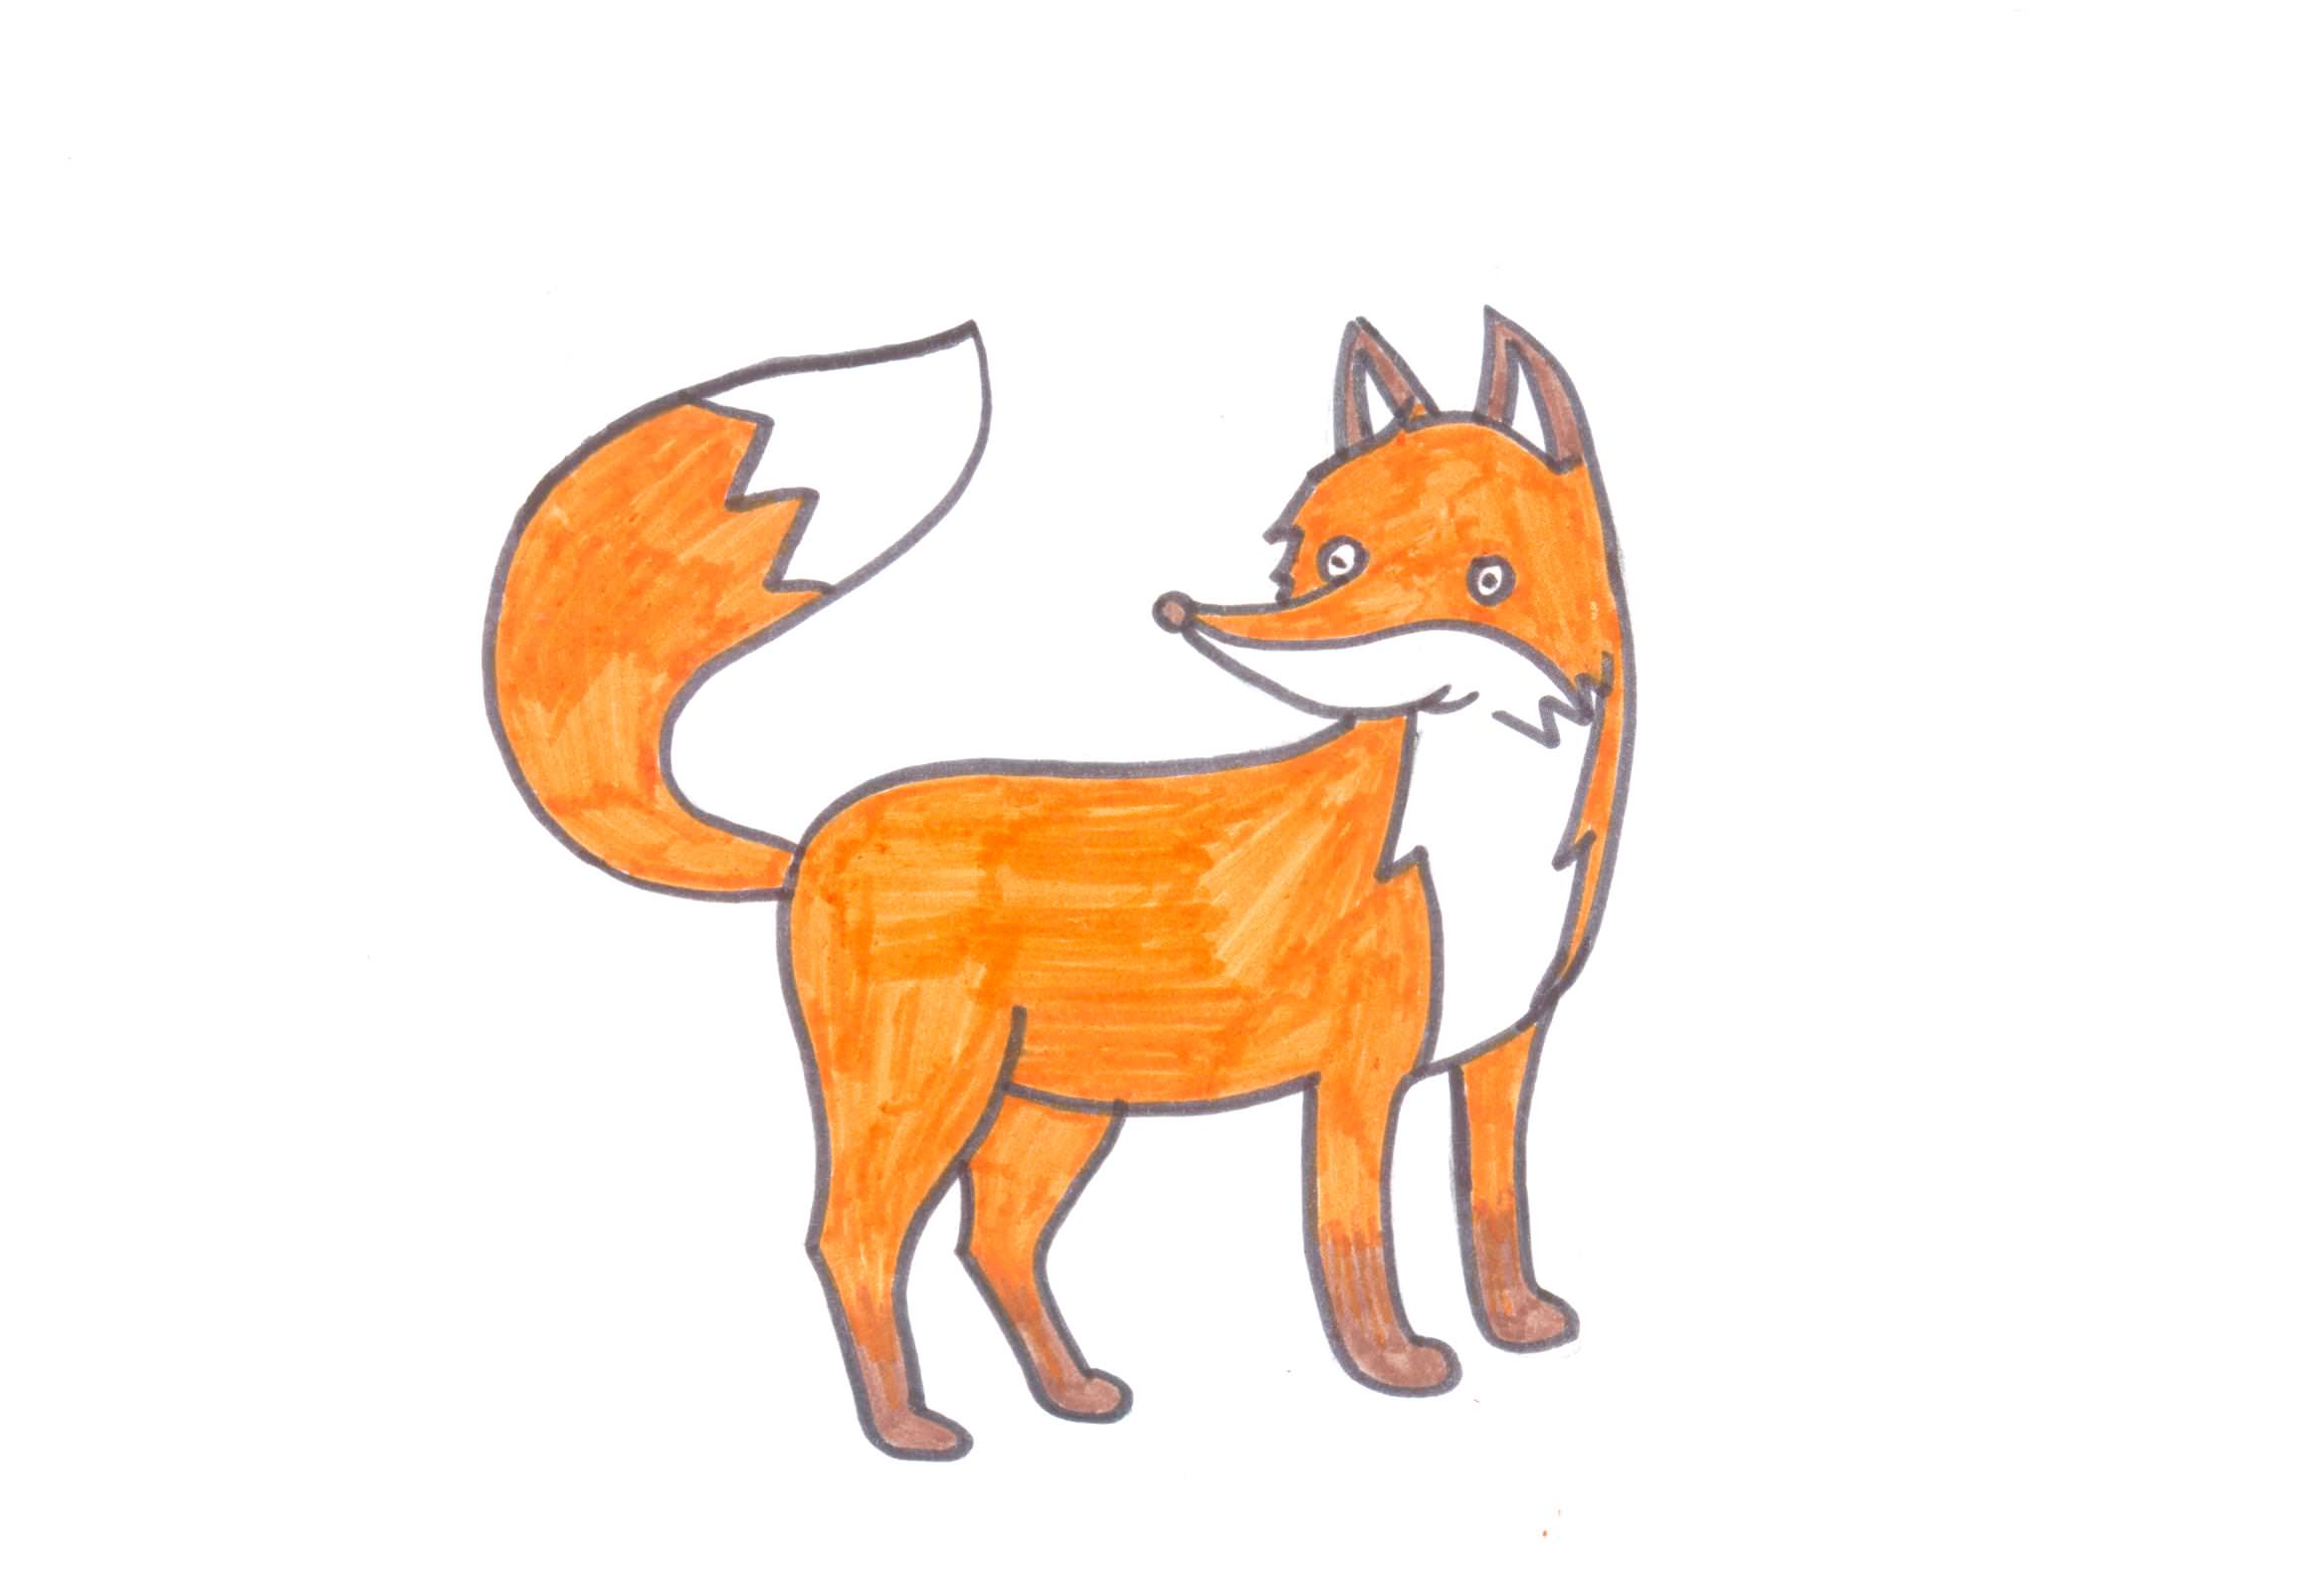
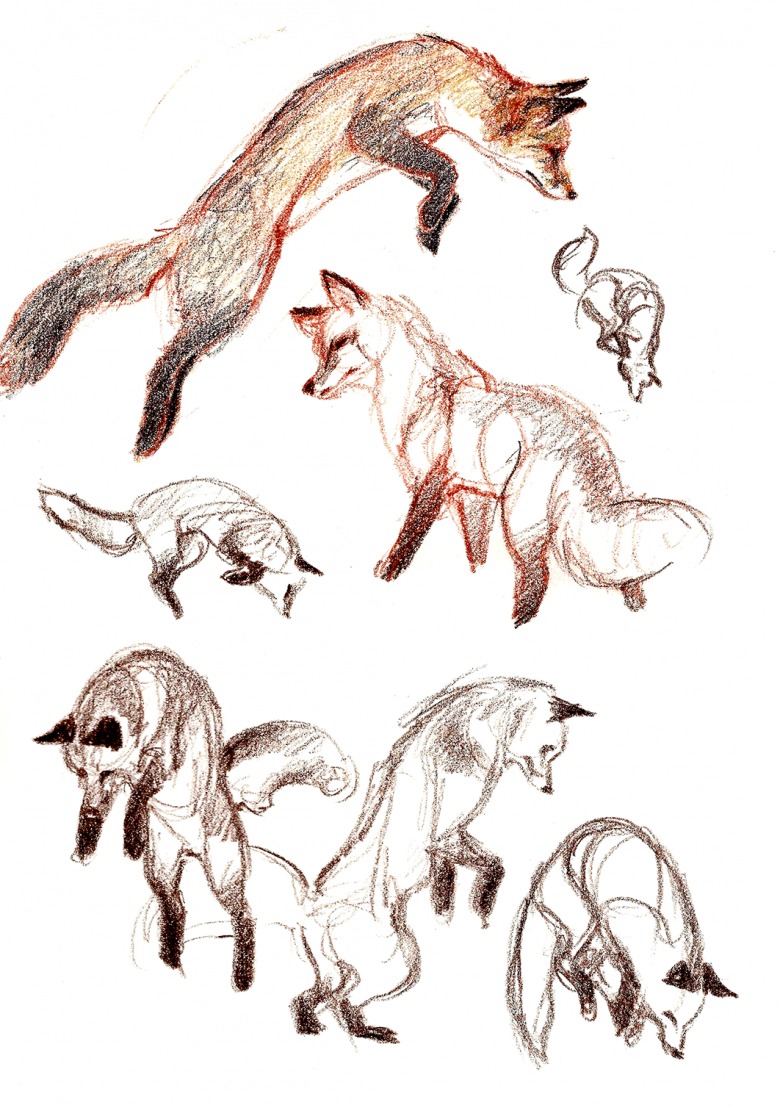
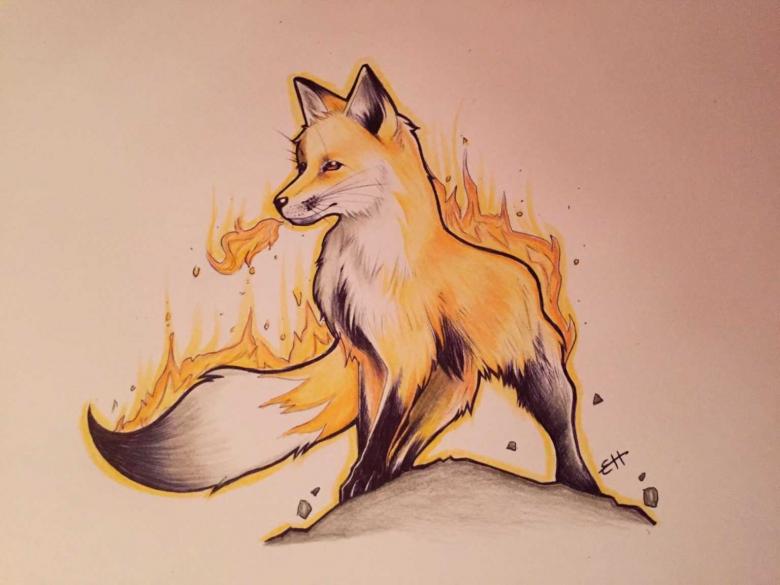
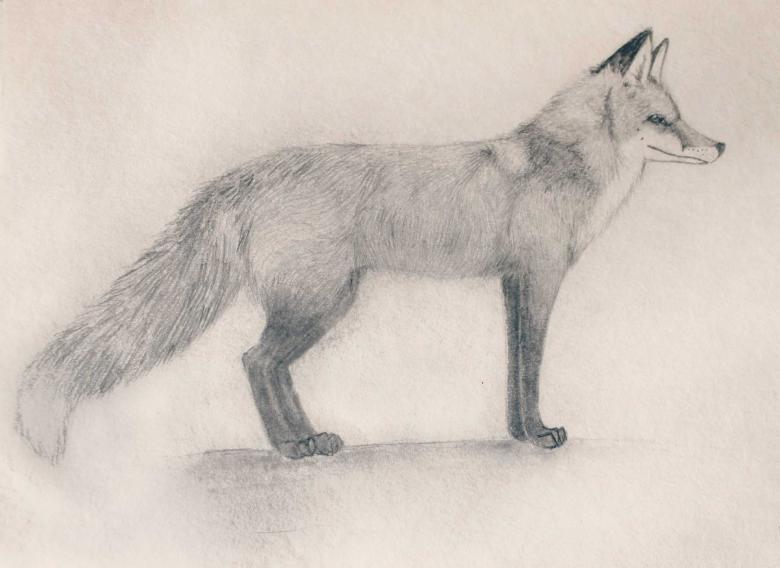
How to draw a fox while hunting
For best results, follow these steps:
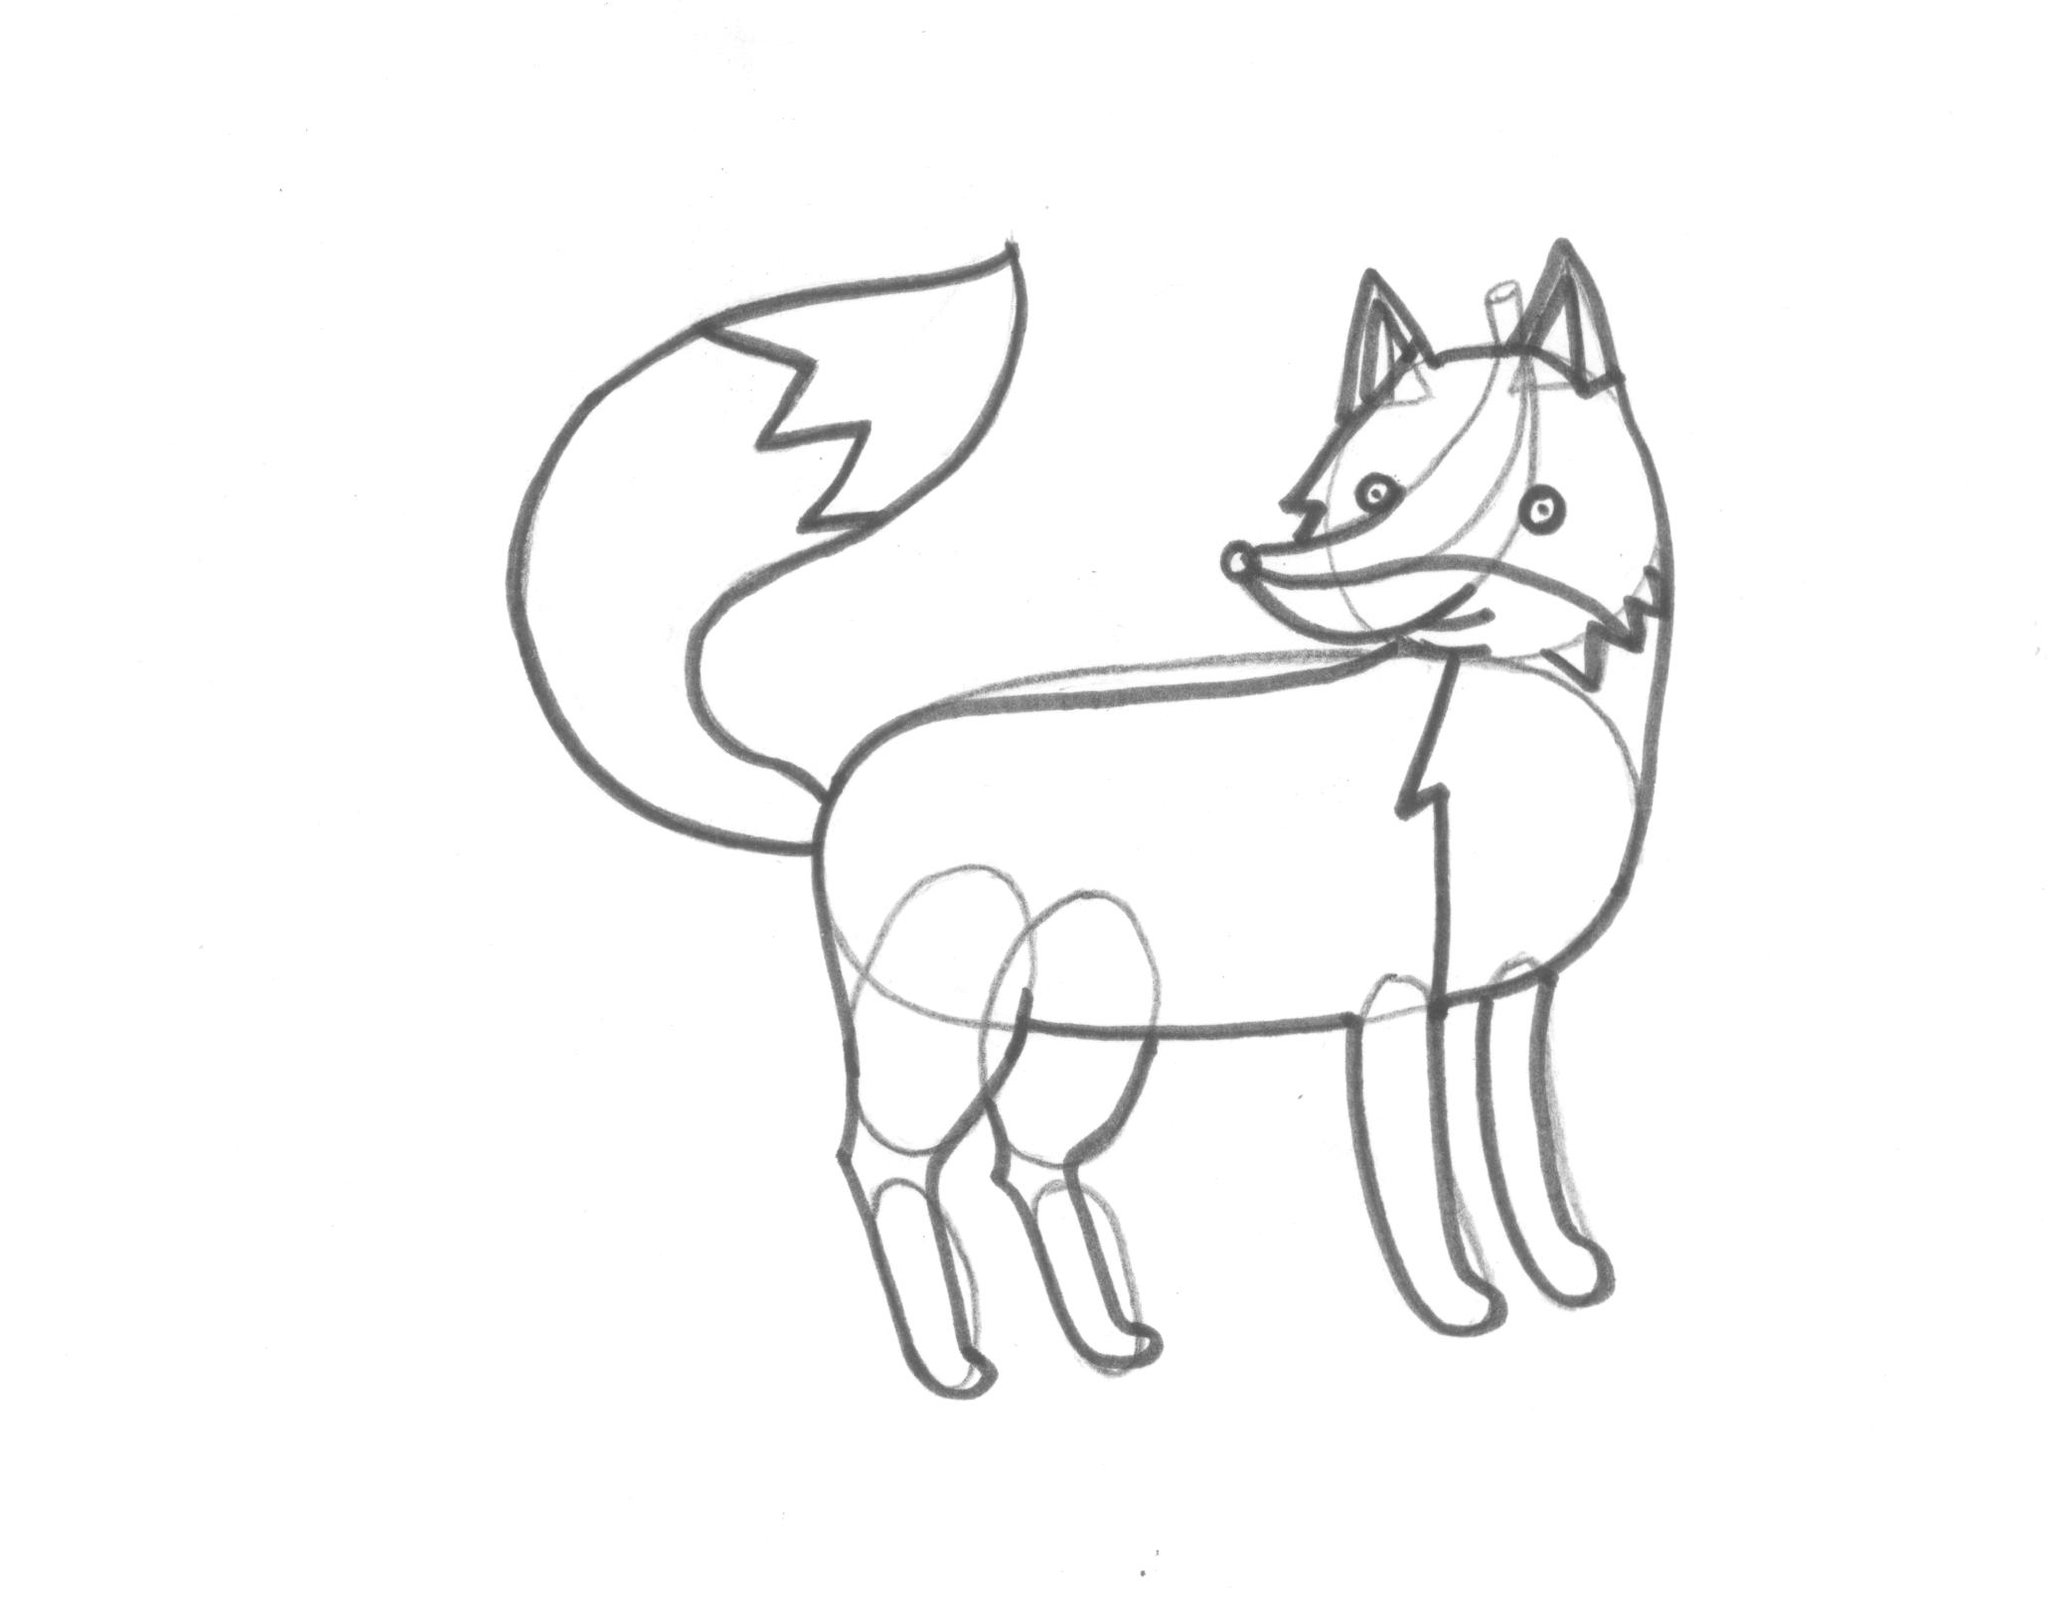
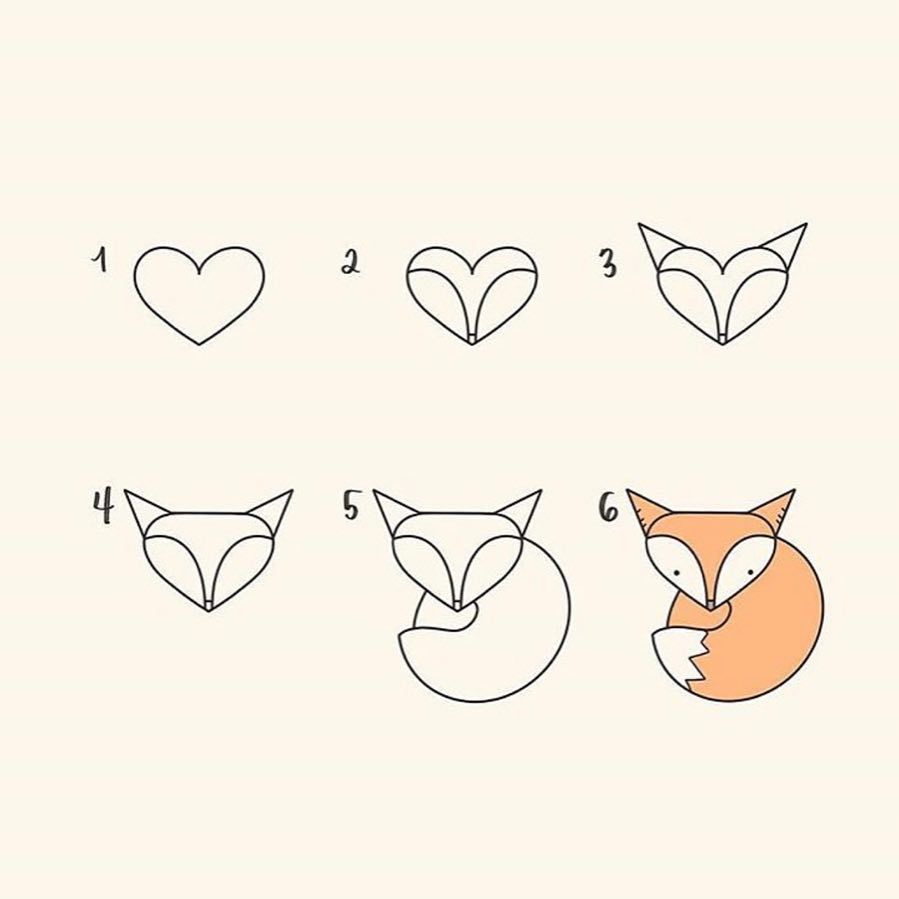
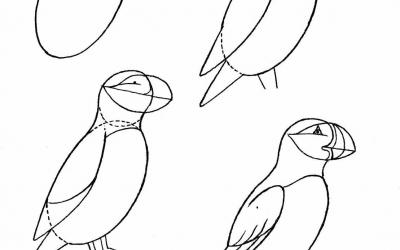
1. Start drawing the work from the muzzle. Make a pentagon as a base. Its angular side will be the tip of the head, and more convex top will be the crown.

2. Now proceed to the image torso. This is an oval, one part of which touches a pentagon. H of the oval convex, and its top is more straight. Where chanterelles should have a tail, draw a narrow rectangle. Its edges should be bent.
Now it's time to draw the feet. First make front legs. They represent two parallel lines. Rear leg, located in the foreground is depicted as follows: make a square with rounded corners next to the tail. Around the square make 2 parallel lines.

4. Around the tail draw another parallel line. This may not sound very clear right now. If you do not like this way, you can draw paws with the same elongated ovals and circles. The most important thing is to have an example drawing in front of you and then everything will become clear to you. It's much easier to work from nature than to make up images by yourself.
5. Draw the ears. This is a simple isosceles triangle. All this connect the lines, trace around the outline.

6. Muzzle it is better to draw. Before drawing eyes and mouth, mark with lines, where they should be located. It should be a clear line. In case. If you mess up somewhere with proportionality, you may accidentally end up with a pet dog instead of a wild fox.
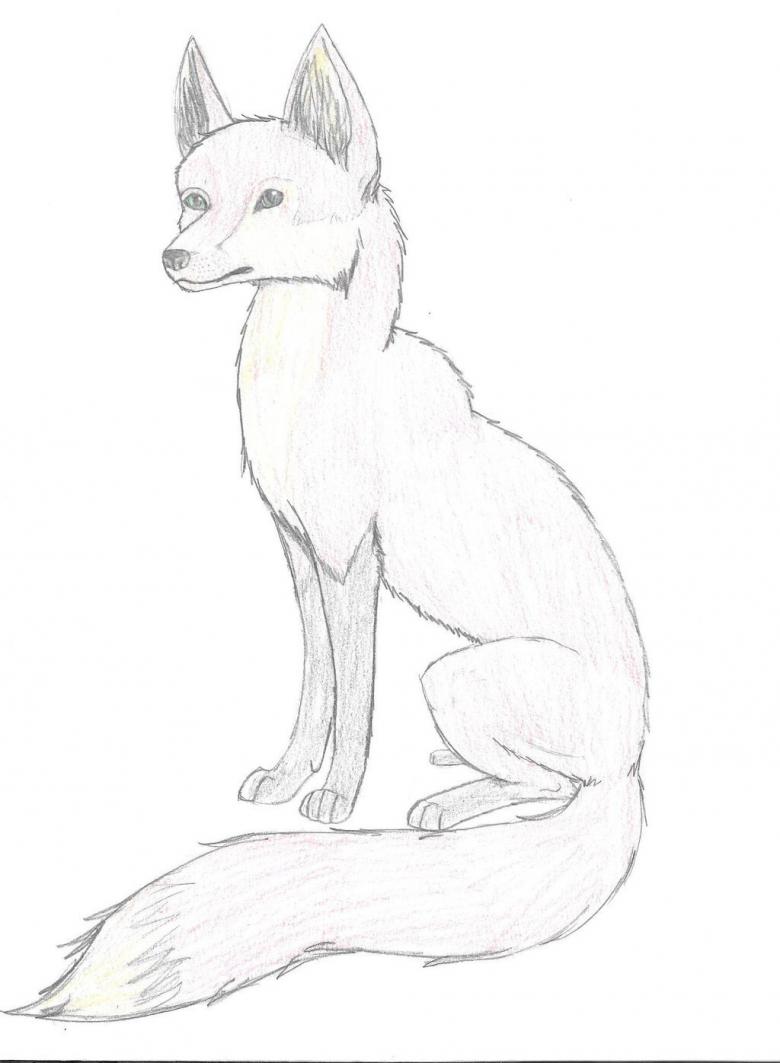
7. Pay due attention to paws, tail and back, drawing them separately. These parts should be beautifully curved. Remove unnecessary lines, contours, details with an eraser.
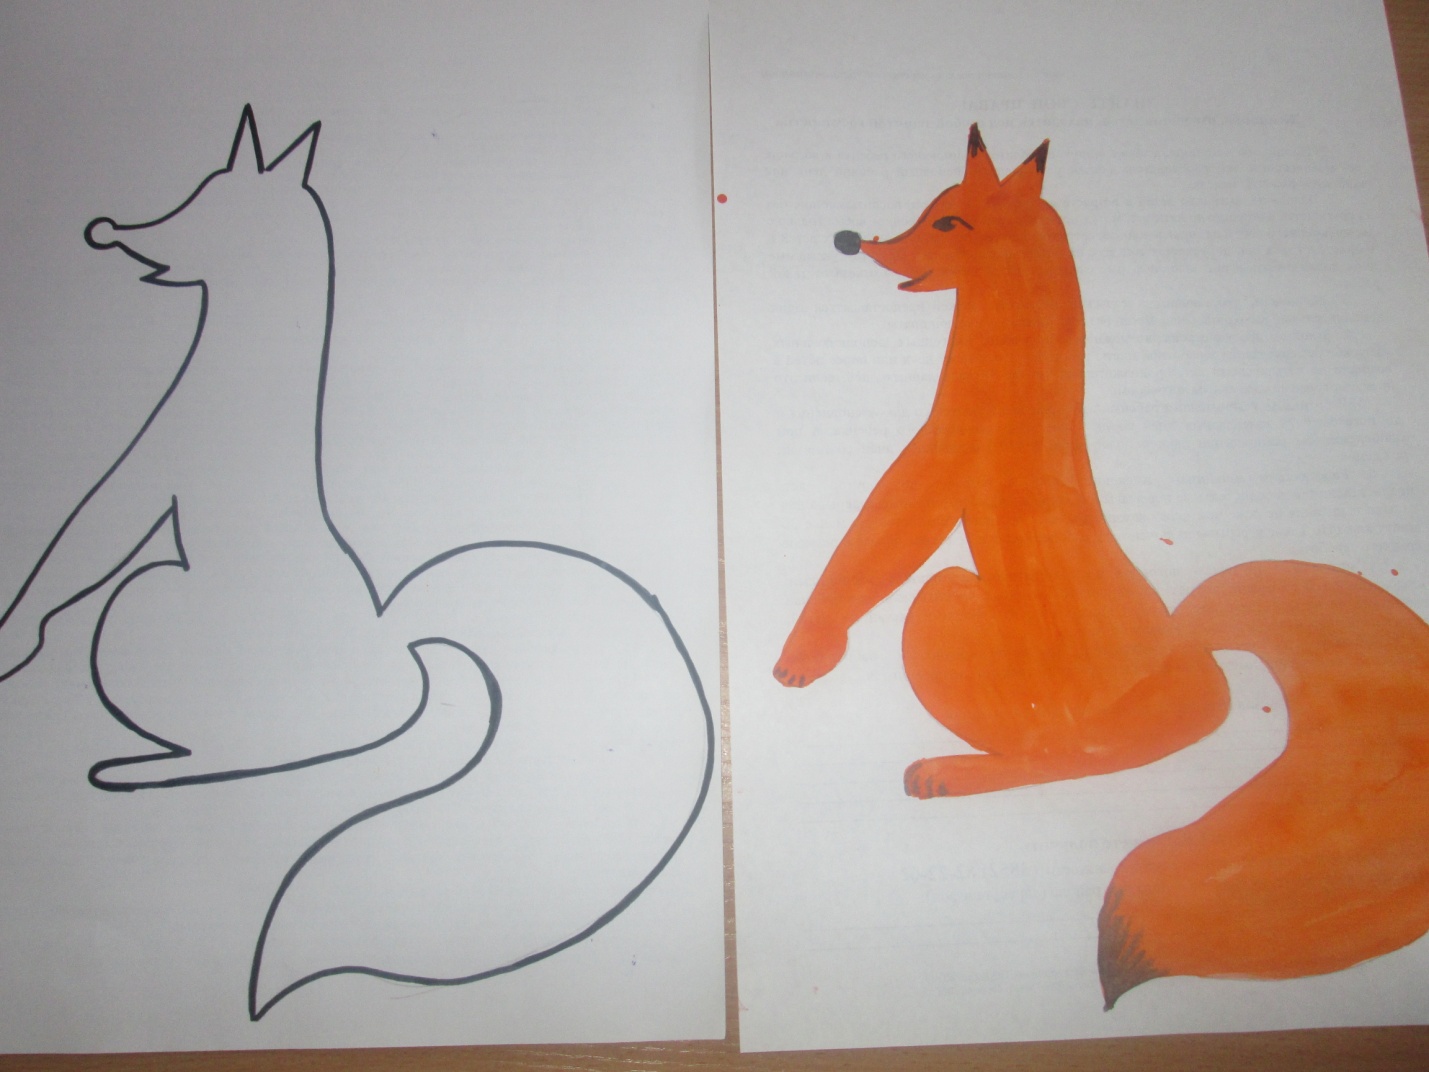
At this point, the pencil sketch comes to an end.
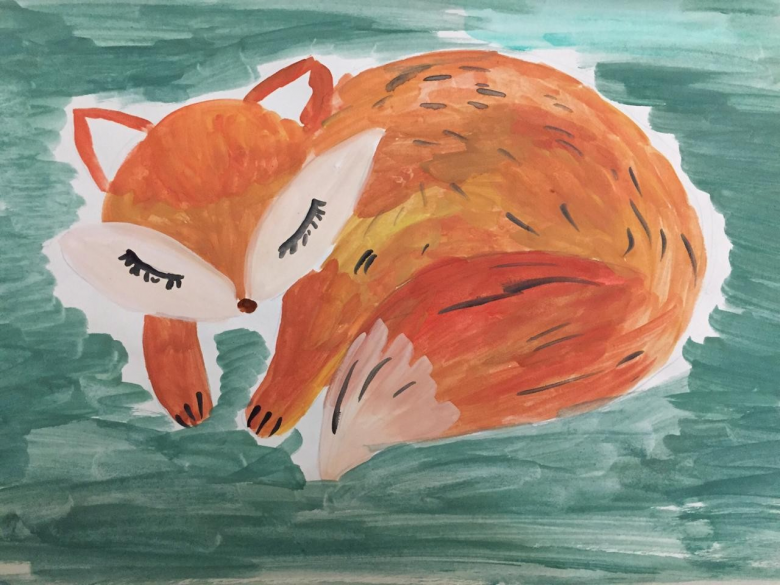
Paint the fox
Before we move on to the techniques and methods of painting, let's determine what materials are needed for this work.
- Regular white paper and special paper for writing watercolor;
- A set of brushes: a thin brush for tracing small details, a medium brush for doing the main part and a large brush for wetting the paper with water;
- Water colors
- Paper adhesive tape
- Drawing board (preferably)
- White gouache
- Glass with water
- Tissues
- A normal pencil
So now let's start with the steps of drawing.
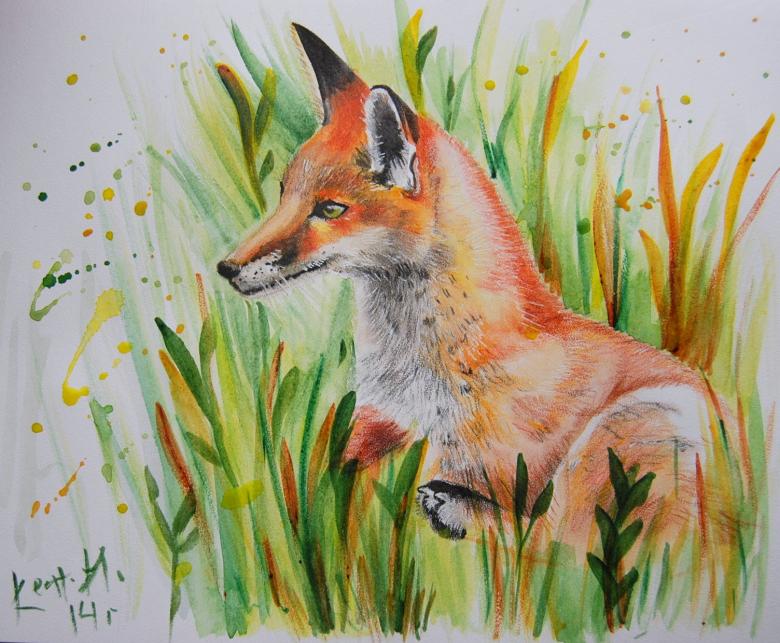
Step 1. If you are going to have a background, the first thing to do is to make a background. This applies to any painting you want to do. It always starts with the background and goes to the foreground. To make a nice watercolor background, wet a sheet of paper with a wet brush (note that you have to work very quickly and when wetting the paper you should not allow water to get on the fox itself).

Choose whatever colors you want to use for the background and paint over it, putting a small amount of paint on the brush. If you work slowly, it may leave streaks and smudges in the picture, so try not to think too much.

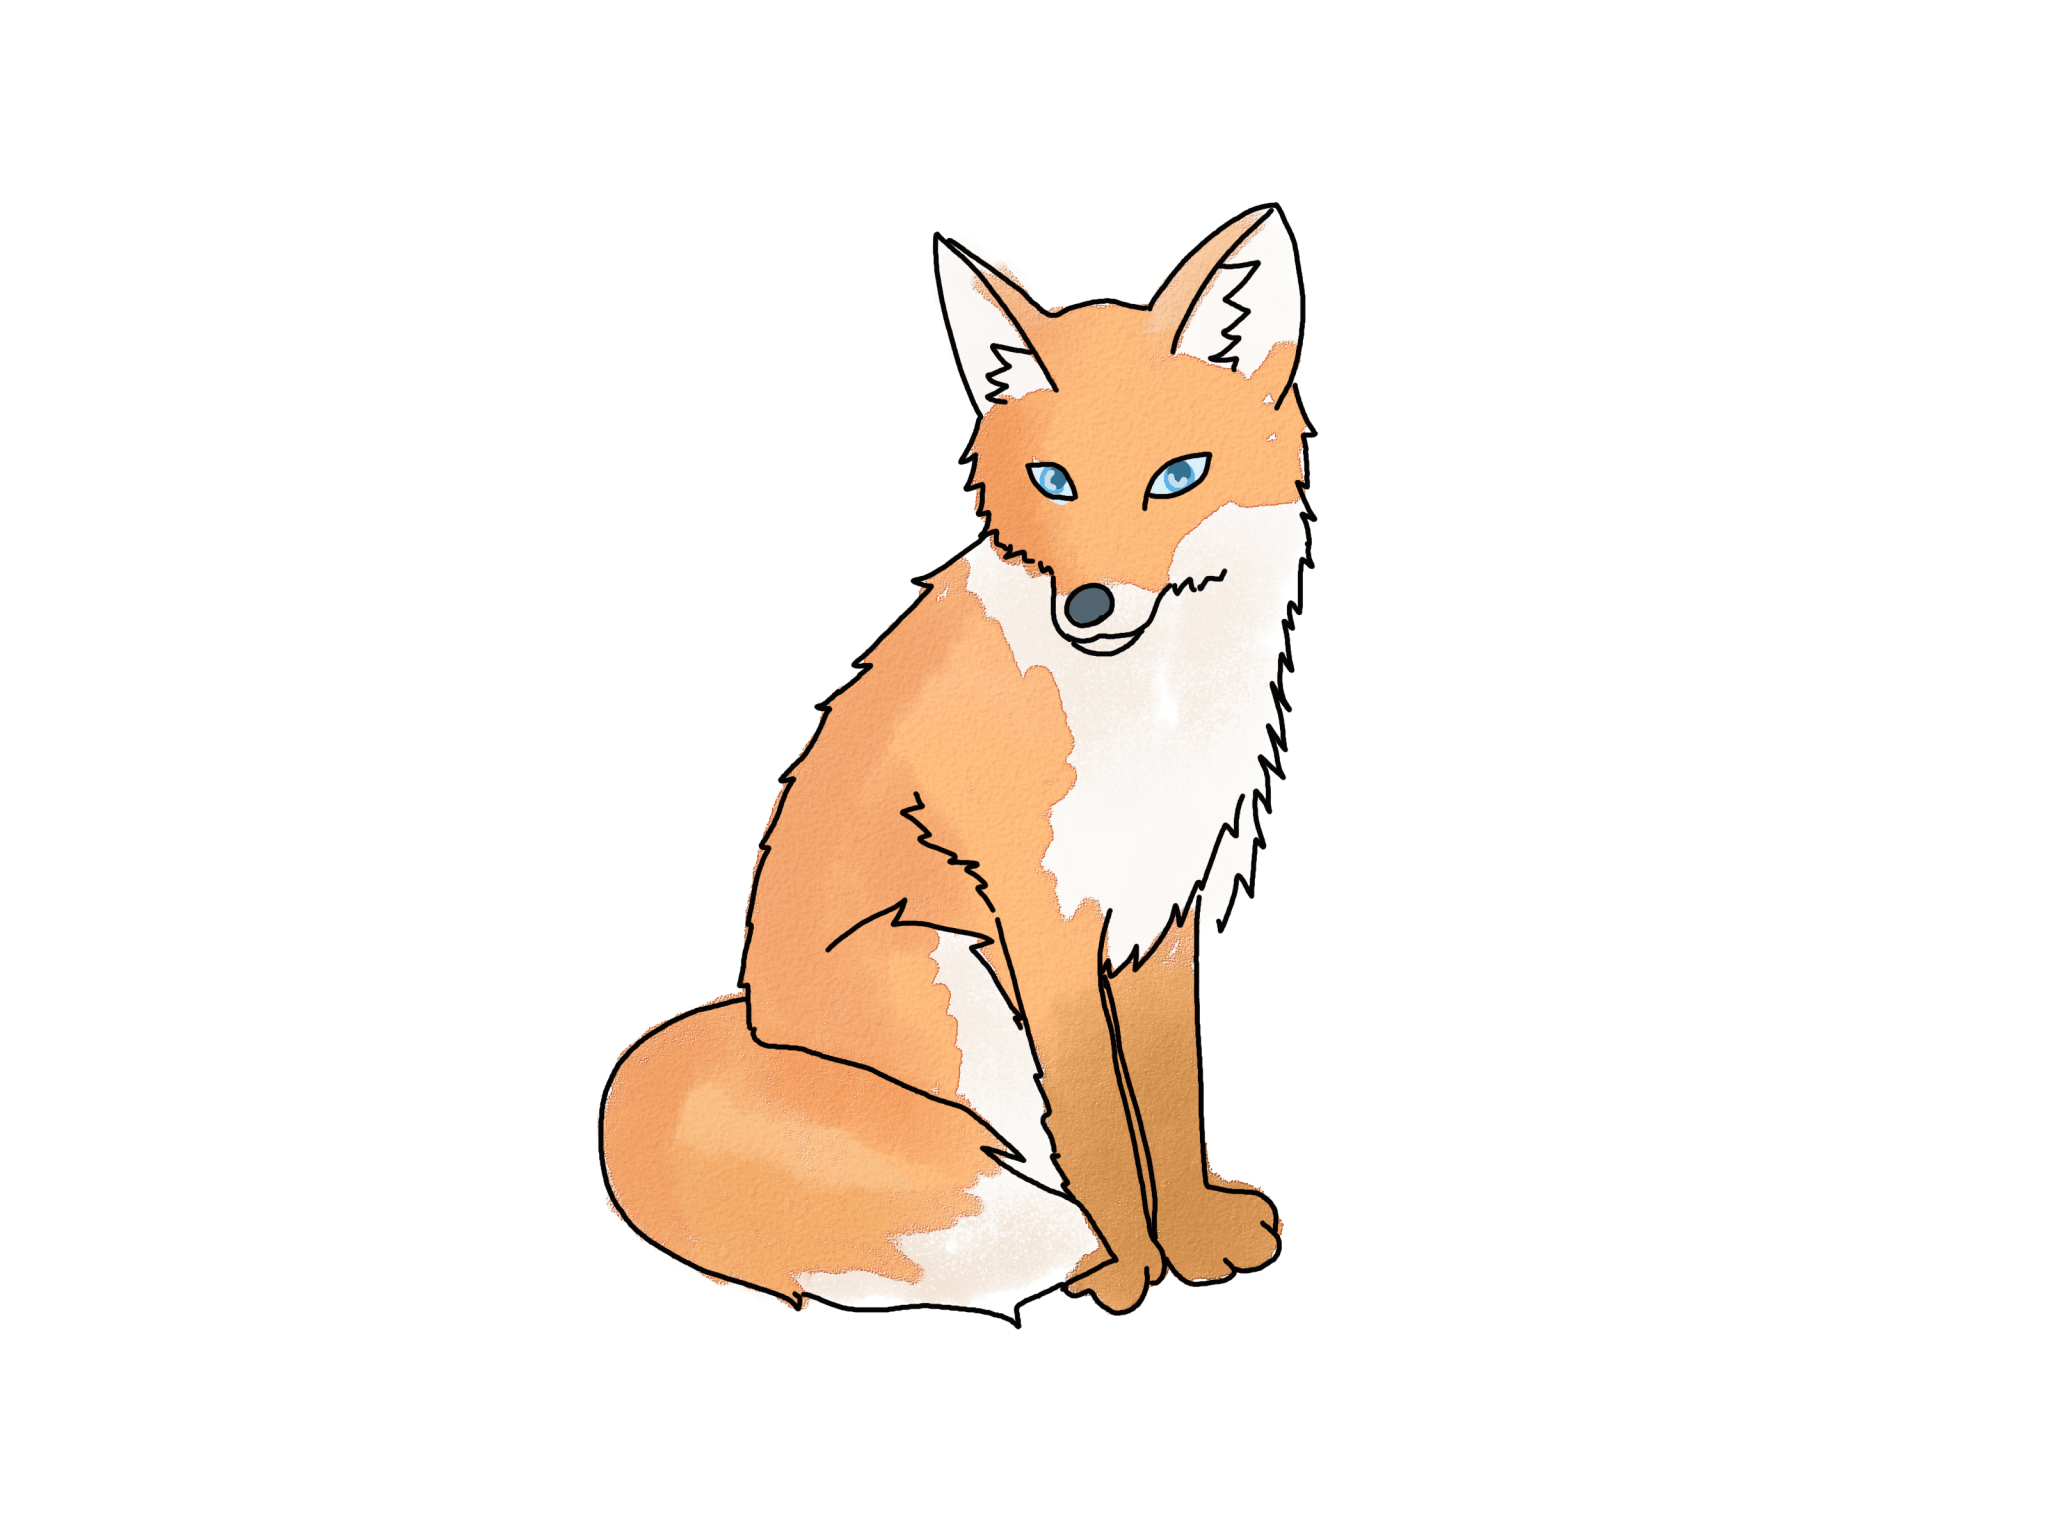
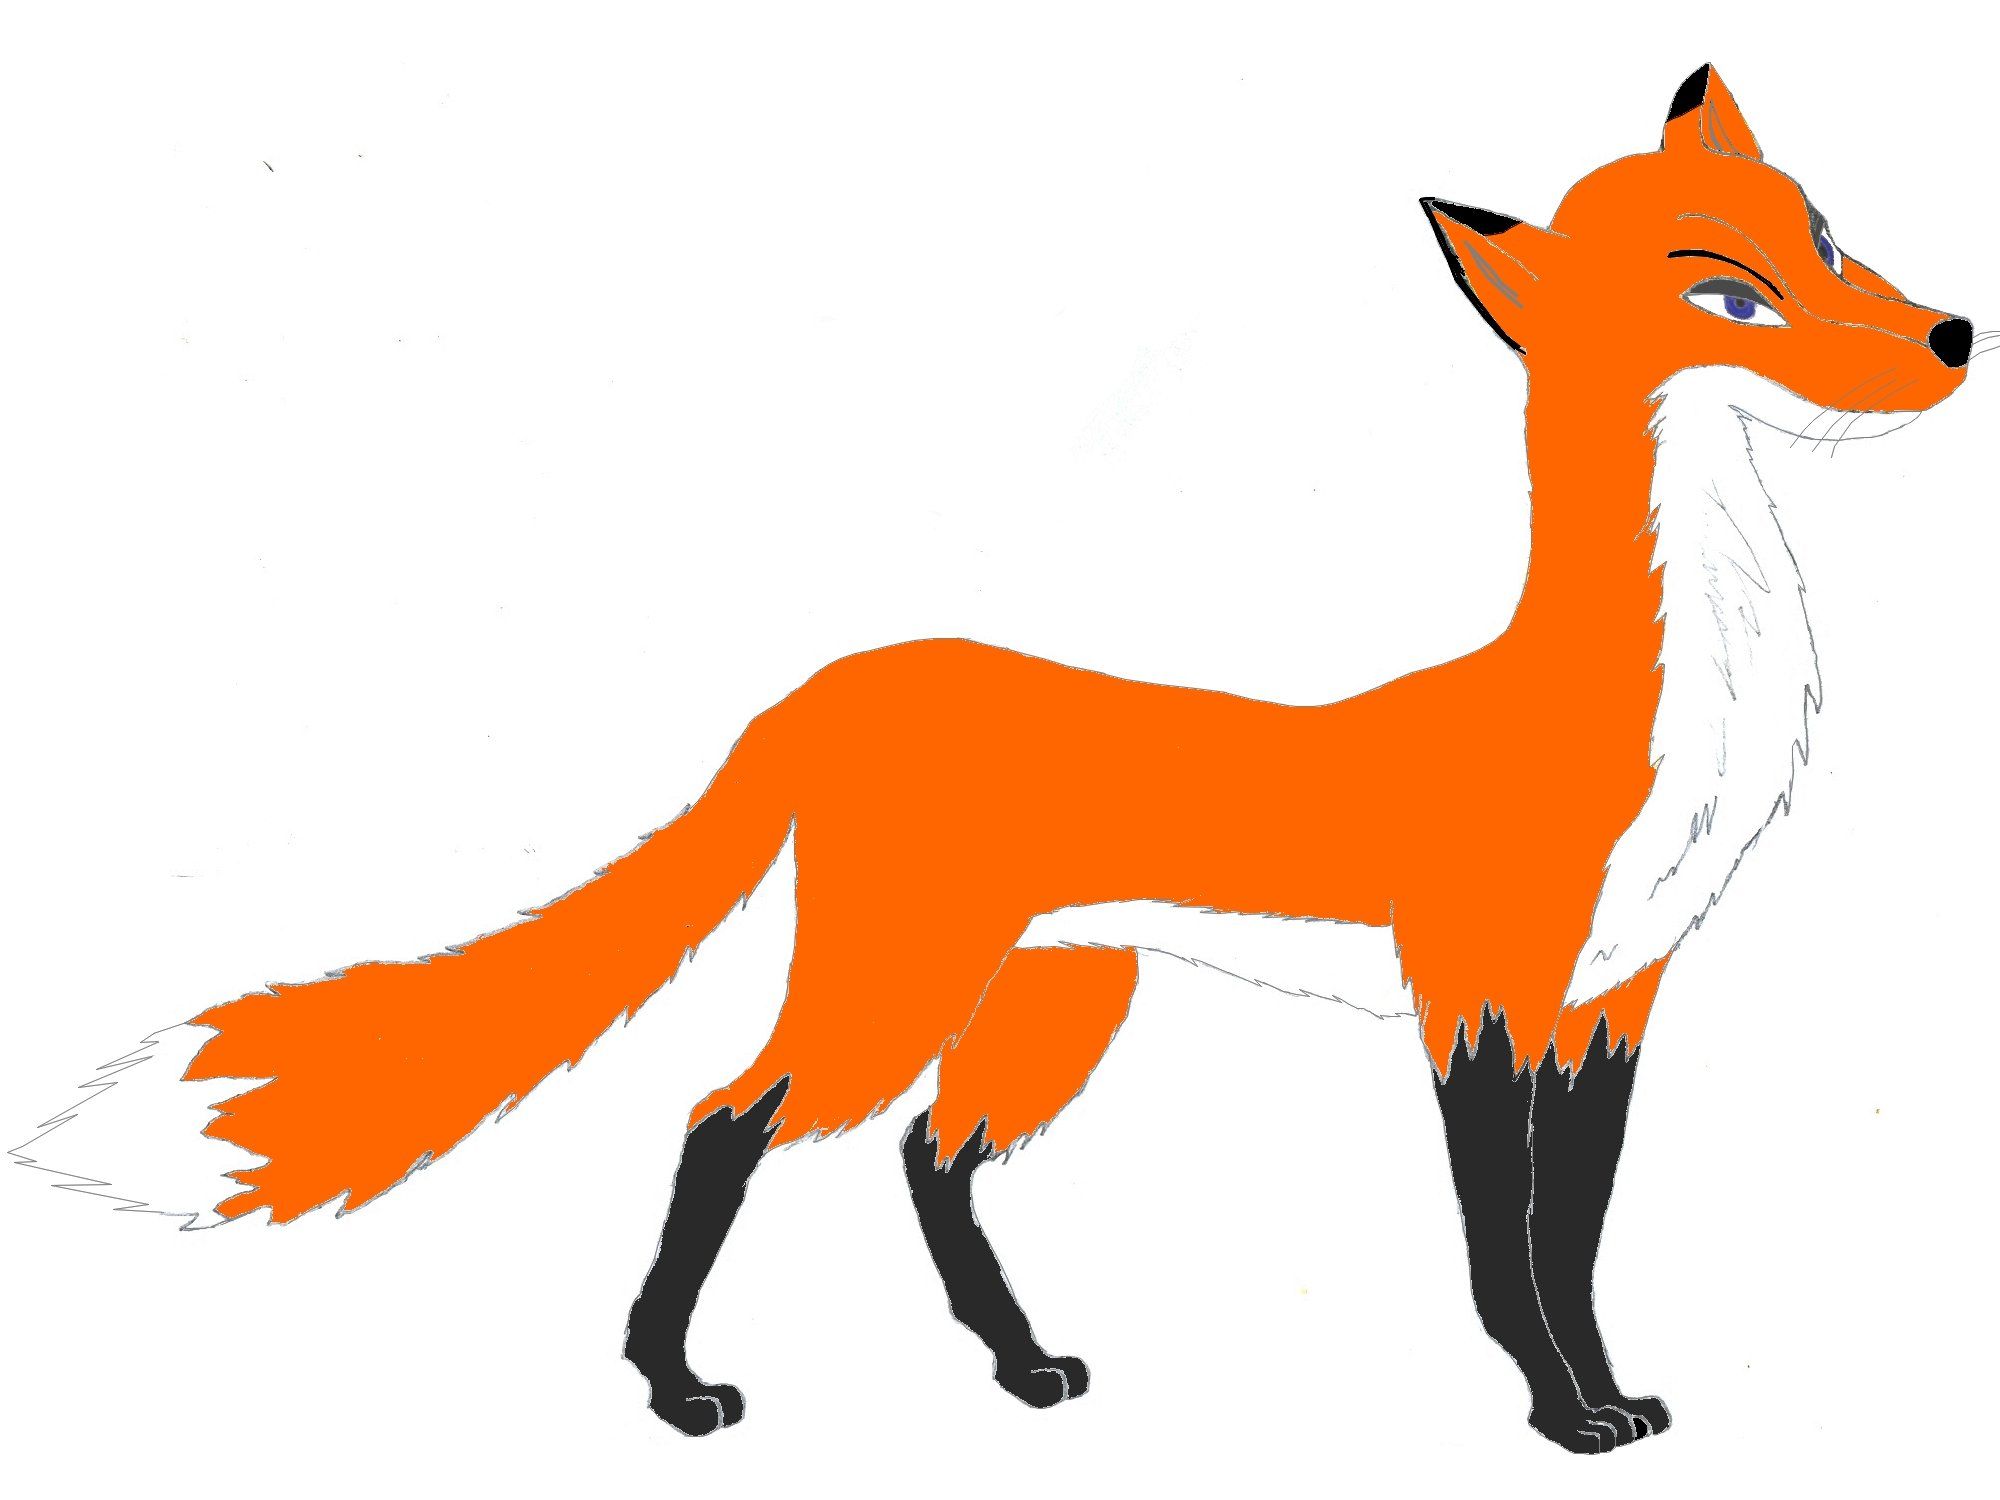
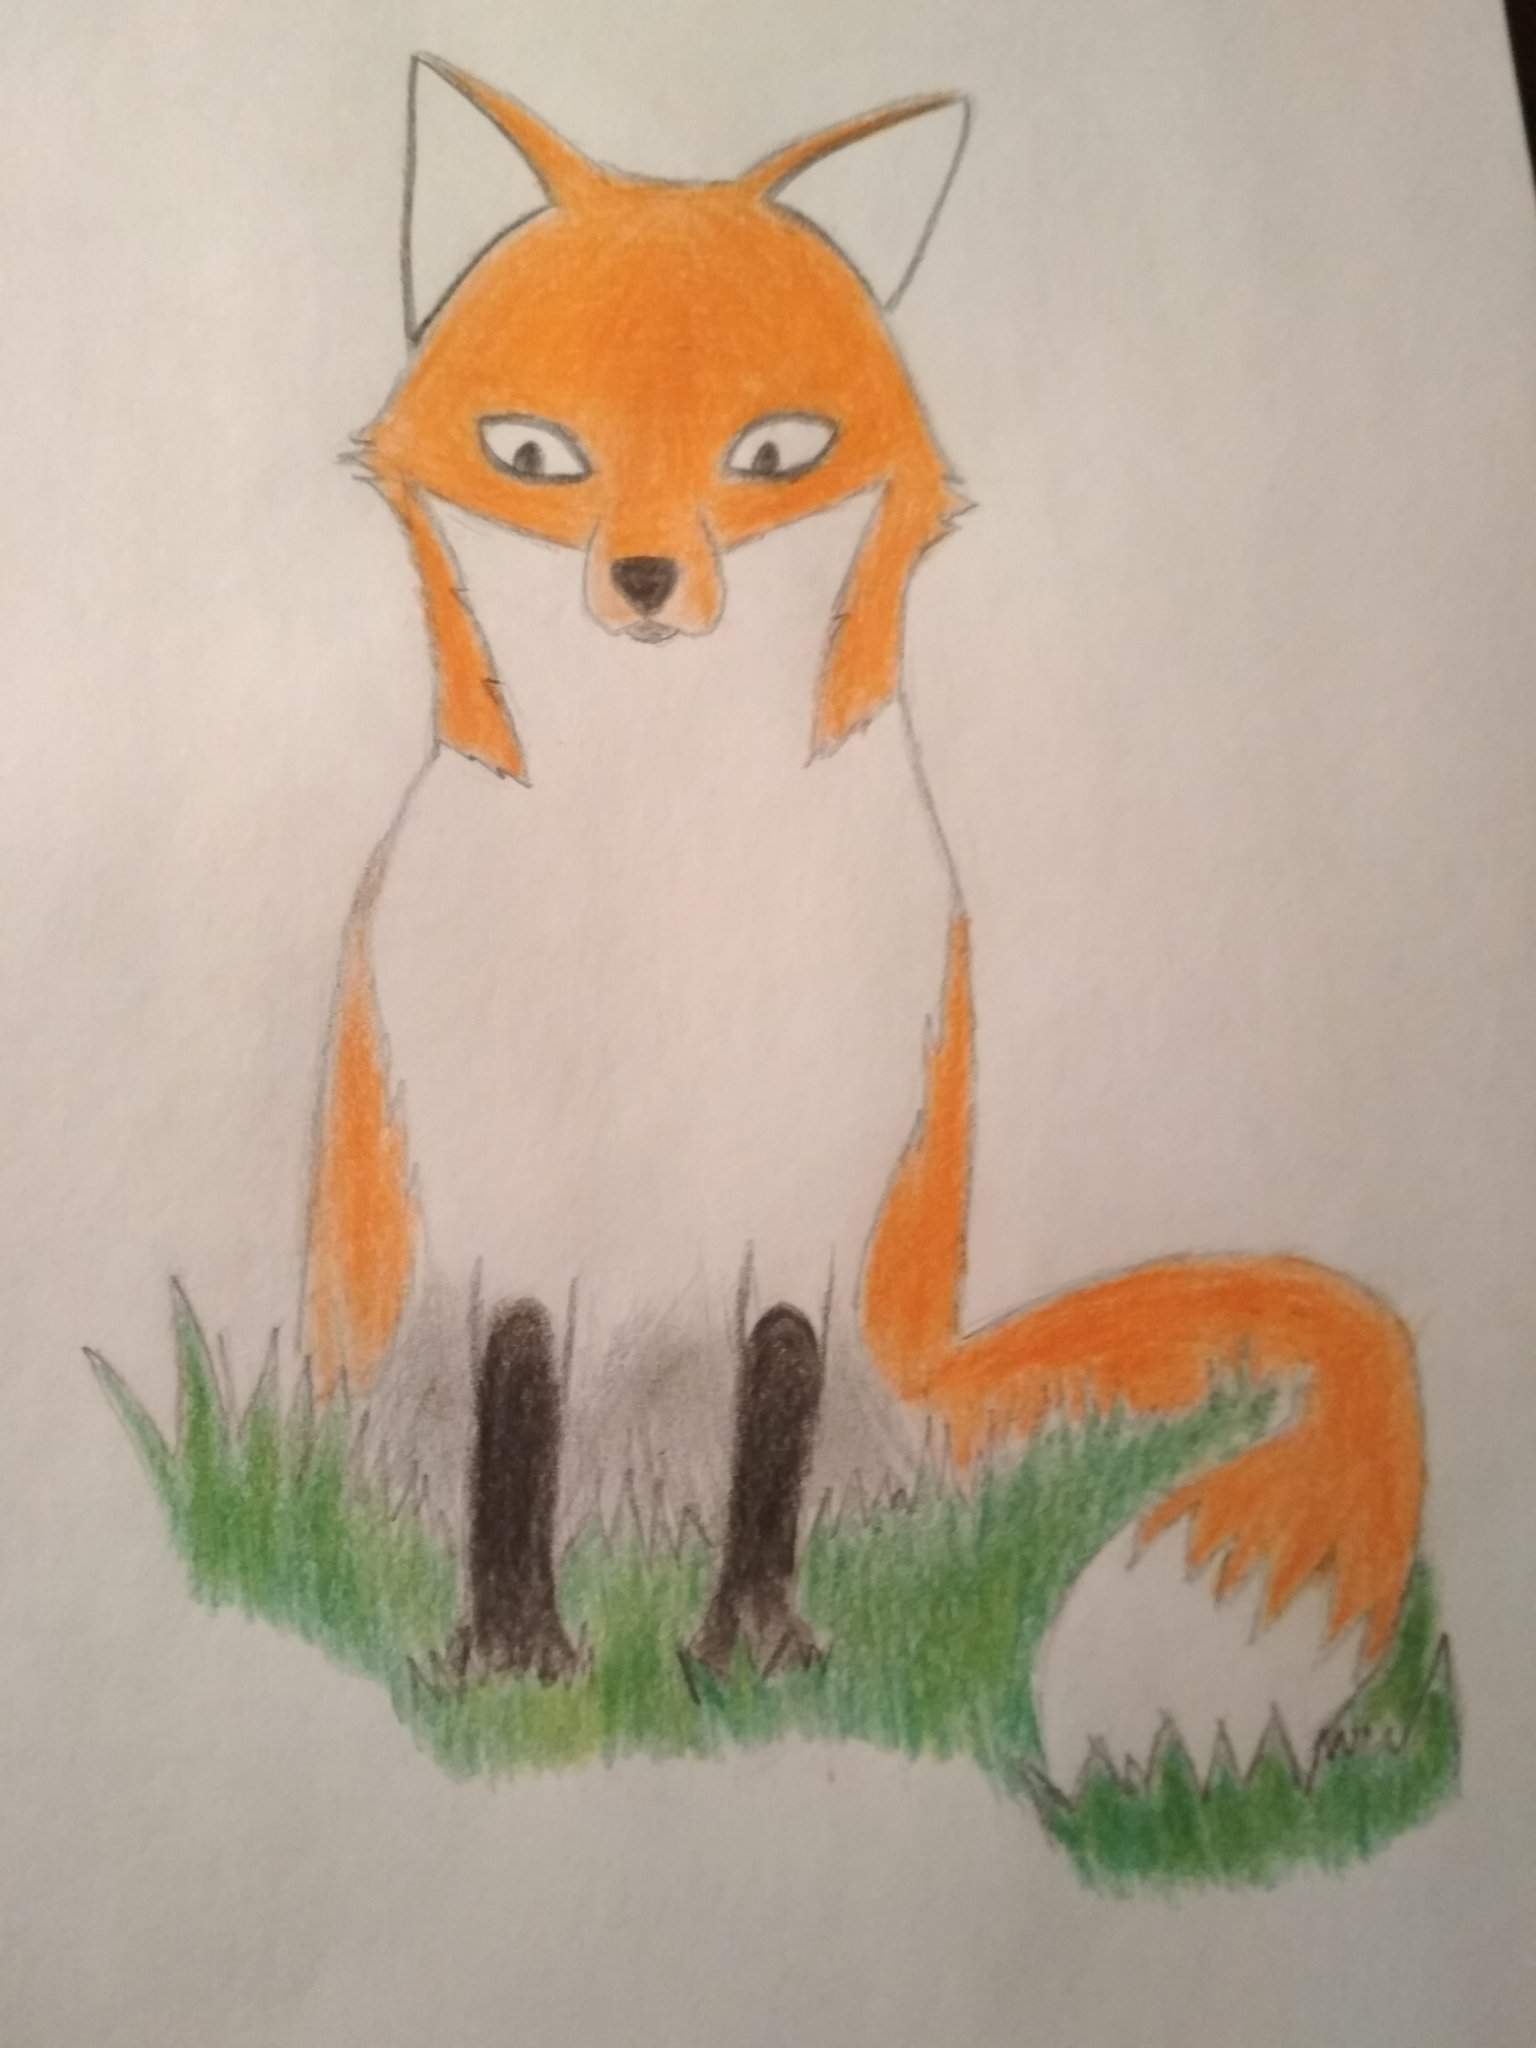
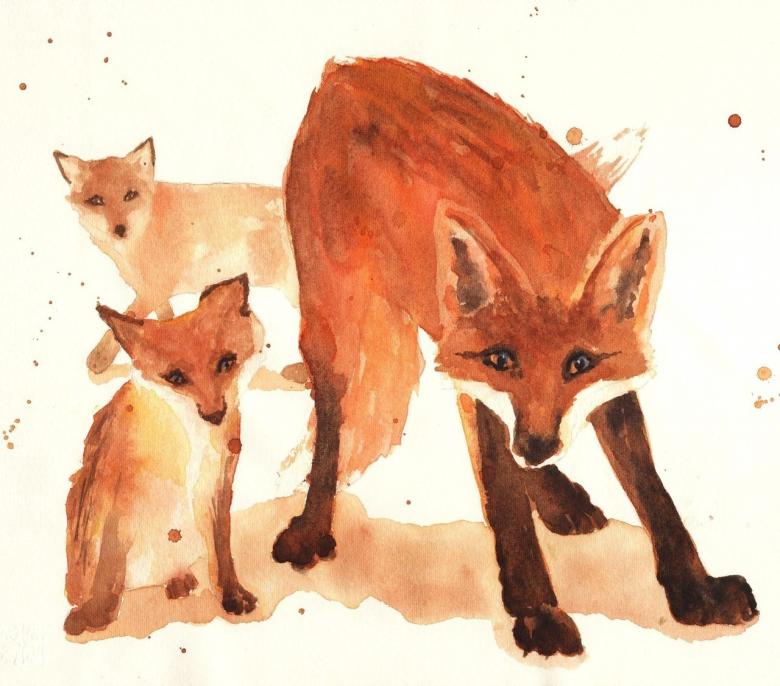
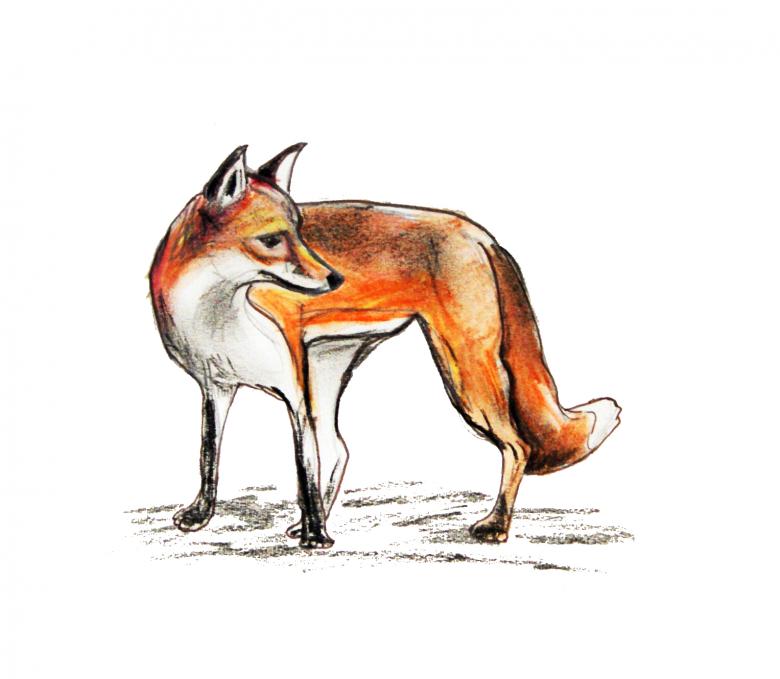
Step 2: With the background done, you can start with the fox. First, paint the body evenly. Apply red, yellow, red paint on both the head and the body of the fox. Leave only the white, lightest areas untouched. What you are doing now is called lining. This is to make further layers of paint look brighter.
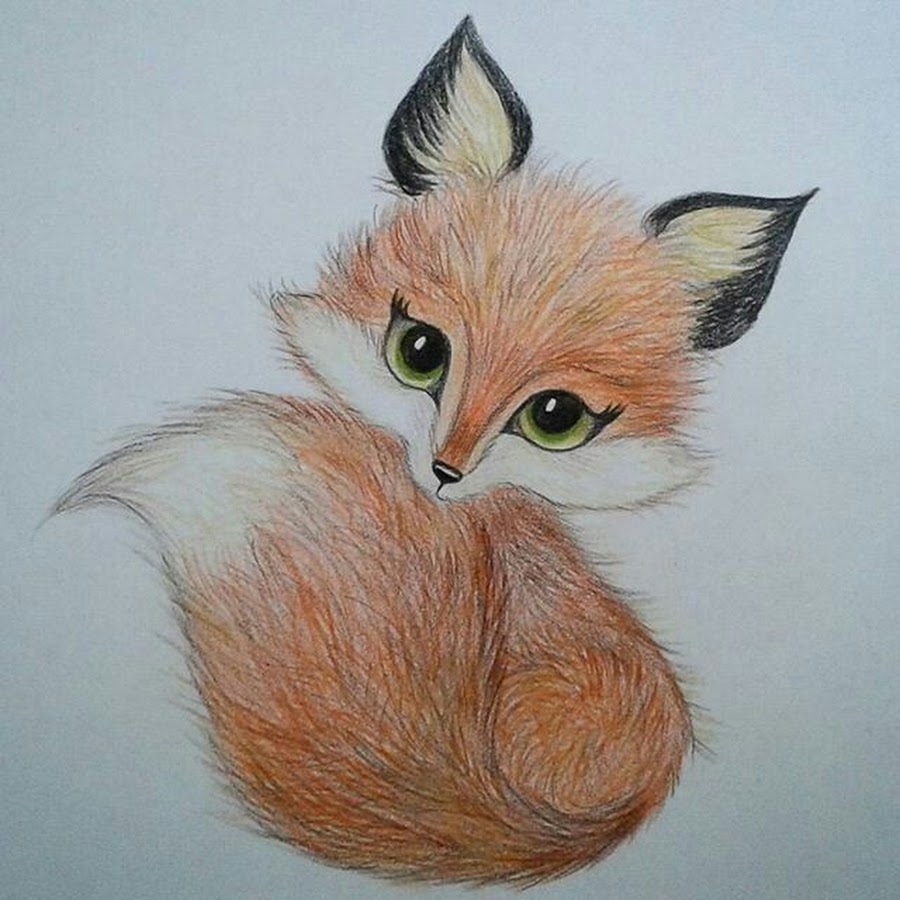
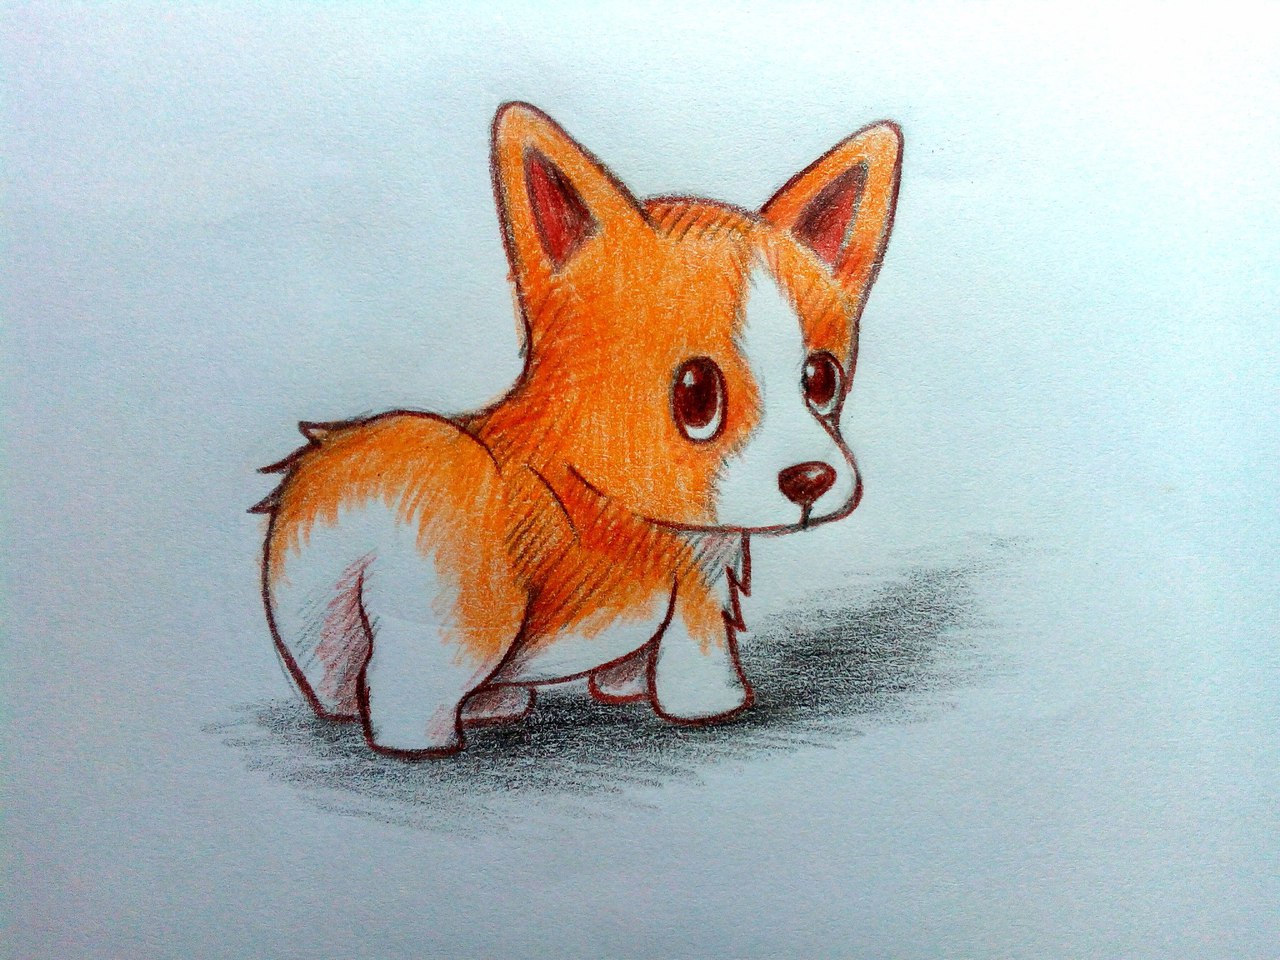
Step 3: Draw the fox's fur. This can be done in several ways. If you have a small fox, poke the paper with a dry brush with a small amount of paint on the tip. This will create a fluffy fur effect.
If you have a more mature fox, use caressing brush strokes, not touching the paper. Use only the tip of the brush. And don't try to paint every hair of the fox, the most important thing is to convey the effect, mixing colors and applying them accurately, in moderation.
Step 3: draw the paws as follows: put the brush to the place where the paws are connected to the body, carefully trace them so that at the base of the paw is darker. But pads of paws should remain light. The tail is drawn according to the same principle.
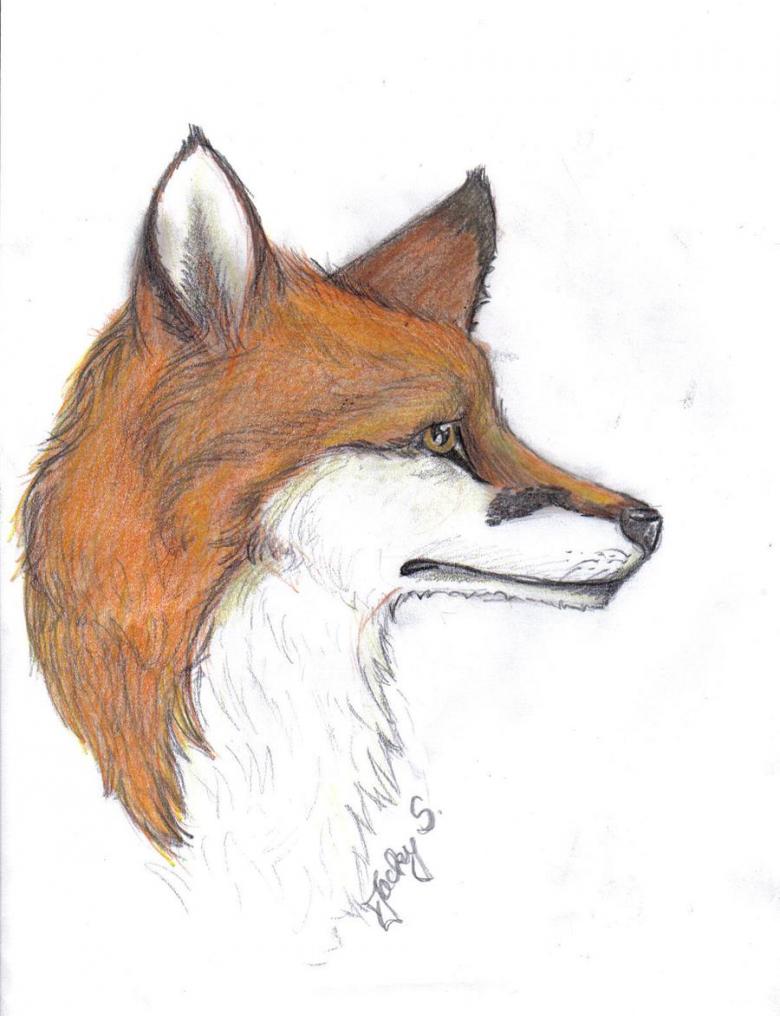
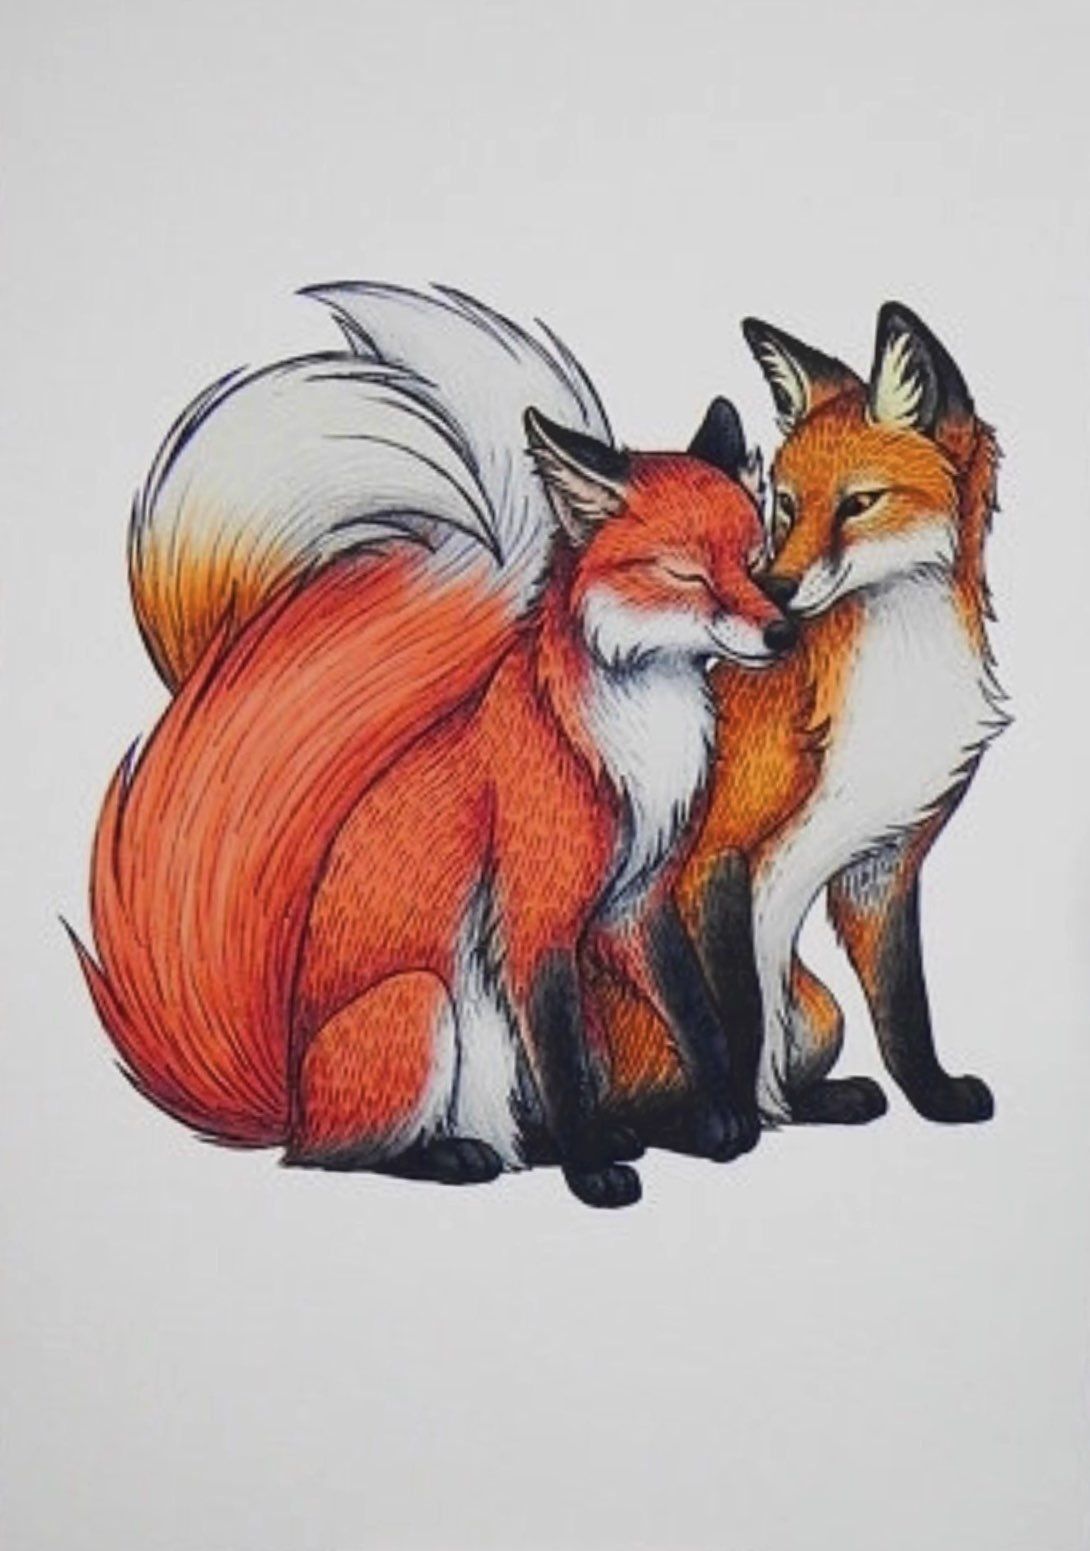
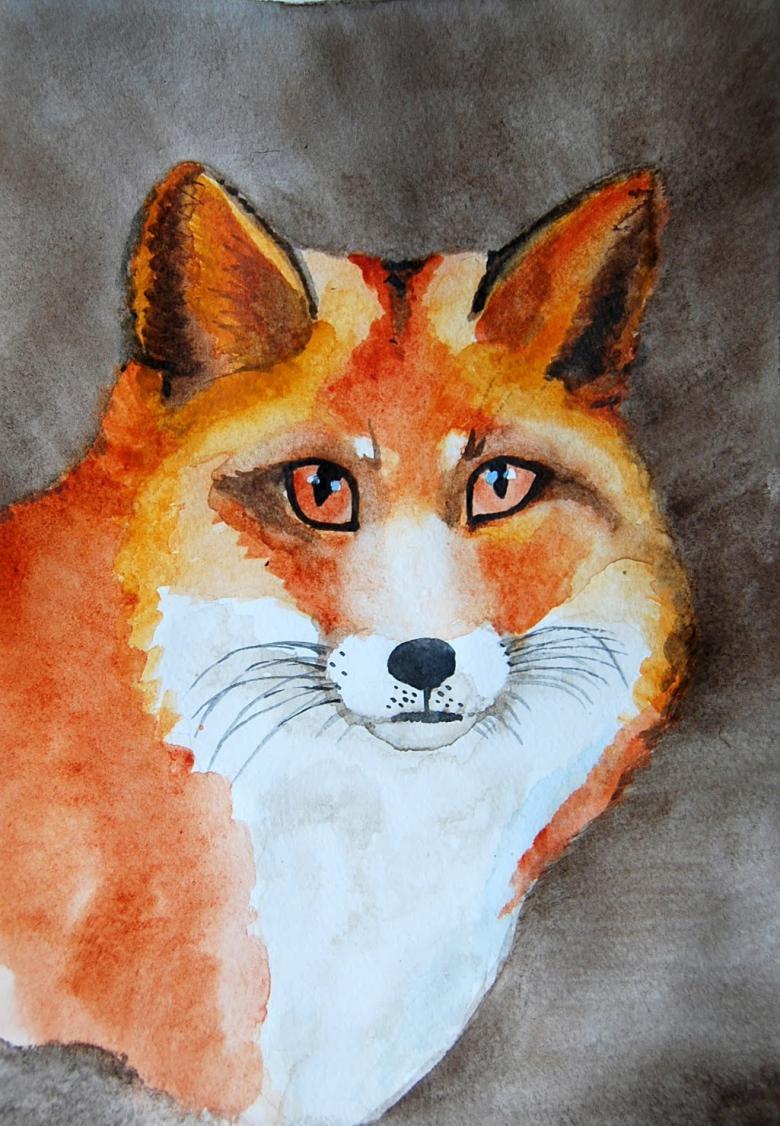
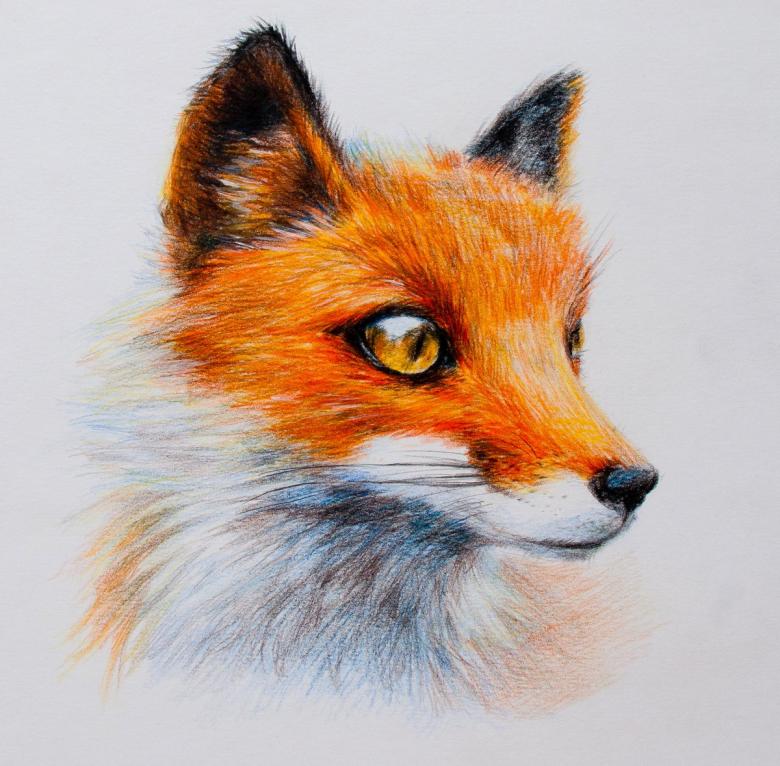
Step 4: The muzzle of the fox should be drawn very carefully. What is worth paying attention to:
The ears will be yellow on the inside. They are much darker around the edges. The eyes of the fox should be at the same level and these are the darkest points of the whole drawing. Whiskers must be drawn very accurately, with the lightest possible touch of the brush.
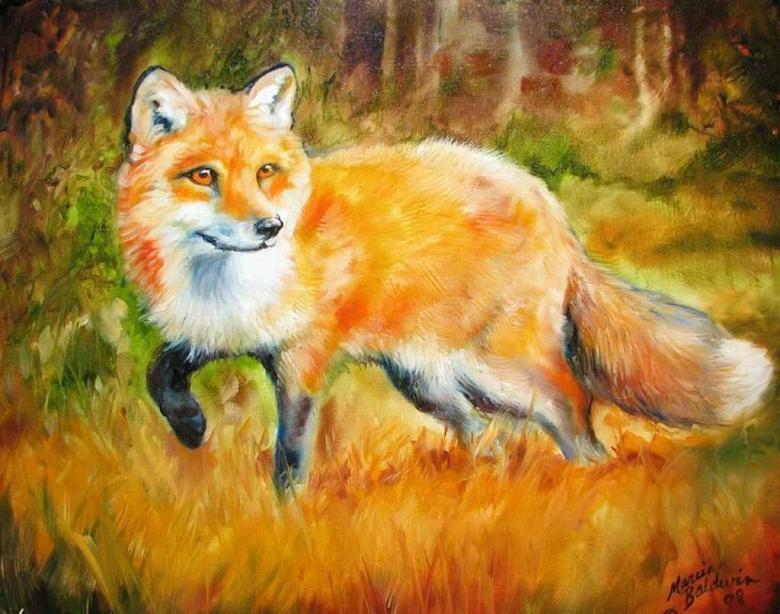
So, by completing all of the above points, you can get a very beautiful and cute fox. The technique discussed in this article is suitable for both a novice adult and a child. You will definitely find this kind of activity very exciting and interesting.
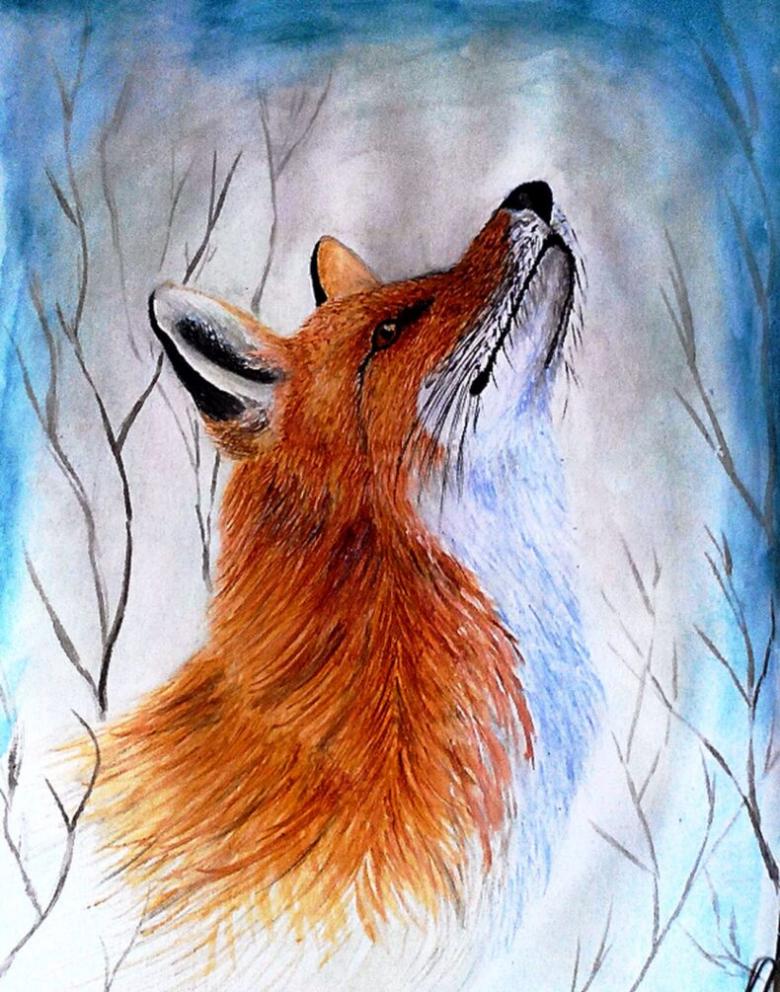
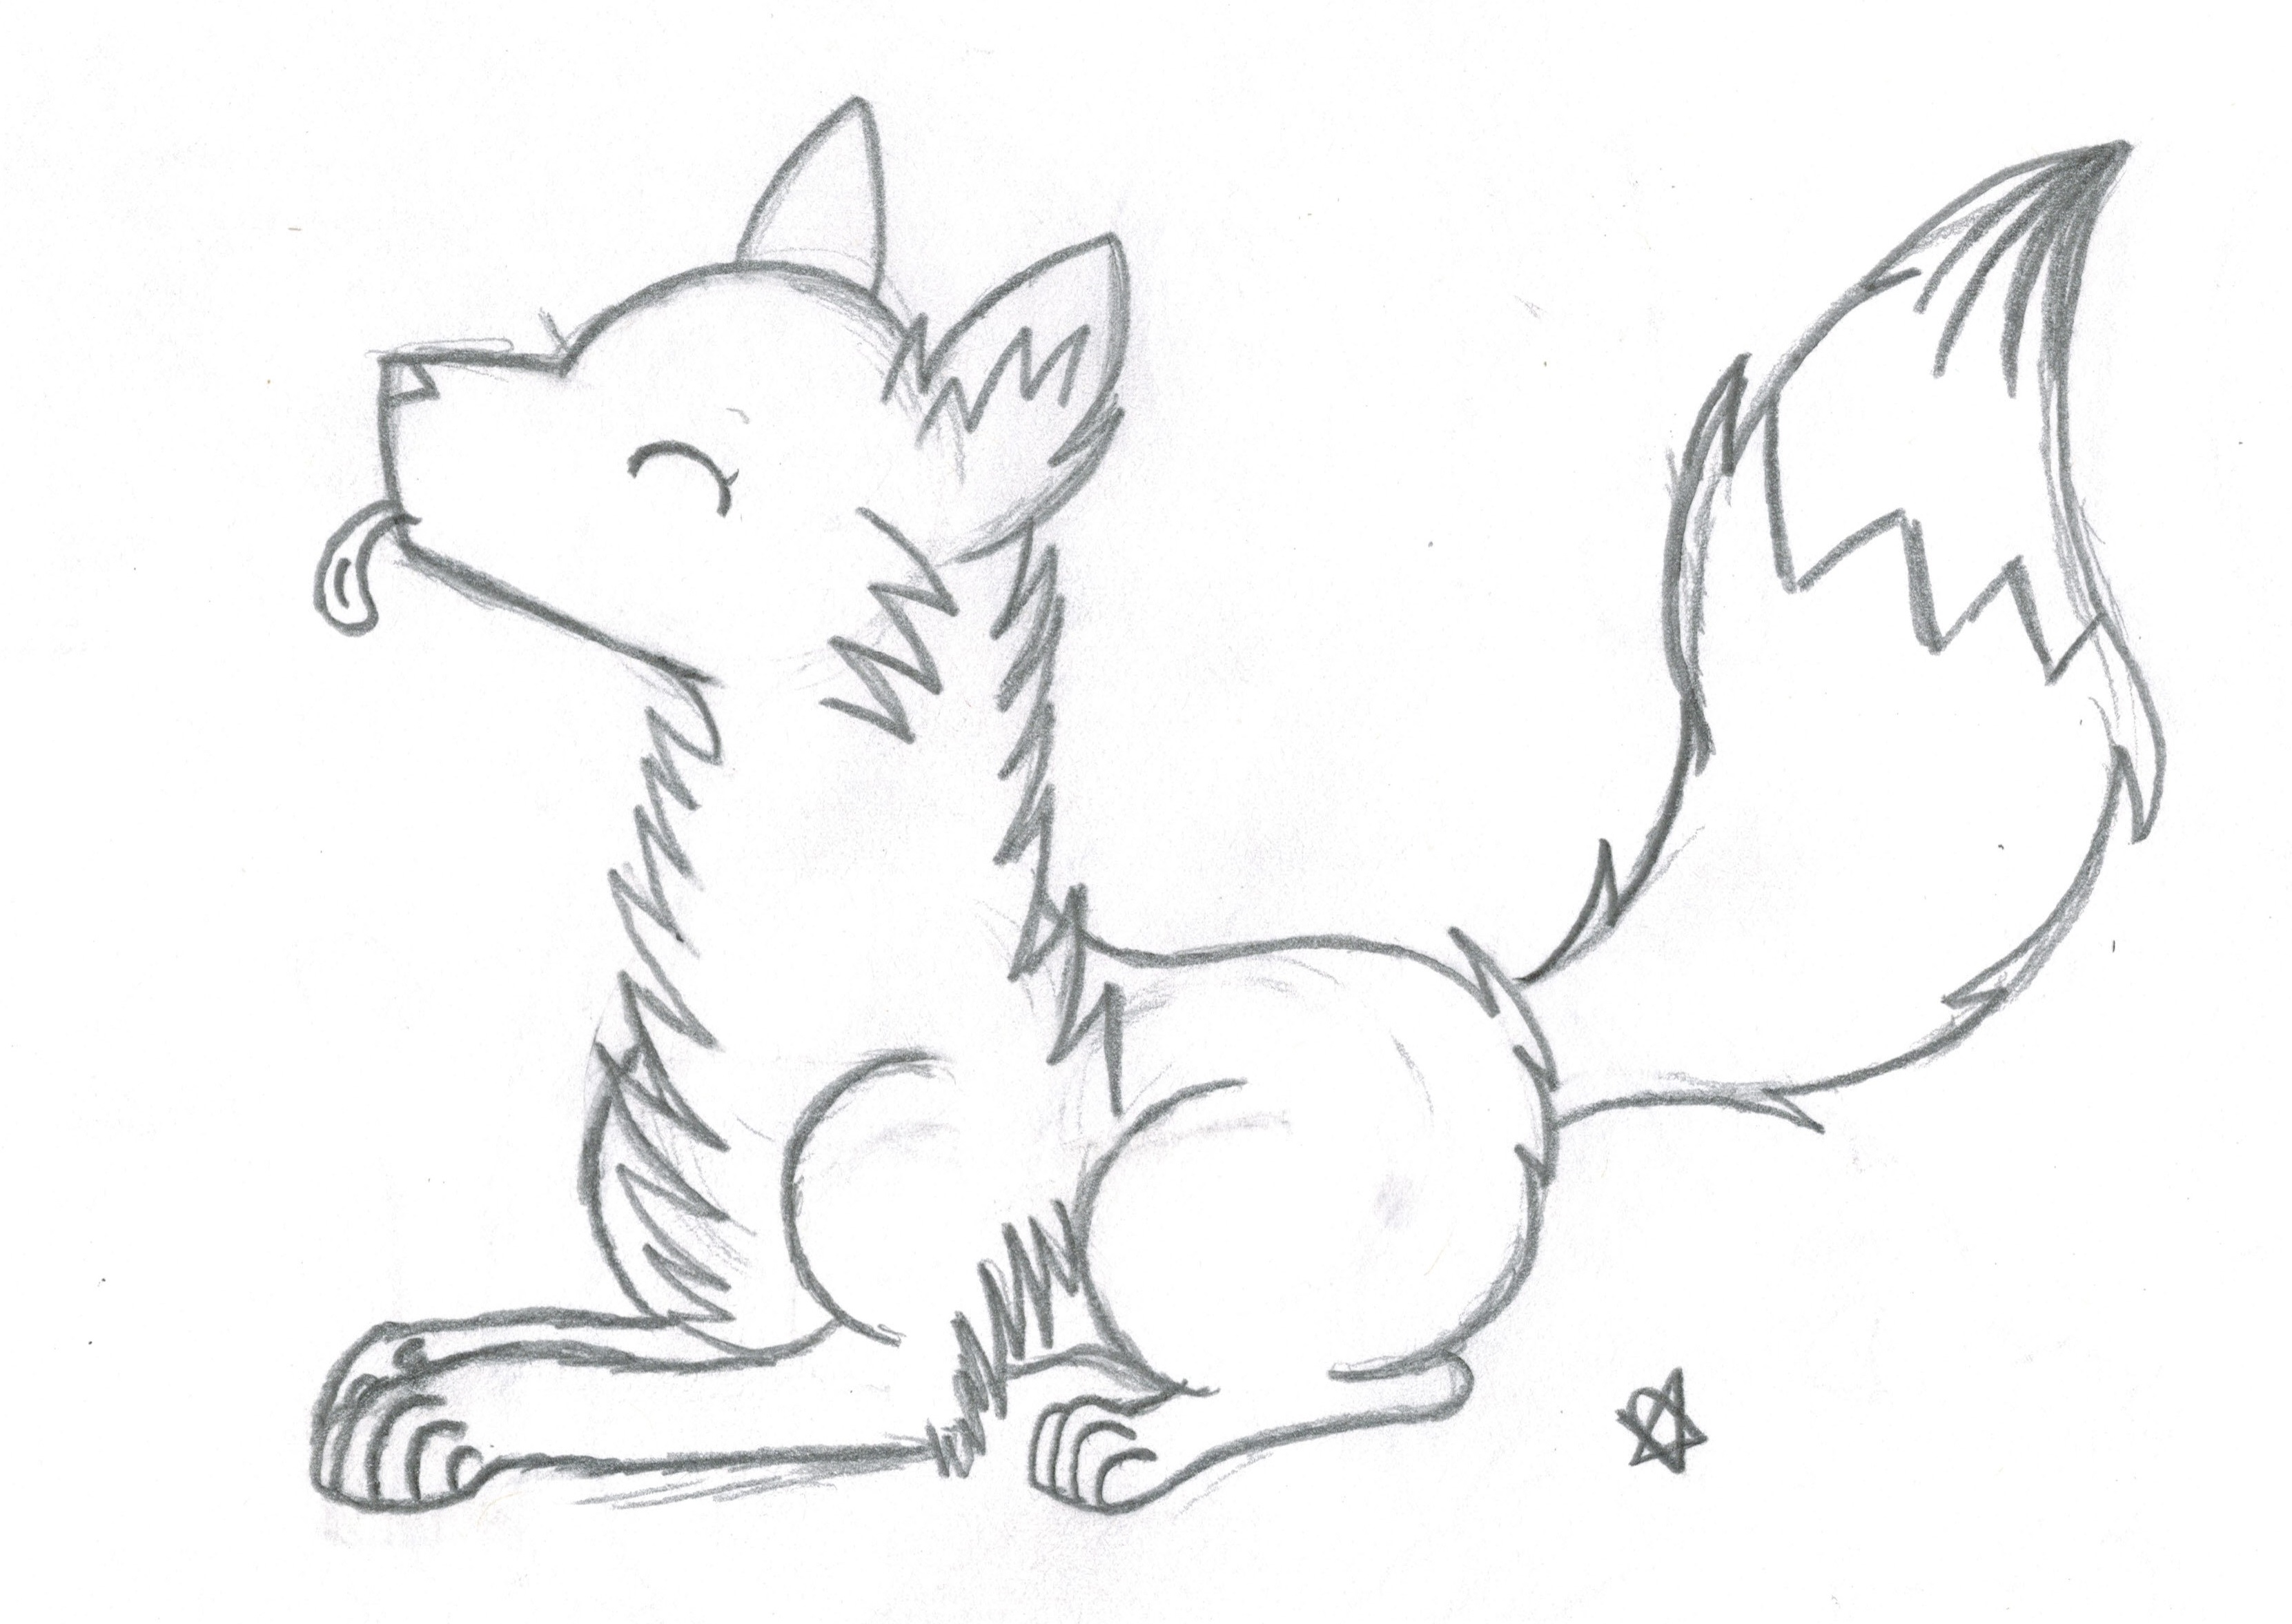
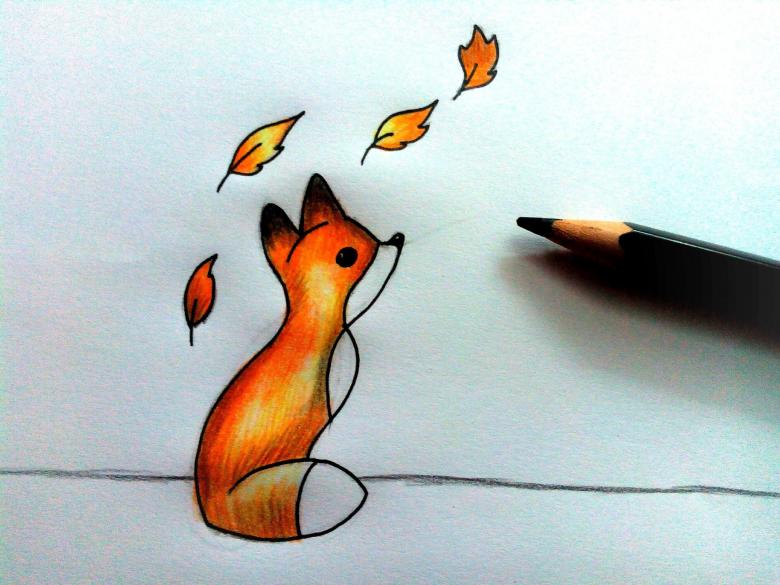
Pictures of a fox for sketching in pencil and paint