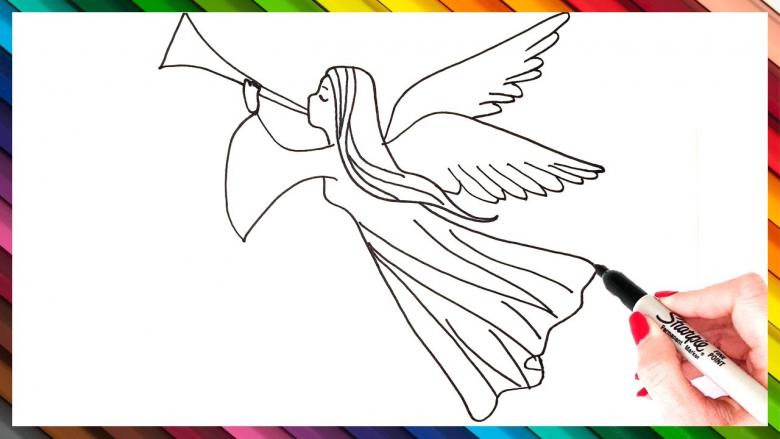
How to Draw an Angel in Pencil: Easy Easy Easy Sketches for Children and Lots of Pictures to Draw
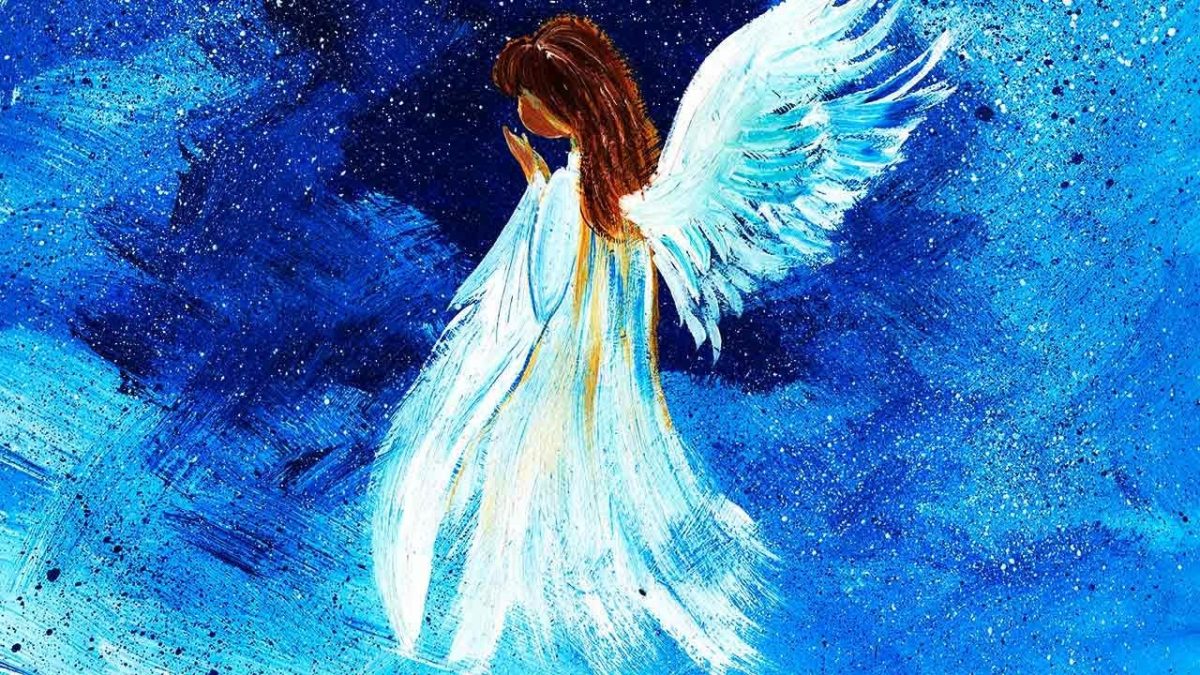
The name "angel" associates almost all of us with something incredibly beautiful, divine, weightless. This is a fictional being, or perhaps a real one, no one can say for sure, causes awe and positive emotions.
This material describes how to draw an angel step by step in pencil for beginners without a certain training. Perhaps most people will think that it is very difficult, because he represents a human figure.
This is more difficult than, for example, to draw any inanimate object. Especially in the angel need to draw the wings, which consist of small feathers and have an unusual curved shape. Here is a step by step explanation of how to draw an angel in pencil step by step.
What is the best place to start
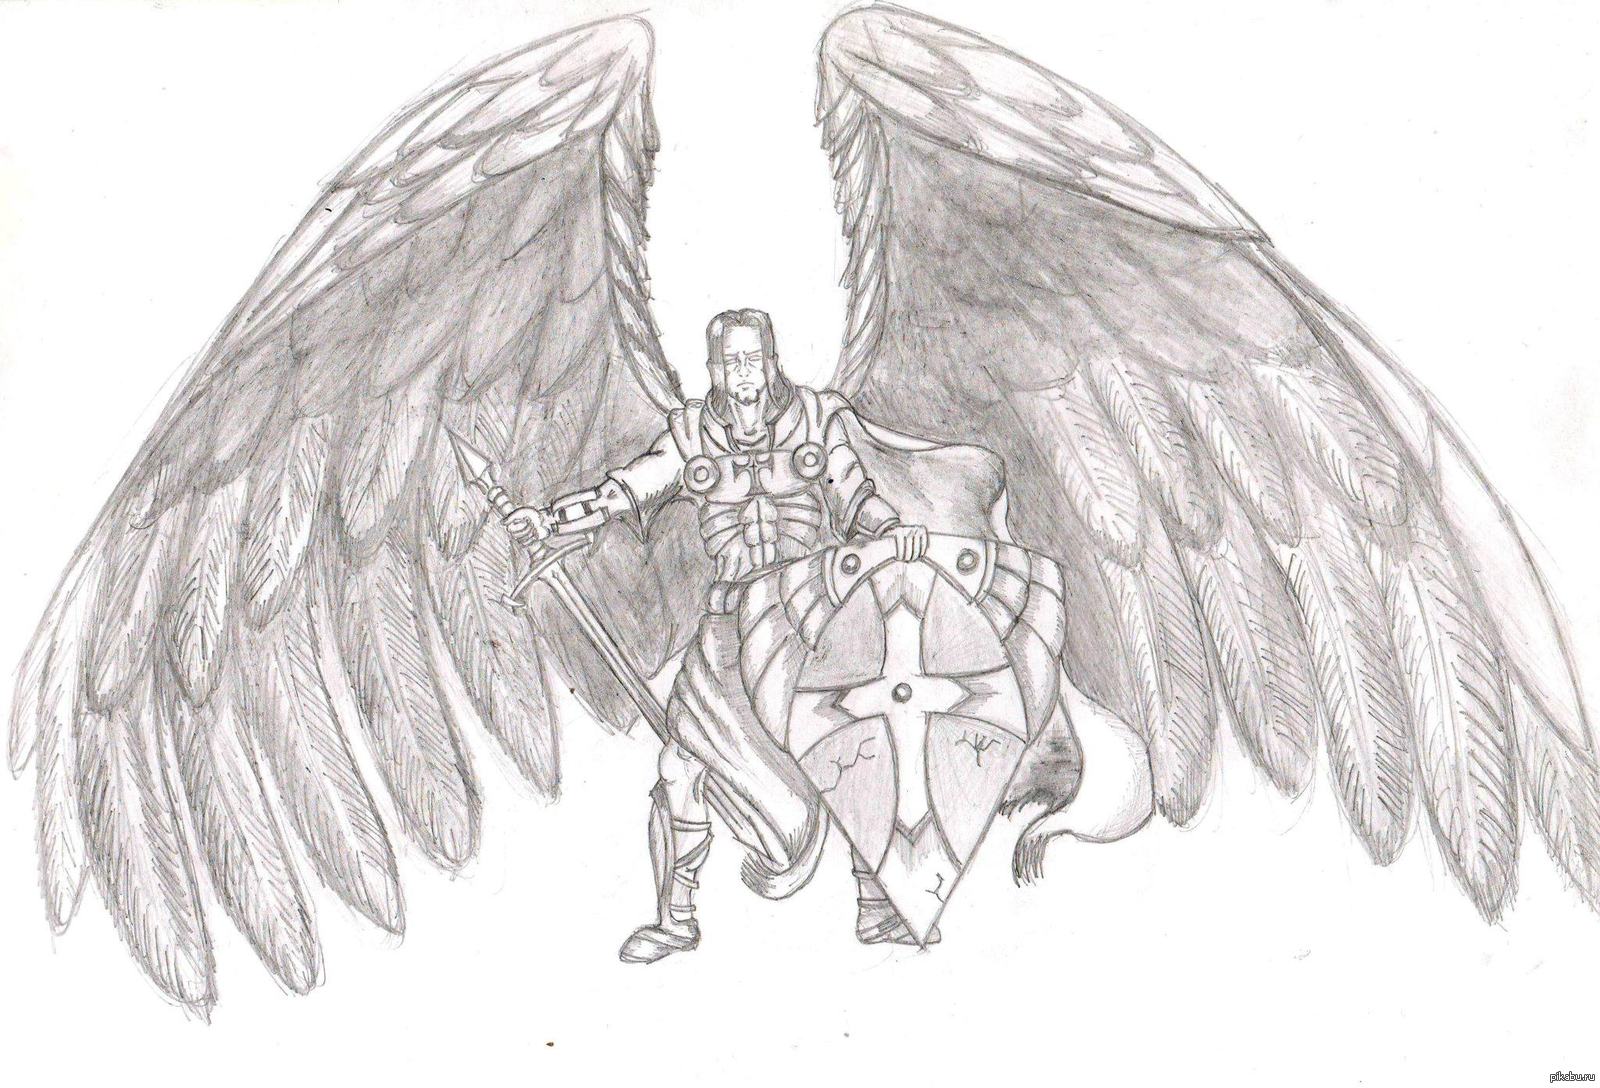
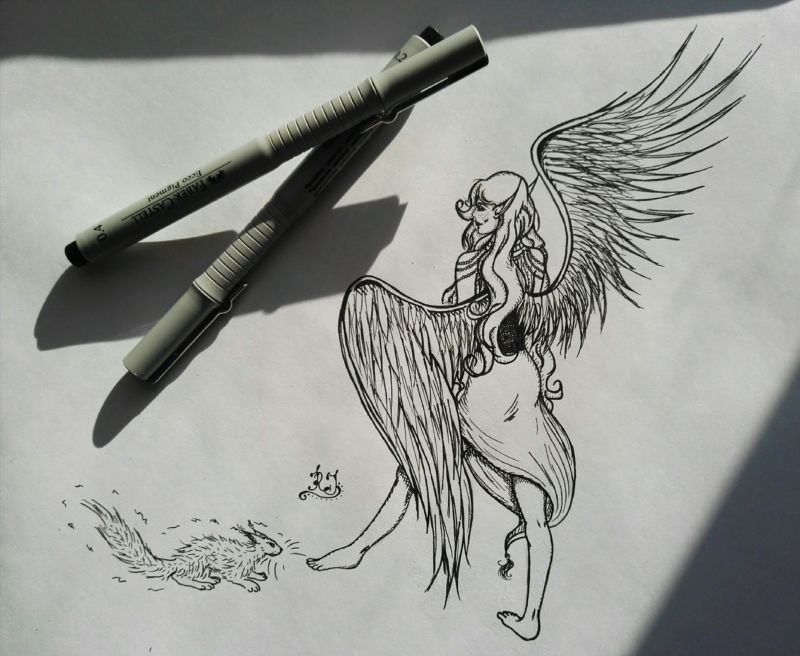
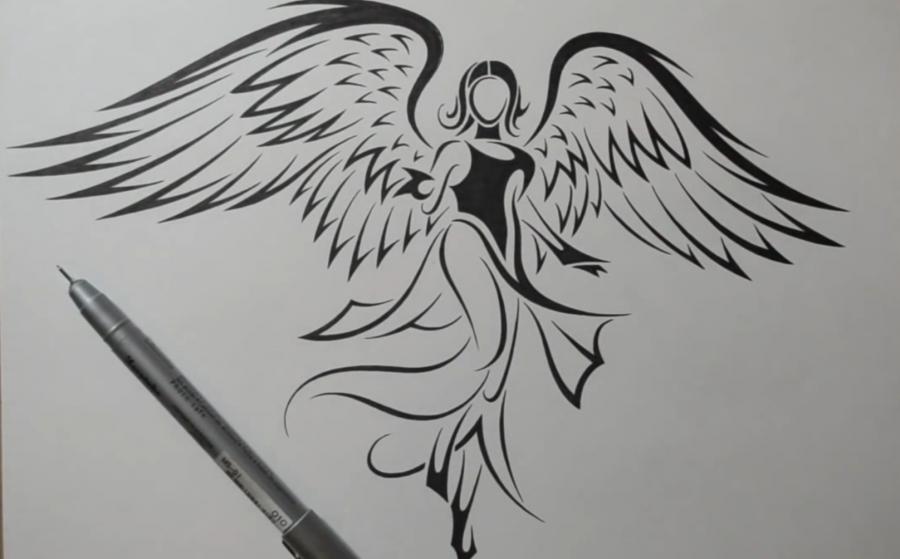
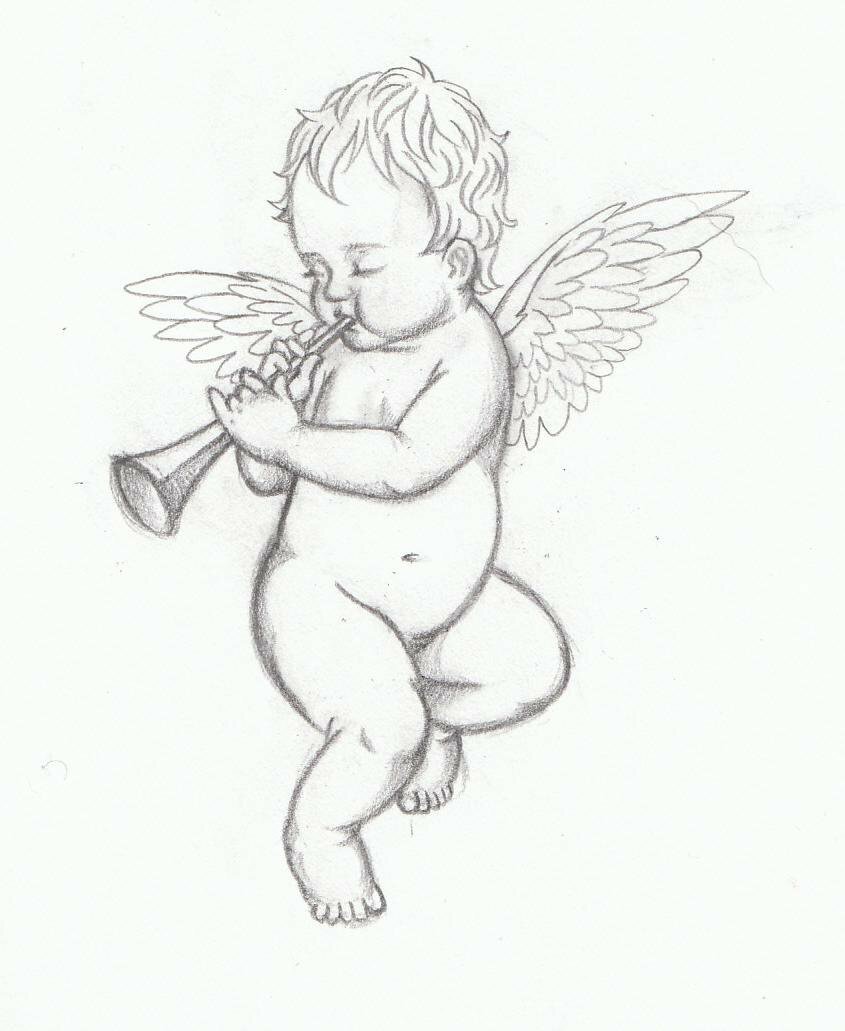
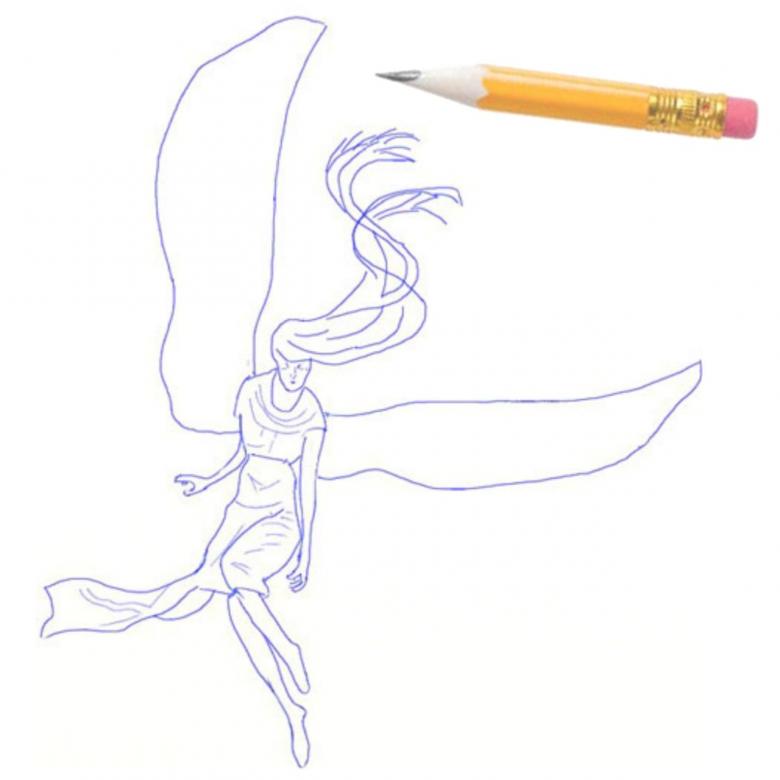
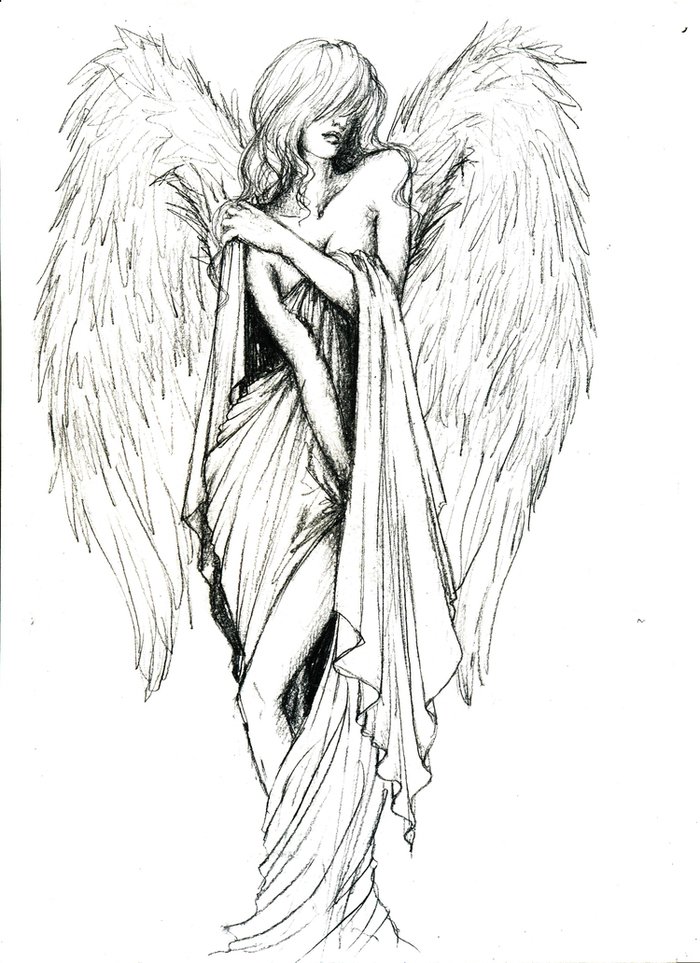
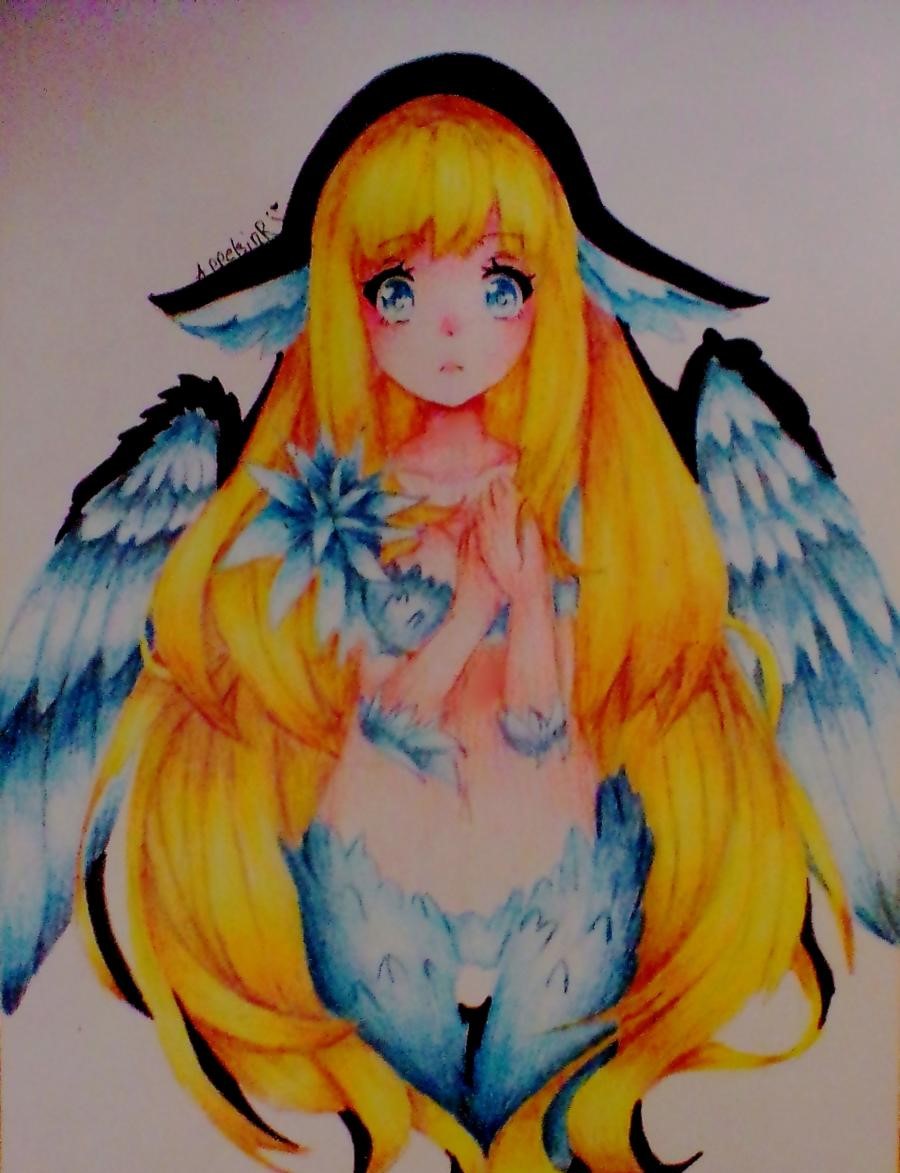
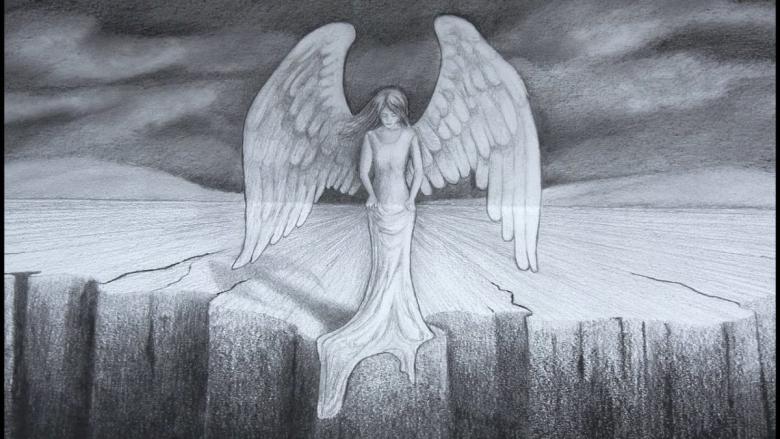
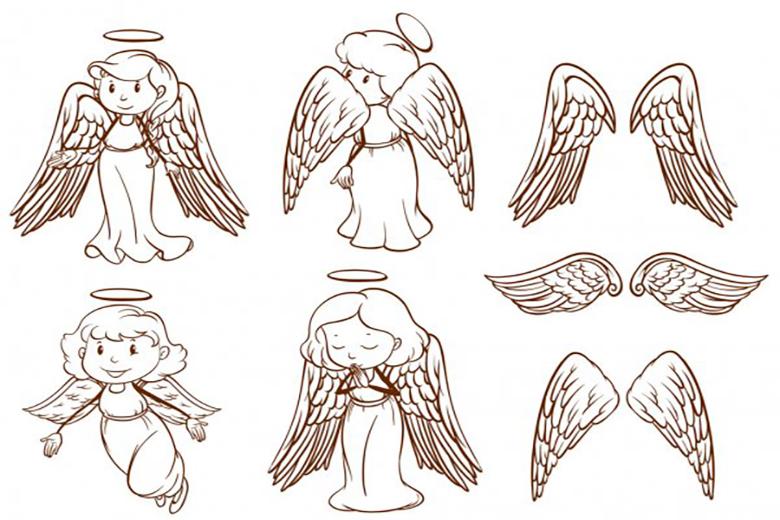
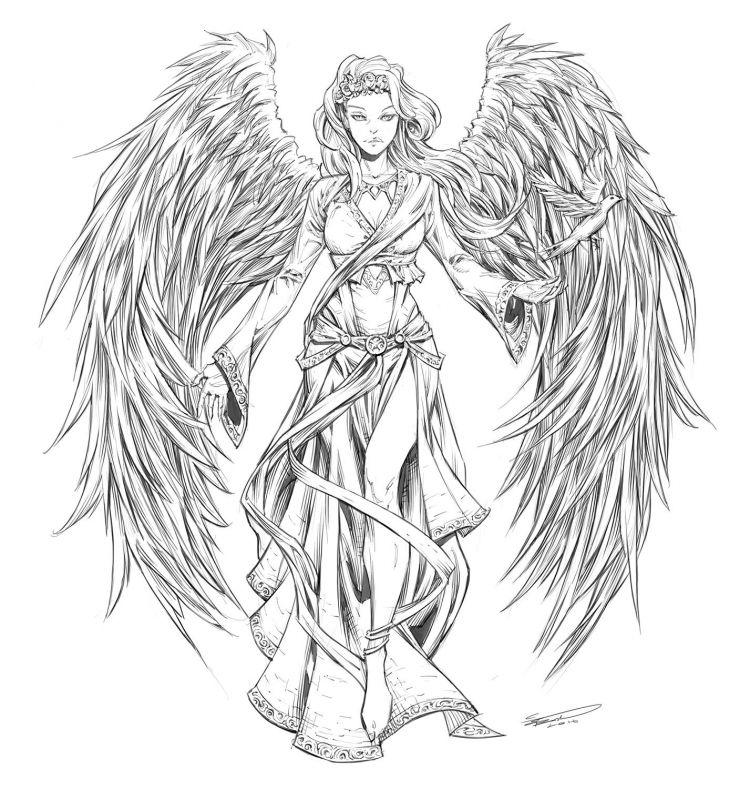
At the beginning of the work, you need to choose an image to lean on. This can either be a drawing or a more realistic image of an angel. It can represent either a child or an adult human figure.
You can choose any image you like. It is better to start with a more complex version of an adult figure, because once you learn how to draw such a figure it will be easier to draw a figure of a small child.

Materials for drawing:
- A4 paper, album, notebook, sketch pad.
- Pencils.
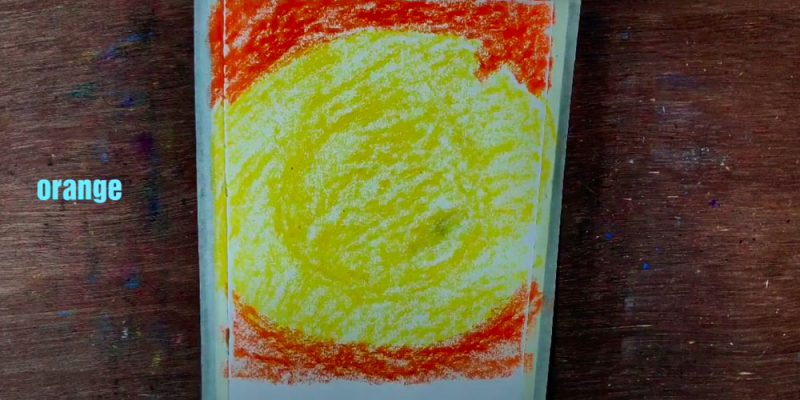
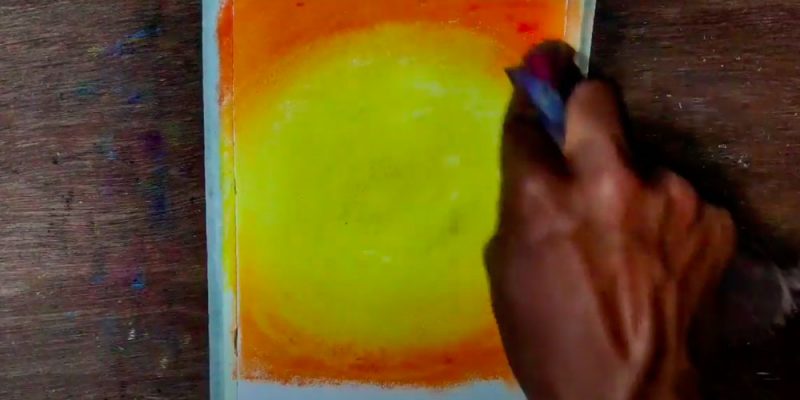
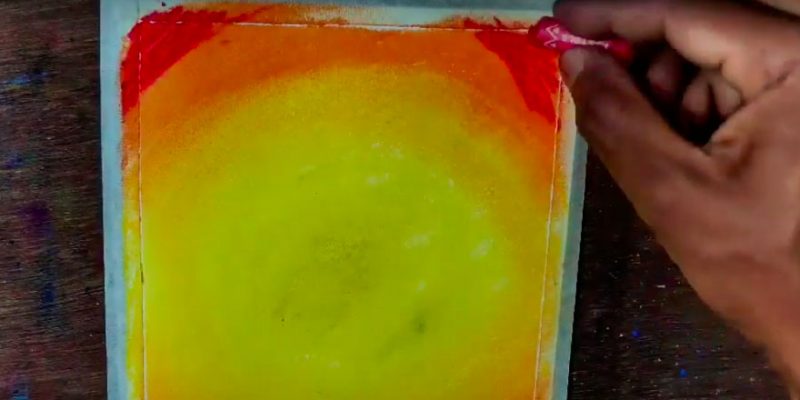
- Paints at will (watercolor, gouache, acrylic).

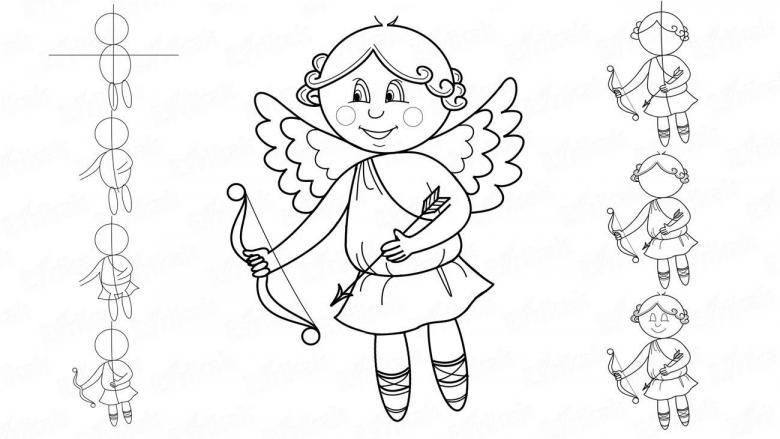
Drawing the figure of an angel with ovals
1 step.
How to draw the base of the angel's torso - head, chest and pelvis. Initially a straight vertical line is drawn - this is the central base of the whole body. At the top of this line draws a vertical elongated oval - the head of the angel, at the bottom of the line opposite horizontal oval - this is the hip part of our being.

Under the head two lines are drawn on both sides - this is the base of the shoulders. And from the shoulders is finished drawing a figure, like a square, but with rounded corners.
Step 2.
The next step is to draw the bases for arms and legs - at first these will be usual lines. On the sides of the shoulders are drawn three points, which are connected by lines. There should be two lines connected by dots. The middle point marks the fold of the arm.
Down from the oval denoting the pelvis, legs are drawn in the same way: three points - one at the base of the oval, the second in the middle - here will be the knees and one point at the bottom.
Step 3.
At this step, connect the chest and hips with lines, and draw the volume of the shoulders. The head is marked with auxiliary lines - two lines crossing each other. Here also appears the outline of the neck.

Step 4.
Here the angel will already begin to take shape. It is necessary to draw circles near the shoulders and give the arms volume. Ovals are drawn along the length of the arm line up to the elbow and after a separate oval, then they are connected by smooth lines. Schematically, it is necessary to mark the palms of the angel.
Step 5.
The next step is to draw the musculature of the legs. Just like in the step with the arms, two circles are drawn in the middle of the leg, where the knees should be. The legs should depart from the hips, the lines are required to give a volumetric shape to the legs and schematically indicate the feet.
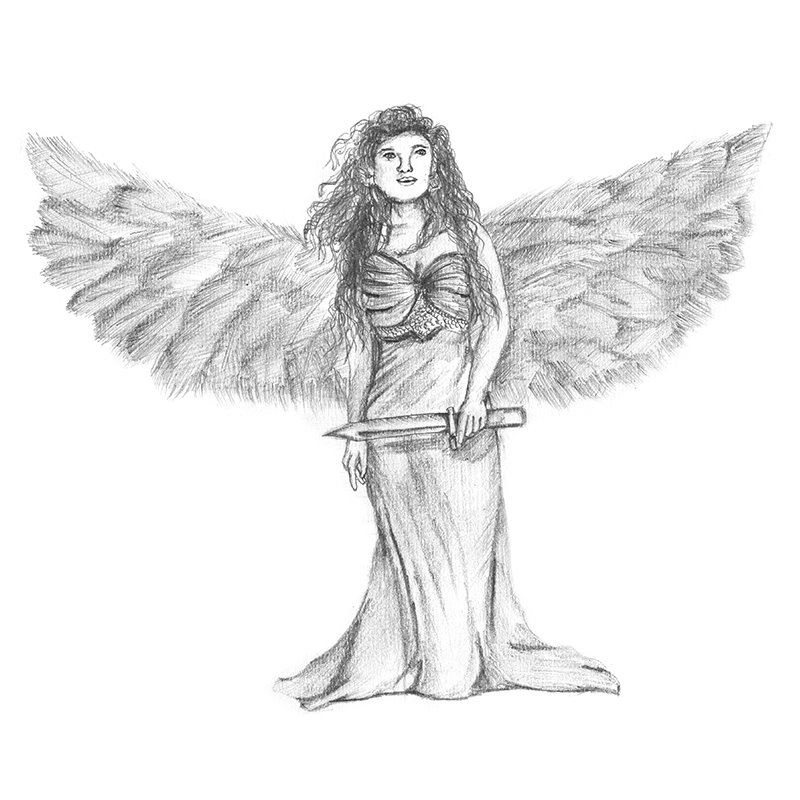
If you don't want to have difficulty in drawing the legs, you can dress the angel in a long robe, drawing lines diverging in different directions and draping the floor of the robe underneath.
Step 6.
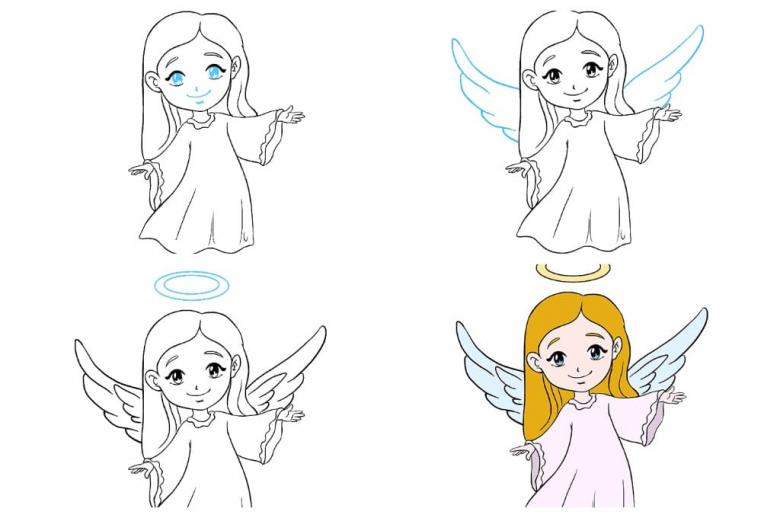
At this stage, you need to draw the fine details. The eyes, brow arches, nose and mouth of the angel should be marked on the face. When drawing these details it is better to rely on some drawing.

Step 7.
You need to make the head look more realistic: You need to draw the angel's hair in smooth lines.
Step 8.
Next, you need to outline the clothing of the angel, based on your idea or an image that you are guided by. Whether it will be a long robe or a beautiful dress is up to the artist to decide. All auxiliary lines and shapes are best erased carefully at this step.

Step 9.
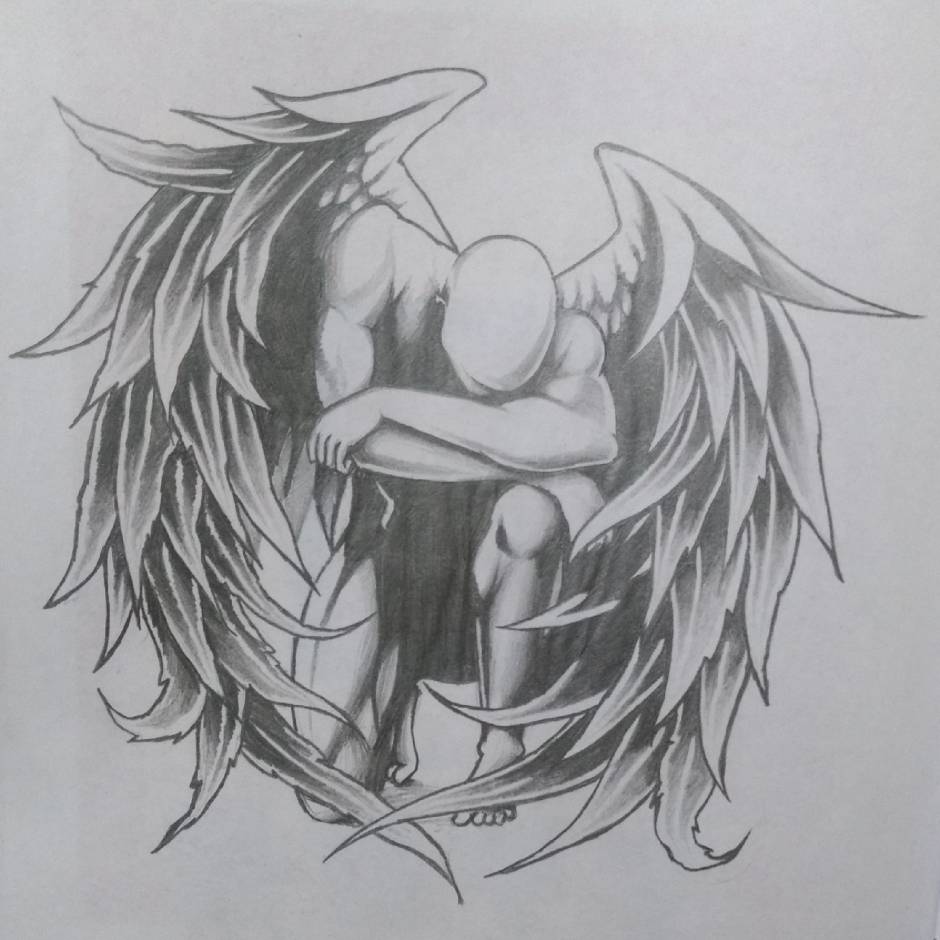
In this step, the angel's beautiful wings appear, which are at his back.
Here you may wonder, "How to draw the wings of an angel with a pencil easily". Therefore, the information about this will be dealt with in more detail.
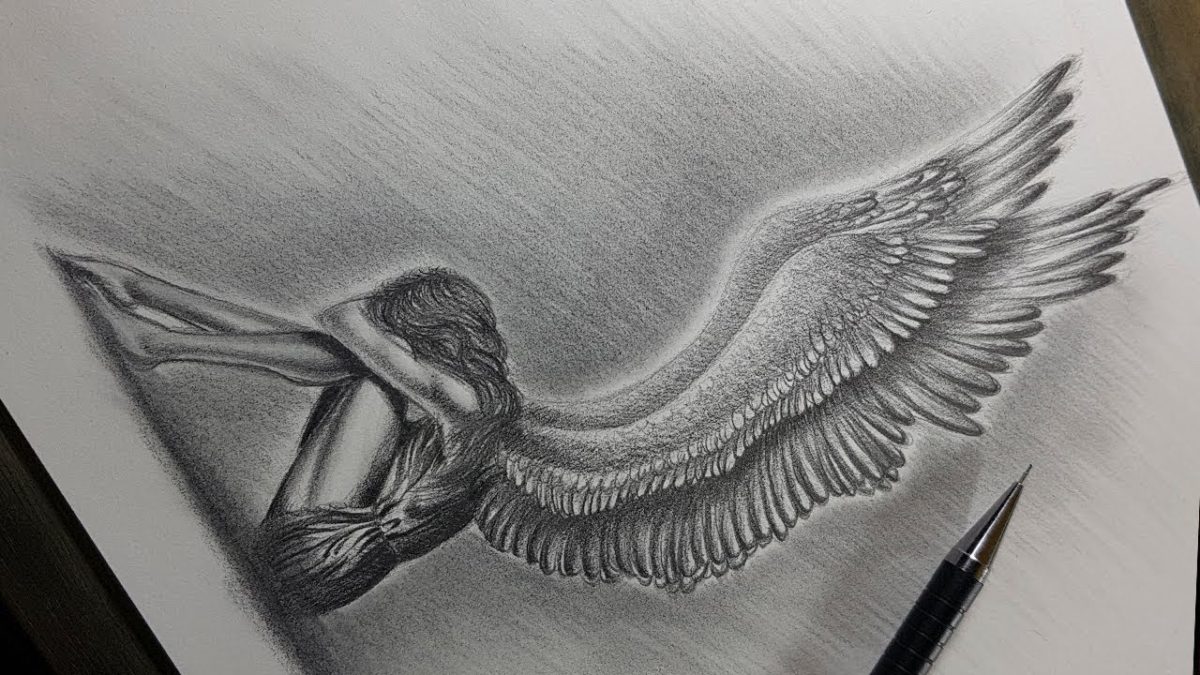
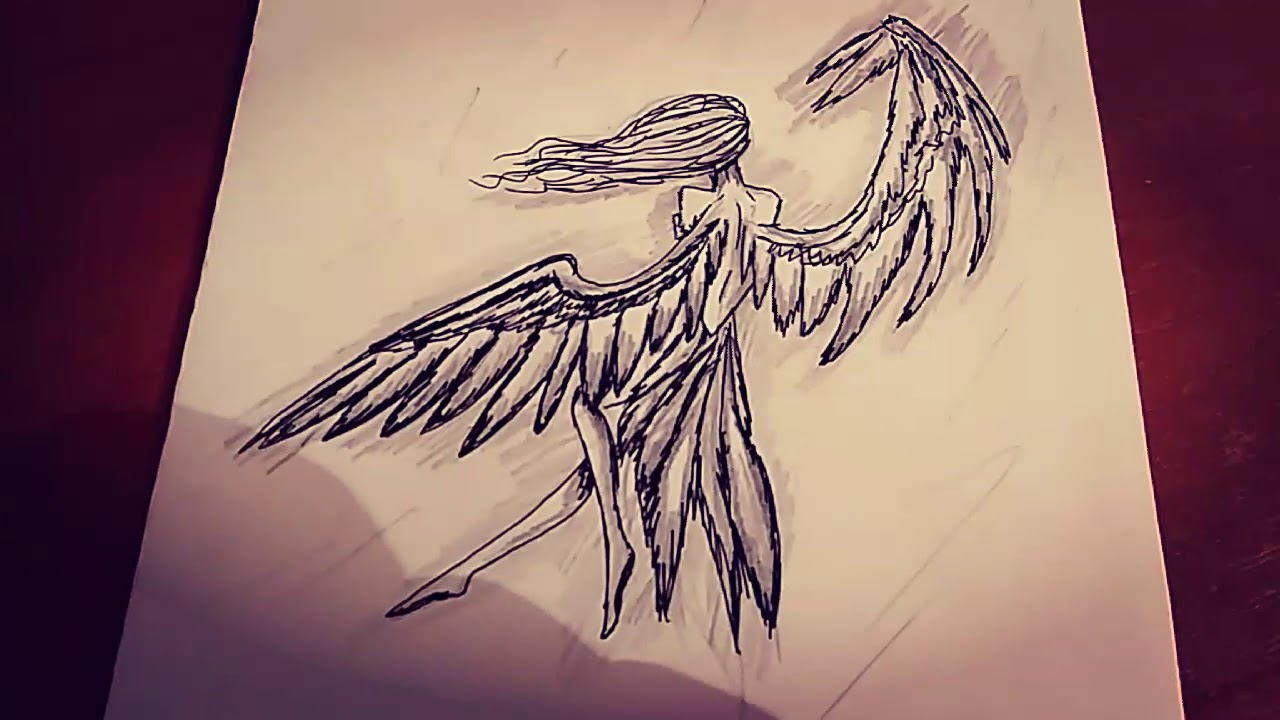
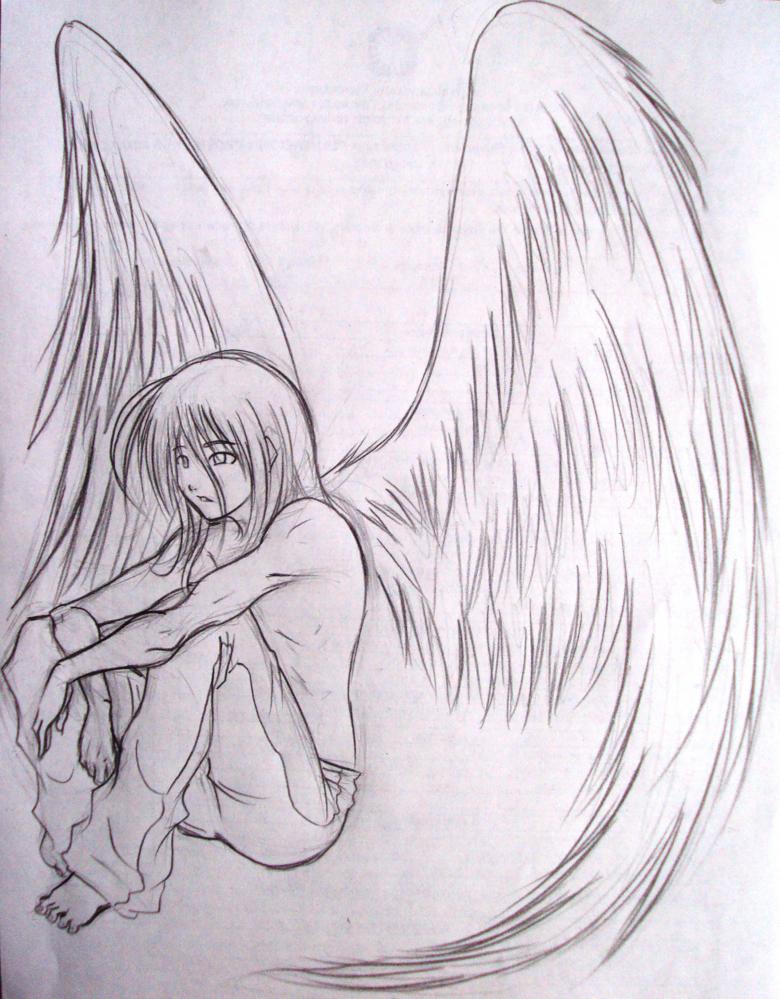
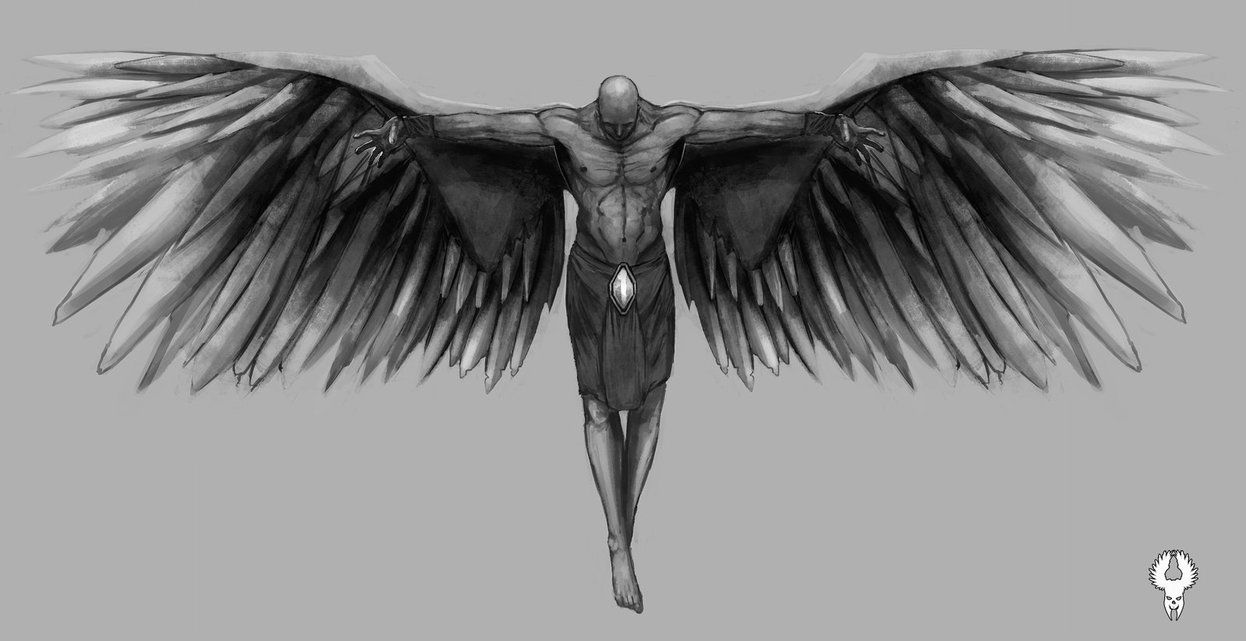
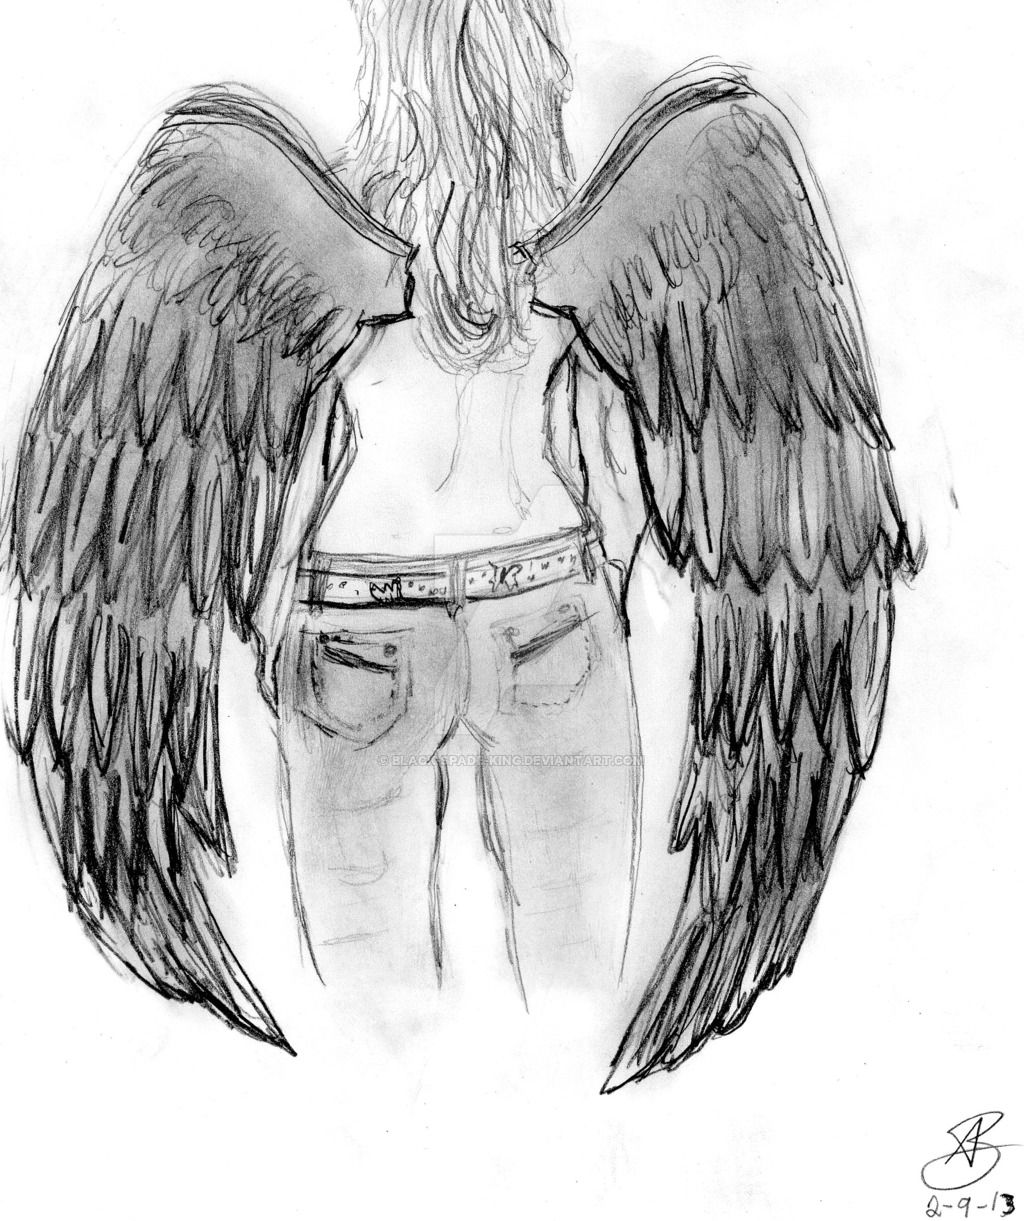
Drawing angel wings
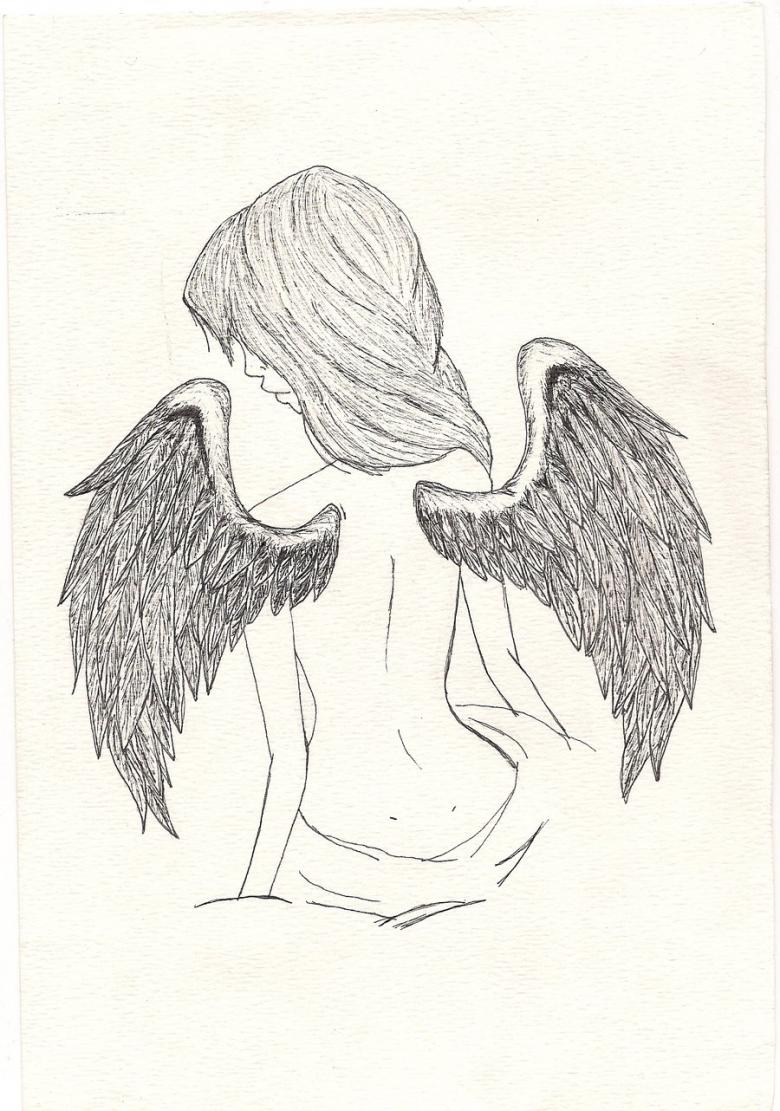
Ordinary lines outline the skeleton, Wings have a curved shape, so you need to follow this. Looking at the example, it is necessary to mark the lines of the wings. Then each individual feather is drawn in staggered order and the entire surface of the wing is covered in this way.
If desired, you can add shadows for volume. The main thing is to have in front of you a visual picture of an angel, to be guided by it. Then it will be easier to draw step by step.

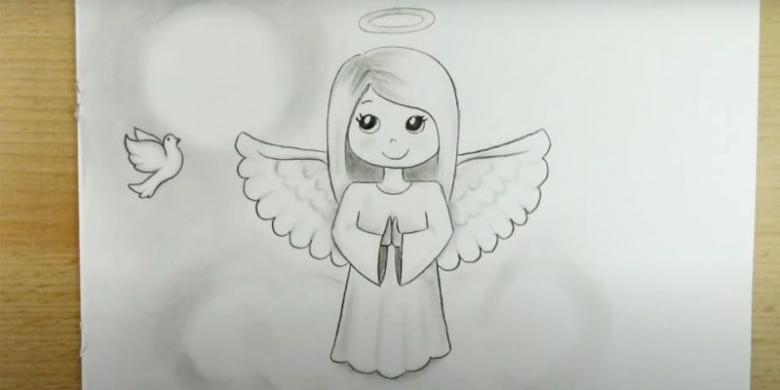
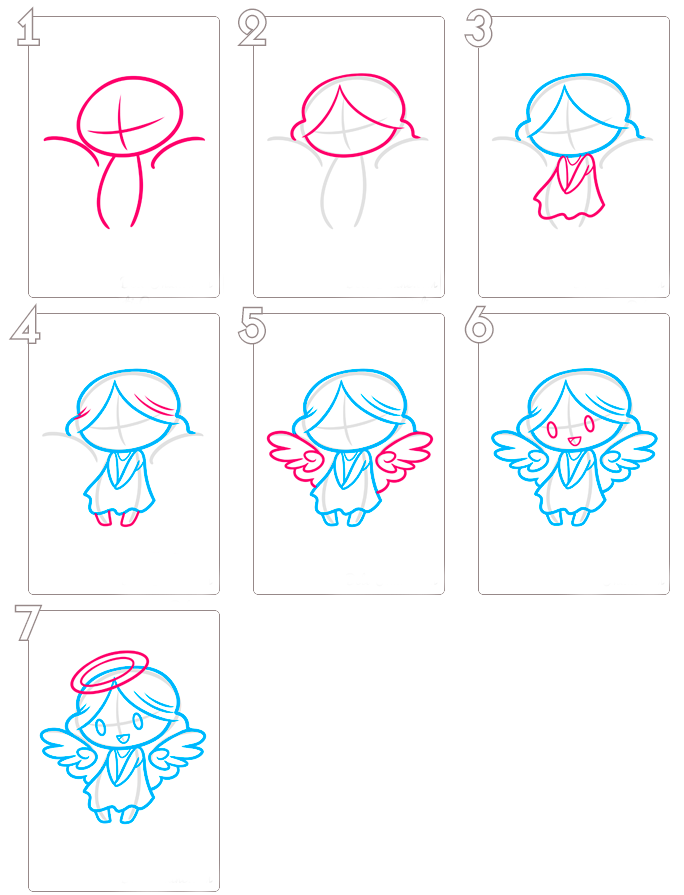
Drawing an angel with children
Most children are very fond of magical creatures, and it will be a very interesting and educational activity to draw an angel with a child. Of course, drawing an adult angel figure for a child will be a difficult task.
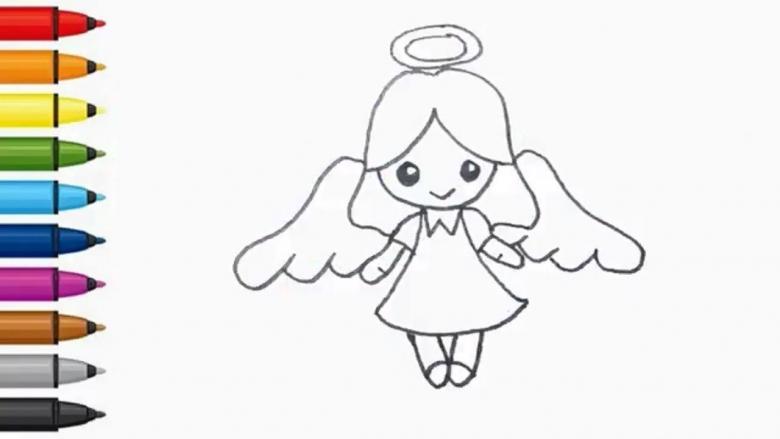
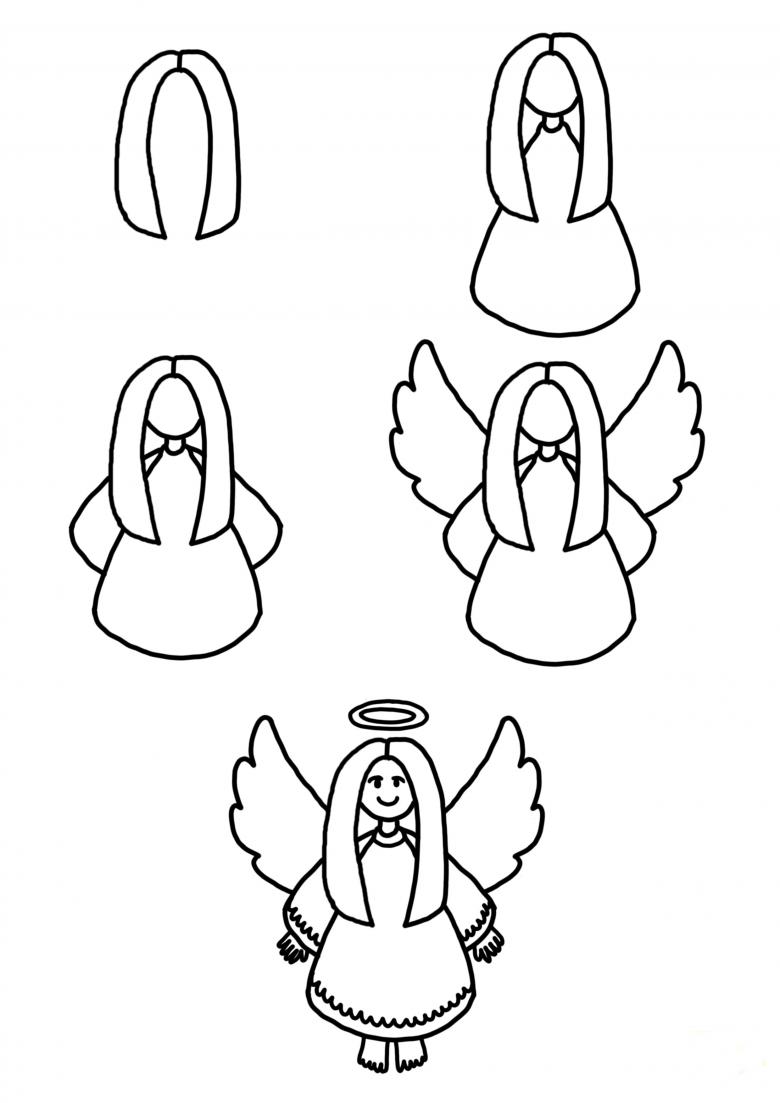
Therefore, you need to think about how to draw an angel with a pencil for children:
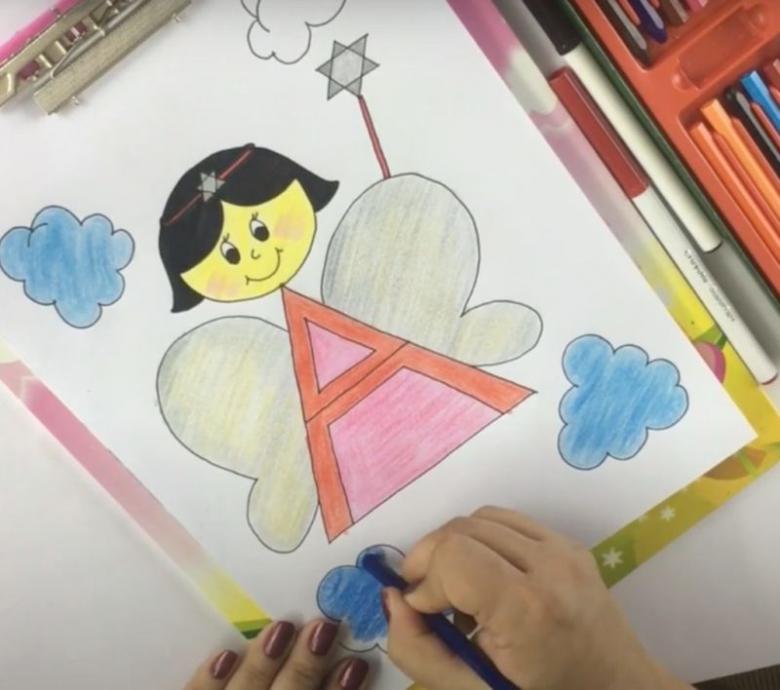
- In order not to torture the child for a long time drawing a complex figure, a simple dress of an angel in the form of a triangle is depicted.
- The head is indicated by a circle on top. Carefully drawn eyes, nose and lips of an angel. It is better to draw children's facial features, because such a figure represents more of a child's figure.
- The arms are outlined, preferably in wide sleeves, so that it is easier for a child to draw straighter lines. The angel's feet are sketched at the bottom of the triangle-dress
- You can draw any patterns on the angel's dress or "hang" a star around his neck.
- Wings are simplified as much as possible; drawing feathers should not tire a child, so you can schematically indicate wings, based on a drawing. If the kid has a desire, of course it is possible to draw feathers.
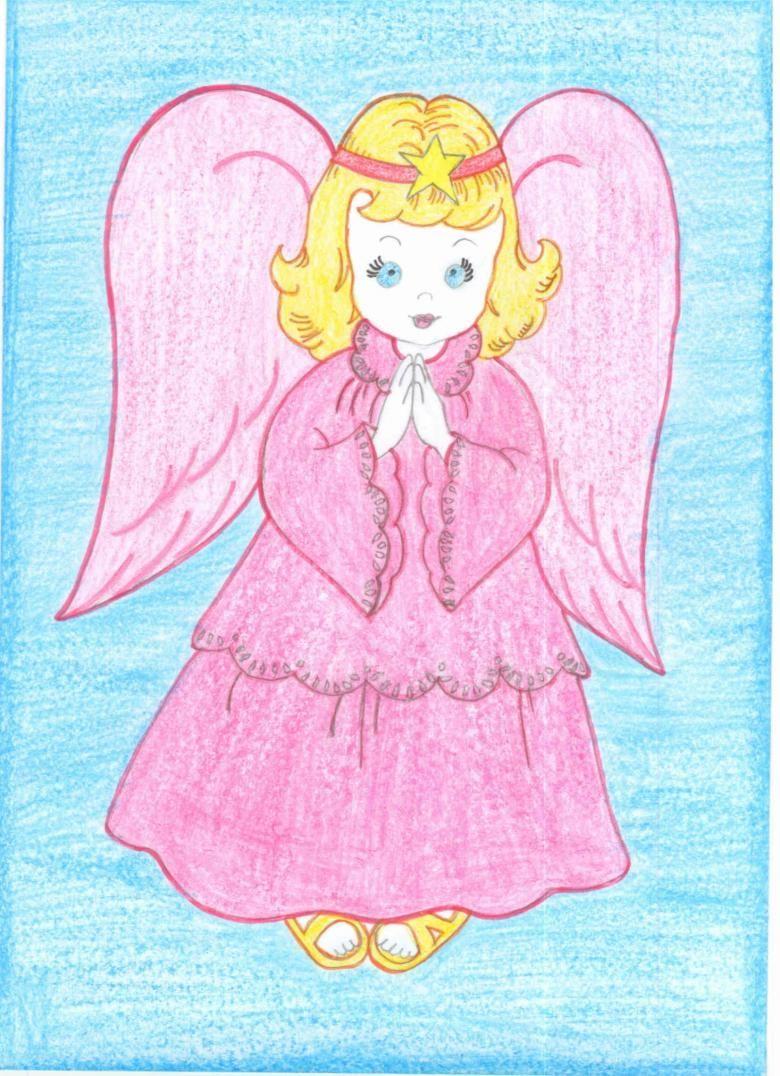
- If desired, it is possible to give colors to the drawing with watercolor or gouache.
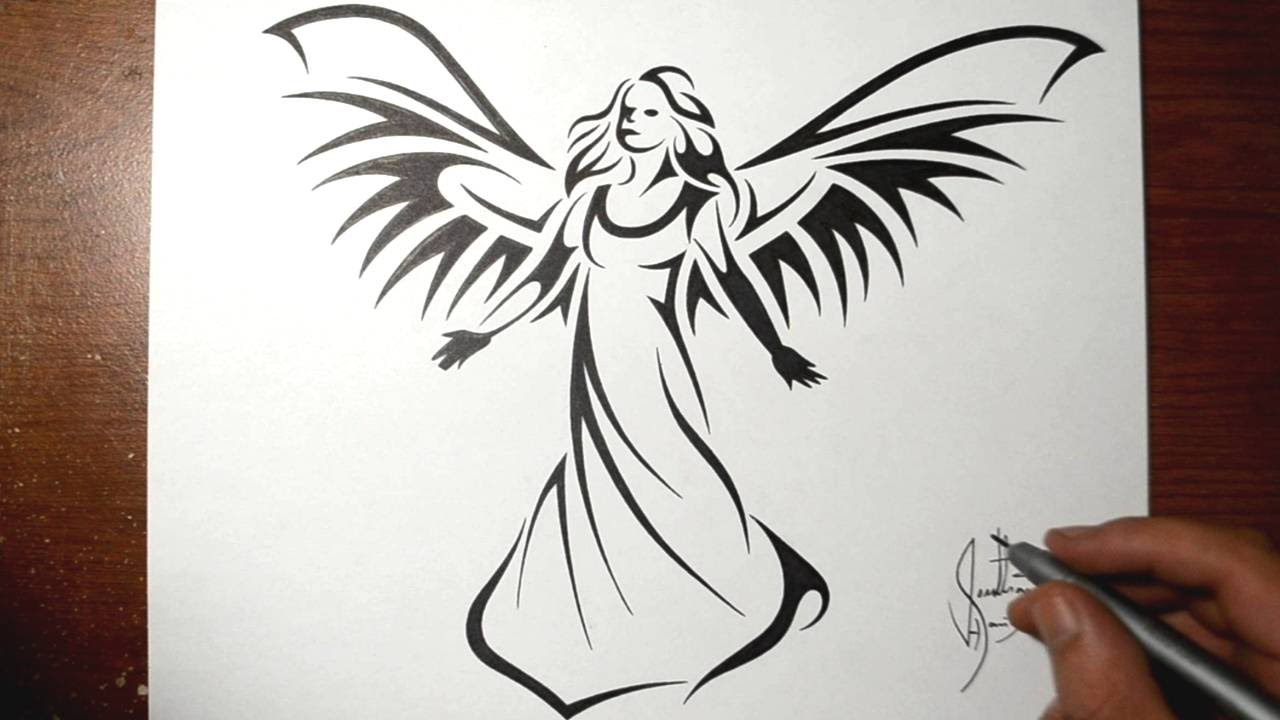
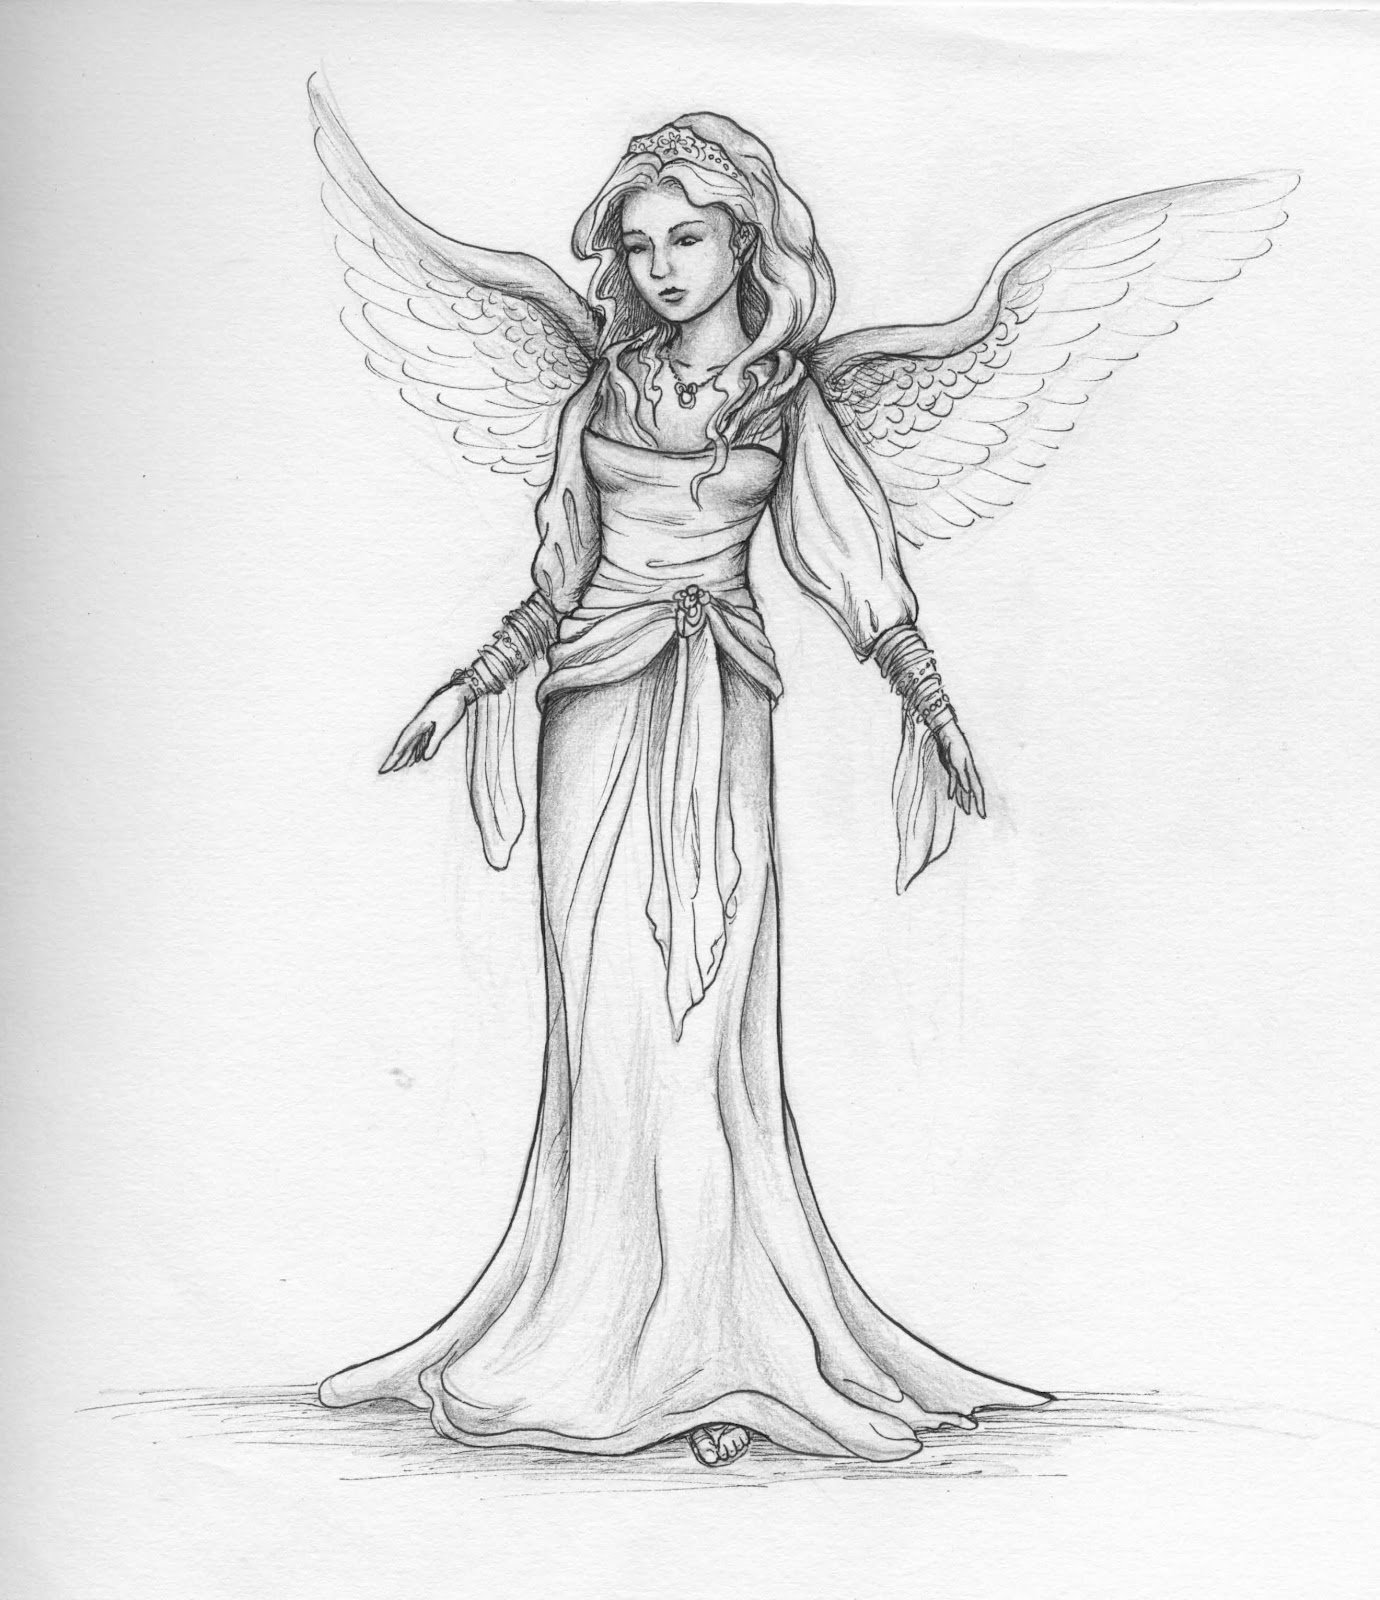
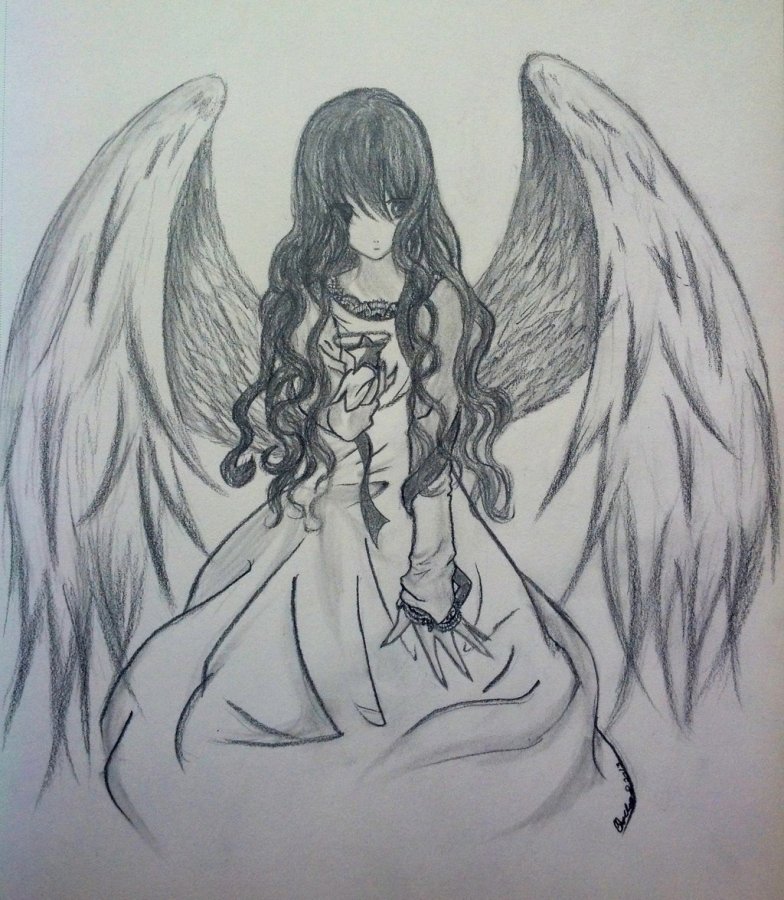
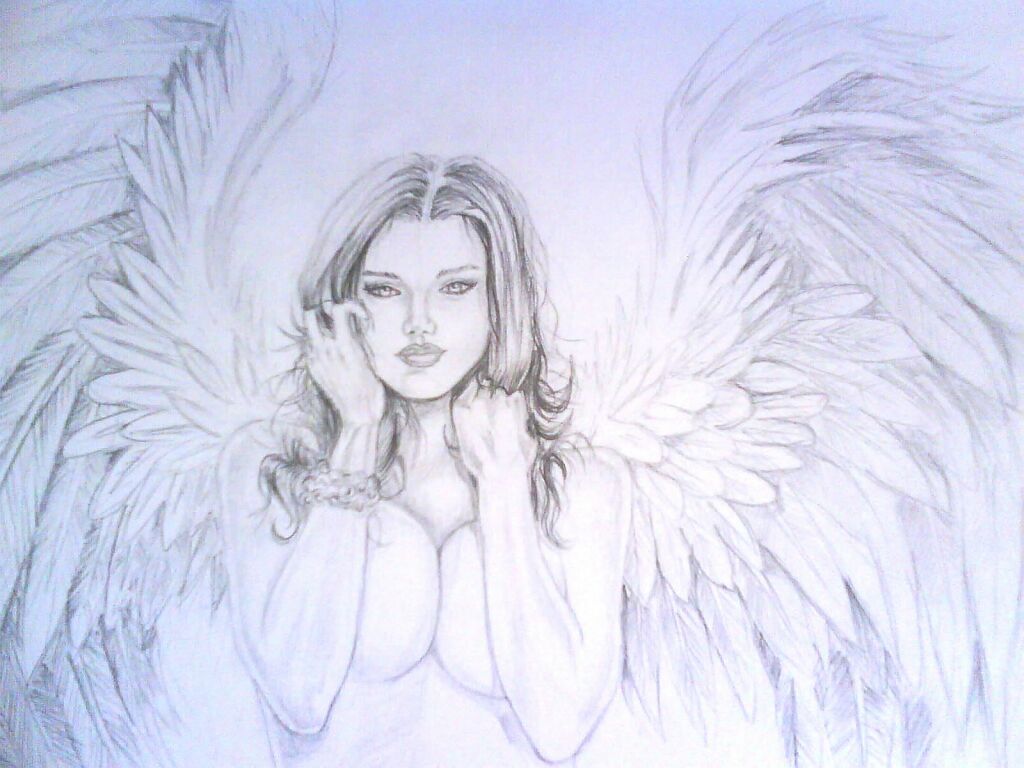
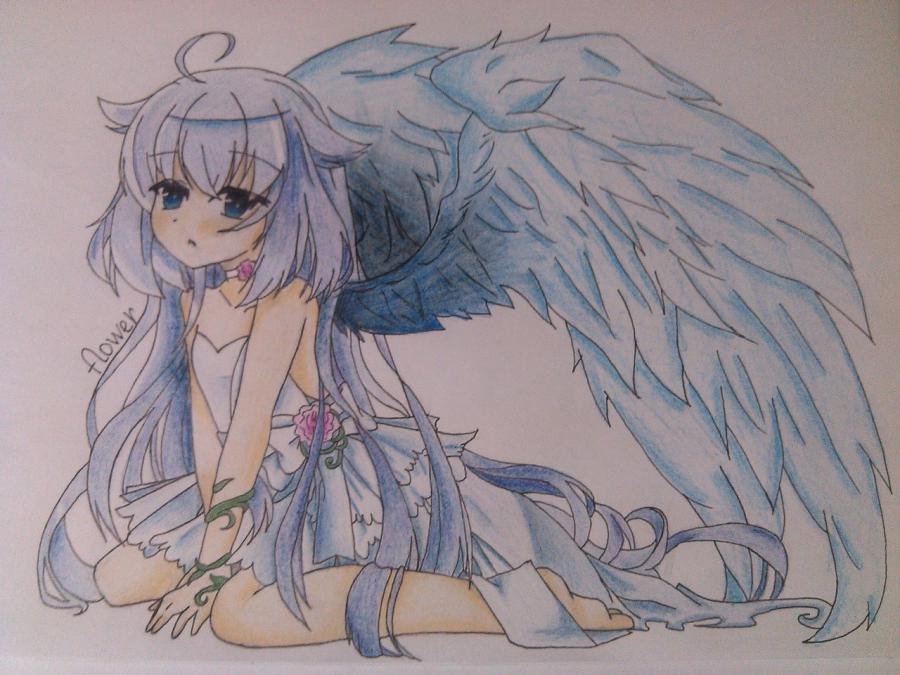
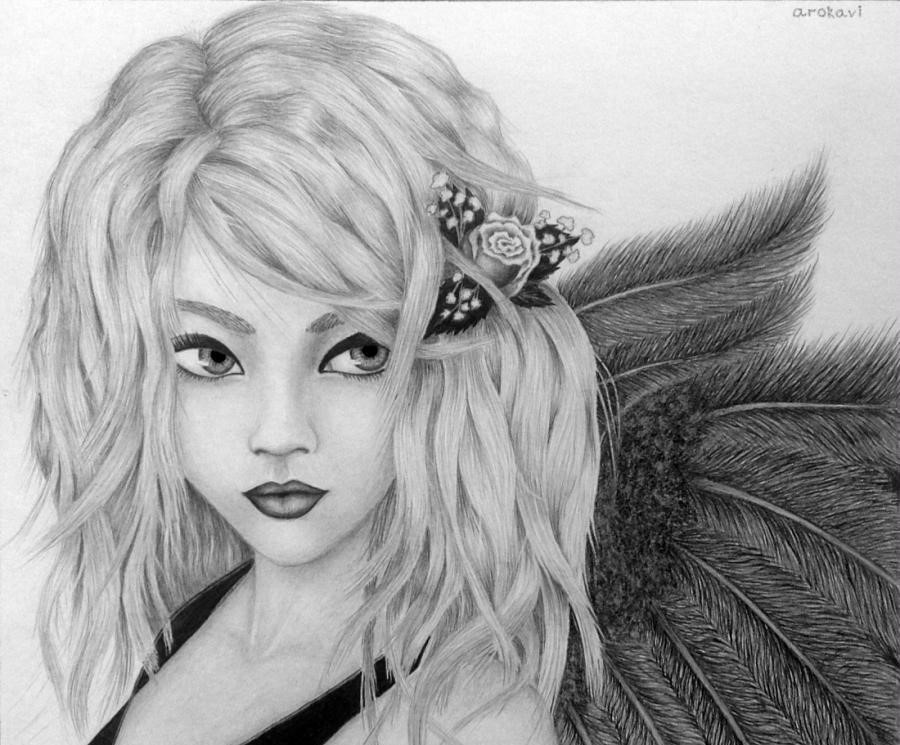
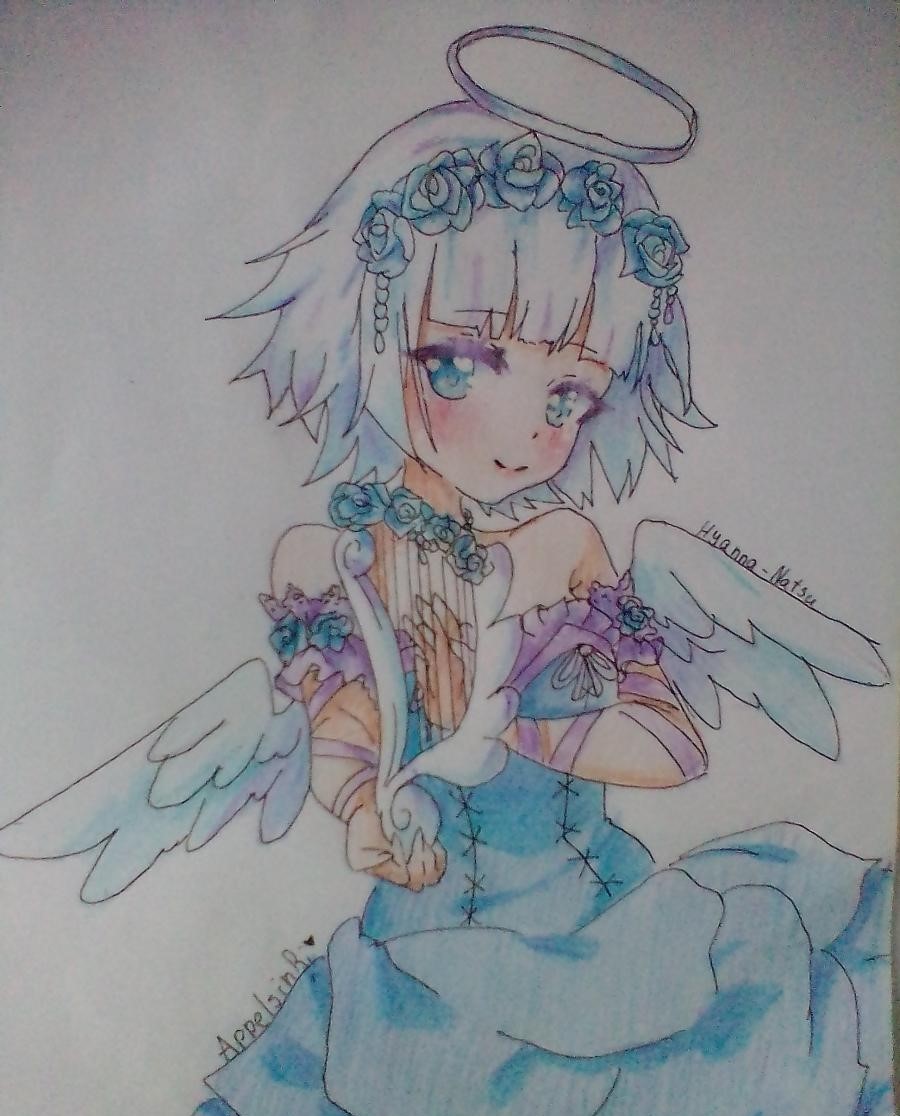
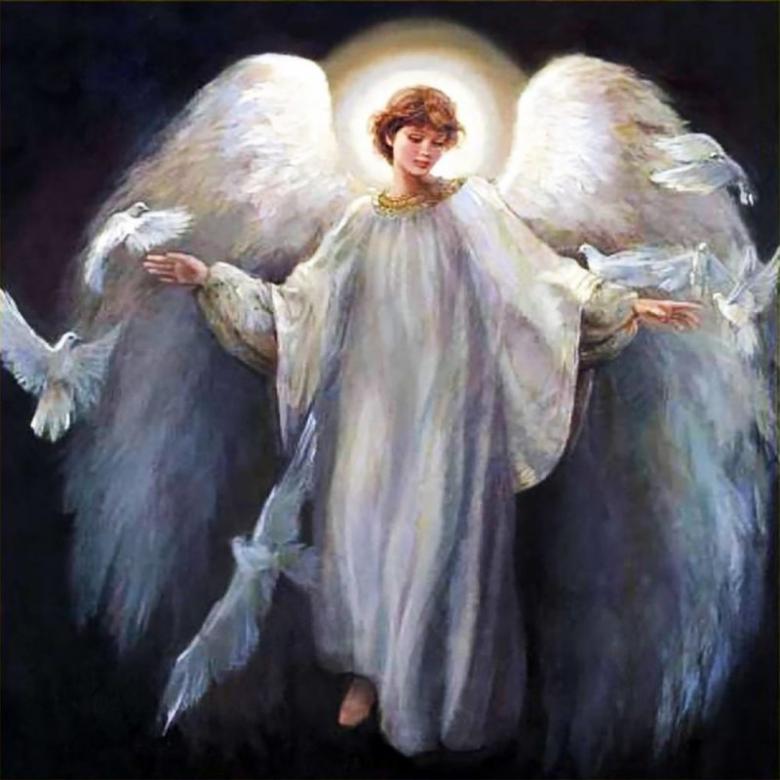
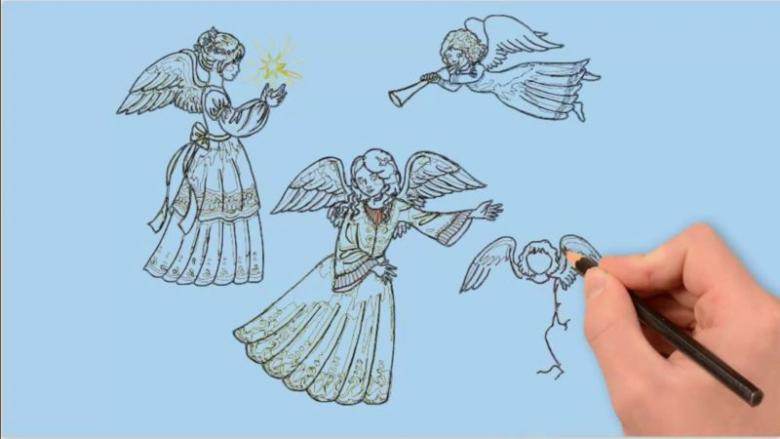
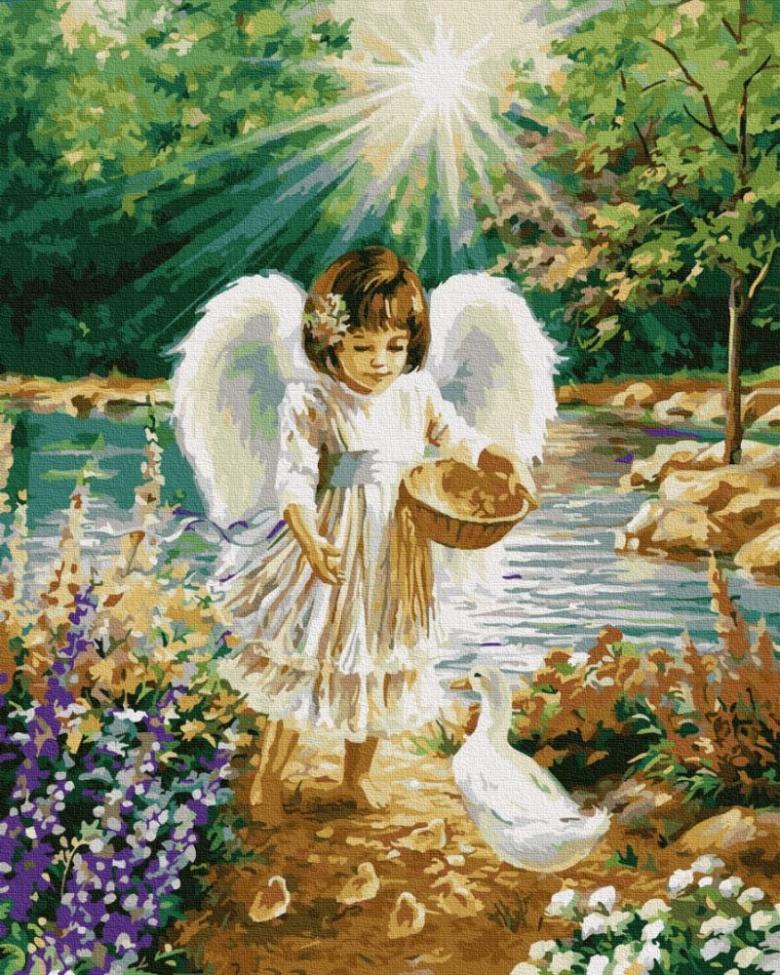
Where to get inspiration
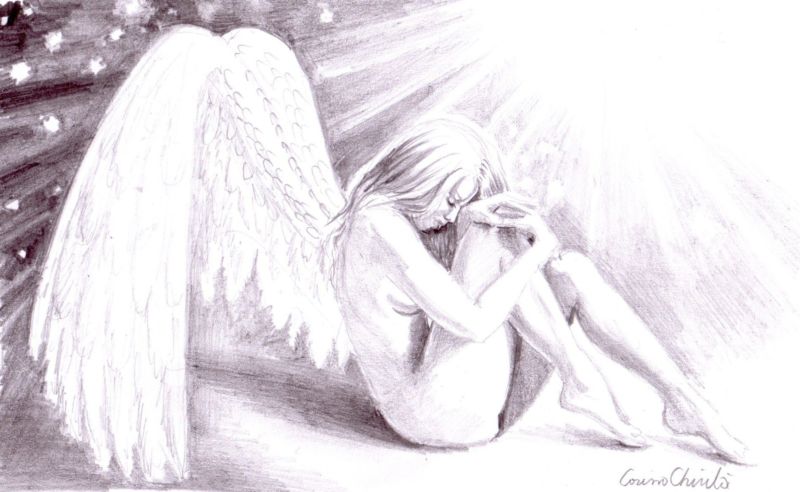
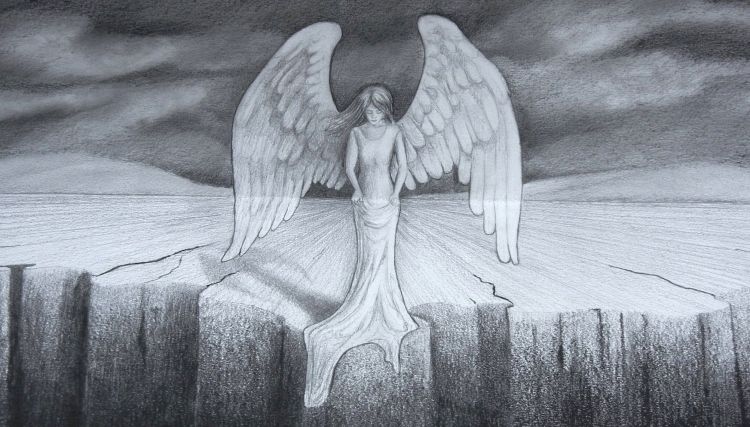
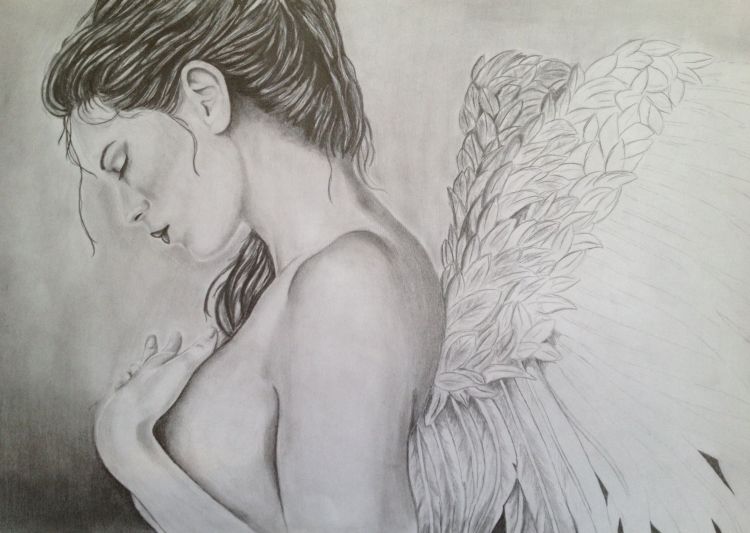
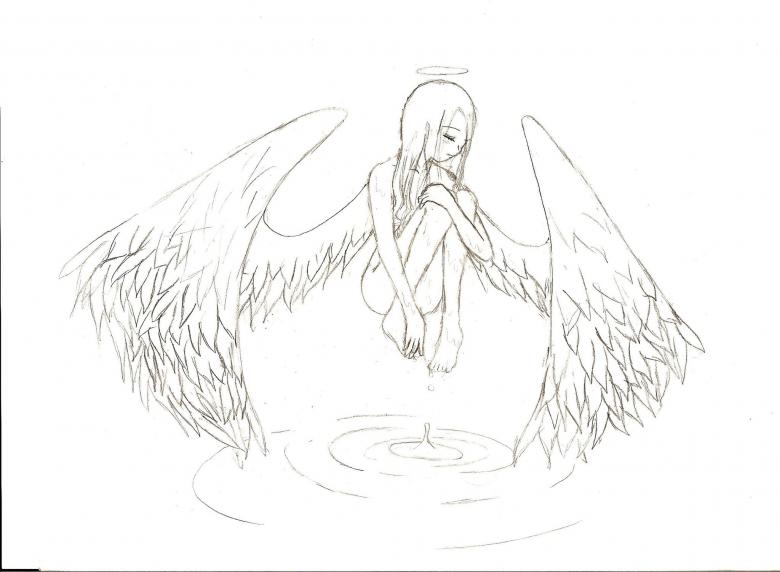
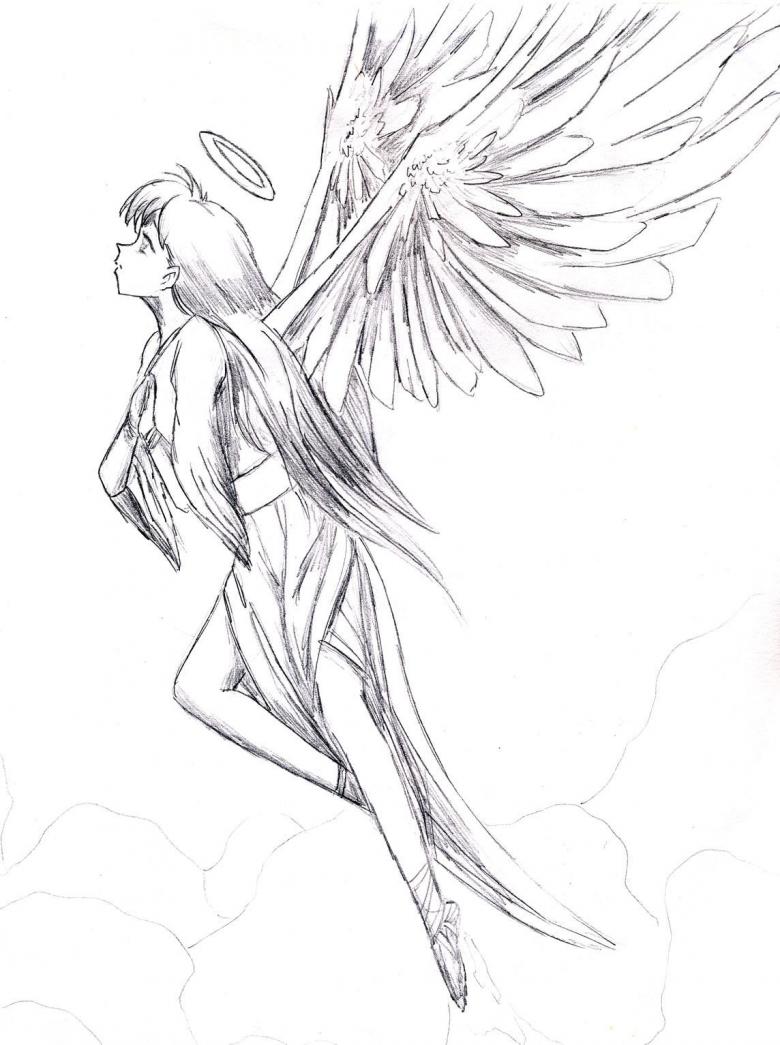
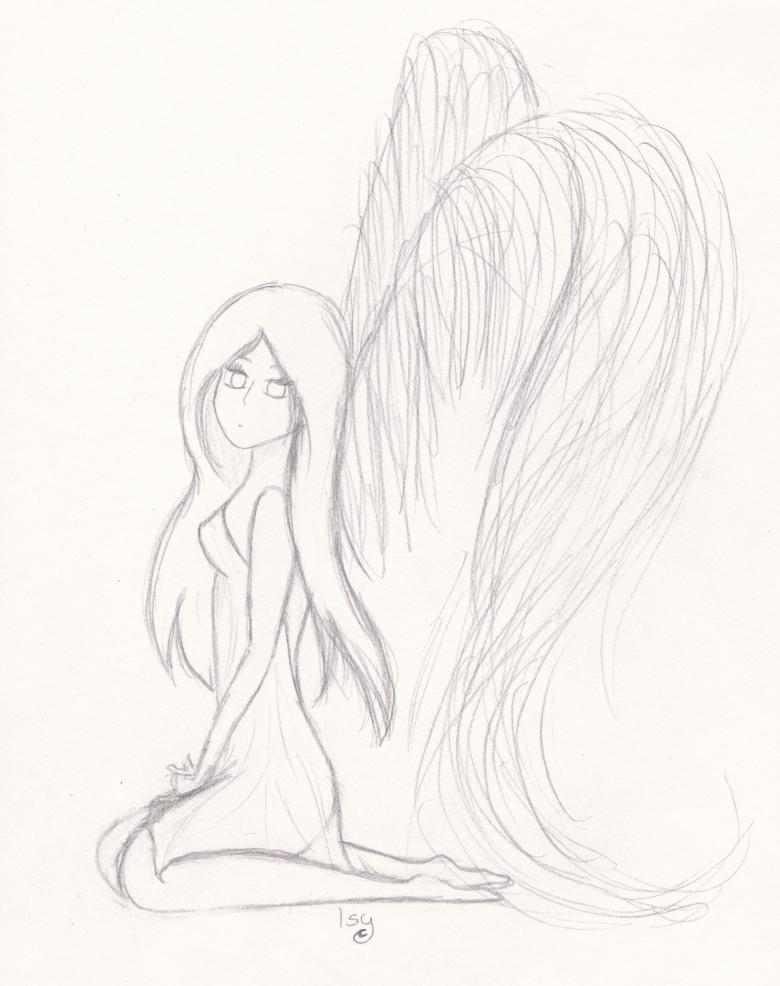
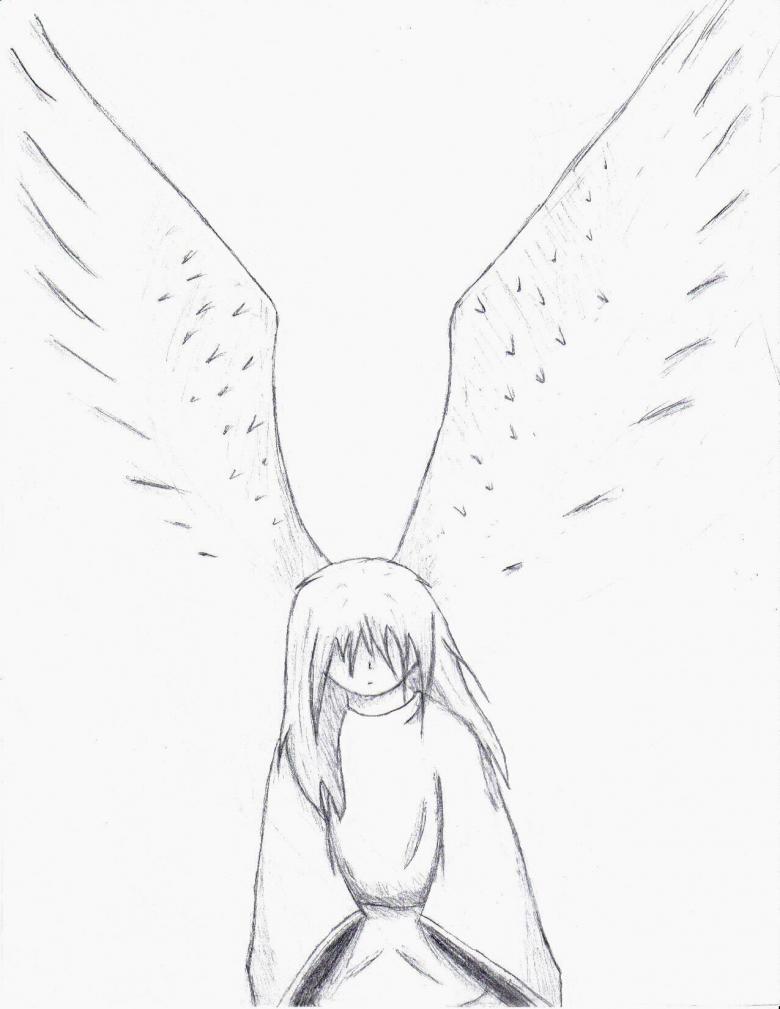
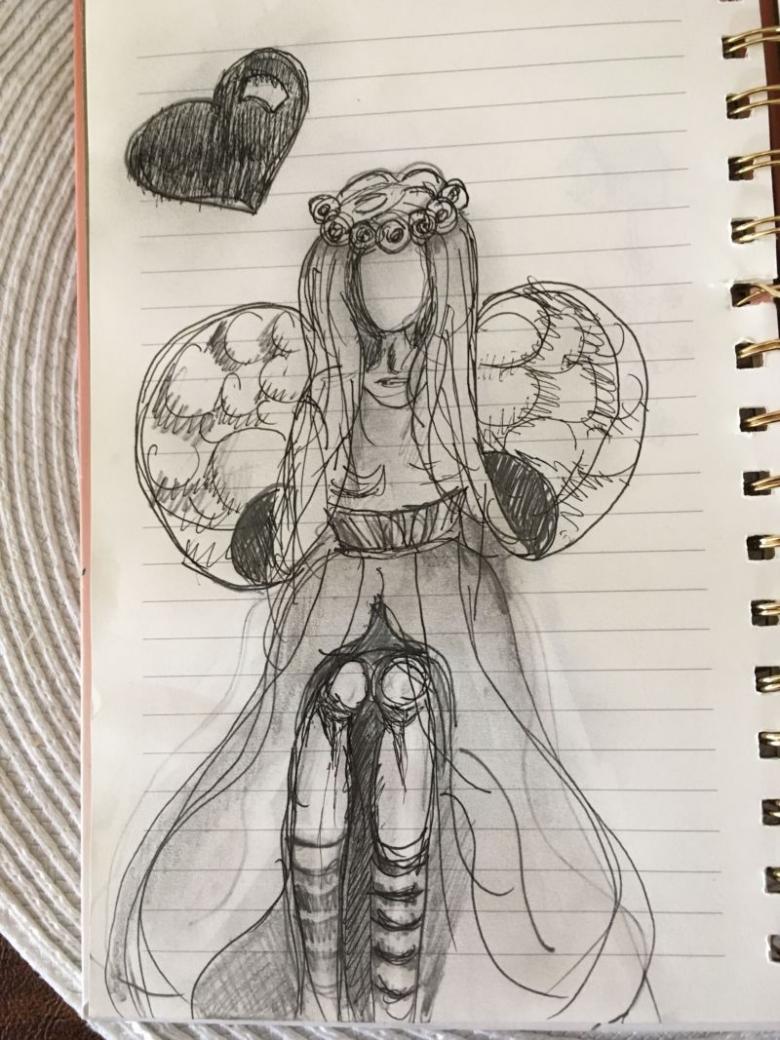
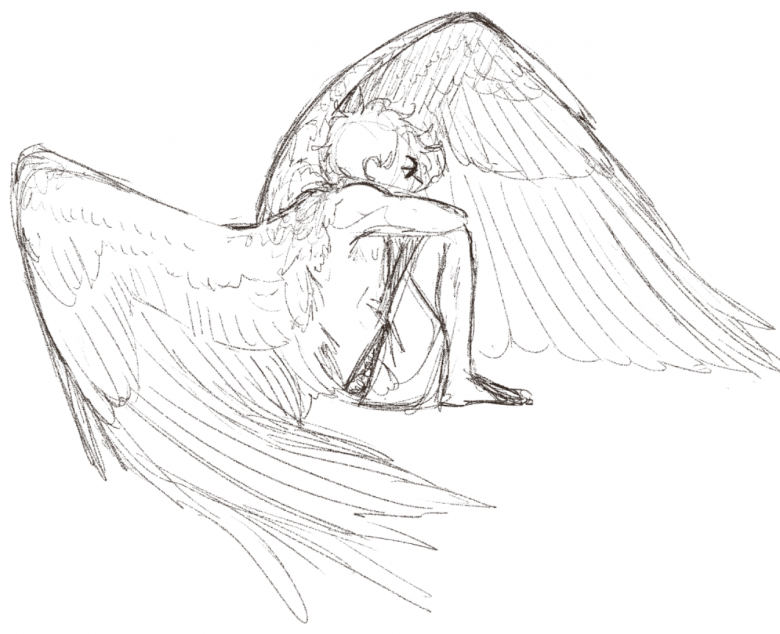
If you show imagination and use ready-made artists' drawings or photos, you can learn to draw an angel with pencil and paint from scratch with the proper approach and attention to detail. As the saying goes, it takes 99% diligence and 1% talent and then everything will work out!
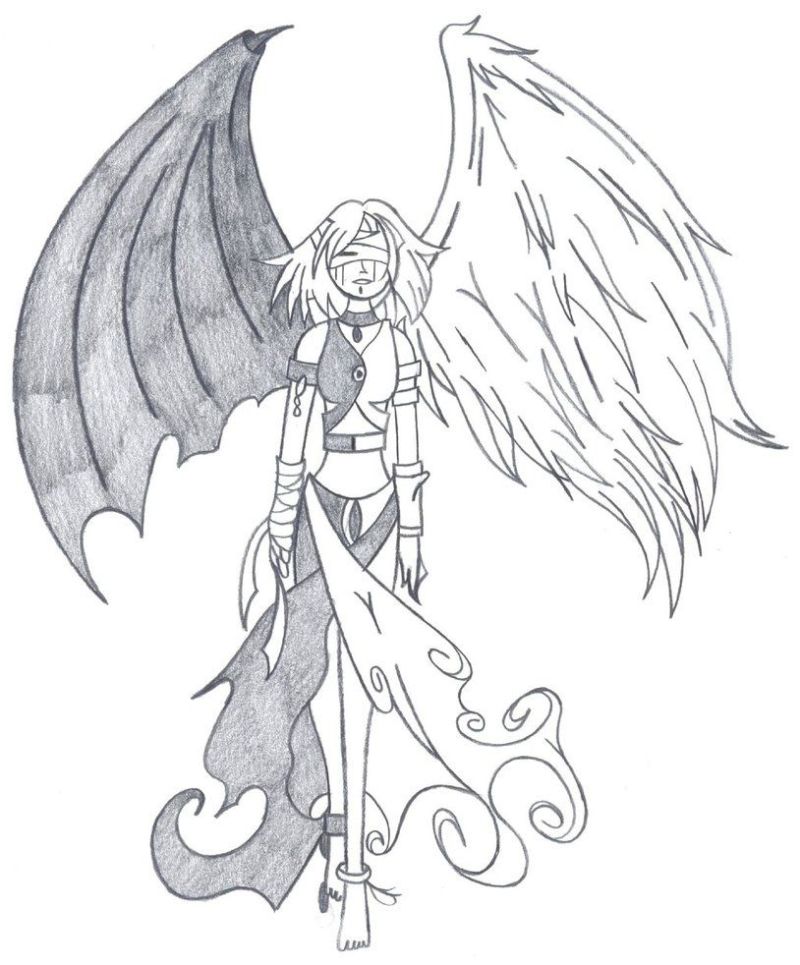
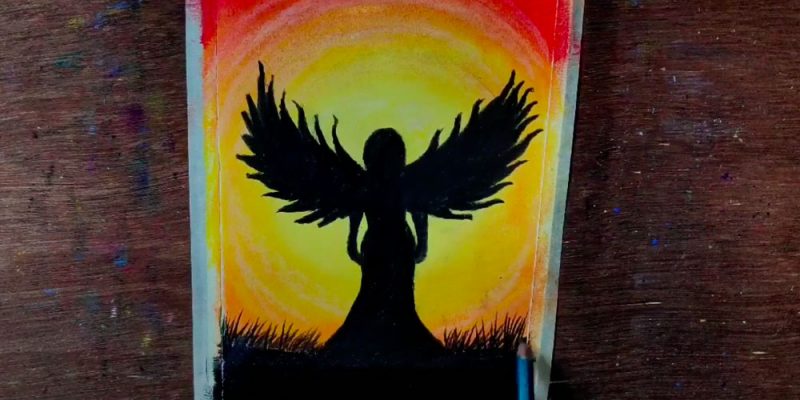
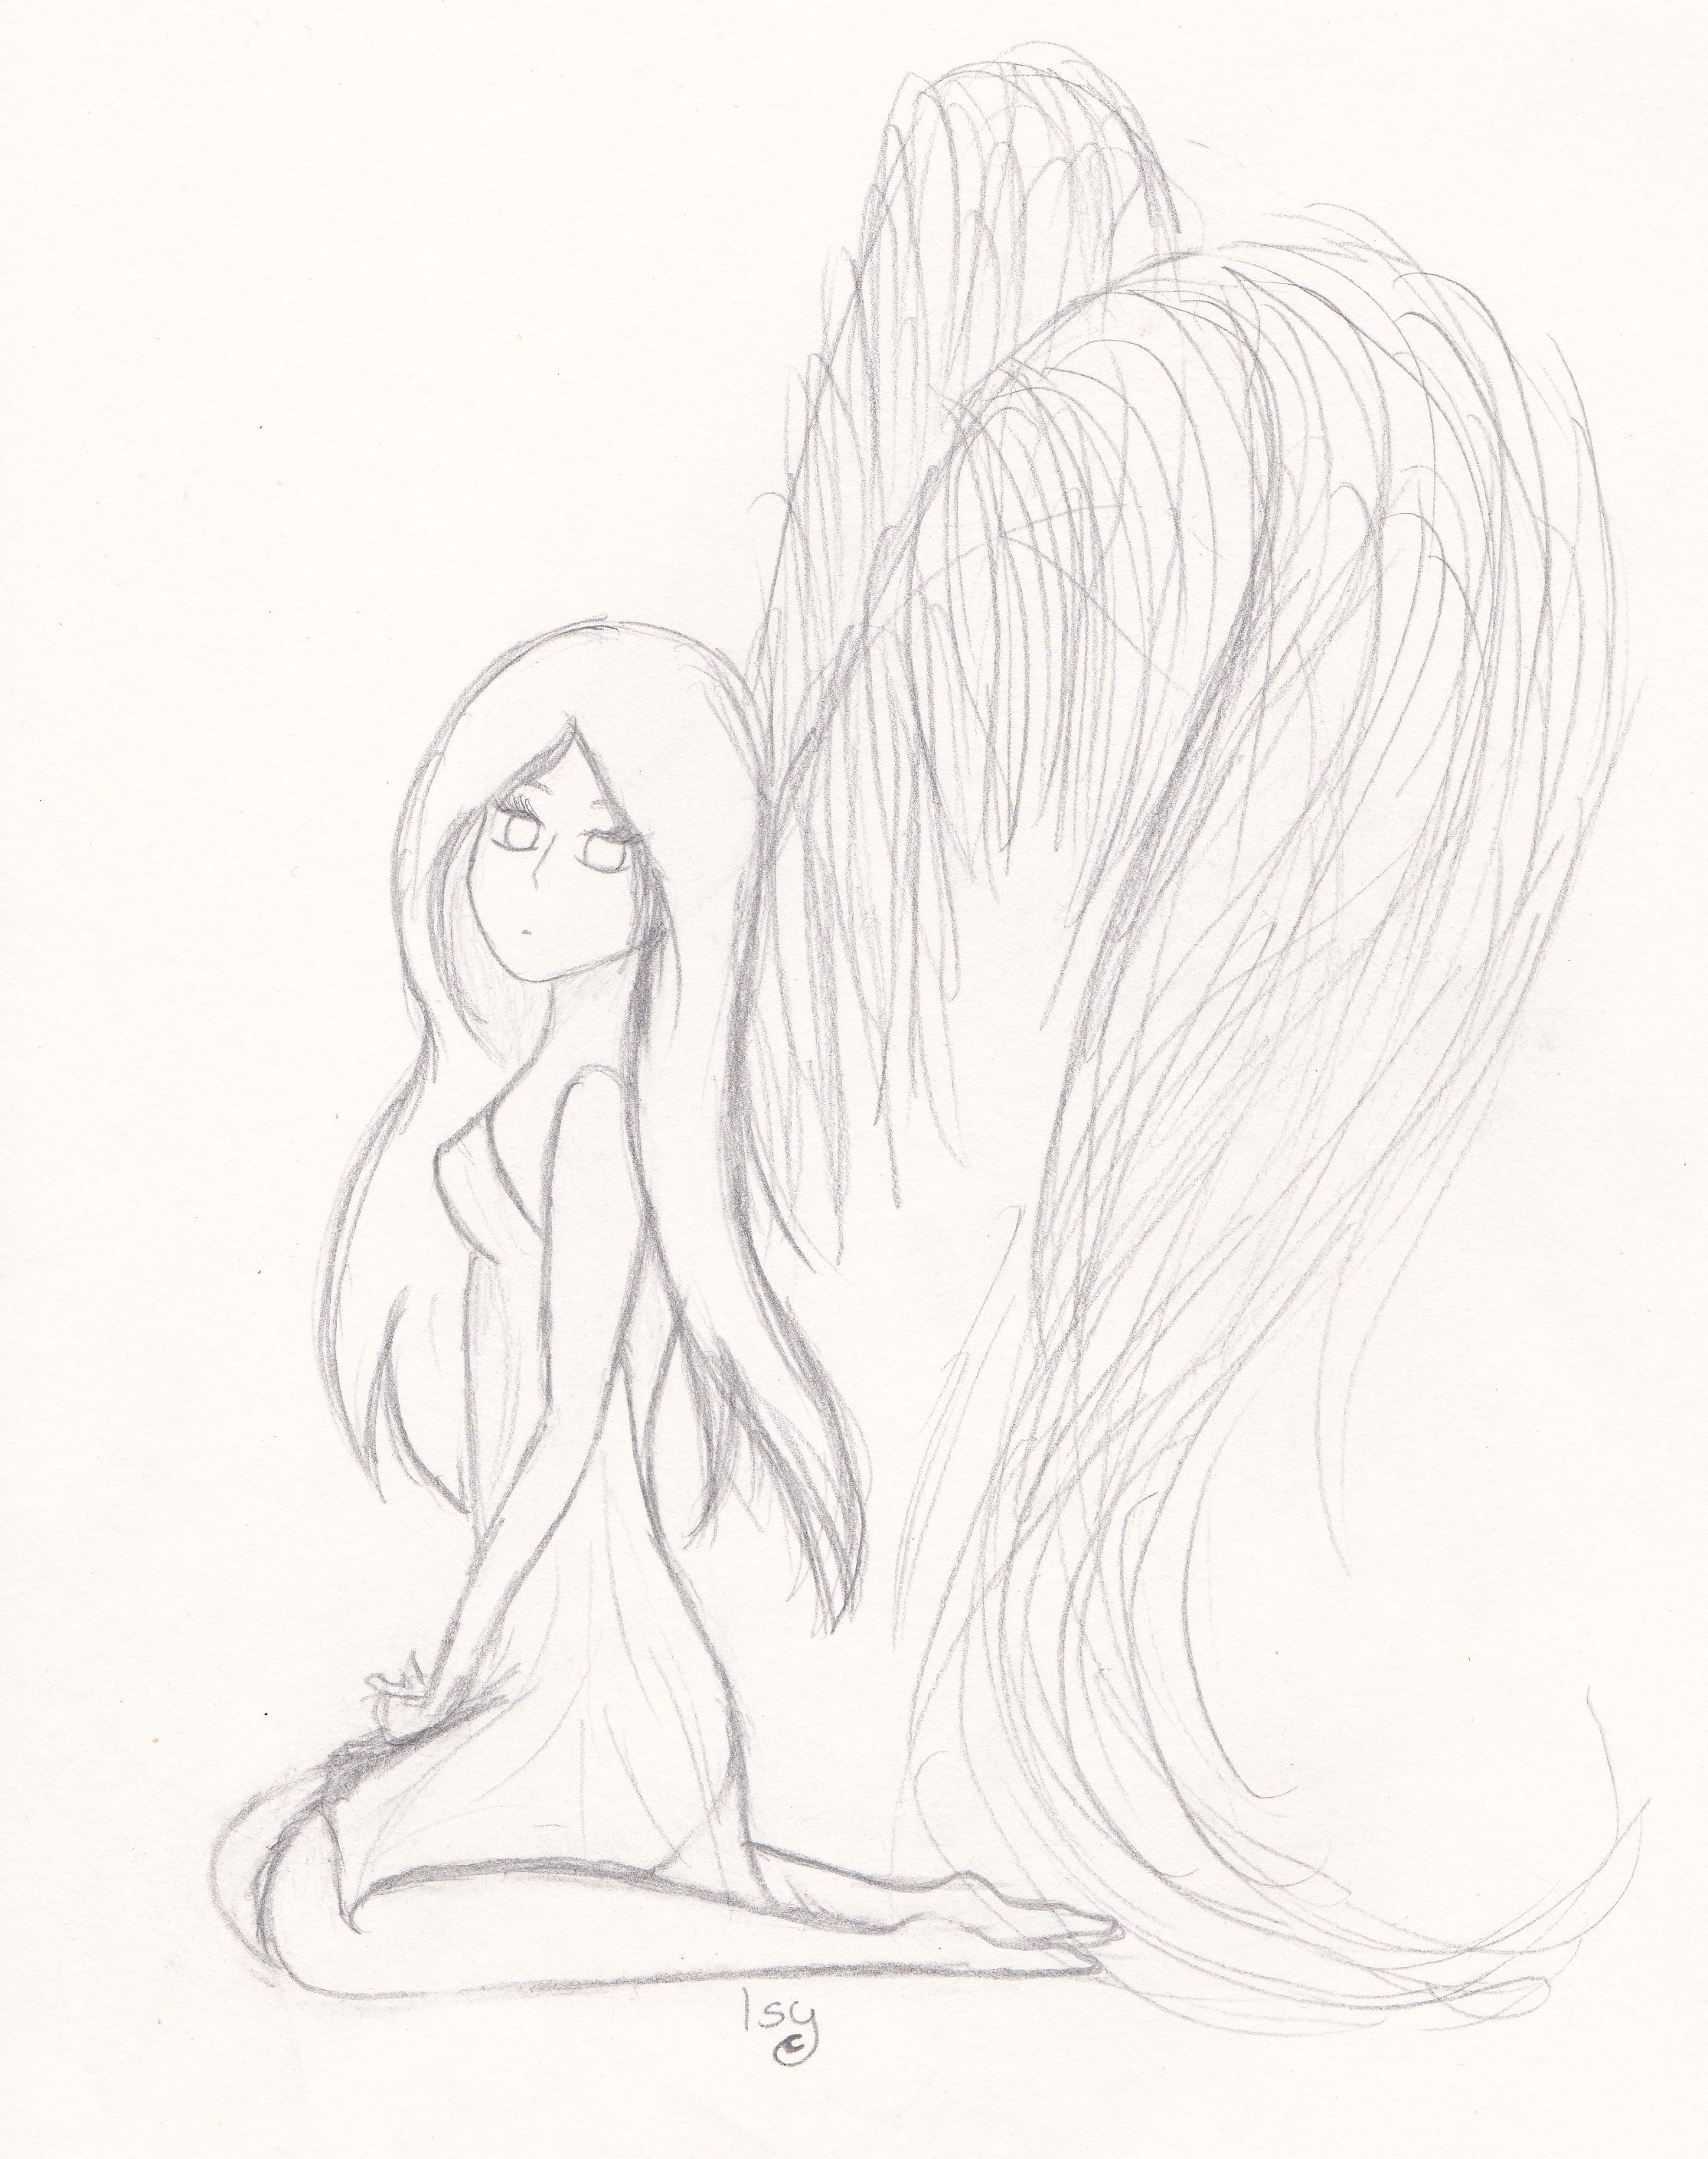
Pictures of drawn angels to sketch in pencil