How to Draw a Tank in Pencil Step-by-Step: Basic Principles of Drawing for Beginners and Children
Since their first use in 1916 at the Battle of the Somme, tanks have undergone a century-long history of development, undergoing internal modernization and changes in appearance. Generations of boys have been fascinated by combat vehicles, imagining themselves as tank men.
One of children's first introductions to machinery begins with drawings. This article is intended for beginner artists, below will outline ways to draw a tank easily, simply and beautifully.
How to draw a tank step by step
For the first tests it is best to use a simple pencil and eraser, which will allow easy correction of errors. It is easier for a child to draw a tank from the front or from the side. This image is quite simple and serves more for training.

With his help a child can learn to represent basic geometric shapes such as square, circle, triangle, and others.
You should not immediately give complex tasks to the novice artist, it can discourage him from further development. Images in three-quarter or half-turns require an in-depth knowledge not only in the fine arts, but also in the layout of the external elements of the armor. It is also worth remembering to maintain proportions between the parts of the tank.
Arrangement in the drawing
Before you begin work, it is necessary to allocate space for the equipment, to determine what will be in the drawing besides it. For a simple addition will do trees, a hangar or a field. More challenging would be the depiction of several types of vehicles involved in a battle or parade.

Armored Vehicle Caterpillars
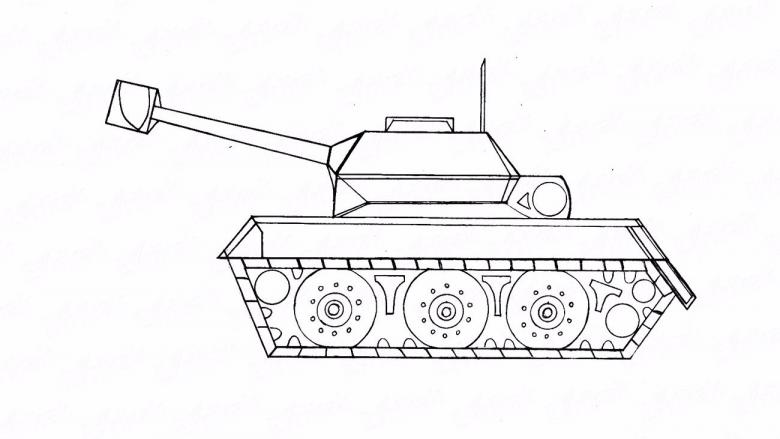
A simple and convenient method of teaching kids is to start drawing with the tracks.
- The first thing that is depicted is the ground. This is done with a line across the entire sheet, closer to the bottom border.
- The second step is to choose the location of the tank and the image of the wheels, which are called rollers.
- Depending on the technique, the number and location may be different. To give a realistic picture, you can use photos from books or the Internet.
- Soviet tanks have large rollers. The frontmost and rear rollers are half height above the rest.
- At the top above the lower ones are small supporting wheels.
- The track line at the bottom up to the outermost rollers is depicted as straight, and at the top it lies loosely on the small ones with slight sagging.
- At the end of the track is guided by a thick line, fine tracks are finished. The wheels are detailed, visually becoming more massive.

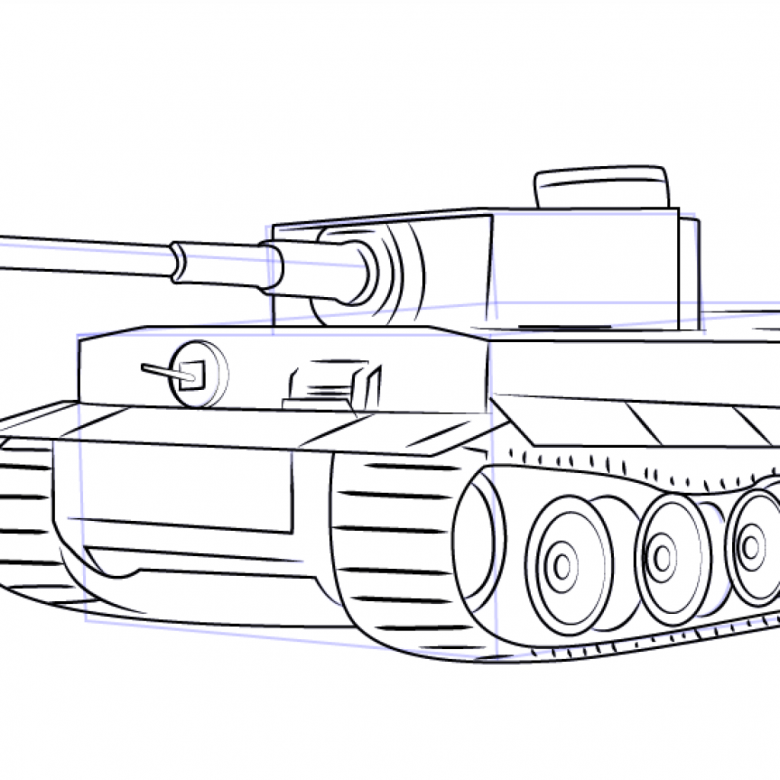
Principles of depicting the hull and turret
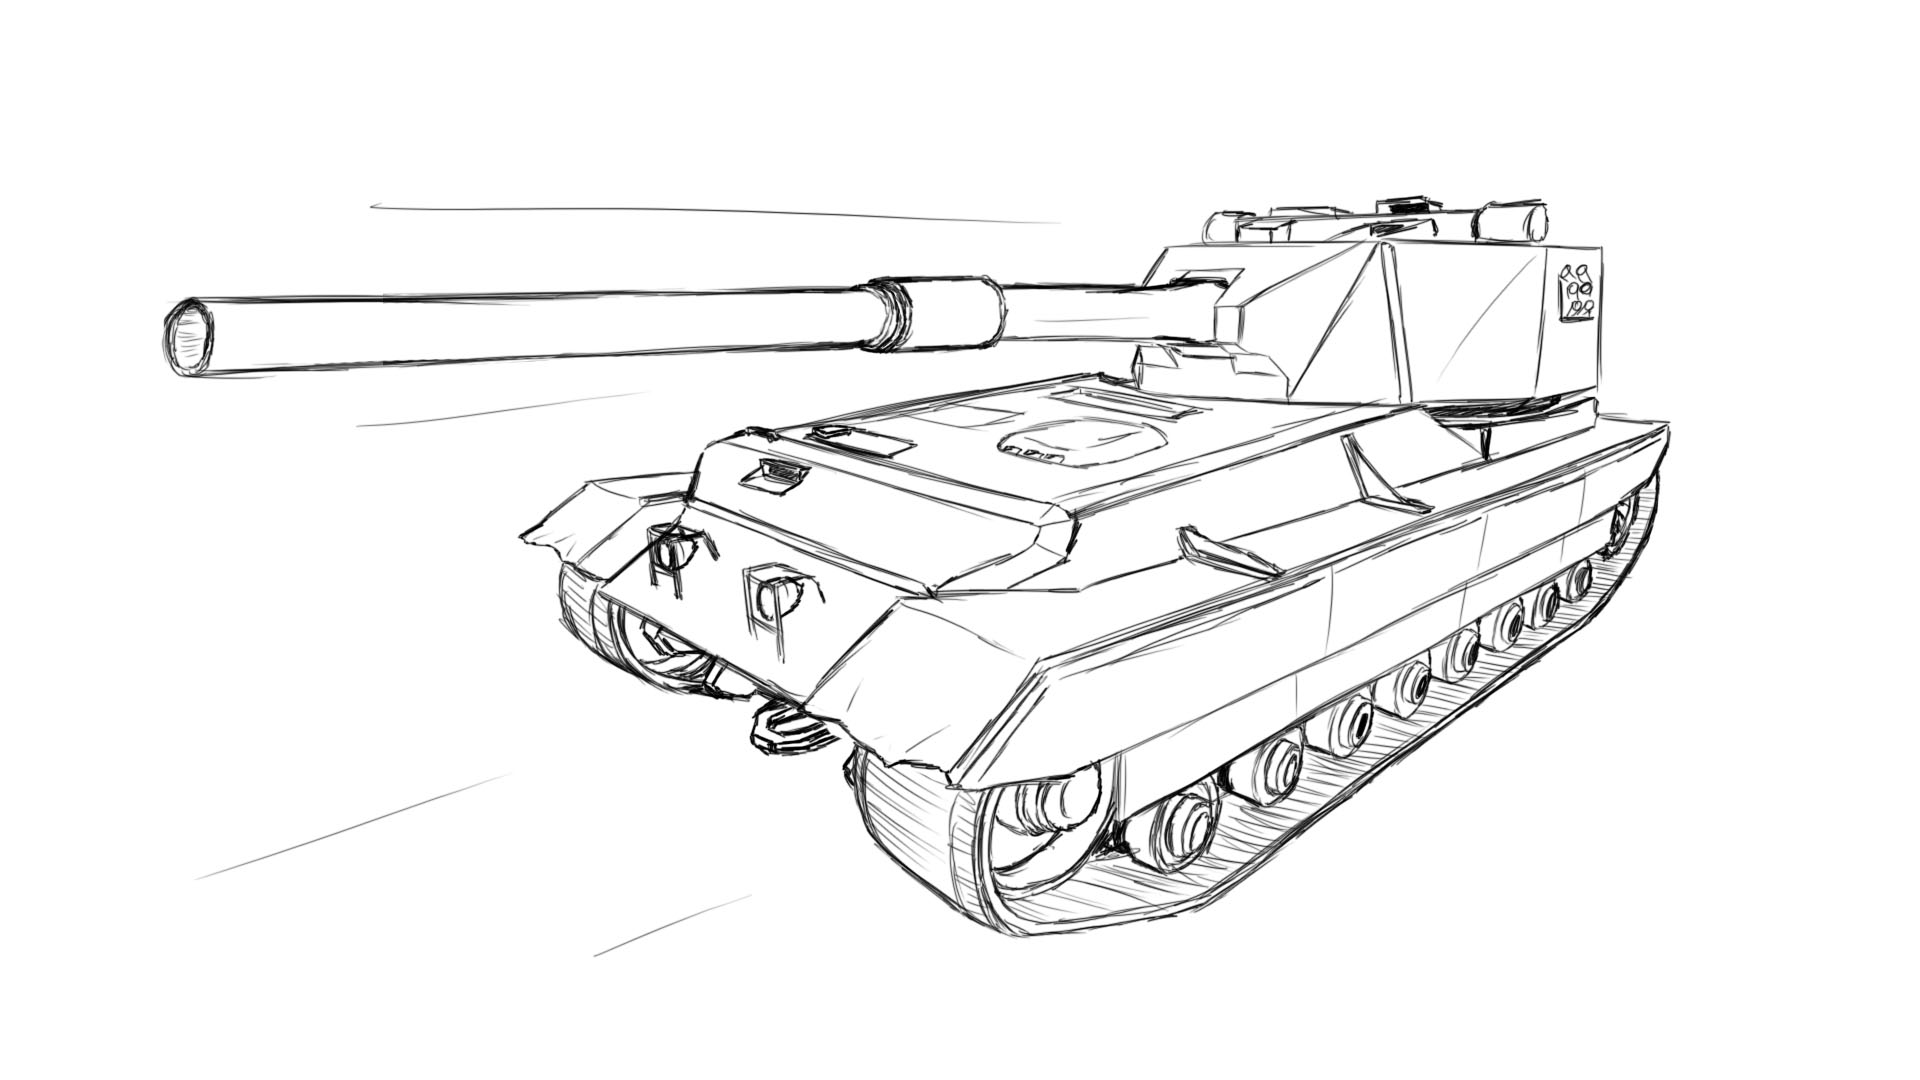
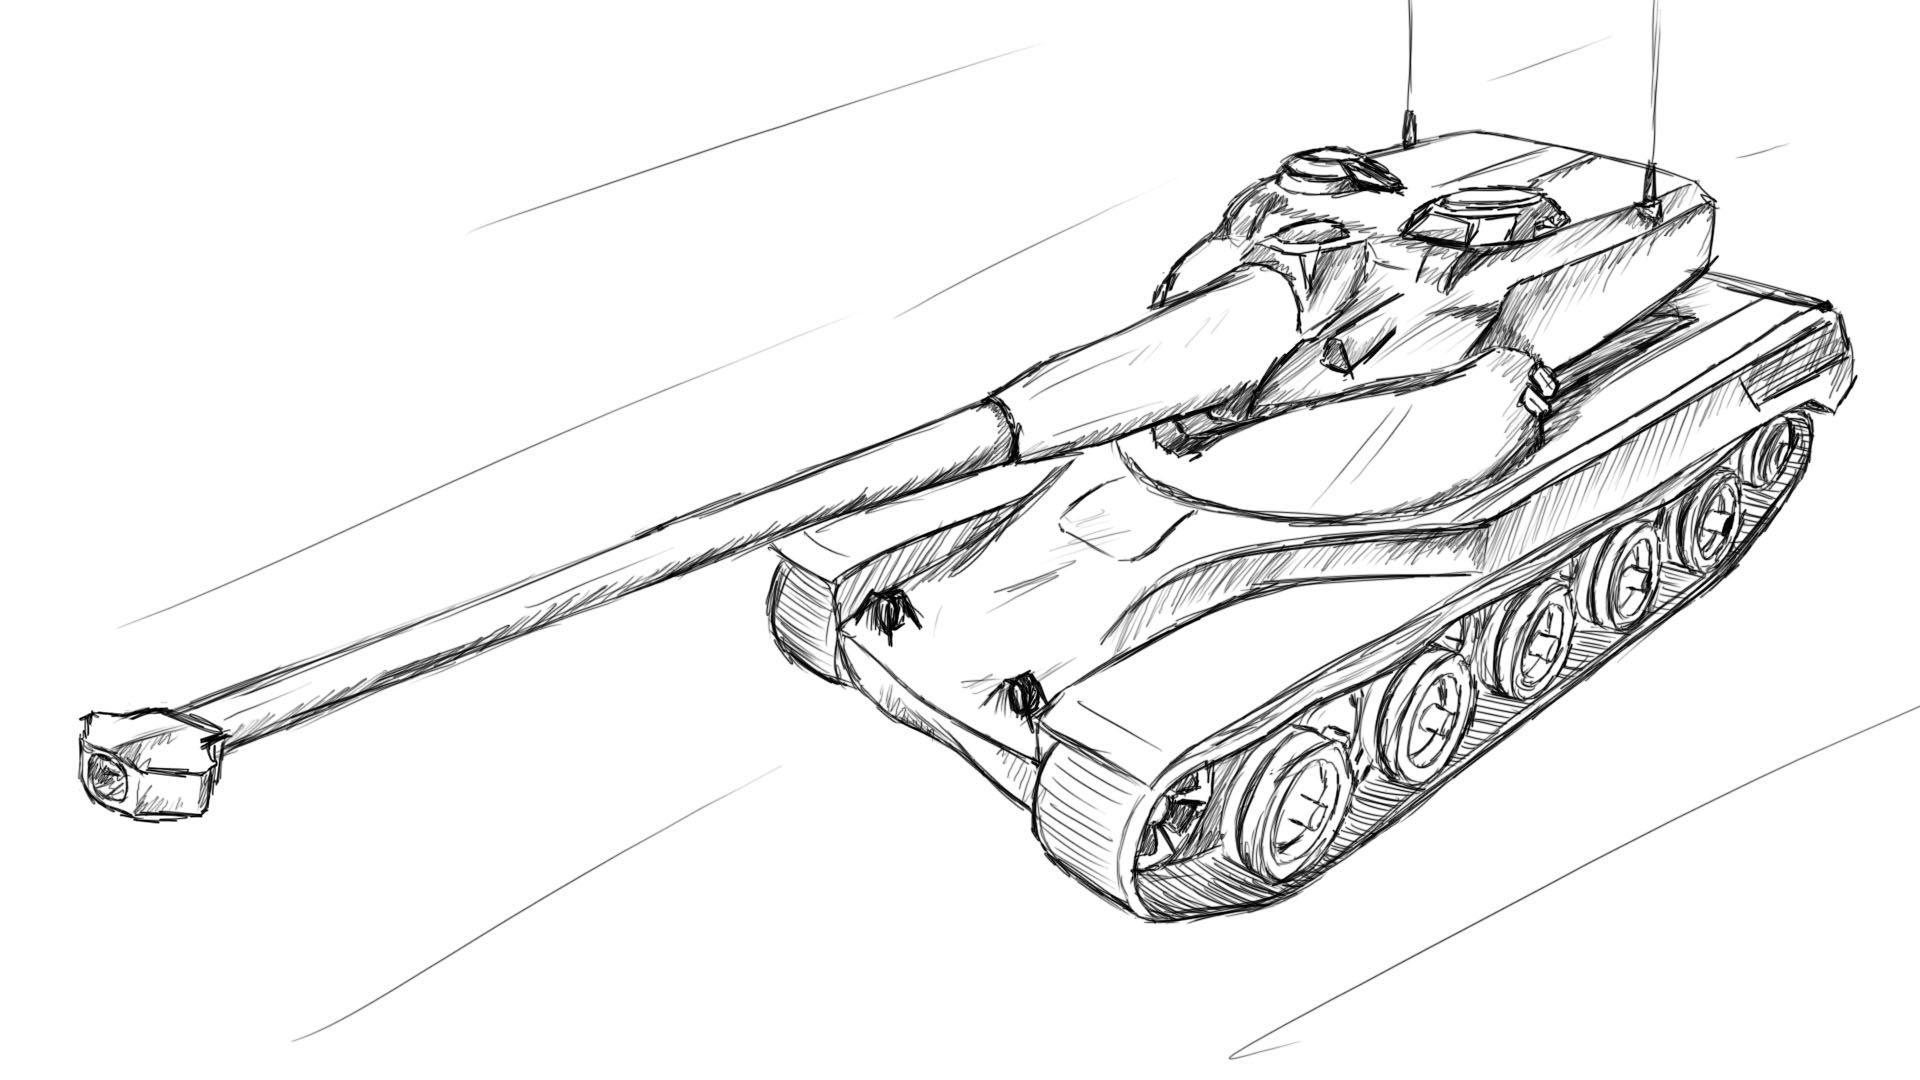
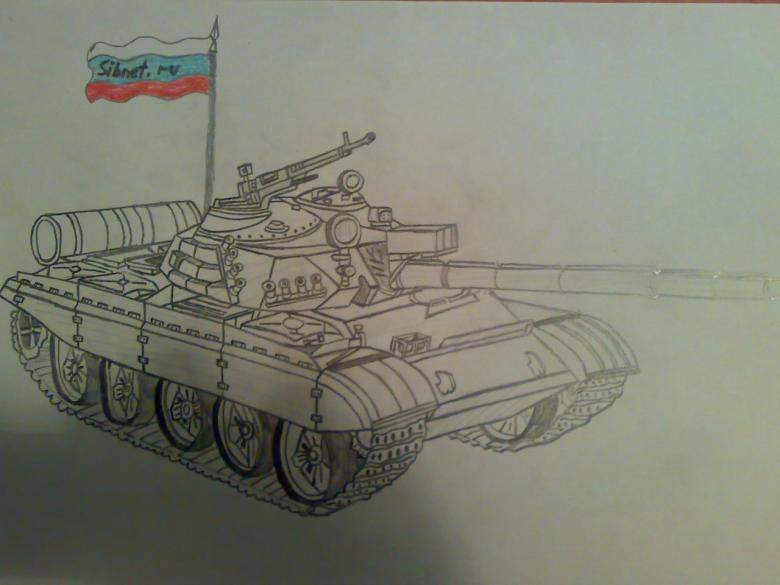
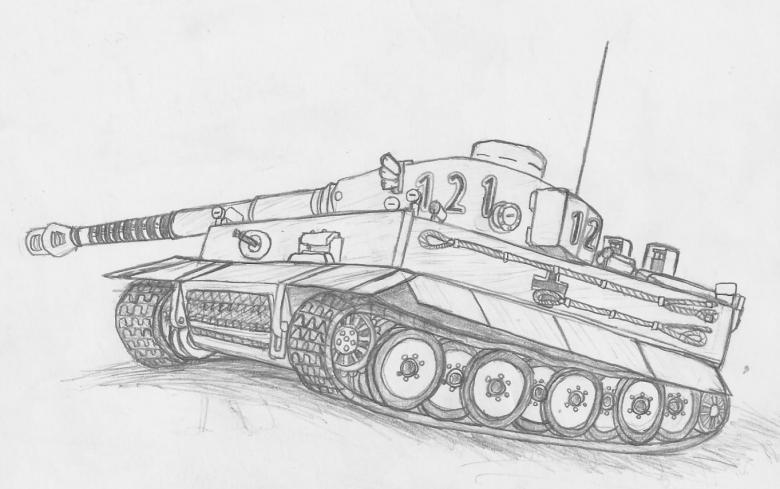
When depicting a tank's hull, remember which school of tank building it belongs to. The Soviet school favors a low silhouette and sharp armor lines. Western for the most part advocates a free layout with large-sized vehicles.
If a child is just beginning to get interested in technology. It is not necessary to strictly follow this principle. The kid can show imagination and draw his own car. The method of sketching will be useful, making the process quick and fun and avoiding mistakes.
- As a basis, you can take already drawn undercarriage.
- Parallel to the track line, indenting a little higher, depicts the side, front and rear wings of the tank, sheets of armor with rivets on the edges.
- A slightly elevated engine compartment with exhaust pipe and cooling grid is depicted at the rear.
- On some models of the tank the upper part of the tracks is covered by side armor, up to half the height of the undercarriage. After drawing the armor, the covered part is erased with an eraser.
- The turret can be located in the front, rear or central part of the tank. Its size varies from small (up to ¼ of the hull length) to half and even more.
- The height of the turret depends on the model of an armored vehicle. There are variants with low, slightly protruding, as in Soviet vehicles, and, on the contrary, with prominent and high, as in the Western.
- Additional elements, such as commander's hatch, machine gun mount, searchlight, and antenna can be drawn on the turret.
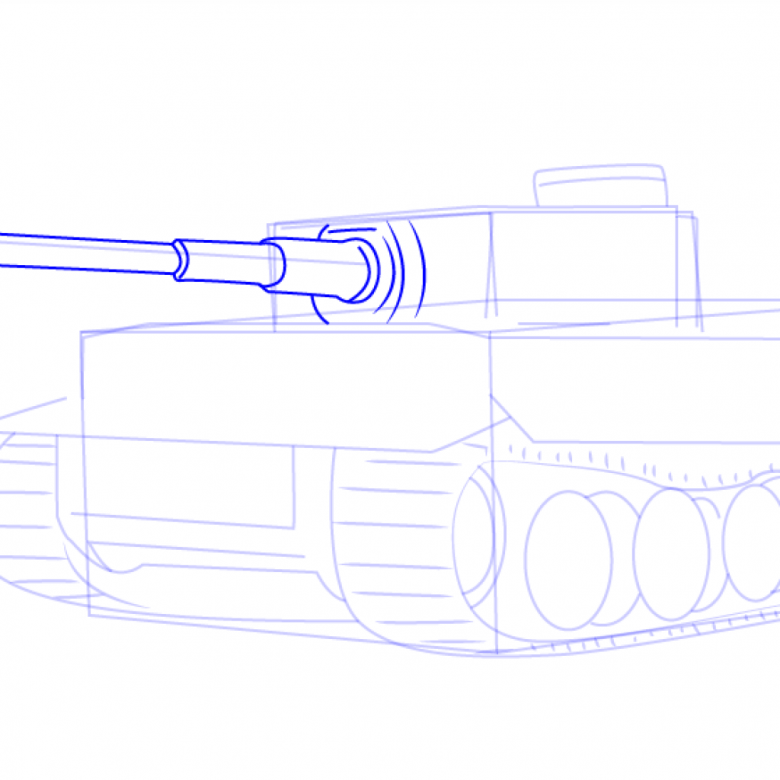
- In the front, the gun mask is depicted - a compacted layer of armor, followed by the gun itself. For its drawing it is necessary to be guided by real images, so that the picture turns out natural.
- For the cannon you need to draw two straight parallel lines. Often there is a rounded or rectangular thickening on the end - the muzzle brake. The thickening in the middle of the barrel length is the ejector, which serves for the outflow of powder gases.
- The length of the barrel is proportional to the length of the turret, which should be taken into account when working.
After completing the basic elements, you can detail the surface by applying camouflage, damage and scuffs, and painting with the addition of state distinctions.

An interesting method would be a graphic dictation, where a sheet of paper in a box given a starting point from which, following the task, draws the silhouette of an armored vehicle. Such a tank does not pretend to detail, but for children it will be fun and educational.
How to draw a tank on February 23
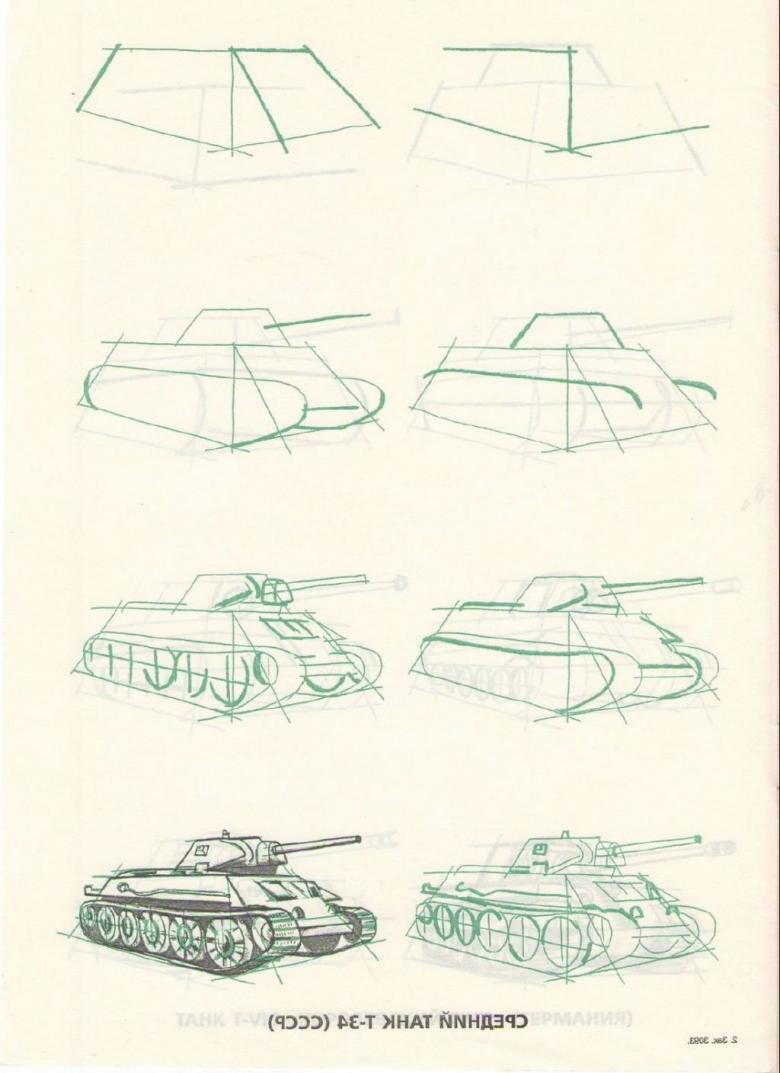
For the festive date, you can depict the fighting machine on a postcard, which will be a great gift for dad or grandfather. The most common tank that is drawn on such gifts is the Soviet T-34.
Work on the tank can be step-by-step, as mentioned above in the article. For a quality picture it is desirable to use an illustration. Example for the picture:
- In the first stage, using a ruler, four squares of equal size are drawn, through which two horizontal lines pass.
- Sketches of the whole tank, starting with the undercarriage, are depicted. The drawing is made based on the sizes of the squares. Rollers centers are drawn on the bottom straight line at the same level, not reaching the track line.
- The contour of the track is duplicated with the same line on the inside, clearly on the rollers. Then the tracks are drawn.
- The turret, hull and gun barrel are detailed with small objects.
- For more realism, shadows and distinctive signs of the tank are applied, and camouflage is drawn.
- Drawing is colored, made a festive signature.
- You can add ambience, drawing fireworks, celebratory parade.
Military equipment has always interested boys of all ages. Playing toys, drawing pictures, watching movies, the child receives information.
Boys in the future, using the accumulated knowledge, will grow up to be men - defenders of the homeland. Parents must educate young children, to instill in them the right values, to monitor what information comes into their fragile minds.
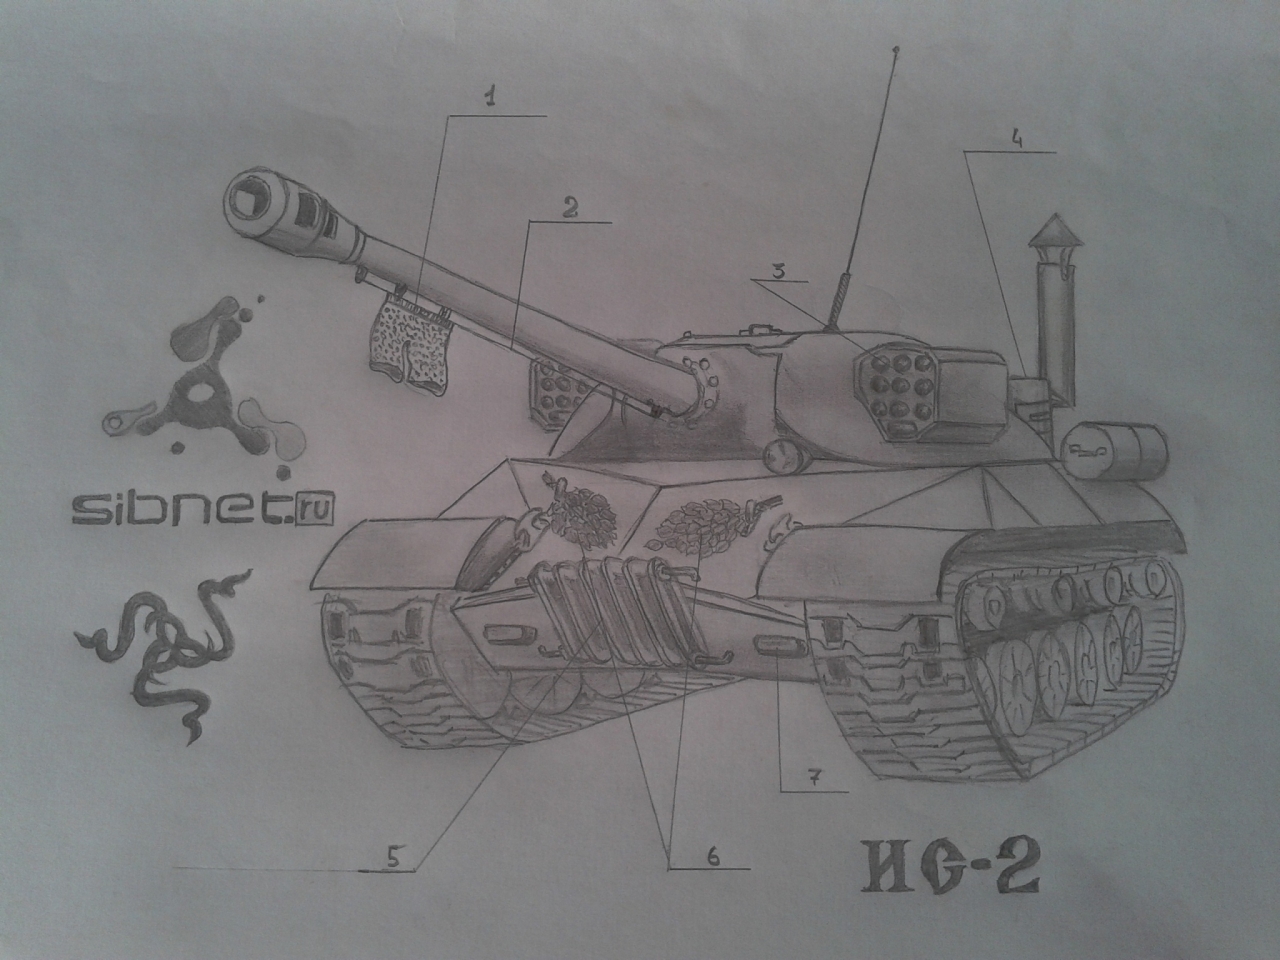
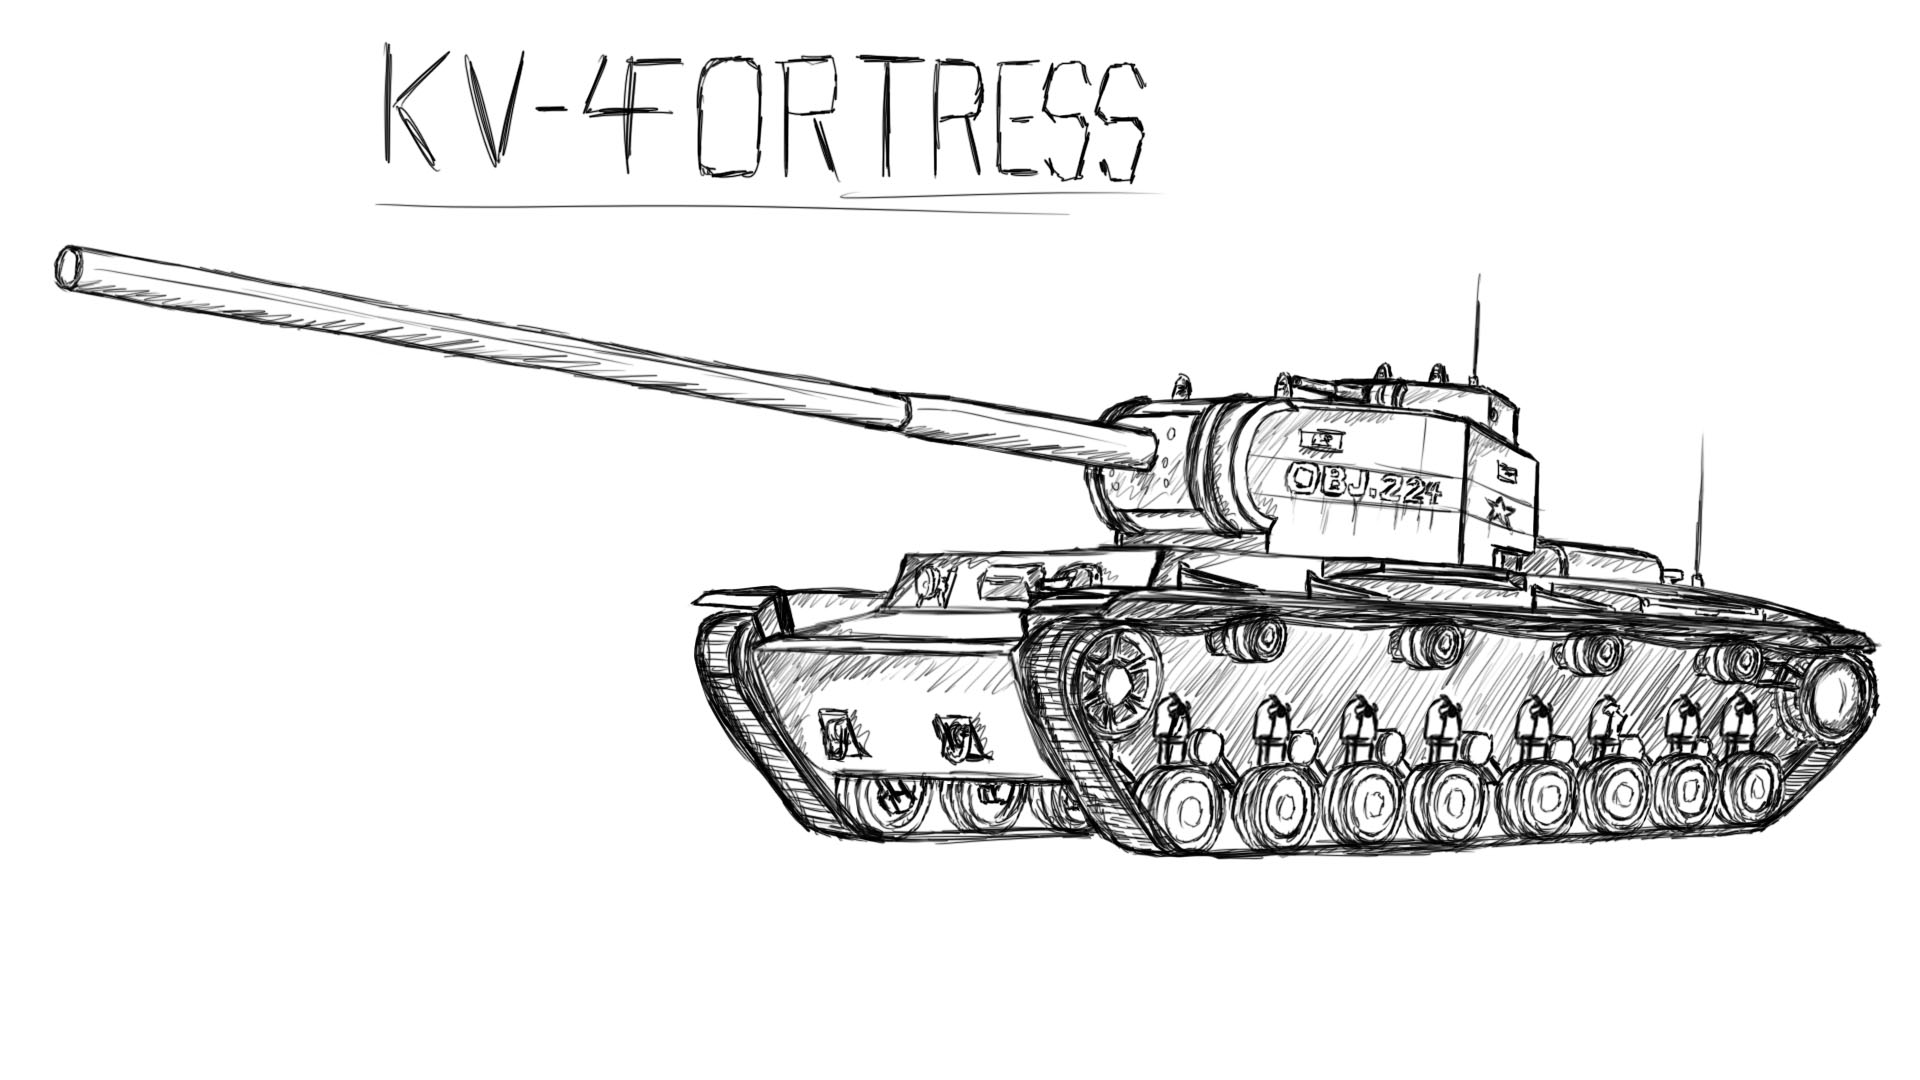
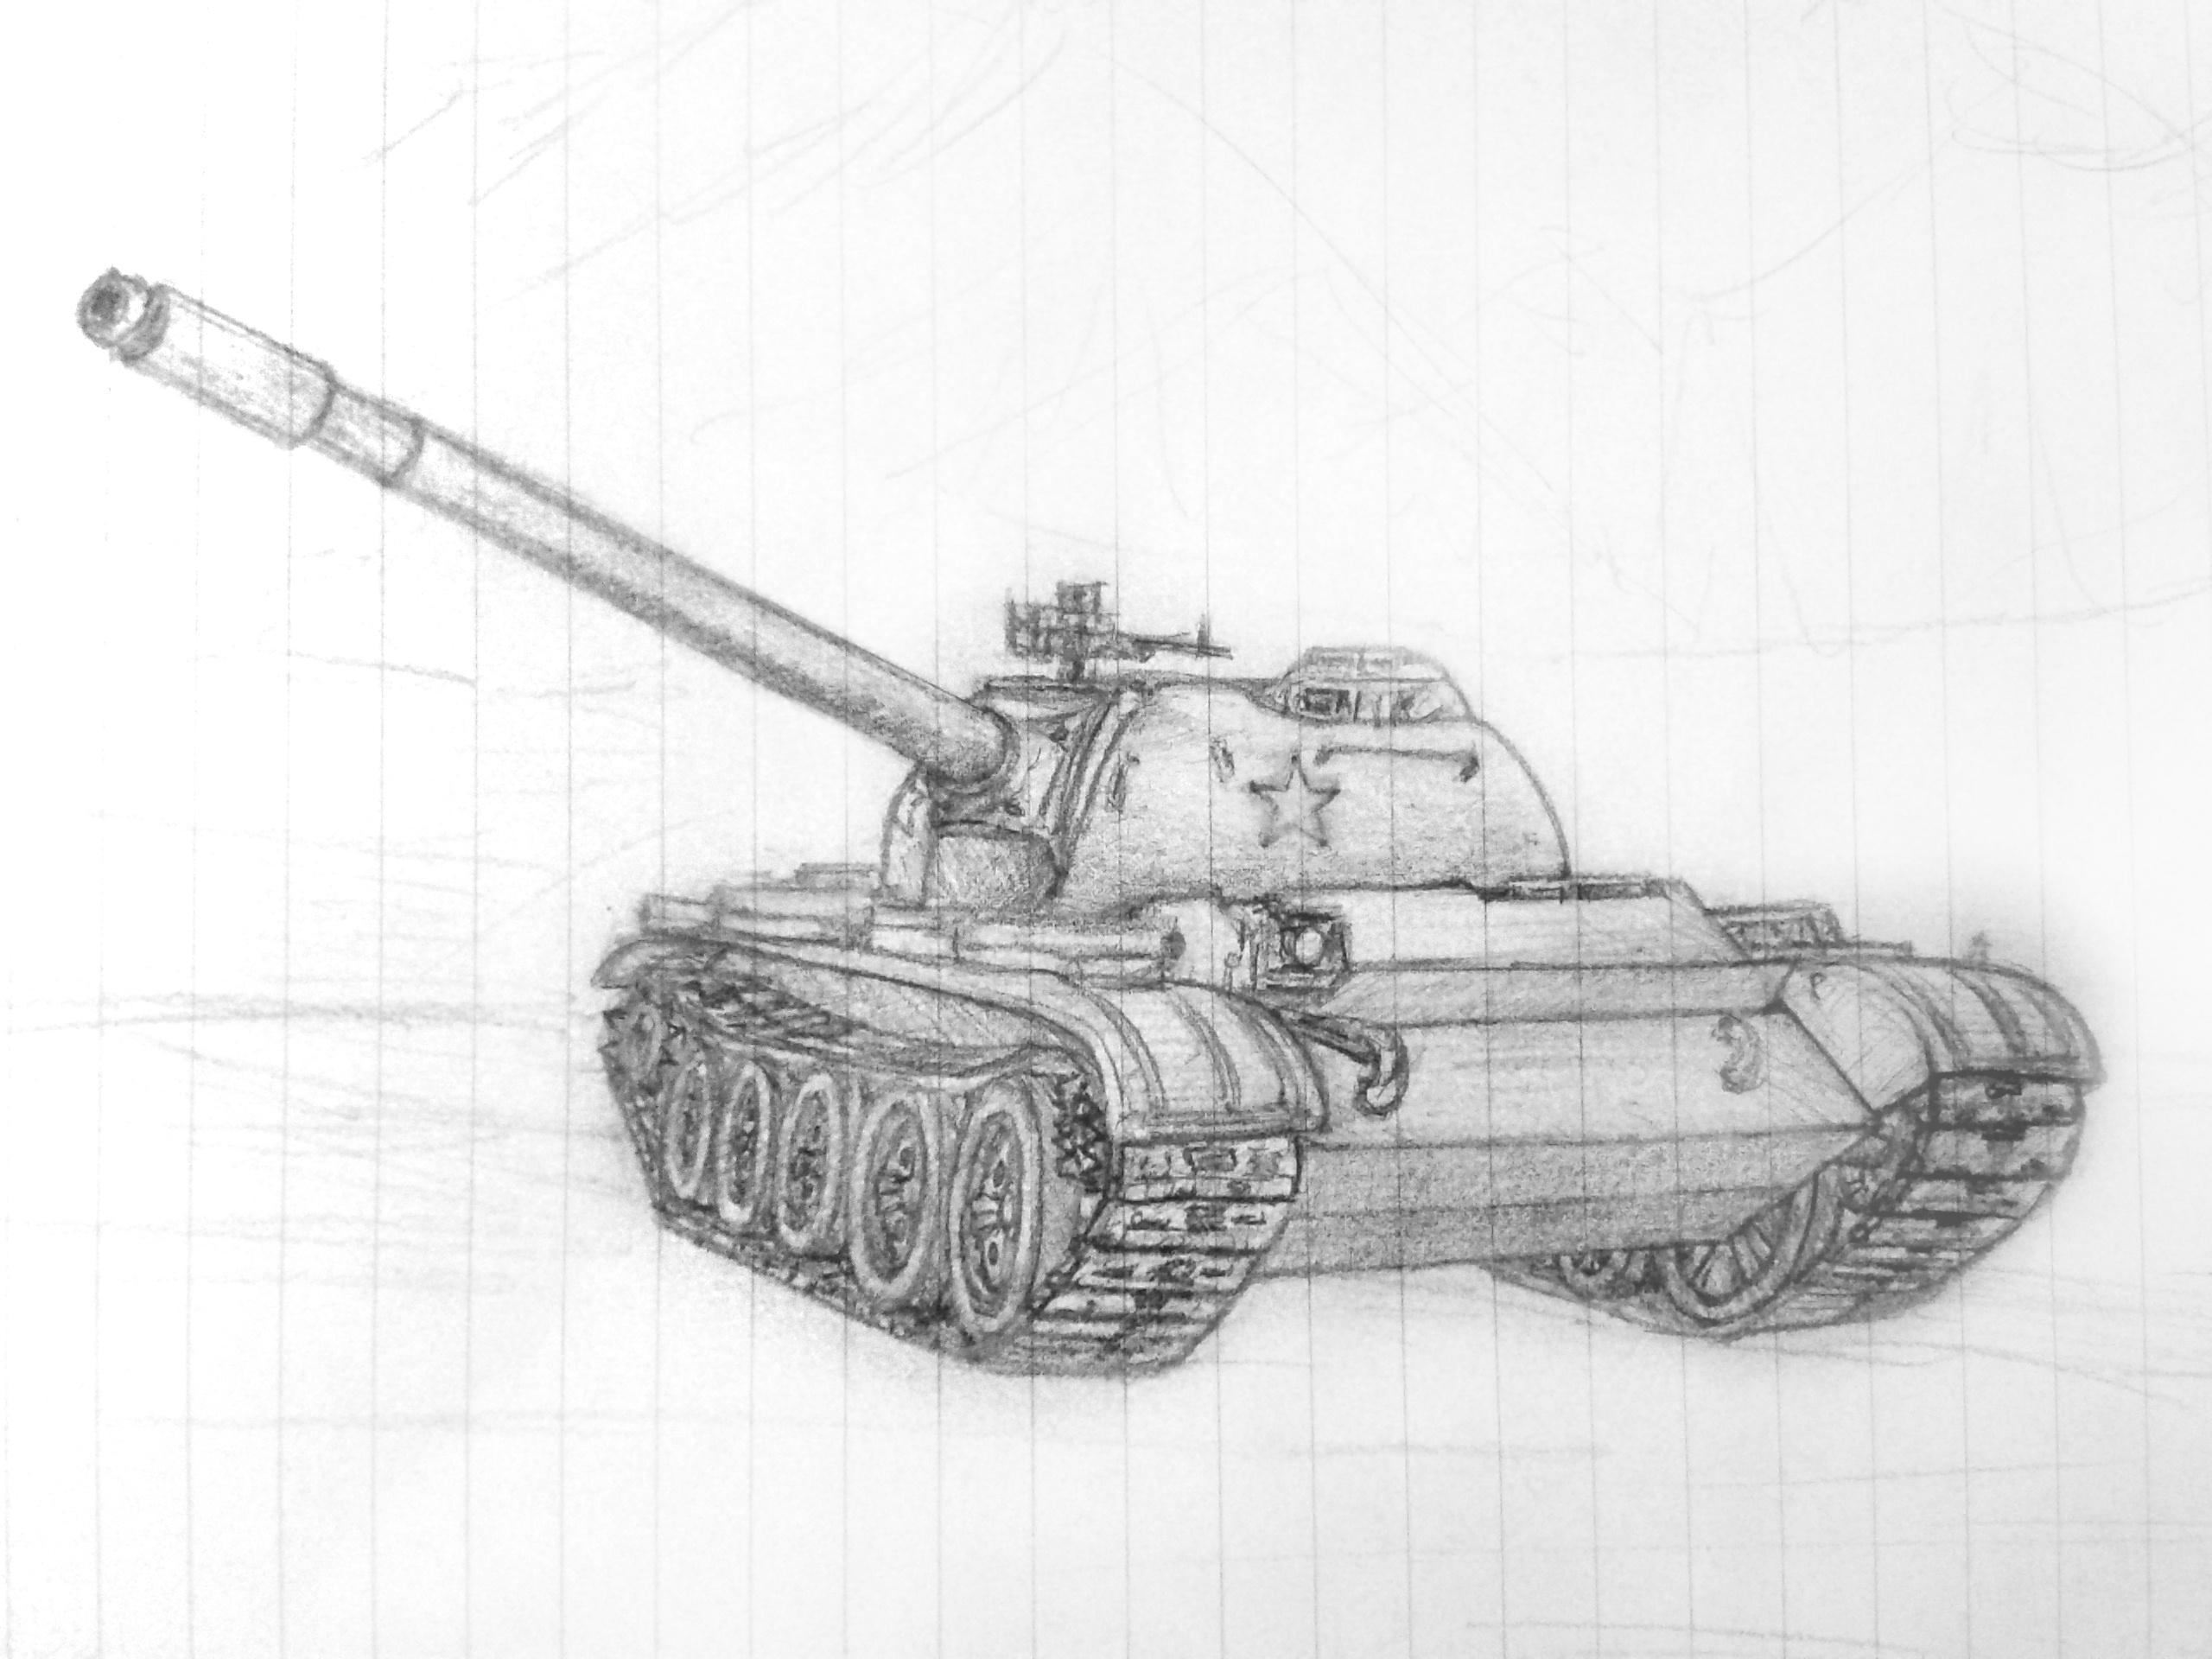
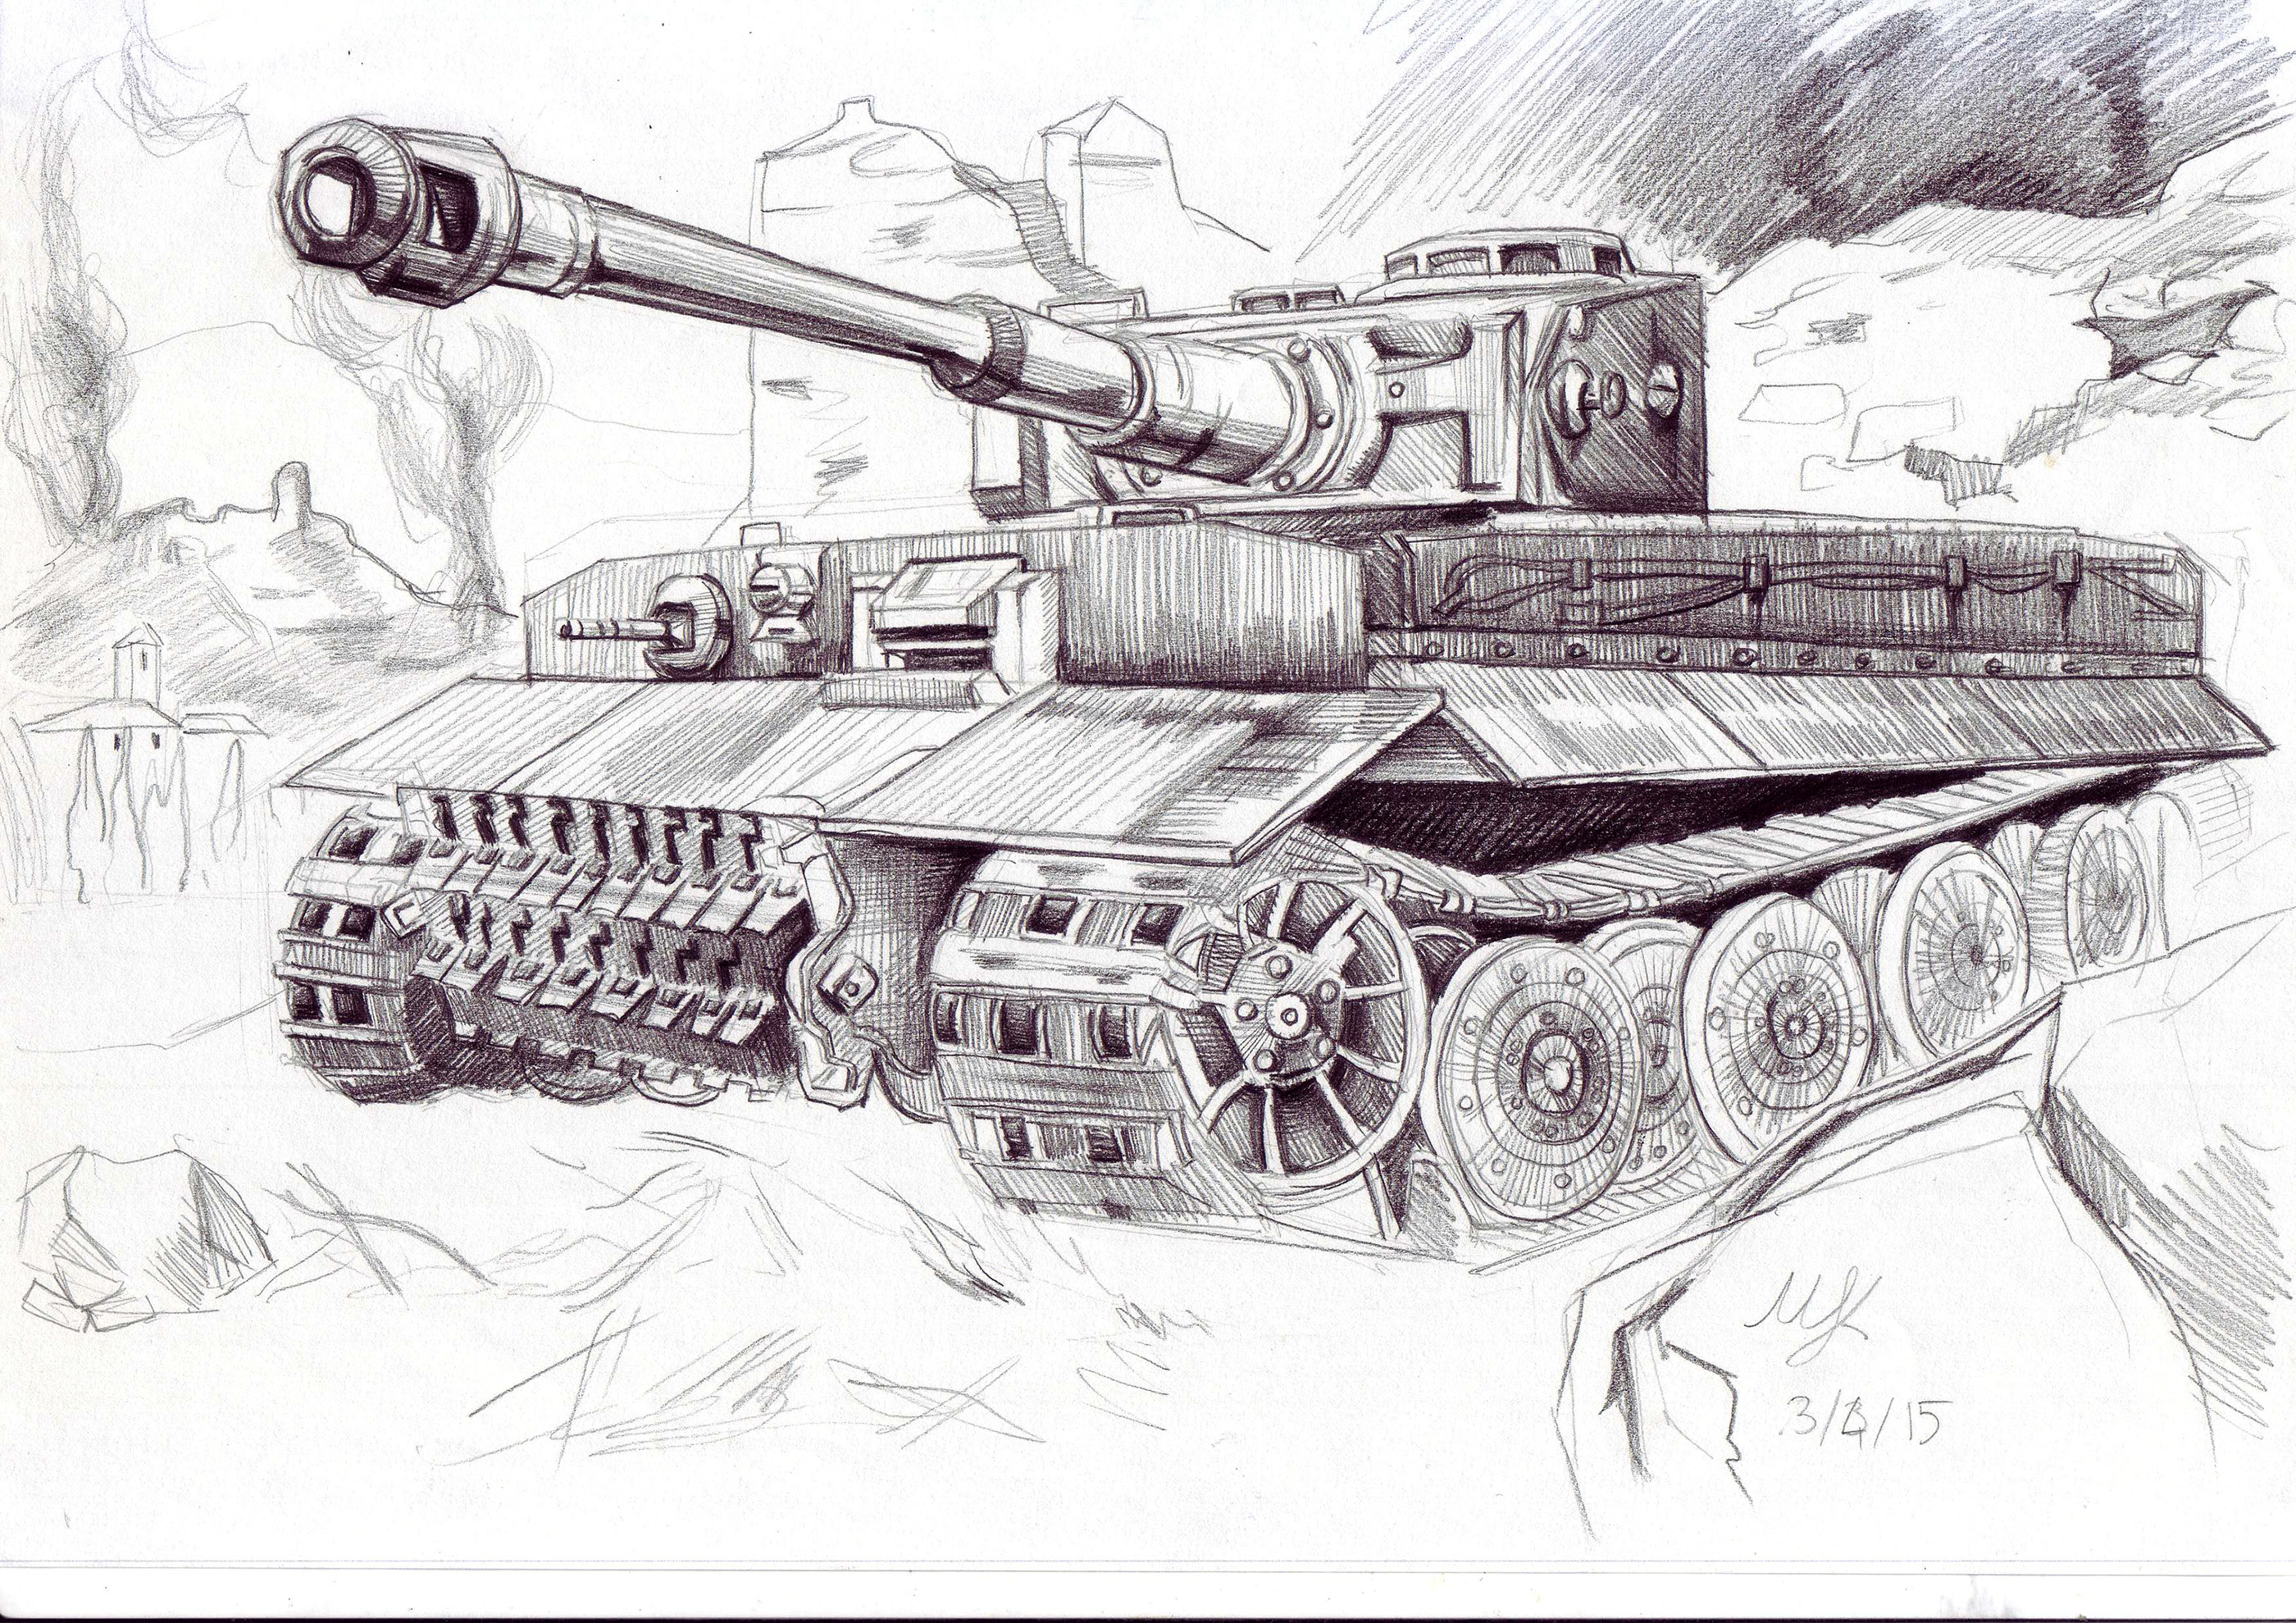
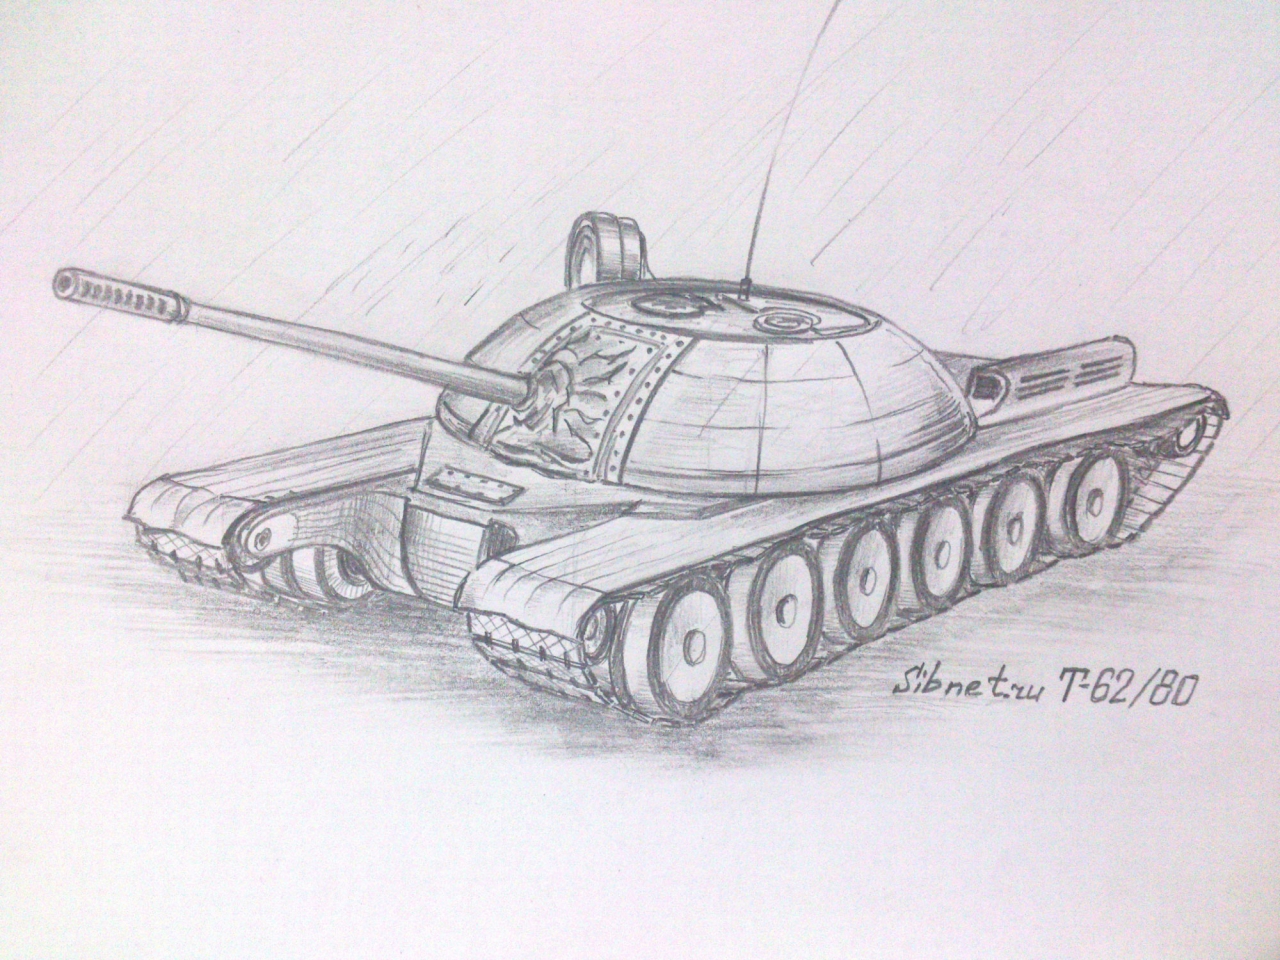
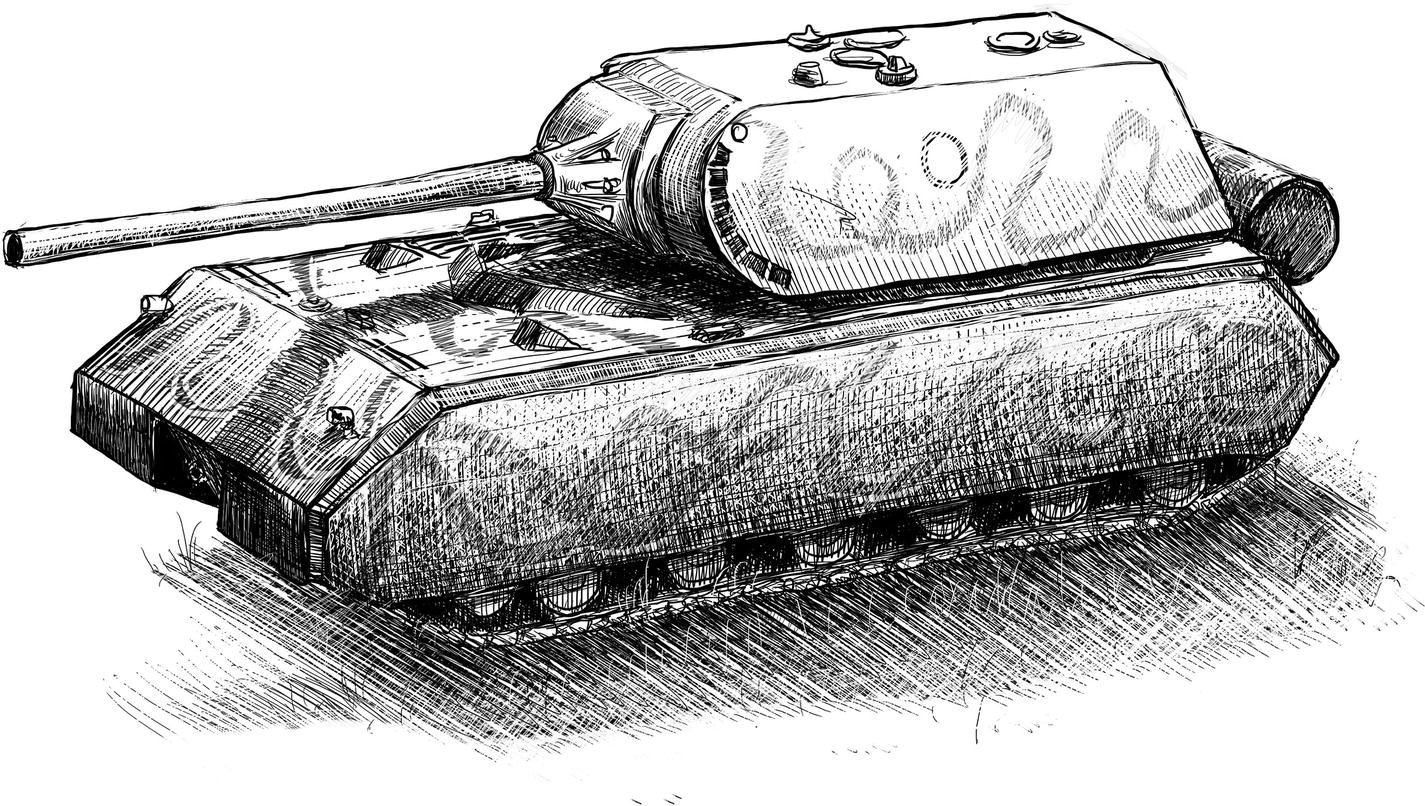
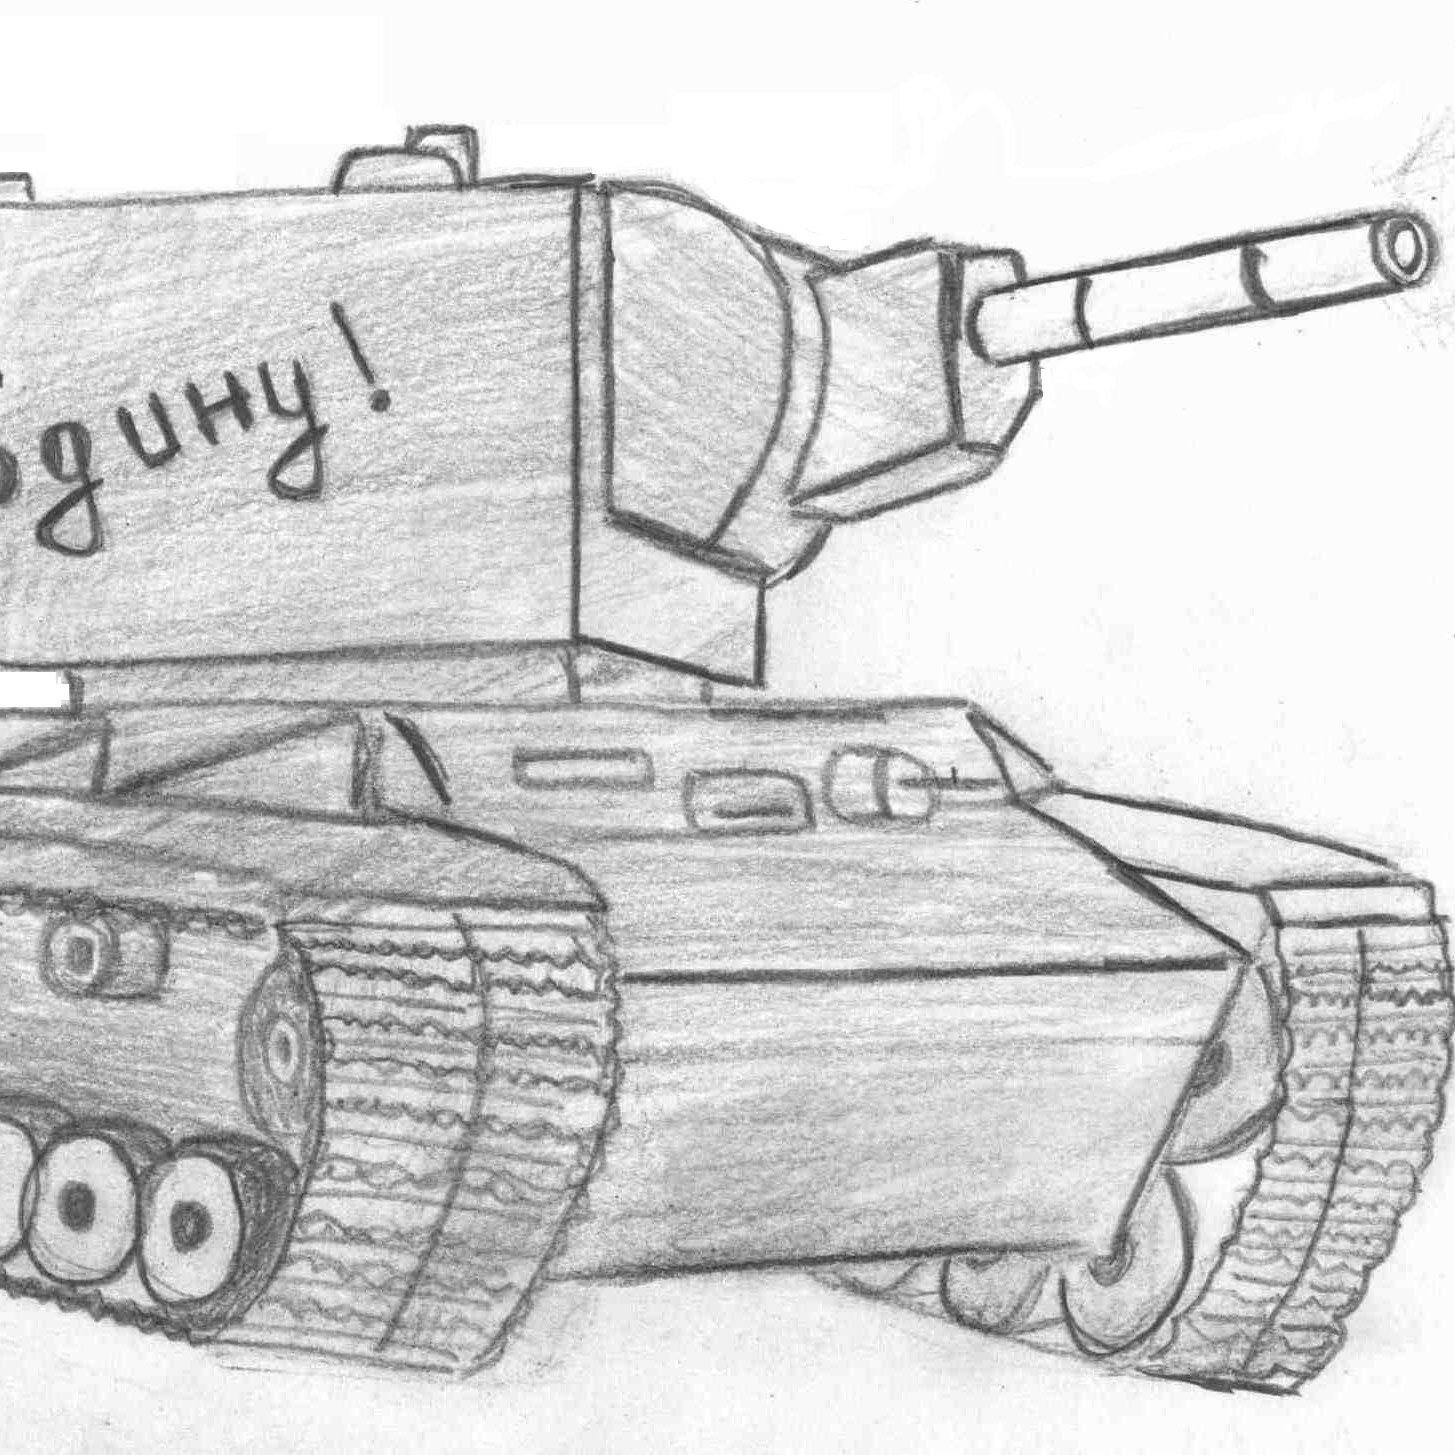
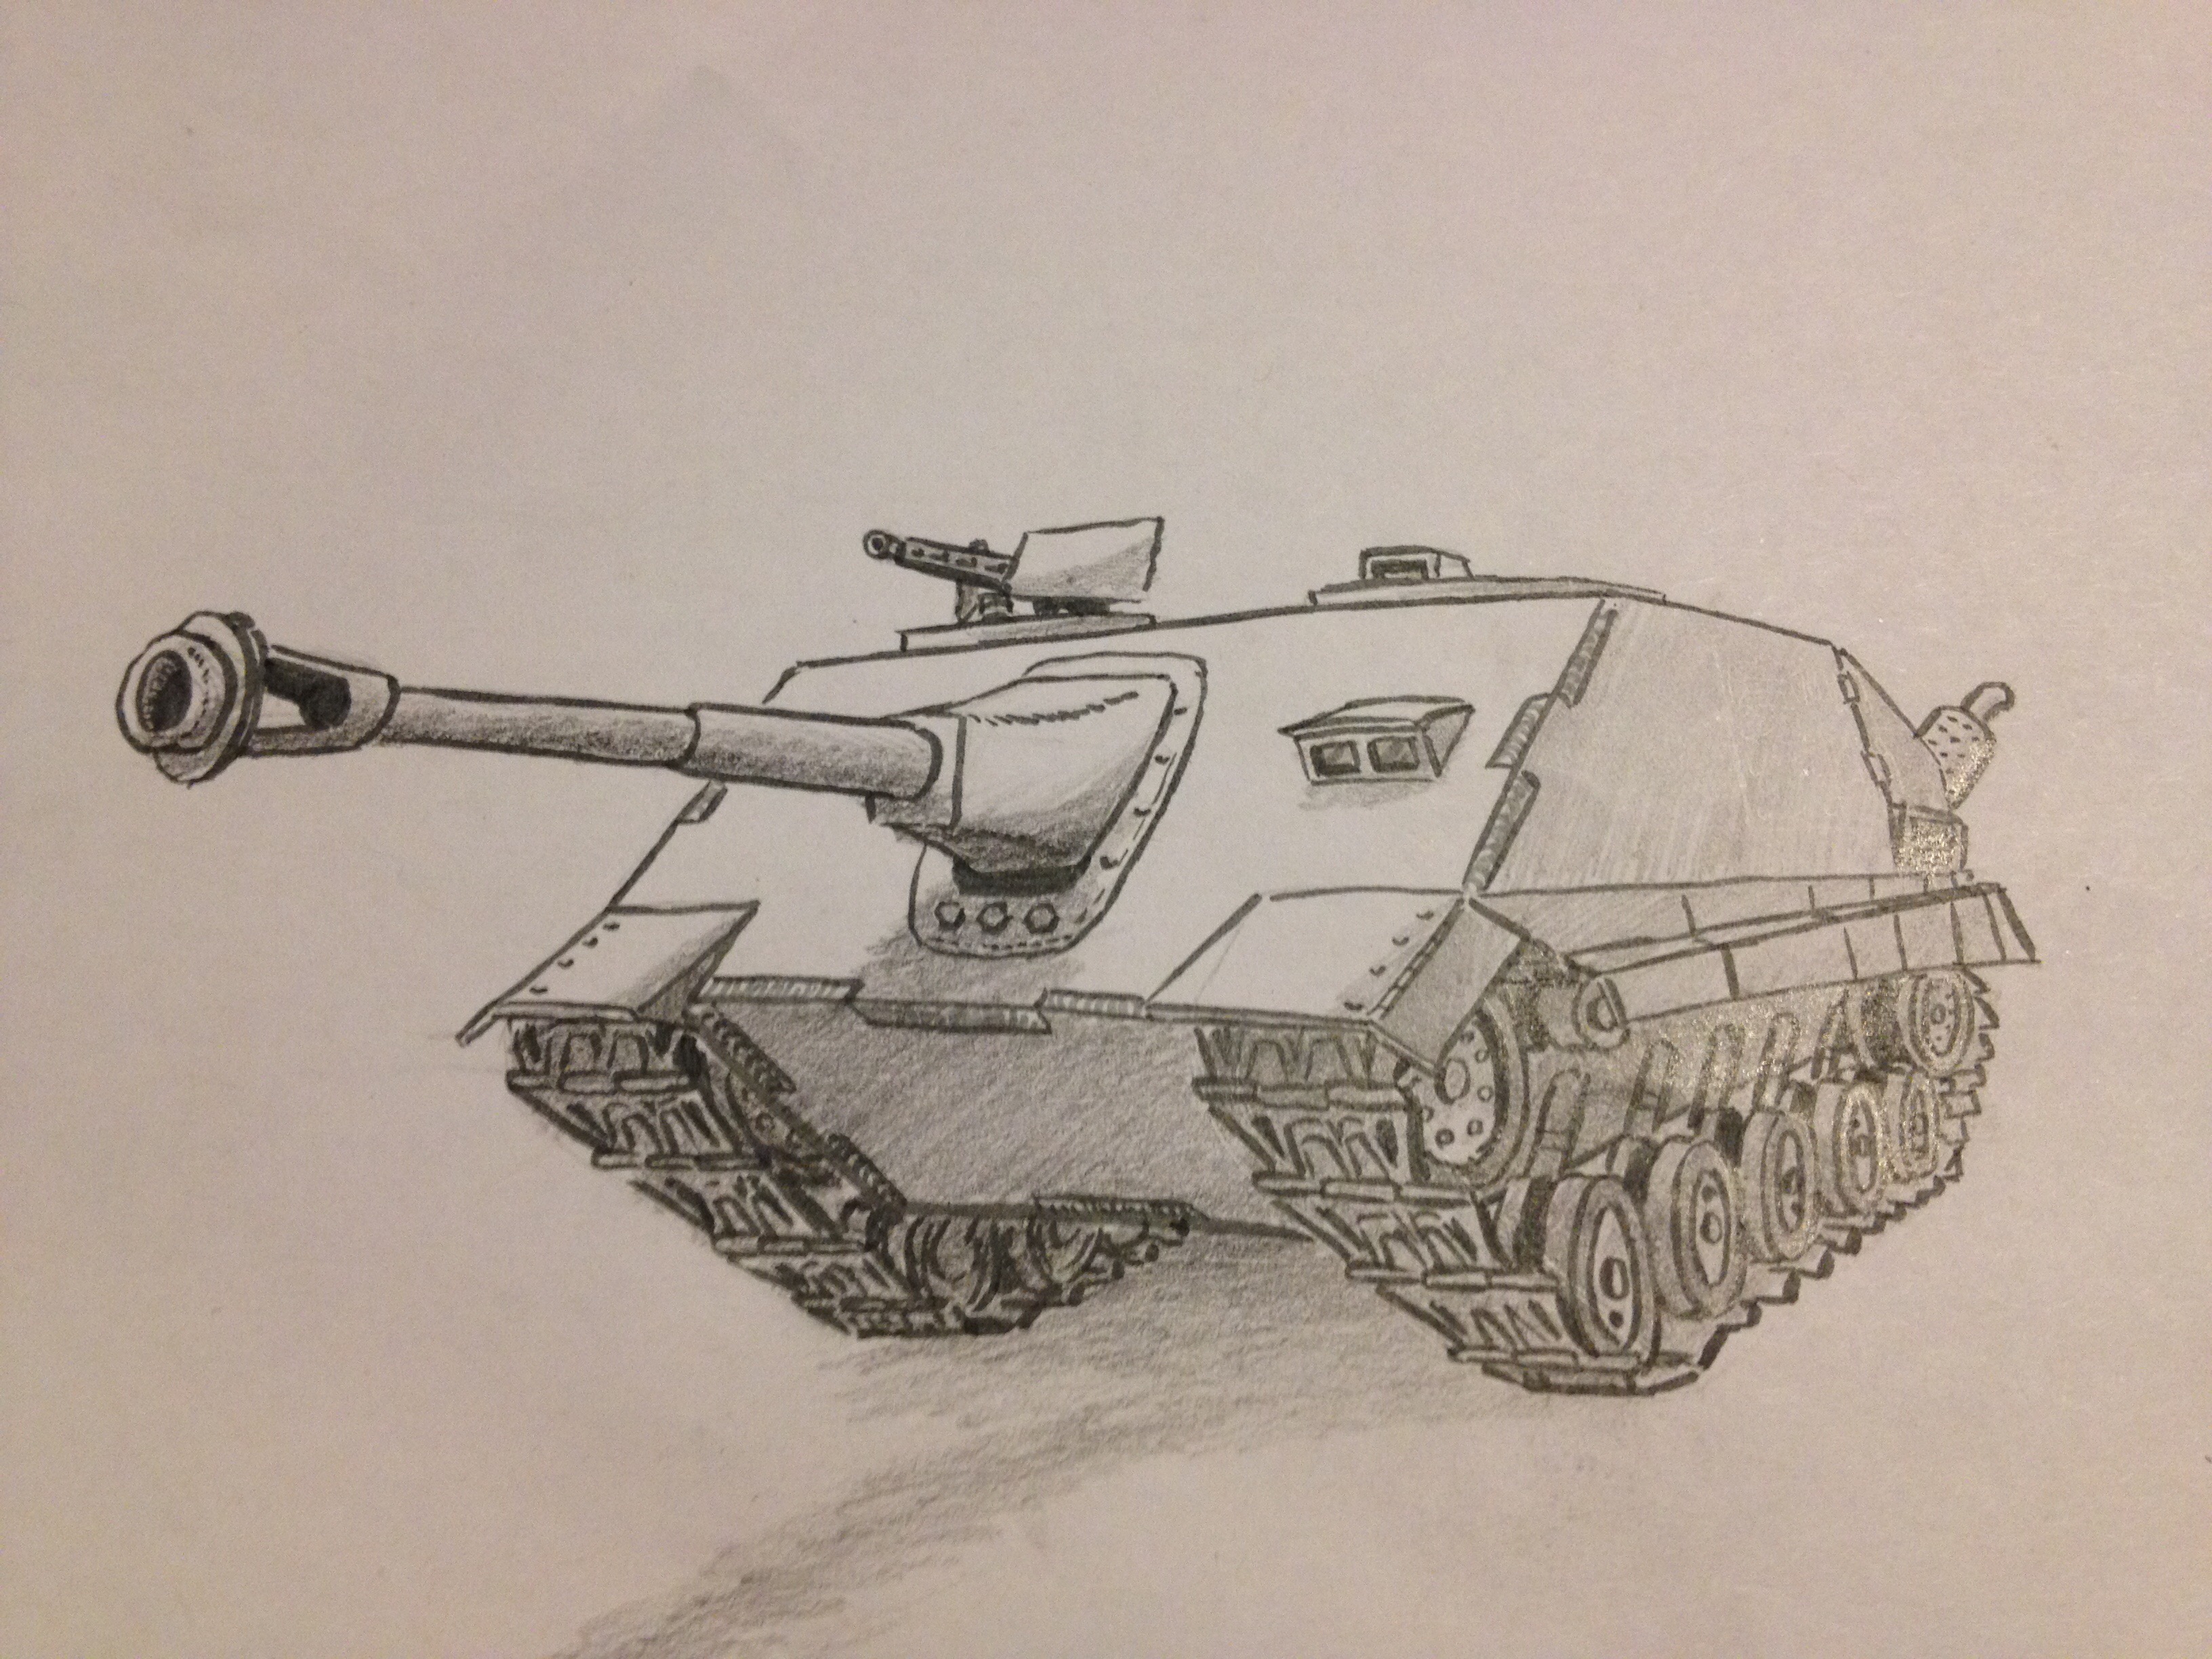
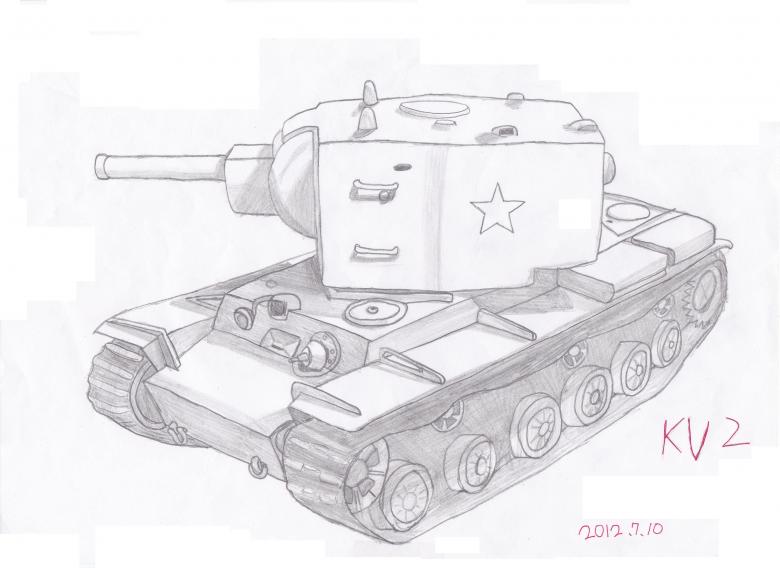
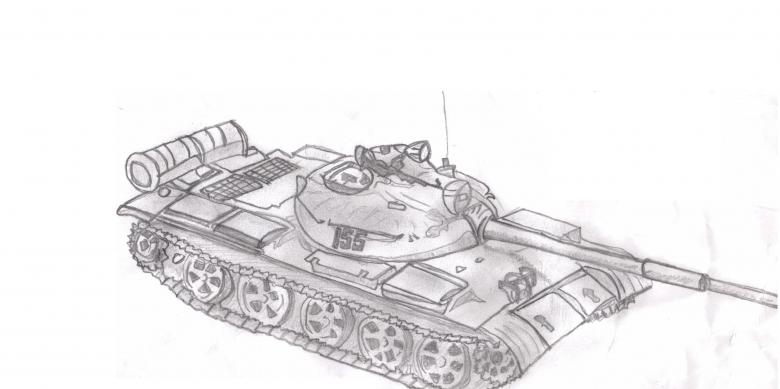
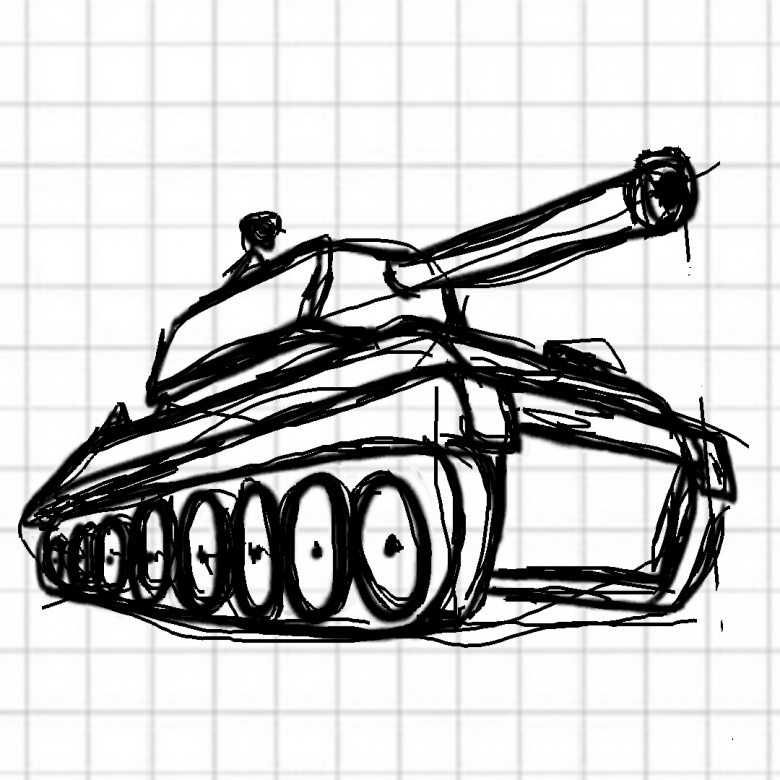
Pictures for drawing a tank in pencil