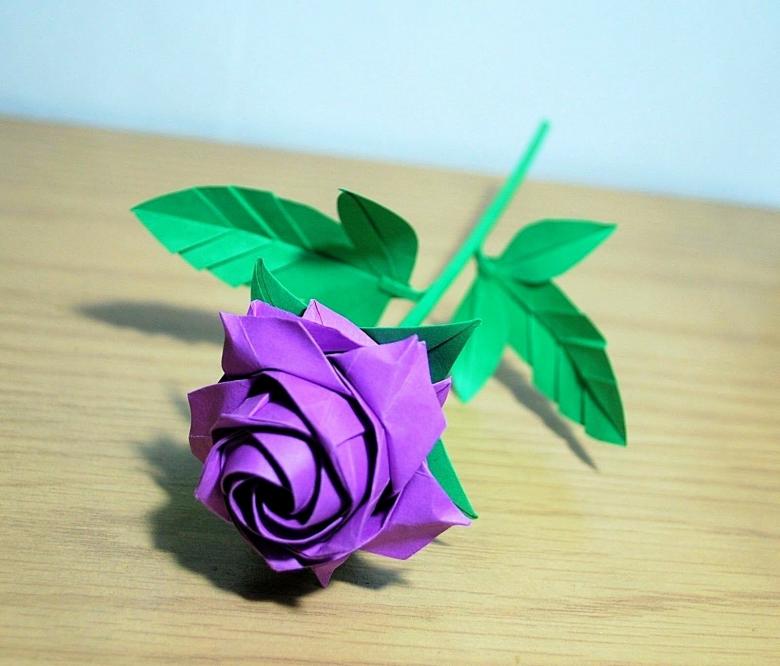
How to make origami rose - assembly diagrams for beginners and ideas for their application
Rose - the most symbol of eternal love, beauty, femininity and sensuality. She is not just attributed the title of "Queen of Flowers". Legend has it that the goddess Aphrodite, coming out of the sea, left behind a string of white roses, and when she ran to her lover in a grove, it hurt her leg and white roses turned scarlet.

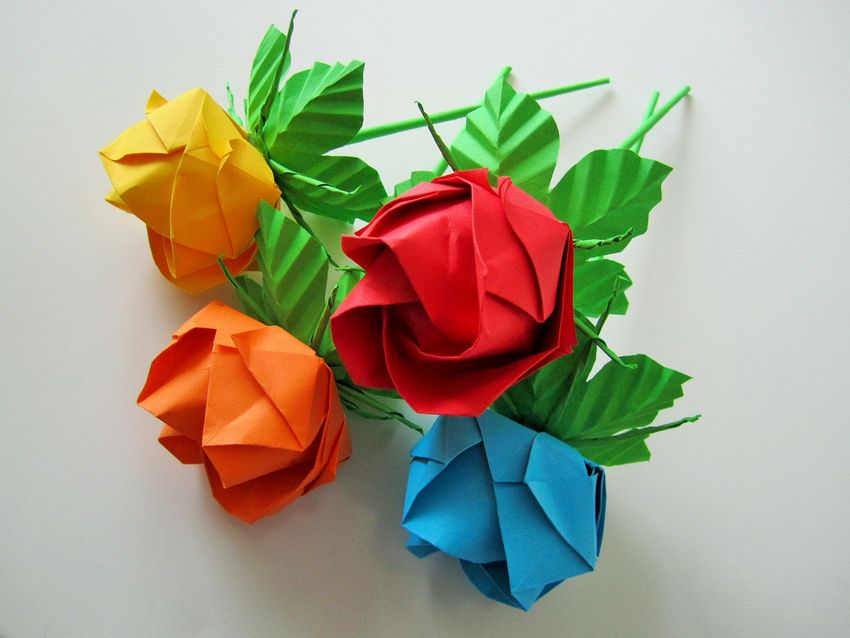
Nowadays, to decorate your home with these beautiful flowers, you don't have to injure yourself or embark on a sea voyage. Roses can be bought or made from a stack of colored napkins. And this bouquet will please the eye at any time of the year.

Roses from paper and napkins
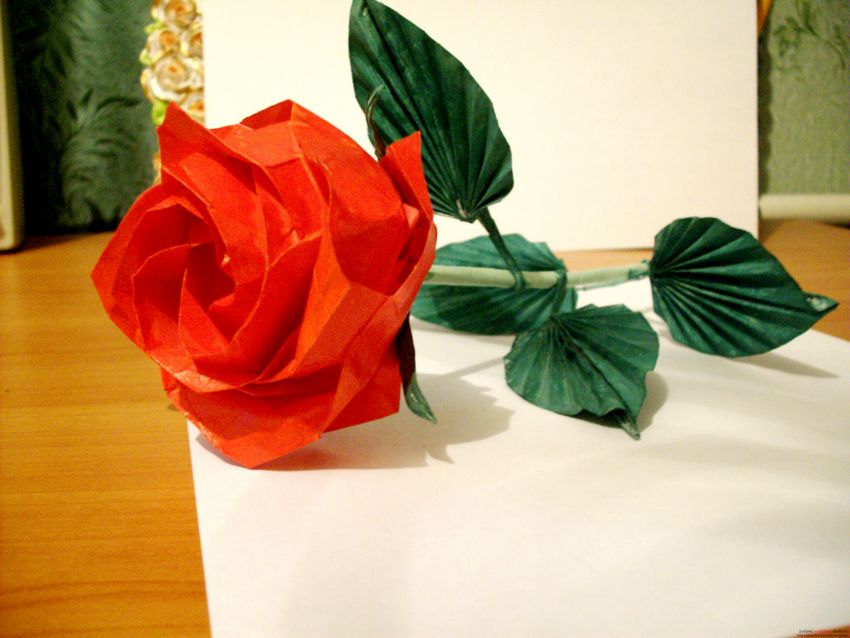
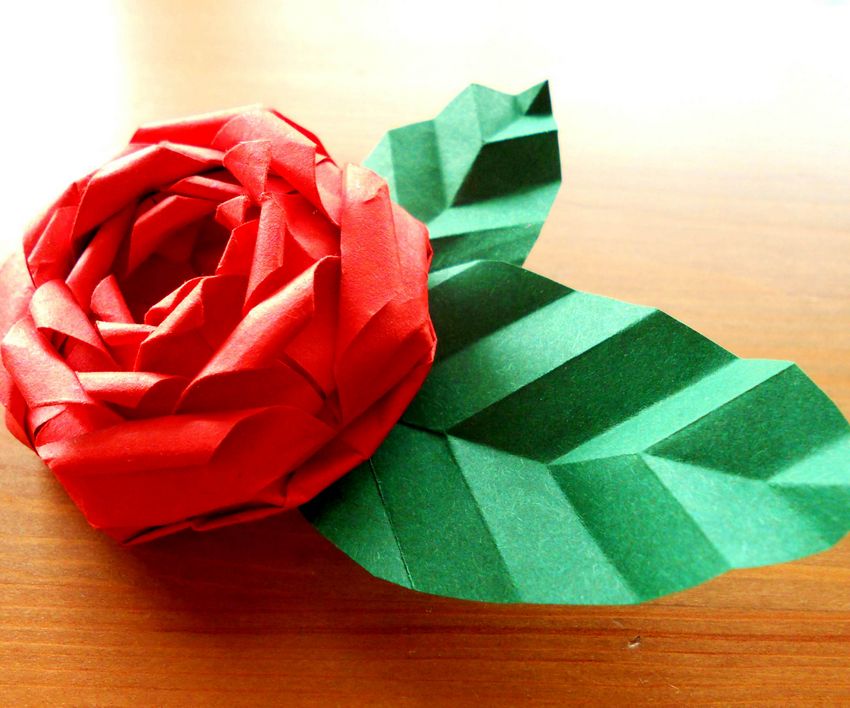
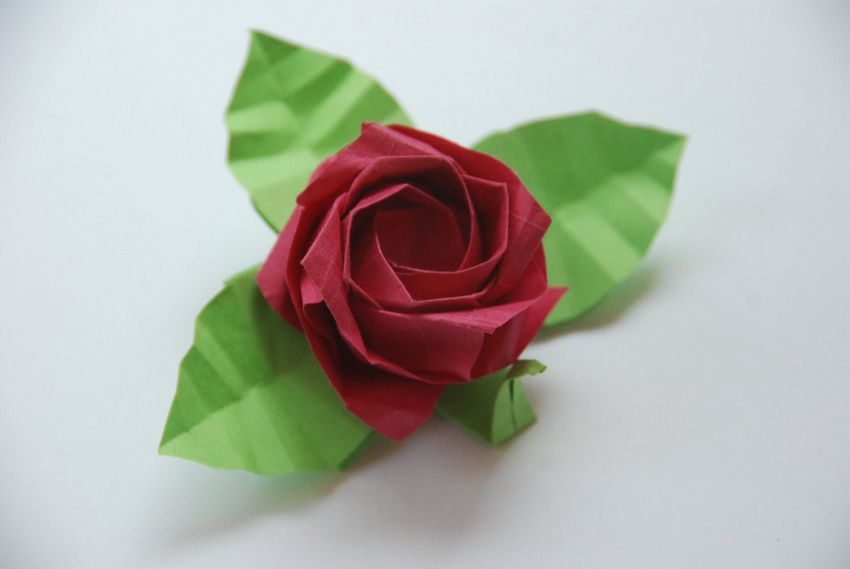
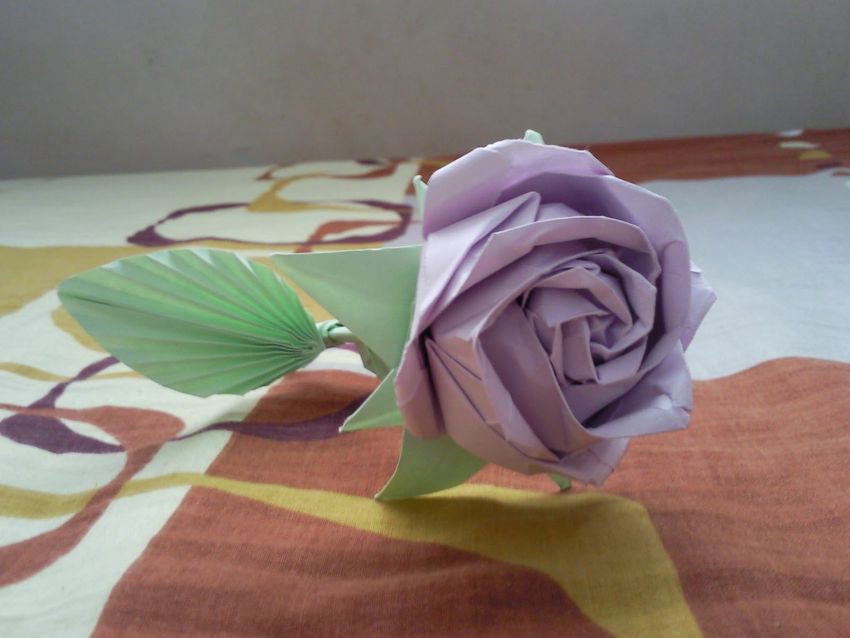
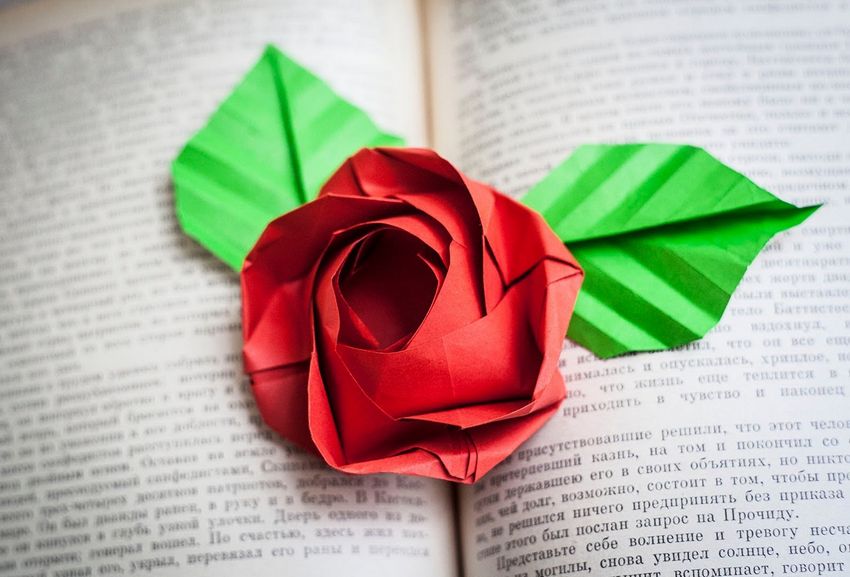
Origami roses from paper - a delicate and beautiful decoration for the house and a good original gift. The flower can be attached to the package, as a supplement, and you can make and present a whole bouquet.
The craft provides a very simple technique, and the materials for it can be collected from the means at hand. Paper roses will give the house warmth and a festive spring mood.

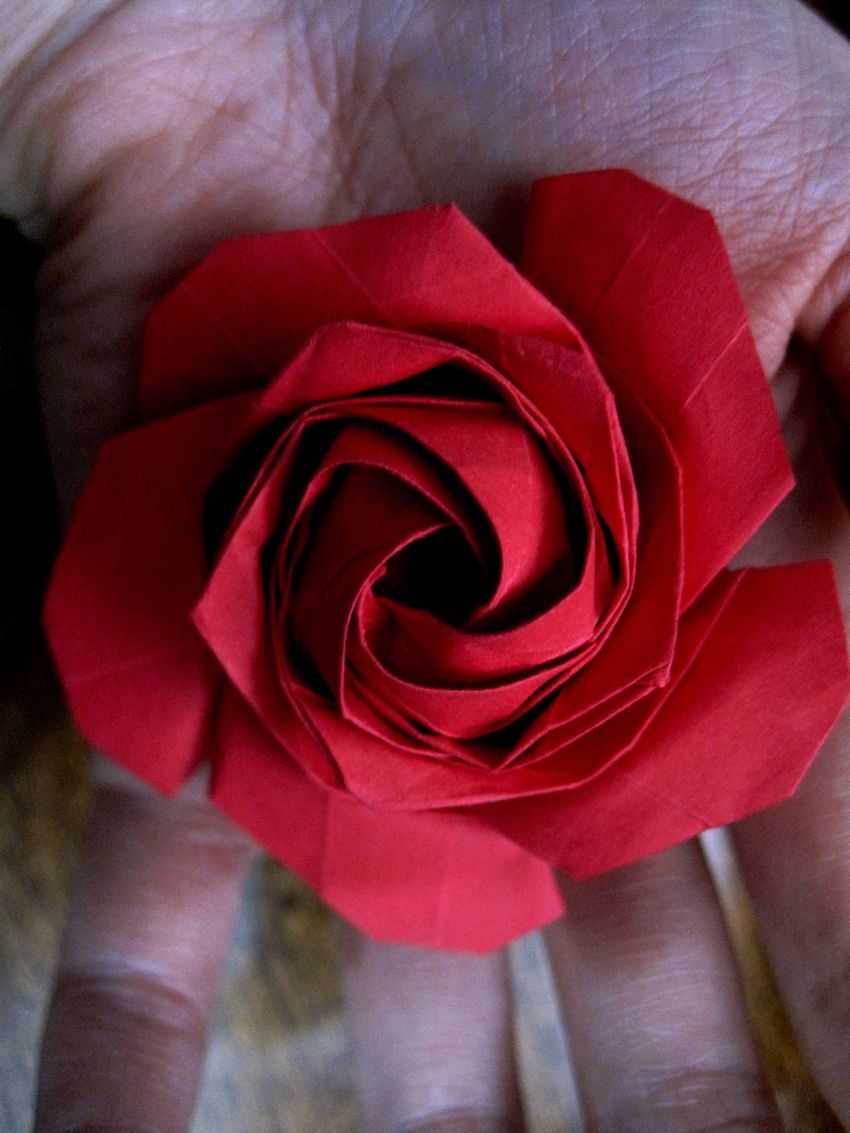
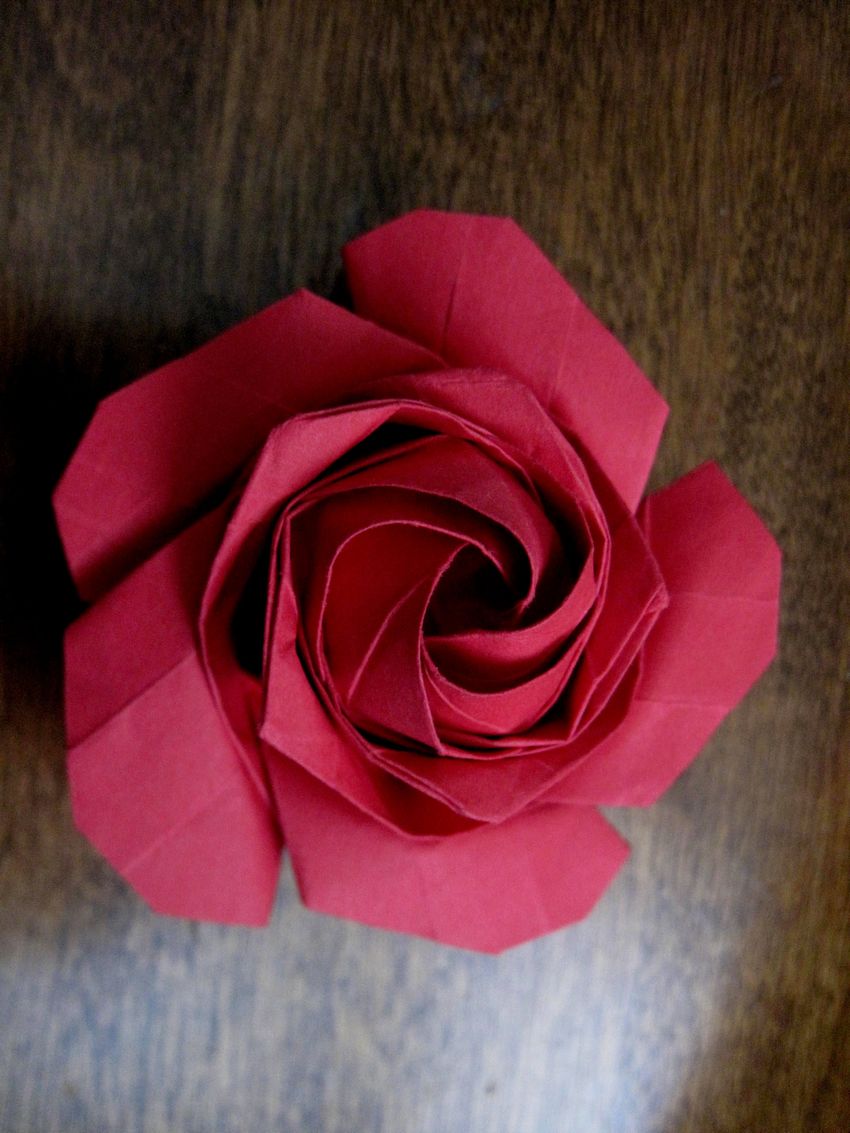
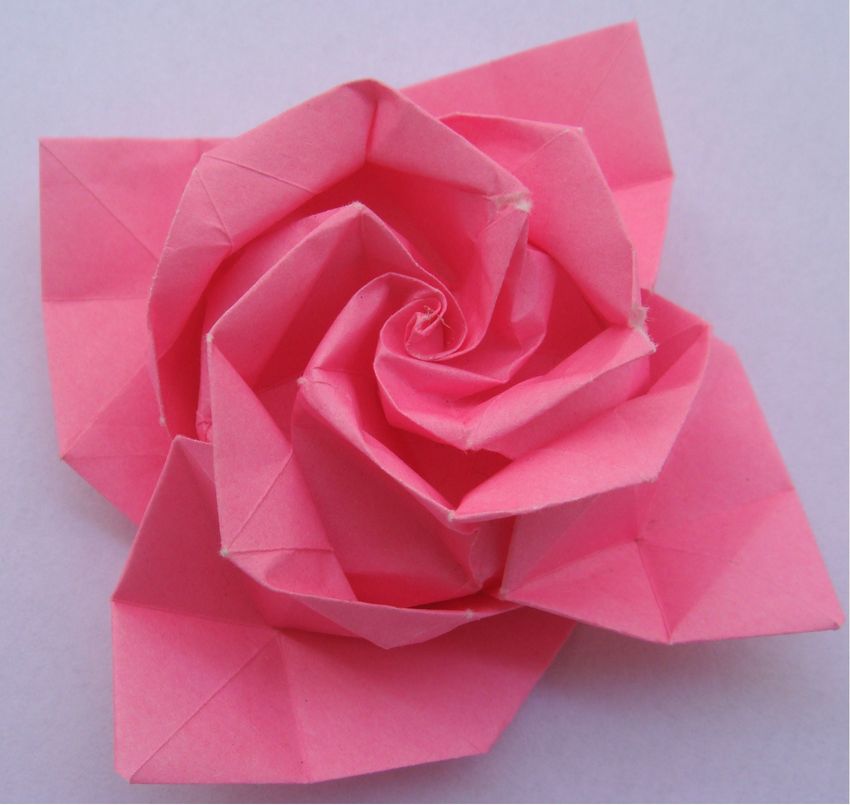
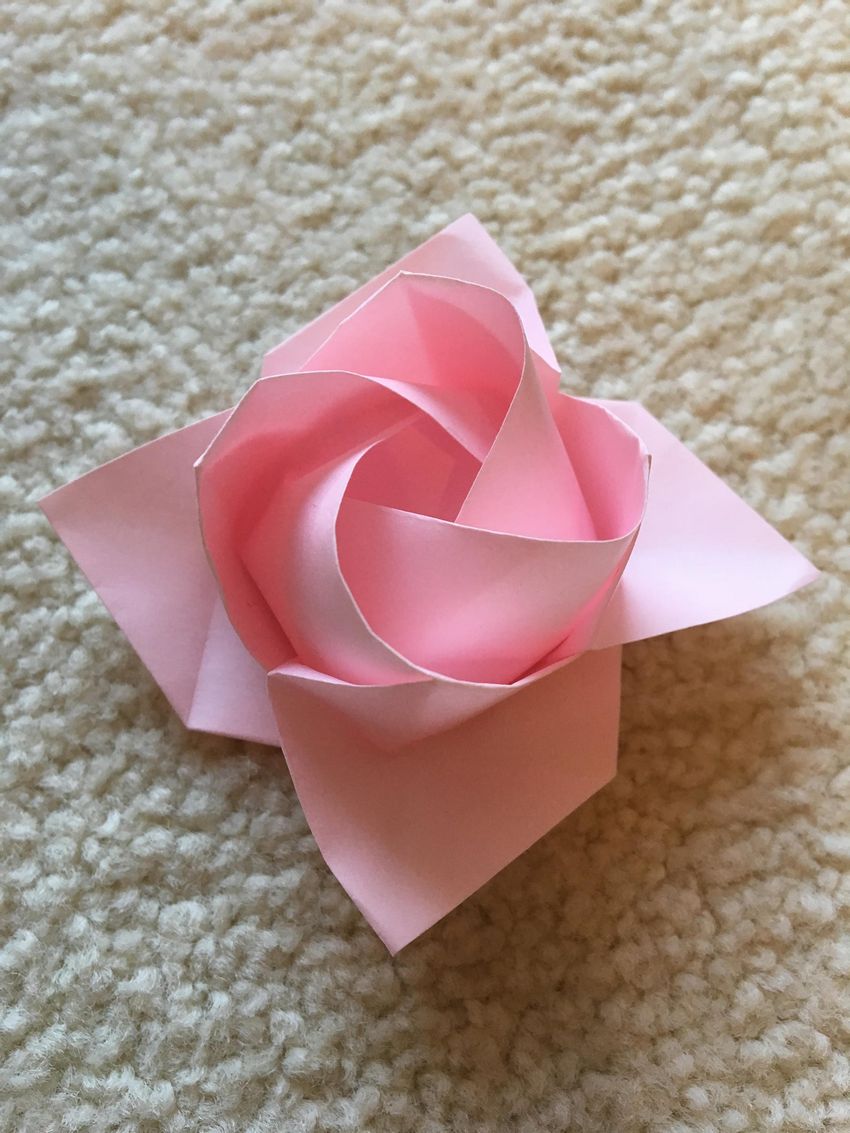
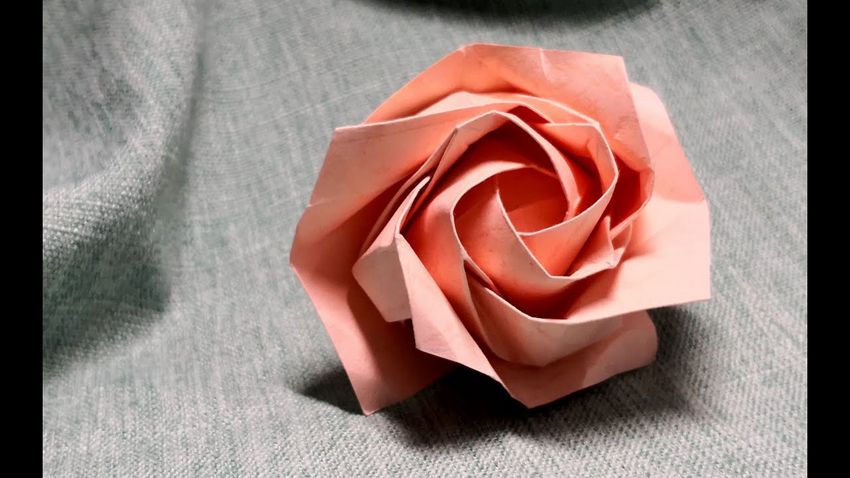
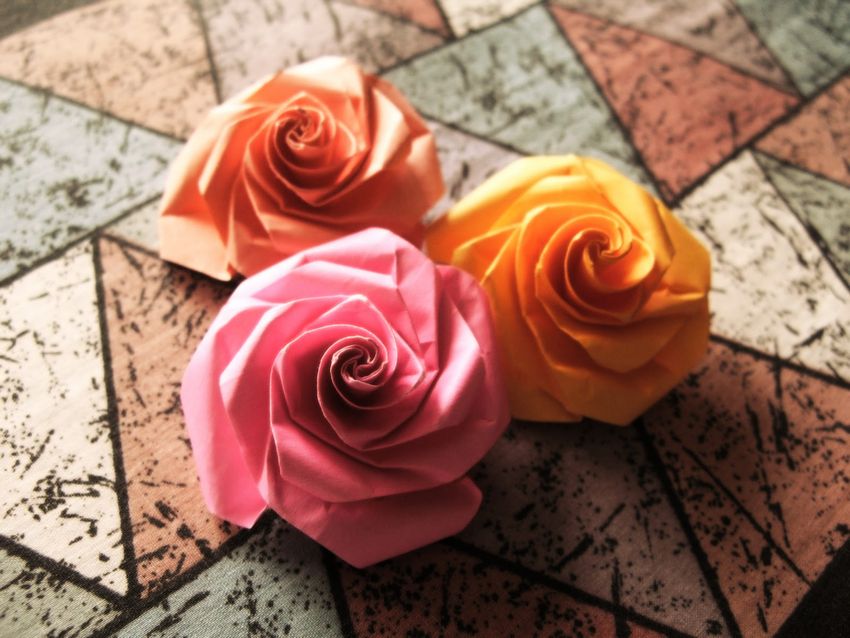
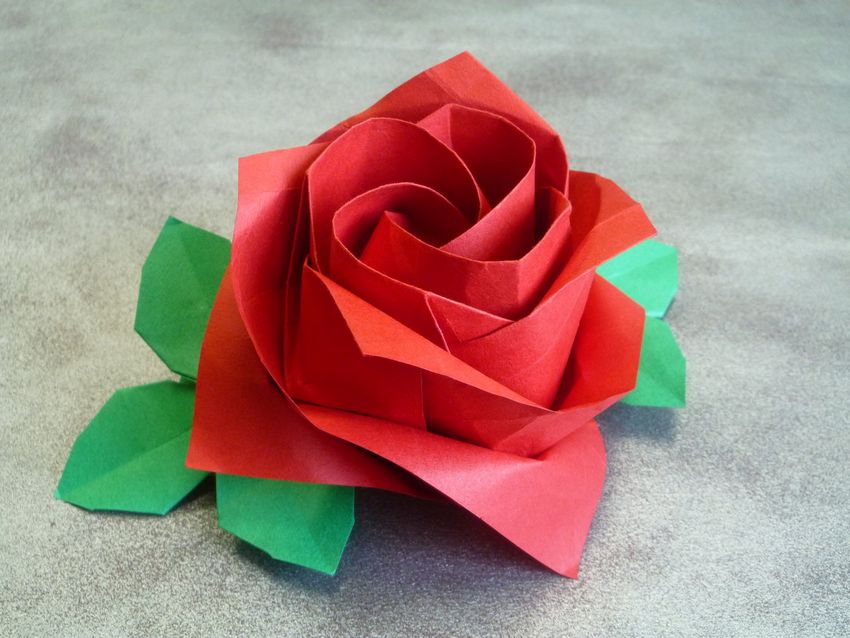
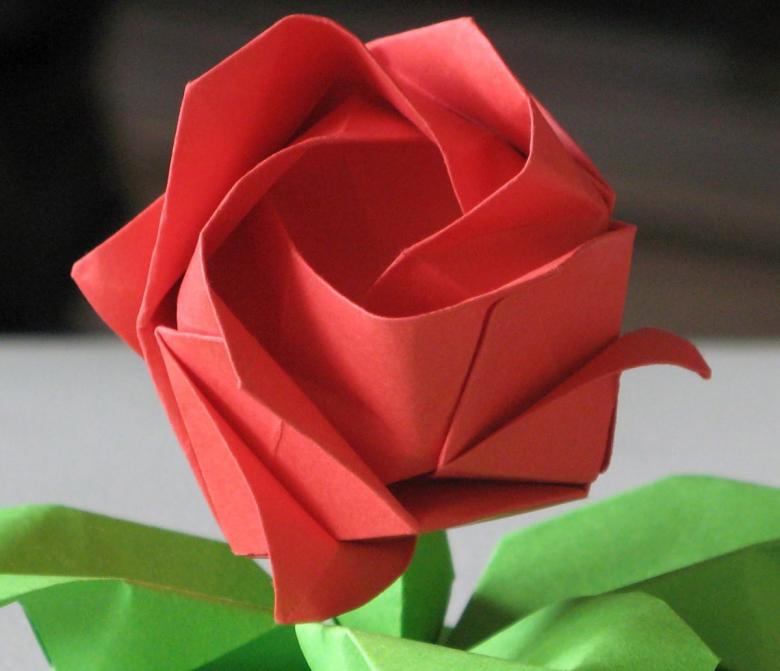
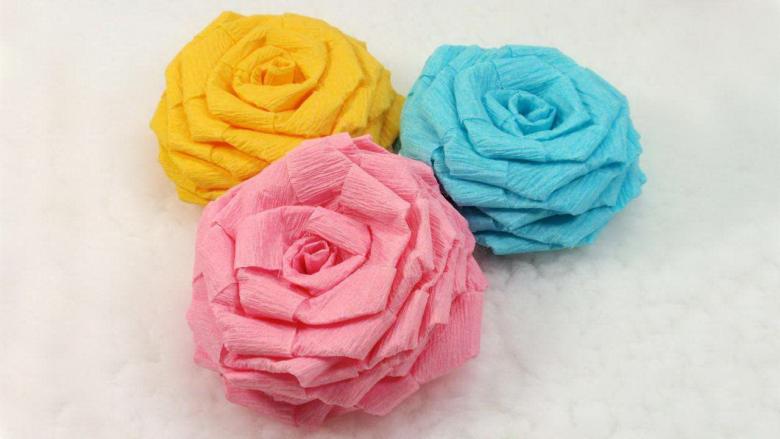
Paper spiral rose
This is one of the most uncomplicated options for paper roses with detailed step-by-step instructions.
What you will need:
- Tight colored paper in any colors
- A basic pencil
- Small scissors for cutting
- Glue stick

Step by step instructions:
The diameter of the flower can be made any way you want. If a whole bouquet is planned, it is better to use circles of different diameters and colors. For a classic color - from white, delicate pink to scarlet or burgundy.

To begin, you will need a circle, which must first be cut out of rectangular sheets.
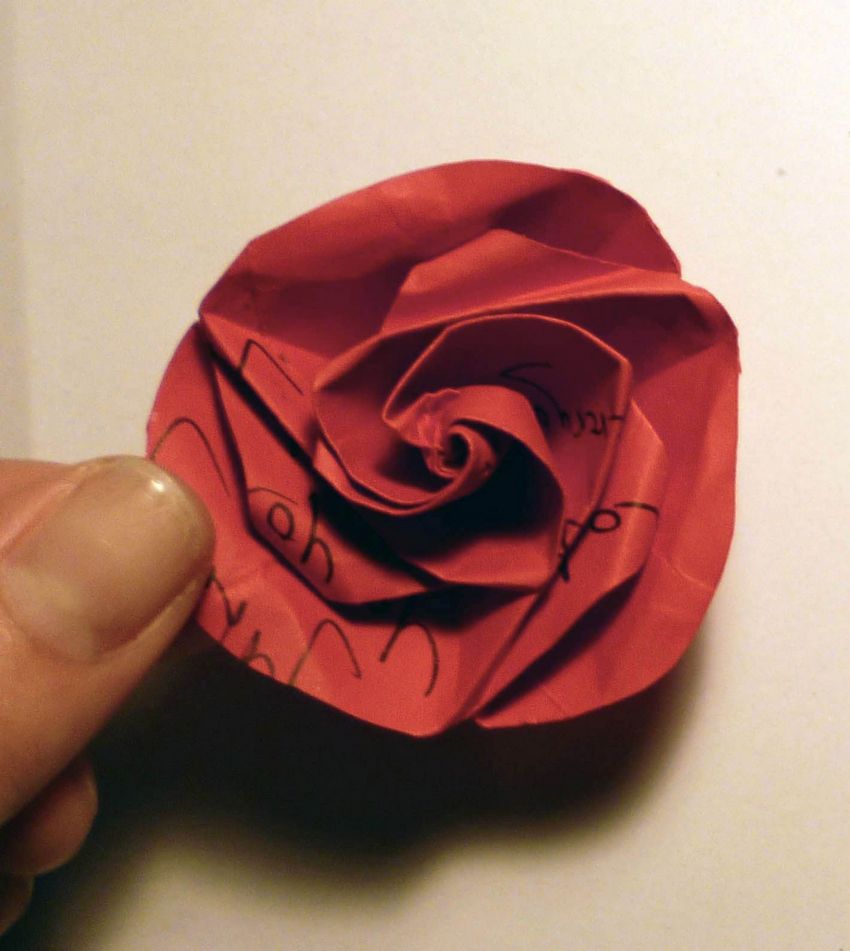
- Pencil inside the base to trace a spiral, it is better that it does not repeat the shape of the circle, and was uneven and "wavy". The more wavy the line will be, the more interesting the flower will be.
- From the outer edge of the scissors to cut the resulting line, twist a flower or bud.
- Glue the petals inside the rose, so the handicraft will not diverge and hold the desired shape.
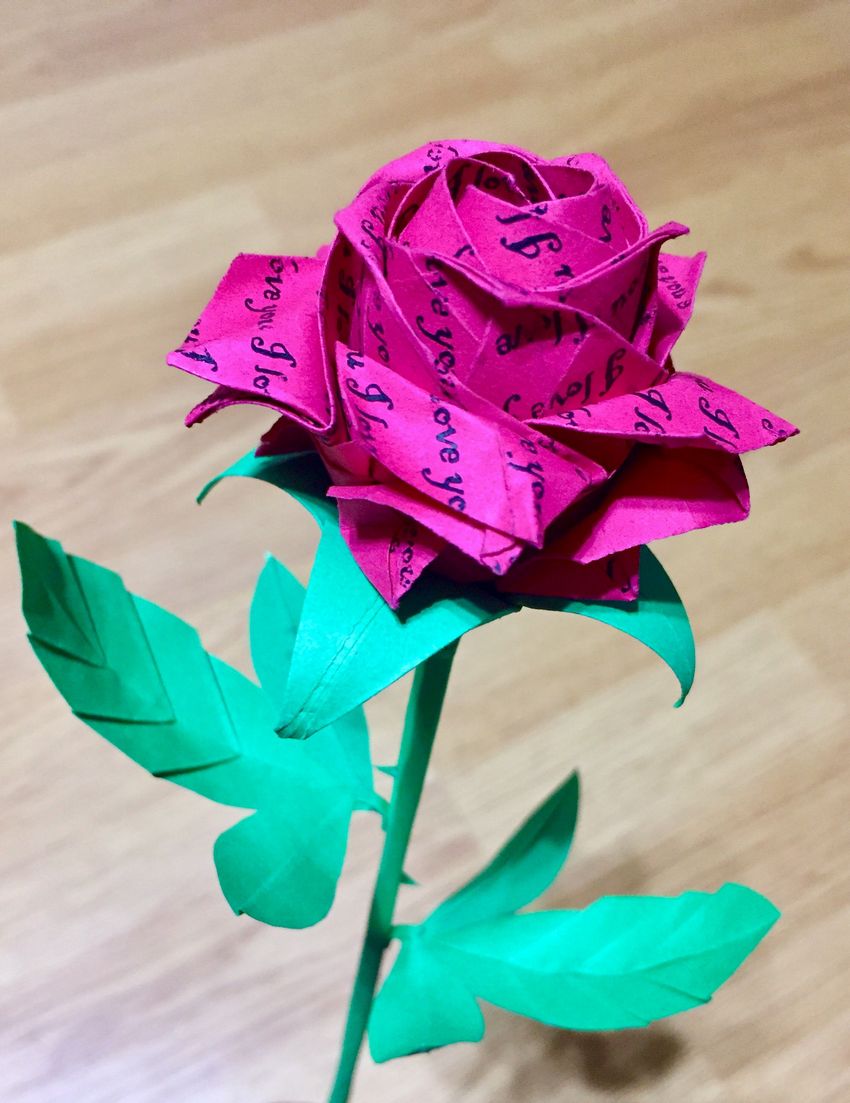
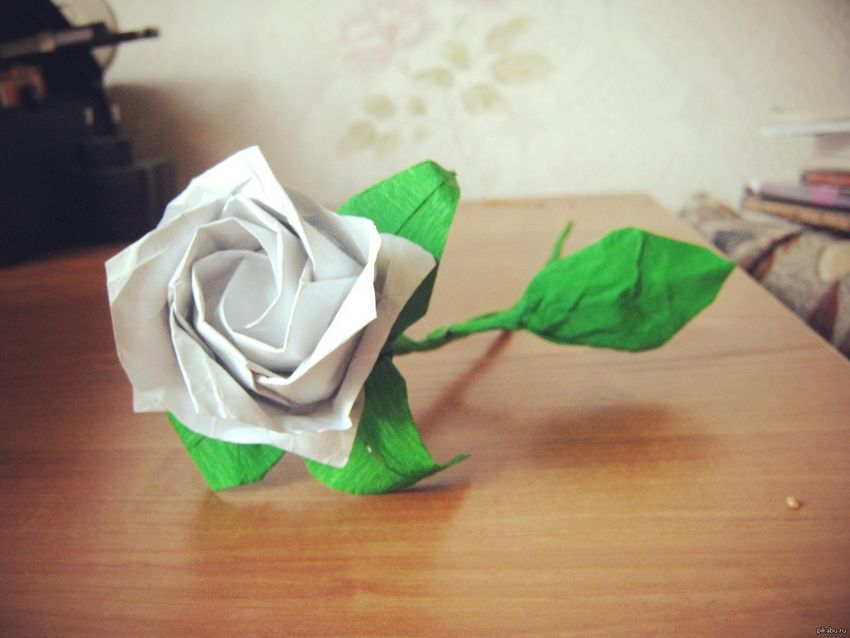
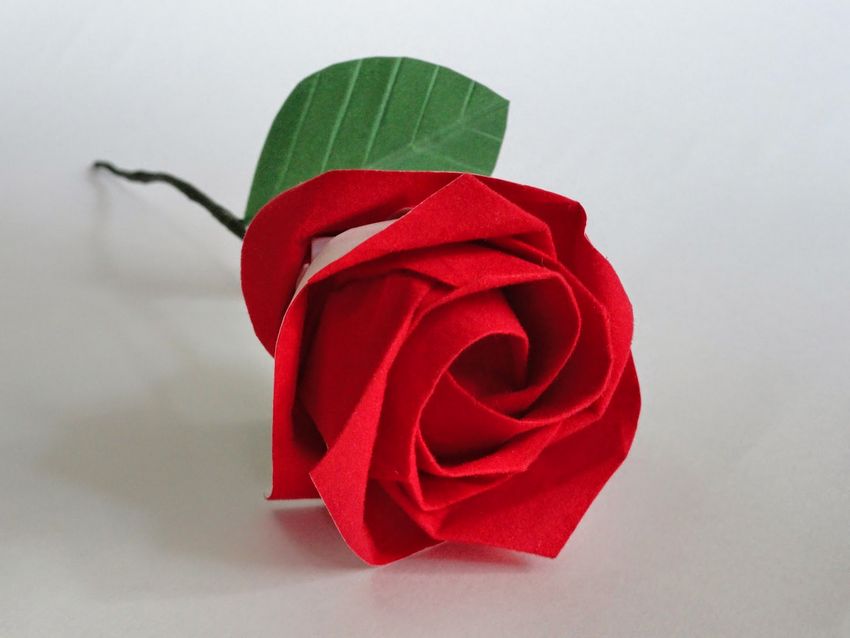
- Allow the product to dry a little. For the stem, you can use any natural twig, wire wrapped with ribbon or paper, foil or a straw for drinks. For leaves suit colored green paper or neatly folded ribbon.
- Origami rose paper is ready. If you can not find colored sheets, you can paint the rose in any desired color with gouache or watercolor.

And for a special charm and naturalness - sequins, small transparent beads or drops of glue to depict the gloss of the petals or dewdrops.
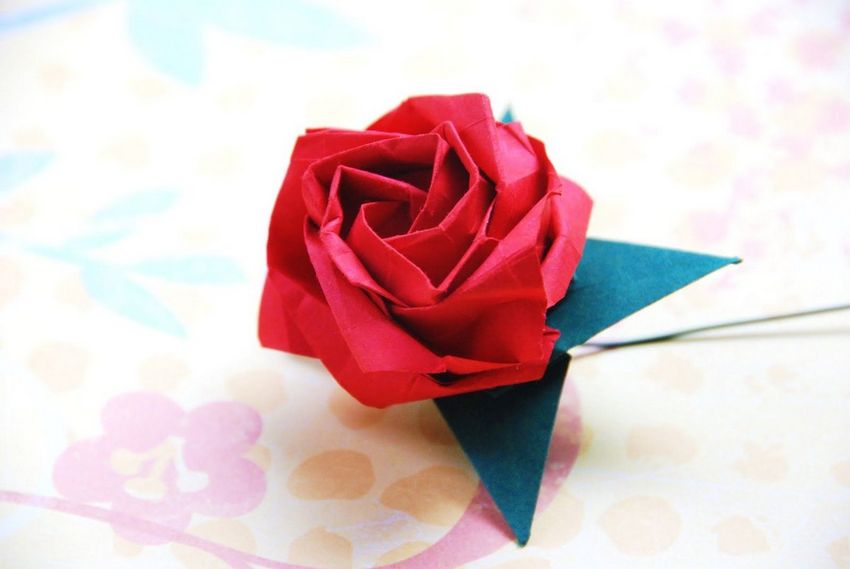
The graceful paper rose is ready.
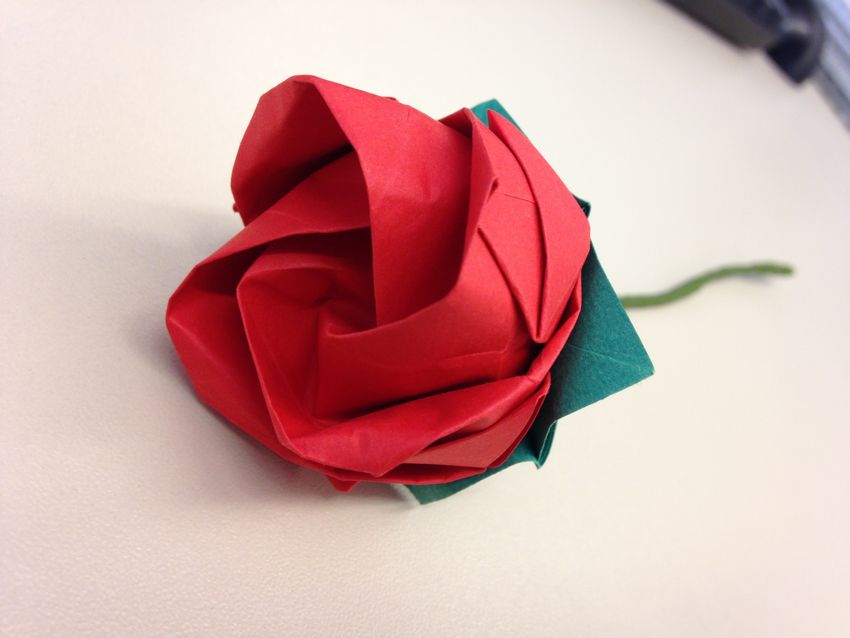
Tissue Rose
Who was the first author who thought of folding a napkin in this way - is unknown. Legends say that this man is Steven Voyssa, about whom, besides the wonderful invention of the paper rose, little is known.
Origami napkin rose has a simple scheme and is quite simple. You need to take into account that the napkin is thinner and softer than paper, so you need to be careful when working not to tear the fragile flower.
What you will need:
- A single-colored napkin, folded 4 times (this is the primary form of it, as in the package). It should be thick and large enough to create a beautiful craft. Often "double" thick napkins are sold for table decorations, and these will work best.
- A regular pencil or straw. The main thing is something long, but smaller than the size of the napkin to form the base for the rose.
Work Steps:
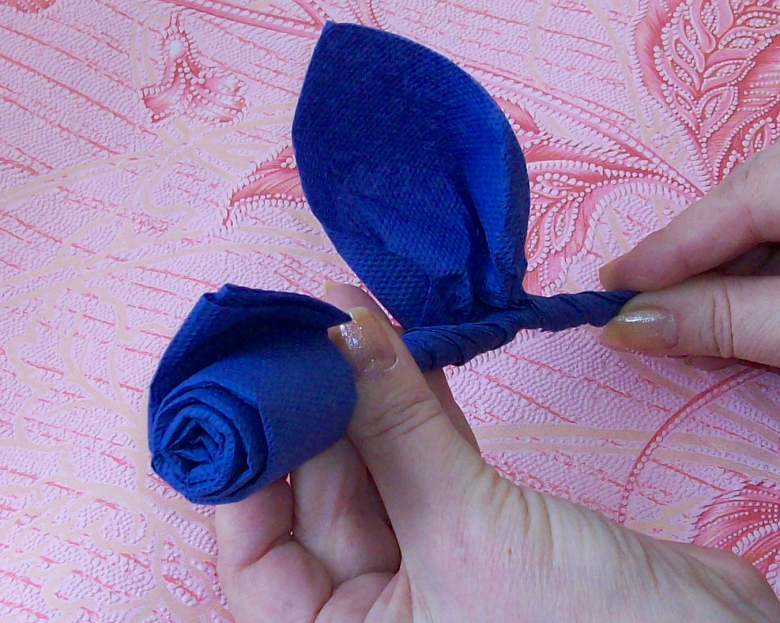
- Fold one side of the napkin 1 to 1.5 centimeters and wind it on a pencil or straw. Napkin does not need to wind very tightly, as the rose will be very small and not fluffy in this case, if twist freely - the flower will be voluminous and beautiful. The bent edge is the core, it should be at the base of the pencil.
- Should turn out a cylinder or tube. Measure the length of the bud and clamp at the point where the twig ends and the bud itself begins.
- The twig should be twisted in a spiral. If you want it to be more stable - you need to use a wire. It can wrap the stem and fasten it at the base of the rose out of a napkin.
- The last step is to give the flower its shape. Press the pre-bent core between your fingers and gently twist the napkin in a spiral, making it look like petals. The more "petals" are deflected from the middle, the more lush the rose will appear.
- The stem should be well rolled up, and the remaining edge can be decorated as a leaf.
A delicate rose from a napkin is ready!
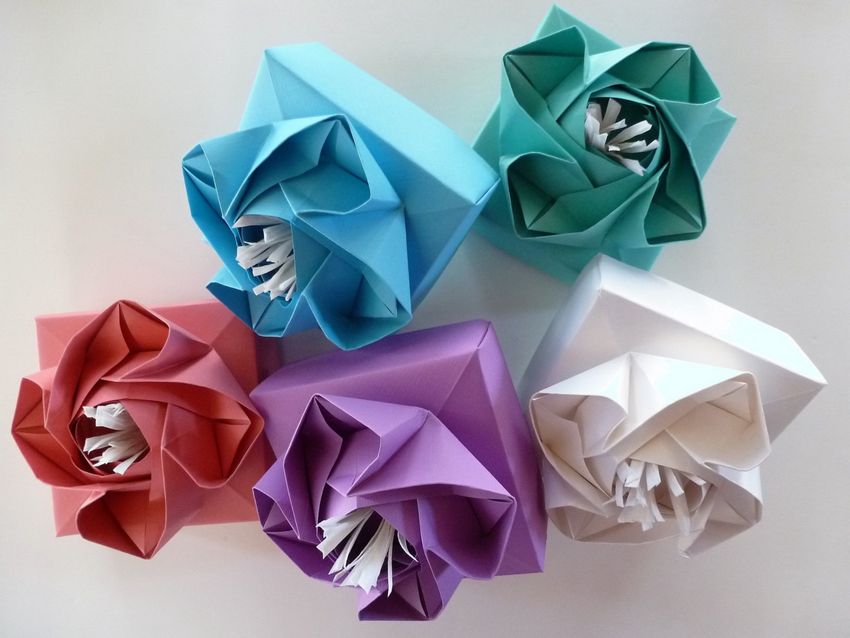
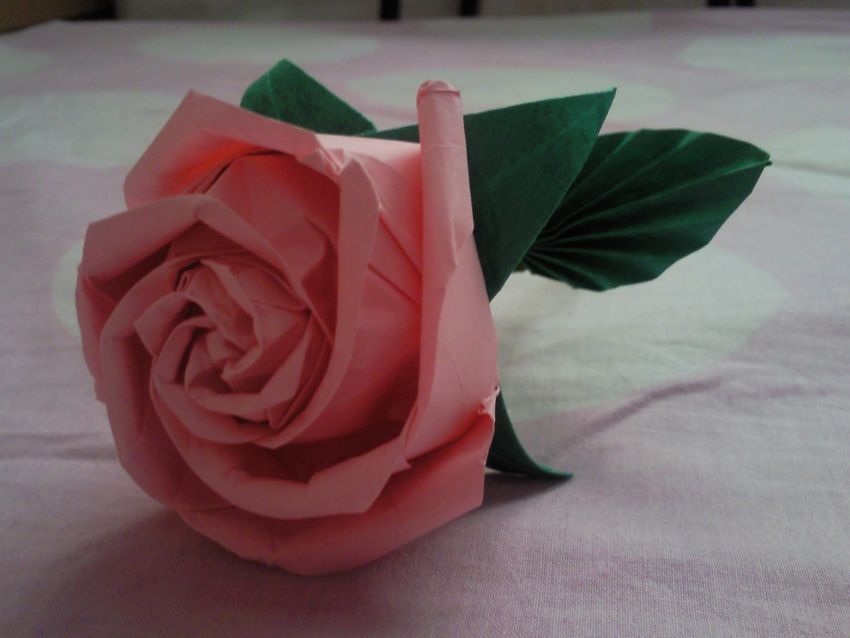
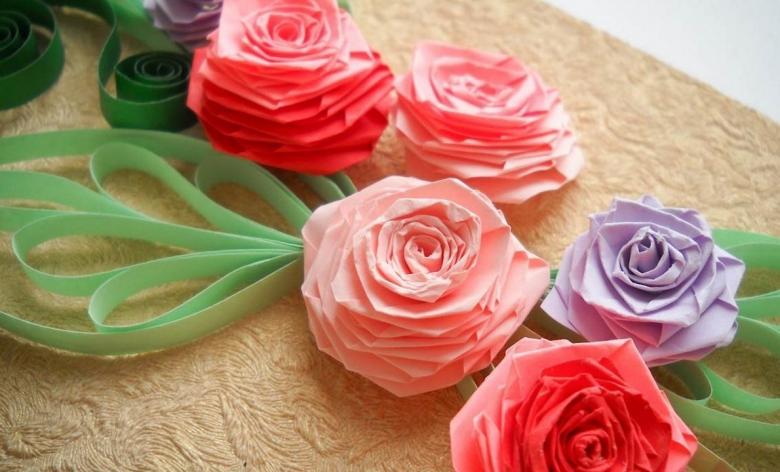
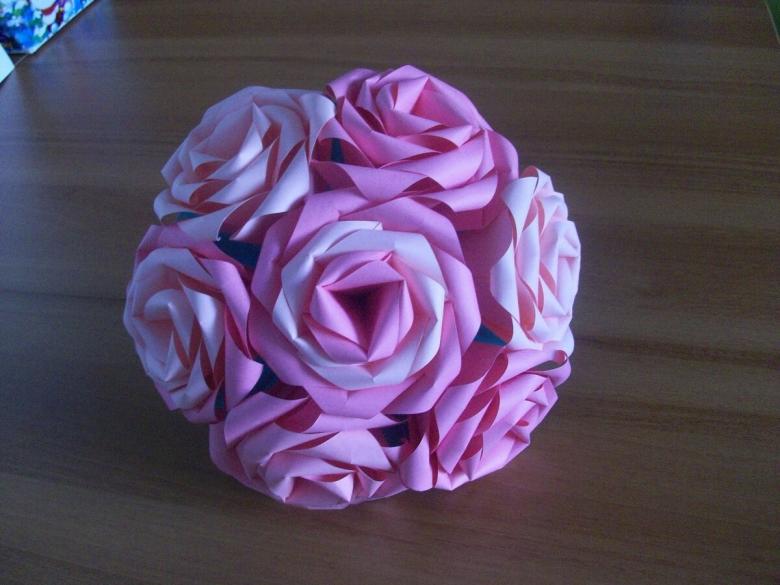
Pink napkin bouquet
Creating a paper napkin bouquet using these instructions is very easy.
What you will need:
- 5-7 colored napkins for a large bouquet.
- 5-7 yellow napkins for the core of the rose.
- A lead pencil
- A wire stick, or better still a thin braid
- Glue
- Green ribbon or napkin.

Work steps:
- Unfold the colored napkin and cut it with scissors into equal squares, preferably along folded lines beforehand.
- Each square to twist on a stick or pencil so that there was a "tail" of 2-3 centimeters. It then will need to tie a twig.
- Twisted twist pile shift fingers to get an accordion. So do with each napkin.
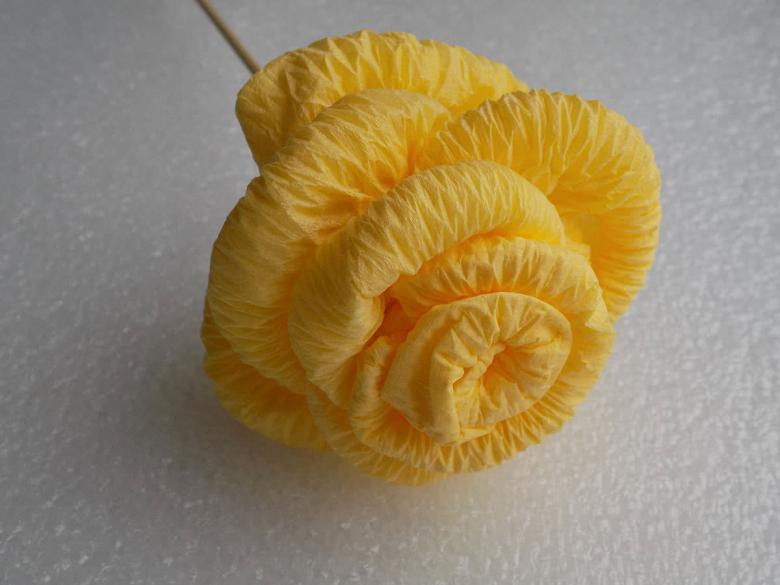
- Take a yellow napkin and crumple it tightly into a ball, this element is useful for forming the middle of the bud. Glue the core to the wire skewer. Allow to dry.
- Around the skewer and yellow ball wrap harmonica, four pieces is enough for one paper rose. Glue the remaining edge tightly to the stem.
- When the bouquet will be assembled, take a green ribbon or tissue and wrap the bare wire stems, at the same time you can form leaves, or make them separately, fix with glue and hide the ends under the stem.
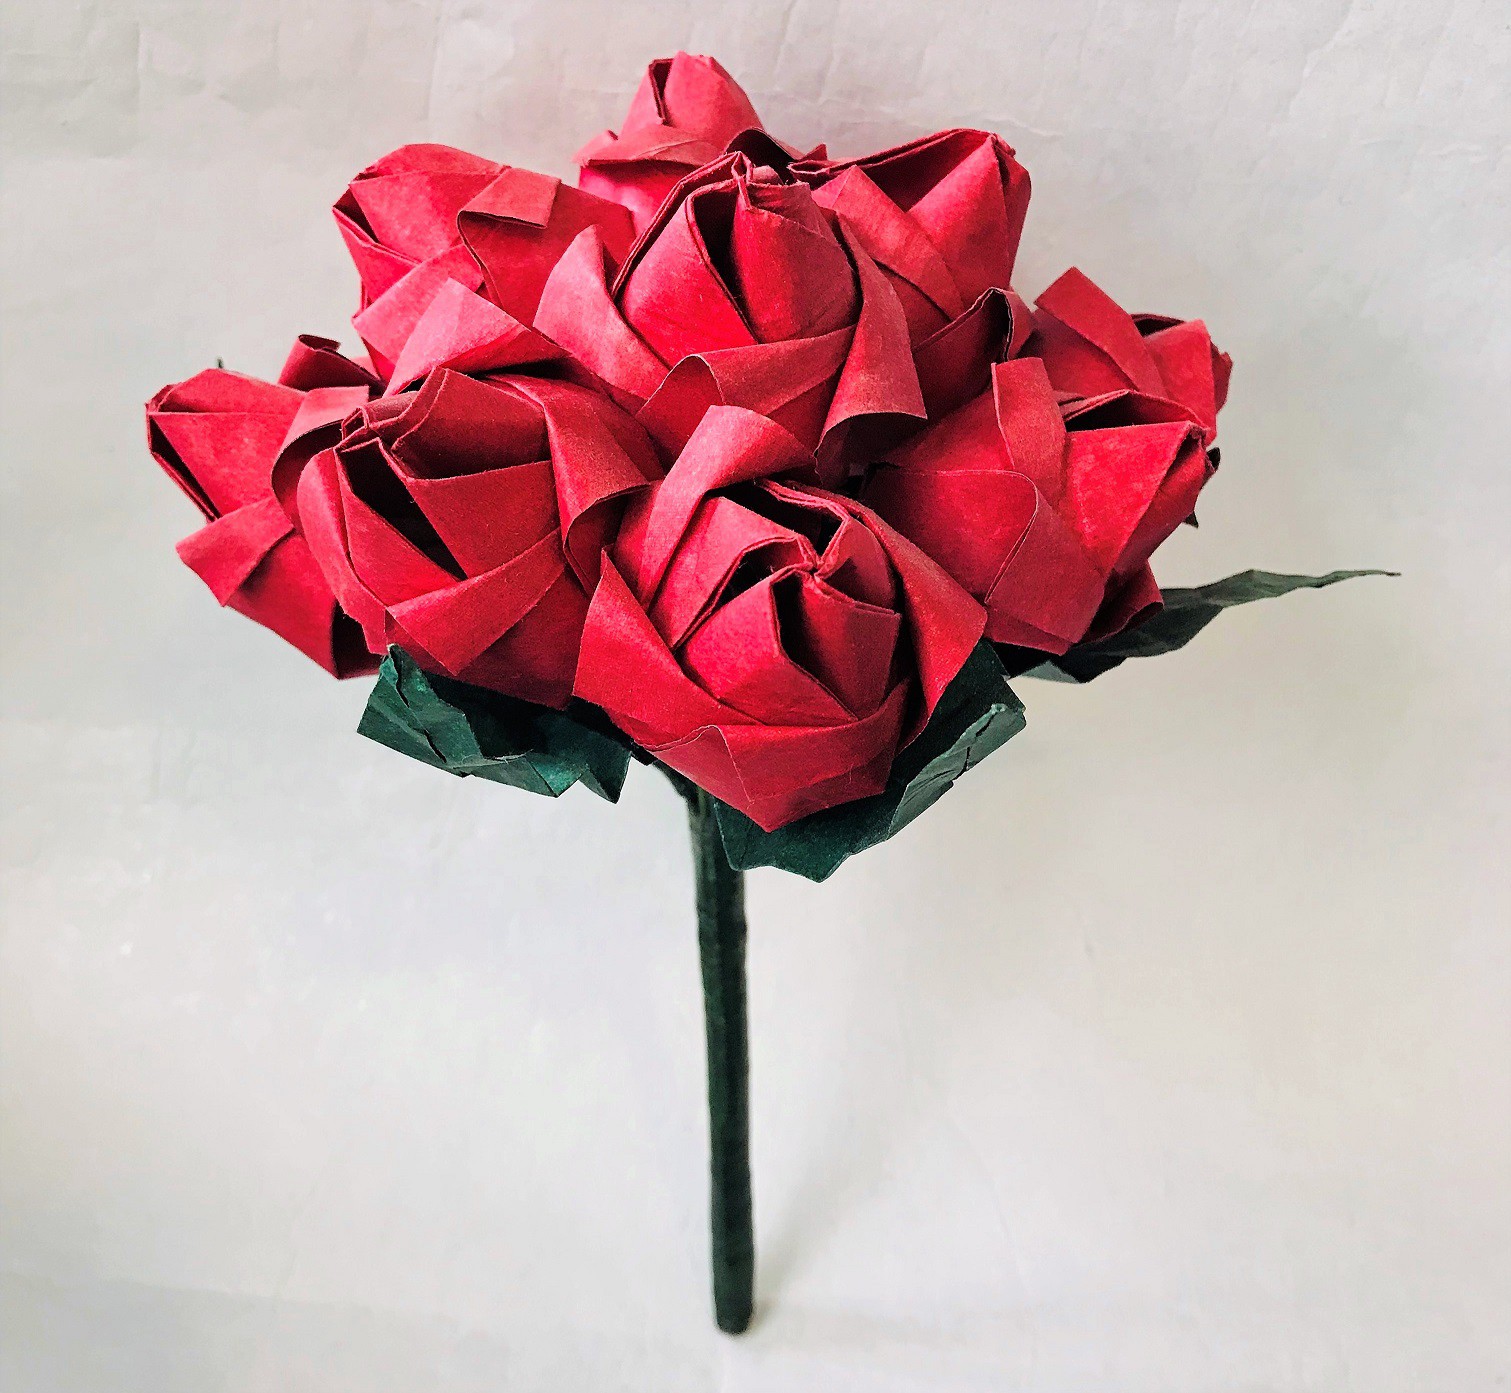
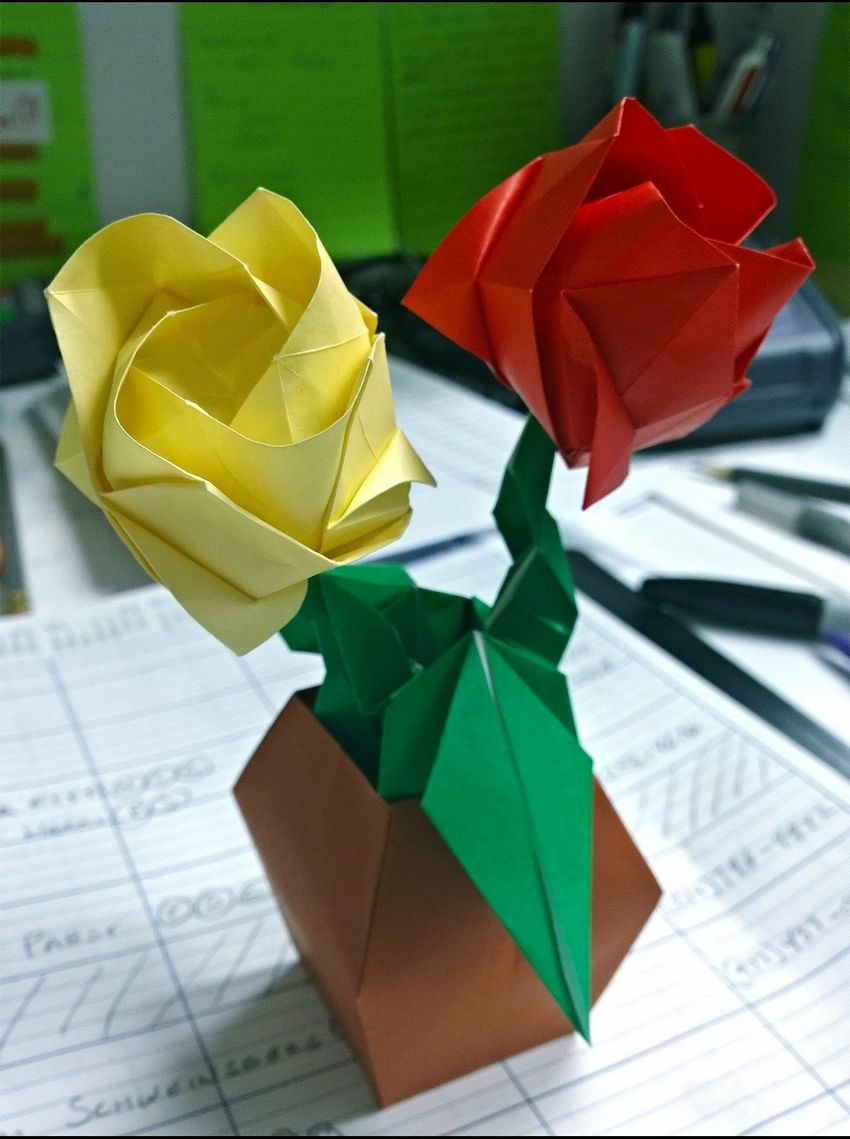
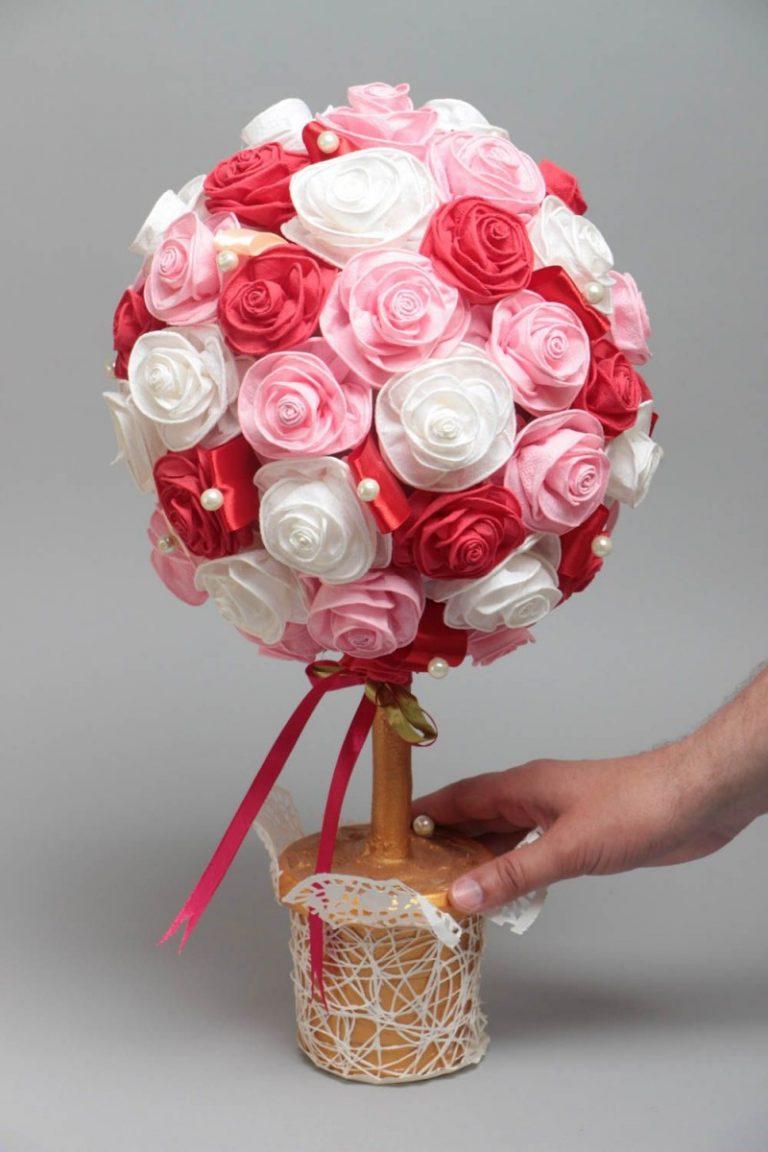
After making 5 -7 flowers, you can assemble them into a bouquet.

A beautiful bouquet for a gift or home decoration is ready and will long delight the owners of this handicraft. Napkins can be used in any color you like. And experiments with beads, ribbons, colored threads and various decorations (as far as the imagination plays), will make a unique decoration with your own hands.
There are a lot of decorative items, decorations and knick-knacks for the home in stores now. But most of these products are one-size-fits-all and simple, and designer items are expensive and very difficult to find on the shelves.

In turn, handmade crafts, a priori, are considered designer and individual, they are invested part and love of the creators.
Decorate the table with such roses from paper is always pleasant, it will fill the house with warmth and a spring mood.
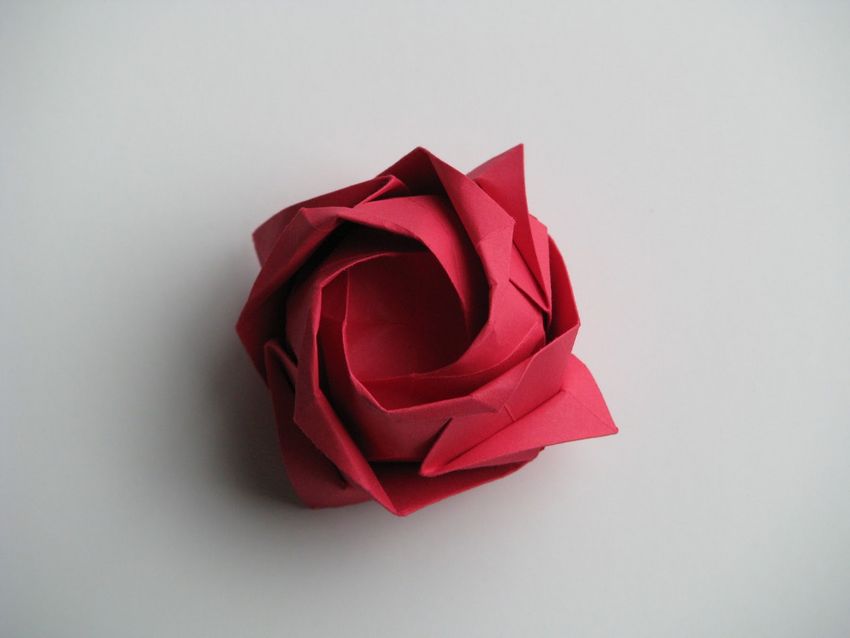
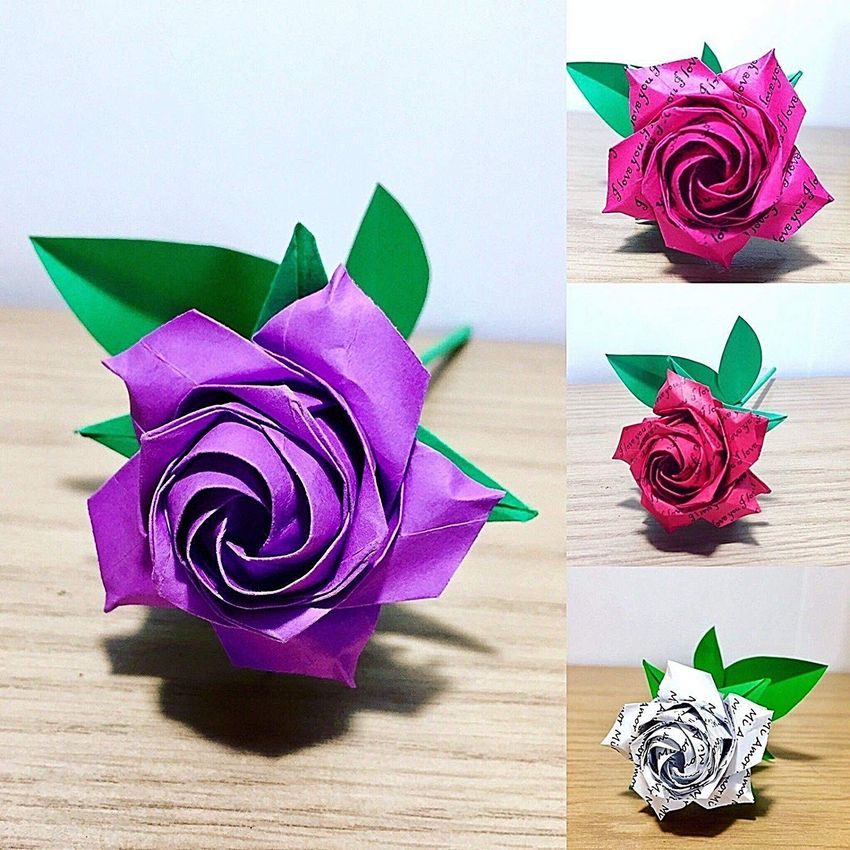
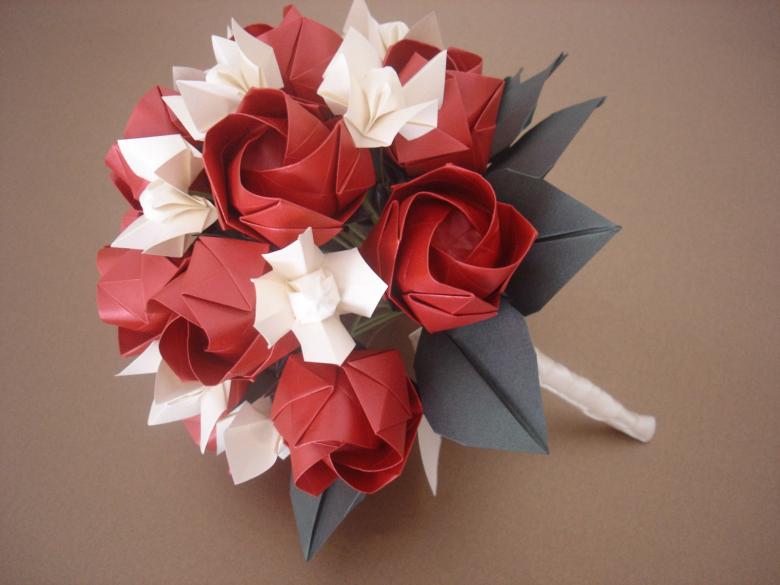
Photo ideas of homemade roses in the style of origami