Paving tiles with their own hands: step by step instructions for making durable simple and complex tiles
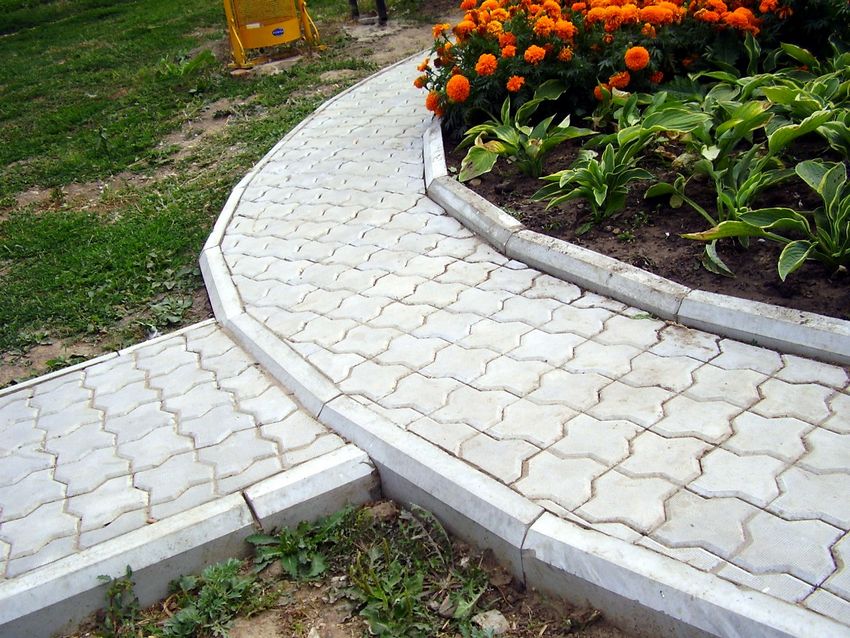
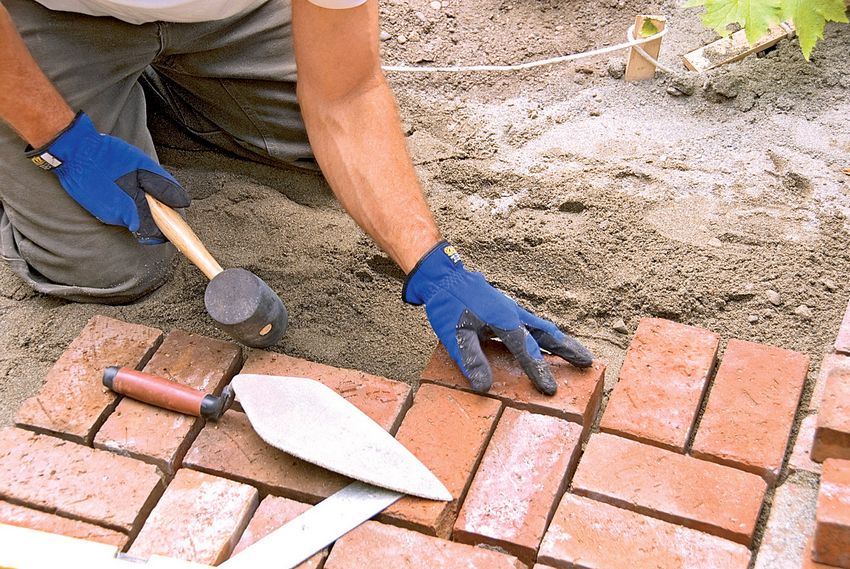
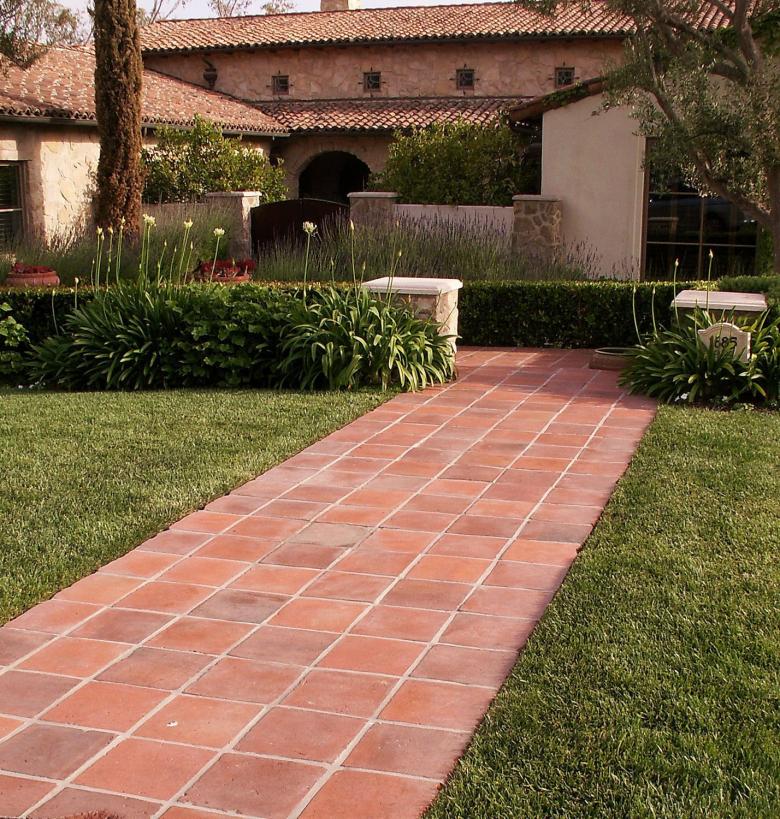
One of the most popular materials for the arrangement of park paths is paving tiles.
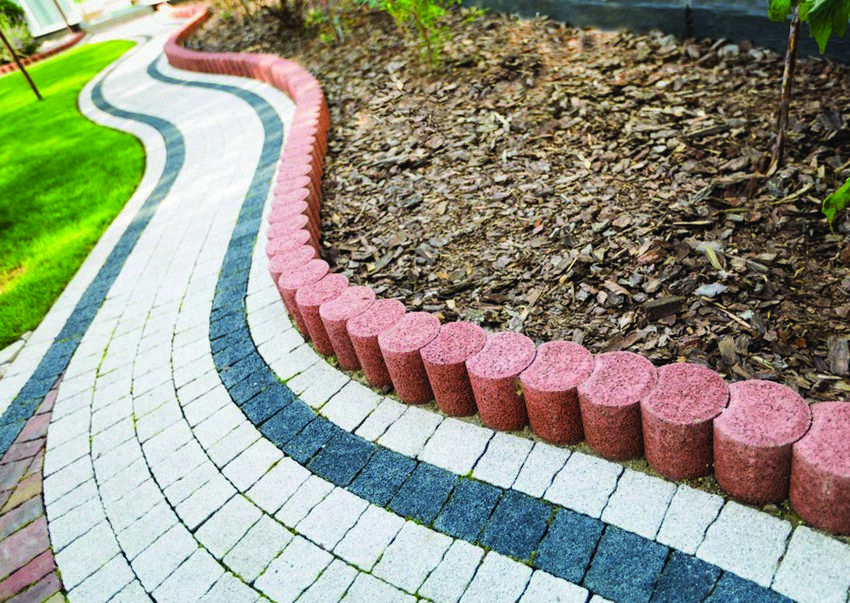
Products of this type can have the most diverse shape and color, with their help it is possible to create and laconic, and intricate patterned structures, which is why the need for this material is high among urban planners and owners of gardens and homesteads.
Good paving tiles - the material is undoubtedly wonderful, but it costs a lot of money. Given that the technology of manufacturing paving tiles is not so complicated, it is quite possible to try to produce the required amount of this material with your own hands, saving a considerable amount of money.
If you adhere strictly to the technological prescriptions, the paved alleys of the household plot or dacha paths will last for decades.
The production of paving tiles - an activity though troublesome, but fascinating and creative. And the preparation, and the process itself, and certainly the result will give you a lot of delightful impressions.
Stages of making paving tiles
Since we are talking about home production, there is an opportunity to save well at the stage of purchasing the necessary materials.
Stages of preparation:
- A sufficient amount of fine sand, good cement and fine crushed stone will be required.
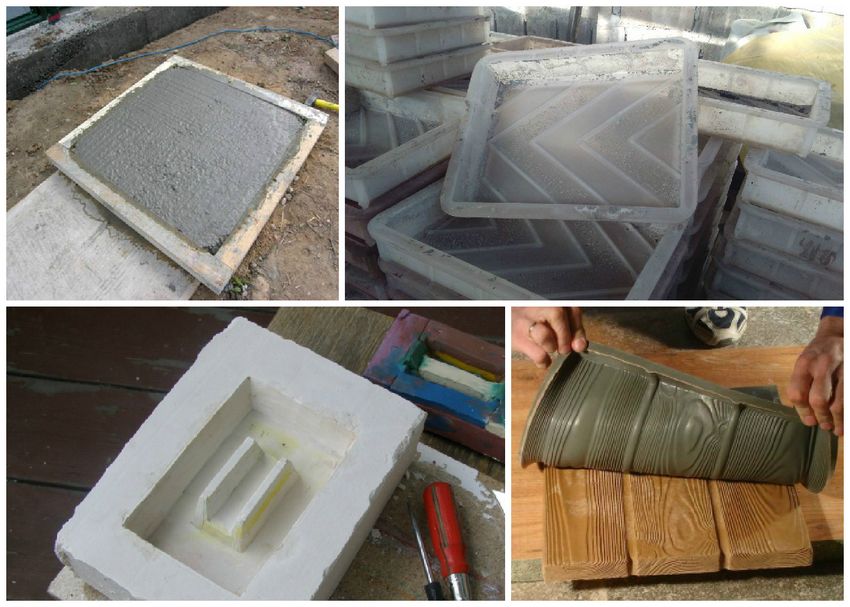
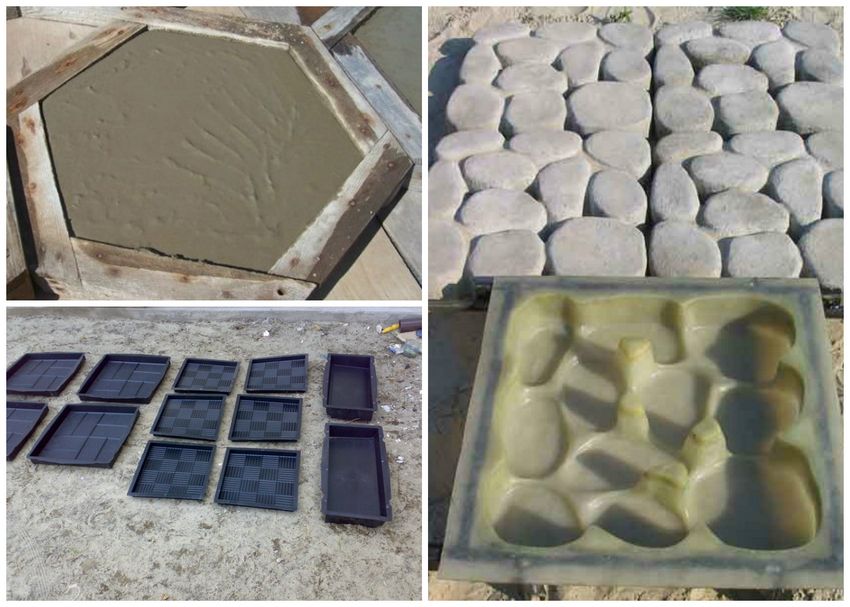
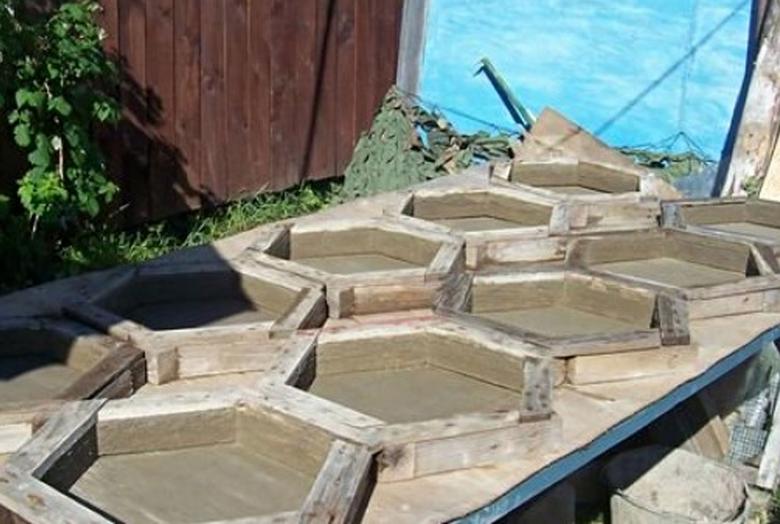
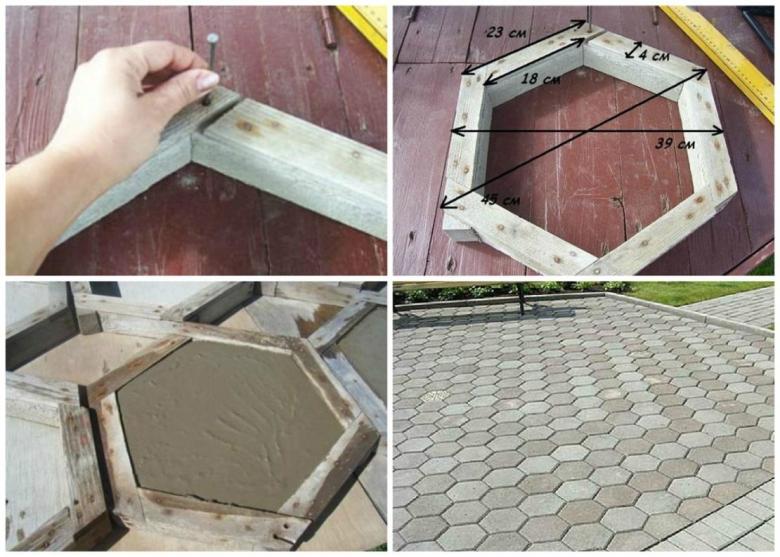
- Forms for the pouring can be made of used boards left after the construction of a holiday home or infrastructure facility on the territory of the homestead.
- Concrete Mixing.
- Pouring the ready mix into molds and then compacting it to achieve homogeneity of the material.
- Curing the mixture inside the forms.
- Drying the resulting tile under a shelter.
Before you begin producing tiles, it is necessary to choose a comfortable place where you can perform all the operations. The scale of the working space depends on the volume of tiles planned to produce daily, because in this place will be mixed and poured on the forms of concrete, and here the finished tile will dry.
Buying materials
The amount of building materials needed depends on the planned volume of tiles, as well as the formulation of the mixture. Let's consider a classic version:
- 1 part cement. Dachnikov, who have already gained practical experience in the manufacture of paving tiles, advise to choose cement M500, so that in the process of operation the tile does not crumble;
- 2 parts sand;
- 3 parts of crushed stone.
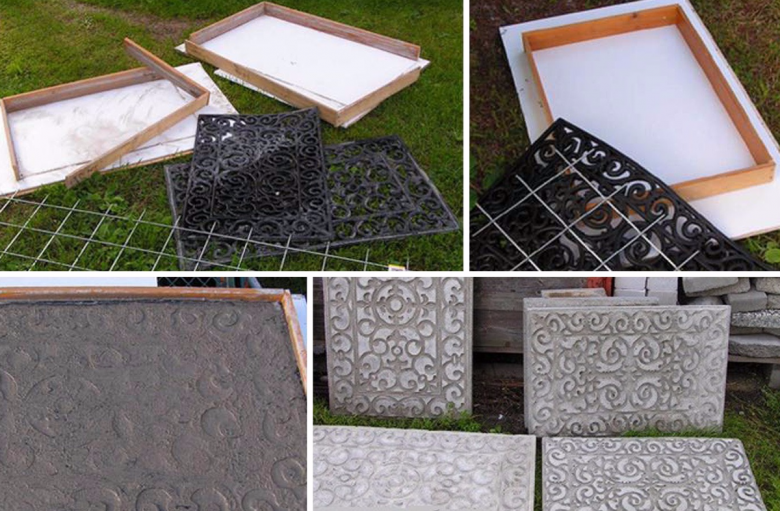
Sand before use should be well sifted to remove any impurities - plant debris and lumps. Water for the preparation of the mortar should be taken clean. Forms for pouring can be bought in a store or make your own.
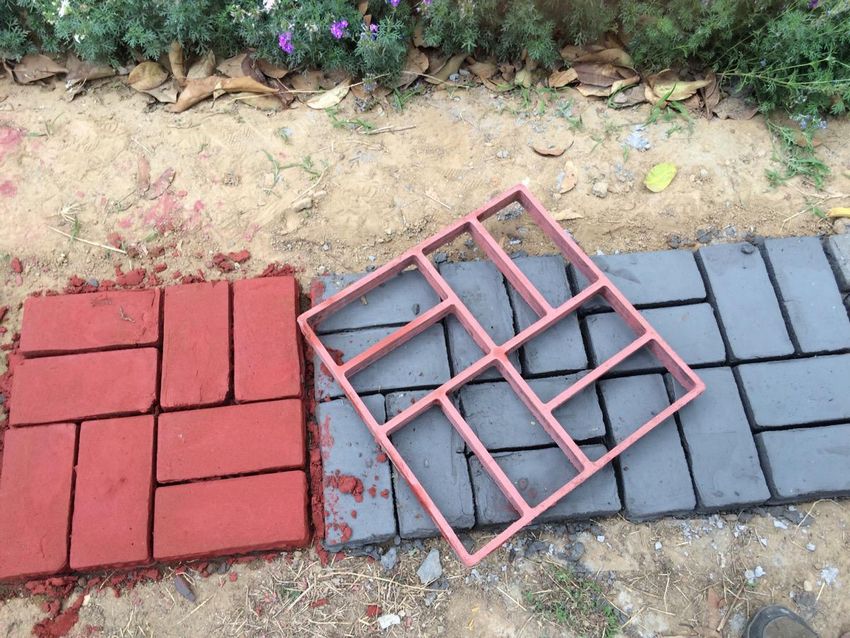
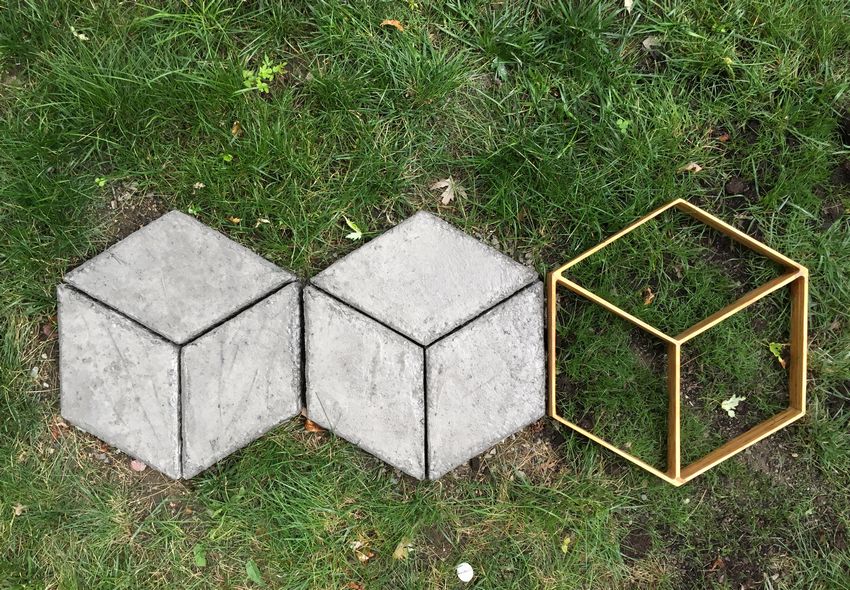
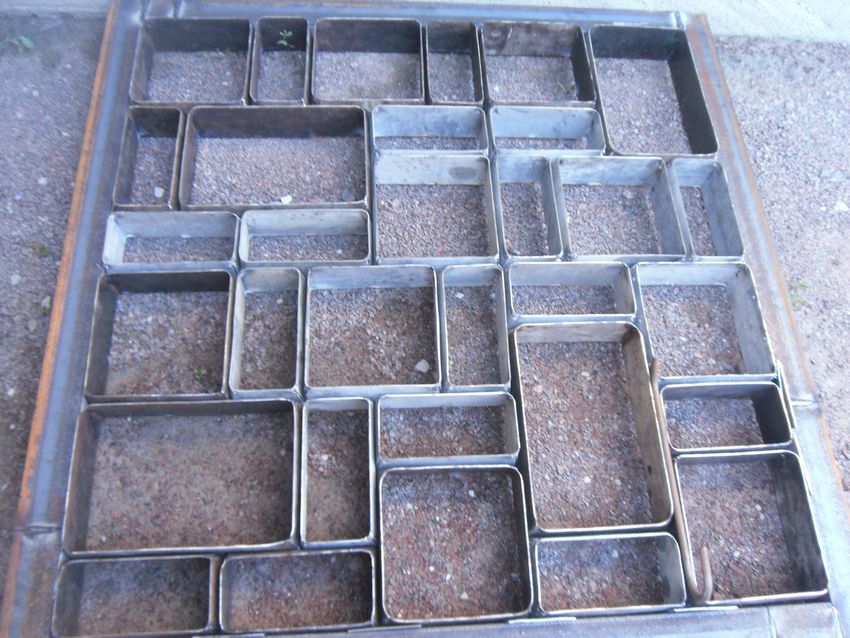
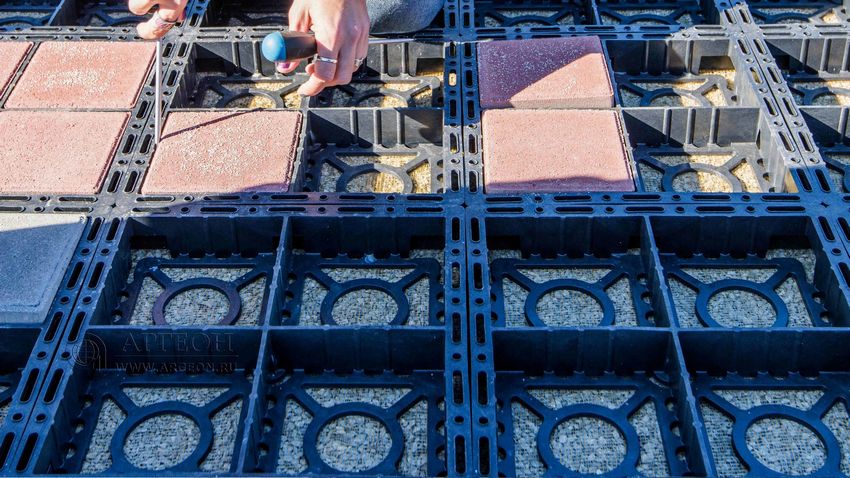
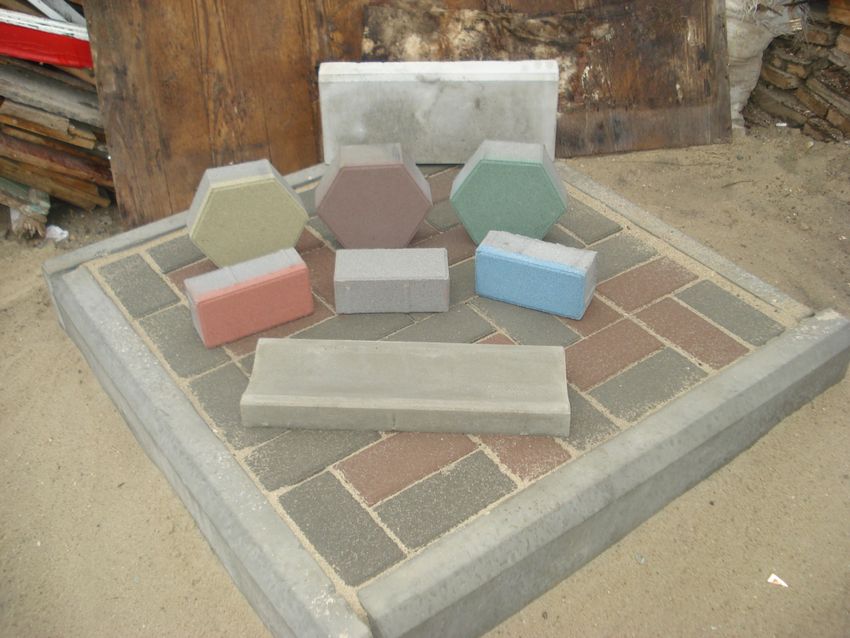
To work quickly, it is worth to acquire ten frames. The simplest form for home production - with cells in the form of a square or rectangle.
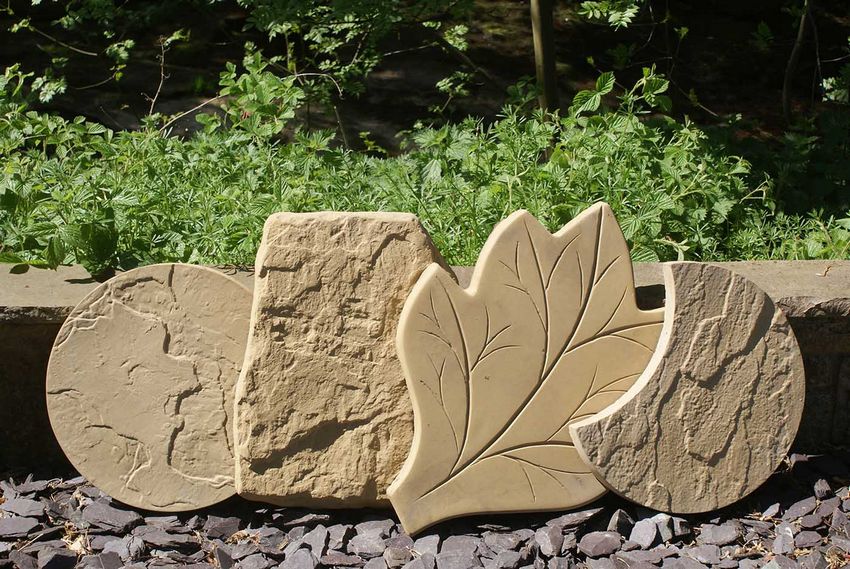
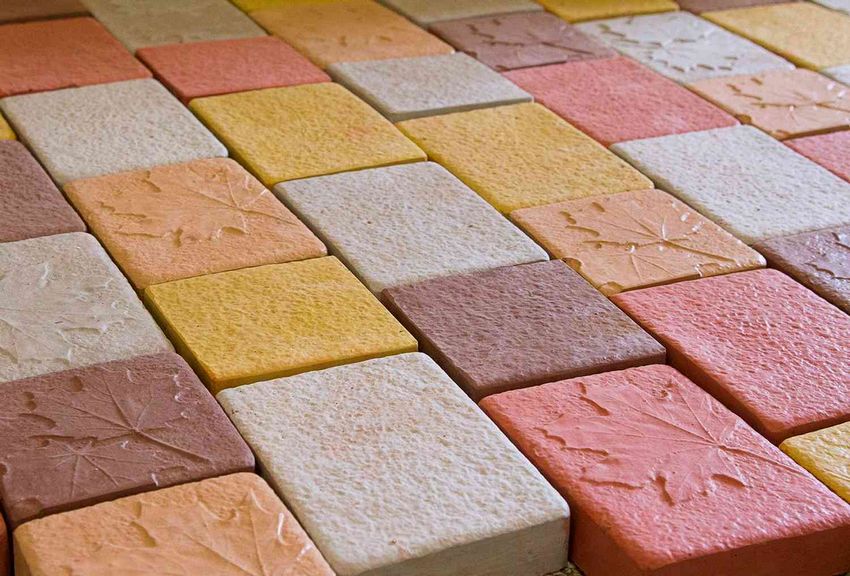
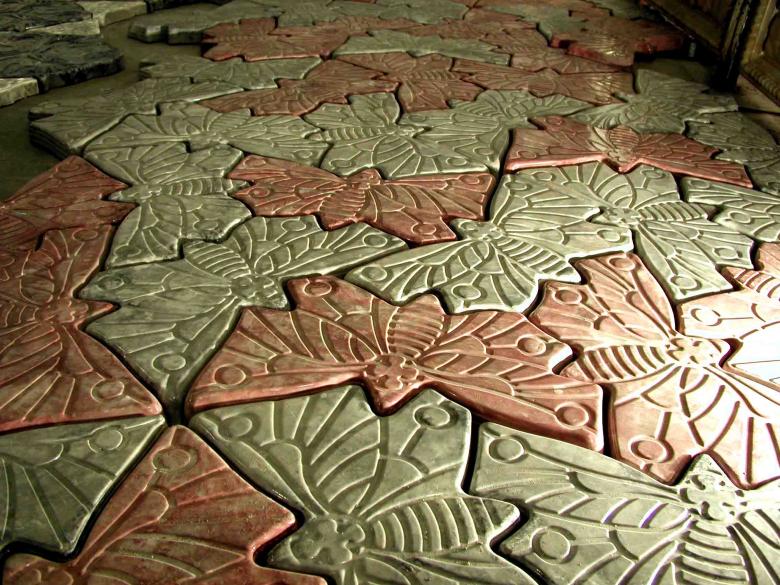
There are many examples when gardeners, not wanting to bother with making forms from wood, used for pouring the mixture ordinary plastic containers, giving the working surface an original relief with the help of fallen leaves, different colors.
What else will be needed for production:
- A small concrete mixer or construction mixer;
- It is desirable to have a shake table on which the mixture poured on the forms will be compacted;
- measuring container;
- grease for the forms, which does not contain petroleum products;
- a salt solution for flushing.
To give the tiles greater strength, a plasticizer can be used, and to improve the appearance of the material, a dye pigment is used.
Step-by-step algorithm of actions
Let's proceed to the manufacture of paving tiles:
- It is necessary to measure the right amount of ingredients to prepare the mixture.
- Dissolve the plasticizer and the coloring pigment separately in hot water, if they will be used. Make sure there are no lumps.
- Pour the diluted plasticizer into the tub or trough with the prepared water. Then consistently, constantly stirring, add cement, sand and fine crushed stone. Last pour in the dye. If there is no suitable container at hand, it is allowed to make a mixture with a shovel in an open area.
- Adding water, make sure that the mortar has a mushy consistency.
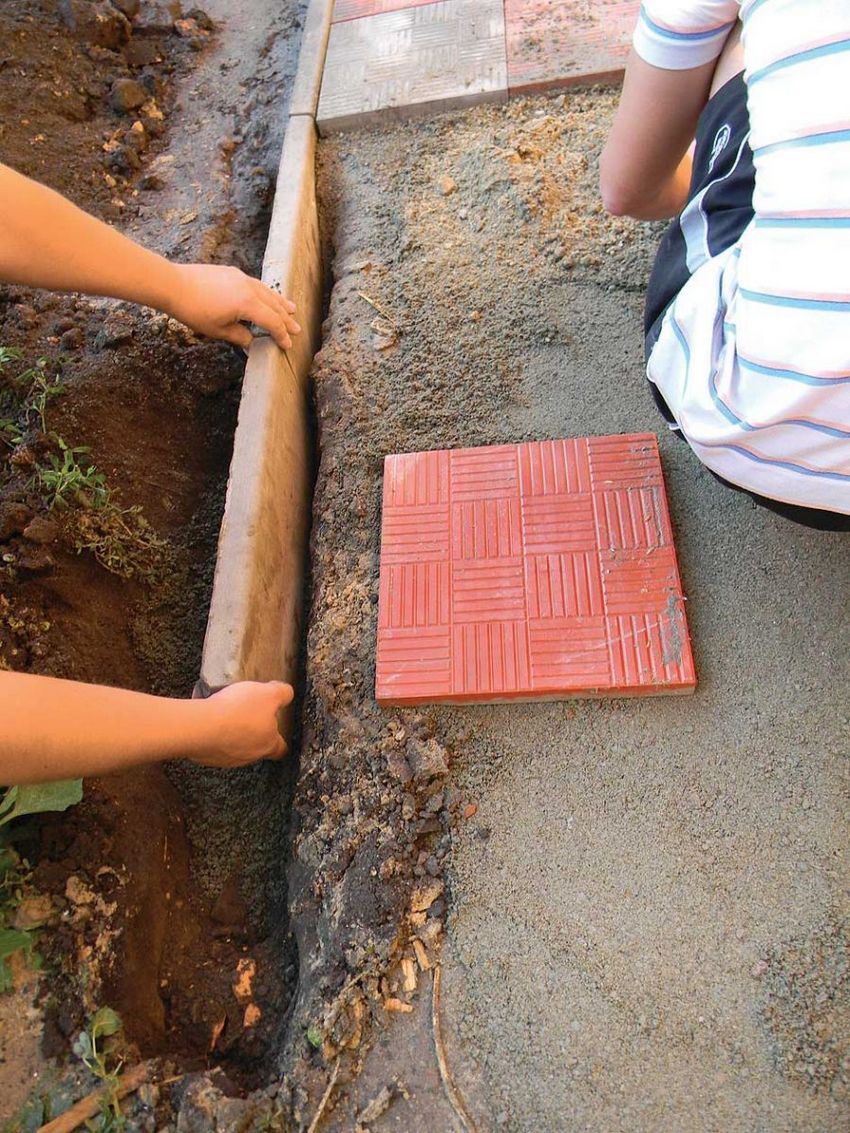
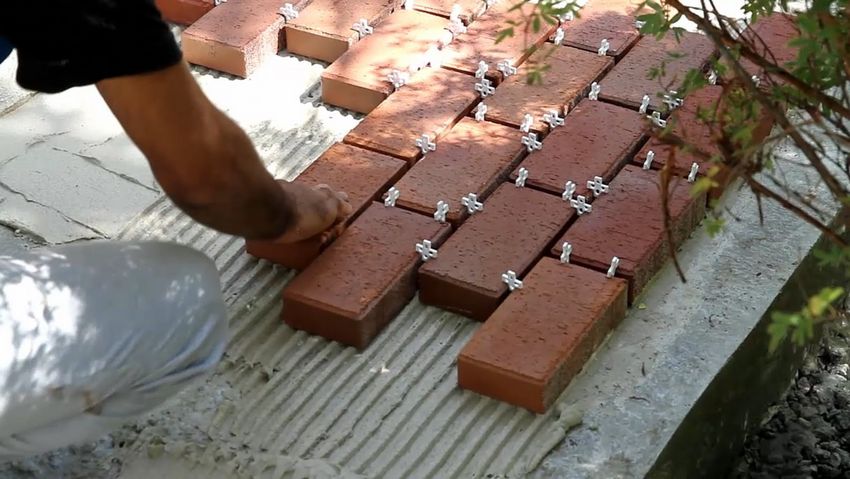
- Begin pouring the concrete into the molds.
Pouring process
The preliminary stages are over, and you can proceed directly to the process of producing tiles:
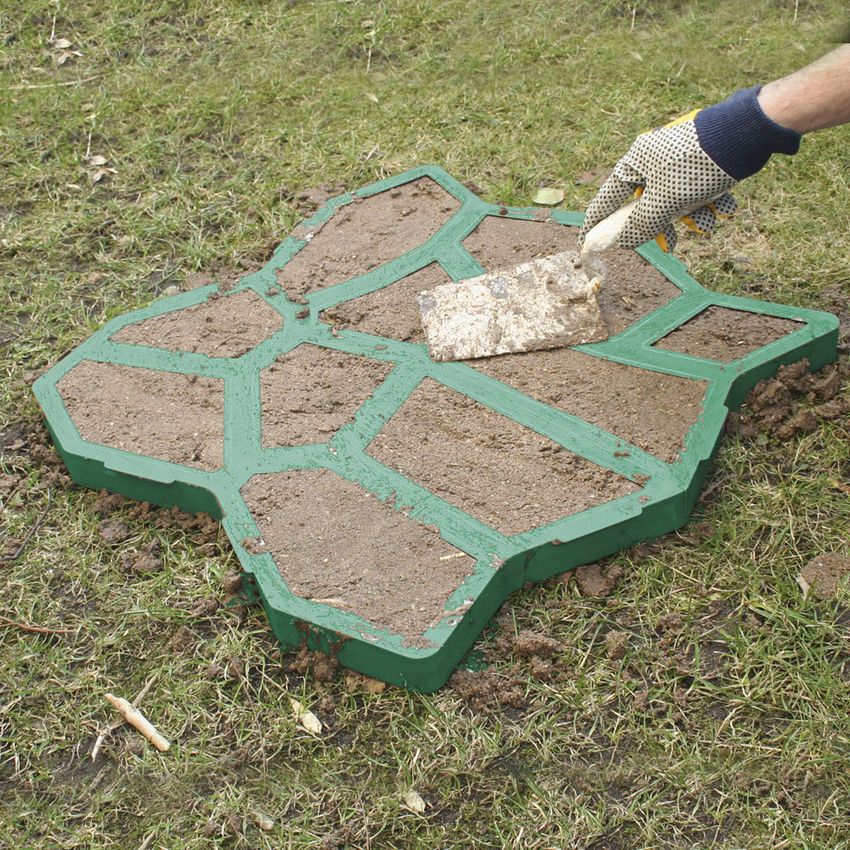
- The inner planes of the forms are covered with grease, so that the hardened products are easier to separate from the surfaces.
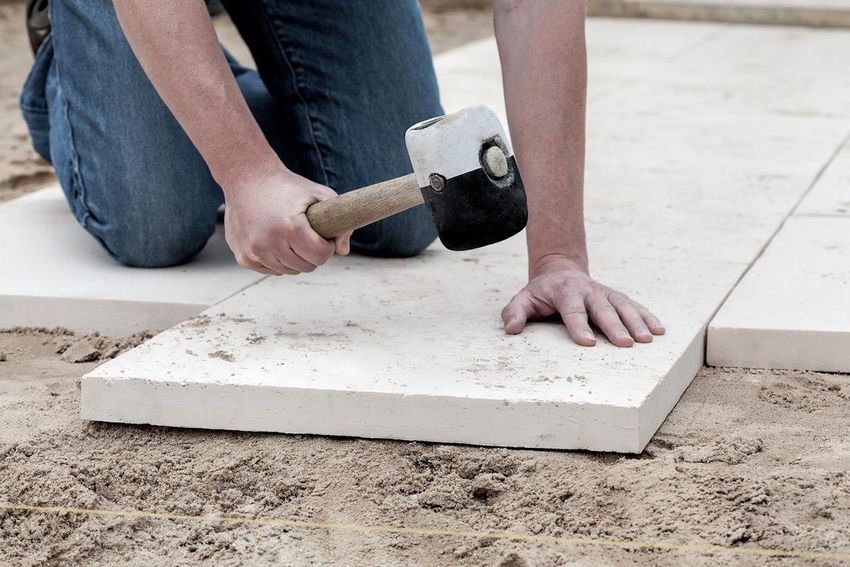
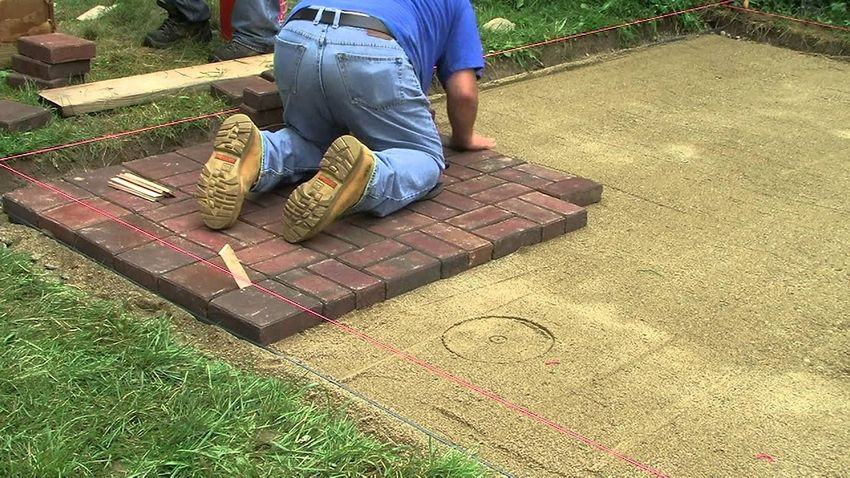
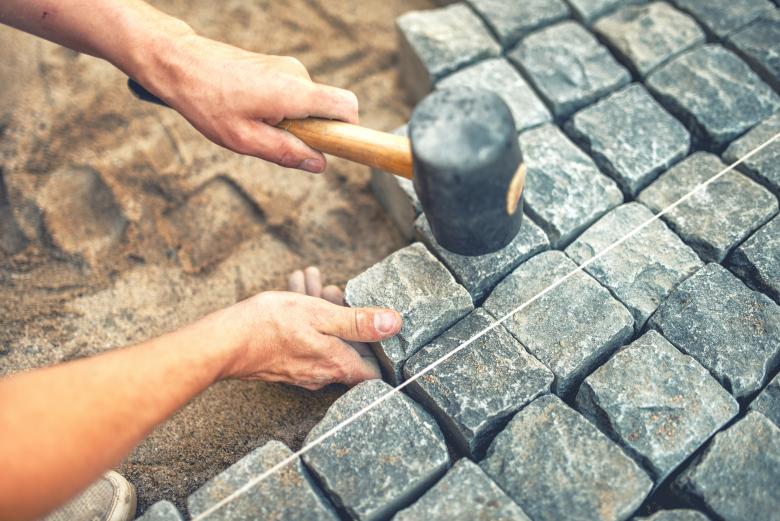
- The mixture is poured into the molds. To avoid non-spillage and porosity, the concrete must be thoroughly compacted. If a vibrating table is not used, you can lightly tap with a hammer on the edges of the mold or on the table where the work takes place.
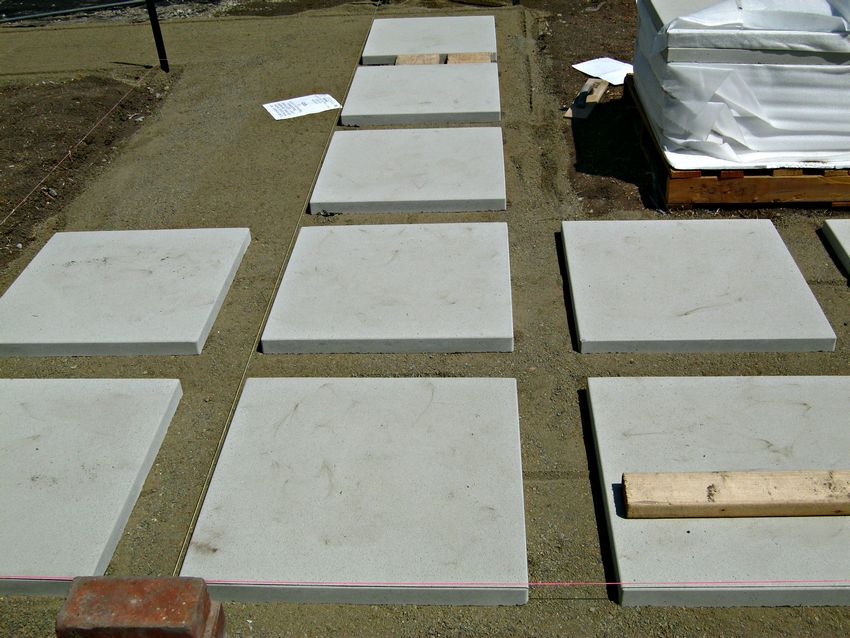
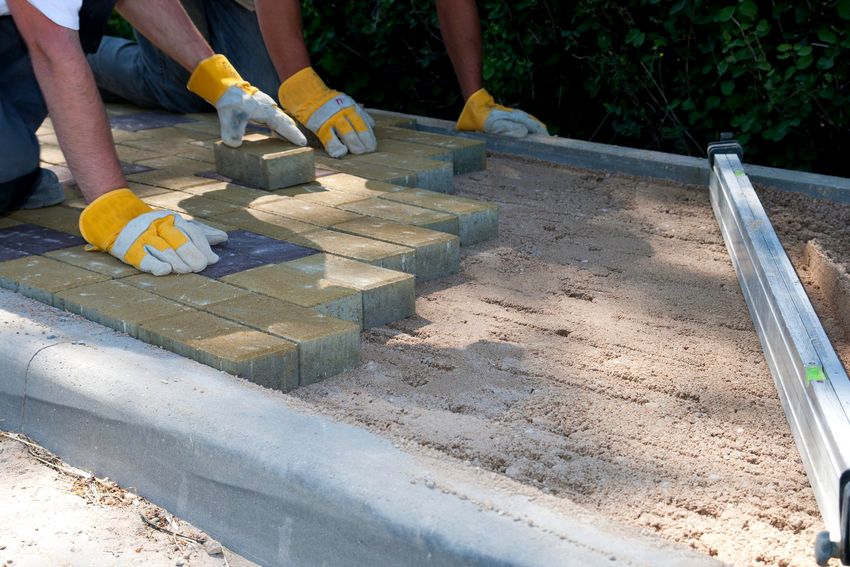
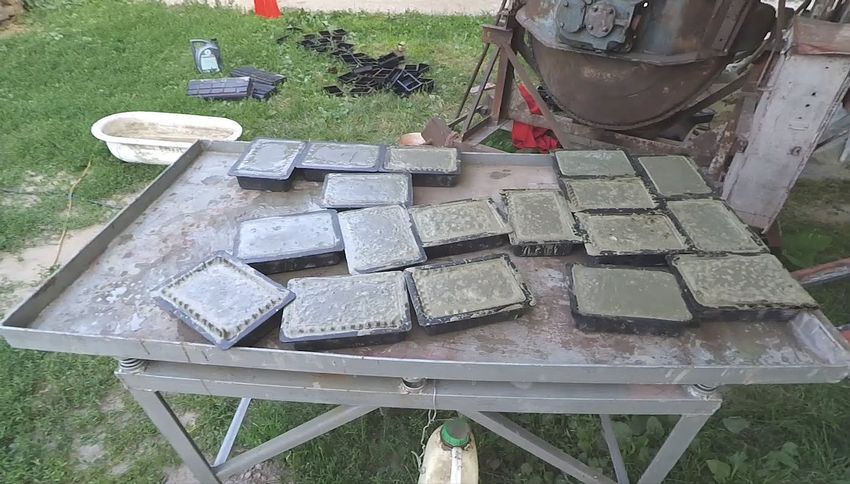
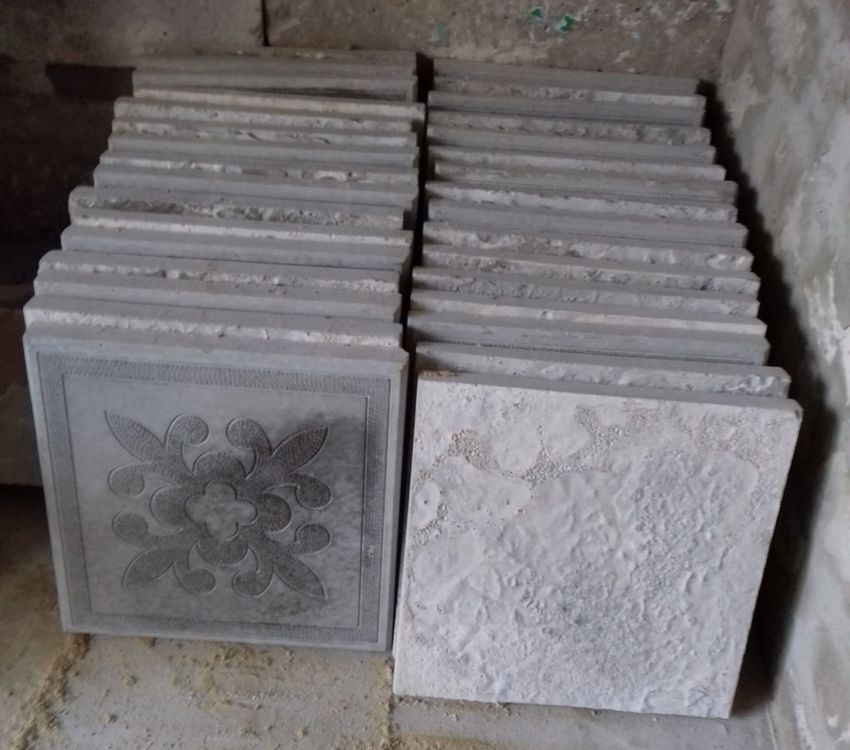
- Poured mixture is left for a day or two to harden. The quality of the finished product will be higher if the drying process is not very fast. In the summer heat the material should be periodically moistened.
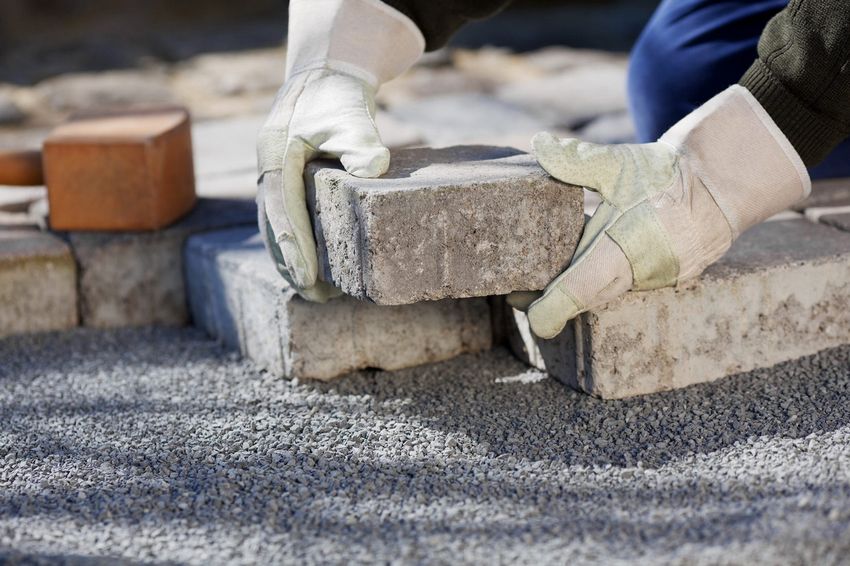
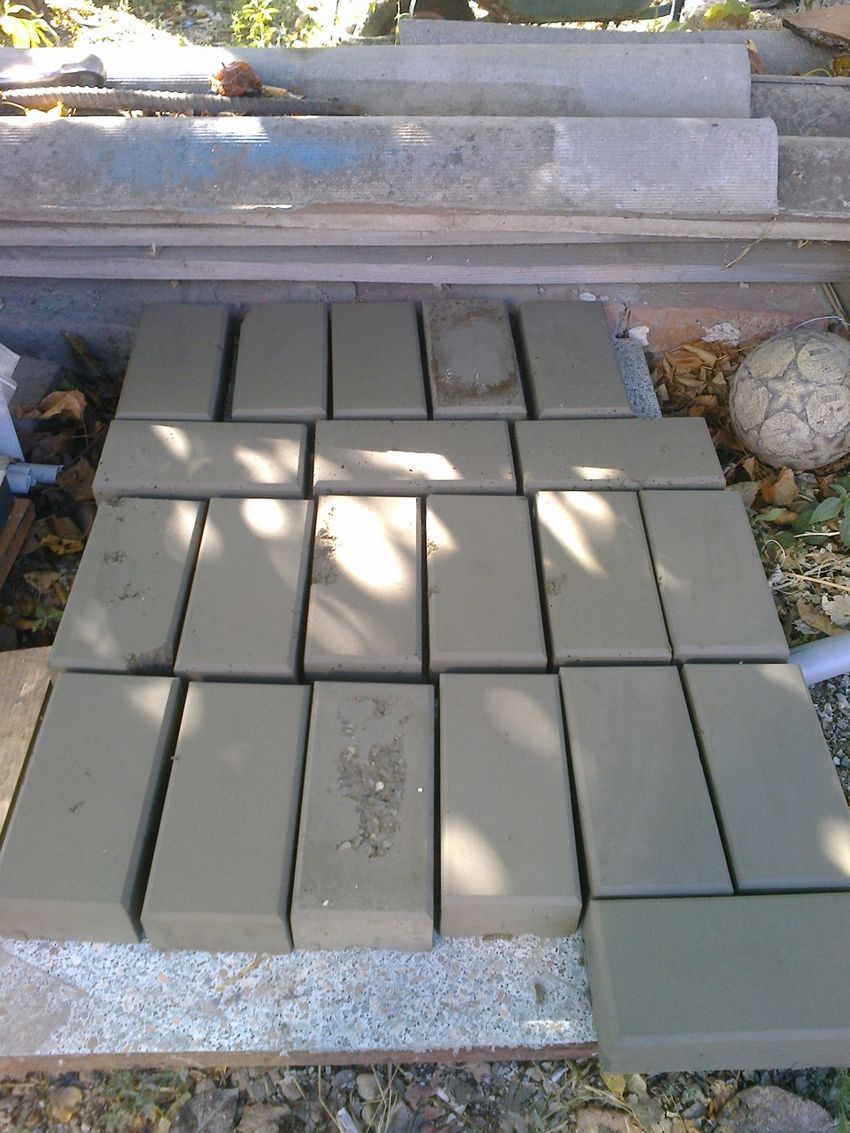
- When the material is completely hardened, remove the tiles.
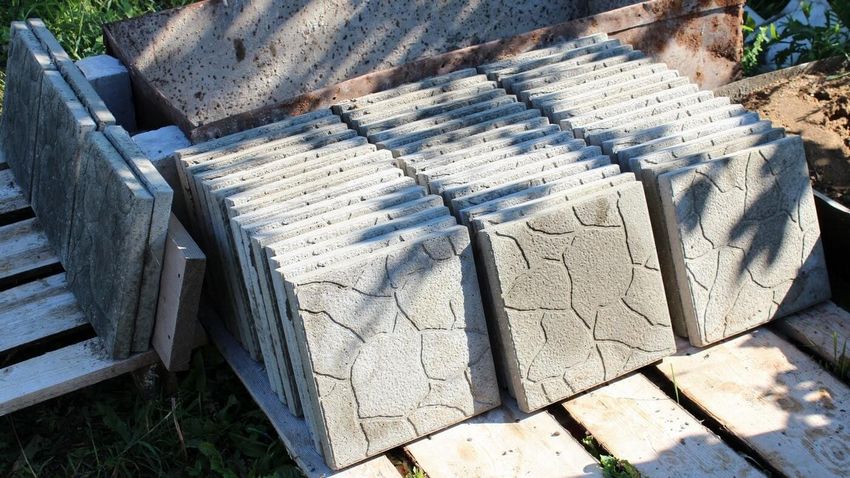
- For the final drying, the products are placed in rows on the edge under a shelter for a few days.
To use the released molds to make a new batch of tiles, wash them from the inside with a salt solution, and then with clean water.
Maximum economy
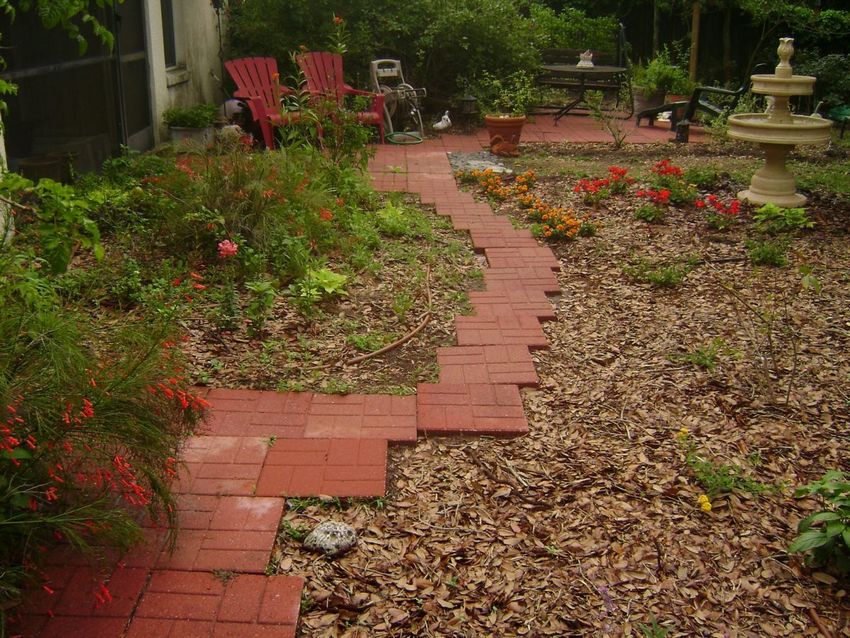
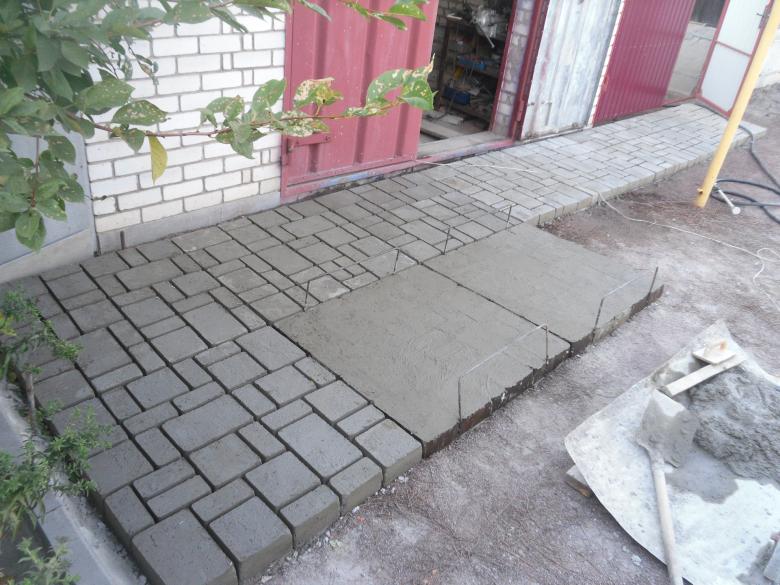
If the paths, laid with self-made tiles, are not planned to use intensively, the thickness of the tiles can be done as little as possible. Even if some tiles will crack under the weight of a person, in terms of dacha it will not look like a defect, because in many areas in general, all the tracks lining with fragments of tiles, which looks quite interesting.
You can also use cement of a cheaper brand, and instead of fine crushed stone to include in the mix coarse sand.
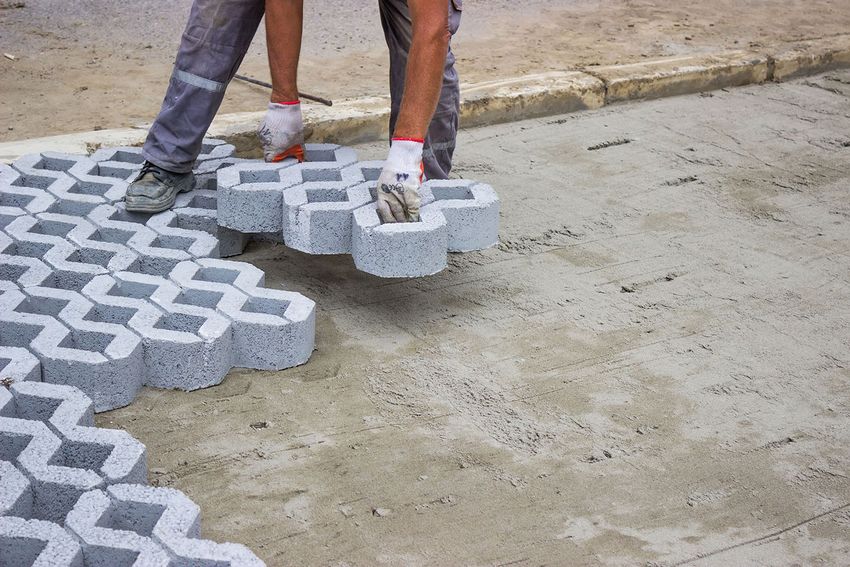
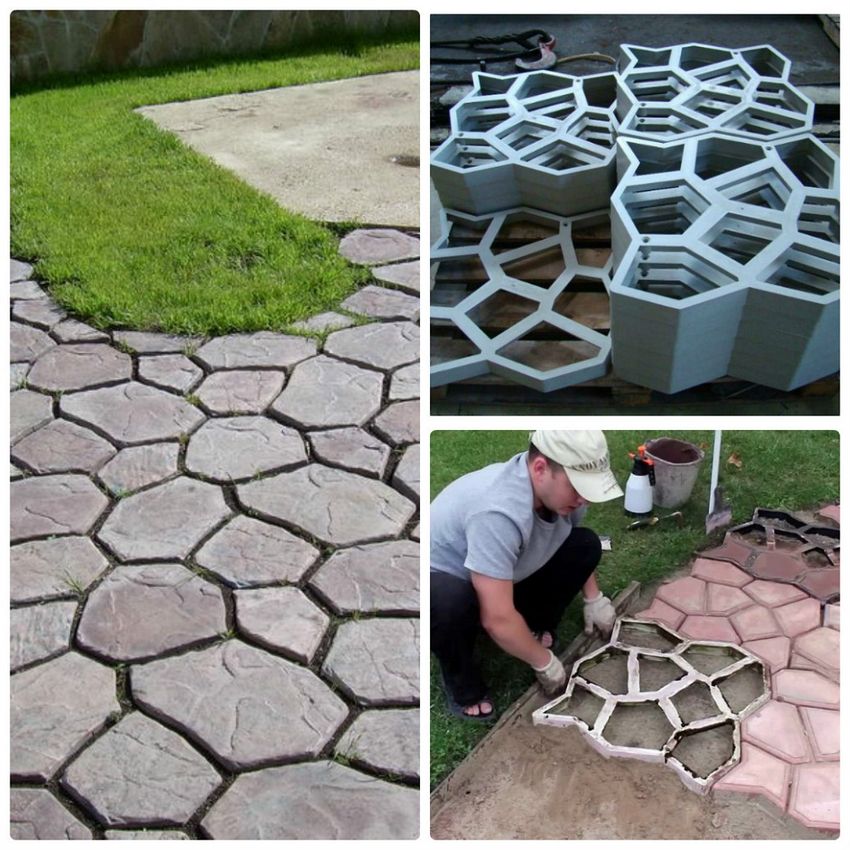
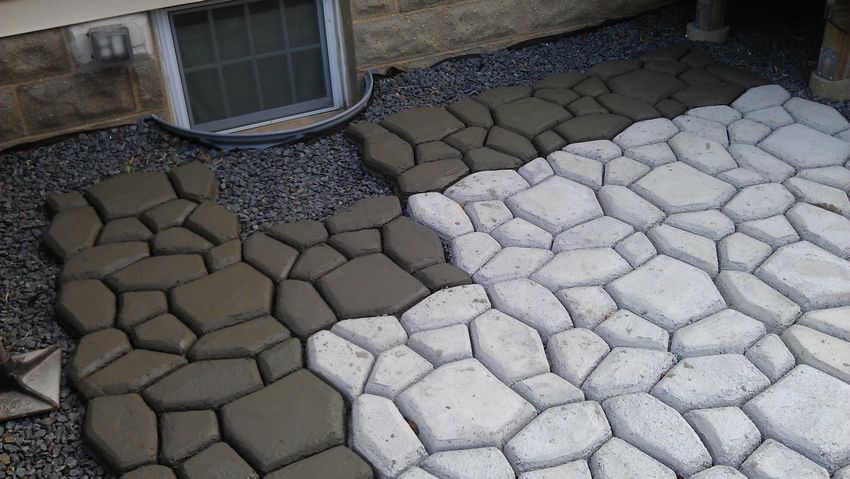
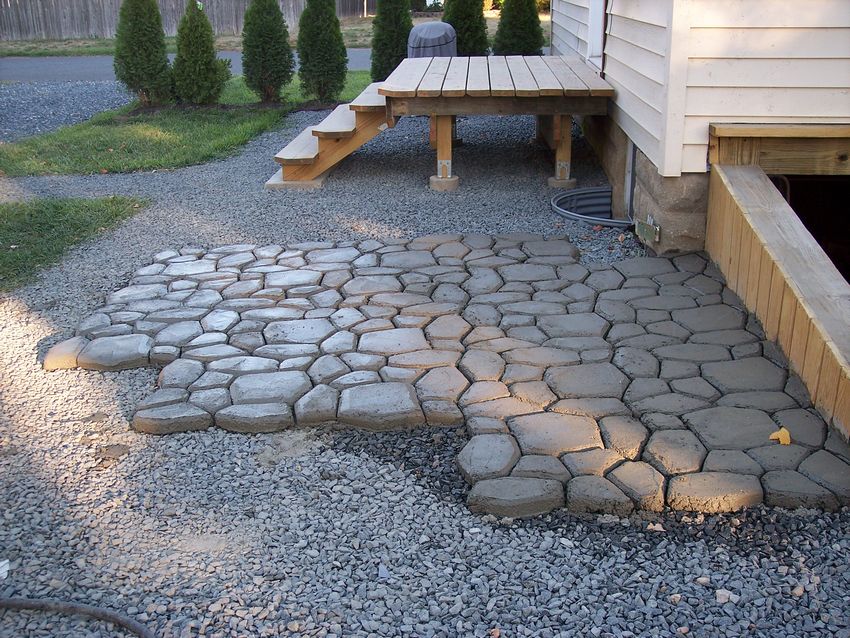
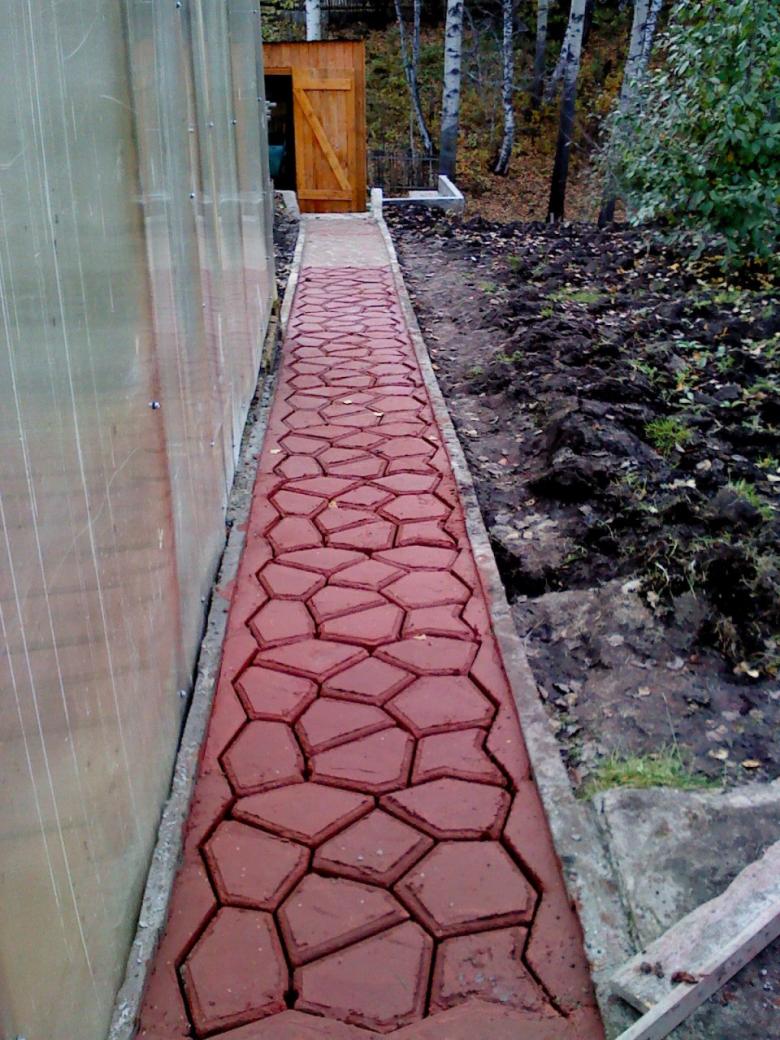
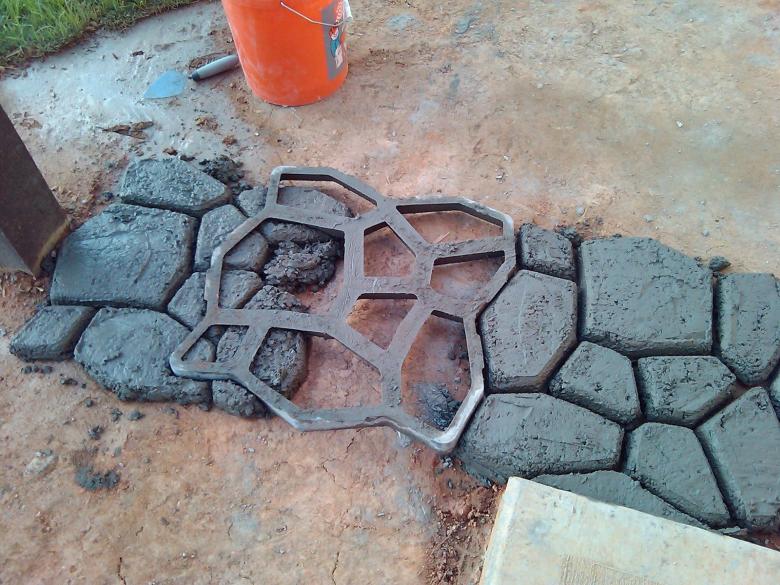
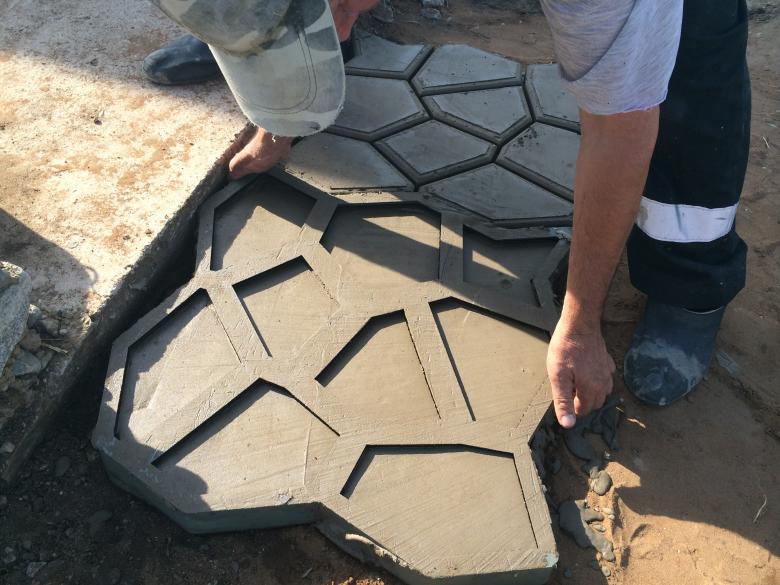
Alternative tile paving
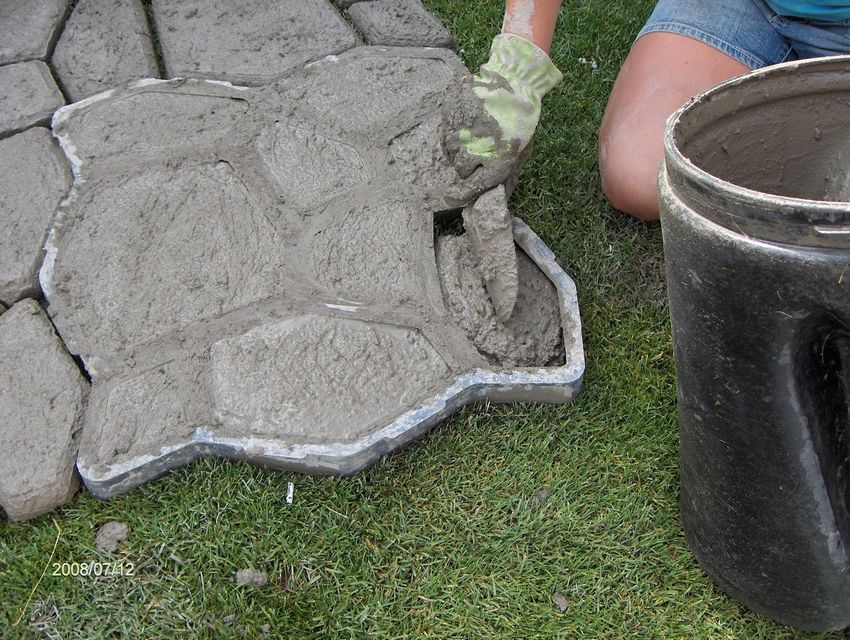
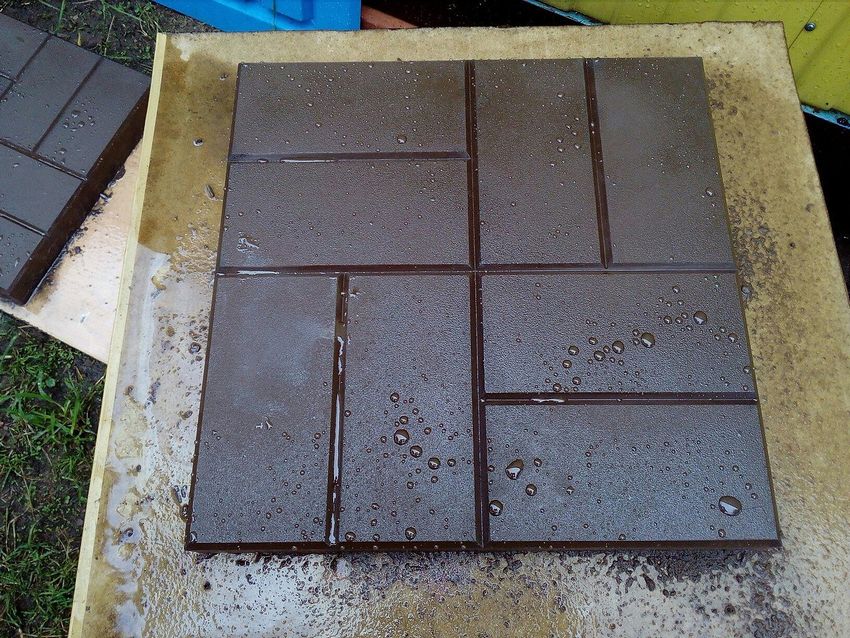
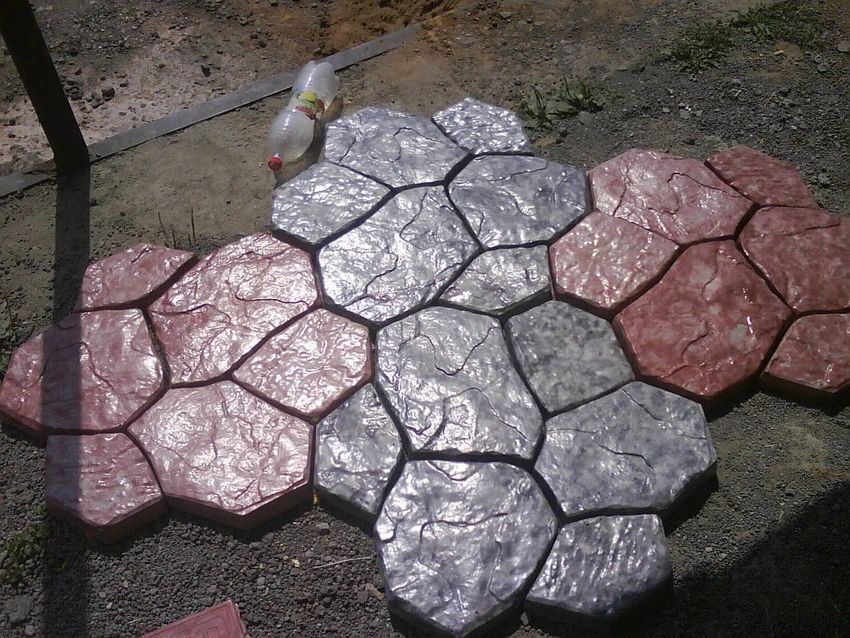
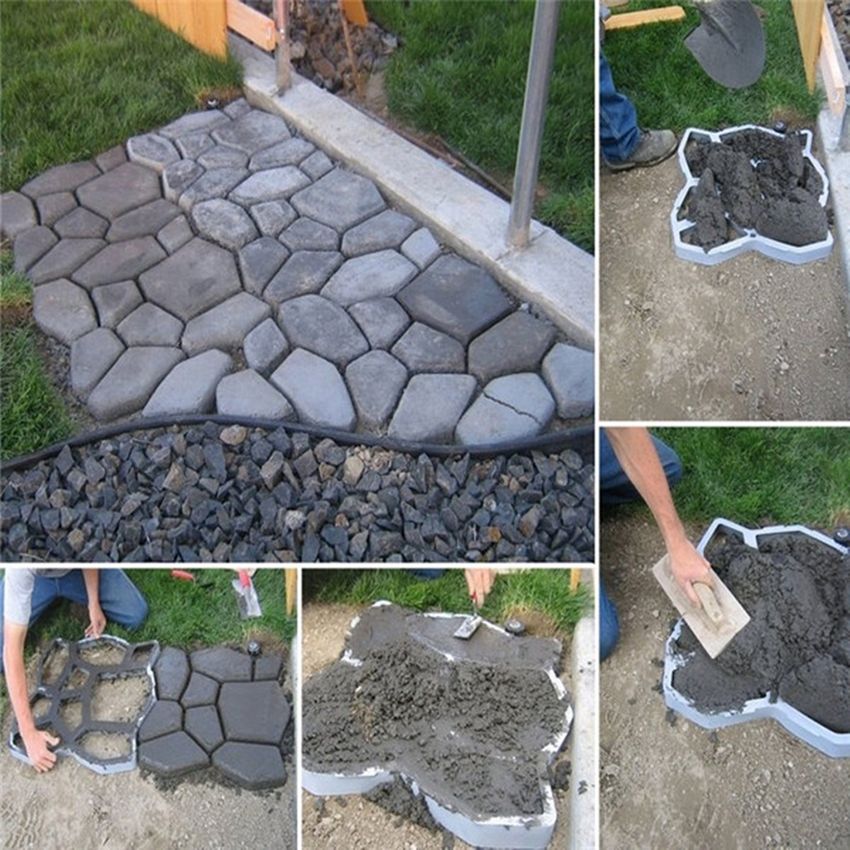
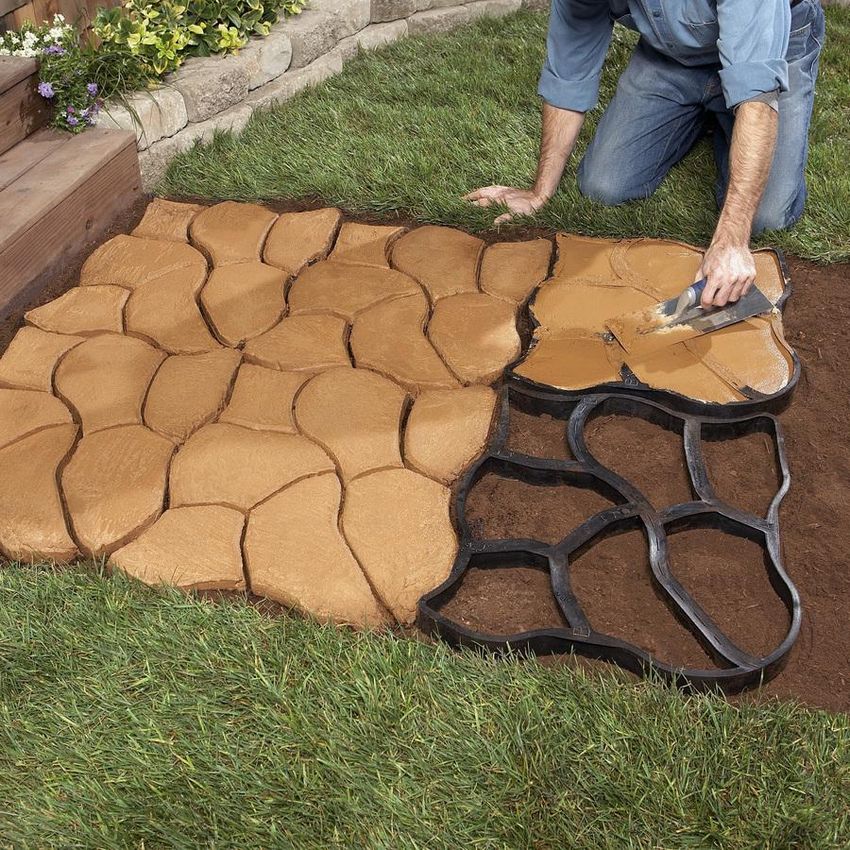
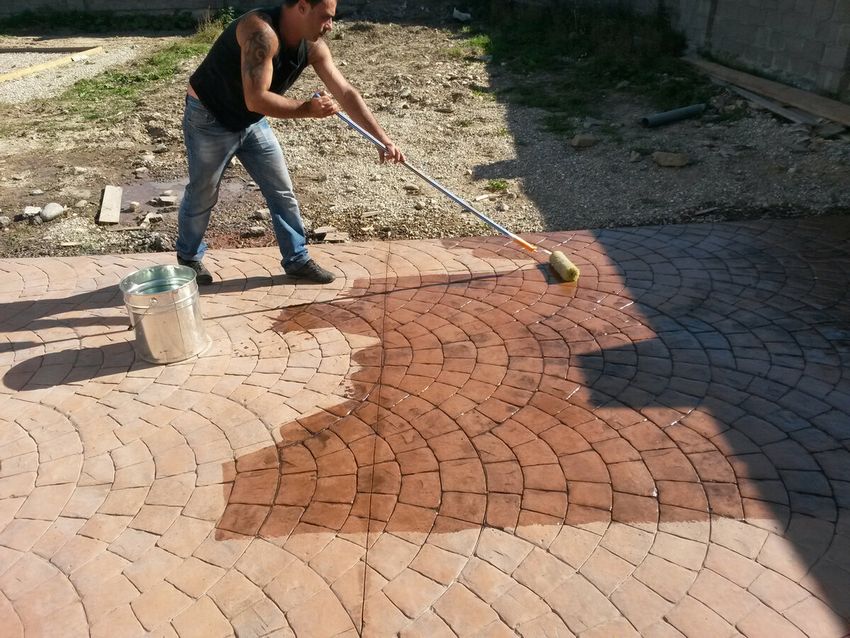
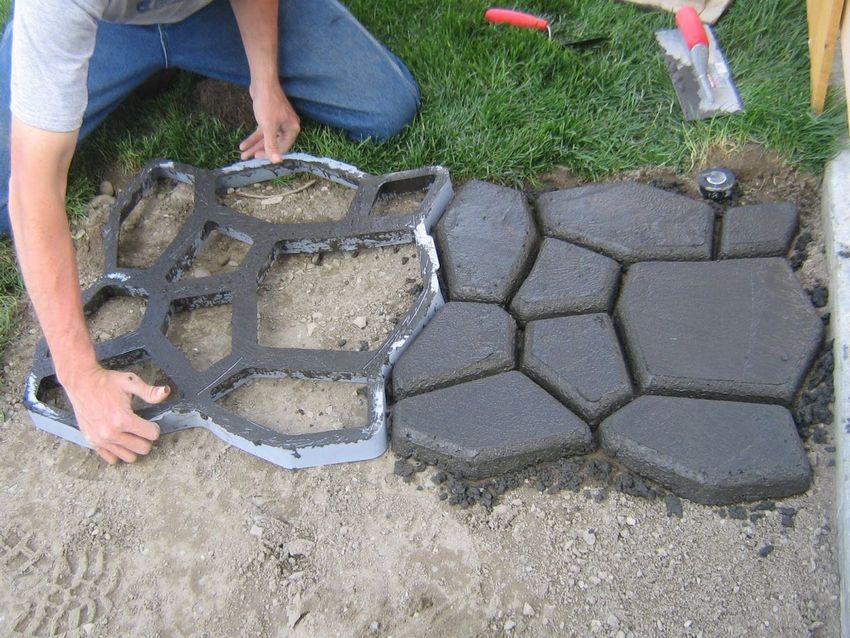
In construction material hypermarkets today you can buy plastic or silicone molds that allow you to cast pseudo-tile pavement right on the spot. Such molds are equipped with many ribbed ties that form various geometric shapes.
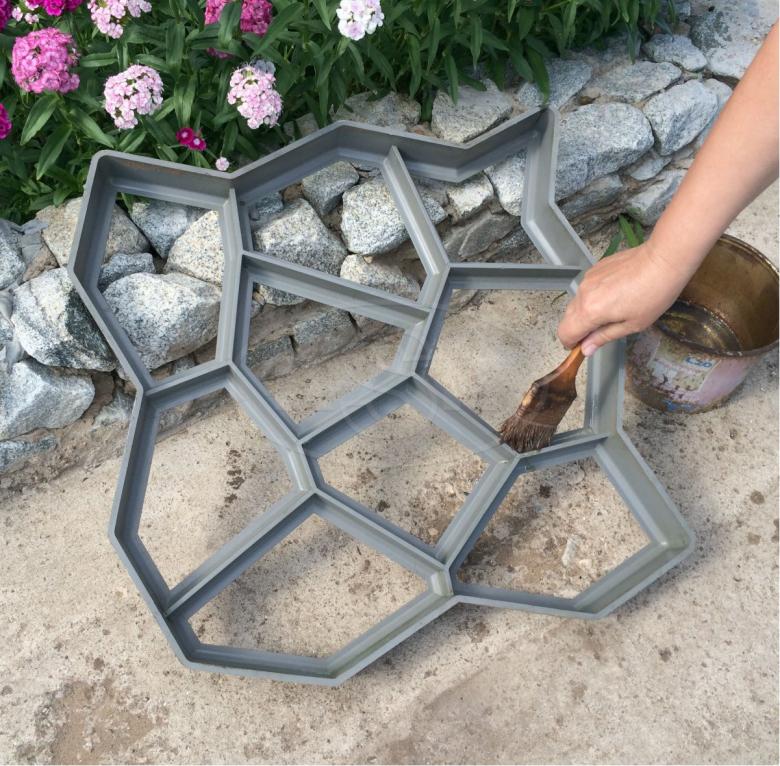
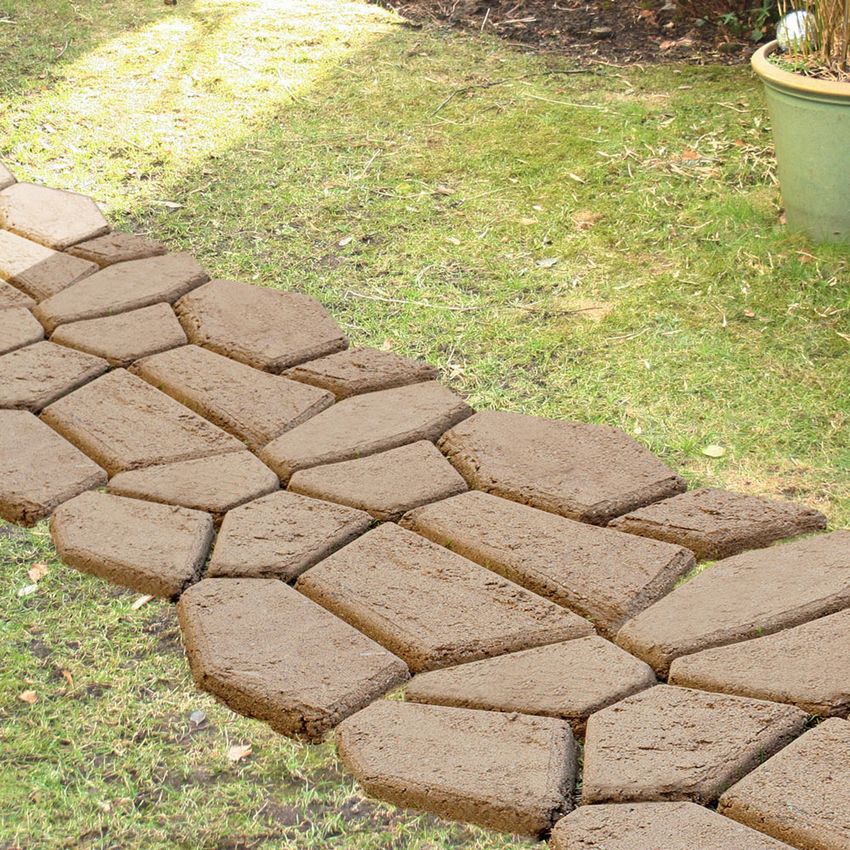
After the mixture is poured, the ribs of these bonds form deep grooves on the surface. Thus, the finished pavement looks as if it is composed of many elements, although in fact it is just a slab with a grooved surface.
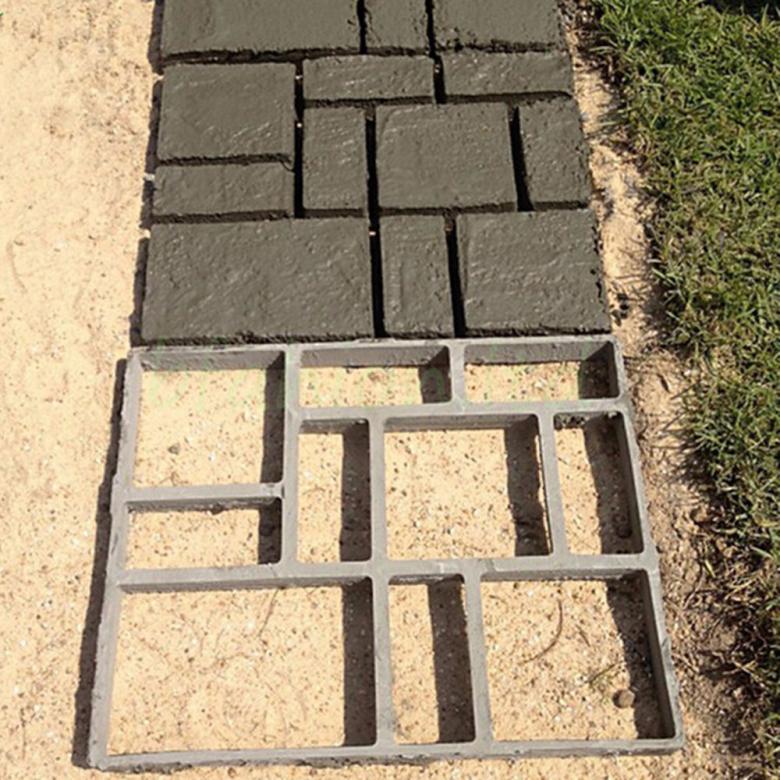
How to create a track on an alternative technology
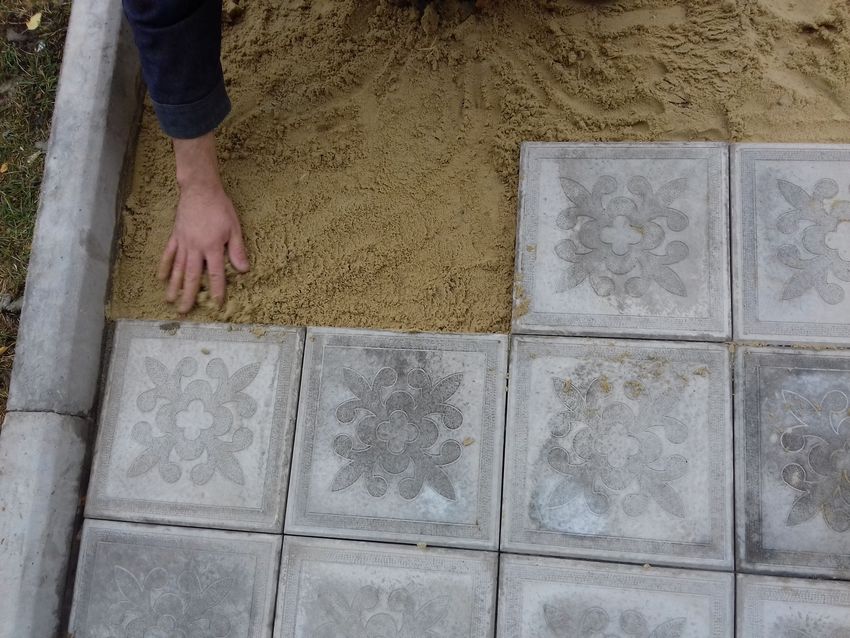
- Along the route of the future pathway a layer of vegetation is removed, coarse sand is poured, watered and firmly tamped.
- Concrete is mixed.
- The form is set in the desired location.
- The concrete is poured in the form and is evened out on the edges.
- After an hour, the mold is removed and moved to a new location to continue casting the next fragment of the "tile" walkway.
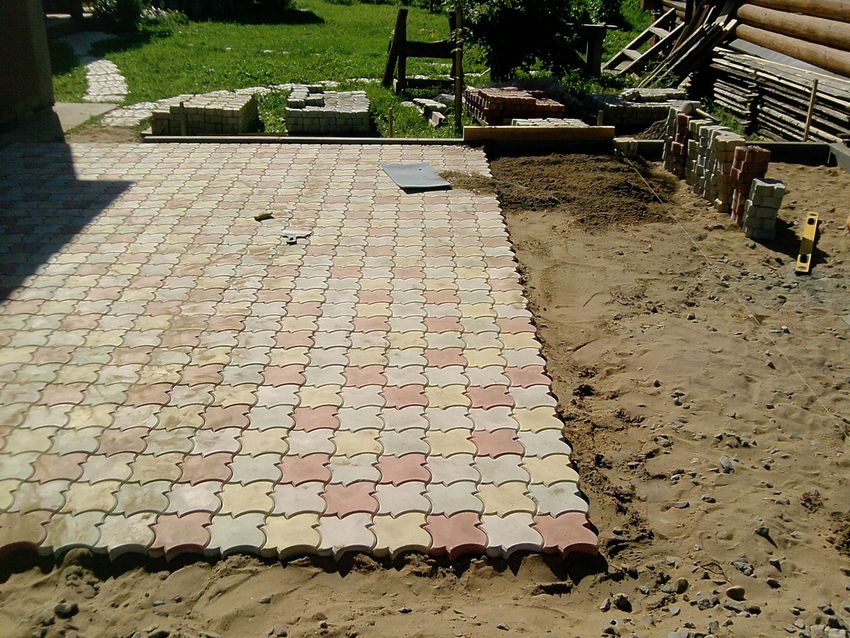
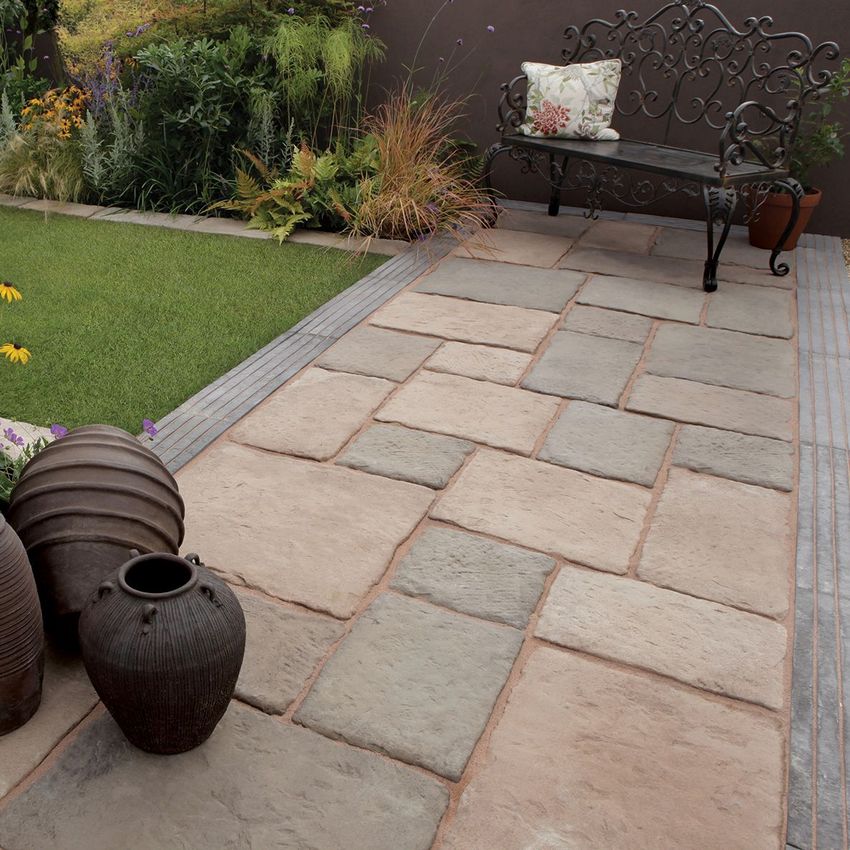
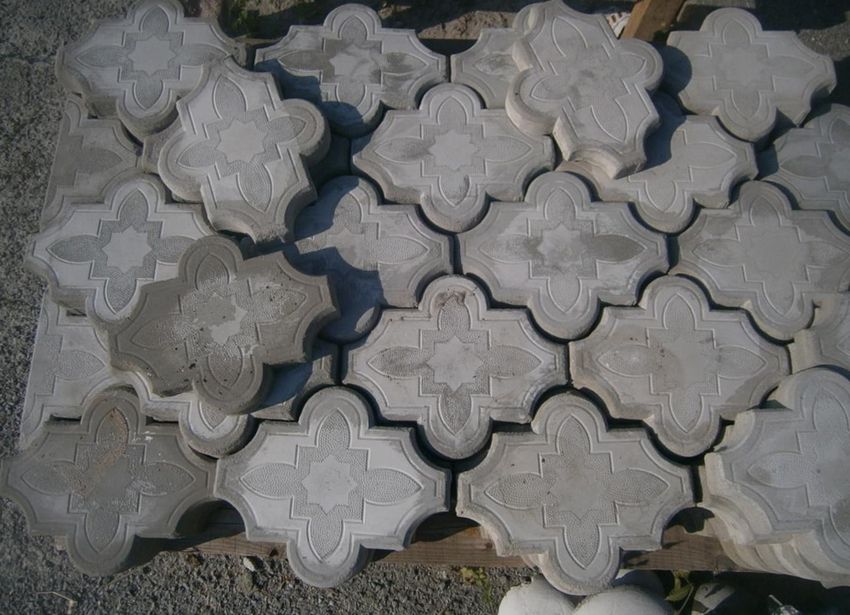
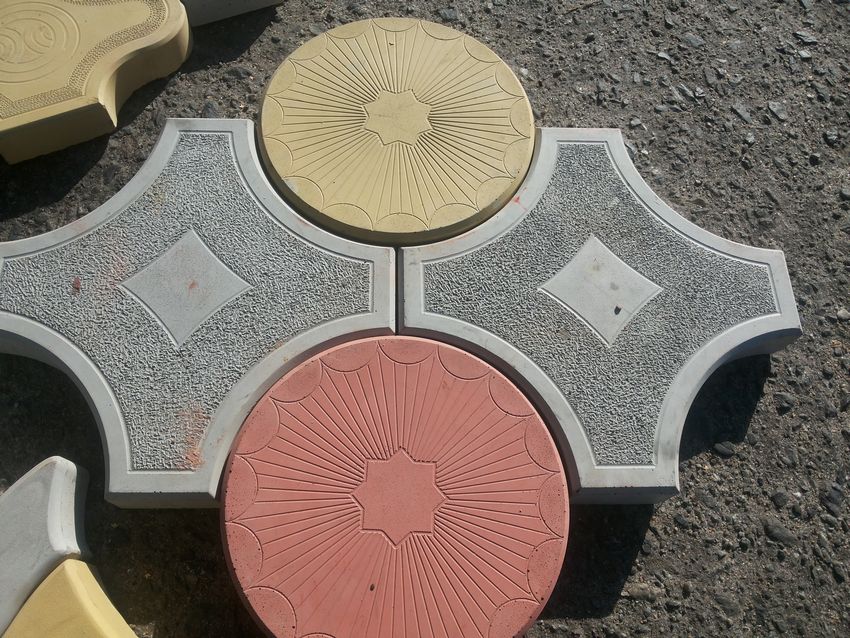
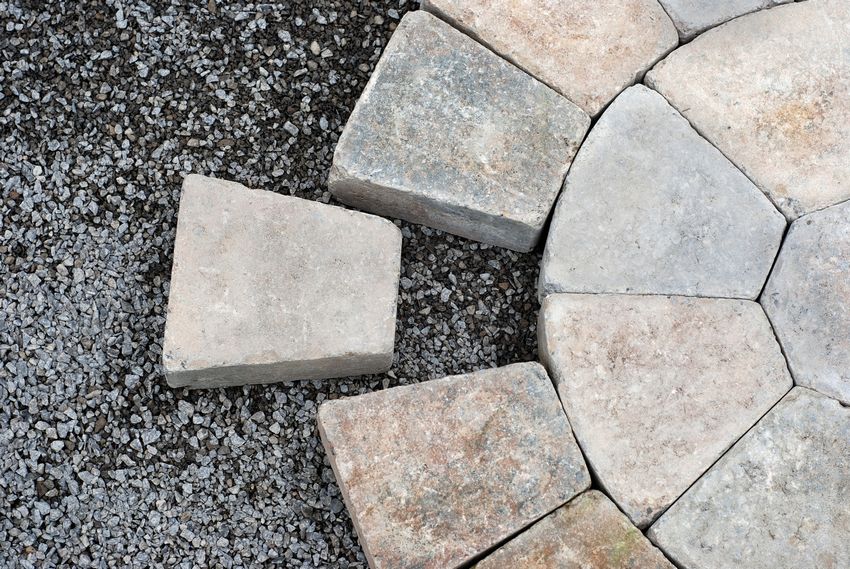
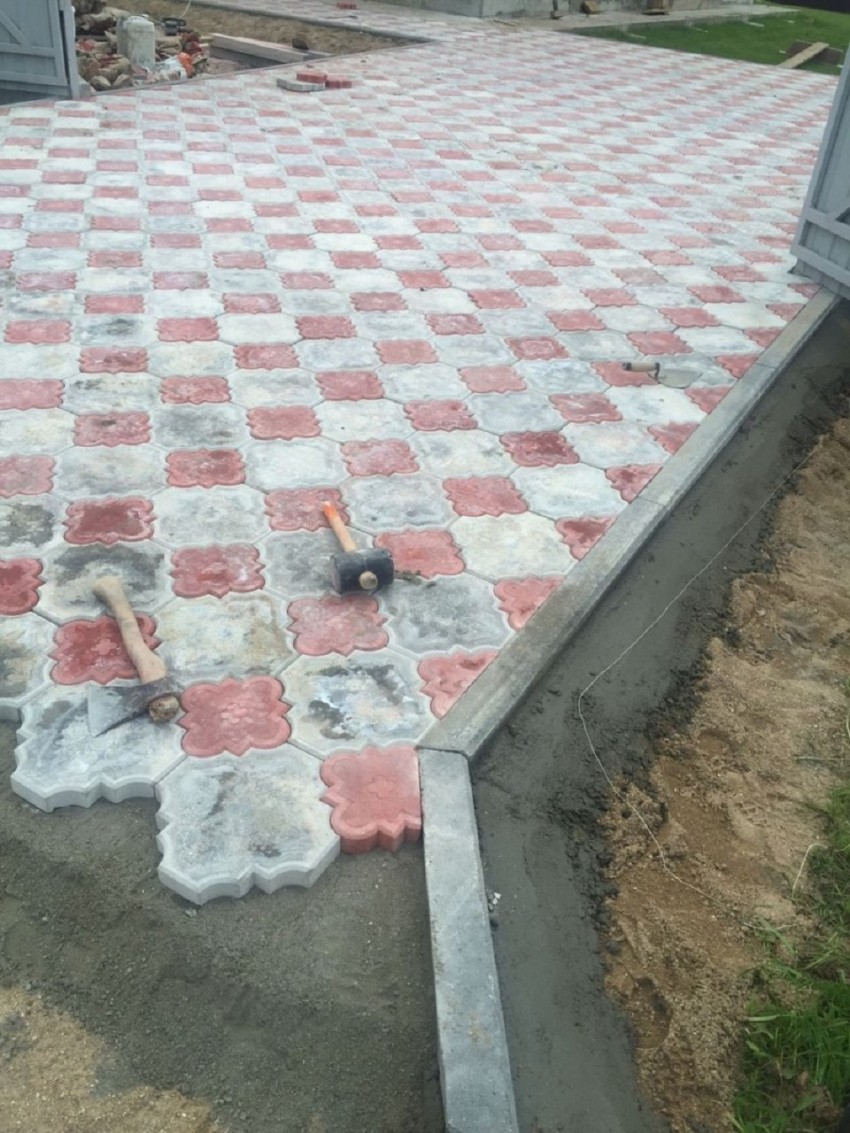
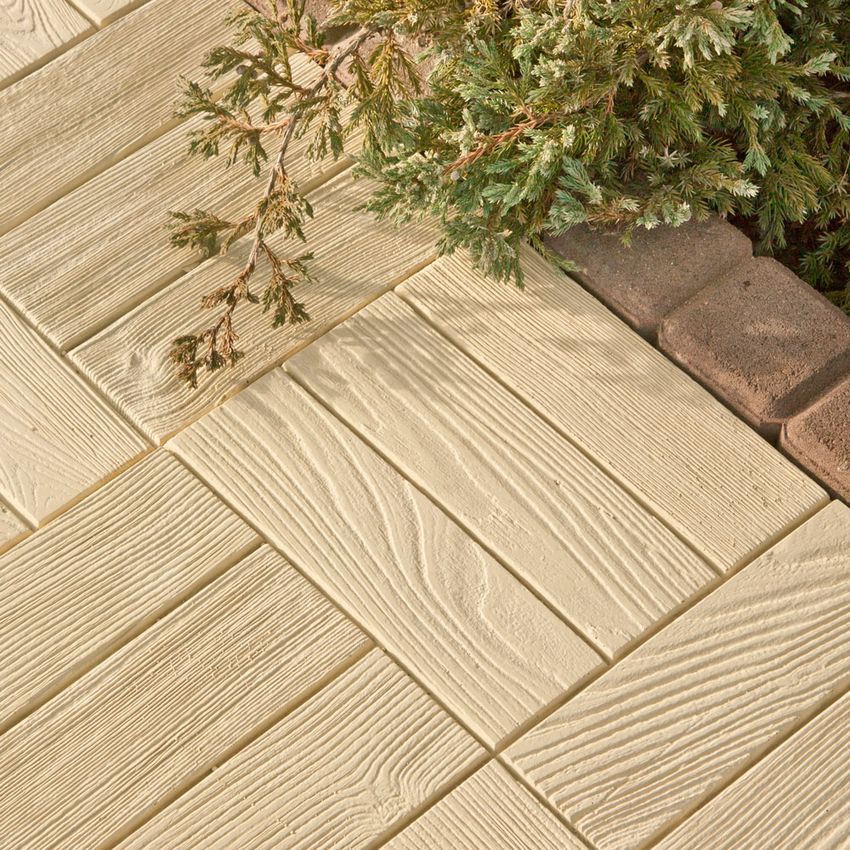
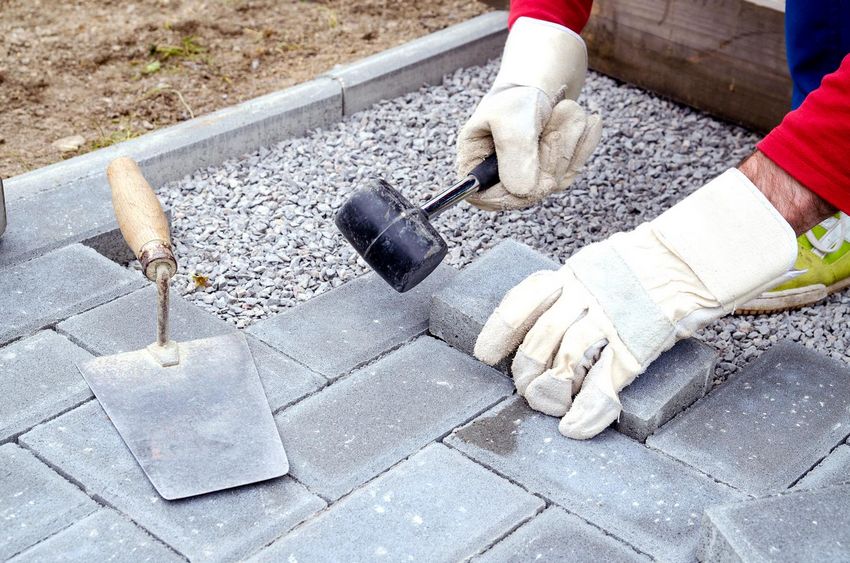
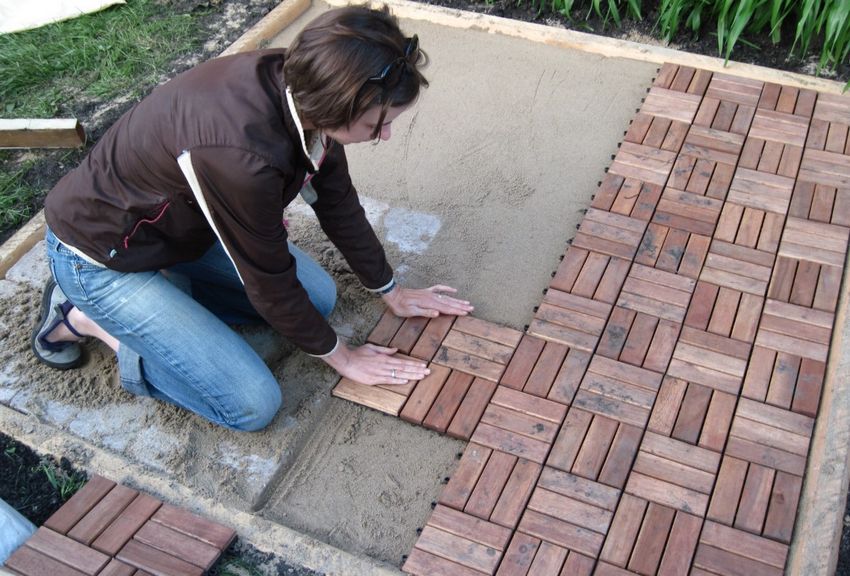
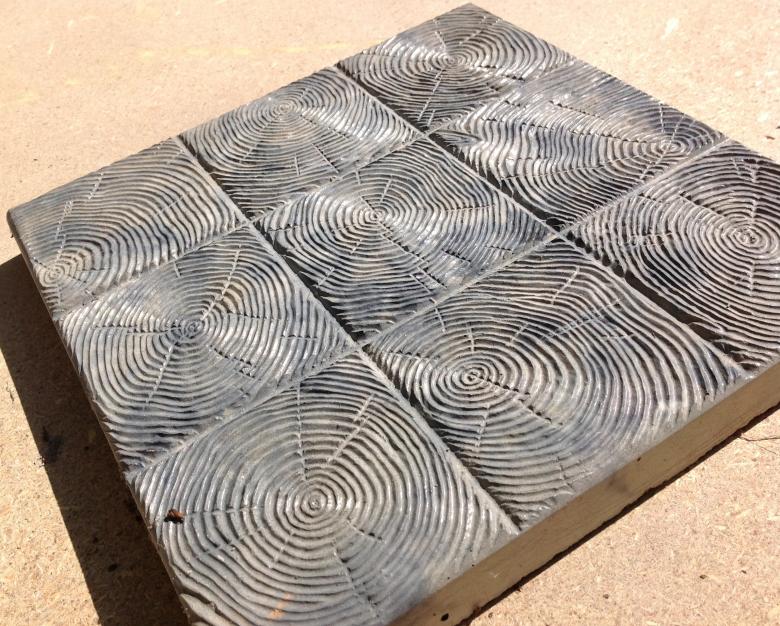
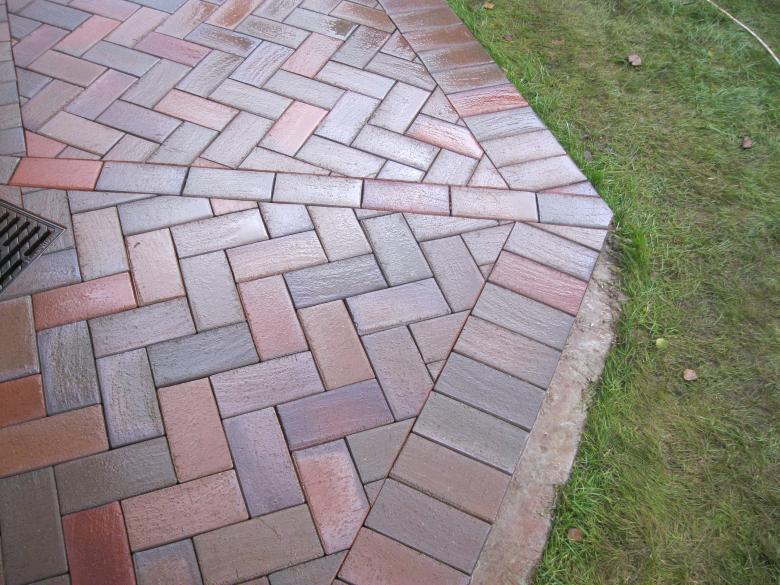
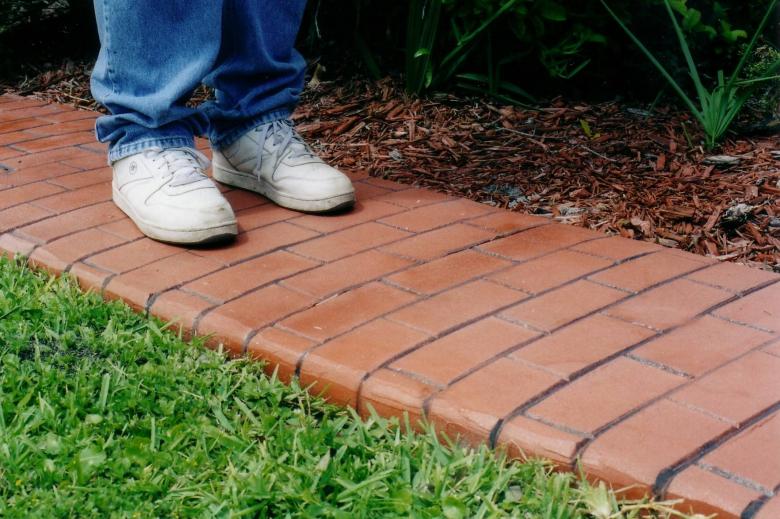
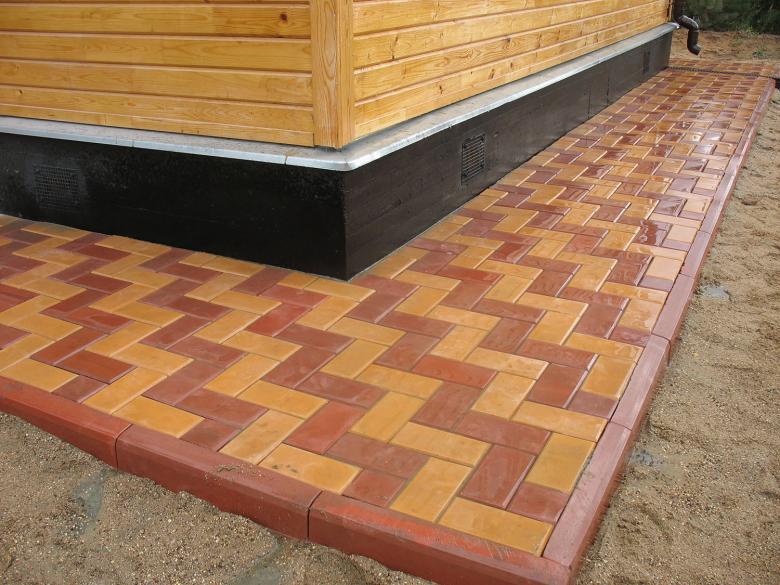
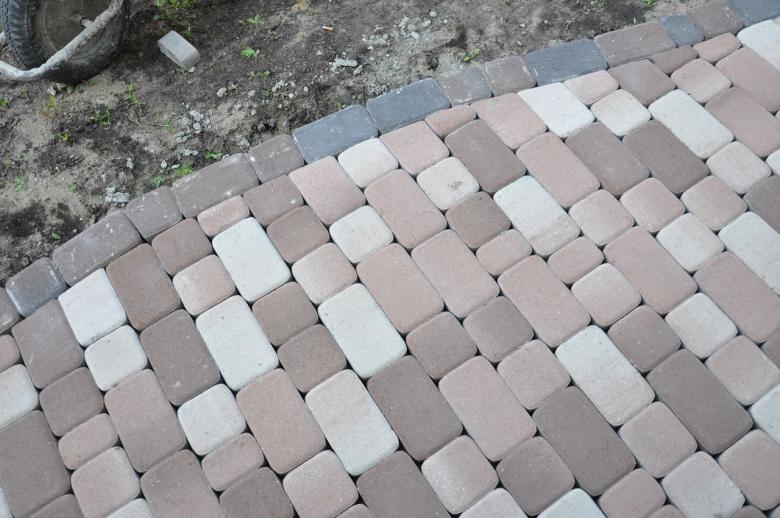
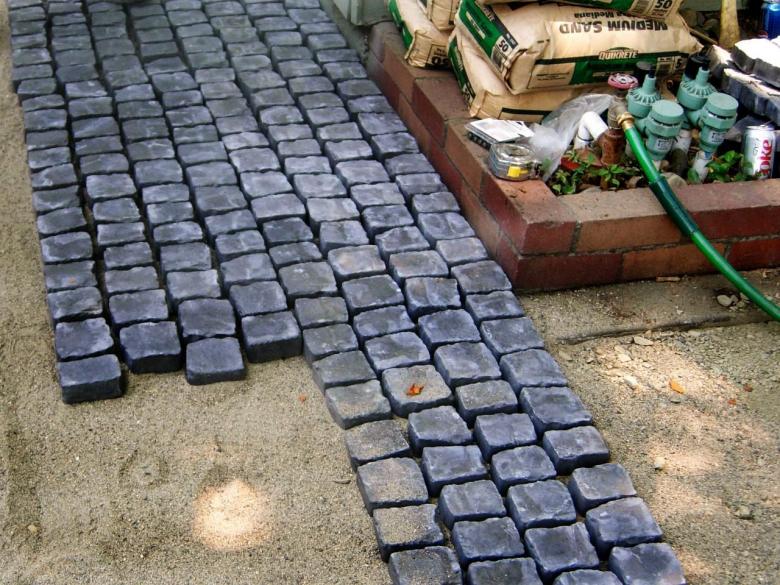
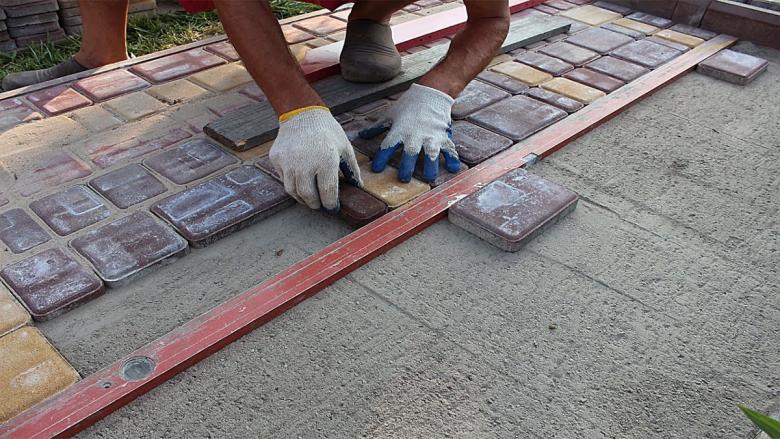
Photo ideas of homemade paving tiles