How to Draw a Robot in Pencil: Easy Drawing Techniques for Children and Beginner Artists
The robot is an invariable participant in all fantasy stories, funny adventure films and cartoons. Robots appear in most comics for children and adults, being guests from another planet or evidence of the development of their own world.
Any child received a robot for the holiday - a plastic or metal toy. But not every child or adult is able to create his or her own comic book or home scrapbook, where all the creative projects and fantasies will be depicted. To create an original album, you'll need to first practice drawing various robots.

Advantages of drawing with a pencil
Characters of their own stories or illustrations in comic books should be bright, but the first stages of learning the art of art are better done with a simple pencil.
The benefits of drawing in pencil:
- Any strokes and unnecessary details can be erased with an eraser.
- Today there is a huge selection of pencils with different rod diameters, which allows you to highlight certain lines and details in a drawing.
- Creativity using a pencil and an ordinary notebook page allows you to teach your child how to draw a robot in ticks.
- Drawing with a simple pencil is a classic example of illustrations for a homemade comic strip.
In addition, the thickness of the simple pencil allows even the smallest craftsmen to comfortably engage in creativity. Such a tool is convenient to hold in the hand when fine motor skills of the fingers are just beginning to develop.
Preparation of materials and tools
For any creative project, it is necessary to prepare a workplace and a set of tools:
- Plain and colored pencils.
- A ruler and a compass.
- Eraser.
- If further coloring of the image is planned, felt-tip pens or paints should be prepared.
- Useful in the work of step by step instructions and ready-made photos of various robots.
Also for children it is necessary to take care in advance about a comfortable table and quality lighting in the room (the best choice - a wide window aperture with lateral transmitted light).
Techniques for drawing a robot
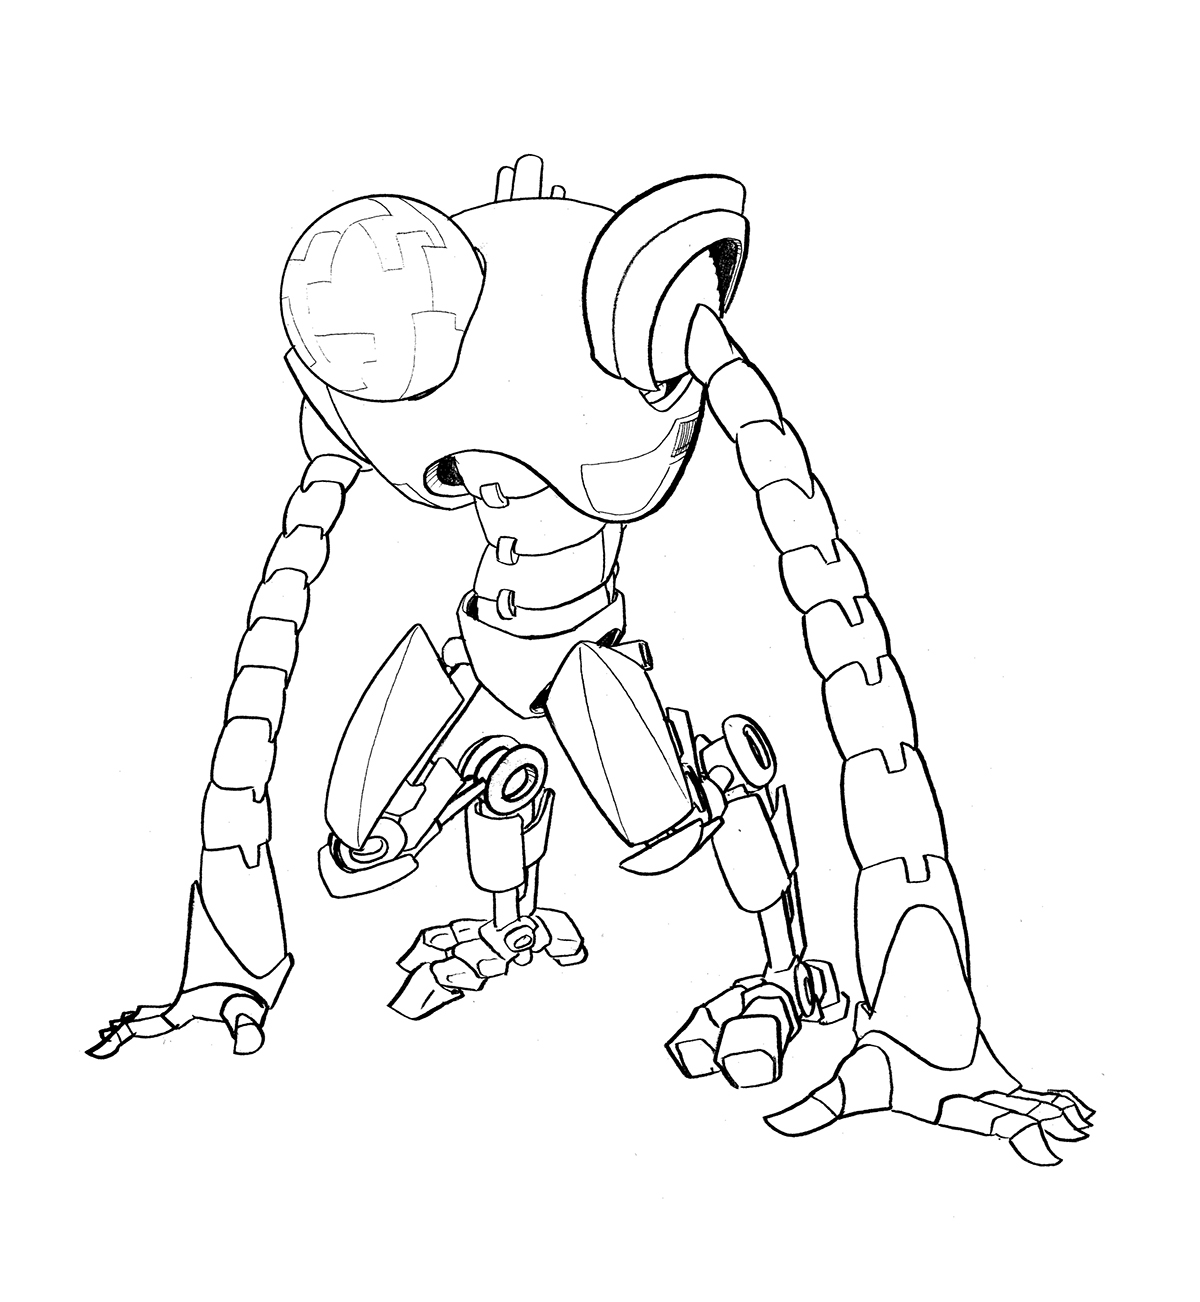
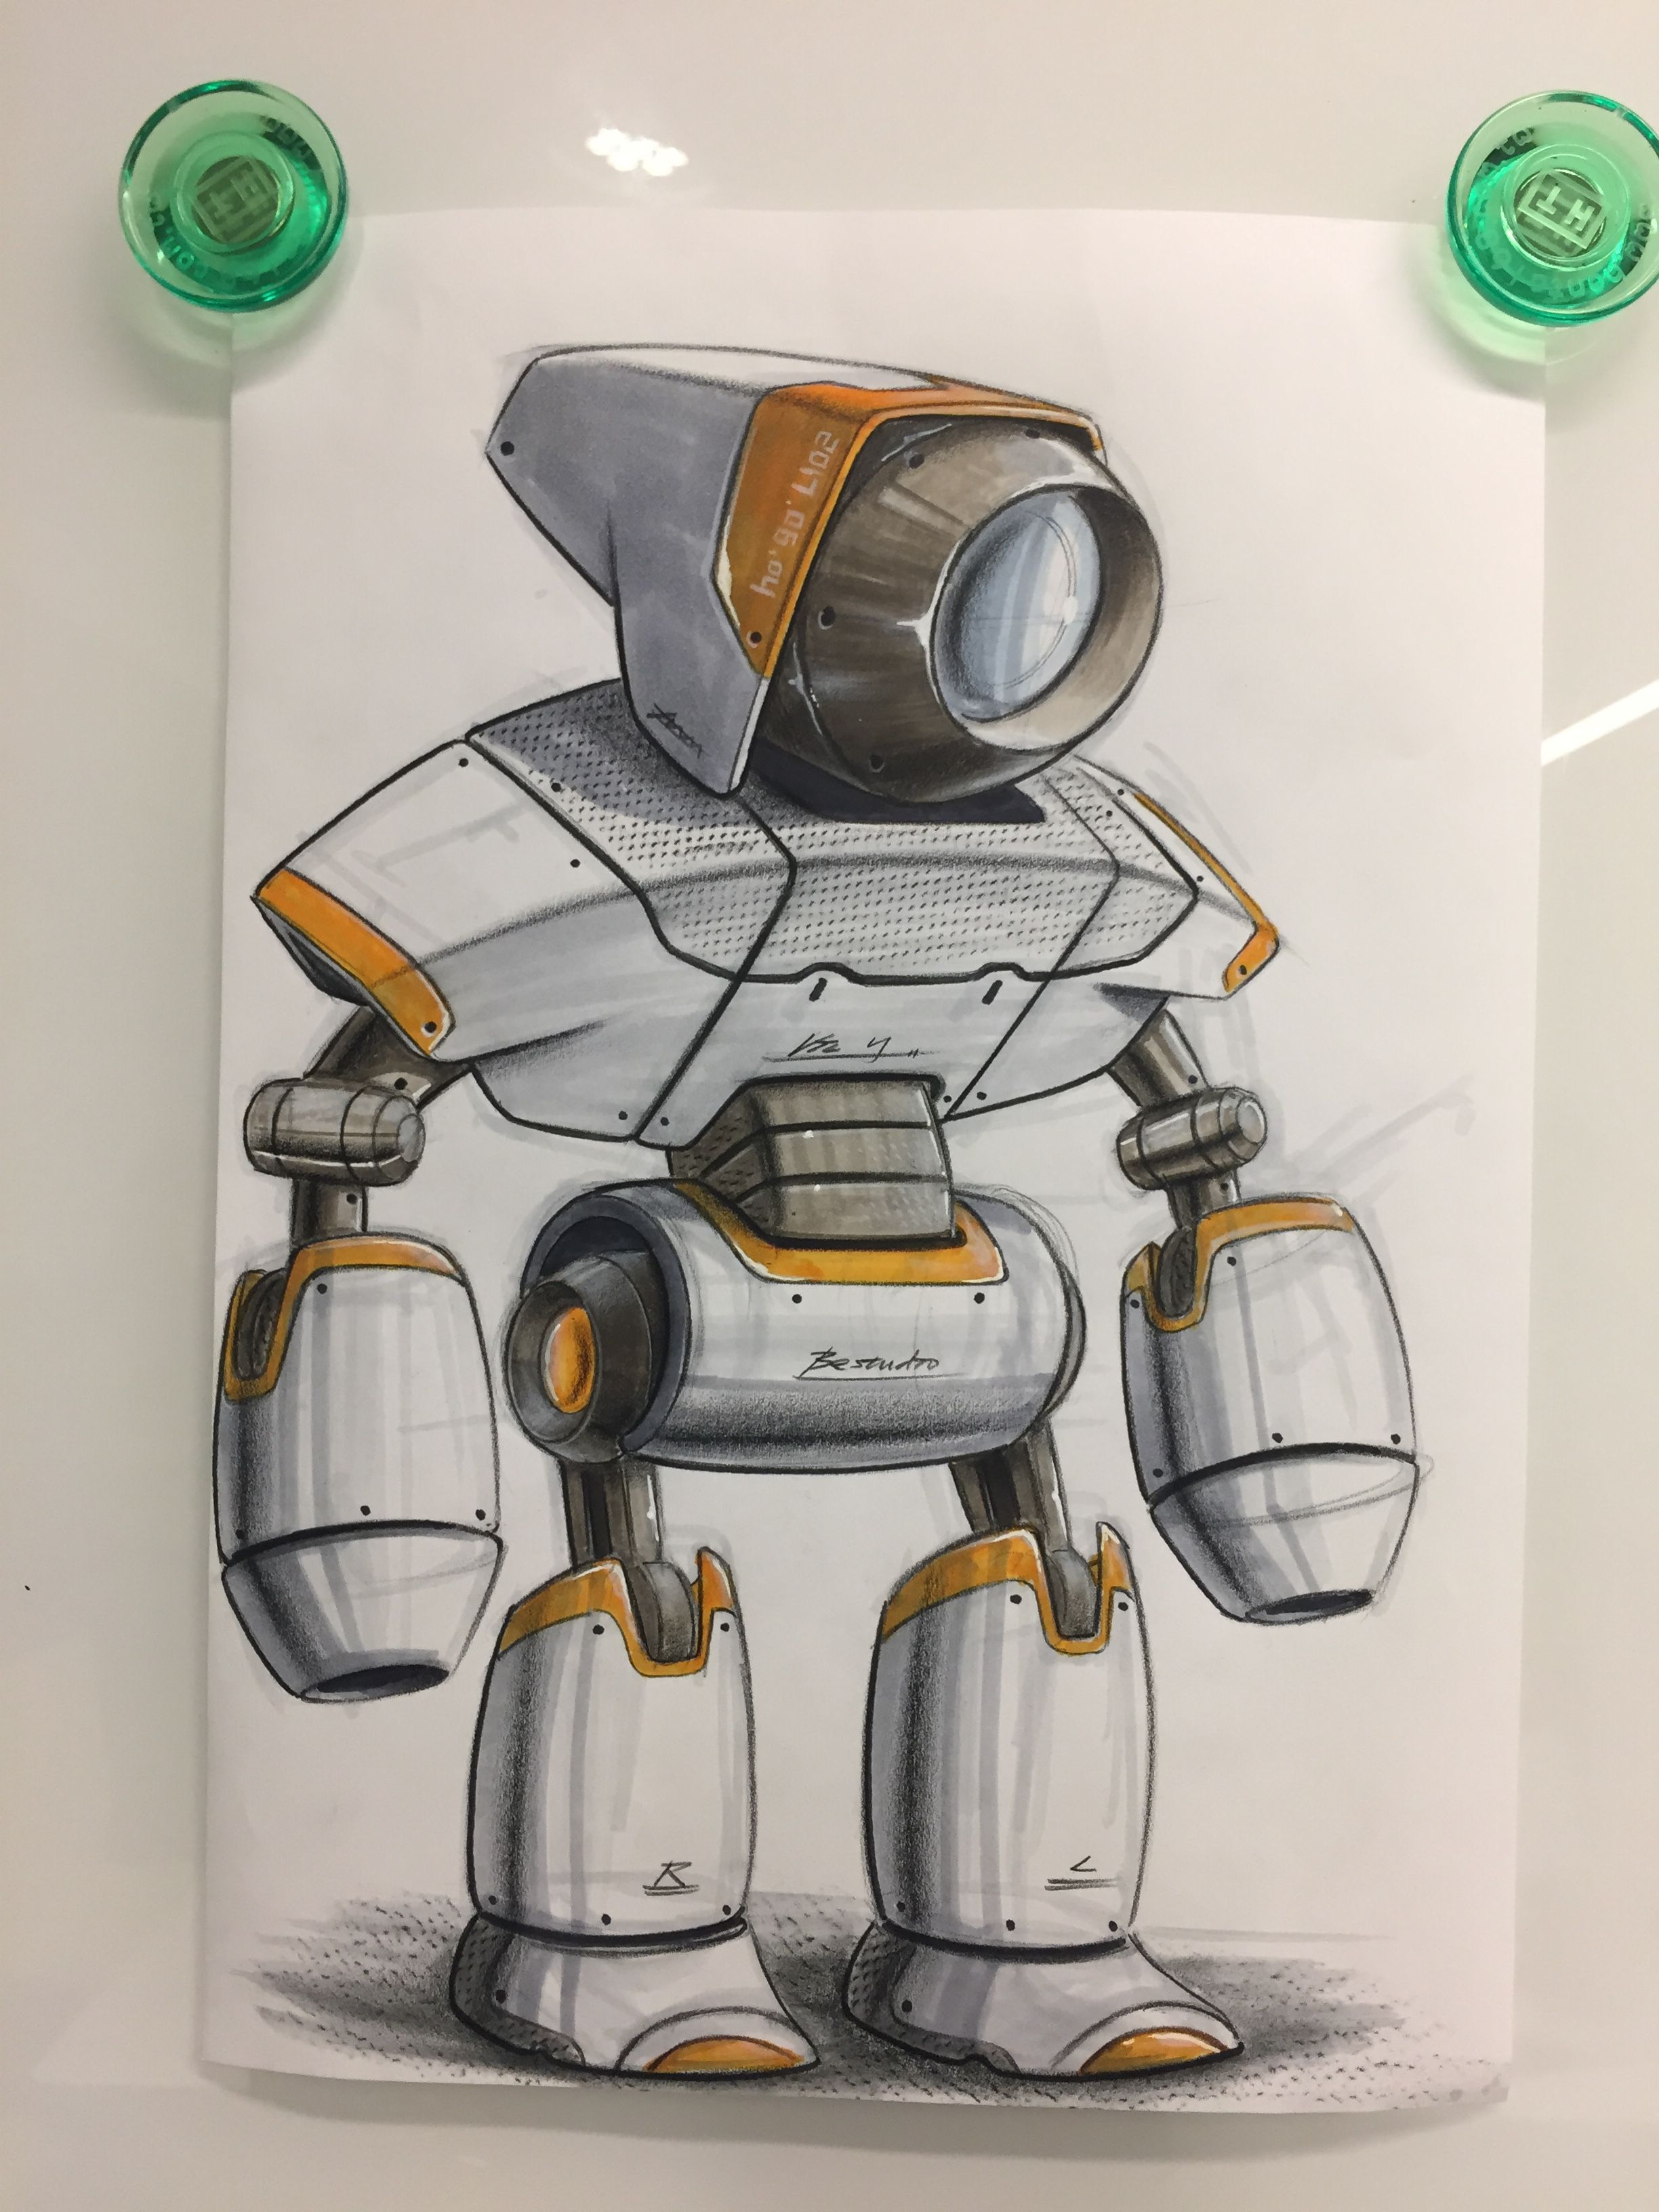
A child or adult illustrator chooses the theme of the future drawing independently. The robot can be kind and cheerful, or an evil alien from another planet. In addition, the configuration of the future character may differ dramatically. To get the desired effect, it is better to get acquainted in advance with the most famous robots, cartoon or book characters.
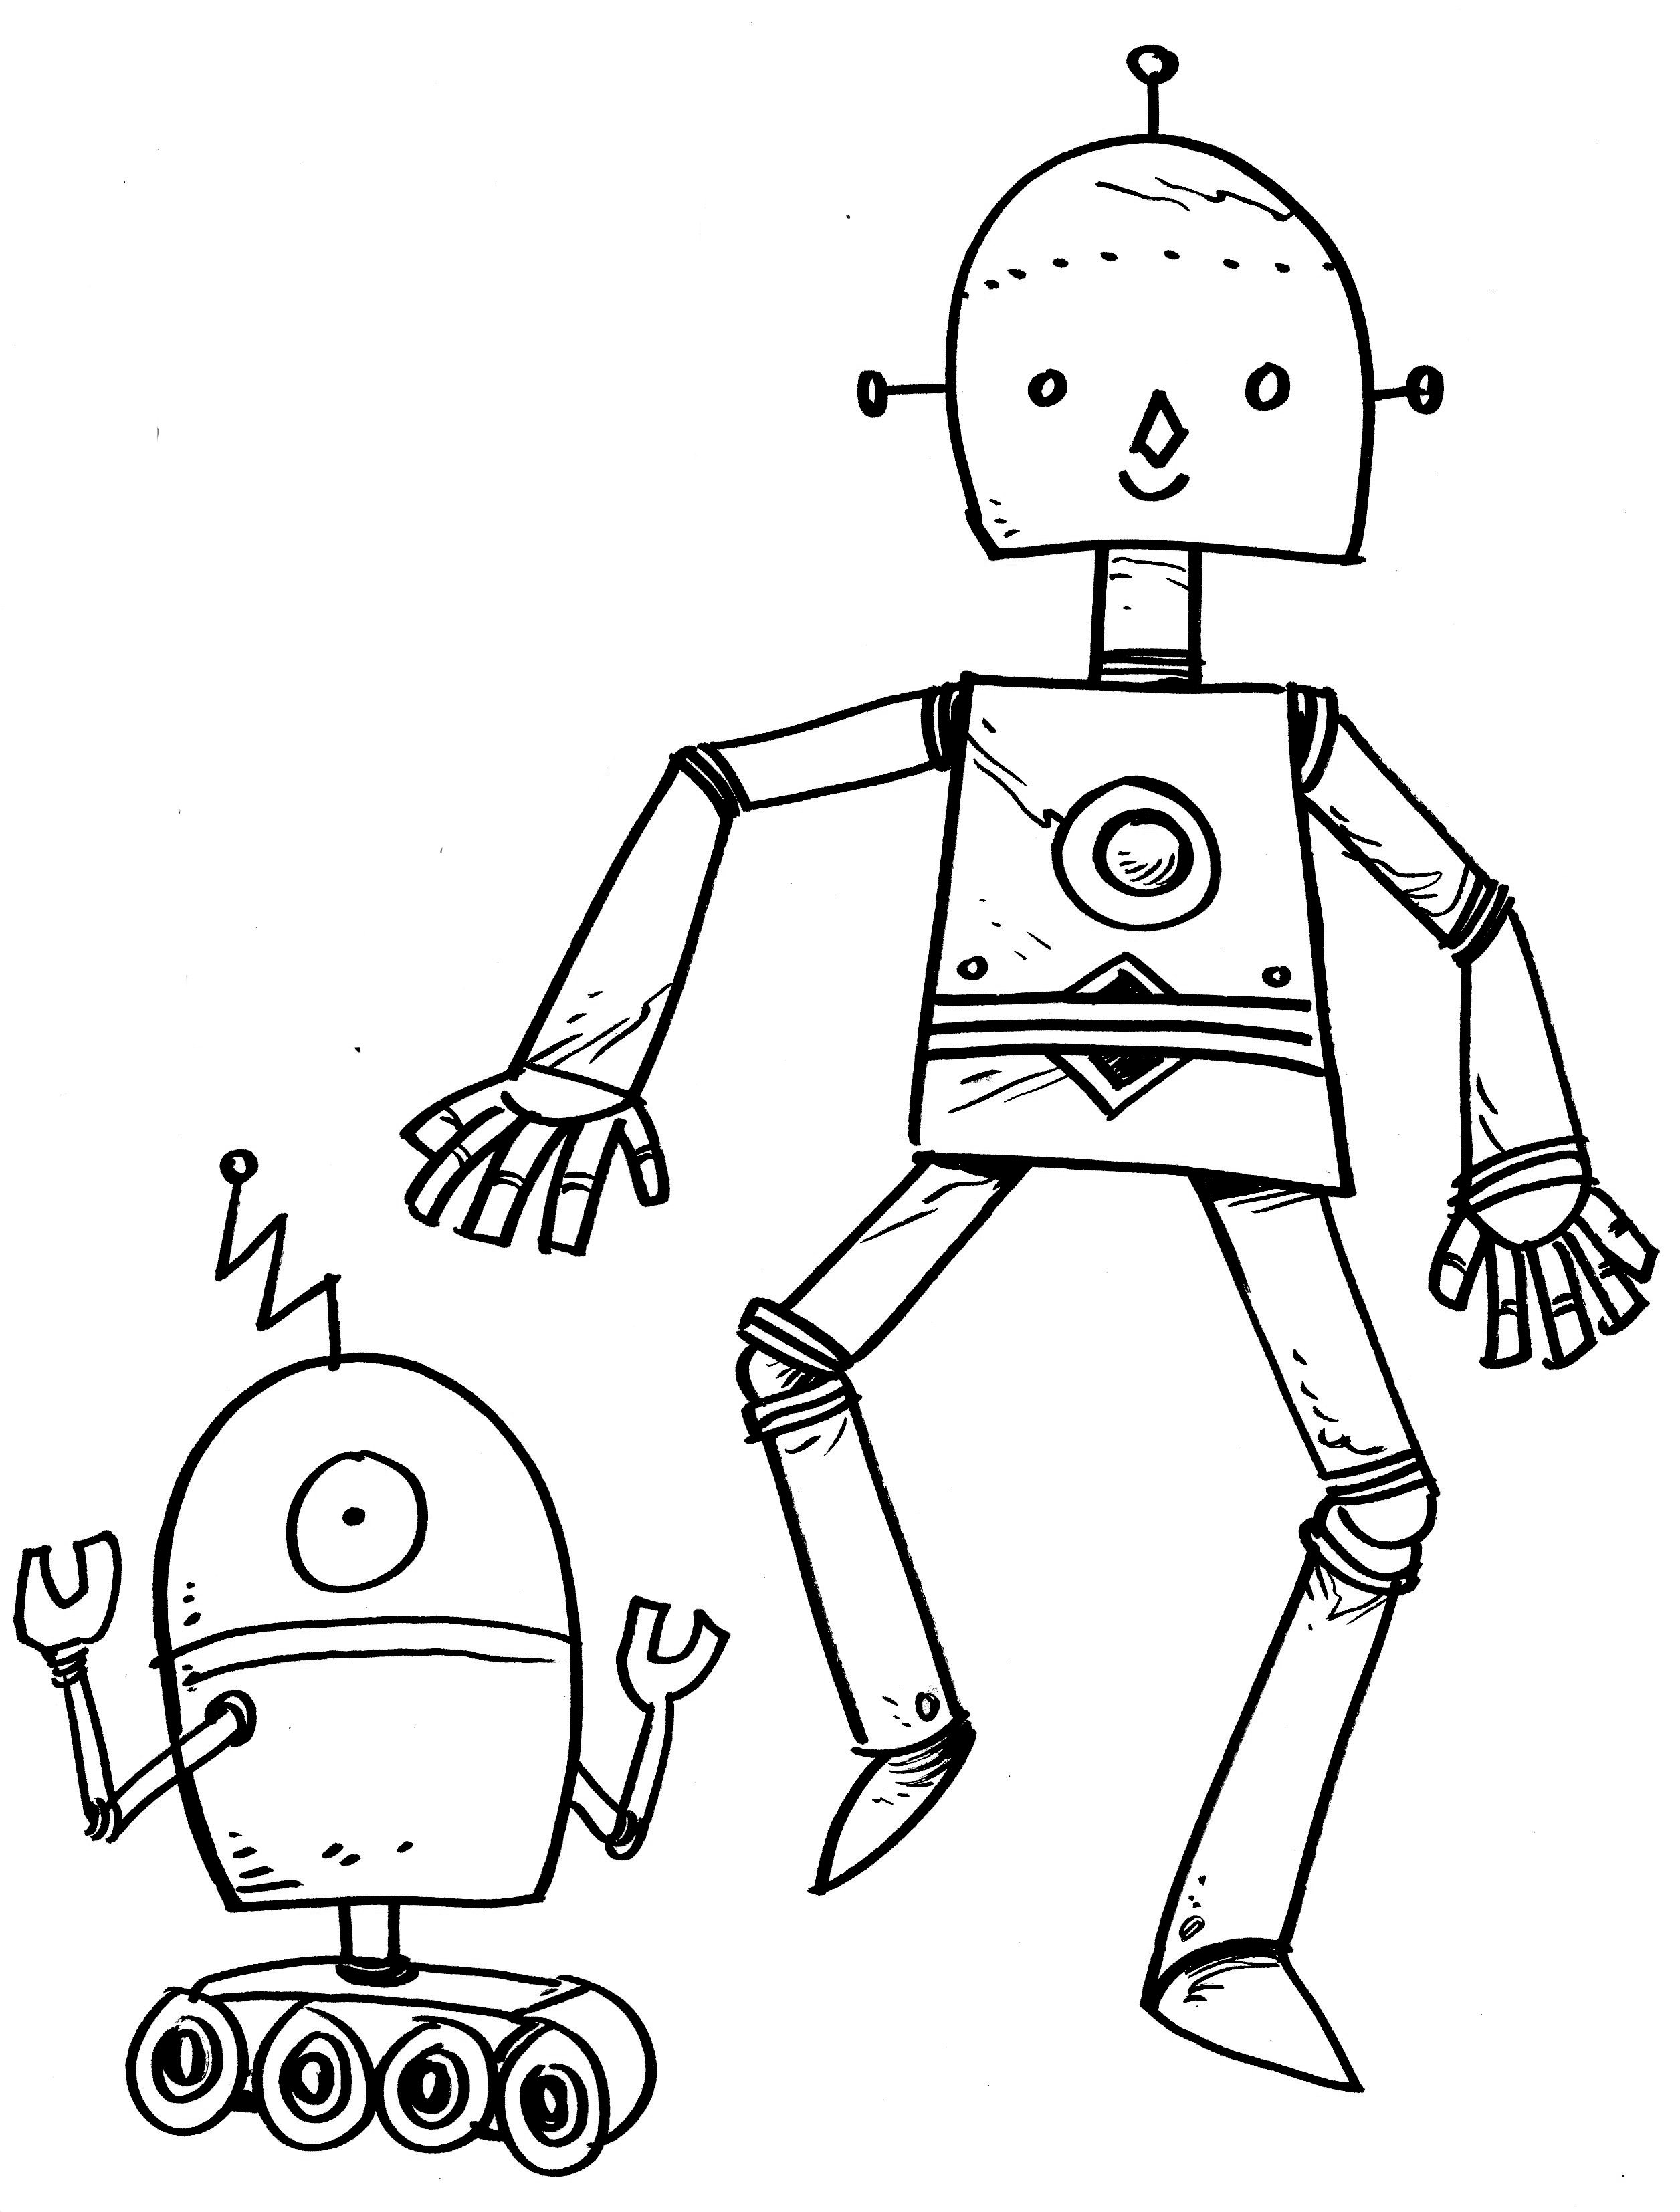
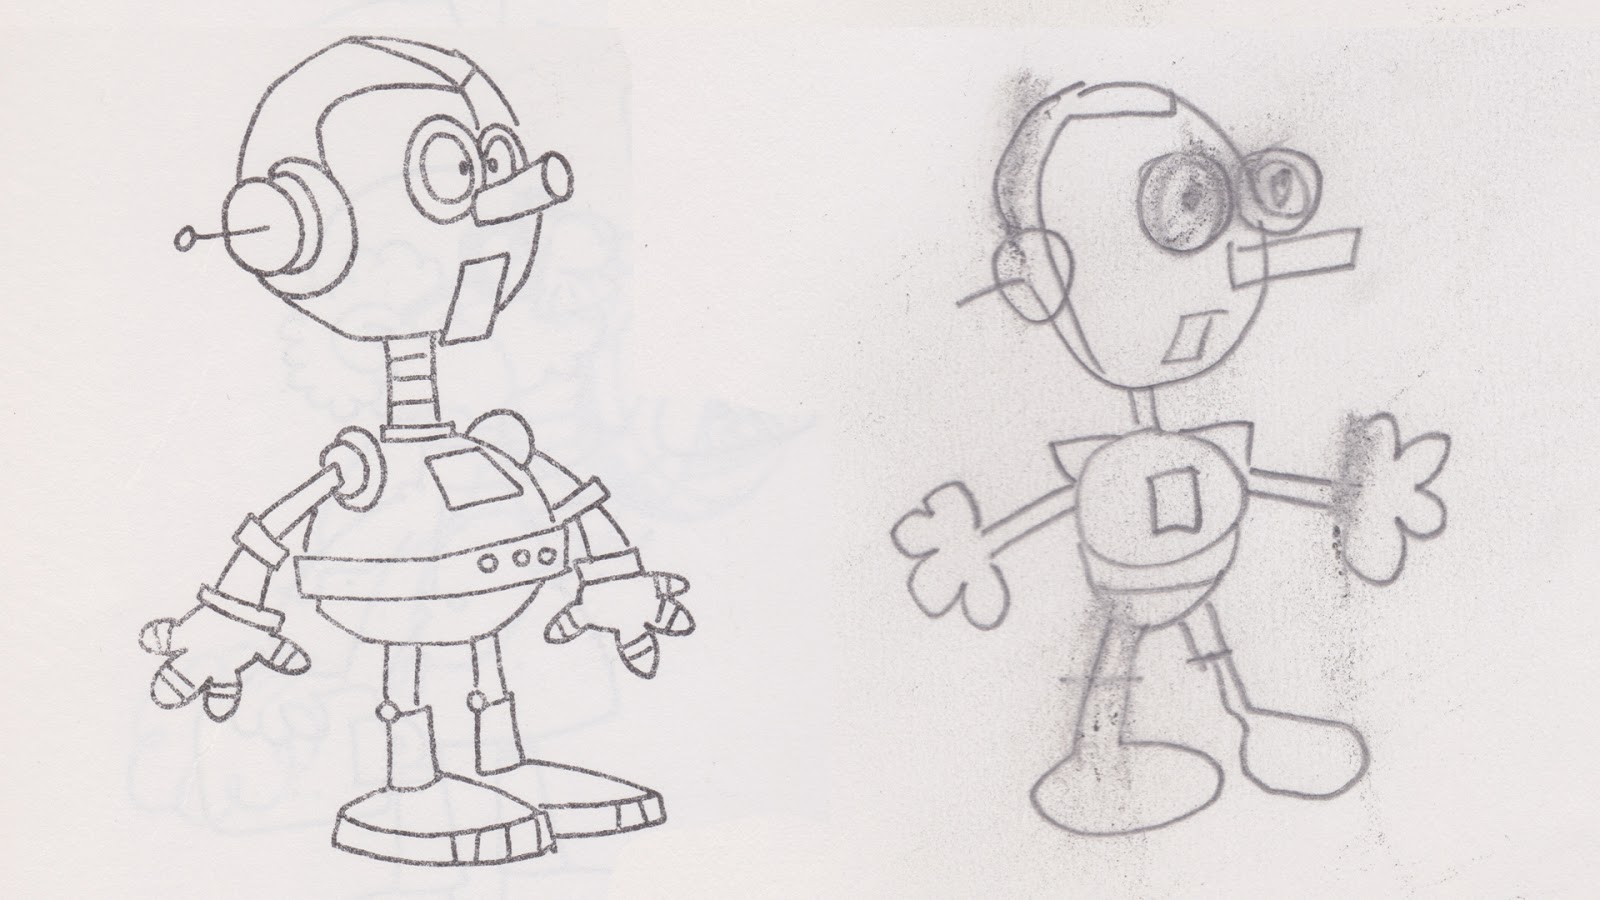
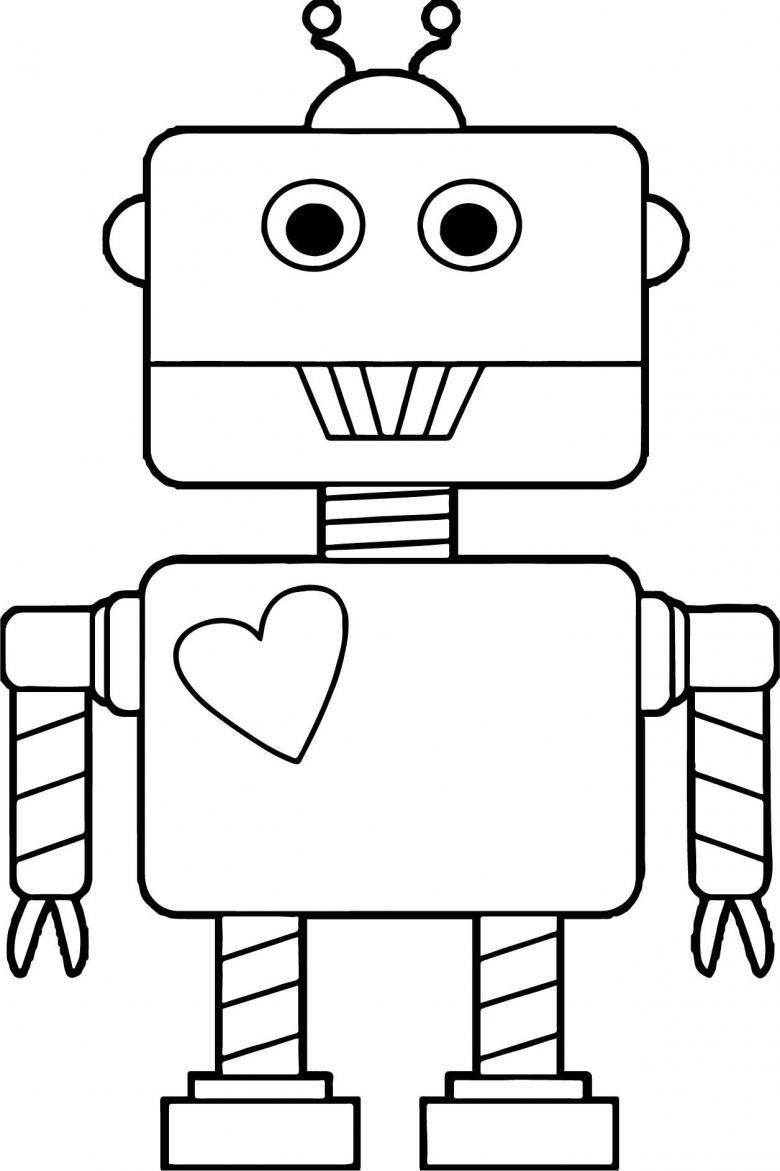
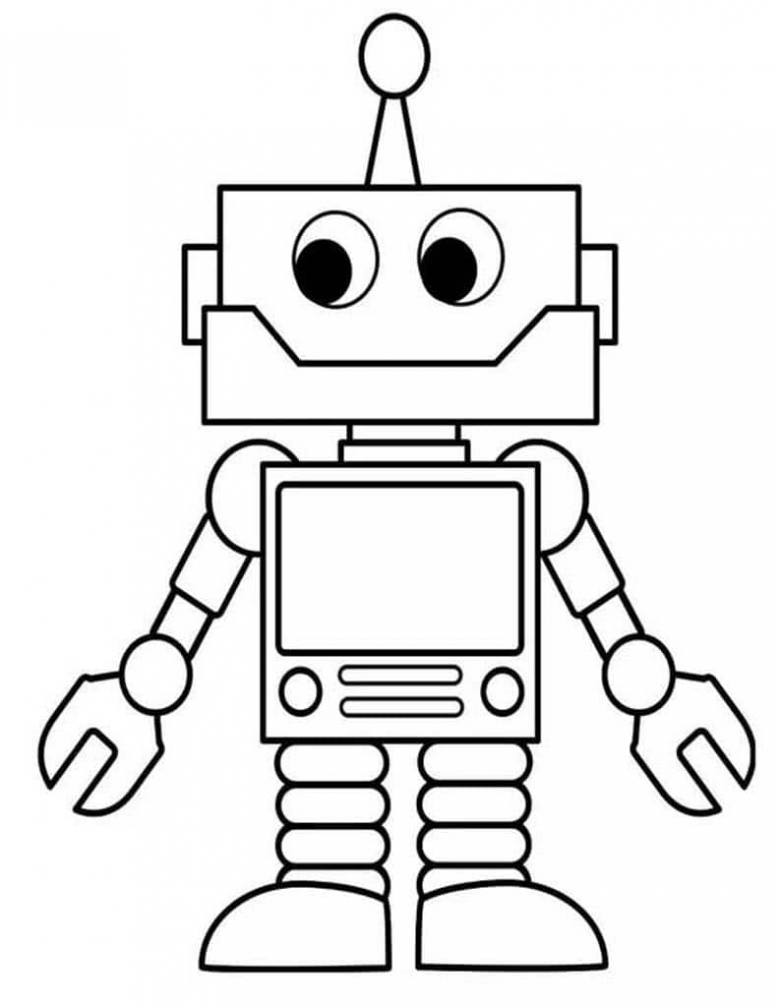
A simple robot for children
For children, it is very useful to draw figures and various characters from cartoons, because in this way acquaintance of the baby with the surrounding world occurs.
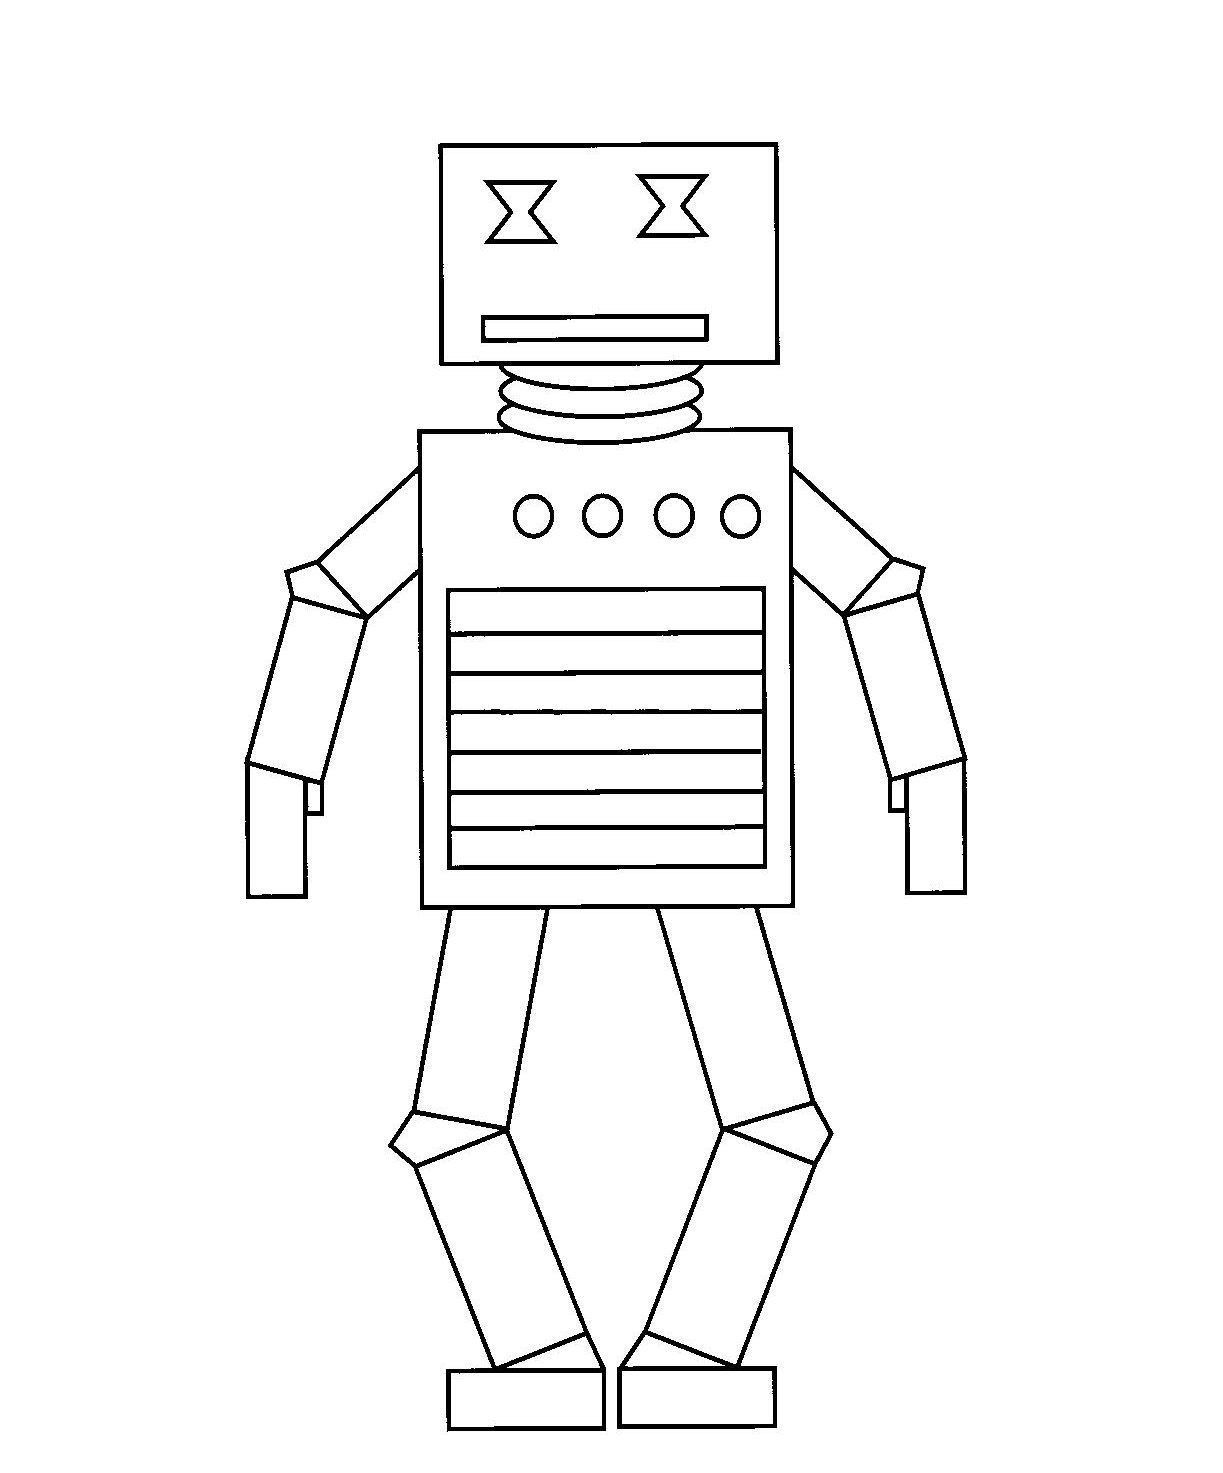
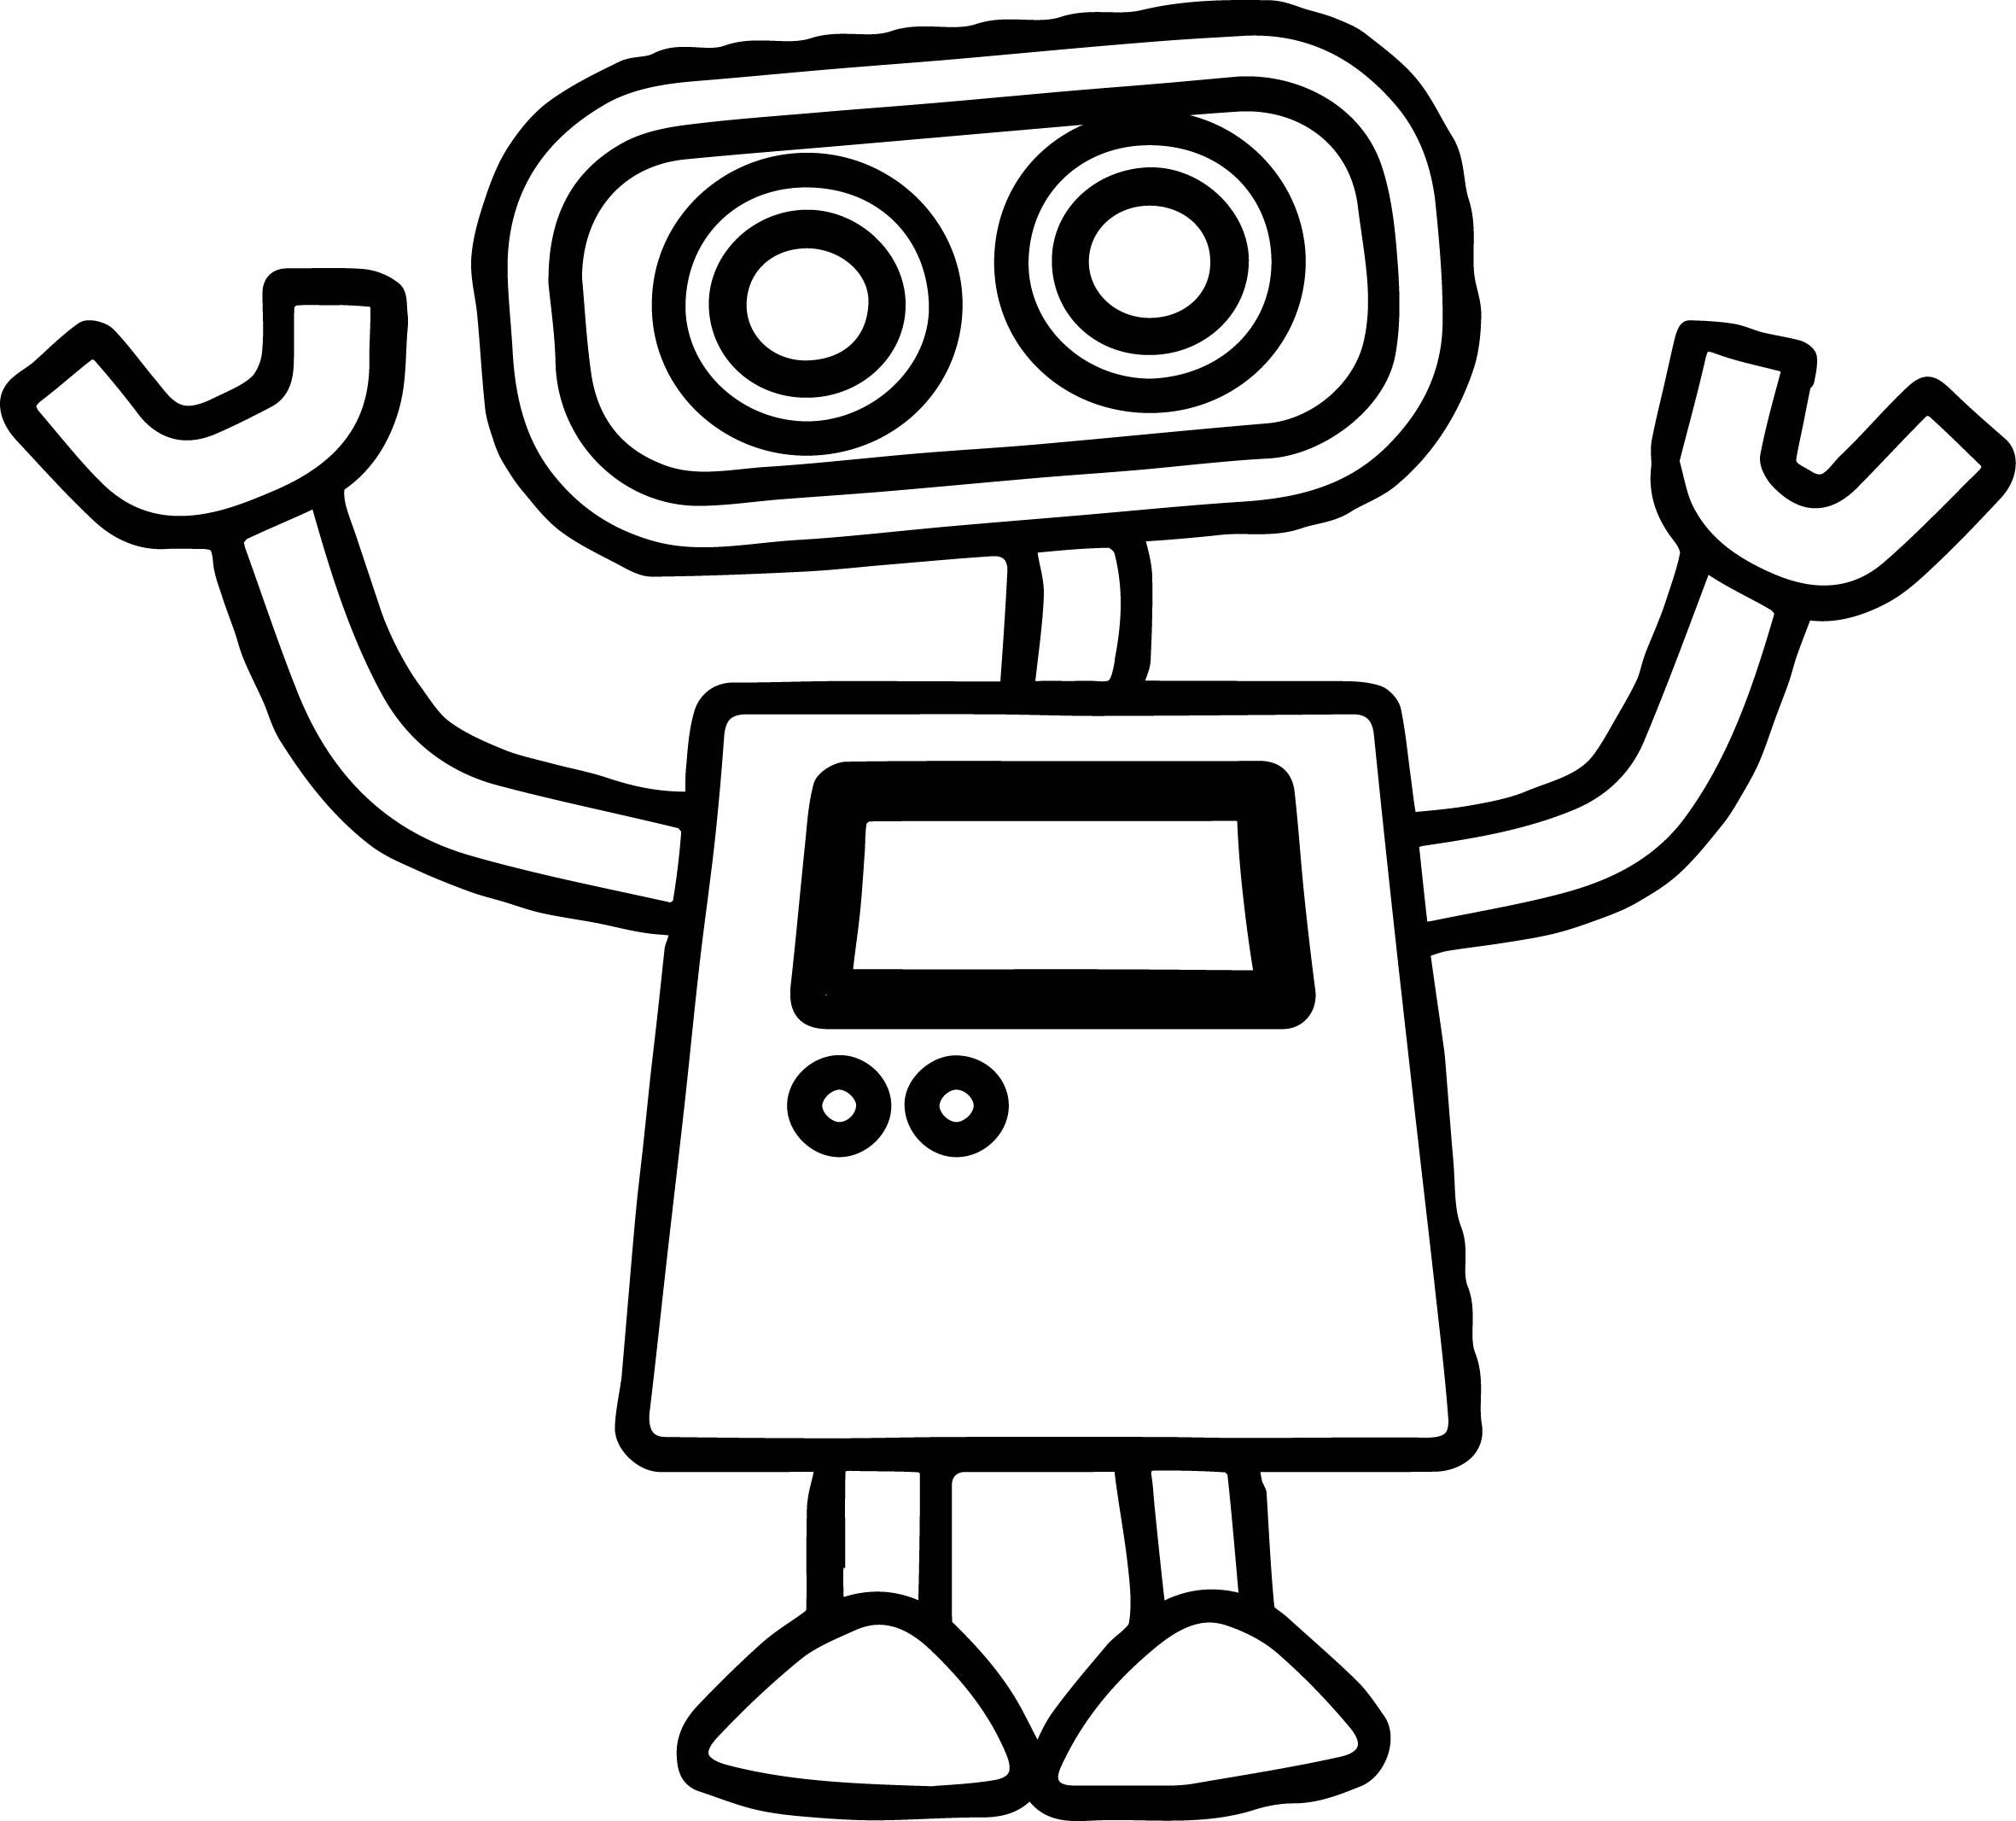
Instructions on how to draw a robot easily and simply for children:
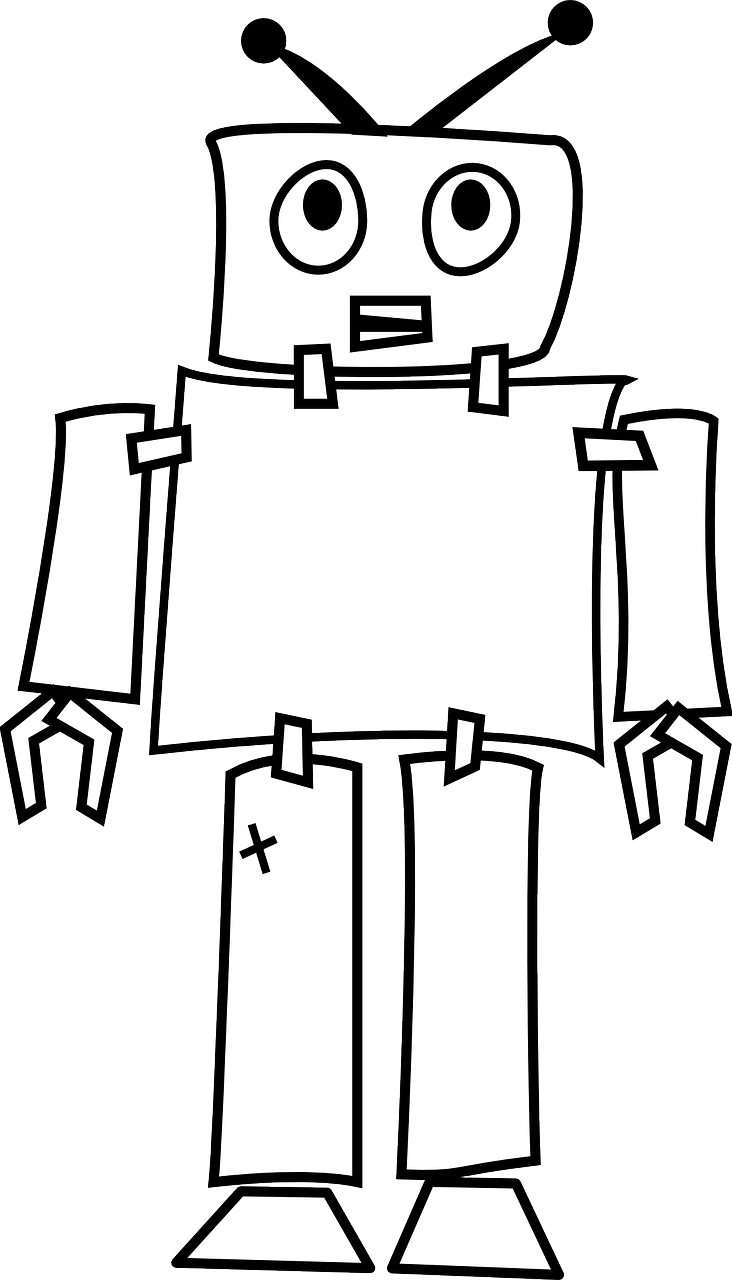
- Place a sheet of paper in front of you in a vertical axis.
- On the sheet, draw three squares: one large size at the top, two smaller ones - consecutively under each other.
- The first square is the head. One horizontal line separates the jaw from the main part of the face.
- Two rounded eyes are placed at a distance from each other.
- On the sides of the head dorisovyvayut two rectangles, imitating the ears or locators.
- At the top pole of the square depict the antenna (any shape you like).
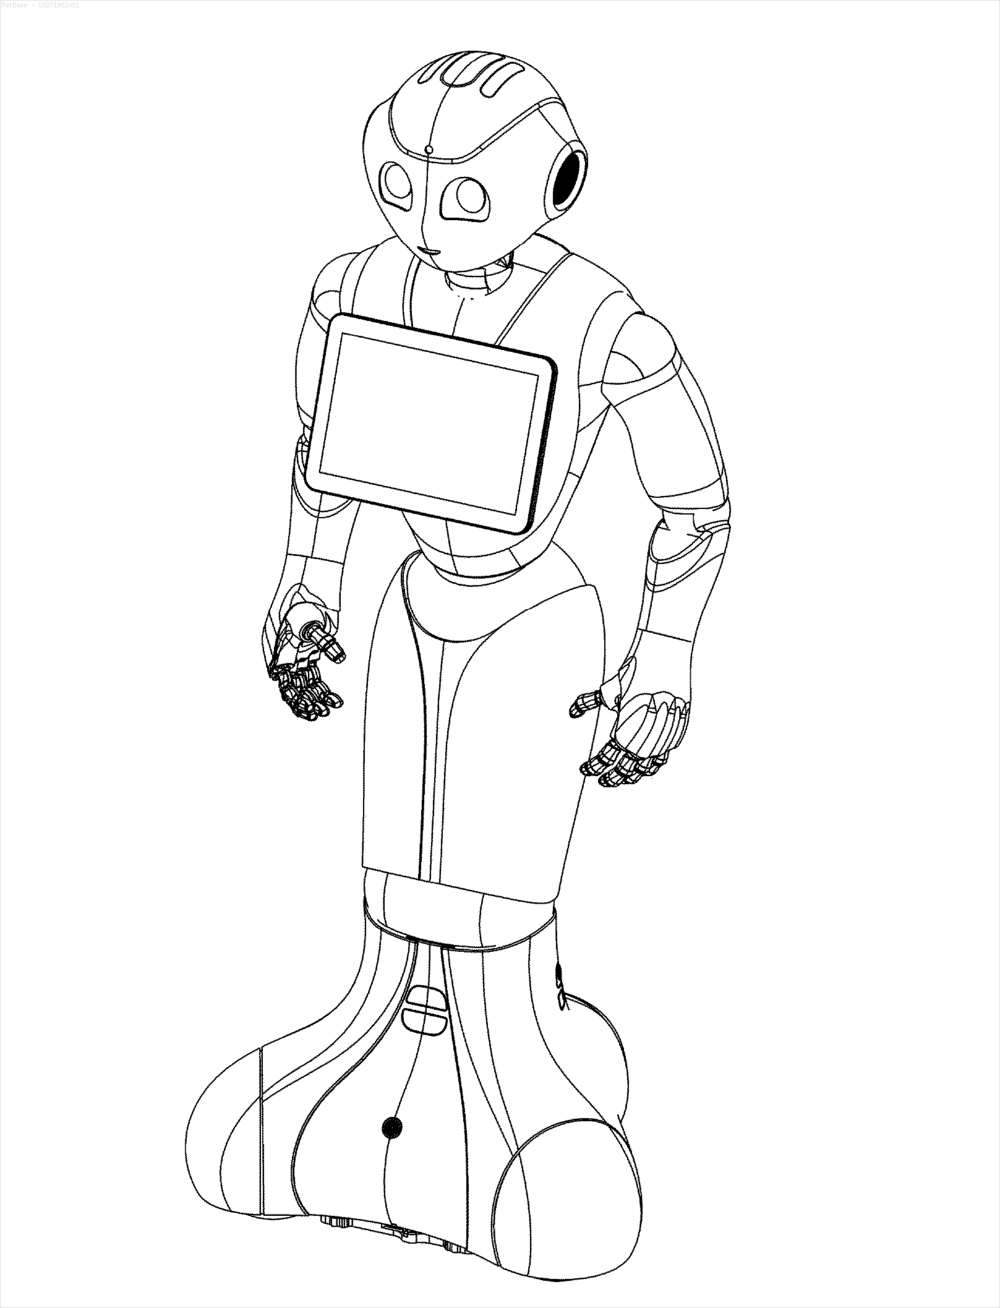
- The next step involves drawing the torso. Inside the second square it is necessary to depict a second smaller square figure - the screen. On the surface of the screen, you can draw a graph or diagram, a set of words.
- Just below the screen must depict the two buttons rounded shape.
- The next step is working on the formation of the legs. To do this, the bottom figure is divided by a vertical bar in half. Inside each rectangle obtained ellipses are formed, as if stacked.
- The very last ellipse has a large size, representing the robot's shoes. Excess pencil strokes are removed with an eraser.

To the average square finish drawing two large ovals. Inside each of the figures, the contours of the hands with mechanical pincers or long fingers at the end are drawn. Excess pencil marks are also removed.
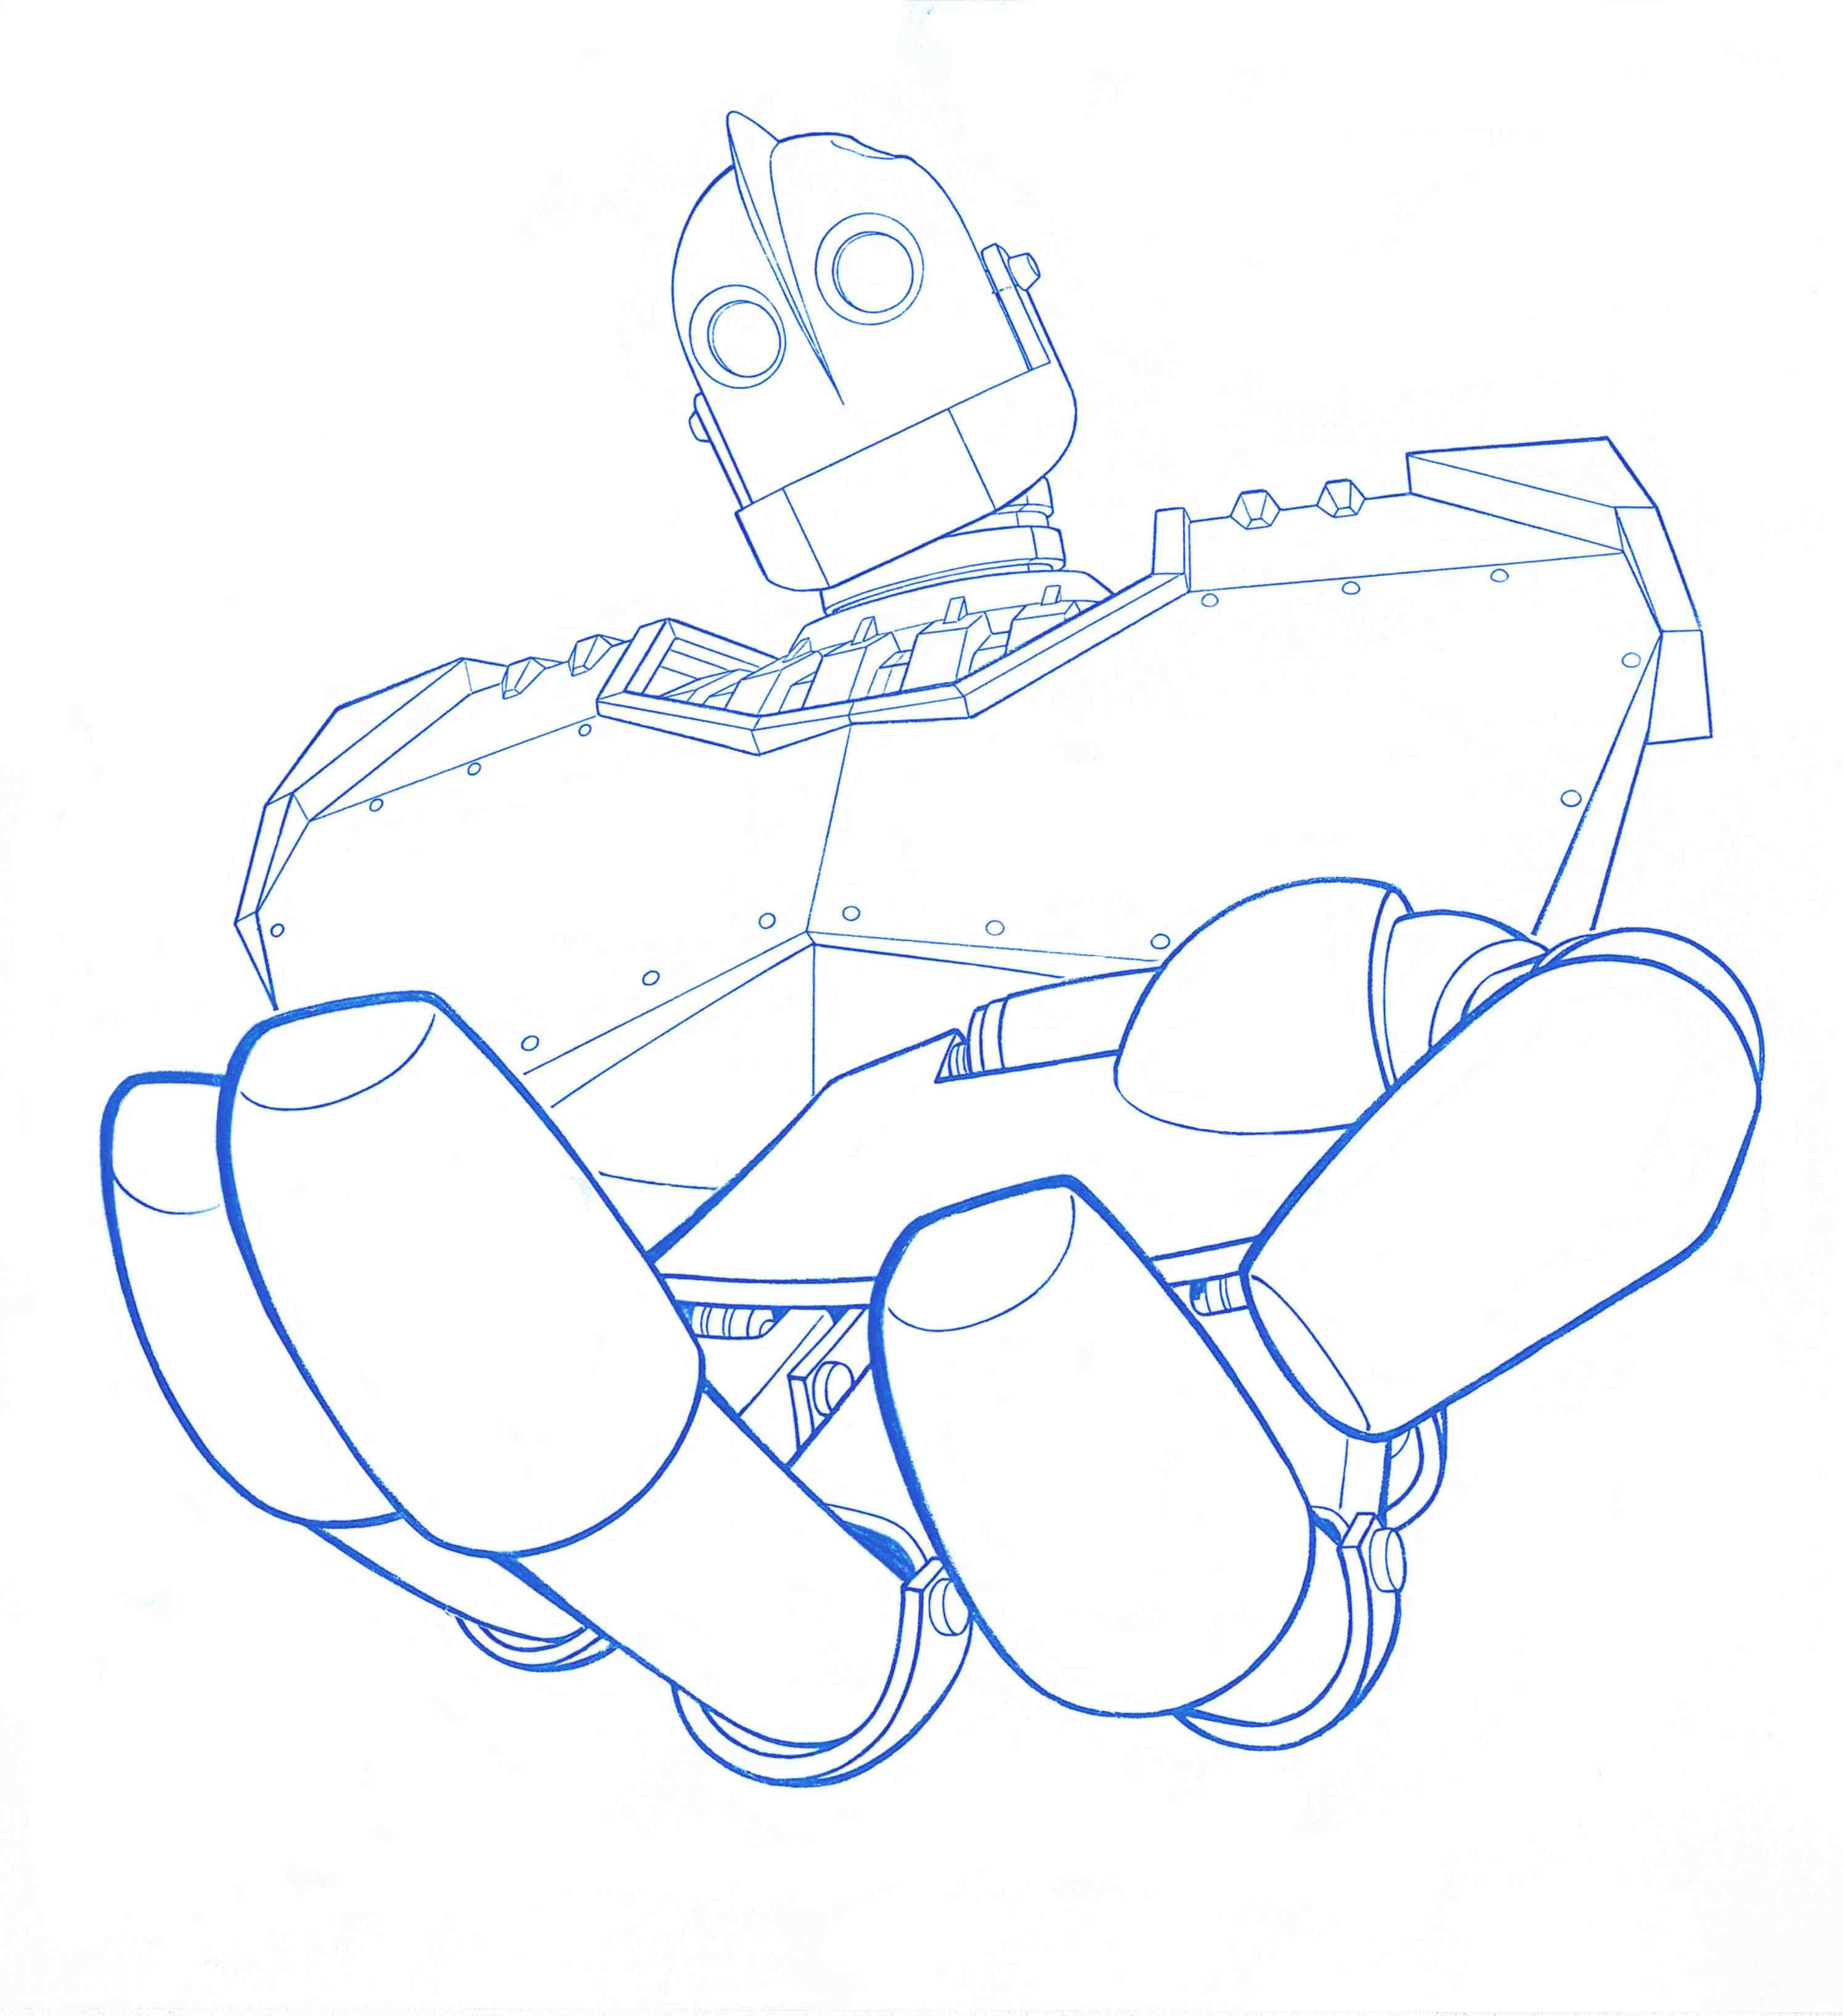
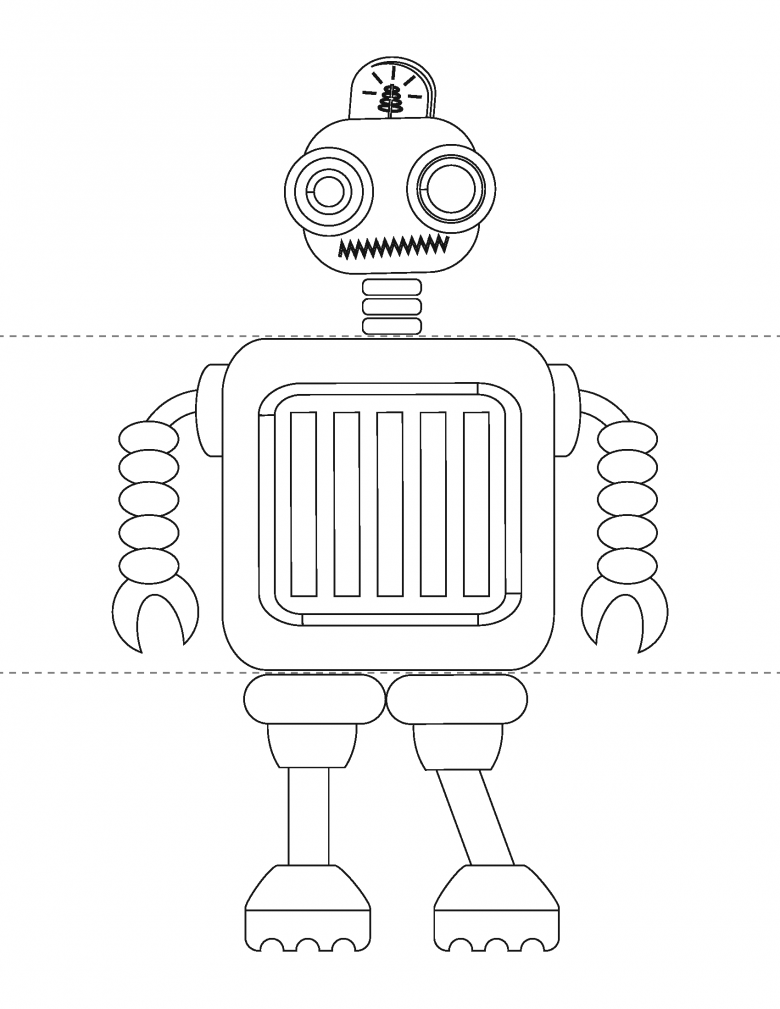
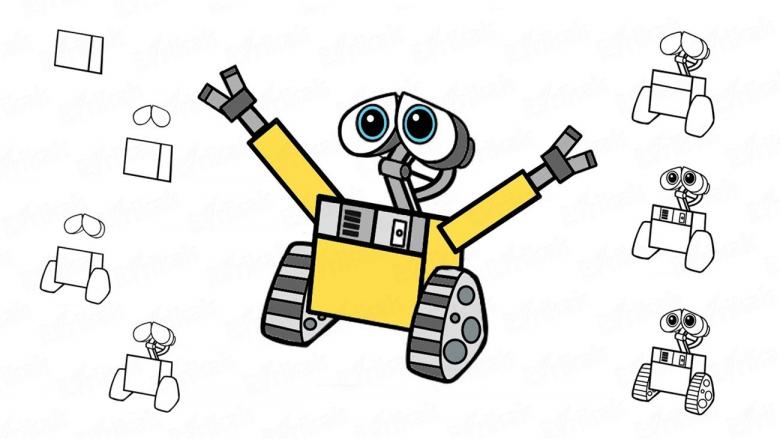
The robot from the cartoon "Wally"
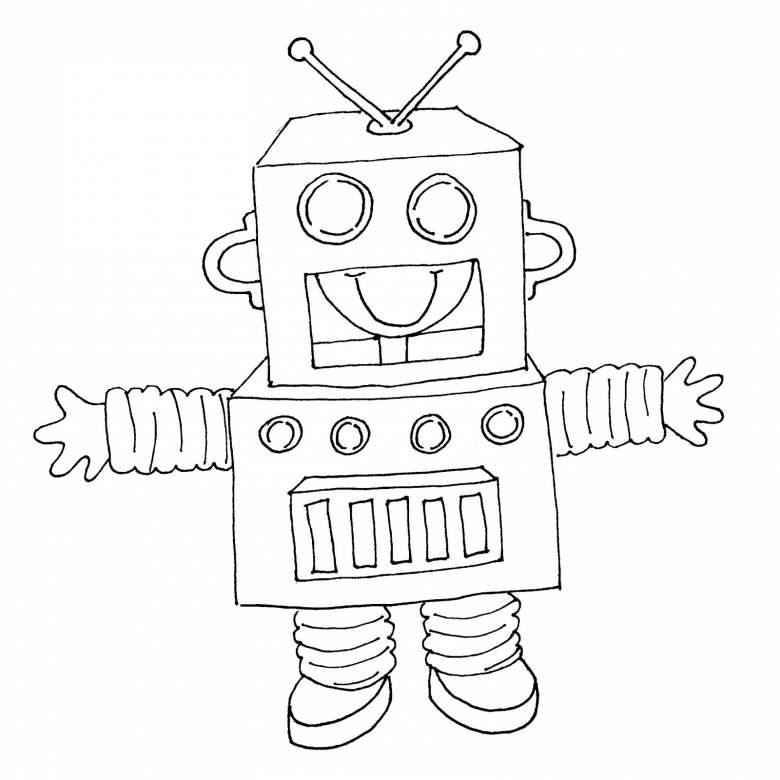
Children's cartoons quite often become a source of inspiration for young artists. One of the most famous characters of children's television is the robot janitor from the cartoon "Wally". Instructions on how to draw a robot with a pencil step by step for children:
- A white sheet of paper is placed in front of you in the longitudinal axis.
- On the sheet (approximately in the center) draw a rectangle, which takes a position at an angle of 15-20 degrees. Visually divide the geometric figure into three parts, and on the border of the right and middle areas hold a vertical line.
- In the second stage of the creative process it is necessary over the main figure to draw two ovals, the inner ends of which are slightly narrowed (robot eyes). Inside this detail draw two circles that will act as eyepieces.
- Next depict the track caterpillars, on which moved the robot cleaner. To do this at the lower ends of the central square depict two ovals. Another strip gives volume to the part, and the gap between the double stripe is filled with short horizontal lines.
- On the center square they draw a door and a row of buttons on the panel.
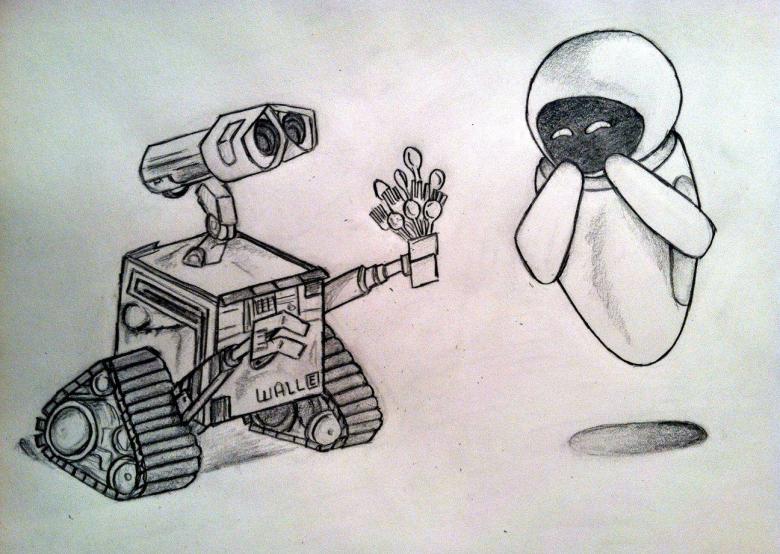
The final touch is the image of two mechanical hands with two fingers on the end. The classic color for coloring this character is a dark yellow shade.
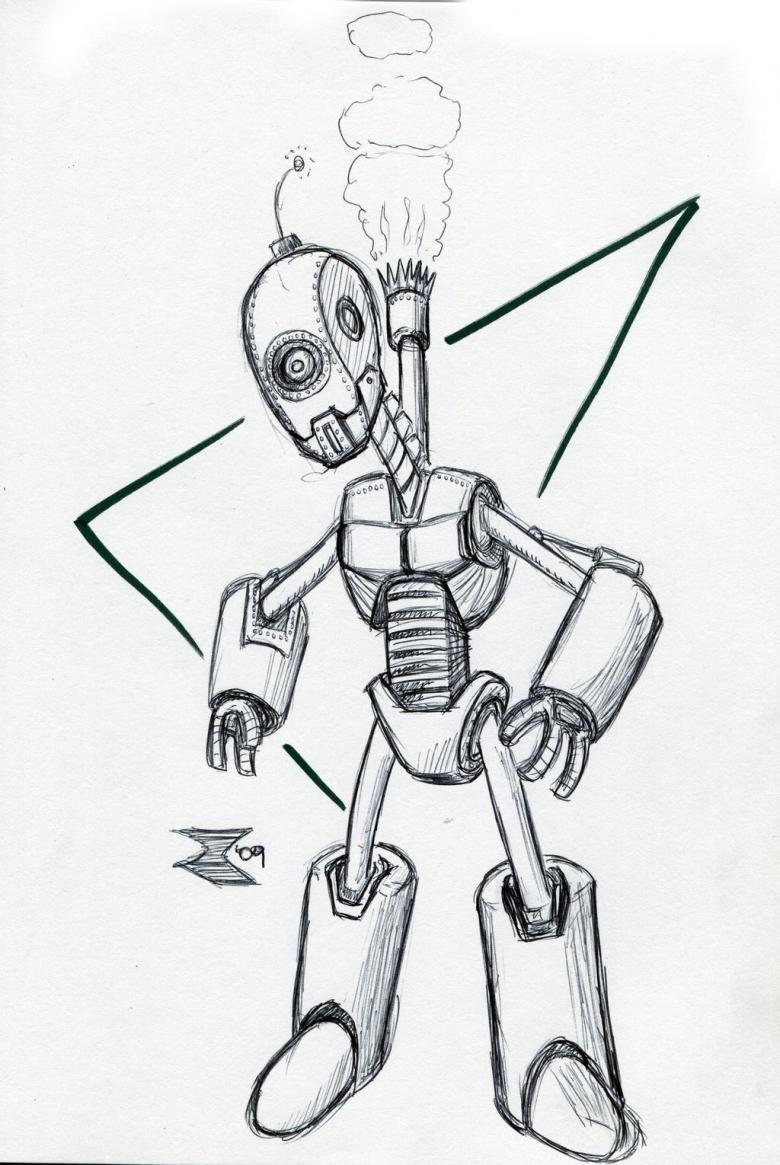
A guest from another planet
The first characters in comics and children's books were robotic aliens from other planets. And today these guests are invariable objects for drawing.
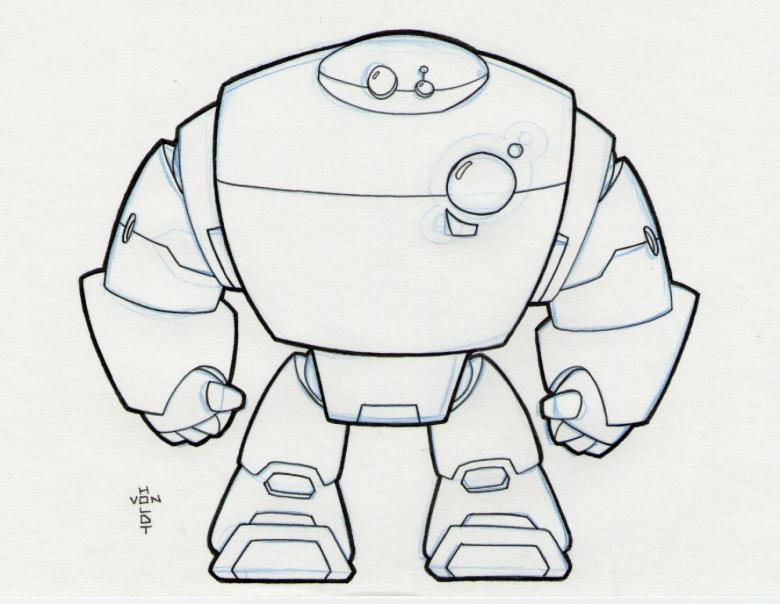
Instructions on how to draw a transformer robot with your own hands:
- On a sheet of paper, draw one rectangle and one large square under the first figure.
- From the upper corners of the rectangle draw two short diagonal lines upwards. Connect their ends together (gives volume to the head of the robot).
- The lower part of the future head slightly expand to form a jaw.
- Two rounded eyes are placed on the upper half of the "face".
- Antennas for signal transmission can be placed both on the upper point of the head, and instead of the usual locators.
- Then move on to work on the formation of the torso. Inside the square draw a standard cylindrical body. In the center of the body it is necessary to depict the screen.
- Excess strokes of the square can be removed with an eraser.
- From the body to the sides depart two arms, represented in the form of tubes, consisting of many segments (draw transverse strips). Arms end with three fingers of rectangular shape.
Feet may have the same shape as the hands, or wich are represented in the form of a construction with an intermediate joint. If desired, the master has the ability to make the alien good-natured, depicting one hand in a welcoming gesture.
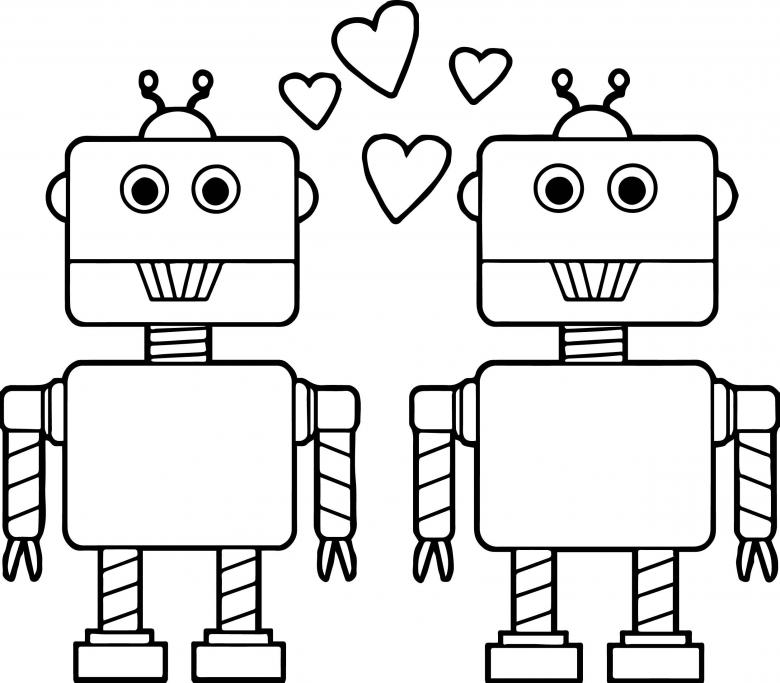
There are many more interesting characters that can be drawn as illustrations for their own stories, anthologies, and comic books. The image of the robot can be the emblem of a creative or technical circle, a sports team or a friendly community.
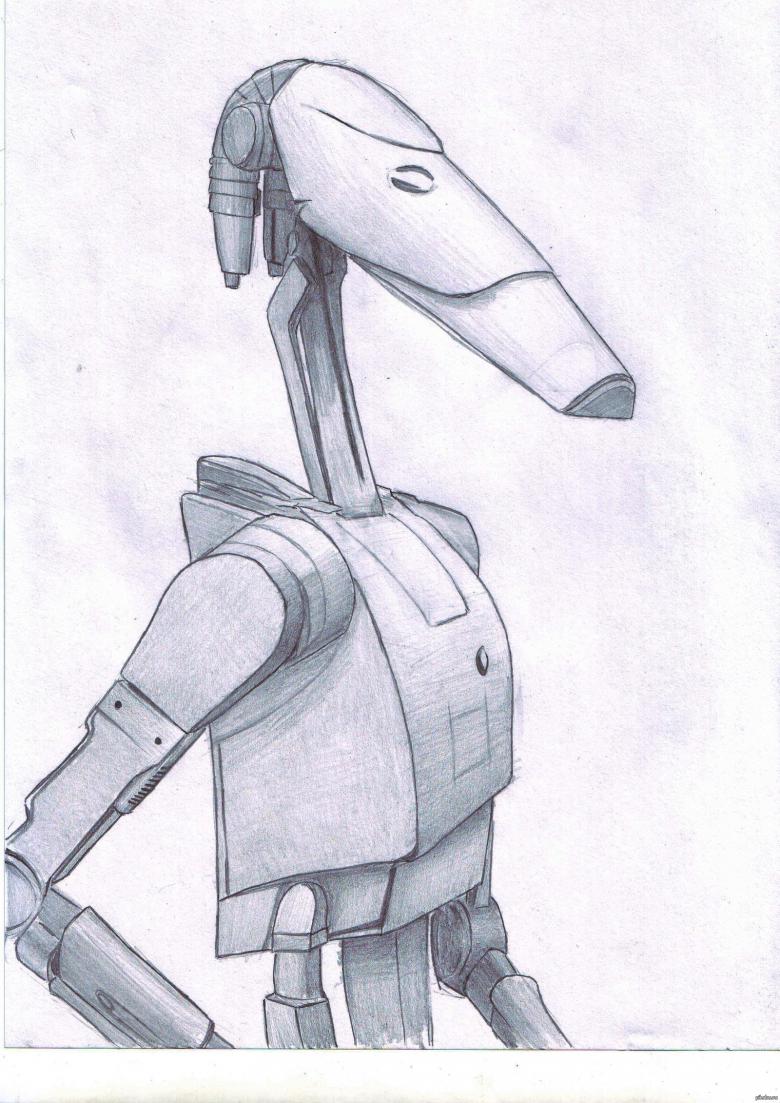
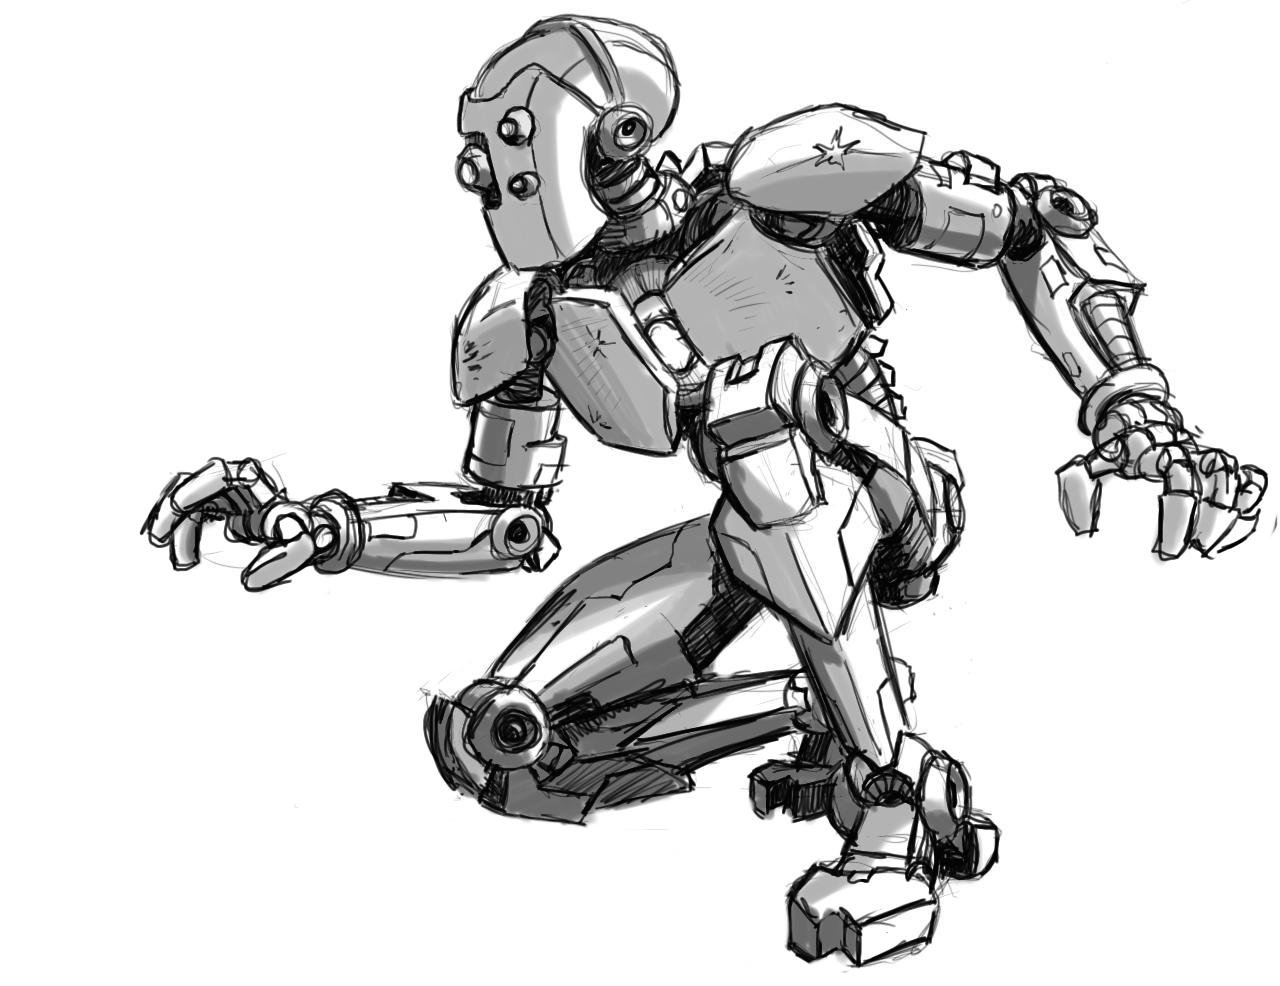
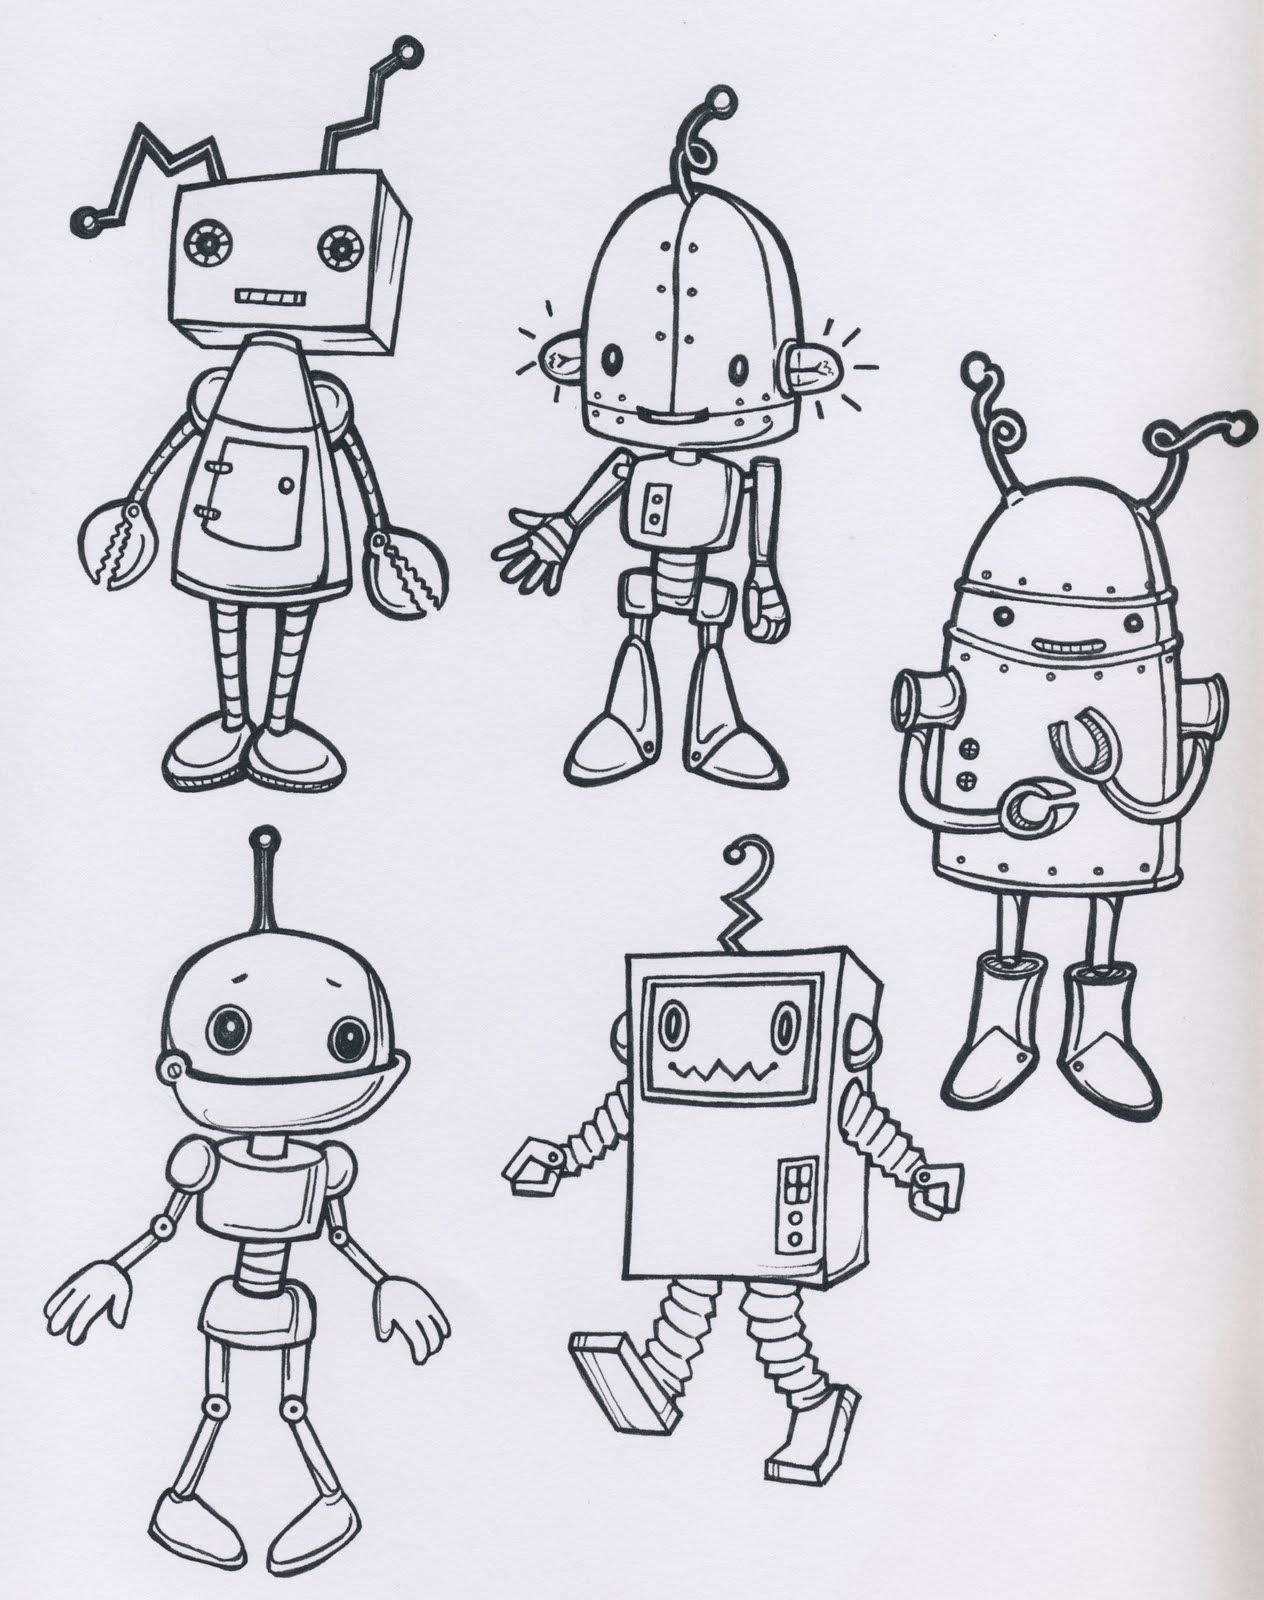
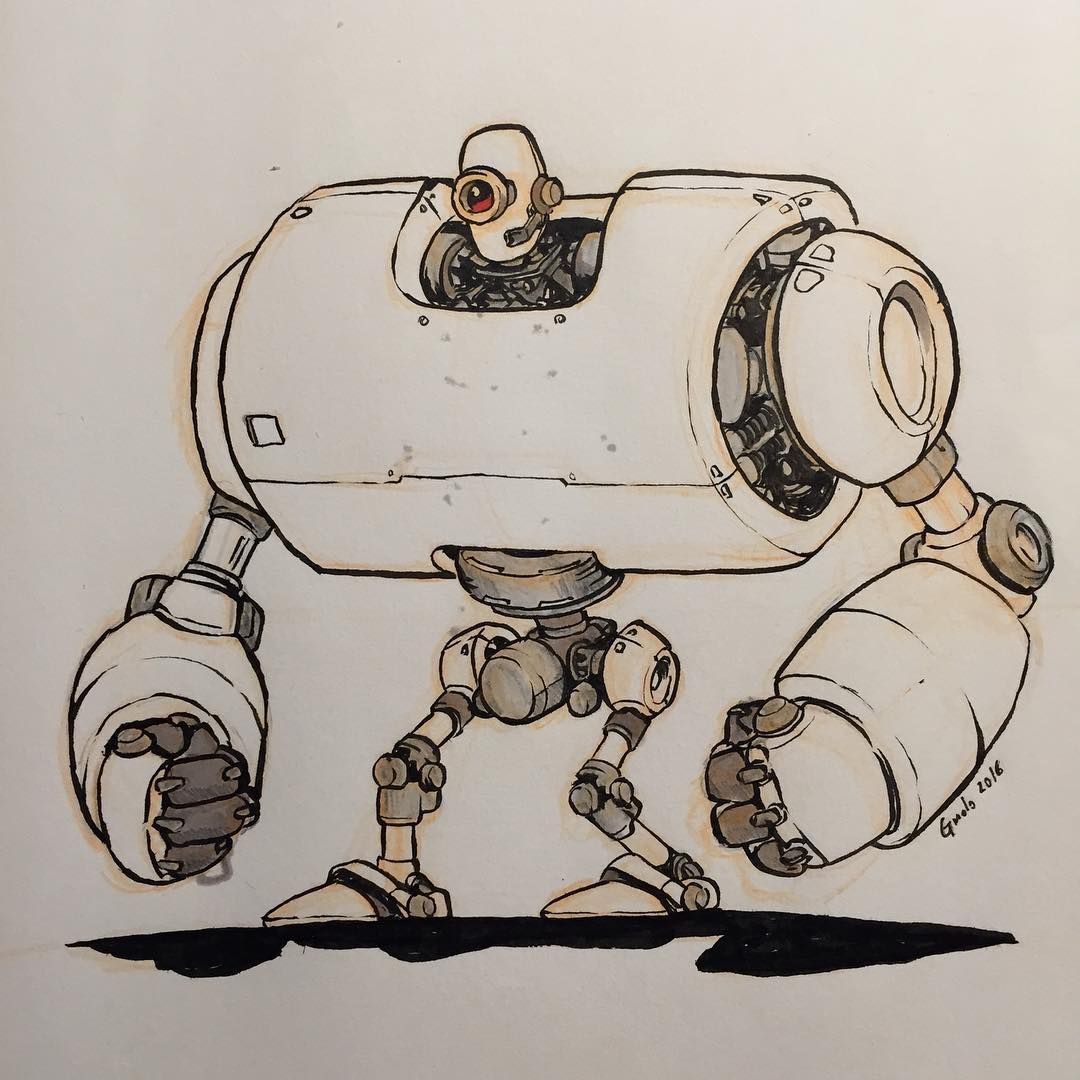
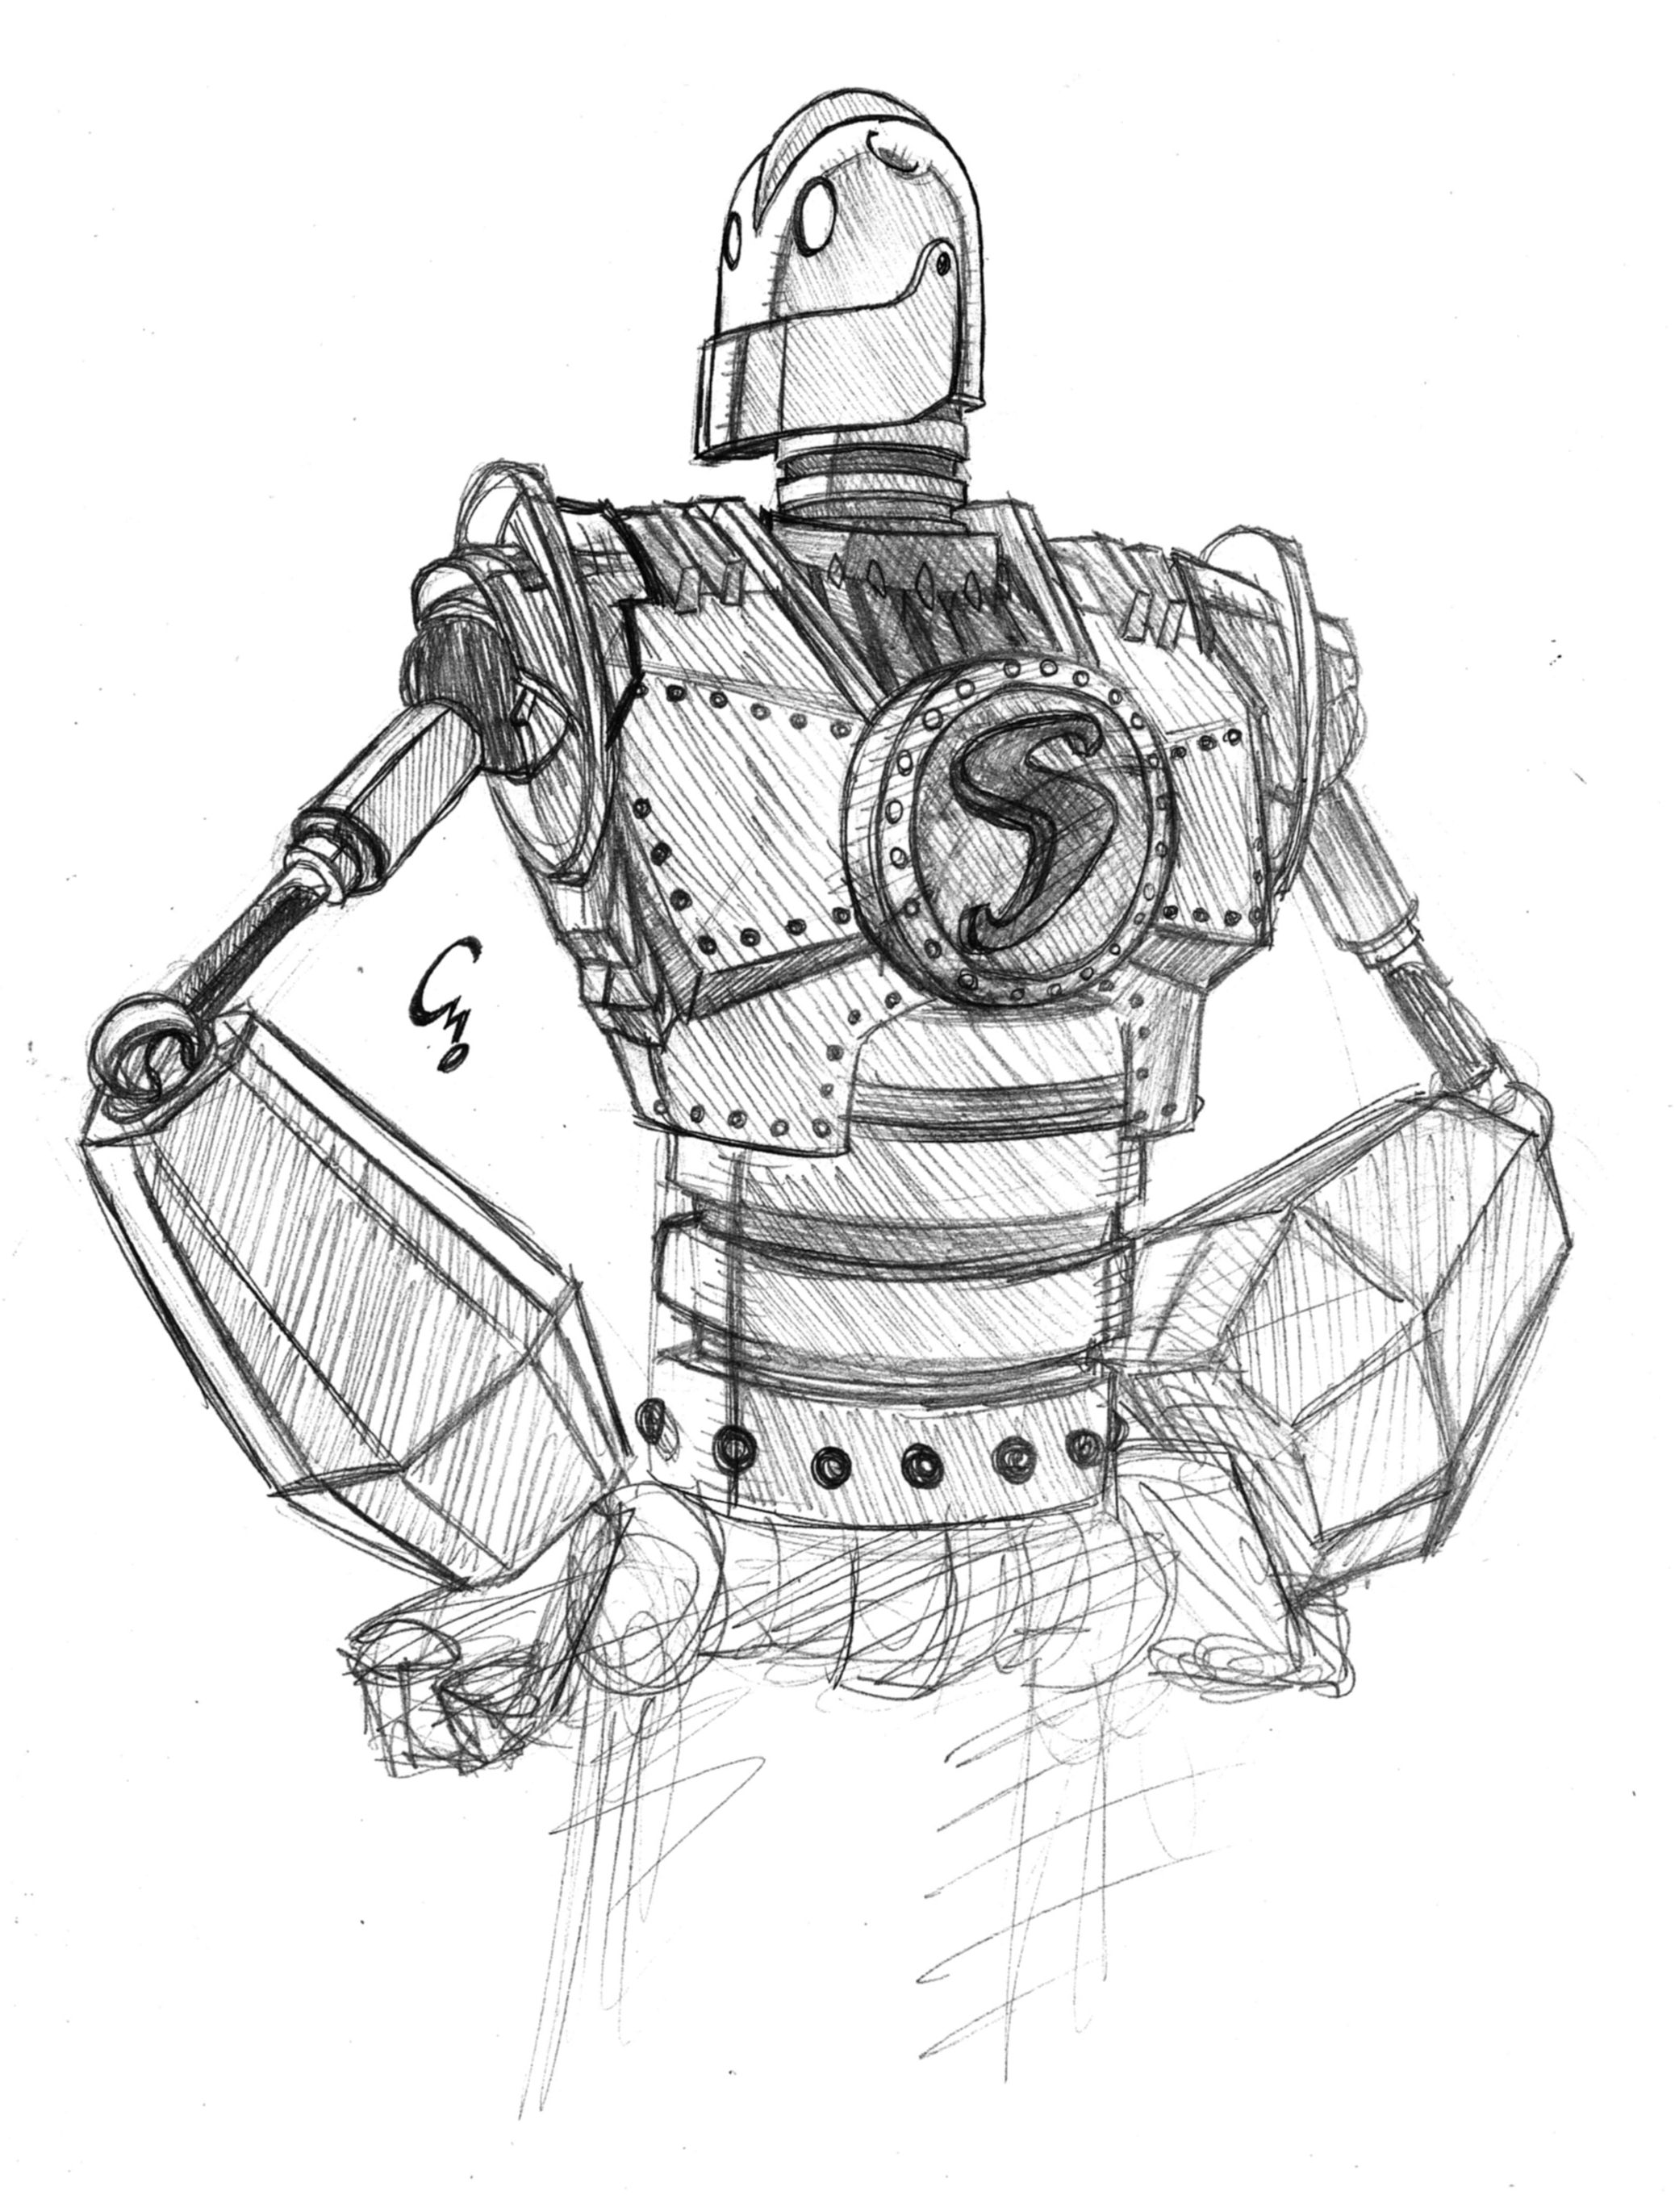
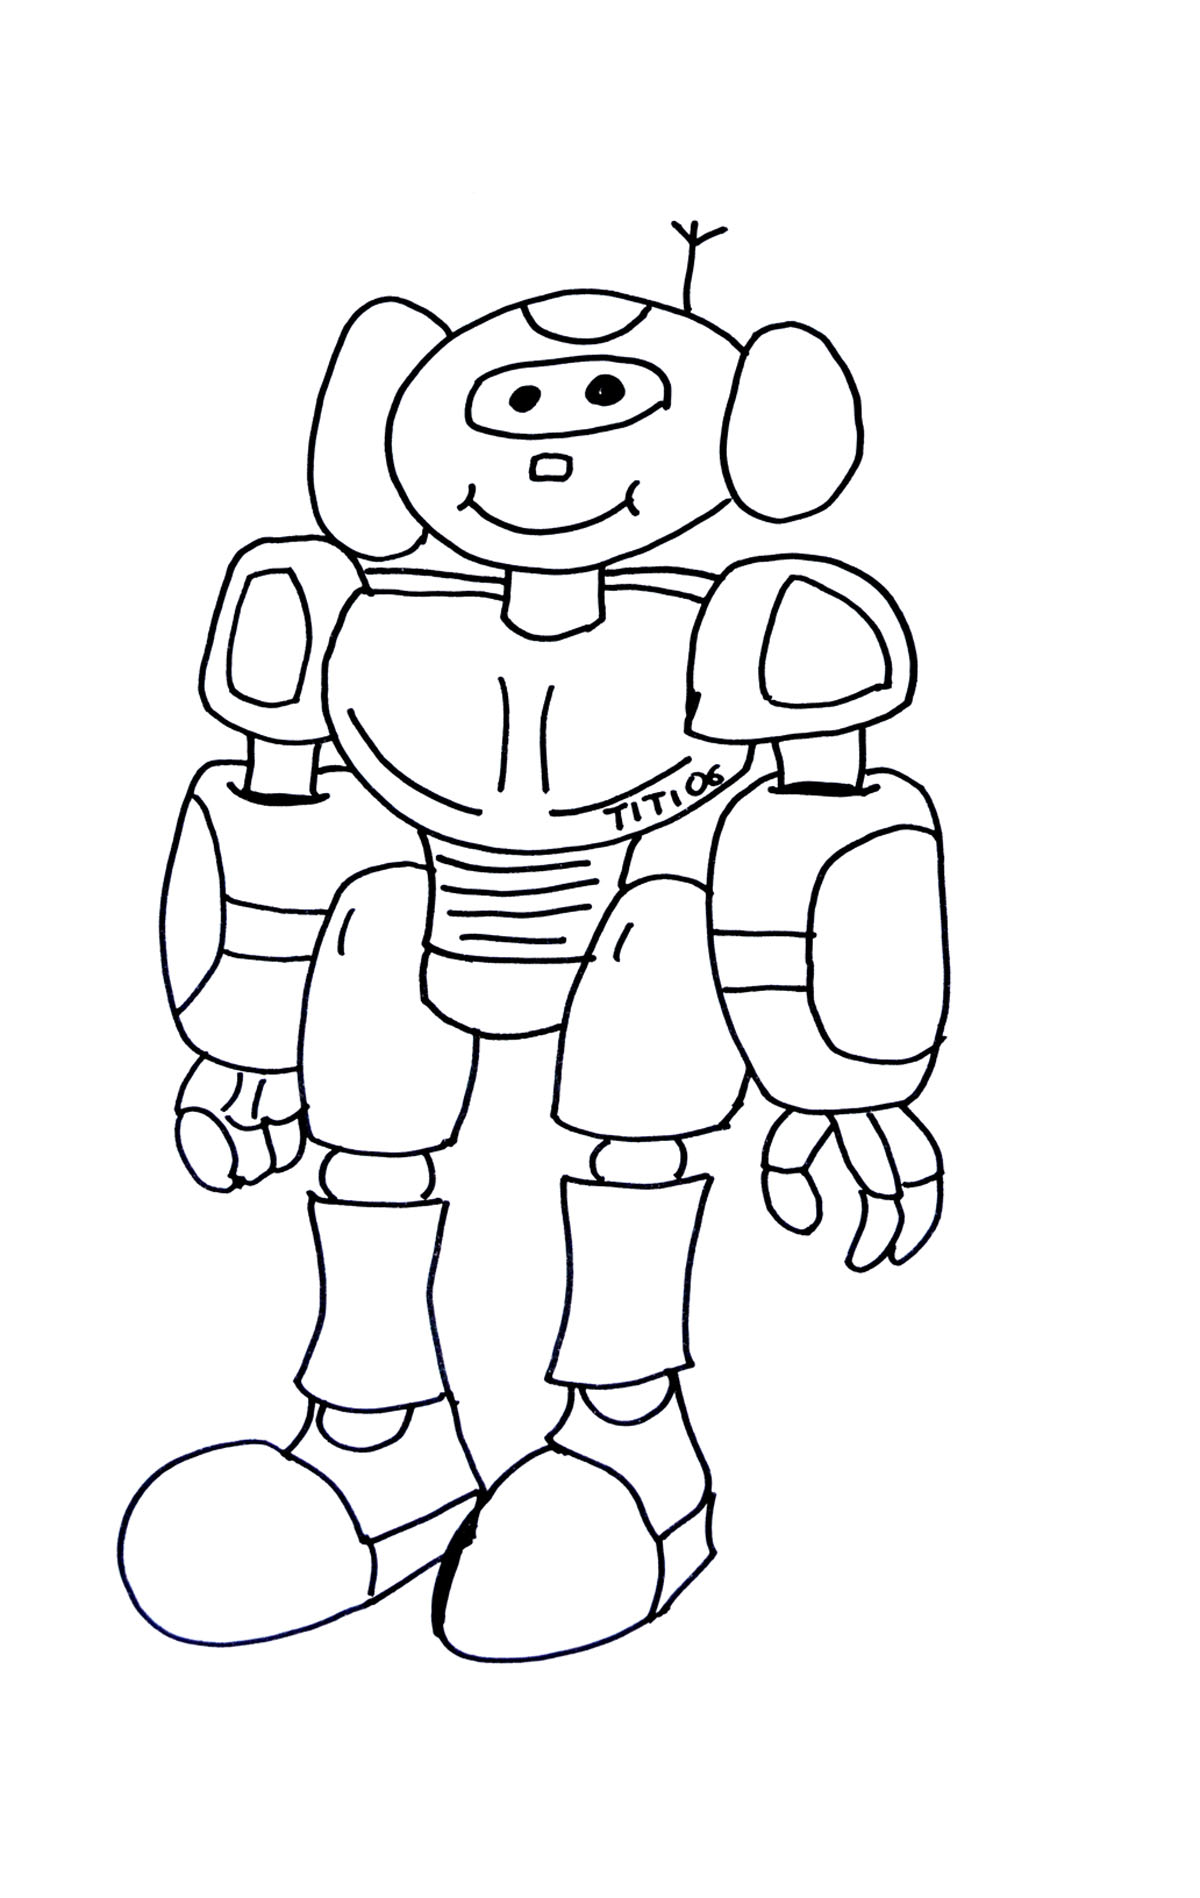
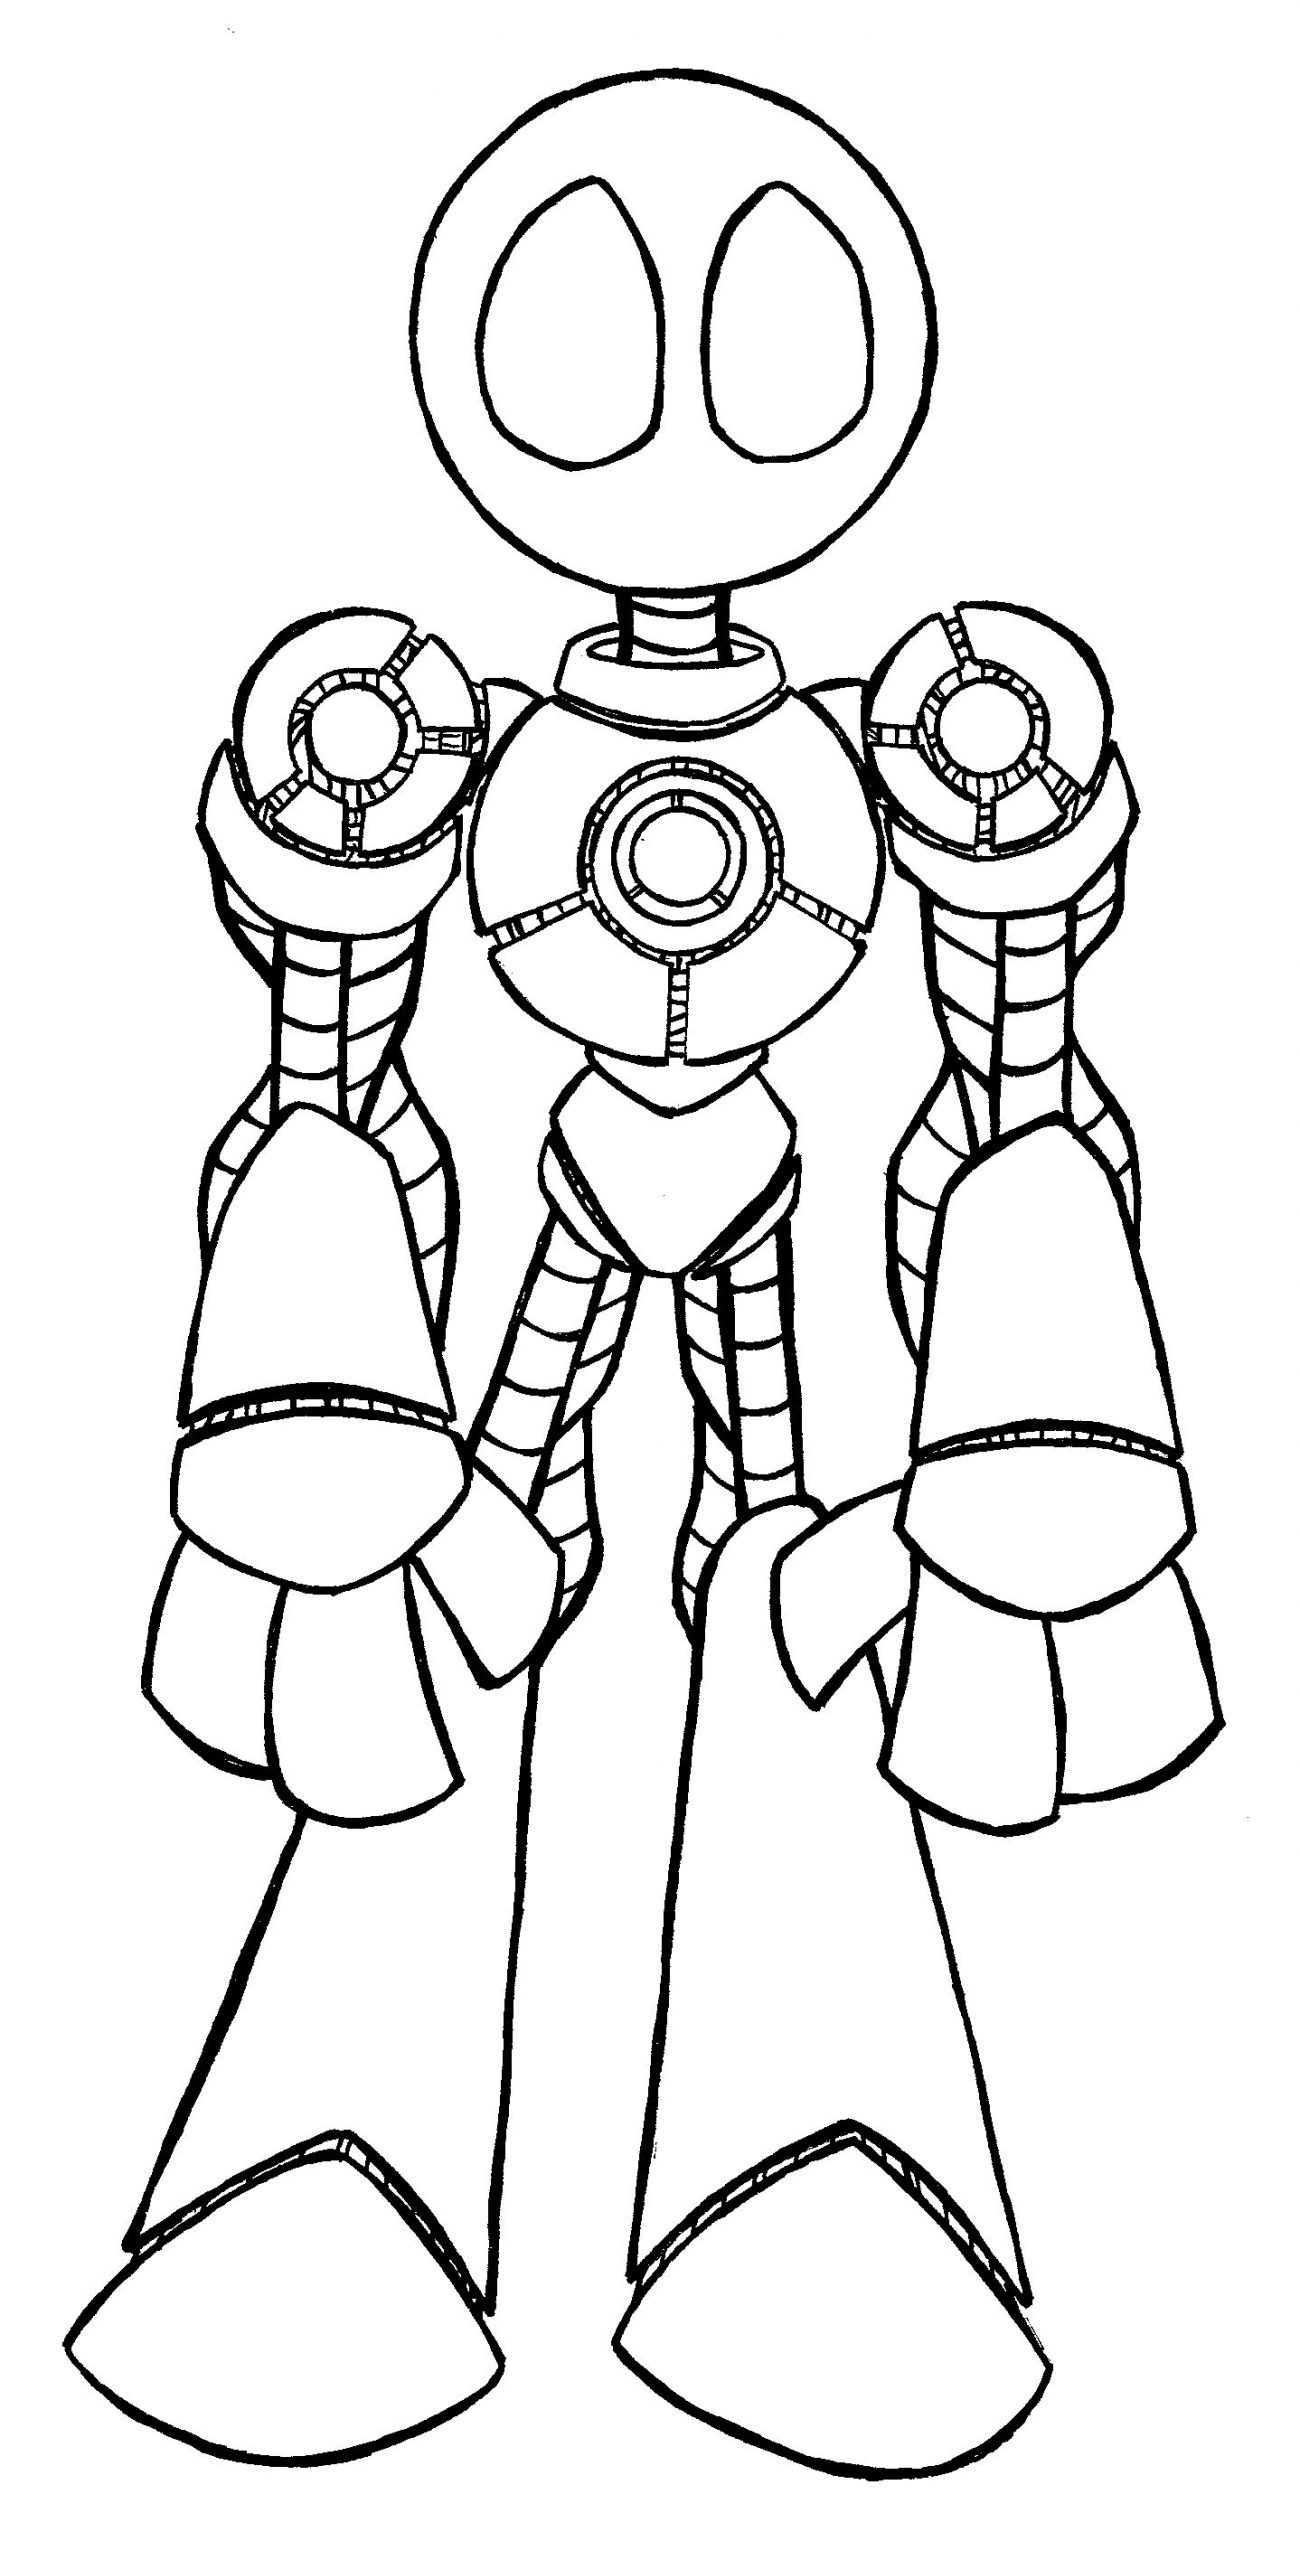
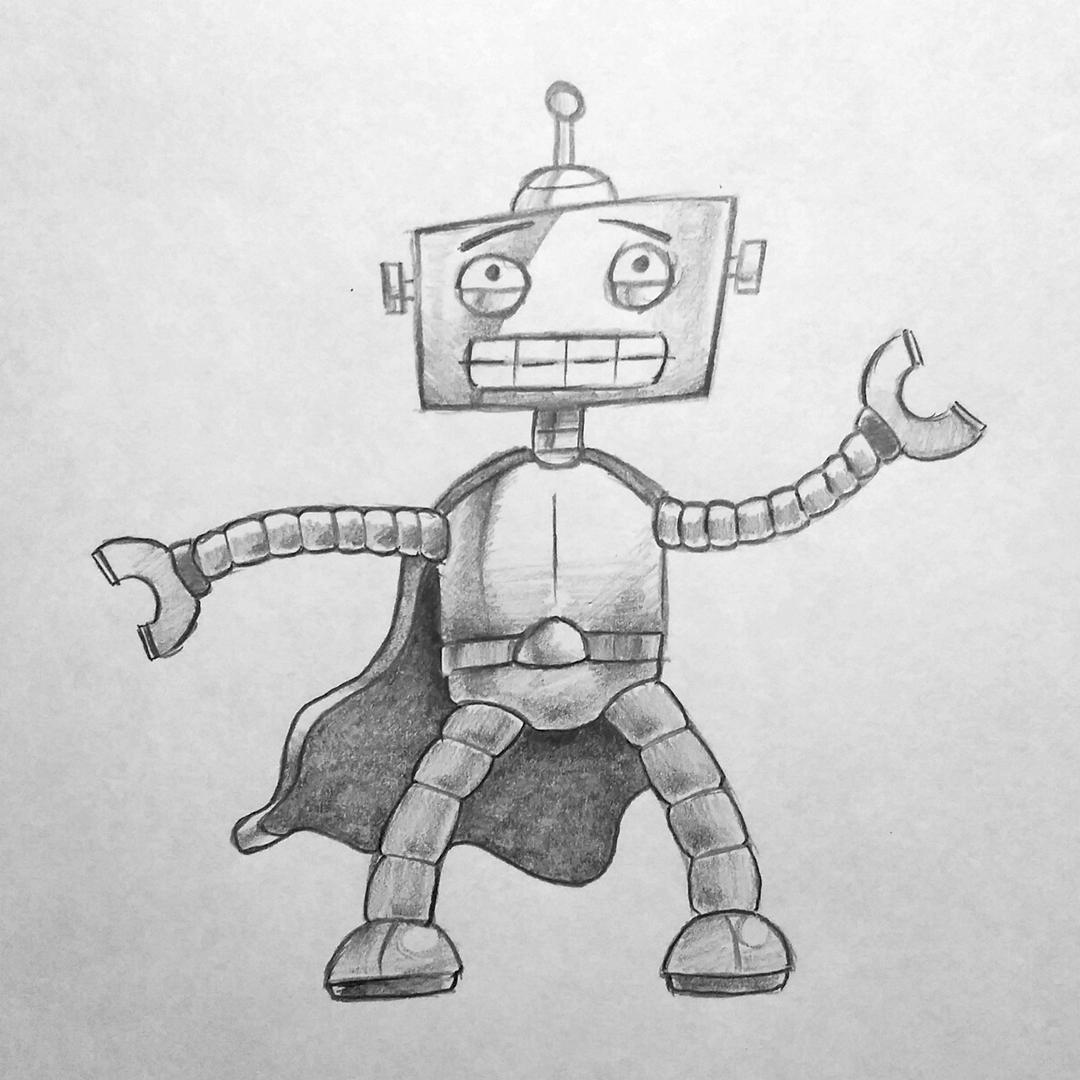
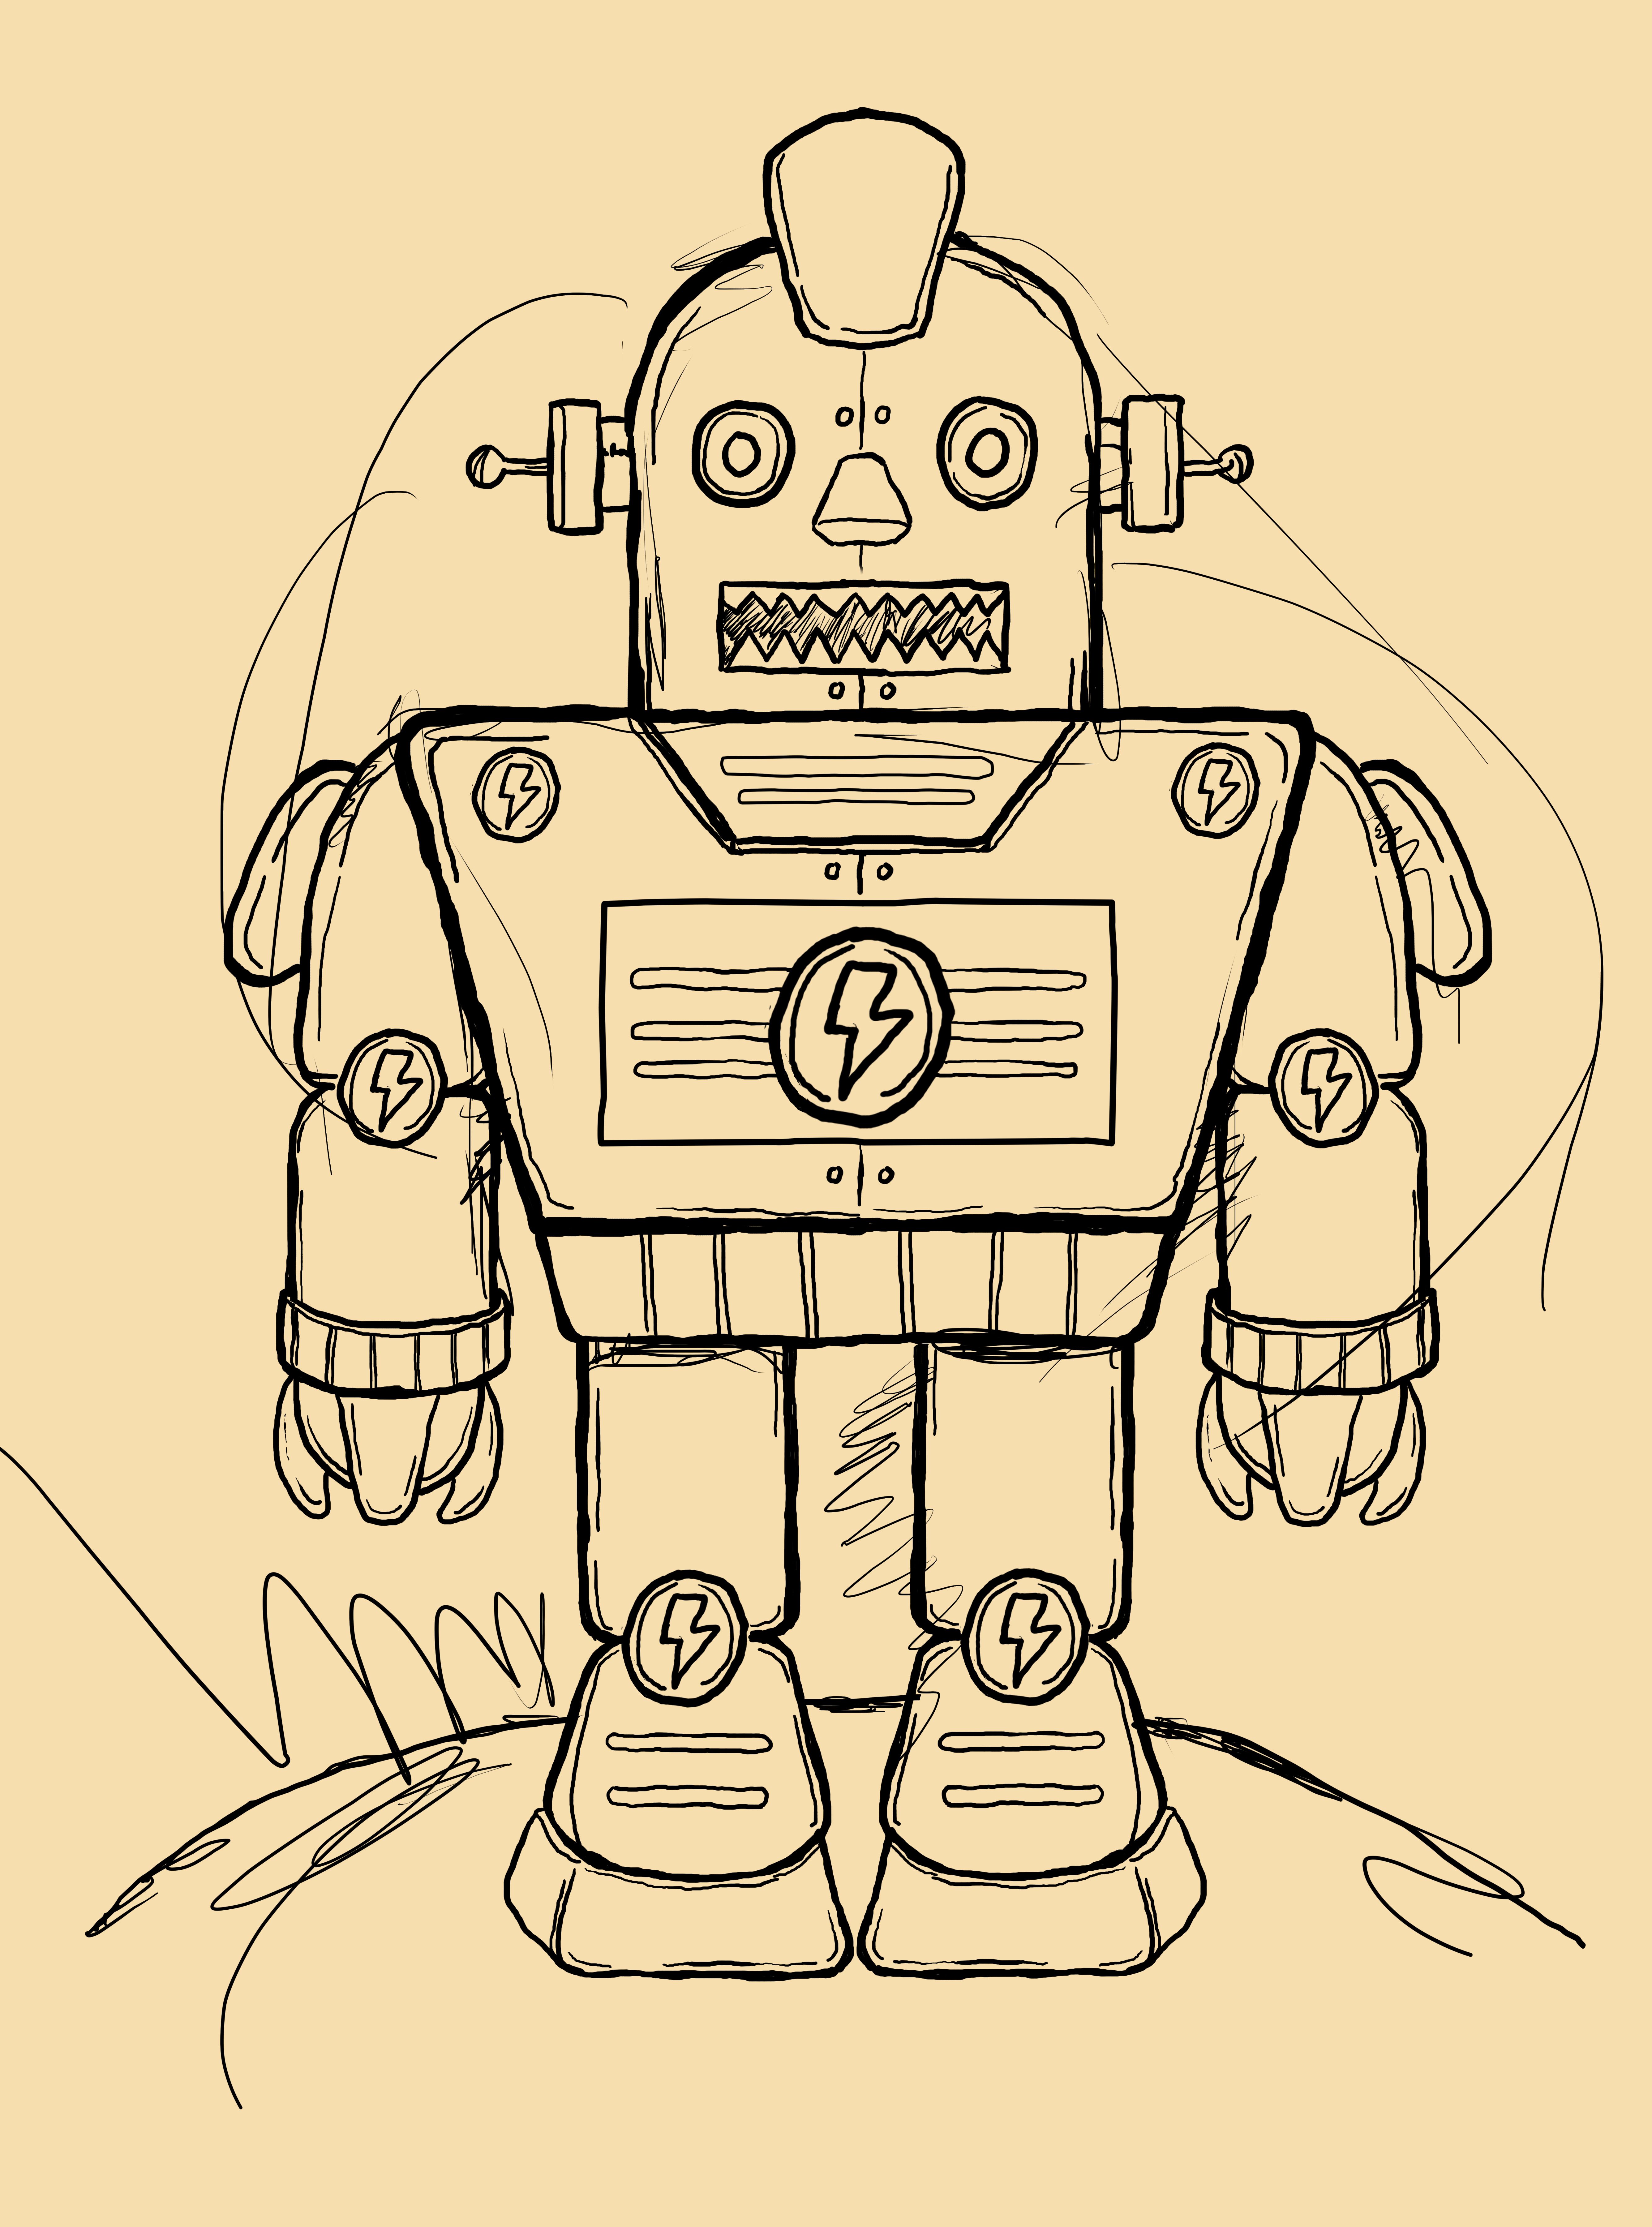
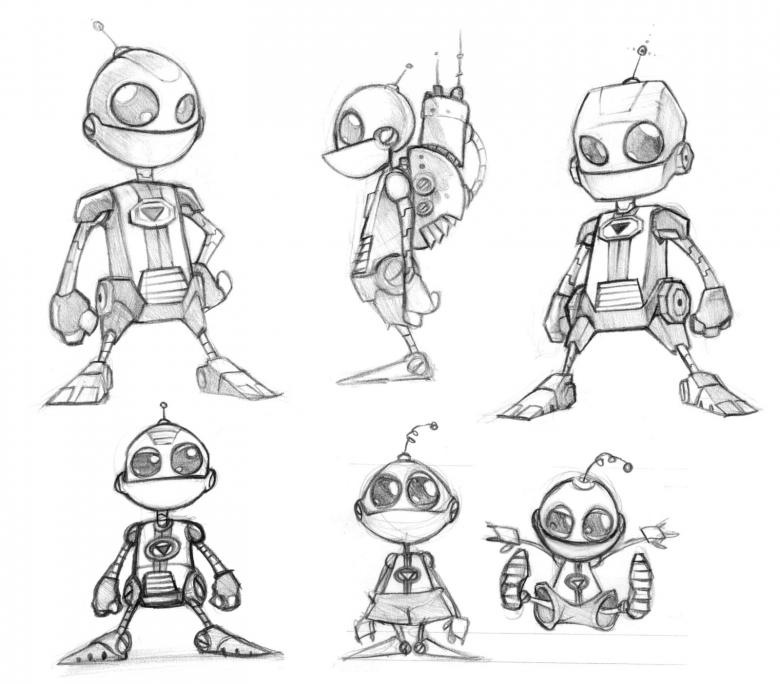
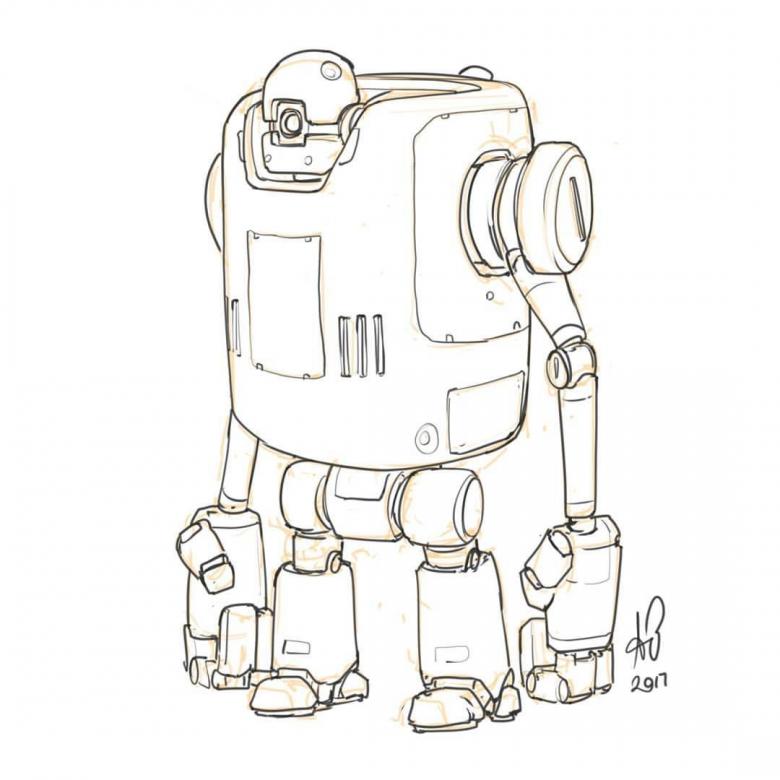
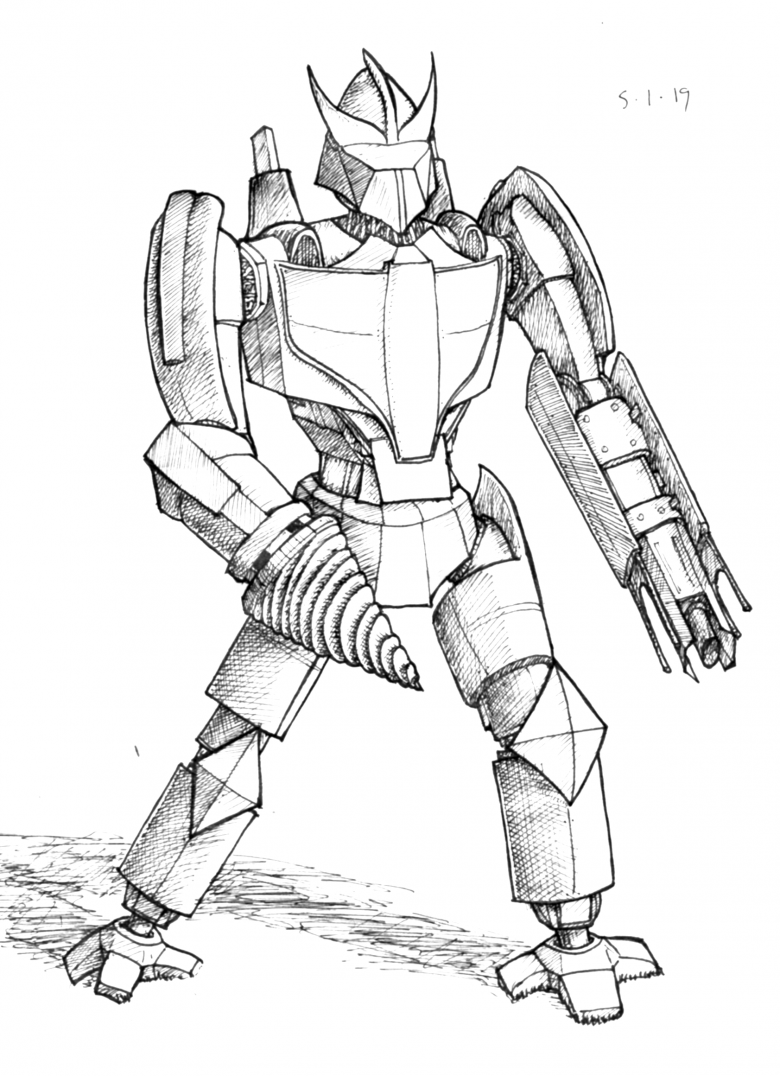
Pictures of the robot for sketching in pencil