How to draw a hut with a pencil: a description of the most popular, easy techniques for children and beginners
Beginning artists and professionals are attracted to the image of Russian village izba. They like to convey the atmosphere and life of the people, and also this theme is nostalgic and touching for many. This article will describe how to draw a hut step by step.
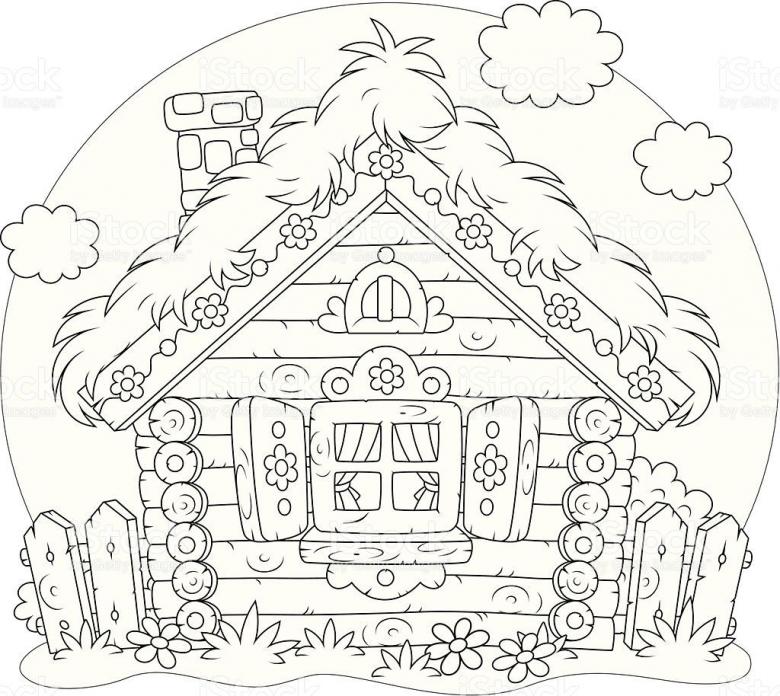
The sketch of the hut itself is simple and is drawn with uncomplicated lines. For some details, it is necessary to give realism. Even children can be interested in such an activity, as the process is simple.

Techniques for drawing a hut in pencil
Drawing with a simple pencil is a classic option. It takes a minimum of cost, but the result will be amazing. Below is information on how to draw a wooden hut.
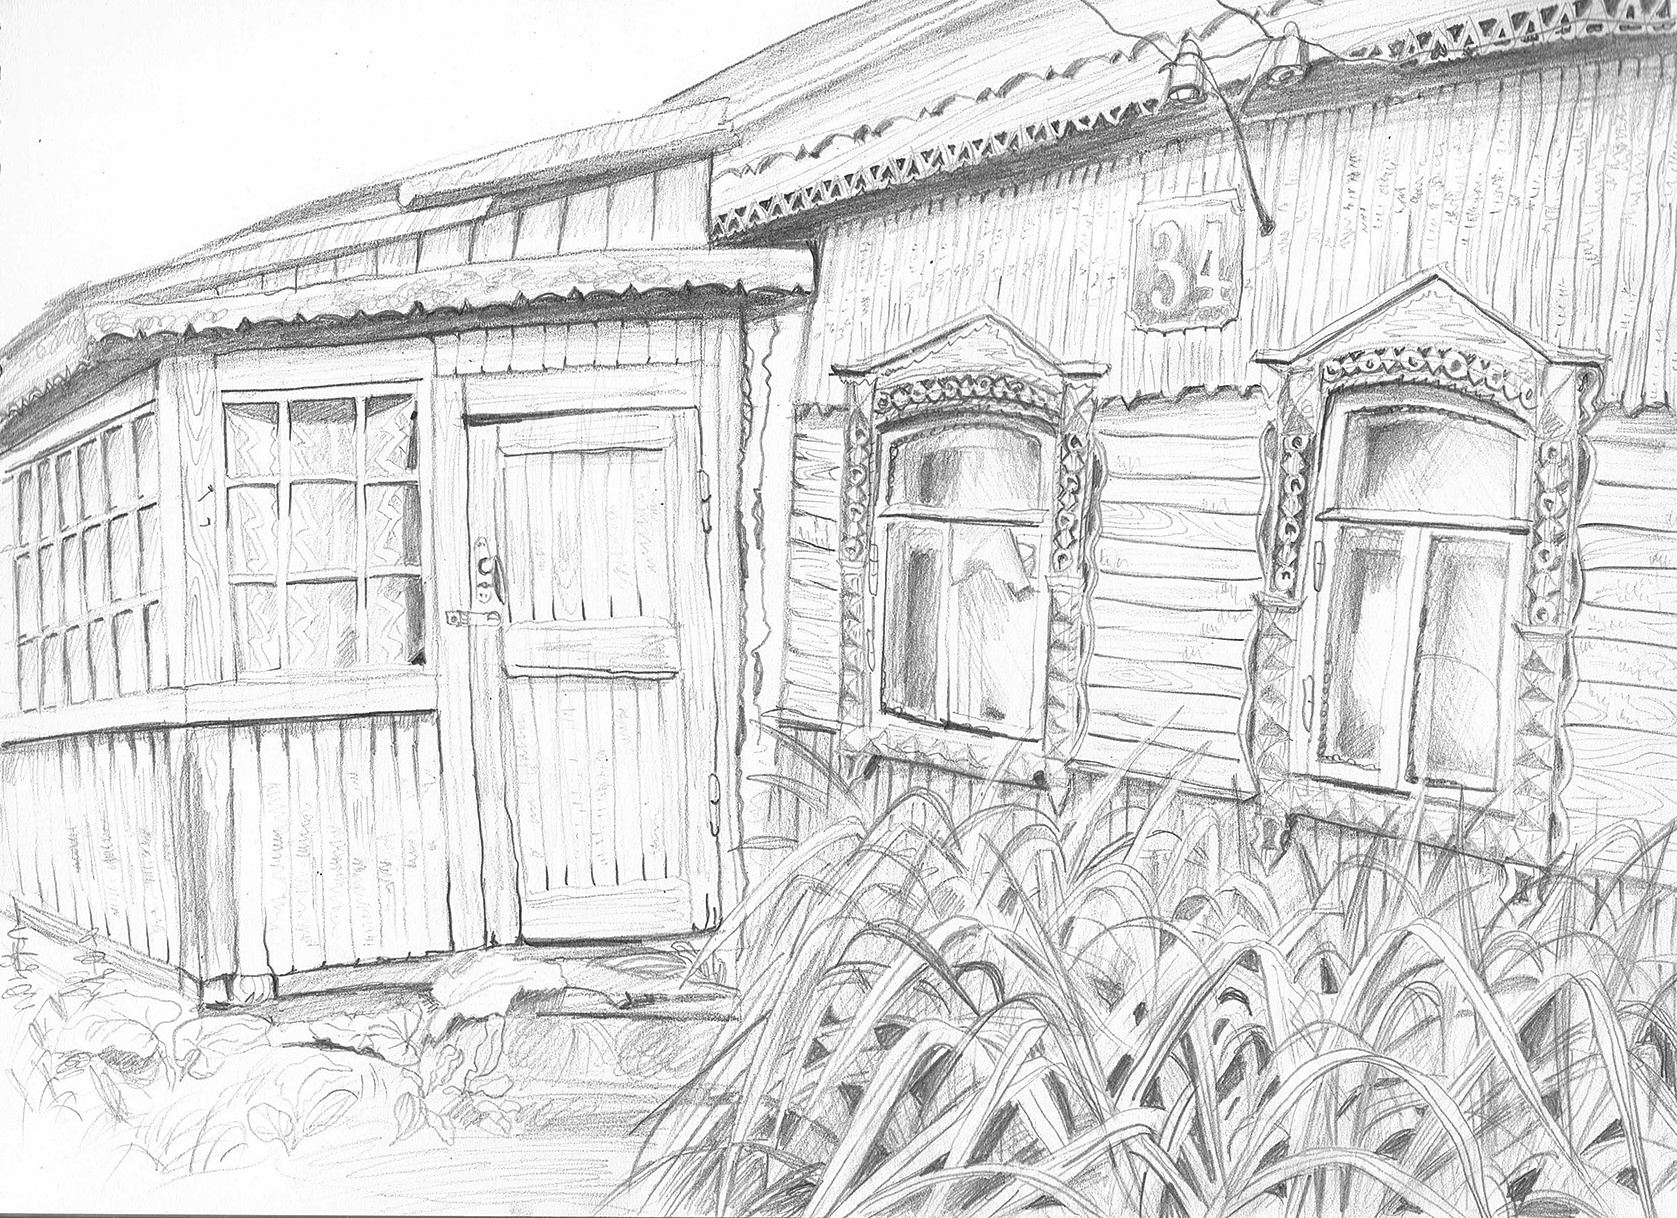
The resulting drawing can be decorated with strokes of varying saturation, you can add color.
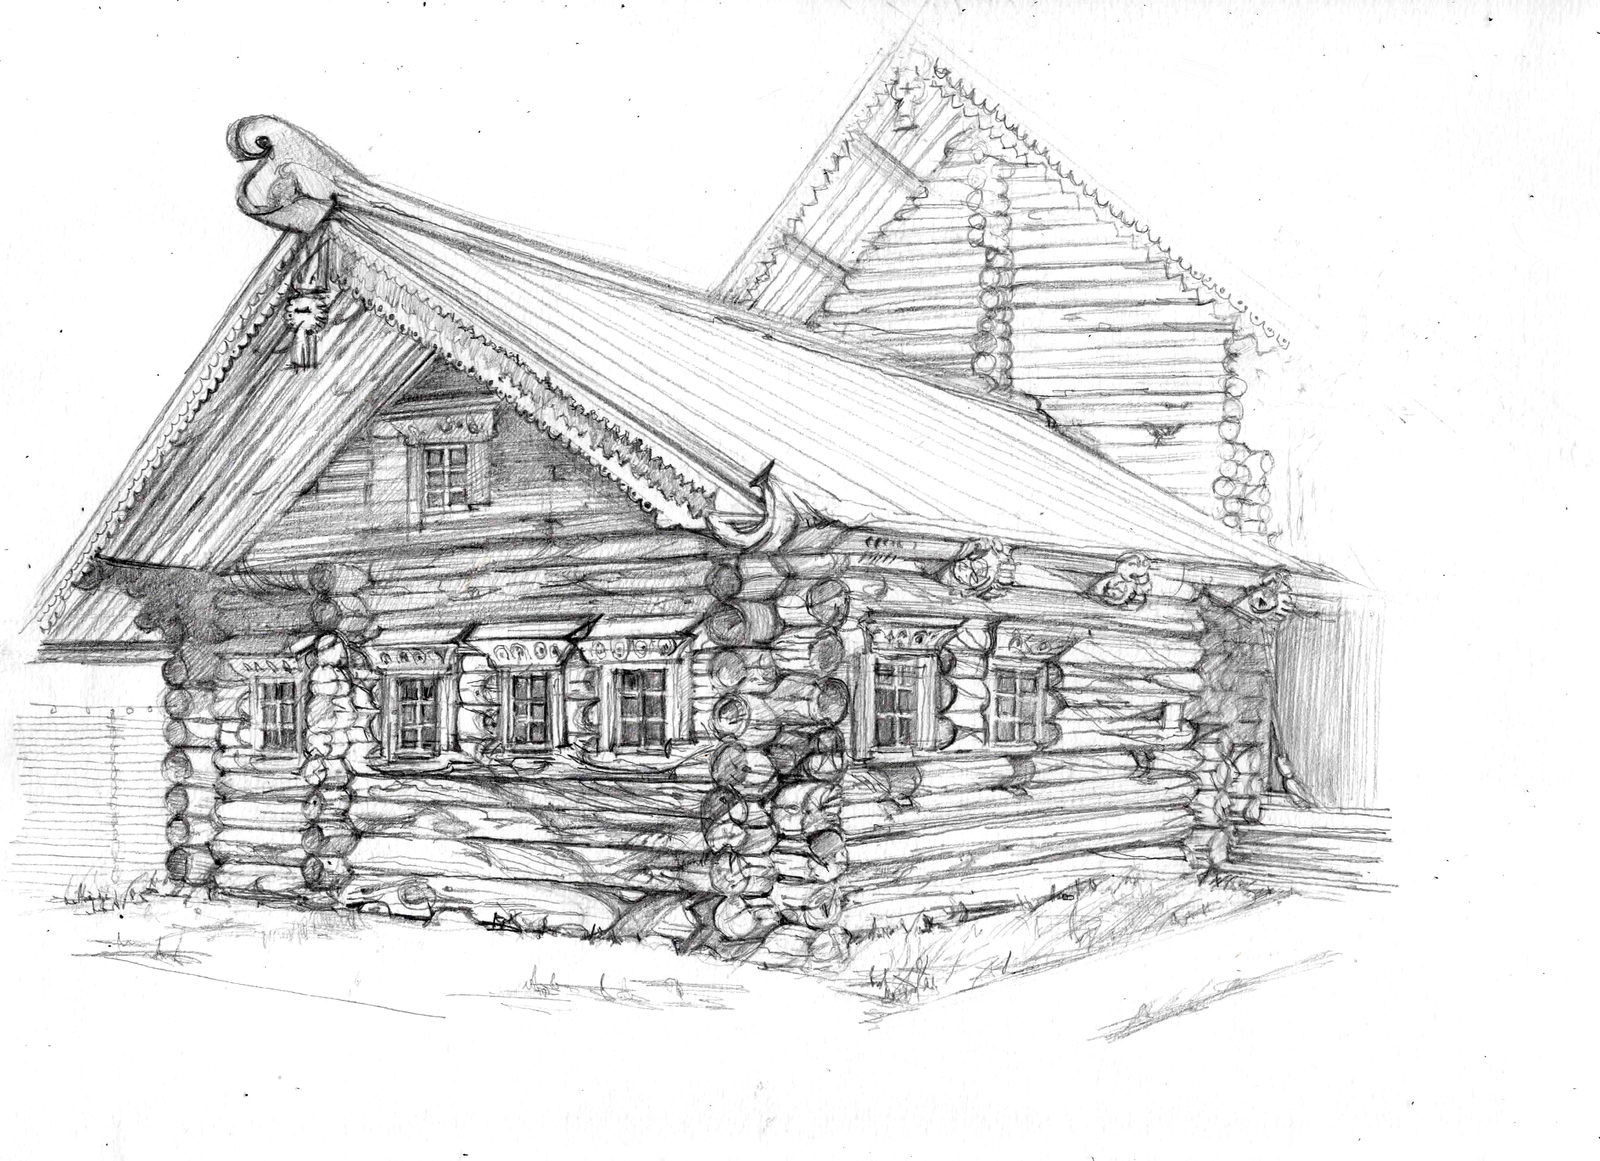
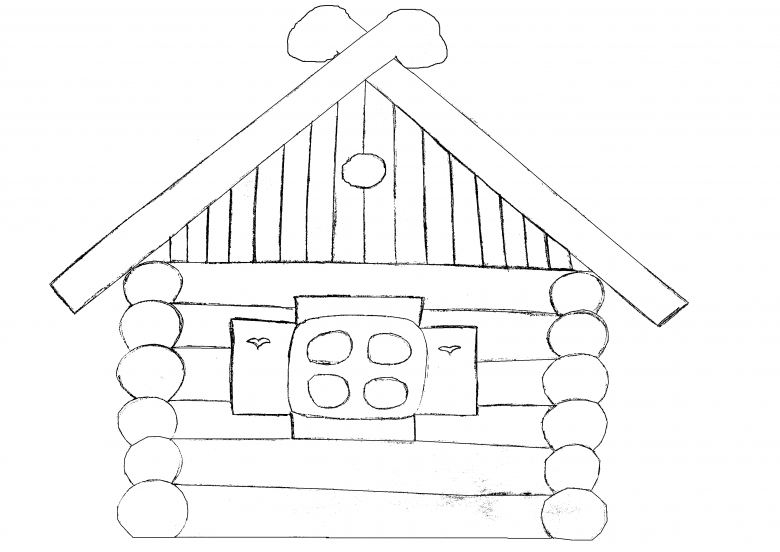
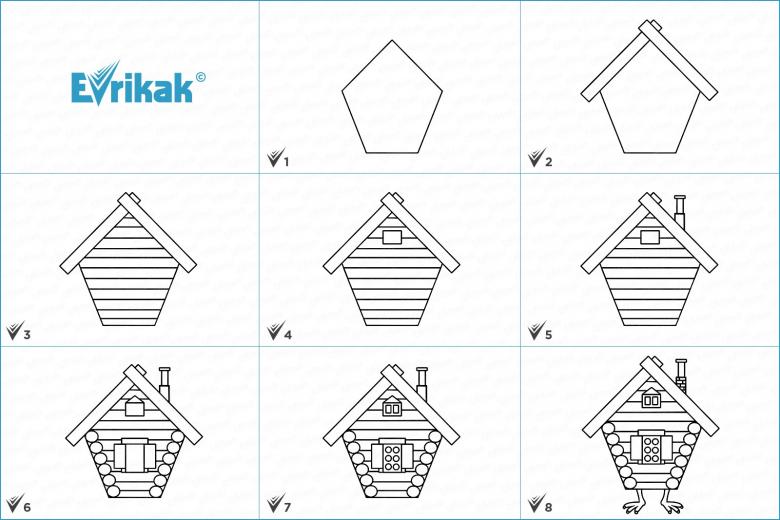
To draw the usual view of the surplus with a simple pencil, you need to know the following steps. Performed sequentially.
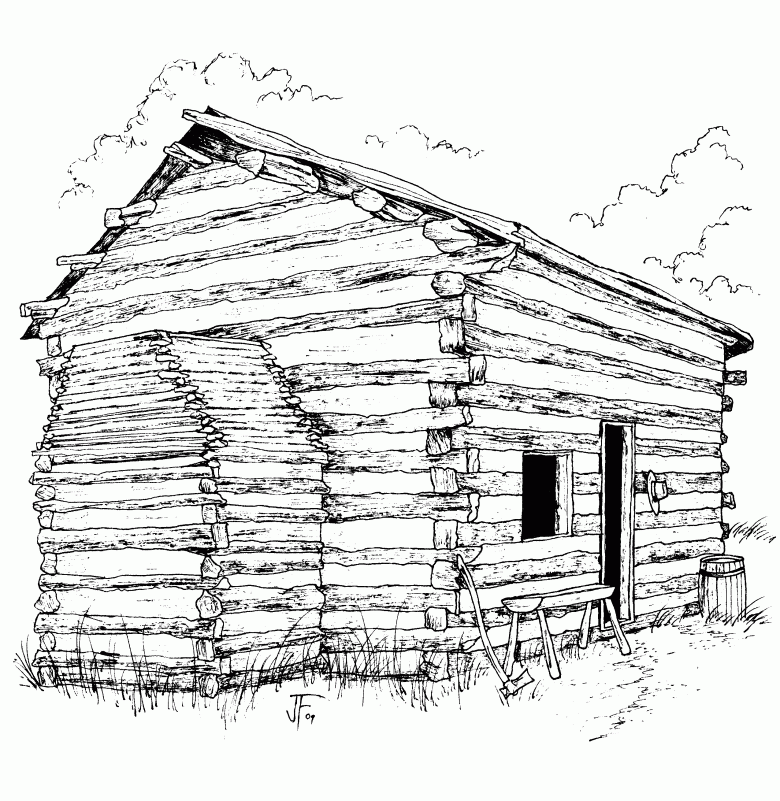
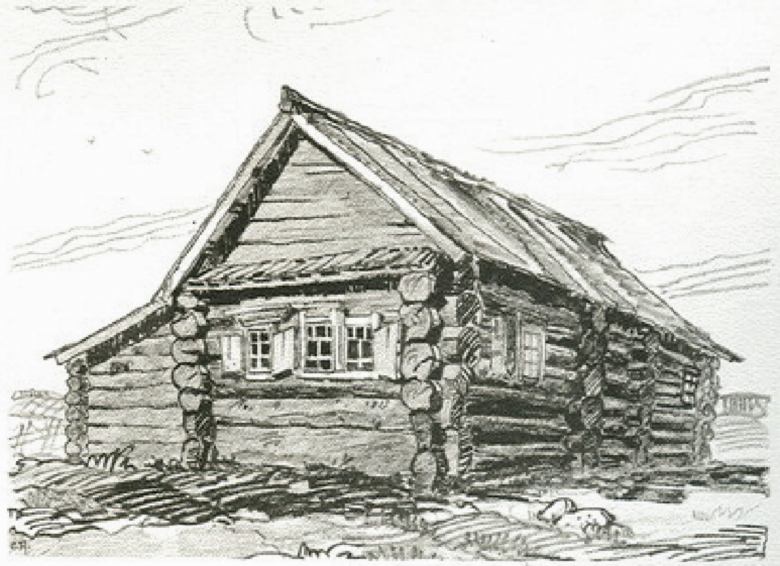
- In the first stage, a rectangle is drawn, but without the upper section. This part is prepared for the roof. It is made up of lines intersecting in the form of a triangle.
- The top and bottom lines should be finished drawing, they will be slightly out of the sides of the house. They are connected by an inclined vertical stripe.
- Eraser erase primary strokes. The foundation is drawn. The logs are drawn, namely the parts in the form of circles.
- The next step is to picture the windows. There are three of them. Two of them are basic, and the third is an attic window. Small windows and a triangle on top are added to it.
- On the main windows, the well-known element of shutters is necessarily drawn. To the frames, platbands are drawn, which are decorated with patterns.
- Next, it is necessary to draw a chimney made of bricks at the top of the roof. It is possible to show that smoke comes out of it.

With the help of dashes arranged vertically a masonry of logs is shown. The result will be a simple hut, with which you can begin the creative path in drawing such dwellings.
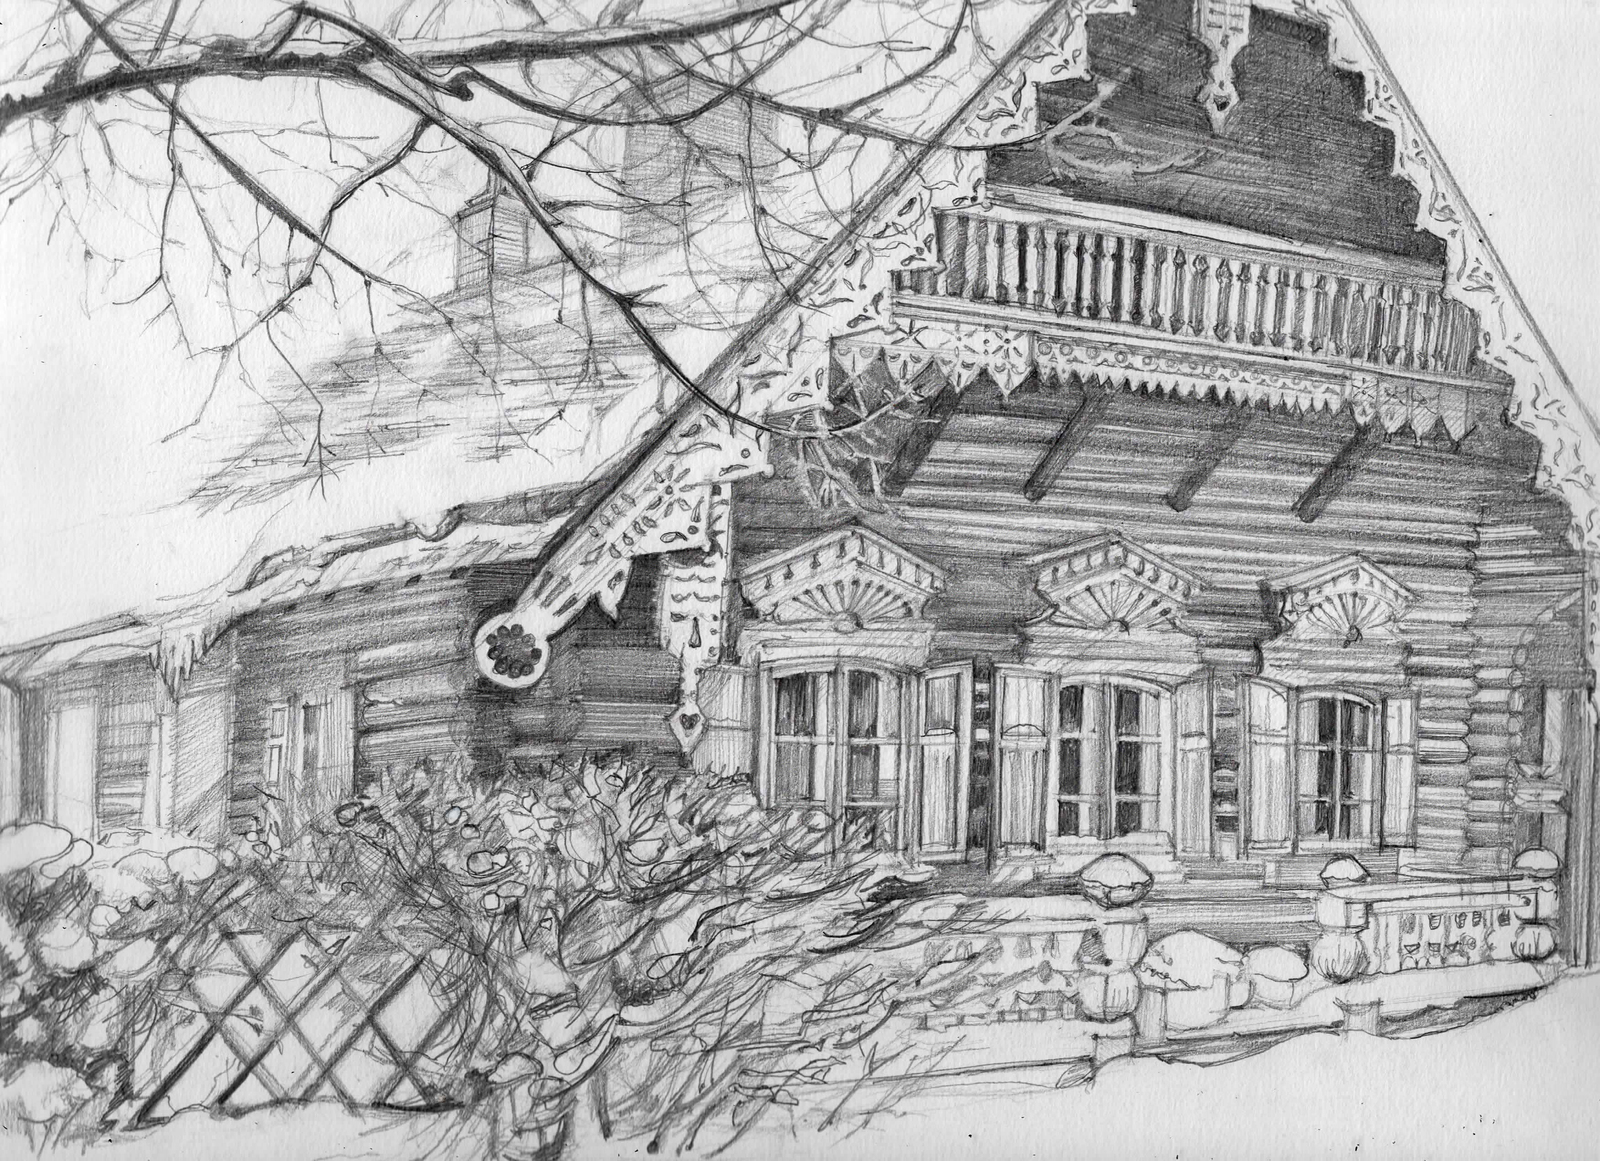
The resulting drawing can be completed with shading, marking the light shades, add a variety of shades.
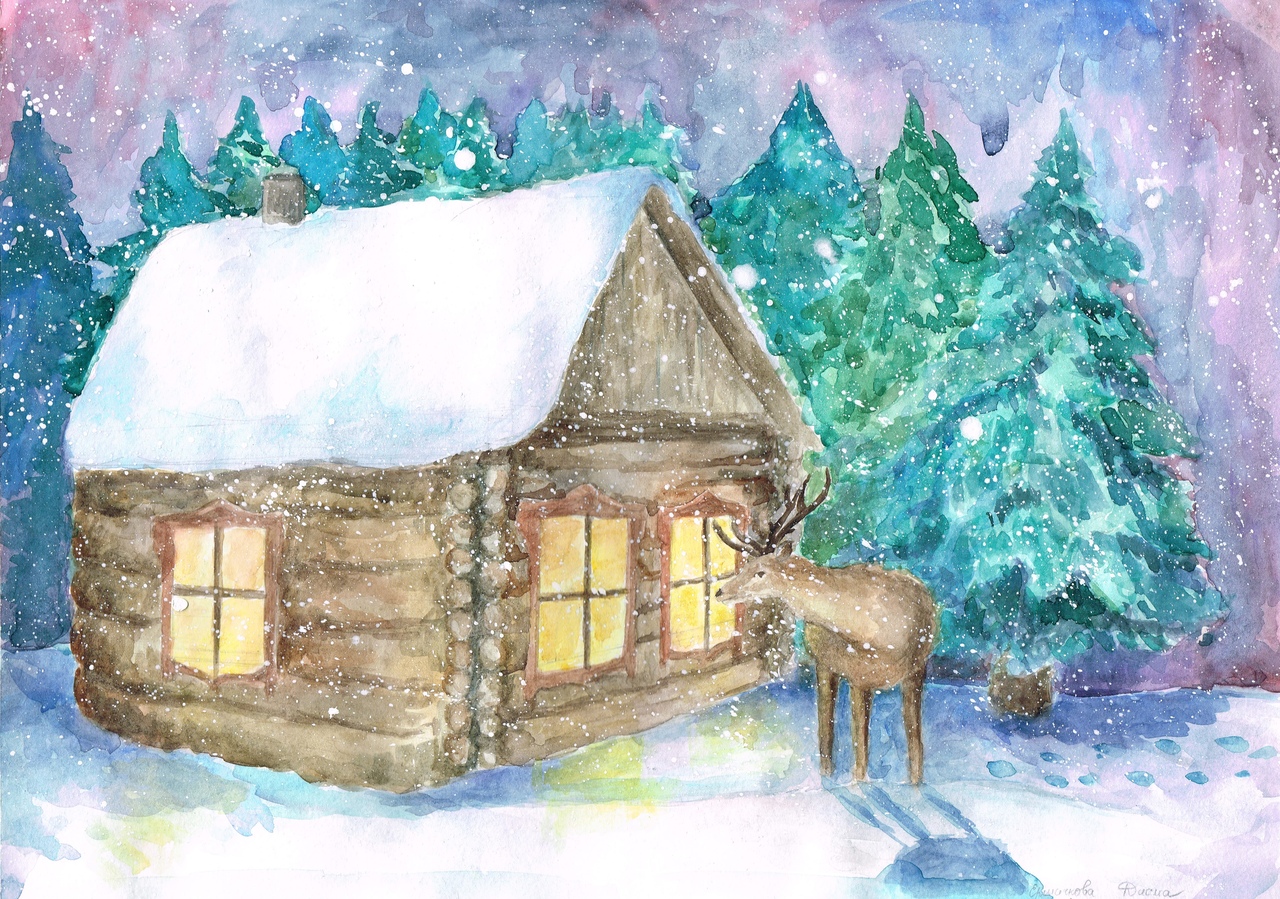
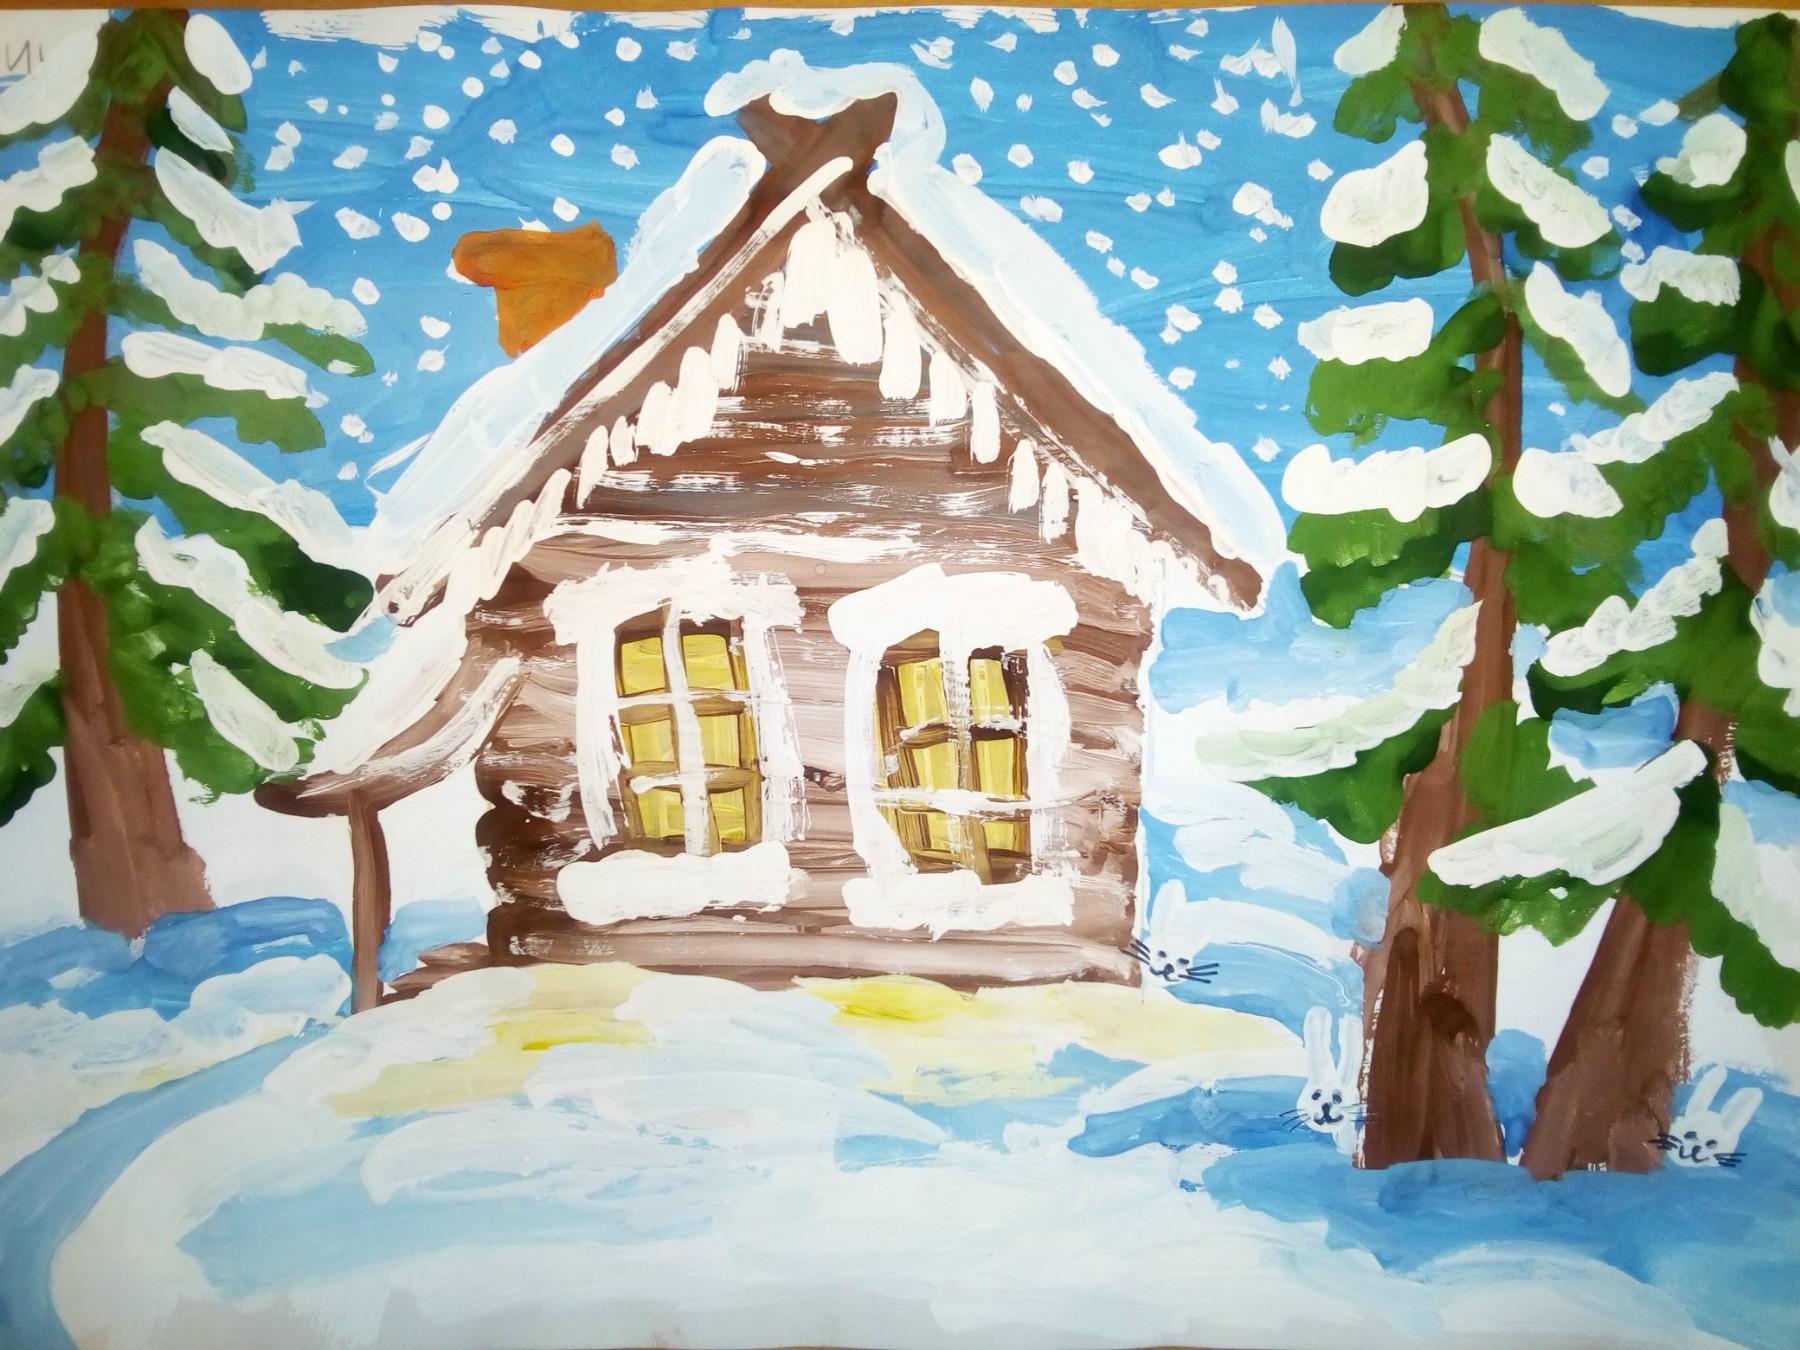
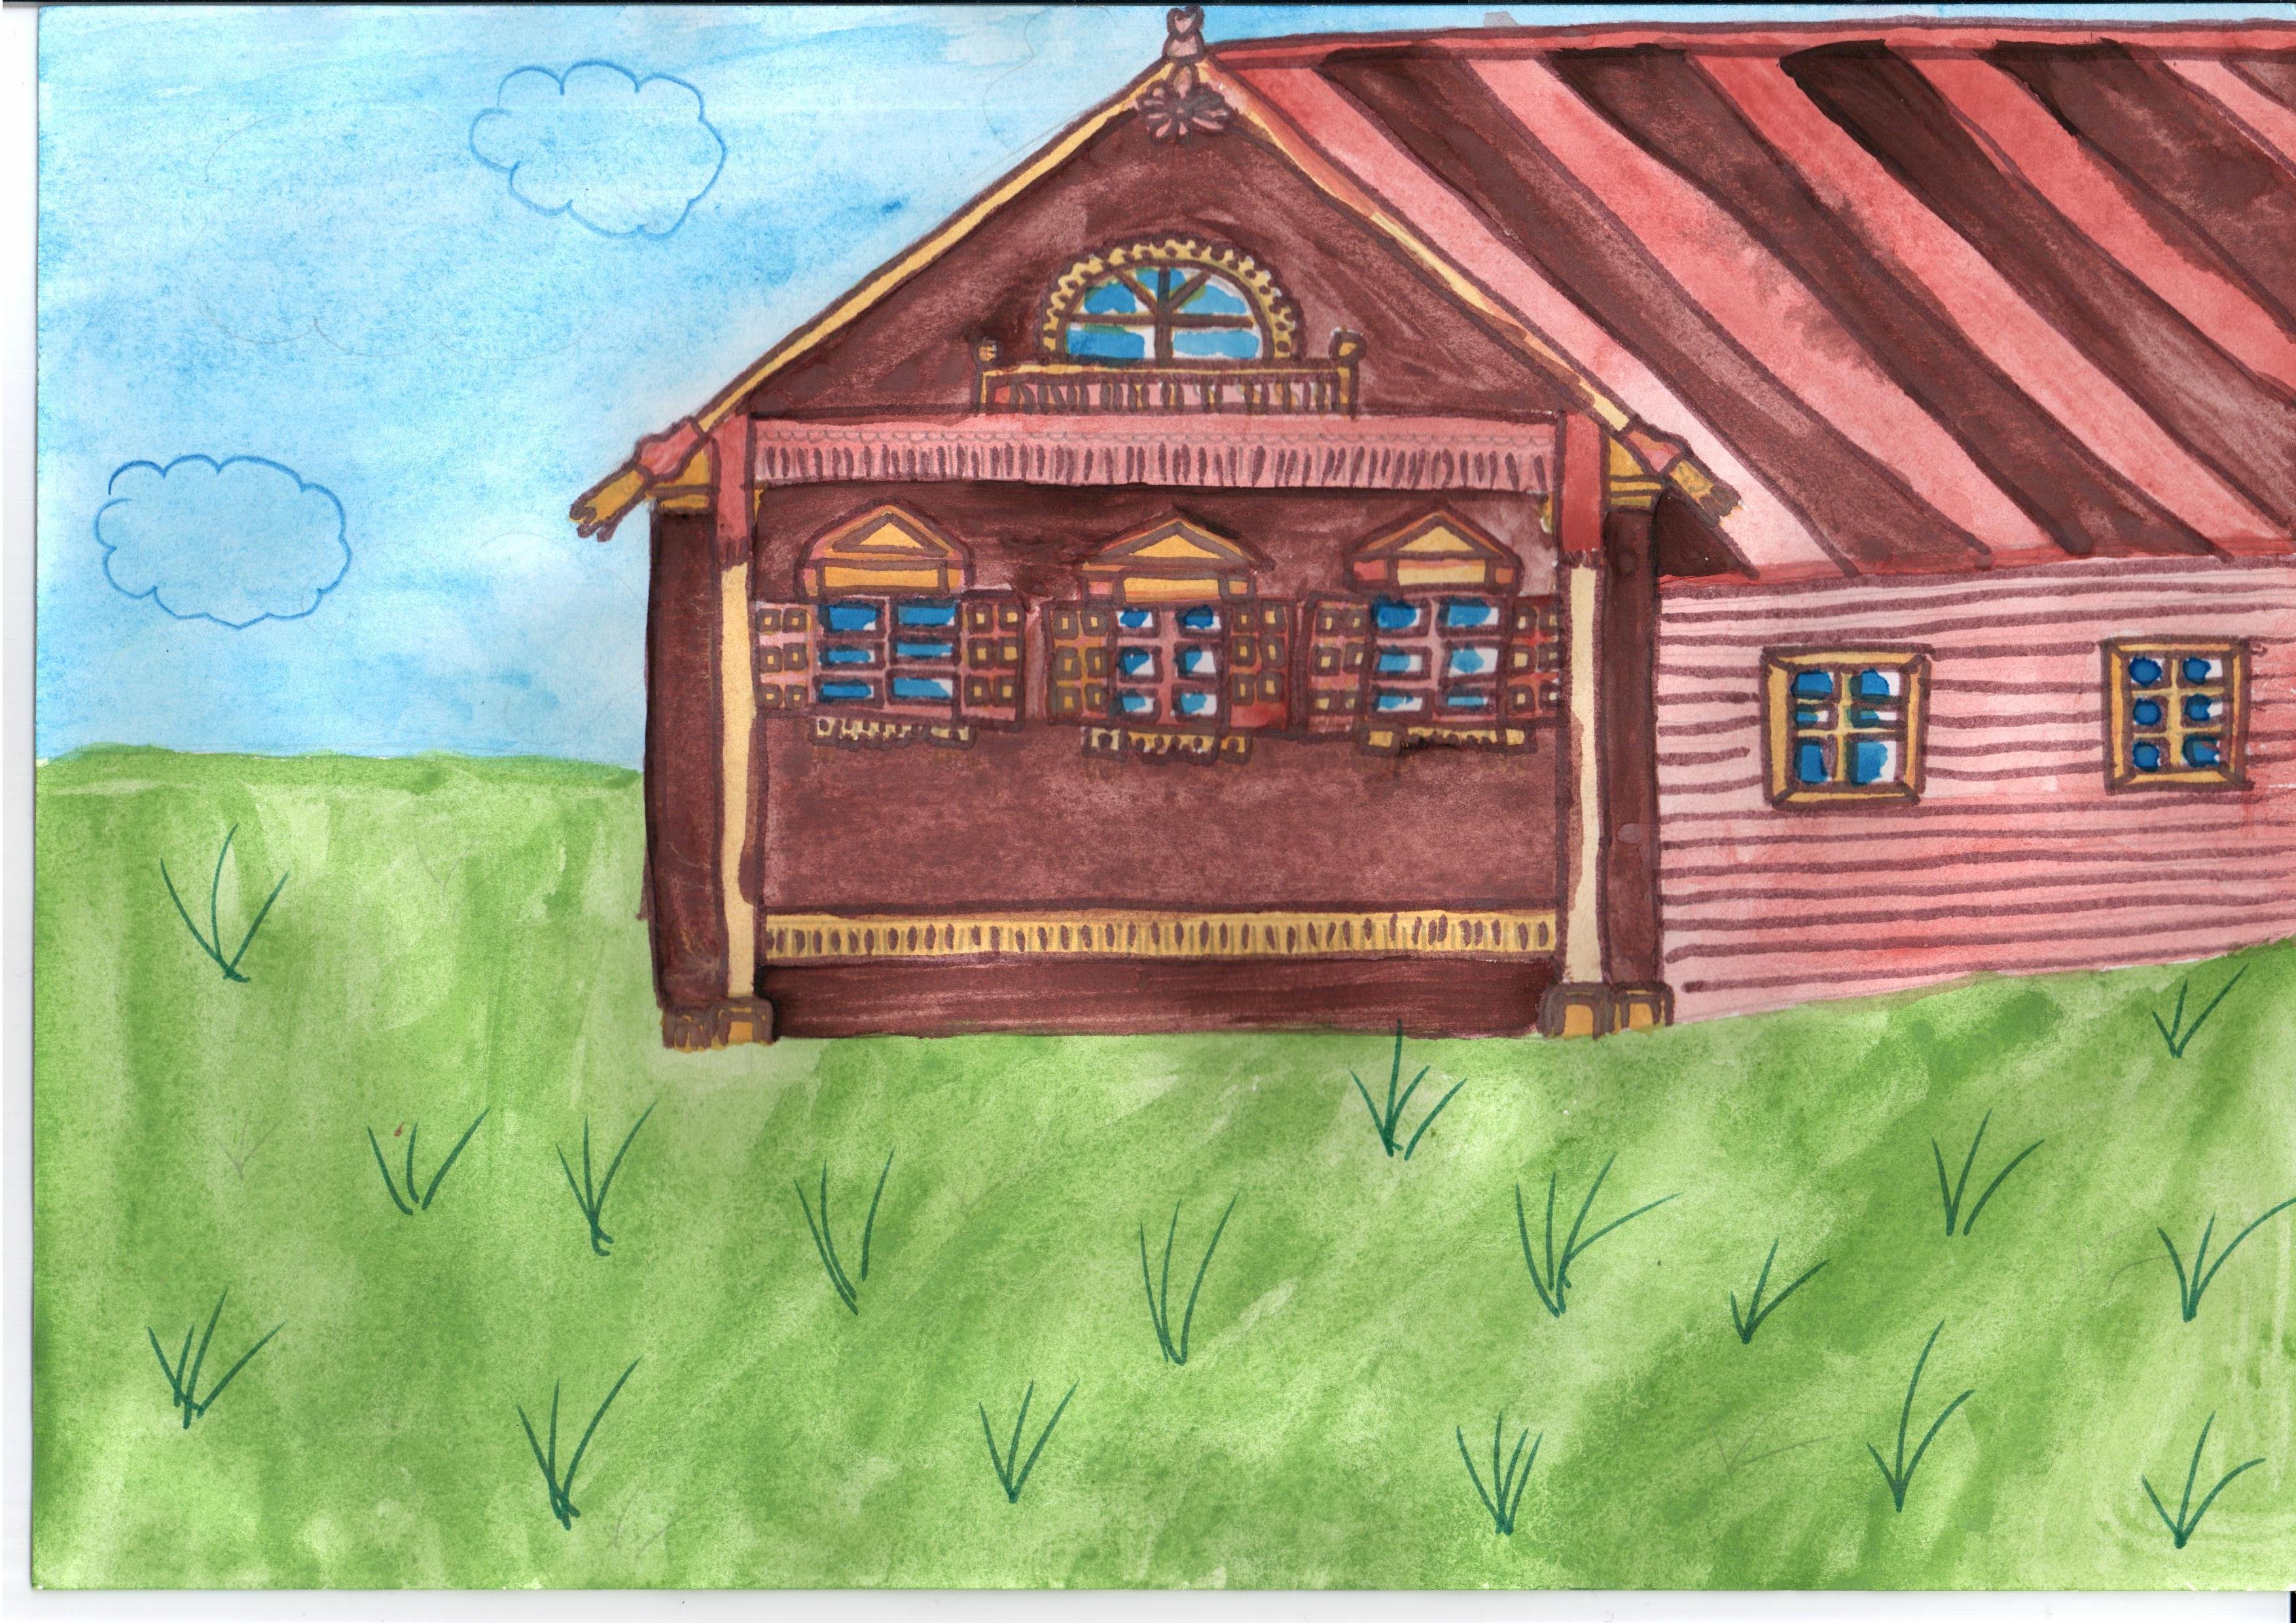
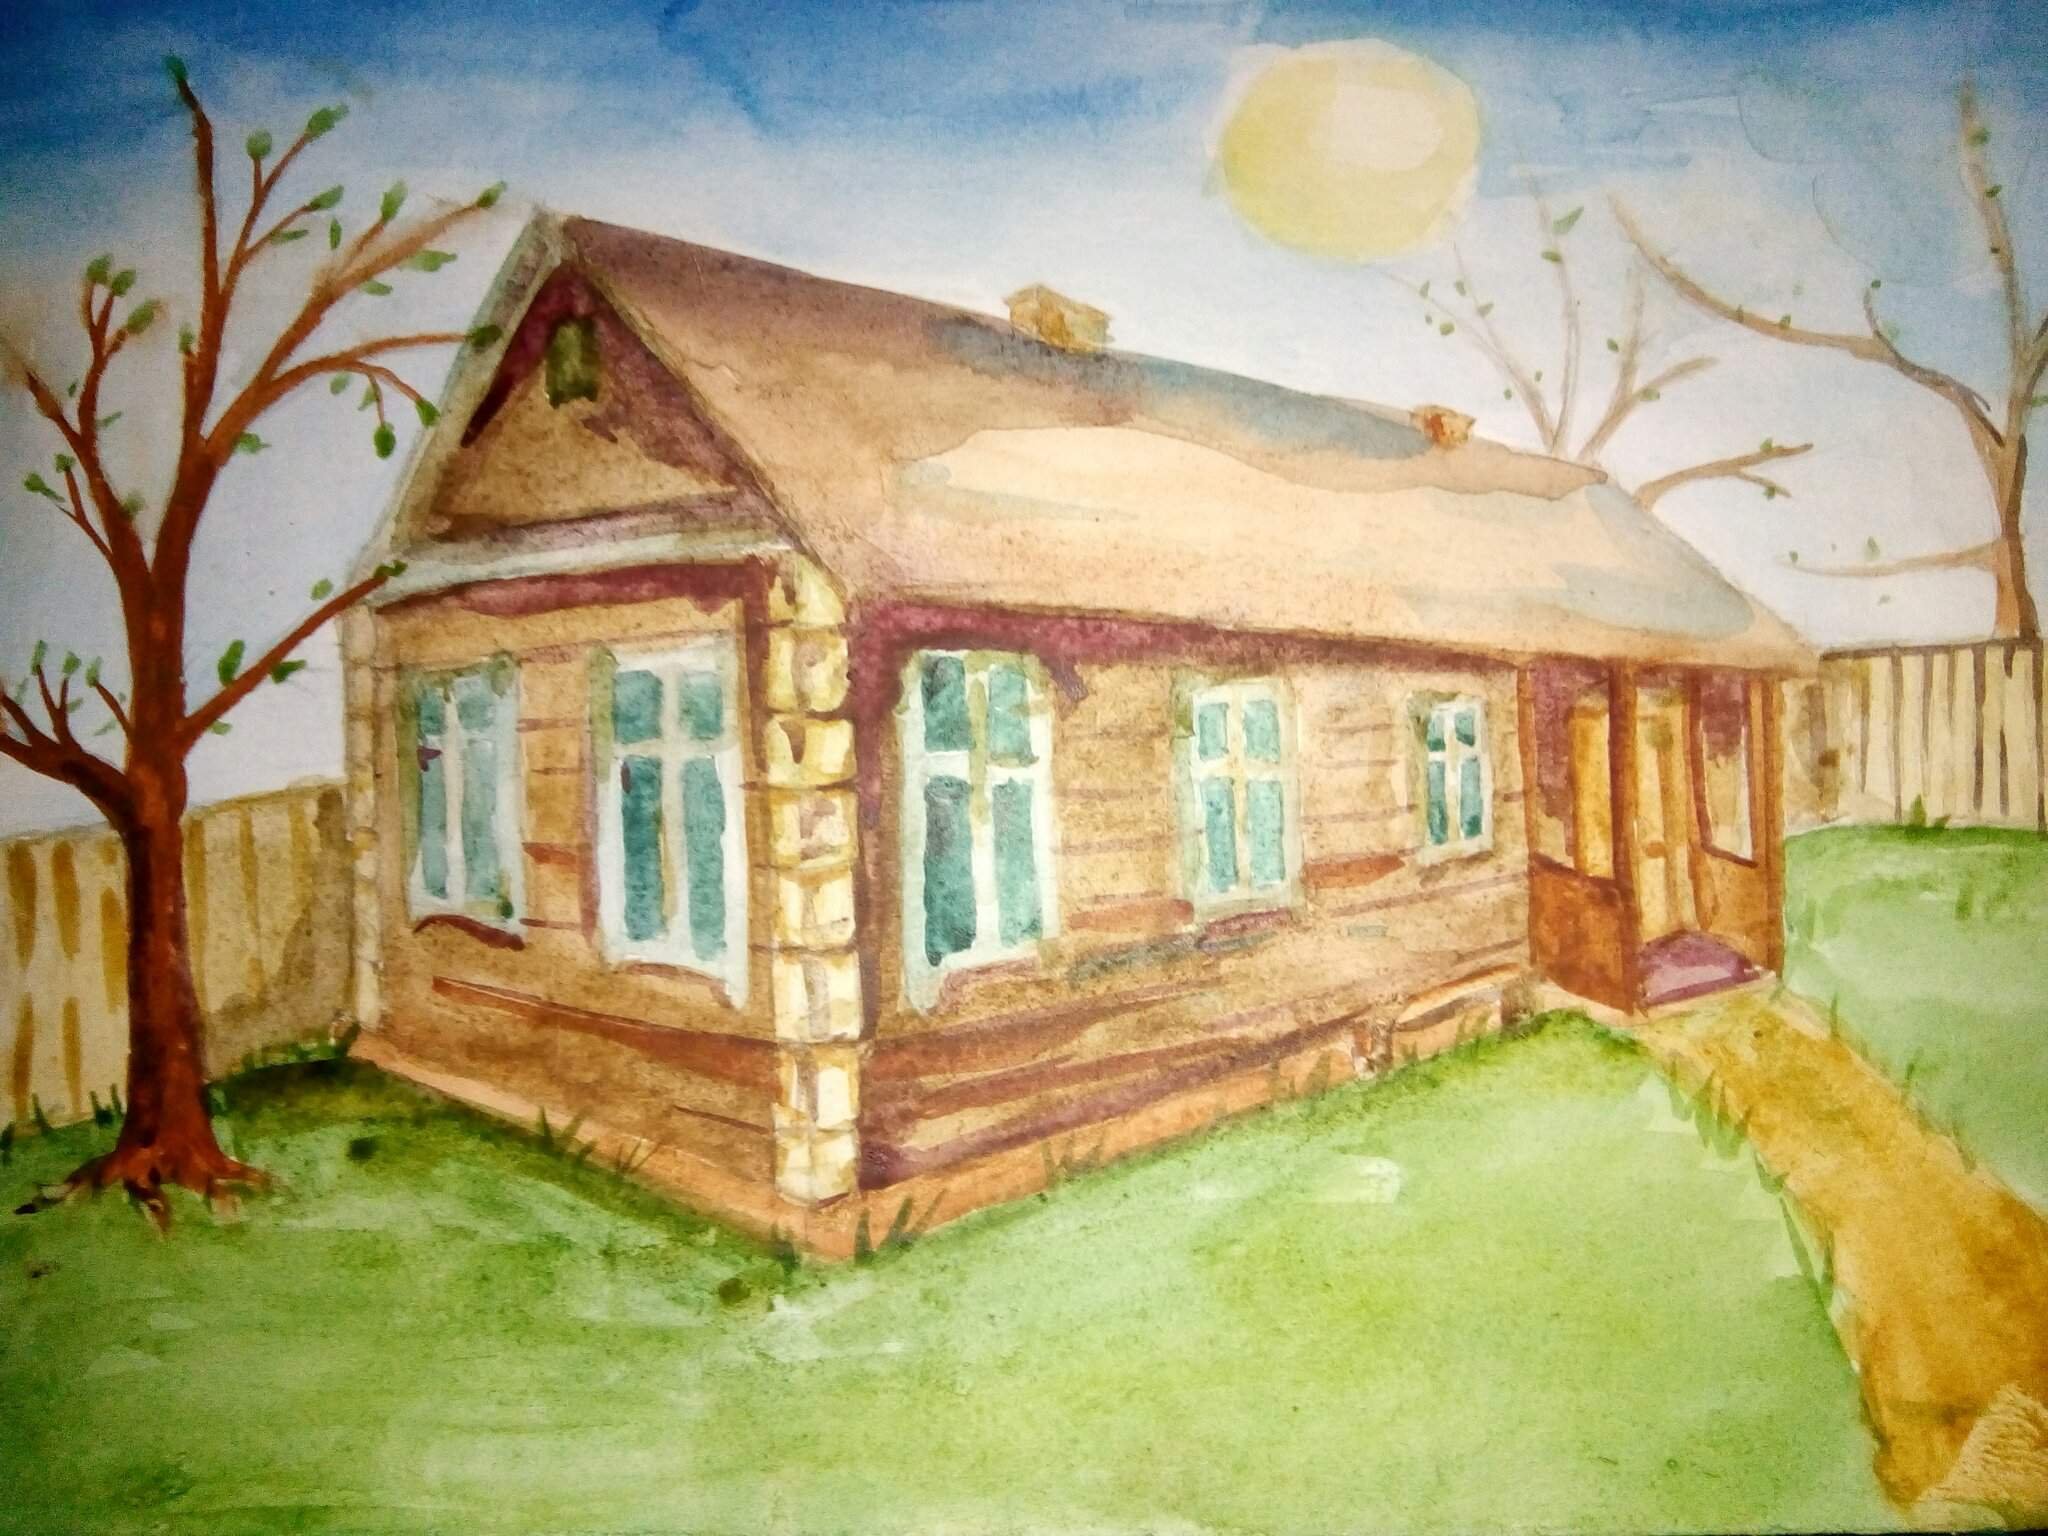
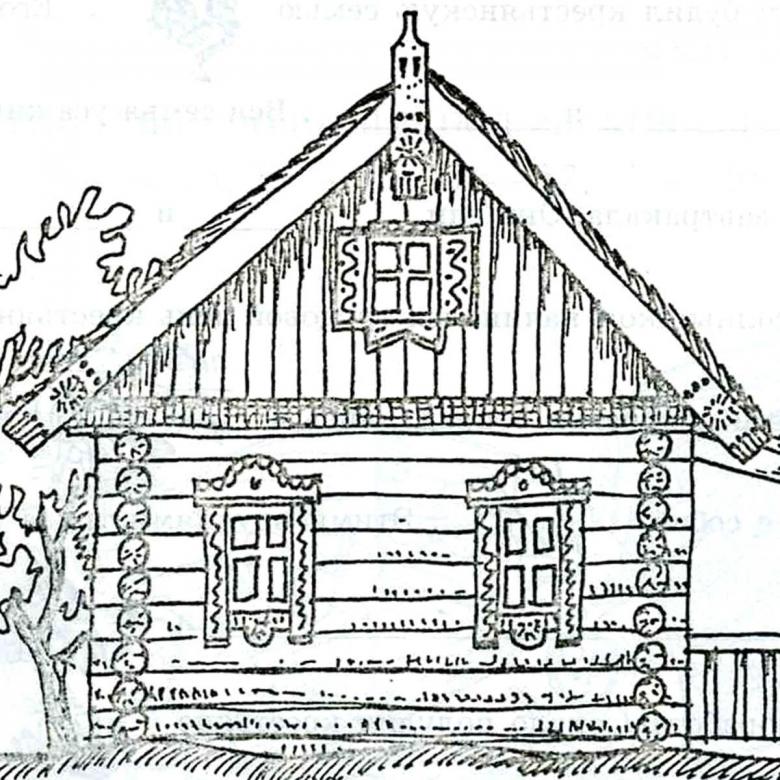
To obtain a complete picture of life, drawing of a fence of palisades, trees, a river, grass is carried out.
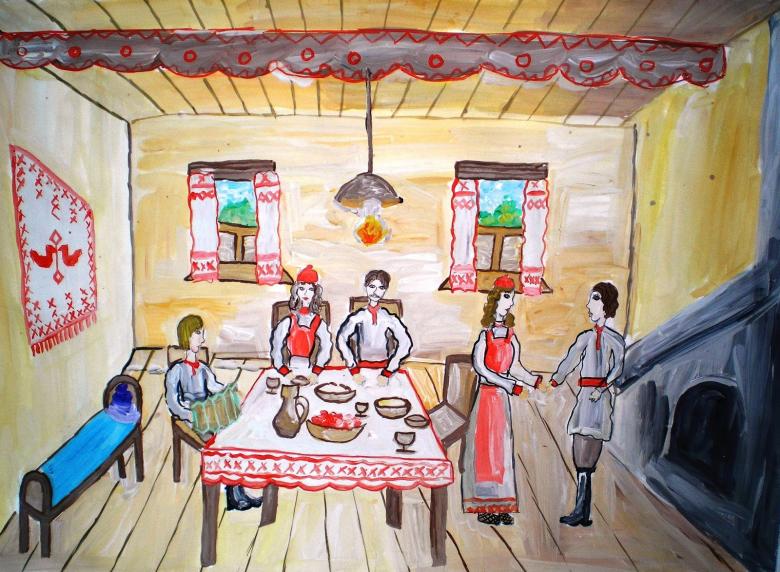
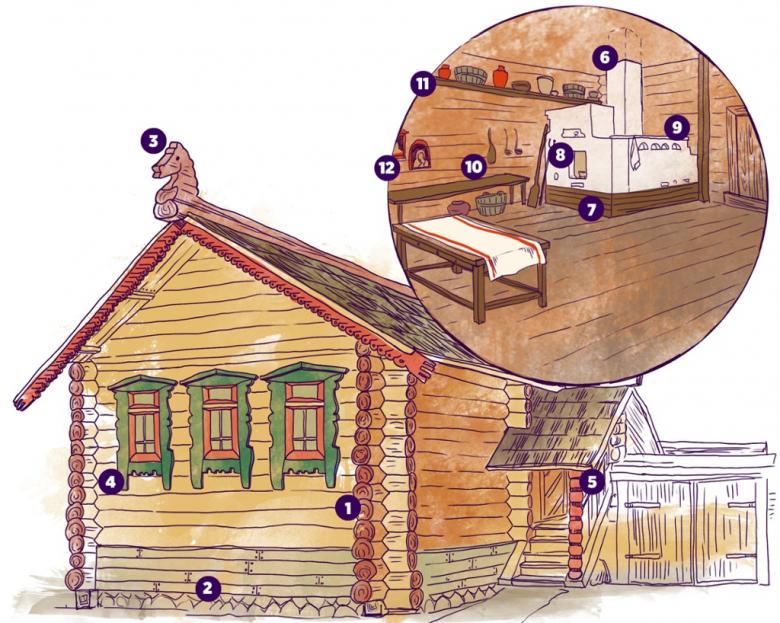
Interior view of the hut
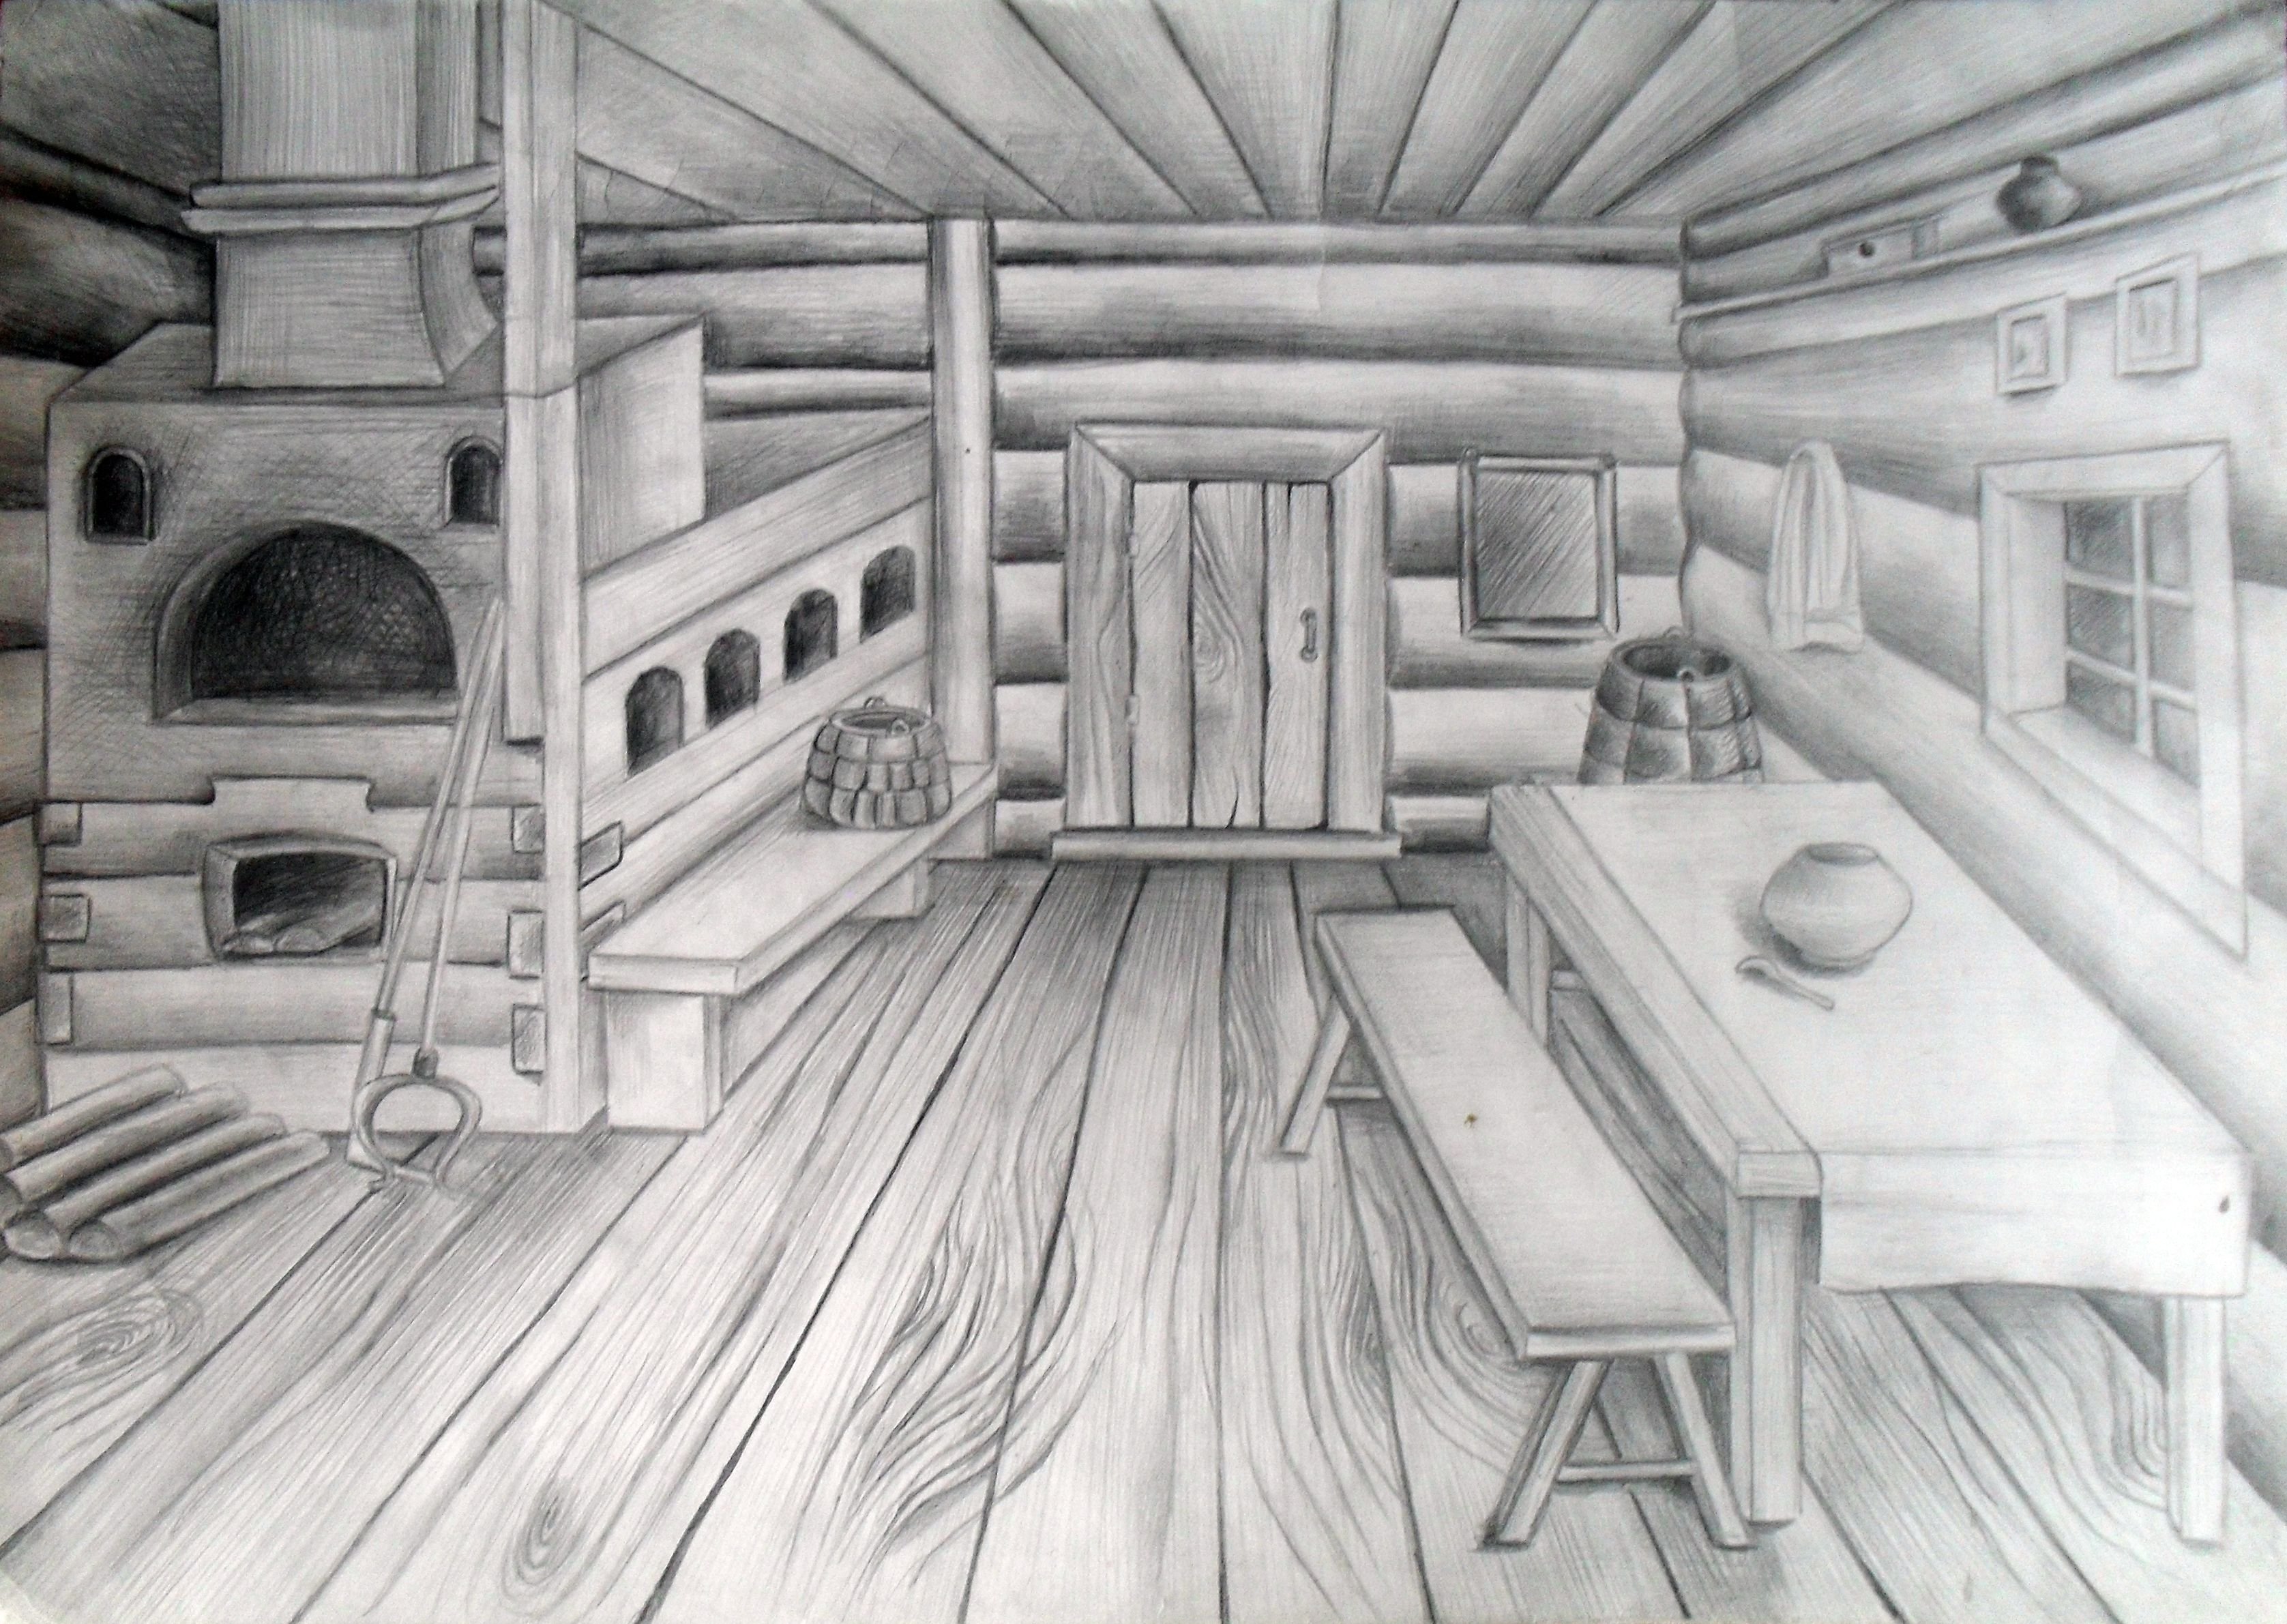
After the exterior view, thoughts may arise about how to draw the hut inside, what is there, with the help of which it will be possible to convey the life of the people.
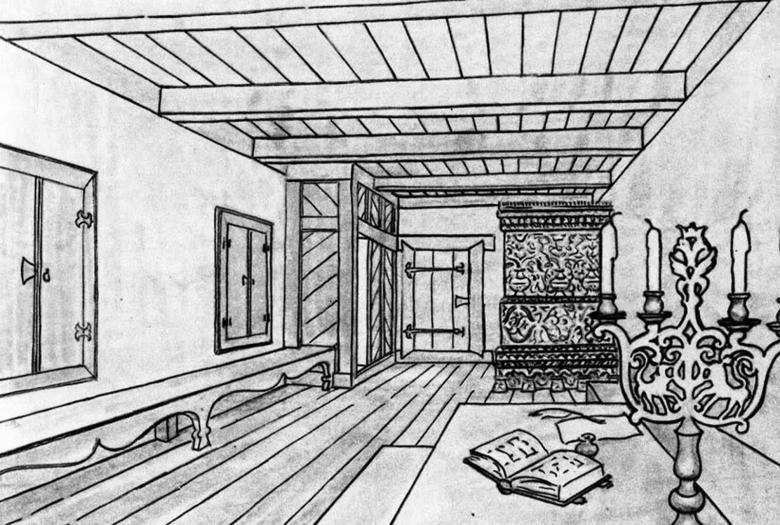
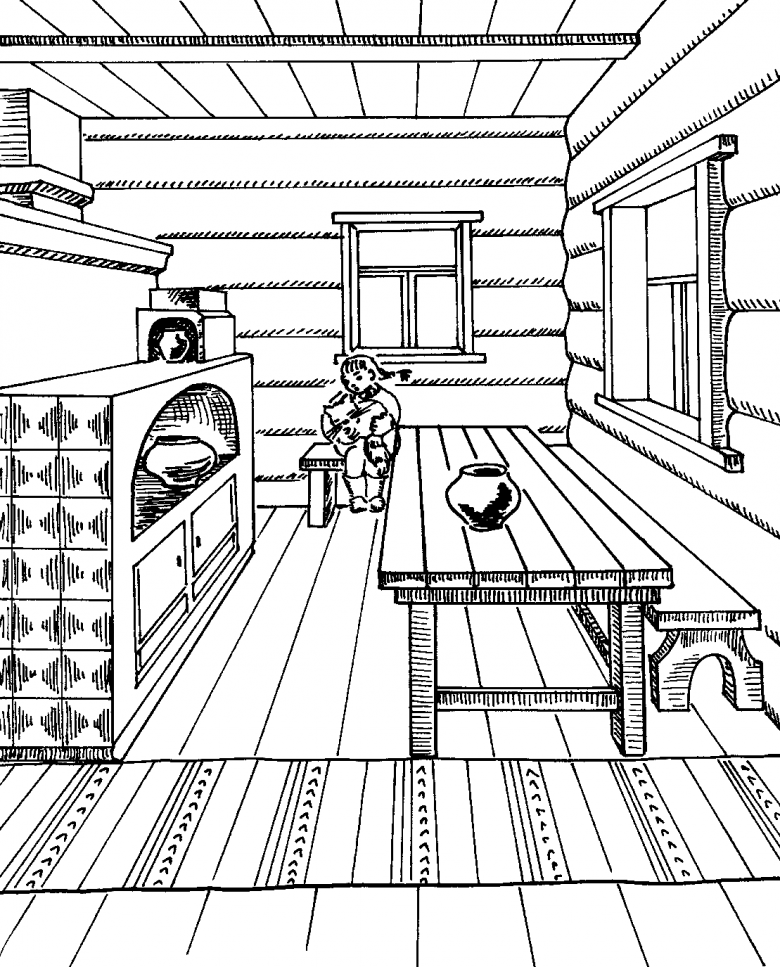
To begin with, it is necessary to draw the basis - a rectangle. Then another one is drawn inside, but smaller. This is done in order to outline the floor, ceiling, side walls. The next step is to line the walls in the same way as on the outside of the hut. Next, the appearance of the side walls made of logs is created.
The floor and ceiling are lined so that it looks as if they were made of boards. The furniture in the hut will be placed parallel to the wall lines.
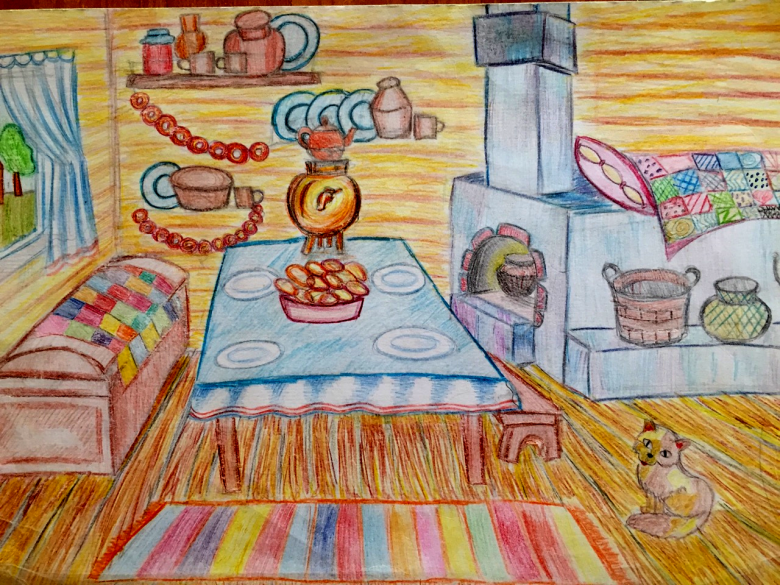
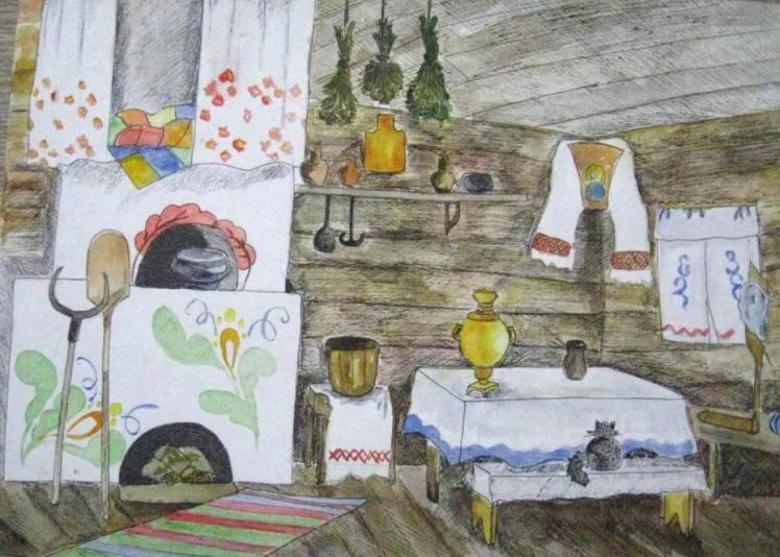
The main part is the stove, as it heats the entire space, in which food is cooked. But how to draw a stove in a hut? The next step is to draw the Russian stove. It will be located in the far part near the wall.
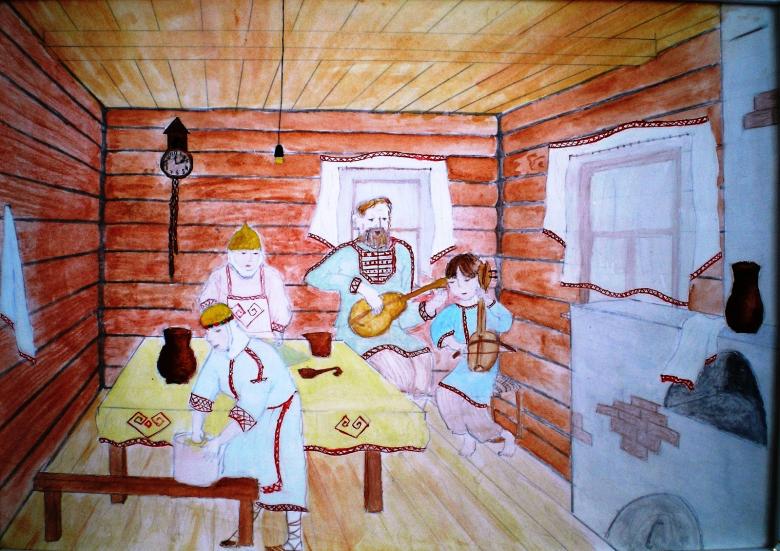
To create the outline of the stove, you need a bottle with a long neck, it will need to circumvent and make the shoulders rectangular. Using light and shadow to give volume. Beginning with the throat is made rear silhouette, like a rounded carriage.
Up - it is a cot, to it comes a ladder of three steps. A hemisphere of brick, in the center of which is a place for cooking, then the same hole is drawn at the bottom. There is a furnace, there is wood in it. Nearby is drawn a poker with an oven mitt, a tub of wood.

After that, the outline of the table, bench, red corner is drawn. The table and bench are depicted from rectangles - the base and legs. After that, the details of the red corner are drawn, namely the icon, the shelf with a curtain, with lamps.

Ware, kitchen utensils - pots, pots - are added. Walls can be decorated with bundles of herbs suspended on thin strings.
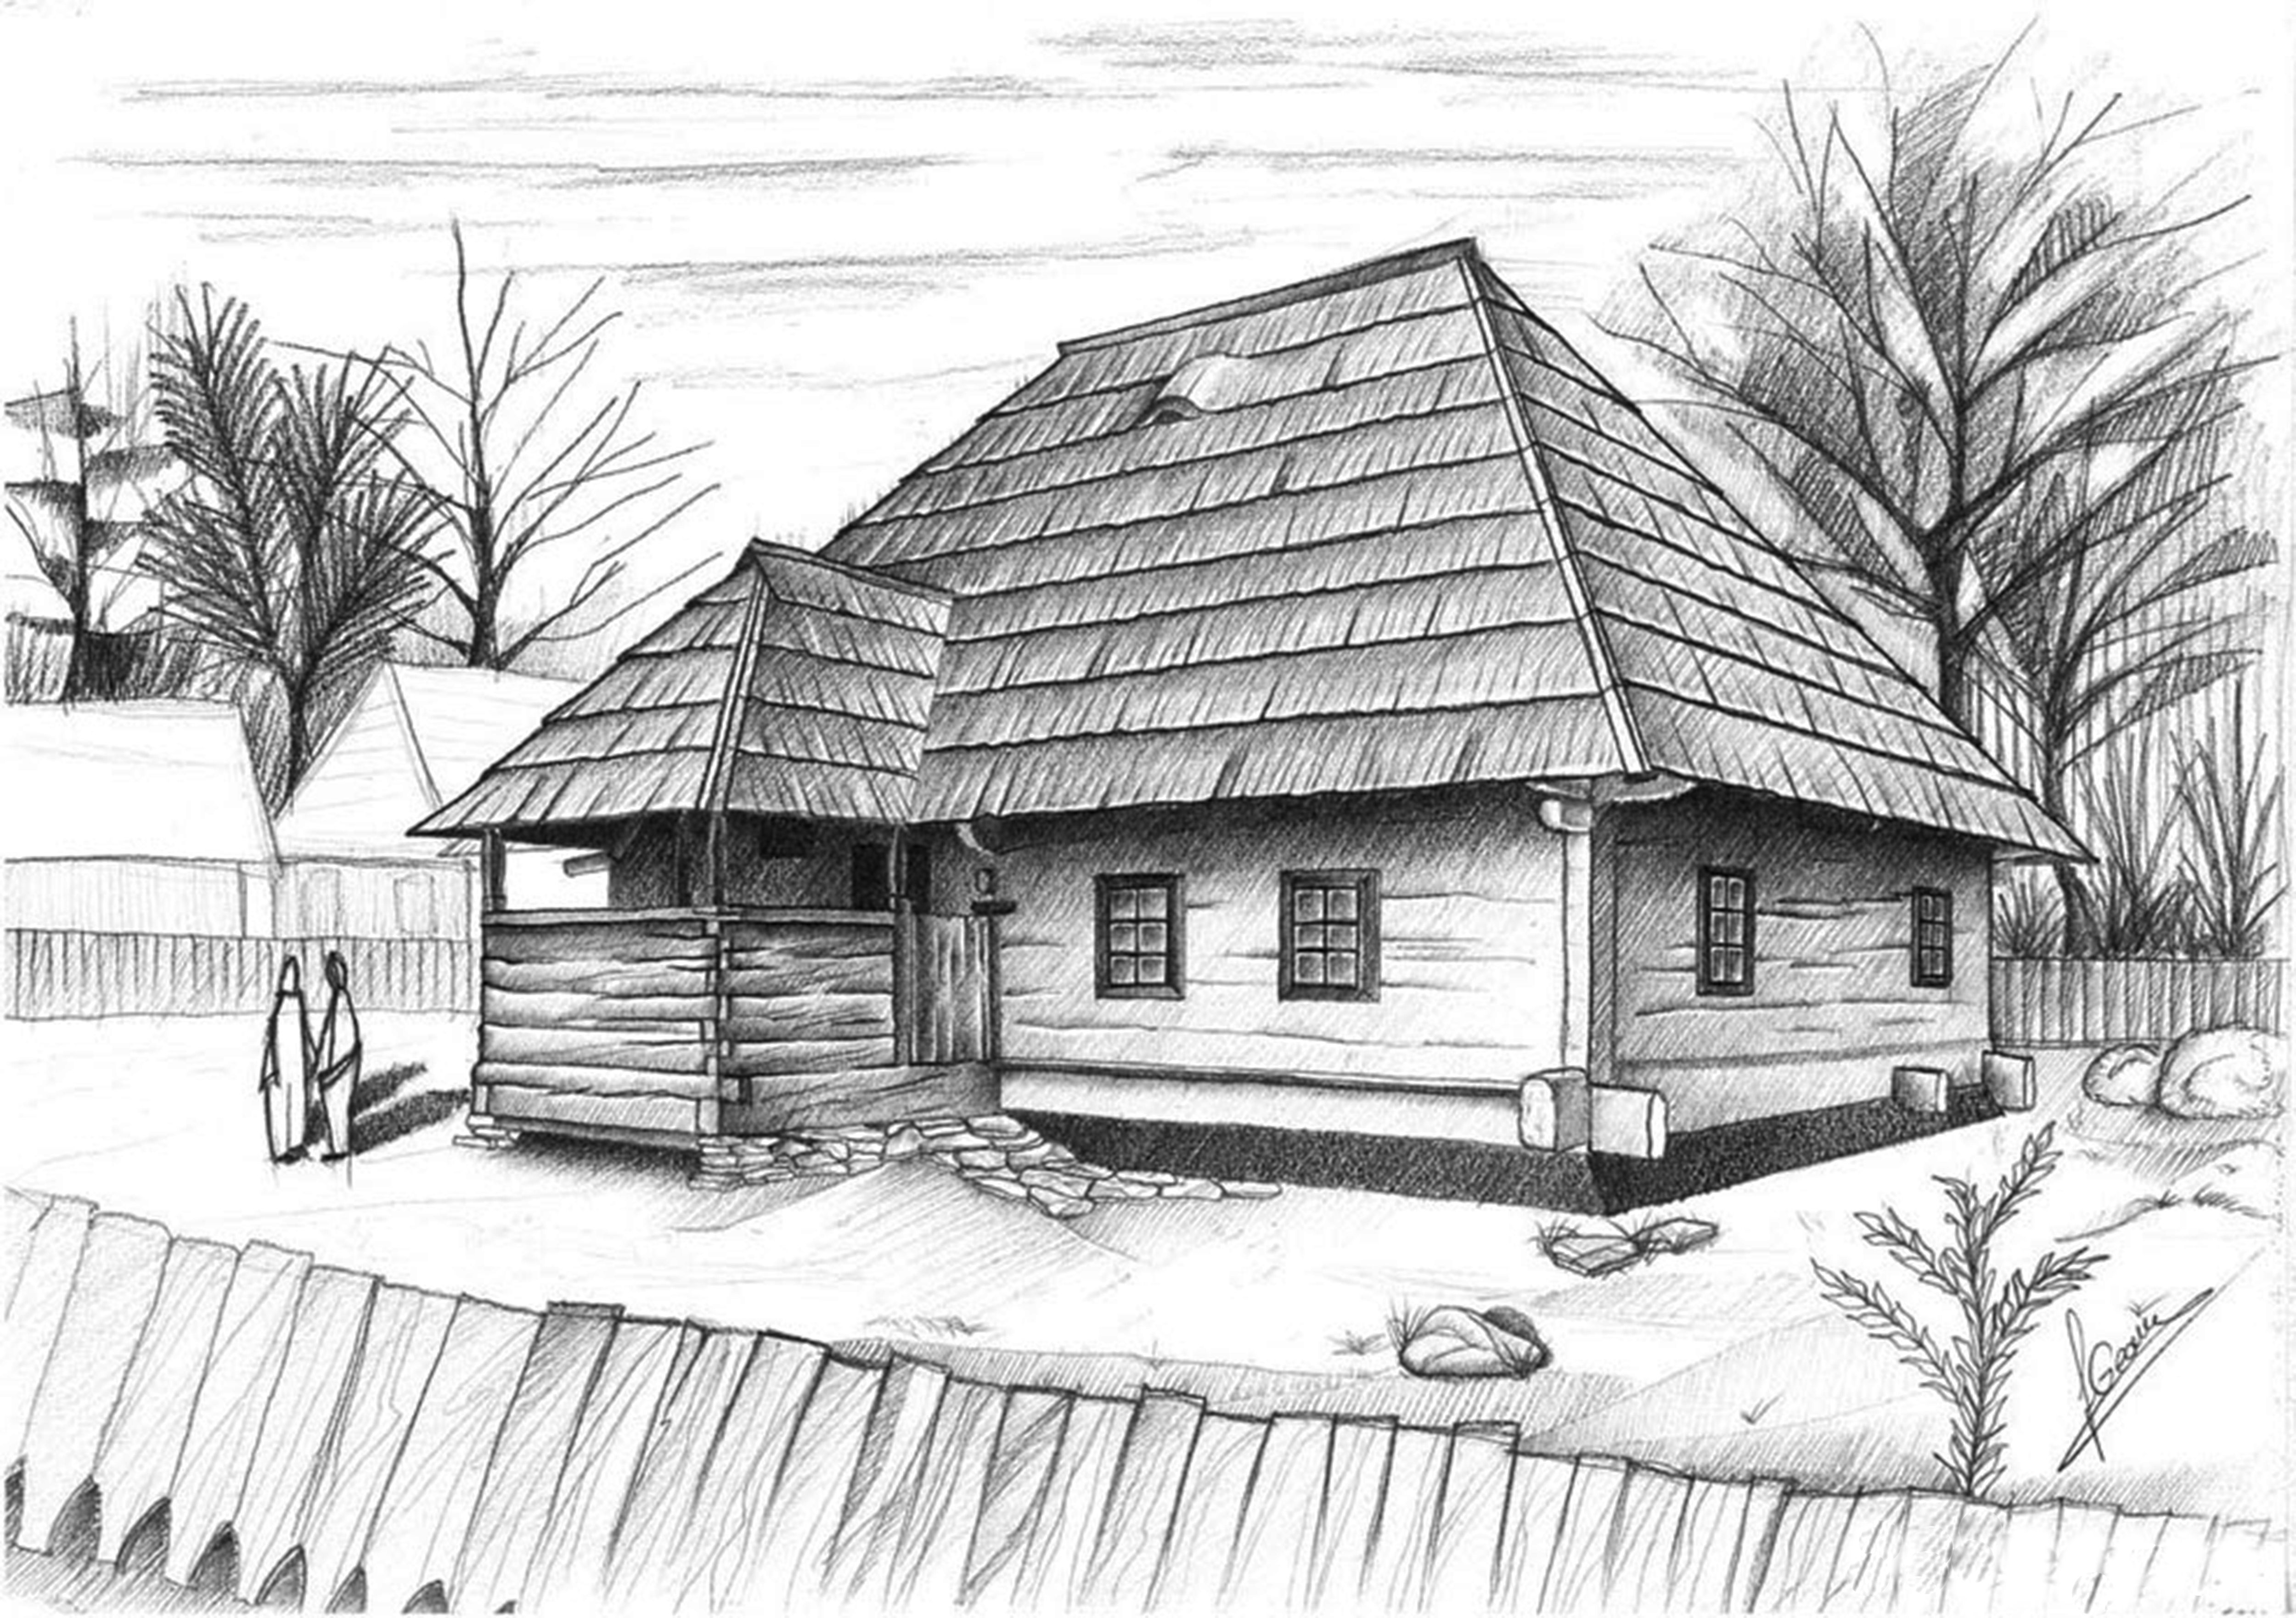
A hut from an angled perspective
This option is more complicated than the previous ones, but the main thing is to understand the course of steps and it will be possible to perform this task.
First a cross is drawn on the surface of the sheet, the vertical line will be the side wall. From this place is drawn two lines to the left obliquely, so they join together on the horizontal bar. The same actions are performed on the right side.
The next step is to draw the roof and the projecting logs to the outside, and to draw the base of the foundation. All details are drawn in accordance with the projection lines. The next step is to mark the location of the windows.

At the corners of the log cabin, circles of logs are drawn, with two rows of them visible at the front. A brick chimney is depicted on the roof. The last step is to draw the entire dwelling, highlighting the log structure.

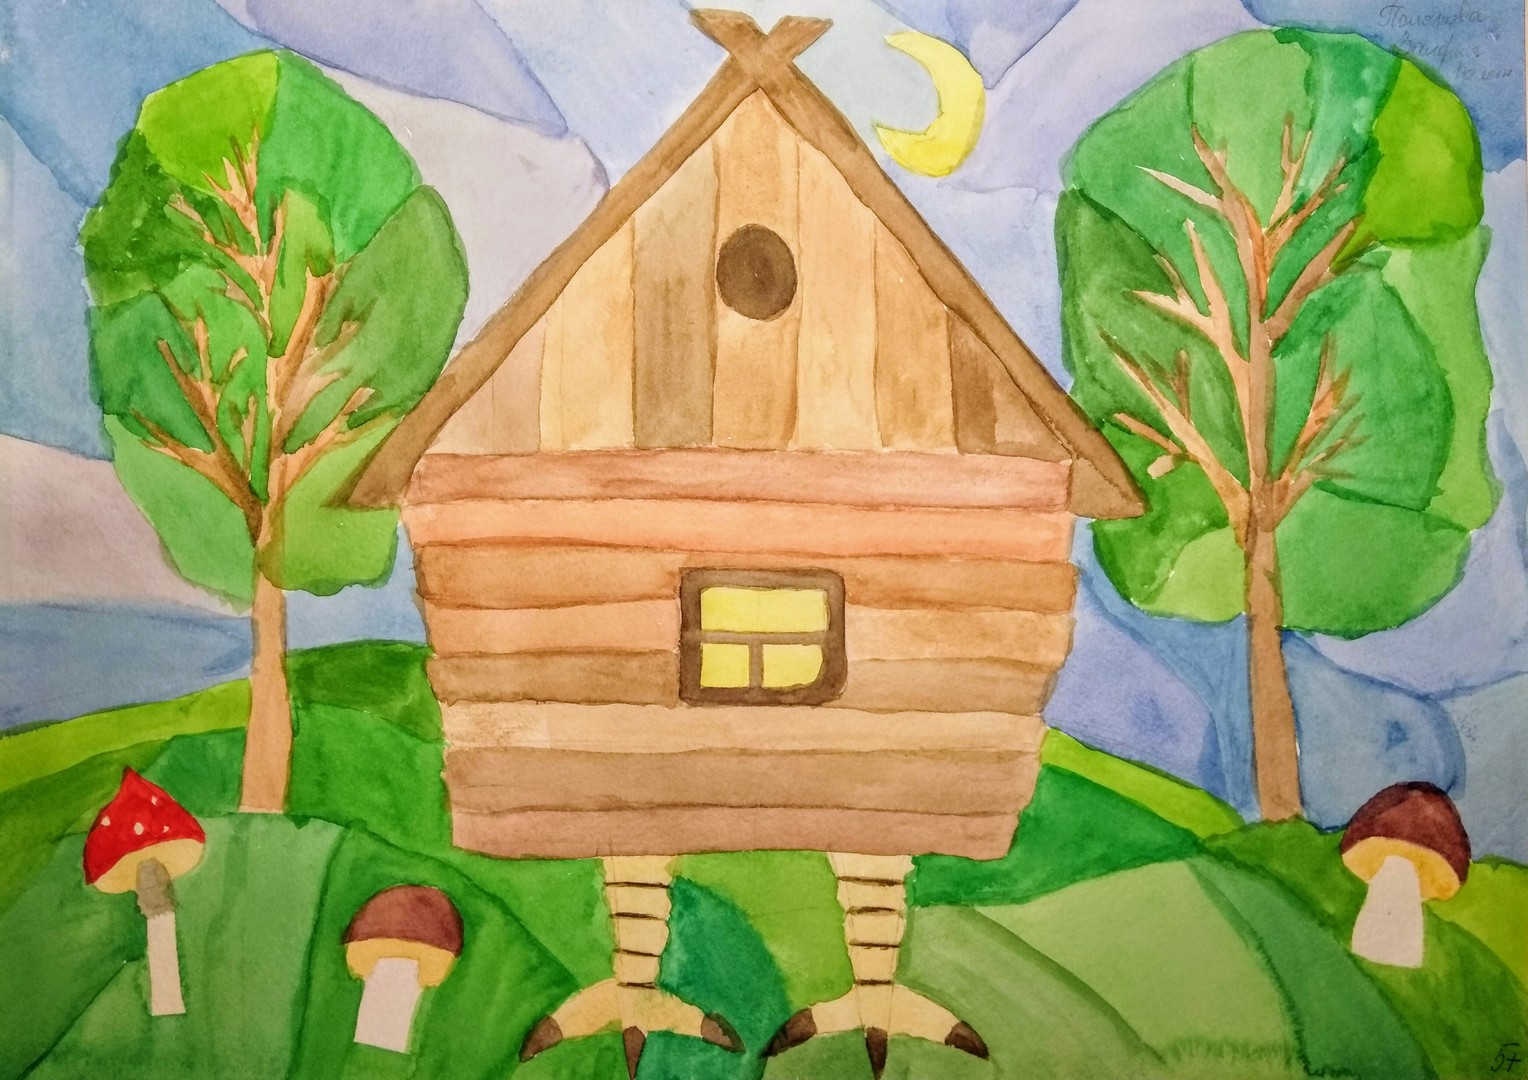
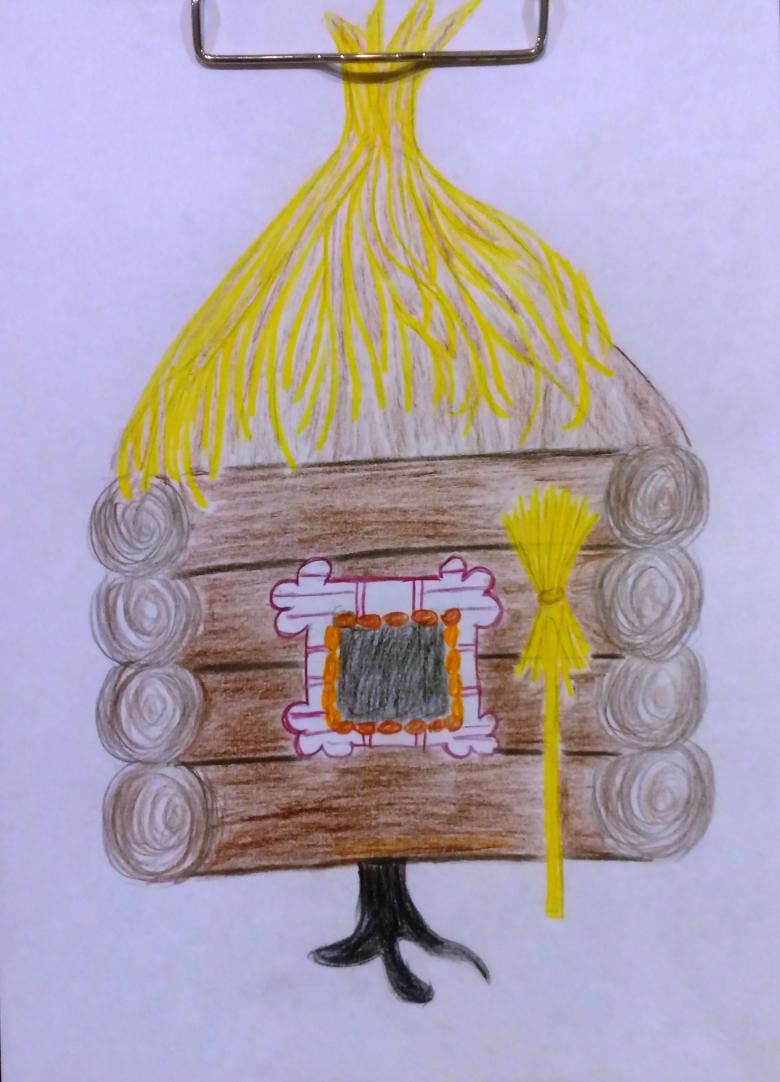
A hut from a fairy tale
This option will really appeal to children. After reading fairy tales, after depicting an ordinary hut, they can ask about how to draw Baba Yaga's hut, this living house.
It is not difficult to do. The distinctive feature of this hut will be chicken legs, and location-marsh, with fly agarics.

The form of the cabin is very peculiar, it is narrowed at the bottom. It is drawn in the middle of the sheet. At the top of the hut is extended and finished with a triangle where the roof will be located. You need to draw two thin rectangles on the sides at an angle, which intersect and form a corner.

The next step is to draw a door, a window with shutters. Next comes the drawing of lines on the walls implying boards. Circles are drawn on the edges of the hut, as if everything was made of logs. On the roof the chimney with the smoke is finished. At the bottom, chicken feet with skin and scales are drawn. A fairy-tale dwelling is obtained.

To complete the picture, you can draw a crow on the roof, the forest around, snags and mushrooms. Choose a dark green shade for the forest to convey the dreariness of the thicket. You can add cheerful shades as well.
You can also draw Baba-Yaga, this is a recommendation for those who want to create a story from a fairy tale. For children, drawing mushrooms, namely fly agarics around the hut will suit them best. The process will be fascinating and interesting for everyone. Paws can be drawn not straight, but to convey movement.
Working on such drawings will be enjoyed by adults and children alike. The main thing is that you do not need a lot of equipment and knowledge. You can use visual material found on the Internet, in children's books, in magazines, newspapers.
This is necessary to make the drawing unique, add something of your own to it. It is important to follow the plan and everything will work out. All the steps are described and shown in clear language, which will facilitate the activity of creating an image of a hut. You can include music or a fairy tale about Baba Yaga, it will create an atmosphere and creativity will be better to show.

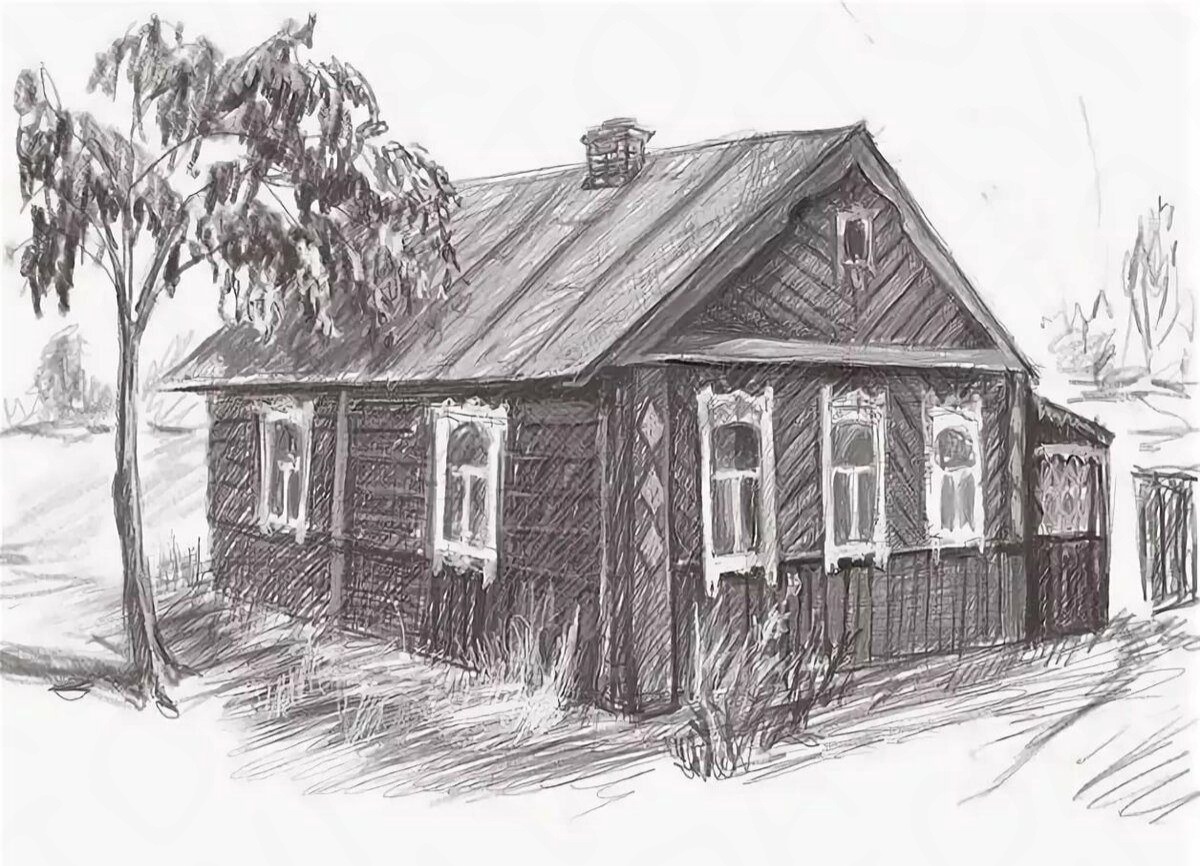
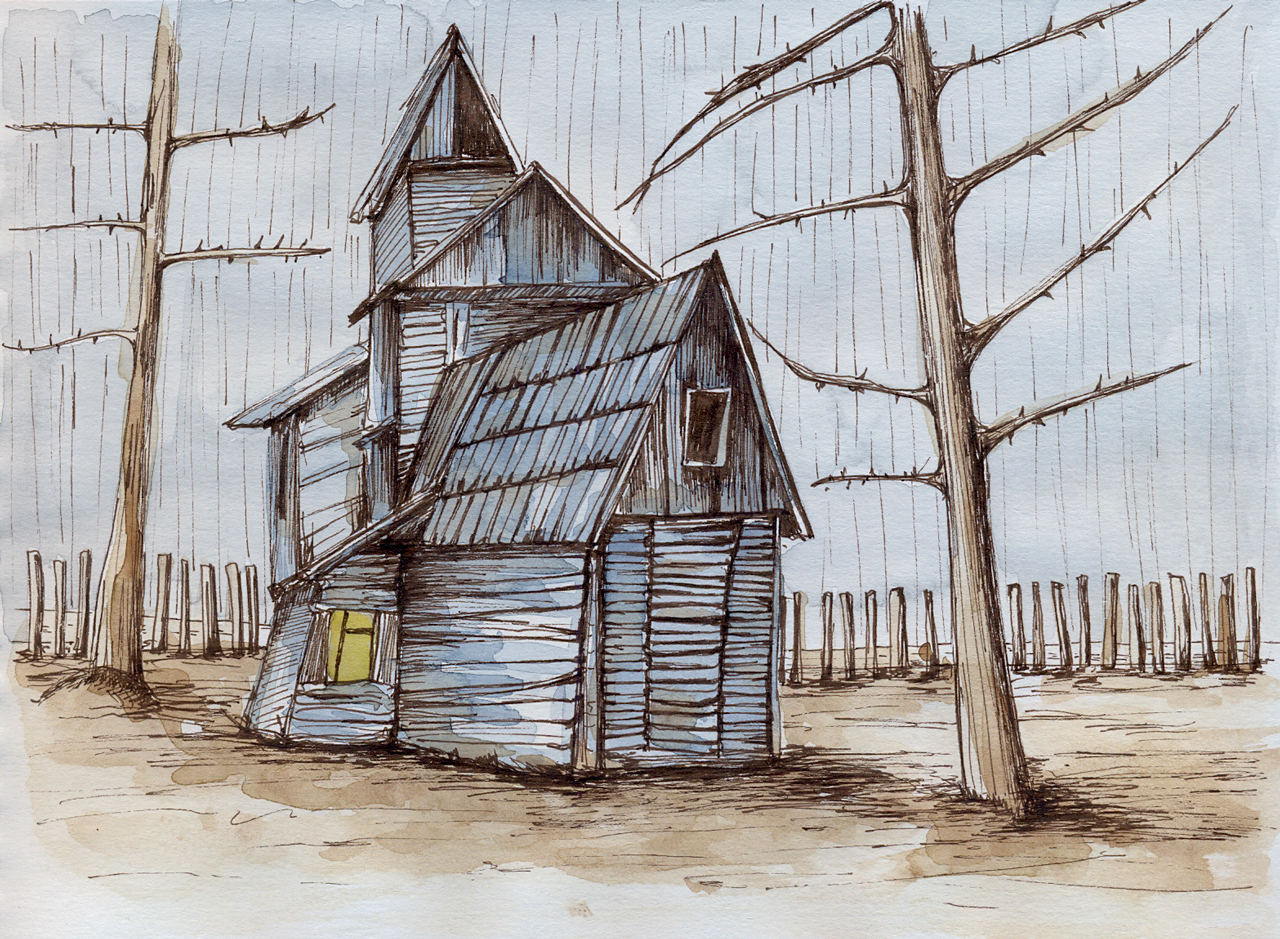
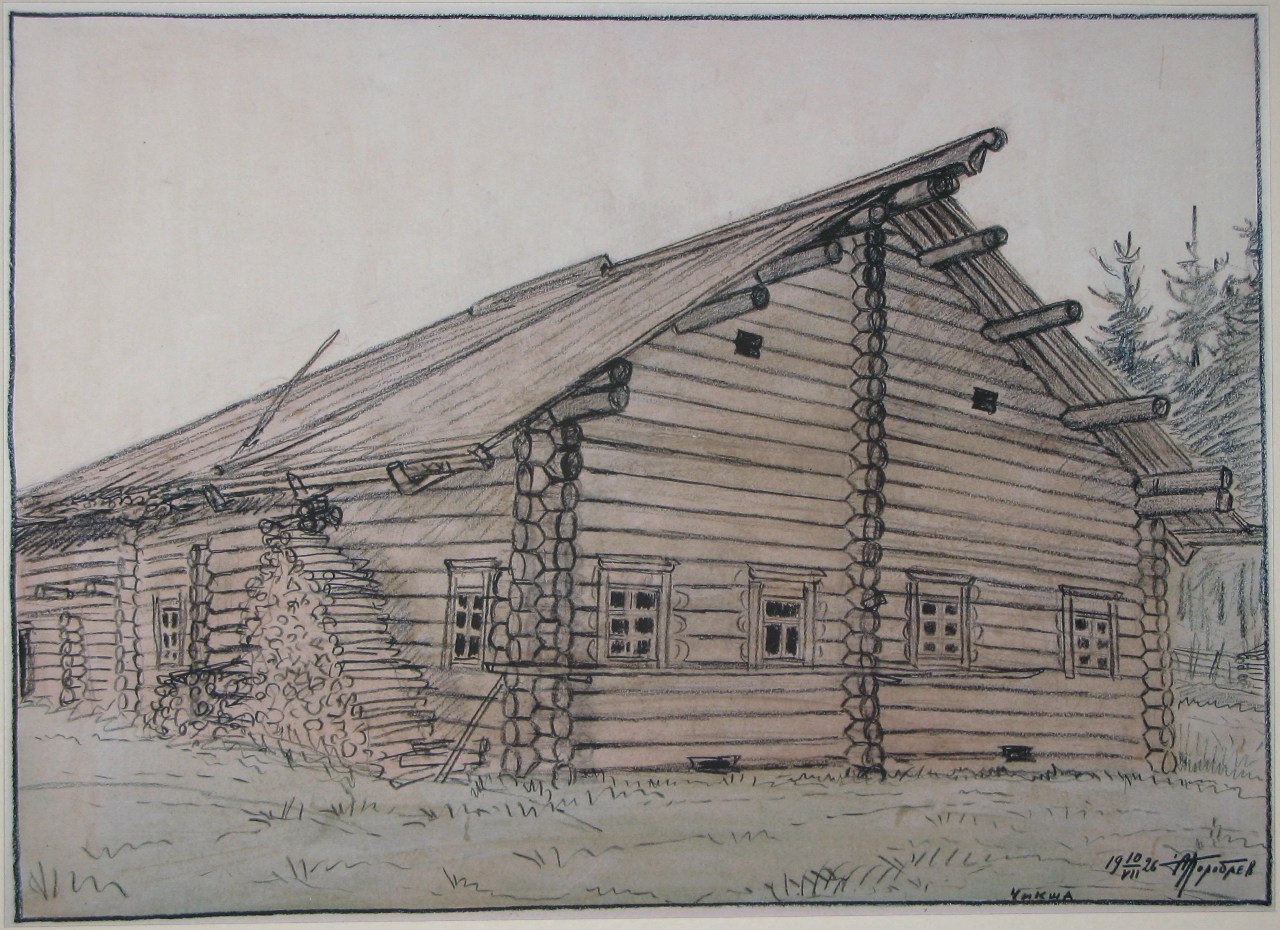
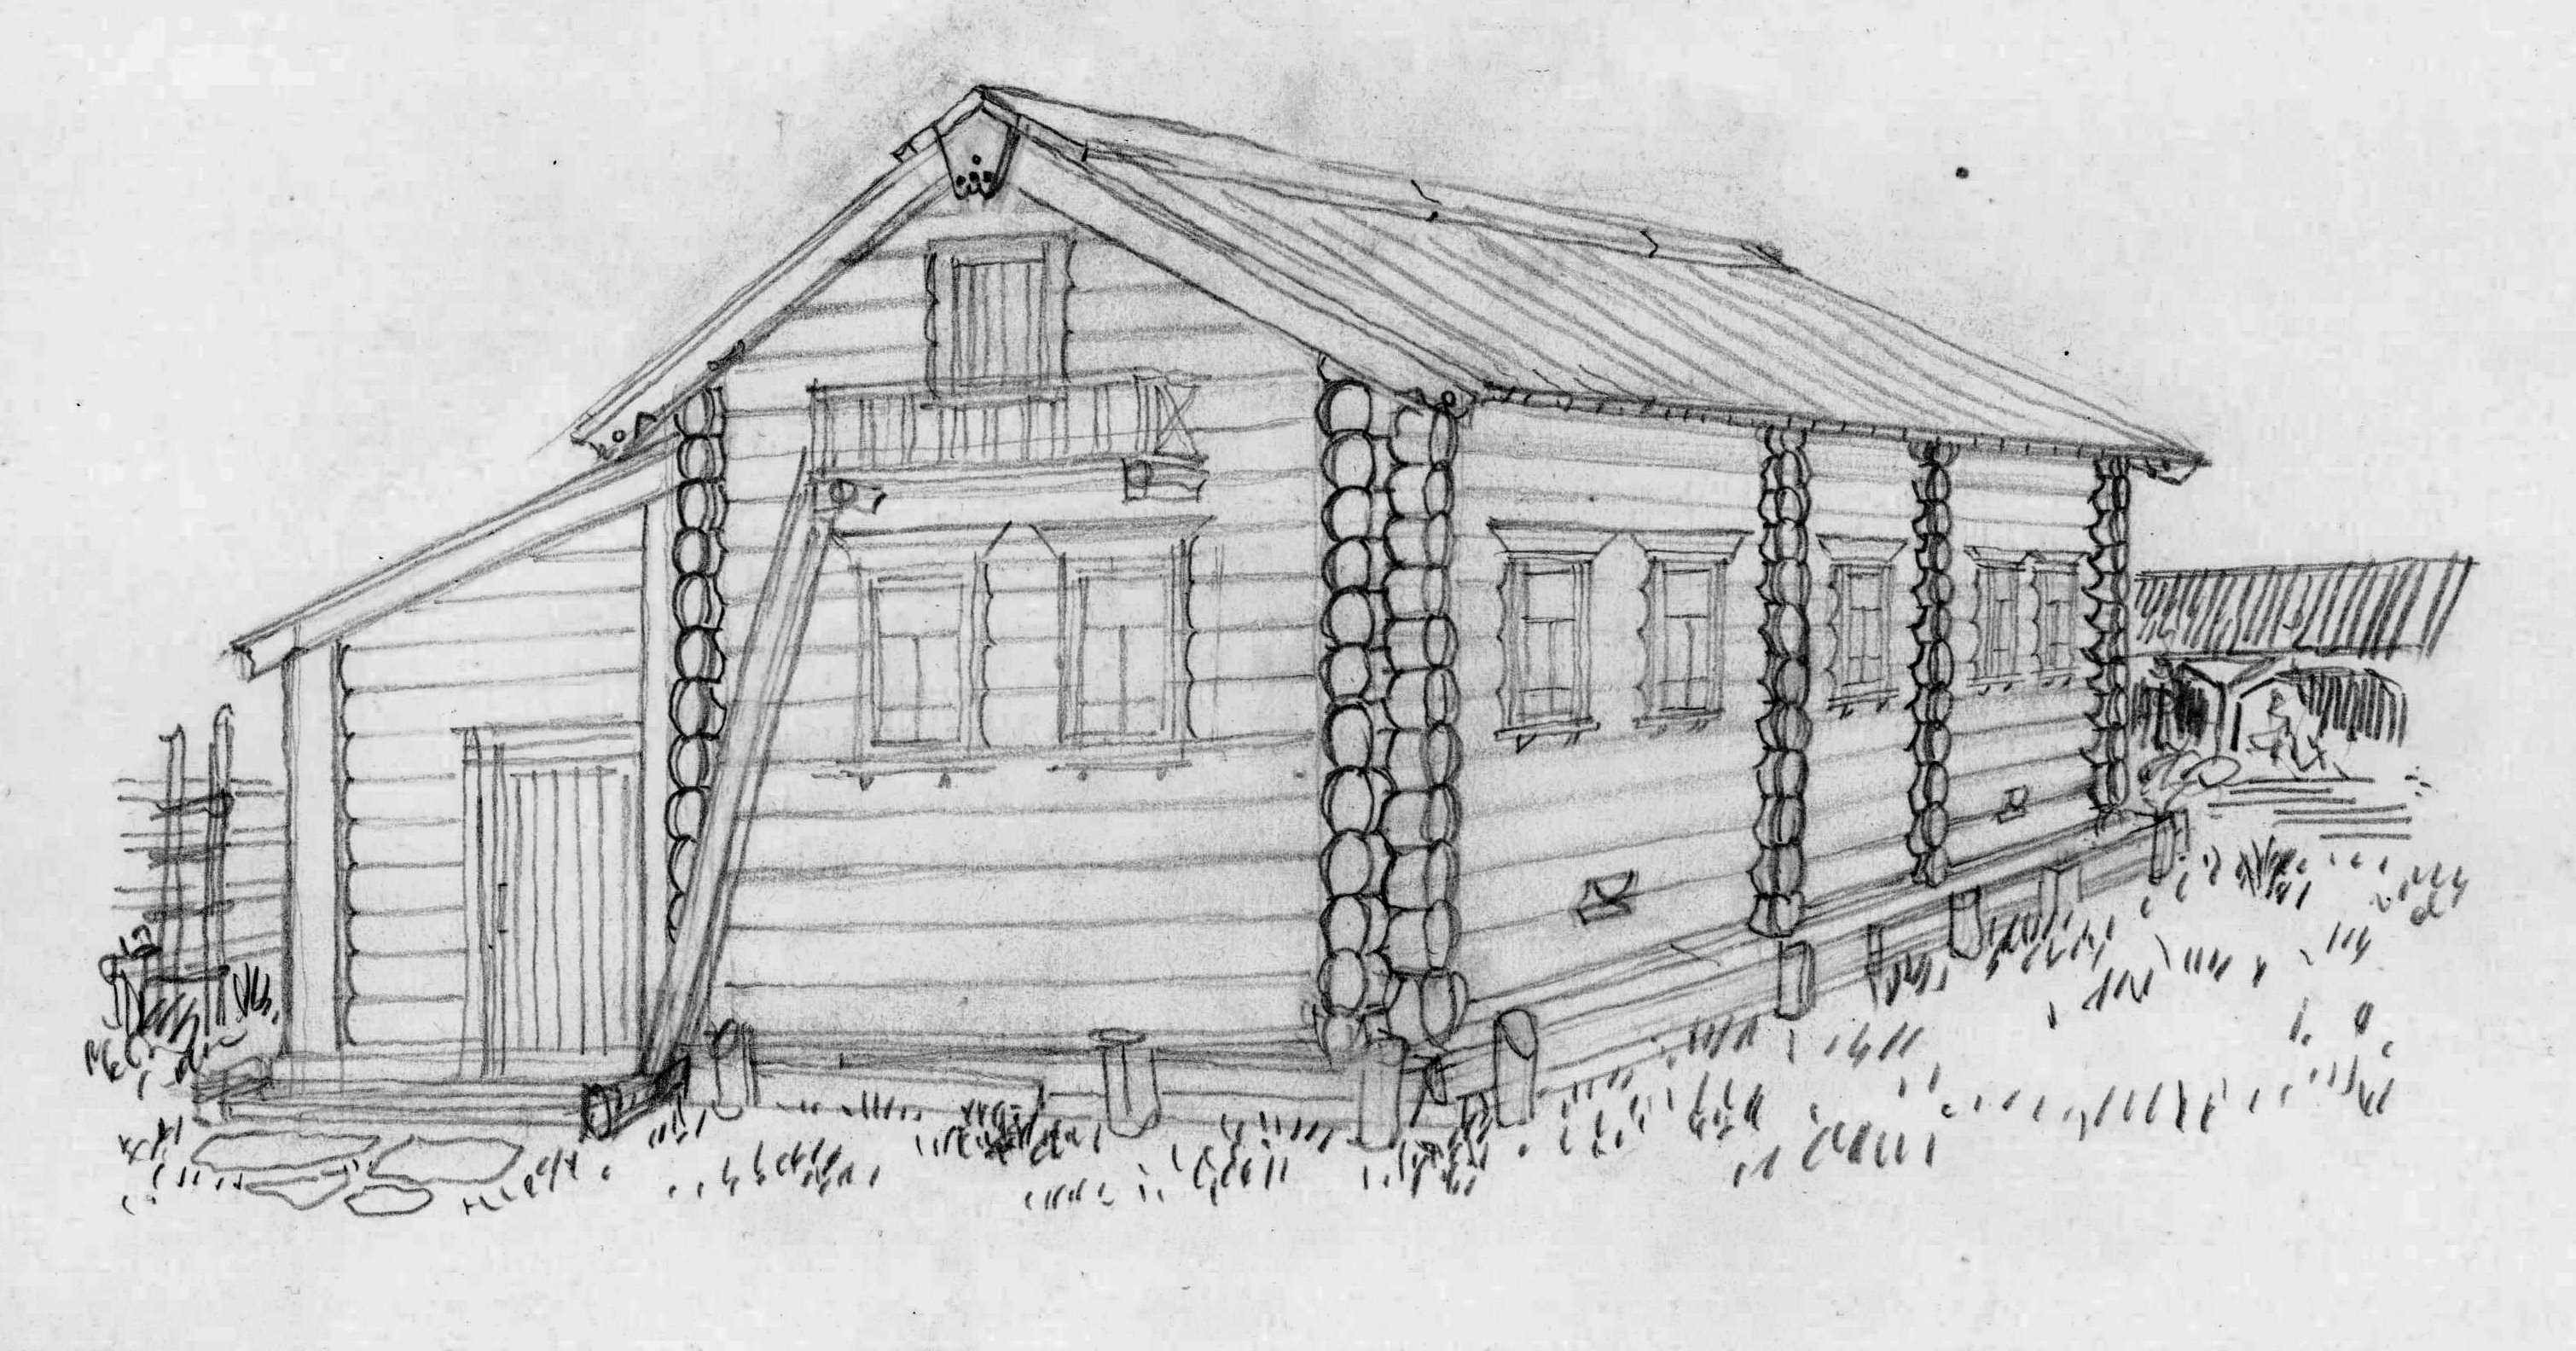
Images of a hut for sketching in pencil