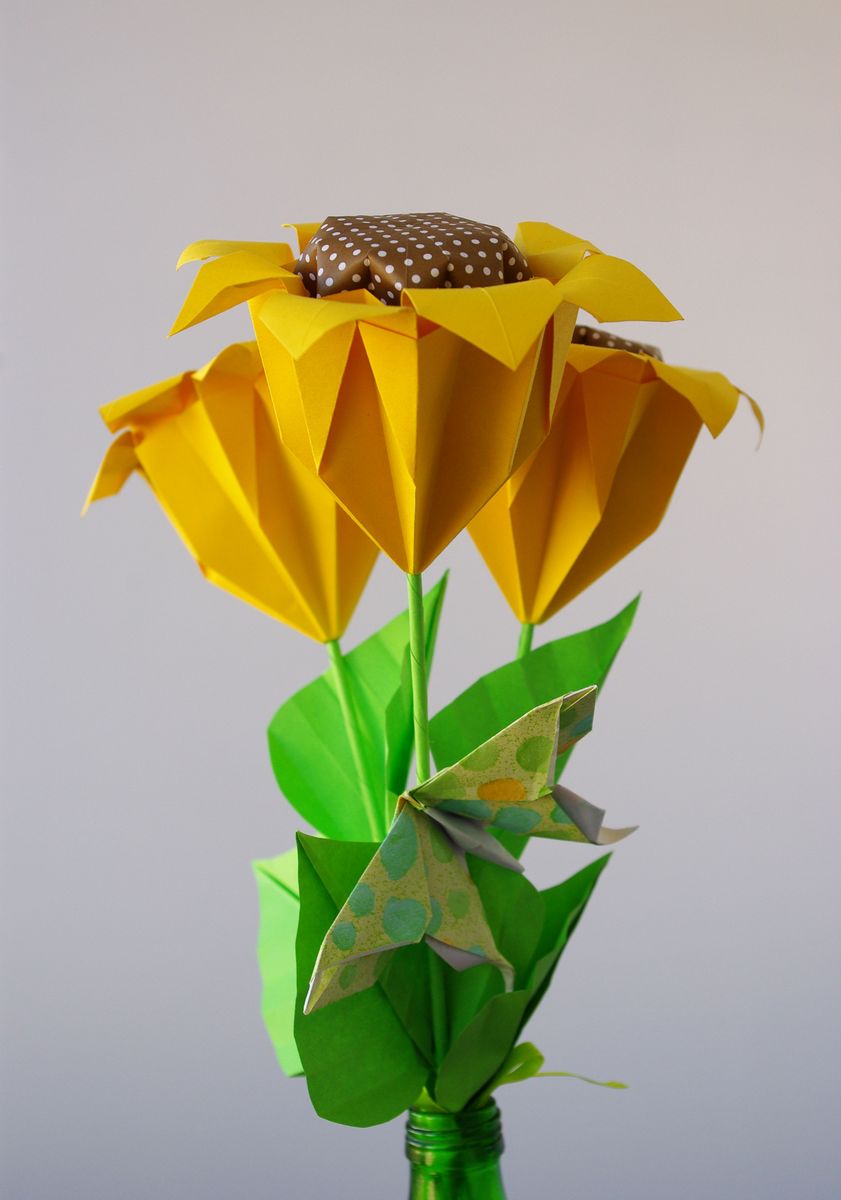
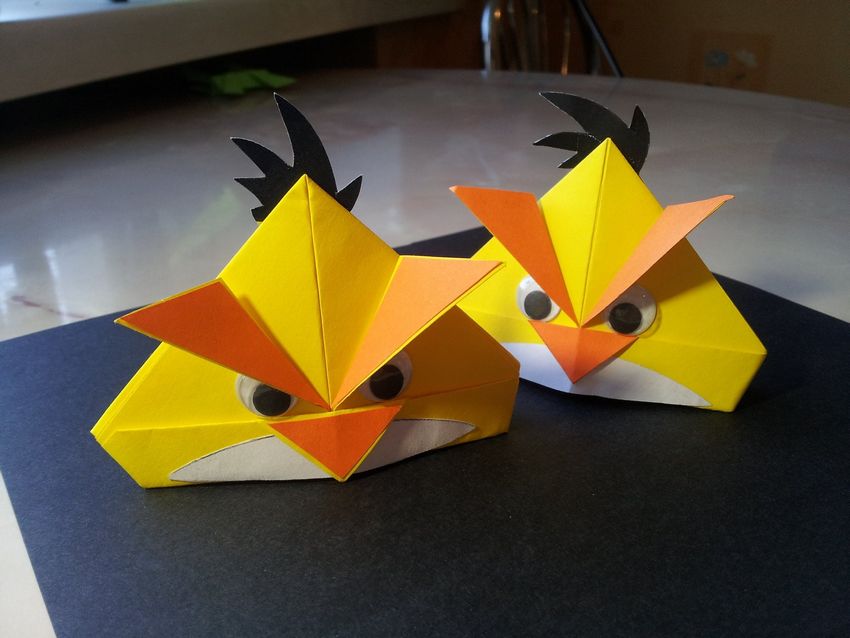
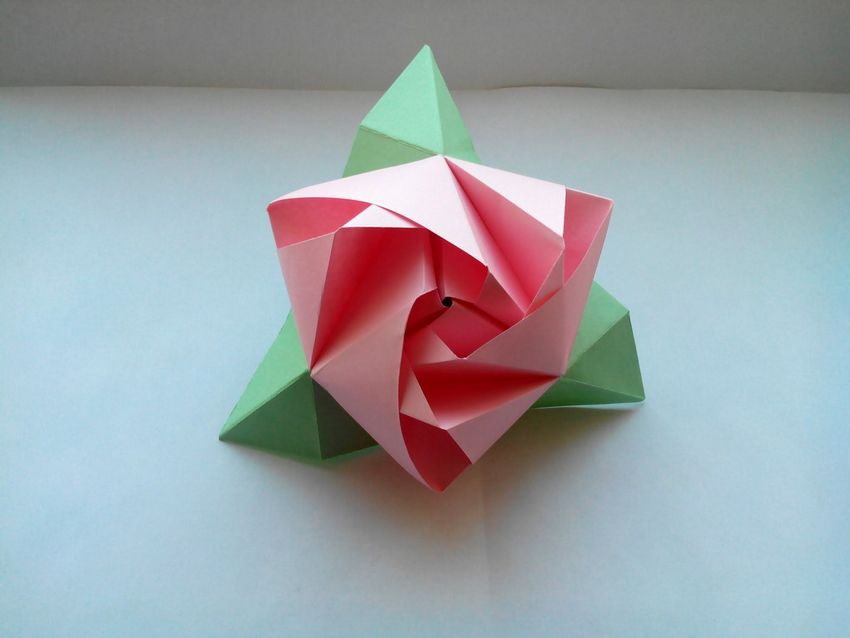
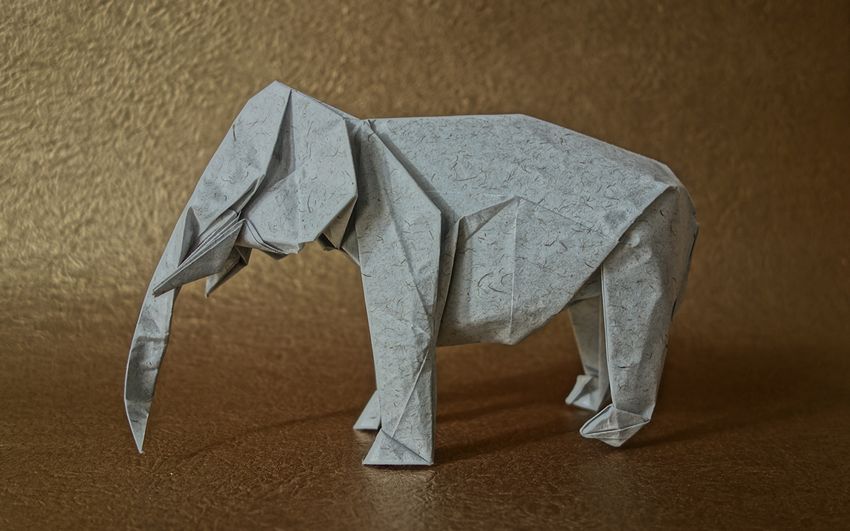
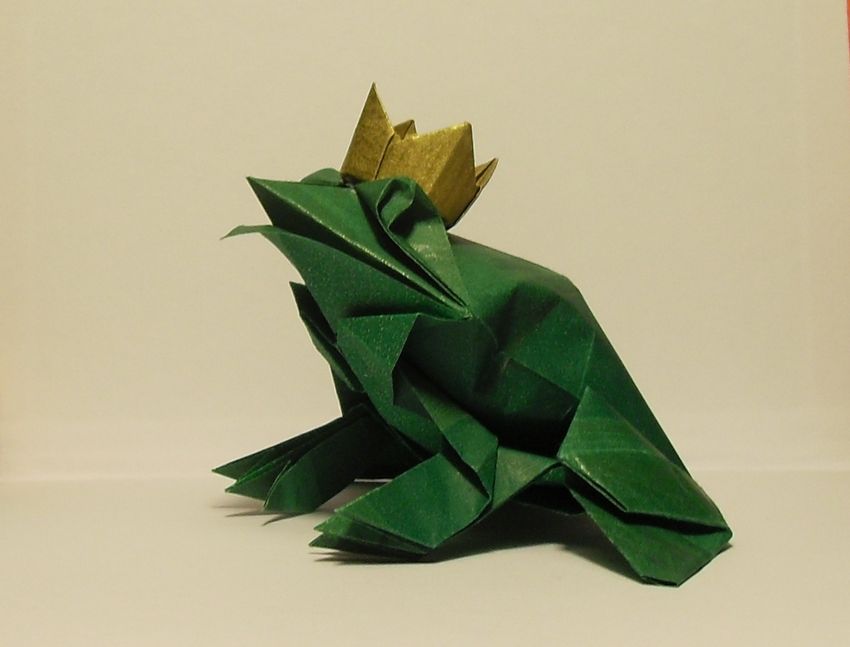
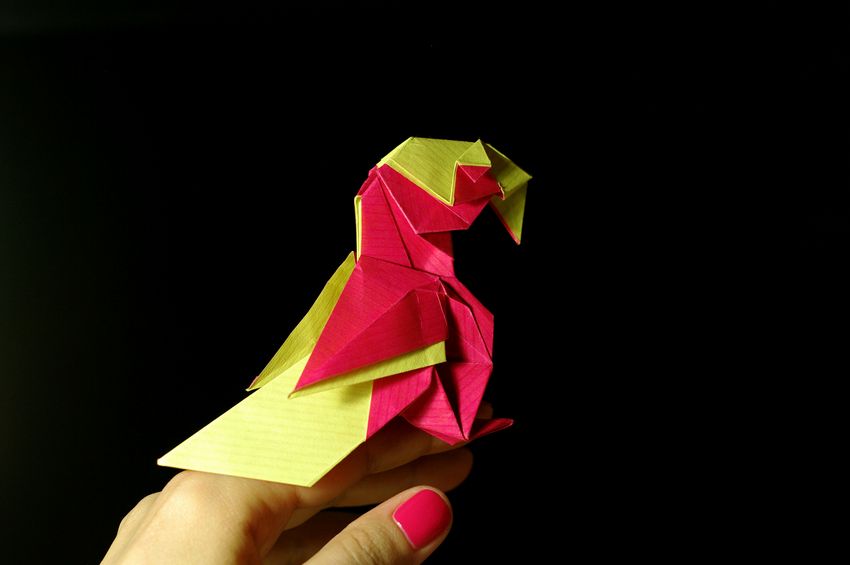
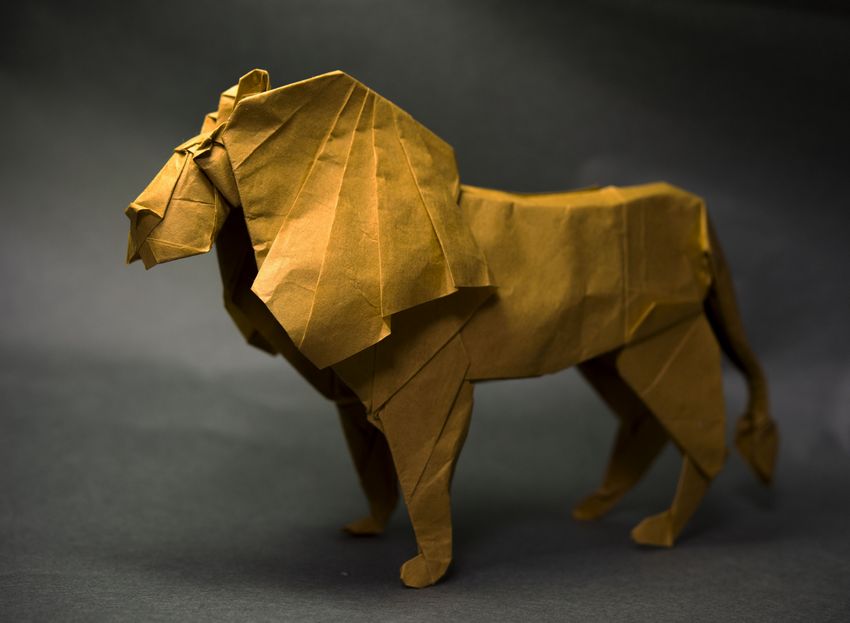
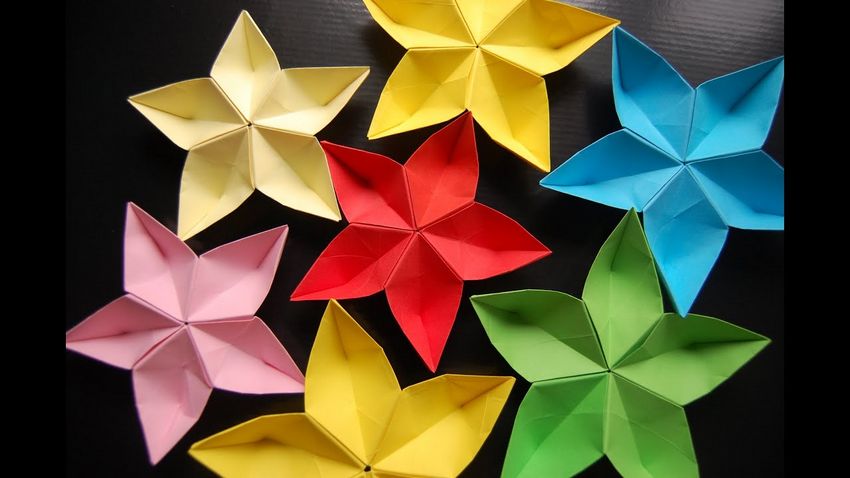
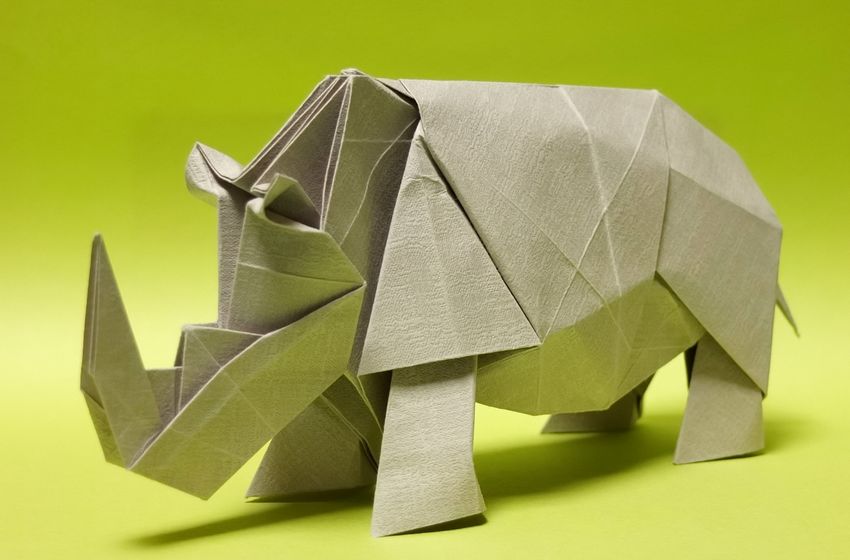
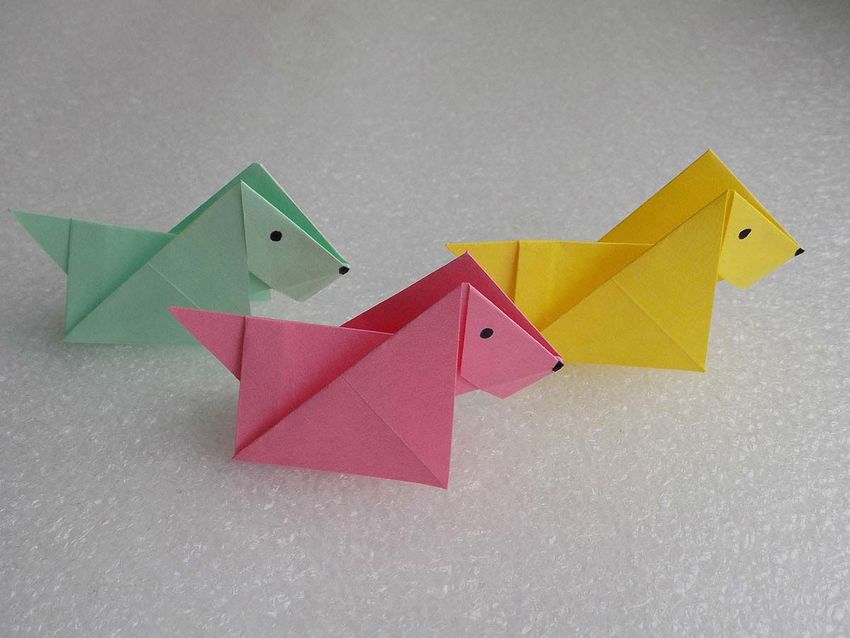
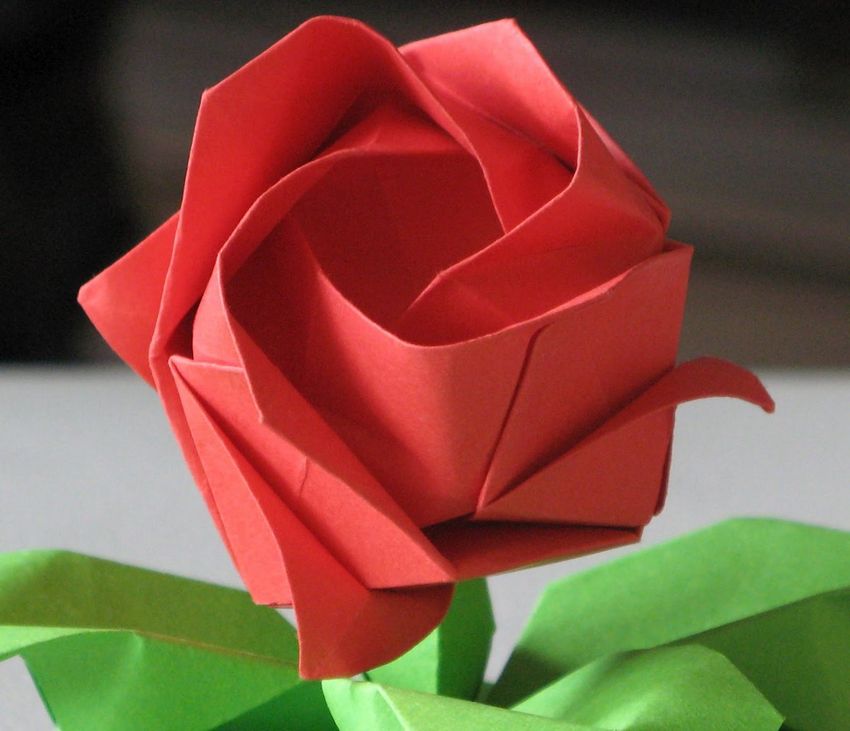
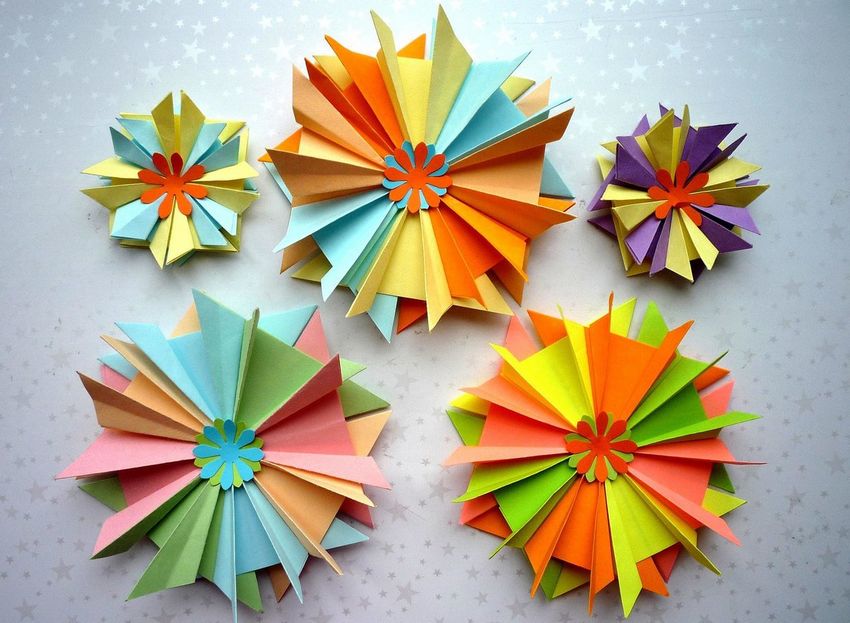
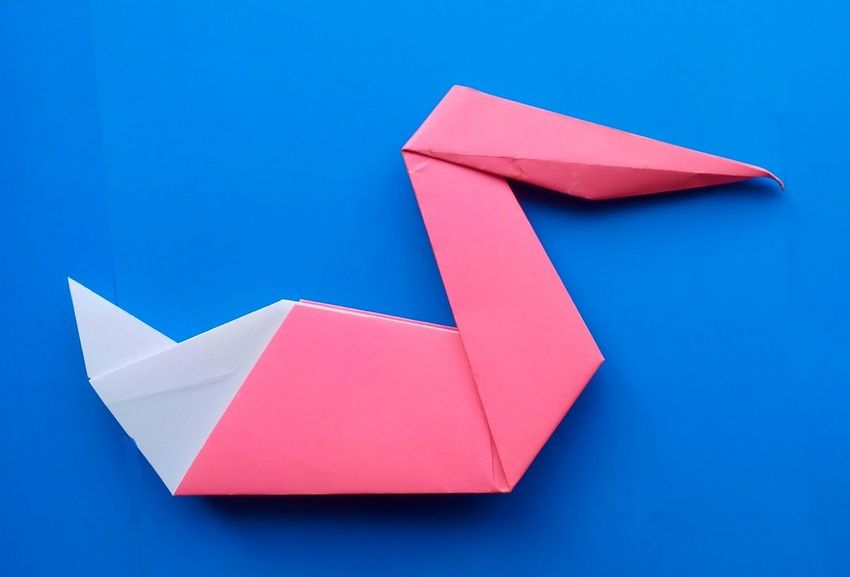
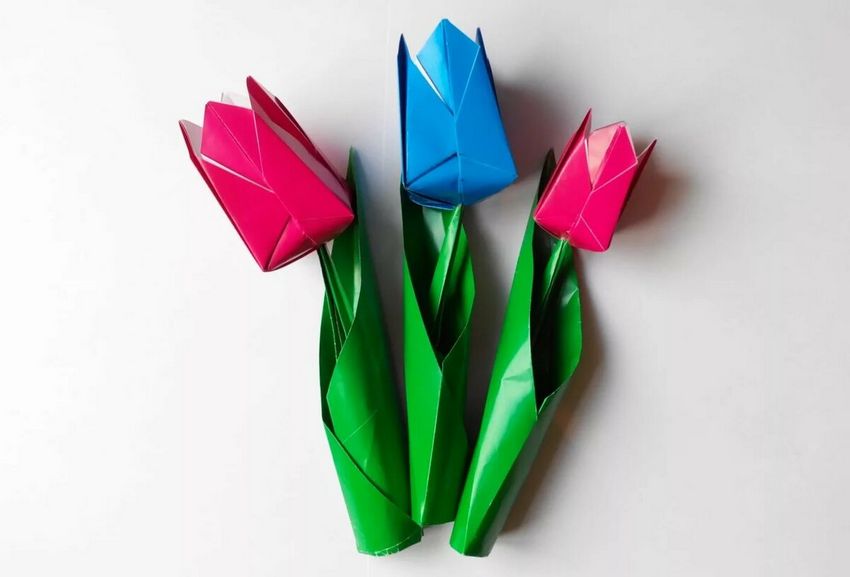
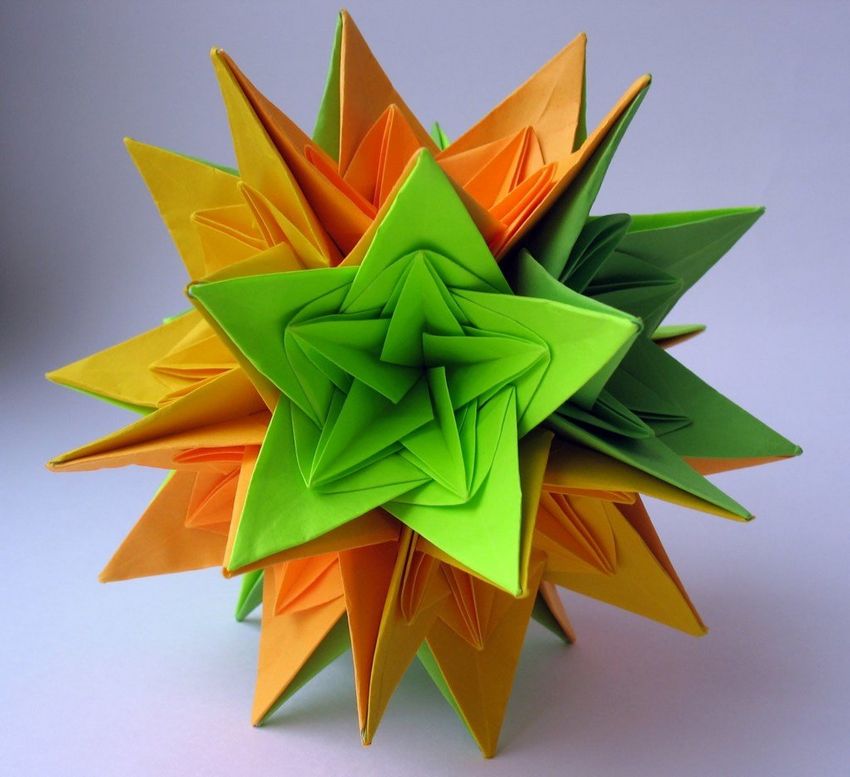
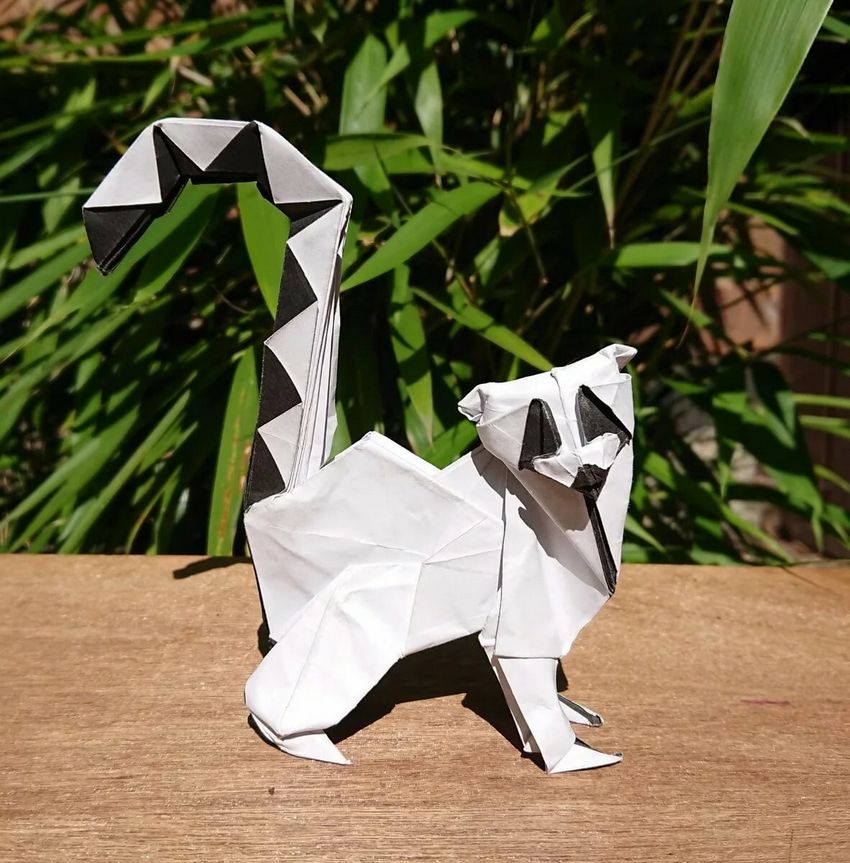
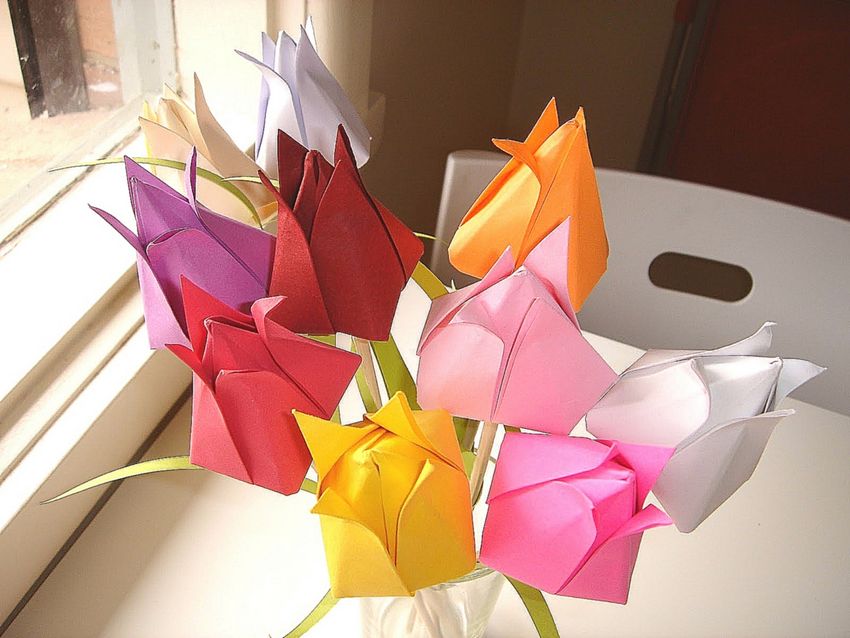
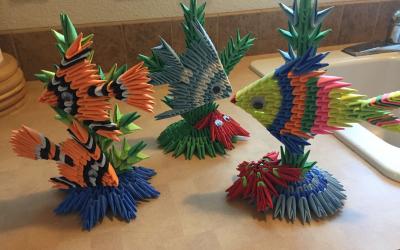
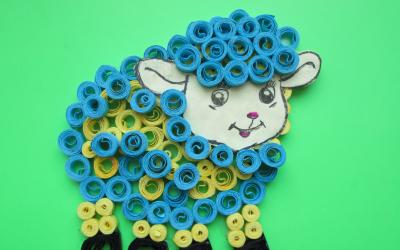
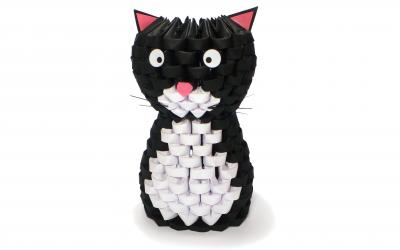
Origami paper - interesting photo ideas of paper crafts
Origami - the art of creating figures from sheets of paper without the use of scissors and glue. It trains thinking, imagination and fine motor skills. That's why folding paper figures from paper so useful for child development.
But get acquainted with this technique will be interesting and adults. We tell you what origami paper for beginners is the easiest, and describes the process of folding them in steps.
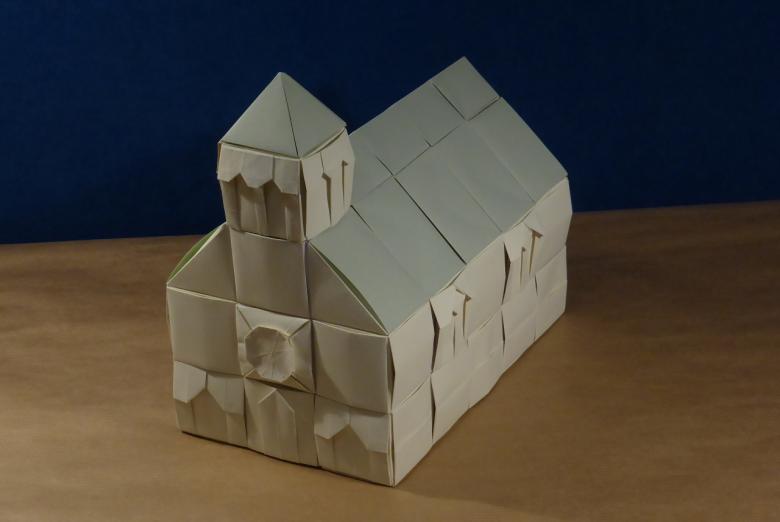
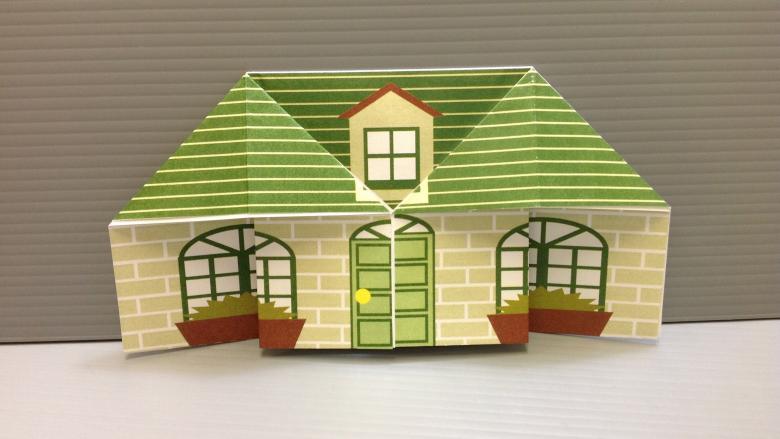
House of paper
Take a sheet of paper and do the following steps:
- Fold the square in half, unfold and fold again across the first fold. Unfold again.
- Fold one corner to the center and open it.
- This same half sheet fold so that its edge coincided with the fold line in the middle.
- Pull the single corner of the folded part so as to form a fold-triangle.
- Undermine the second part of the leaf, aligning its edge with the middle line.
- Bottom part of the fold so that its edge coincided with the middle fold of a triangle-fold.
- Unfold the entire leaf.
- Fold the corner of the square to the center again.
- Fold the bottom piece along the line that lies below the middle, turning it in the opposite direction for you.
- Fold along the already formed fold a small rectangle, formed on the right.
- Fold to the middle of the left side and fold the corner so as to obtain a triangular roof.
- Fold the corner of the roof so that it was above it, simulating a chimney.
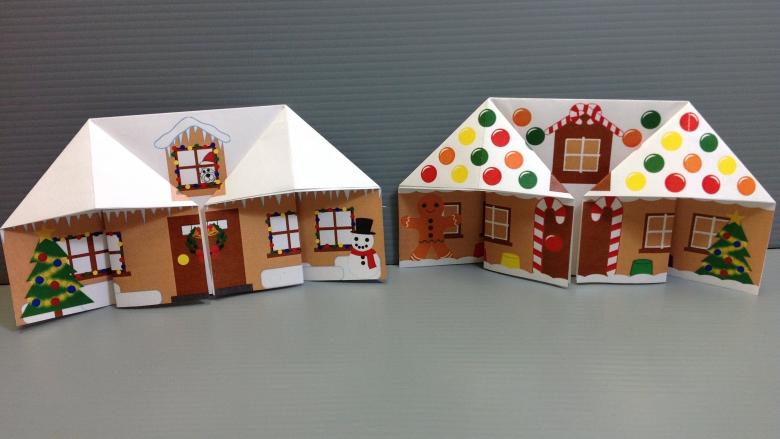
Now flip. You have a wonderful house. You can draw a window and other missing elements.
To make the roof colored and the walls white, use colored one-sided paper.
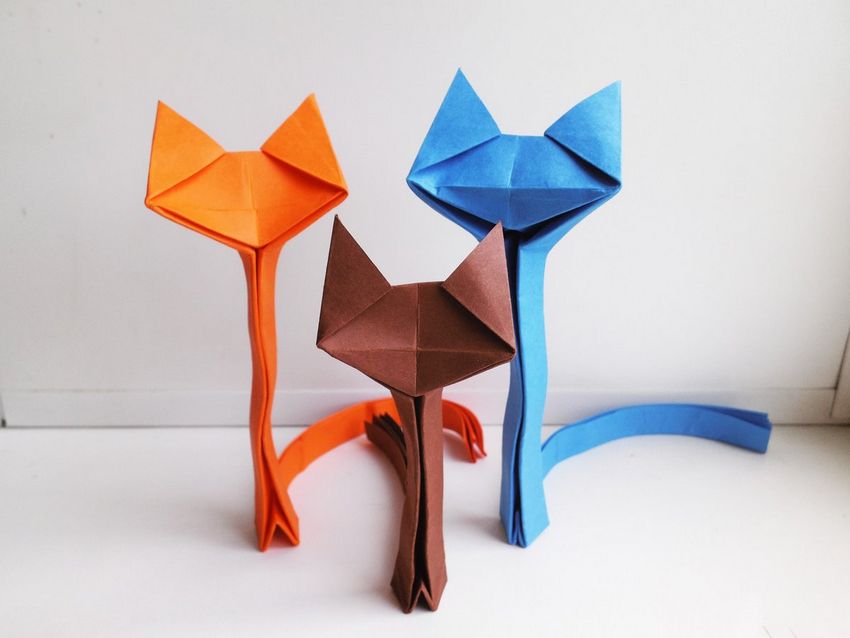
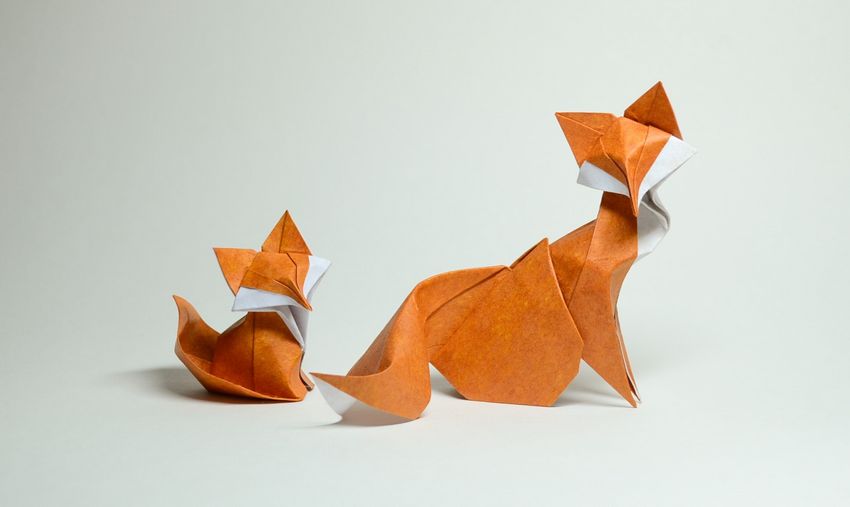
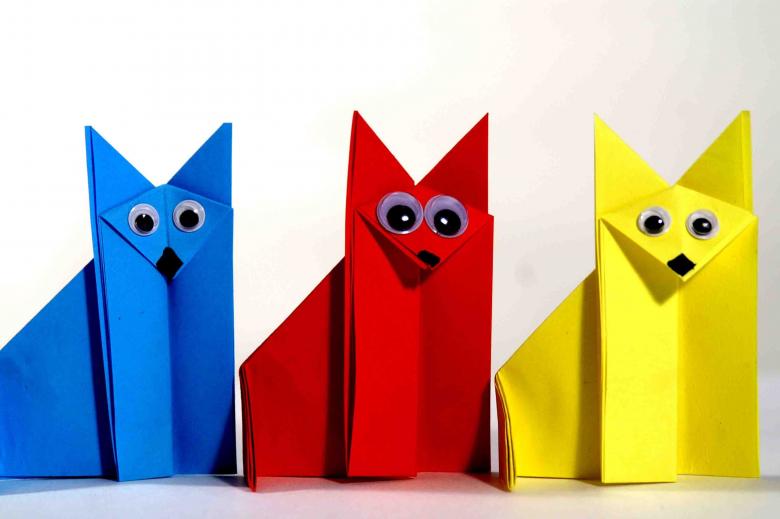
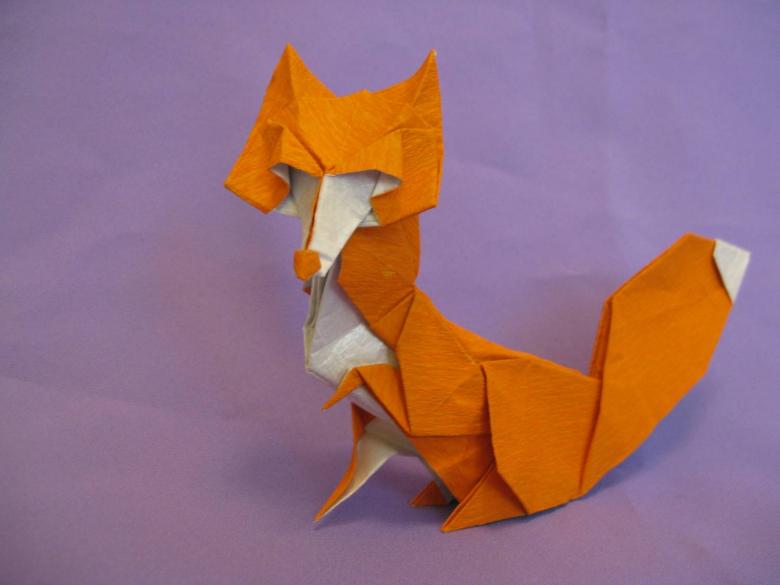
Chanterelle Diagrams
To make the fox especially cute, take double-sided orange colored colored paper. It should be square. In the second version, you will need two such sheets. Ready fox can draw or glue eyes and a nose.
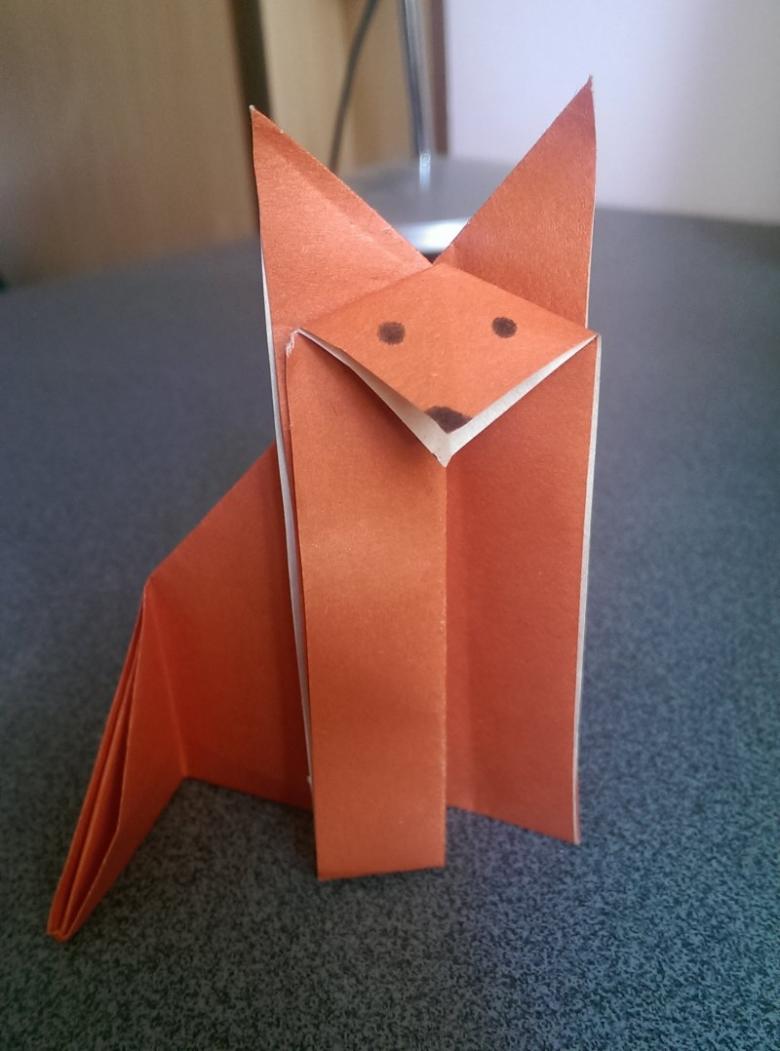
From a single leaf
- Fold the sheet first along one diagonal, then expand and fold on the other diagonal line.
- Fold the edges of the triangle to the center fold to form a diamond.
- Fold the lozenge in half fold outward.
- On the side with three folds fold the first fold to the side, to get ears.
- Fold back the middle fold and twist it to the bottom of the diamond to get a muzzle.
- Fold the remaining corner to the muzzle - it will be a fluffy tail.
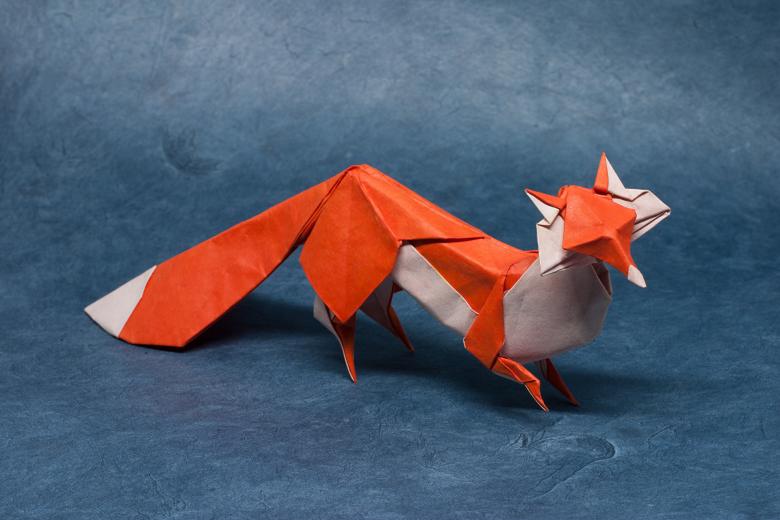
From the two sheets
- Make a head. To do this, fold a square piece in half and wrap the corners of the triangle to the center, a little short of it. Corners should protrude above the base of the triangle. These will be ears.
- Make the torso. To do this, also fold the origami base in a triangle. Put it in such a way that the bent line was on the right. Now wrap the bottom of the part in the opposite direction so that the protruding corners were the tail and paws.
- Attach details with glue.
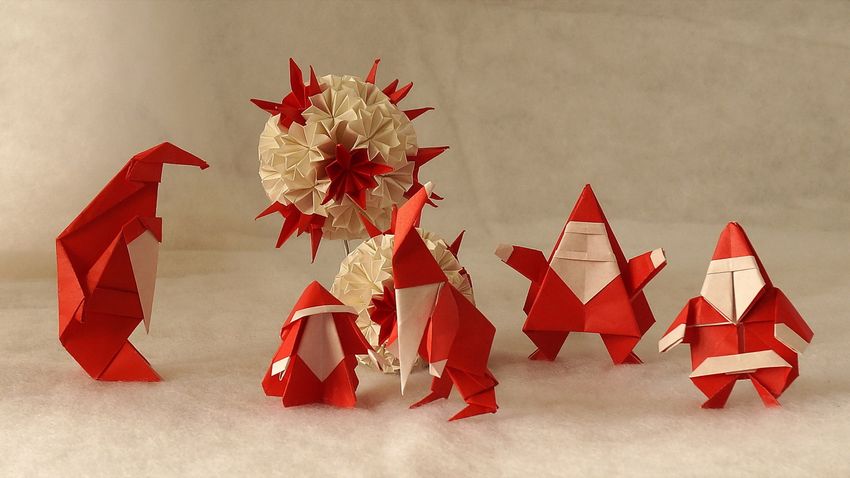
Paper penguin
Take a square sheet (blue or black on one side), and then:
- "Draw" the diagonals by alternately folding and unfolding the square.
- Place the sheet with the colored side facing you.
- Wrap the bottom element to the diagonal, not bringing it to the corner of the basis for 1-2 cm. Remove the tip in the opposite direction.
- Turn the workpiece and wrap the center of both sides overlap.
- Fold back the edges of the bent sides in the same direction.

Turn the workpiece - the penguin is ready. To make it even better, draw his eyes.

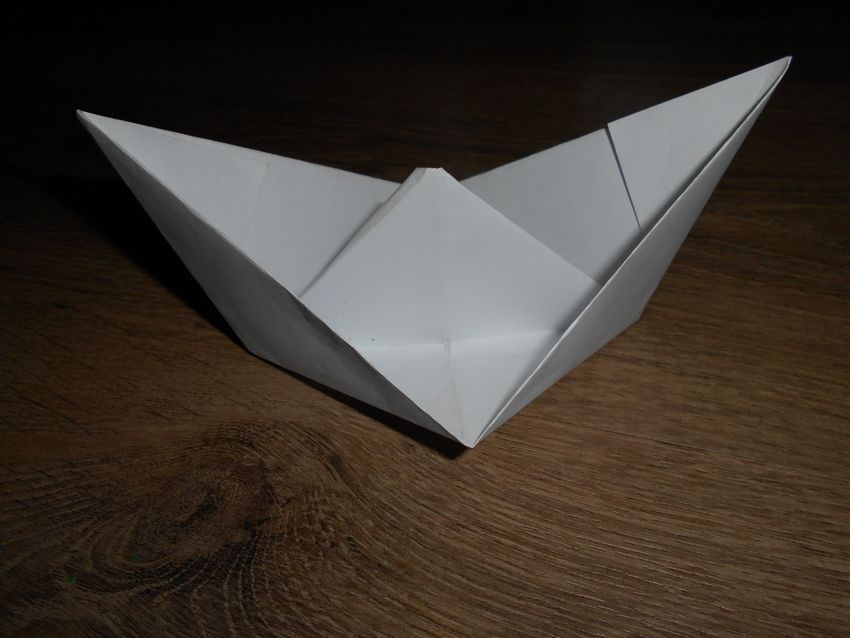
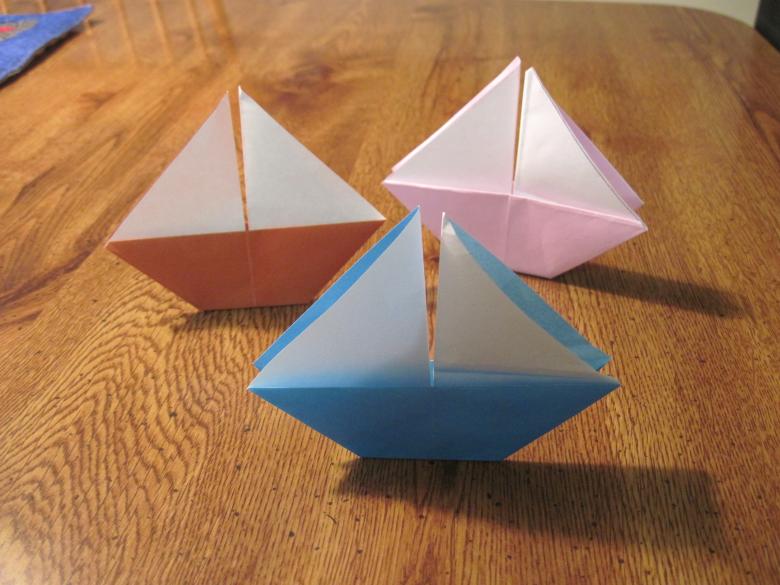
How to make a boat
This is one of the easiest origami of paper for children. After all, it is interesting not only to fold, but to let him go on a long voyage on the spring creek. For the craft you will need a sheet of A4.

Instructions:
- Fold the sheet in half on a short line.
- Place the workpiece with the fold upward.
- Fold the top two corners, locking their sides in the middle. The bottom should be left free strips of paper.
- Bend each of the strips to the outside (one away from you, the other toward you).
- Put a blank fold down.
- Fold the triangular ends of the front strip of paper in the opposite direction, wrapping them around a triangular base.
- Wrap the workpiece again. Fold inward the triangular ends of the second strip.
- Take hold of the edges of the triangle and slide your thumbs inside. Connect them so as to form a diamond.
- Wrap the corners of the diamond on each side, pulling them to the top. Should produce a triangle of 3 folds.
- Repeat step 8. You will get a diamond with a fold in the middle.
- Take hold of the bending top of the lozenge and pull them in opposite directions to open the ship.
Adjust the sail. Now color the ship at will.
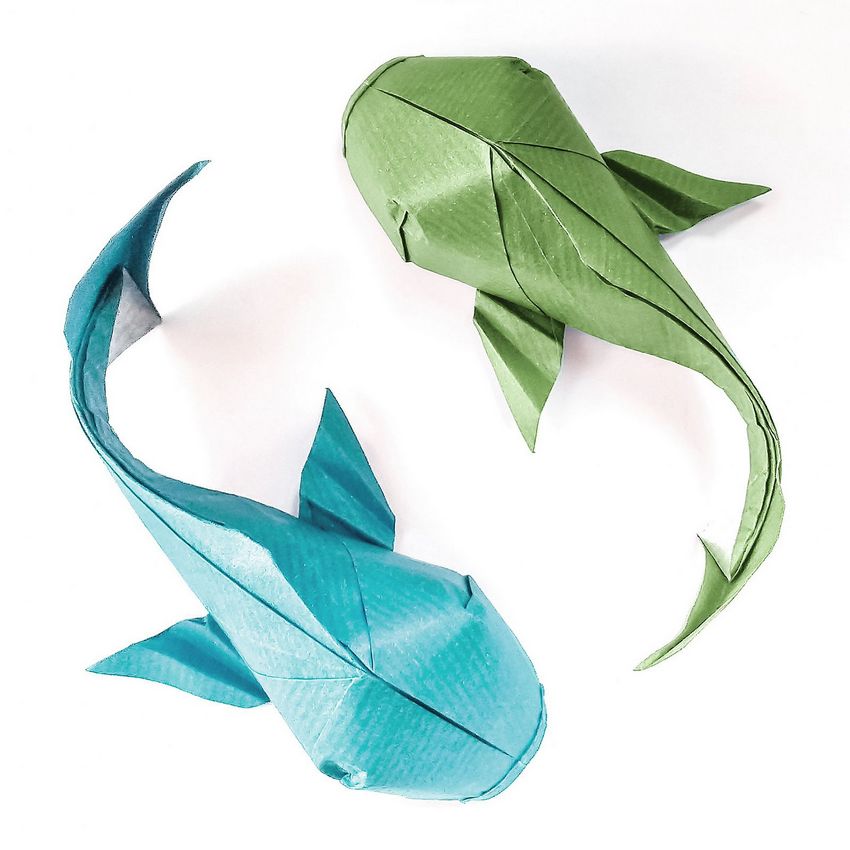
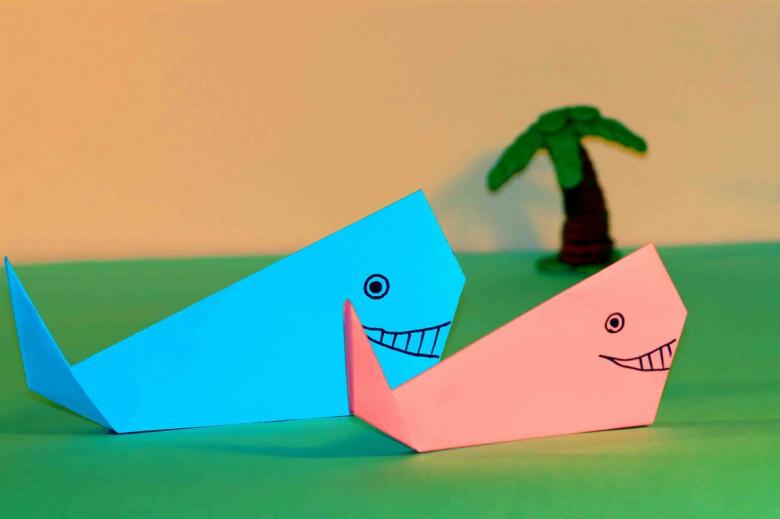
Whale from a square
For this craft, a square piece of blue paper painted on one side is suitable.
Step by step description:
- Roll the piece of paper into a triangular blank. Unfold.
- Place the colored surface on top.
- Fold the bottom piece, aligning its edge with the diagonal. Turn.
- Reattach the diagonal again folded fragment, as well as untouched until this part.
- Fold the top and front corners to form the back and head of the whale. Turn.
- Long tip wrap it to make a tail.
Draw the resulting whale eye.
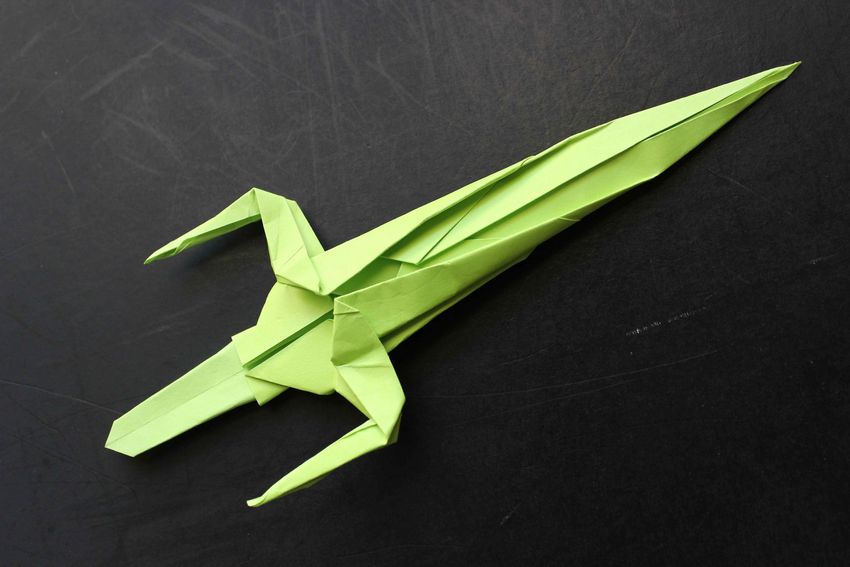
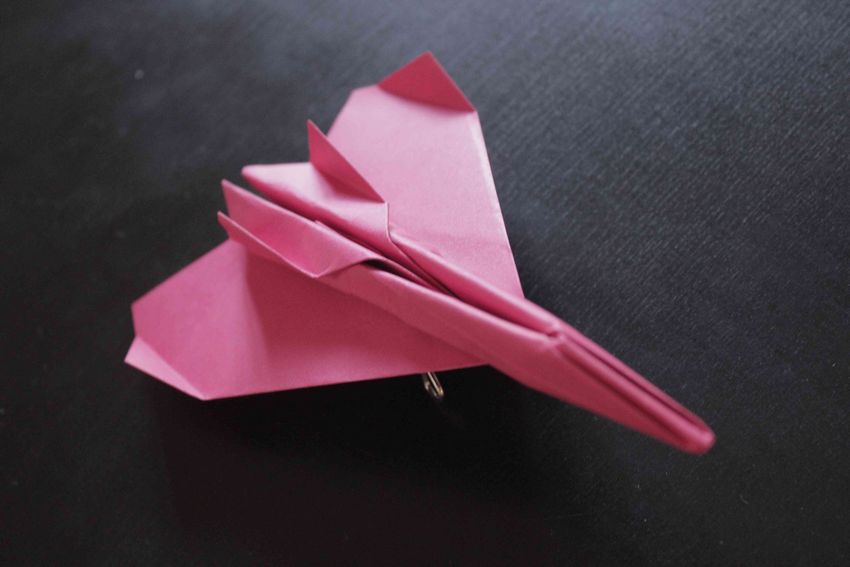
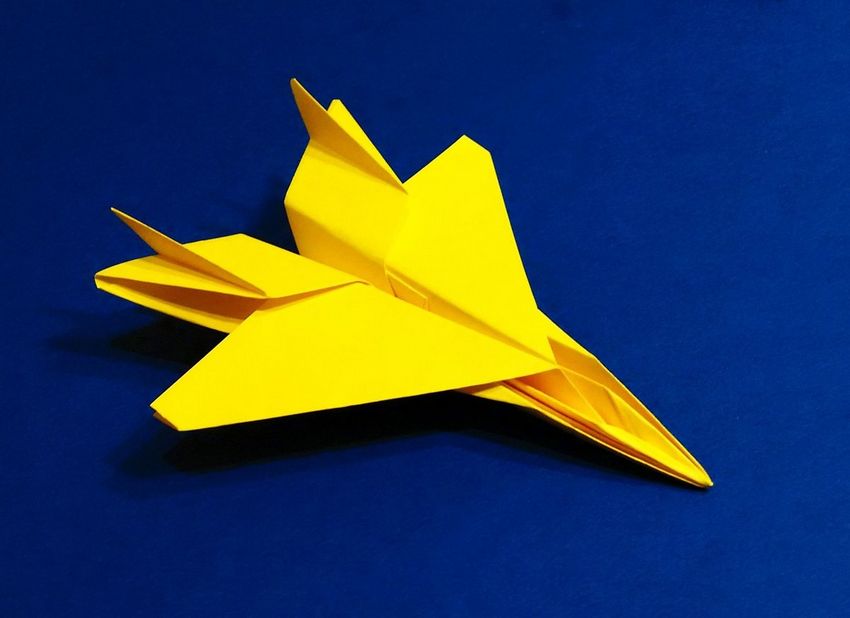
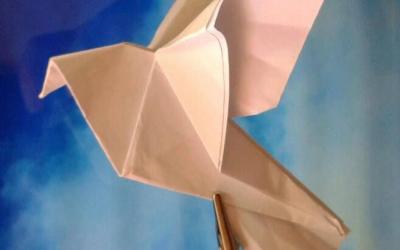
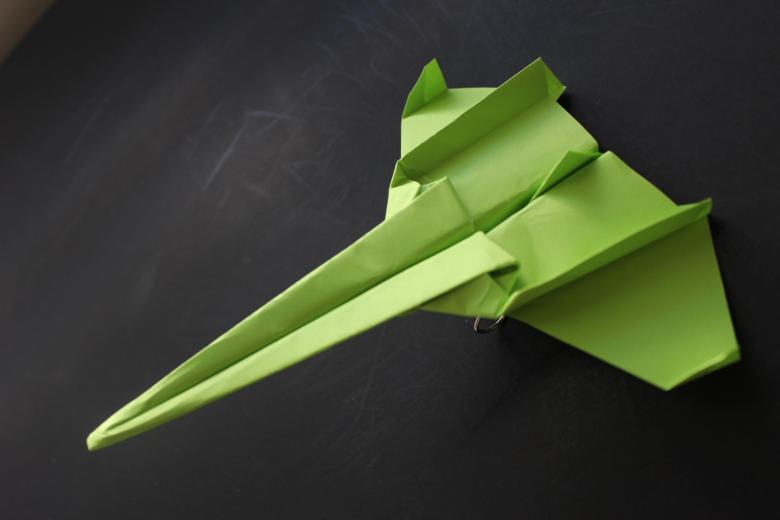
Origami airplane
Make a paper airplane can be several ways. We describe the process of making origami airplane from paper for beginners and for those who have already mastered the basics.
Simplified scheme
Take a sheet of scrapbook. Then:
- Fold it in half lengthwise. Open it up.
- Fold the top two peaks, connecting their edges with a fold.
- Wrap the resulting corner down, bending at the base line of the triangle.
- Wrap again the upper corners of the workpiece to the middle so that their corners were overlapping.
- Top of the first triangle wrap up the top, to clamp them during step 4 parts.
- Fold the base in half so that all the folds remain outside.
- Fold the edges of each side so they fit with the previously obtained fold.
- Well pestle the folds.
- Spread the wings.
Now you can fly a plane.
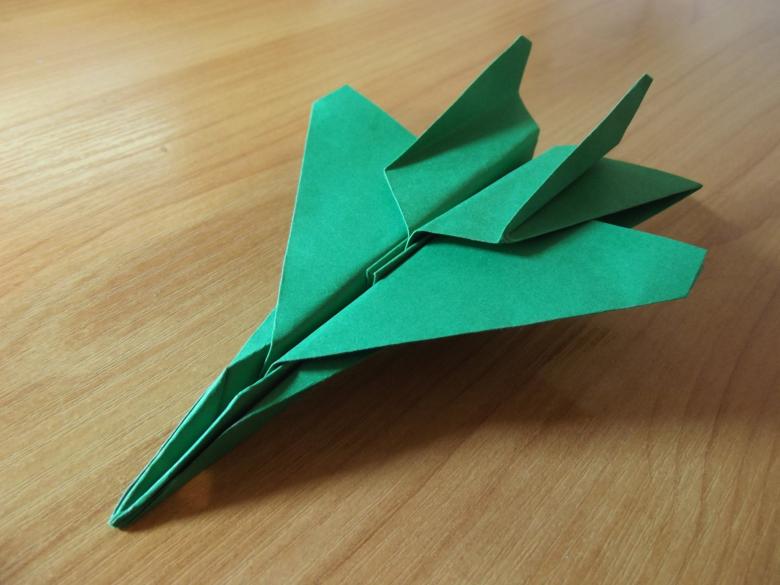
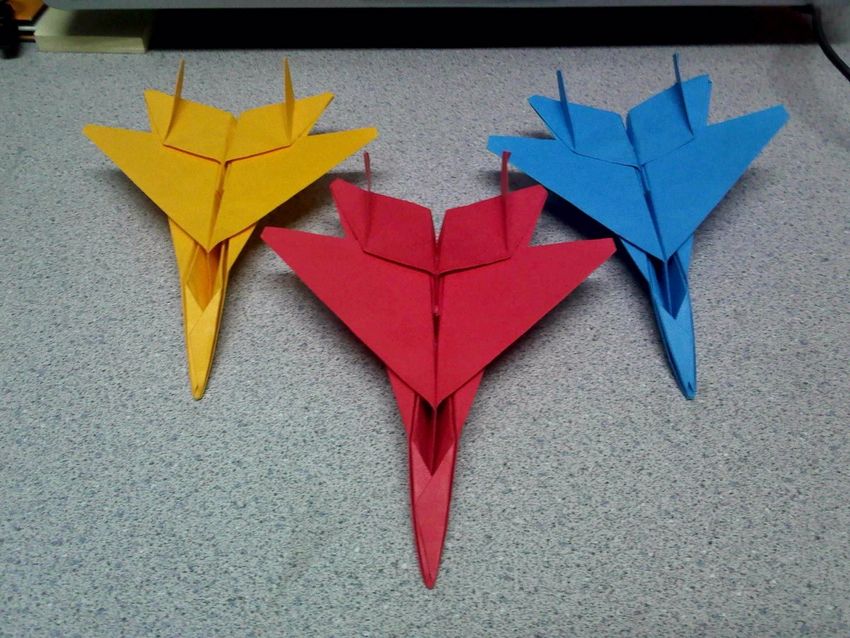
A more complicated version
This plane has better aerodynamic properties. So it flies further, more beautiful. It is made of paper A4.
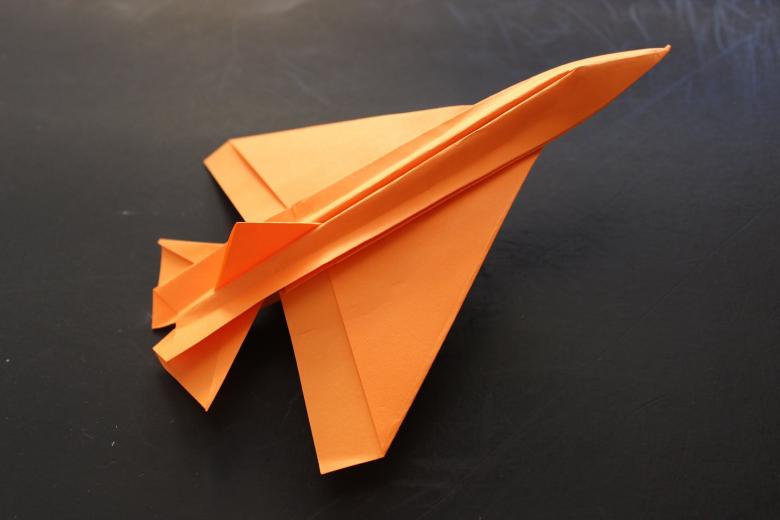
Instructions:
- Fold the sheet crosswise in half.
- Fold once more across.
- Connect the line of the fold edges of the sides. Then open them.
- Fold the left edge of the workpiece so that the angle coincided with the first fold line. Wrap this side again. This time the edge of the bent triangle to coincide with the central fold.
- Do the same with the right half.
- Now expand the workpiece to step 2 and screw the right and left edges inside.
- Turn the workpiece and fold back the edges this way, pulling them to the corners of the points of intersection folds.
- Now pin to them the rest of the edges.
- Turn the base and fold the left and right corners so that the fold coincided with the bent line.
- Fold the corners again. Now so that their edges were closed in the middle.
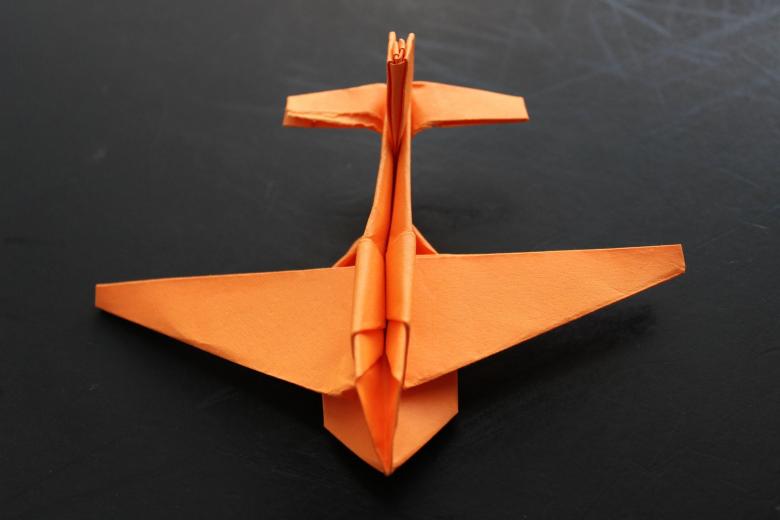
- Fold the halves, so that the future wings are left outside.
- Fold them down, leaving the "body" of the plane width of 15-20 mm.
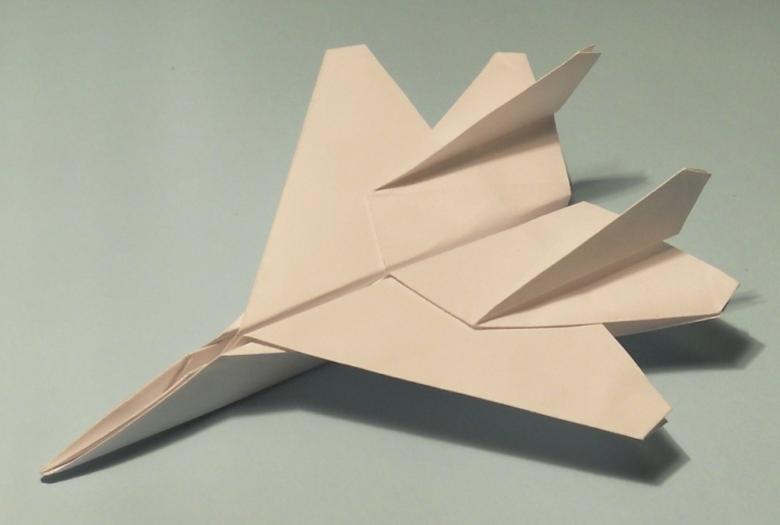
Now all that's left is to spread his wings and lift up the mini wings, which allow the airplane to stay well in the air.
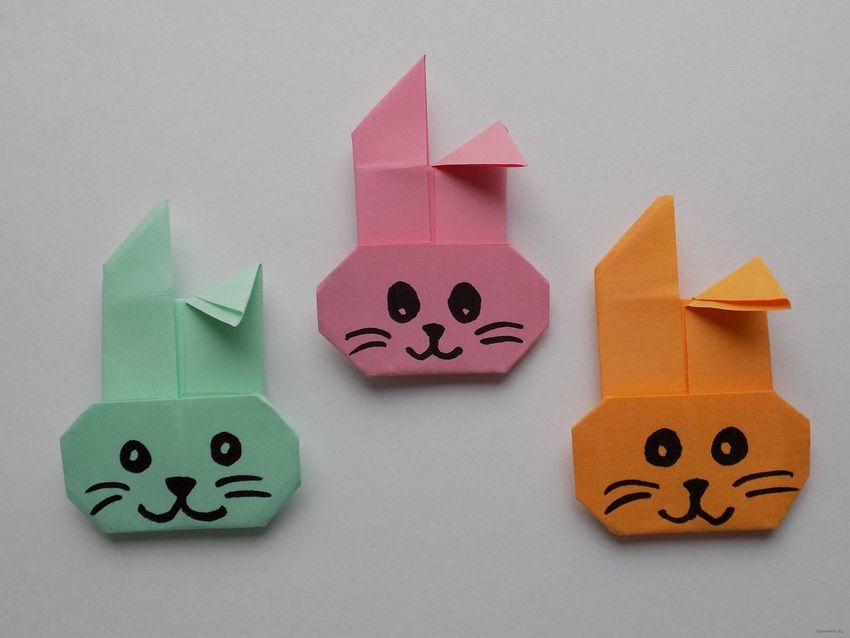
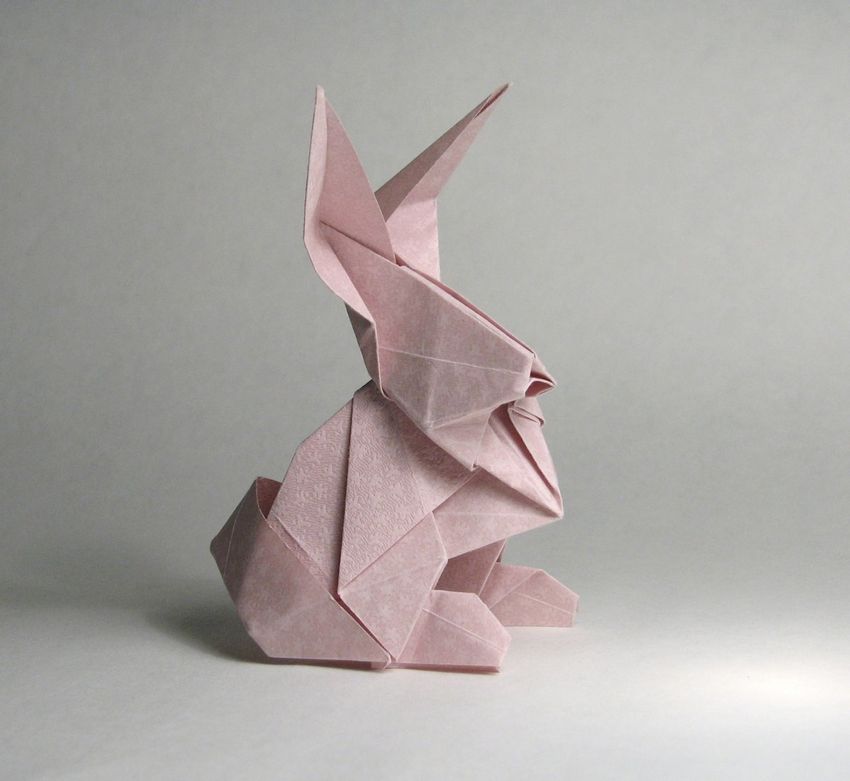
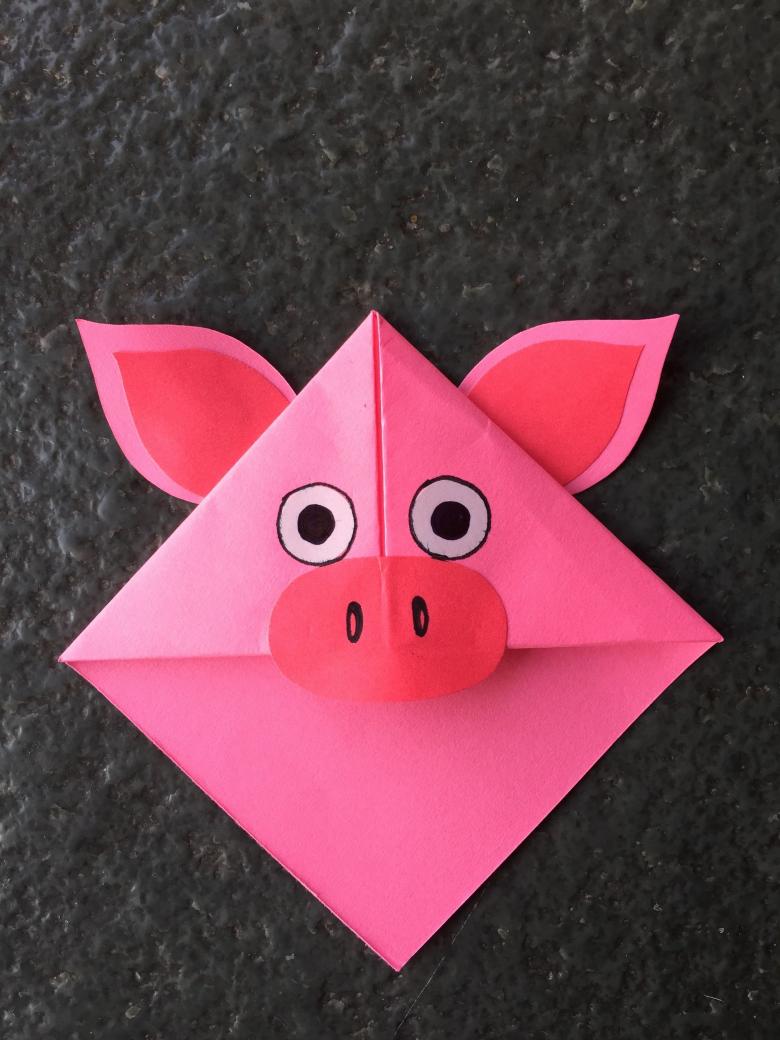
Bookmark Piglet .
For this bookmark, you need a small square sheet of pink. Step-by-step folding diagram:
- Roll up the leaf diagonally.
- Fold one of the edges of the central point of the fold.
- Side corners also bend to this point to form a diamond.
- Corners of the upper diamond bend inward.
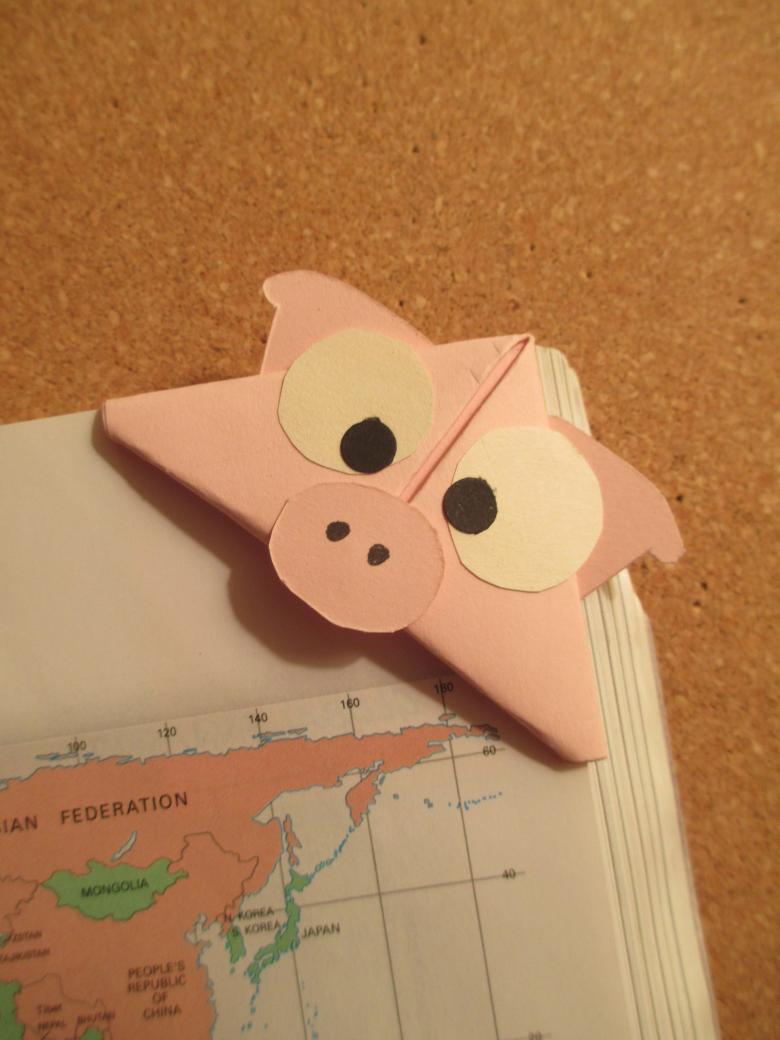
The basis is ready. Now you can decorate it, drawing eyes, showing the nose. Instead of a snout you can glue a button. Ears can be cut from a piece of colored paper and glued. Such a bookmark is convenient to wear on the corner of the page on which you stopped reading.
Help your child learn the basic origami scheme, and then he can do it on their own. The next step is to offer him to collect more complicated shapes. You can also give free rein to your imagination and come up with new figures with your child, who had not collected.
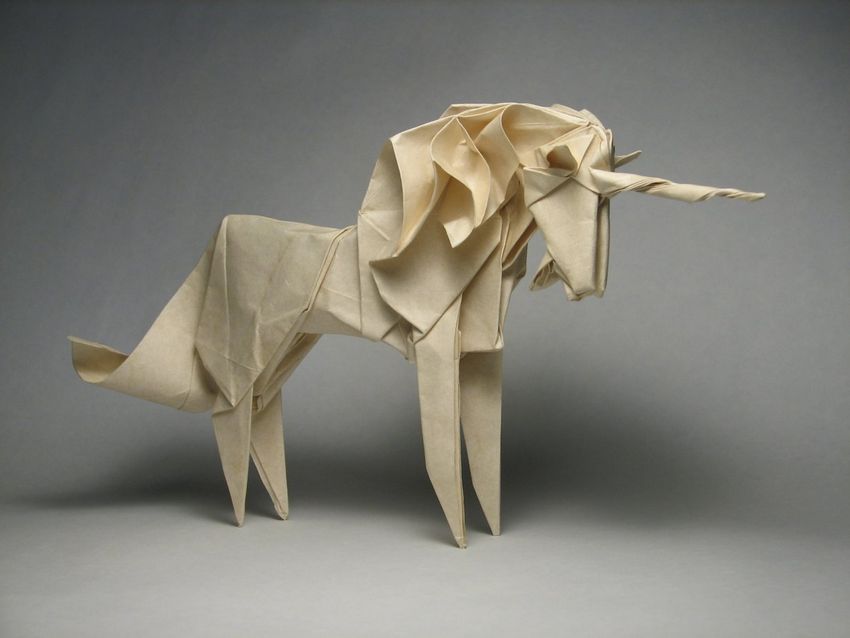
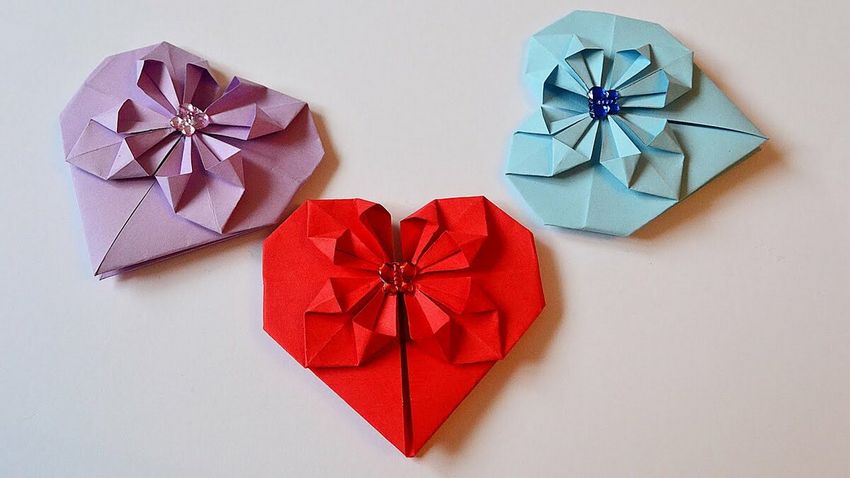
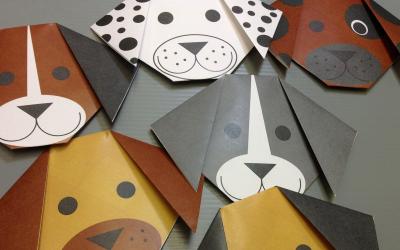
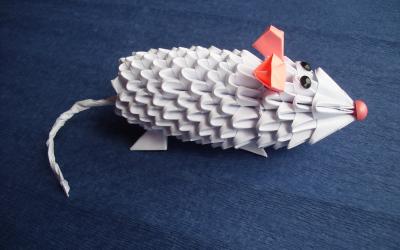
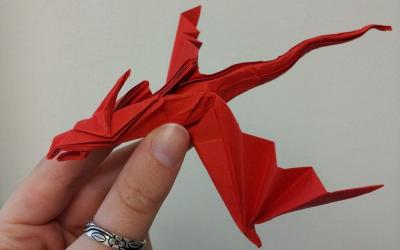
Beautiful photo ideas of origami paper