Origami Crane: how to make classic and original crafts from paper and cardboard
In this article we will do origami paper crane in the technique of origami in different ways, and learn a lot about the symbolism of crane in Japan, and in the world.

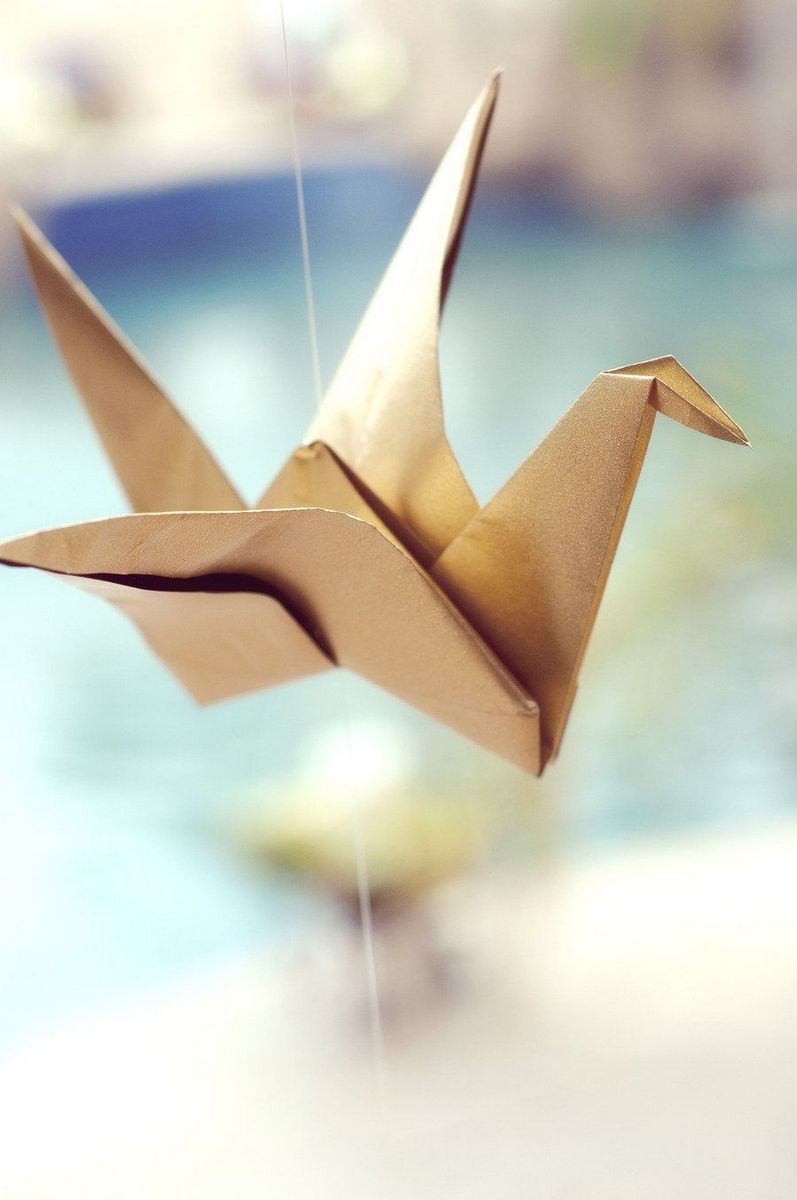
Image Crane in the mythology of Japan
Origami art came to us from antiquity. The most ancient is the image of an origami crane (Tsuru). This figurine is described in ancient Japanese volumes preserving the legend of this mysterious and fascinating type of applied art.

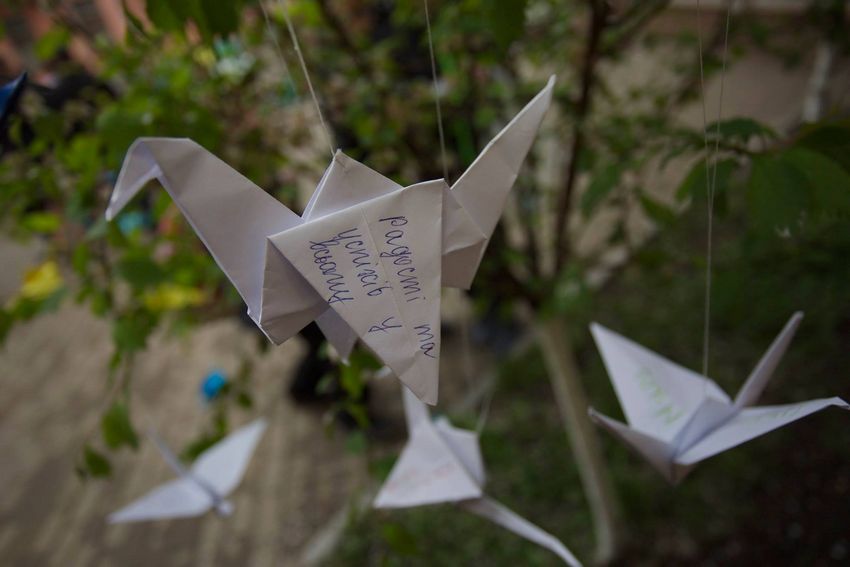
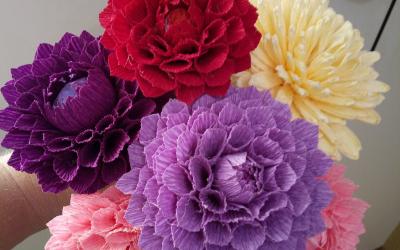
The long-necked Chinese and Japanese graceful crane symbolized good luck and long life. That's where the history of the tradition to present a paper crane, wishing you happy longevity.
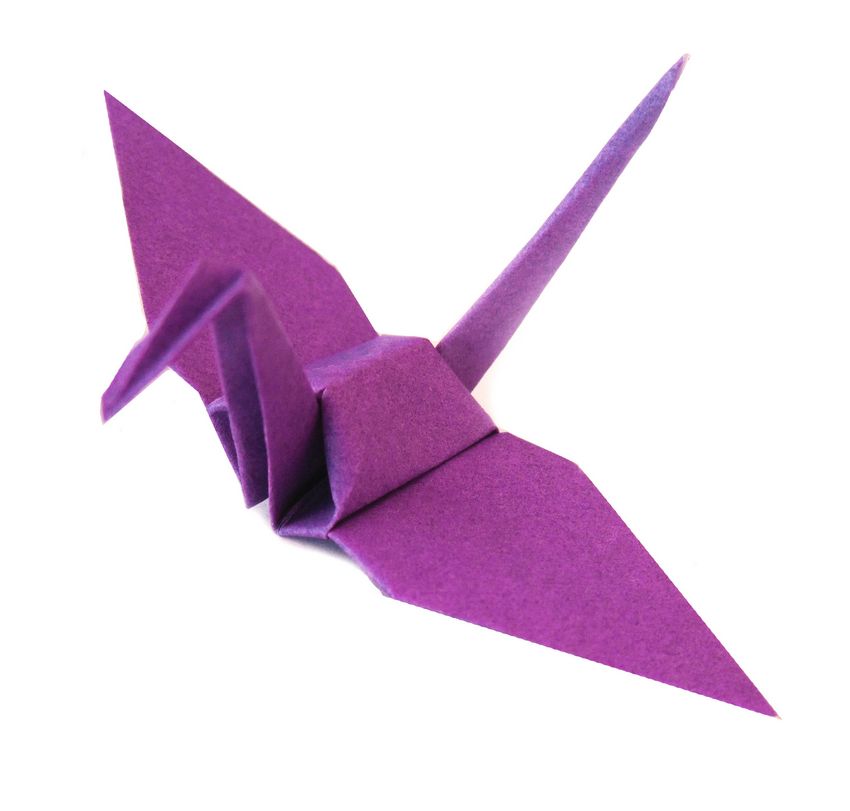
The symbol of happy longevity
Figure of a crane inhabitants of Japan attached a certain value. There was a belief, the essence of which is that the folded ten hundred cranes of paper cure of all diseases and can fulfill any desire. Over the years, origami has become widespread in all countries of our planet, winning an army of admiring fans.

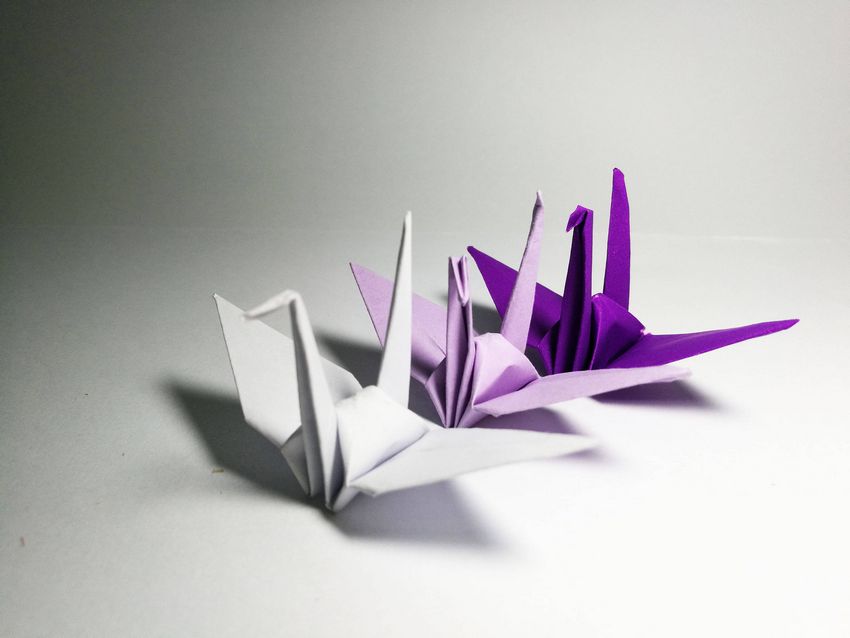
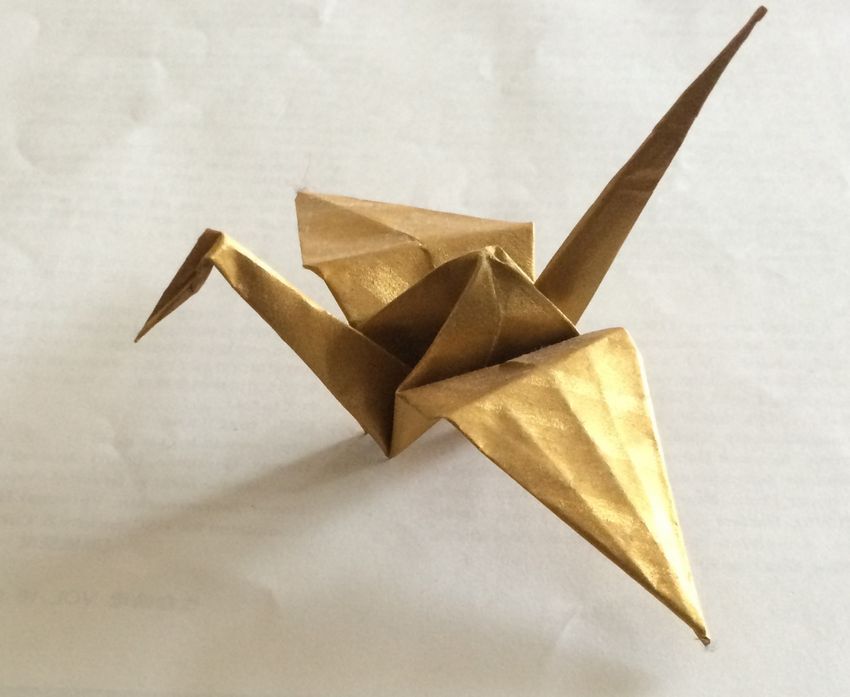
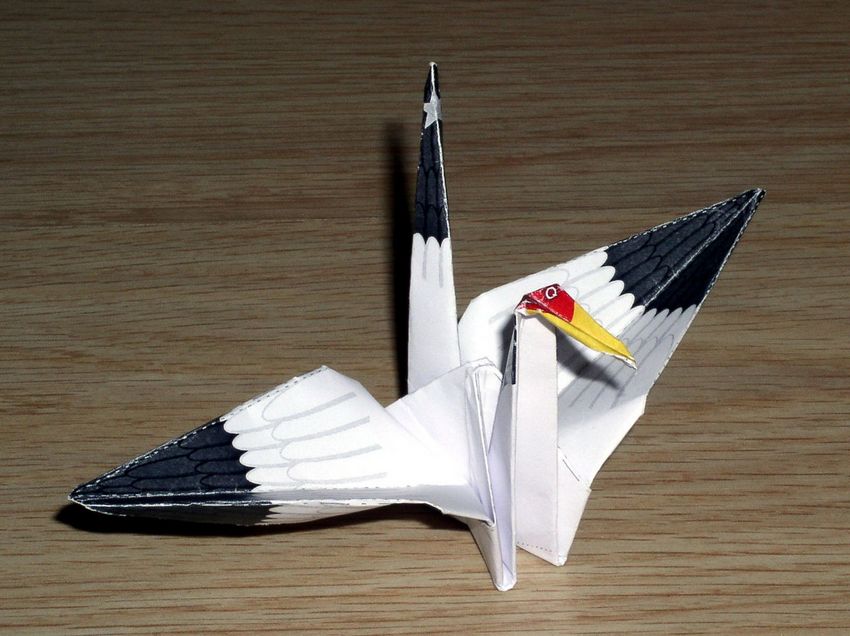
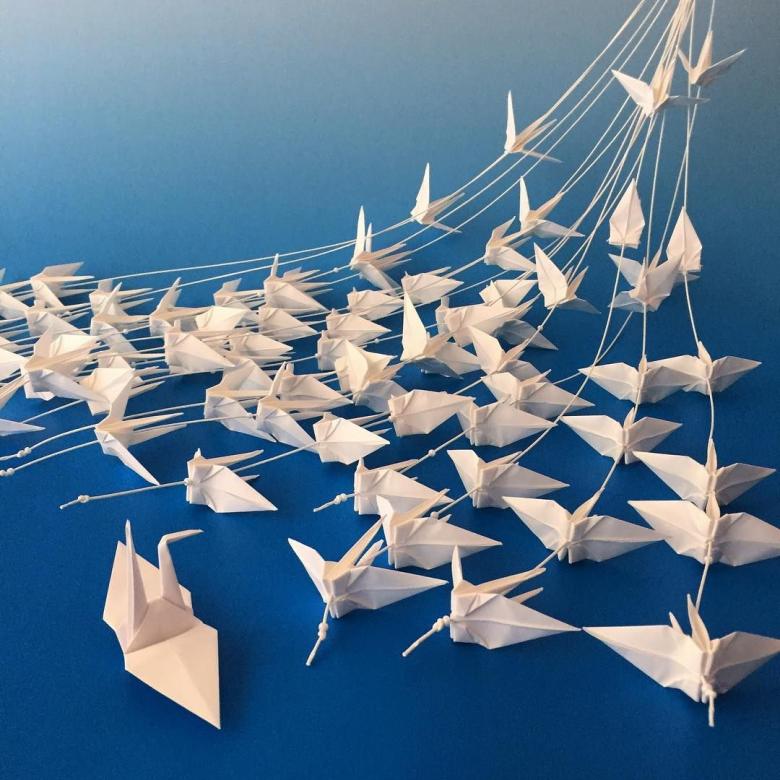
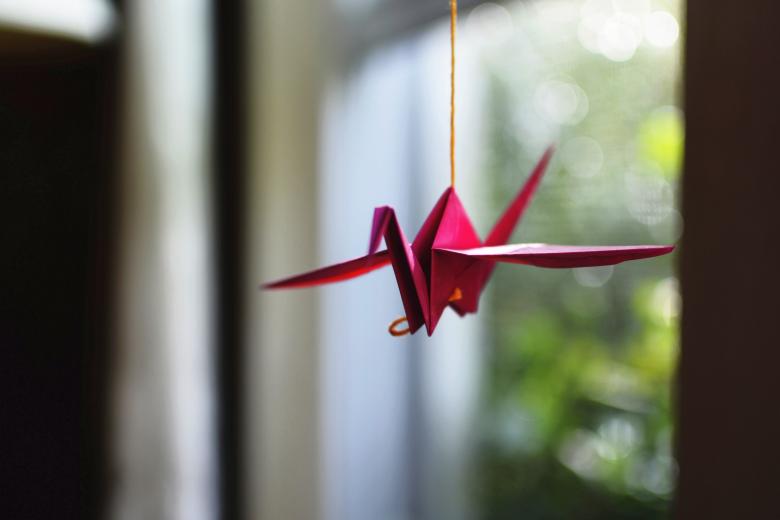
Crane-fake has a thin and long neck, which is a kind of hallmark. Subsequently, the crane image became a symbol of peace.
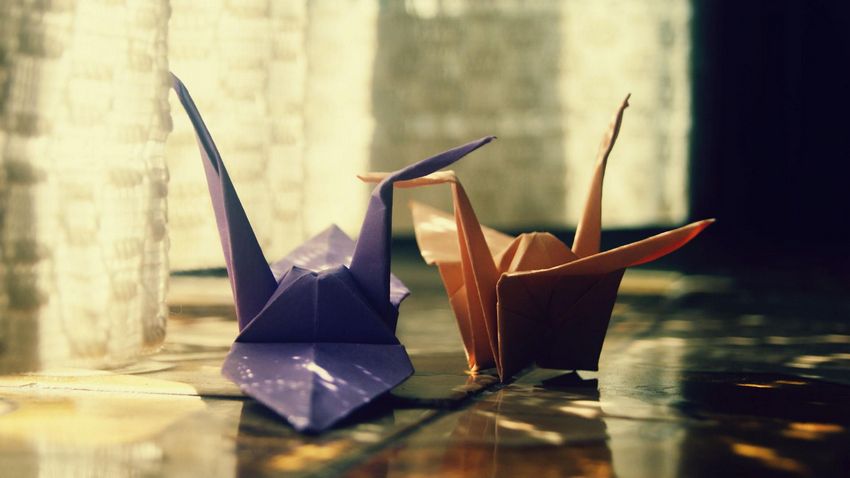
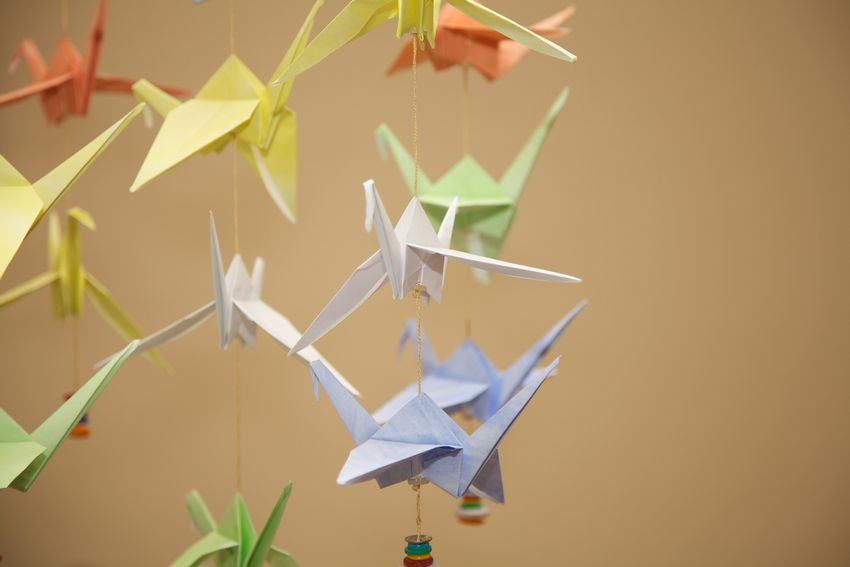
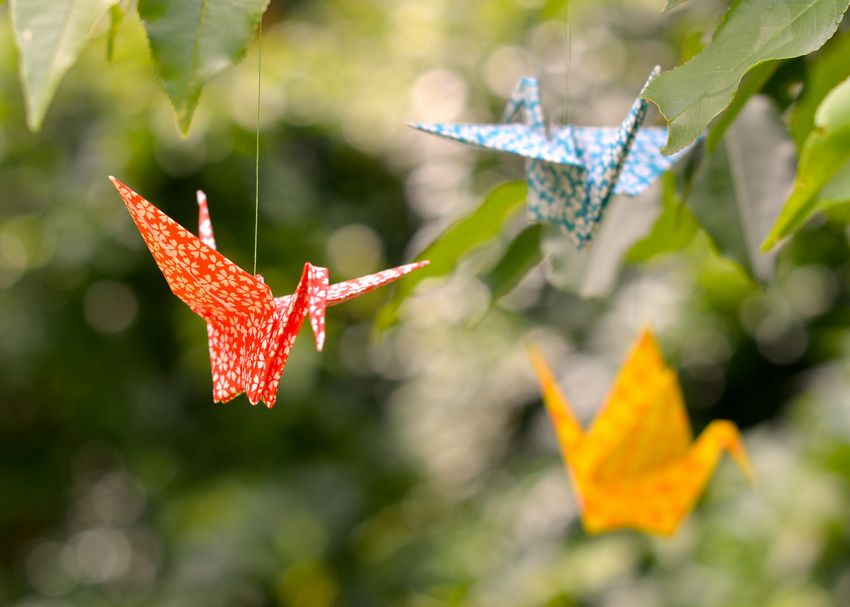
A symbol of peace
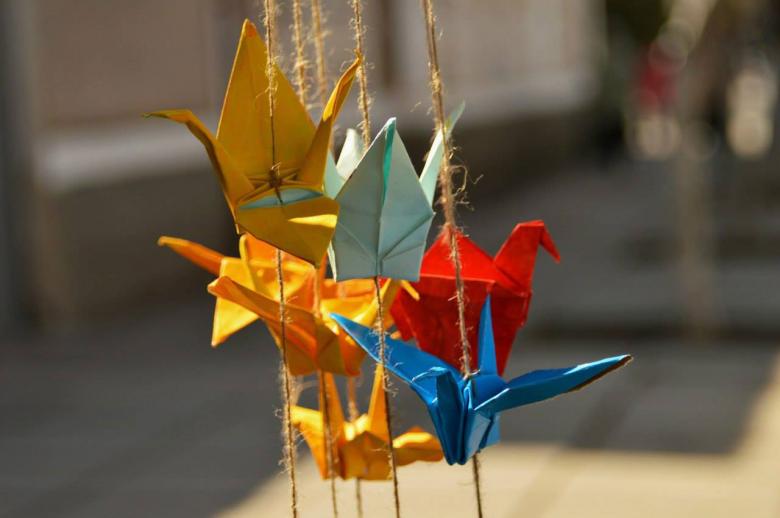
Most people know the song about the Japanese crane, which tells the story of Sadako Sasaki, who received radiation sickness after the atomic explosion over Hiroshima. She folded her thousand origami cranes in the hope of recovering, but never finished 357 birds as she died from her illness.

On this theme was filmed "Hello, children. These events in the field of music and film became the basis for the perception of the paper crane as a symbol of denial of nuclear weapons.

A simple version of a paper crane
To master new creative skills, start with the basics. To study the technique of origami need to start with the simplest of crafts. And so is a crane.
Fold the sheet of paper neatly and according to the scheme - so you do not get confused and make a beautiful, neat toy.

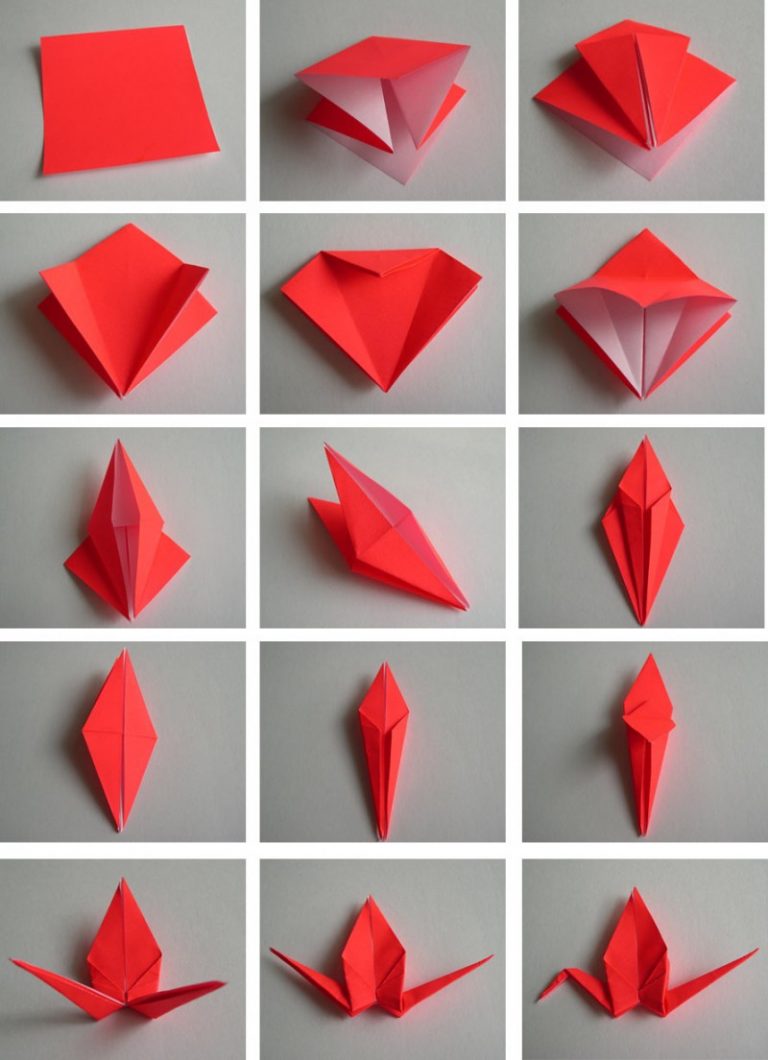
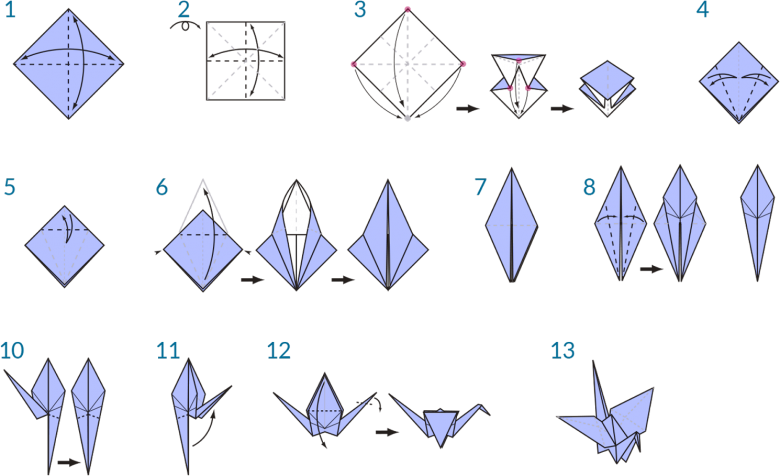
Origami crane step by step instructions
- It is necessary to take a sheet of paper and cut out a square
- Fold diagonally
- Fold the edges.
- Make a triangle.
- Fold again.
- Wrap both corners of the triangle one by one
- We get the diamond, which should bend the edges. Turn out the figure.
- Again we bend the edges of this and that side alternately
- Now we have to bend the edges. We got the head and tail of the bird.
- Make a beak
- Straighten the wings. Handicraft ready!
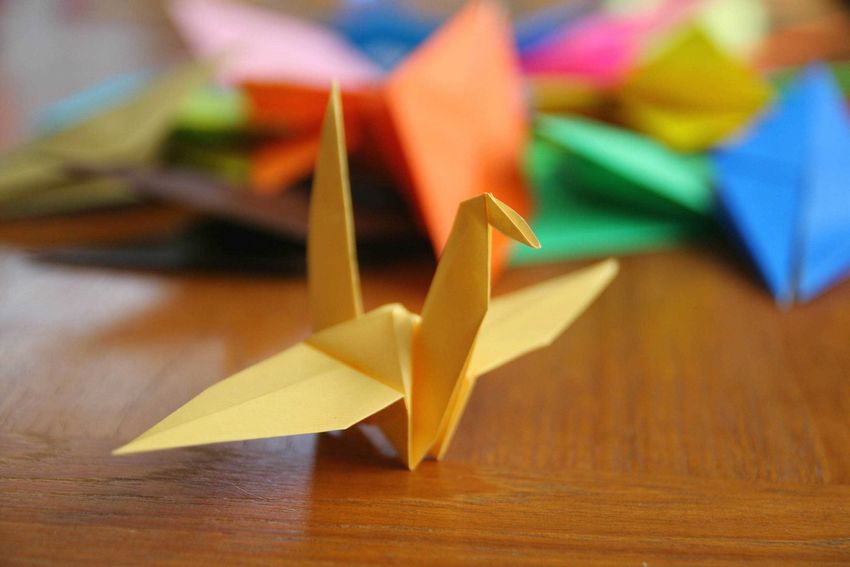
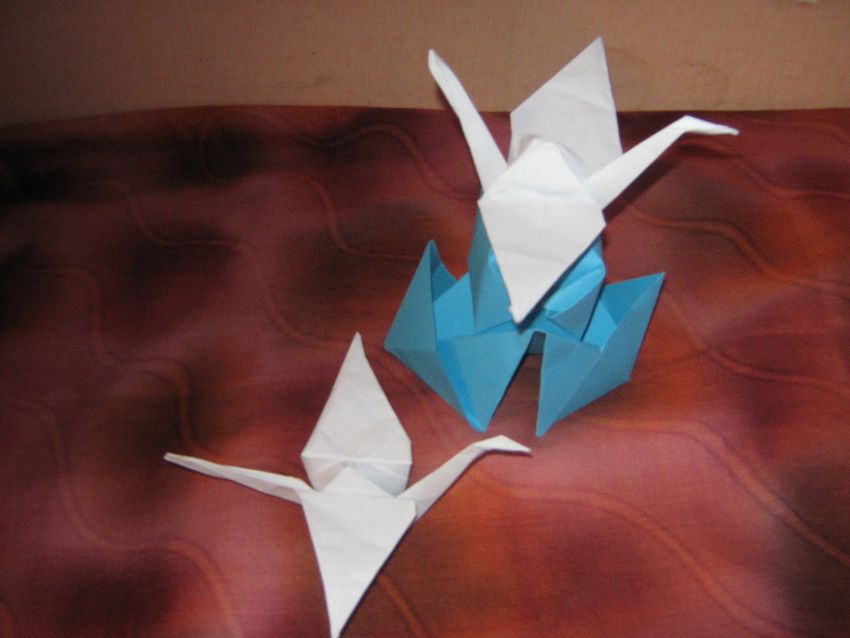
Origami paper crane classic version
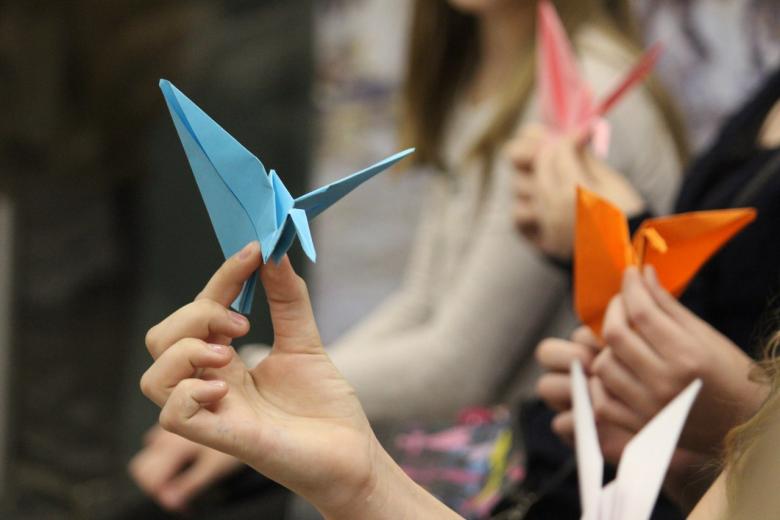
Make with a child origami crane in the technique of interesting, useful and very useful for child development. Children love to create something new, especially do crafts animals and birds from different materials.
Joint production of paper bird teaches children careful work with paper, develop fine motor skills, kids are introduced to the basic shapes of geometry, fosters interest in visual art and beauty.

So, how to make a origami paper crane
Needed for work:
- A paper sheet of album size
- scissors
- colored pencil or marker

So, let's proceed
- Place the paper in front of you and fold the bottom left corner to the upper right corner
- Cut off a rectangle, making it a triangle
- Fold the new figure
- Make a square out of one of the newly formed pair of triangles, flatten it out.
- Do the same with the other side
- Bend the vertices in the middle
- Bend the triangle from above until a fold is formed
- Unfold the folds that are formed
- Take the corner from below and bend along the horizontal fold
- Bend the sides toward the middle, creating a diamond
- Do the same on the reverse side.
- We obtained two rhombuses.
- Take the bottom, like a leg and fold along the inner fold. It forms the neck
- Make the back side of the tail.
- From the tip of the neck bend like a beak.
- Fold the wings a bit at an angle.
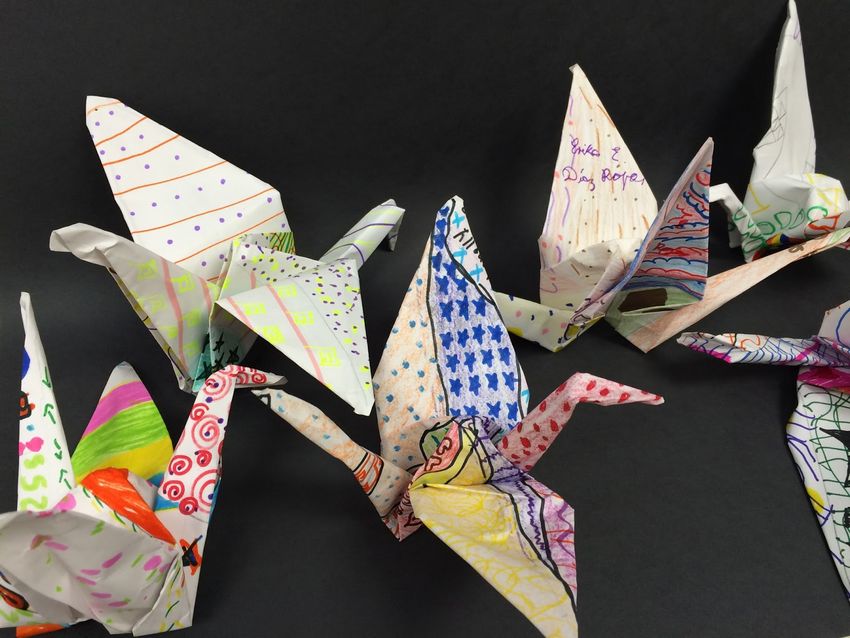
Here we have a crane, make it out of paper of your favorite colors, and you can paint the bird with pencils, markers.
Wings can move, just take the crane by the breast with one hand and the other grasp the tail at the end. Pull the tail, holding the breast and wings will begin to bend.

There is another way to make this craft.
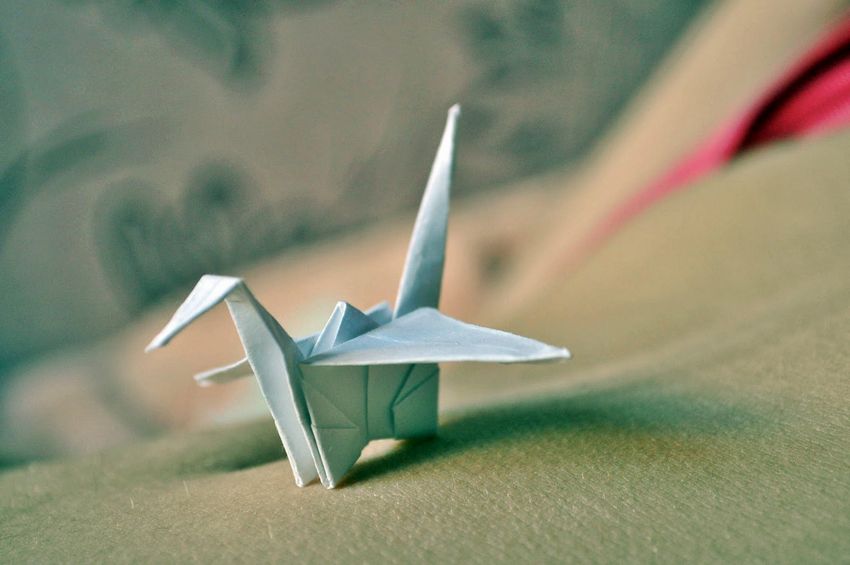
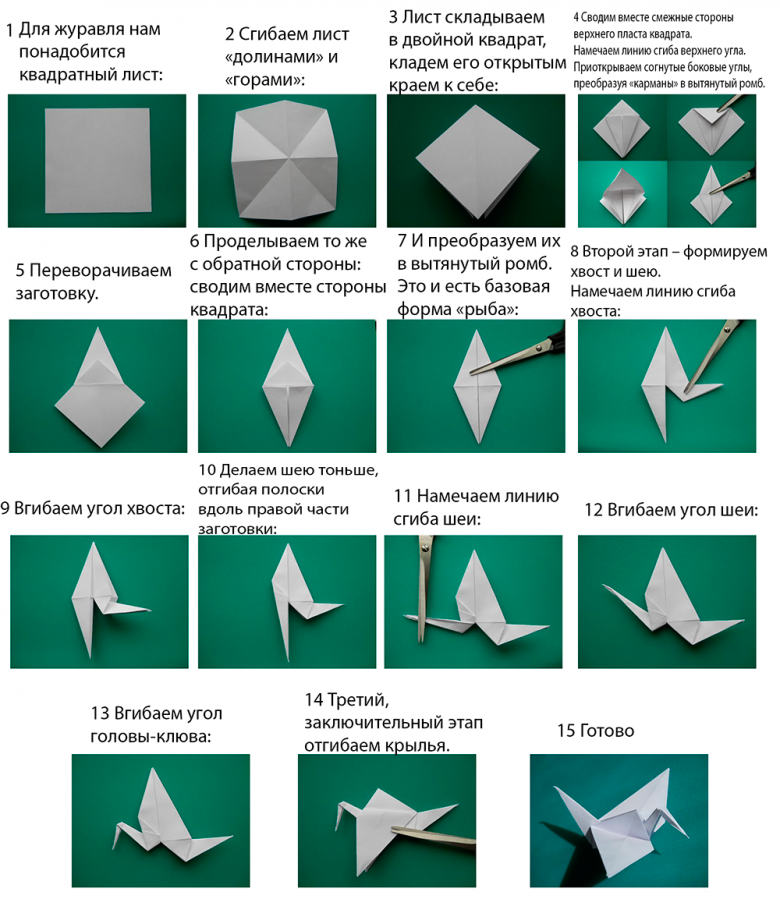
An alternative version of a paper crane
How to make an origami paper crane in a classic version, we now know, but there are alternative options for crafts.
And here is one of them.
- You need a square of paper.
- It is necessary to fold the sheet of paper in two directions.
- Fold the sheet diagonally in the opposite direction.
- Now fold the sheet to make a double square (with the top of the fold toward the top).
- Left and right sides bend (top layer).
- Spread them out and fold them in a diamond shape. It will get stretched.
- On the other hand similarly. We got something like a bird, but that's not all.
- The left side of the top layer is turned to the right side, and then the right side the opposite way to the left
- The workpiece has changed its appearance. Its top forms the head and tail, and the bottom - wings
- Make a wing, by bending up the bottom triangle.
- Fold down, aligning the edges with a horizontal line.
- Once again bend upwards.
- Bend down again.
- Bend two more times, a wing is formed.
- Pair it the same way on the other side
- Make a crease inside to get the head
The toy is ready!

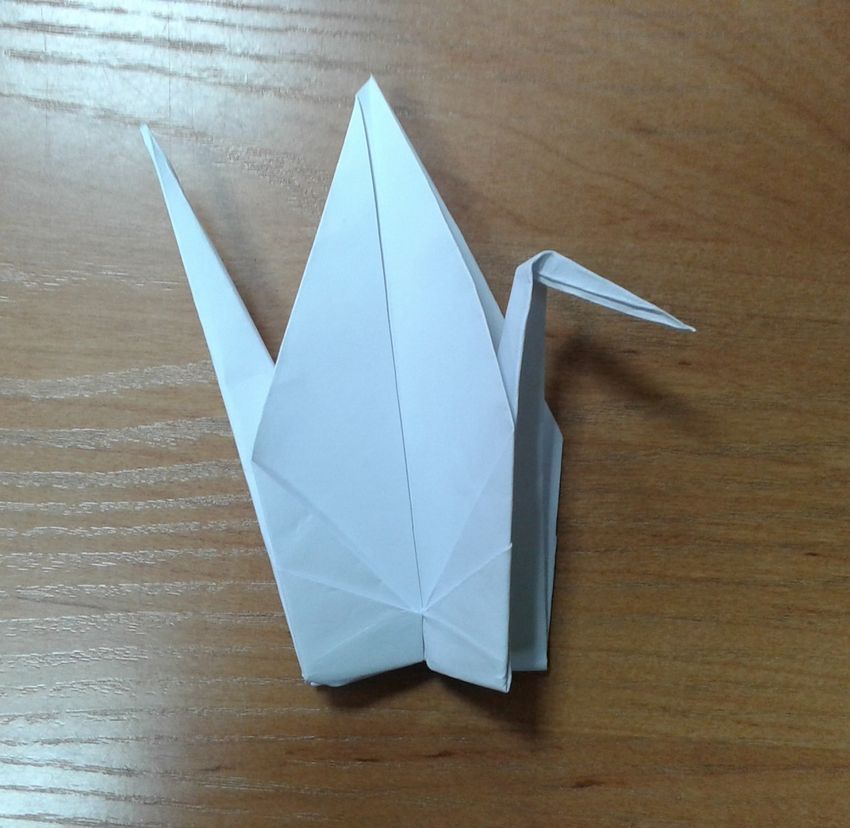
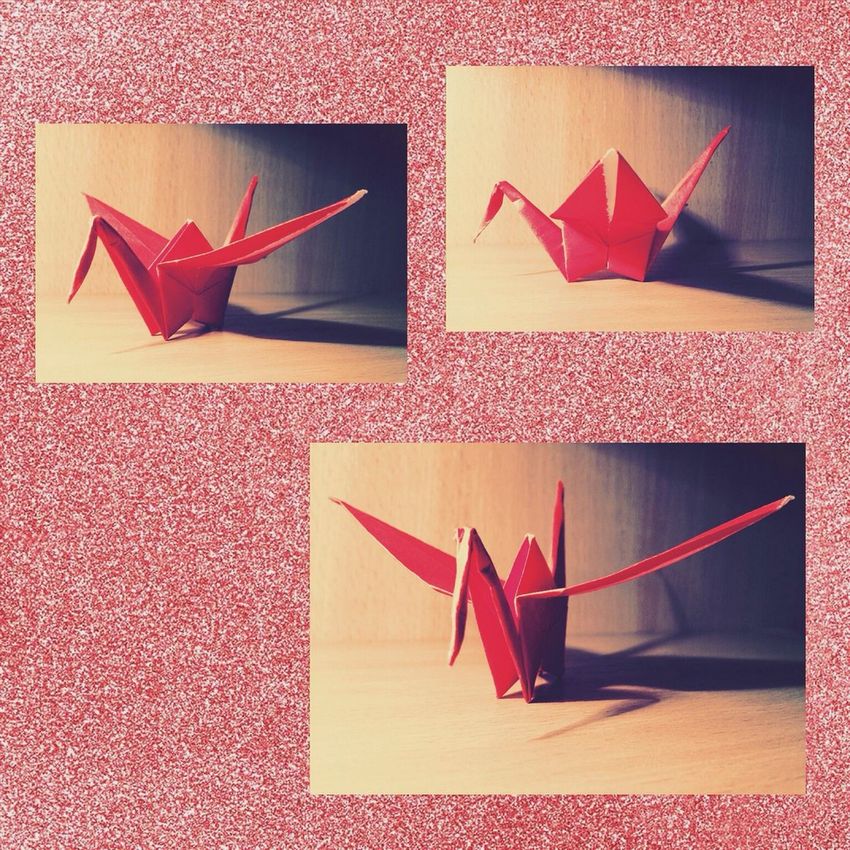
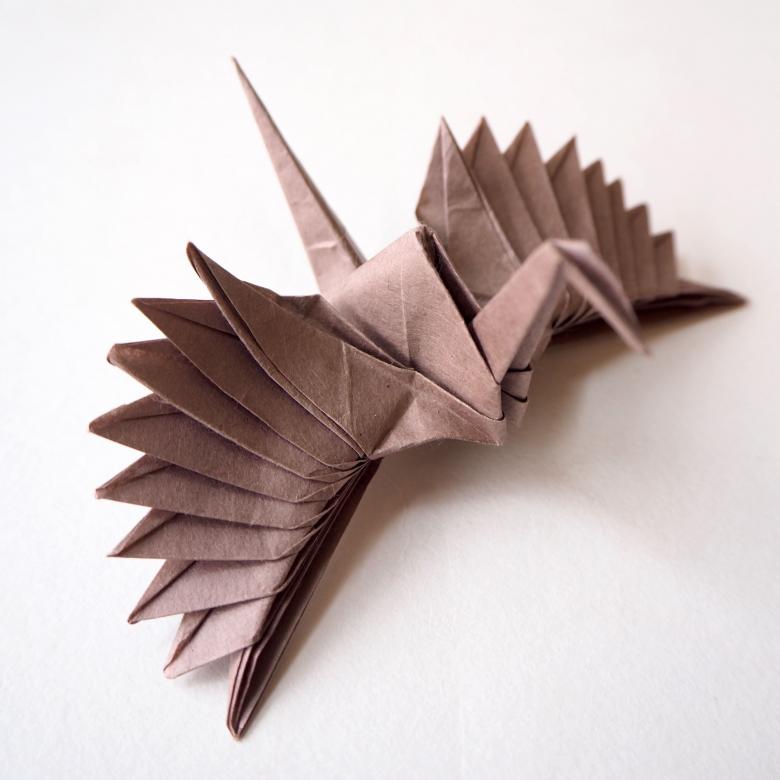
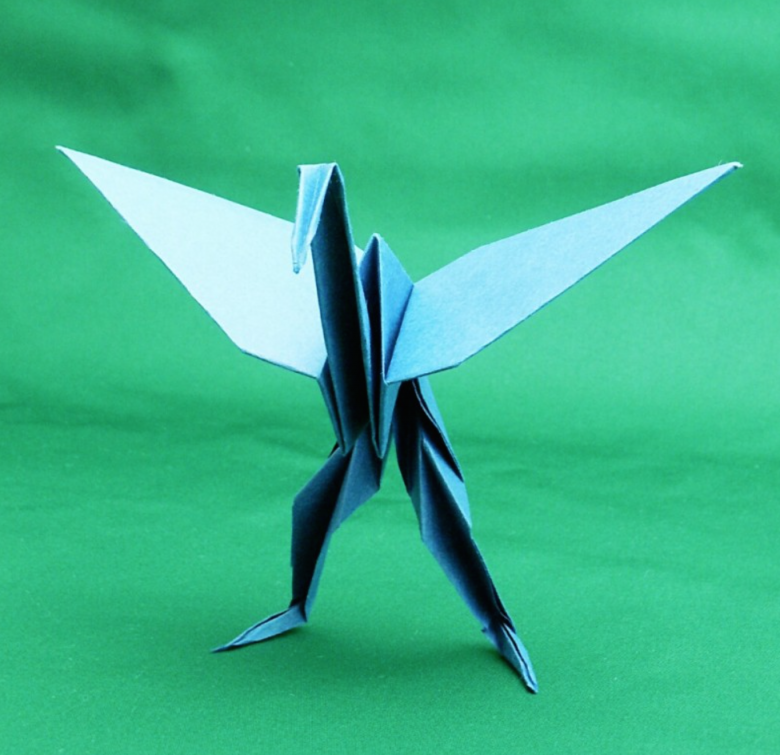
Crane with wings open
- Fold the sheet diagonally two times in opposite directions.
- Considering the resulting folds fold a sheet of double square
- The top layer craft has the side corners, they need to bend to the center line. This is the basis for the neck and head of the bird
- Fold the top edge down.
- Spread the resulting
- Form an elongated rhombus
- Turn the piece on the other side by turning it.
- Shape the wings of the bird. The right side on the sides of the bend and get two folds.
- Spread them starting from the bottom
- Outer fold change to the inner, correcting the fold. So you get two of one fold. Do the same with the opposite side. Now we have four folds.
- Again we make a pair of each fold, bending them towards each other.
- Straighten the folds, changing them from outward to inward and form new folds
- Repeat the procedure for the second fold
- So there are four folds on each side
- Protruding corner bend to the right
- Turn the future crane on the back side
- On the left side of the bend at right angles, smoothing the fold just to the horizontal line.
- And so bend the same way at the top. We got the folds of the future neck of the handicraft.
- Slightly change the look of the workpiece, folding its right side along and the neighboring vertically.
- Top left side bend at 90 degrees. Here we form an internal fold.
- Bend the tip to get the head of a bird.
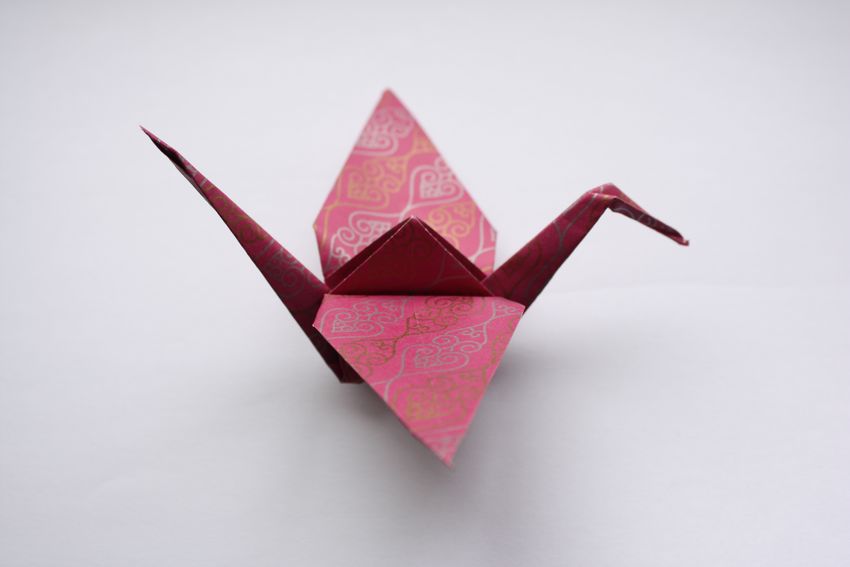
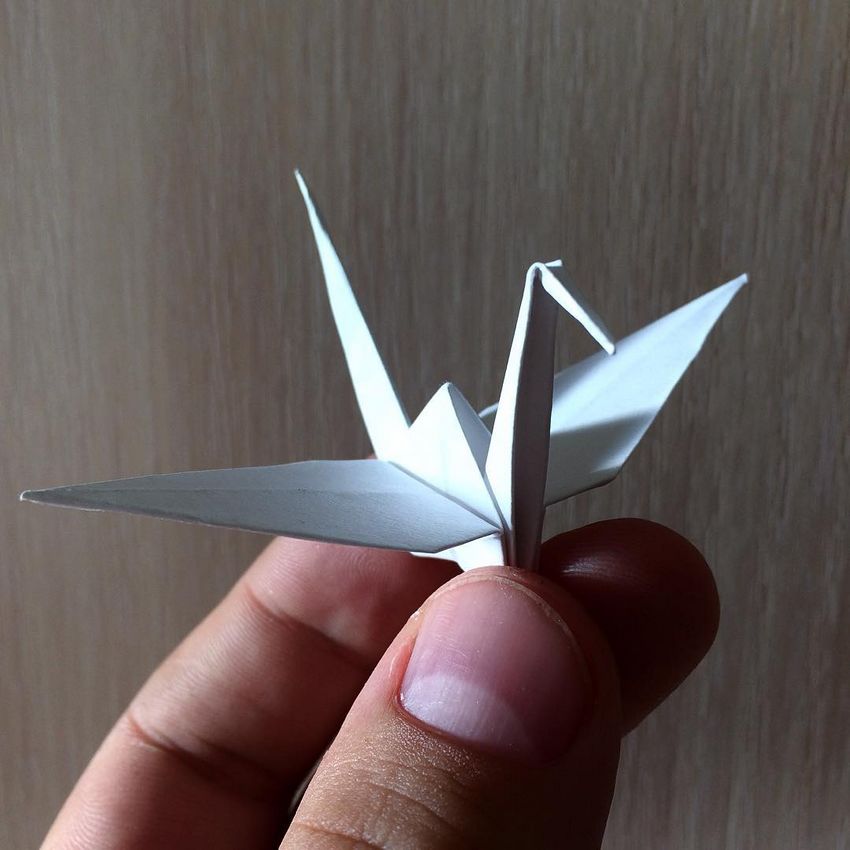
Our paper bird is ready.
As you can see, there is nothing complicated in the process of making this paper product. Bravely take up the cause together with your children.
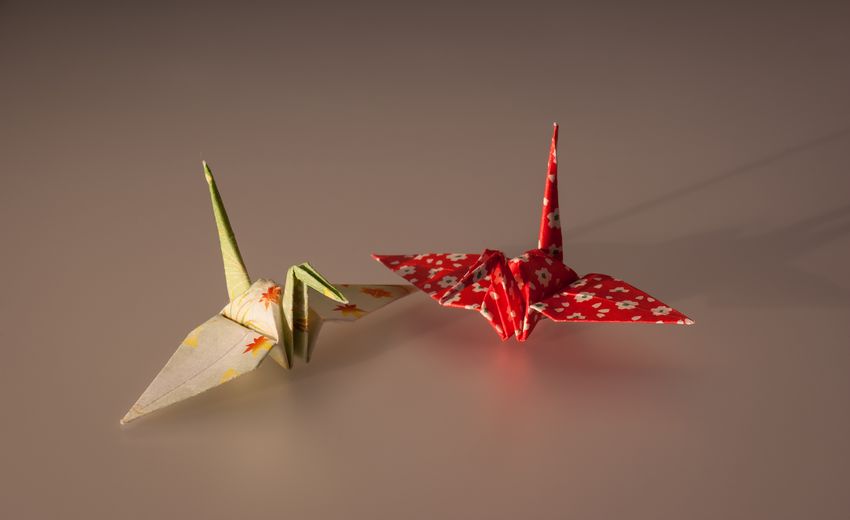
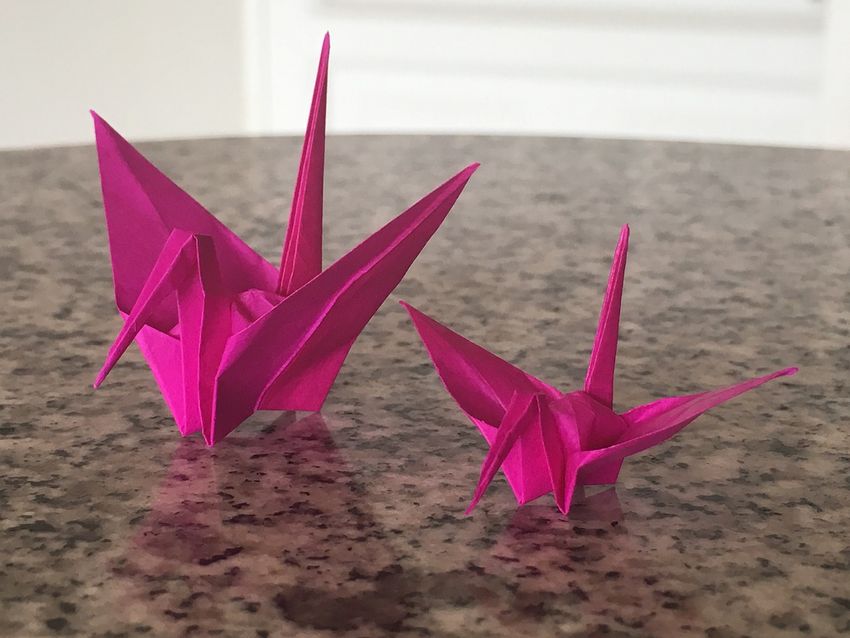
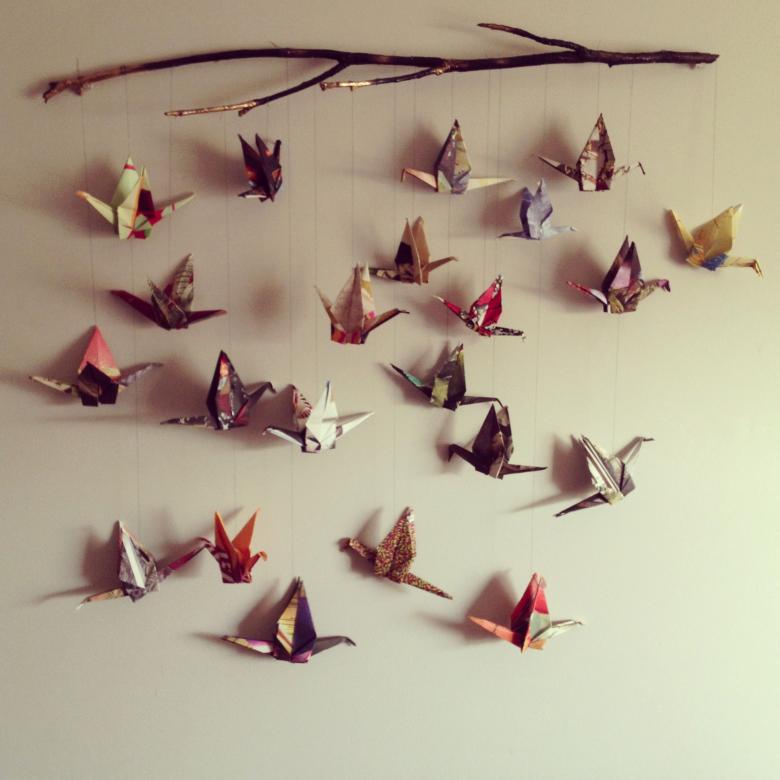
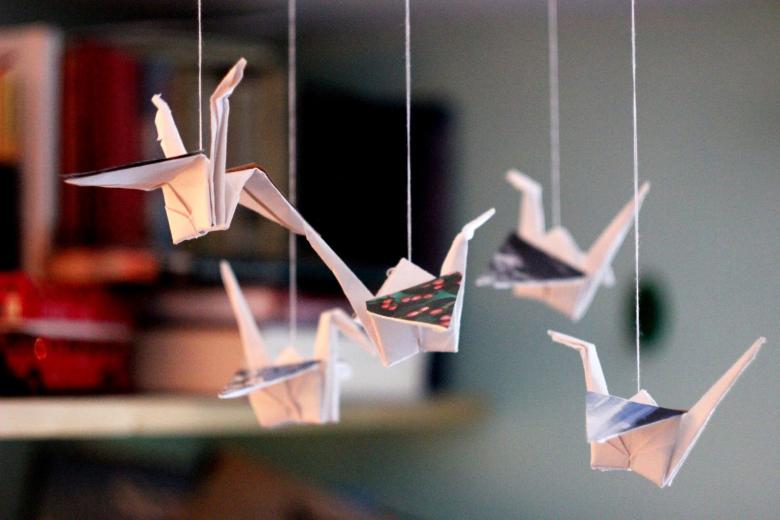
Photo ideas of origami cranes