How to draw a snake step by step in pencil - easy tutorials for children and beginners and pics for sketching
The snake is a type of reptile. Attracts many artists because it is nimble, fast, intimidating and interesting during an attack.
Most often portrayed cobra. This article will provide information on how to draw a snake step by step.
The structure of the snake is simple, there are no limbs, but there are still complex points. Do not be afraid of this, there are ways how to draw a snake easily, even children will cope.
Drawing a snake by a child
In order for the child not to be frightened by this theme, you should take as a basis the colorful character of the cartoon "38 Parrots". In it, the boa constrictor is shown as a kind, interesting, interesting child. It attracts by its movements, by the fact that it can talk, by the colorful coloring of its body.
But after observing snakes in nature, the question arises. How can a child draw a snake? You need to convey plasticity, distinctive features, similarity with the drawing object. All this can be done by any novice artist. To do this, you'll need to follow a selected sequence of drawing steps.
Before you begin, you need to prepare an eraser, a simple pencil, paints, a sketchbook.

Etapiys of work:
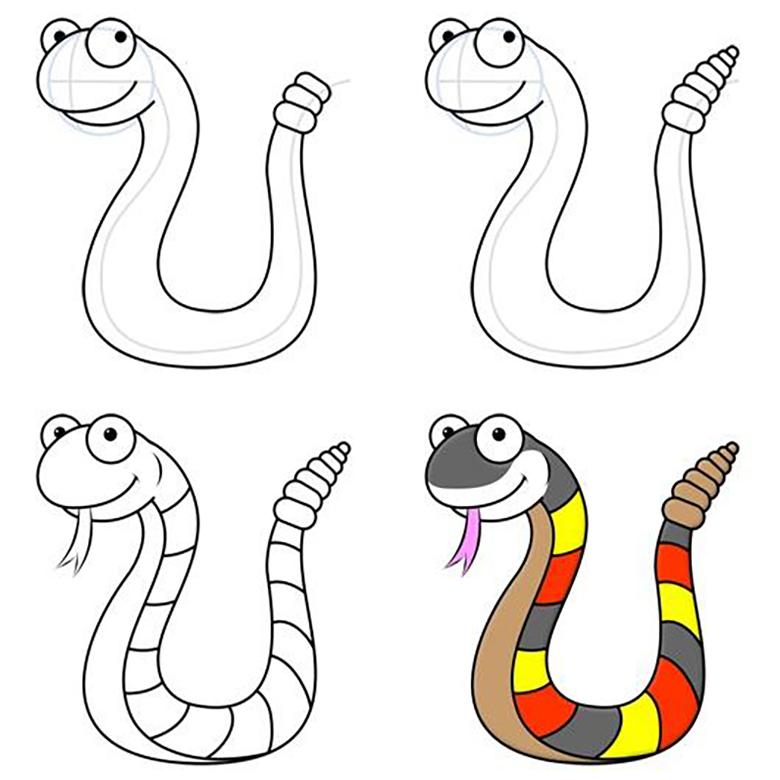
- A simple pencil draws a circle in the center of the drawing surface. Use of a compass or prepared stencil is allowed.
- At the top of the circle there is an oval in a horizontal position, it is not in contact with the circle. The oval is divided into two equal parts by a horizontal line. From one end of the line is a semicircle to the other end, this will be the mouth.
- Above the line depicts two circles, located in the middle of the upper part of the oval. In the inner space of these circles are placed two more. Thus obtained the eyes of the snake. Above them, each eyelid and the back of the head are drawn.
- From the side of the mouth is a curved line, pulled up. Obtained the basis for the tongue.
- The circle was the basis for the body, so the features of the twisted body are drawn in it. Inside the circle a line parallel to the line of the circle is drawn, its beginning comes from the head. The beginning of the head must be wide. Dashed line looks like a crescent. Its horns are directed toward the inner part of the circle.
- A concave line is drawn under the head in a circle, resulting in a crescent shape, with the horns pointing downward.
- The hook is depicted in the crescent, bent end must rest against the lower part of the head. We get the tail, folded into a ball.
- Next comes the drawing of the body, which is twisted into a ring. It shows the upper part, the head and the tail.
- Above the eyes are drawn eyebrows, as if hanging in the air. The snake turns out good, so the pupils are round, most of it drawn in black. But white highlights should be left to give realism and volume.
- Above the mouth, two dots are drawn, which is the nose. Then a long tongue is drawn and at the end there is a bifurcation.
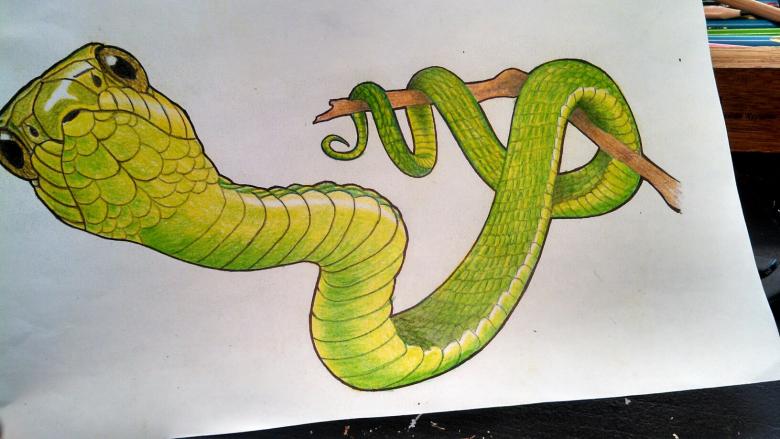
- Use the eraser to erase all unnecessary strokes. The final part - the work in color - is done. The entire outline of the snake is done in a dark green shade. On the belly, using a light green tone, horizontal stripes are drawn.
- The contours of the eyes, mouth, nostrils, eyebrows are outlined in black. On the surface of the eyes, the highlights are not painted over.
- The surface of the tongue must be red. Near the eyes is painted yellow shade. It is also used to paint the belly between the stripes.
- With the help of various green shades goes coloring the upper part of the body. The application is carried out smoothly. The inner tones should be dark and the inner light.

The child can hang the drawing on the wall to see the result and it will be a decoration of the room.
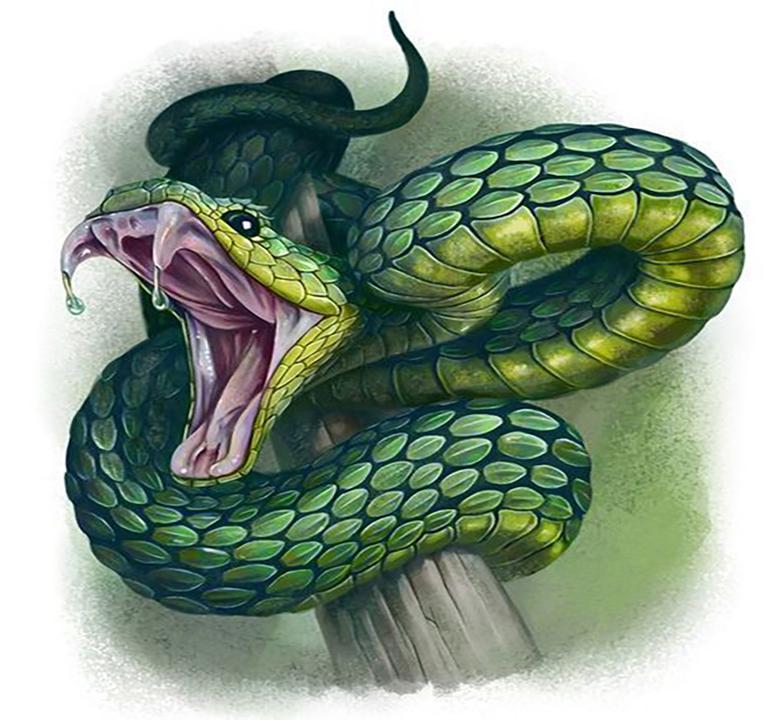
The snake before the attack
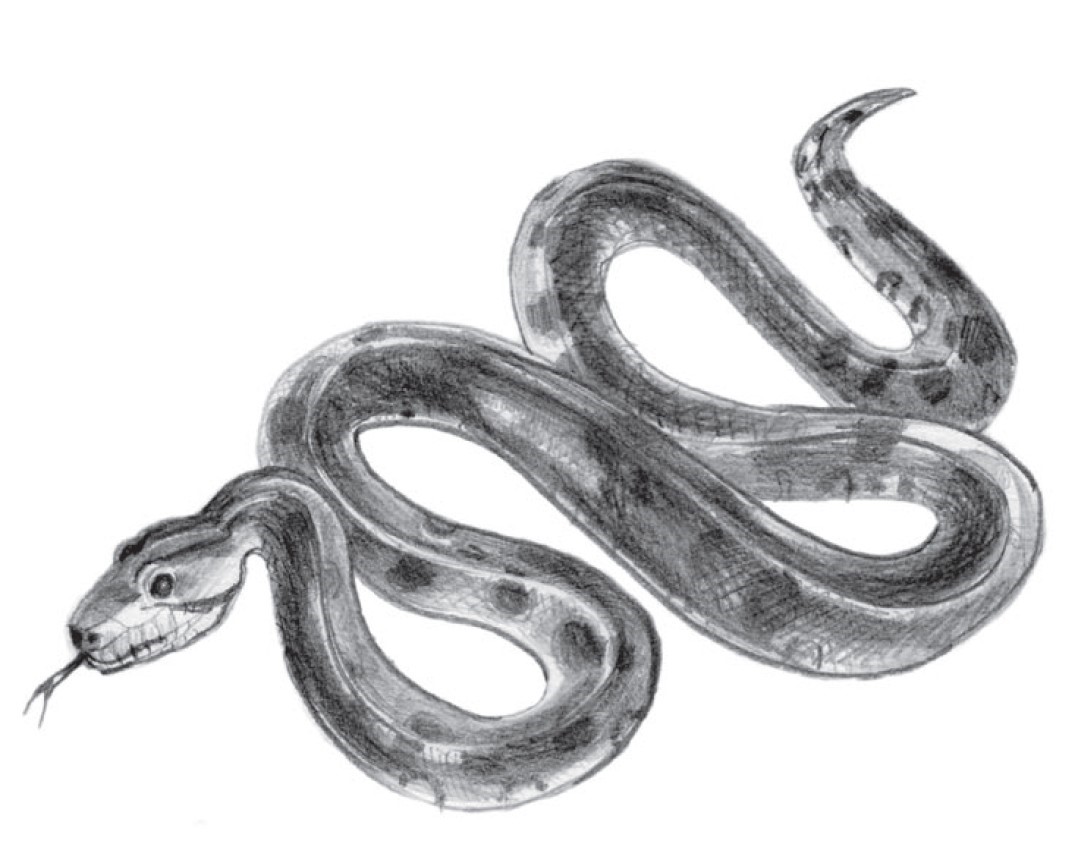
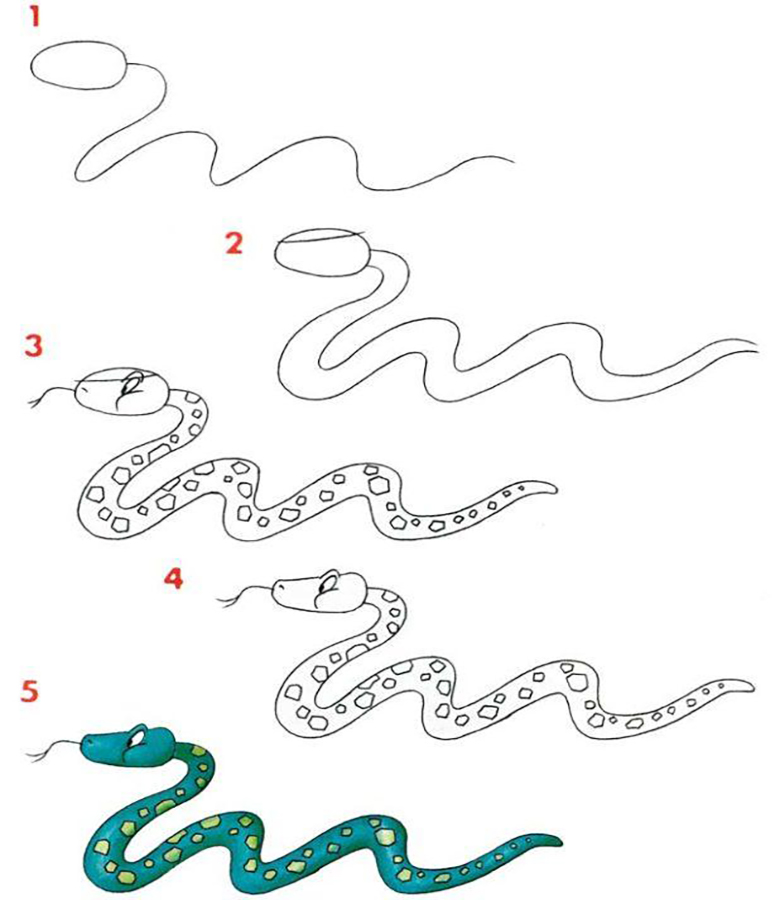
First you need to draw the outline of the whole body. This will look like a curved rope with rings.
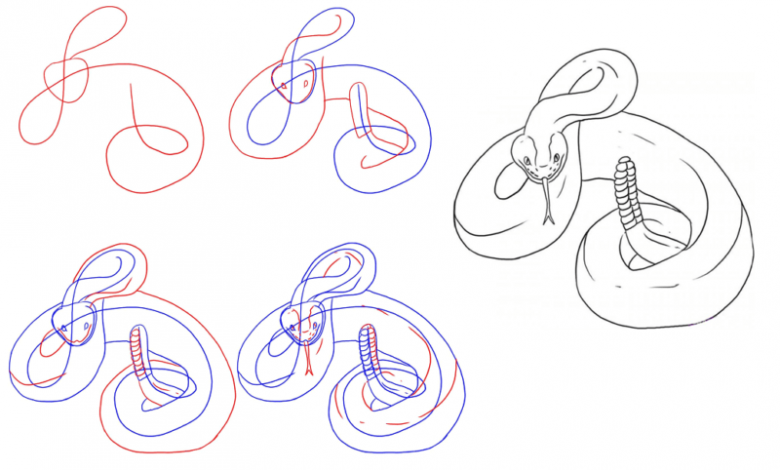
The head at the beginning is marked with contour lines. The throat is drawn extended. For this purpose an extension is shown in that area and then a flattening. Next, the eyes are drawn-they are angry and threatening, as there will be an attack.

How to draw the head of the snake? You need to draw the eyes, the abdominal part of the snake. To do this, you will need to draw two smooth lines. A rim parallel to the right edge of the flattened throat is drawn.
The next step is to draw the details. The tongue is drawn with a bifurcation at the end. Light strokes are used to draw patterns of the belly and the body as a whole.
Shadows are added with a simple pencil to make it realistic. This is done on the condition that paints or colored pencils will not be used.
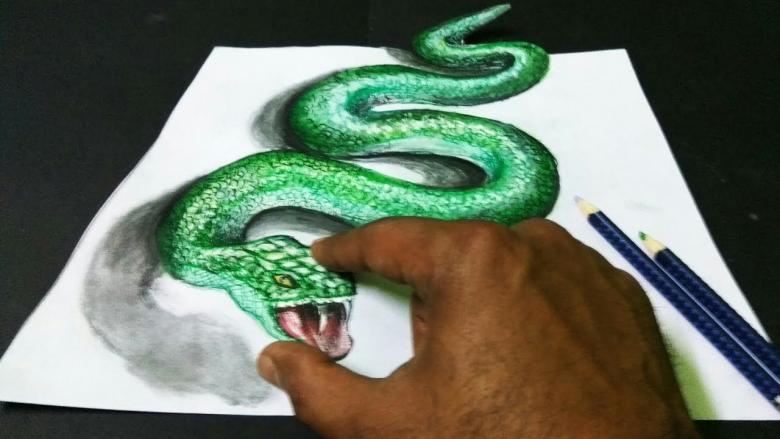
To complete the drawing, you can add a characteristic landscape around it. Ideas for this can be found on the internet, in books about snakes.
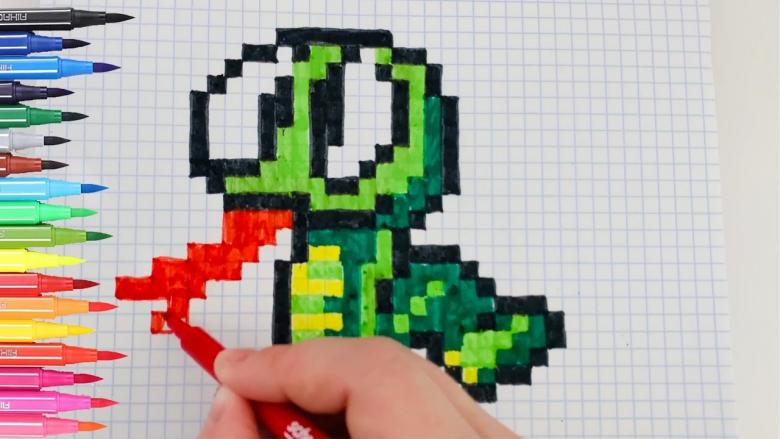
Drawing by Cells
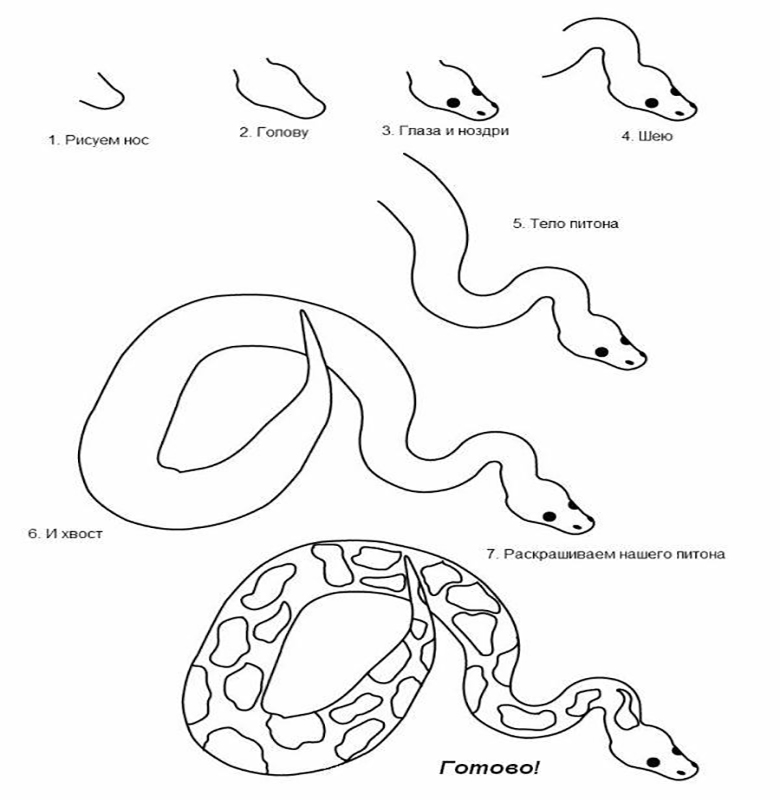
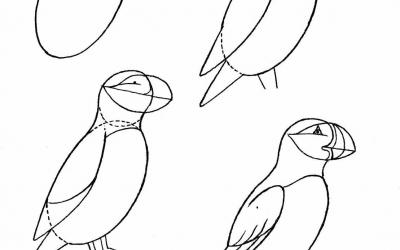
The simplest is drawing by cages. So how do you draw a snake by cages? You can draw as in the picture or use graphic dictation.

First you indent 3 squares on the left side and 7 squares up and put a dot. Then 2 steps up, 2 right, 8 down, 2 right, 4 up, 3 right, 4 down, one right, 3 up, 3 right, 3 down, 2 right, 1 down, 3 left, 3 up, 1 left, 3 down, 3 left, 4 up, 1 left, 4 down, 4 left, 7 up, 1 left. The eye is placed with a dot. We got such a snake.
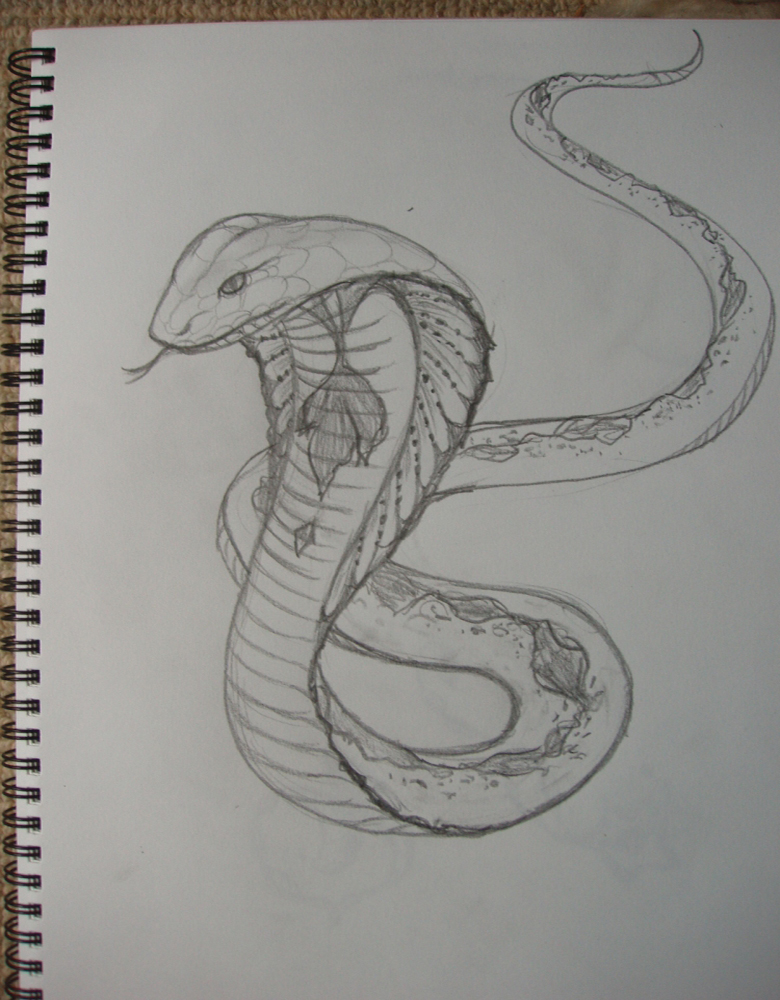
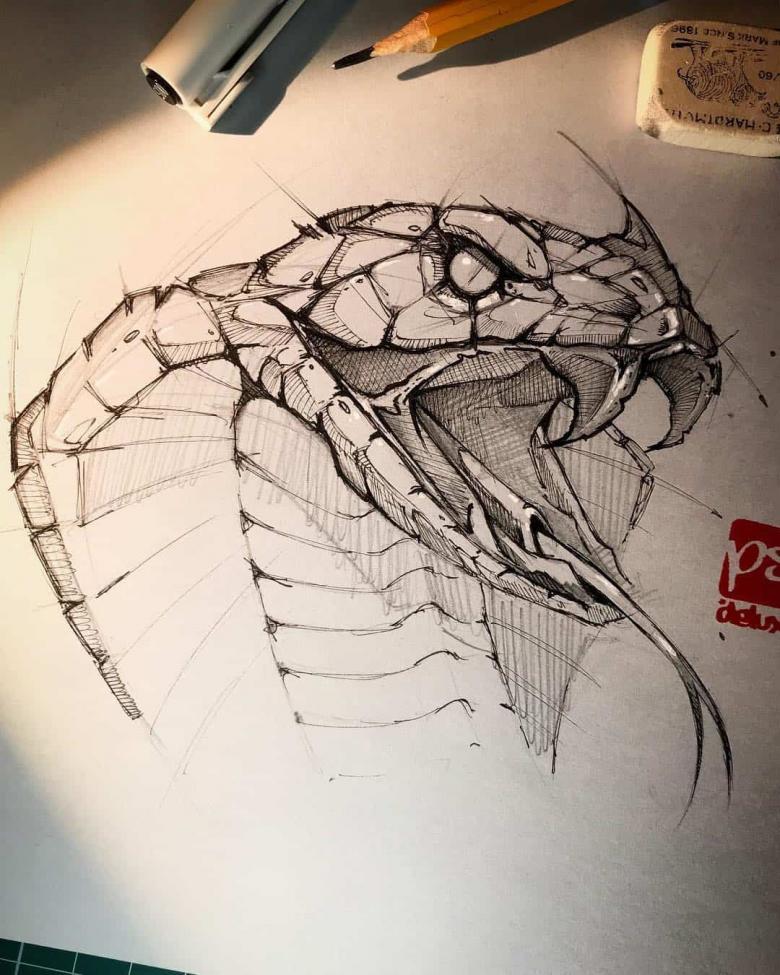
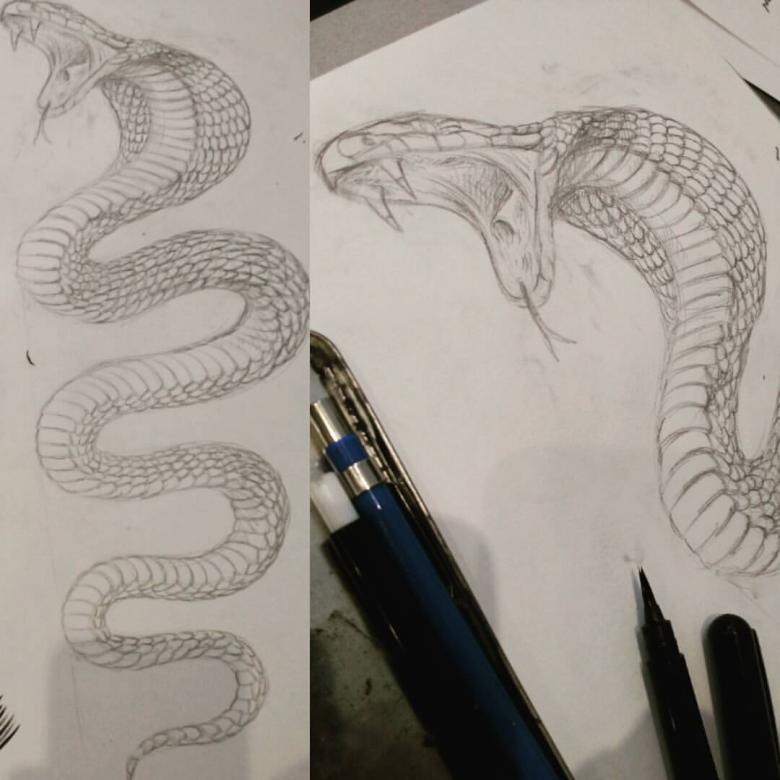
Drawing of a cobra
Cobra is dangerous for humans and animals. It has a characteristic behavior before attacking, namely spreading the "hood". Such a behavior warns the enemy.
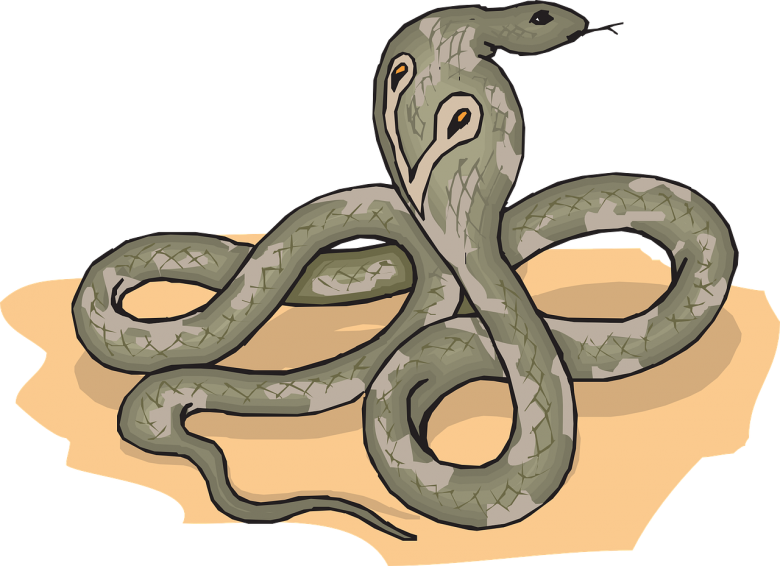
To begin with, it is necessary to find a realistic picture, when this snake is in a fighting stance.
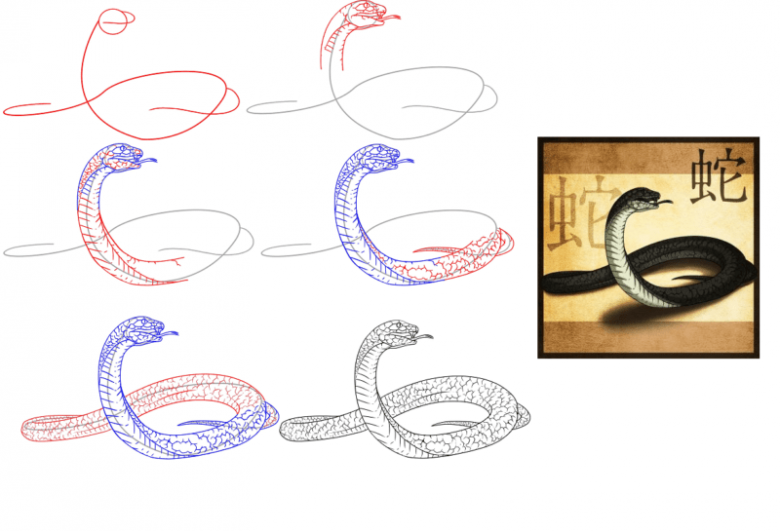
In the uppermost part of the album sheet is drawn the base of the head - a small circle. It should be divided by a horizontal line into two halves. drawn arc from the bottom of the head. This will be the basis for the torso. Is drawn so that it was shown that the cobra wriggles and the body formed a figure eight lying on its side.
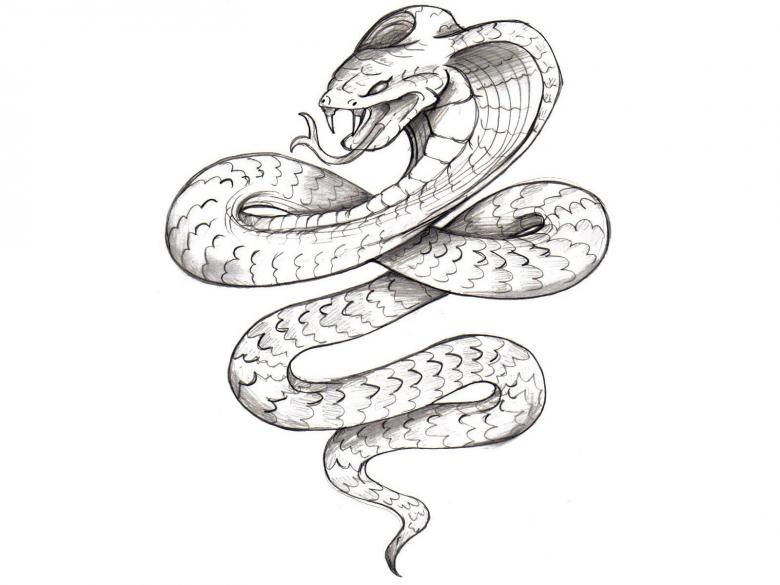
Using two wide lines from the head the neck is drawn. The beginning will be wide and gradually narrows. One of the lines is concave and runs from - under the lower border of the head. The second has the same shape, but is located away from this one. The top point of these outlines connects to the top of the head. This is the "hood. It happens in the king cobra.
From the bottom of the head a concave line is drawn to the second line drawn in the previous step. The line is drawn with a hook on the end and extends to the top point. This is the lower jaw.

Then the torso is drawn with another line that is parallel to the line forming the figure eight. At the tail they are narrowed. The tip of the tail is slightly lifted up.
Obtained contour, drawn nostrils, eyes, tongue. On the abdomen marked strips. Scales are drawn on the surface of the body. Auxiliary lines should be erased.
The final step is coloring. Yellow is used to color the abdomen on the neck as well as the entire body. Orange is used to shade the curves of the torso, and the parts under the "hood". The pattern becomes more voluminous.
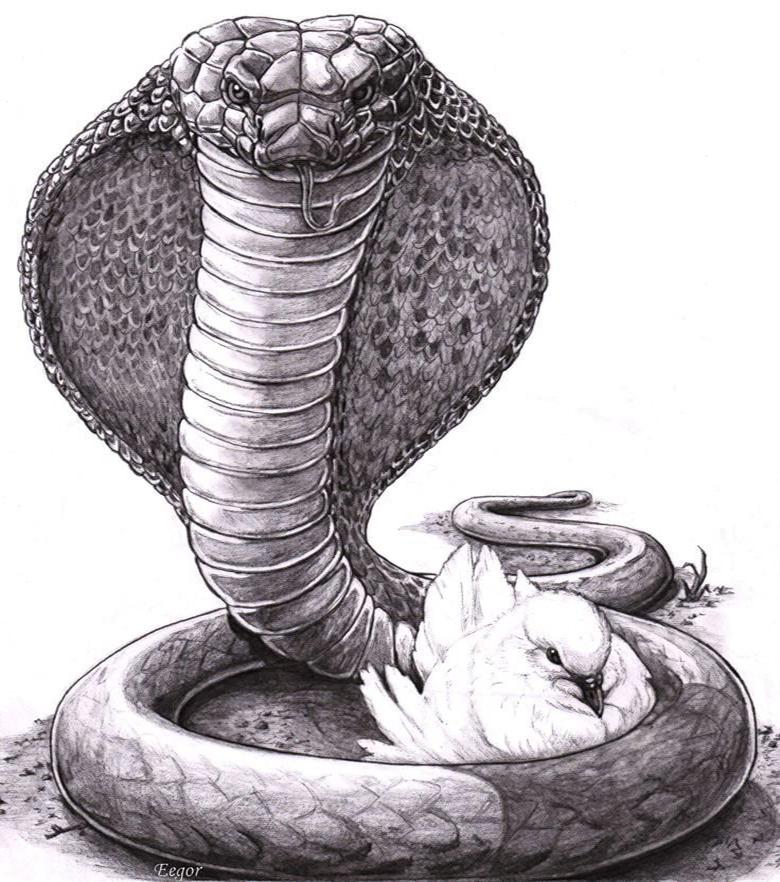
Light brown is used to trace the head, the remaining parts of the "hood". For the outline of the body this shade is also suitable. It is also used to shade places on the body rolled up in a ring. The brown one gives volume.

Side strokes have the same size. The color is intensified in places where shade is needed. The texture of the skin is drawn in brown and scales are indicated.
Drawing is easy to do, suitable for work with children.

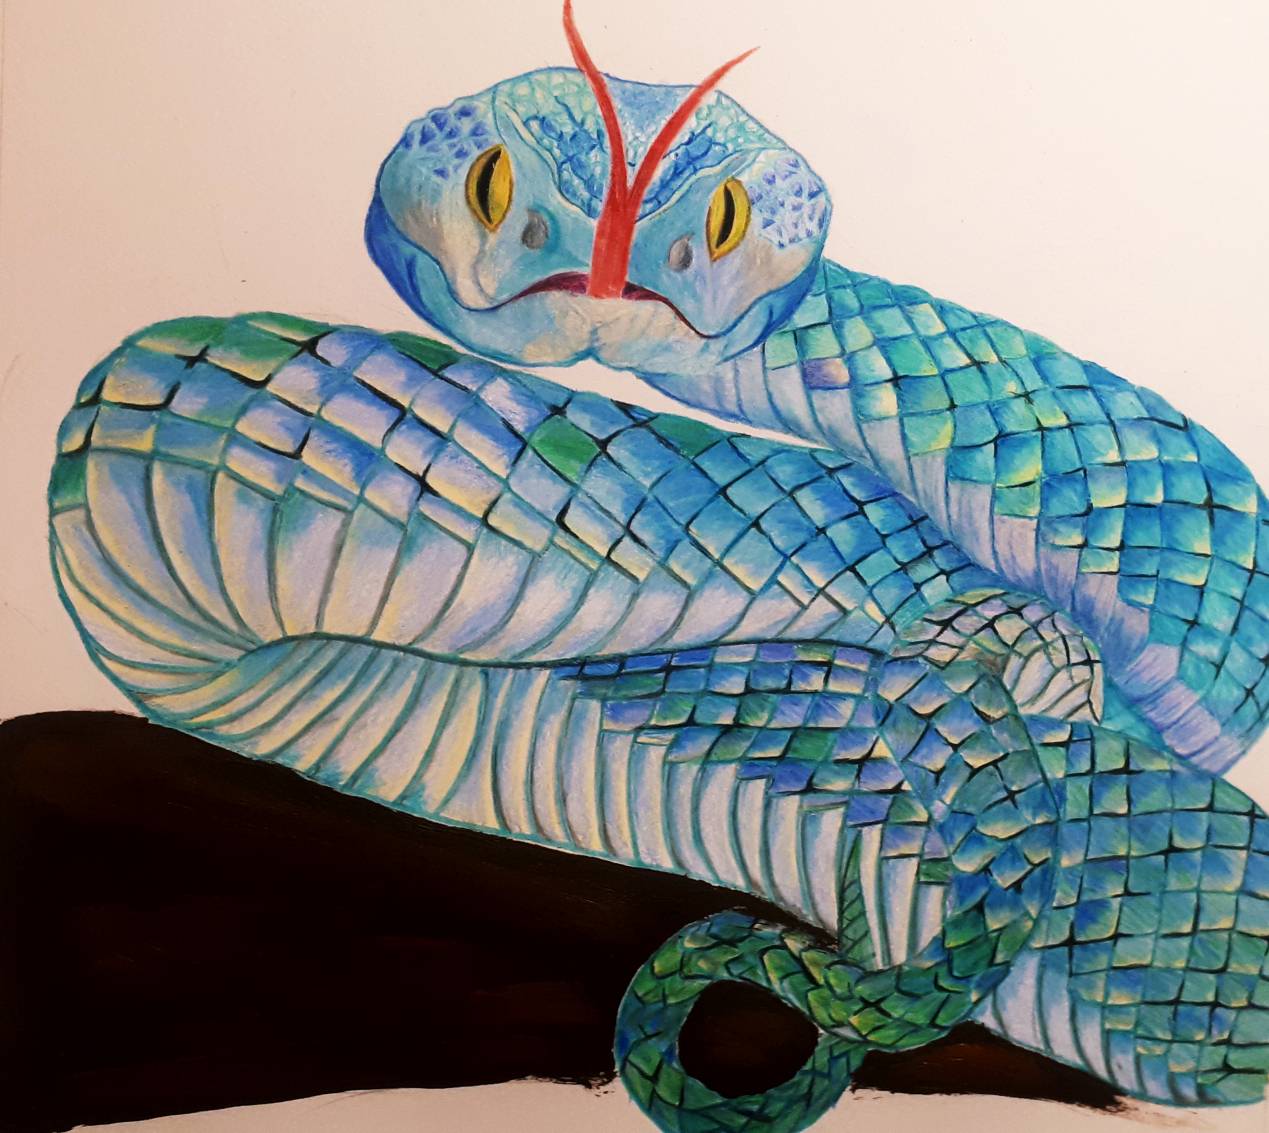
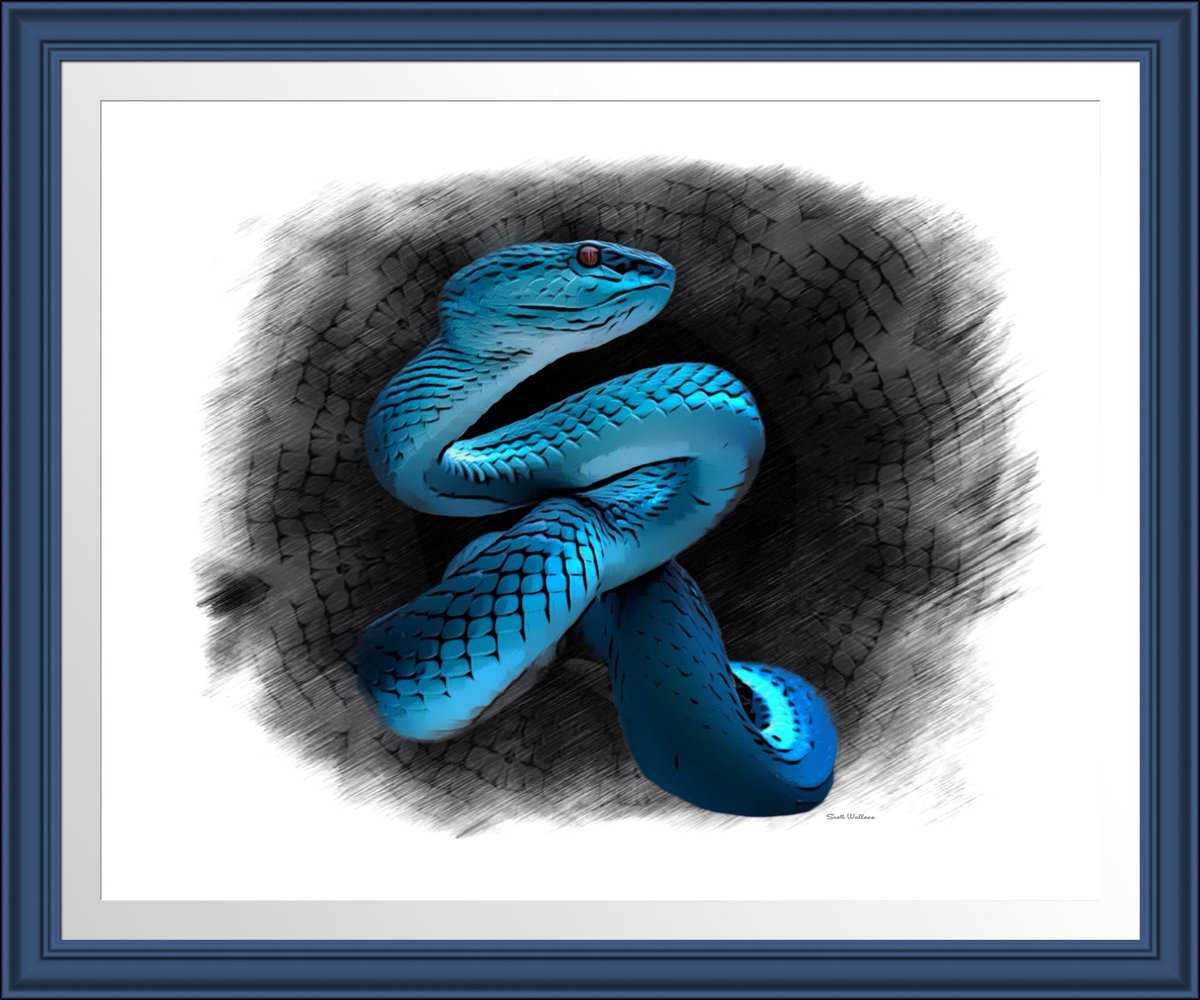
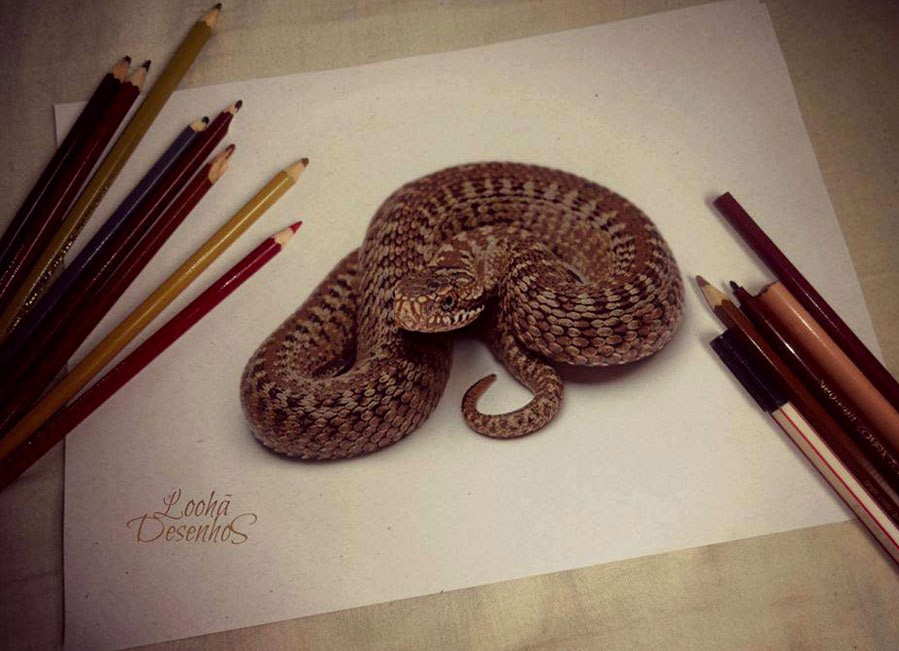
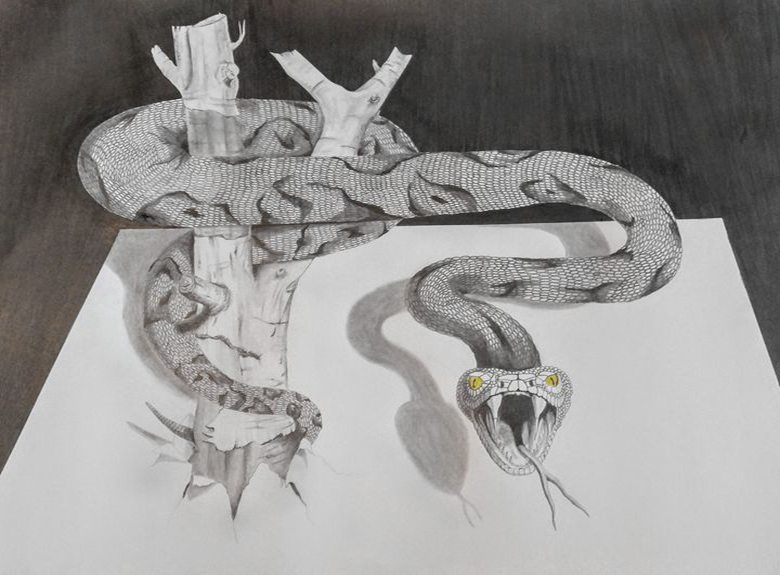
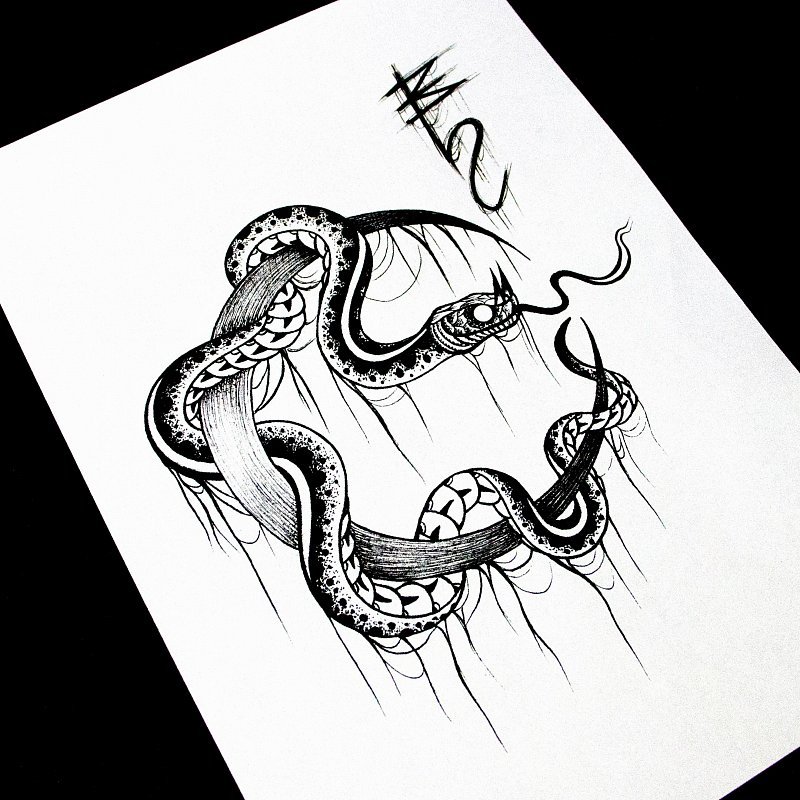
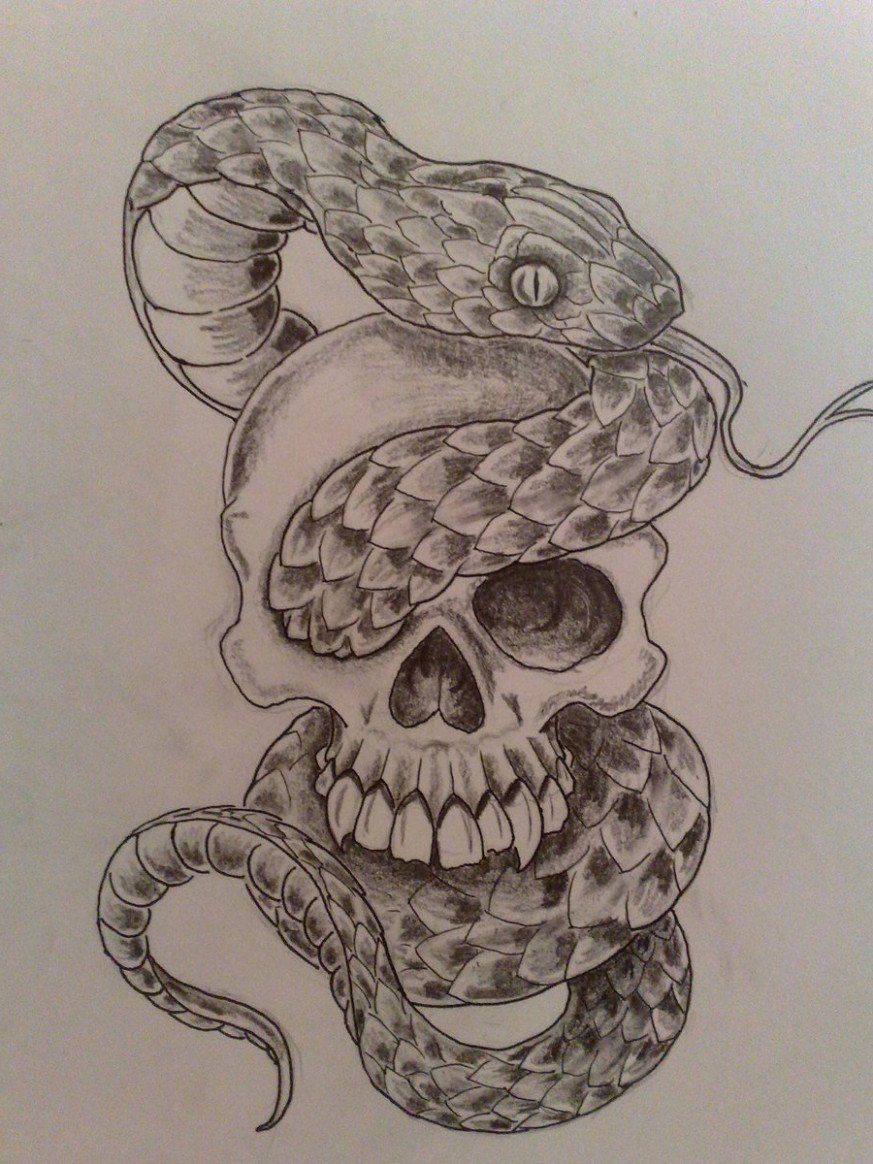
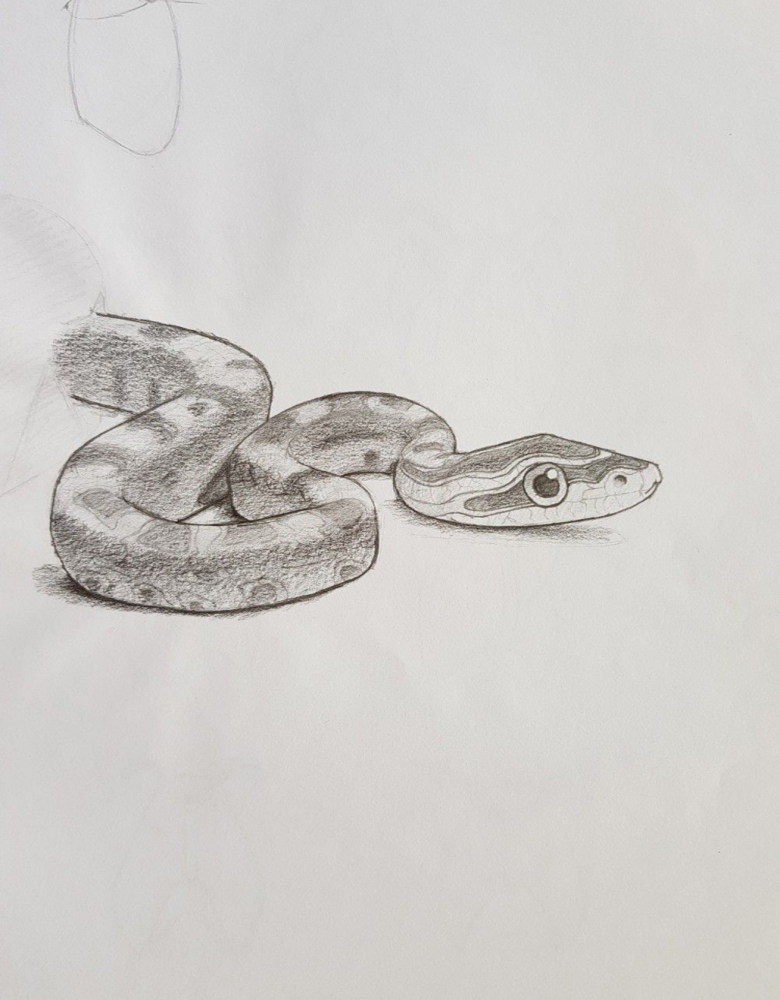
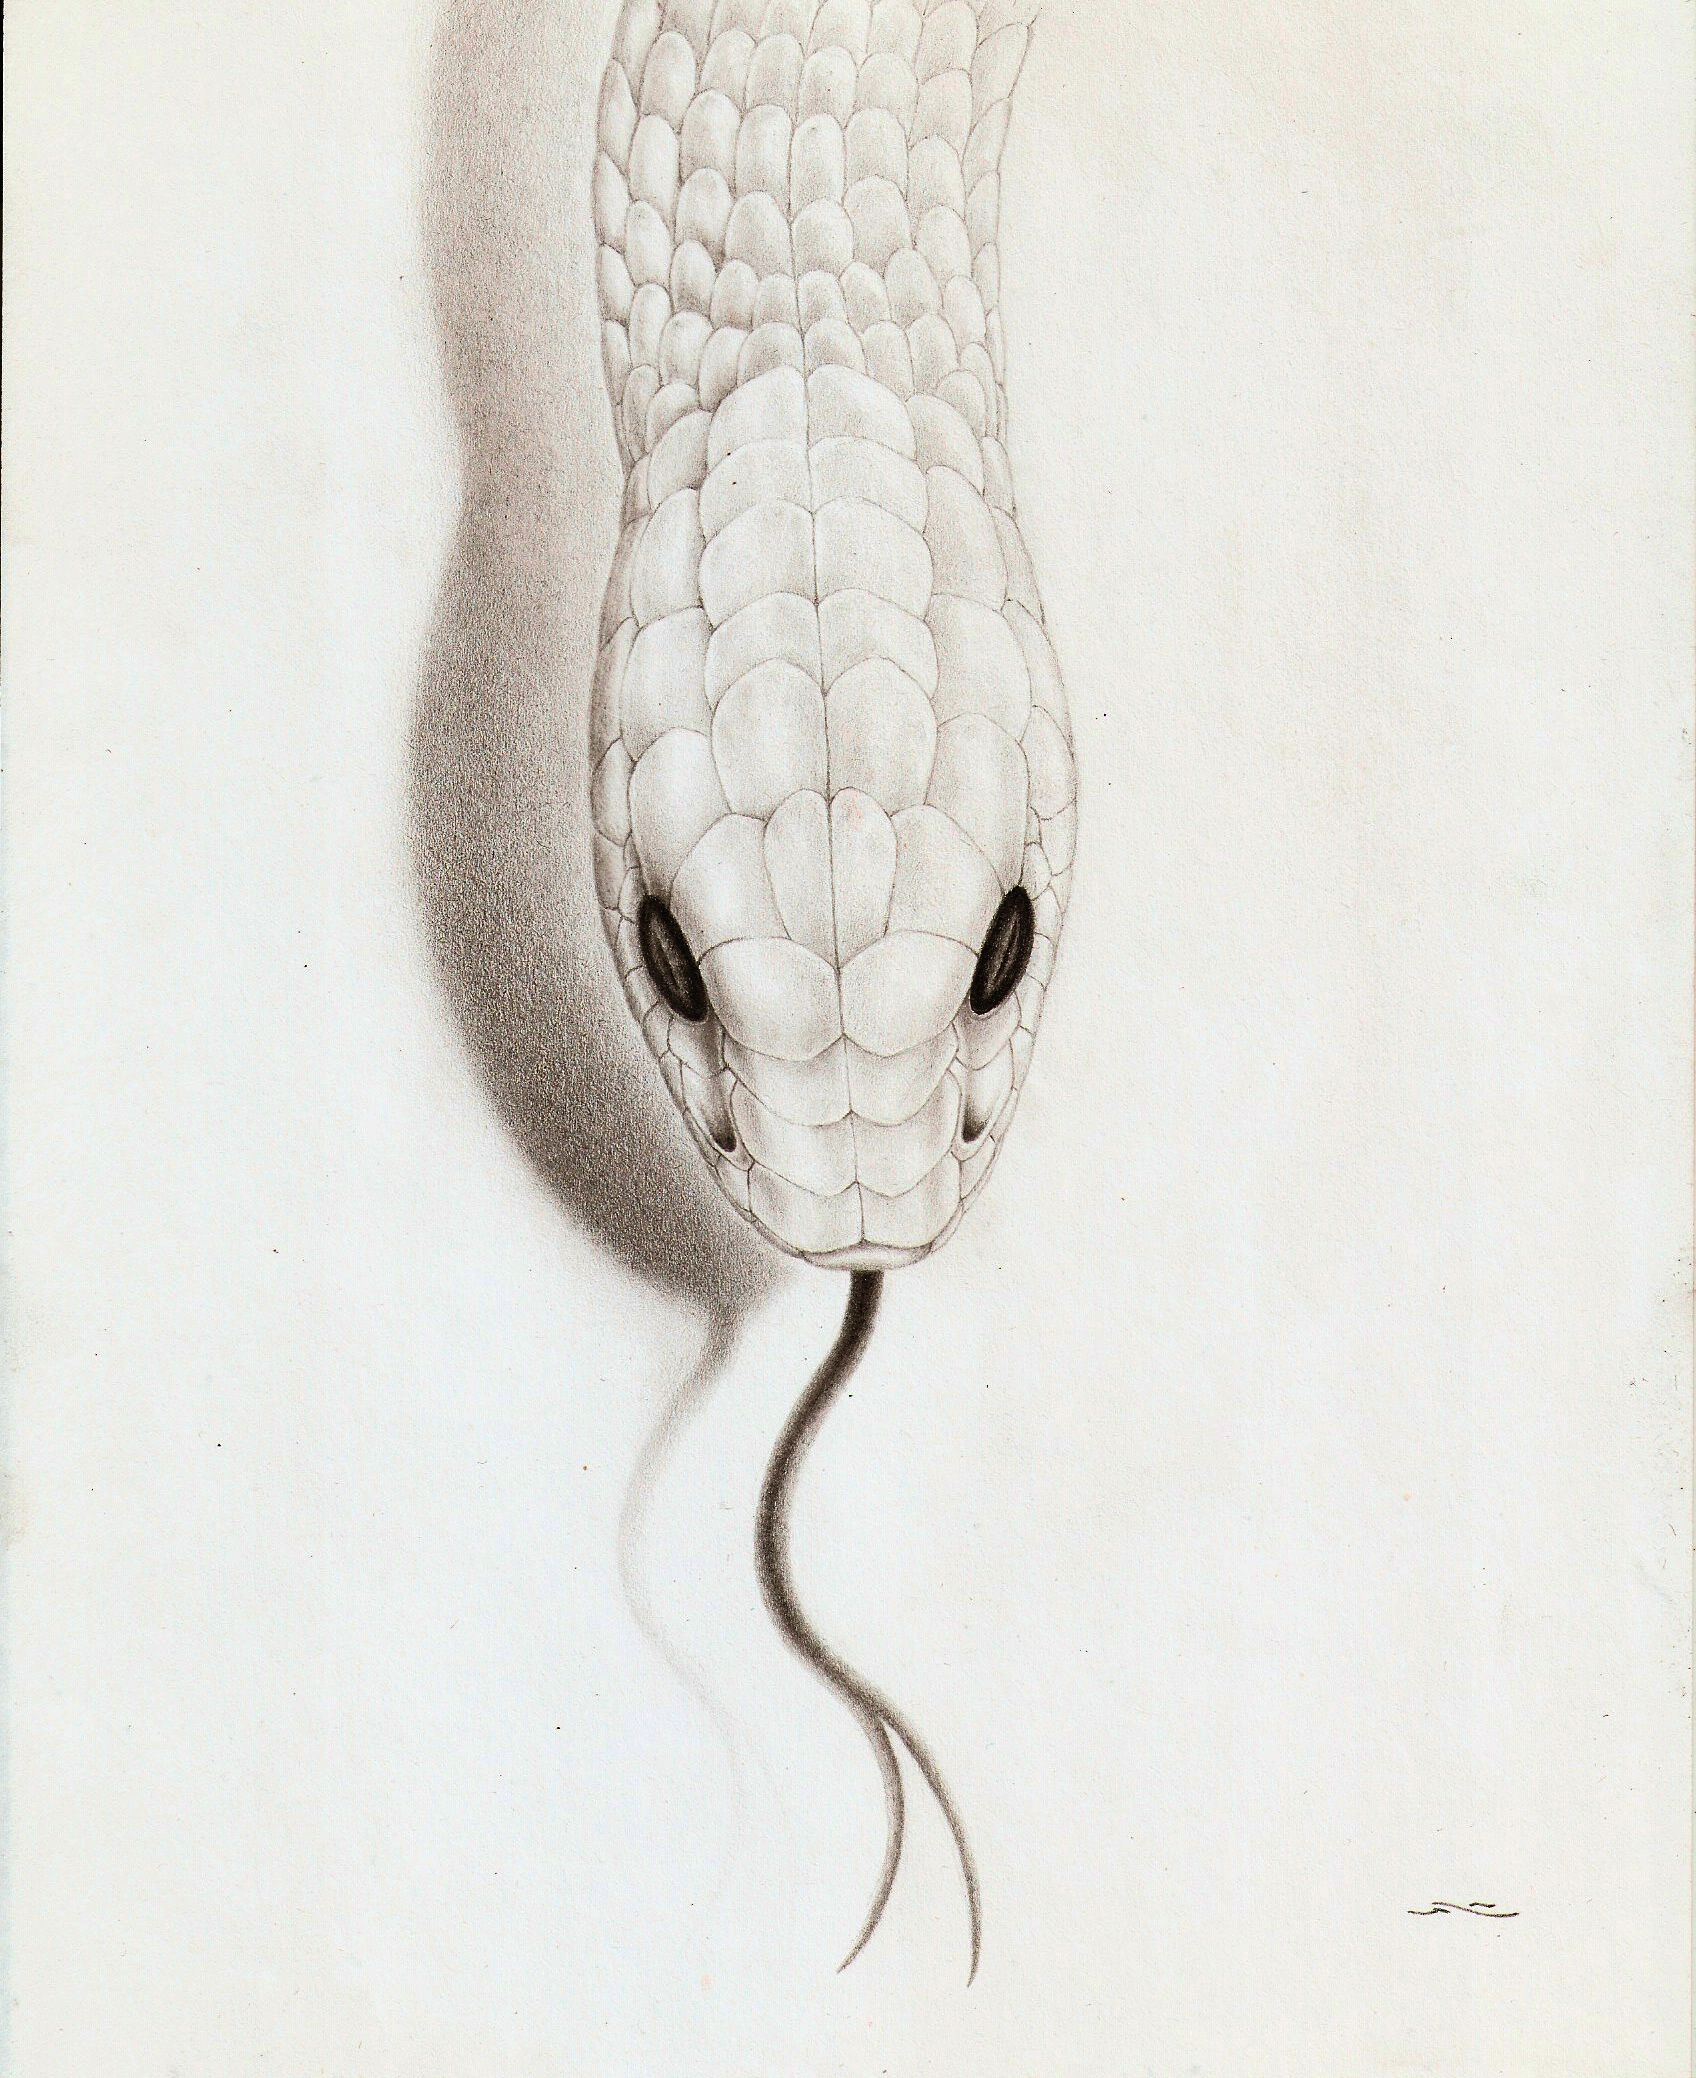
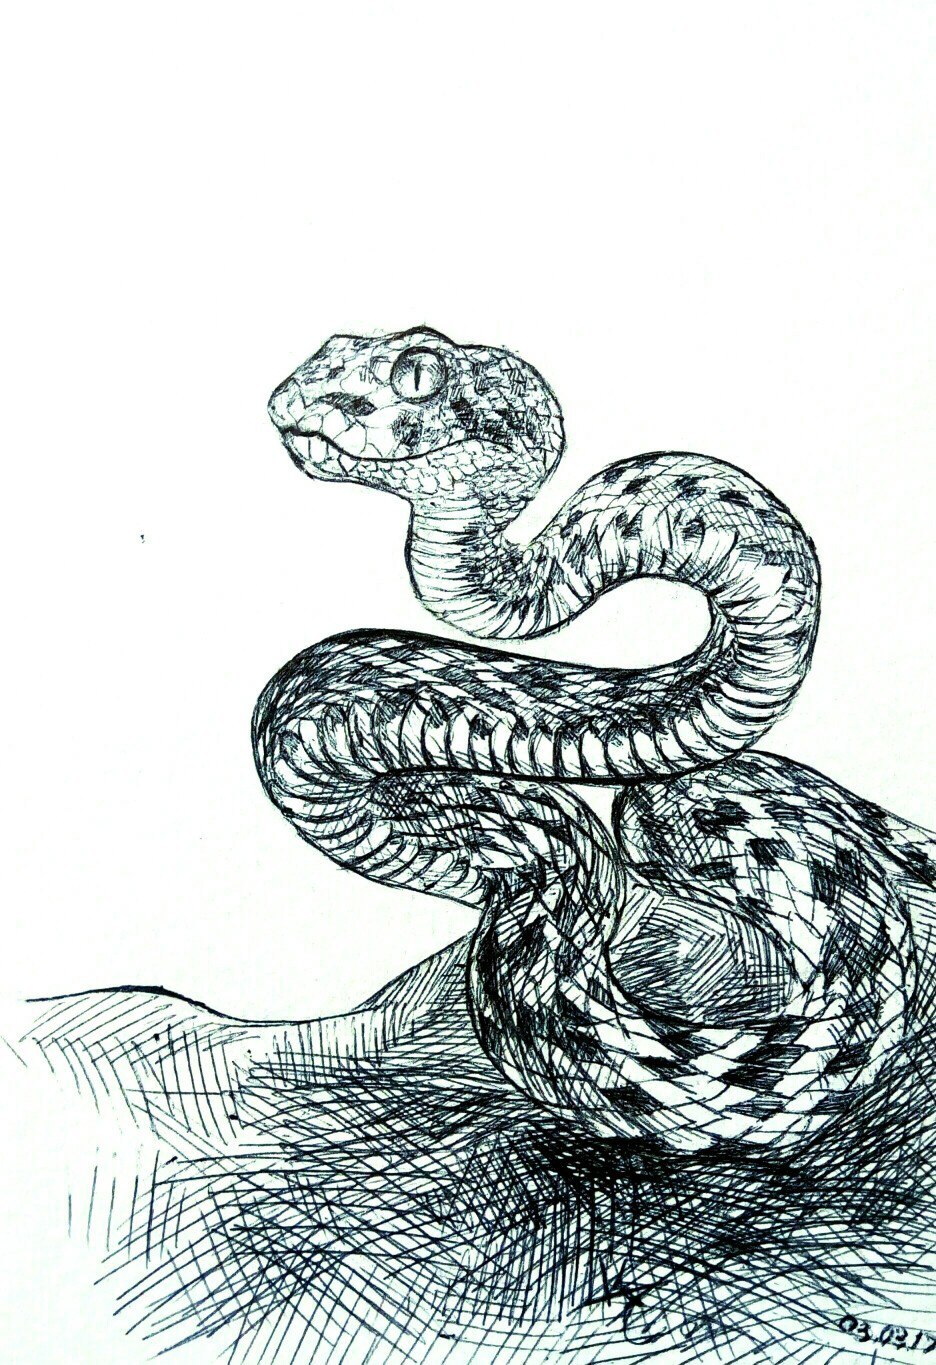
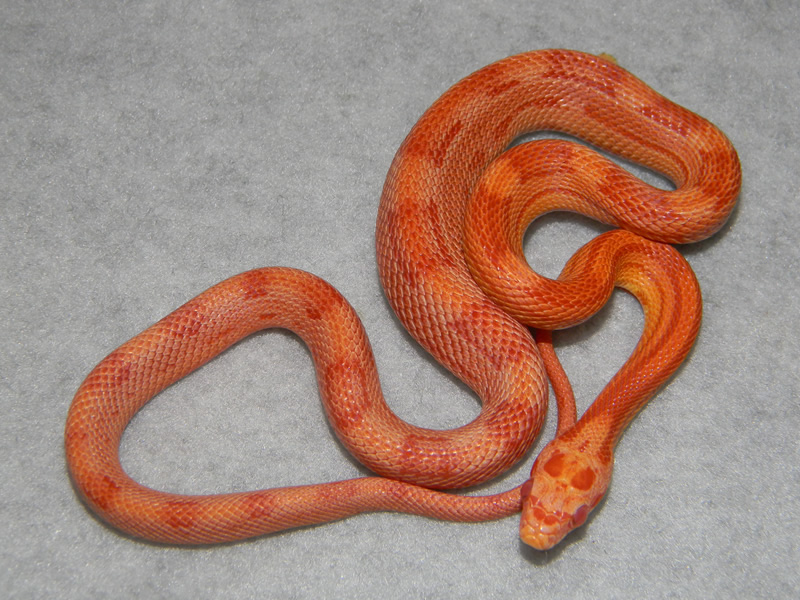
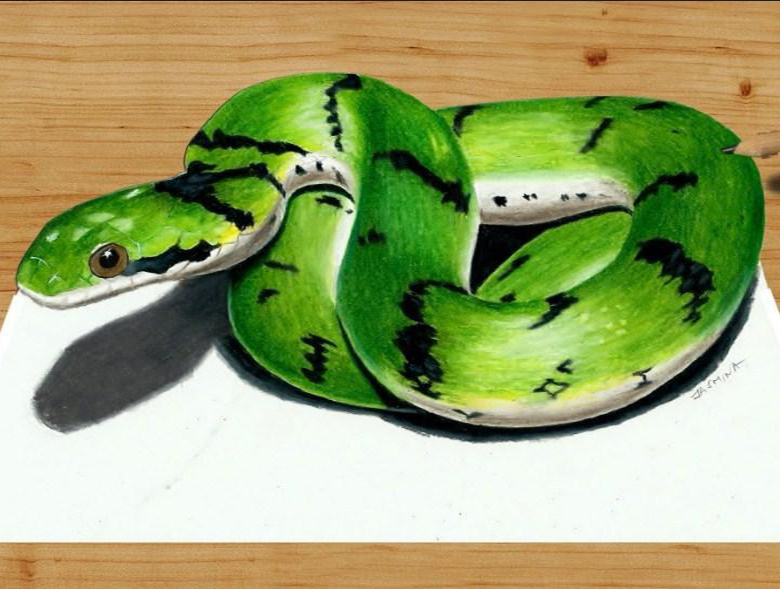
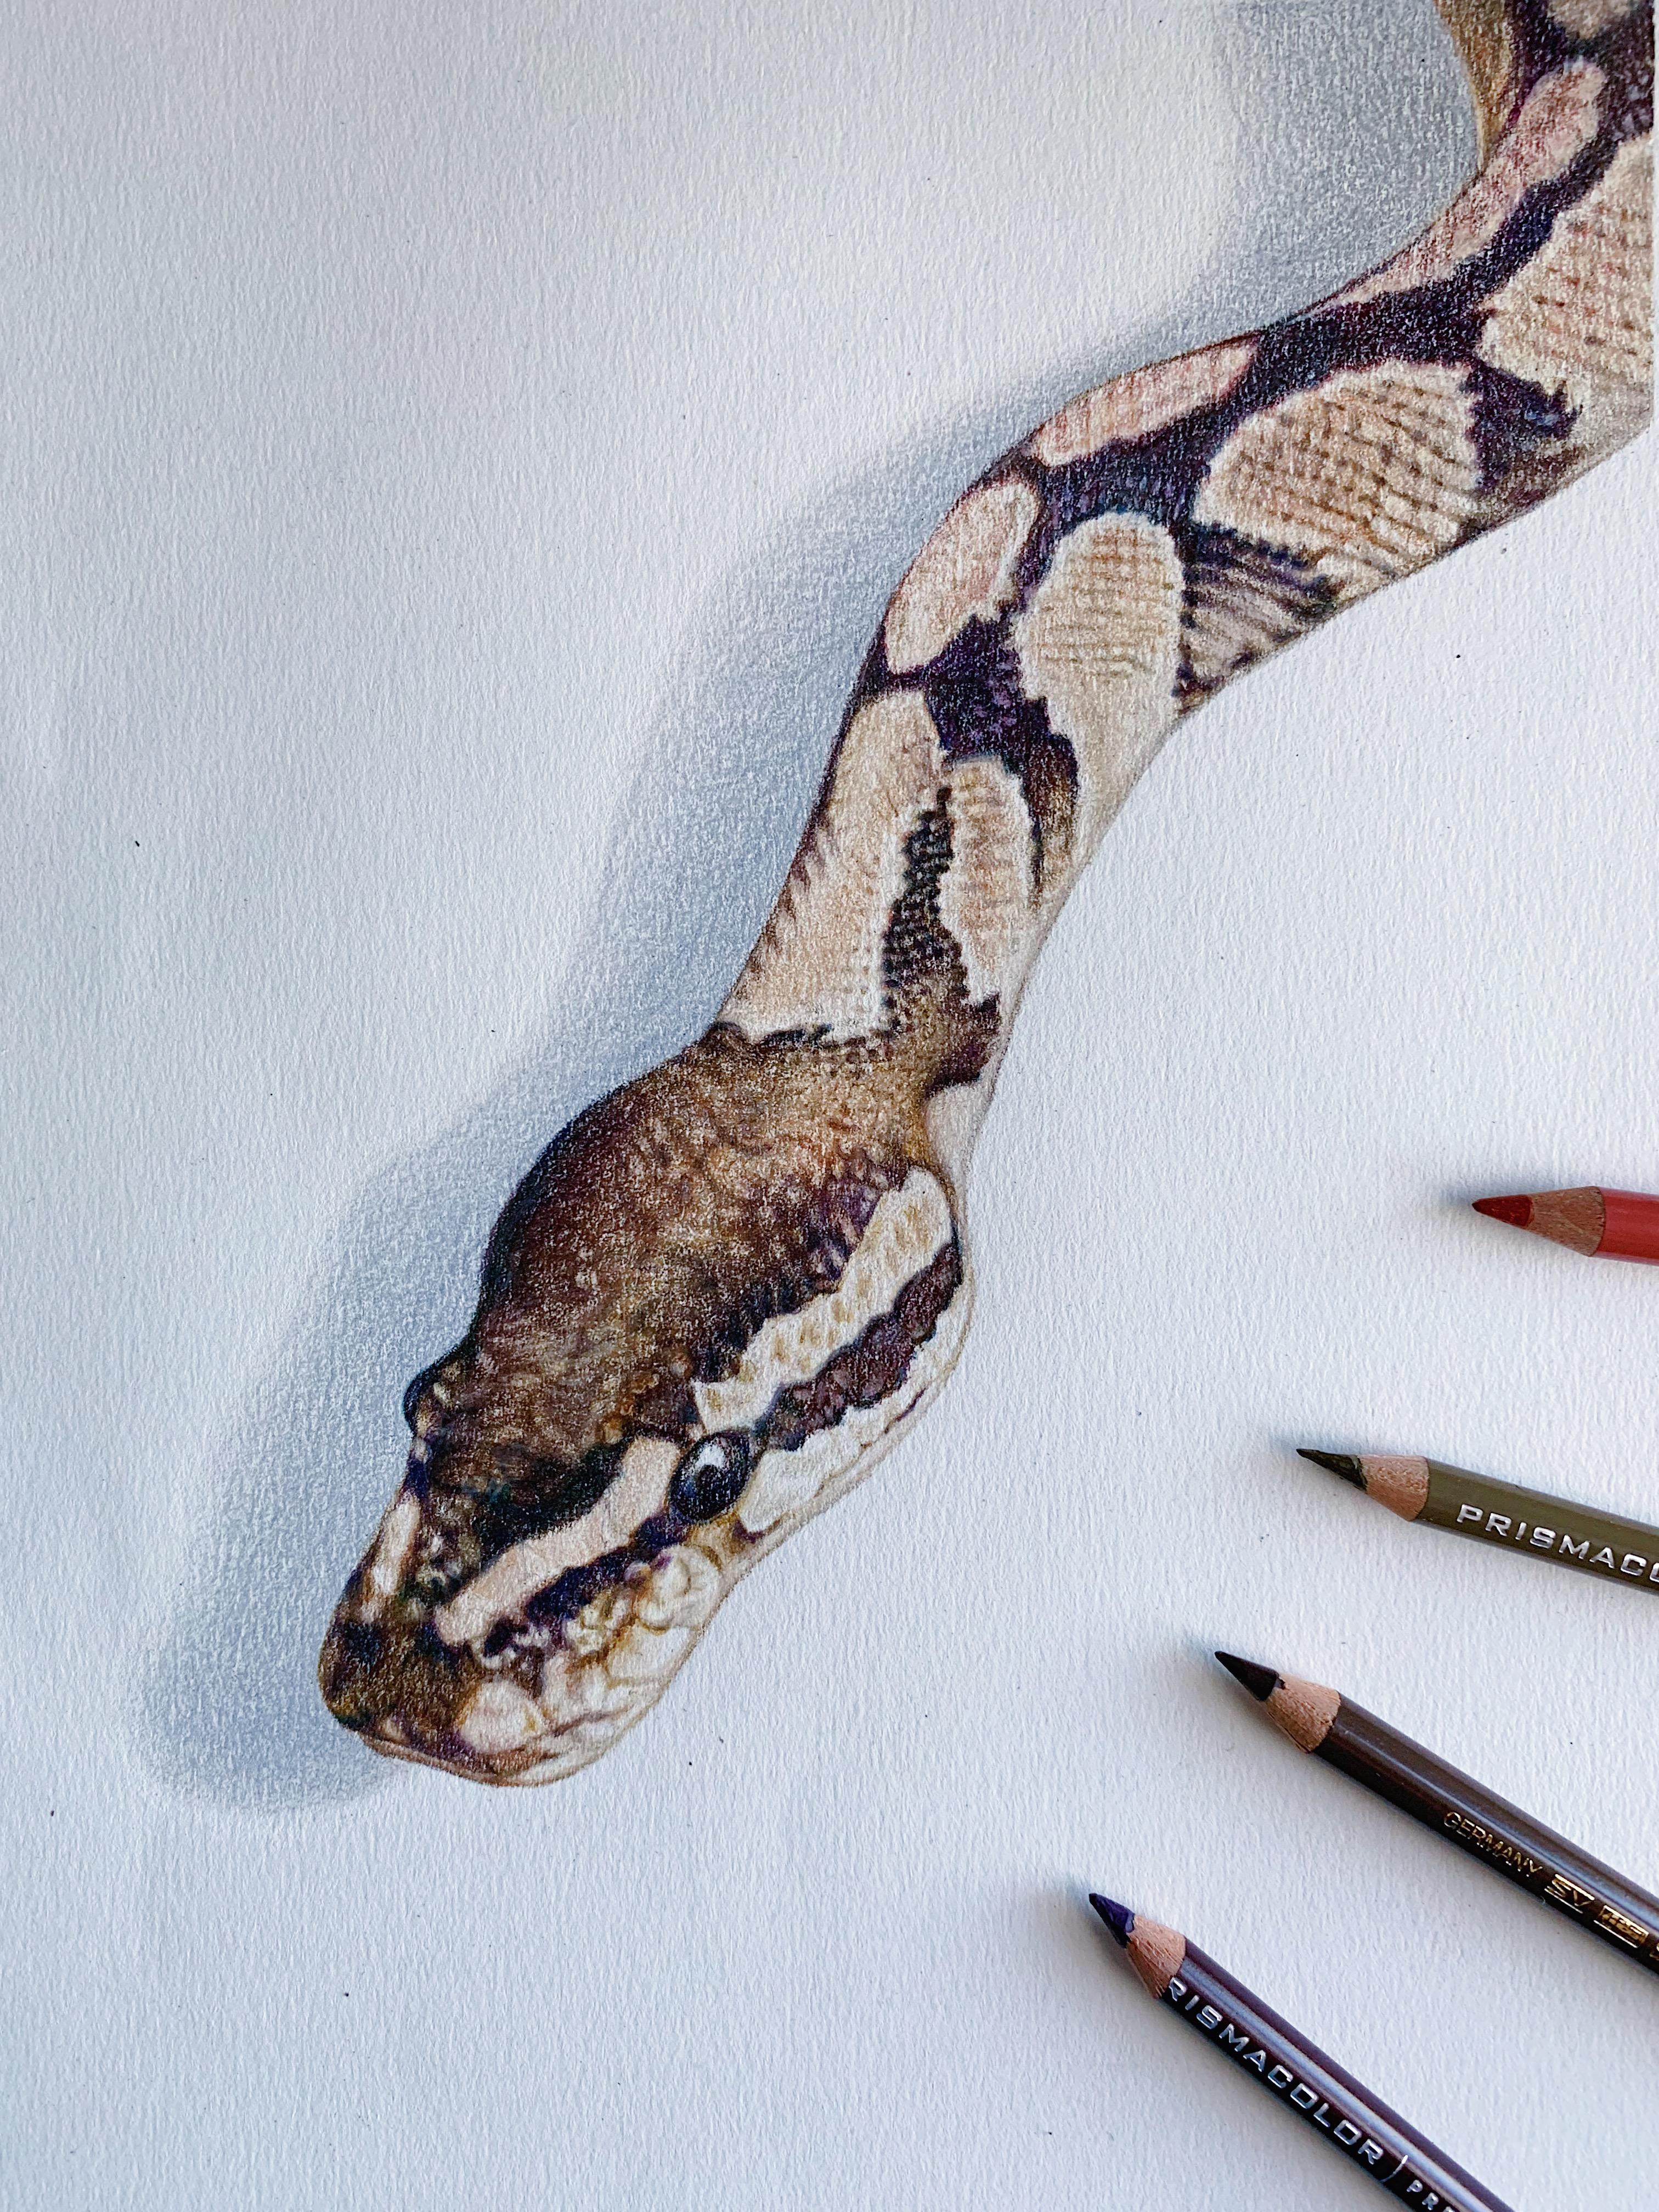
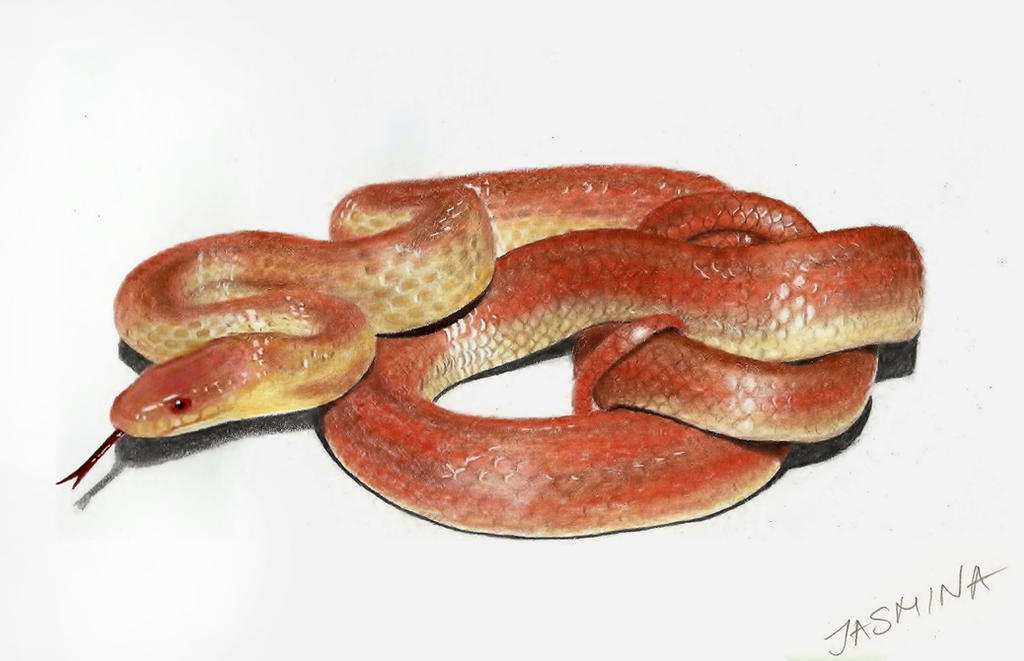
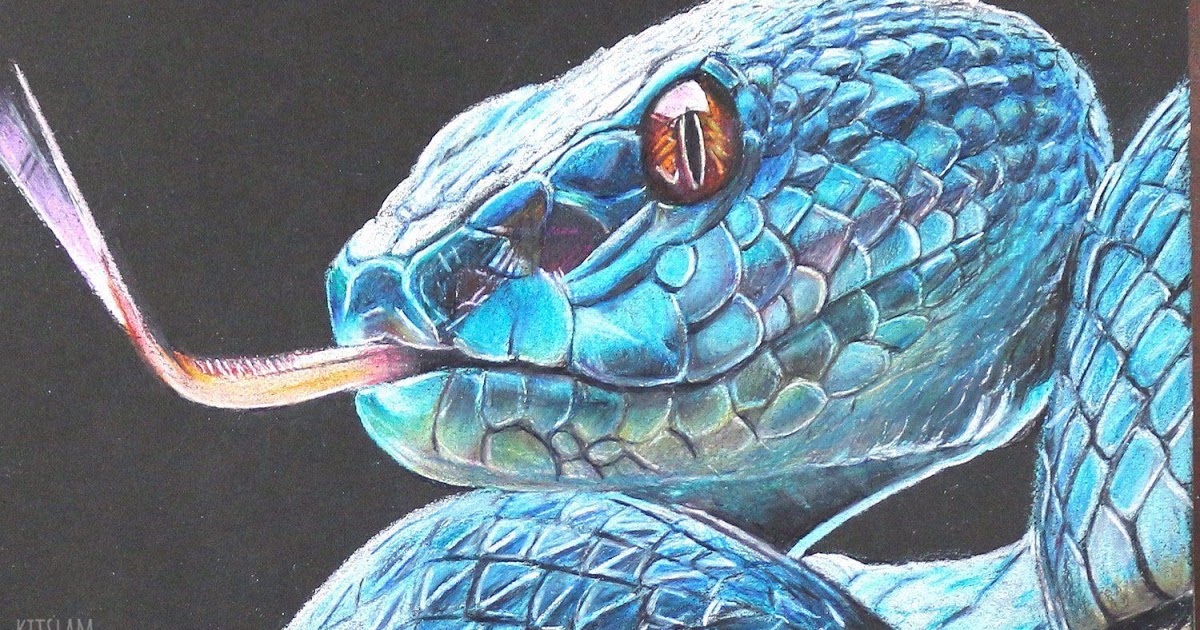
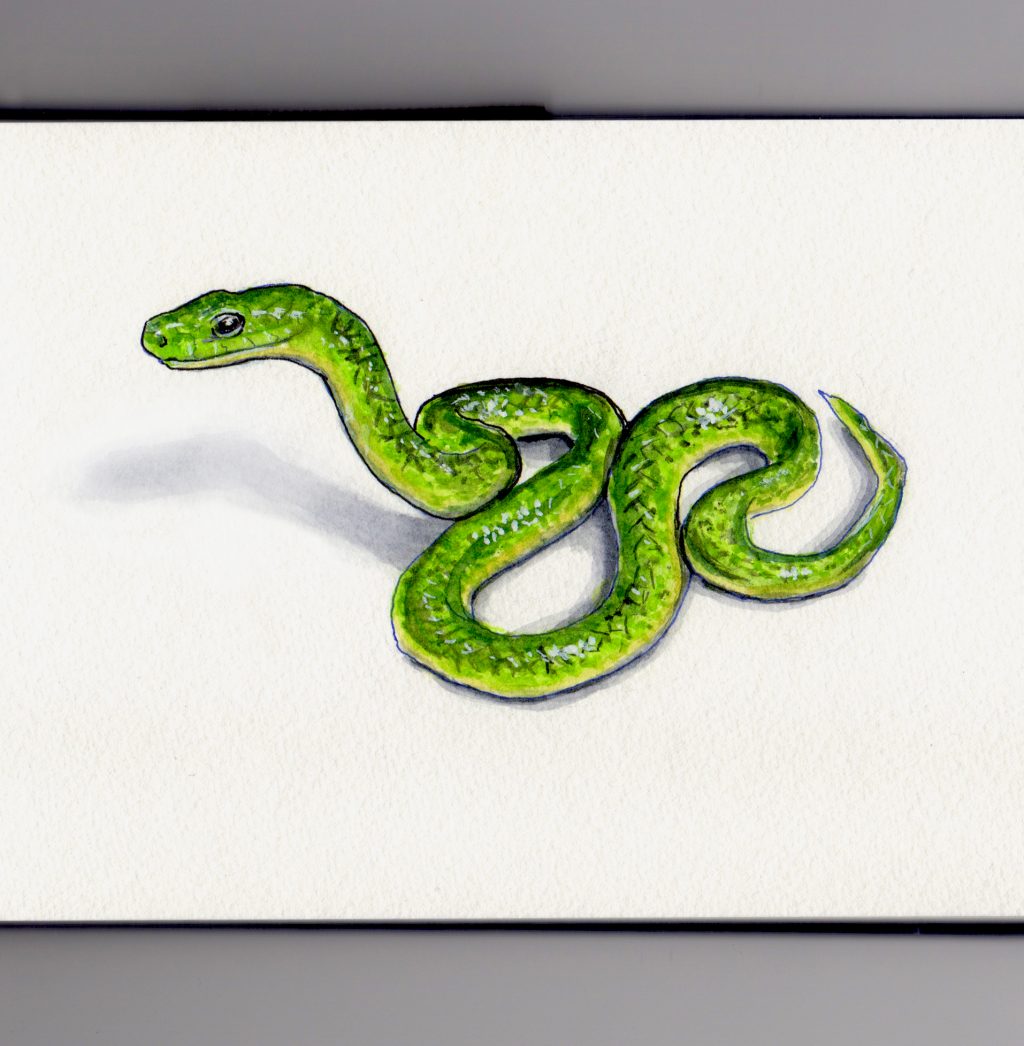
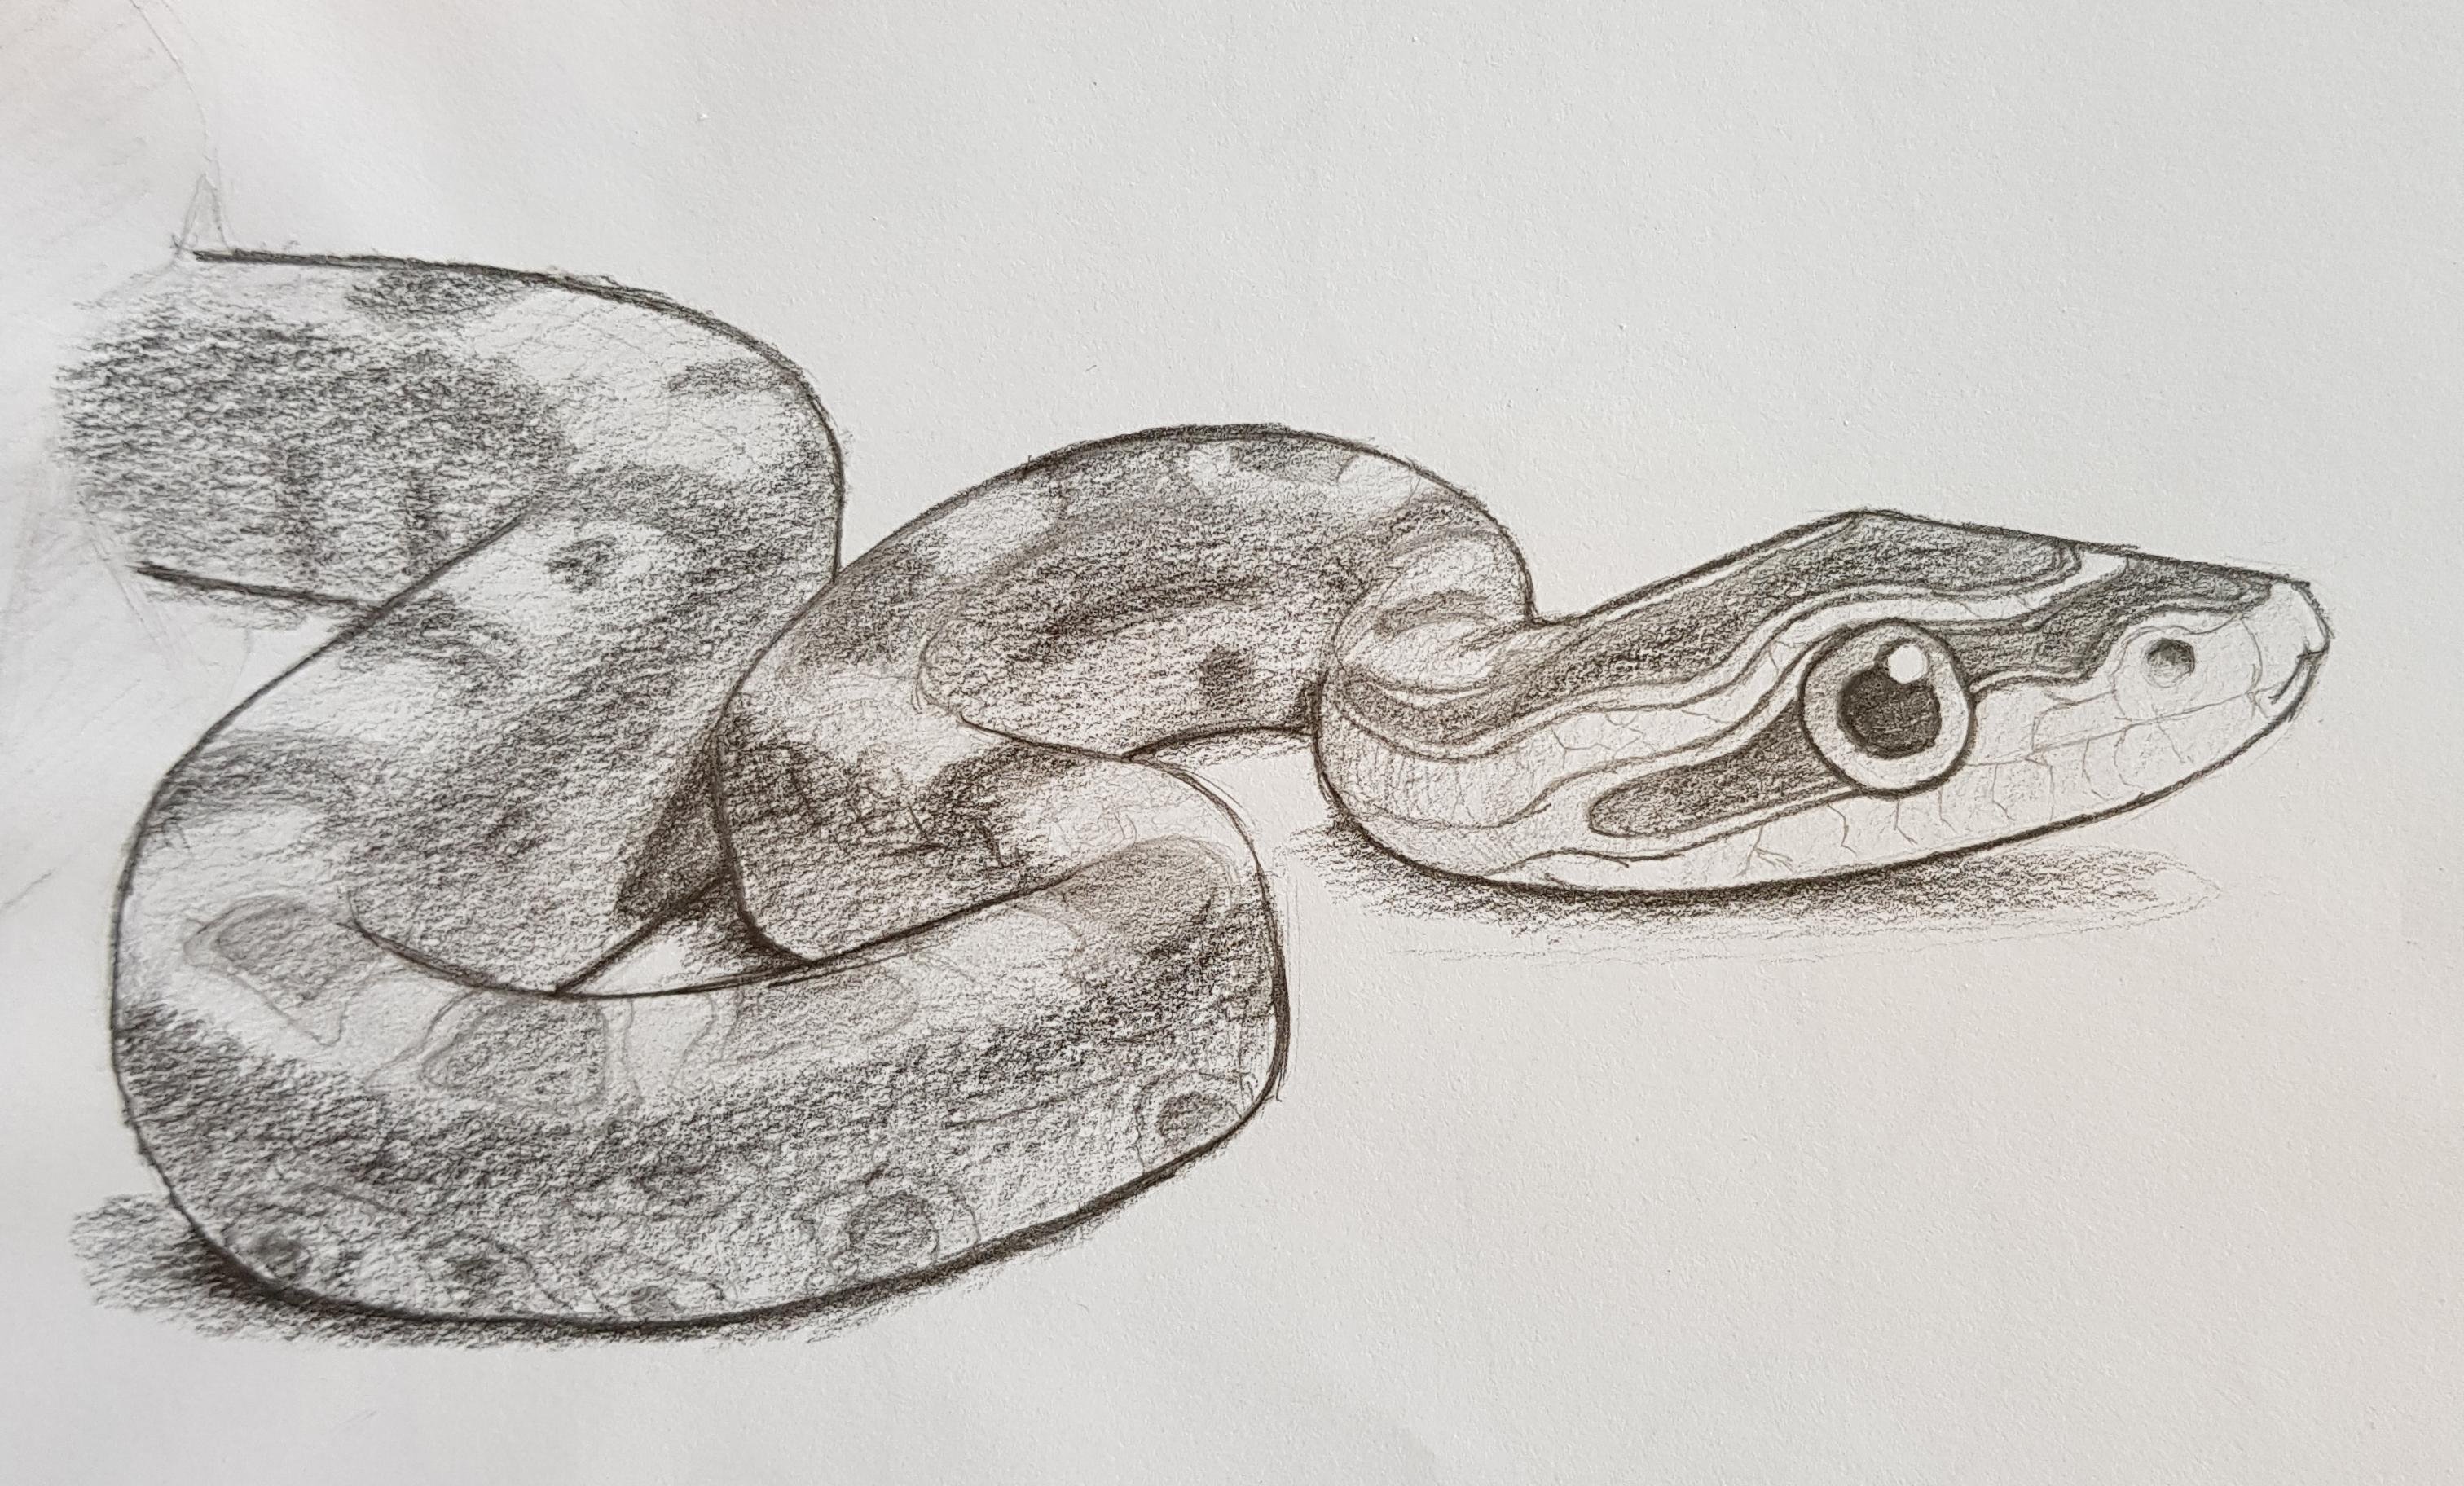
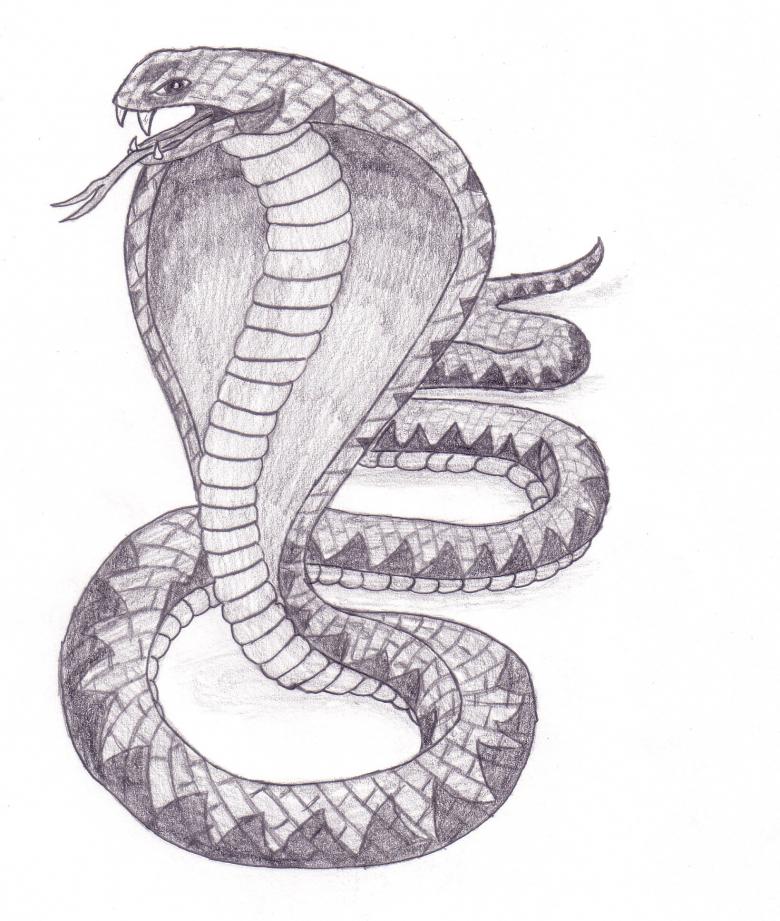
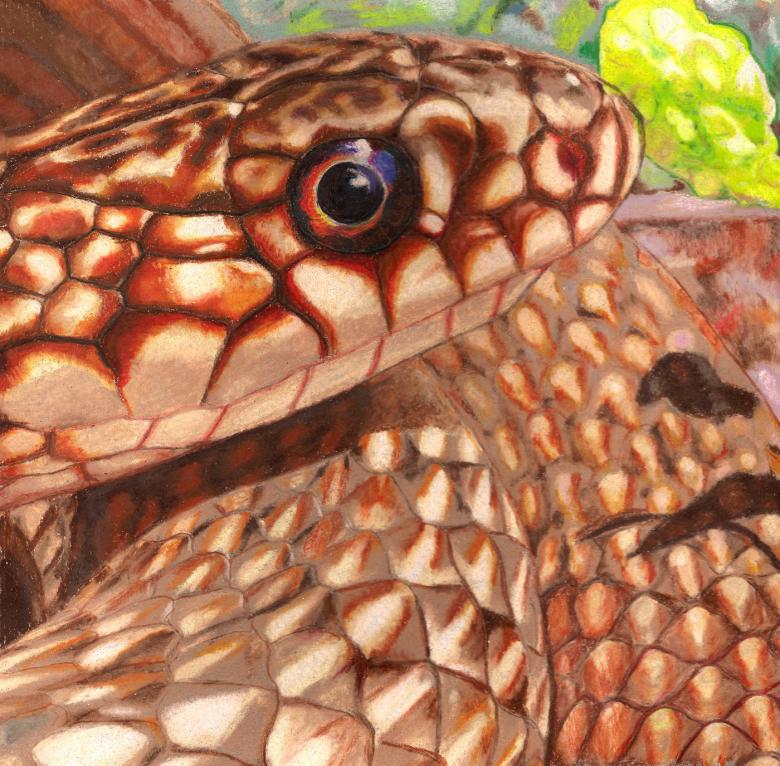
Pictures of snakes for sketching in pencil