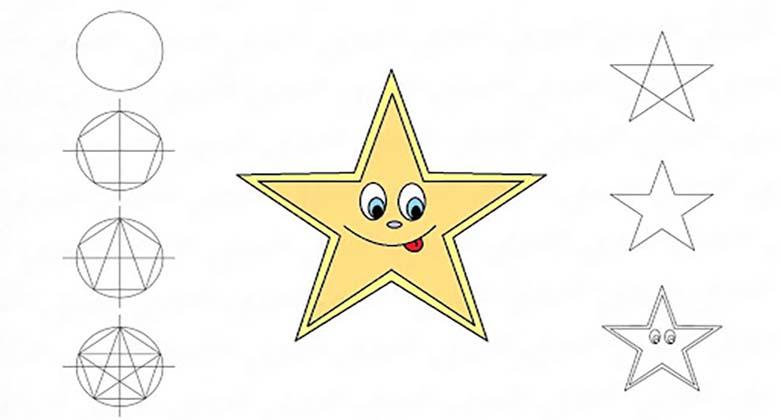
How to draw a star with a pencil - an overview of different drawing techniques for beginners and children
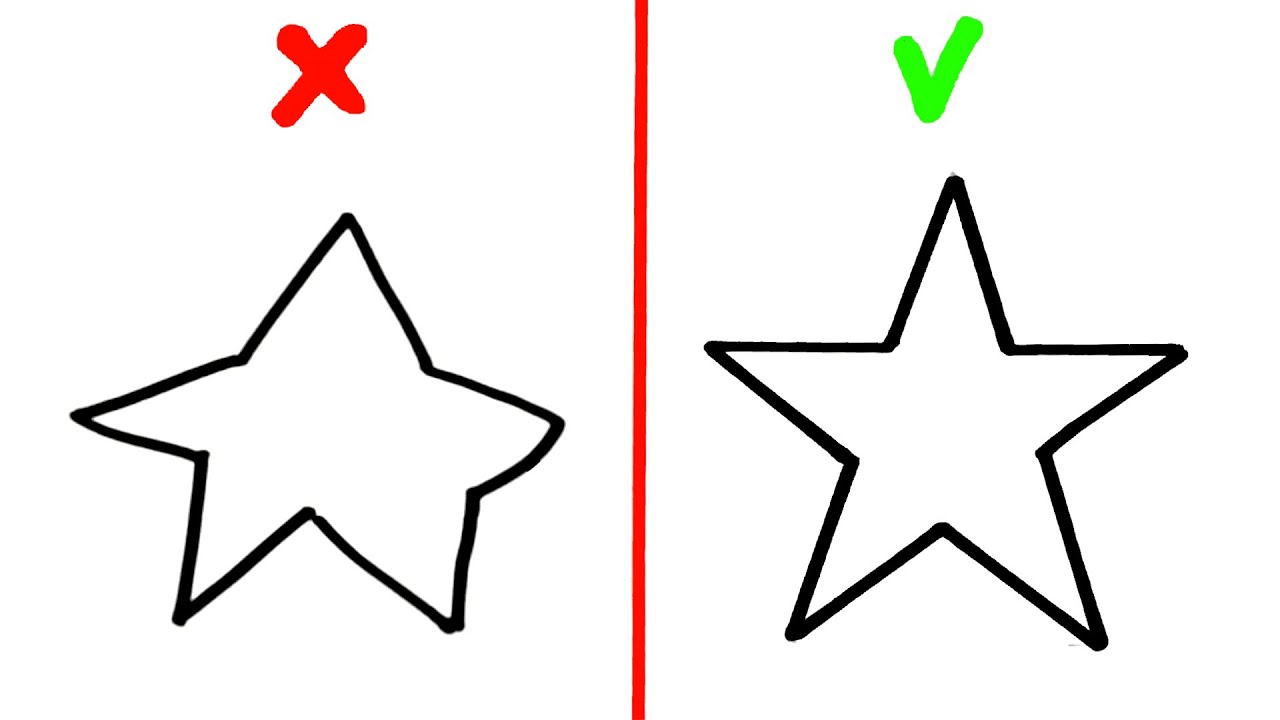
More often than other figures drawings, crafts and embroideries decorate the "star". Her image can be decorated and a postcard. Drawing a beautiful star is not possible for everyone. There are many tutorials on how to draw a star in a pencil step by step easy, where different tools are used.

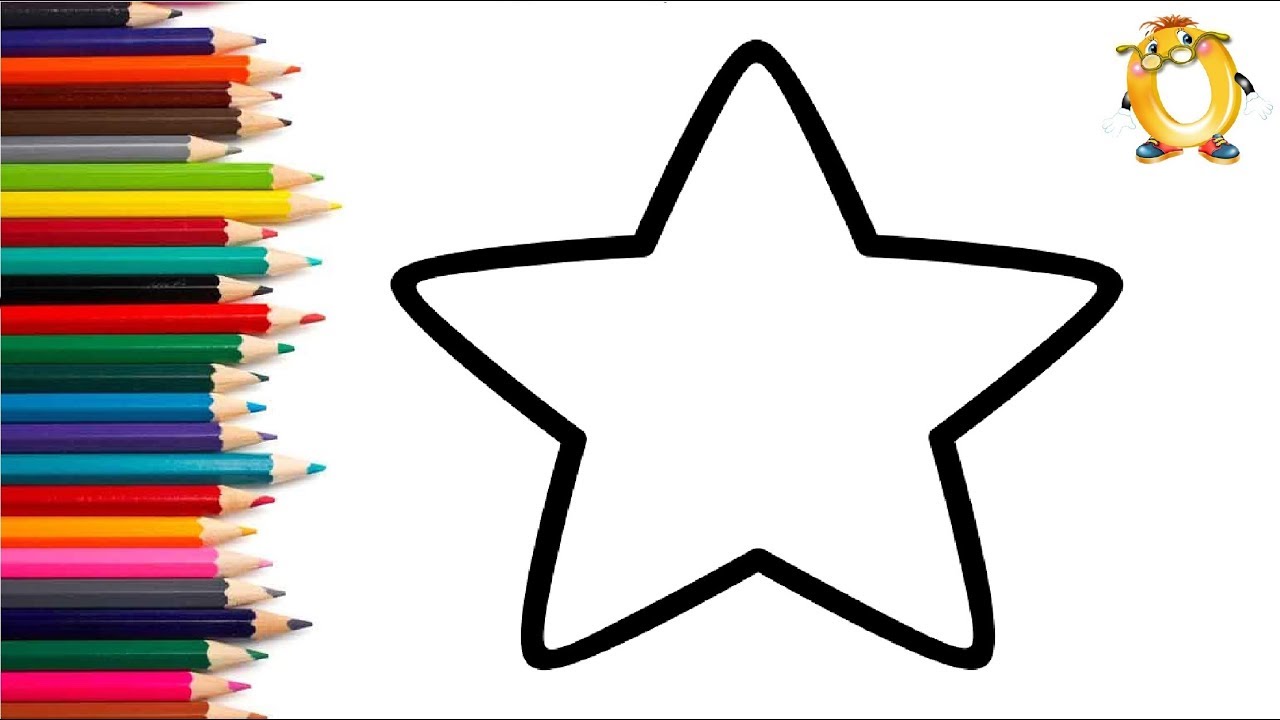
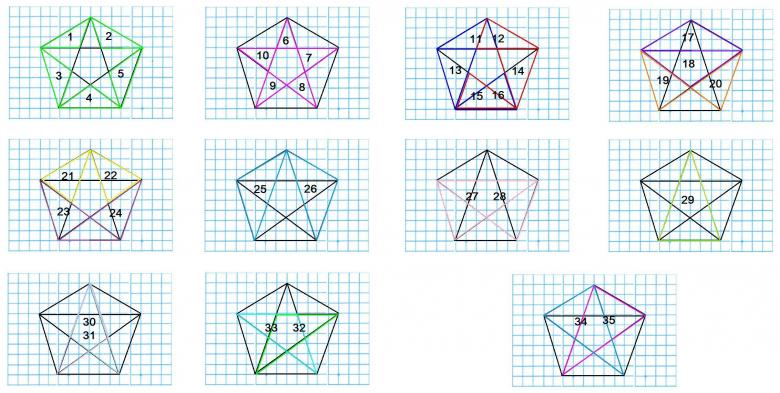
Five-pointed star
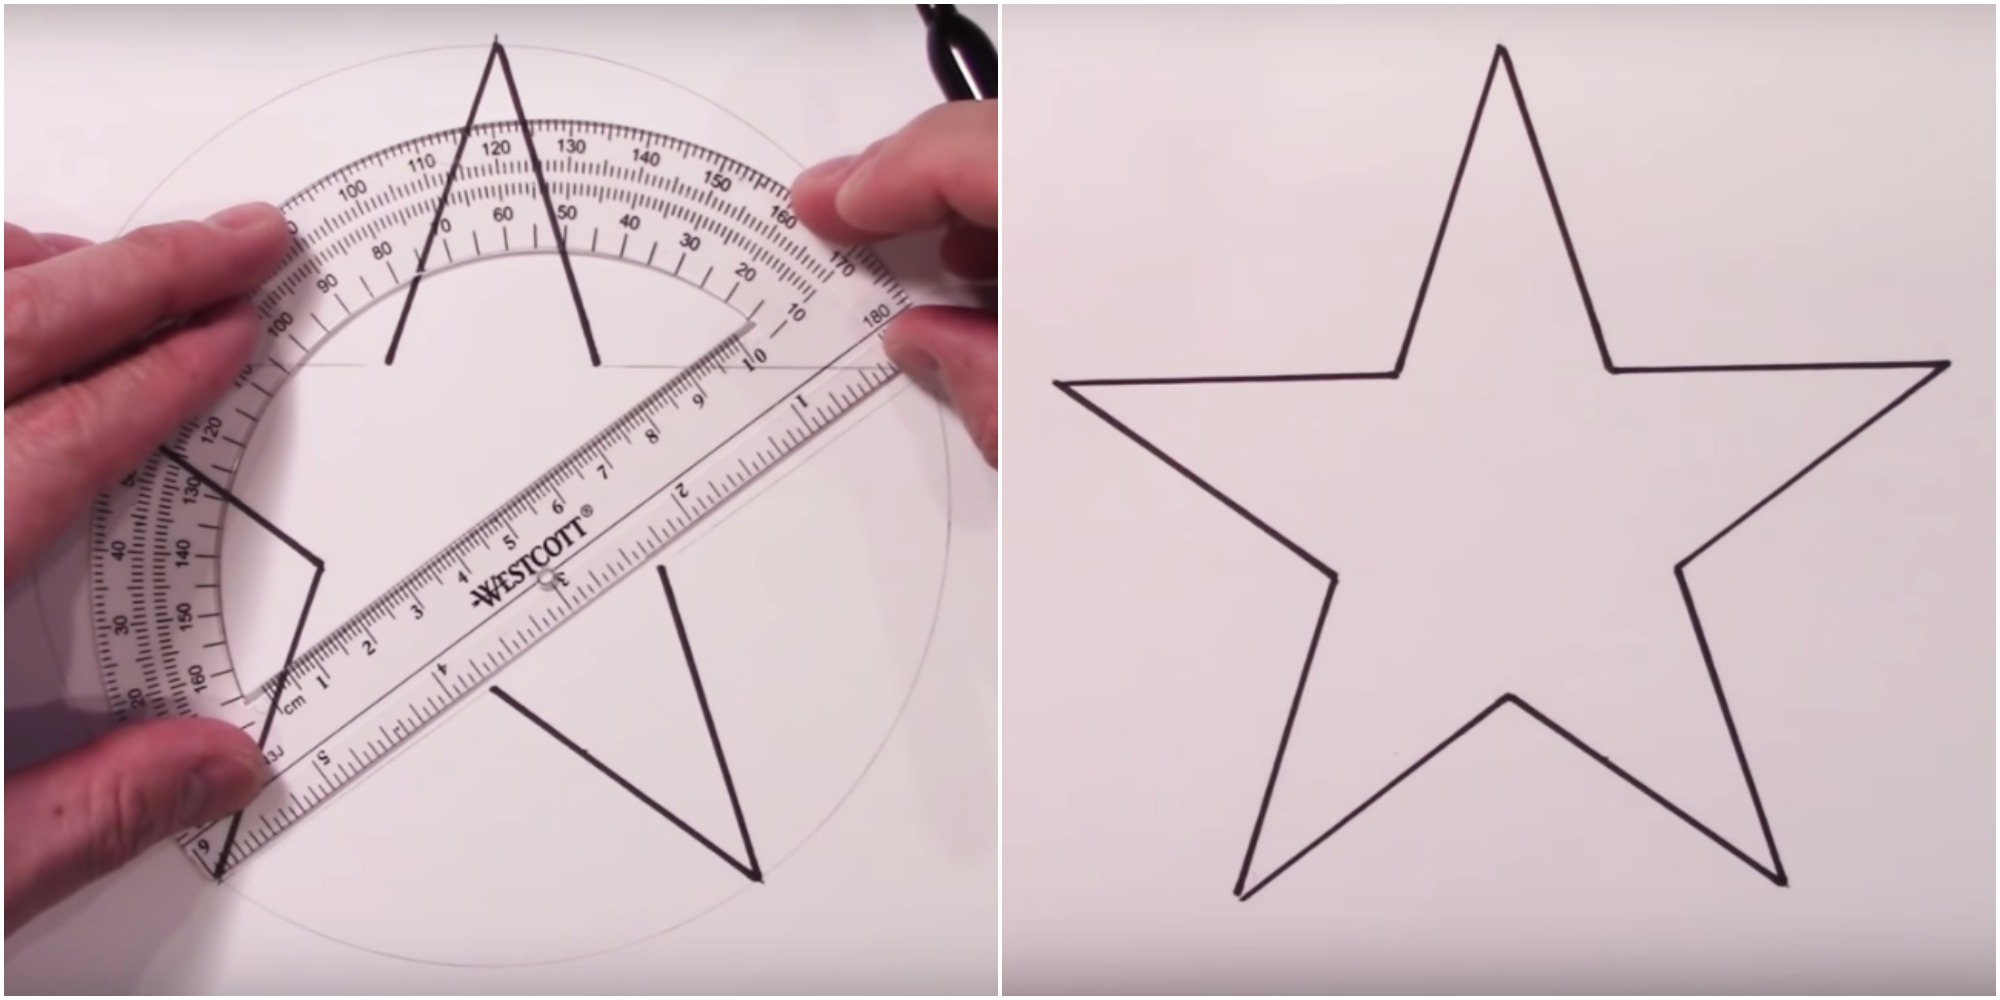
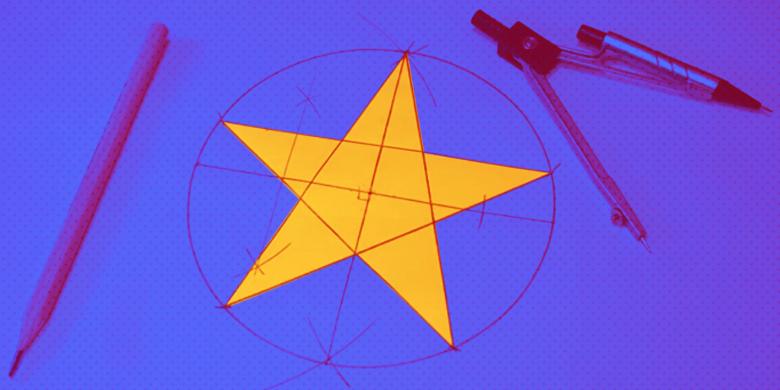
A simple lesson on how to draw a five-pointed star in pencil and ruler step-by-step starts with a picture of a circle.
Lesson with ruler and compass
- Since the star is placed inside the circle, its size affects the size of the star. You can quickly draw the circle on the sheet by tracing the bottom of a glass or cup. It is not necessary to press hard on the pencil. Schoolchildren use a compass to draw a circle.
- The outline of the circle is divided into five equal parts. The rule of mathematics will help. The diameter of the circle is measured. The resulting number is multiplied by a factor of 6.28. The answer to the product is the same distance between the five vertices of the star. A compass on a ruler fixes this number. The first point is drawn at the top of the circle line. Equal segments are drawn from it with the compass. It appears the five vertices.
- The ruler is connected between the vertices of the star.
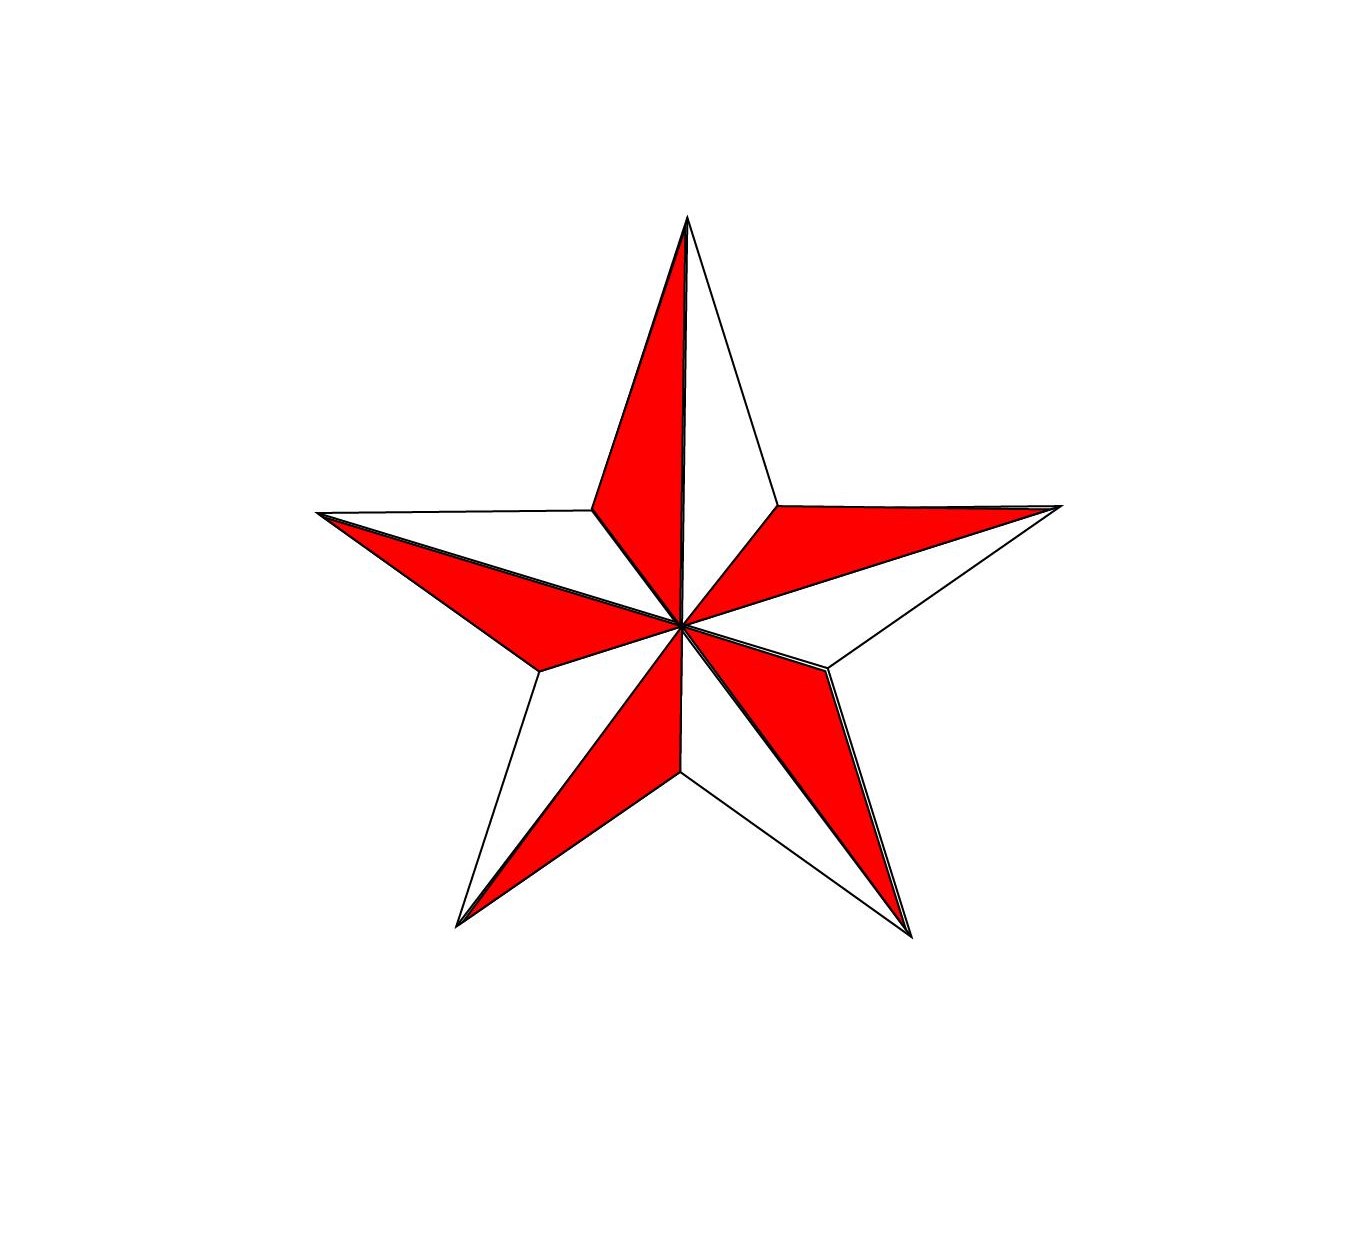
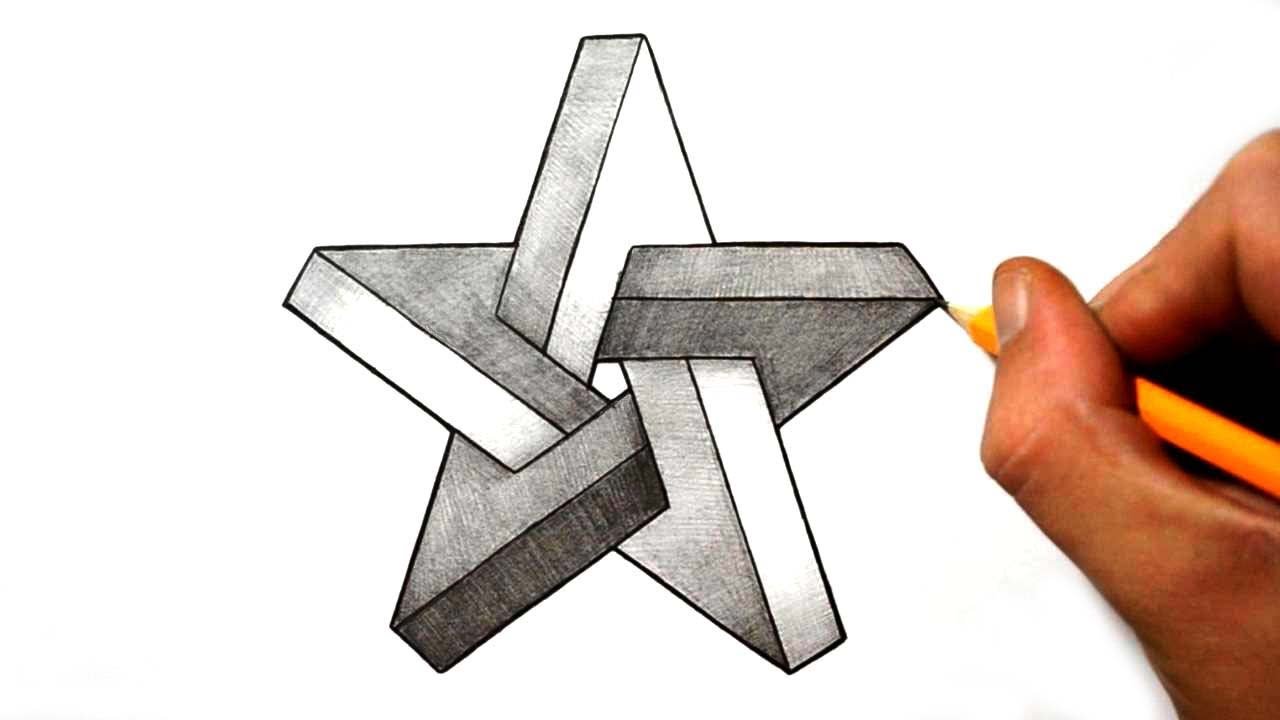
The following steps will answer how to draw a beautiful star with a pencil with a three-dimensional effect:
- Facets are drawn: straight lines are dropped from the vertices of the figure's acute corners to the bottom point of the figure's obtuse corner.
- The circle line is erased and a pointed star with five vertices remains.
- When painting the star, the hand draws the lines in one direction.

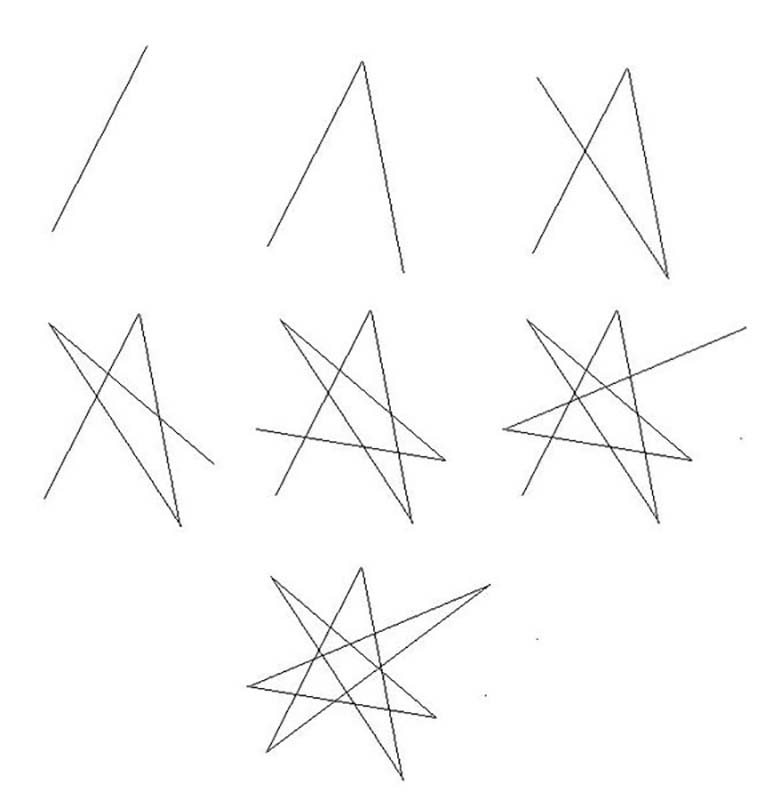
A lesson on drawing a star without taking your hand off the sheet
This lesson can be called an opportunity to learn how to draw a puzzle star. The figure is drawn without taking the pencil off the sheet of paper:
- A point on the sheet of paper fixes the position of the pencil. From it, a horizontal line is drawn from left to right.
- The movement of the hand with the pencil continues at a downward angle, taking the line to the left. The length of the second segment is equal to the first. Its end will be to the right of the starting point of the drawing.
- Pencil exhibits the third line, without separating from the sheet. It goes up. Its length coincides with the previous segments, and the end point hangs over the center of the horizontal line.
- From the top of the figure goes down and to the right a line asymmetrical line on the left.
- The last point of the star is connected to the first. The outline of the star is highlighted, and the lines inside the figure are erased.
Four-pointed star
As a symbol of light in the dark of night, good luck in your career and victory in competitions, the image of a four-pointed star is used. It is not difficult to draw it:
- A small circle is drawn on a piece of paper with a compass. The diameter is chosen arbitrarily.
- Around the small circle is drawn a second circle with a larger diameter.
- From the center point of the circle is strictly upward vertical line.
- From the vertical segment protractor marked a right angle. This is how sector #1 appears.
- On the same principle, two more angles of 90о so that there are only four sectors with right angles. The tops of the star are marked at the intersection points of the sector lines with the outline of the large circle.
- Each sector is divided into equal two parts by dotted lines. A protractor is used for this purpose. Inside each sector, an acute 45о angle. The intersection of the dashed lines with the contour of the small circle is marked with bold dots.
- All vertices are connected by straight lines. Picture of a four-pointed star is ready.
- The contour of the figure is drawn more clearly, and the auxiliary lines are erased.
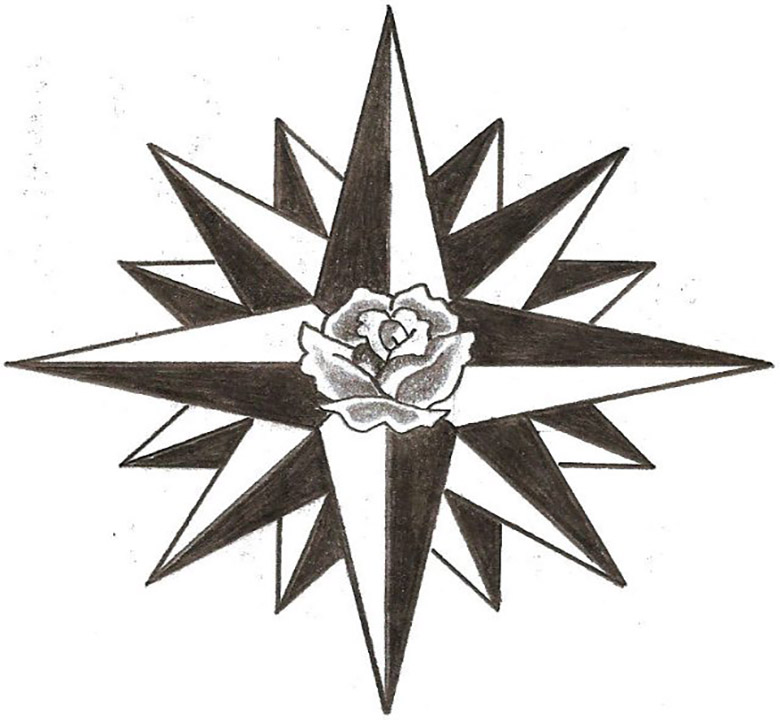
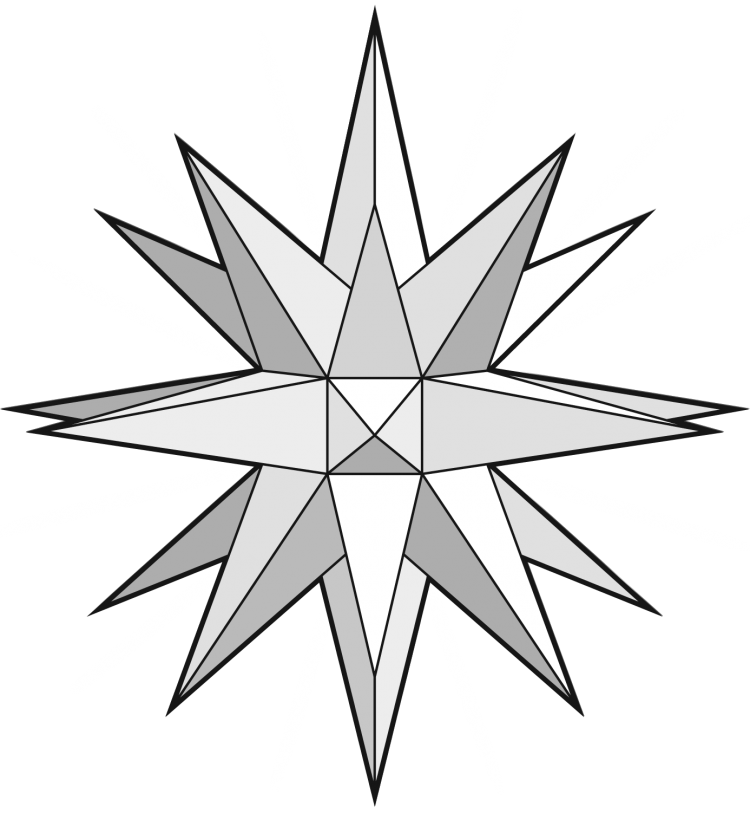
Eight-pointed star
As a symbol of different cultures, the image of a star with 8 rays is used. Before drawing the 8-pointed star step by step in pencil, a square is drawn, which is used to line up the skeleton of the figure:
- A hard pencil is prepared for the work. Lines are drawn without using force.
- Inside the square are drawn vertical and horizontal diagonals.
- The axes of the figure are drawn missing up to the tops.
- From the intersection point of the diagonals and axes of the square on a horizontal line in both sides are drawn two identical small segments.
- Connect the top point of the vertical diagonal with the end points of these segments on the horizontal diagonal. Similarly connected to them and the bottom point of the vertical diagonal. A rhombus is formed.
- Next rays are drawn on a horizontal line. Side lines are lined up between the main ones.
- Auxiliary lines are wiped out.
A star can be painted in one color or two. Observe the alternation of colors on the outer and inner sides of the rays.
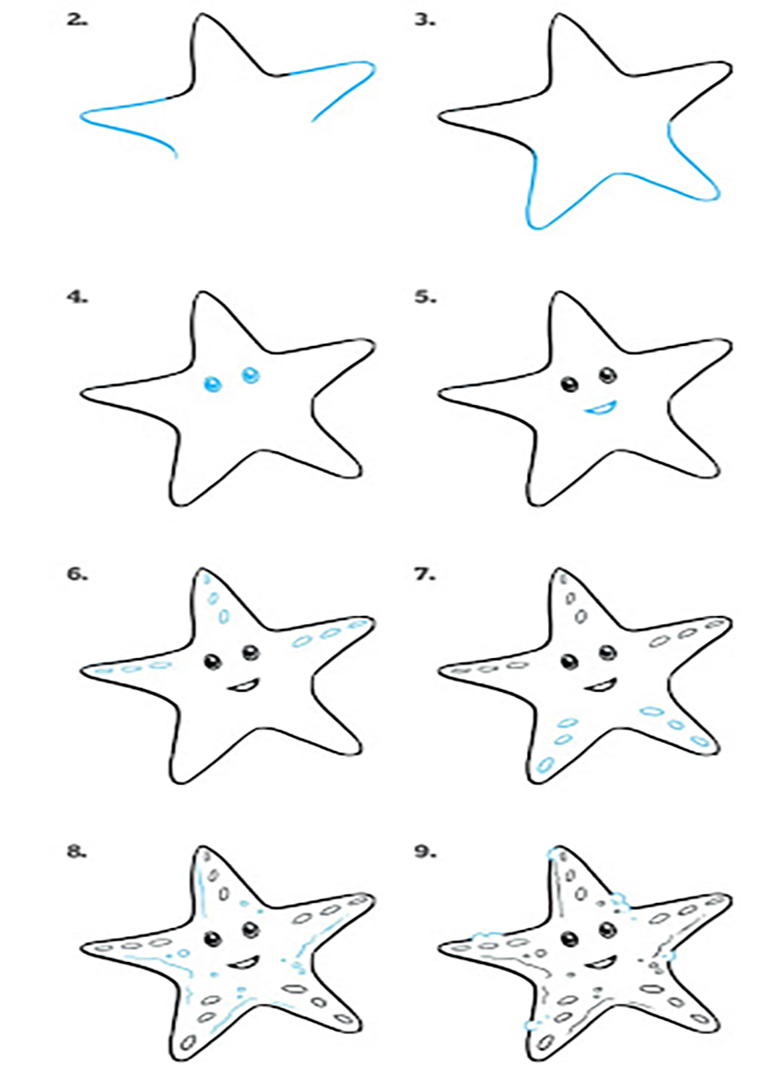
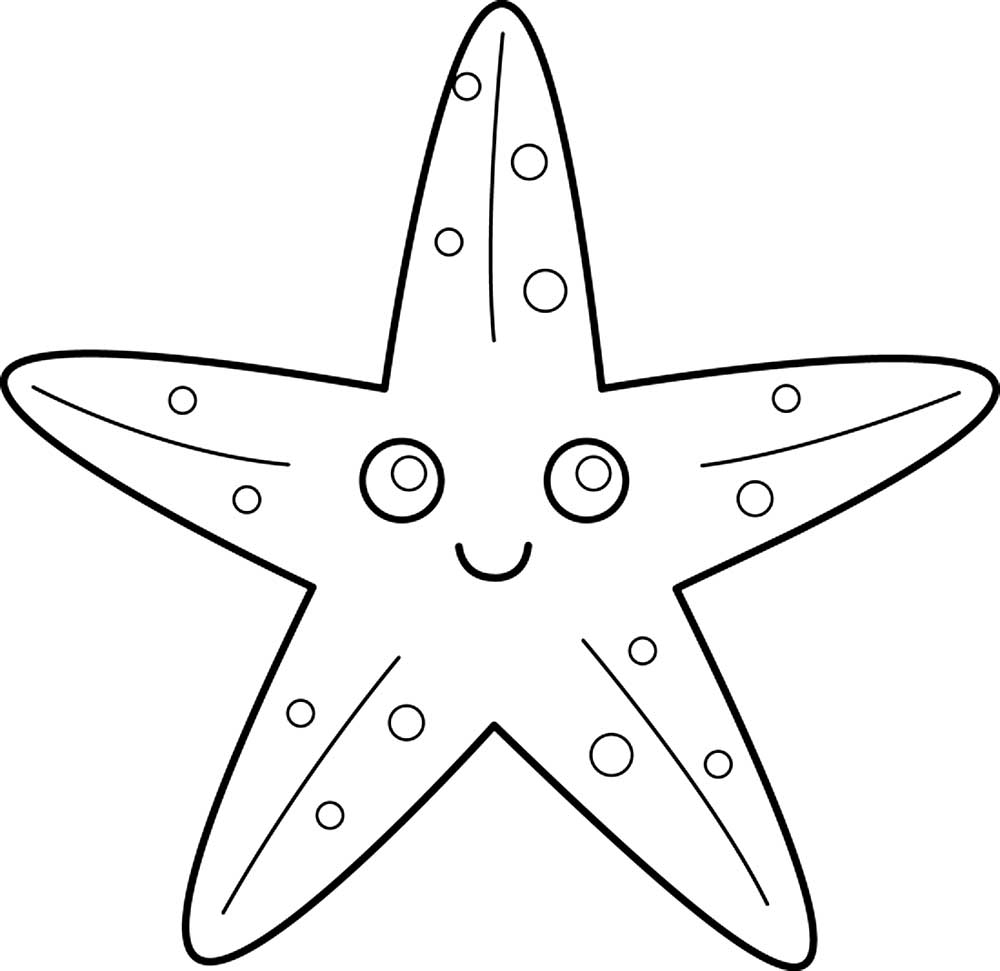
Star of the seas and oceans
Children love to draw the inhabitants of sea waters. The starfish is a unique inhabitant of the depths of salt water. It is known that there is a large variety of these symmetrical sea animals. The peculiarity of the sea star skeleton structure and the presence of liquid inside its body helps it "walk". It is able to stand upright on two arms.

A master class, broken down into seven steps, will teach you how to draw a starfish in pencil step by step. Its uniqueness lies in the fact that the number of tentacles can be from 40 to 5. The lesson explores the step-by-step depiction of a star with 5 handles and a disk in the center of the body:
- Perpendicular lines are drawn horizontally and vertically with an intersection point in the middle.
- From the point of intersection two additional lines are dropped down from the horizontal line. They will be the basis for limbs dweller sea waters.
- Drawing of the skeleton is ready. The turn for drawing the silhouette of a starfish. Not only the number of tentacles indicates the diversity of the species, but also their length, thickness. We learn how to draw a starfish with short and thick arms.
- All auxiliary lines are wiped out. Five main short disc lines are drawn from the center point to the inner points of the silhouette.
- Inside each tentacle a skeleton line of the animal is drawn.
- If there is a desire to color the animal with colored pencils, you must remember that the inhabitant of shallow waters is bright, and deep waters - with a muted coloring. Coloring the inhabitant of the seas and oceans with a simple pencil begins with the upper tentacle.
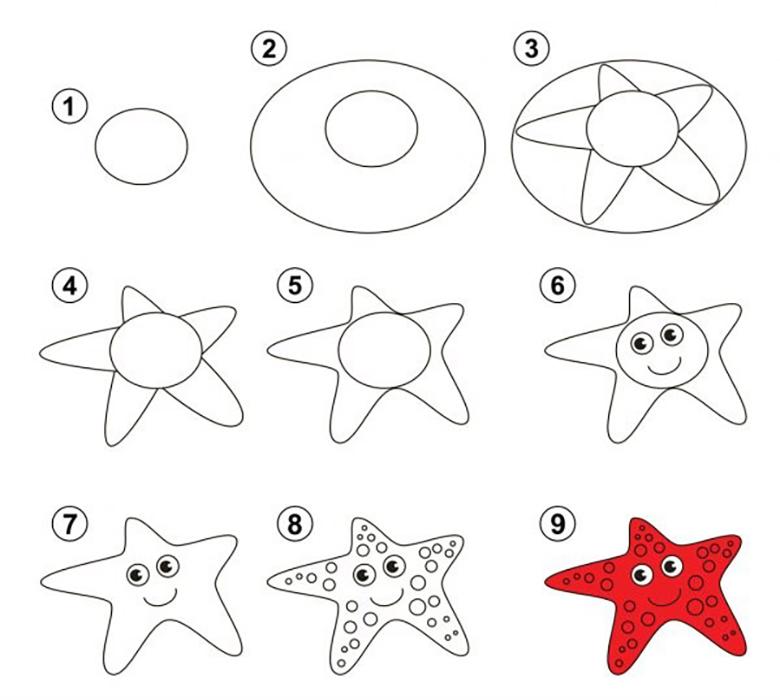
By painting over the edges of the pens, a strong and dense shading is applied. Pencil pressure weakens closer to the center of the figure.
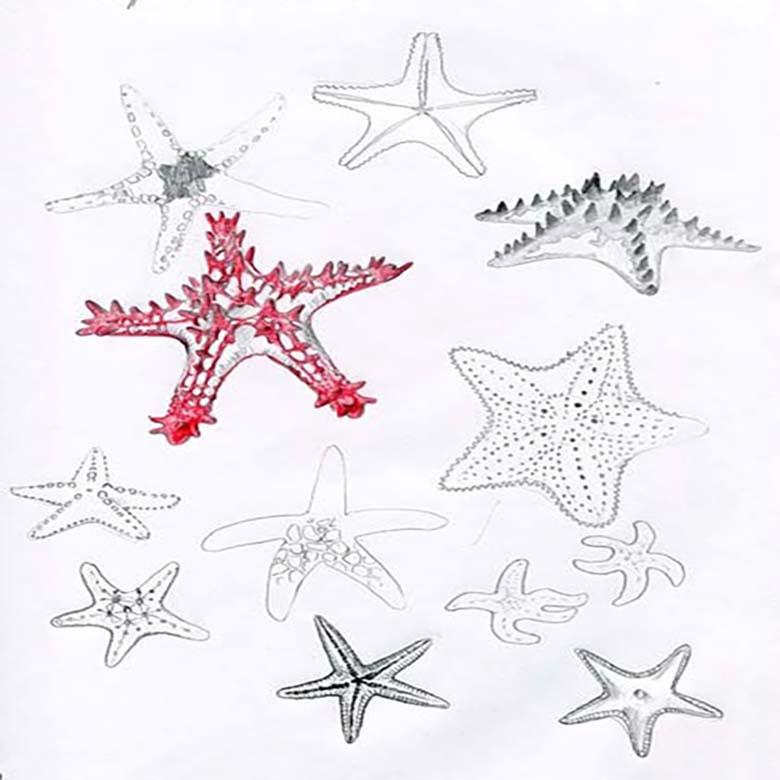
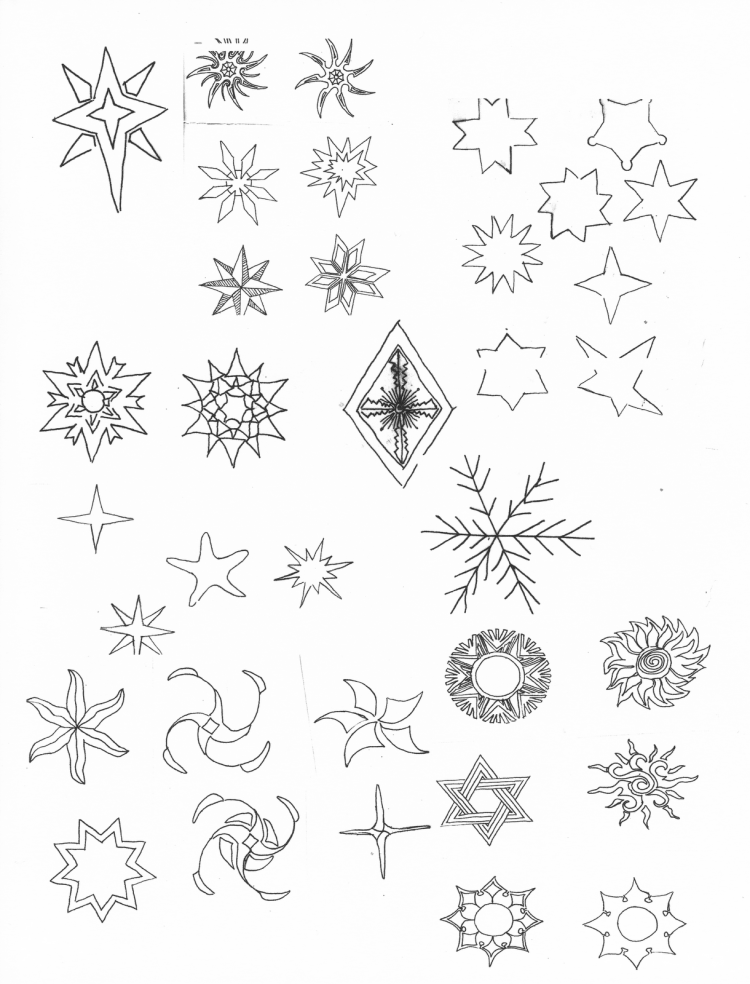
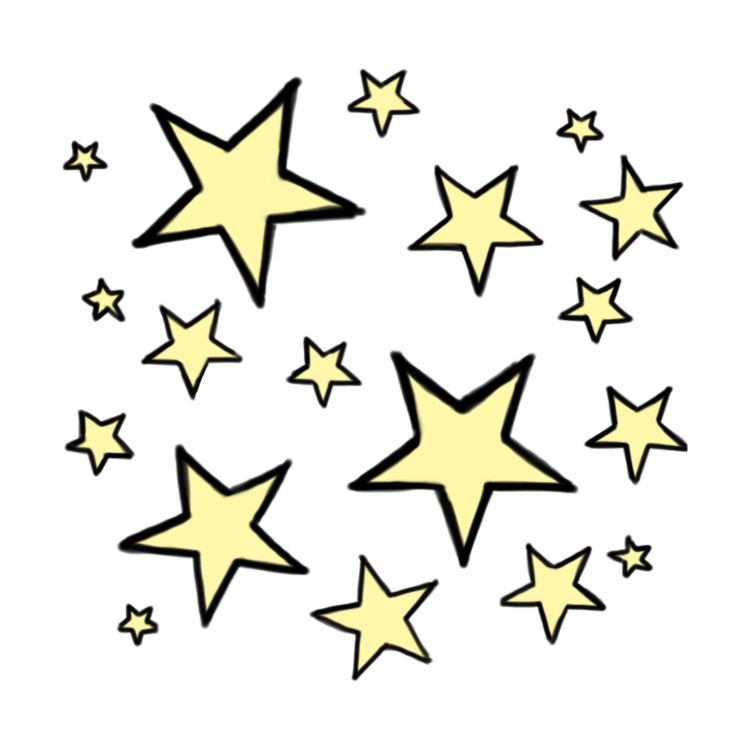
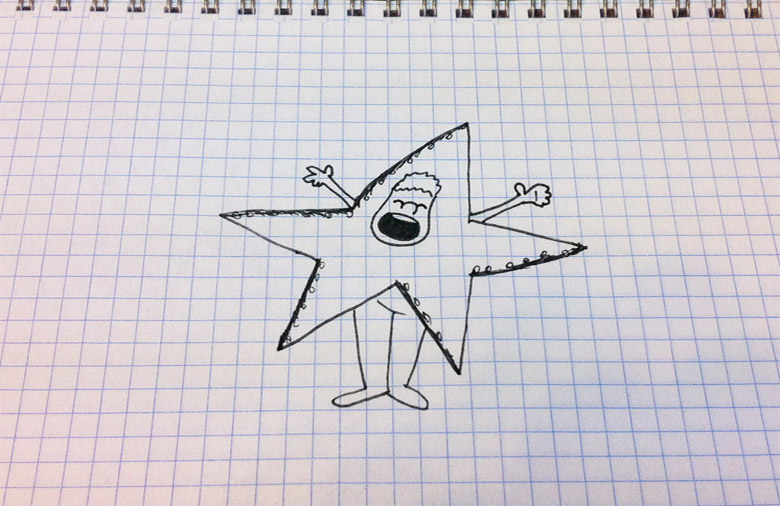
Photo examples of drawing stars with a pencil for beginners